Have you ever wondered how to create unique photographic abstracts using just your iPhone? While these kind of images look wonderfully impressive and artistic, they’re actually very easy to create using only a small selection of free photo editing apps. In this tutorial you’ll learn the step-by-step process for creating incredible abstract portrait photos on your iPhone.
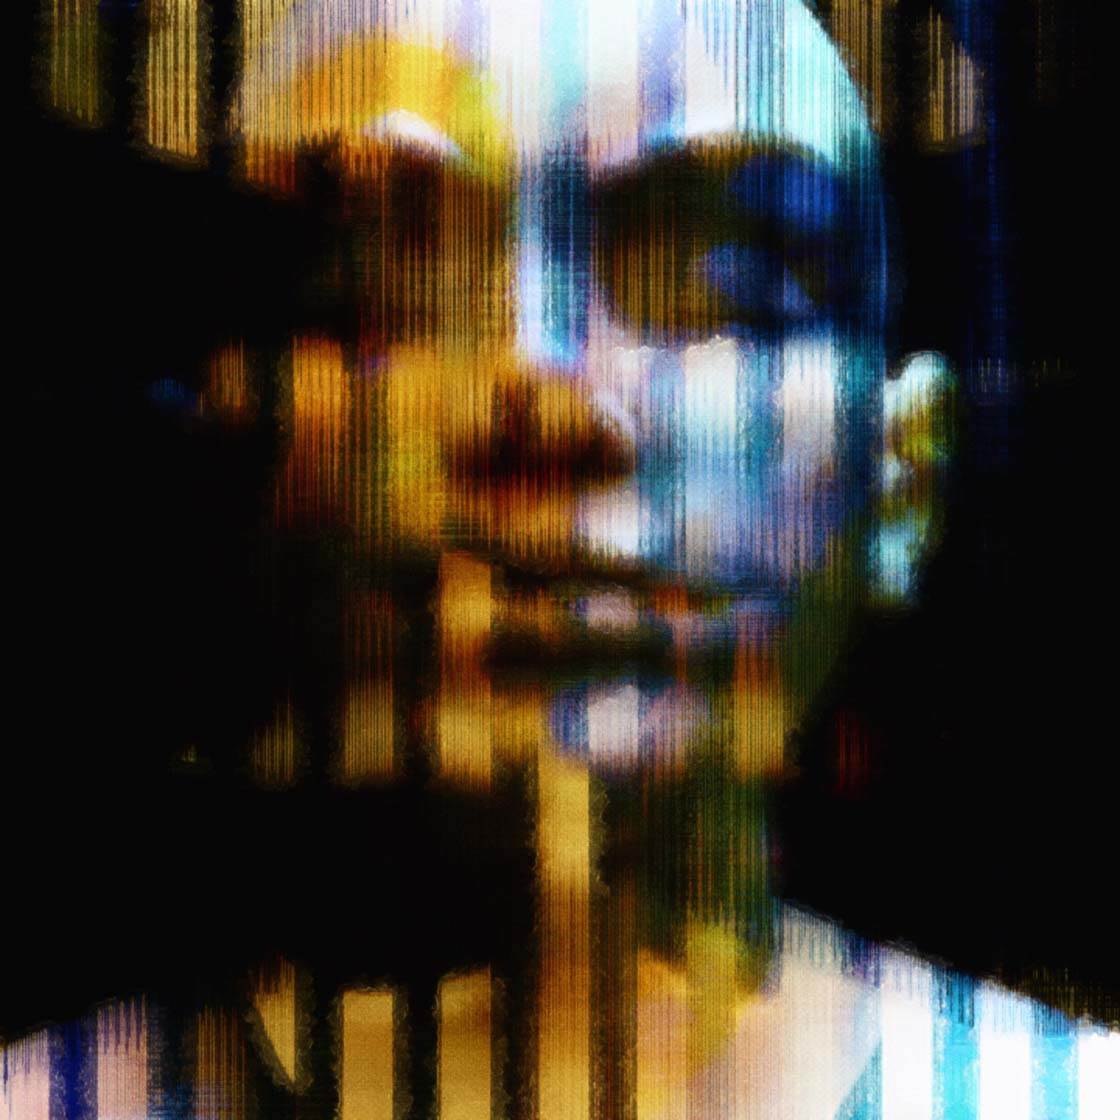
In our recent tutorial covering inspirational ideas for creating abstract art with your iPhone photos, we explored three methods for creating abstractions in the photo editing process: distortion, layering and painting. We’re going to combine these techniques to generate a variety of stunning abstract images.
Find A Suitable Subject
For this project, you’ll need a photo of the face of a person or mannequin. I like using mannequins because they can be moved around easily and they have a strong bone structure which is great for capturing the highlights and shadows of the face. I also find it fascinating that the face of a mannequin often appears more human when it’s distorted.
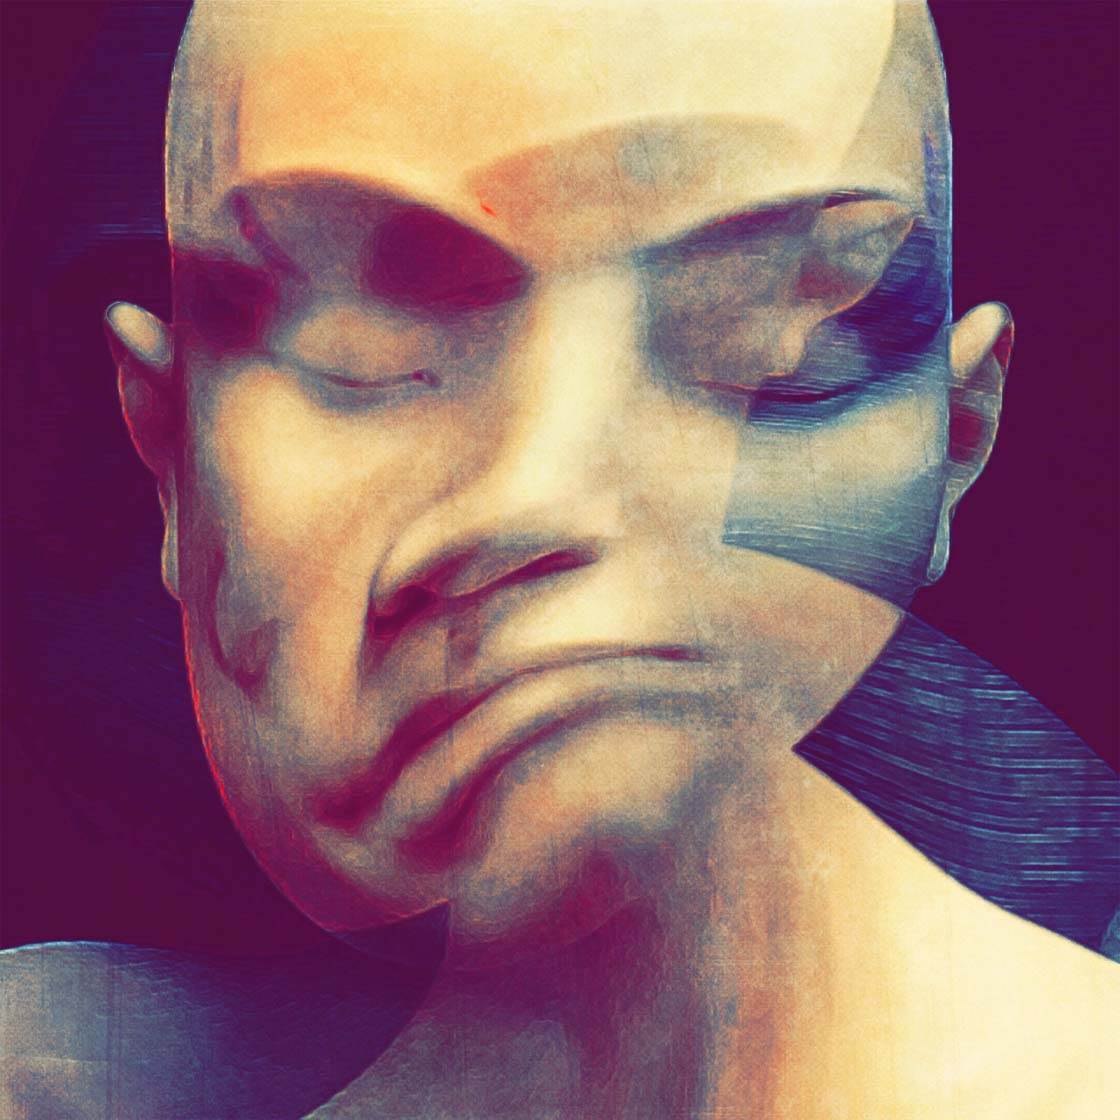
The mannequin I’m using for this project is a plastic mannequin head that’s used as a practice tool for hair stylists and makeup artists. If you’re interested in doing a lot of these types of photographs, it’s worth purchasing one from a beauty supply store.
In a pinch, you can find a styrofoam head for less than $10 but a plastic form will produce more life-like distortions. For this project, you can use your own photo of a mannequin or simply download this image below to use for practice.
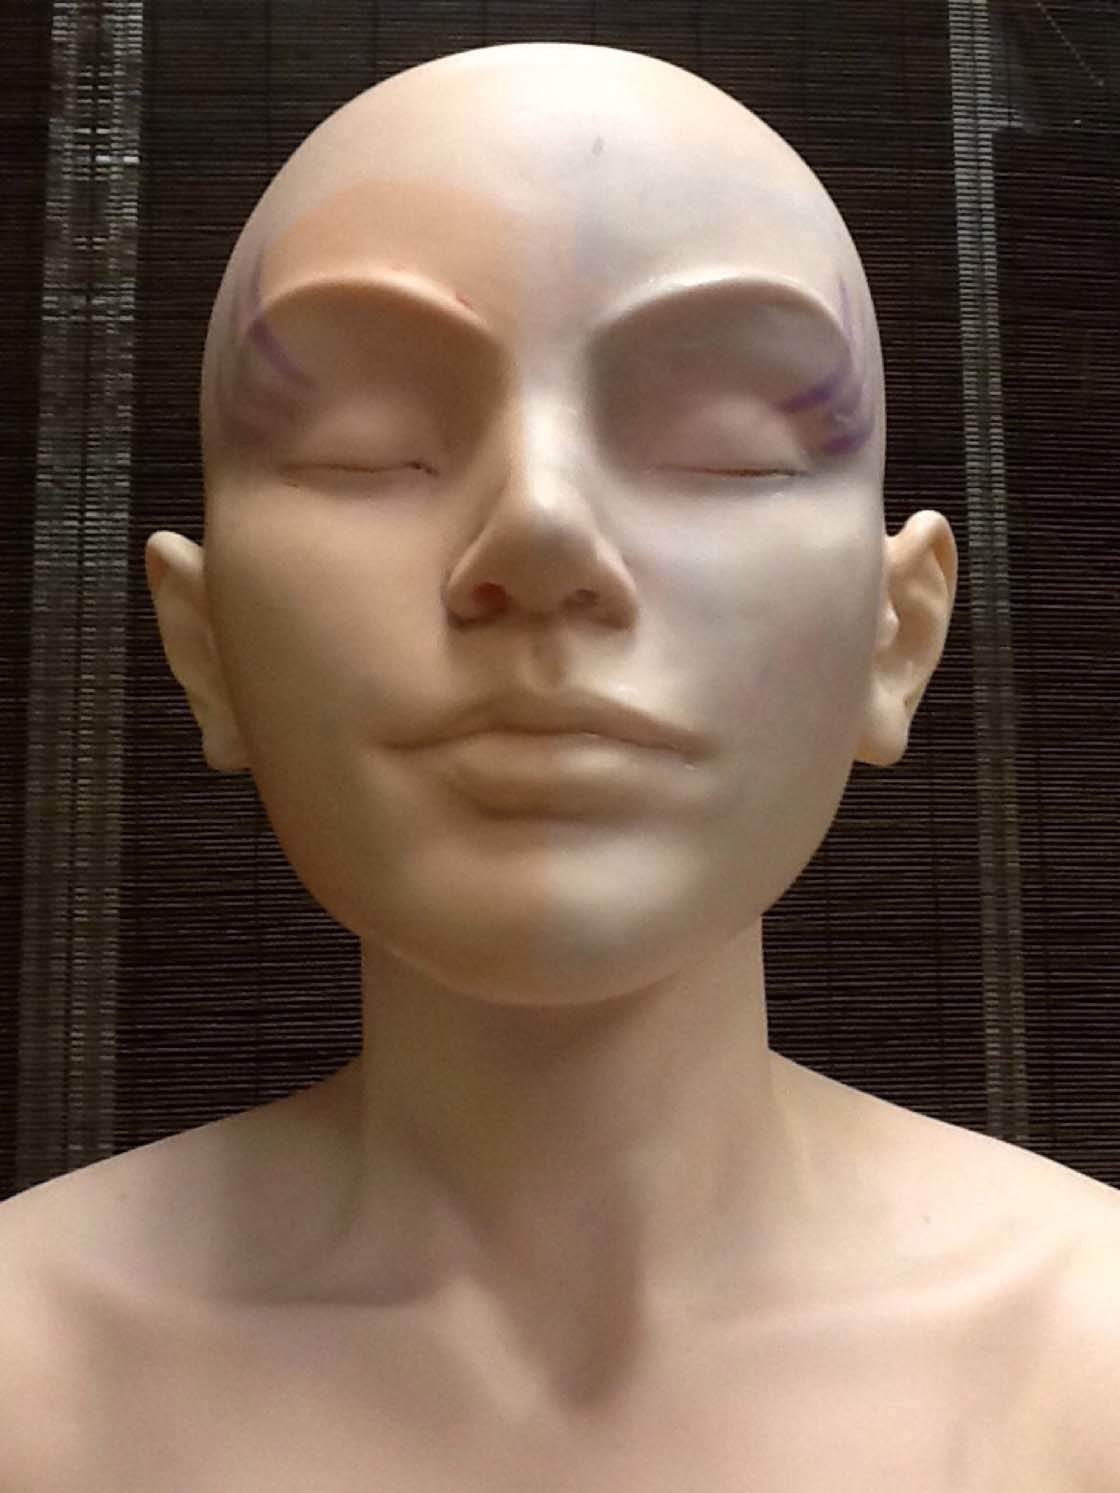
Alternatively, you can photograph yourself as the subject for this project and create a truly unique self-portrait. Or maybe you have a willing subject who will pose for you.
When taking your photographing, find a solid, dark background for your photo so that the face stands out well against it. For best results, experiment with lighting to find different ways to emphasize the contours of the face.
Which Apps Do You Need?
To create this type of abstract, you’ll need three apps: Defqt, Glaze and MultiExpo. All of these apps are free to download.
Defqt has several effects with the free version, but it’s worth unlocking all of the defects for $0.99. We’ll be using Defqt for the distortion phase of our project. Glaze gives your photos the look of a textured painting. And we’ll be using this photo to painting app to add a painterly effect to the image.
The free version of MultiExpo is one of my favorite double exposure apps because it’s so easy to use. There’s a pro version of this app with more features, but I don’t find it as user-friendly as the free version. We’ll be using this app to layer or combine two images.
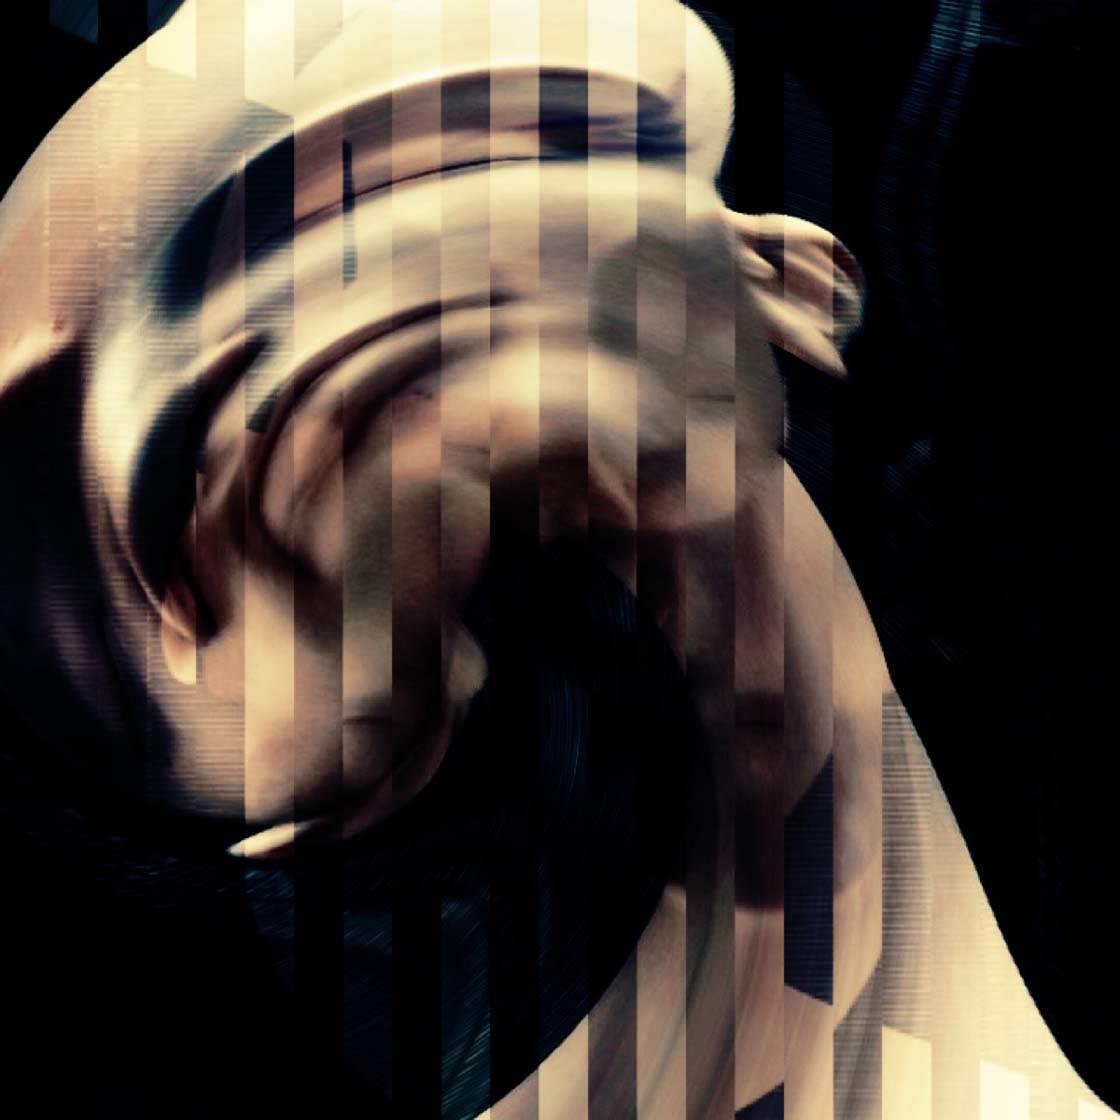
The steps listed below will take you through each stage of the process, using the three apps to create your own amazing abstract iPhone portrait. I’m going to be using a mannequin as my subject, but you could use the same techniques on a headshot photo of a person.
1. Distort The Original Image In Defqt App
The first step is to distort the original image. The Defqt app provides options to create many different types of distortions which is why it’s a great app for this project.
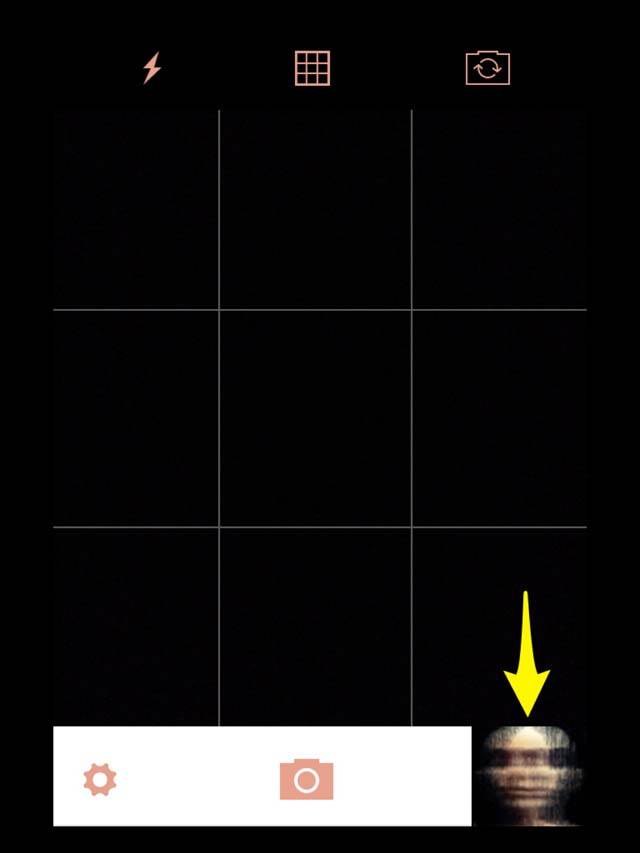
Open your photo in Defqt by tapping on the image thumbnail in the bottom right corner (see yellow arrow above). This will take you to your Camera Roll where you can select the portrait or mannequin photo you want to use.
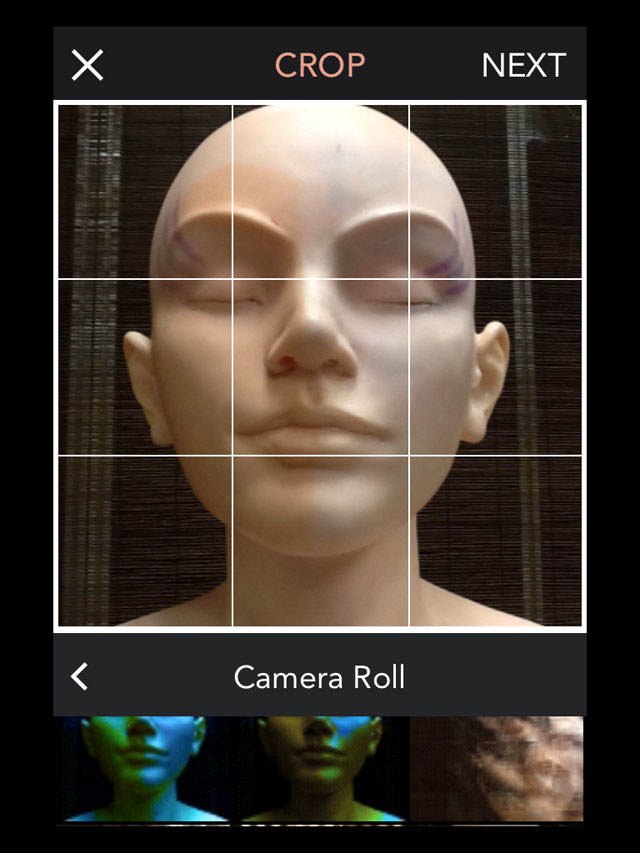
Once your image is open, crop your image if you wish. Keep in mind that you only have the option for a square image because the effects work better in this format. Click Next to go to the next screen.
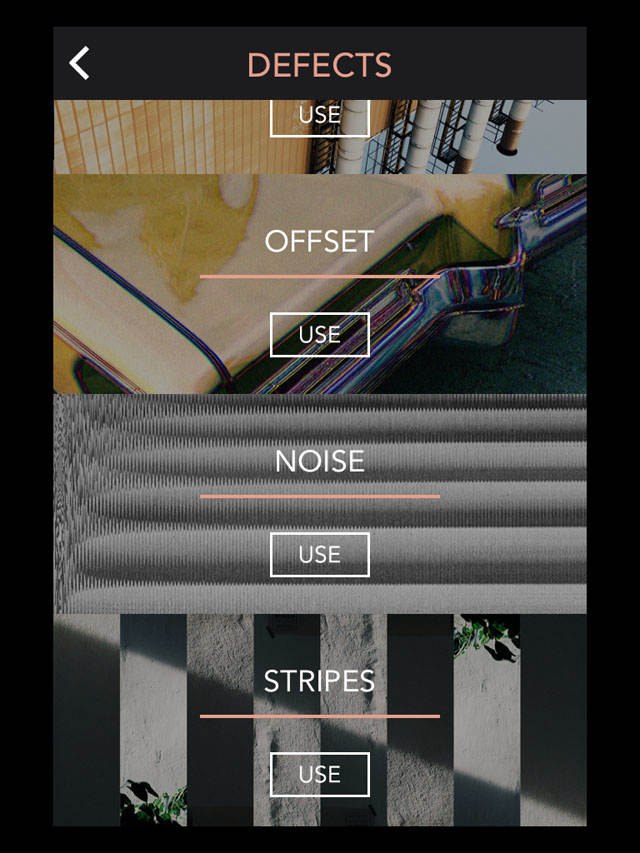
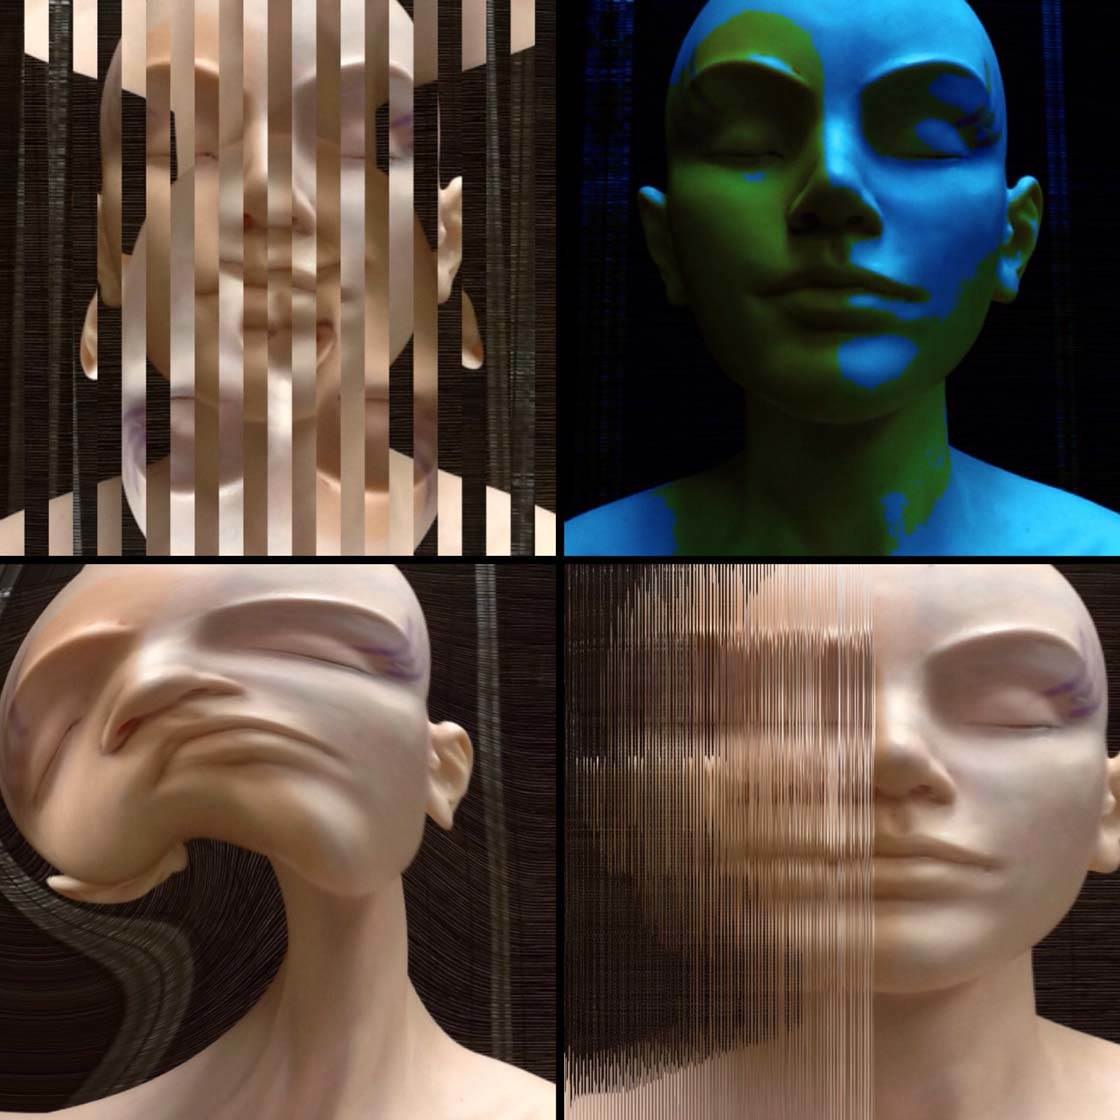
In this app, the effects are called “defects.” Some of the defects include:
- Kaleidoscope: kaleidoscopic patterns
- Stripes: slices image into stripes
- Mesh: unique mesh pattern
- Blender: interesting color patterns
- Reflect: mirror images
- Noise: grainy lines
- Wave: liquid distortion
Below are a few examples of abstract images that I’ve created using the Defqt defects on the mannequin photo.
For this project, we’re going to use the Noise defect. After selecting the Noise option, press the shuffle function (see yellow circle below) to create randomized distortions. Keep pressing it to give you lots of different choices.
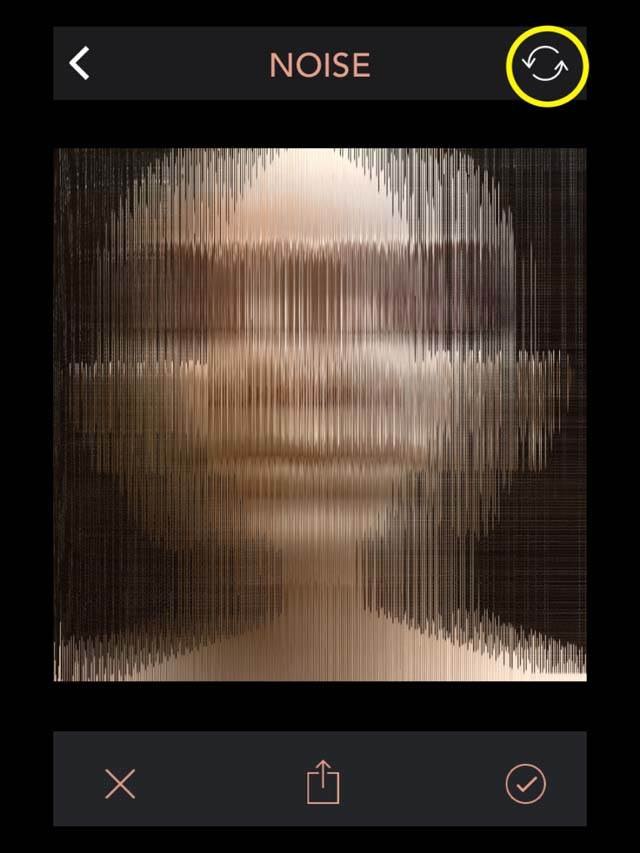
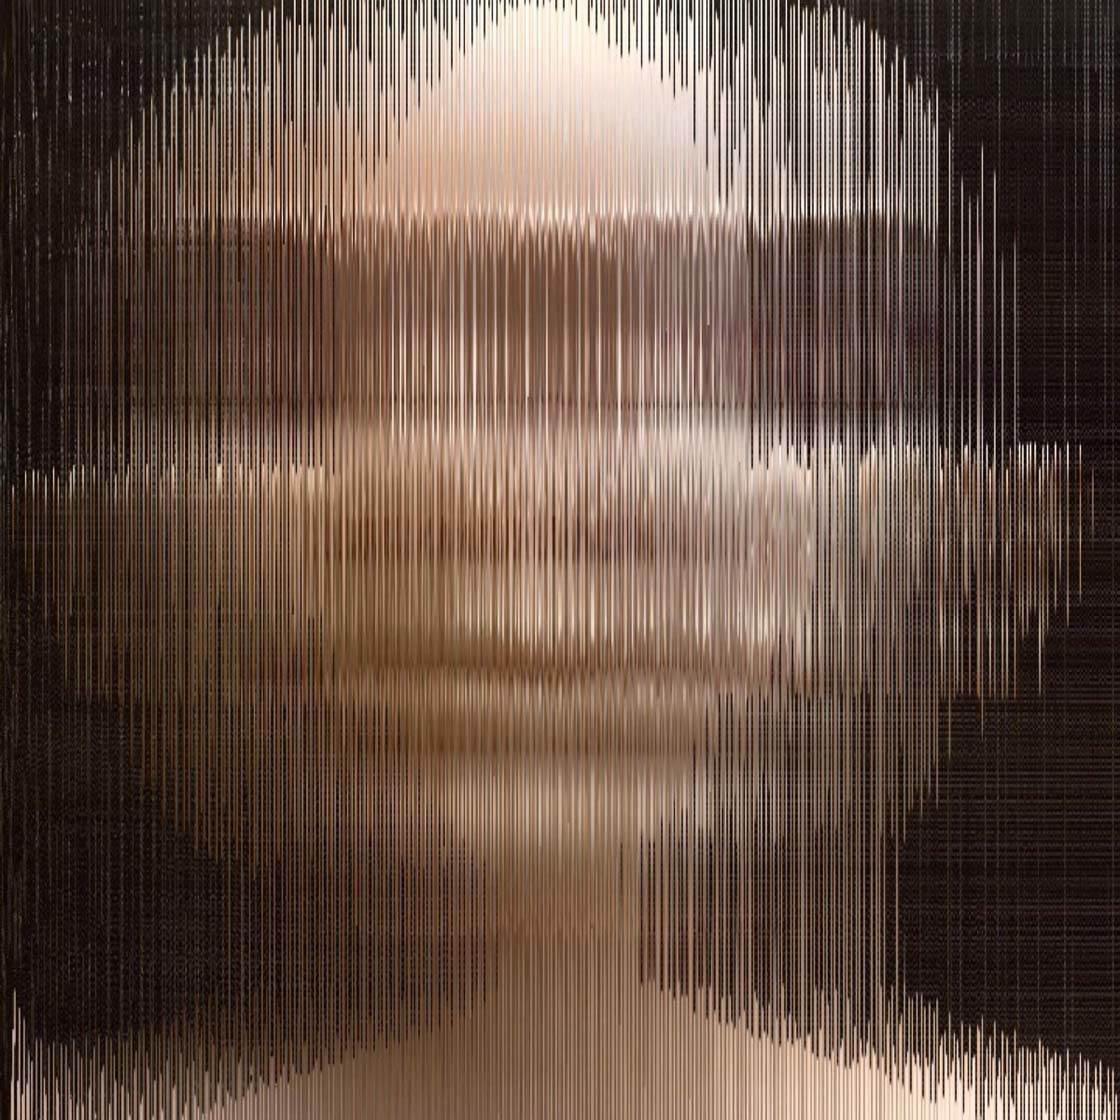
Shuffle until you find an effect you like, then tap the checkmark at the bottom right of the screen to save the image to your Camera Roll. Below you can see what the photo looks like after applying the Noise defect.
2. Paint The Photo In Glaze App
The Glaze app allows you to add wonderful texture to the distortion, taking it to a whole new abstract dimension. We’re going to take the Noise defect photo that we just created and paint it in Glaze.
Open the app, then pull in your distorted portrait photo that you created in the Defqt app. Select one of the painting styles along the bottom of the screen to apply the effect to your photo. There are plenty of style presets to use in the free version, but you may wish to unlock the pro version for even more choices. For this image, I chose the preset circled below.
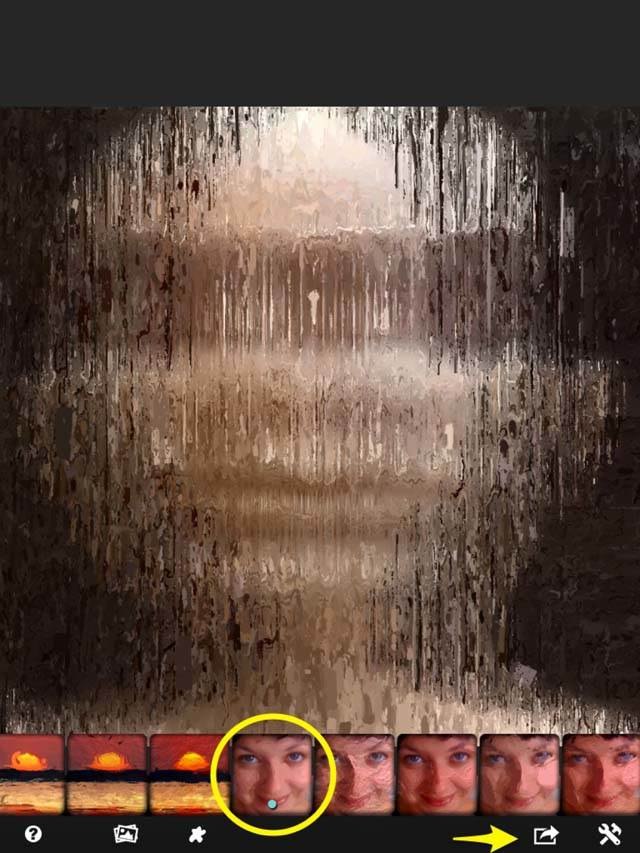
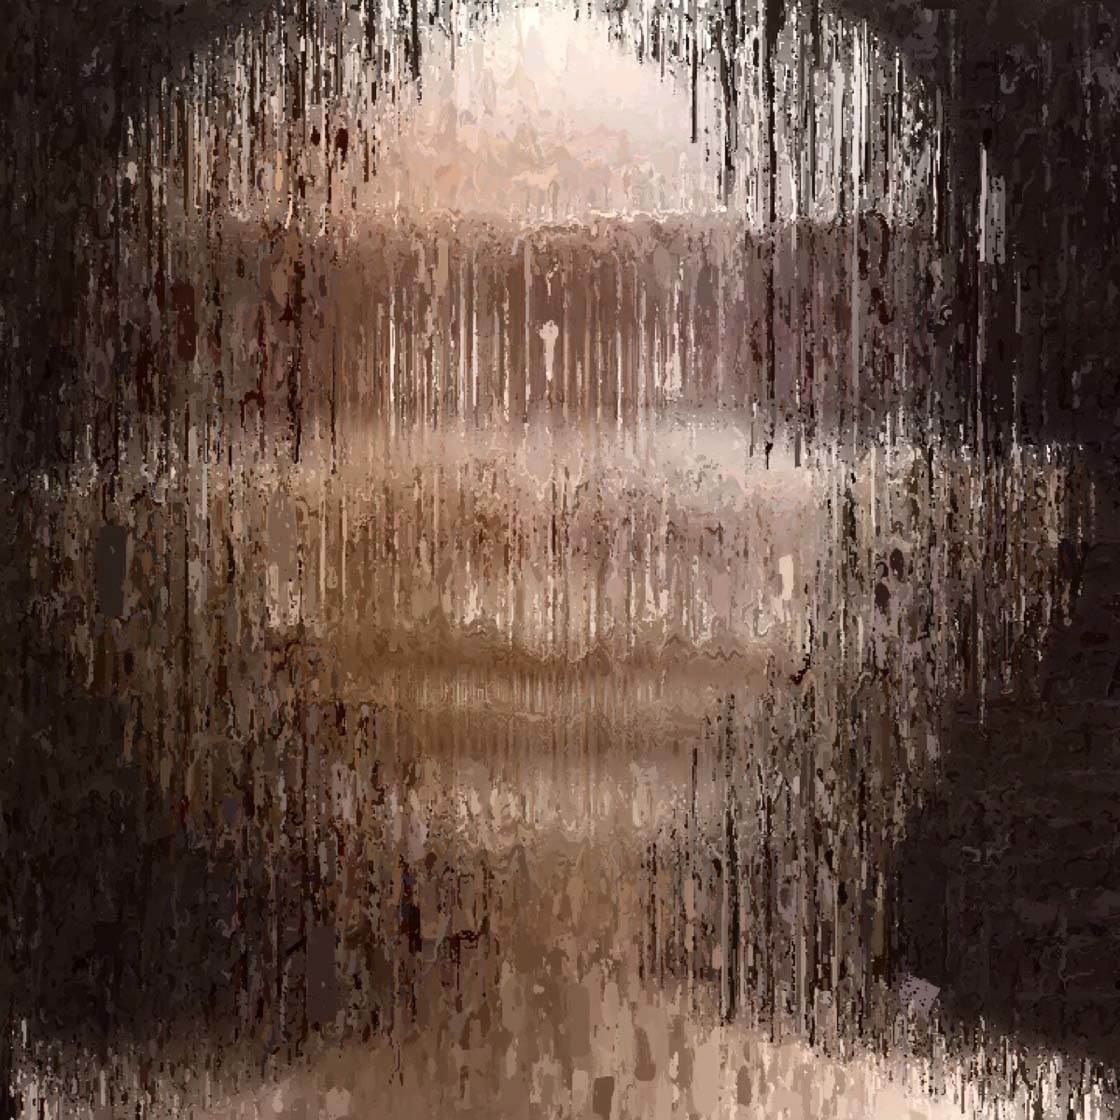
When you’re happy with the paint effect, tap the Save icon (see yellow arrow in the screenshot above) to save your image to the Camera Roll. When saving, you can keep the image at the source resolution or you can save at a higher resolution. I would always recommend saving at the highest resolution. Below is how the photo appears after painting it in Glaze.
3. Layer Both Photos In MultiExpo App
Now we’re going to use the MultiExpo app to create a completely new image by combining the two images we just edited (the first distortion photo and the painted photo).
The MultiExpo app is extremely easy to use. You simply drop in the two photos you wish to combine together. It’s also ideal for this project because the images must be in a square format which we created in the first step in Defqt.
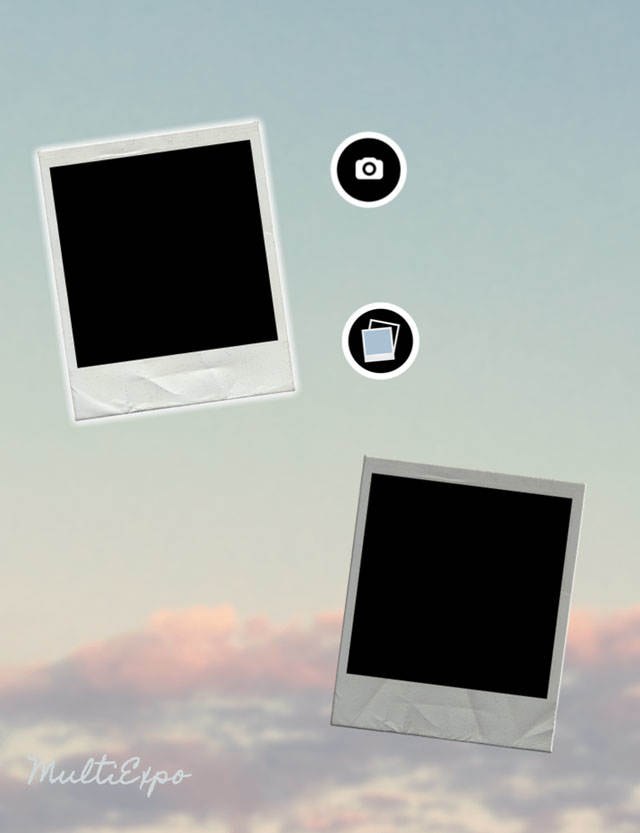
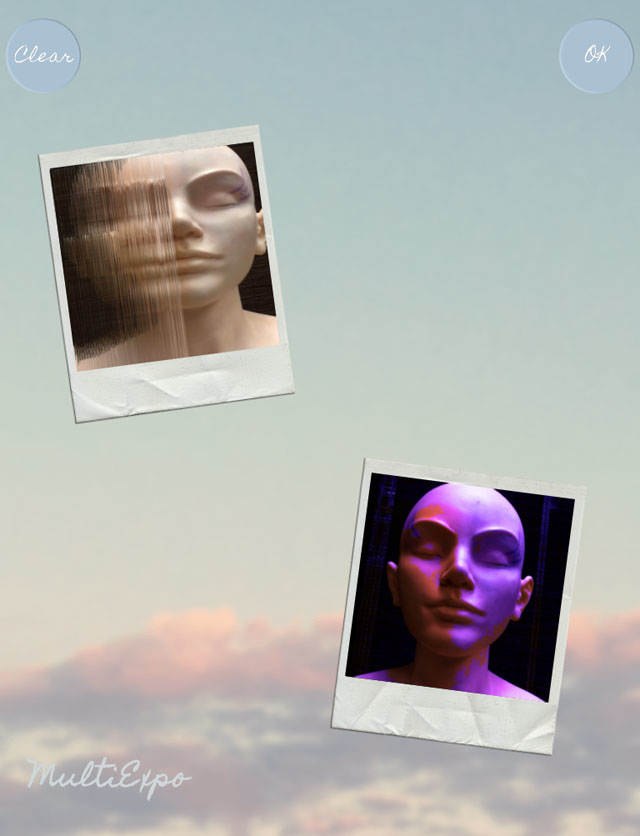
When you open the app, you’ll see two polaroid-style placeholders and a pop-up will appear with two icons. The top icon is for taking a photo, and the bottom one is for grabbing a photo from your Camera Roll.
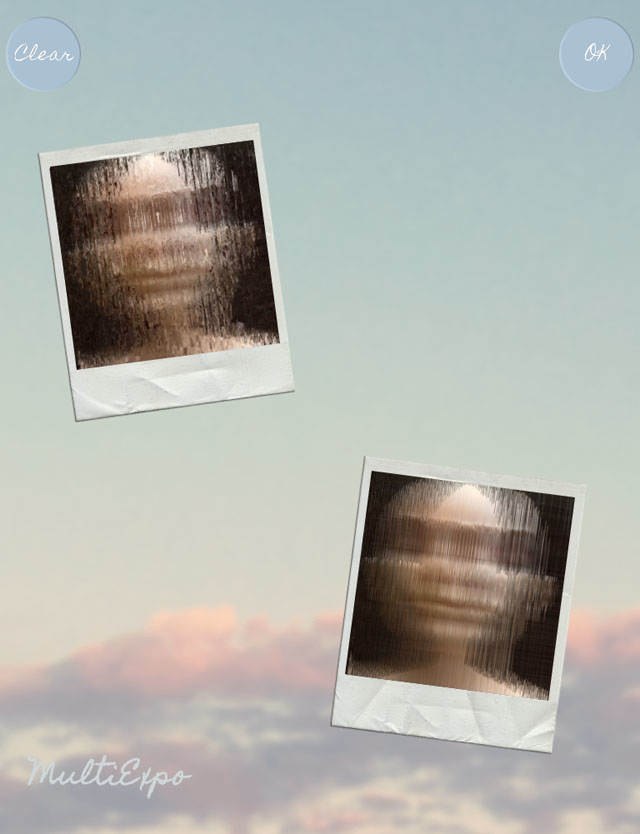
Tap on the Camera Roll icon and select the Glaze edit with the painted effect from your Camera Roll. Repeat with the second placeholder, but this time pull in the first Defqt distortion edit. Tap the OK button at the top right of the screen.
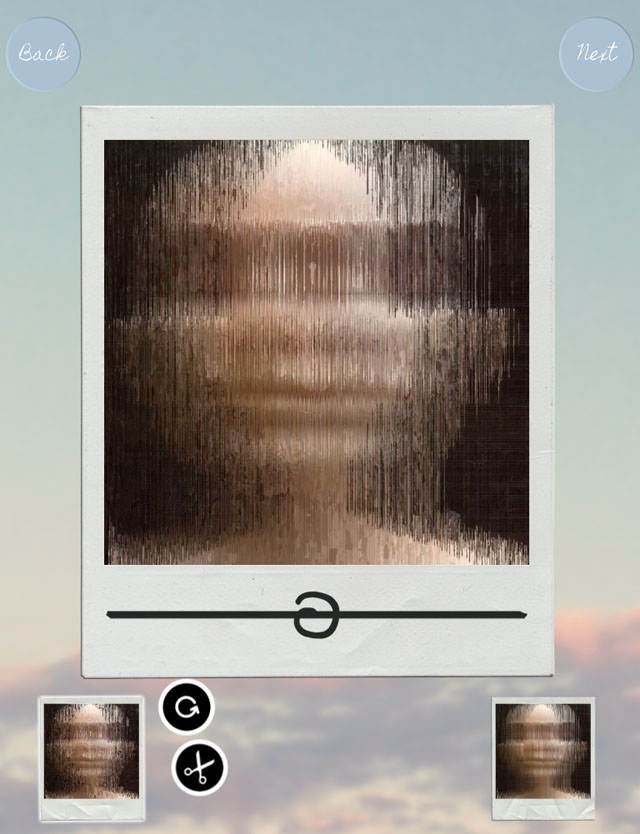
On the next screen, you can rotate either image or do an additional crop. You can also use the slider to put more emphasis on one photo or the other. We don’t need to do any image adjustments so tap the Next button at the top right of the screen.
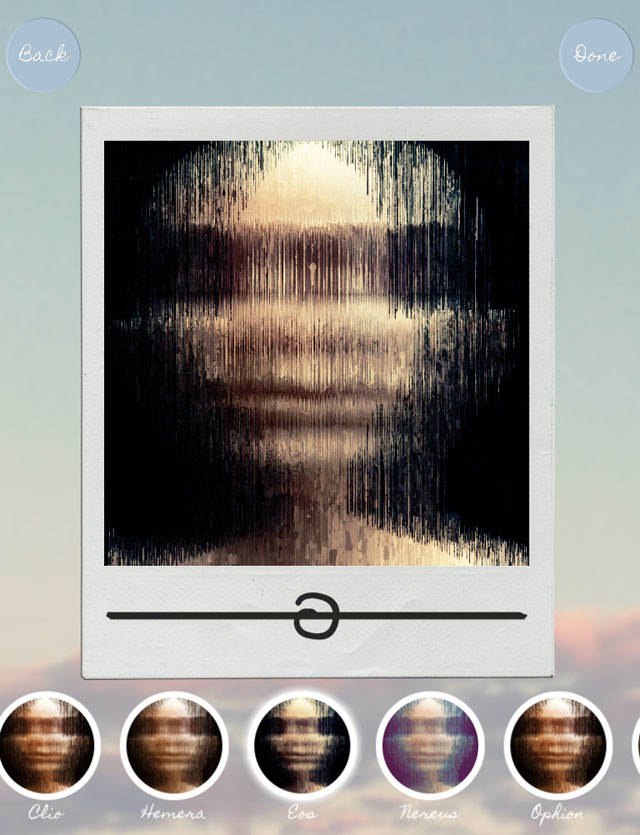
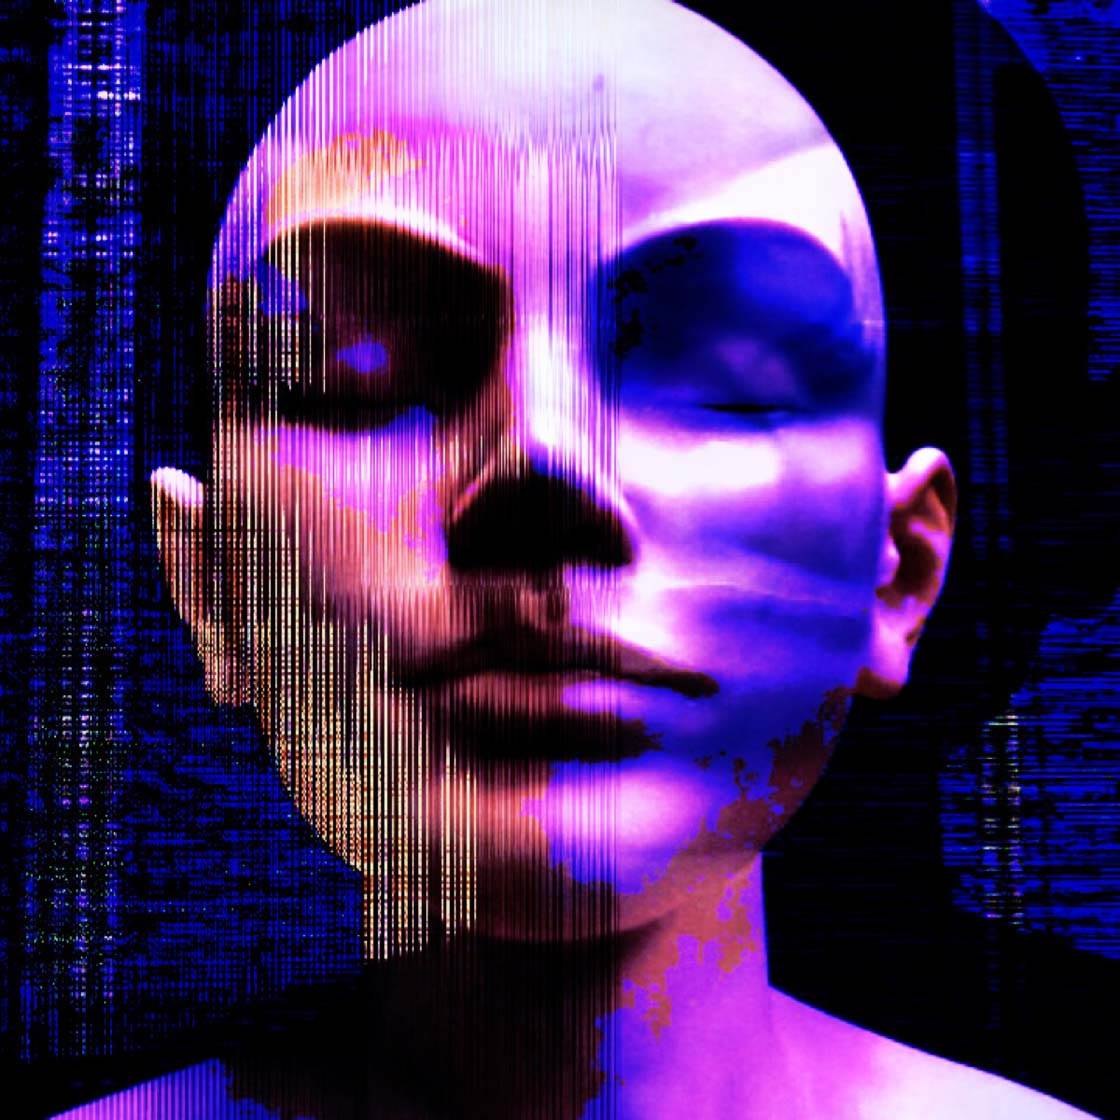
Now you can select from 18 filter presets that add varying levels of contrast and color. For this project, we’ll be using the Eos filter which emphasizes the highlights and shadows of the image.
After applying the Eos filter, you can make minor adjustments to the filter settings by using the slider, but we don’t need to make any adjustments so tap Done at the top right of the screen. On the final screen you’ll be able to save your image to the Camera Roll.
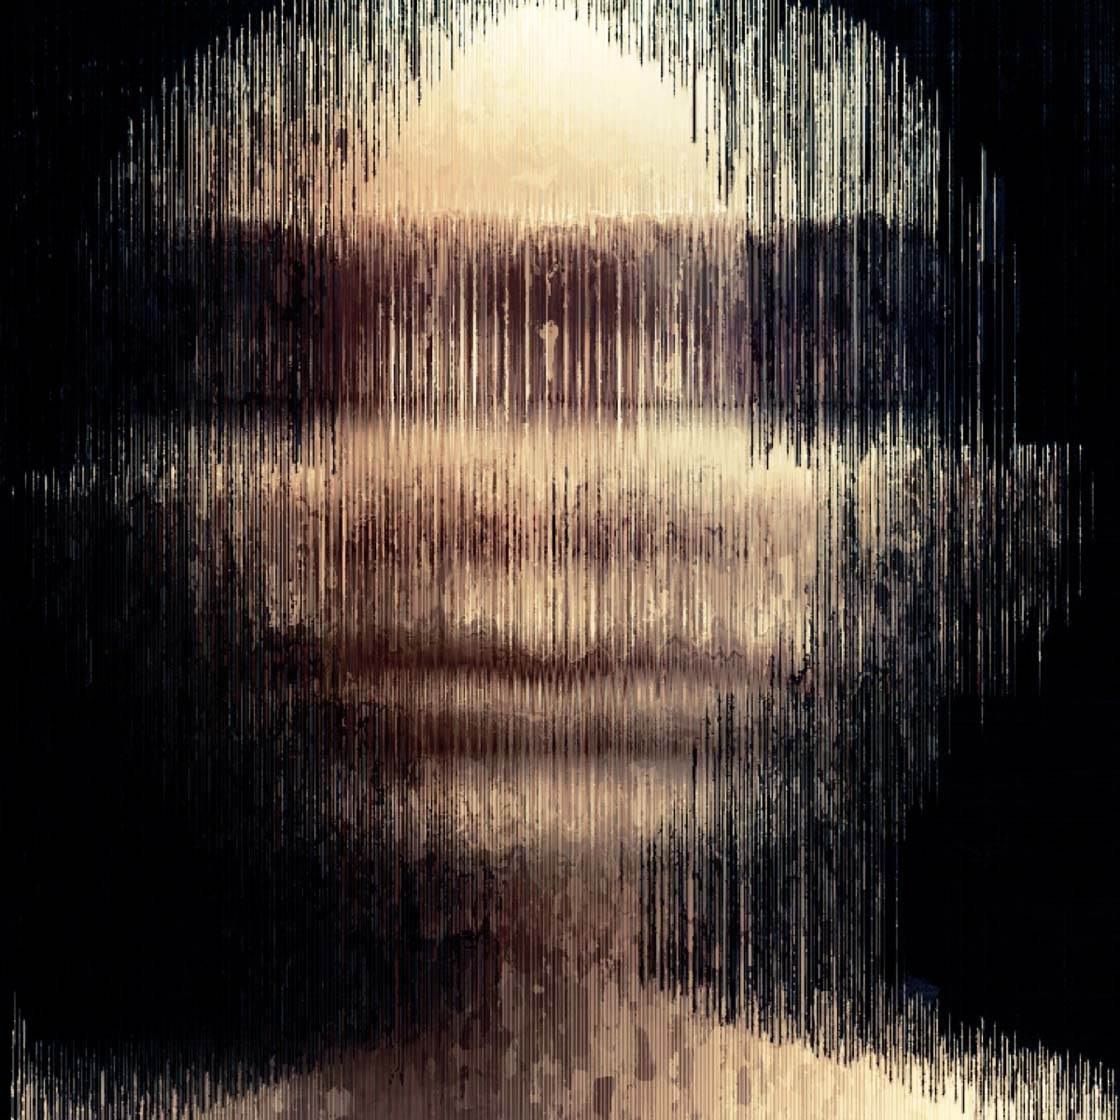
This is the final image, which is a blend of the Noise distortion and the textured Glaze paint.
More Creative Options
Another option for creating an abstract is to take two distortion images from Defqt and layer them in MultiExpo.
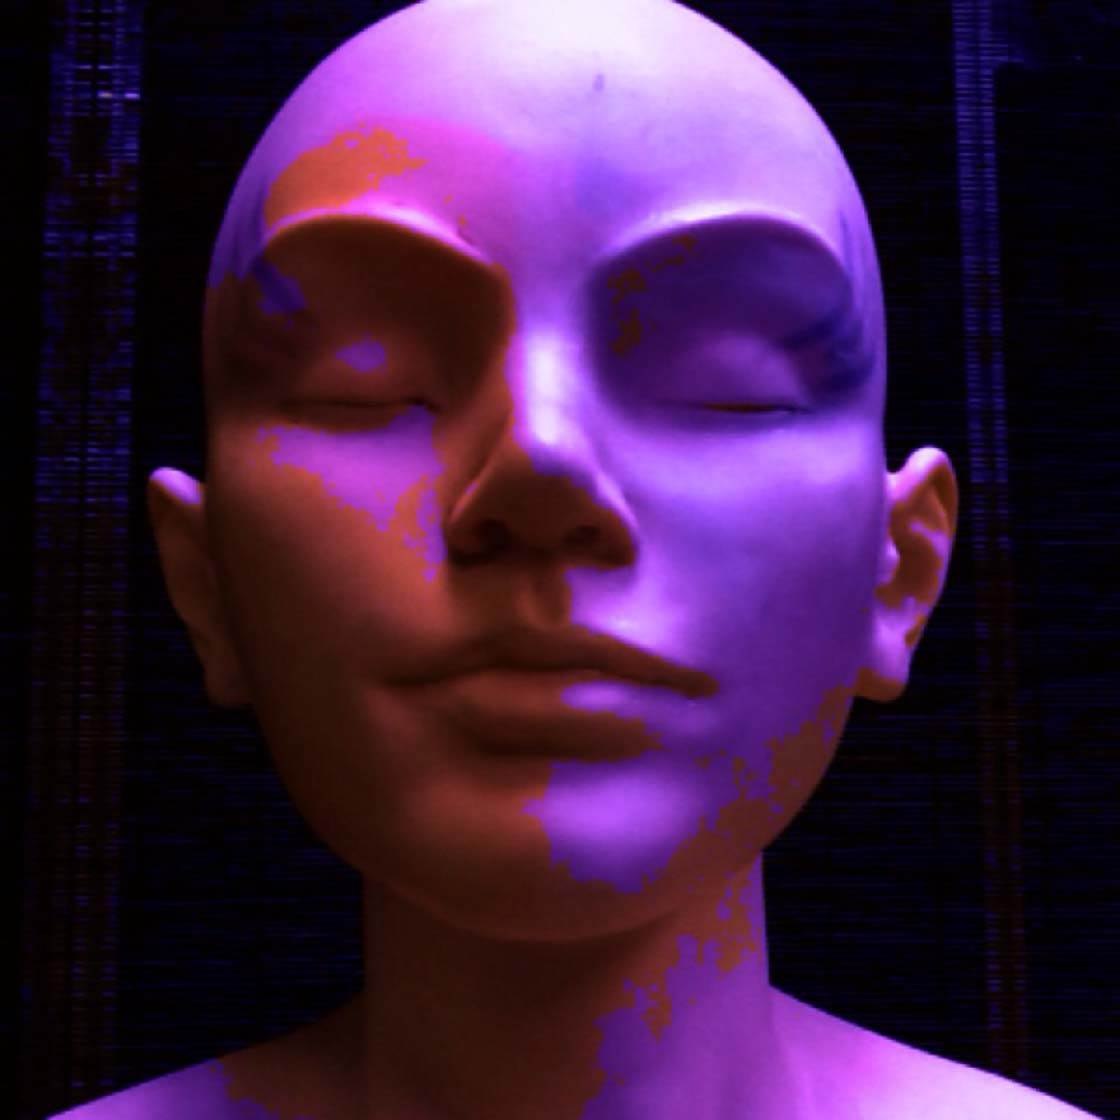
Above and below are two different distortion effects that I made in Defqt. The first one (above) was made using the Blender defect which produced a colorful pattern across the mannequin’s face. The second (below) was another Noise distortion.
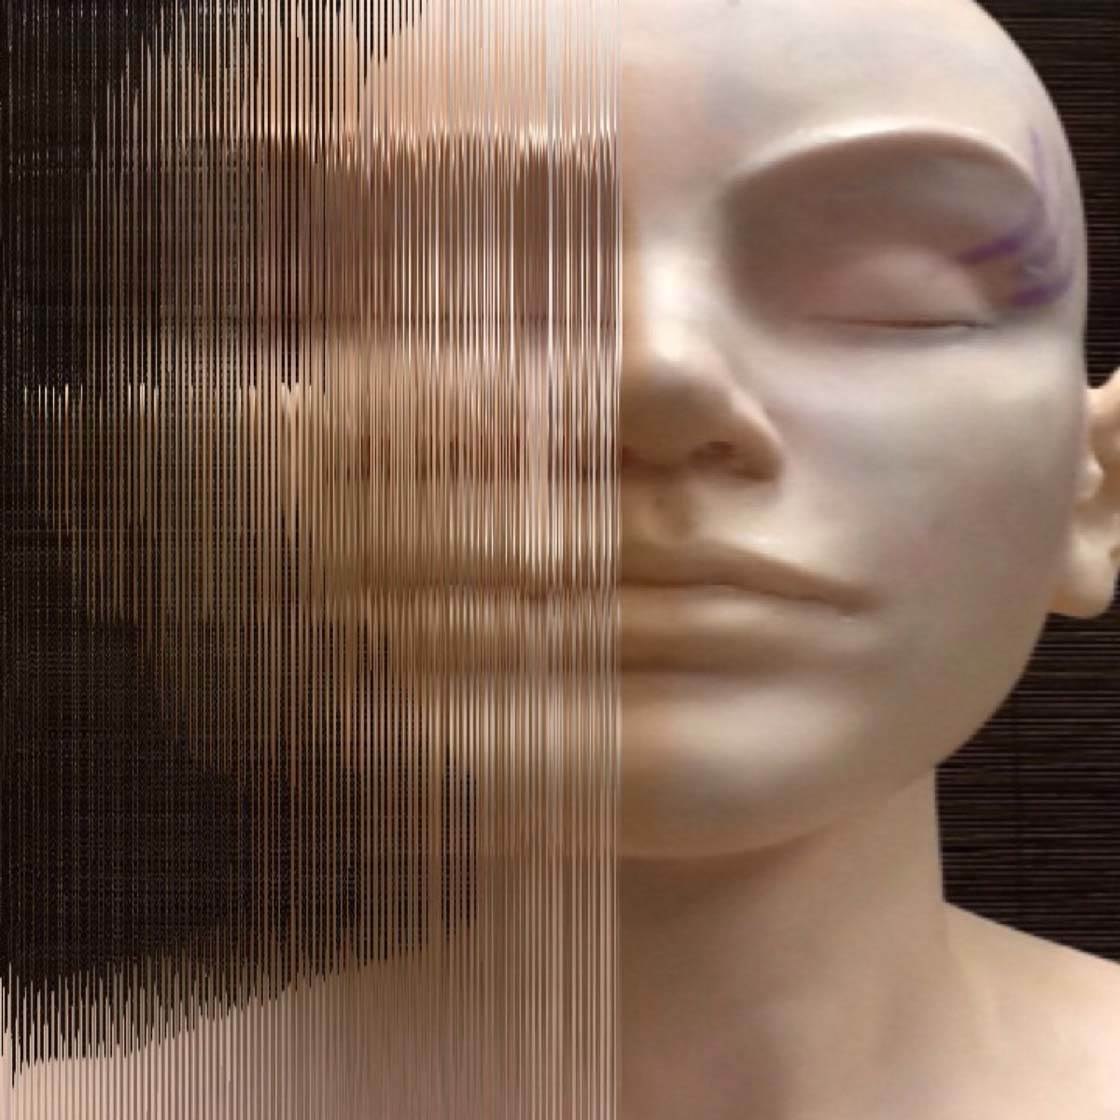
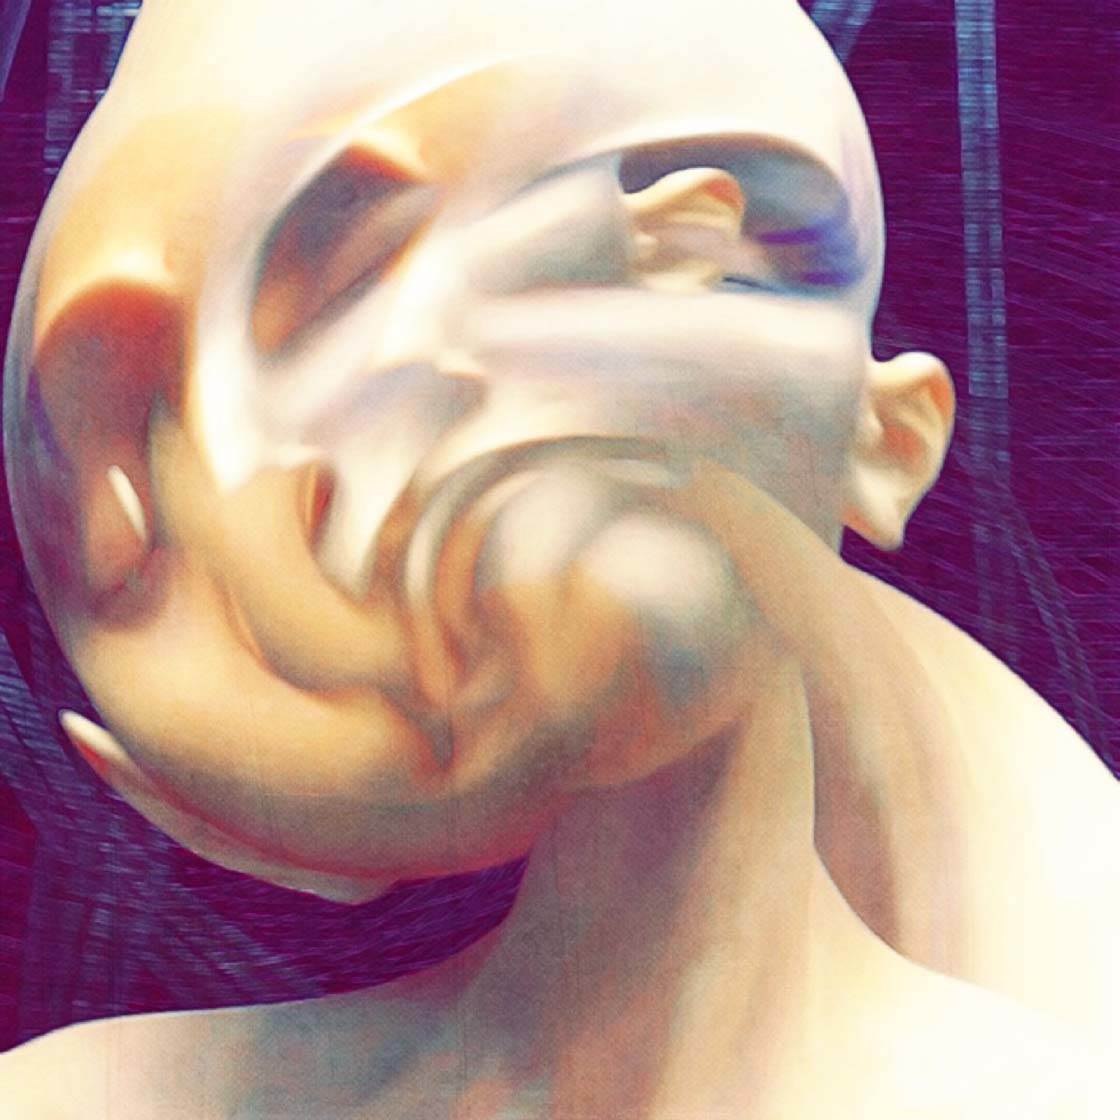
These two images were then layered together in the MultiExpo app, using the Eos filter again to create the final image.
After blending them together I decided it didn’t need any painting in Glaze. Below is the blended image.
Of course, you can also substitute different apps to create more variations on this recipe. There are tons of possibilities using just one photo and a few photo editing apps. If you experiment, you may be surprised at your creative potential, and you’ll have lots of fun in the process!


COOOOL! I like the APP called Defqt which is very useful,thanks for recommendation!
Thanks for reading, Desmond. Glad you like.
Thanks for this fantastic tutorial Kristen – really love these images 🙂
very cool