Have you ever wondered how to apply an authentic aged or vintage look to your iPhone photos? This type of effect can help you create really unique looking images that have a timeless feel to them. There are many apps that will help you achieve this effect and several ways to do it. In this tutorial you’ll learn how to use a range of iPhone photo filter apps to create beautiful, textured, vintage looking photos.
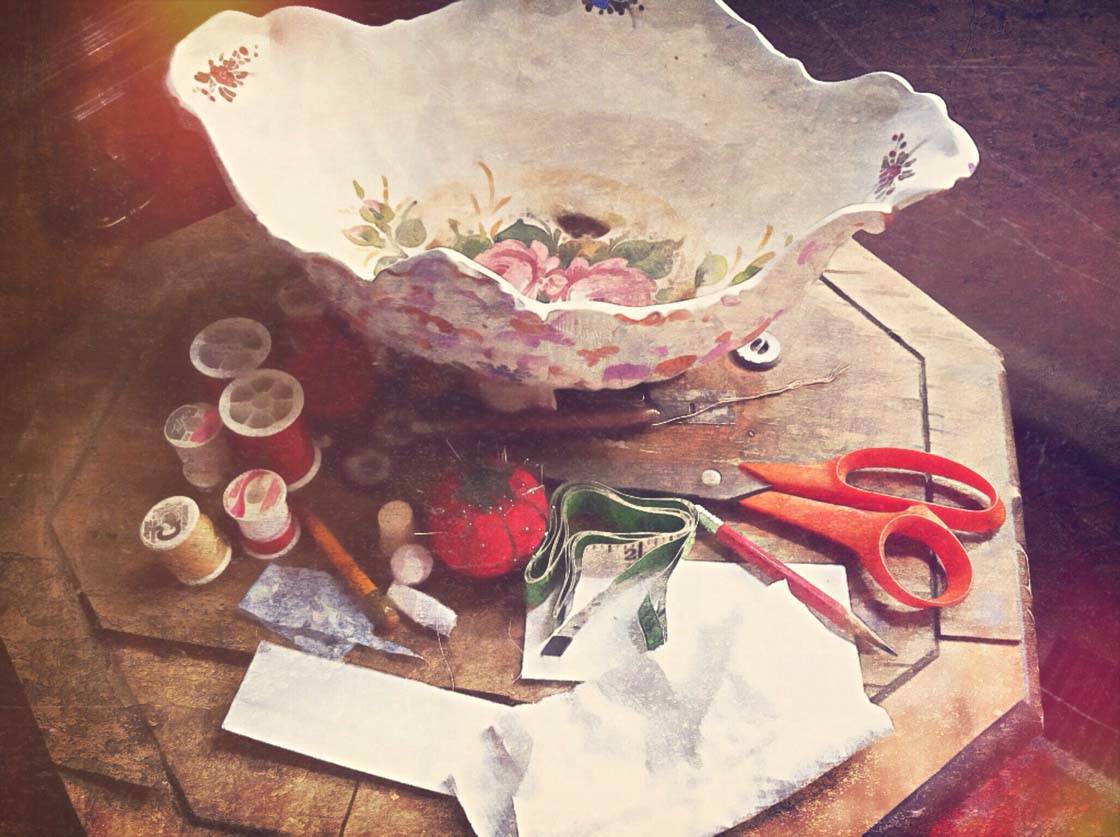
When I want to create a specific effect, instead of using just one app, I develop a photo editing recipe that is simple but with enough layers to produce a unique final effect. In this tutorial, I’ll share one of those recipes with you for creating an aged or vintage effect.
What Is A Photo Editing Recipe?
A photo editing recipe is a series of editing steps used to achieve similar results with a variety of photographs. In a photo editing recipe, the apps are the ingredients. As with cooking, the real finesse comes from experimenting with new ways to use the ingredients, varying their intensity and flavor.
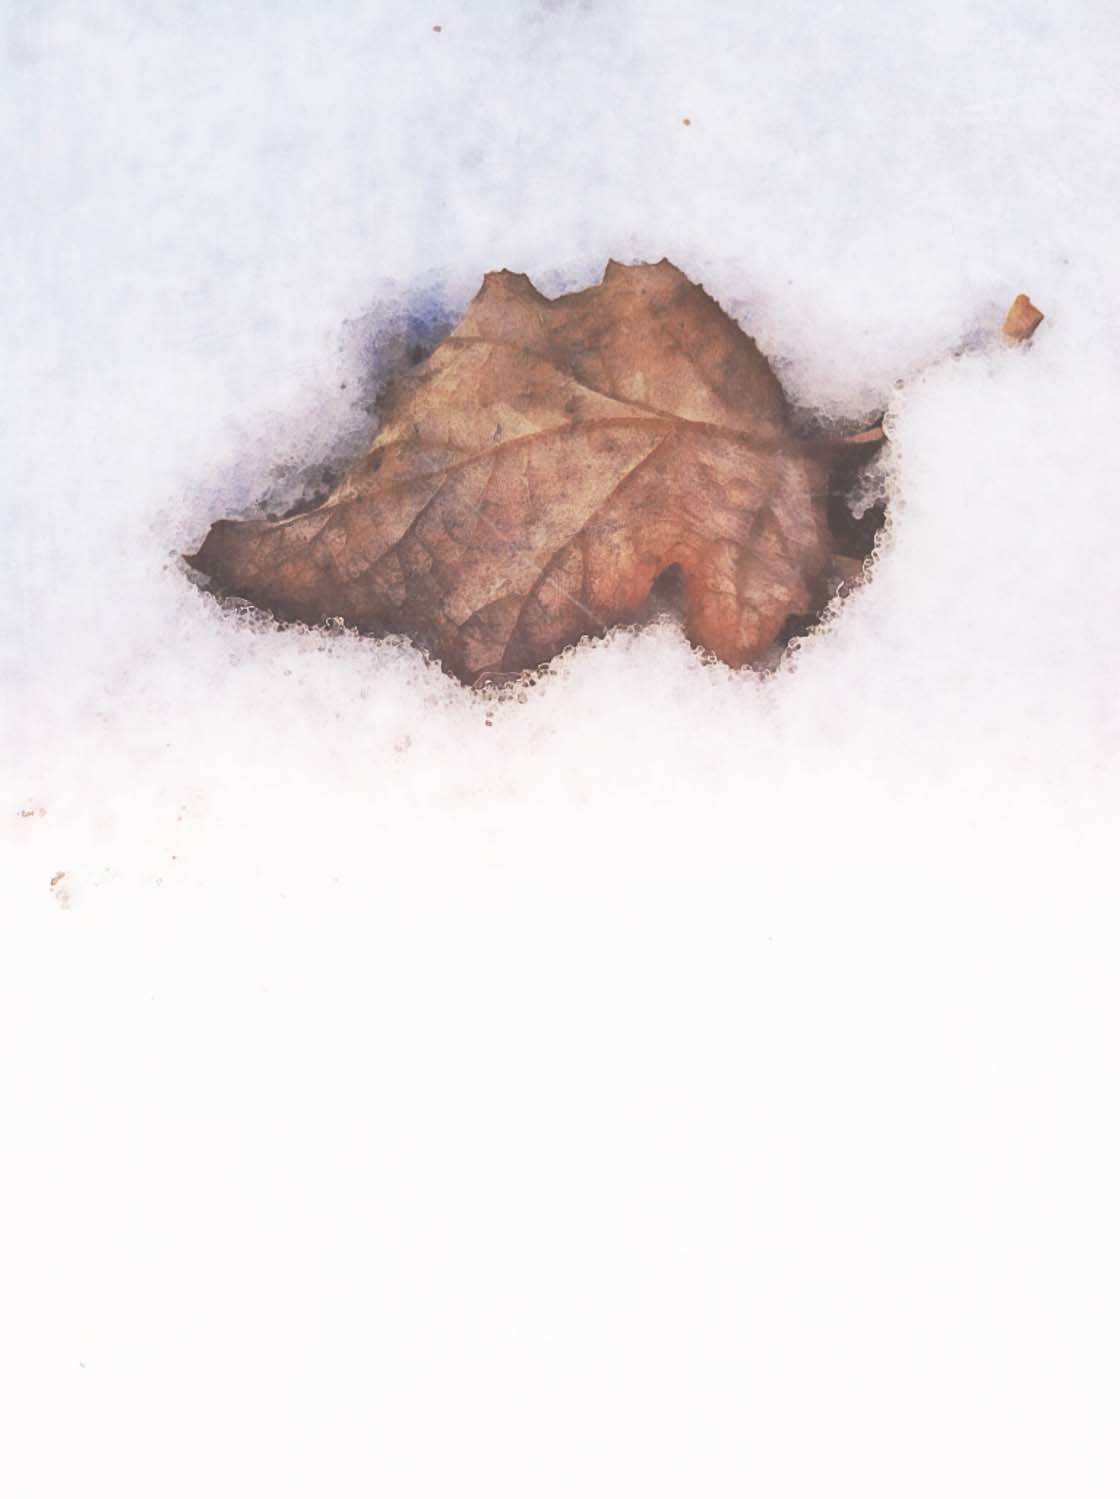
There are several advantages to using photo editing recipes, particularly if you are new to the editing process. They provide an opportunity to explore apps that might be unfamiliar or intimidating without getting overwhelmed by all of their features.
A photo editing recipe should have just a few steps and it must be easy enough to repeat effortlessly. I try to use apps that allow the simplest way to achieve an effect, without a lot of fine tuning.
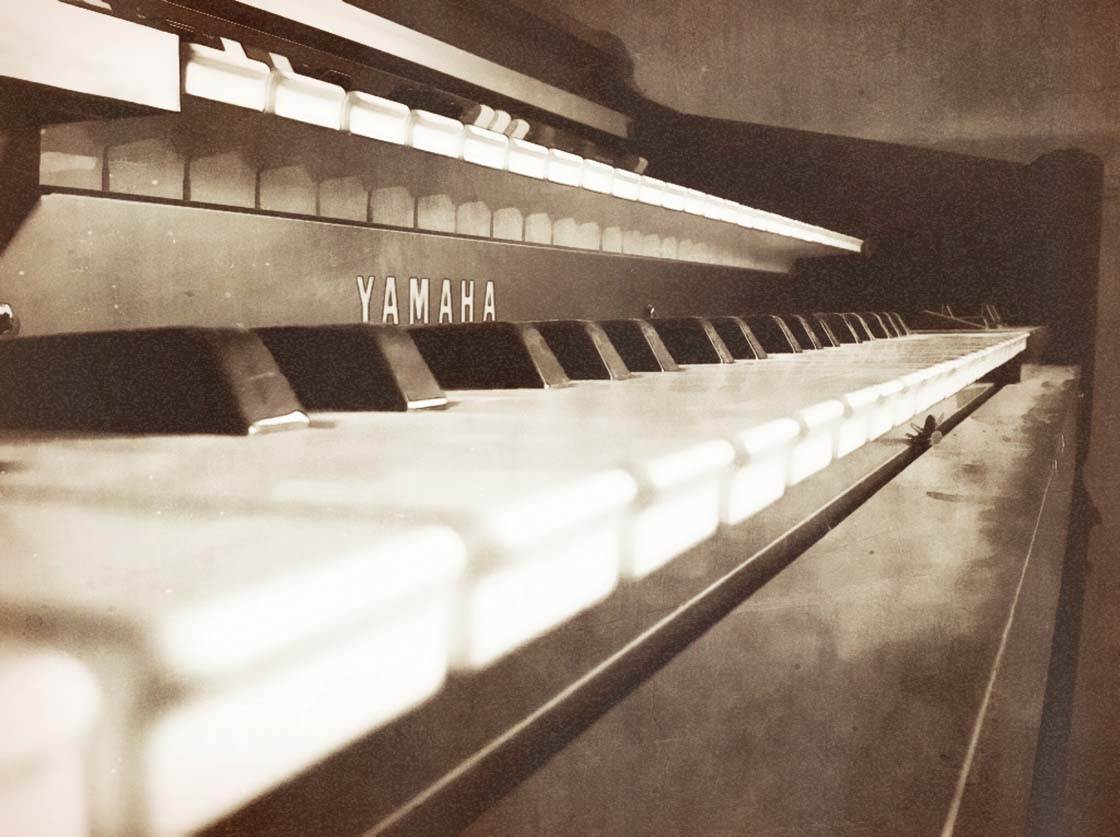
The recipe is meant to jumpstart your photo editing experience. It’s not meant to be an endpoint. It’s merely a way to stimulate ideas about how to transform your photo in new ways. Once you become familiar with how the apps operate, you’ll gain the confidence to experiment and adapt the recipe to your needs.
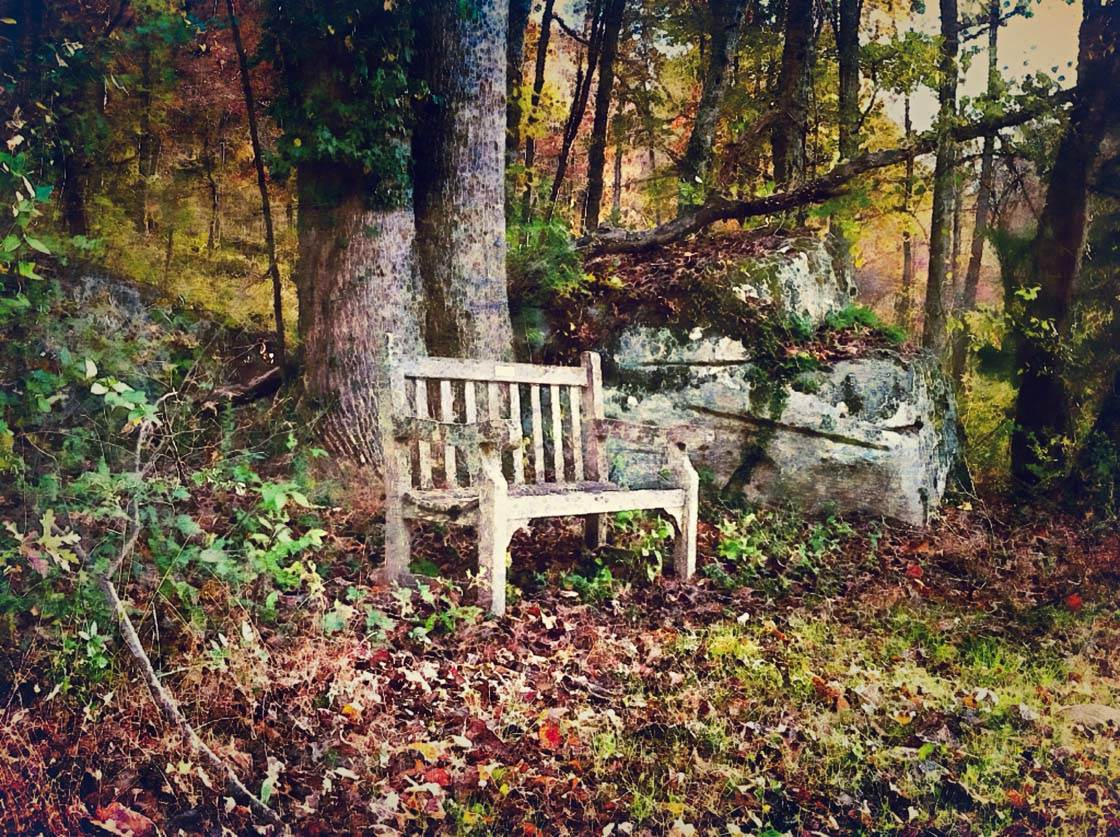
This photo editing recipe involves stacking apps. If you’re not familiar with this process, stacking means editing in one app, saving to the Camera Roll, and then opening the saved image in another app for additional edits. You continue this process until you have your final image. For this recipe, we’ll be working in four different apps.

The Best Subjects For This Recipe
I’ve found that the best subjects for this aged vintage effect recipe are still life subjects. Still life subjects are inanimate, usually commonplace, objects that may be staged or unstaged. These subjects may be natural (flowers, food, rocks, shells) or man-made (books, vases, jewelry, coins). Anything that already has an antique or vintage appearance is ideal for this recipe.
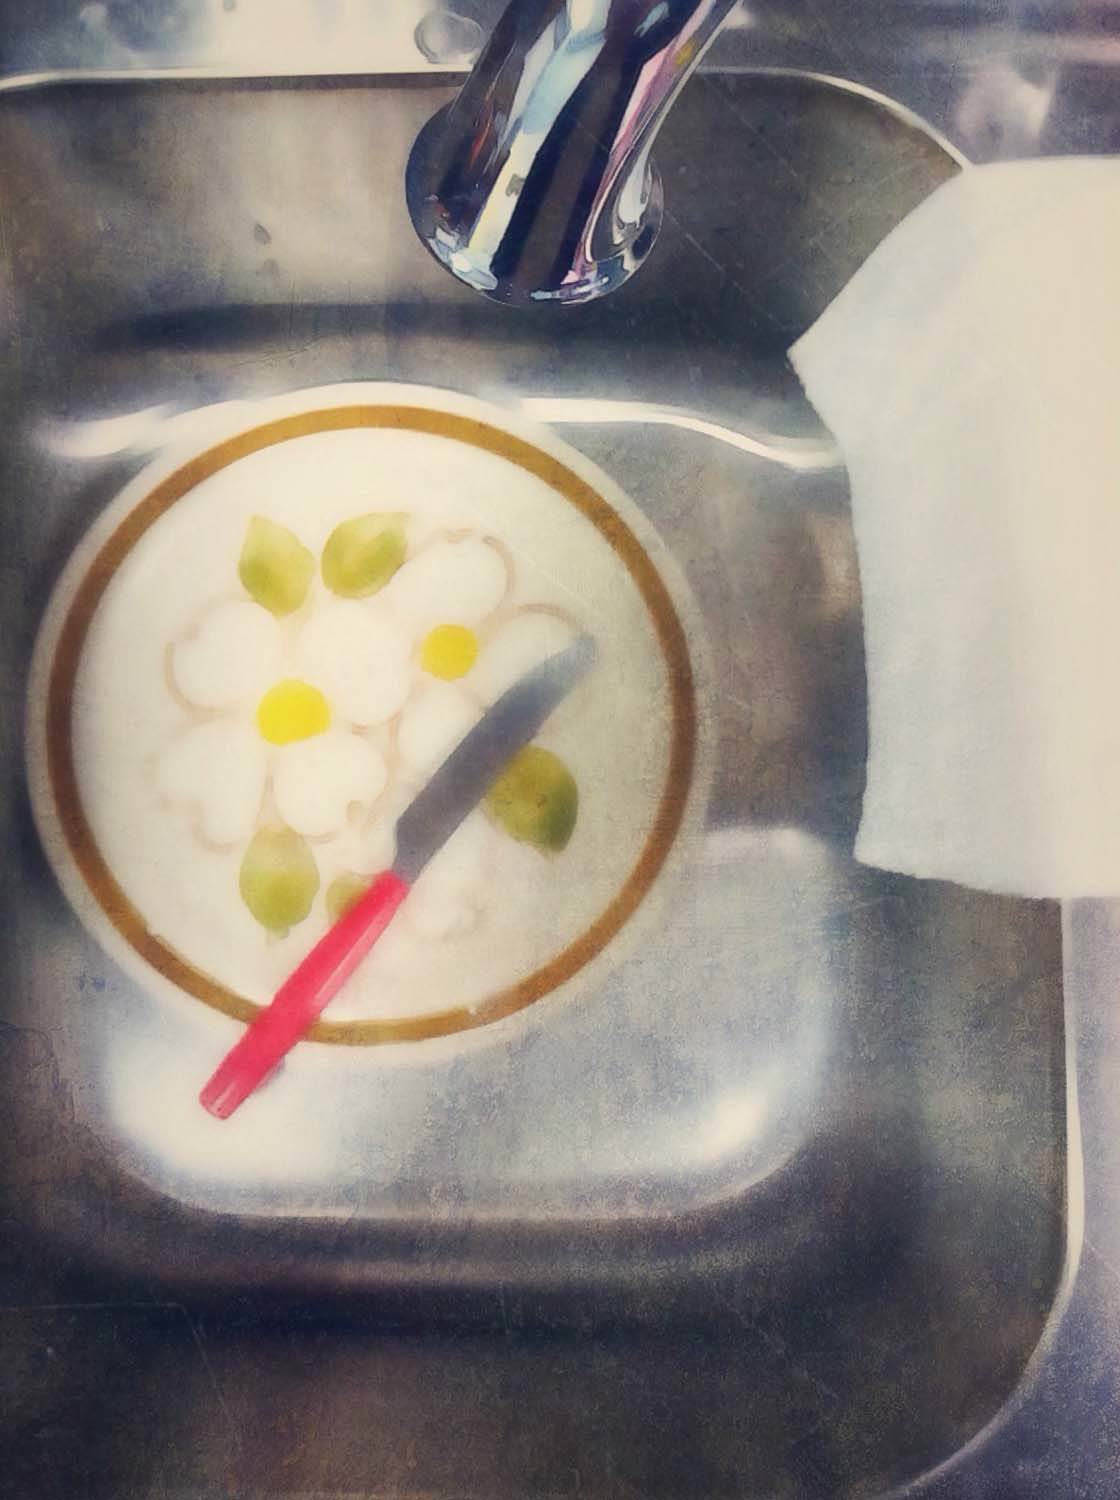
When photographing still life, keep the scene simple. Choose a focal point but include other objects around it to give the scene context. For example, a flower in a vase may be your focal point but you may take a wider shot to show the table where its petals have fallen.
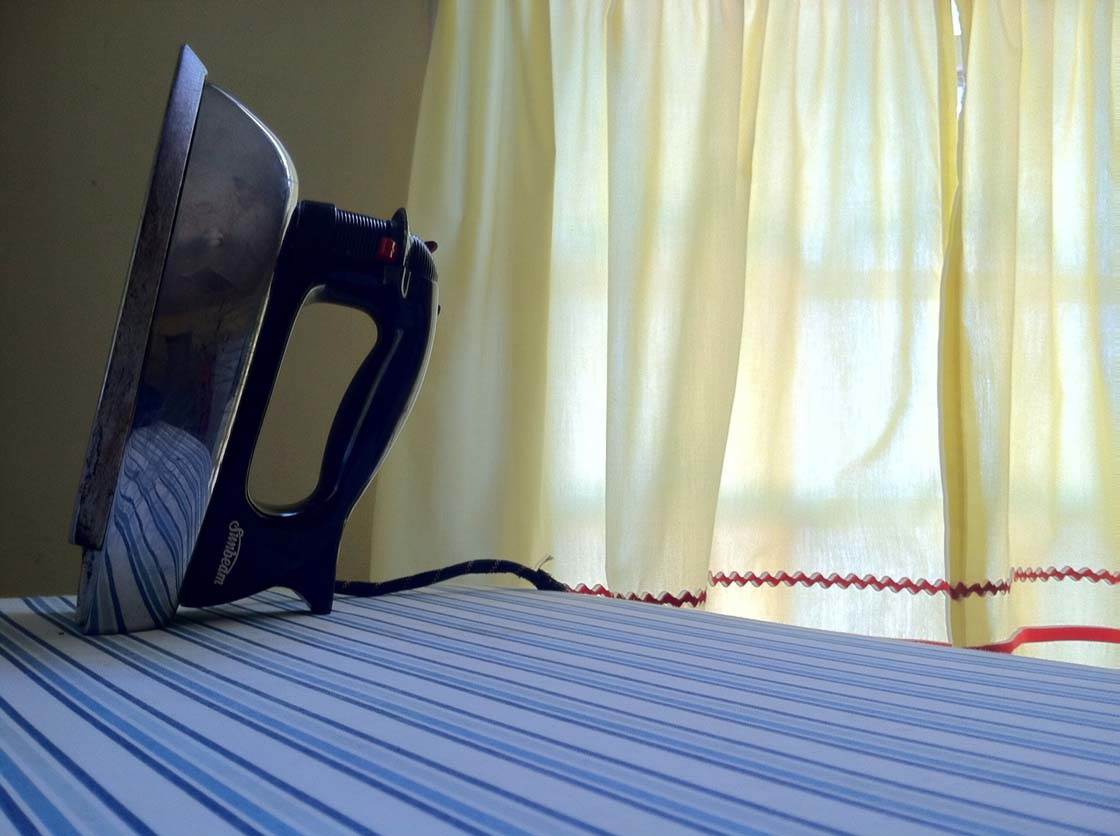
Now, let’s go through the recipe, step by step. You can download this photo if you wish and follow along with the process on your iPhone.
1. Perfect Image App
The first step is to edit your original image (shown above) in the Perfect Image App. Perfect Image is a free app that offers many photo editing options, including a few unique art filters. We’re using this app to lighten and brighten the colors in our photo and give it a soft painted look.

The first thing you’ll see when you open the app is two icons. Tapping the paintbrush icon will produce three more icons. Use the first one on the right to take a photo using the app or tap the middle icon to select your photo from your Camera Roll.
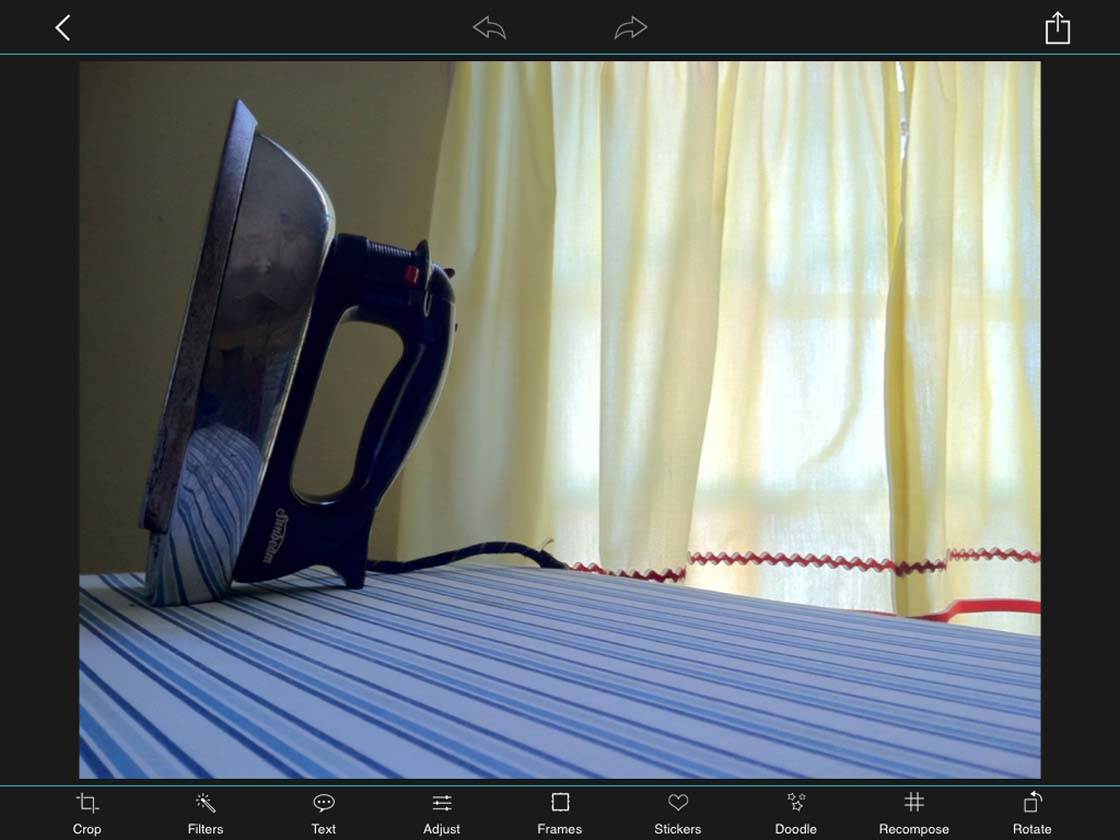
Once the photo is open within the app, you’ll see 9 different icons at the bottom. Tap the second one, Filters.
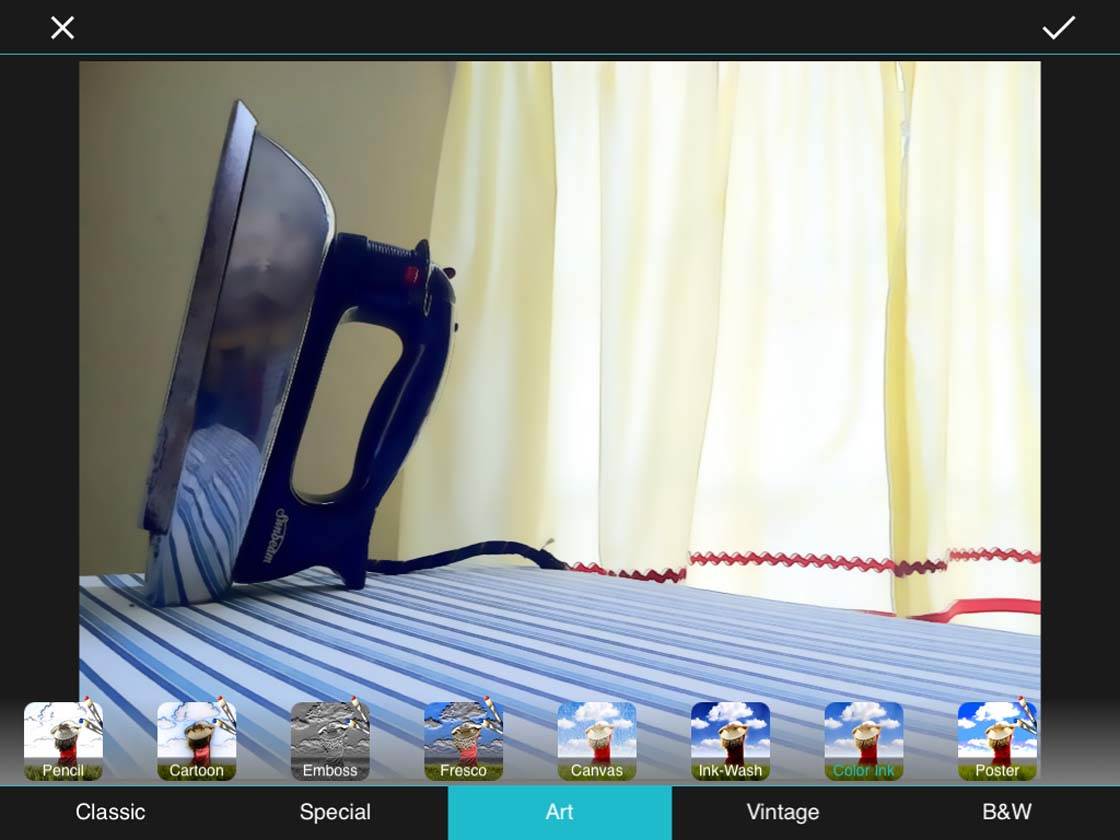
Choose Art and select Color Ink. This will produce a soft painted effect. Click the check mark in the top right corner of the screen. Don’t worry if the image has lightened too much because it will darken again in the next stages.
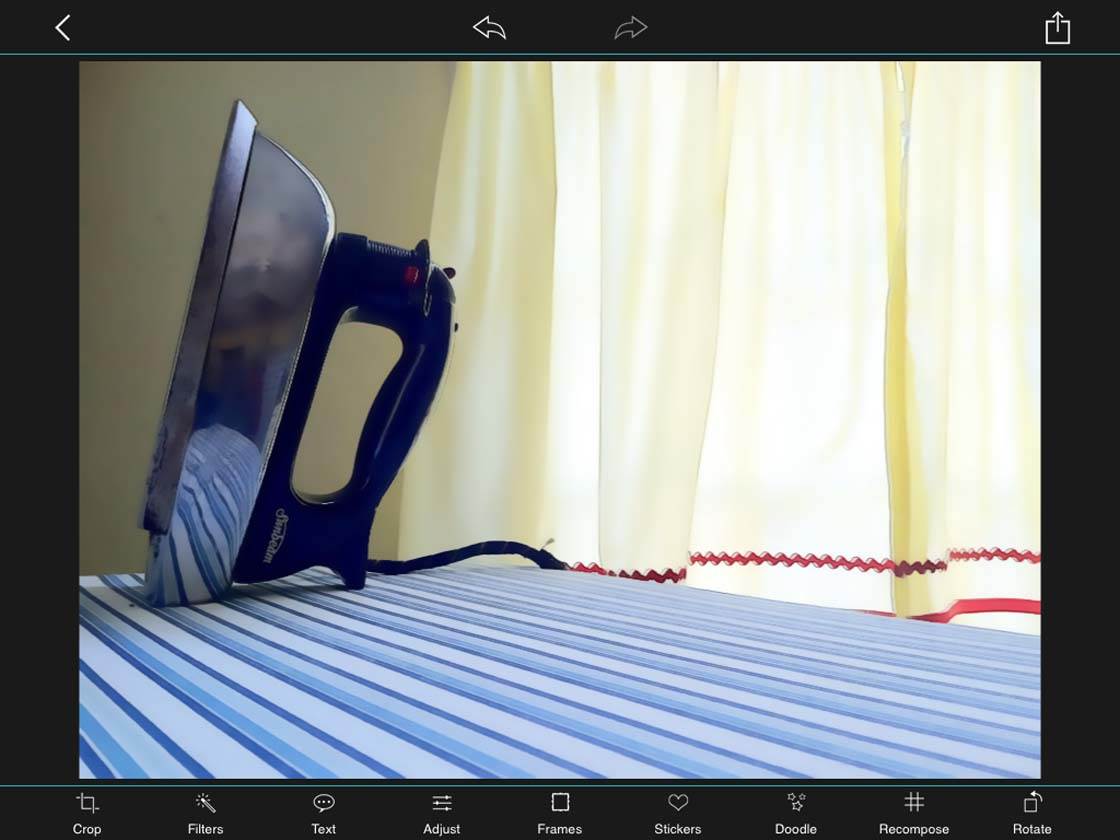
You will be back to the main screen. Click the Save icon at the top right corner of the screen. The Save icon is usually depicted as a square with an up arrow. Save to your photo album.
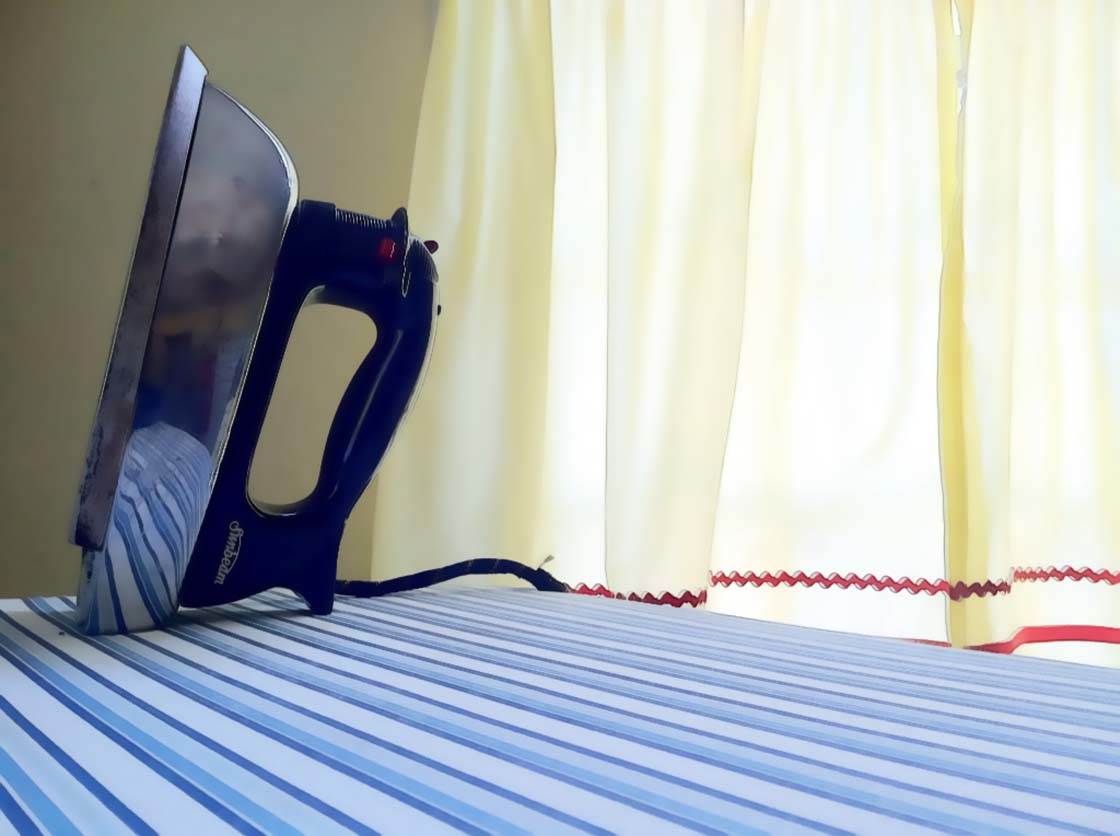
This is what your image should look like at this stage.
2. Mextures App
In step 2, we pull the edited image into the Mextures app ($1.99). Mextures applies a variety of texture effects to your photos in the form of analog light leaks, gritty and grainy film textures, dusty vintage film scans, tasteful grunge and tuned gradients.
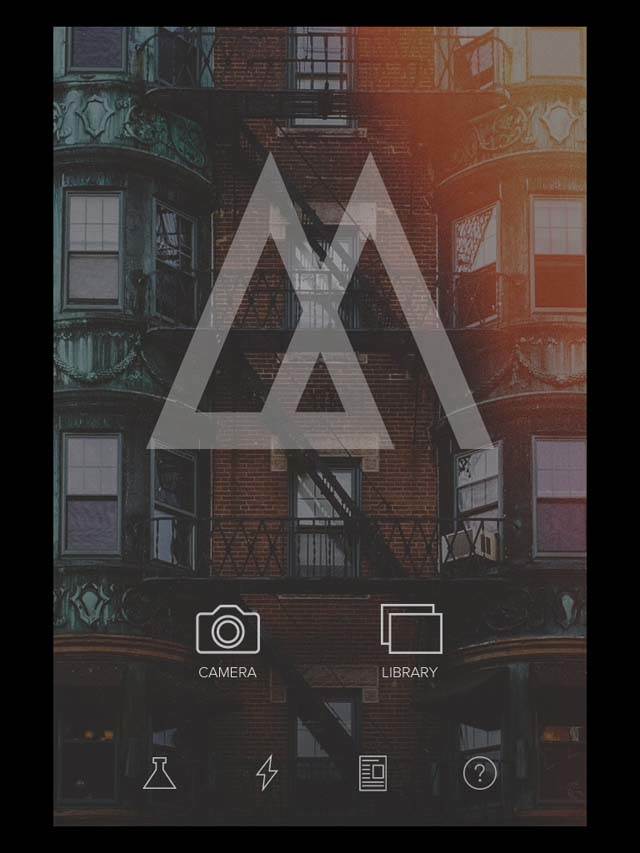
This stage is important because it adds grunge, which gives our photo a dirty, gritty, weathered look. Click the Library icon and select your image that you saved in step 1 from the Camera Roll.
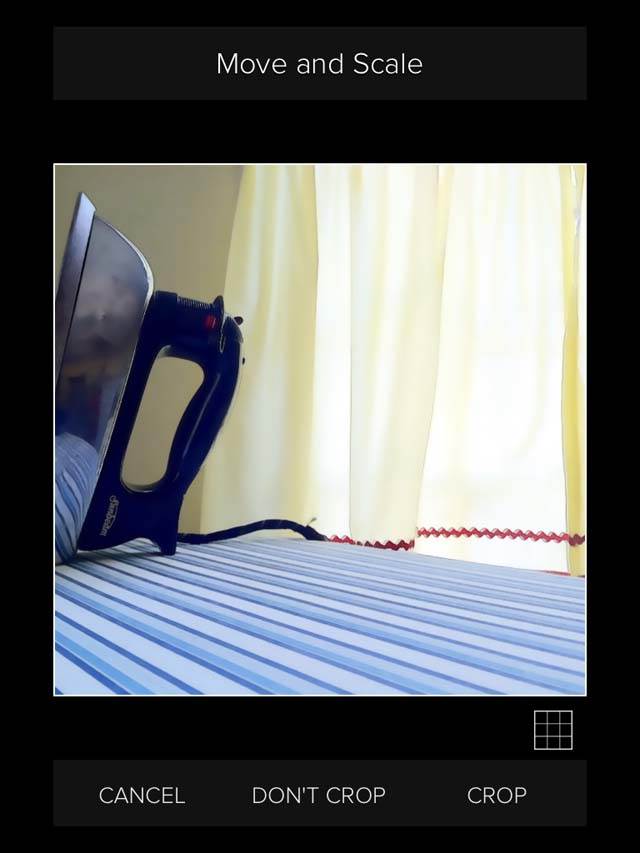
The first screen that will pop up asks if you wish to crop your photo into a square. Choose Don’t Crop. You will have another opportunity to crop the photo if you wish.
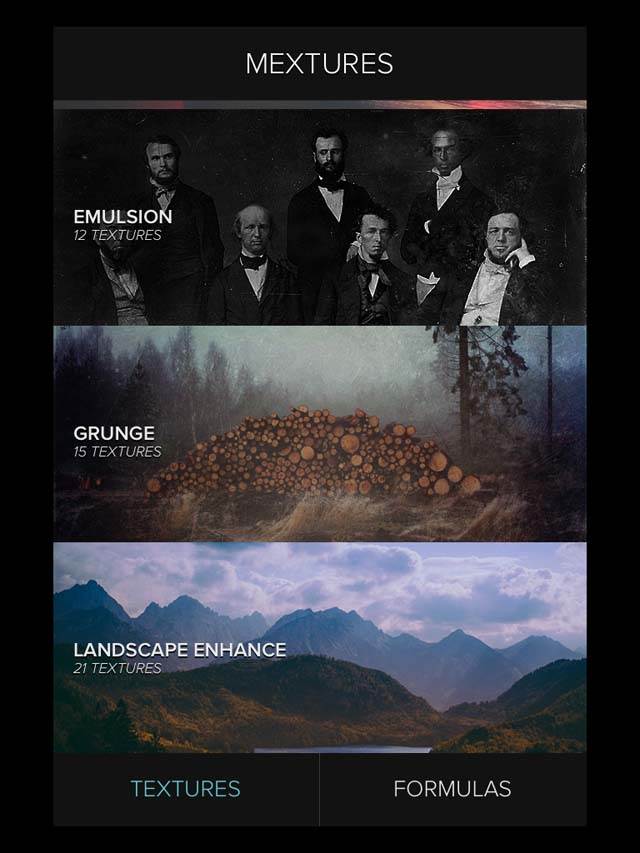
The app opens into two choices: Textures or Formulas. We will be working with Textures so tap this option at the bottom of the screen, then tap Grunge from the list of Textures.
When you get comfortable using Mextures, it’s worth going back to check out the Formulas section. These are layers of textures that have already been stacked together into different formulas.
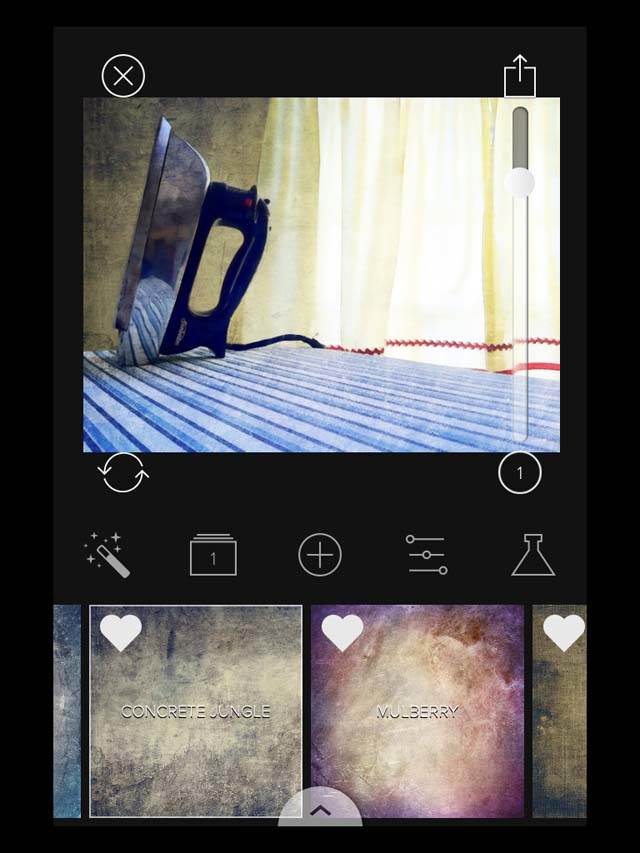
In the Grunge section, we’ll just be using one texture – Concrete Jungle. Tap it and use the slider on the right to scale up to 80. For most images I’ll use between 80 – 100% grunge, but you may like a different grunge setting. I typically scale down to 40 – 60 for images of food or flowers.
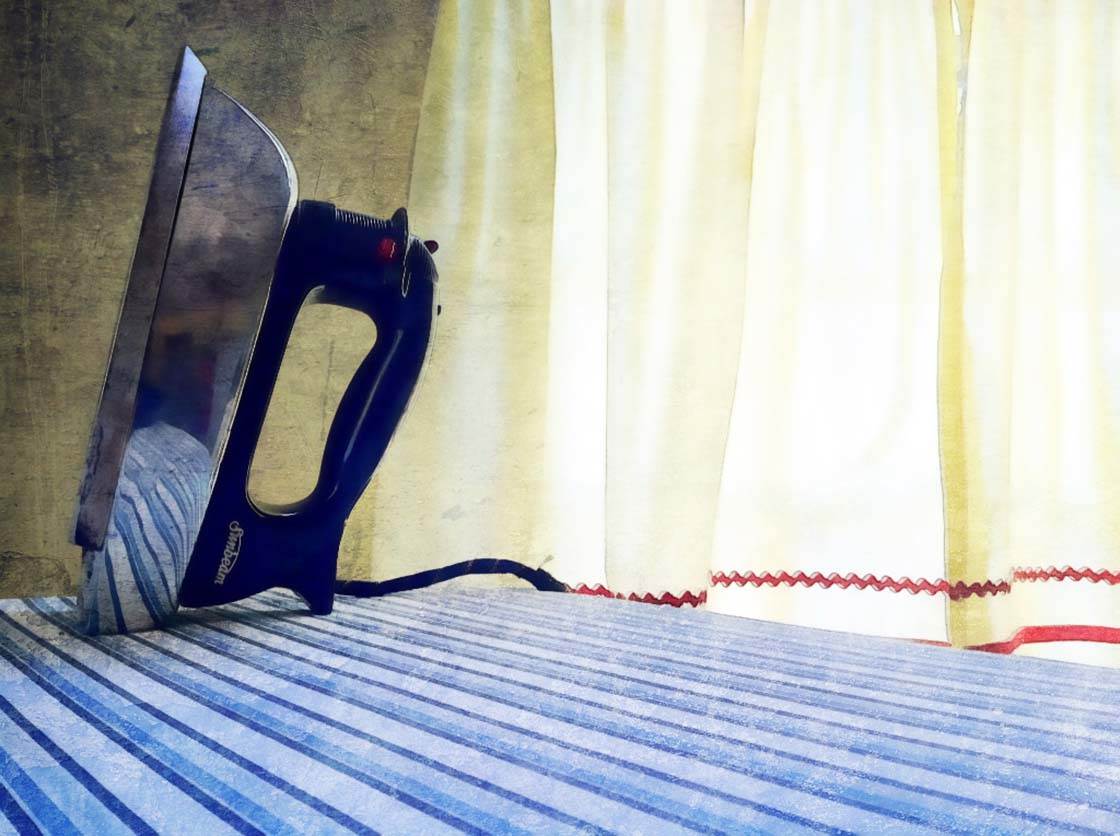
This is what the image will look like after editing in Mextures.
3. Vintique App
Next, we pull the image that you saved in step 2 into the Vintique app ($1.99), which specializes in vintage filters. This steps adds another layer of texture in the form of a vintage film.
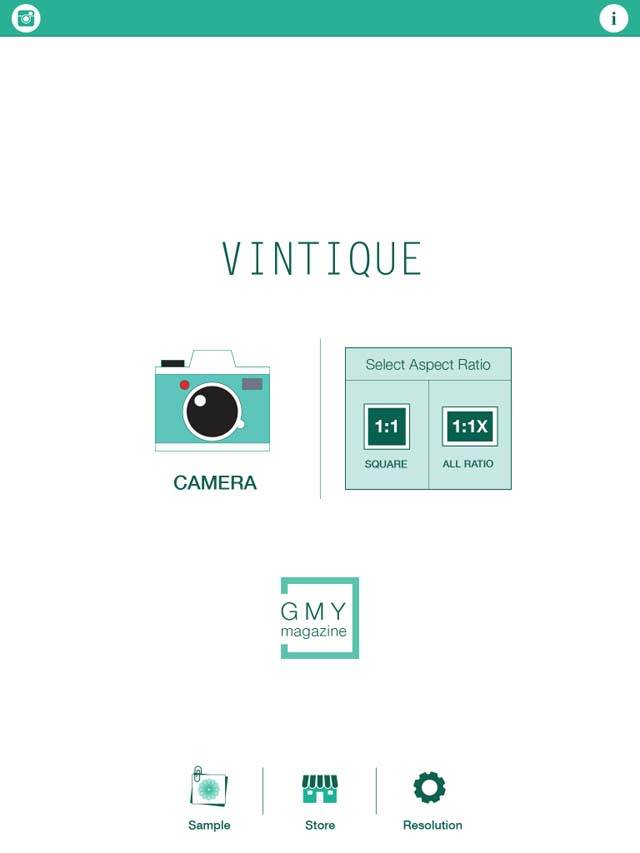
When Vintique opens, you’ll select Camera Roll which will prompt you to select your image aspect. If you are working with a square image, select Square. For all other sizes, select All Ratio.
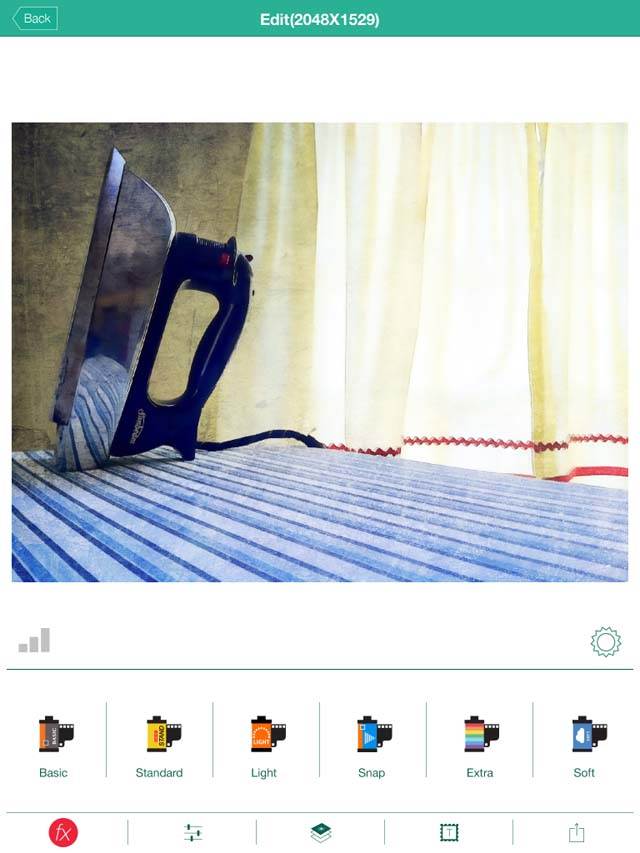
You are in the FX section of the app. Tap the Standard film set and scroll across to the filter titled Someday.
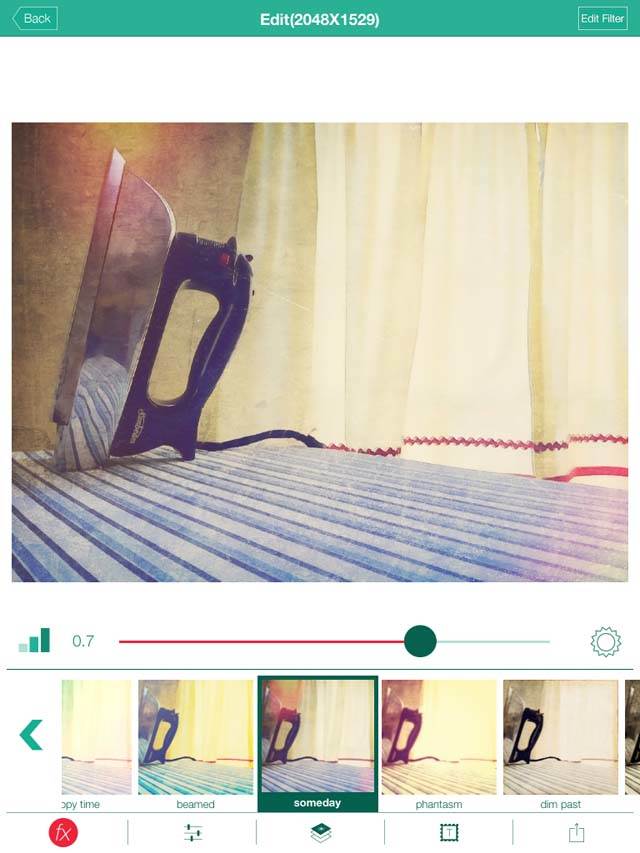
In the screenshot above, you will notice a slider above the filters. You can change this to increase or decrease the intensity of the filter. I usually keep it at 0.7 for most images.
The Someday filter is composed of 4 different textures. One of the textures that doesn’t seem to work for this image is Texture04 which produces a light leak (notice the light leak at the top left and lower right corners). To delete this light leak, tap Edit Filter at the top right of the screen.
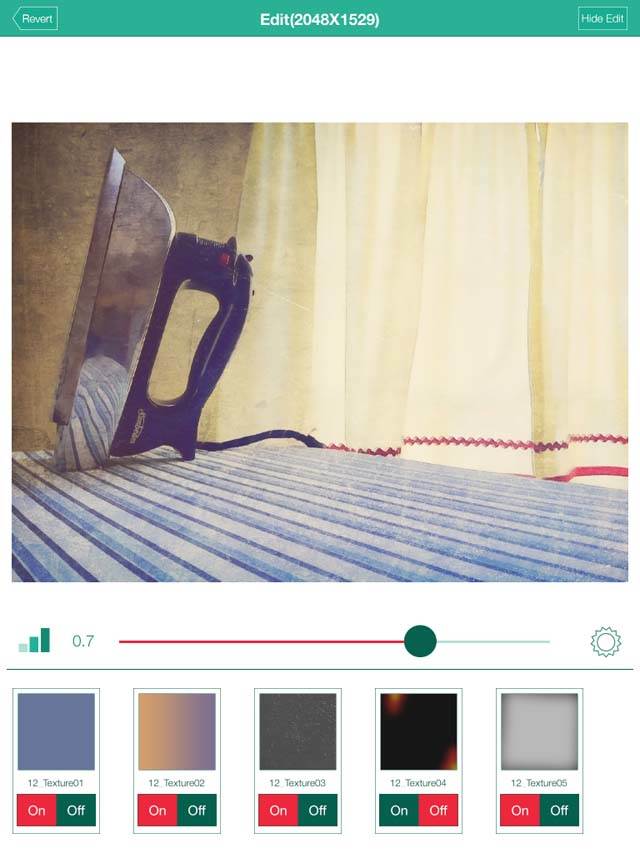
You will see the layers that create this filter at the bottom of the screen. Simply tap Off on Texture04 and this will take the light leak off. You can change any of the other textures here for this filter as well. Tap Hide Edit when finished, then tap Save in the bottom right of the screen to save the image to your photo album.
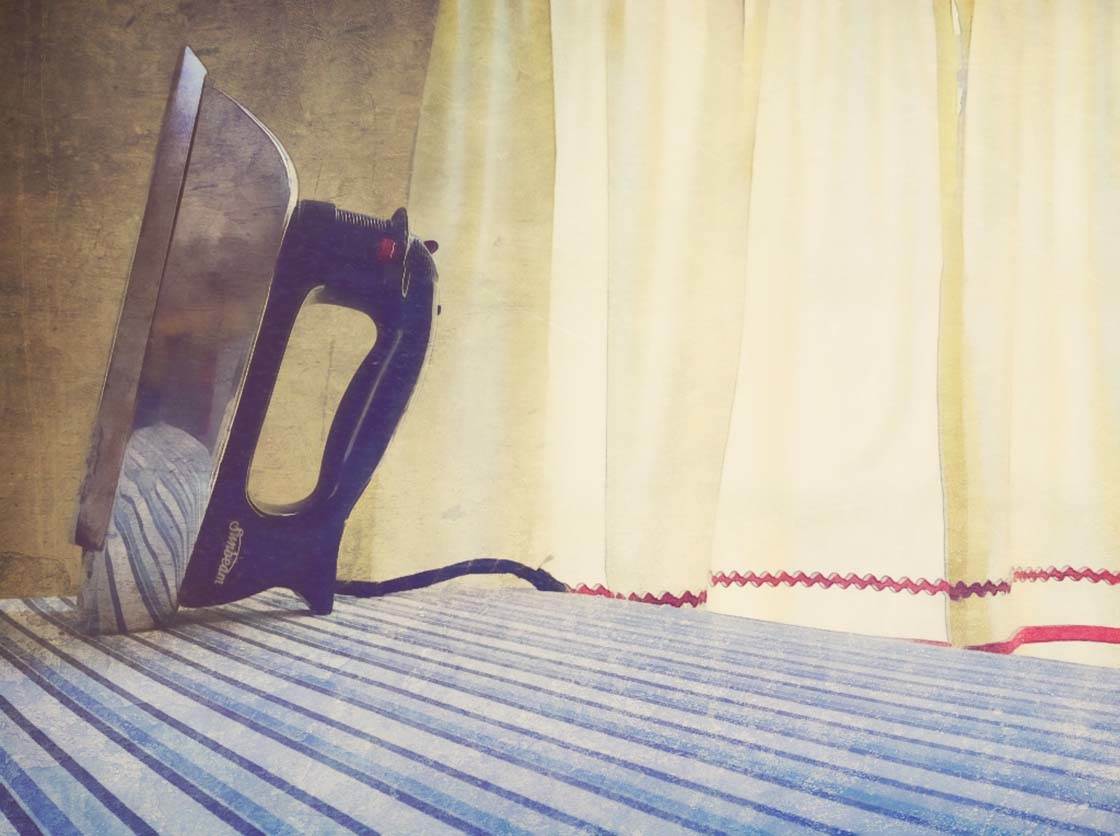
This is your image after adding the Vintique filter.
4. BeFunky App
The BeFunky app has iPhone and iPad versions that are slightly different. I’m using the iPhone free version for this tutorial. This is the final stage that allows you to make minor adjustments, and add a vignette.
Most of the time, minor adjustments like contrast and sharpening happen at the beginning of the workflow. However, for this recipe I like to put them here to offset the texture with a little brightening, sharpening or contrast.
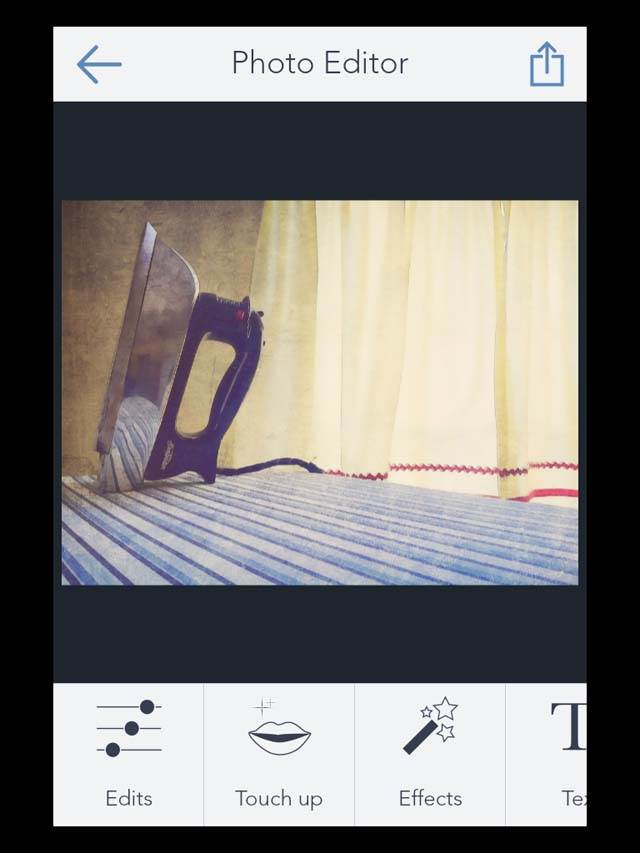
After tapping Camera Roll and pulling up your image that you saved in step 3, go into Edits. Here you can crop or straighten your photo if you wish. Experiment with Fill Light and Contrast if you want to recover the highlights and shadows in your image or bring out the color contrast.
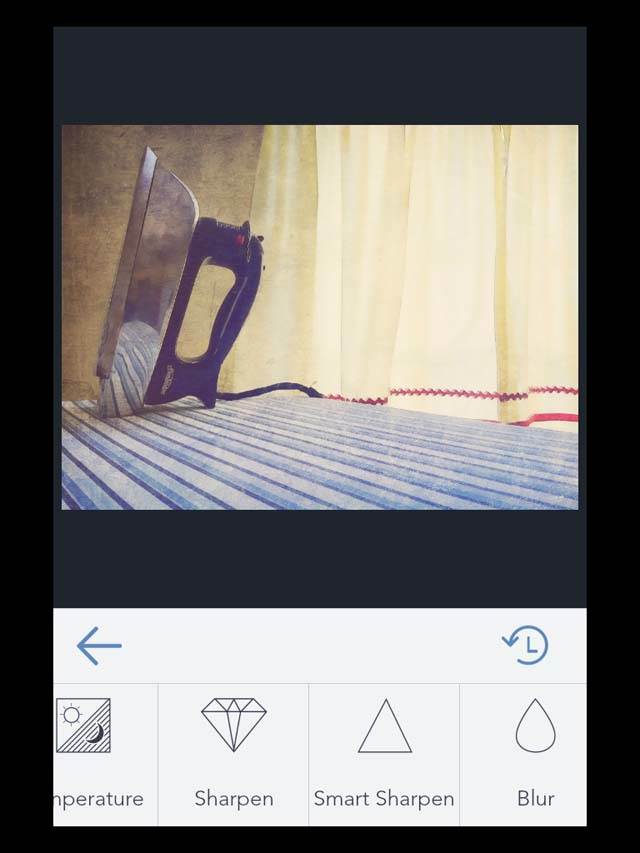
Typically, I only do a little sharpening at this stage. In the Edits section, scroll across until you see Sharpen and Smart Sharpen. These both sharpen your photo. I typically use Smart Sharpen. Use the slider to adjust the level of sharpening.
For this, photo, I used Smart Sharpen 20, just enough to pull the details back out. Keep in mind that sharpening at this stage will also sharpen the texture effect as well so you don’t want to over sharpen.
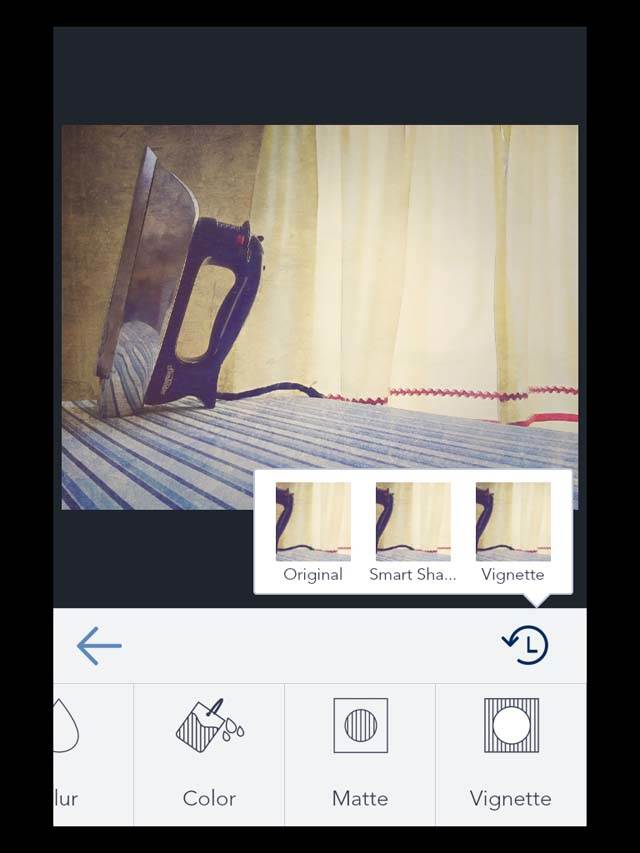
You can also add a vignette to this image in the same section. Apply the vignette at 15. Click the arrow to apply changes.
One of the great features of this app is that you can go back a step in your workflow. If you tap the L with a circle around it, you can see all of your steps.
Once you’ve made all the changes you’d like to make, hit the back arrow to go to the main screen where you’ll see the Save icon in the top right corner.
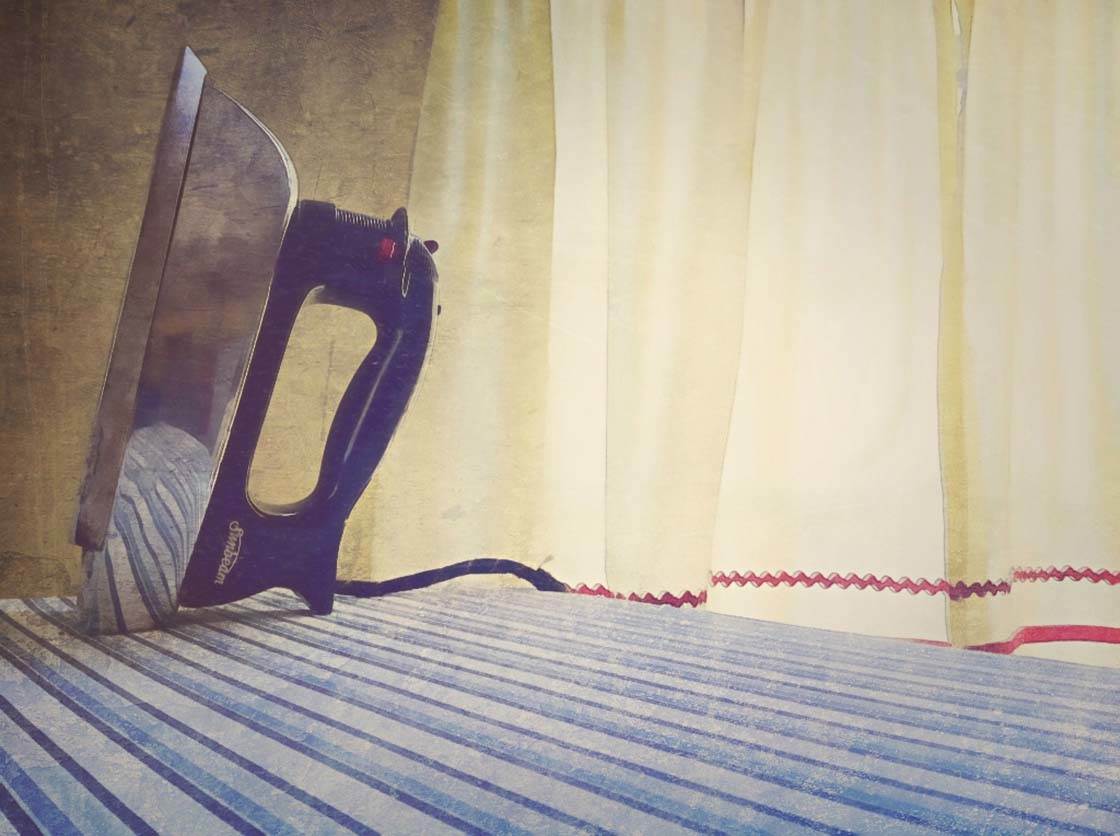
This is our final image. Once you get comfortable with the basic recipe, you can change the ingredients and create your own unique recipe.
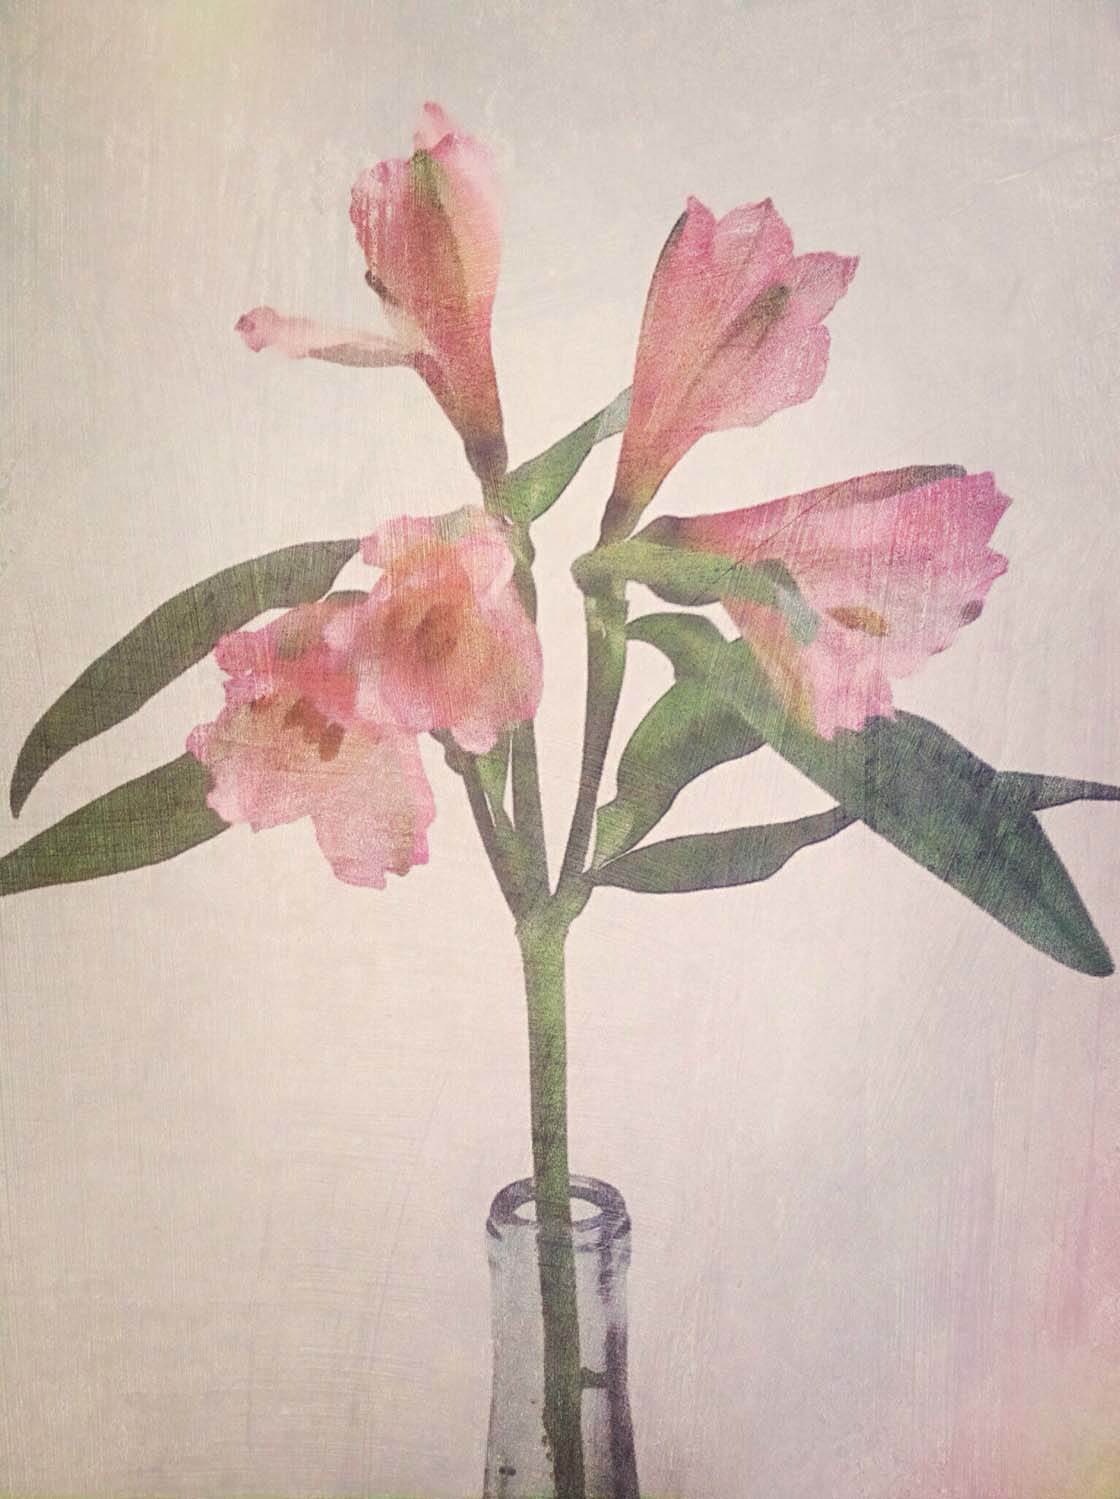
In this image of flowers, the only part of the recipe changed is step 2. In Mextures, I applied the Painterly grunge filter instead of Concrete Jungle.
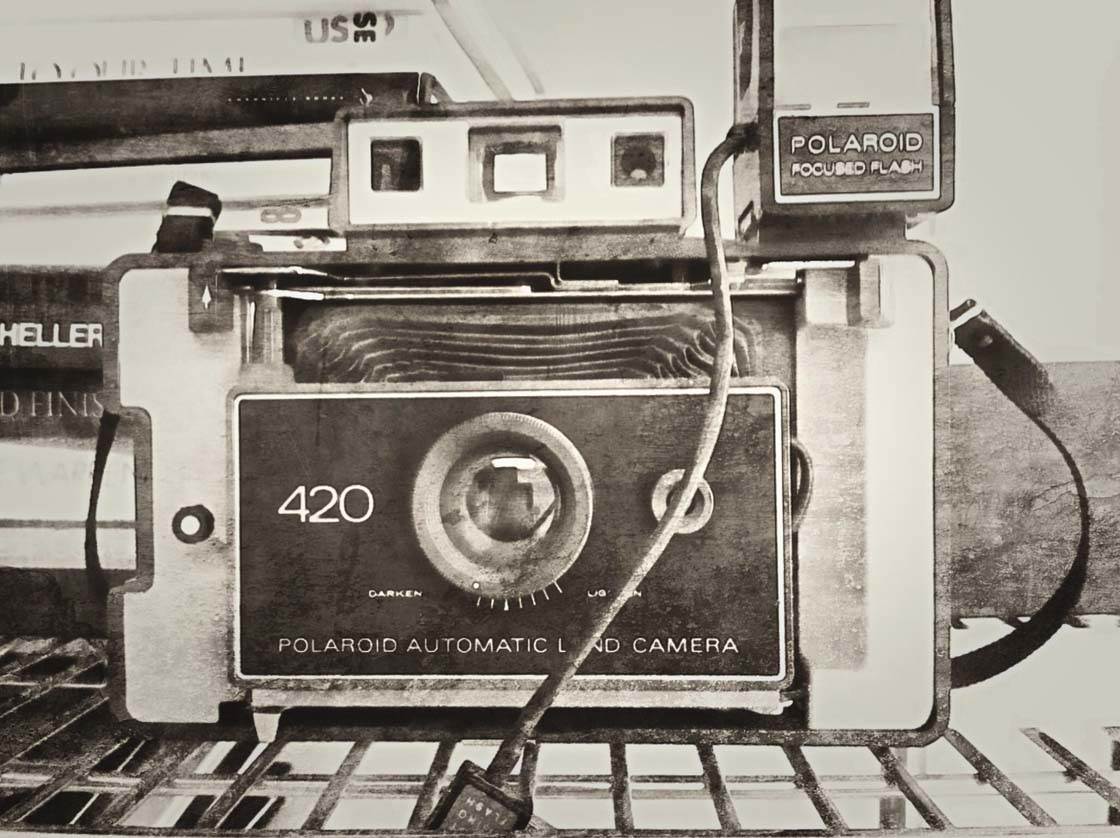
For this photo of a vintage camera, the only change in the recipe occurred at step 3. In Vintique, I used the Basic set of filters and applied the Browny filter.
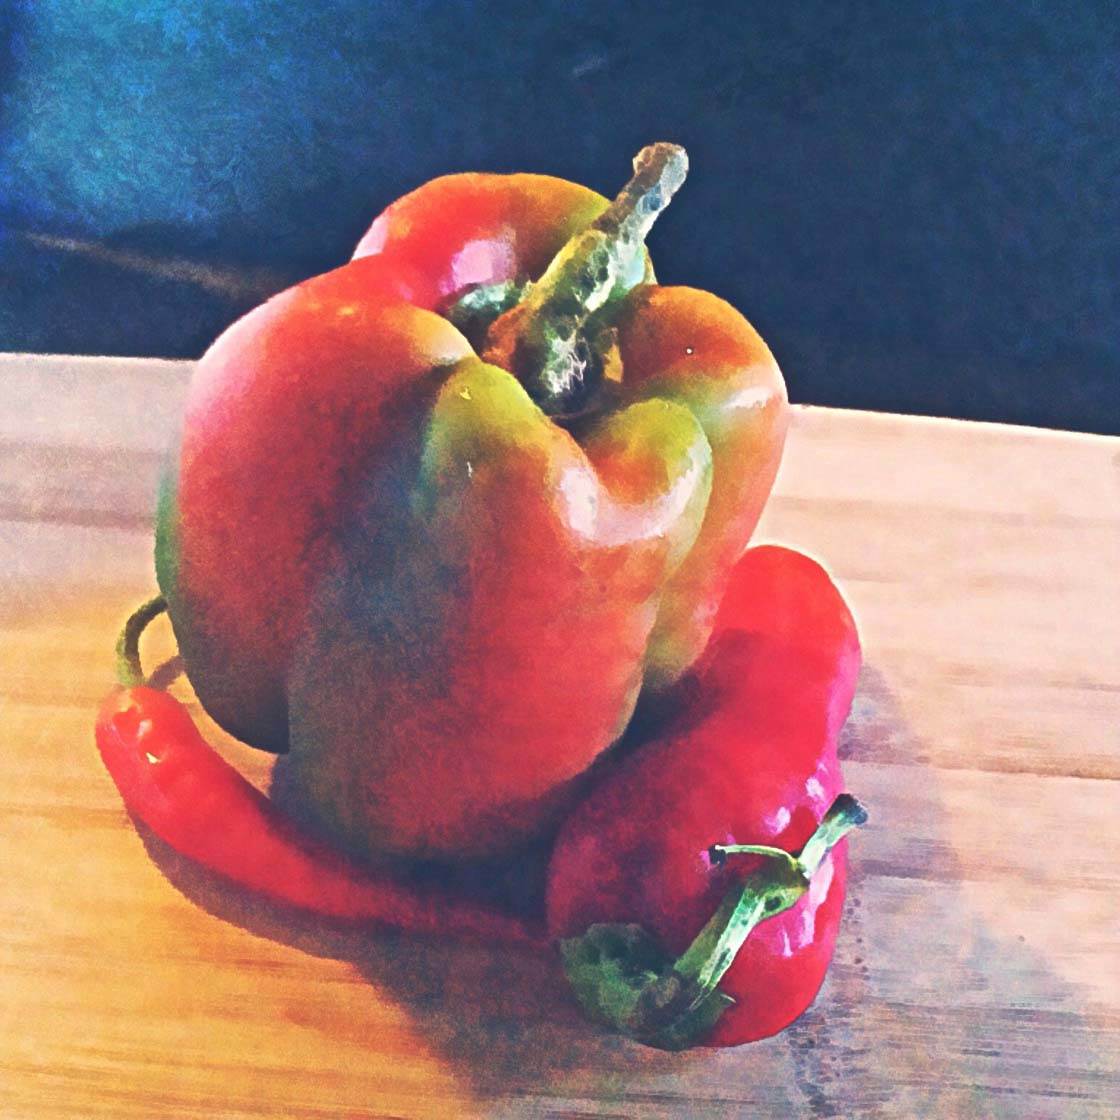
Because this image is food which I wanted to look relatively appetizing, I took a different approach and changed three steps of the recipe.
In Mextures, I used the Decay filter. In Vintique, I chose Russet (from the Basic filters) to bring out the red in the peppers. Finally, I boosted the contrast in BeFunky but did not use a vignette.
I hope this photo editing recipe stimulates ideas and introduces you to a few new apps to use in your photo editing process.

Very clear and concise tutorial! I personally like to minimize my edits a little more so would be satisfied with some grunge from SnapSeed and some editing in VSCOcam but will definitely try out some of the apps you’ve mentioned here too.
Thanks for your comment ML! Yes, everyone’s grunge level is different. But keep in mind that you can alter the grunge level in these apps too. I encourage you to experiment with new apps and textures just for the learning process!
~Kristen
Great job Kristen! You’re such a good teacher.
Thanks for the feedback Geri! You’re a great teacher too!!
Thank You!
How in the world do u remember all this? The photos are fantastic! You must be very patient!
Hi Etta,
I know it may seem like a lot of things to do when it’s in written form. But it’s really not once you actually do the recipe. I promise you, if you try this recipe on three photos, you’ll have it memorized. Good luck!!
~Kristen
Thanks Kate!
great tutorial
Glad to hear you enjoyed it Marsha 🙂
This is shit
Absolute scam, waste of time and whoever write this a piece of shit