In recent articles, we’ve explored creative ways to use natural light, in other words, sunlight, in your iPhone photos. But what about when you want to shoot at night or in other situations where natural light isn’t readily available? In this tutorial, you’ll discover that there are many creative ways to use artificial light to enhance your iPhone photos taken in low light or complete darkness.
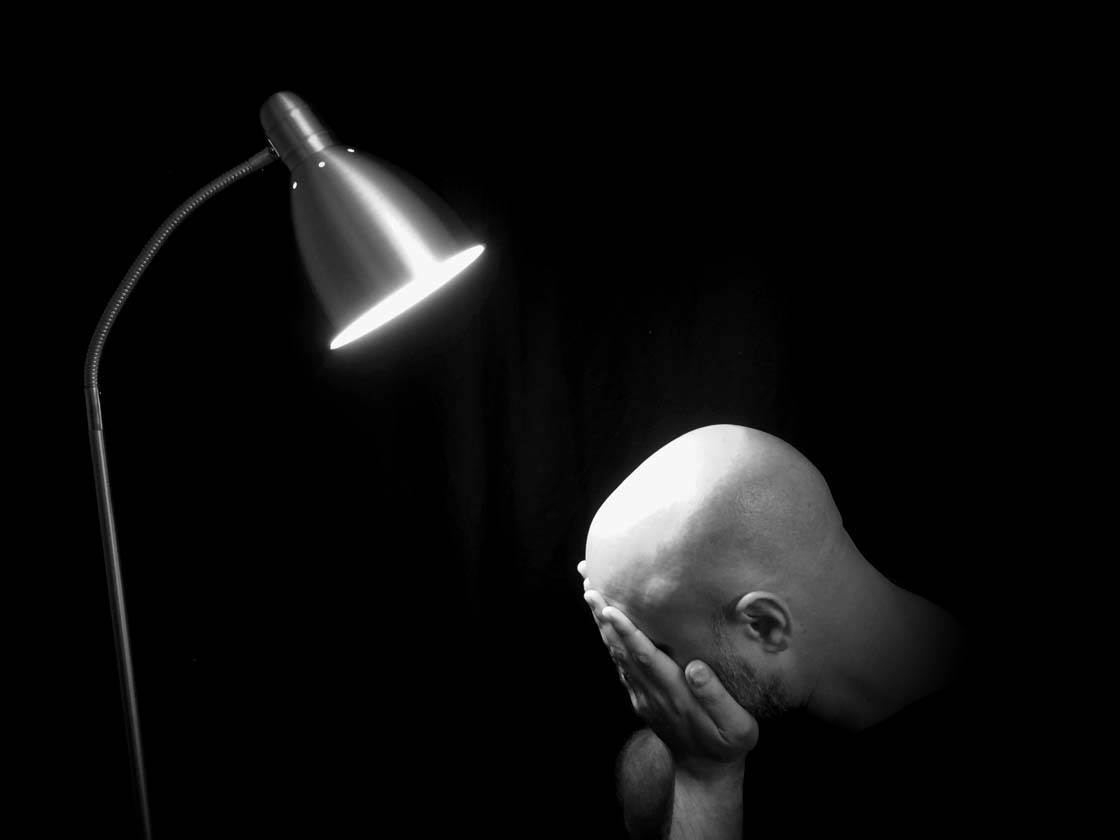
1. Make Use Of The Built-In Flash
The first source of artificial light that we should consider is the one that’s closest to hand – your iPhone’s built-in flash. Chances are, you’ve used your iPhone’s flash many times before. If so, you’ve probably also noticed that the light it gives off can be a bit harsh.
However, the iPhone’s built-in flash is still useful in a pinch. To get the best results, make sure that you aren’t standing too close to your subject or else the light from the flash will be particularly harsh.
Compare the two photos below of my trusty assistant Kermit (the images haven’t been edited in any way). This first photo was taken with no flash whatsoever, and it’s a bit too dark.

The second photo below was taken with the built-in flash. While the second is certainly lit better, it’s a bit harsh and will benefit from some post-processing work to balance the light a bit better.

To switch the iPhone’s flash on, open the Camera app, then tap the Flash icon (lightning bolt) at the top of the screen and tap On. Any photos that you now take will use the flash.
When you’ve finished taking photos with the flash, ensure you turn it off by tapping the Flash icon and selecting Off, otherwise the flash will fire with every photo you take.
You’ll notice that there’s also an Auto flash option in the Camera app. This allows the camera to decide whether or not to use the flash based on the amount of light in the scene. I wouldn’t recommend using Auto as you don’t have control over when the flash fires or not.
2. Diffuse The Built-In Flash
Before we dismiss the built-in flash altogether, there’s a great modification that you can do to your iPhone in order to soften the light and make it far more useful.
By placing a sheet or two of tissue paper over your iPhone’s flash, you can create a simple diffuser that softens the light and makes for a more pleasing photo.
This can be as simple as holding the tissue paper over your flash while taking a picture, however, you may find this a bit awkward and you might cover up the iPhone’s lens by accident.
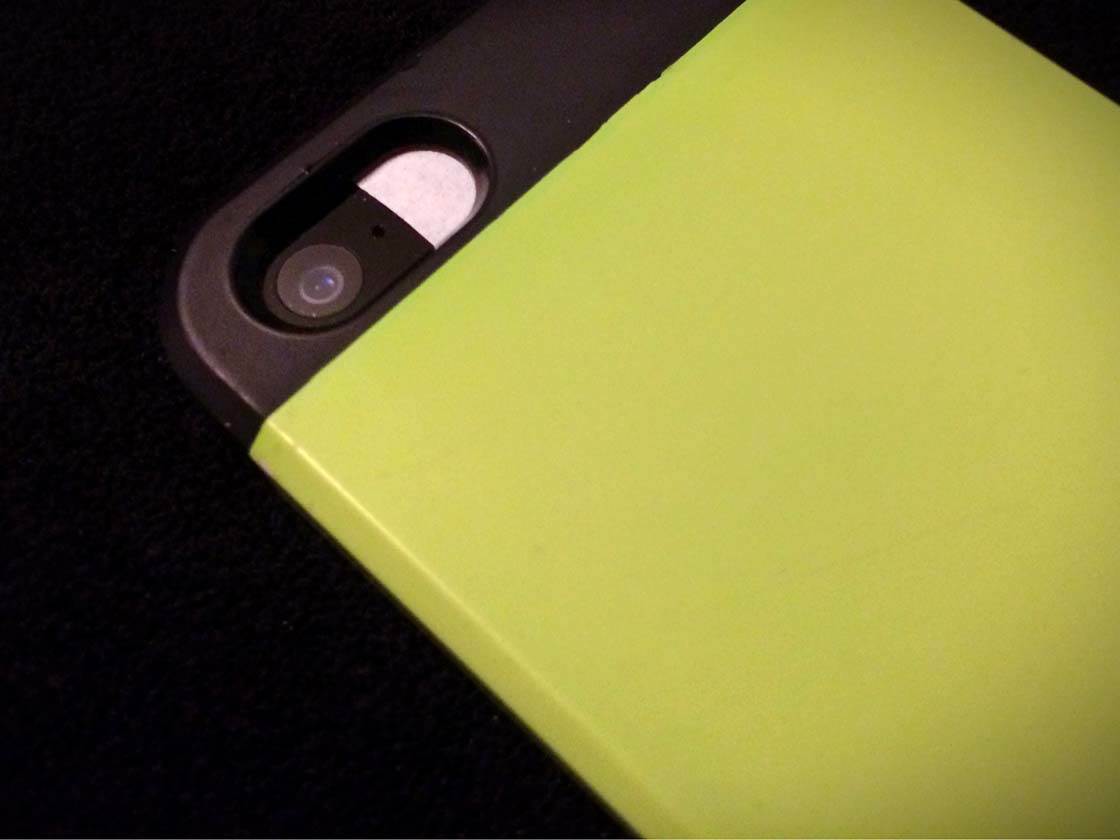
What I like to do in this case is to take the case off of my iPhone, place the tissue paper over the LED flash, then put the case back on the phone. This helps to hold the tissue paper in place.
One thing you’ll notice with this technique is that the more tissue paper you put over the flash, the softer the light becomes. However, it also weakens the light and cuts down on the effective distance of the flash. Keep this in mind if using this technique. You may find that a single sheet of paper is enough.

Compare the above photo with the flash photo in the previous section. Notice how this one is a bit softer and not as harsh. Personally, I don’t use my iPhone’s built-in flash that often, but when I do, I almost always use this trick to soften the light.
The above photo still needs some editing to make it “pop”, but the overall lighting is more even and more natural than using the unmodified flash without the tissue paper diffuser.
3. Use An External Flash/Steady Light
There are a number of great options on the market for external flashes and steady lights that you can use with your iPhone. These are great for giving you the power of a flash, but with full control over the angle of the light source. To cover even a handful of them in depth would require a separate article, so we’ll just discuss the general concept here.
External flashes like the Nova Off-Camera Wireless Flash sync with your iPhone via Bluetooth and are triggered by your iPhone’s Camera app when you press the shutter release button.
Steady lights are exactly as the name implies—they emit a constant stream of light and are not triggered by your iPhone’s camera. Personally, I prefer steady light sources as they allow you to see exactly how the light will fall on your subject.
Some external light sources actually offer both a remote flash and a steady light option. Check out the new Lume Cube light for iPhone which will be available for shipping in February 2015.
Remote controlled flashes tend to be smaller and more compact than steady lights, and you may find them much easier to carry around with you all the time.
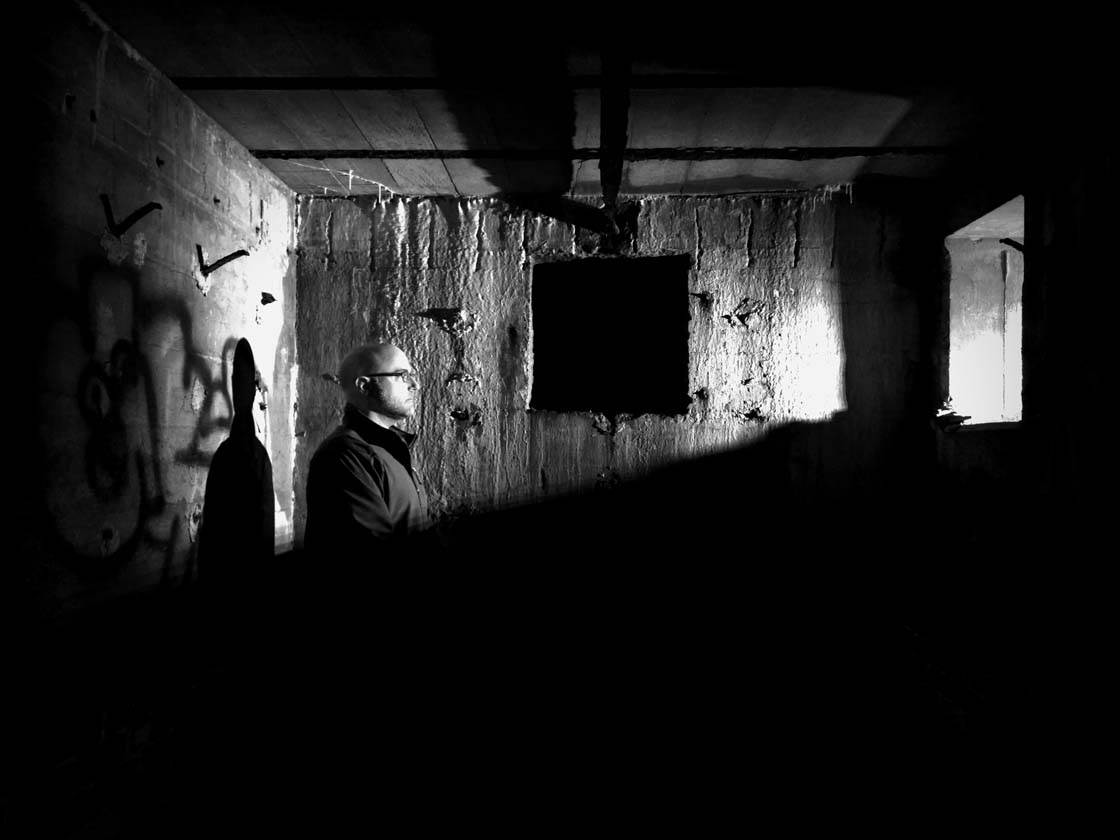
External lights such as these can really open up your creative options as well. The above image was taken in an underground bunker with a Manfrotto LED steady light as the only light source.
4. Illuminate Your Subject With Lamplight
A simple lamp can be a very versatile source of light as well, especially when taking photos in your own home. We all have lamps in our homes of various styles, and certain types will be more effective for your photography than others, depending on your personal style.

Just about any lamp will provide ambient light that you can take a photo with, but certain types will provide you with more versatility. I’ve even used a cheap gooseneck floor lamp from Ikea, as shown above, for many of my low-key shots in the past.
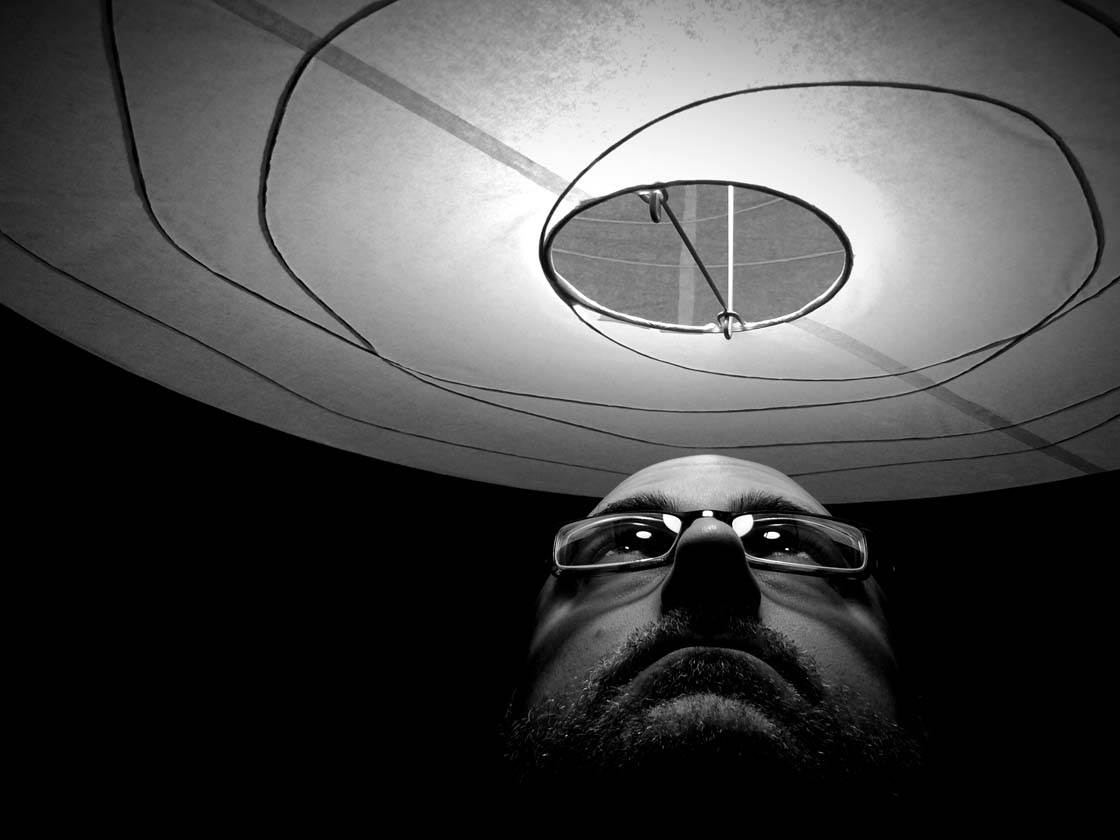
This self-portrait was taken in my living room underneath our ceiling lamp with no other light source whatsoever. The one lamp even gave off enough light so that I was able to hand-hold my iPhone to take the shot (no tripod needed).
5. Capture The Magic Of Holiday Lights
An article on artificial lights at this time of year (December) wouldn’t be complete without some mention of holiday lights.
The biggest mistake that many people make when taking photos of holiday lights is using a flash, which only results in a washed out photo with none of the beautiful colors given off by the holiday lights.
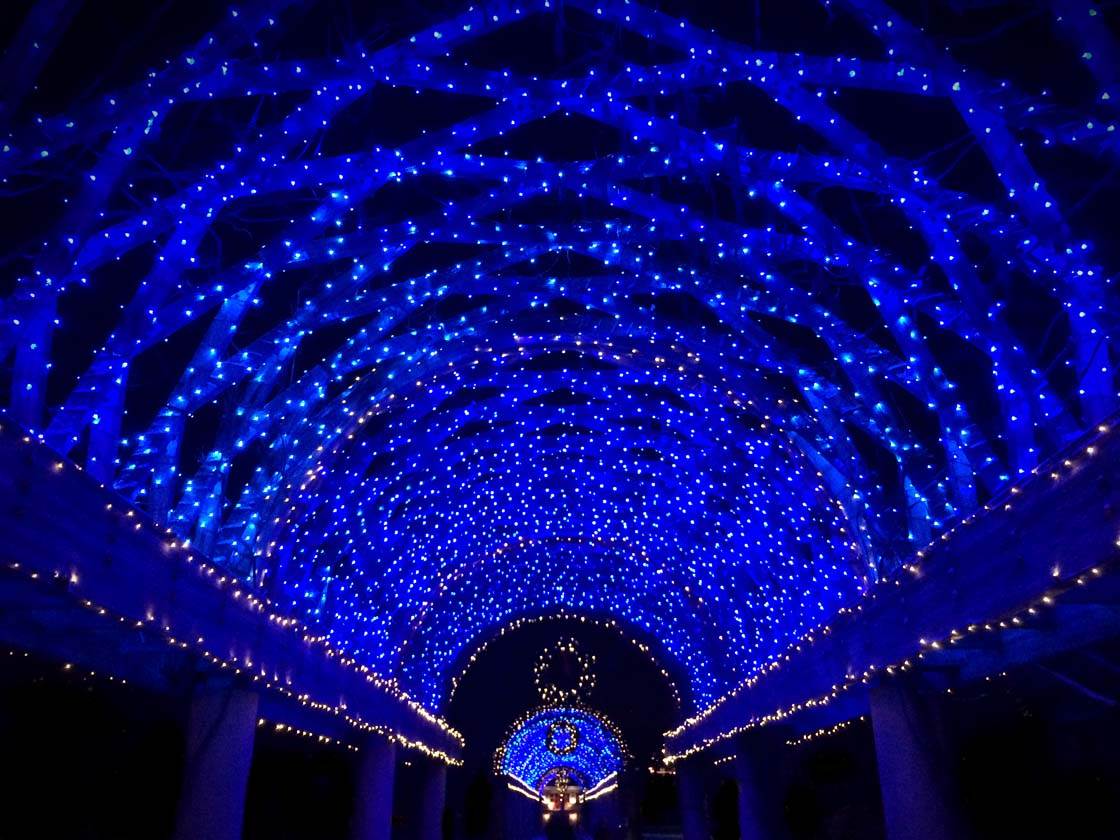
If you leave your Camera app’s flash setting on Auto, chances are the flash will fire when taking pictures of holiday lights at night. Even though the lights look beautiful to the human eye, your iPhone’s light meter (and just about any camera for that matter) will read the scene as under-exposed and in need of light.
This is when you have to take matters into your own hand. Make sure the flash setting in your iPhone’s Camera app is set to Off, and keep your hand really steady (or better yet, use a tripod for iPhone).
Once you’ve set the focus by tapping on the screen, swipe up or down on the screen to set the camera’s exposure settings – swipe up to make the image brighter or down to make it darker. Work the exposure settings until you’re happy with the image, then take the shot.
6. Create Dramatic Shots With Candle Light
The light from one or more candles can add depth and drama to a scene like no other light source whatsoever. And with the new manual exposure controls on the iPhone (across many different camera apps), taking low-light shots such as the one below are as easy as using a tripod and setting the proper ISO and Shutter Speed on your camera app of choice.
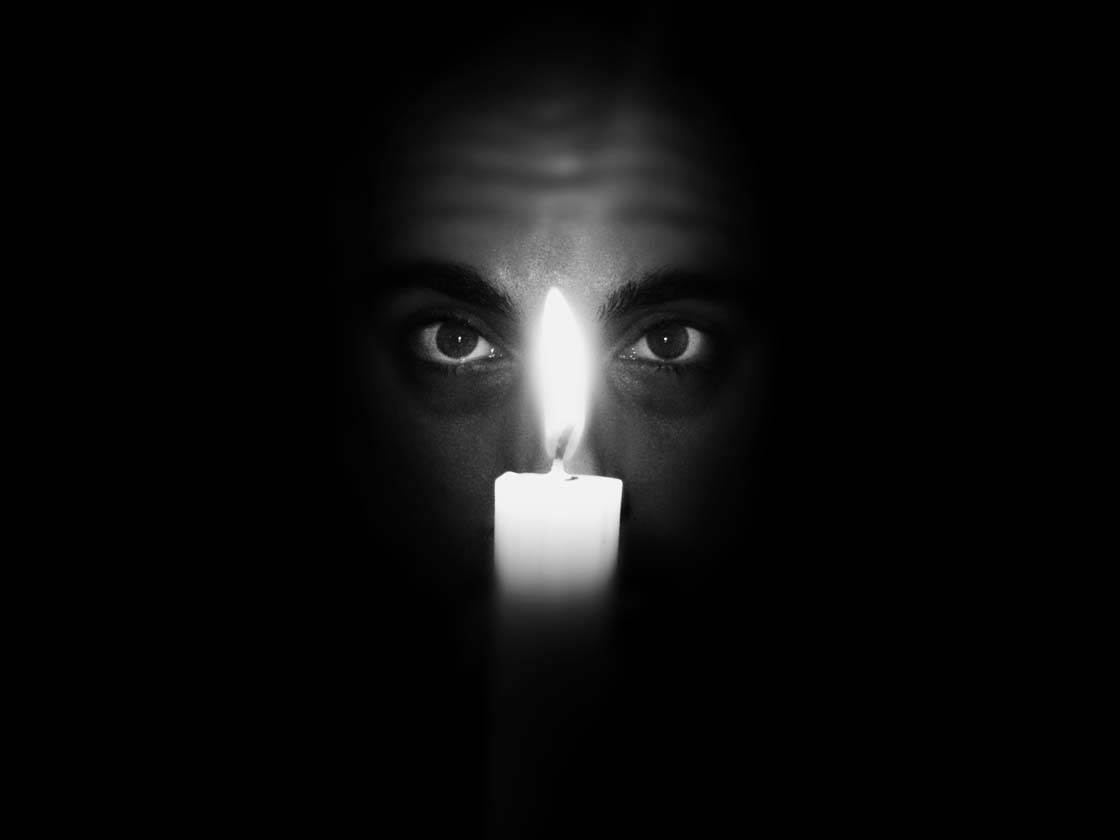
For this particular shot, I used the PureShot app in full manual mode, and kept the iPhone stead on a Joby GorillaPod. I then edited the photo in Filterstorm Neue and TinType (by Hipstamatic) to achieve the final image.
7. Look Out For Unusual Light Sources
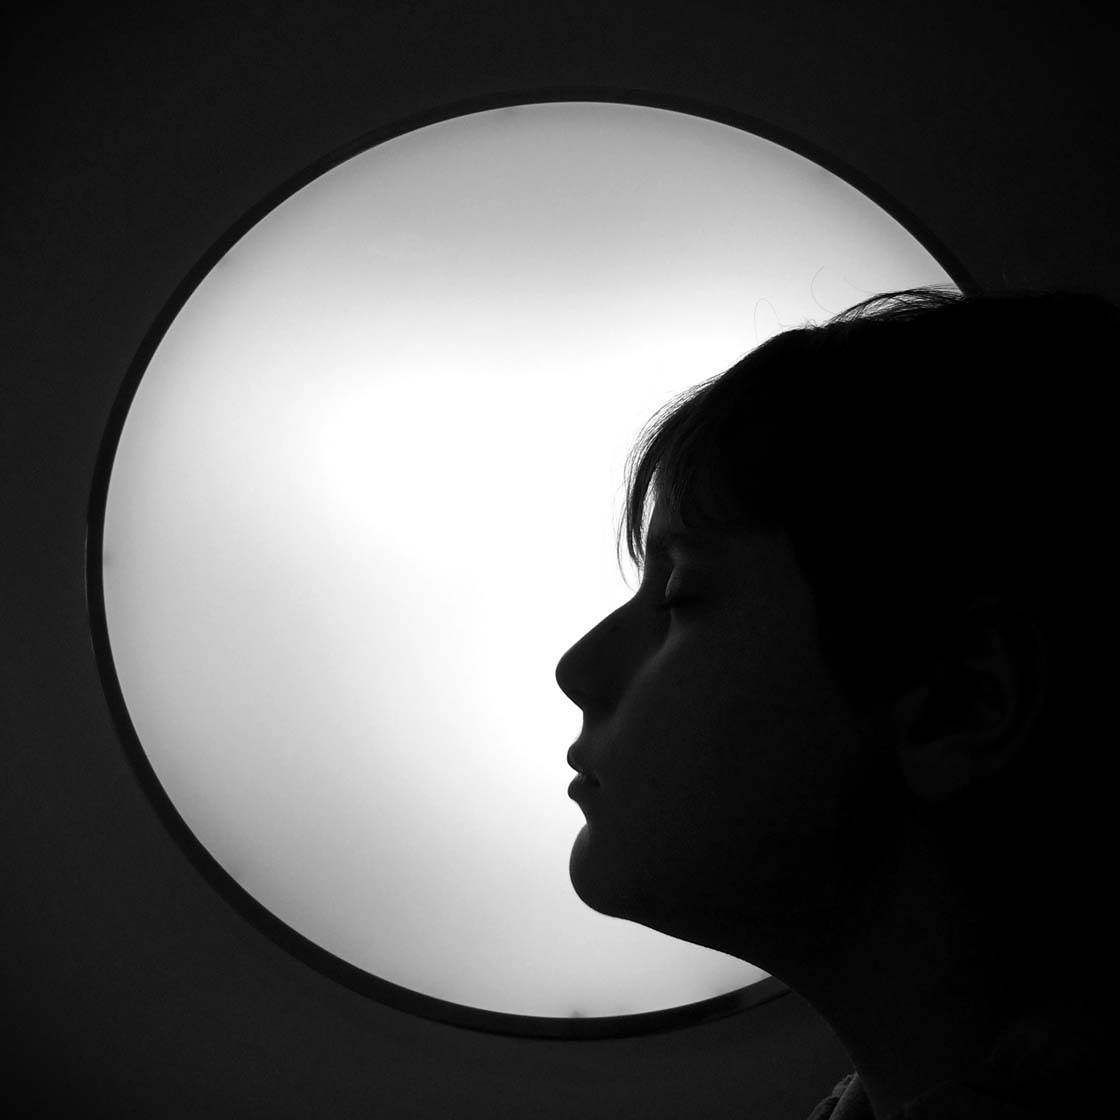
Another great way to “play” with available light is to look for ways to incorporate unusual light sources into your photos. In the following photo, I used a backlit poster frame in a bus station as the primary source of light for this silhouette image.
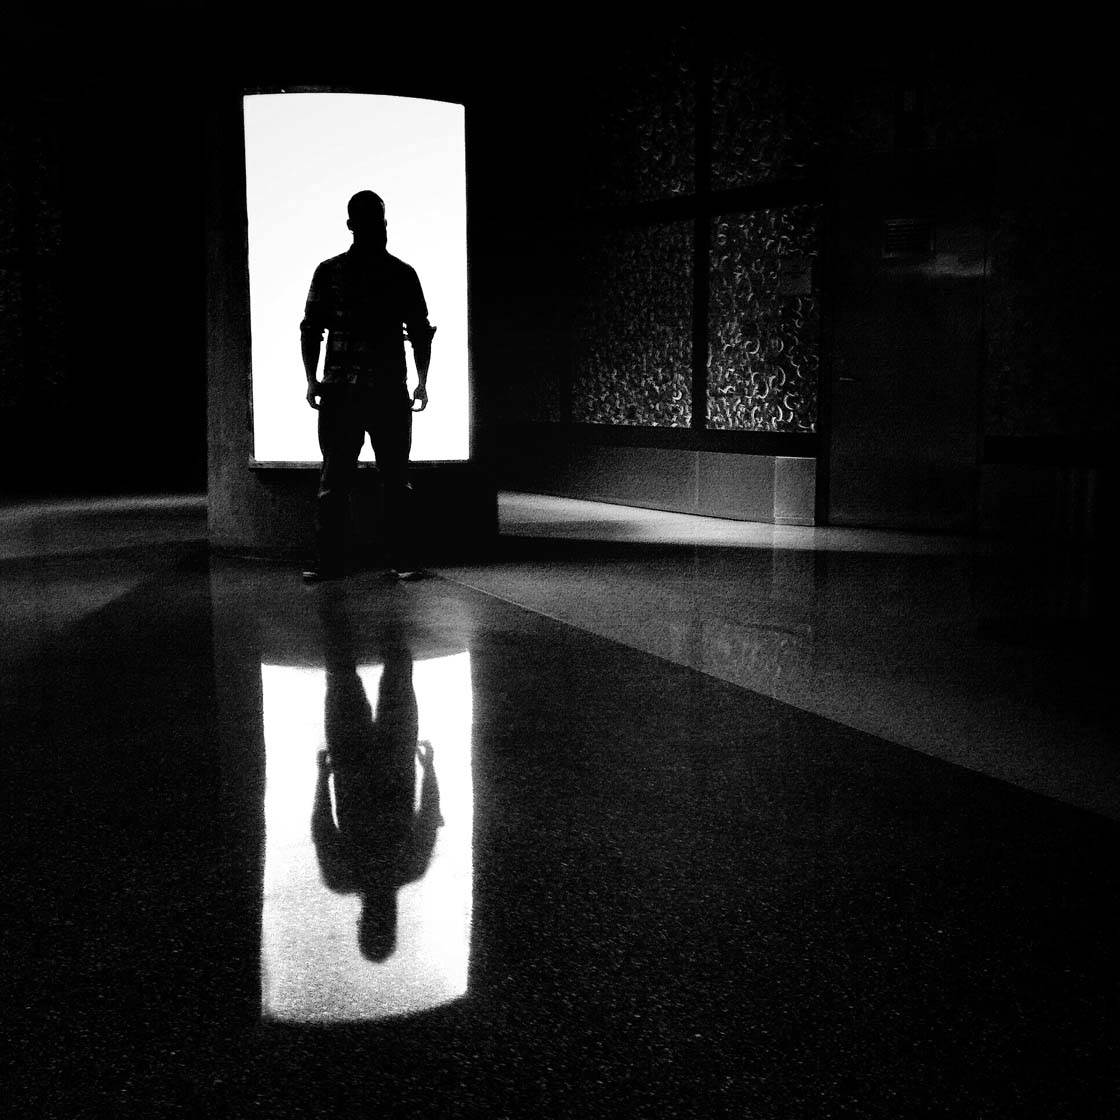
You don’t even have to leave your home to find unusual light sources which will provide interesting illumination for your iPhone photos. In the image below I used the light from my refrigerator to illuminate the scene.
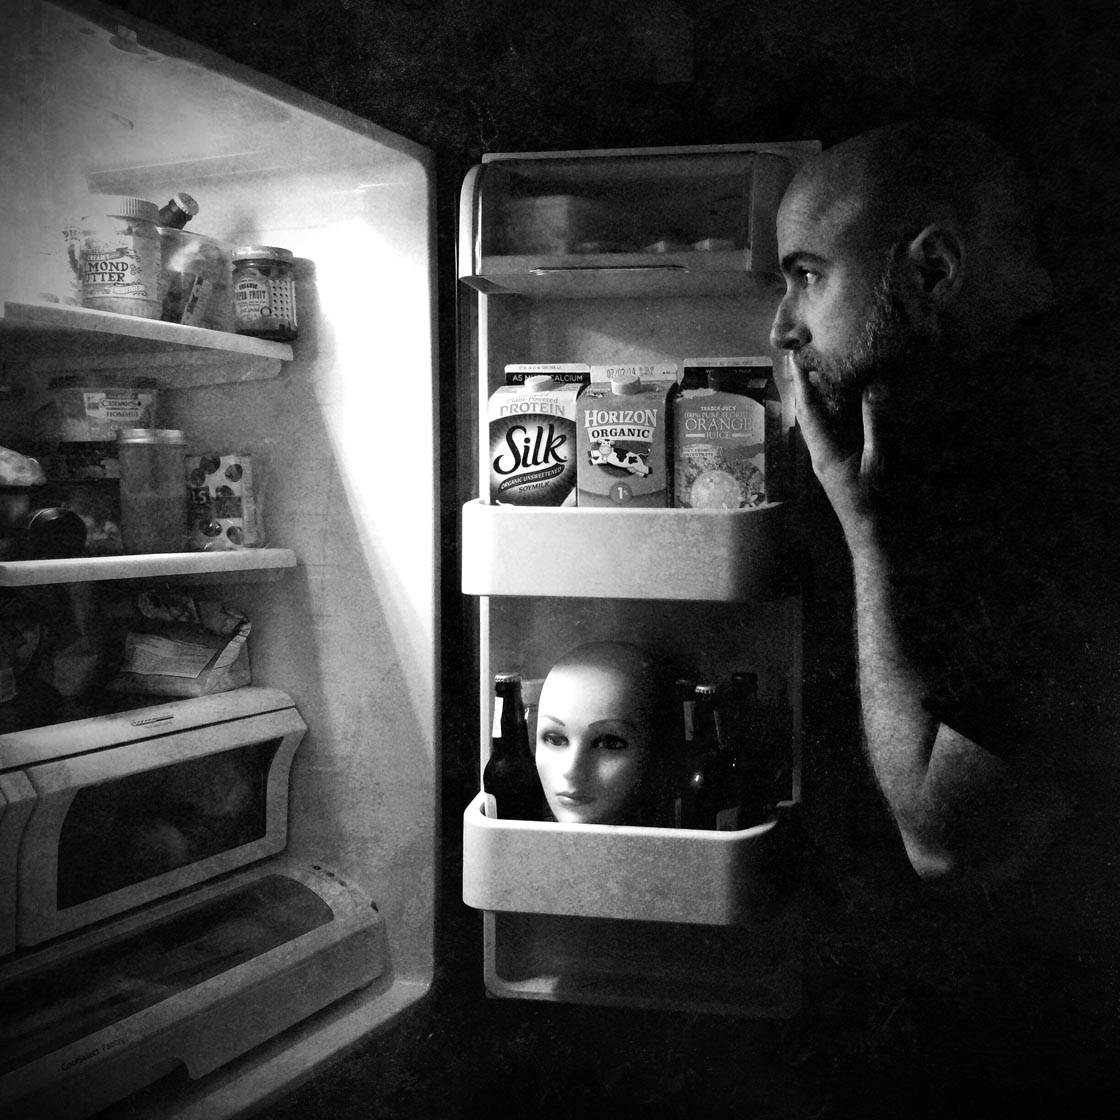
You could also try using the light from a computer, television, iPad or even an iPhone as an interesting light source in your own home.
Once you start looking out for unusual lighting options you’ll begin to spot them all around you. It’s just a matter of training your eye and looking for photographic opportunities wherever you go.
8. Invest In Professional Studio Lights
Finally, while this option may be more than what most folks care to bother with, it’s still worthy of consideration. A relatively inexpensive set of studio umbrella lights can be purchased for less than $100 and can serve as the foundation for setting up a basic, yet effective home studio.
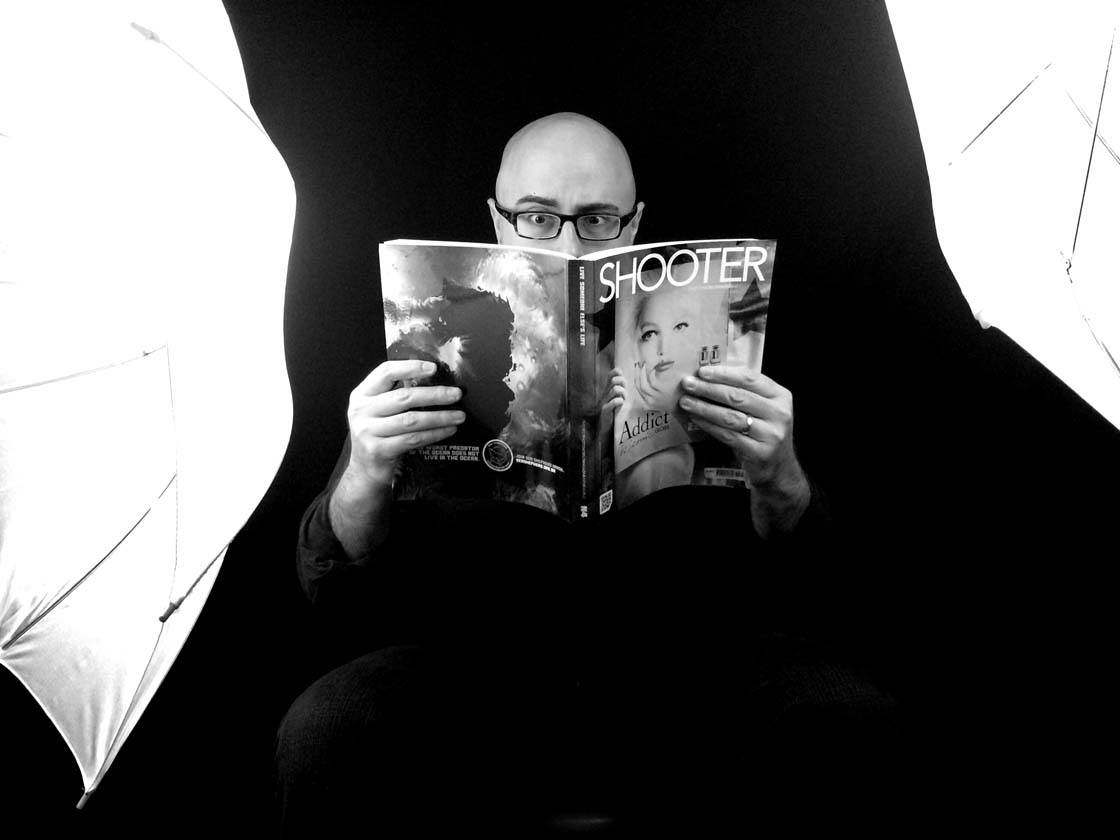
This does require a bit of a space commitment in order to make proper use of the lights, but if you choose to take this route, your options really start to open up.
I now use my makeshift studio in my basement for about 50% of all my photos. I love the control that these sort of lights provide, and they’re so simple to set up and use.
Conclusion
As you can see, there are many ways to incorporate artificial light sources into your iPhone photos. We’ve really only scratched the surface in this article.
Keep experimenting with your options and you’ll soon find that you’re using light in creative new ways to take amazing photos with your iPhone. Happy shooting!


Nice work Rob
Thanks Jeff! Cheers my friend!
Fantastic tips and tricks! Thanks for the article!
You’re very welcome Jason! I’m glad that you found the article helpful!
Cheers!
Rob
Thanks for these great tips Rob! Amazing photos as always 🙂
Thanks for letting me contribute to this great community Kate! 🙂
Thanks for good tips, tried to use pc light for the selfie in dark room, converted into black & white…very happy to lern this 🙂
You’re quite welcome! I’m glad that you found the ideas useful.
Happy New Year and happy shooting!
Rob
Very inspiring tips. Thank you. This how I used it https://instagram.com/p/1BRxaKLZ0l/