Black and white is the purest form of photography. It evokes a powerful mood and creates a timeless feel to the image. Removing color eliminates unnecessary distractions and helps the viewer focus on the most important parts of the scene. However, not every photo is well suited for black and white. In this tutorial you’ll discover what makes a great black and white photo in terms of light, subject matter and composition. We’ll also show you a simple yet effective black and white editing workflow.
Before we show you how to convert your images to black and white in post-processing, it’s important to look at what kind of subjects and scene make a good black and white photo. So let’s begin by taking a look at eight important shooting tips for taking the best kind of photos for black and white photography.
1. Shoot High Contrast Scenes
Although black and white is monotone, when you start looking at these images you’ll realize that there are many different shades throughout the scene, from pure black to pure white and all the different shades of gray in between. These shades are affected by the type of light that you shoot in.
In most cases, high contrast scenes work best for black and white photography. High contrast means that there are very dark and very bright areas in the scene.
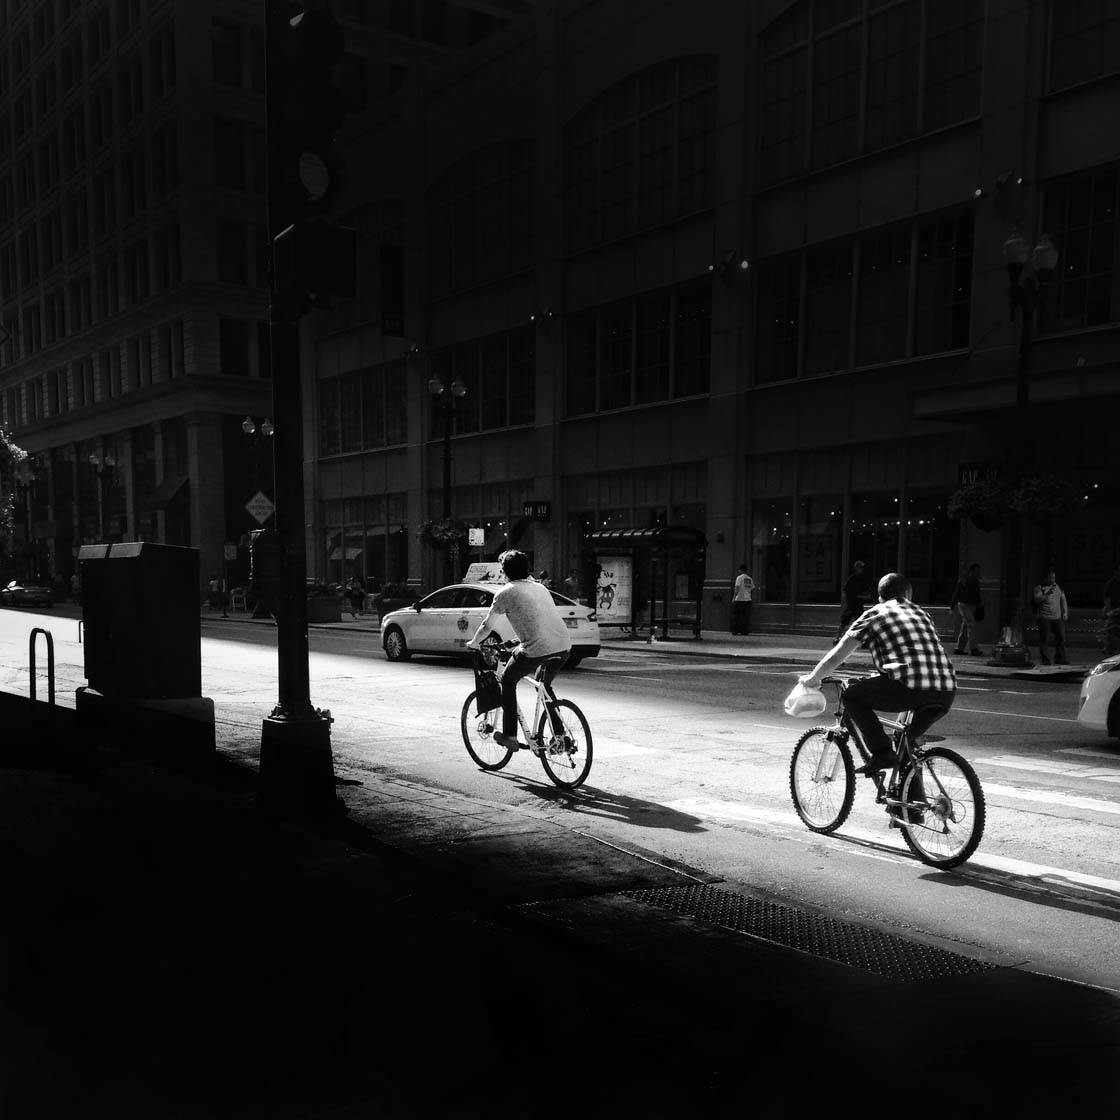
This type of scenario works extremely well for black and white photography as it allows you to create strong definition in the photo. High contrast images, with dark blacks and bright whites, tend to be more visually appealing than a black and white photo with low contrast which will just end up being a muddy sea of grays.
Some scenes are naturally high contrast, such as somebody wearing black clothing stood in front of a white wall. This might result in a silhouette!
But lighting also helps to create high contrast scenes. Strong sunlight is great for creating high contrast in an image as it tends to intensify the difference between light and darkness.d
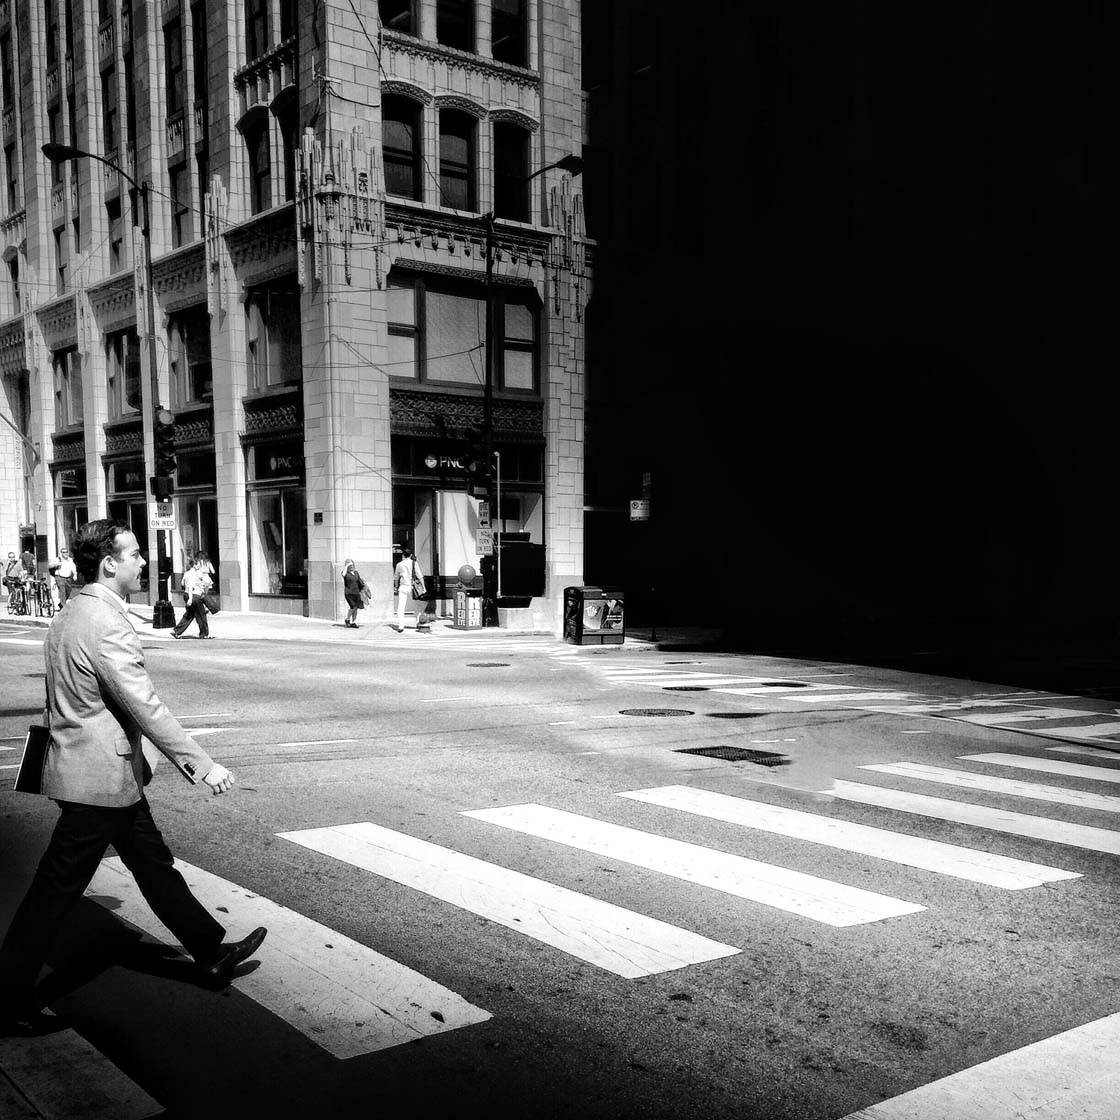
In many cases, harsh light can ruin a photo, and you may well find that the color version of an image taken in strong sun doesn’t look good. But when you convert it to black and white, it often looks great.
The tip here is to expose for the highlights so that you don’t end up with over-exposed areas in your photo. Exposing for the highlights means that the bright areas are correctly exposed and you can see detail in them. As a result of this, the darker areas of the scene will appear very dark, creating excellent contrast in the image.
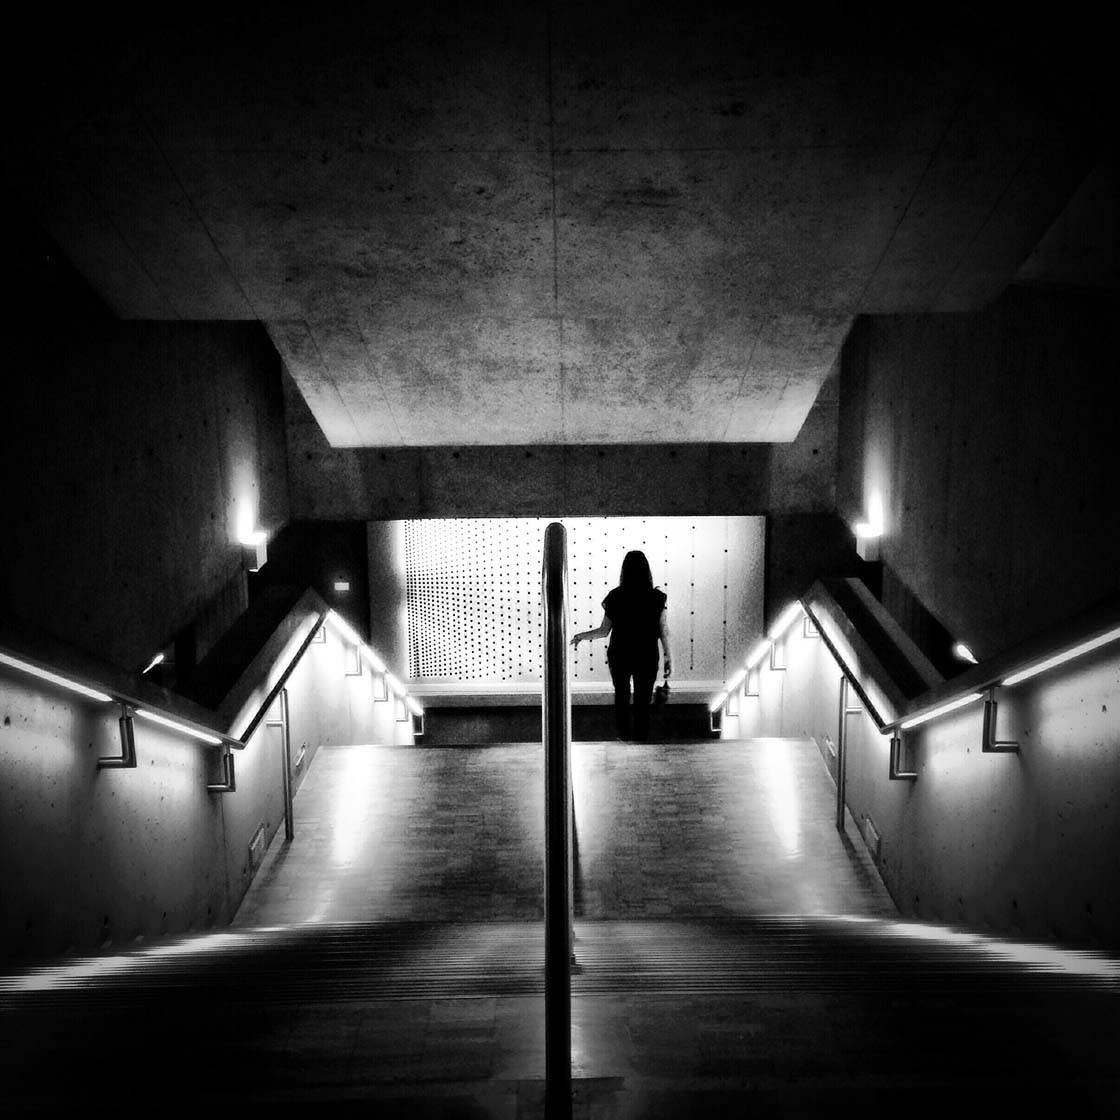
Artificial light can also work really well for creating high contrast scenes, where the varying shades of black and white are well defined.
2. Create Silhouettes
Silhouettes are incredibly visually powerful, and even more so in black and white. A silhouette is where the subject appears as a dark shape against a brighter background.
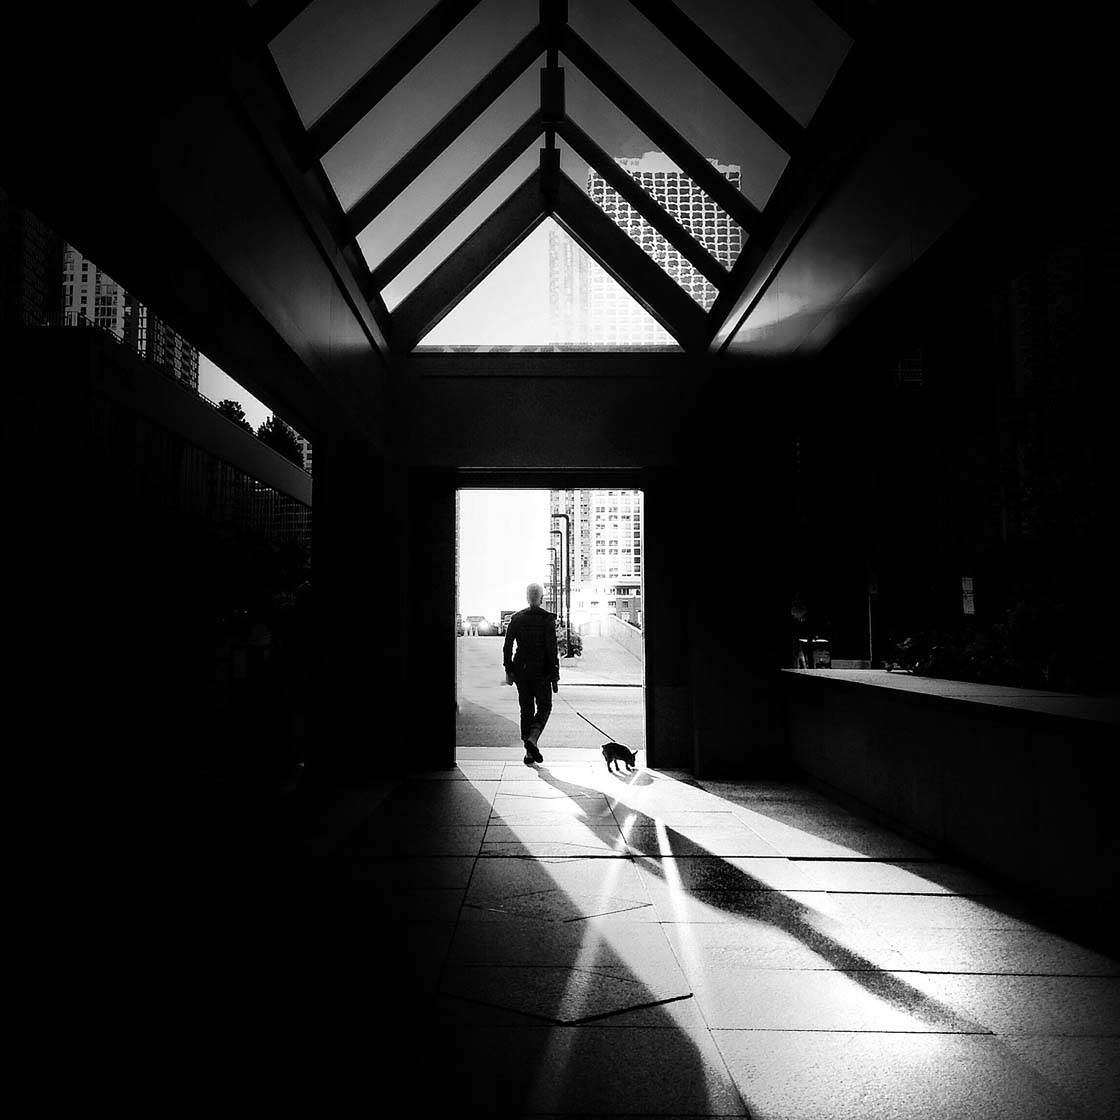
The key to creating the best silhouettes is to make sure the subject is well lit from behind. You could use a person stood in front of the setting sun, or if shooting indoors place them in front of a window or open doorway and shoot towards the light.
After tapping on the iPhone screen to set focus, swipe down on the screen to reduce the exposure so that your subject appears as a dark silhouette against the background.
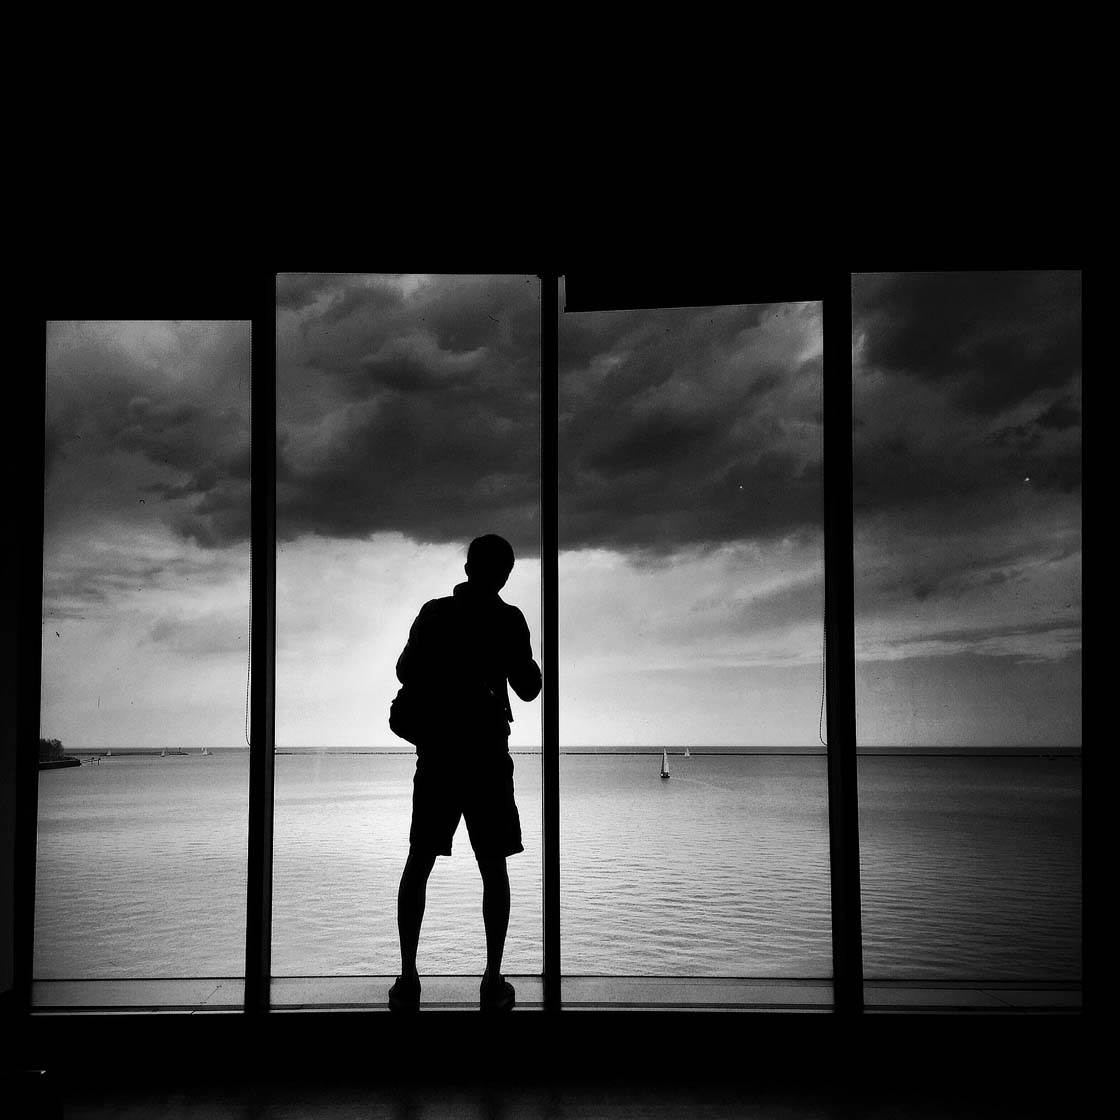
A silhouette always adds mystery to the shot and can be combined with other powerful elements such as a good frame and interesting cloud formations in order to produce a sensational image.
3. Look For Strong Shapes
As you’ve just seen with the silhouettes, photographing a strong shape against a contrasting background works extremely well in black and white photography. But you could also look out for other ways to incorporate bold and interesting shapes into your black and white images.
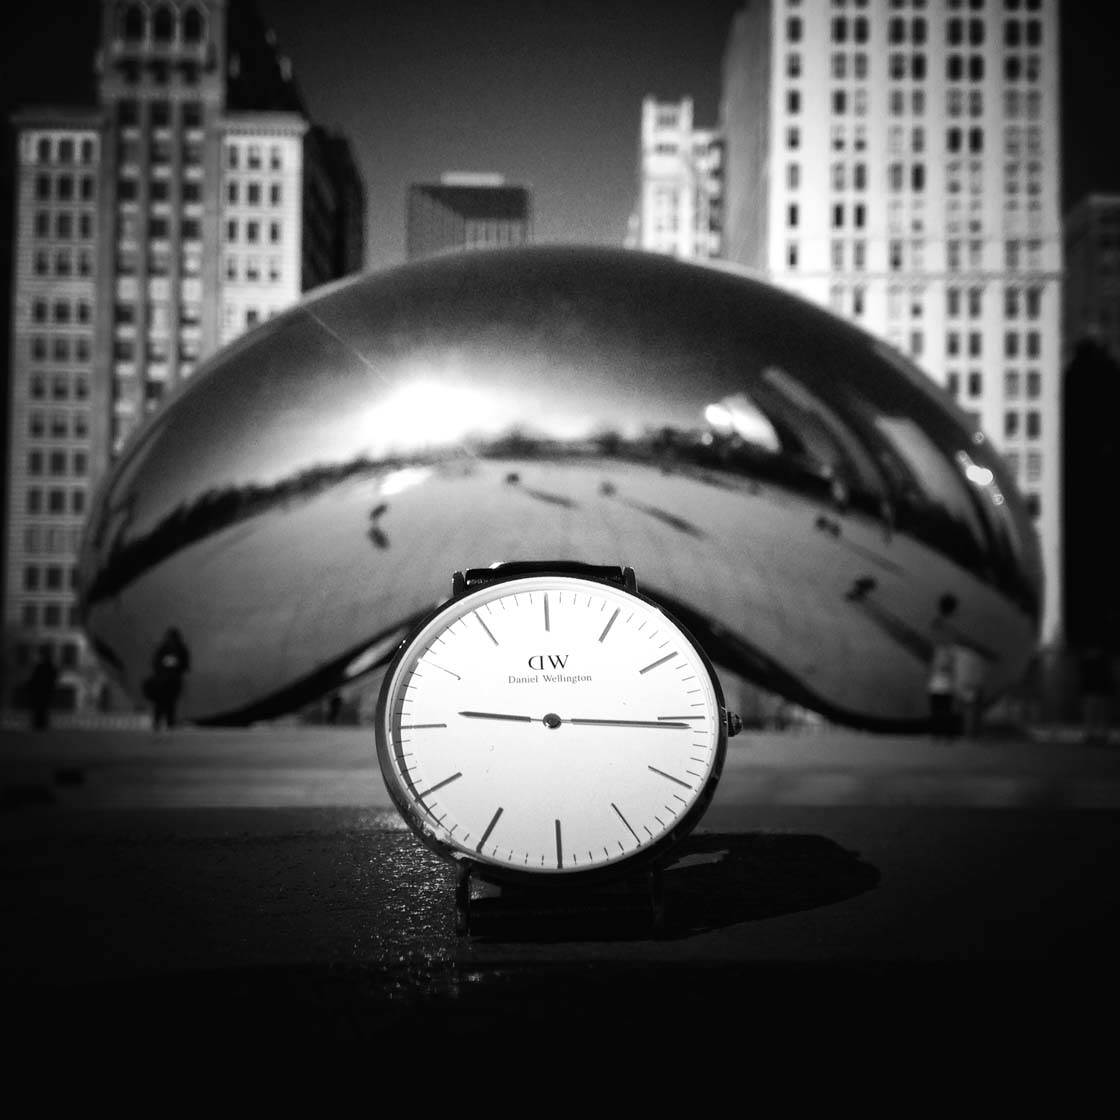
Geometric shapes can work very well in black and white photography. When the color is removed from an image, the outline of the shapes become more prominent within the image.
Look out for circles, squares, rectangles, lines and other shapes in the environment around you. Whether you’re shooting in the city or out in nature, it’s amazing what shapes you’ll spot once you start looking.
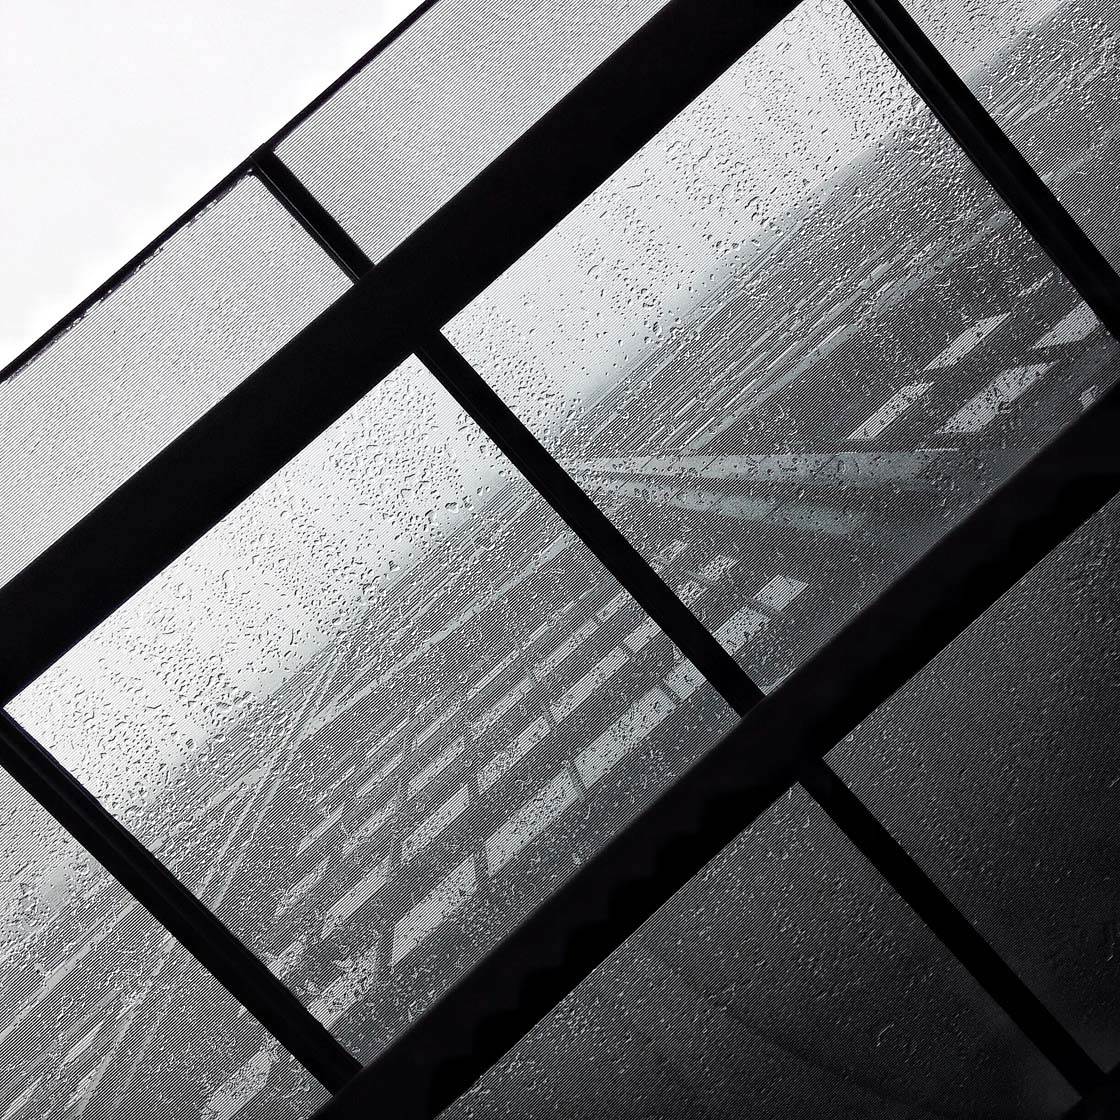
Architecture is a great source of strong graphical shapes that lend themselves to black and white photography. Some shapes, such as windows, can provide a nice frame for a shot. They create a defined border, helping to draw the viewer’s eye towards the main subject in the scene.
4. Include Shadows
Shadows are a great way of creating visually appealing and mysterious images. They often add so much to the mood of an image and help to highlight the most important components in a photo. Try shooting in harsh sunlight where strong shadows will be at their best.
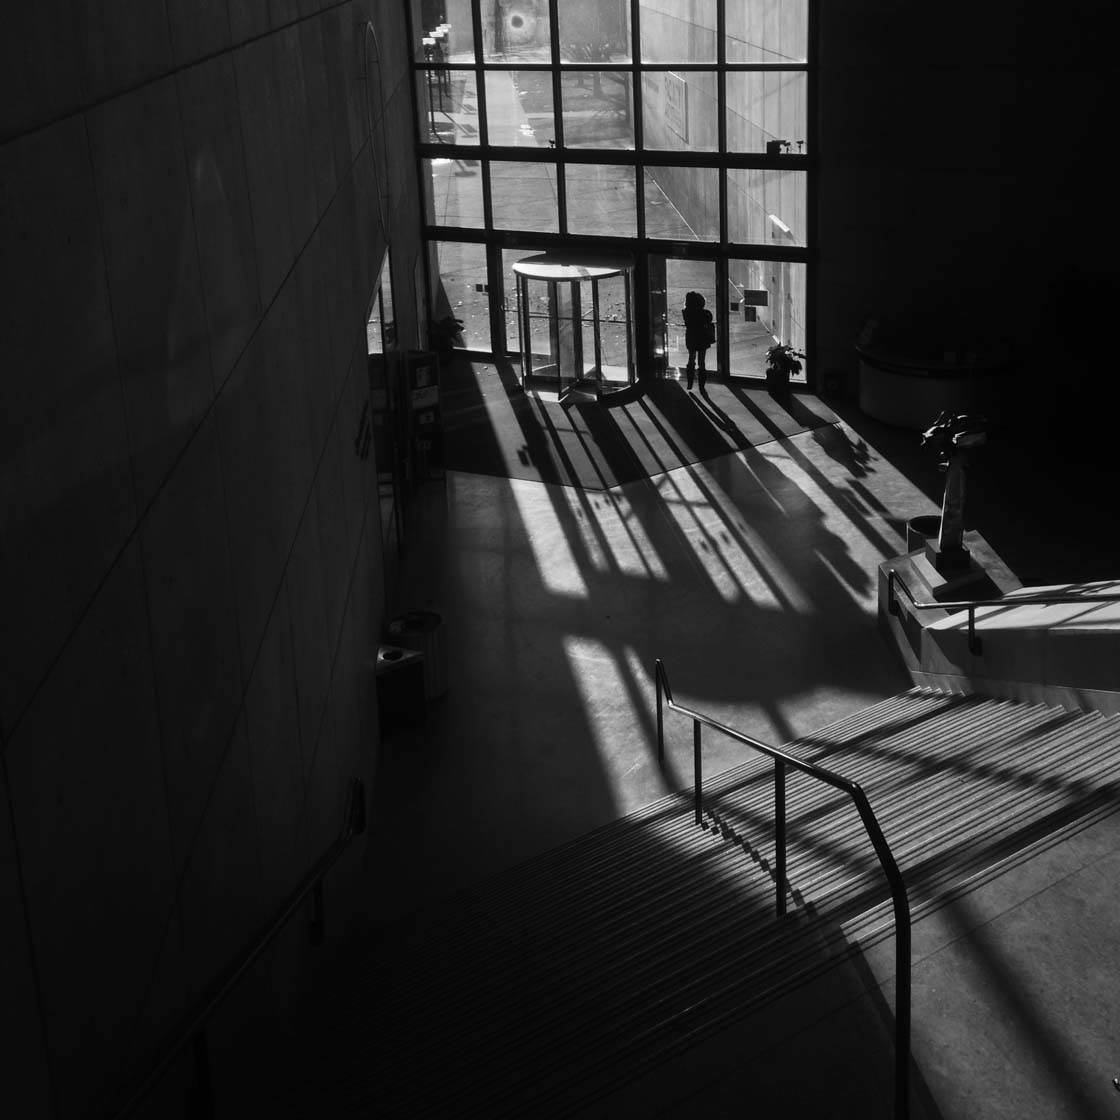
In black and white photography, shadows are great at helping to add contrast to your images. The dark shadows accentuate the brighter areas of the scene, creating wonderful contrast in the scene.
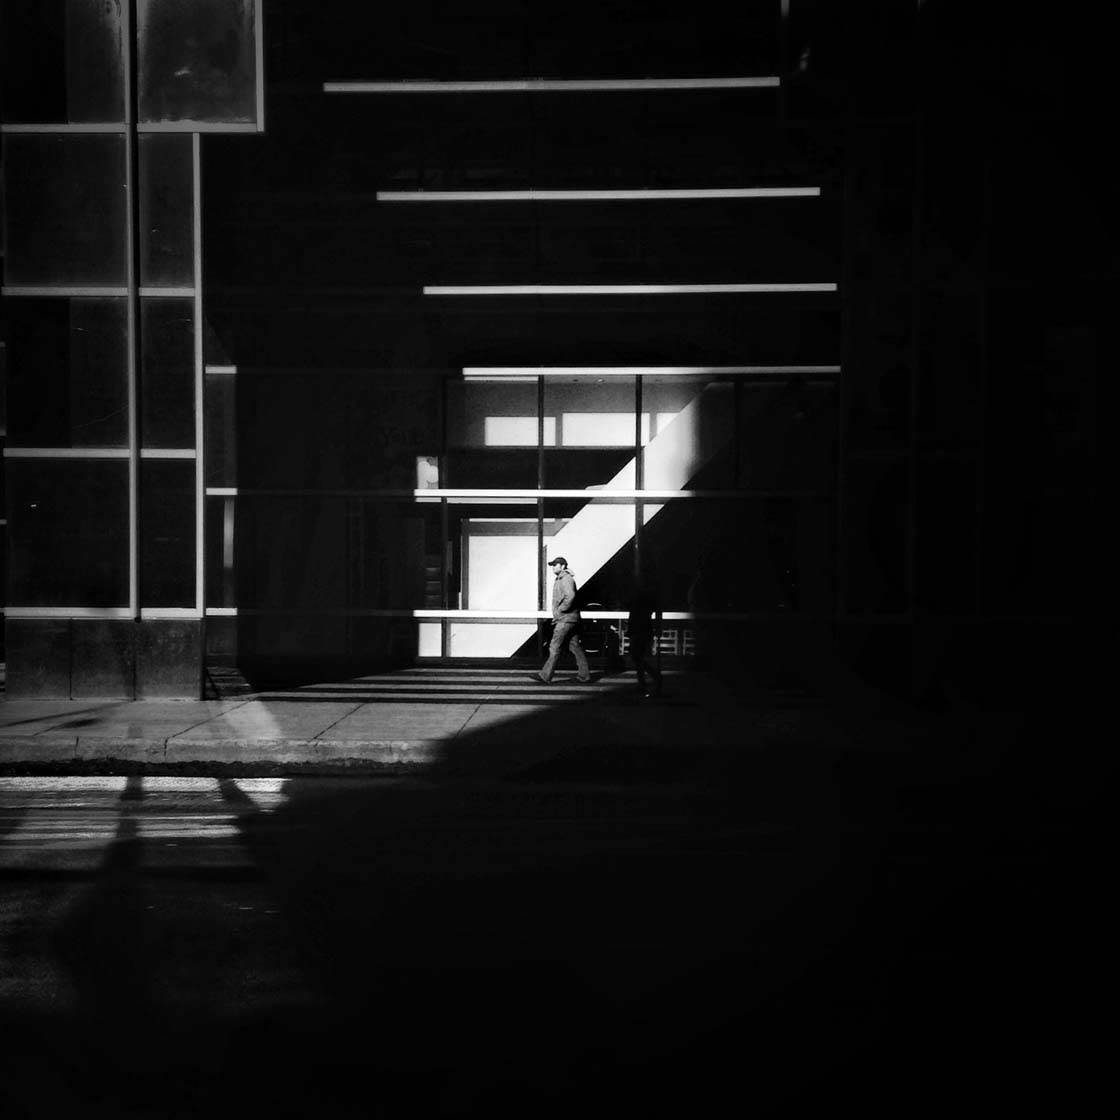
Shadows are important in deciding the overall composition of a photo as they isolate areas of light into which you can place your subject. The dark shadowed areas tend to draw the viewer’s attention towards the main subject.
5. Photograph Patterns
Repetitive patterns are great at creating strong contrasting shapes within a scene, and this is particularly suited to black and white photography.
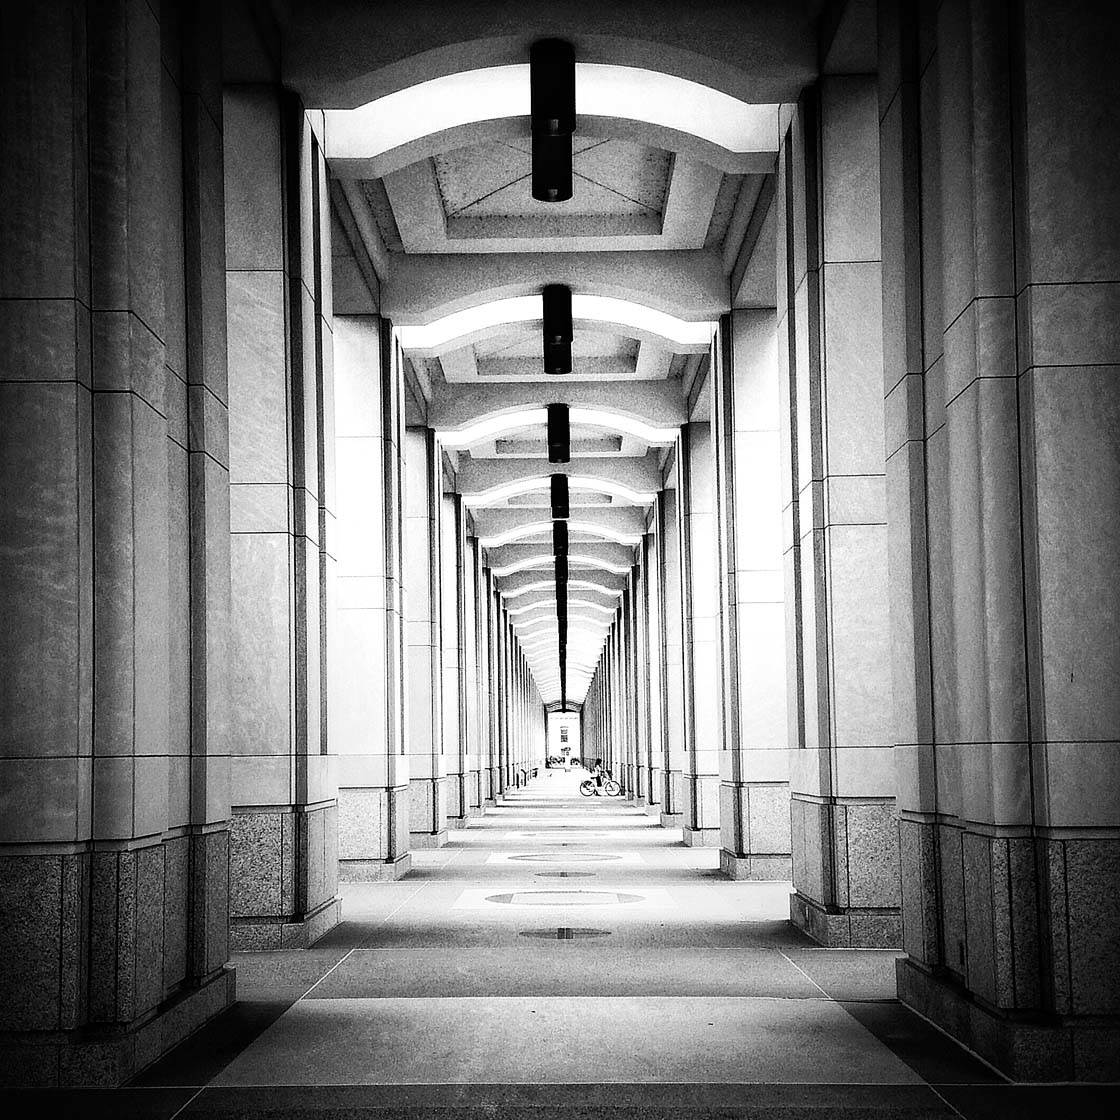
Architecture with strong symmetry is great place to start. These structure provide amazing recurring patterns, and when the color is removed it can take on an abstract property that intrigues the viewer. The pattern, rather than what the subject is, becomes the most important thing about the photo.
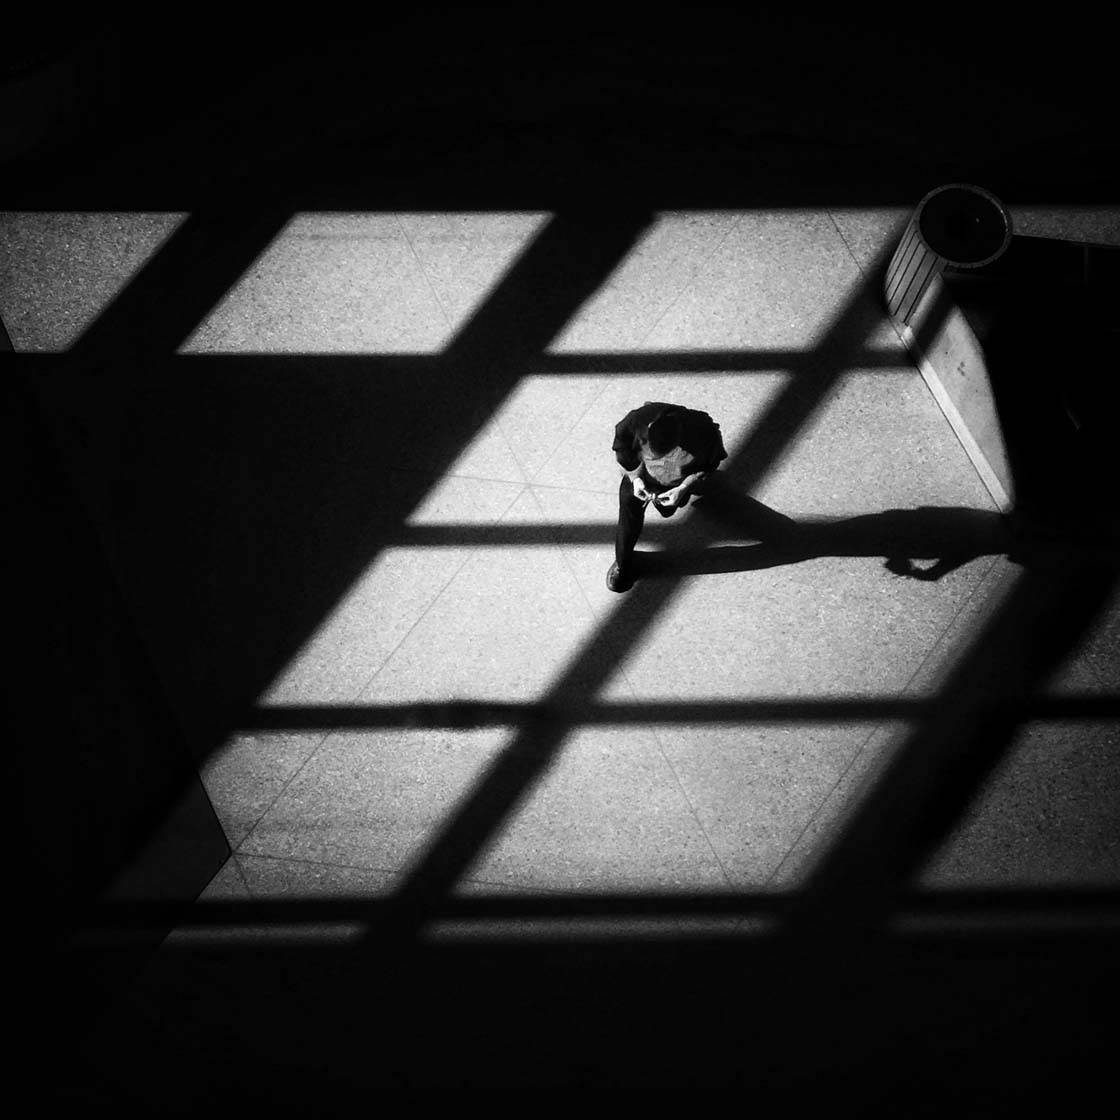
Try looking out for patterns created by shadows too. Light shining through a window or stair railings often results in amazing shadows on floors and walls that create unique patterns of lines and shapes.
6. Find Interesting Textures
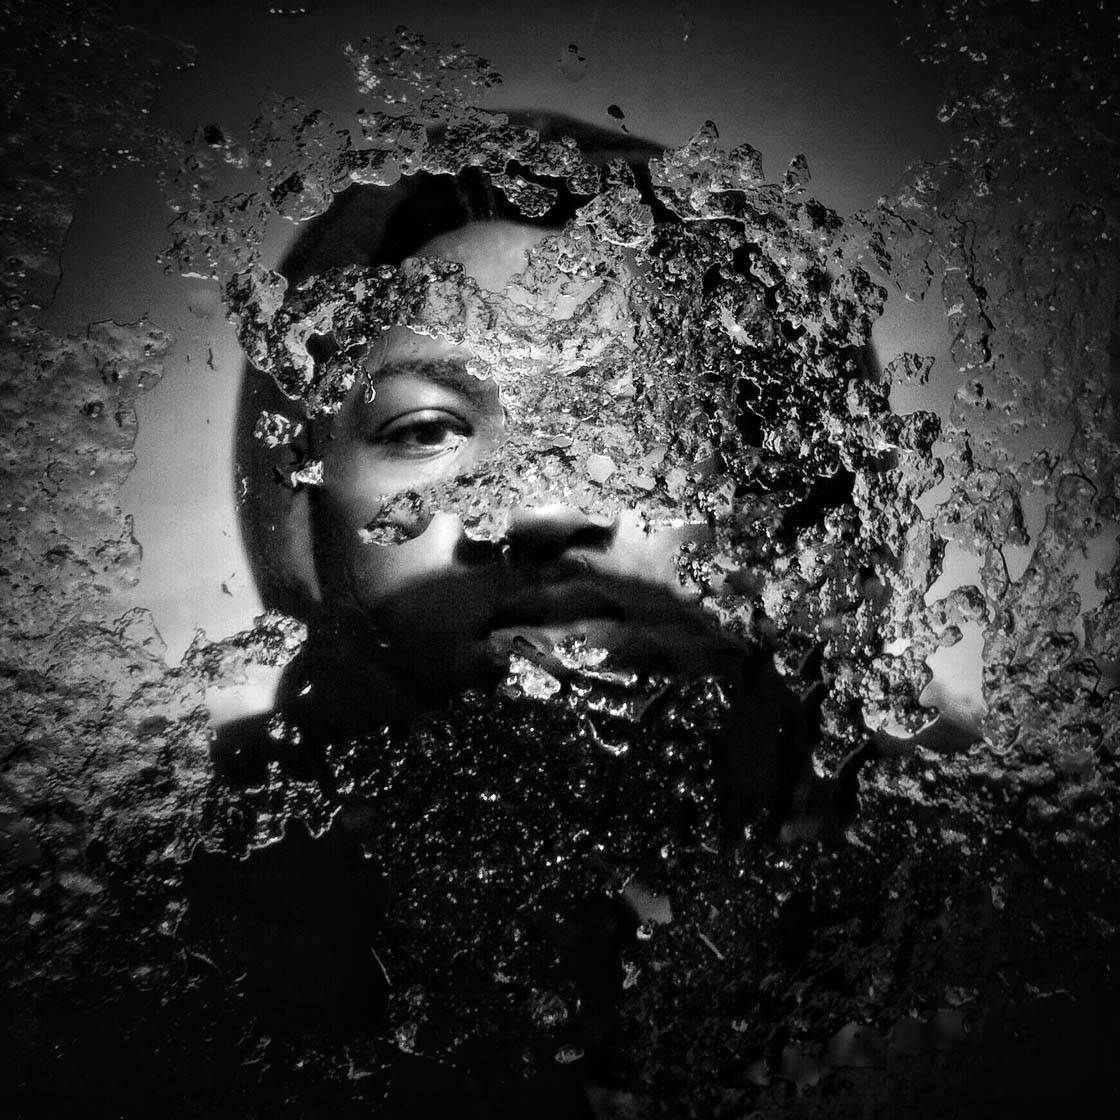
Textured surfaces can work really well when captured in black and white as they tend to have natural contrast and create interesting patterns.
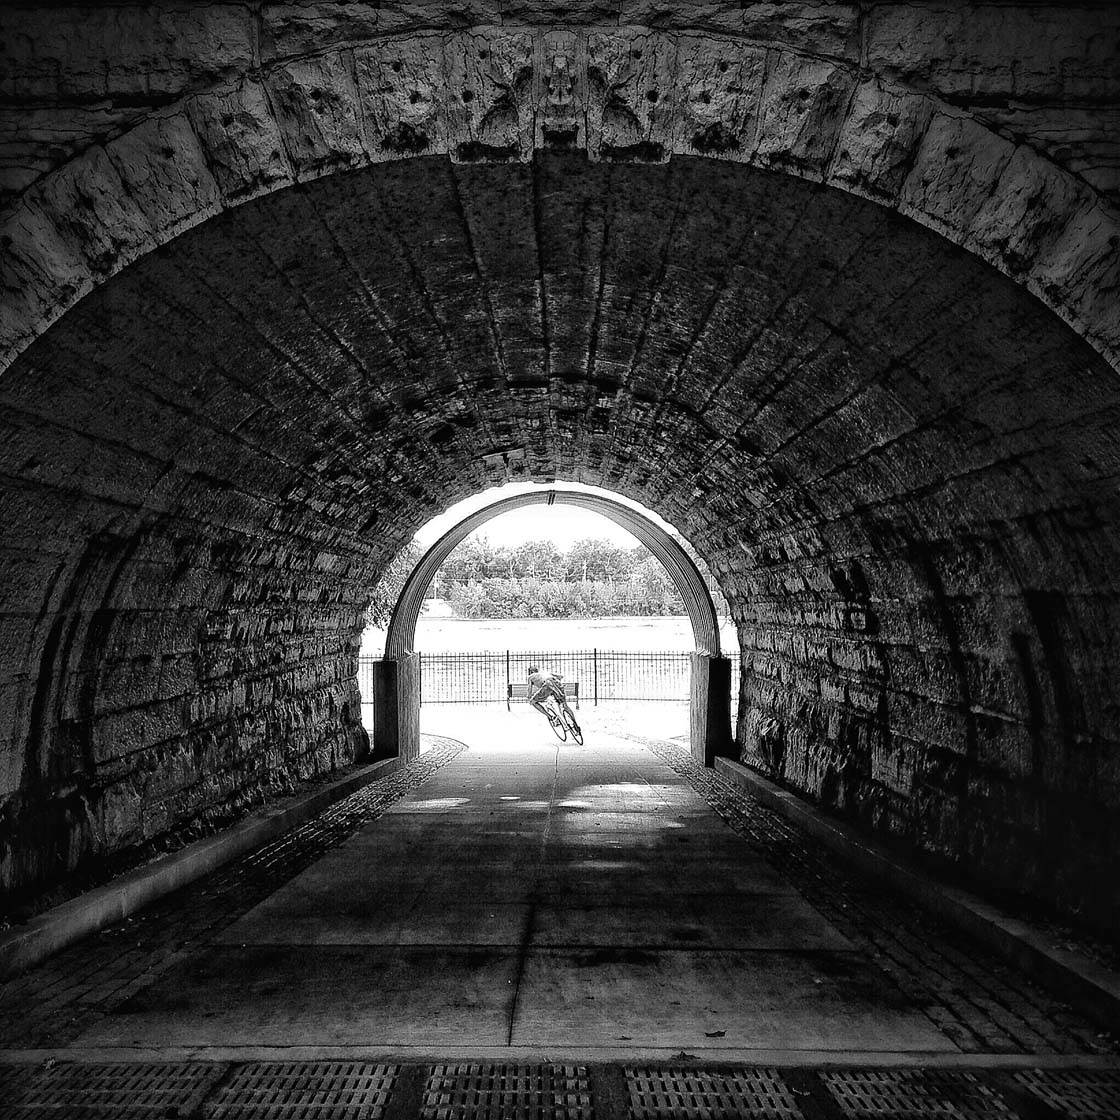
Rough tree bark and stone walls are examples of texture that can look great in black and white. Try to capture these textured surfaces when the light is hitting them in a way that emphasizes the contrast. You can use sharpening tools in post-processing apps to enhance detail in the texture.
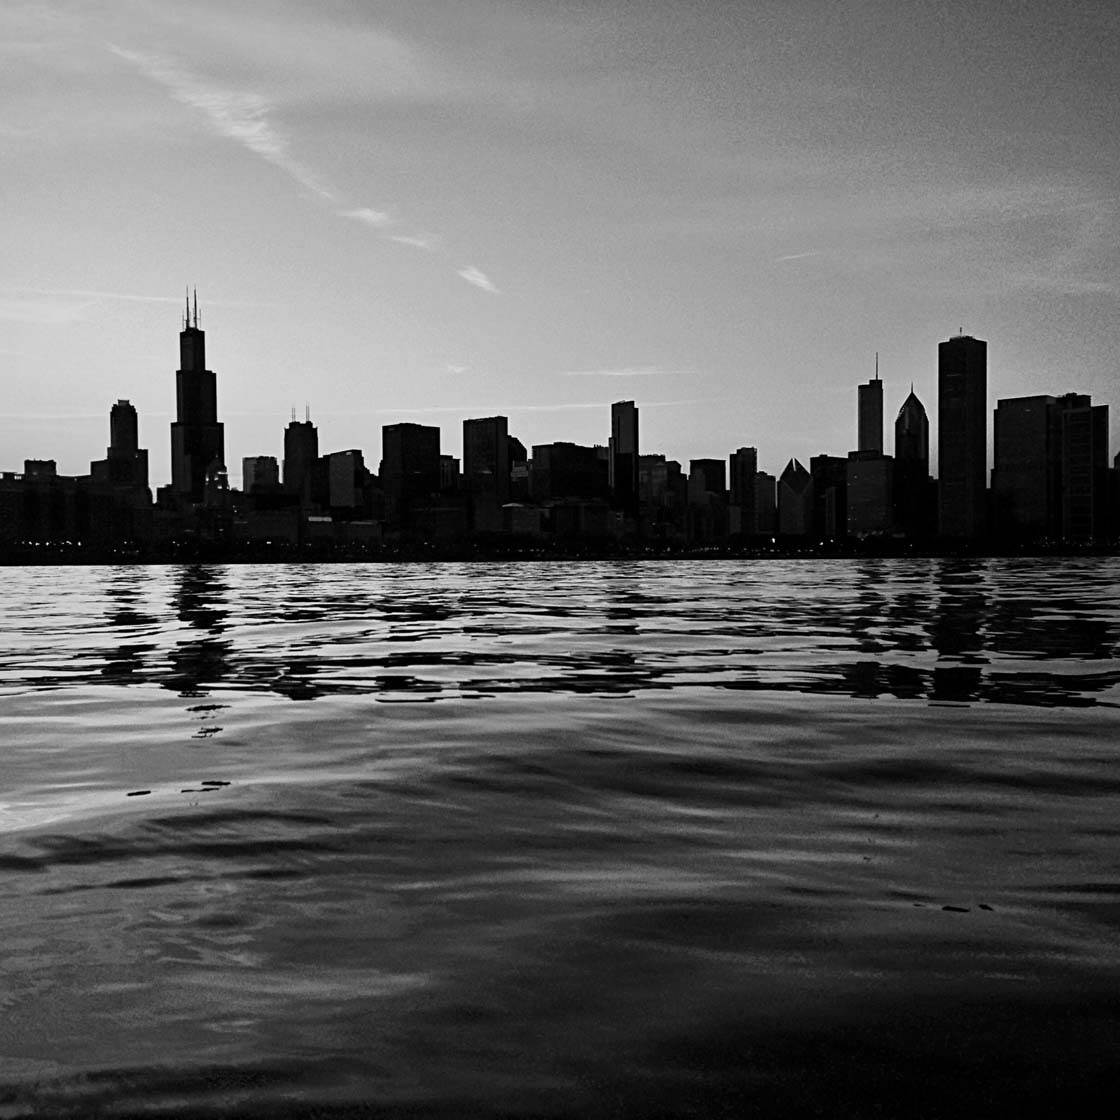
When shooting landscape scenery, pay attention to bodies of water like the sea, lakes and rivers. Capturing moving water provides great texture when the light is reflecting off it, creating patterns and high contrast when converted to black and white.
Abandoned places are perfect for finding great texture. In these locations there’s usually some form of decayed beauty such as peeling paint, rough wood, old bricks, etc. that look amazing in good lighting. Such locations evoke remarkable emotion and often leave the viewer in a thoughtful mood.
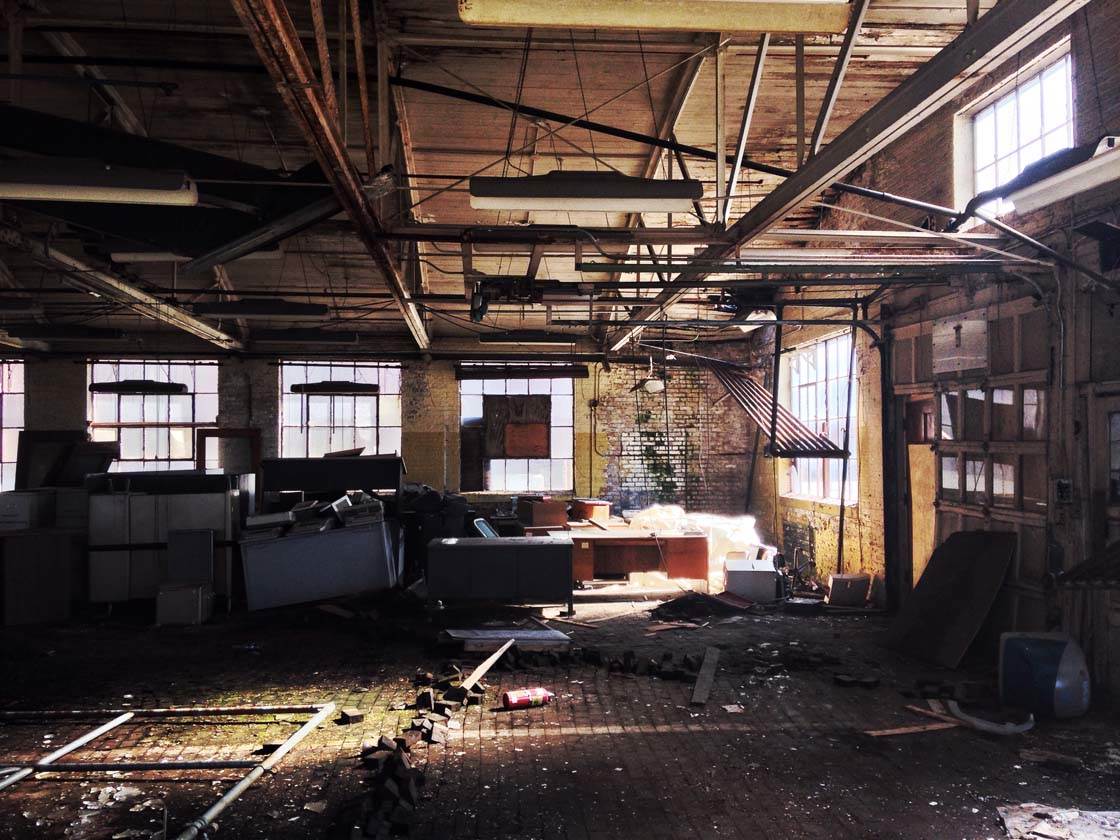
Above is the color version of an old abandoned building. Because there’s so much going on in the scene, your eye tends to get lost and it looks rather a messy image.
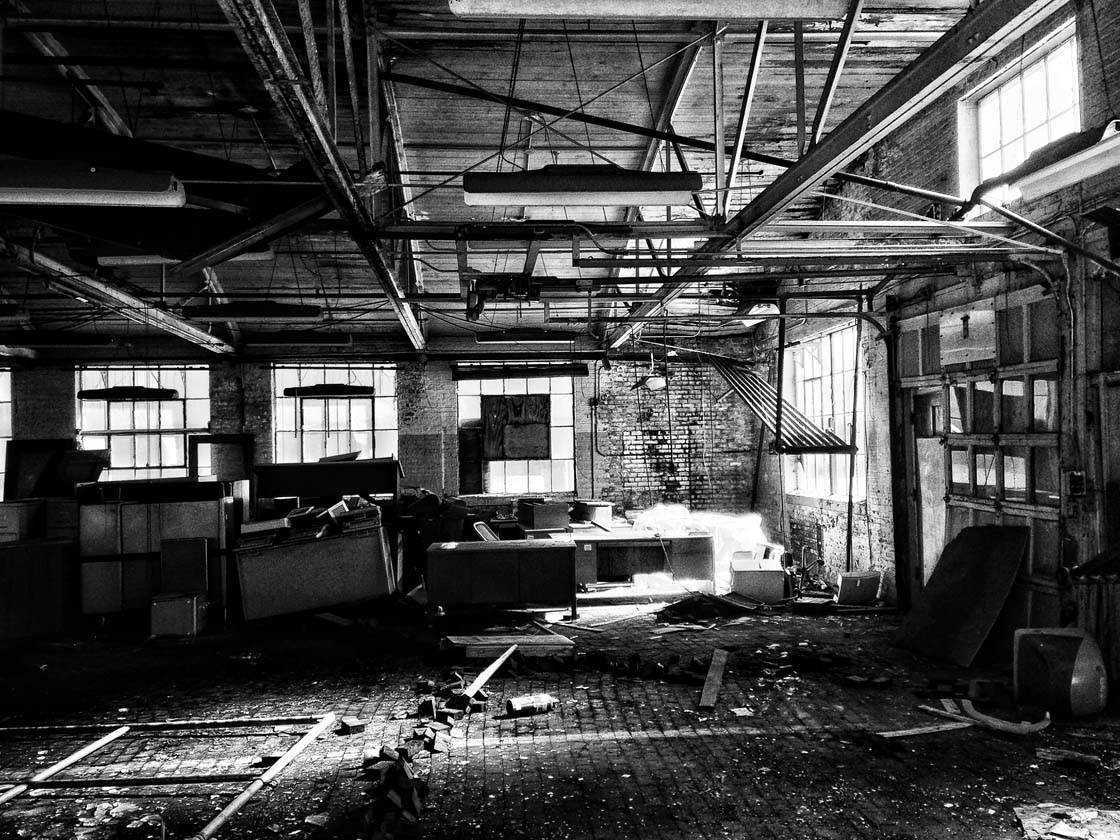
Converting it to black and white makes it easier to focus on the important elements of the scene, such as the textures, shapes and interesting light.
7. Use Negative Space
Negative space refers to the empty space that surrounds your subject in an image. Many people are afraid of composing a photo that includes a large amount of empty space, but it can actually work to your advantage, helping to focus the viewer’s attention on the main subject.
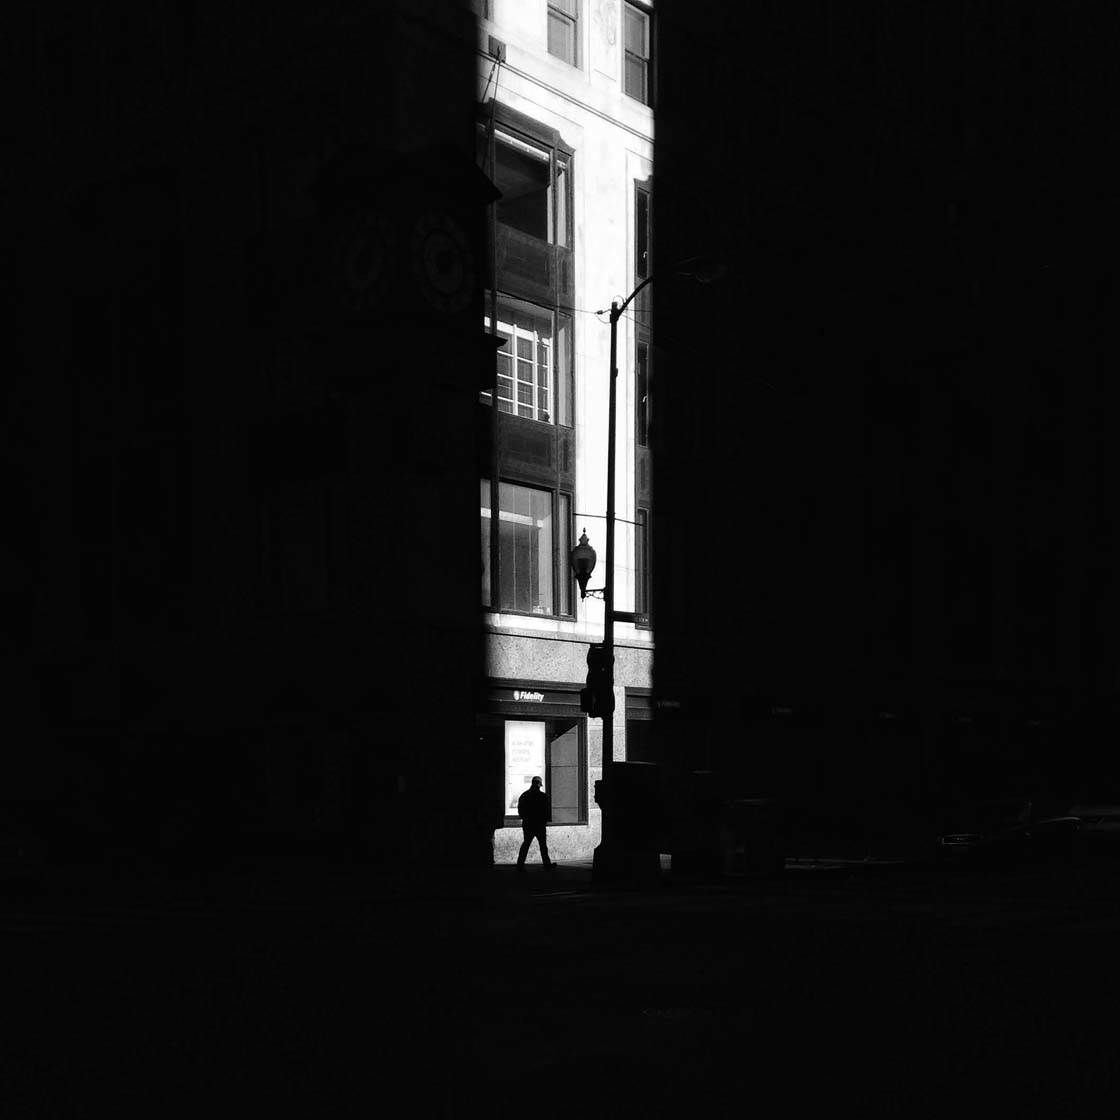
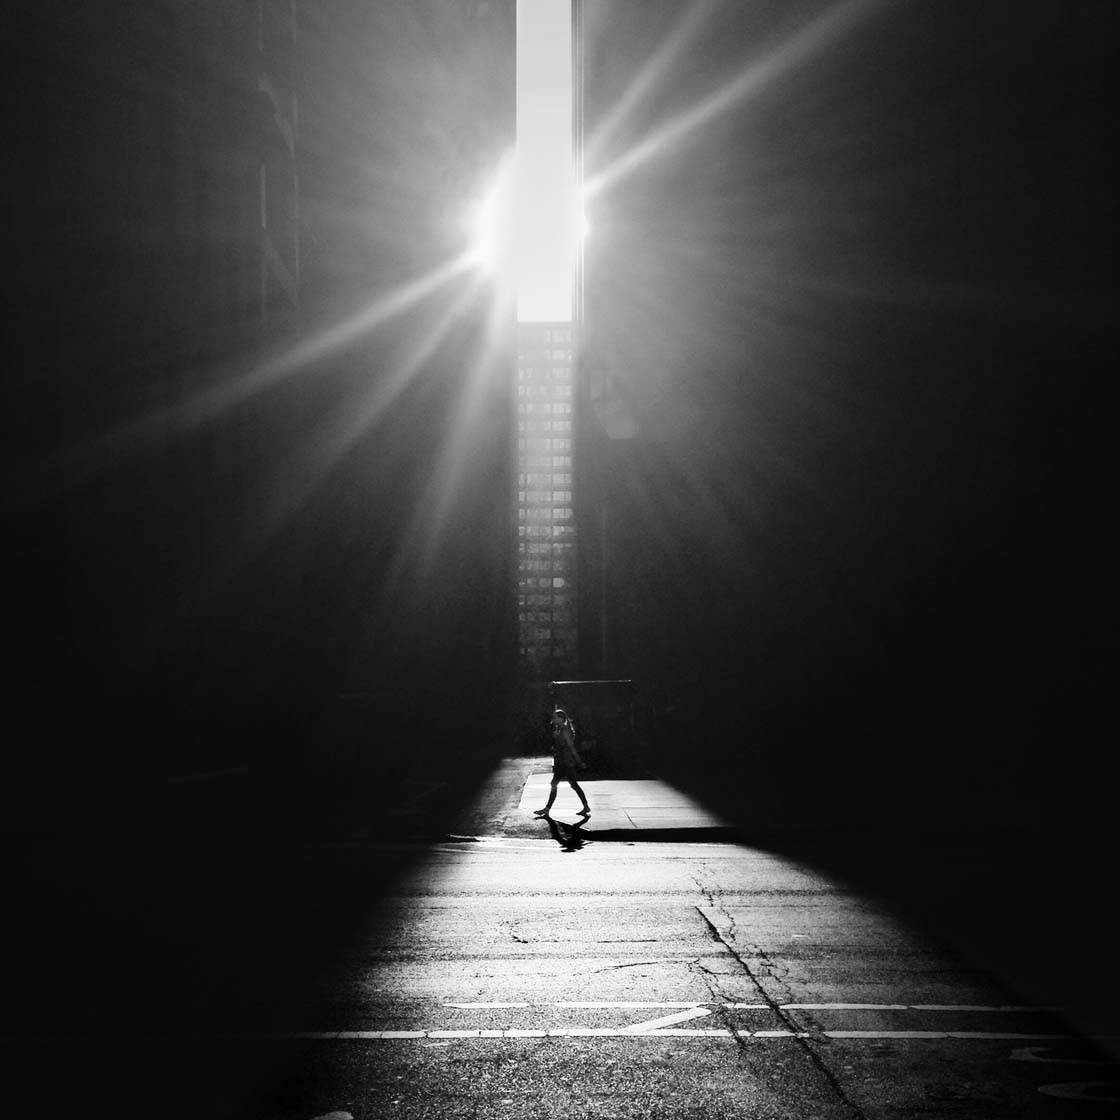
A great way of using negative space in black and white photography is to use deep, dramatic shadows to fill a large amount of the frame. As long as you have a contrasting brighter area that contains the main subject, this will help emphasize the subject, even if they’re quite small within the scene.
Dark areas of negative space often add a sense of mystery and foreboding to an image. It makes a black and white photo more intriguing and tends to prolong attention on the subject.
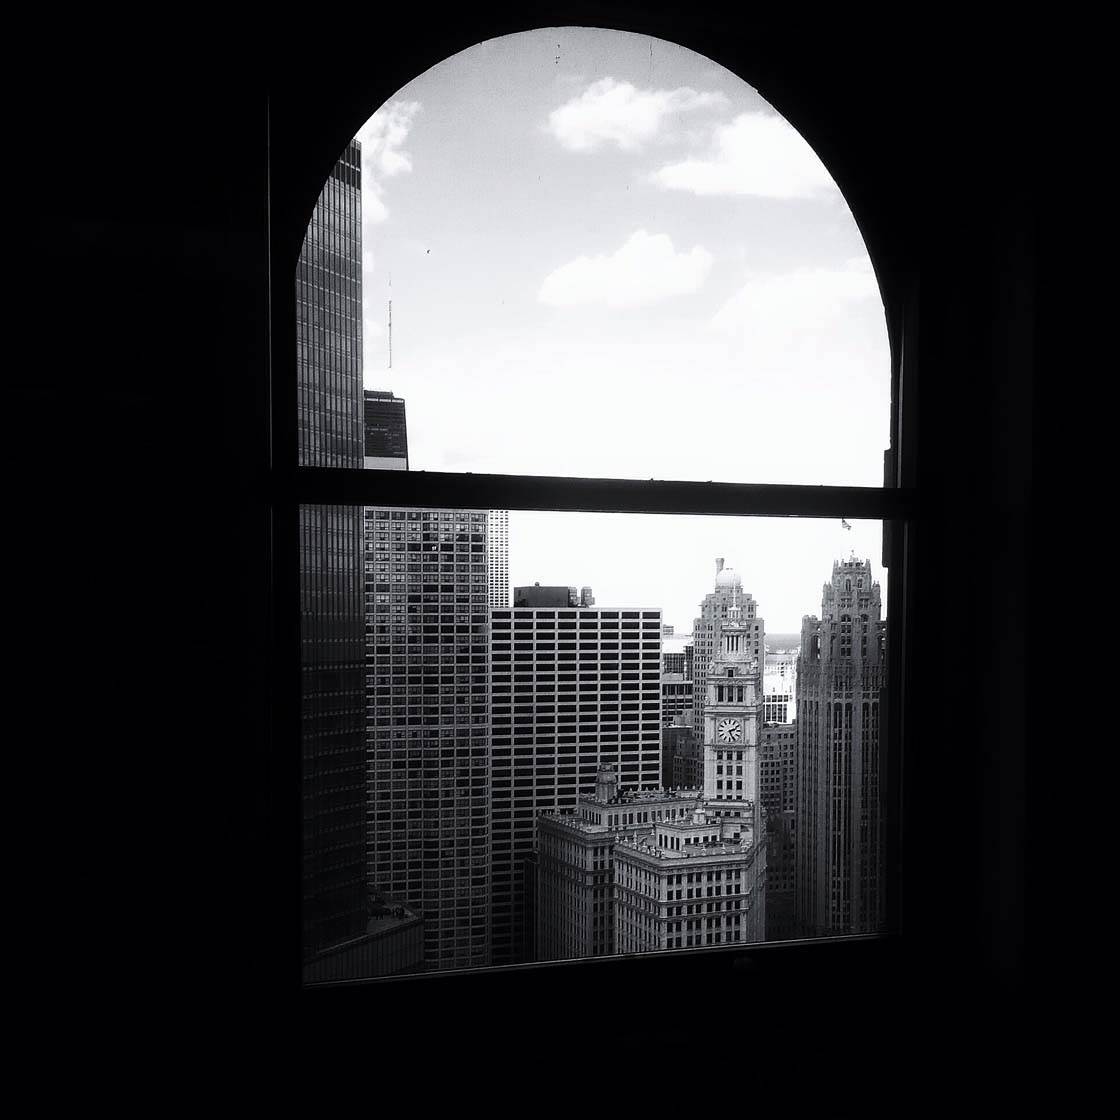
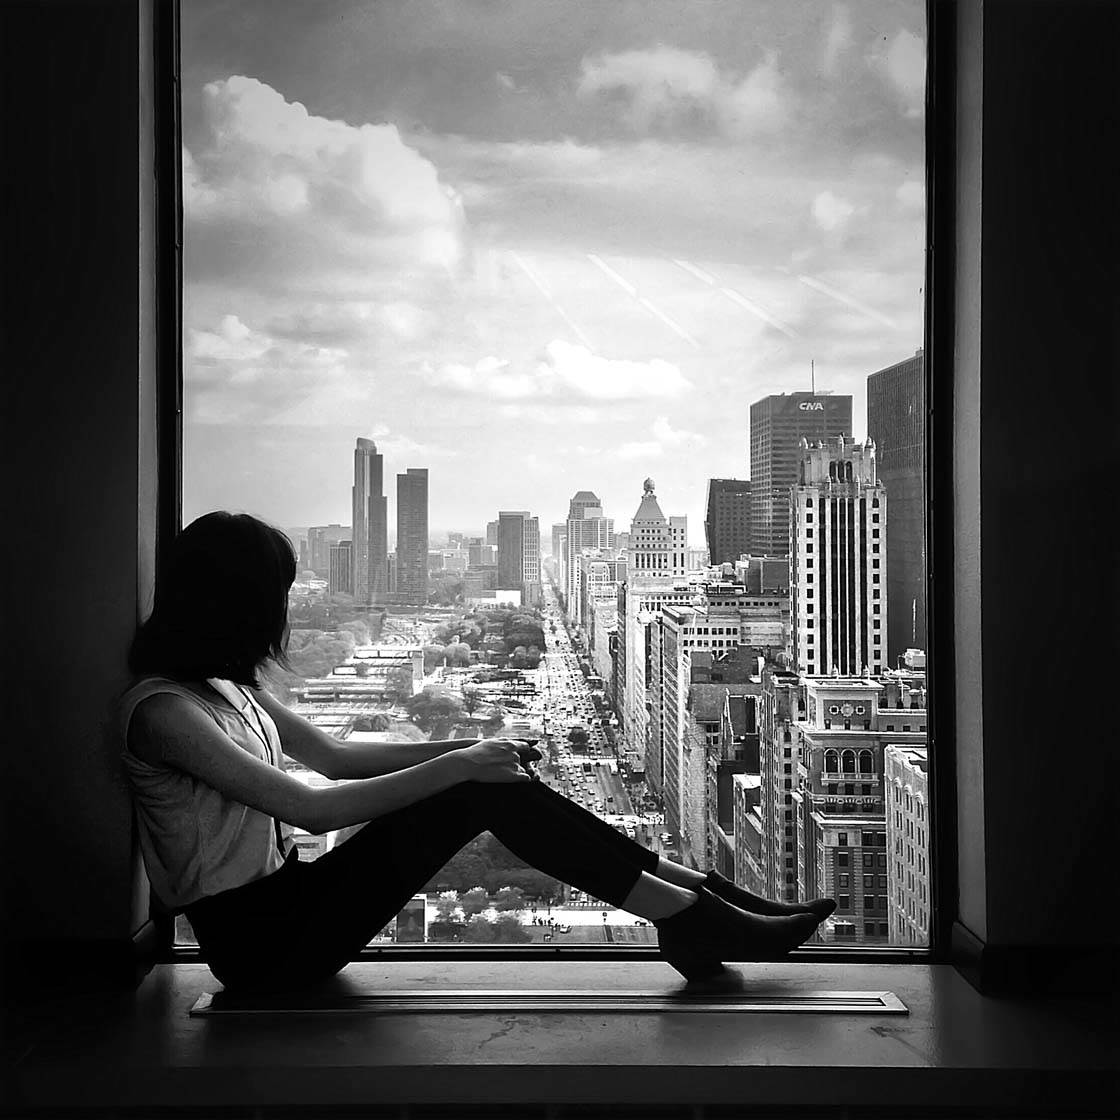
Shadows aren’t the only form of negative space that you can use. Here I used the dark area of a window frame and surrounding wall to create negative space that acts as a frame around the scene outside. This empty space allows the viewer to focus on the most important elements in the photo. Such darkened areas would be difficult to achieve in a color photo.
8. Capture Moody Clouds In Landscapes
If you’re shooting black and white landscapes, bad weather is your friend! Stormy weather is always a great asset for creating the best black and white landscape photos. In these weather conditions the dramatic cloud formations provide dark and moody skies which look really powerful in black and white.
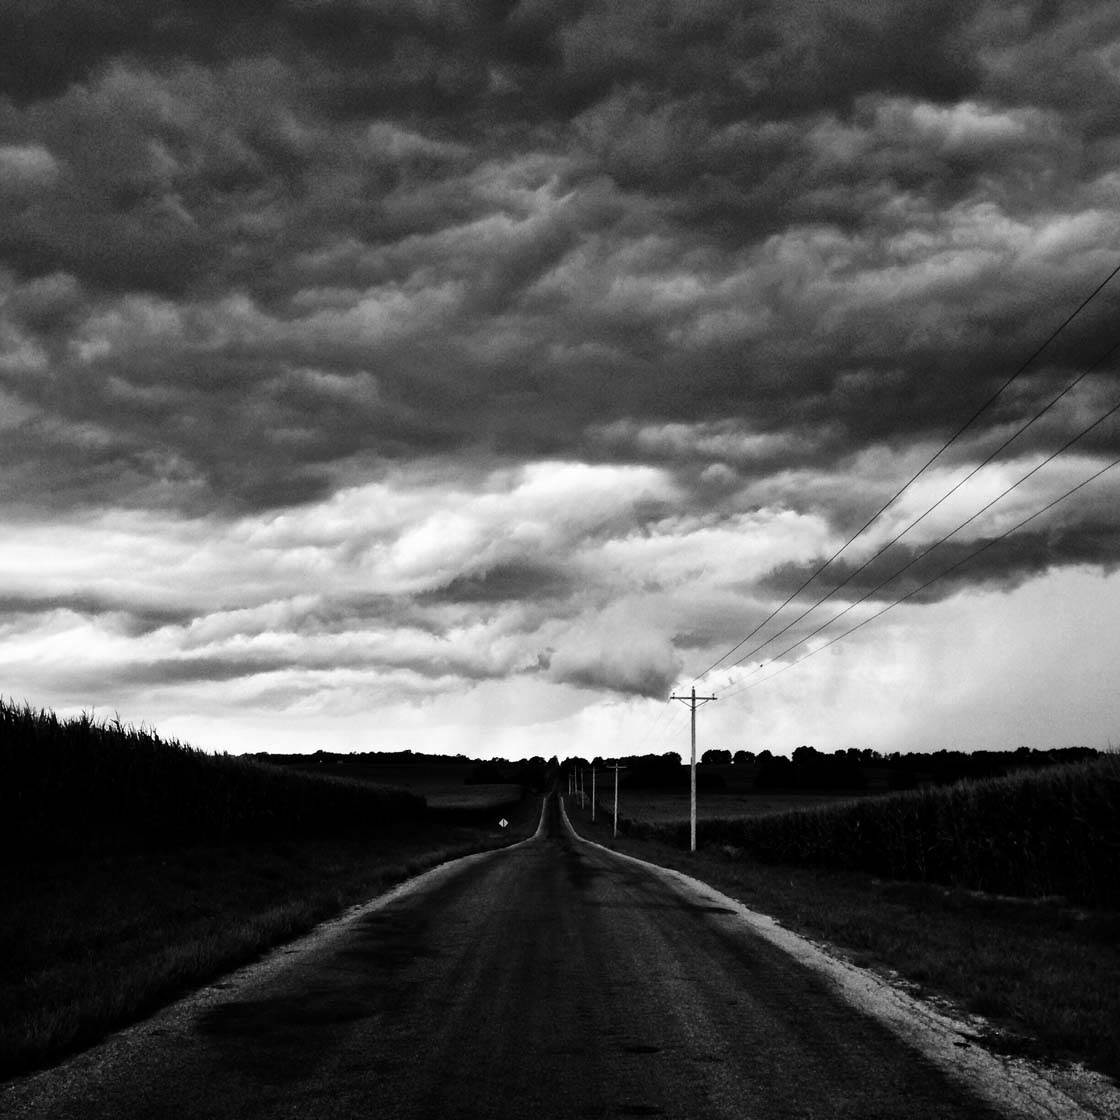
Flat blue skies don’t work very well in black and white landscape photography as the sky will just appear as a plain, dull expanse of grey. Paying attention to the weather and capturing interesting cloud formations allows you to add more defined elements to the sky in a black and white photo.
How To Create A Black & White Photo
When you want to create a black and white photo you have two options. One option is to use a dedicated black and white camera app such as Hueless ($1.99) to take the photo in black and white to start with. You can even shoot in black and white using the native camera app if you tap the filters icon at the bottom right of the screen and select one of the black and white options.
The other option is to shoot in color, and then convert to black and white in post-processing. In most cases, it would be advisable to shoot in color as this gives you more options in post-processing.
In this section I’m going to show you how I converted an image to black and white using a couple of different apps: Noir Photo ($2.99) and Snapseed (FREE download).
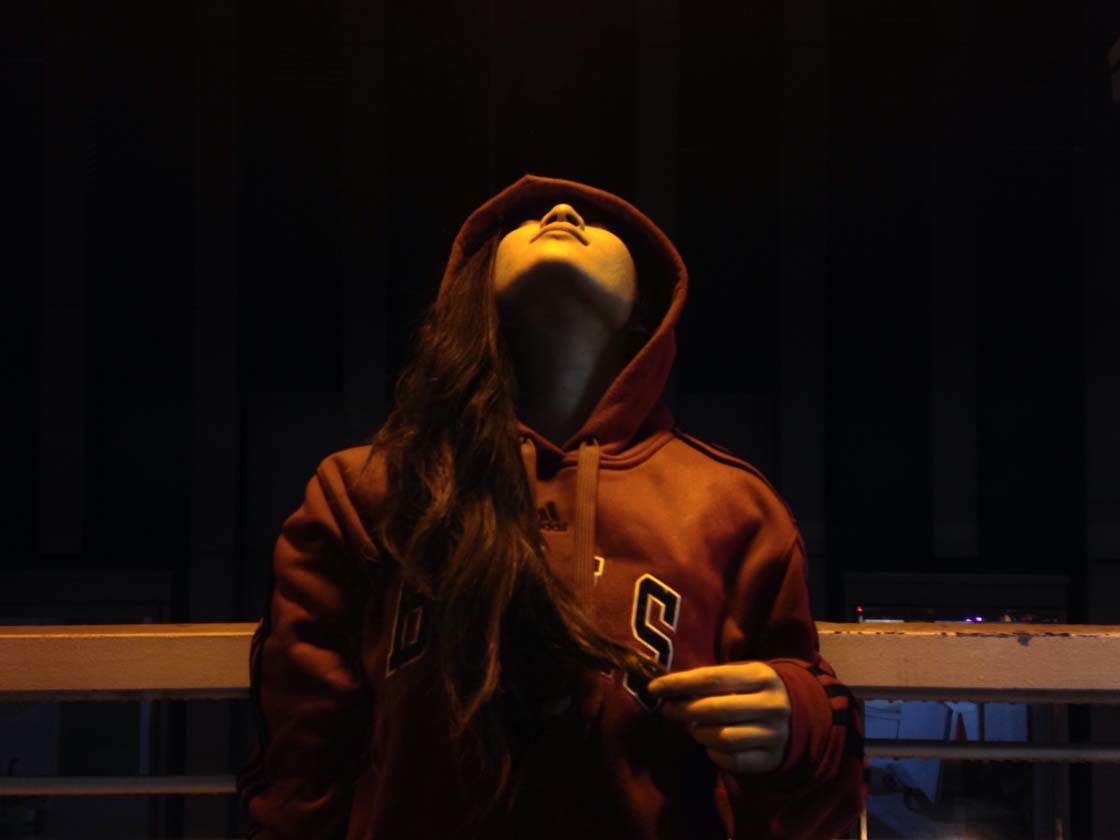
Above is the original color photo of a portrait shot at night. Although the lighting is good, with interesting shadows and highlights and a lot of negative space in the background, it will be difficult to edit the warm glow created by the artificial light source in color.
In this situation a black and white edit is the best option. It will remove the bold colors that distract the eye, and put the focus on the important parts of the scene.
The Noir Photo app is an incredible asset for the post-processing of black and white photos. It capitalizes on already strong elements such as high contrast and light in order to create a fine piece of art. It’s also a great editing tool for portraits as it ensures that prominent features are well enhanced.
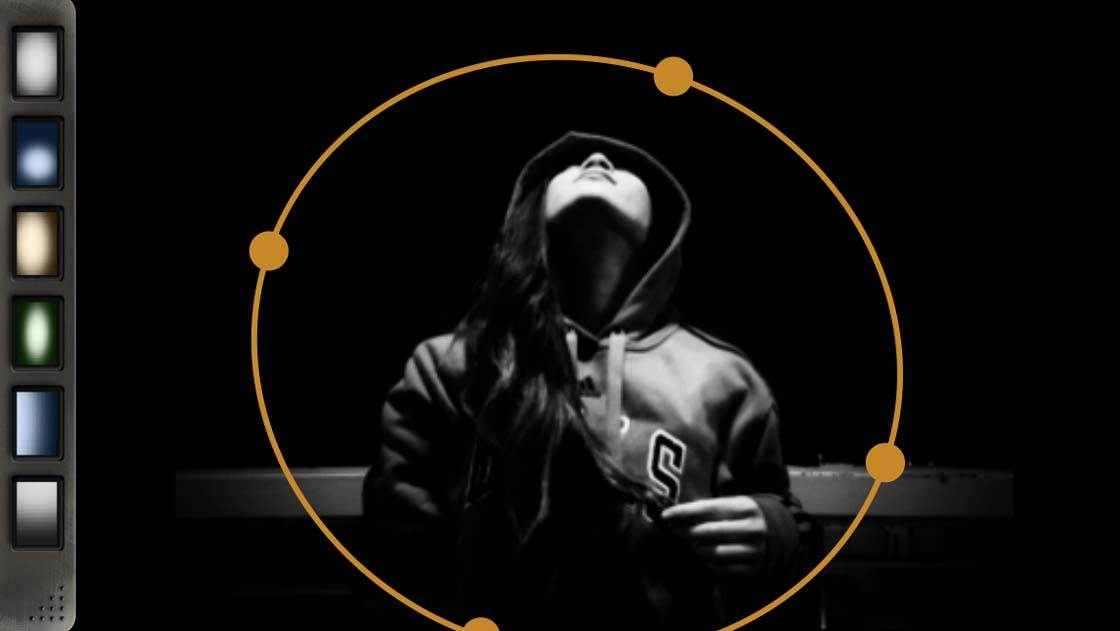
After importing your image into the Noir app, use the orange oval shape to adjust the focal area by moving it around the subject. A dark vignette will be applied to areas outside of the oval, helping to place more emphasis on the subject.
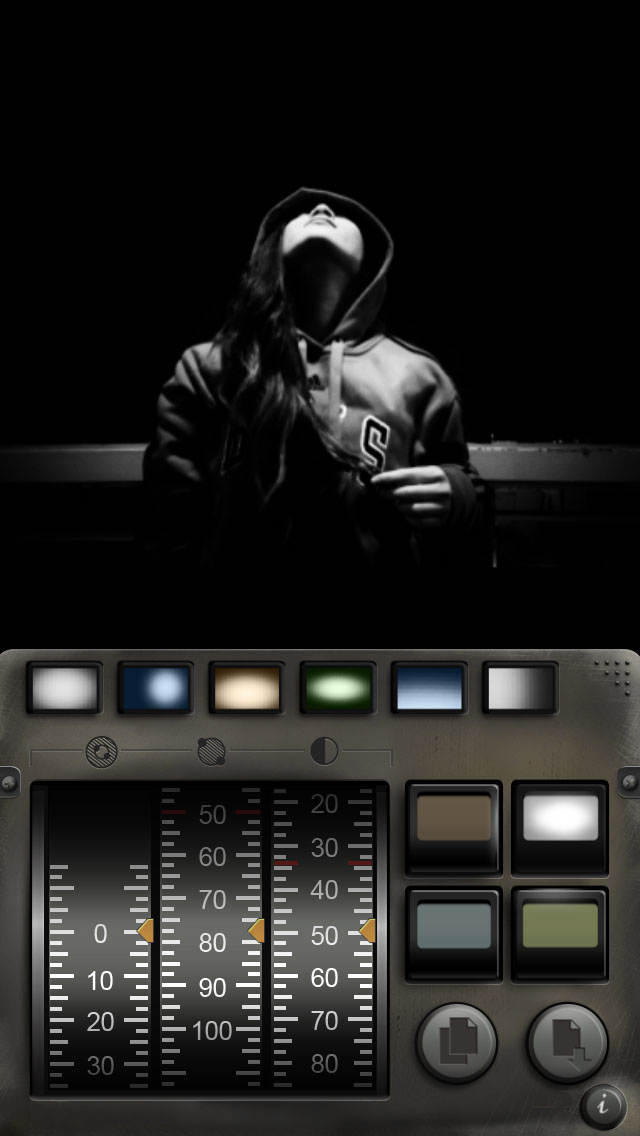
In the screenshot above, the dial on the left is responsible for creating the vignette effect. Swipe up or down on the dial to increase or decrease the vignette. The middle dial controls light intensity and the dial on the right adjusts contrast.
After selecting the focal area using the orange oval and selecting the amount of vignette, I typically increase the brightness using the middle dial, and decrease the contrast using the right-hand dial. Of course, it depends on the original image and what kind of look you’re going for, so experiment with the dials until you achieve the effect you want.
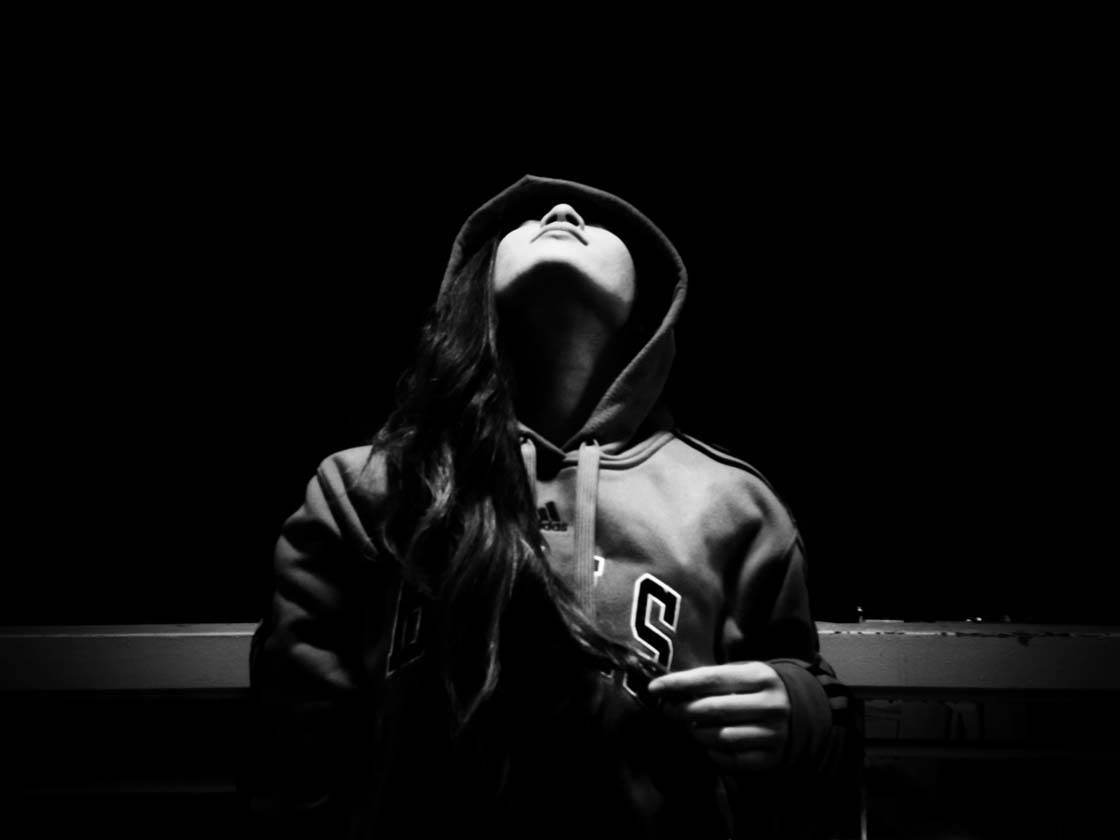
Above is the photo after editing it in the Noir app. You may notice that some images appear with a purple tinge after editing in Noir, but you can easily neutralize this in the Snapseed app. You can also use Snapseed to tweak other settings such as exposure and sharpness.
After importing the black and white image you just created into Snapseed, tap the plus (+) icon on the main screen to access the tools and filters.
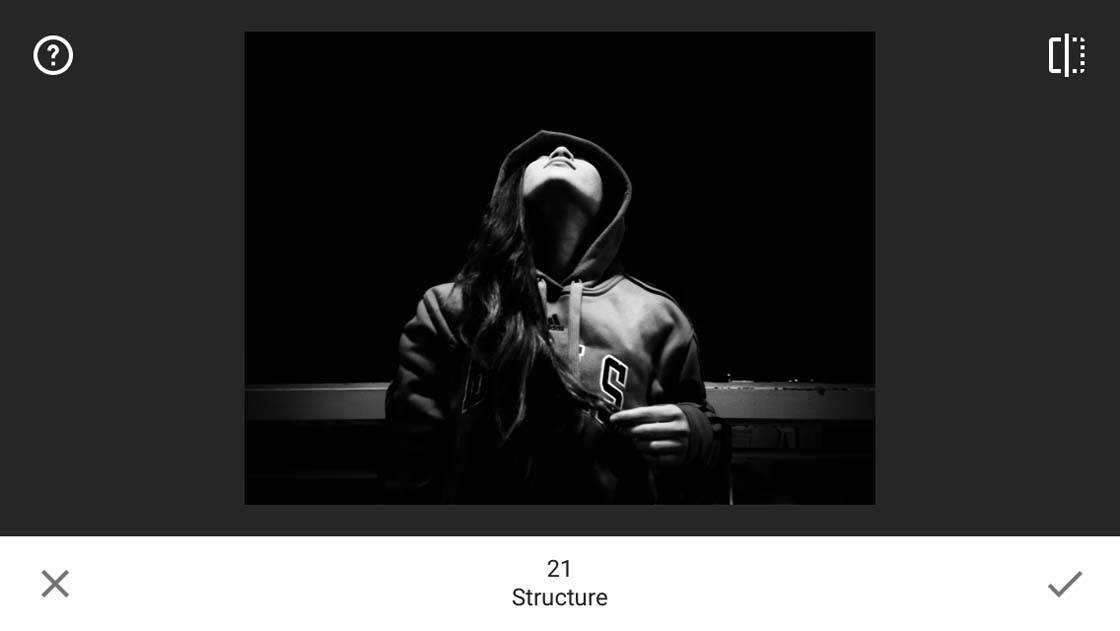
To sharpen the image, tap on the Details tool. Swipe up or down on the photo to access the tool options – in this case I selected Structure. You can then swipe left or right to adjust the intensity of the effect – I set the Structure to 21.
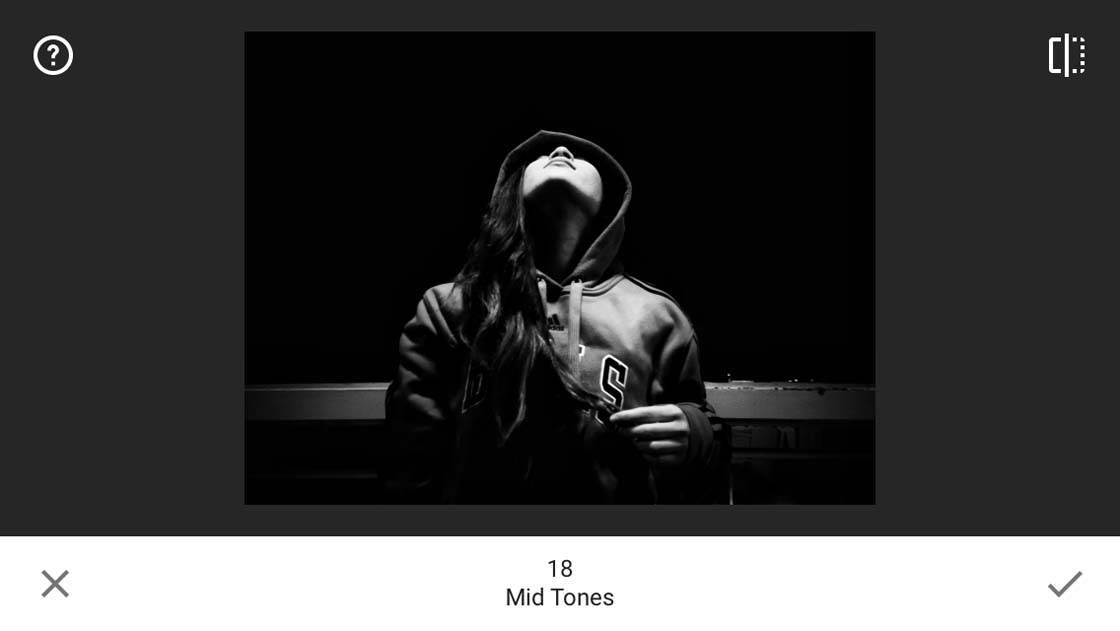
The Snapseed photo editing tools are great for fine-tuning the exposure of an image. Under Filters, I used the Tonal Contrast tool to separately adjust the mid tones (medium exposed areas) and low tones (dark areas). This tool helps to compliment detail by fine tuning the contrast between the dark and bright areas.
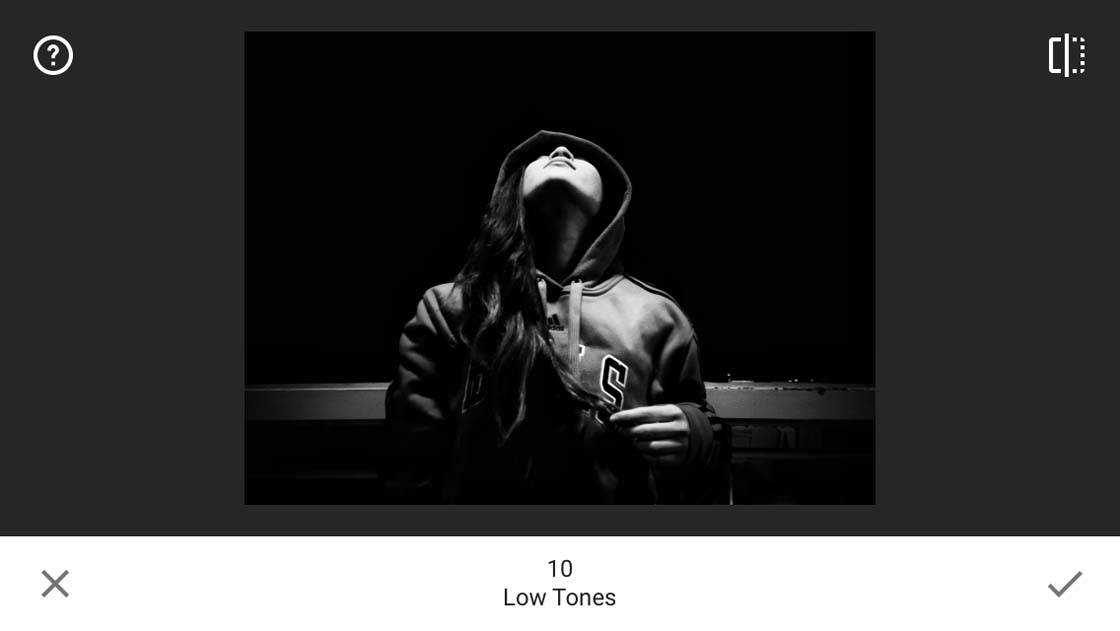
Simply swipe up or down on the screen to access the setting you want, then swipe left or right to adjust the intensity of the effect. I set the Mid Tones to 18 and the Low Tones to 10.
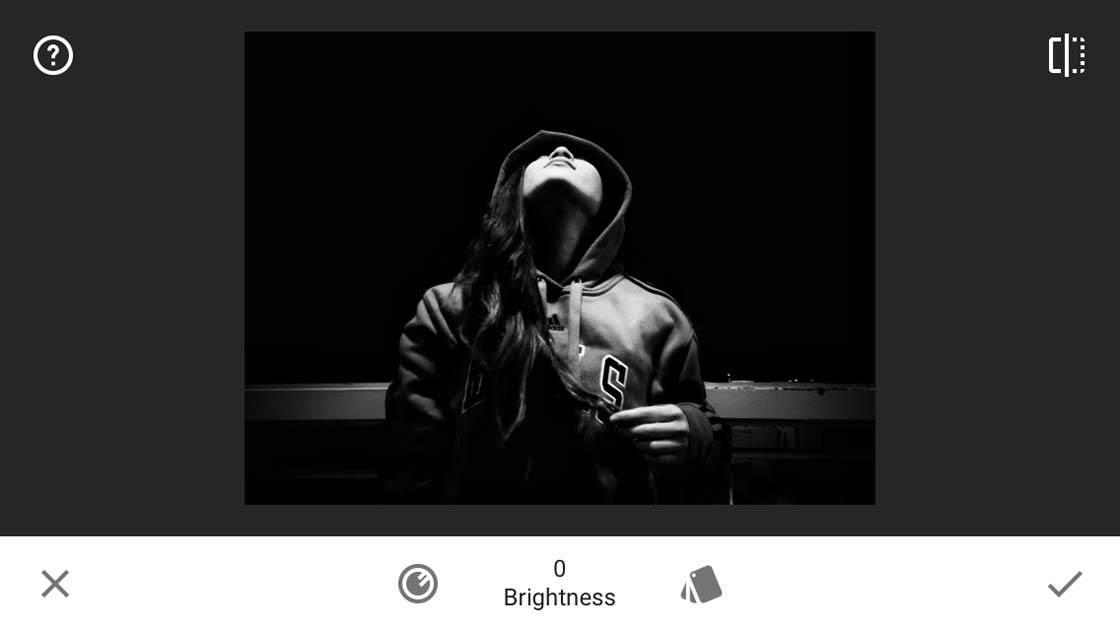
The final step is to remove any purple tint which may be present from the processing you did in Noir. This can easily be done by going to the Filters section in Snapseed and selecting Black & White.
And that’s it! In just a few steps you have a great black and white edit that evokes a powerful mood and focuses the attention of the viewer on the most important parts of the scene.
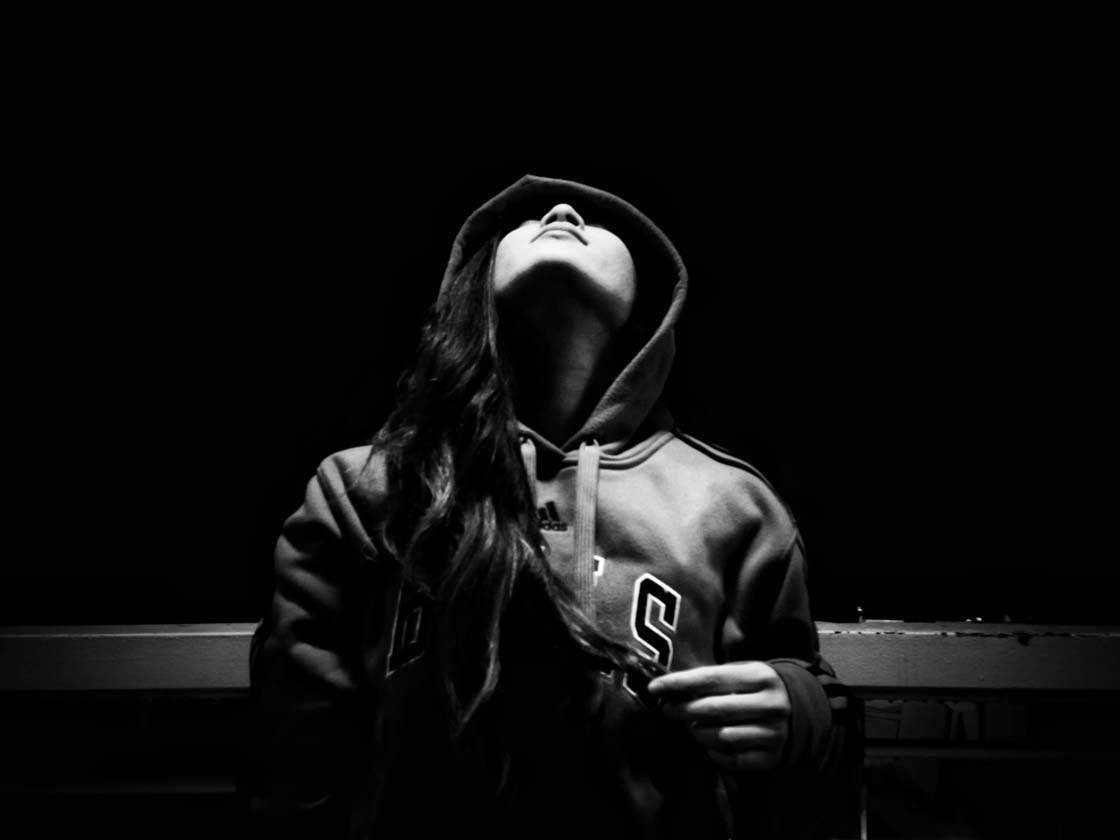
Hopefully, you now have a greater understanding about what kind of images work best for black and white photography. Remember that the right amount of lighting will help create different tones in an image, and this is a very important asset in producing a final black and white masterpiece.
Now why not try editing some of your own images using these techniques? Just remember to choose an image that already has a good amount of contrast and some of the properties that we talked about earlier in the article.


Nice tips. All of them. I shoot about 75% of my iPhone photos in B&W. Why? I find it challenging and rewarding. It’s work to do it right and when you do it correctly, the iPhone can indeed take gorgeous B&W’s if you do your part.
Thanks so much- Most definitely agree with you.
great tips thanks for this
You’re very welcome
Great tips, thanks!
I am experimenting things with the Ansel app that you’ve covered in a post last May
You’re welcome, and yes, never stop experimenting.
Thanks for sharing these great tips Kwe! 🙂
great B&W article! Thanks for sharing the tips.
Noir Photo needs a serious update. After the edit, the program crashes more often than not on an iphone 5s or above
https://uploads.disquscdn.com/images/f0a1f23da4634f50ea7a27fc6706d93dabb17c26df2c9564094d59c4170d2b55.jpg
I have tried the tips. Please see my picture below! Thanks!👍👍👍
Hello I found this article on google – The photos are great! – Are any of your photos from here available in higher resolution?