Do you want to take jaw-dropping black and white photos with your iPhone? Capturing beautiful black and white photography may seem daunting, but it doesn’t have to be. In this article, you’ll discover 8 amazing tips for black and white pictures–tips that will immediately take your images to the next level!
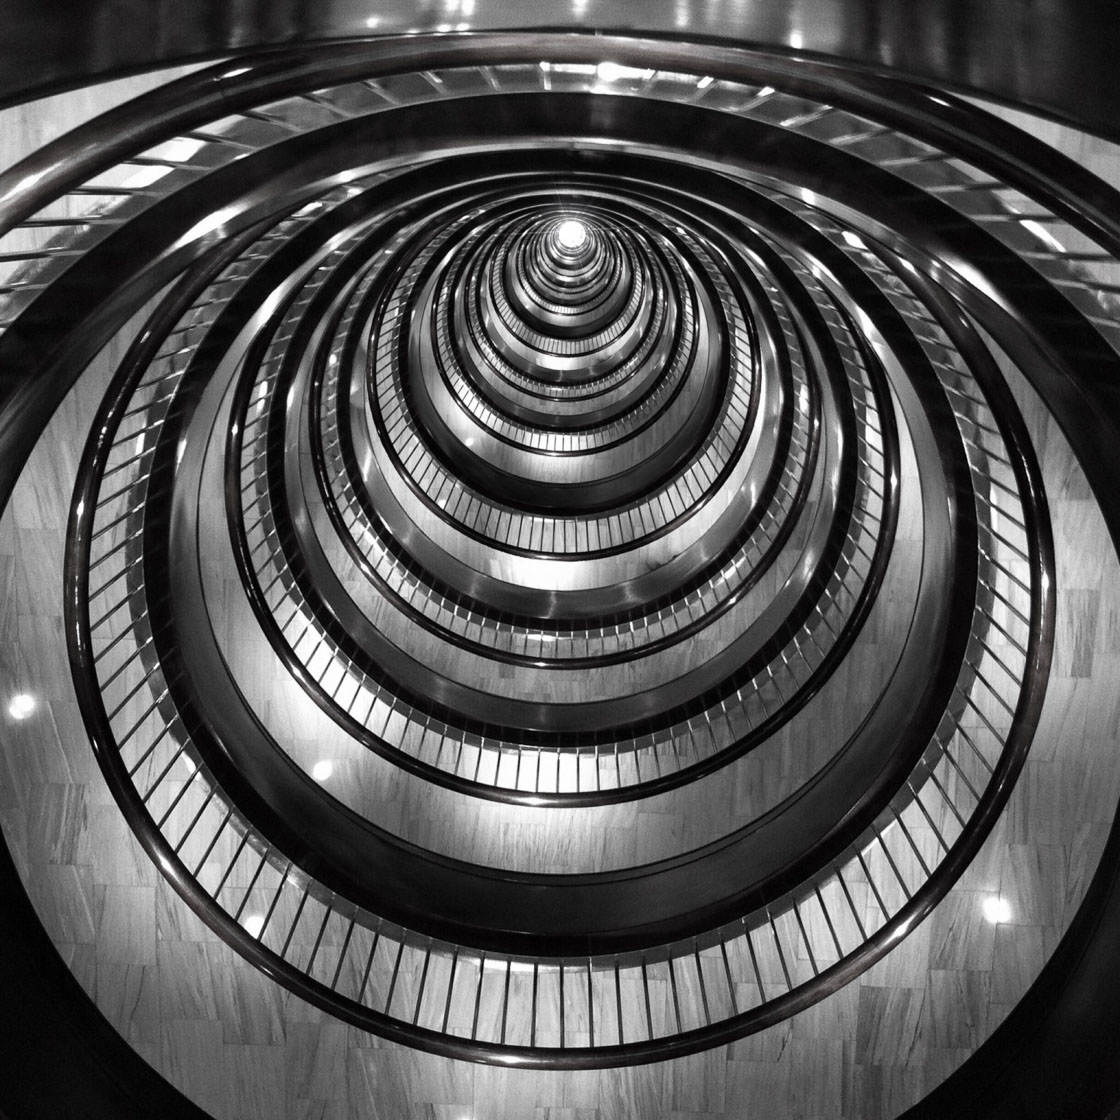
1. Do A Bit Of Planning For The Best Black And White Photography
If you want to create amazing black and white photos…
…then you need to plan your shots in advance.
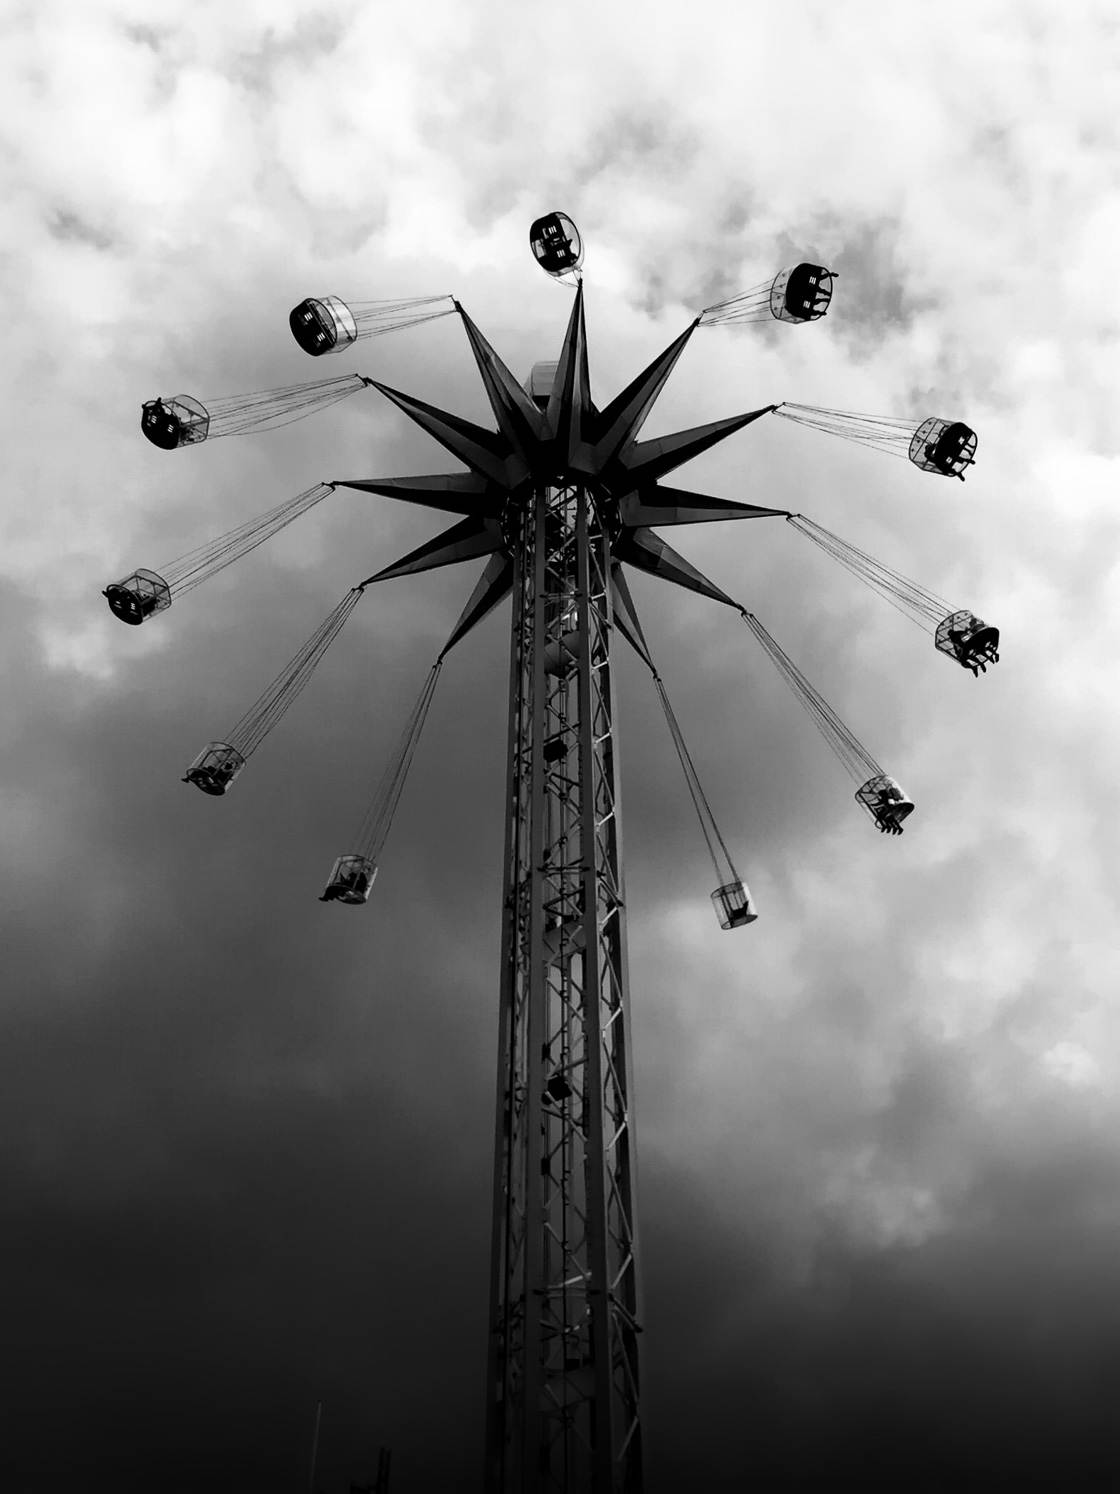
It’s as simple as that.
The best photos take thought and previsualization. If you just go out and see what you can find, you probably won’t capture anything incredible. There will be too many things left up to chance.
So don’t leave things up to chance.
Instead, you should plan your shots in advance.
Previsualize your images. Think about what you want to convey.
Do you want to create a sense of awe and wonder? Then identify some huge buildings that you might include in your shots.
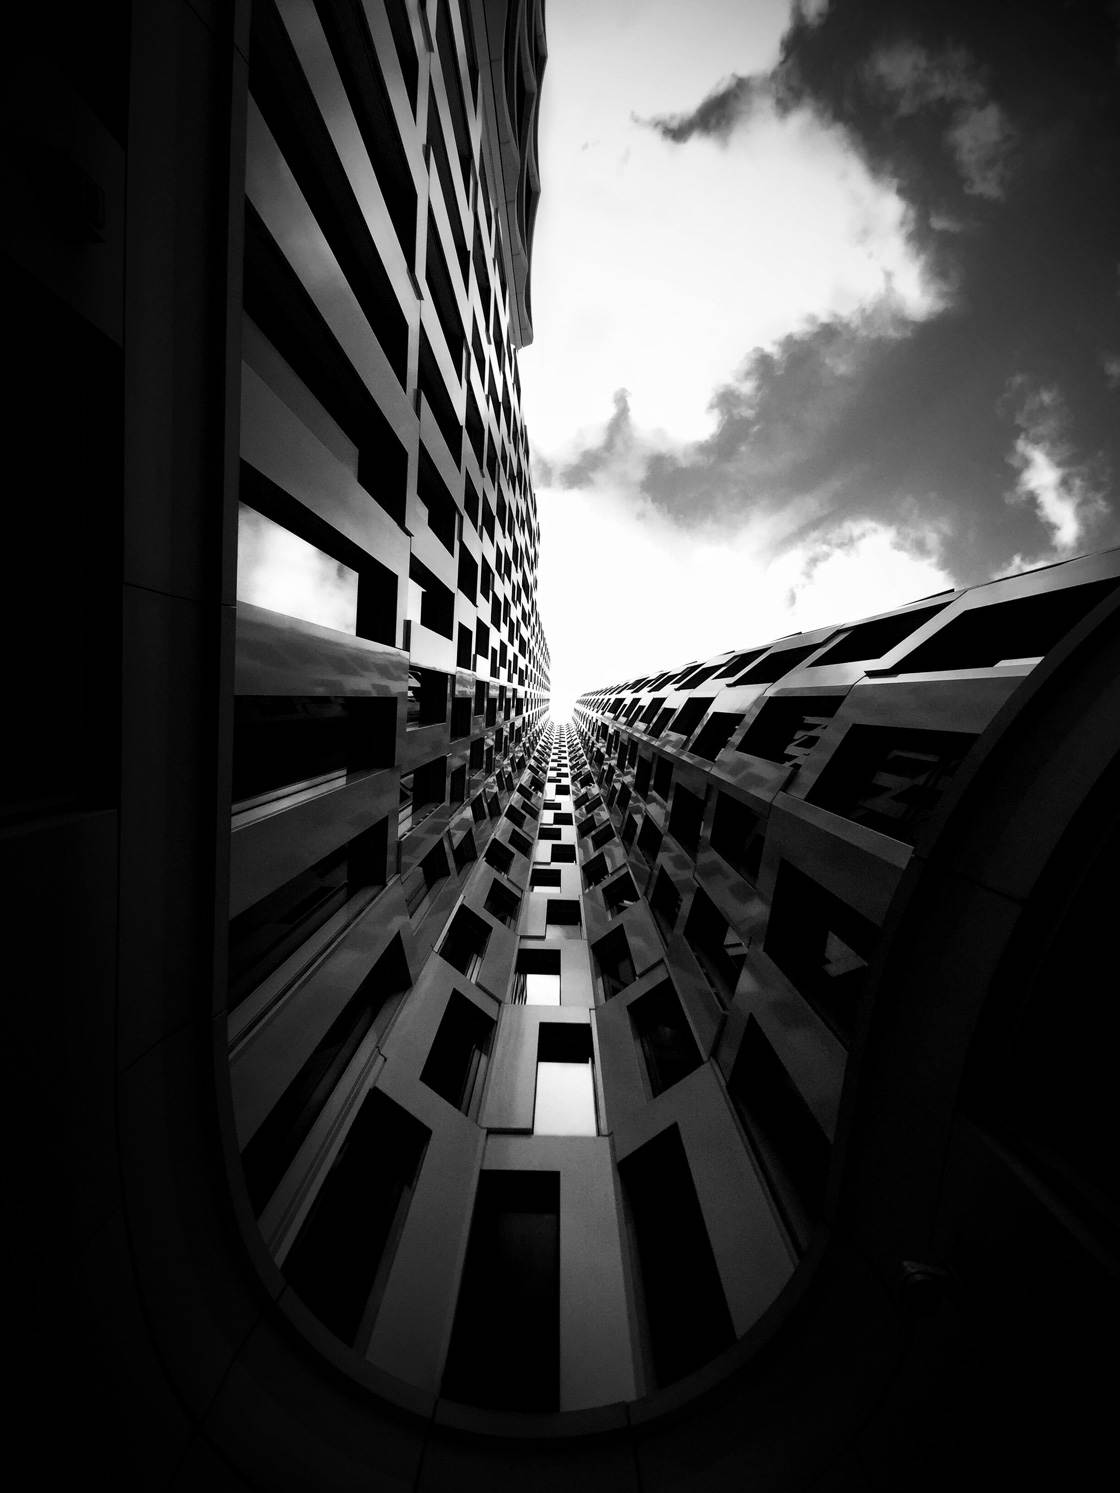
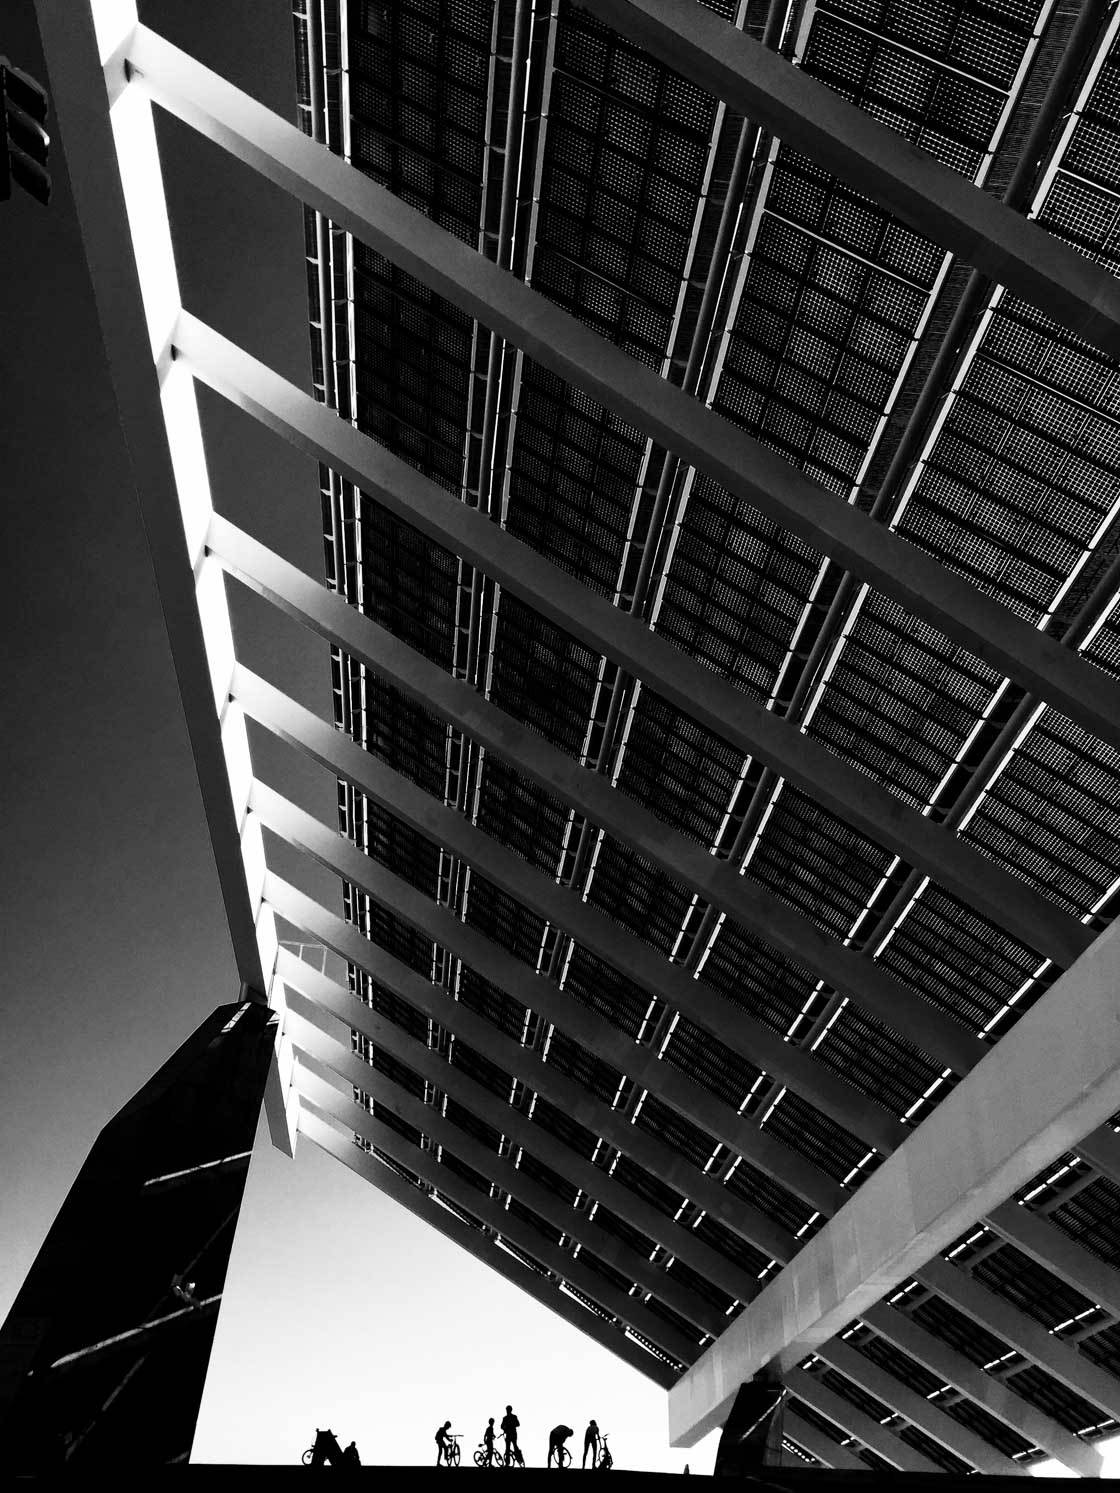
For the photo above, I used a huge building as my focal point. Look at how the building conveys a sense of breathtaking power!
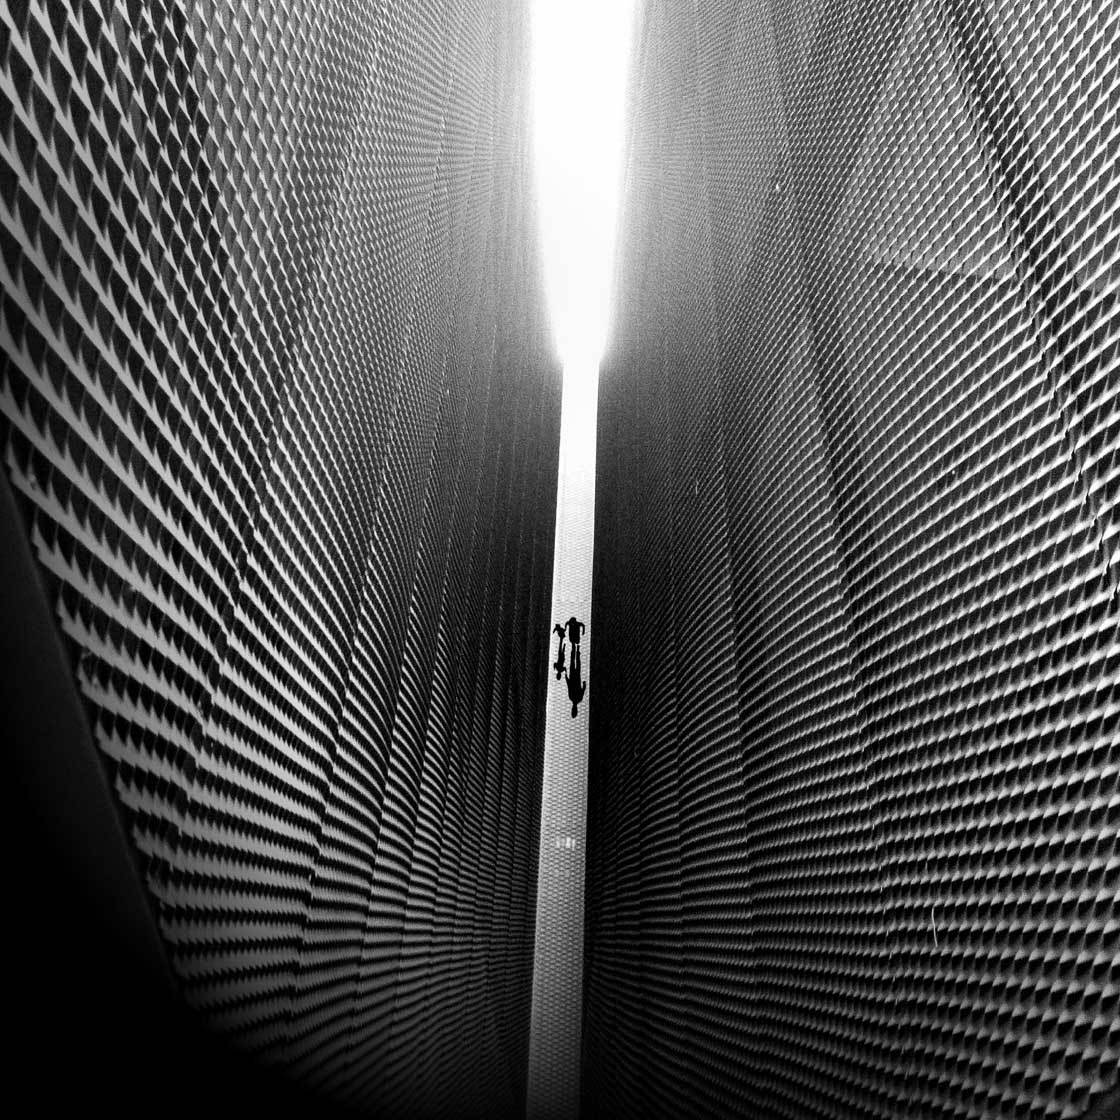
Do you want to create drama? Then think about the lighting. What lighting will best create a dramatic image?
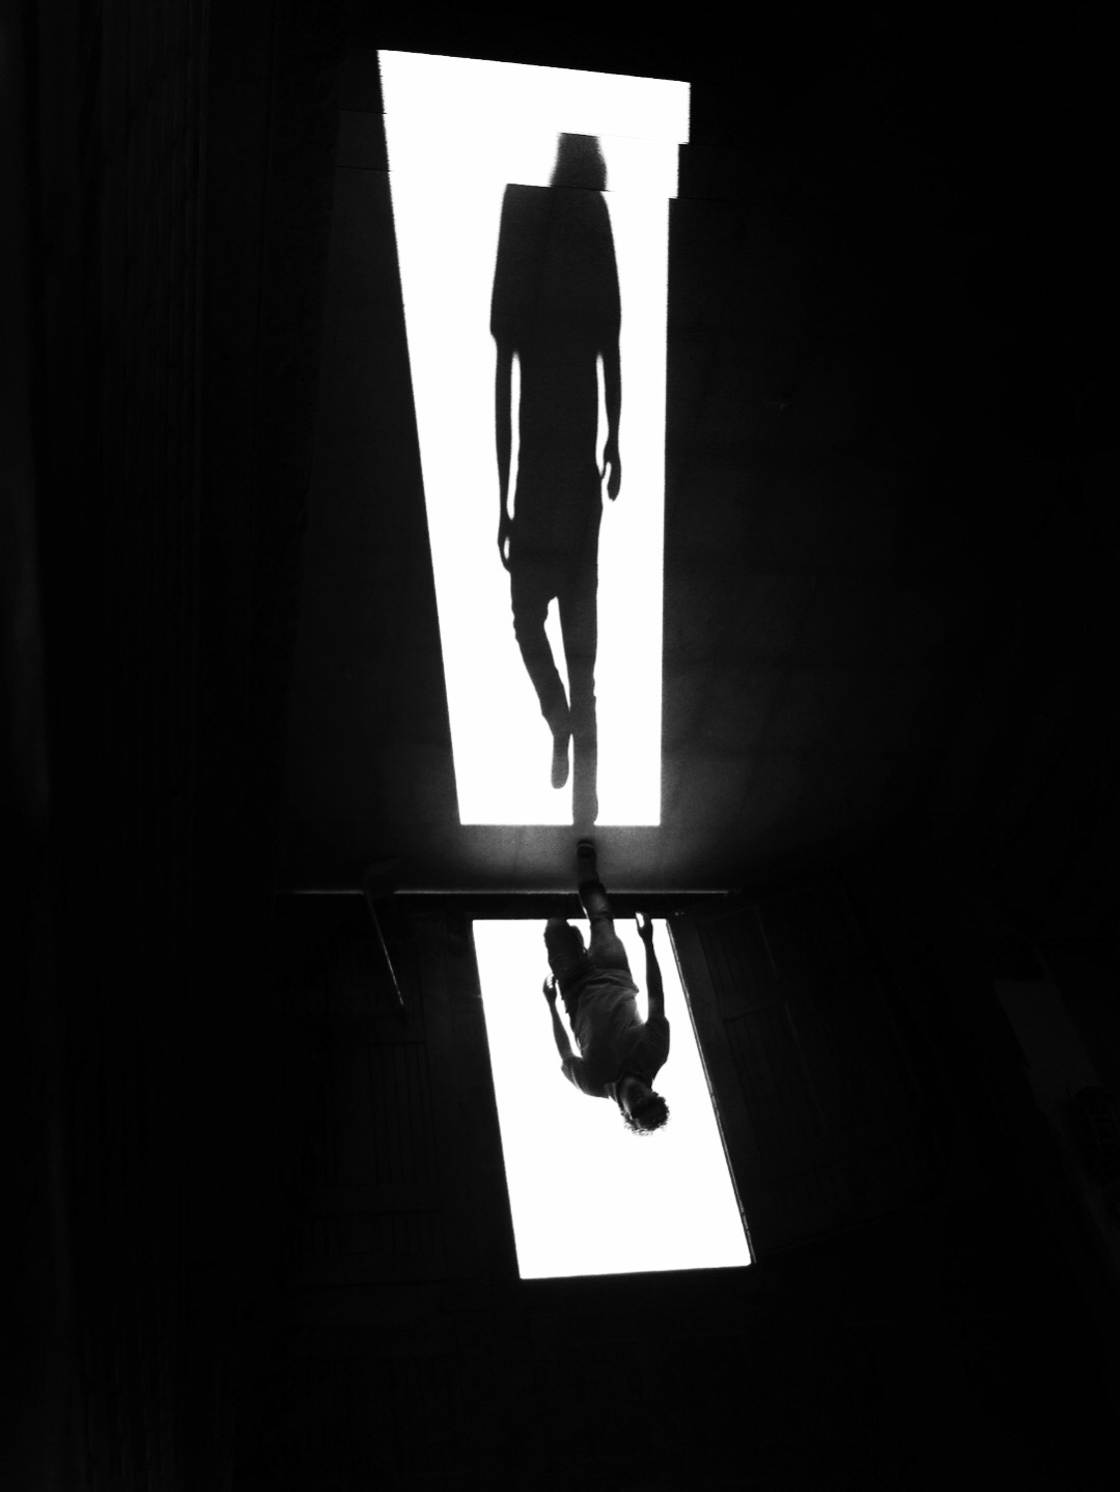
For the shot above, I used dark shadows and a silhouette to create drama.
Do you want to create a sense of tension? Then think about the composition. Figure out how you can put your subjects off center–so that there is clear visual tension.
Once you have all of these elements in your head, only then should you go out and shoot.
That’s how you’ll get incredible images.
2. Use Backlighting For The Most Dramatic Black And White Silhouettes
If you’re looking to create drama in your black and white photos, then I have a very simple trick for you.
Use backlight.
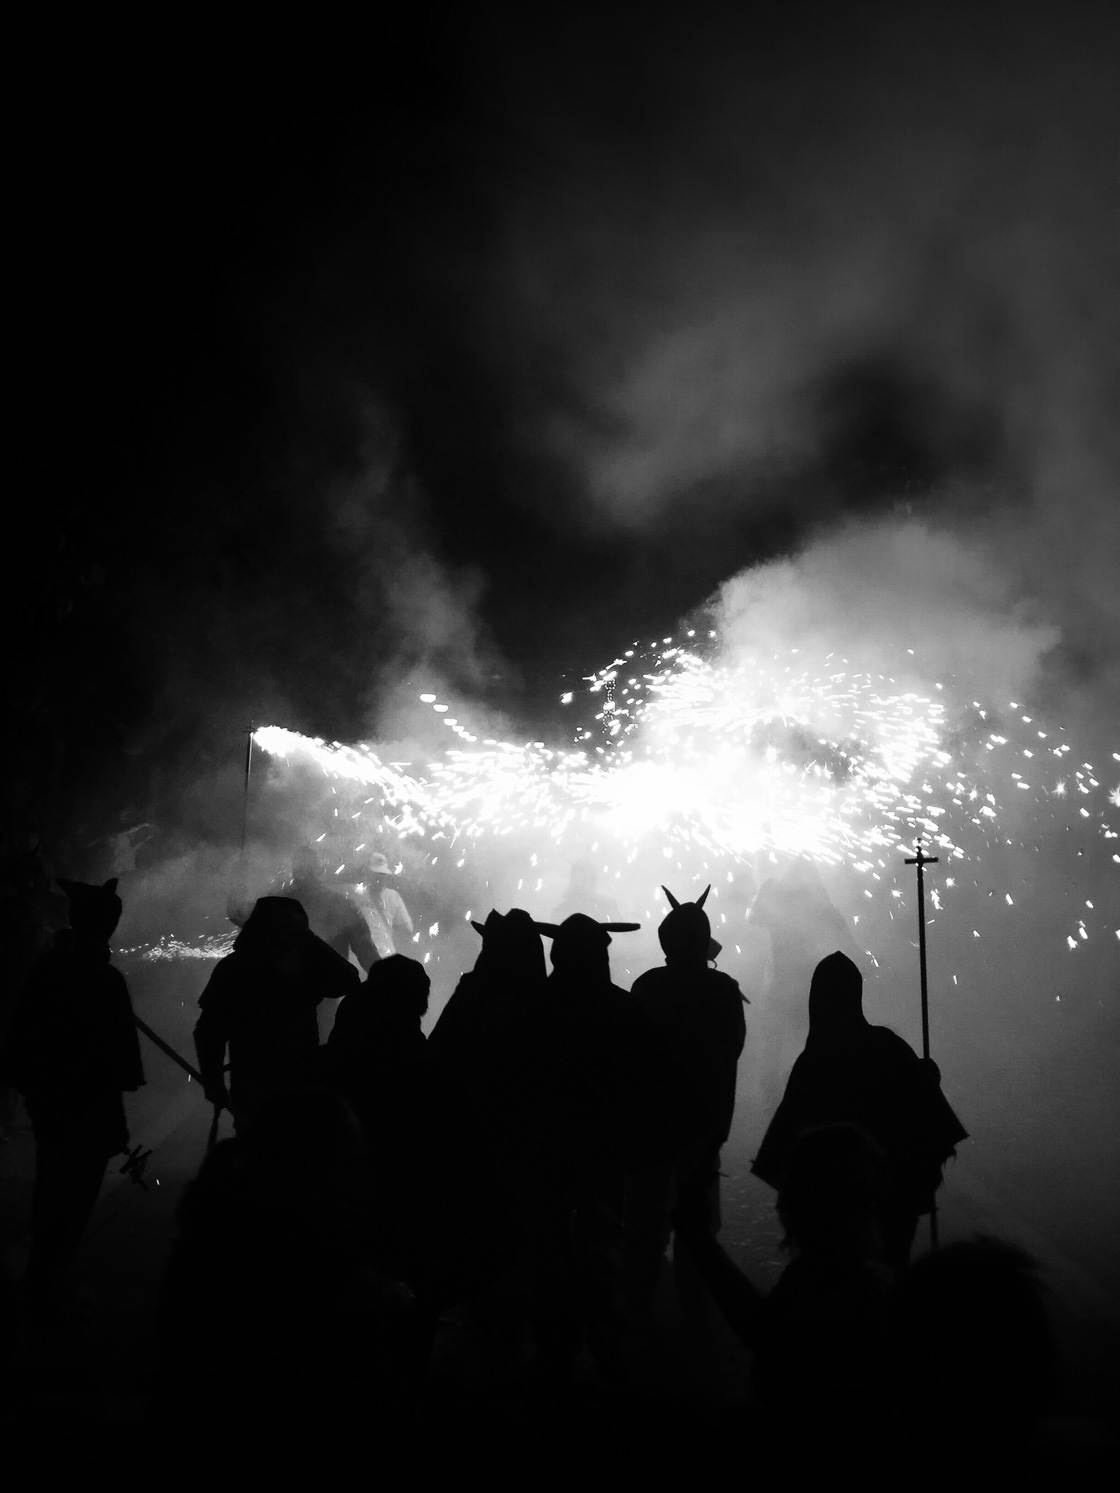
To get a backlit photo, place your subject between you and the sun. The light should be coming from behind the subject–toward you.
Backlighting is easiest on sunny mornings or evenings. That’s when the sun is low in the sky.
And this is why planning is essential. You want to make sure that you’re in the right place at the right time–when the sun is low in the sky and backlighting your subject.
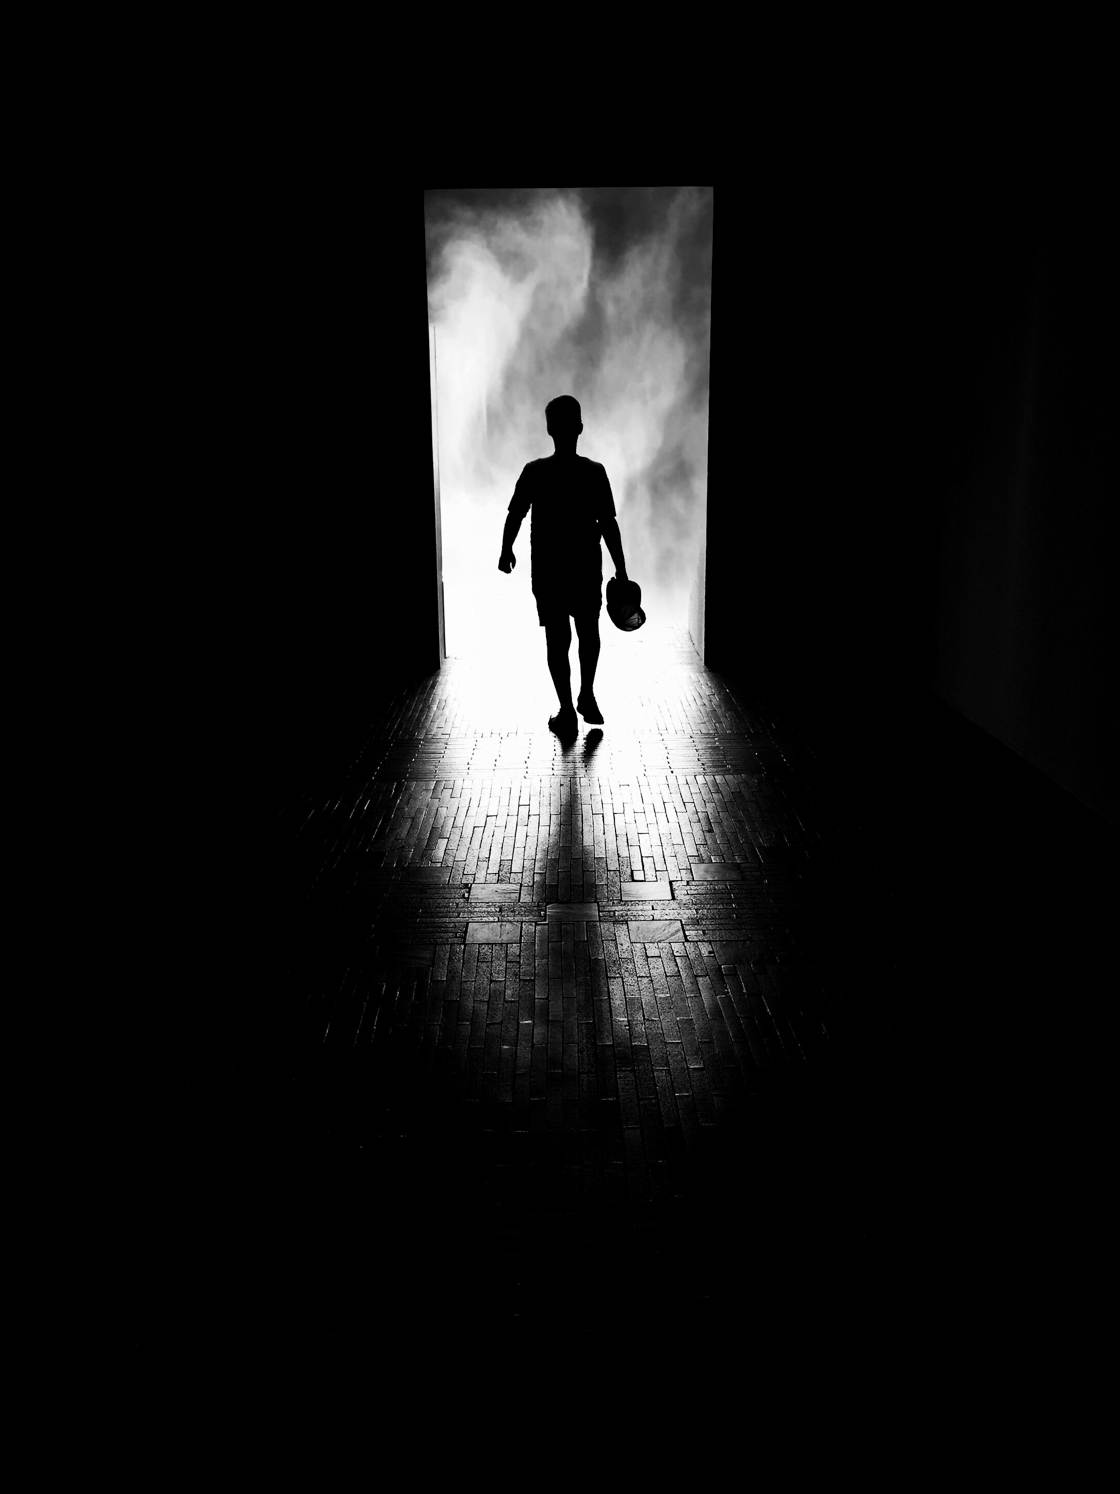
How does backlighting create drama?
When you backlight your subjects, the light source comes from directly behind them. The light is extremely bright. And this ensures that everything in the photo loses detail.
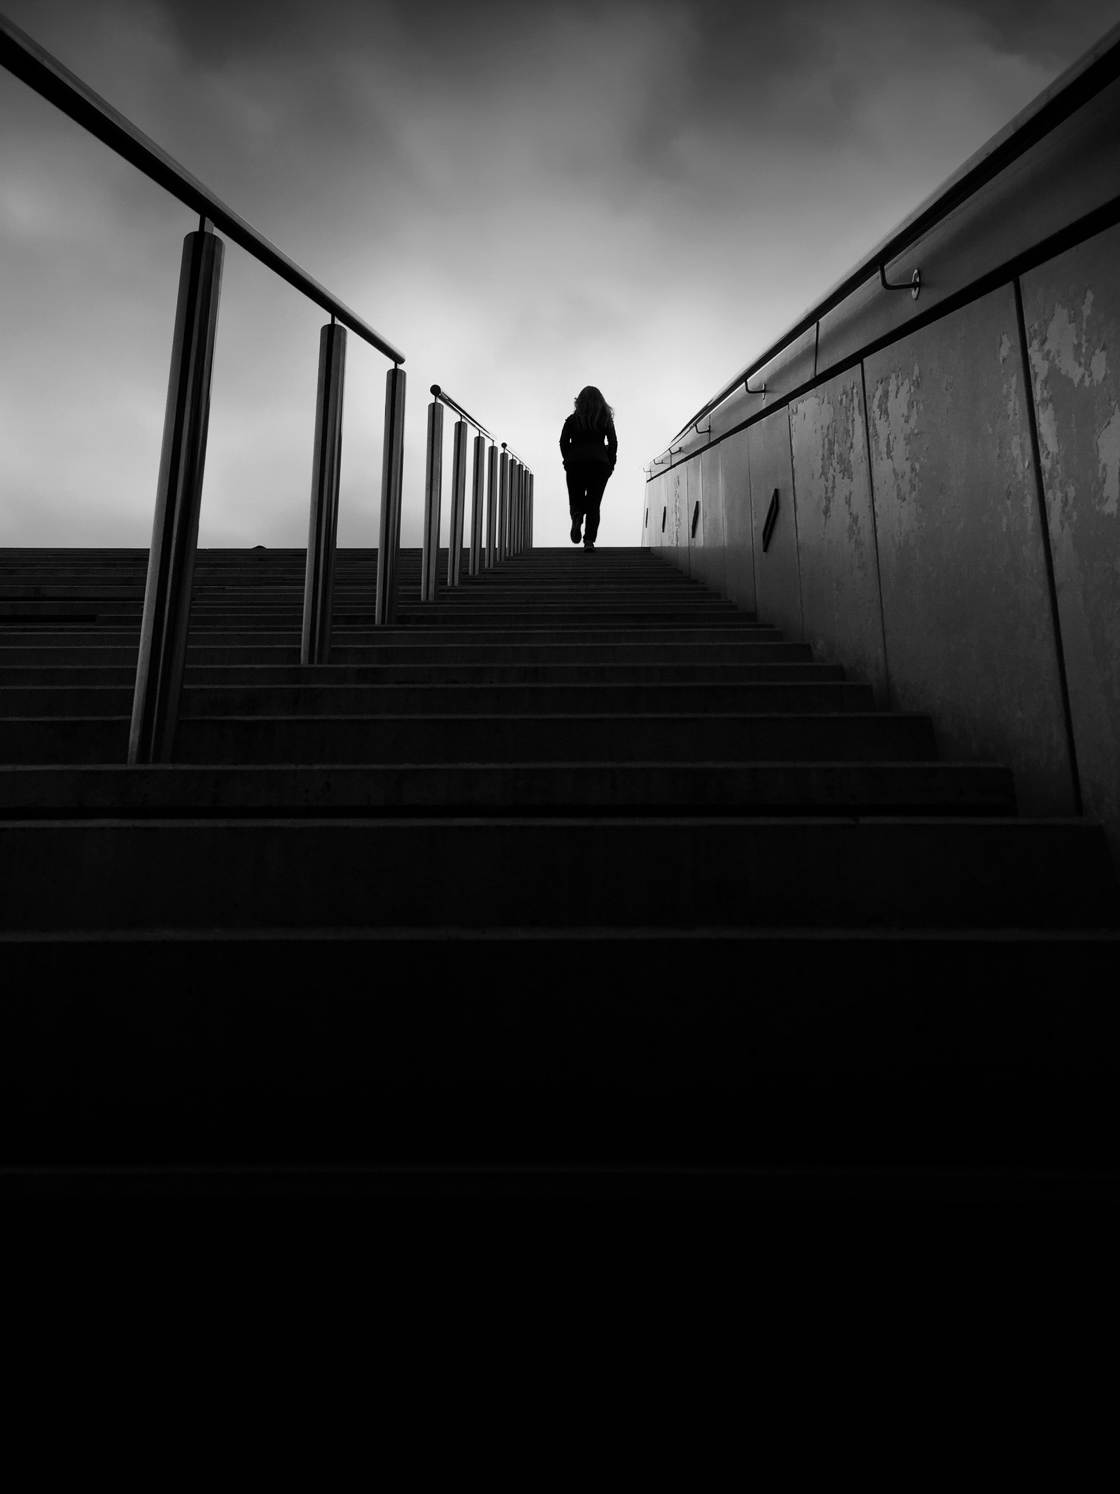
Any objects become silhouettes.
And silhouettes are fantastic for creating drama.
To create the best silhouettes, I recommend using the manual exposure feature in the Camera app. This allows you to adjust the brightness of your image.
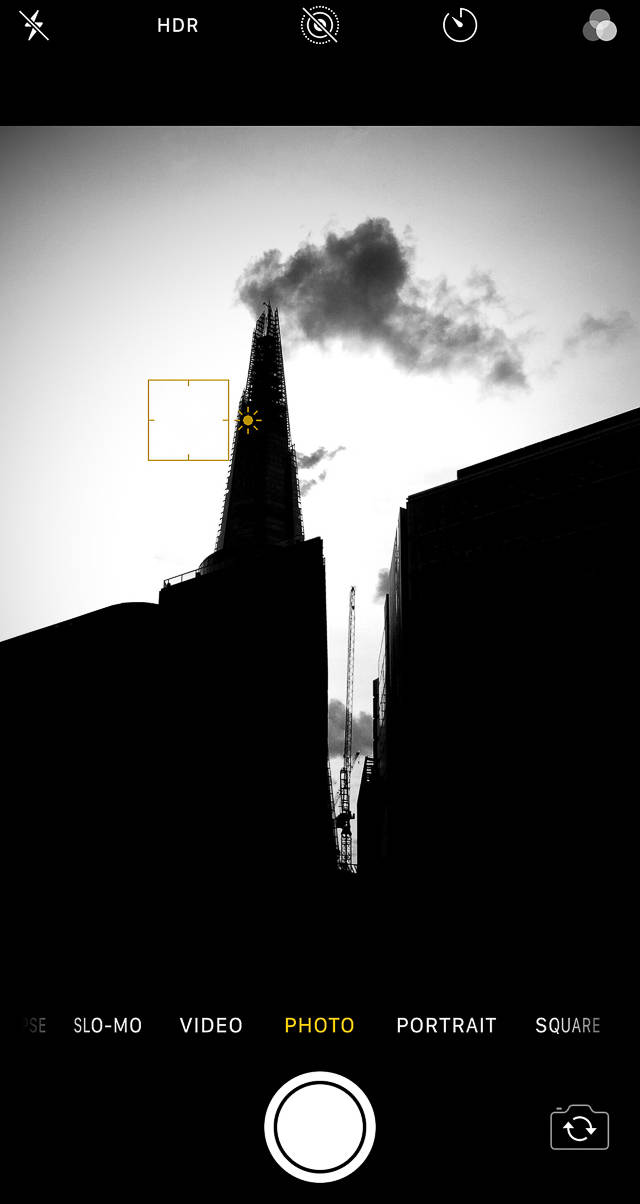
Before you take your shot, simply tap on the sky or light source behind your subject. A small yellow square will appear around your finger (as shown above). The iPhone will darken the photo to compensate for the bright background.
And your subjects will become dramatic silhouettes.
Note: If the image isn’t quite as dark as you like, you can always swipe down on the camera screen (right after you tap). This will darken the image.
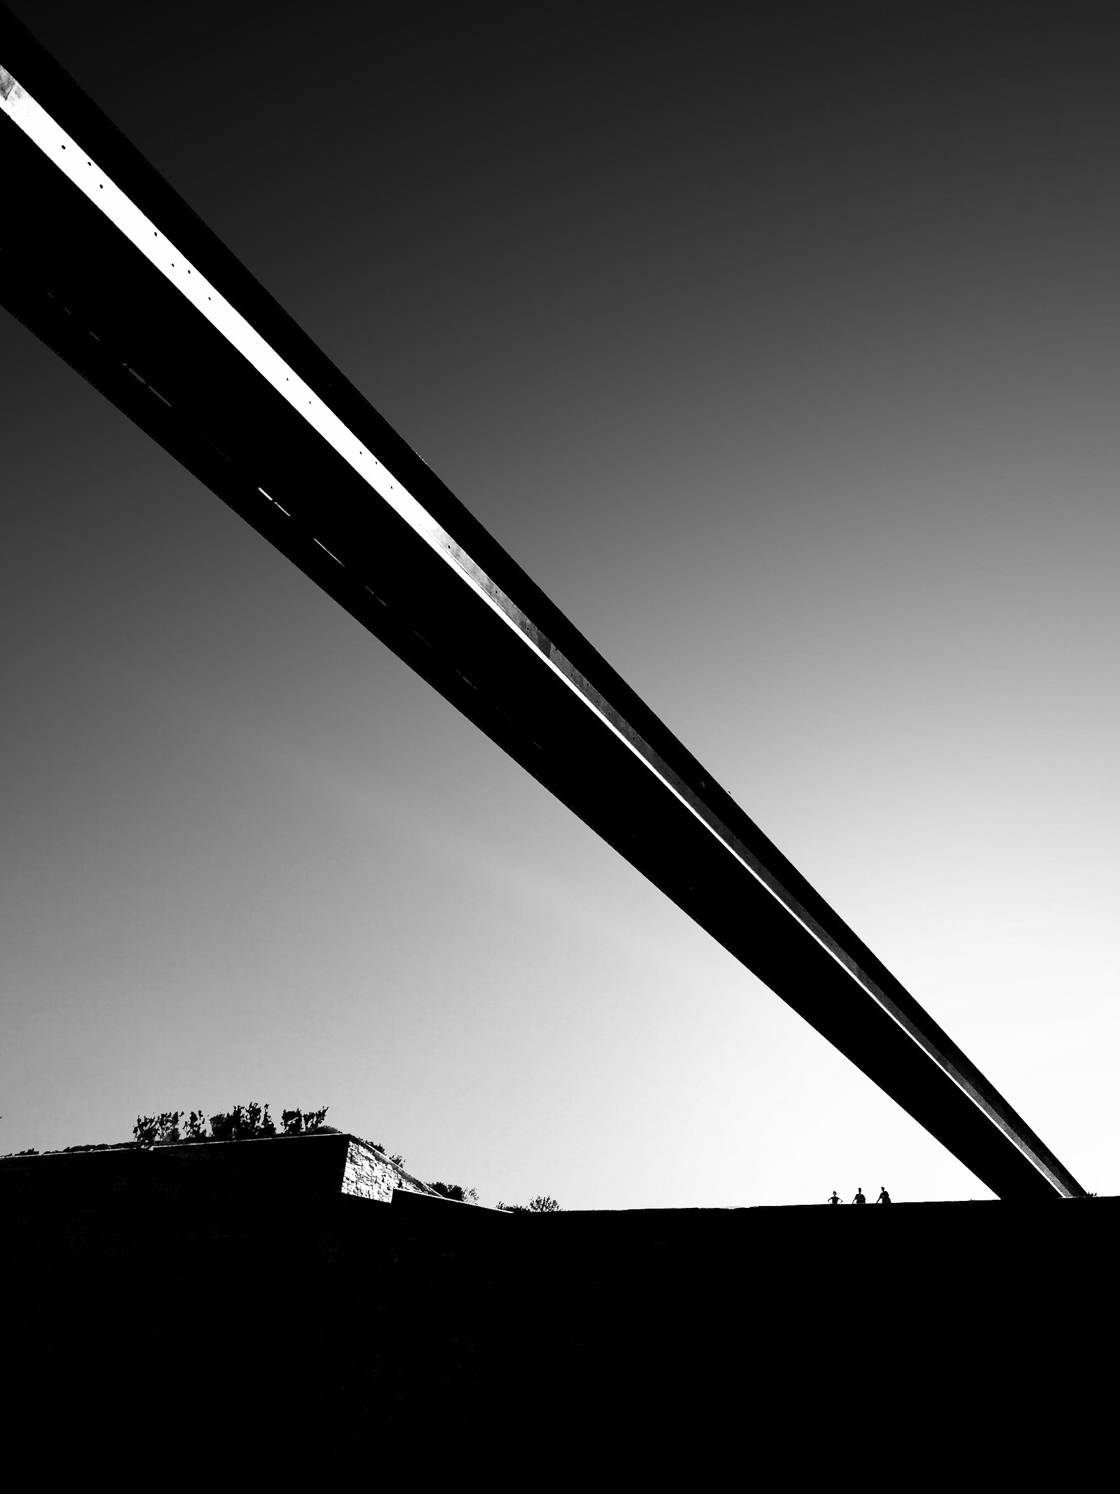
That’s why you need to use backlighting. It’s the key to dramatic black and white photography.
Don’t forget that.
3. Keep Your Images Simple For The Best Compositions
How do you decide on the best compositions for black and white photography?
How do you arrange the elements within the frame?
Here’s a huge tip. I follow it religiously.
Keep it simple.
In practical terms, this means that you should eliminate as much as possible from your photographs.
For instance, cut down on the number of subjects in your images. Ideally, you should only have a single subject.
The image below has one subject–and therefore one focal point. This makes it very powerful.
Also, make sure that your main subject doesn’t overlap with any objects.
Once you’ve identified the main focus of your image, scan the background. Look for anything that might overlap with the subject–or distract the viewer.
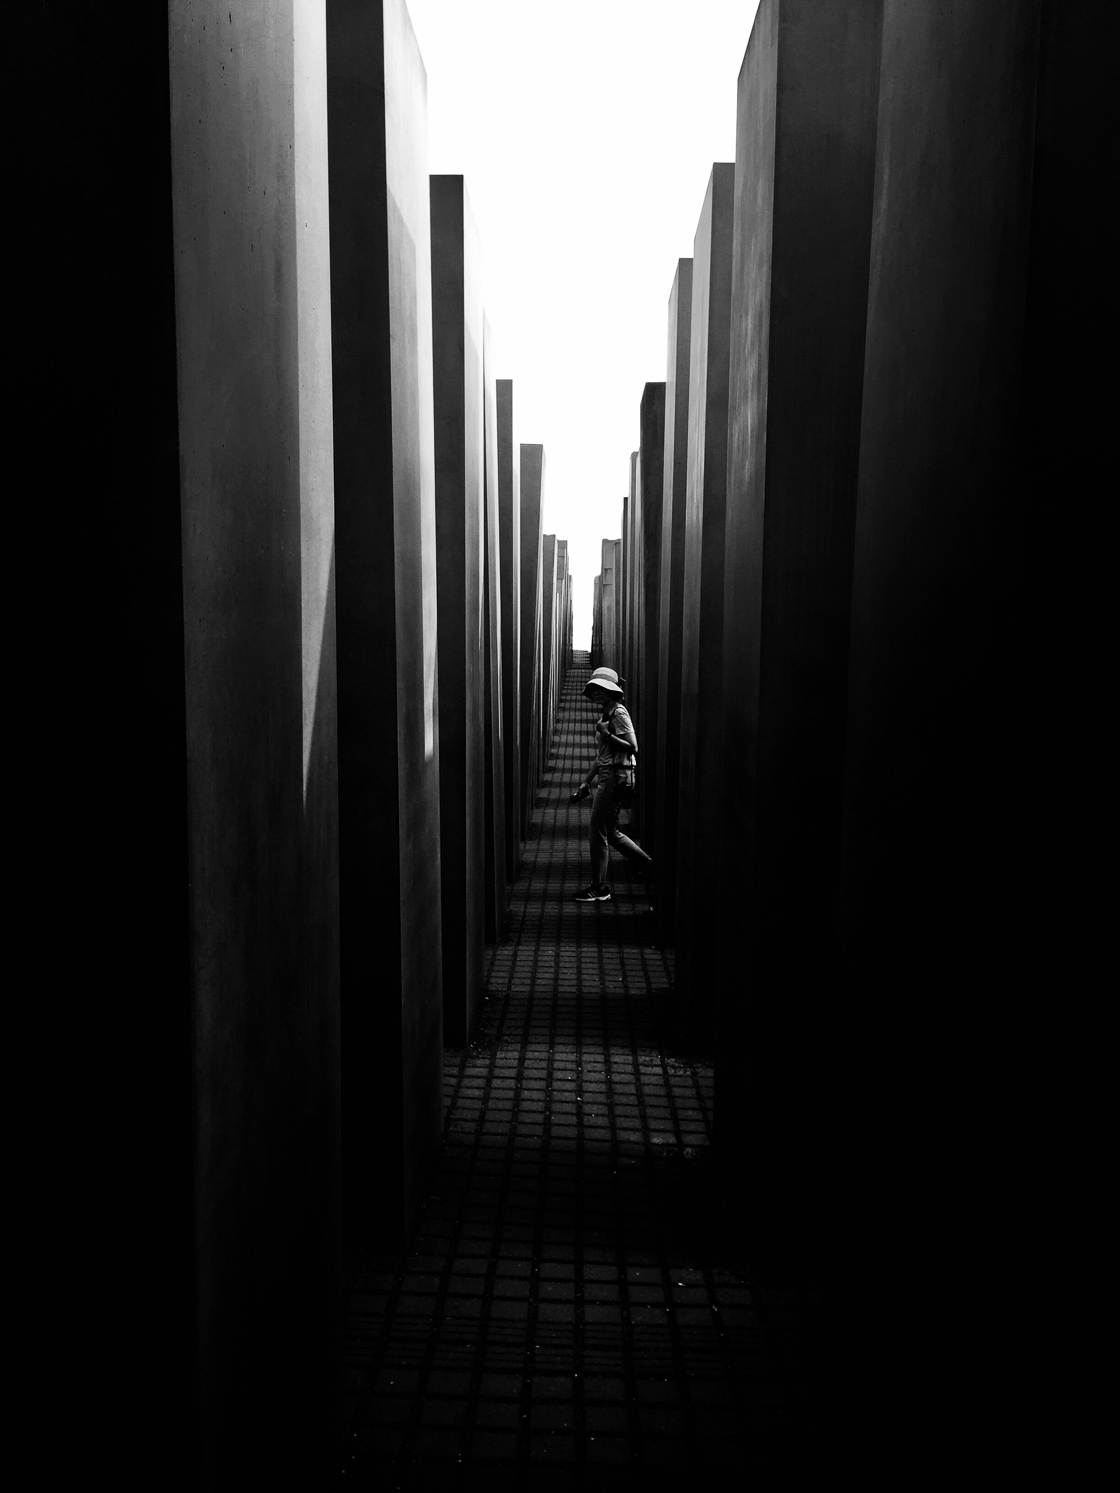
I don’t want any other people walking behind my subject. So I make sure to wait until there is a single person (or couple) alone on the street. For the photo above, I made sure that my subject was completely alone before taking the shot.
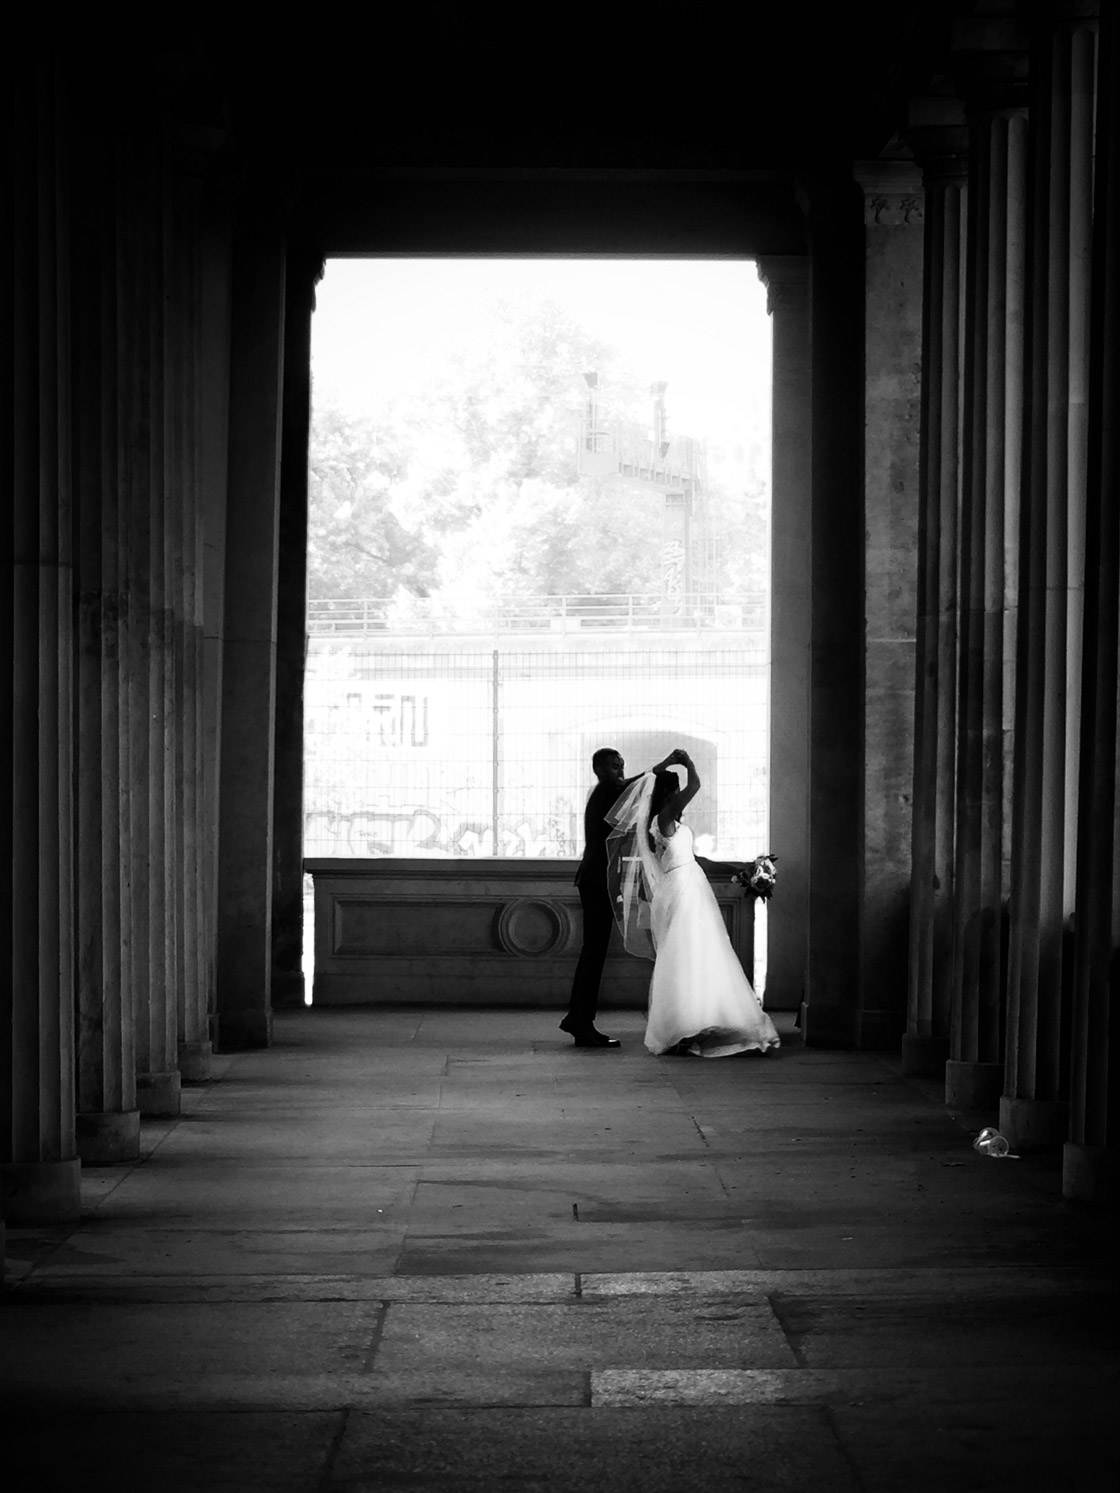
So just keep your images as simple as possible. If you can do that, you’ll be well on your way to creating beautiful black and white photos.
4. Include A Person In The Frame For The Best Story
What’s the best way to engage the viewers of your black and white photography?
Use your photograph to tell a story.
This may seem difficult. How do you tell a story with an image?
But a story doesn’t have to be complex. It can be a feeling. Or it can be a brief, compelling moment.
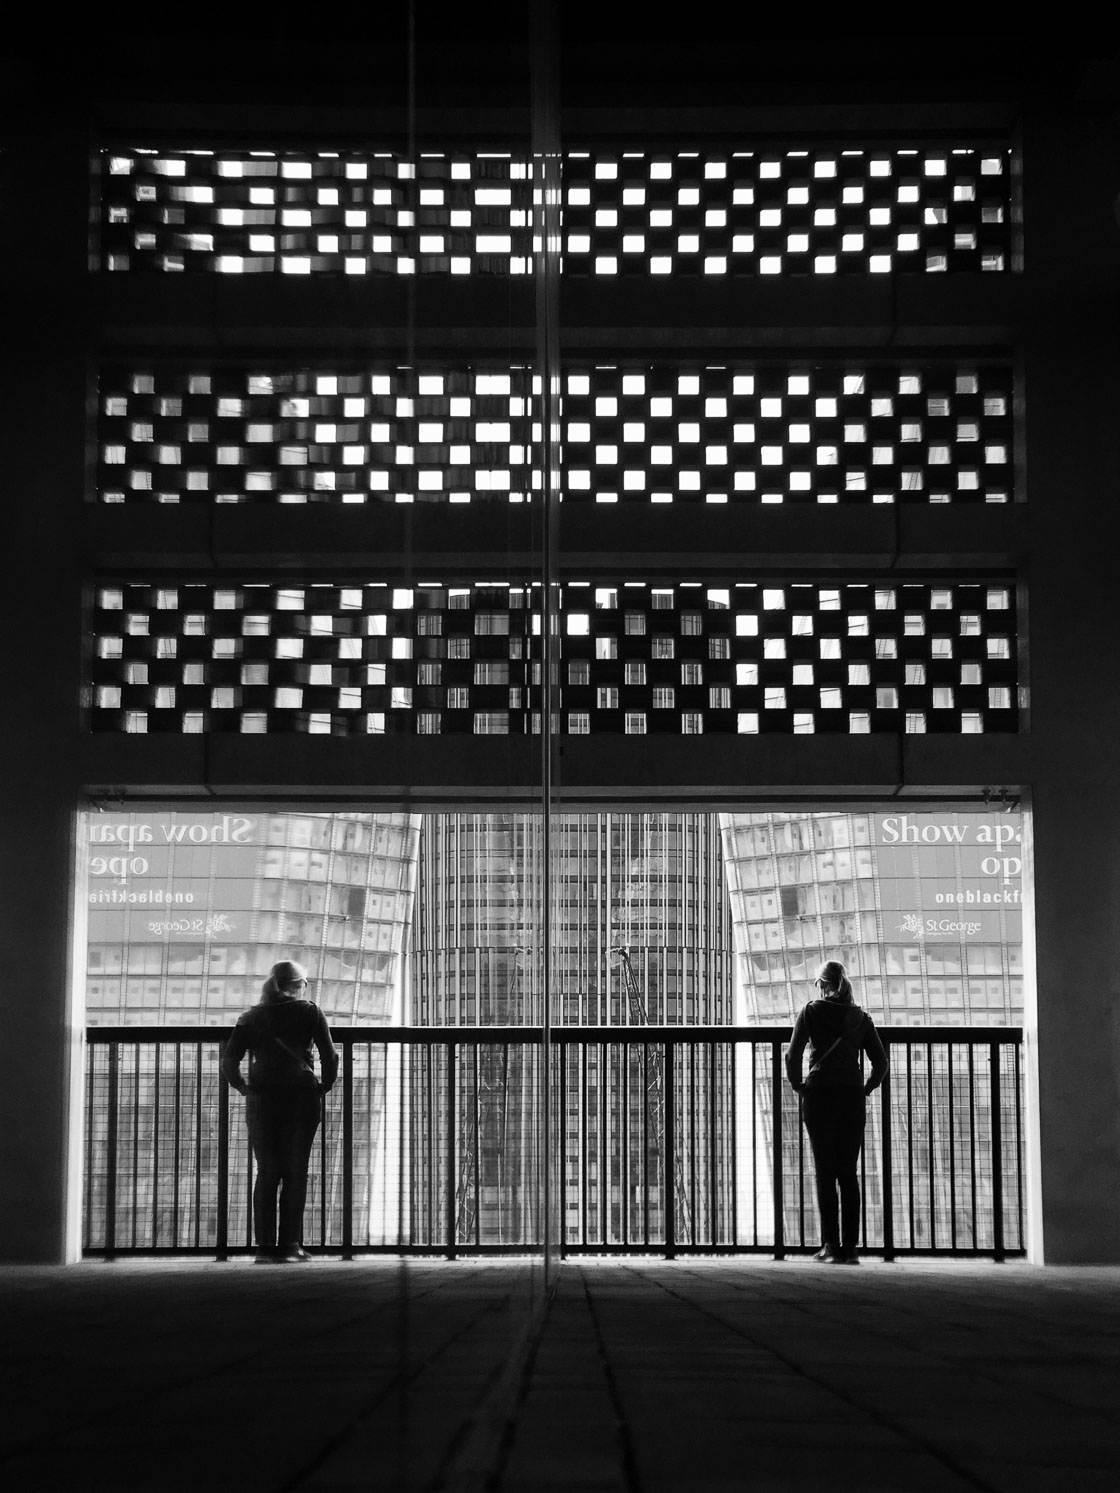
In my images, I often tell a story of lonely, small individuals. I like to photograph people standing beside giant buildings. I like to convey a sense of scale and smallness.
You can tell stories, too. In fact, black and white photography is fantastic for telling stories. Black and white images lack color. And so the story comes through much more powerfully.
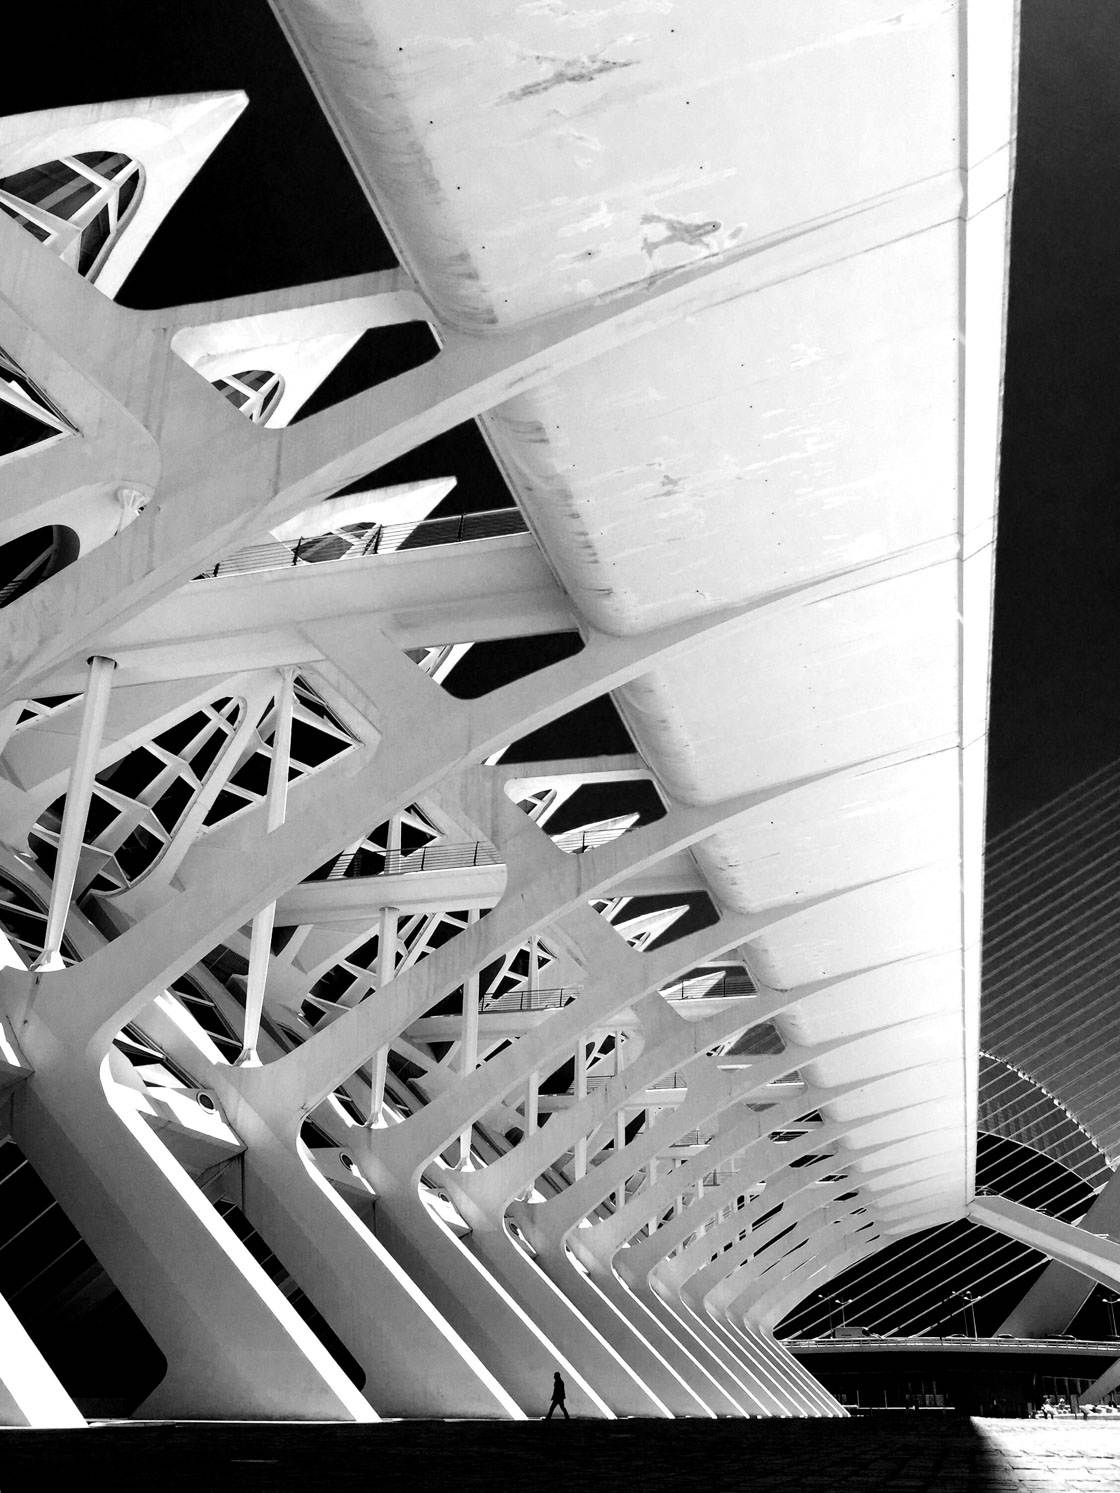
Look at the photo above. Do you see how the tiny figure stands in relation to the hulking building? Does this bring a feeling to mind?
Let me emphasize: If you want to tell a great story, then include people in your photos. People are great for establishing interesting characters.
Plus, when there’s a person in your photo, the viewer is often drawn to them. The viewer wants to know: What is the person doing? Why are they there? How are they feeling?
A final tip for telling a great story is to include mystery in your photographs. That is, make sure that there are some aspects of your photos that leave room for interpretation.
Look at the mysterious figures in the photo below. Don’t you want to know what’s happening?
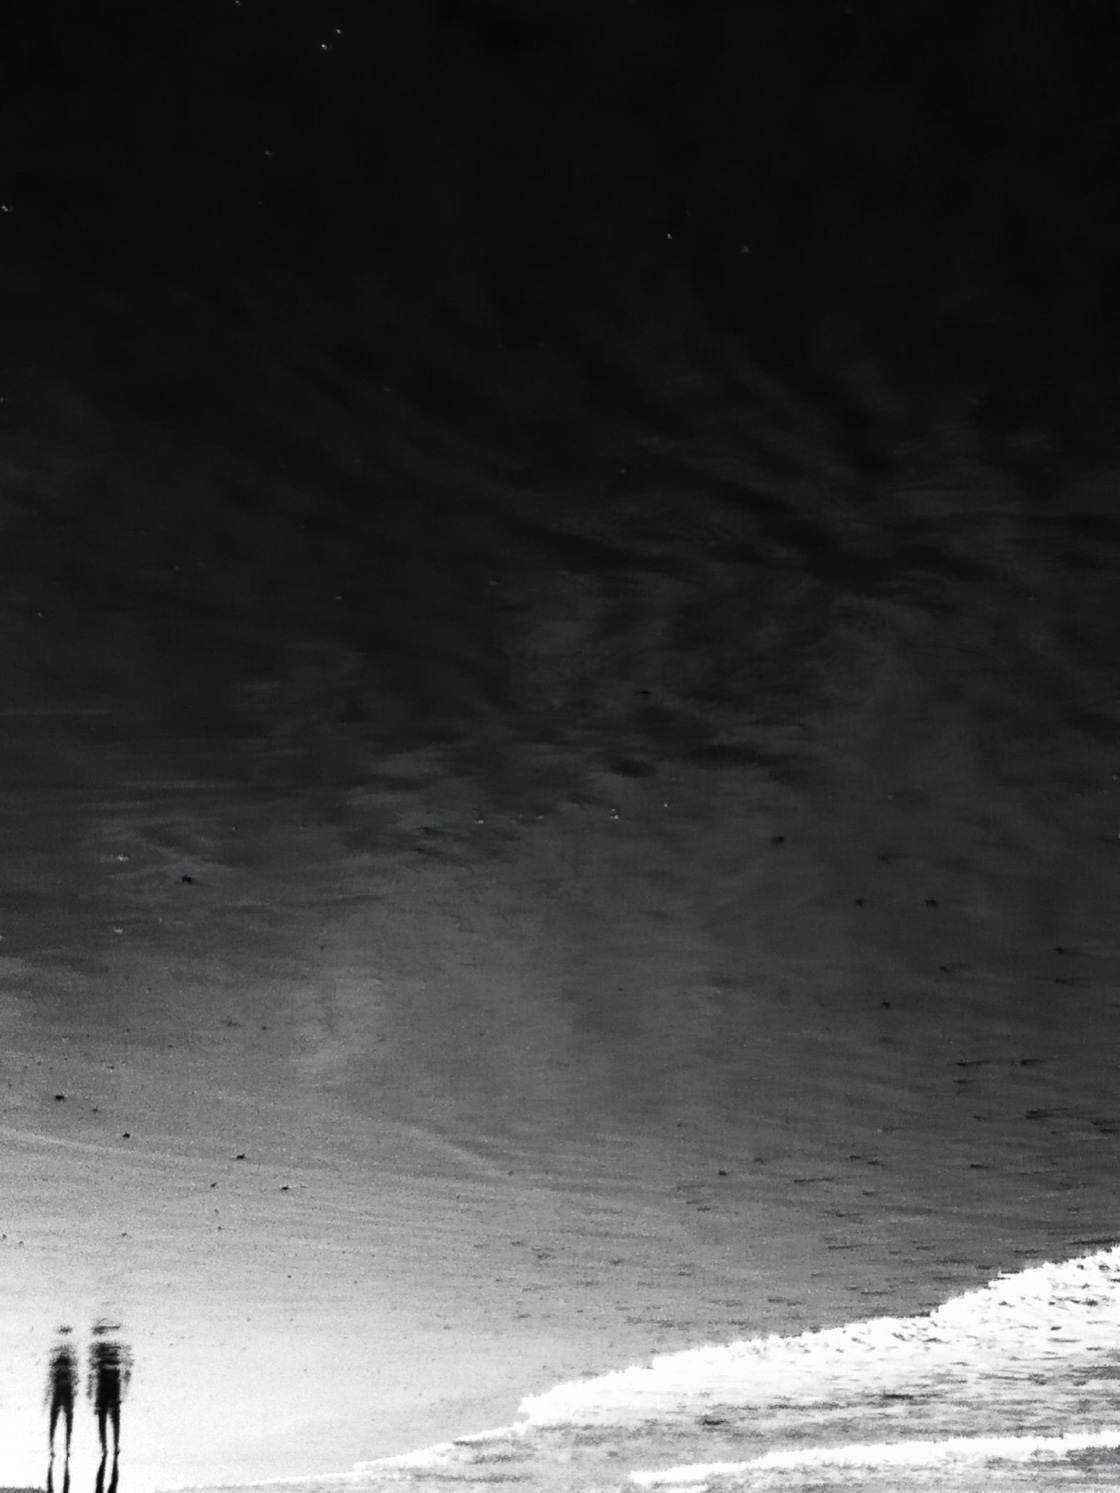
In fact, you already know a great technique for adding mystery: shooting silhouettes!
Silhouettes lack detail. Viewers start to wonder: Who is this person? What are they doing?
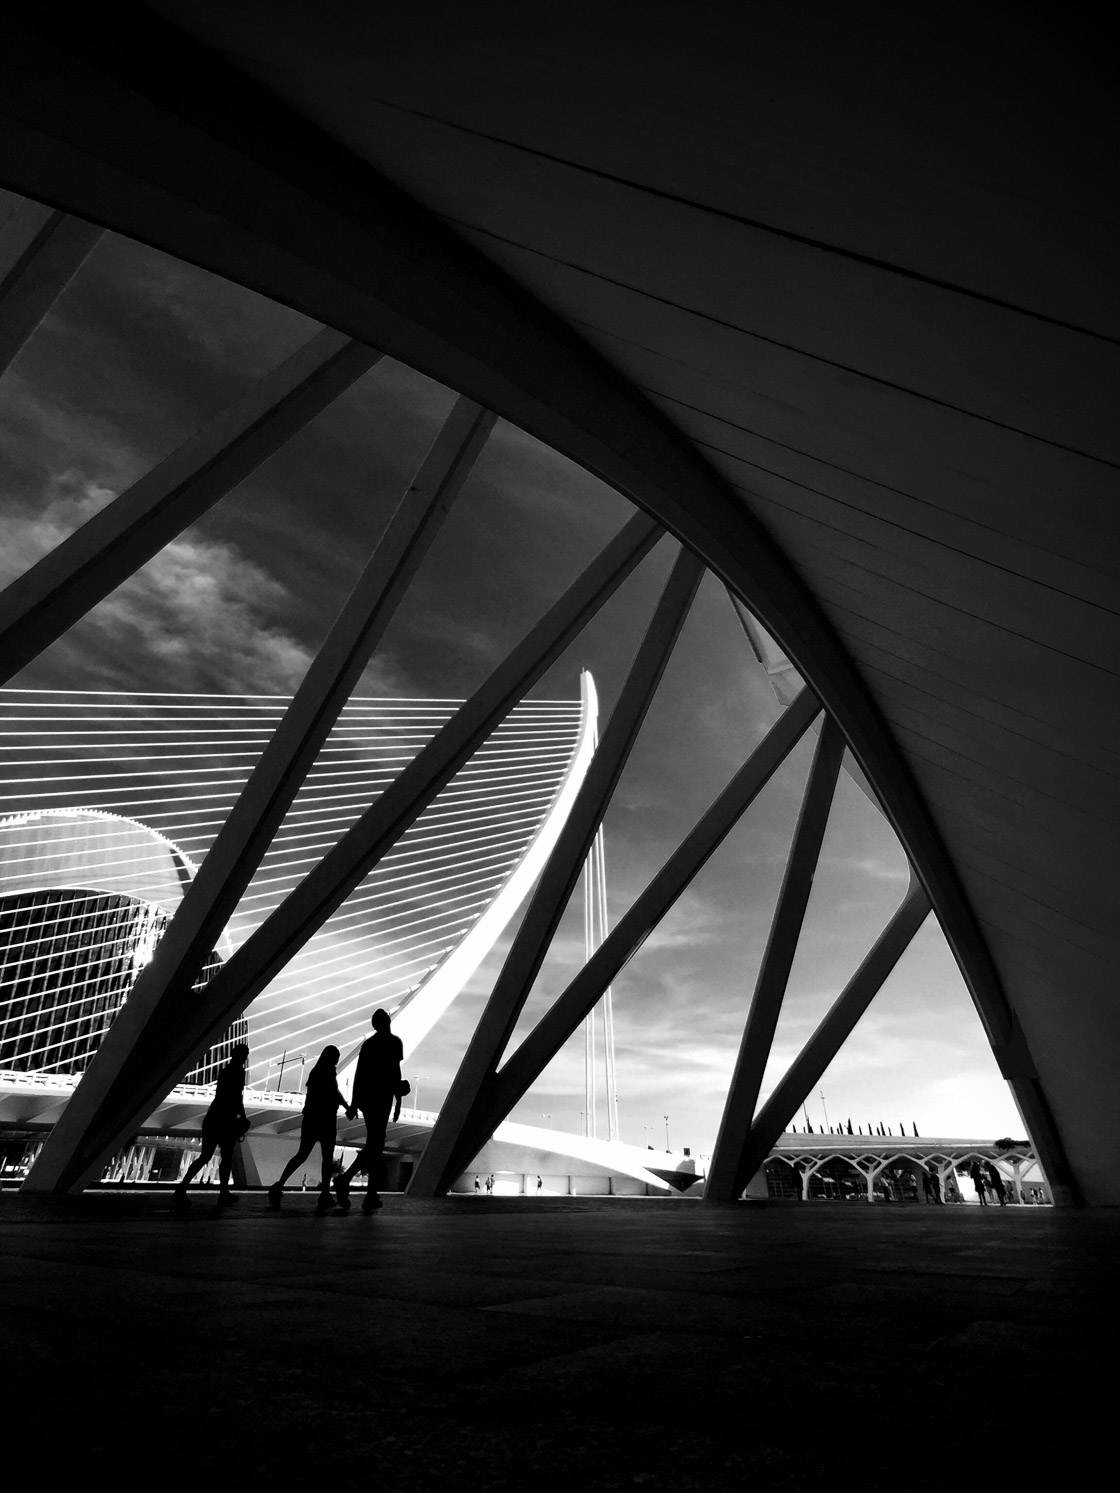
Notice the silhouettes in the photo above. Can you sense the mystery? Silhouettes really do make for a great story.
So, if you want to create brilliant black and white photographs, then tell a story.
5. Use Burst Mode To Get Your Subjects In The Perfect Position
In black and white photography, the placement of your subject is extremely important.
You need to make sure that your subject doesn’t overlap with any other distracting elements. You need to make sure that there is a single element that the viewer can focus on.
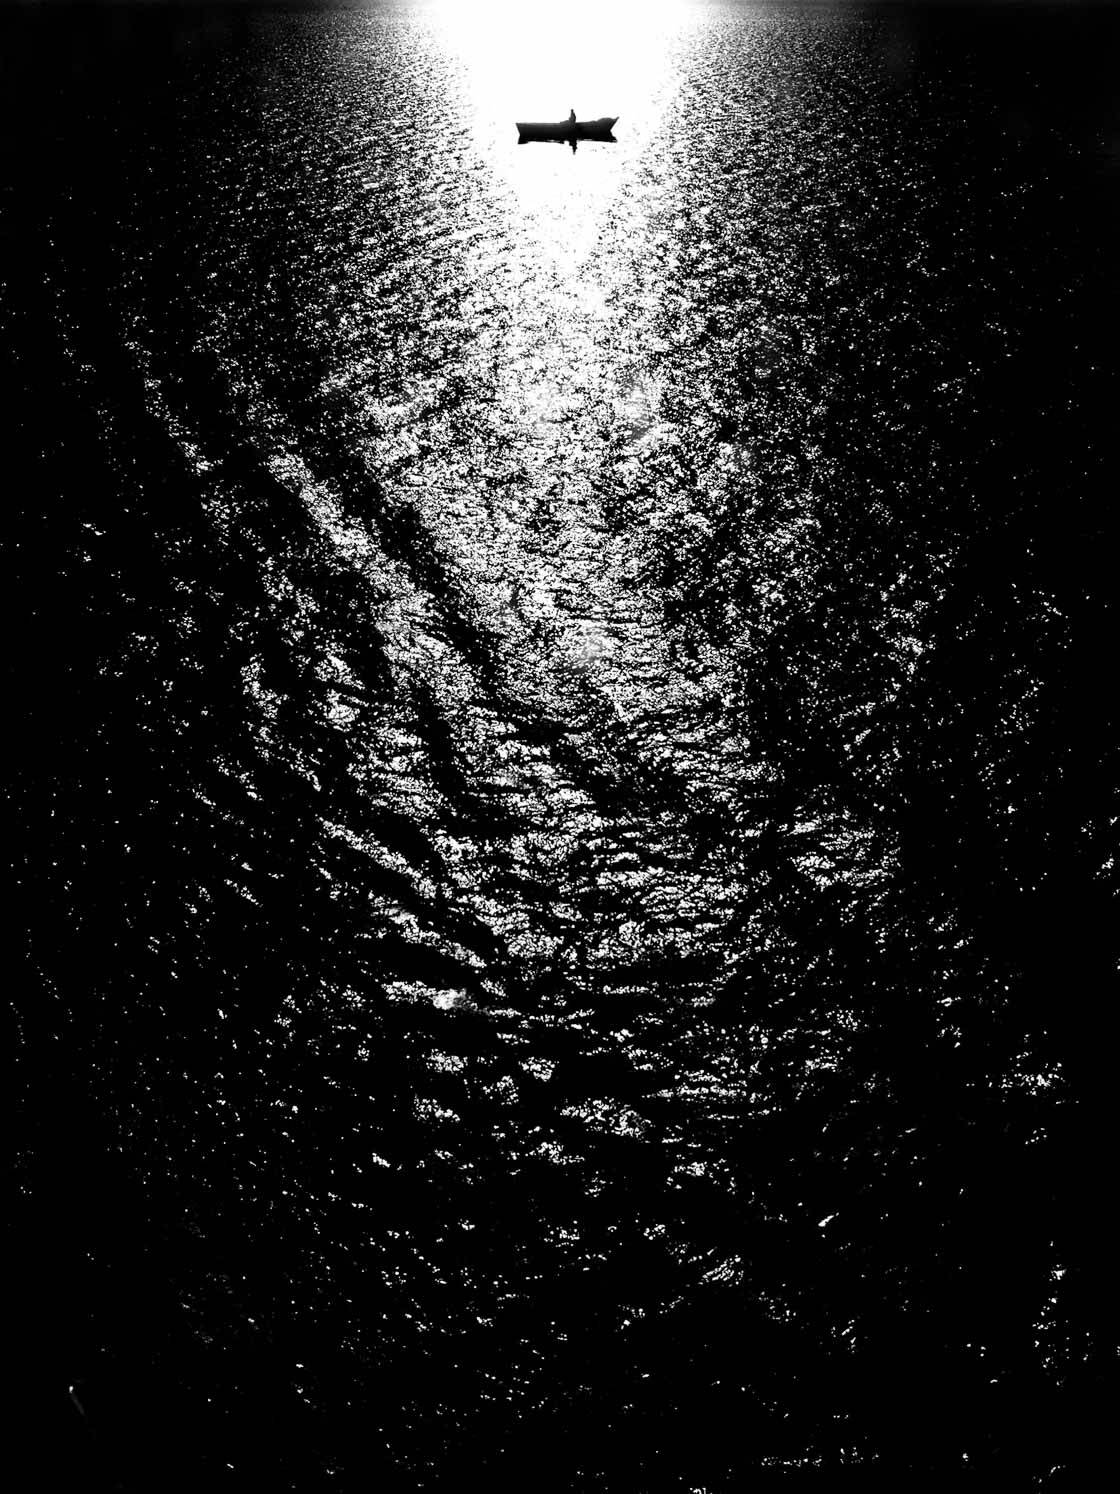
This is even more important if you’re shooting backlit silhouettes. If your silhouette overlaps with another object, then the whole shot is ruined.
So the placement of the main subject is critical.
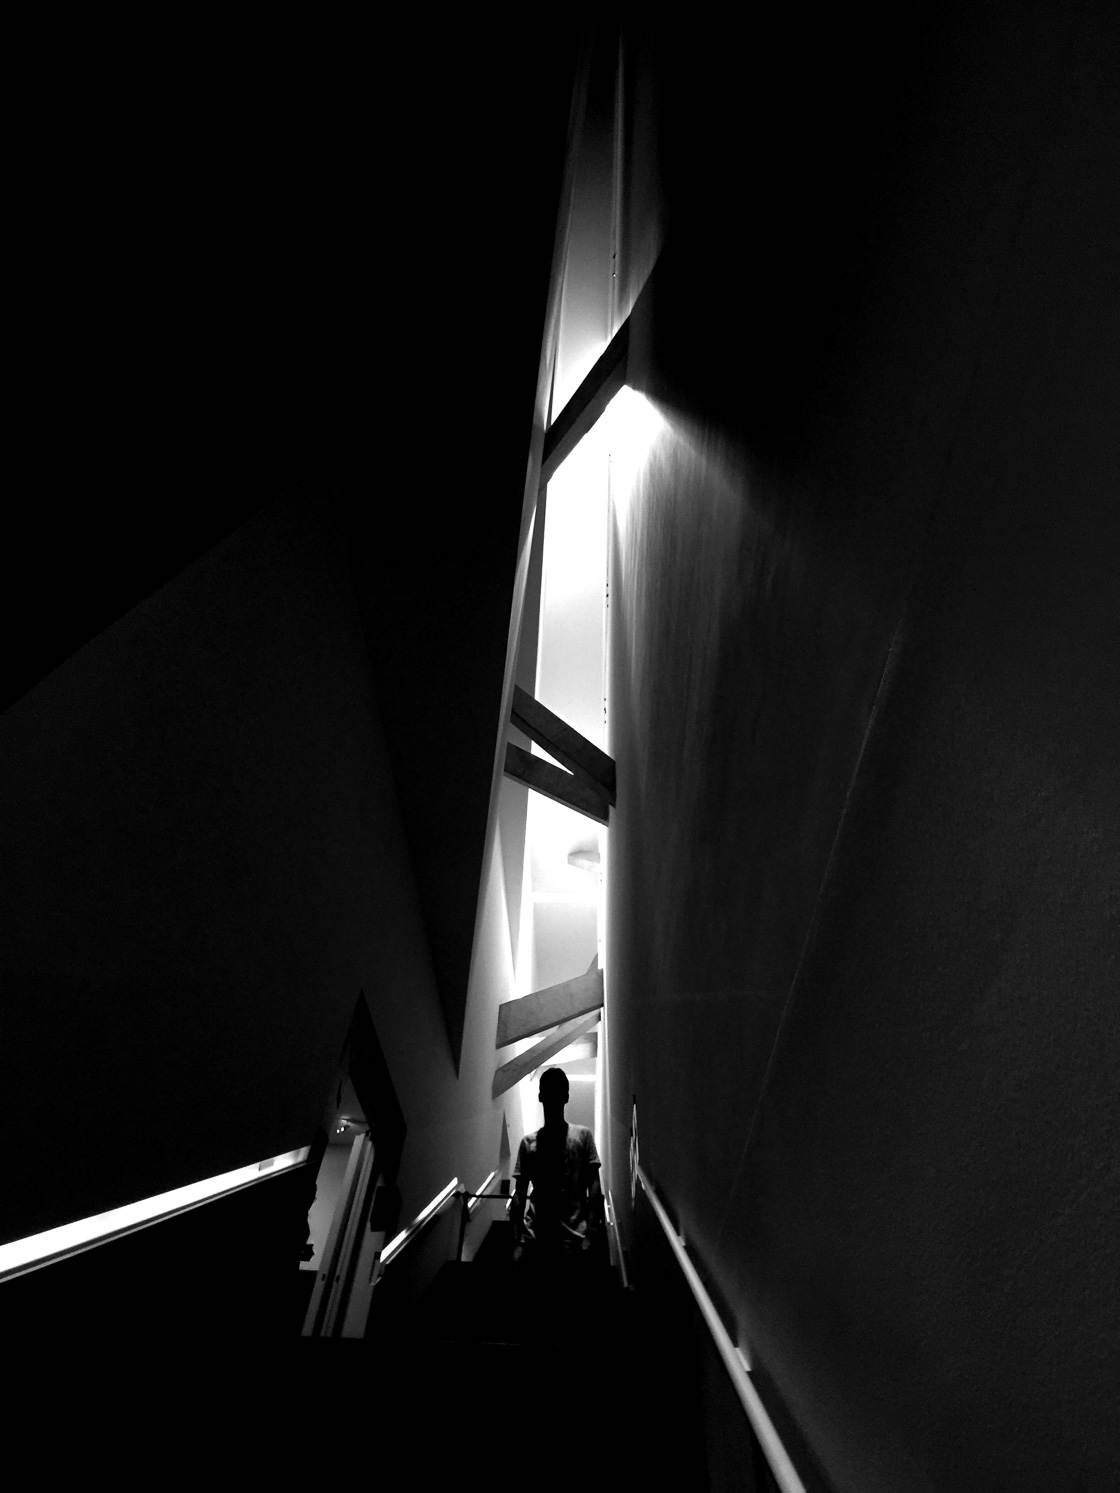
Yet this can be tough if your main subject is a person. After all, people are always on the move! They’re walking, running, or riding a bike.
So how do you ensure perfect placement of the main subject? How do you get them in the perfect position?
Here’s how: You use burst mode.
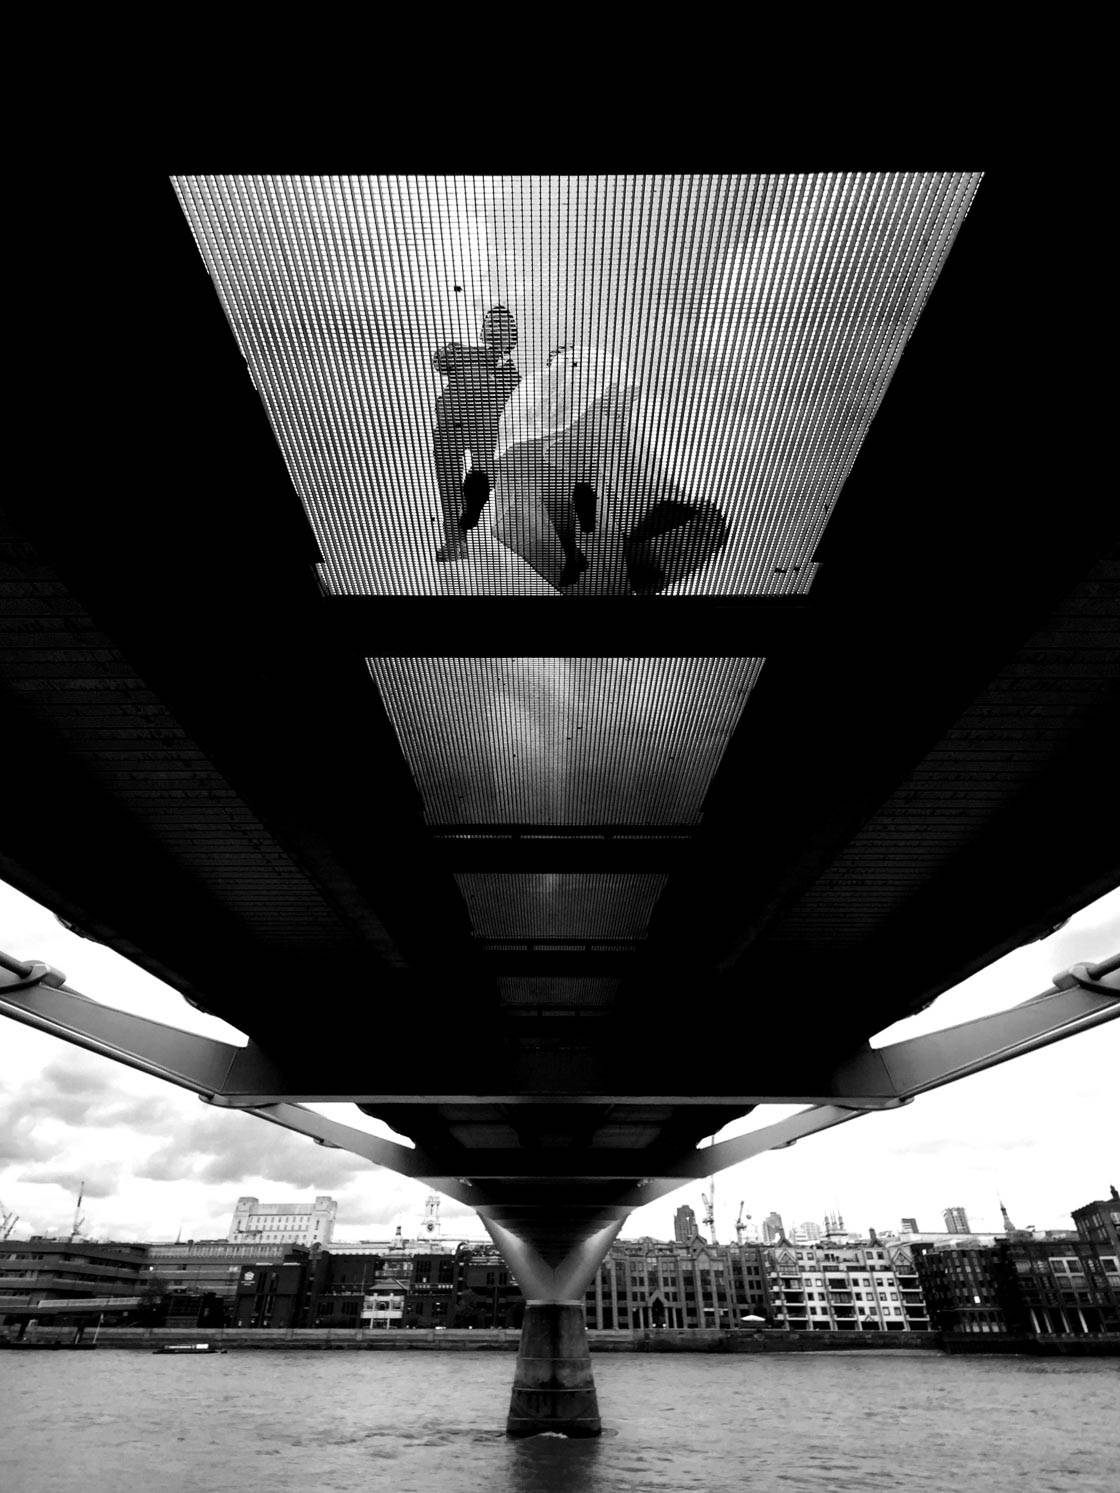
Burst mode is an iPhone camera feature that allows you to take over 10 photos per second.
It’s fantastic for ensuring that you capture that perfect moment!
With burst mode, you never have to worry about missing a critical shot.
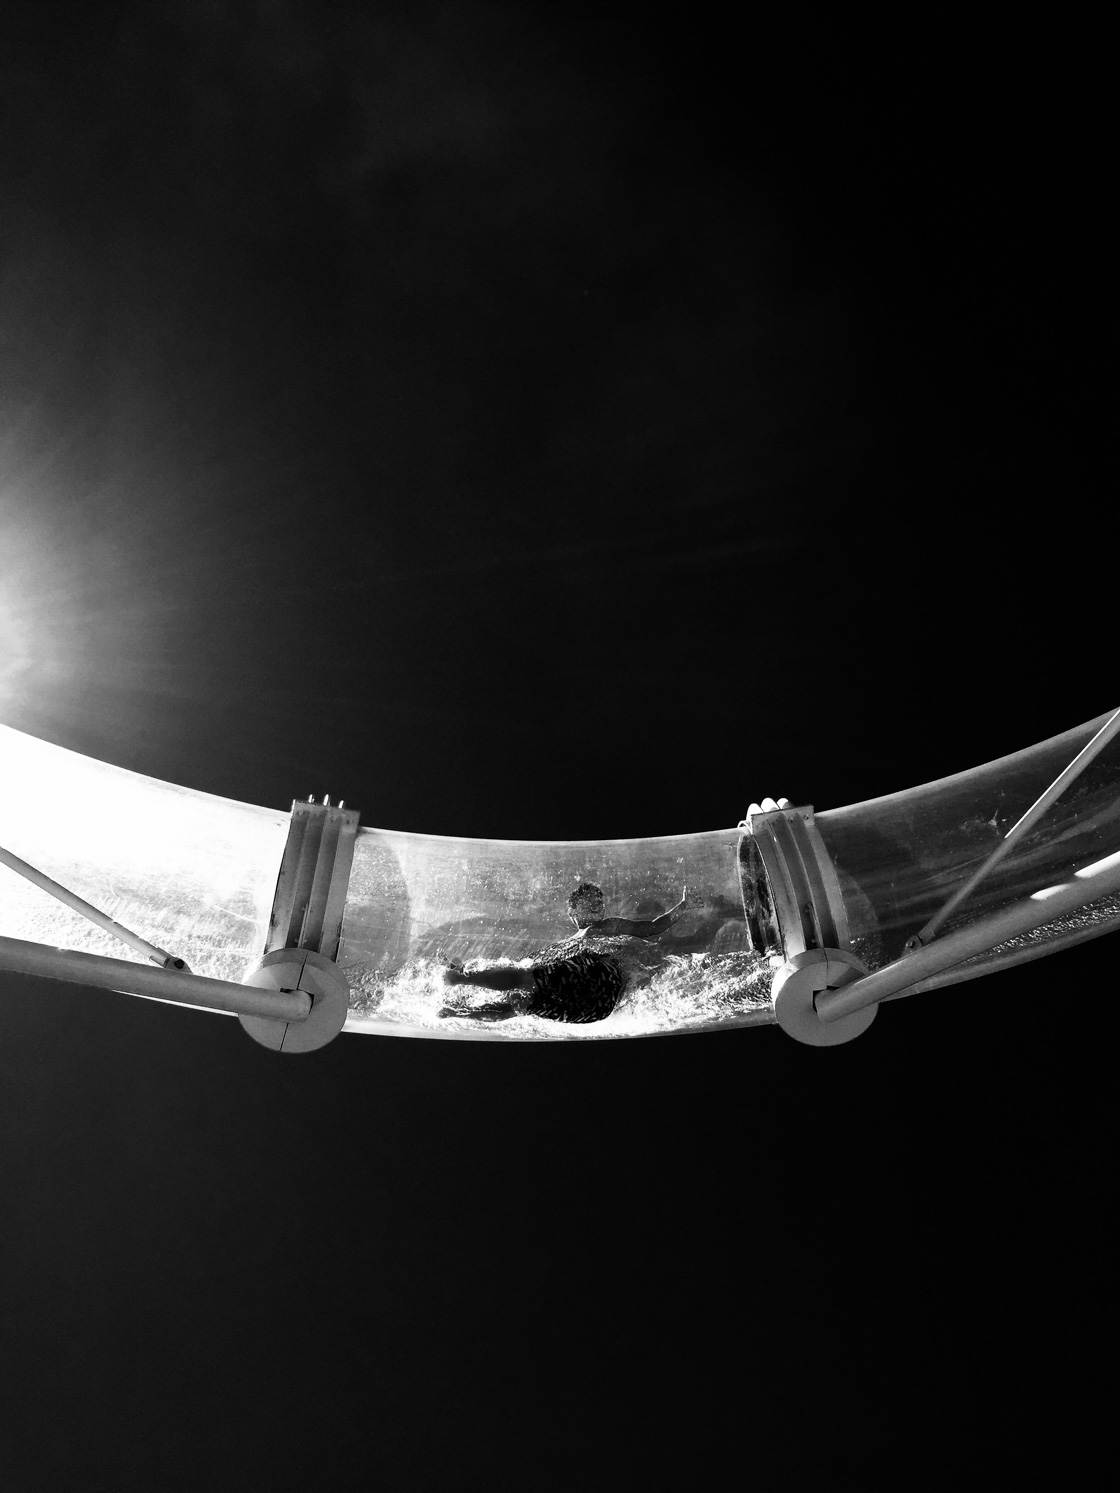
To use burst mode, simply hold down the shutter button when your subject begins to move into the frame. Keep holding down the shutter button–and don’t let go until the moment has passed.
Your iPhone will take dozens of pictures.
And after the shoot, you can go through all of your images. You can pick out your best ones and delete the rest.
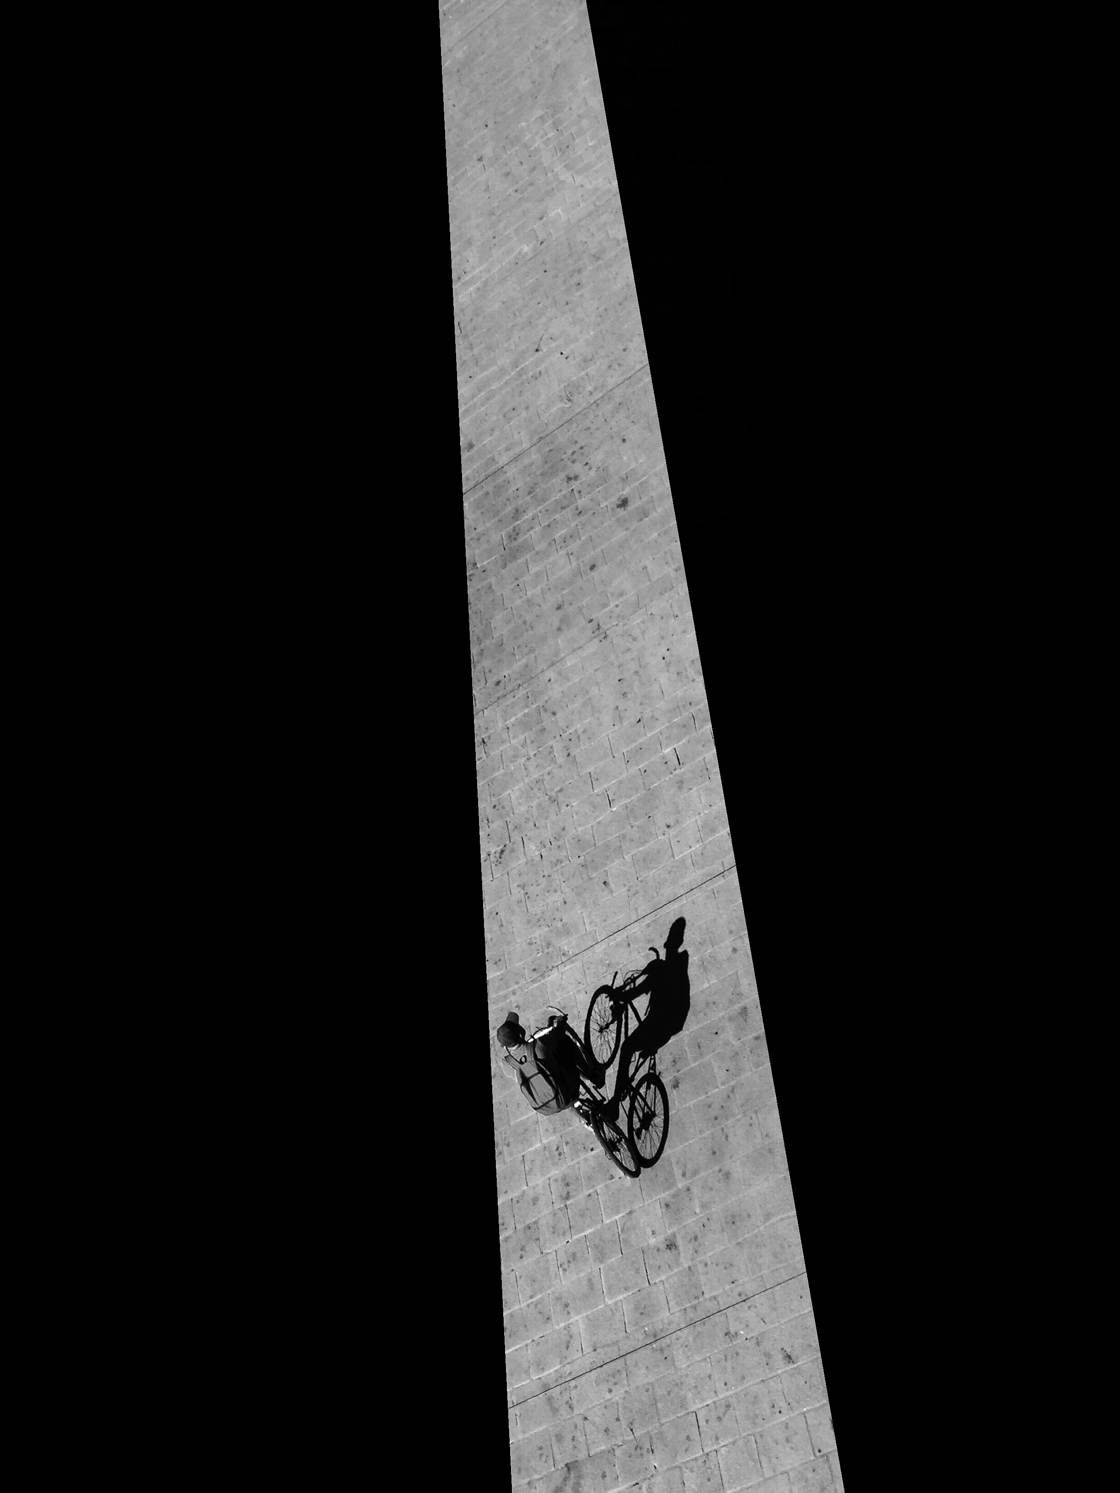
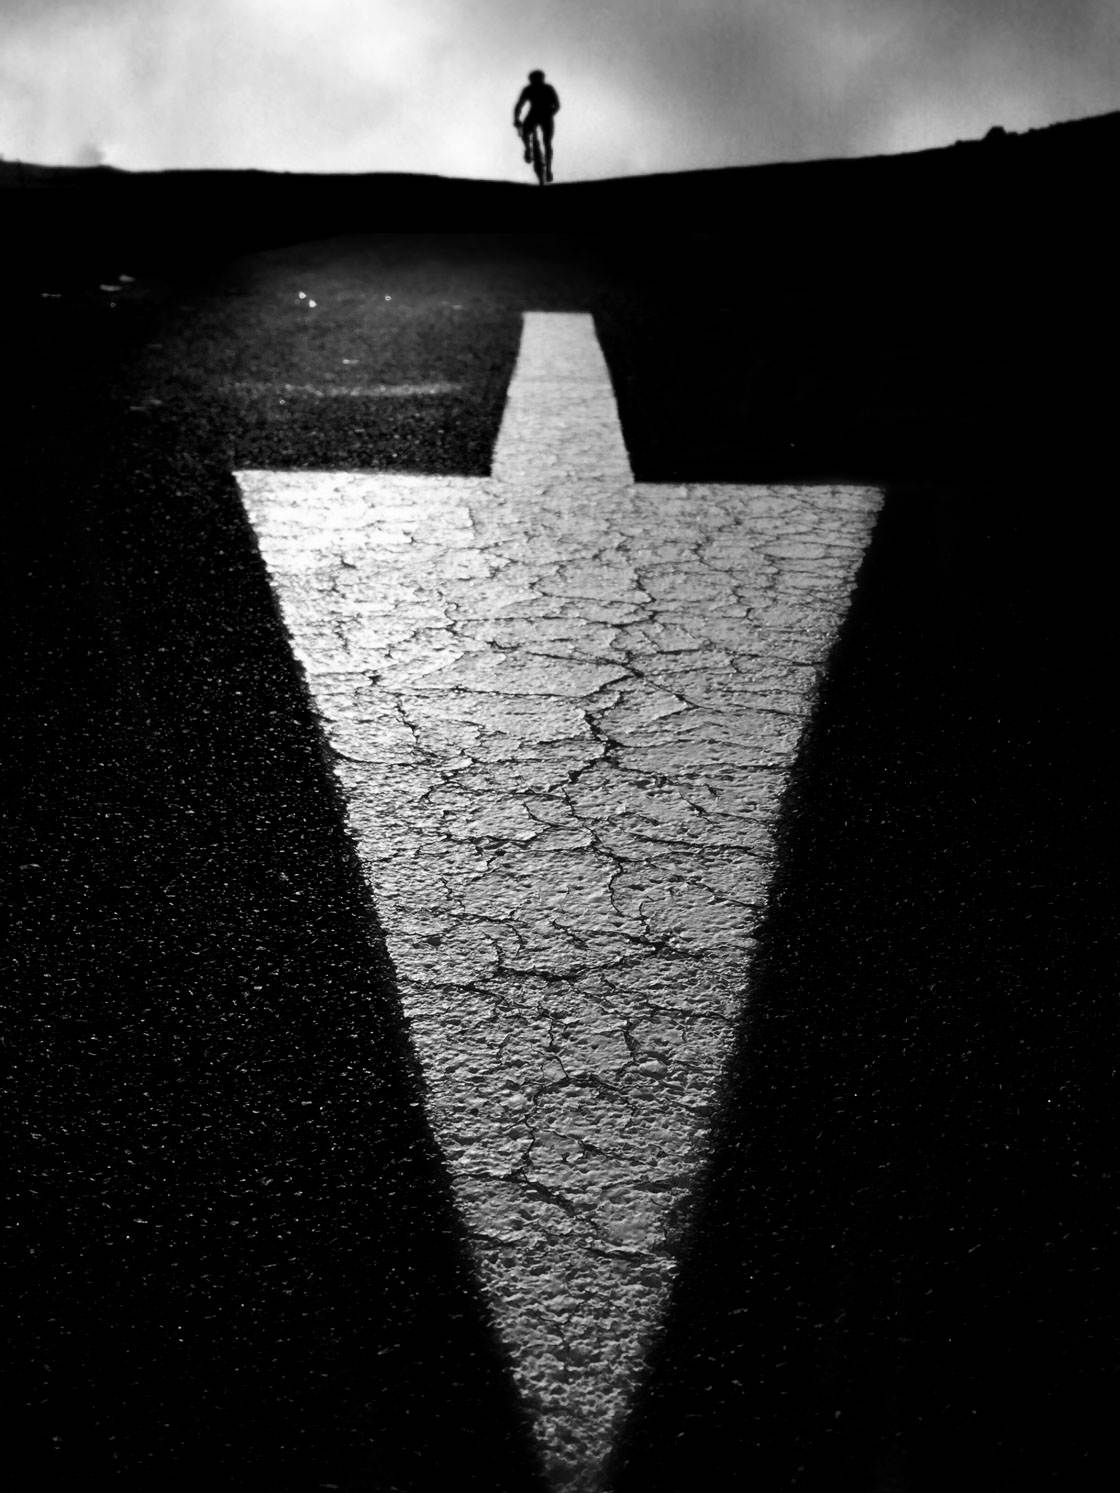
Without burst mode, I might not have captured the shot of the biker above. I wanted to photograph them in a very specific place–and burst mode helped me do that!
Let me emphasize: If you use burst mode, you’ll start capturing all the shots you’d usually miss.
Burst mode is a fantastic feature. Don’t forget that!
6. Put A Clear Subject In The Foreground For Unique Black And White Images
Do you struggle to create unique black and white photography?
There’s so much photography already out there. It can be tough to create photos that are truly your own.
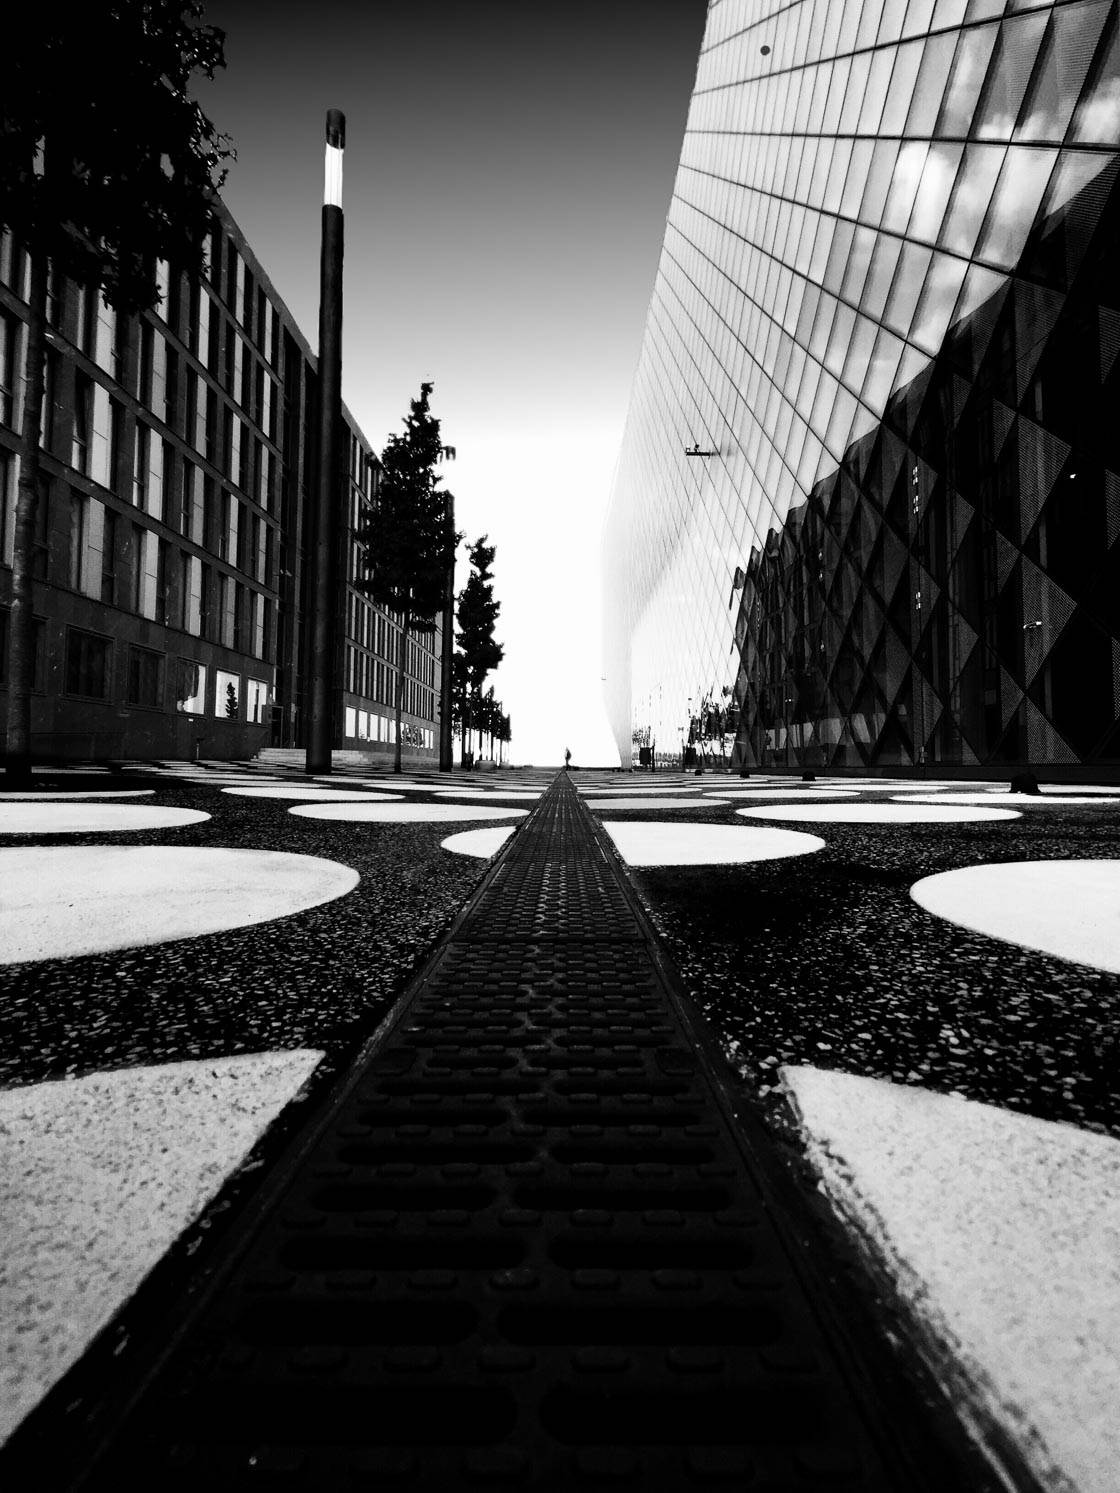
So I’ve got a technique for you. It’ll allow you to take a truly unique B&W photo.
Start by finding a clear foreground subject. You want to find something that is recognizable. Ideally, it will lead the eye from the foreground to the background.
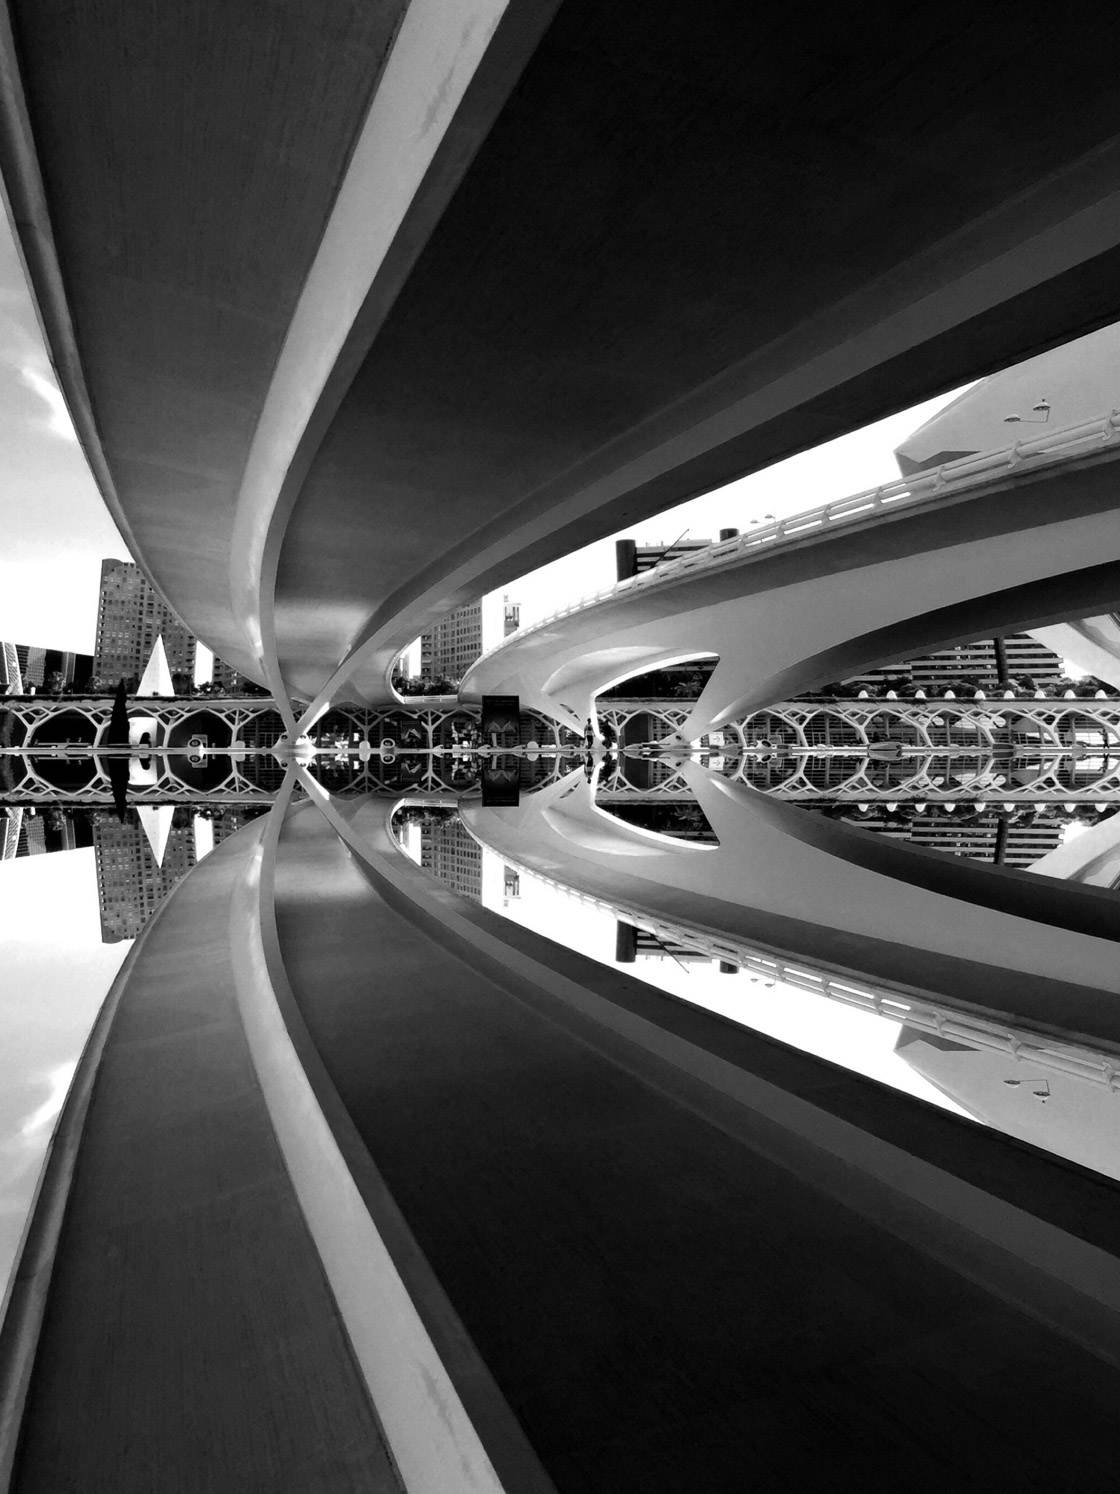
Then get extremely close to the foreground subject, so that it looms large within the frame.
Finally, make sure that you compose with a second, smaller subject behind this large foreground subject. For instance, I made sure there was a smaller person toward the top of the photo below.
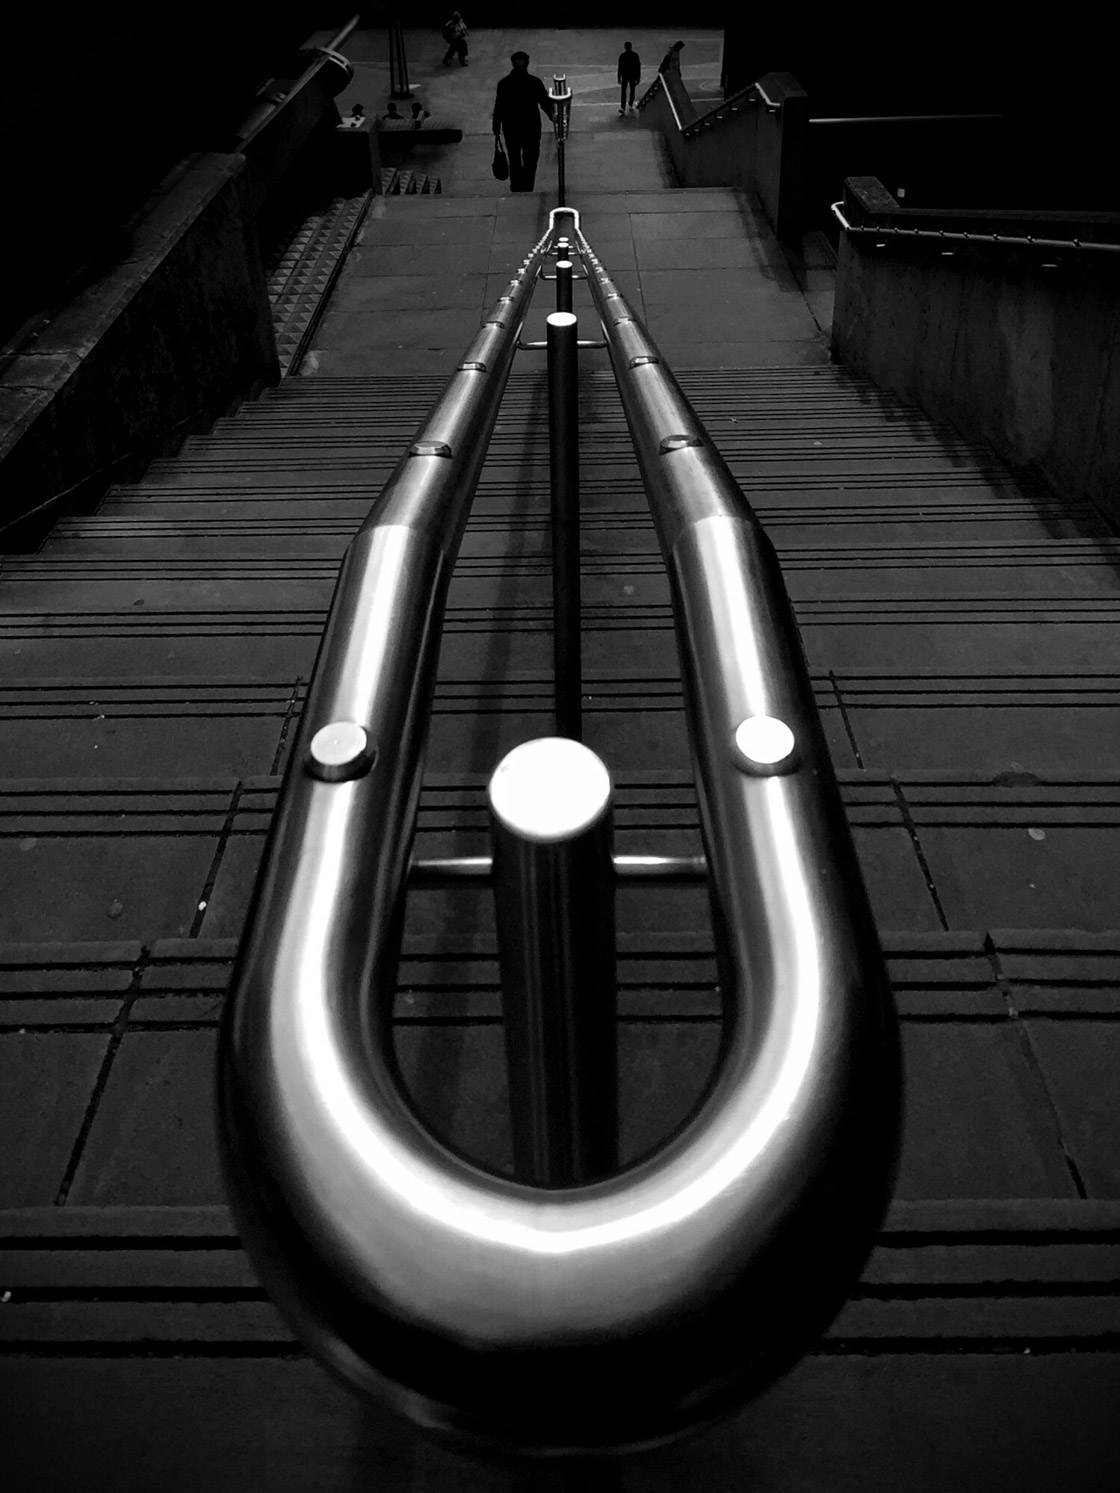
Then take your shot!
The point is to create strong visual interest in the foreground. This draws the viewer in. Then you can lead the viewer’s eye to the background.
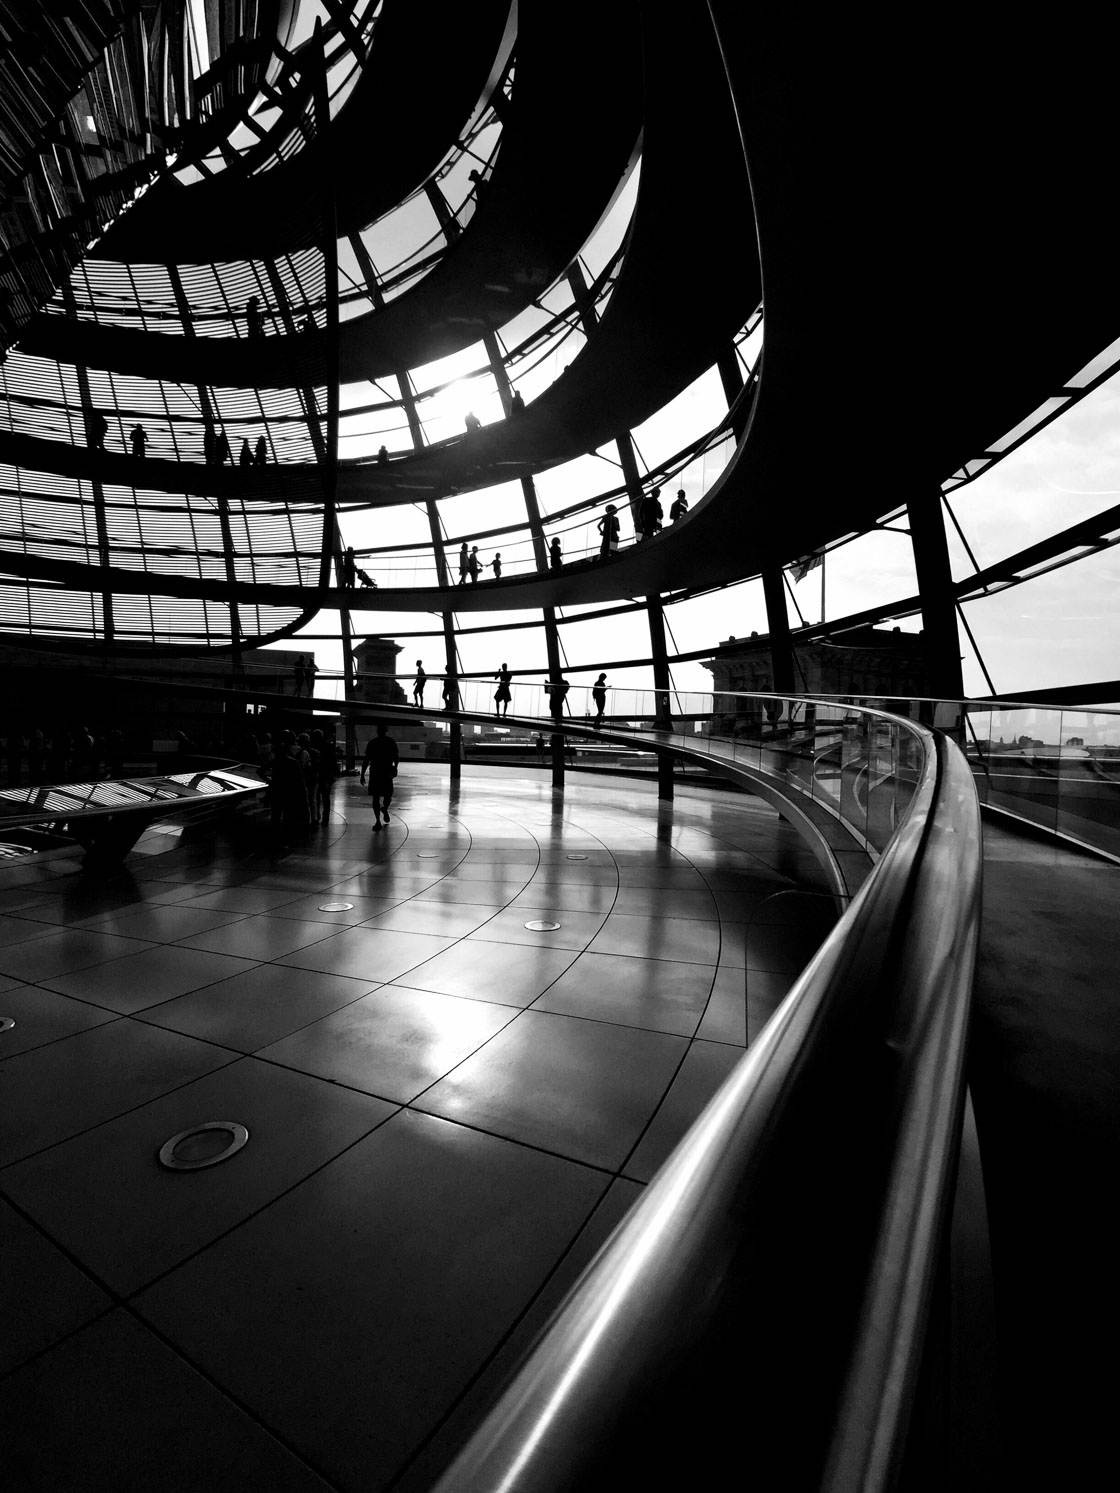
Notice how the railing in the photo above leads the eye to the tiny figures in the distance. This is the effect that you want to create.
Of course, be sure to experiment. Try approaching your foreground subject from different angles. Try getting lower and higher. Or try moving to the right or left.
One of the best foreground subjects is a large arrow on the ground. That’s what I used for the photo below.
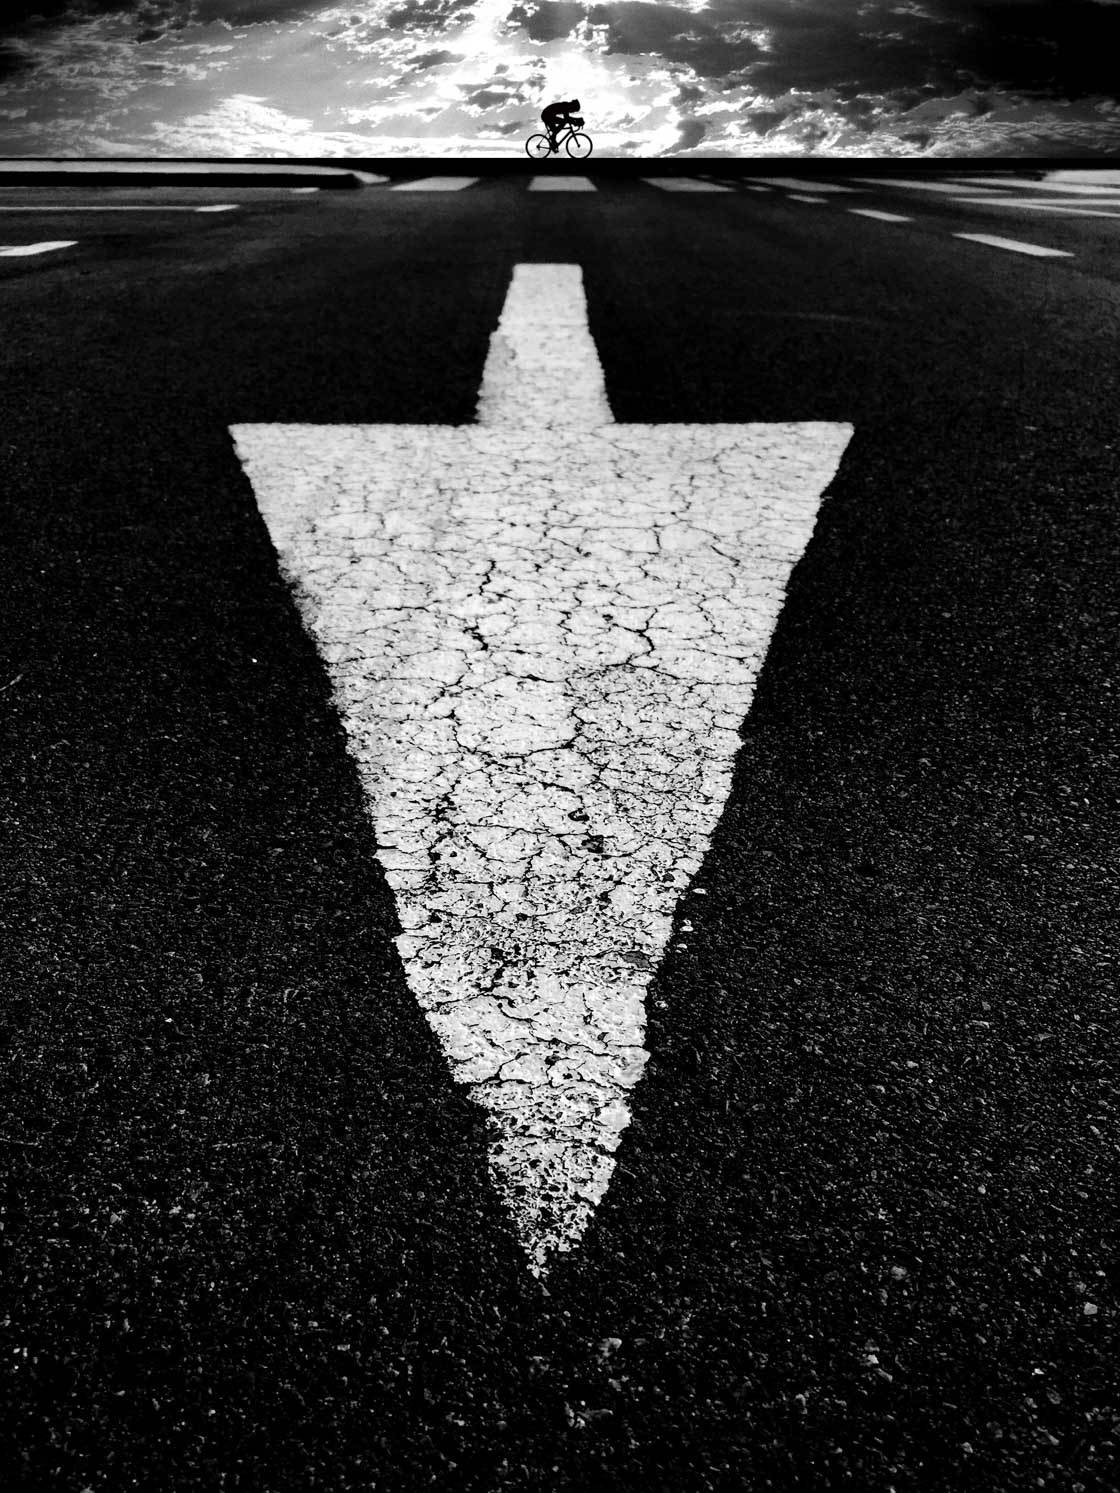
You can get down low over the arrow. Make sure that it dominates the frame. Then you can position yourself so that the arrow is in line with your second subject in the background.
I love the images that this technique produces. I know you will, too.
They’re original. They’re unique.
And they’re truly compelling.
7. Shoot In Train Stations For Special Black And White Photos
B&W photography is a versatile genre. You can find good black and white subjects anywhere.
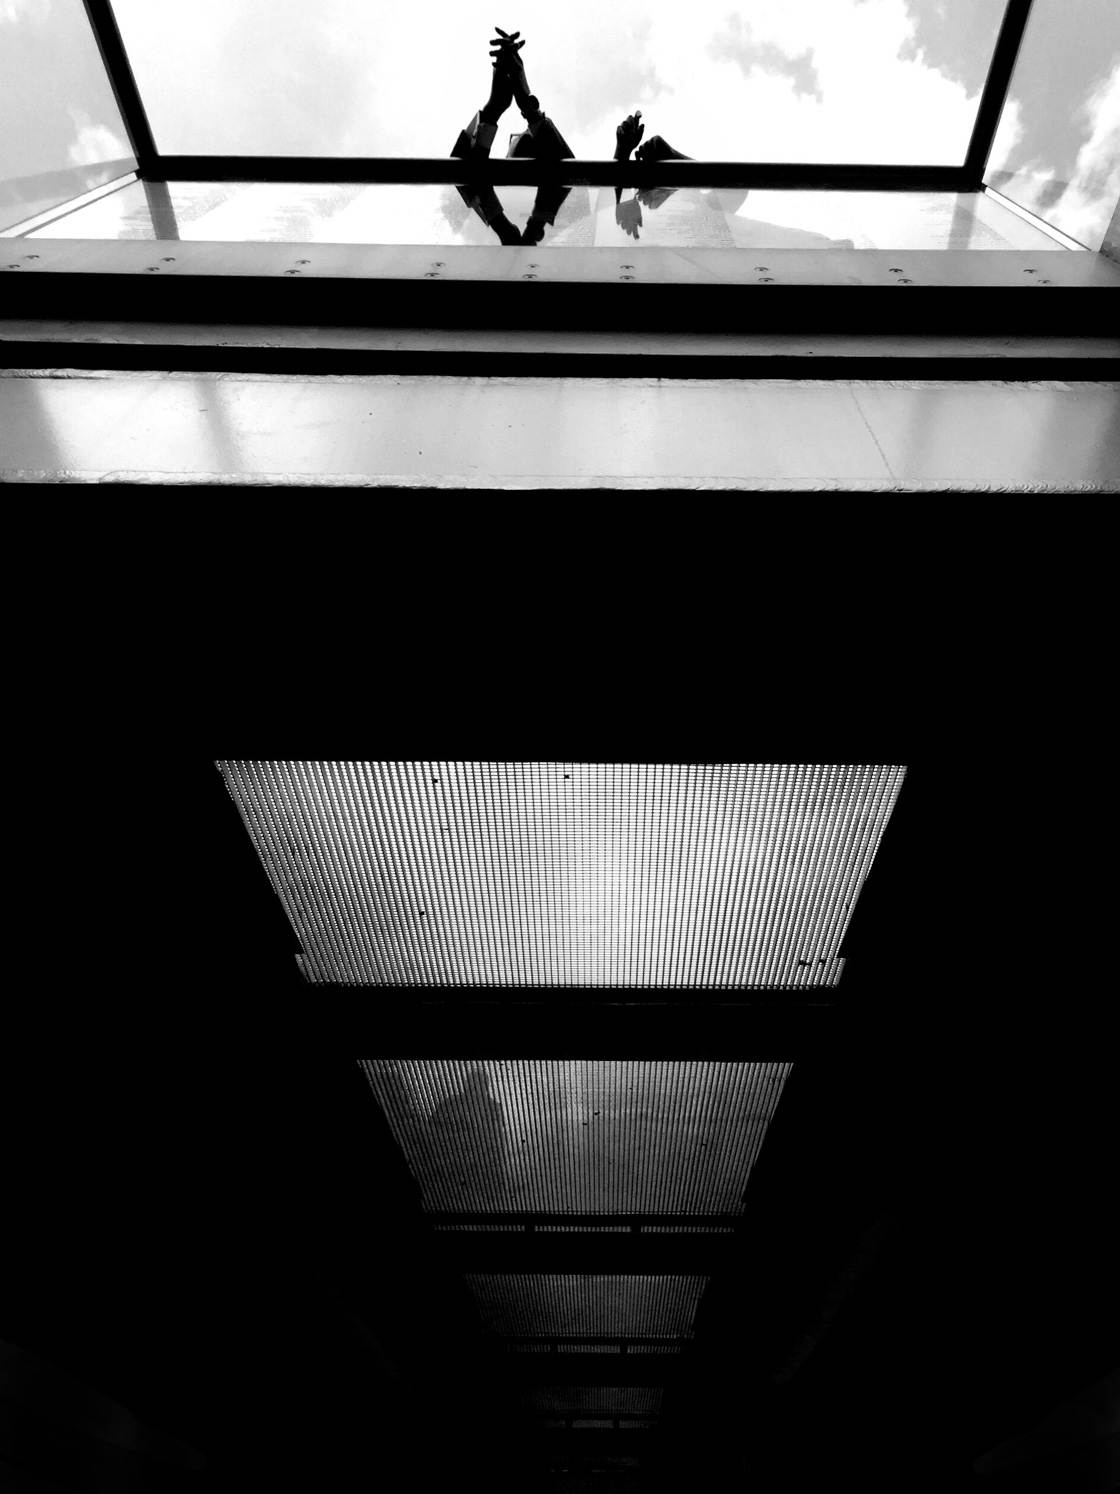
That said, I want to give you a place where you can have a lot of fun doing photography. Because there are certain locations where it’s far easier to find good subjects.
One of those places is a train station.
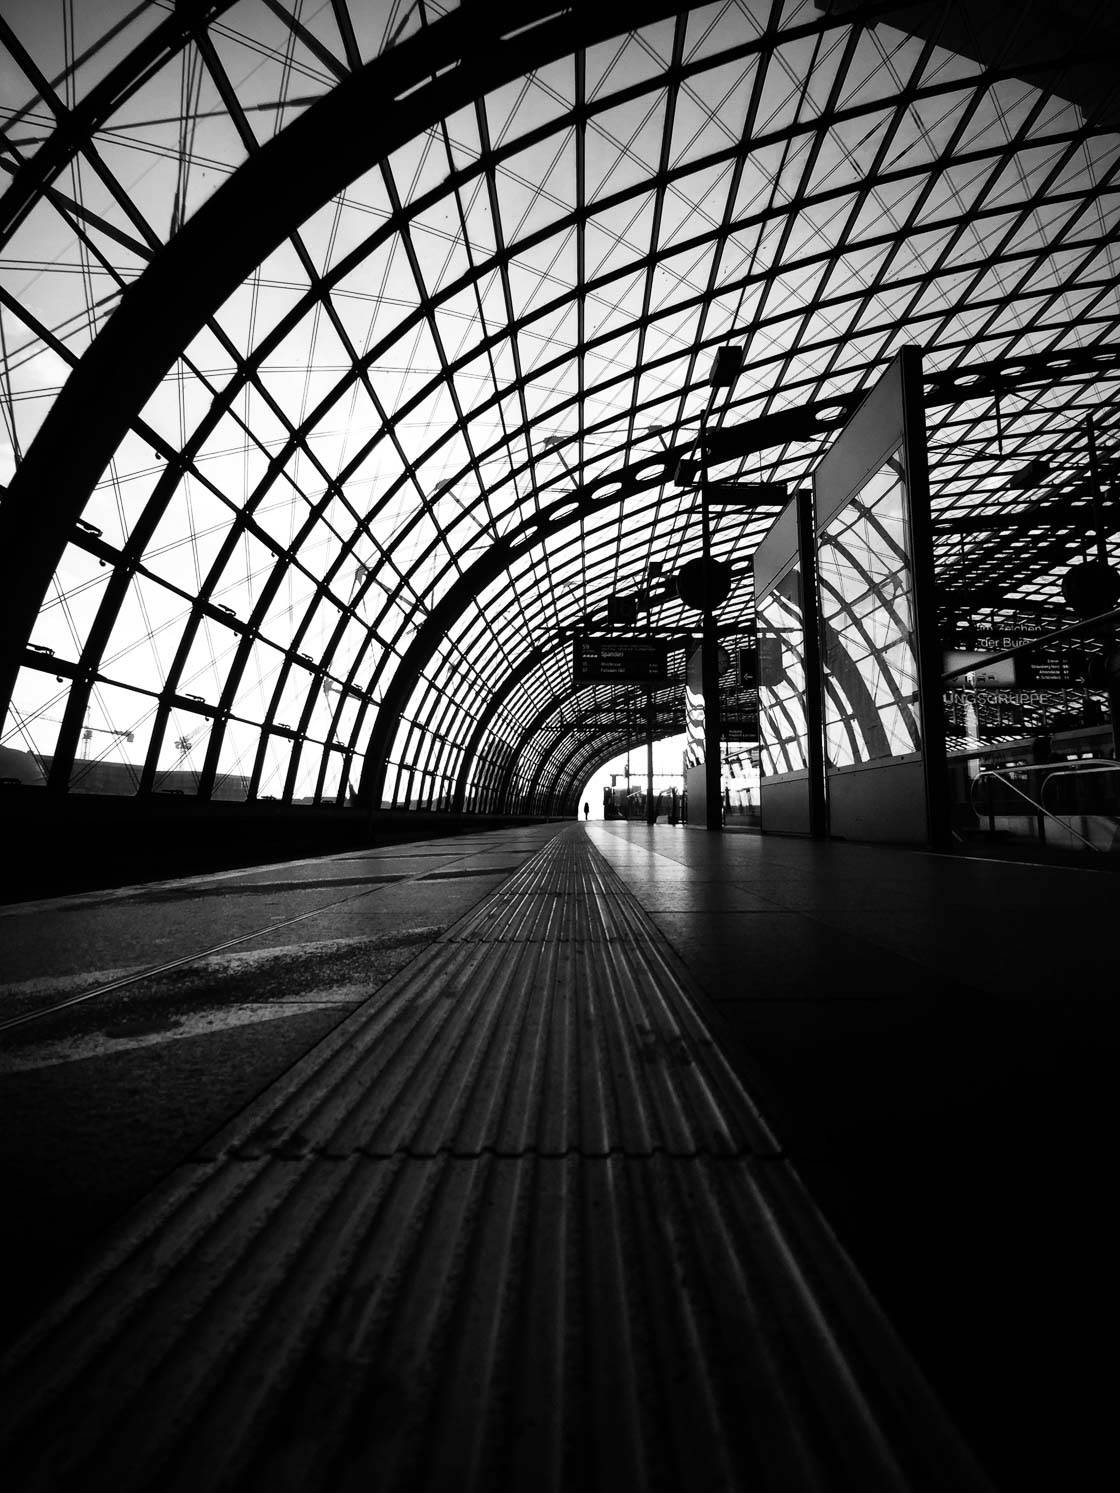
If you shoot in a train station, you’ll find lots of stunning image opportunities.
What makes train stations so special?
For one thing, train stations often have deep shadows and fantastic lines. These all work very well in black and white photography.
But another reason that I love train stations is that there’s so much going on. You have people passing in every direction. This means that there are lots of great stories to tell!
Also, you have lots of artificial lights–many of which can be used to backlight your subject.
Here’s how I recommend you approach a train station photo shoot.
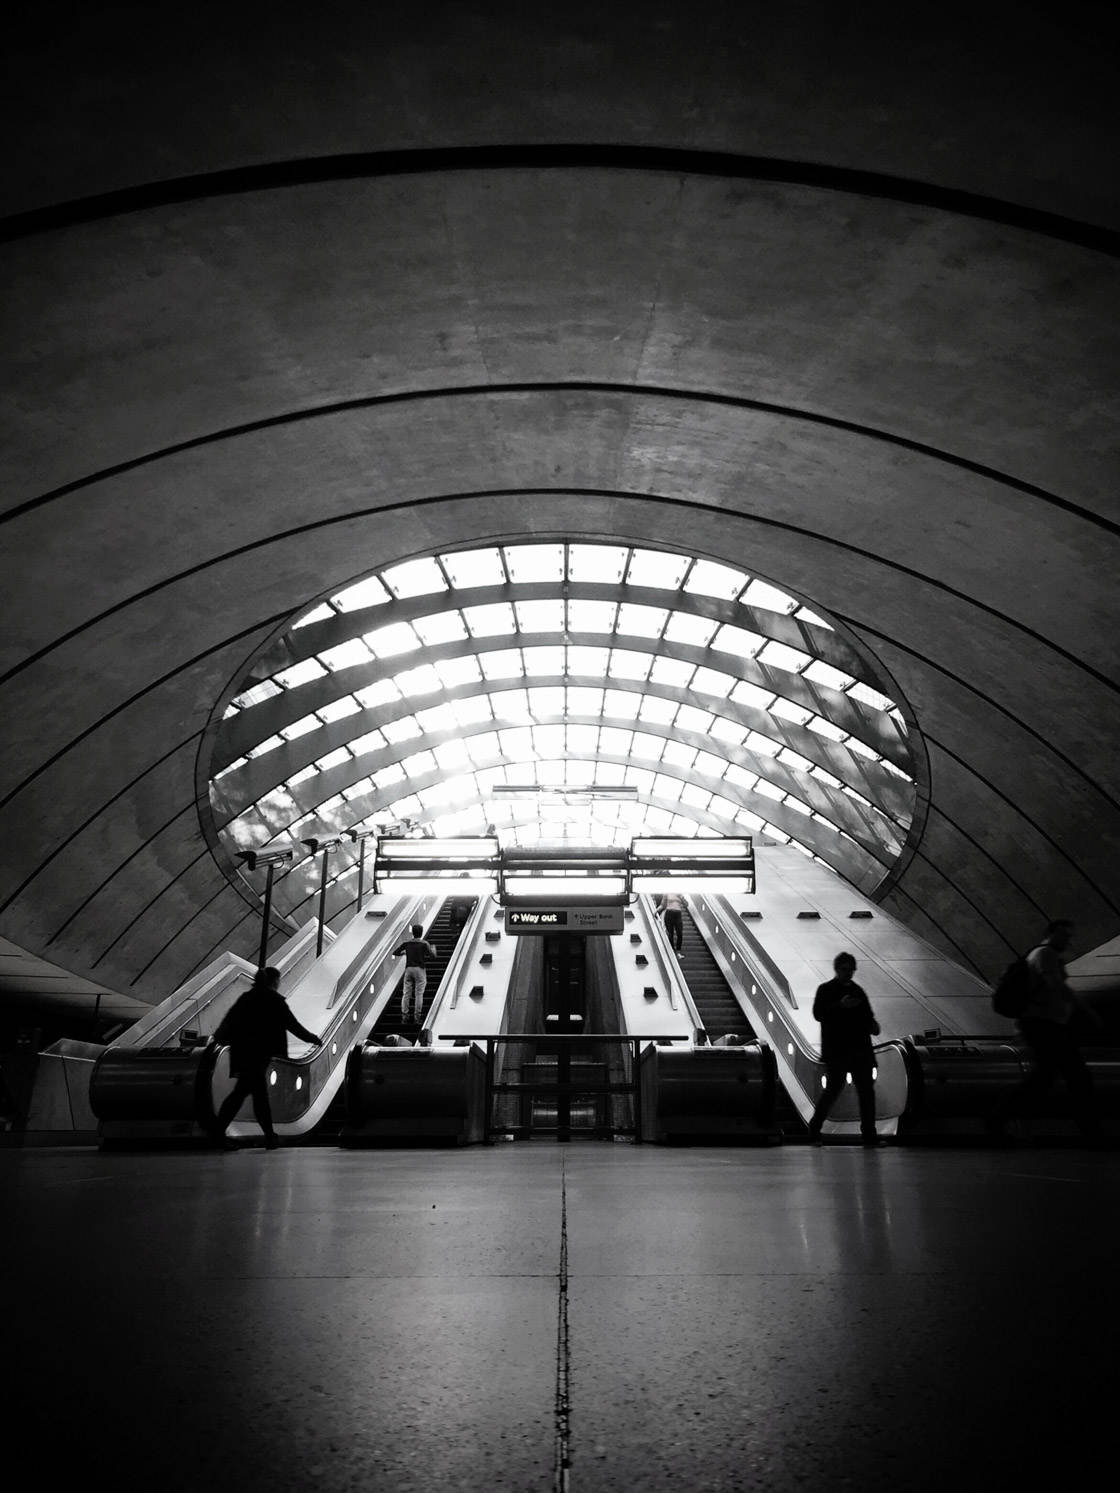
Start by positioning yourself near some stairs. That is, place yourself against the wall, just where the stairs let out.
Stay still, so you essentially become invisible.
Then just wait.
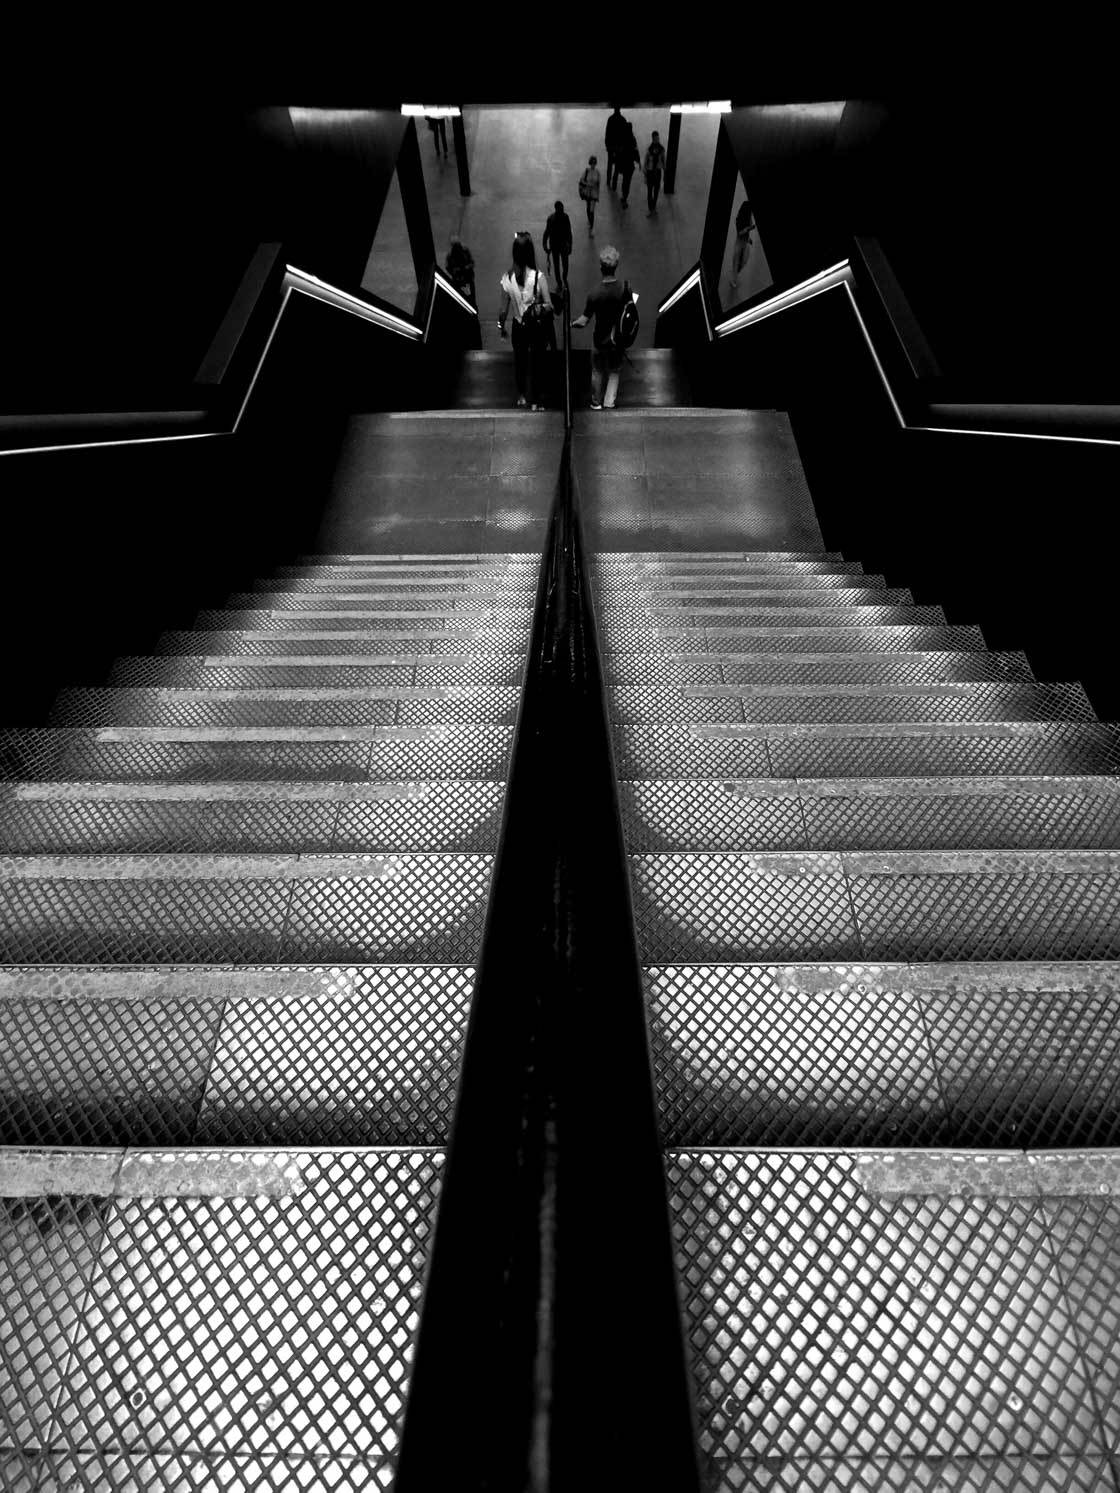
Eventually, you’ll get a truly special moment. For instance, a single person may walk down the stairs, backlit by the light from above.
When this happens, be prepared. Snap your image!
(And don’t forget to use burst mode!)
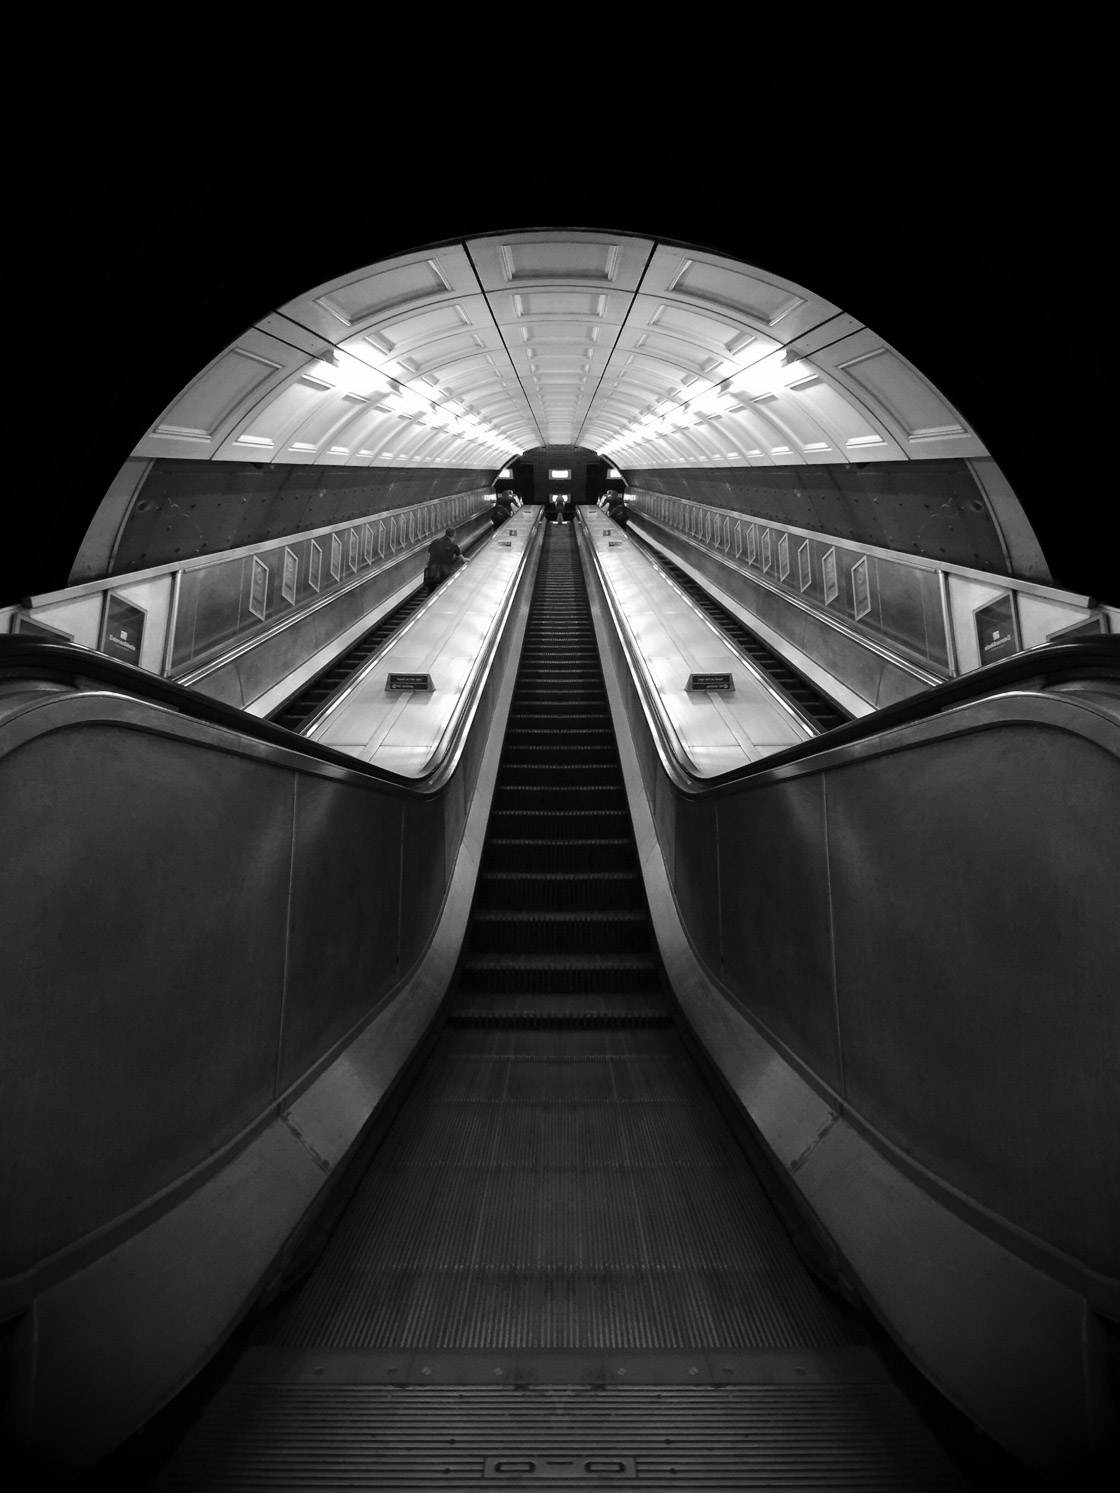
If you photograph in a train station, you’ll get some truly special images.
Just try it.
8. Edit To Enhance Your Black And White Photography
It’s important that you get beautiful black and white photos in the field.
But you can’t let this be the end of your photography process.
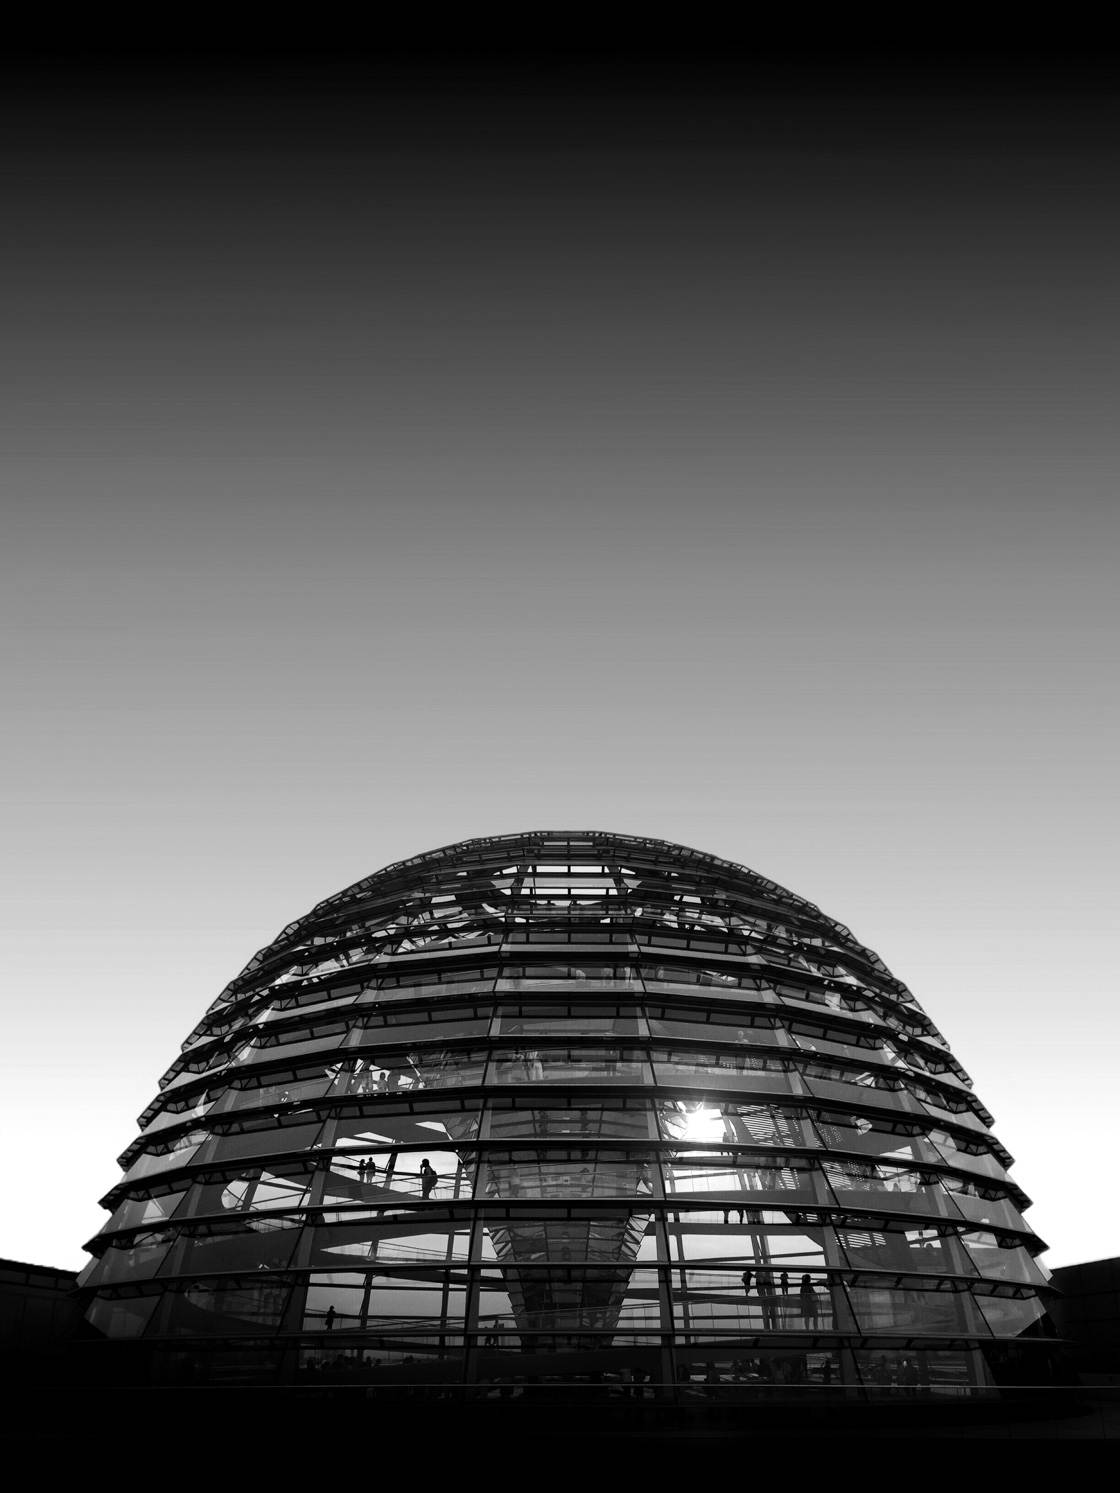
Because if you want the best black and white photos possible…
…then you have to edit your images.
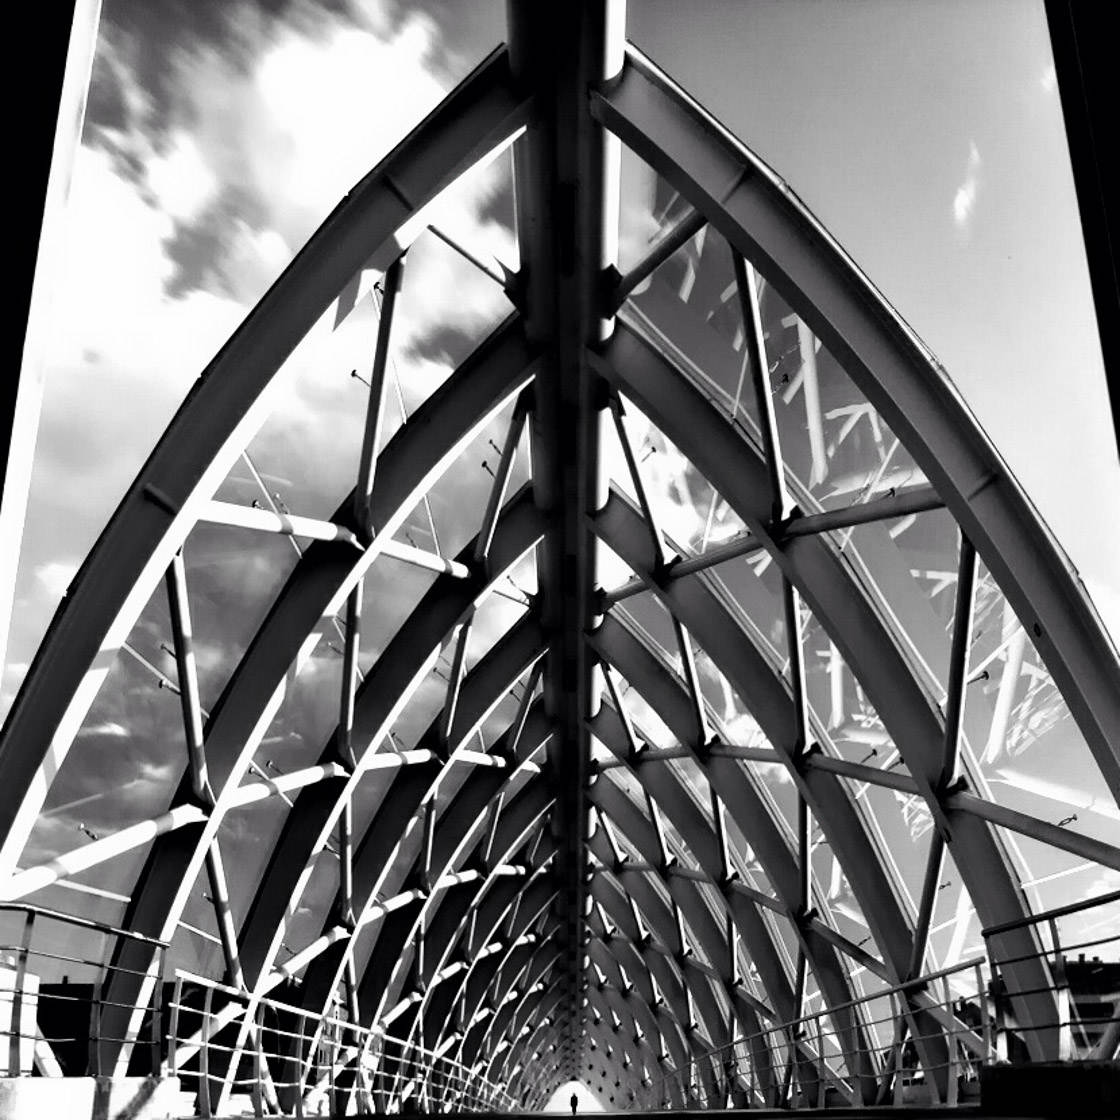
Editing isn’t about making your photographs fake. It’s not about pushing them beyond reality.
Instead, editing is about creating the photo that you imagined from the beginning. It’s about portraying reality.
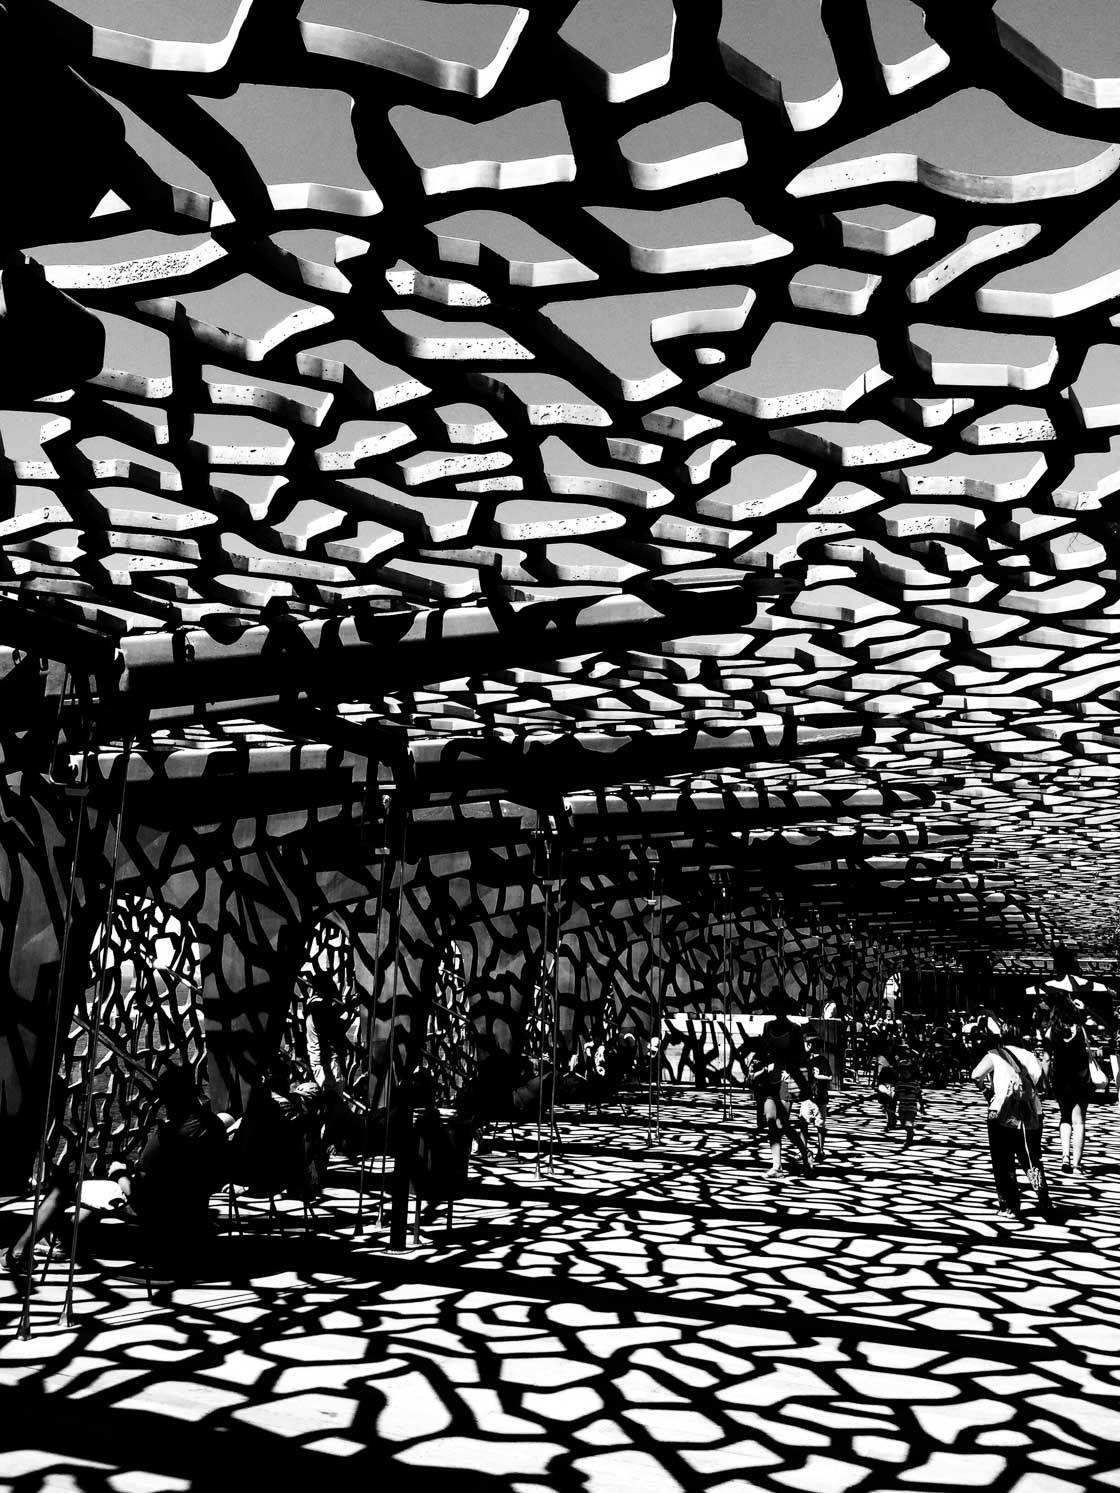
The fact is, cameras are limited. They can’t capture everything you see with your eye. And so you need to edit to depict what you originally saw.
You need to edit to portray the moment that you initially envisioned.
How do you edit black and white photography?
I use the Filterstorm Neue app. Snapseed is a free alternative. VSCO offers some nice black and white filters, as well. In fact, most basic photoshop apps include all of the necessary tools.
I start by envisioning the final image. This is key.

You have to think to yourself, “What is it that I want to achieve with this image?” This should go back to the previsualization you did at the very beginning.
Now, I always shoot my images in color. Then I convert my images to black and white using an app like Filterstorm Neue or Snapseed. However, you can start by shooting with a black and white app such as Blackie.
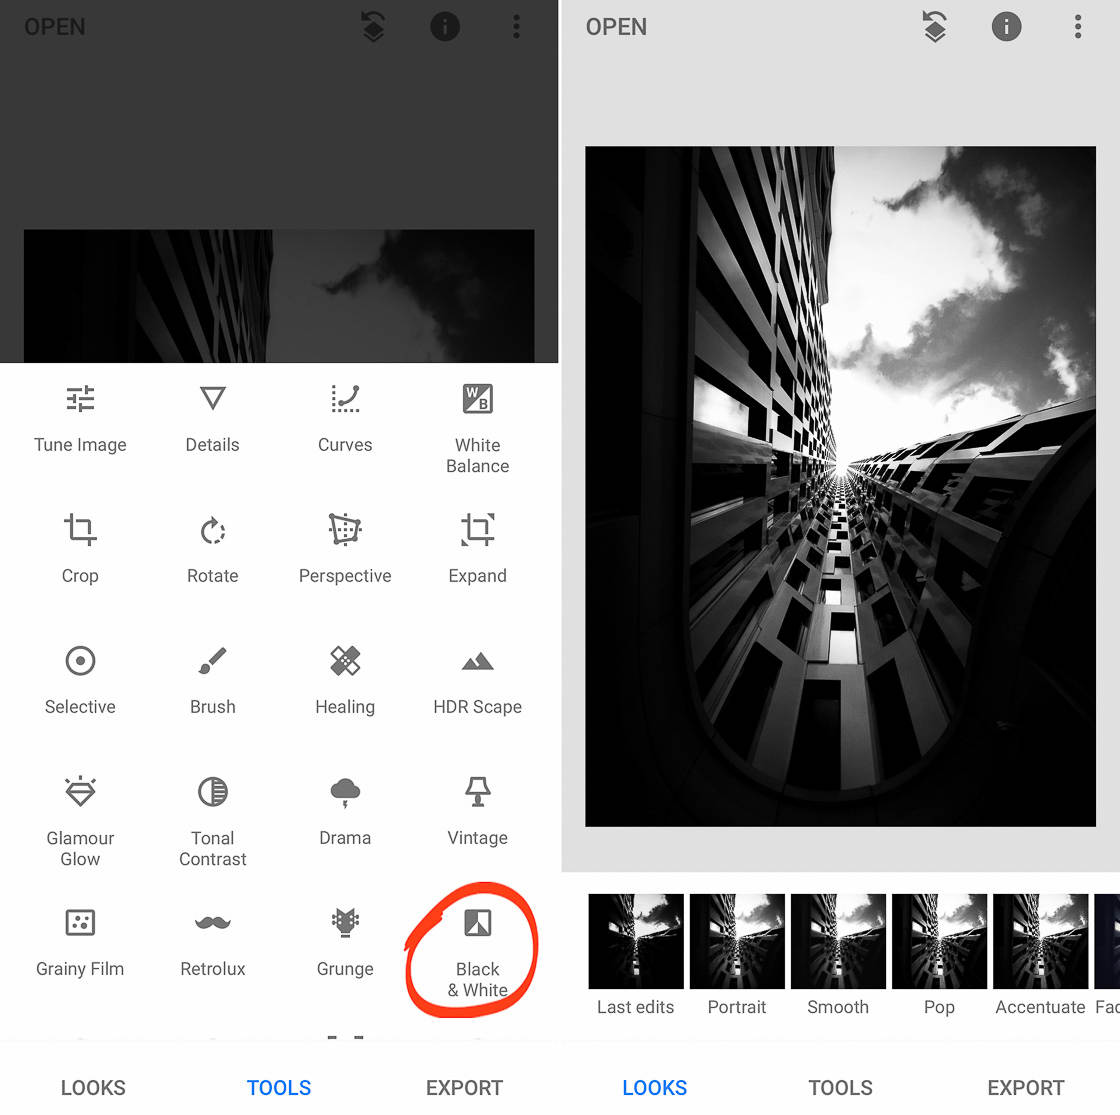
To convert an image to black and white in Snapseed, tap Tools, then Black & White. You’ll be given several black and white filter options.
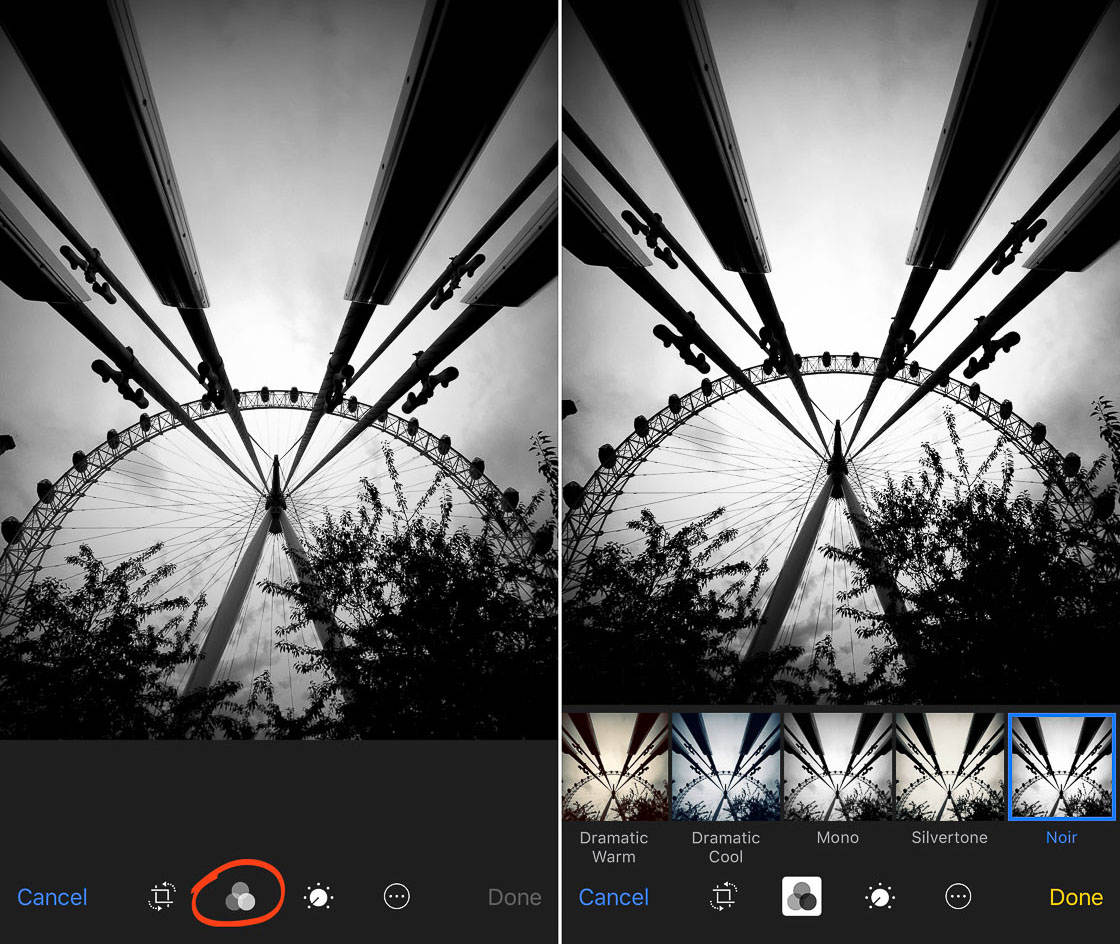
The Camera app has a decent black and white filter, too: the Noir filter. I like contrast-heavy filters. And the Noir filter is sufficiently contrasty for my tastes.
You can access the Noir filter in the Editing module of your photo library.
To use the Noir filter, open your photo in the photo library. Tap on Edit. Then simply tap on the Filter icon (the three overlapping circles), and then select Noir.
Then tap Done to save the edit.
And speaking of contrast…
I always add lots of contrast to my images. Contrast is extremely important for black and white photography. It adds drama and helps create a sense of tension.
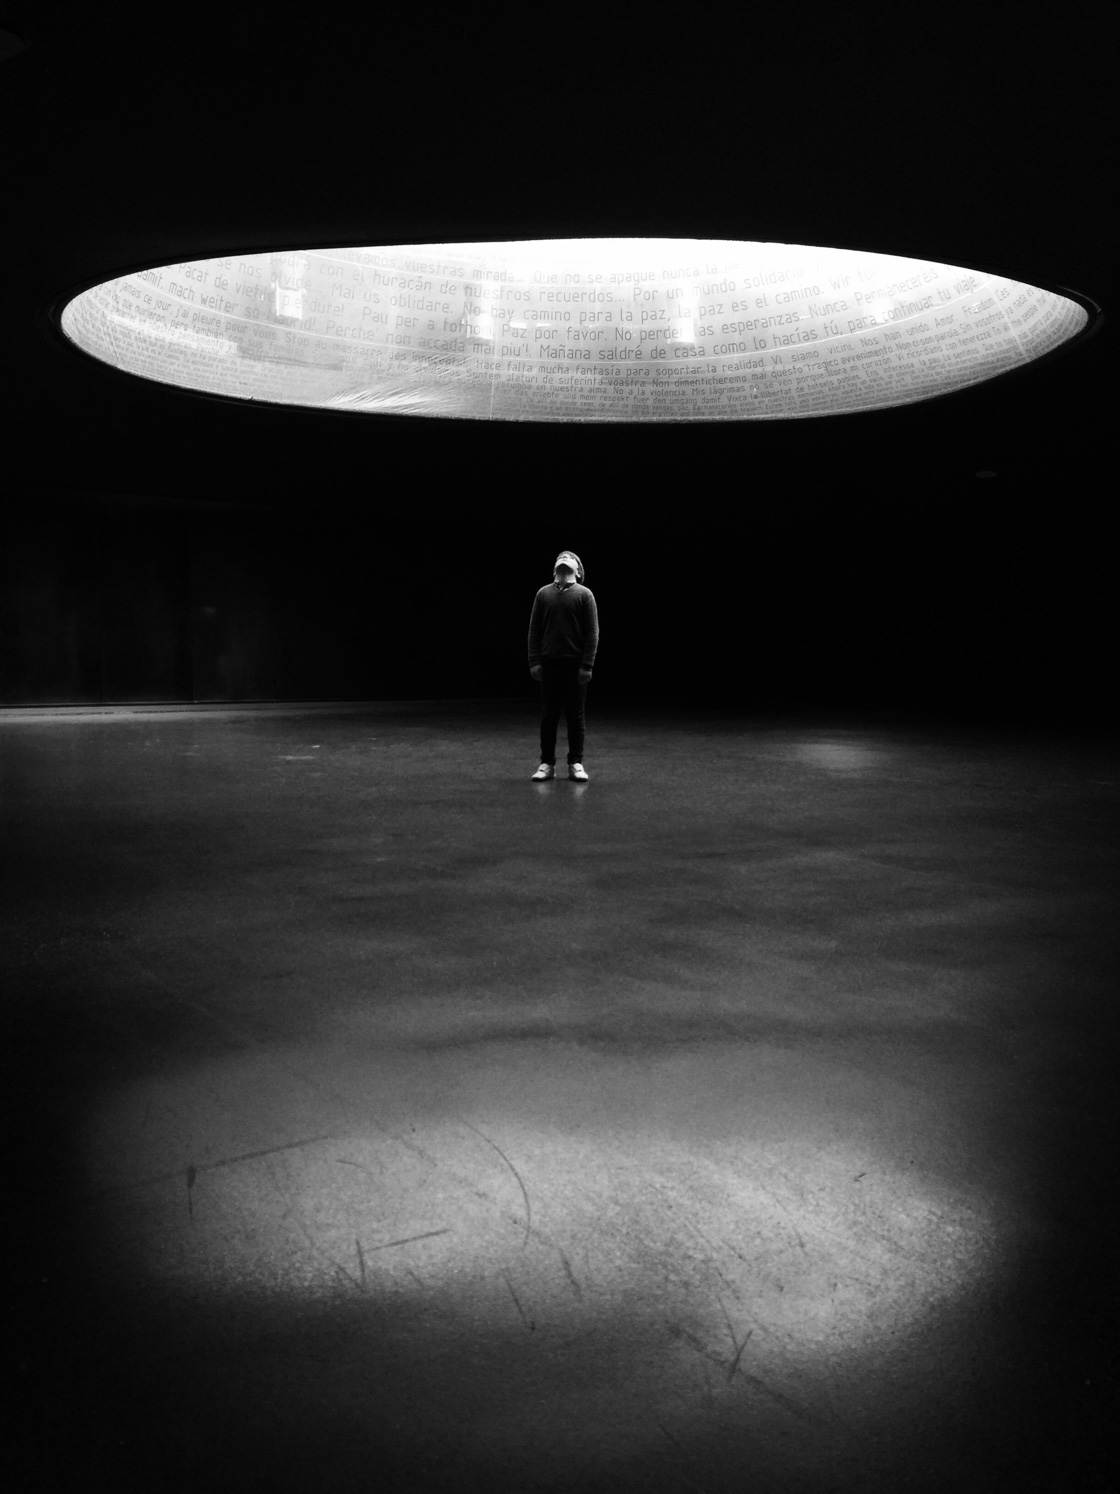
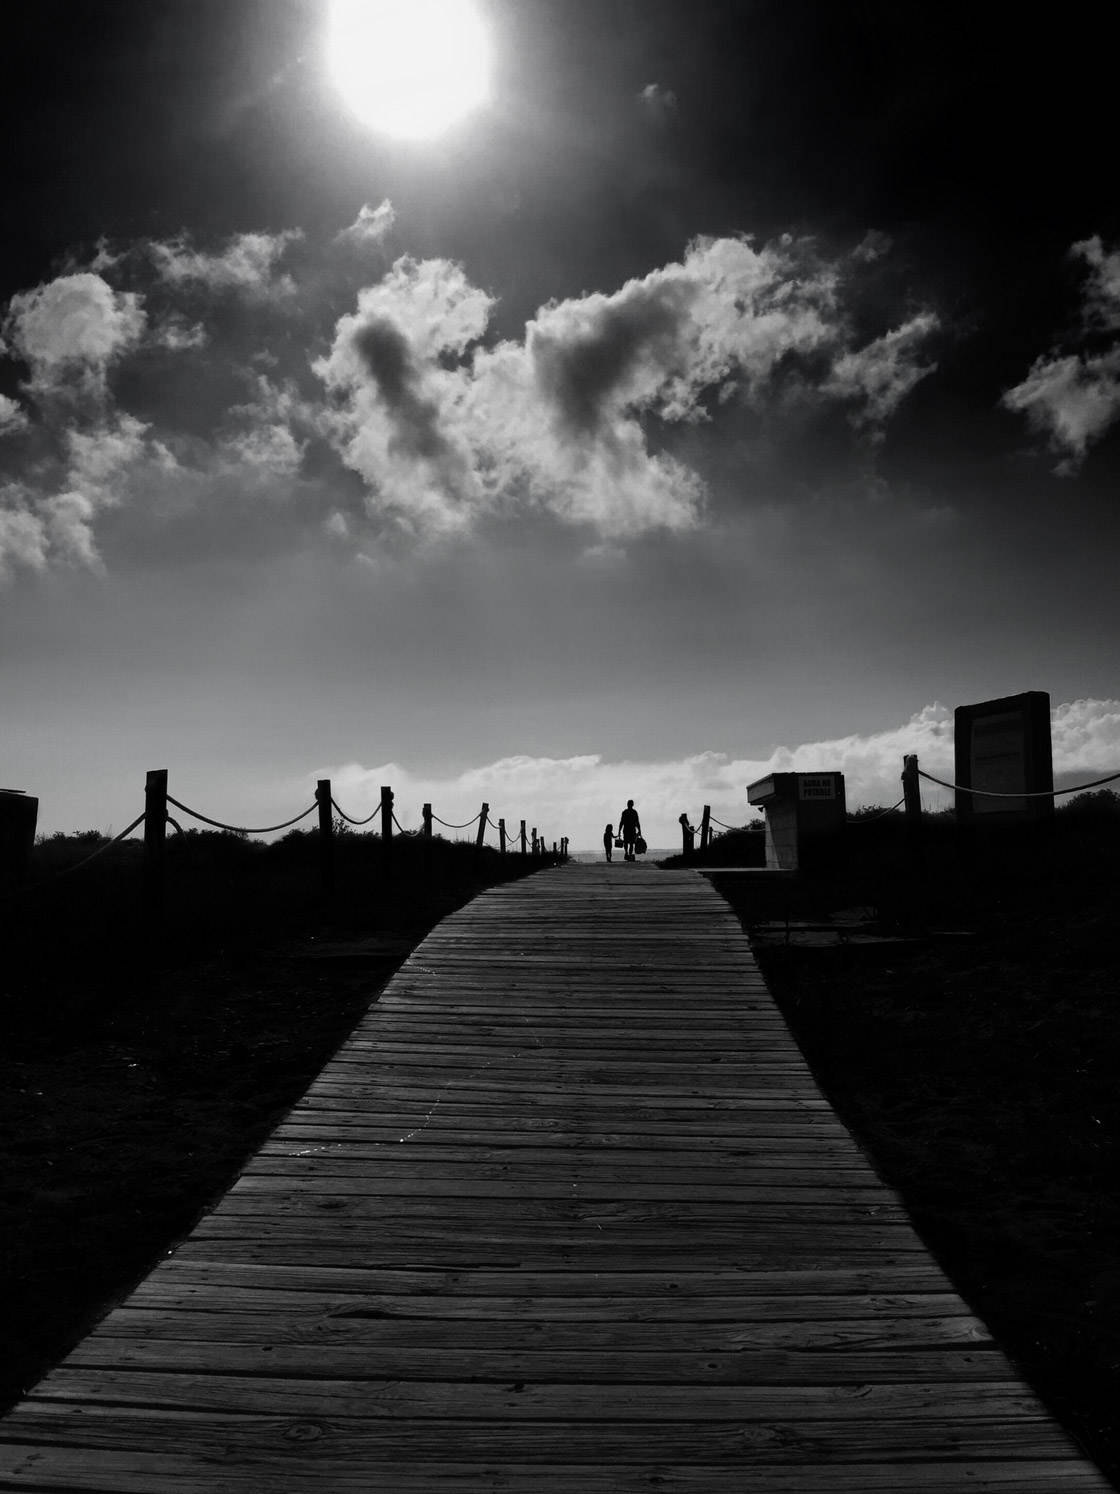
Adding vignettes to your black and white photos can help, too. Vignettes create a slight darkening around the edges of a photo. You can use them to emphasize the main point of interest.
Notice how the slightly darker corners emphasize the person in the photo below.
Editing is always essential. I use it to create the image I originally envisioned.
So edit your images.
You won’t regret it.


Leave a Reply
You must be logged in to post a comment.