Black and white photography is incredibly powerful. With hundreds of apps available, everyone can use their iPhone to create black and white images. But not all photos look good in black and white. In this article you’ll discover what makes a really stunning black and white photo and how to capture these scenes with your iPhone.
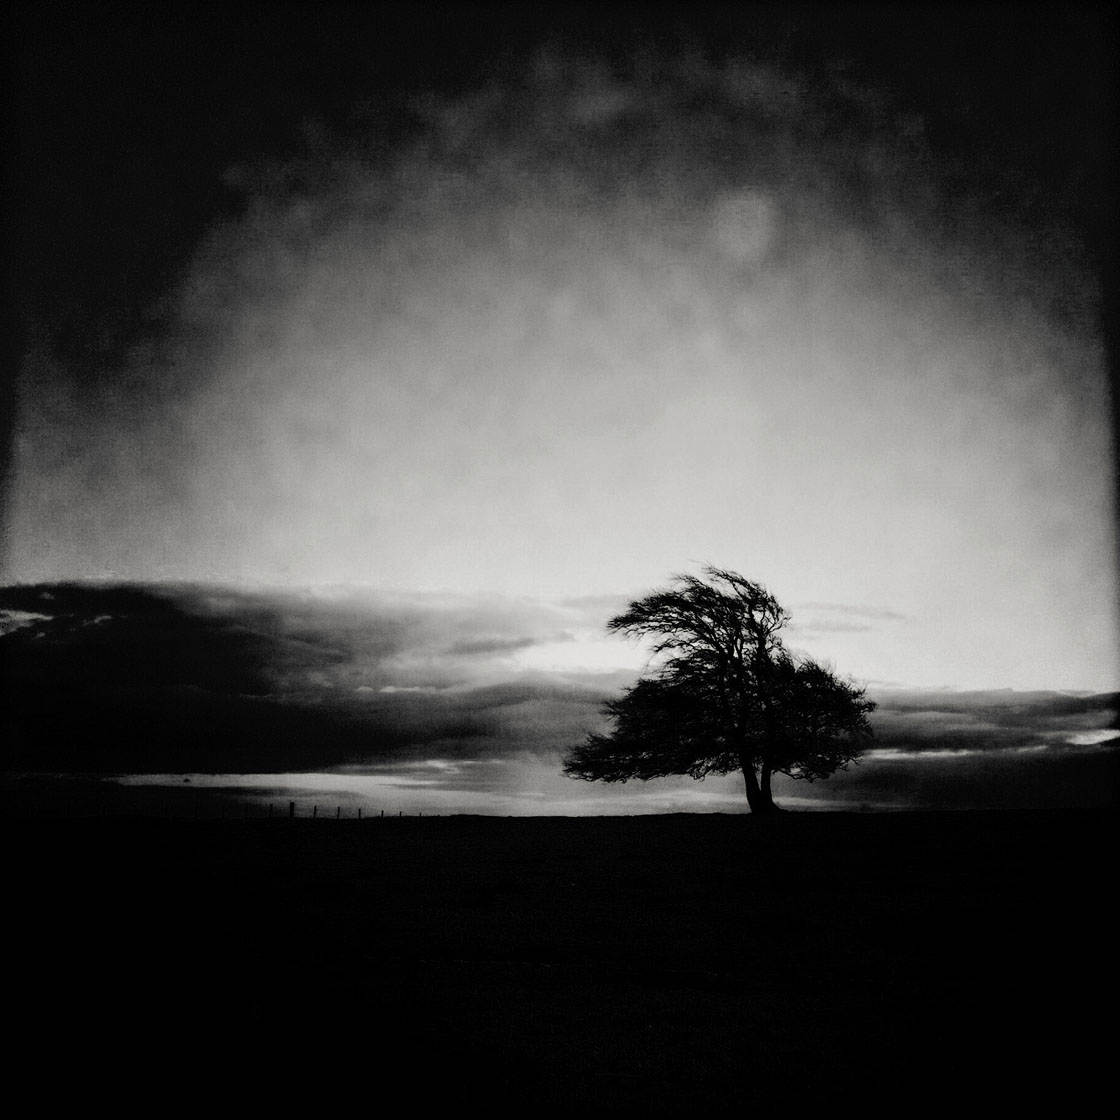
A common mistake that iPhone photographers make is applying a black and white filter to every photo they take, without thinking about whether it would actually look good in black and white. The photo of this woman underwater looks great in color.
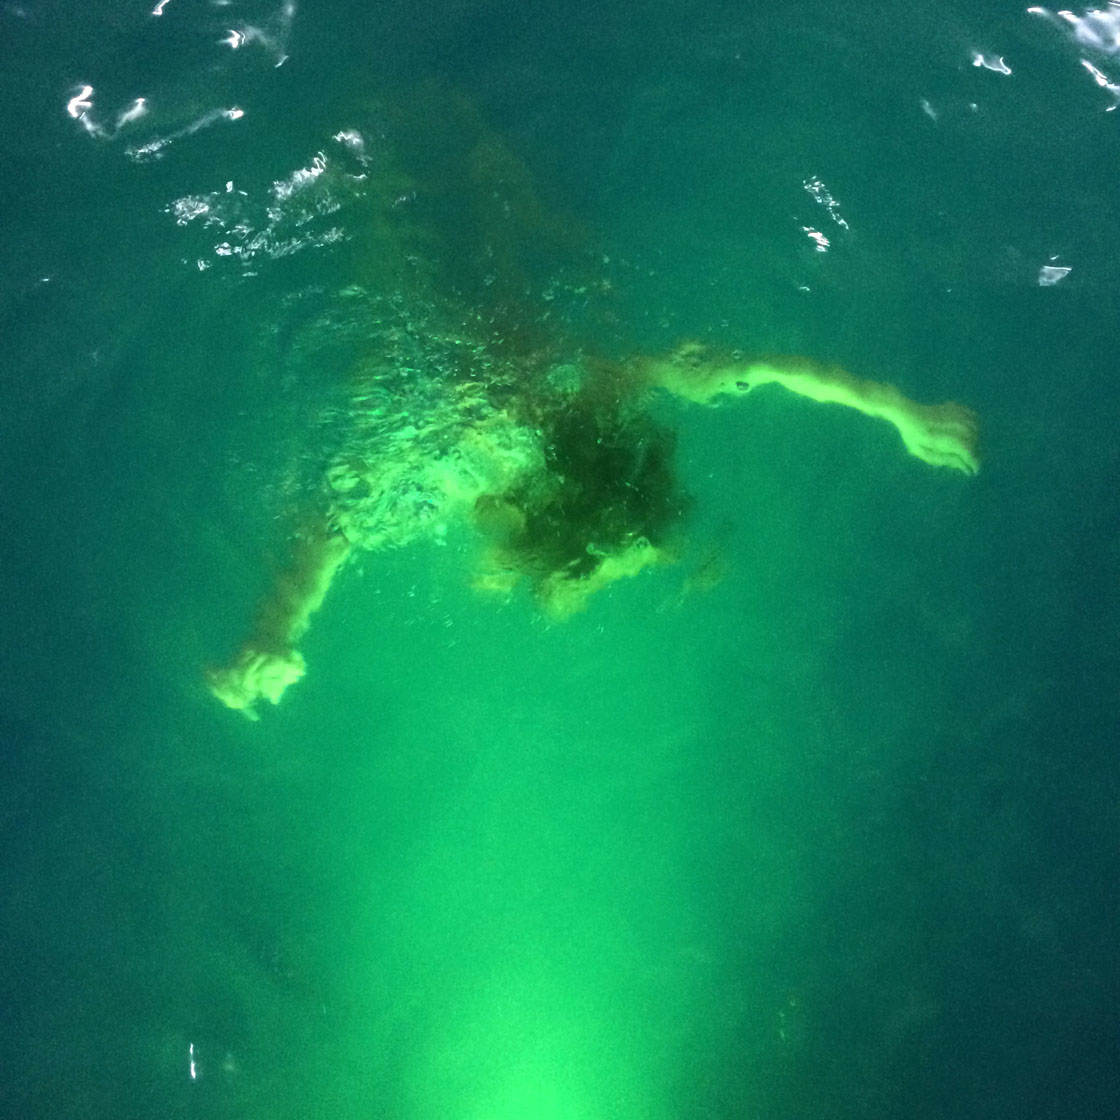
But when converted to black and white it loses its impact. It’s now just a boring, muddy gray and you can barely even tell what it is.
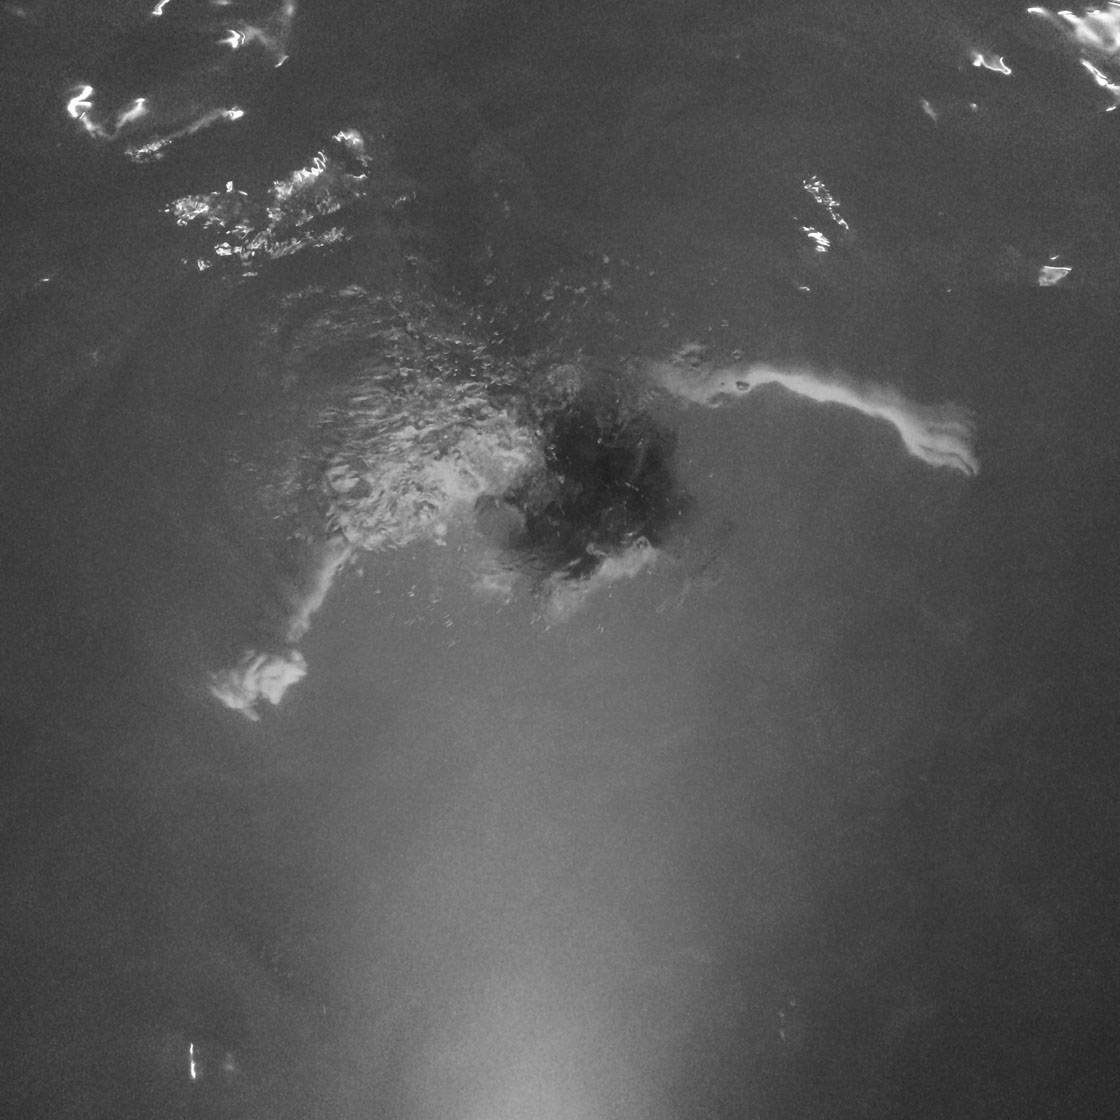
While it depends on the individual image, and to a certain extent the subjectivity of the viewer, there are certain elements that help make really striking black and white photos.
How To Shoot Black And White iPhone Photos
Before looking at what makes a good black and white photo, it’s worth thinking about how you’re going to go about creating them on your iPhone.
The most popular method is to shoot in color and then convert your images to black and white in a photo editing app such as Snapseed, VSCO or Noir Photo.
Alternatively, you can shoot in black and white using apps such as Hipstamatic, Hueless or Old Camera.
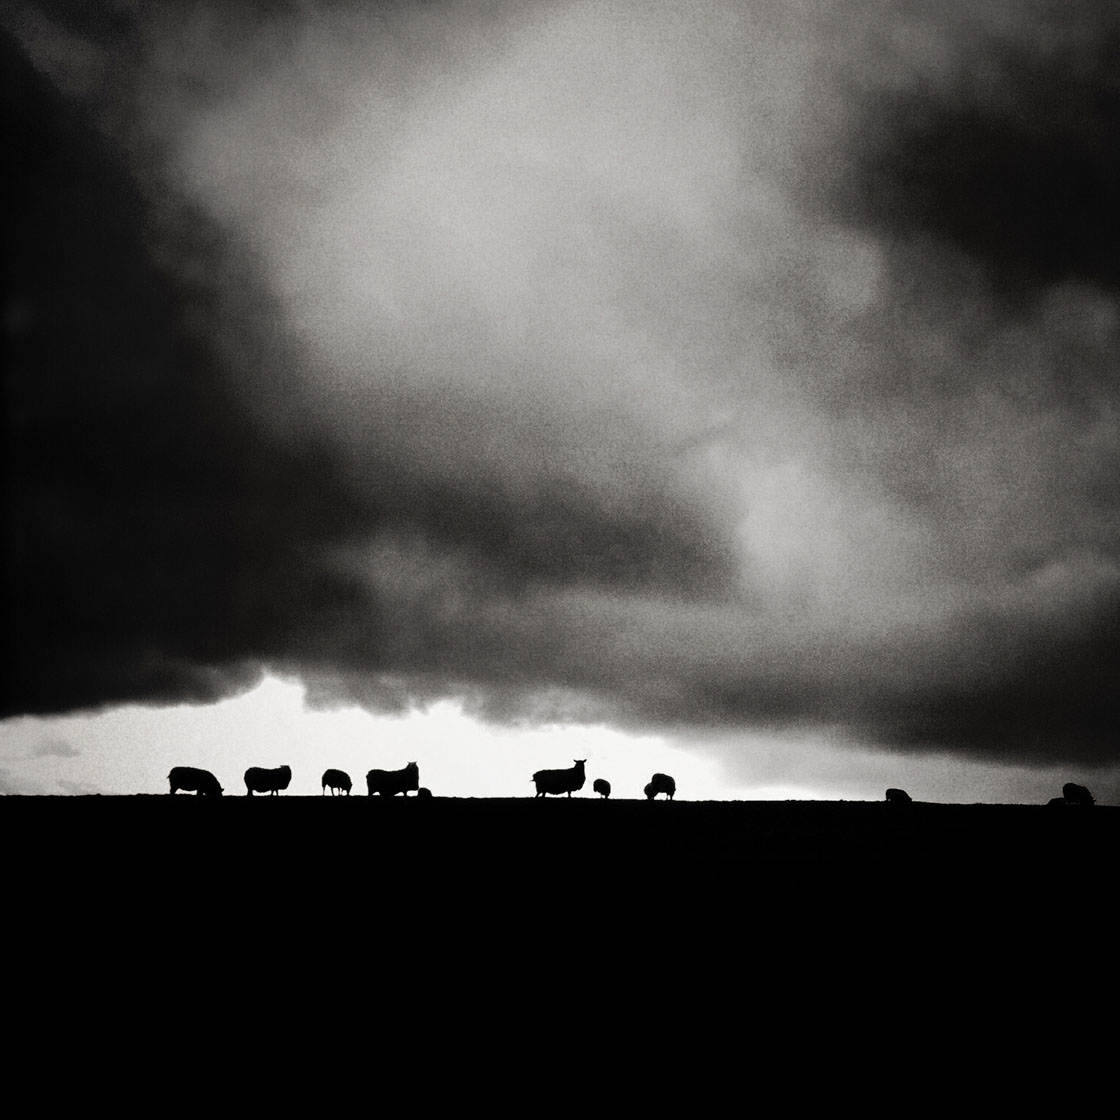
Unless you’re really confident about black and white photography, I’d suggest you shoot in color and then convert to black and white in post-processing. That way, you’ll always have the original color image to use if it doesn’t look good in black and white.
However, if black and white photography becomes a true passion, you might want to consider shooting purely in black and white.
So, what makes a truly amazing black and white photo? Below are 10 of the most important elements that help make black and white photos really stand out against the rest.
1. Simplicity
Since you don’t have color to lead your eye around the image, strong composition is really important in black and white photography. The best black and white images are often simple, uncluttered compositions where the main subject is isolated and easy to identify.
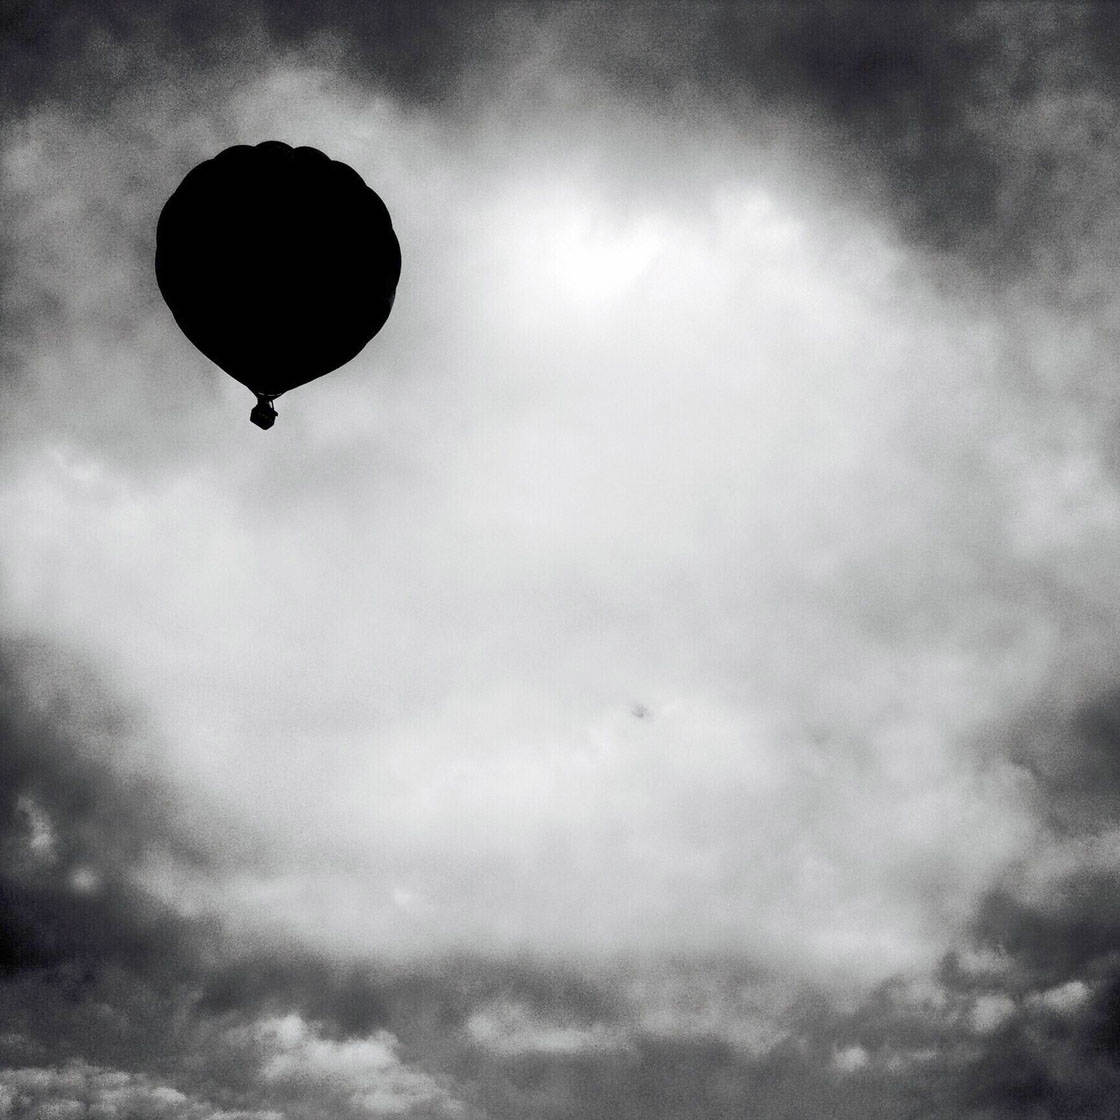
Pay close attention to your backgrounds. If your main subject is surrounded by lots of other objects, it’s likely to get lost among the clutter. Try shooting from different angles until your subject stands out clearly against its surroundings.
Remember, everything in your image is going to be different shades of gray. So a subject that stands out well in a color photo may not be as prominent in a black and white (gray) version of the image.
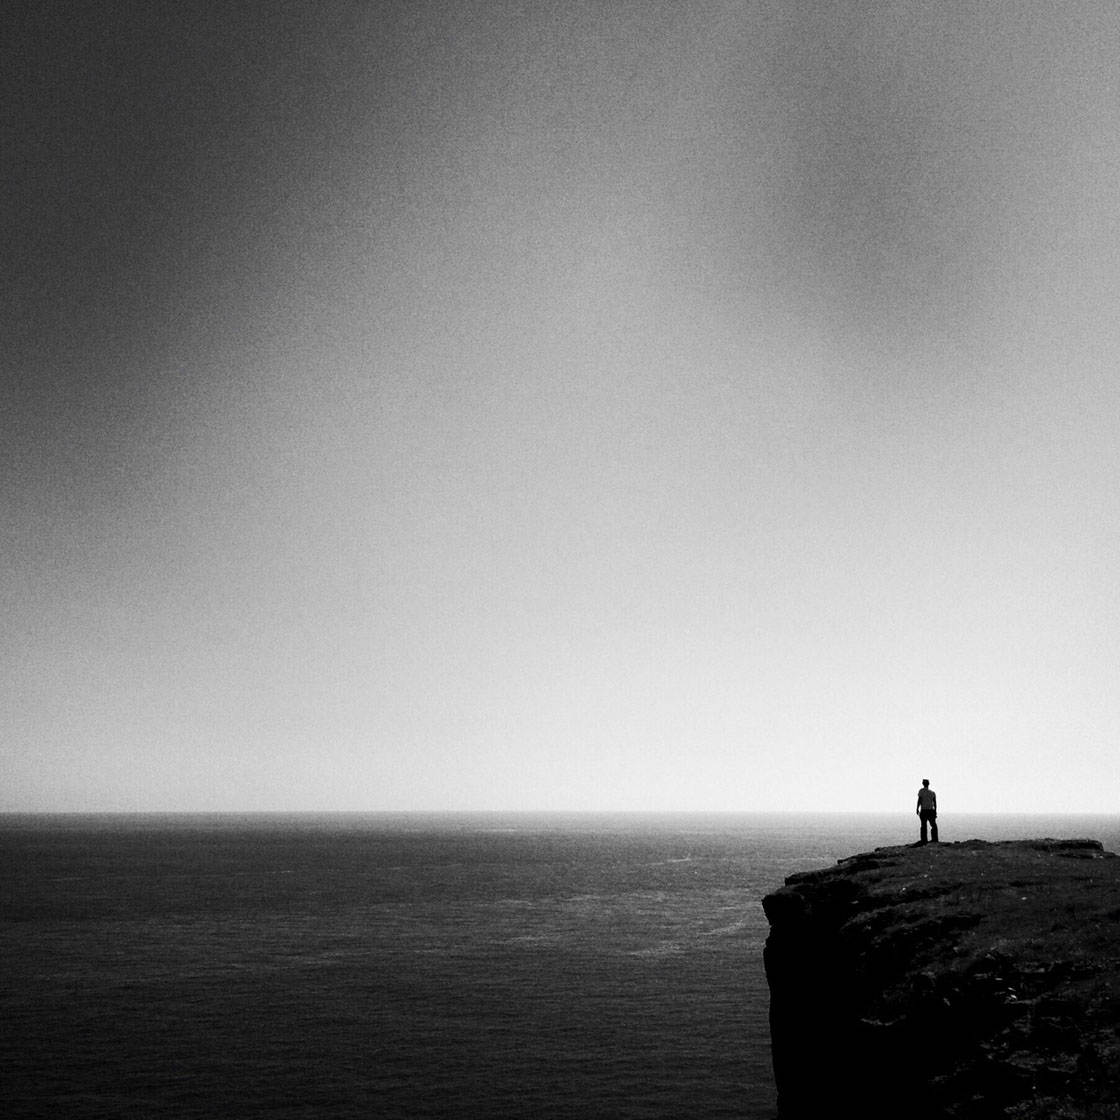
The main subject doesn’t have to be large in the scene, as in this example of a man looking out at the ocean. But they should stand out clearly against the background.
2. Shapes
Bold shapes that stand out well against their surroundings can make powerful black and white images. The strong outline of this hot air balloon makes a bold statement against the bright sky.
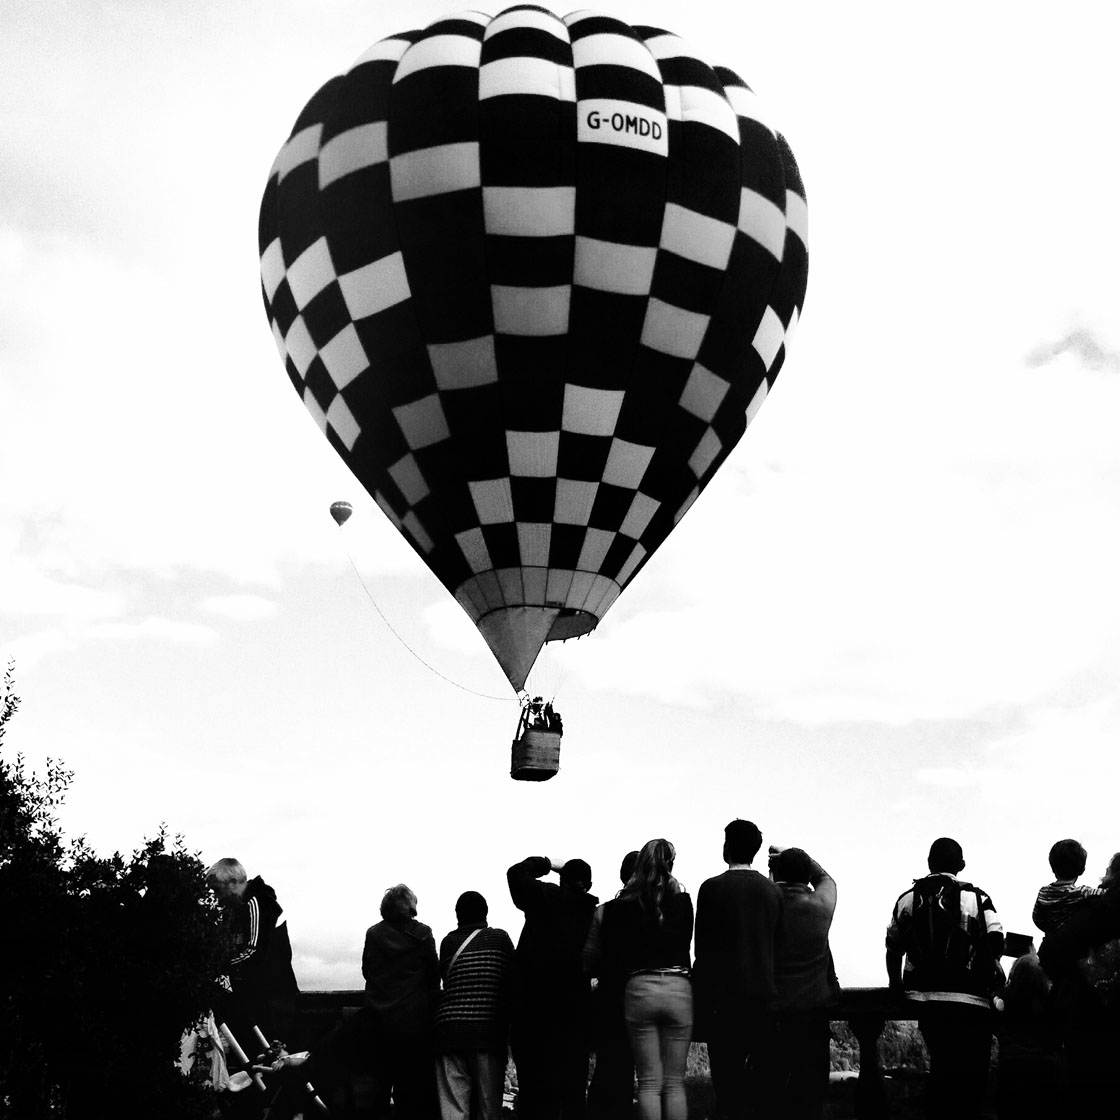
Architecture can be a great source of strong graphical shapes that lend themselves to black and white photography.
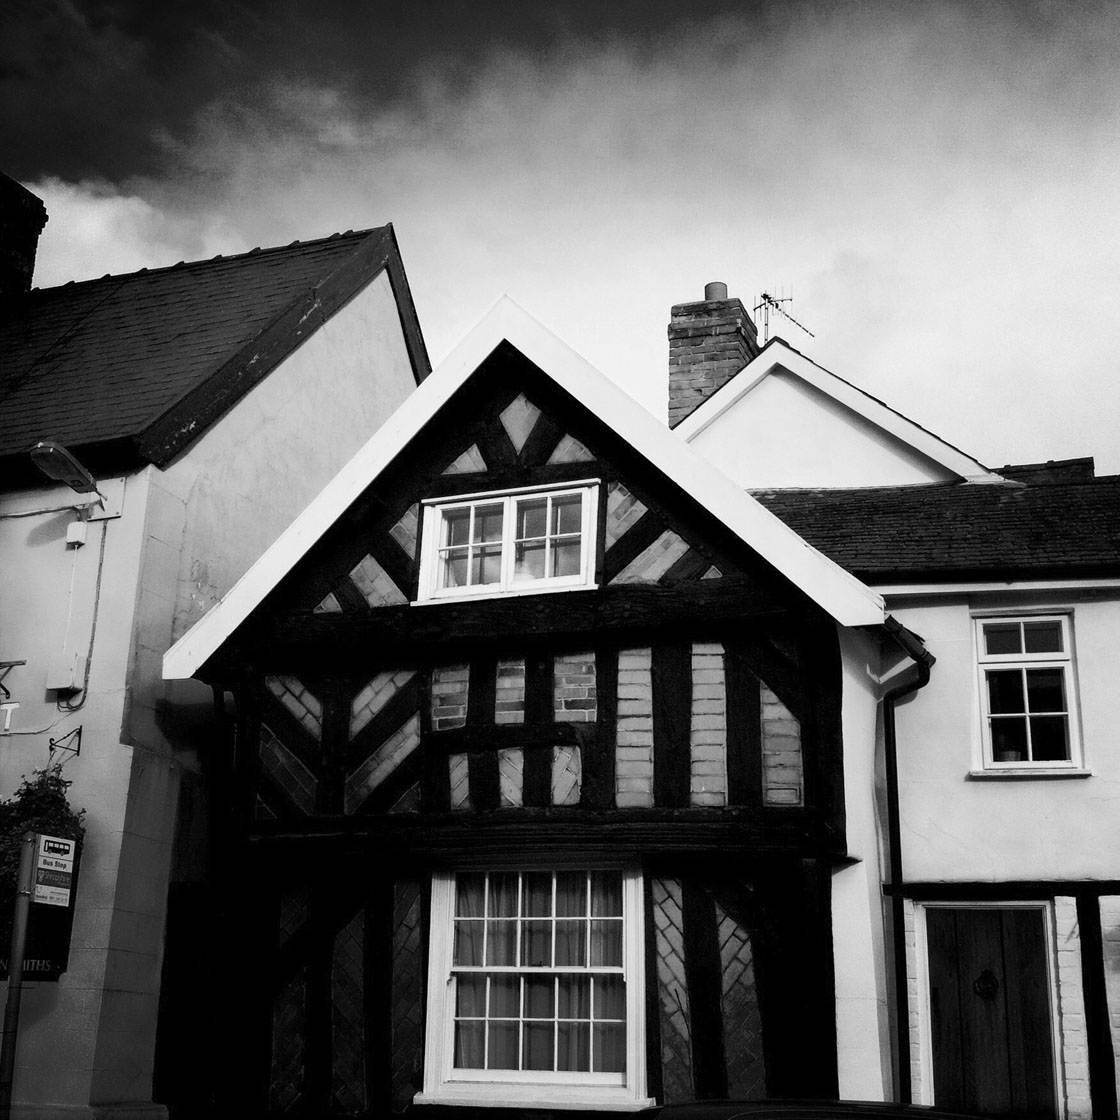
The angular shapes of these houses against the skyline, together with the square and rectangular windows, create an interesting black and white photo full of shapes to lead the viewers eye around the image.
3. Silhouettes
Creating silhouettes is a particularly effective method of accentuating your subject’s shape. To create a silhouette image, the subject needs to be lit from behind, such as this tree with the bright sky behind it.
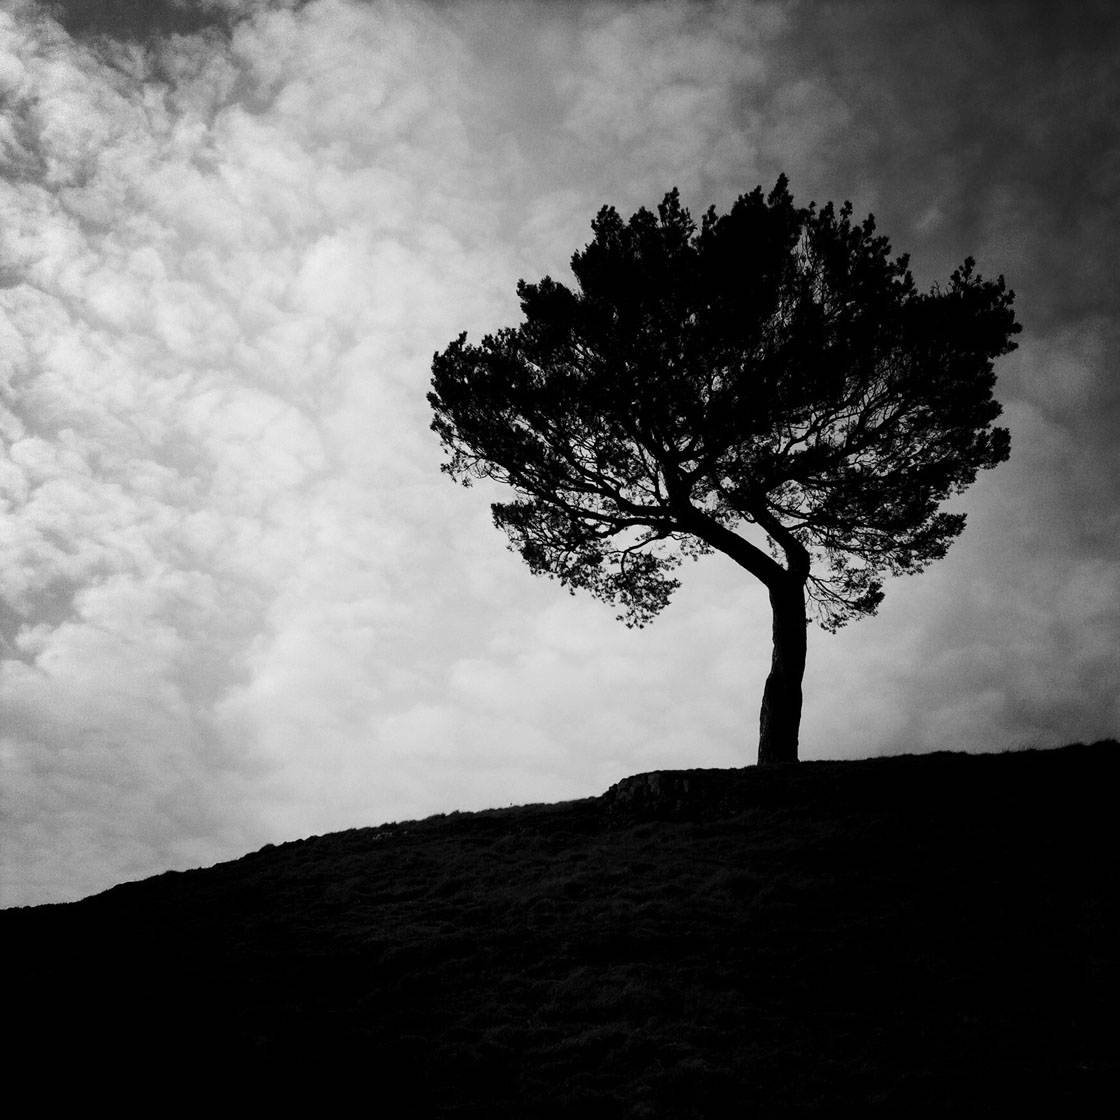
To create black and white silhouette photography, you need to expose for a bright part of the image so that the subject becomes underexposed and is just a dark outline against a bright background.
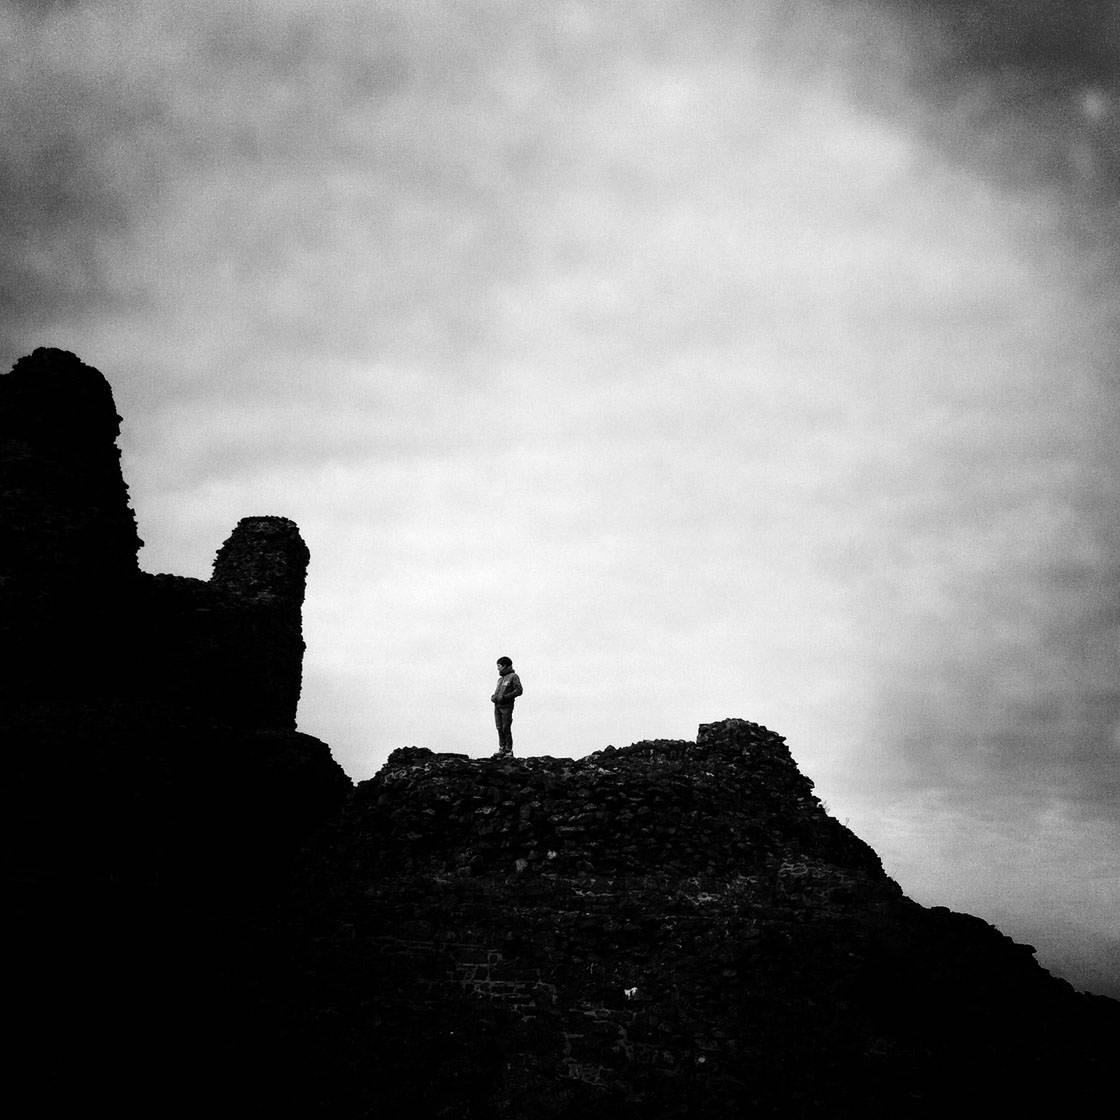
To expose for the brightest part of the scene, simply tap on that area of the image on your iPhone screen. So in this photo, I tapped on the sky as that was the brightest part of the scene.
4. Contrast
The level of contrast in a black and white image can have a profound effect on the mood of the photo. Contrast refers to the difference between the brightest white and the darkest black.
A high contrast image consists of mainly white and black with very little gray in between. A normal contrast image would have a good balance of white, black and a variety of tones of gray.
High contrast images can be extremely visually powerful. This photo taken at night consists almost entirely of pure black and pure white with very little gray in between.
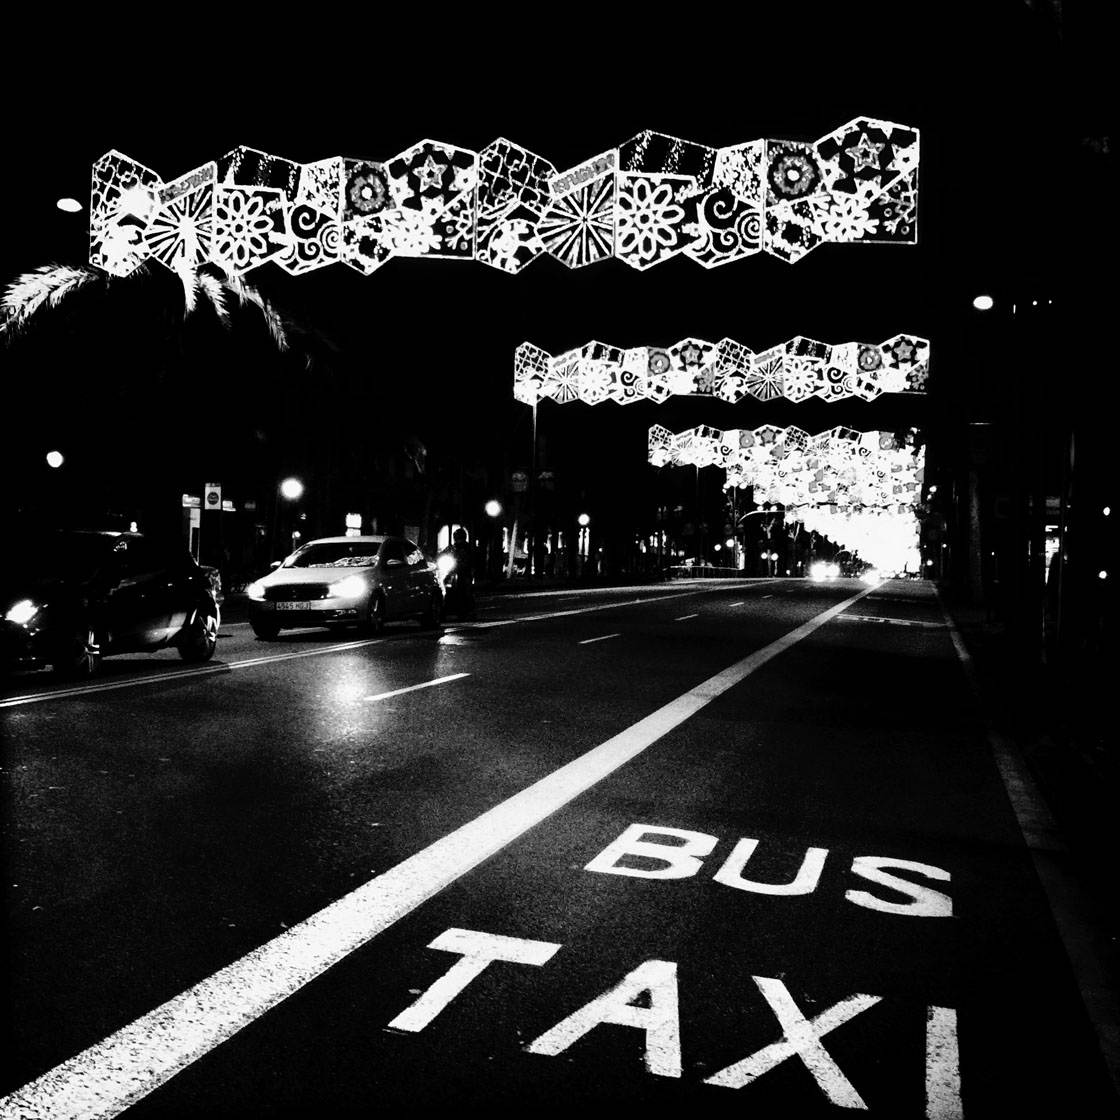
Using high contrast in black and white photography is an excellent way of creating a strong visual impact, as well as adding depth and dimension to draw the eye into the image.
If the image doesn’t have enough contrast, it’s referred to as low contrast. Low contrast images can appear very flat, however, in certain instances such as when there is fog or smoke, this low contrast can work in black and white photos.
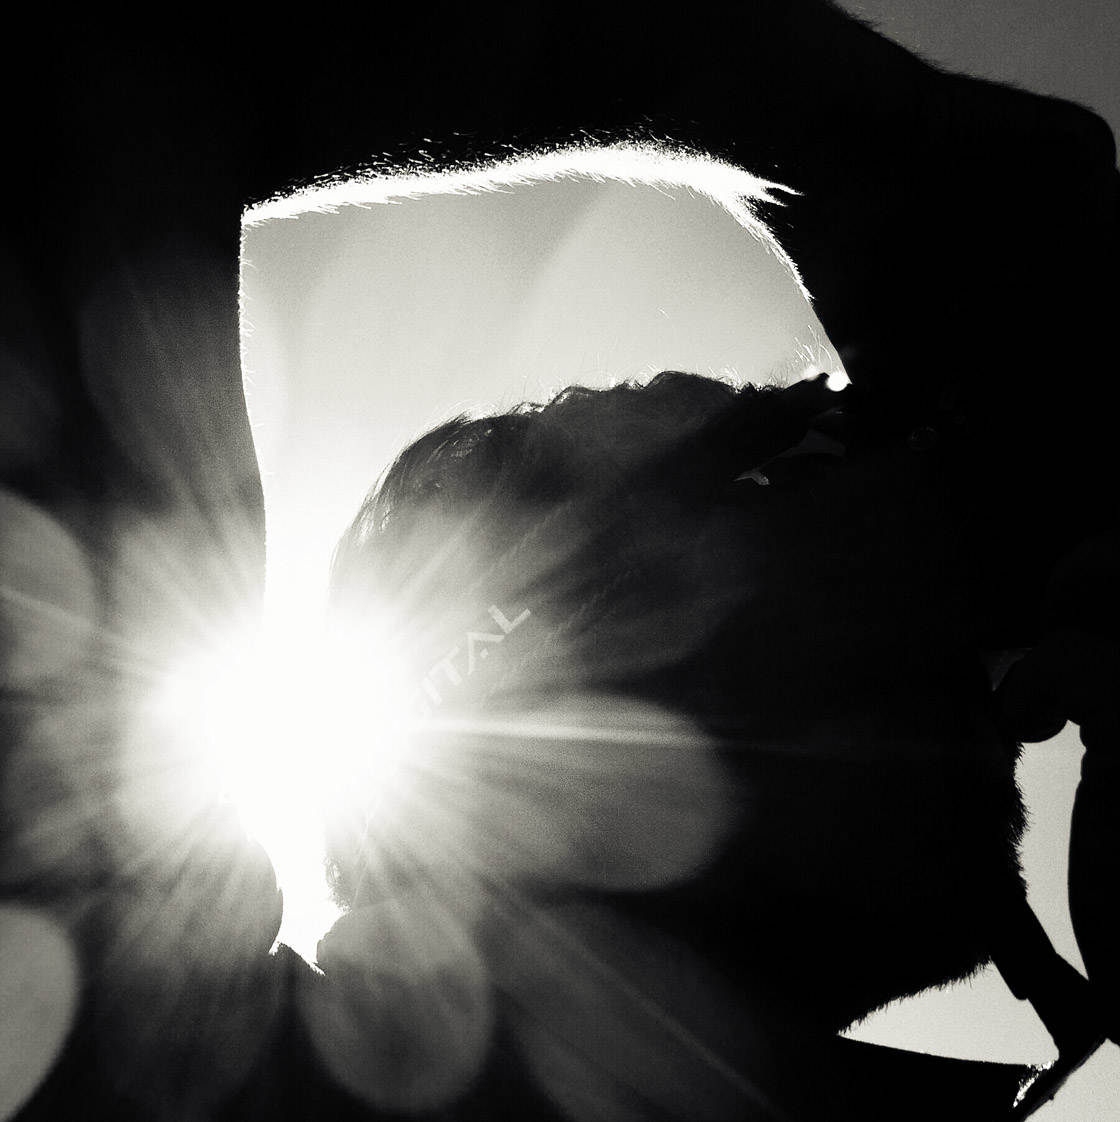
High contrast can be achieved through the choice of lighting on the scene, such as strong sunlight, or at night when there are bright lights to create your highlights.
Alternatively, the contrast might come from the subjects themselves, for example, a person wearing black standing in front of a white wall.

In this portrait, the contrast comes from the difference between the bright skin on the left of the face and the dark hair on the right.
5. Leading lines
Leading lines are a fantastic way to create a really powerful composition in any photo. But they work especially well in black and white photography as they provide a strong graphical element.
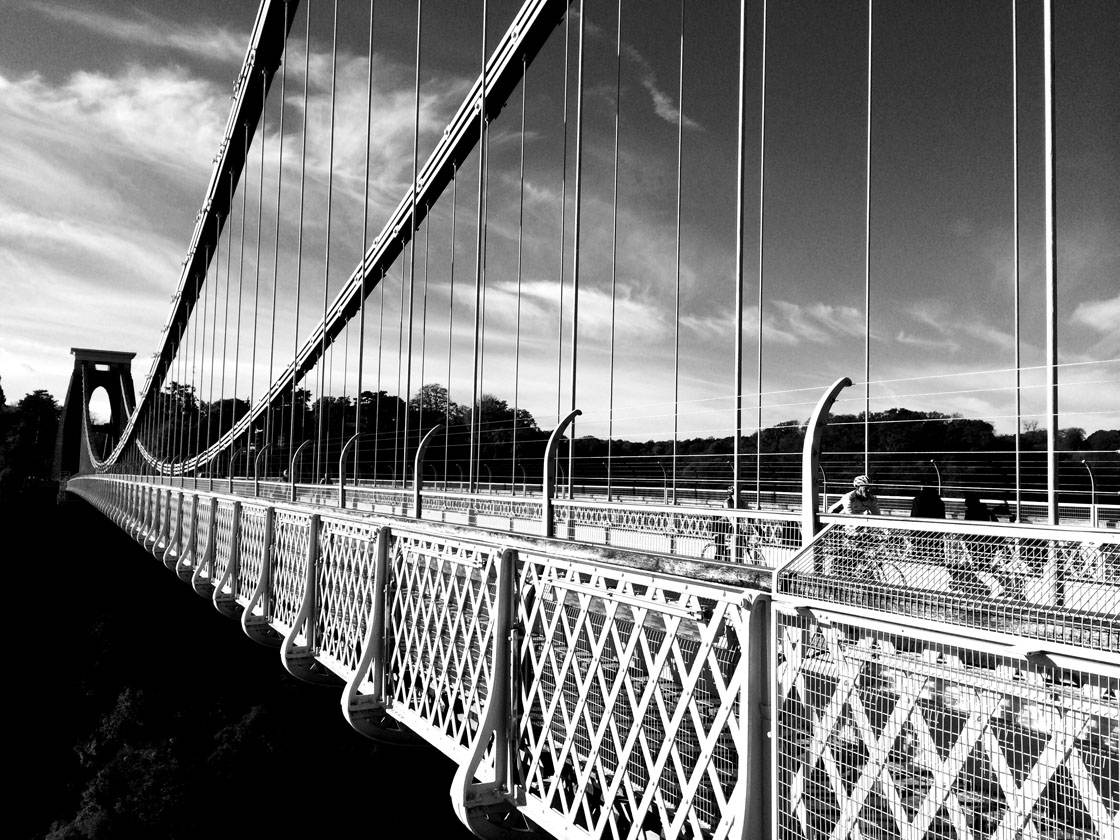
Lines create depth in your photos by leading the eye into the scene. This enables the viewer to interact more your image and it will hold their interest for longer.
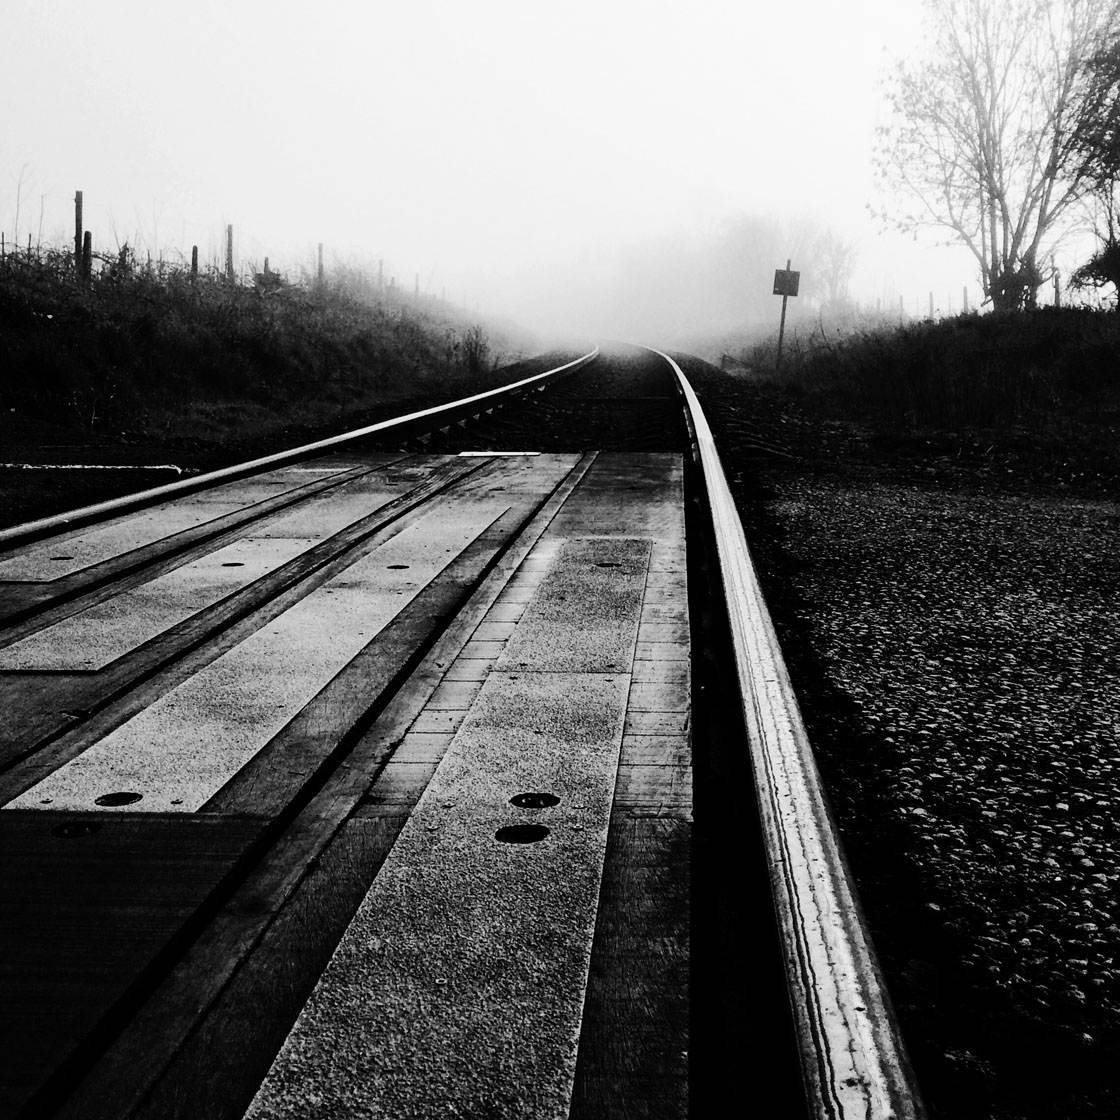
In black and white photos it helps if the lines contrast with their surroundings, such as the bright lines of the train tracks against the dark stones. I especially like the way the bright lines disappear into the white mist in the distance in this photo.
6. Patterns
Recurring patterns can create strong contrasting shapes and graphical elements which are very well suited to black and white images.
Patterns photographed close up will create interesting abstract photos. The light shining through this glass bowl creates excellent high contrast which emphasizes the pattern.

You should also look out for recurring patterns in the wider landscape such as a row of trees, architecture, cars in a parking lot, etc.
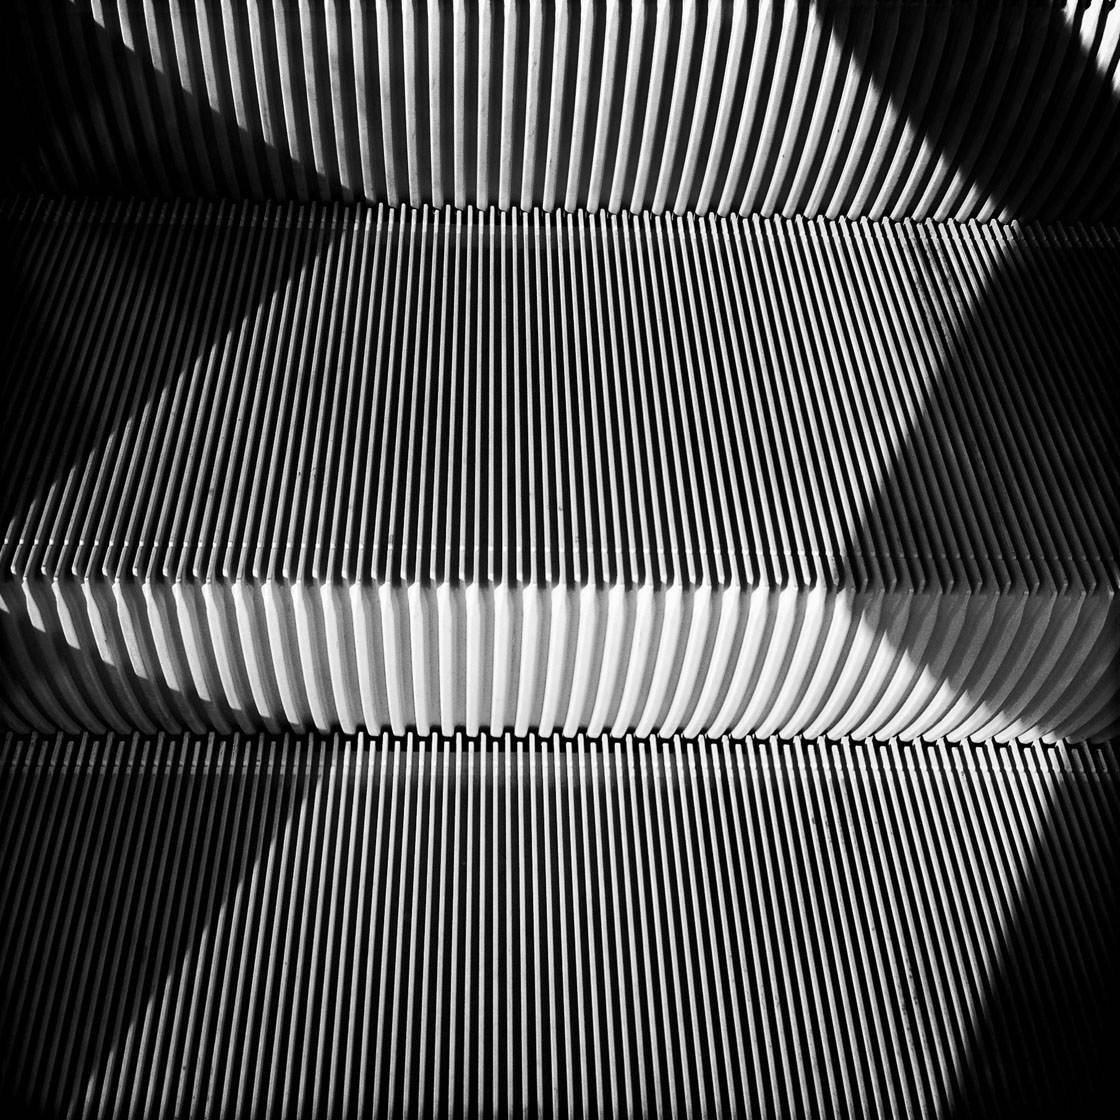
The striped patterns in this image are created by the shadows and highlights on an outdoor escalator.
7. Texture
Textured surfaces really lend themselves to black and white photography. In the right lighting, a textured surface is a great source of high contrast interesting patterns.
Textures tend to reveal themselves when lit from low down and to one side, which creates highlights on one side of the raised surface and shadows on the other.
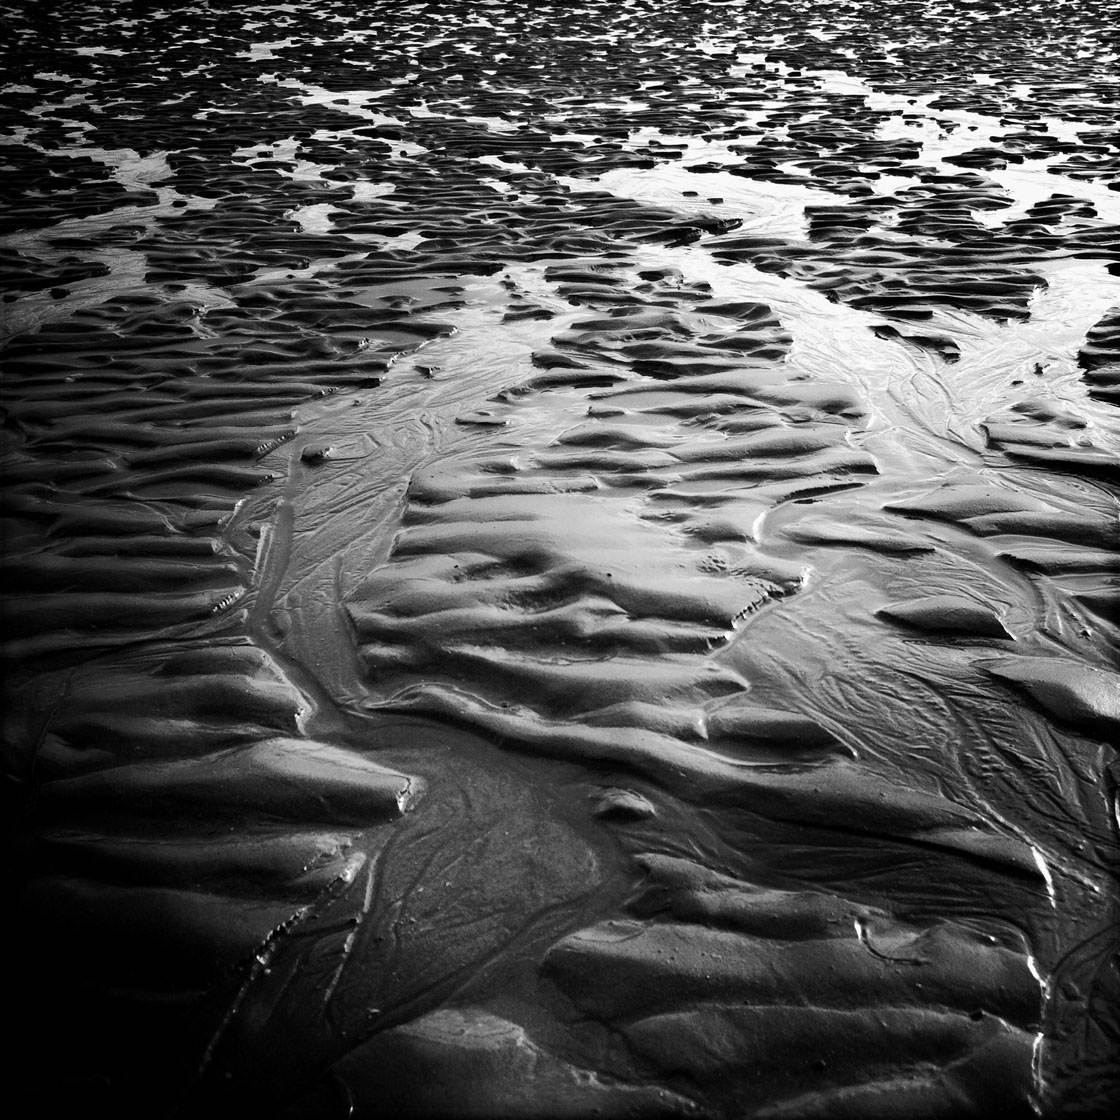
Sunrise and sunset are perfect times of the day for photographing texture, as the sun is low in the sky and will create interesting shadows and highlights.
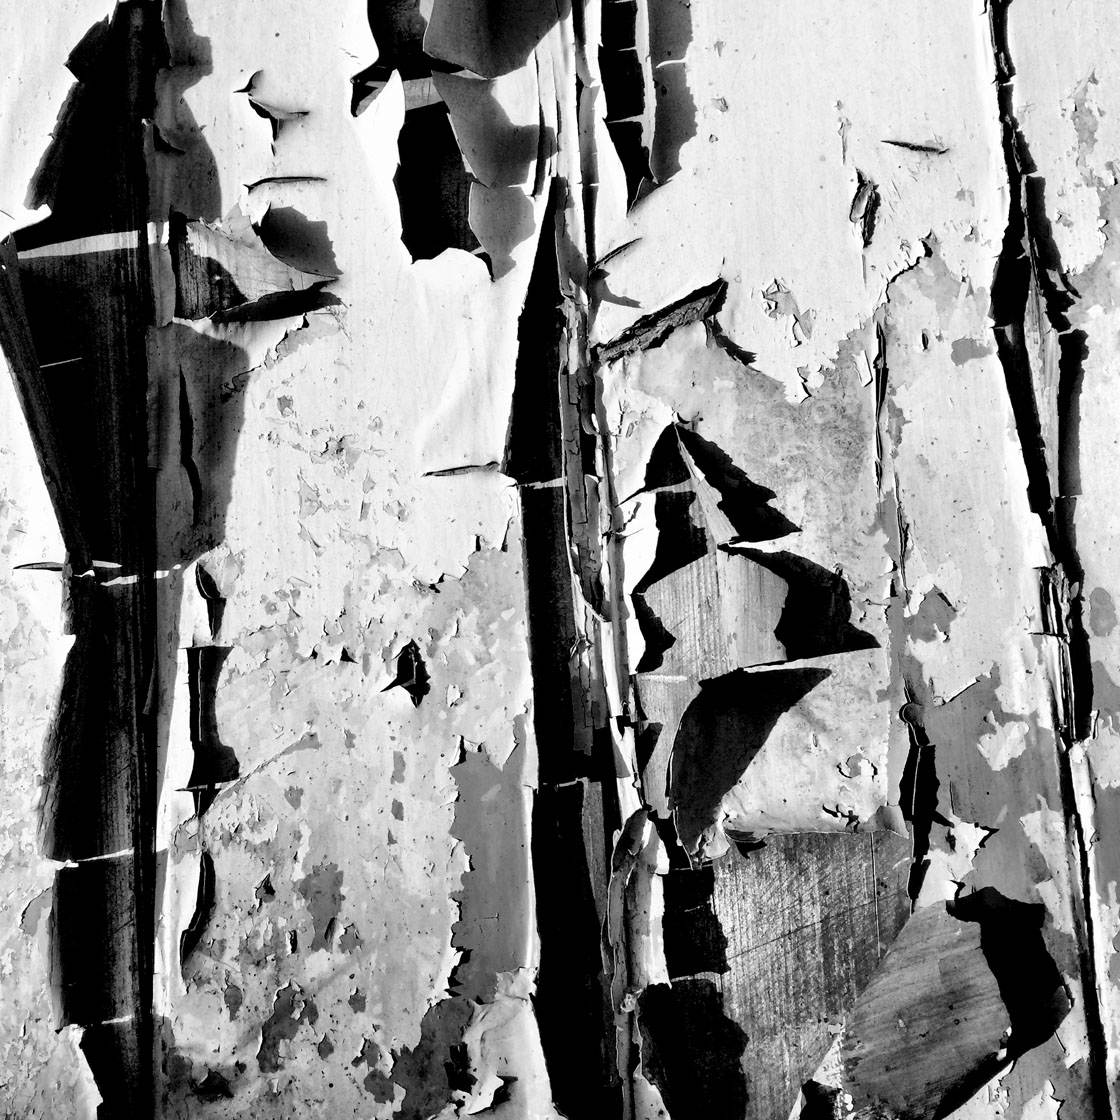
If you’re shooting indoors, try shining a lamp or flashlight across the textured surface to create your highlights and shadows.
8. Shadows
As well as the shadows created by the right lighting on textured surfaces, shadows of larger subjects also look great in black and white photography.
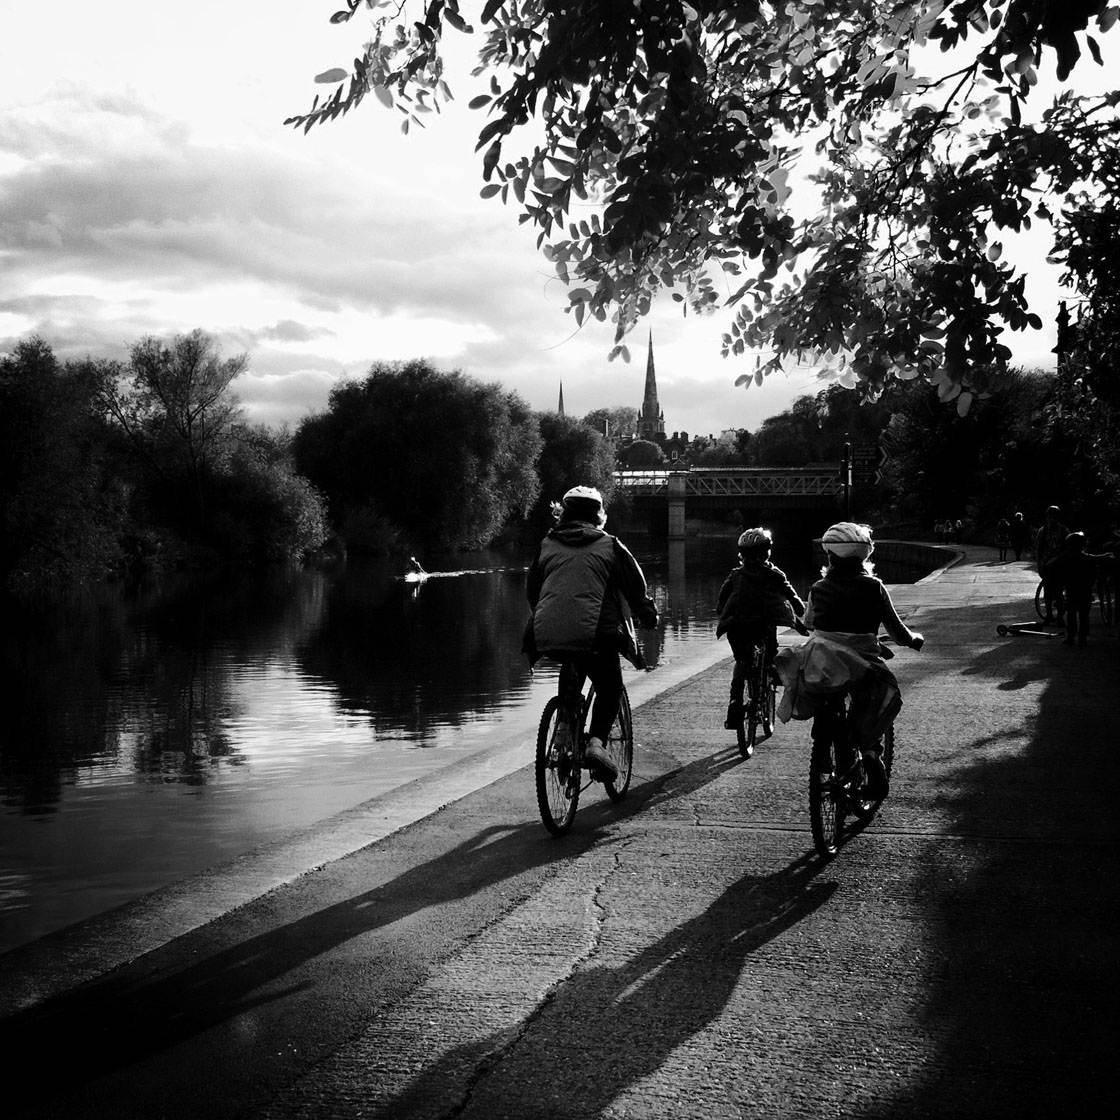
When the sun is low in the sky, you’ll get long shadows which can add interest and intrigue to your photos, especially when captured in black and white.
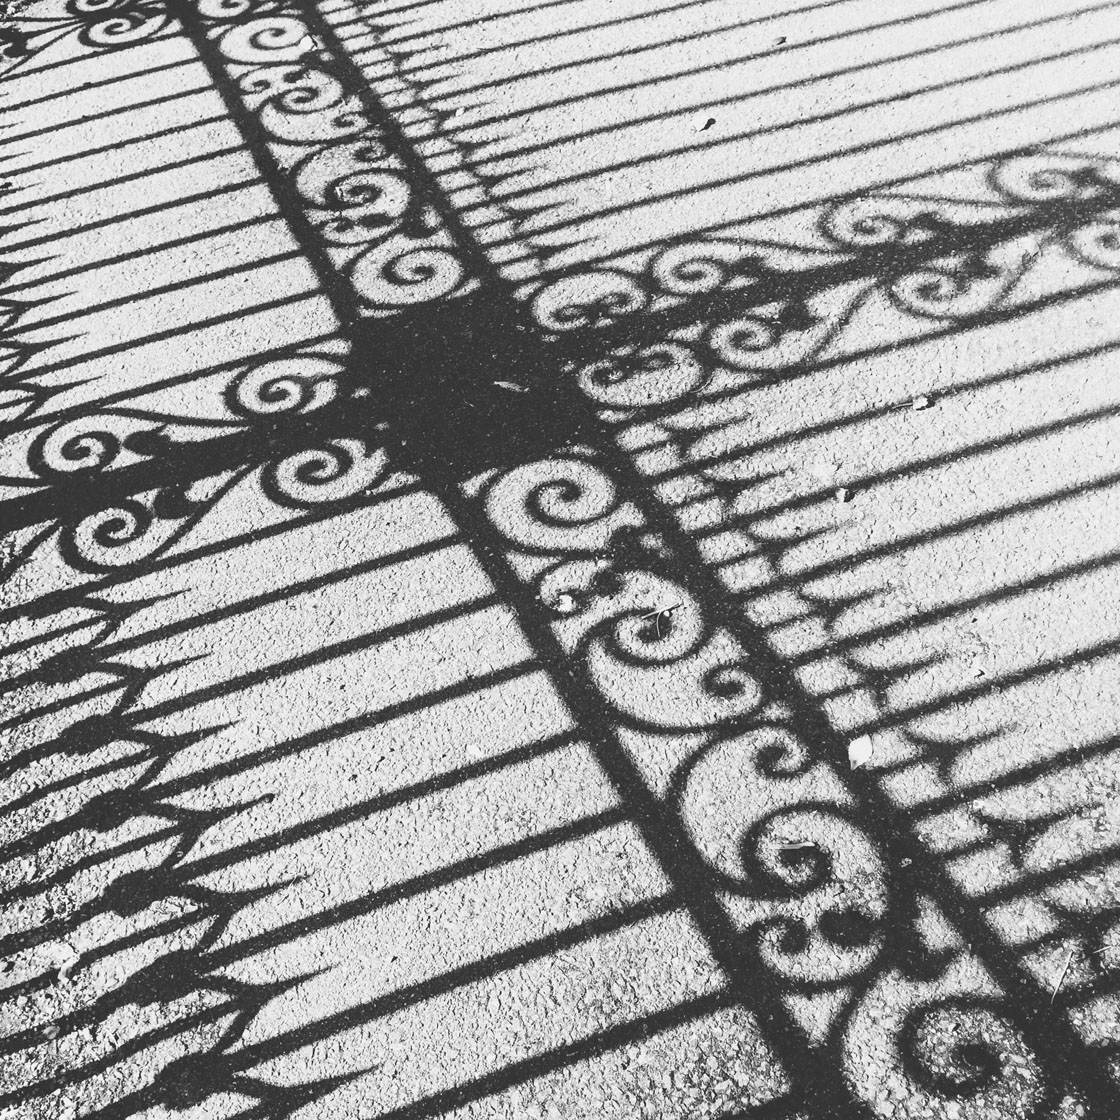
When photographing shadows, experiment with different shooting angles and positions until you get the most interesting result.
9. Moody Skies
Landscapes can look stunning in black and white, but they can also look really boring if you don’t get it right. To avoid dull, gray landscape photos, pay careful attention to the sky.
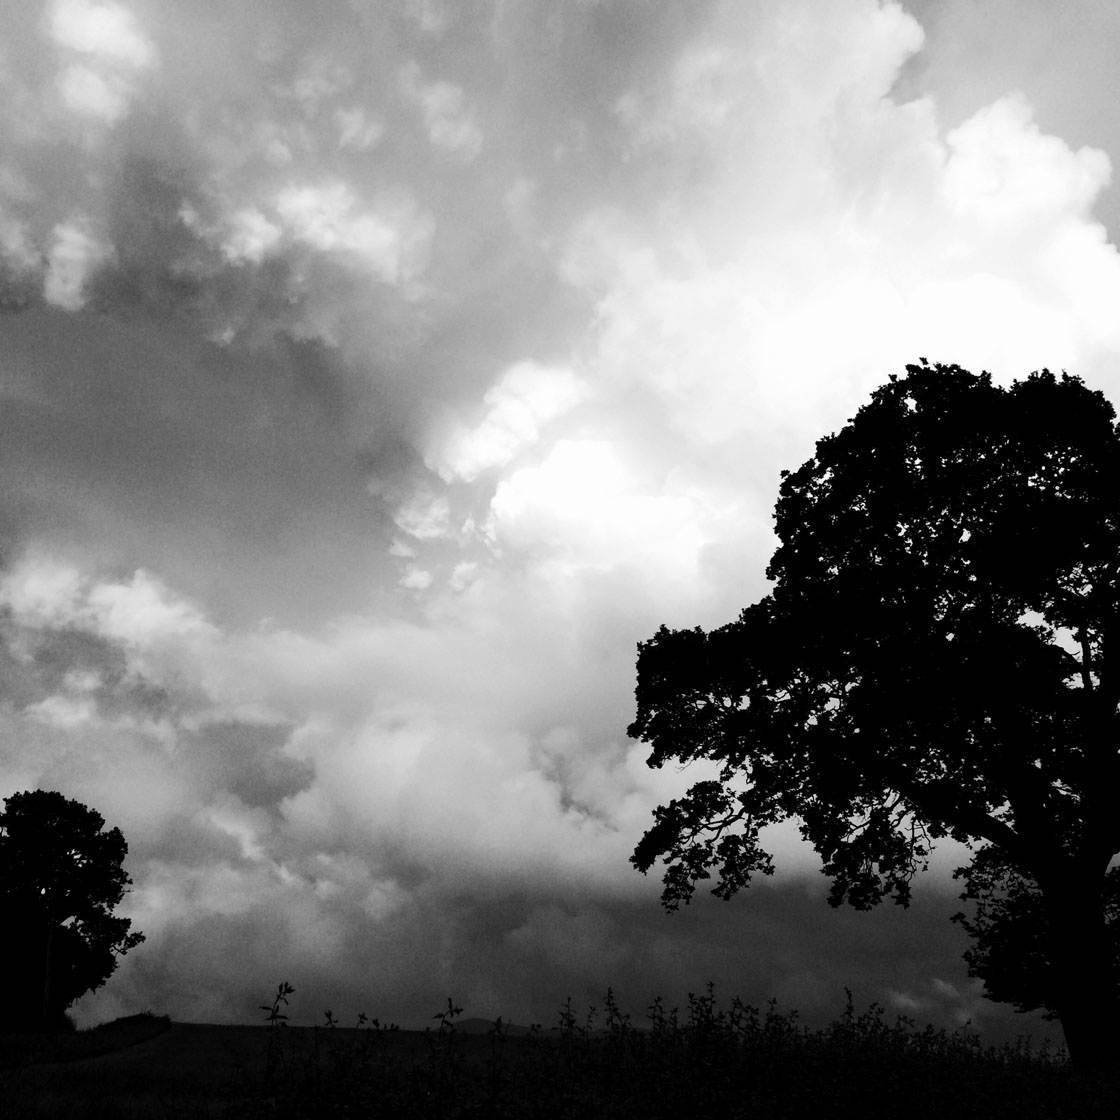
Typically, black and white landscape shots look best when you have dramatic or interesting cloud formations. Plain blue sky doesn’t tend to render well in black and white.
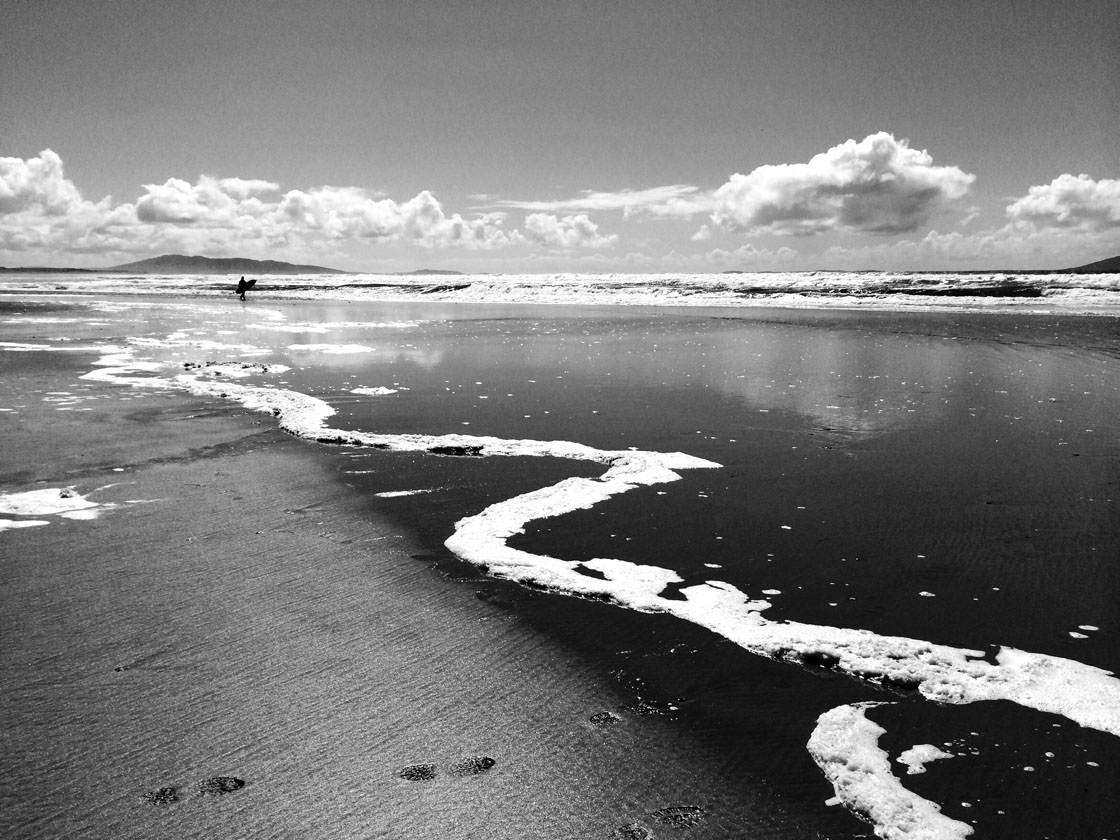
The different tones of white and gray in the clouds will add interest to a large expanse of your photo. Their contrast with the darker foreground will also balance the photo better.
10. Foreground Interest
One of the problems with black and white photography is that the images can tend look flat. This is because there are no layers of color to lead your eye around the image.
As you have seen, there are a number of ways to add depth and dimension, such as leading lines and high contrast. Another way to add depth to your photos is to include foreground interest.
Positioning objects in the foreground of your photo will help lead the eye from the front to the back of the photo, especially if the foreground objects contrast in tone with their immediate surroundings.
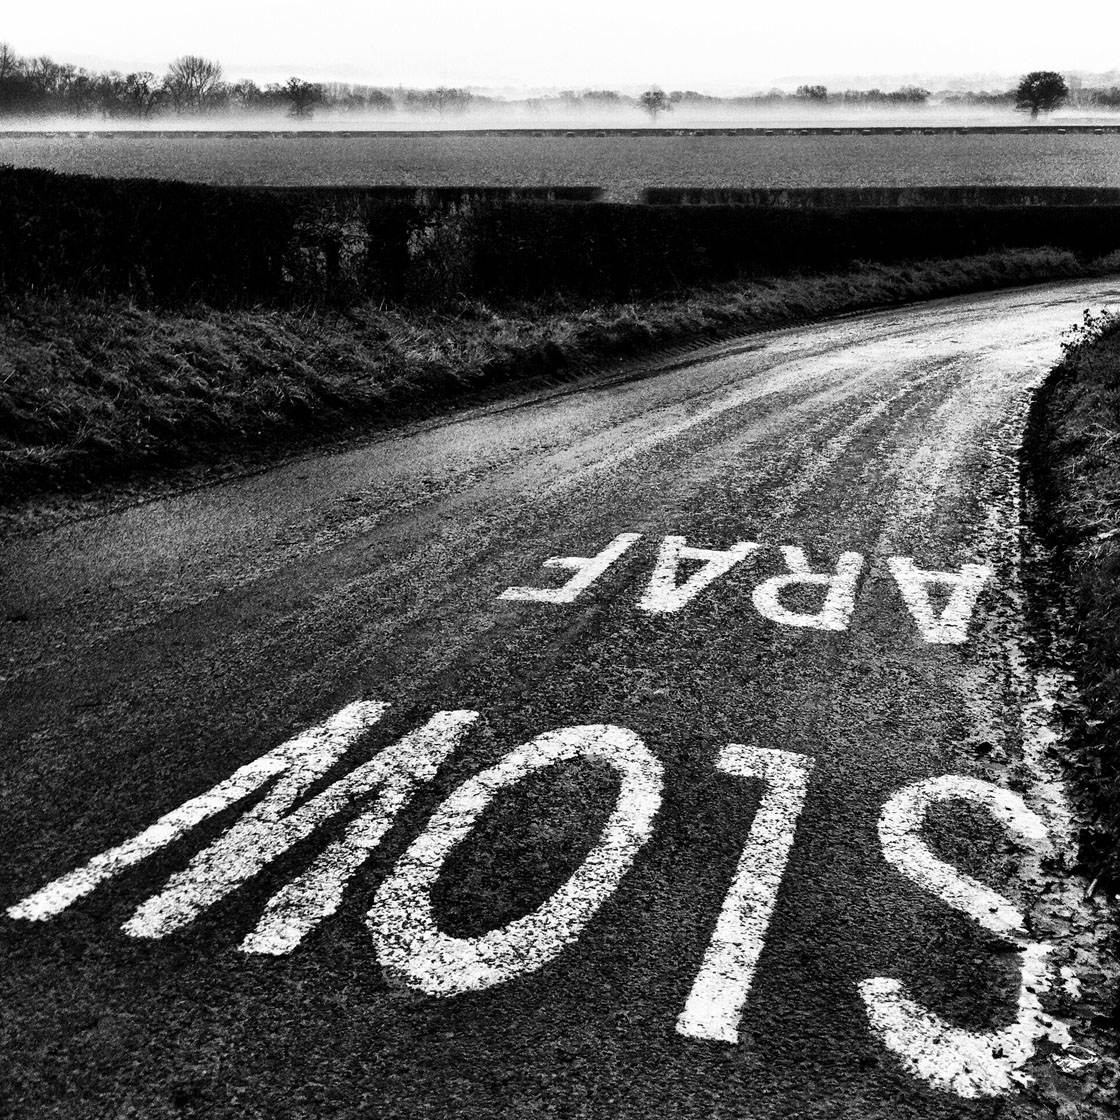
Without the road markings at the front of this photo, most of the image would be very dark. The white words provide foreground interest and lead your eye into the photo from the front of the image.
The white also adds contrast against the black road, and balances the bright area of sky at the top of the photo.
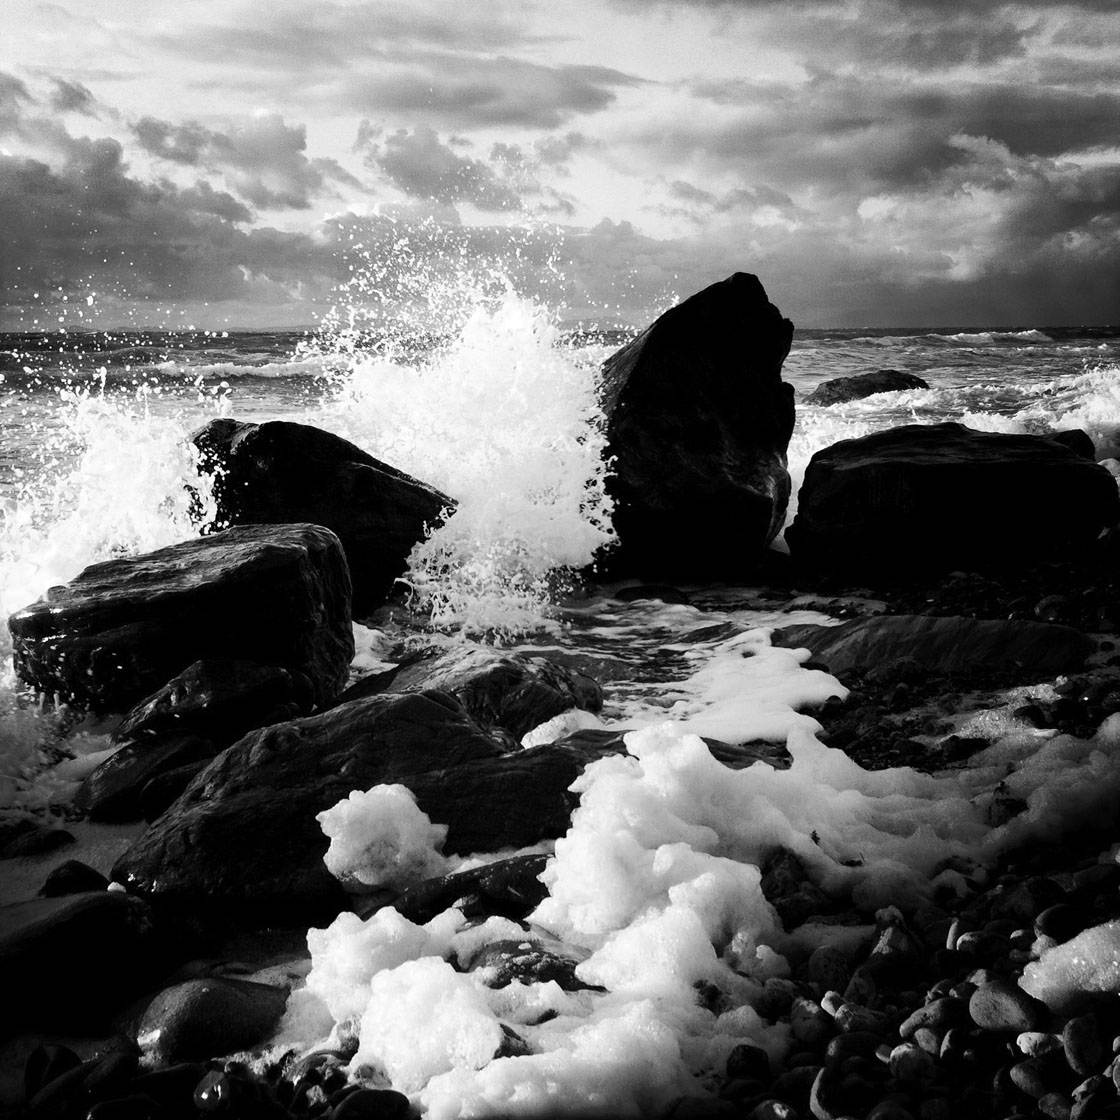
In this photo the white foam leads your eye from the front of the image towards the crashing waves. Again, without this bright foreground the front of the photo would be very dark and much less interesting.
Learning To See In Black And White
Hopefully, you now have a better idea of what makes a good black and white photo… and what doesn’t.
The more you shoot in black and white, the better your eye will become at identifying what makes a really amazing black and white photo. You’ll be able to see past the colors in front of you, seeing them as different tones of gray instead.
For more tips on how to improve your black and white iPhone photography, read our 10 Tips for Better Black and White iPhone Photography article.


Very good article…whenever i read ur article i want to click photos..no matter whatever time …thanks
Thanks! Glad our articles inspire you to take photos 🙂
This article is really good and well written. However, my question is- how can I add a black background to my picture? like the background black and the object or person standing out? This picture here is an example (even though it’s ice cream, how will i do it with a face?)
Setting the exposure point for the brightest part of the scene will make the shadows darker. So if you’re taking a photo of a person with pale skin, tap on their face to set focus and exposure for this bright part of the scene. The other option is to use flash which tends to light up the foreground but makes the background appear darker due to flash fall-off, however, often photos taken with the iPhone flash don’t look great so you’d have to experiment. In post-processing you could apply a vignette to darken the edges, or use selective darkening/burning to darken just the background. Hope that helps 🙂
how do I make my image like this?
This article is really good and well written. However, my question is- how can I add a black background to my picture? like the background black and the object or person standing out? This picture here is an example (even though it’s ice cream, how will i do it with a face?)
Excellent article! This is one of the best instructional b & w articles that I have read. Very easy to understand and apply. You covered so many of the vital parts of b & w photography. Thank you so much! This article inspires me to get back into the swing of things 🙂
Thank you! Glad you found it so useful. Look forward to seeing some more of your photos soon 🙂