Every locality, town or city has its fair share of unique and interesting buildings. But people often walk by every day without even noticing this wonderful architecture. Buildings can make great subjects for your iPhone photographs, whether shooting from outside or inside. In this tutorial you’ll discover how to bring out the character of these buildings in your iPhone photos.
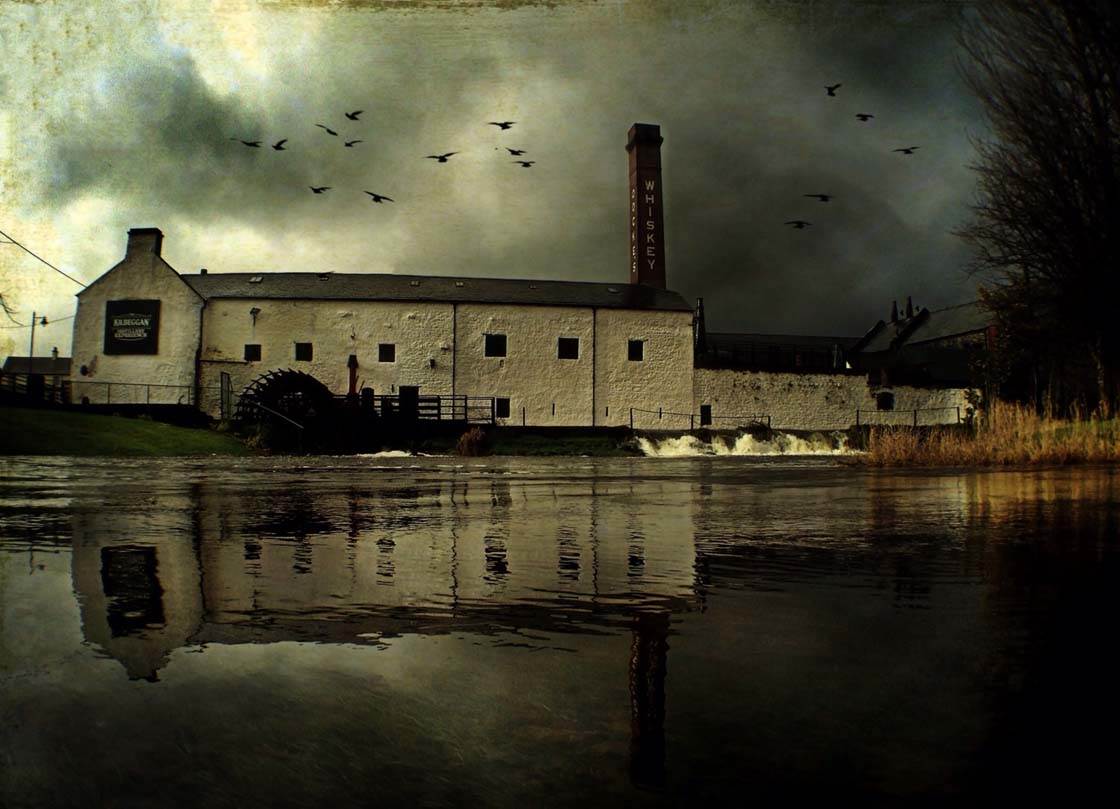
1. Keep Your Eyes Open
Almost every locality has buildings that stand out for one reason or another. This could be because of their history, their architecture or uniqueness. As you walk around your local area you should always be on the lookout for new photographic ideas.
As a result you’ll start to look at things differently, seeing potential photos where before you just saw an old house, an office block or a barn.
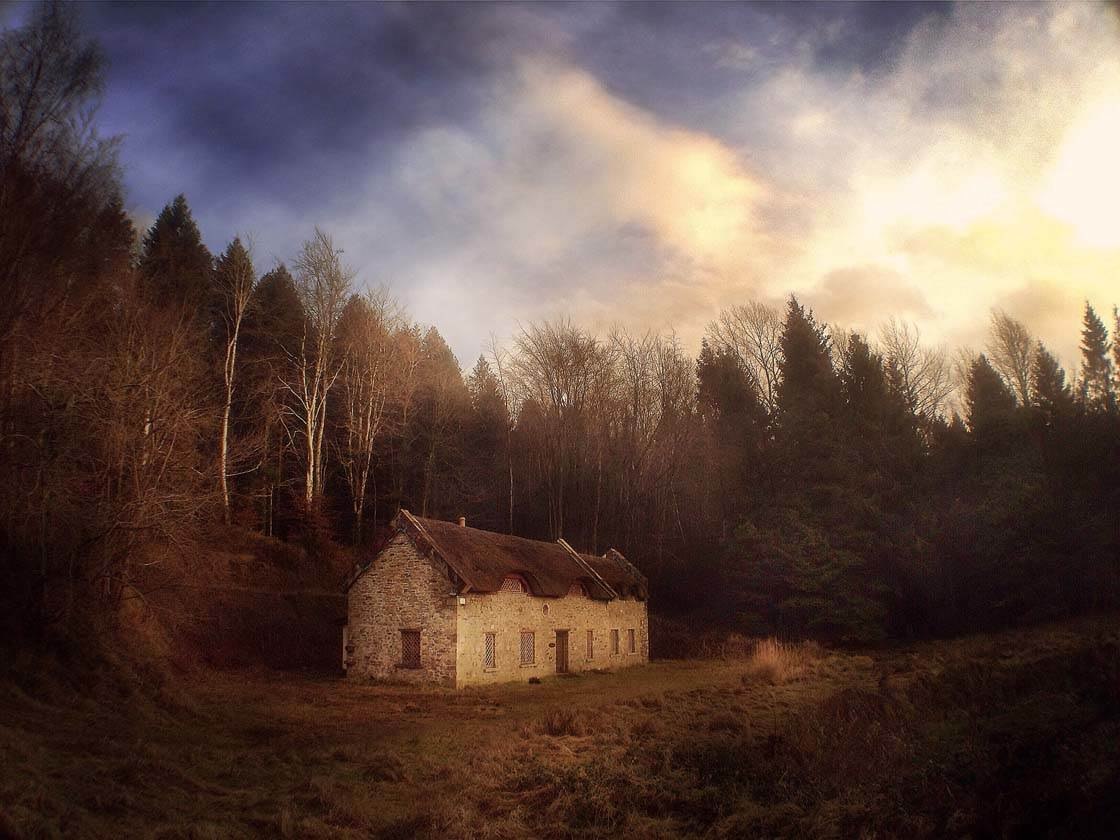
Factors such as light or weather can alter the look of a building. Using your iPhone for taking photos in these circumstances is a distinct advantage as you can whip it out and get that shot that you might have otherwise missed.
2. Use The Seasons To Your Advantage
Taking photos of the same building at different times of the year can produce substantially different results. This first photo of the world famous Locke’s Distillery was taken on a warm summer’s evening.
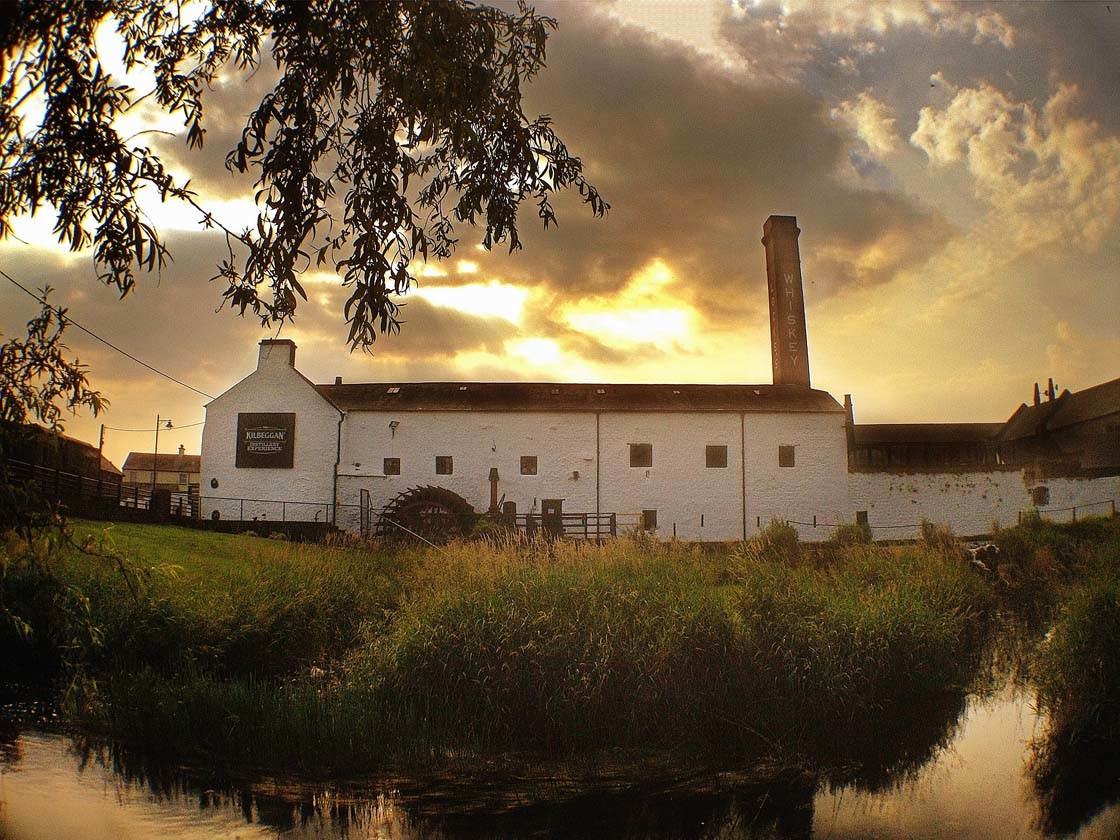
The sun is setting behind the building and the foreground is covered in lush green grass with a small stream flowing past. It’s a very serene tranquil shot of the distillery on an Irish summer’s evening.
This photo was taken 6 months later, in the depths of winter. It was after a particularly wintery spell of wet weather and the small stream has completely flooded the foreground. The leaves have fallen from the tree, leaving just bare branches. And the dark clouds add drama to the shot.
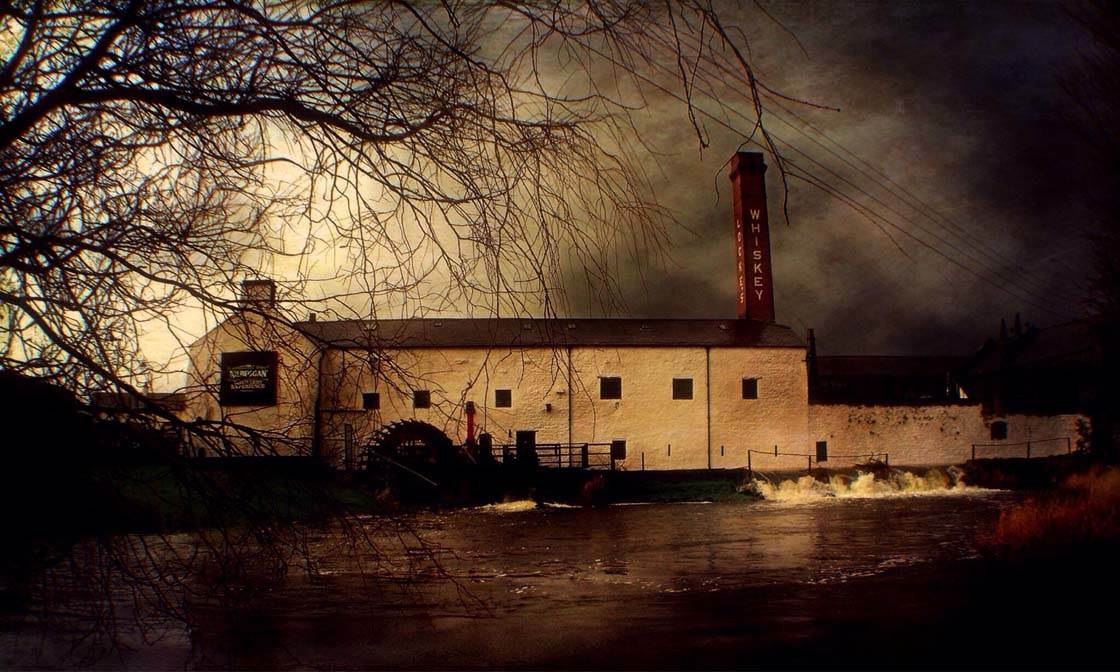
These examples demonstrate how the time of year and weather conditions can produce very different images of the same place, with very different moods.
3. Concentrate On Details That Catch Your Eye
You don’t always have to try and fit the entire building into your shot. Sometimes there are features or details in a building that are more interesting than the overall building itself.
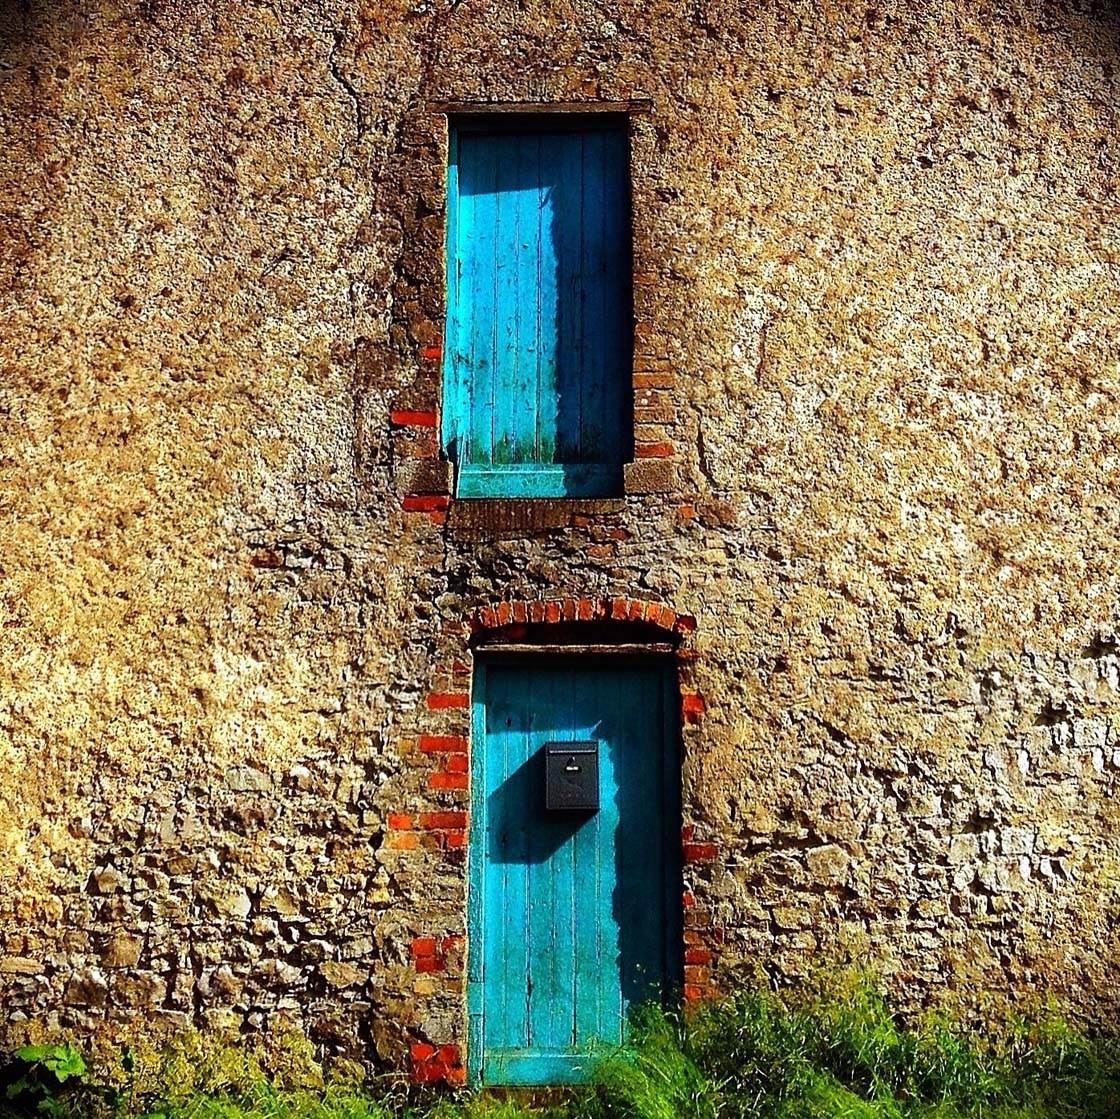
When I came across this old barn, the blue doors were the first thing that caught my eye. So I took a few shots concentrating on these details. The result is a nice simple shot that focuses on the most interesting part of the building.
4. Use Panorama Mode
Sometimes you may find that it isn’t possible to fit the entire building into the frame. This can be the case when photographing wide buildings if you can’t shoot from far enough away, or if you’re shooting indoors in confined spaces.
When I was trying to take this shot of an old castle in my home town, I couldn’t move back far enough to fit the entire castle into the shot due to a boundary wall.
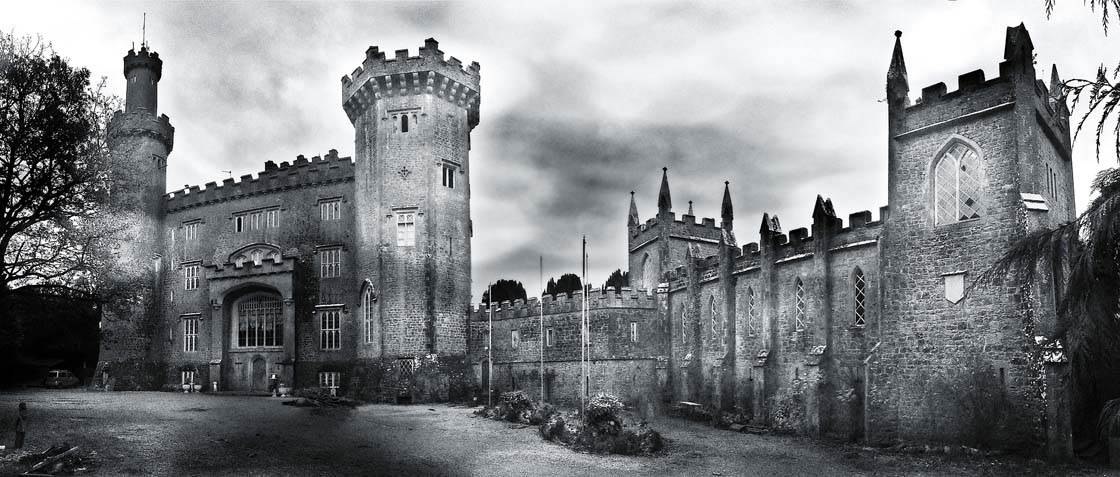
So I just set the native camera app to Pano mode and took a wide panoramic shot. Using Pano mode also created unusual perspective effects adding to the uniqueness of the shot.
5. Shoot Building Interiors
You shouldn’t just concentrate on the outside of a building. If a building looks good on the outside, it’s probably also going to look good inside. If the building isn’t open to the public, try contacting the owners to see if they will grant you access.
These shots were taken in the castle shown in the previous photo. I contacted the owners through their Facebook page and they very kindly let me have a look around. The castle is currently being renovated and only some of the rooms have been finished.
When shooting indoors with an iPhone you need to aware of the available light. In low light conditions the iPhone will reduce the shutter speed to compensate. This can result in issues with camera shake and digital noise which will result in blurry, grainy photos.
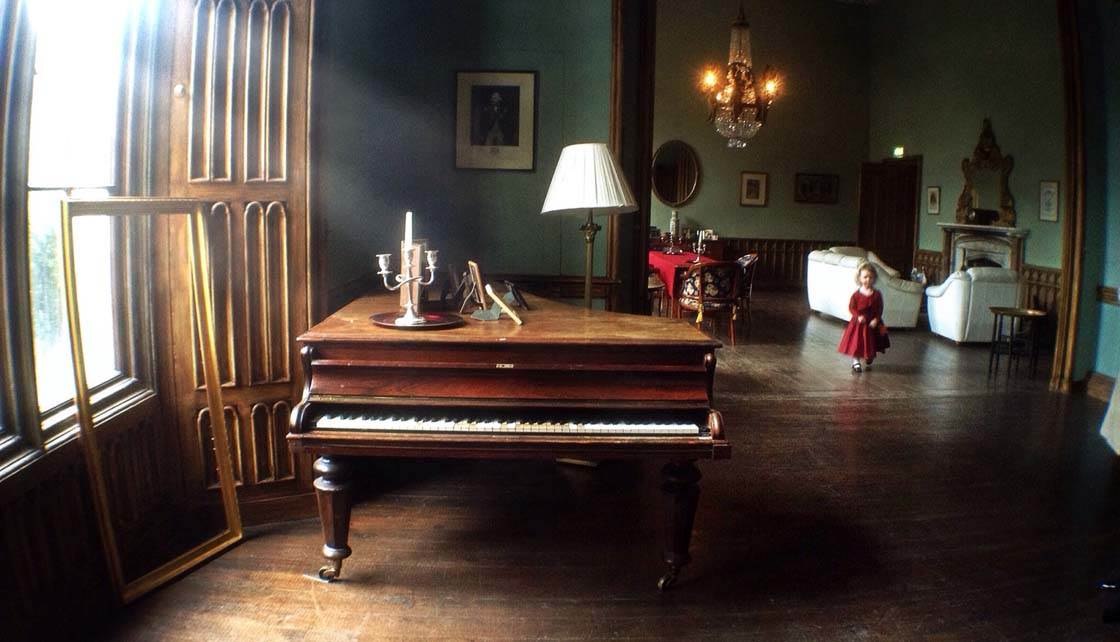
This photo was taken in the drawing room, and thanks to the large windows there was more than enough natural light streaming in. Having people in the shot helps give a sense of scale to the room.
The photo below was taken in one of the unfinished rooms. Again there was an adequate natural light source which added to the shot. I used the HDR tool in Snapseed to bring out the detail in the stonework and the floorboards.
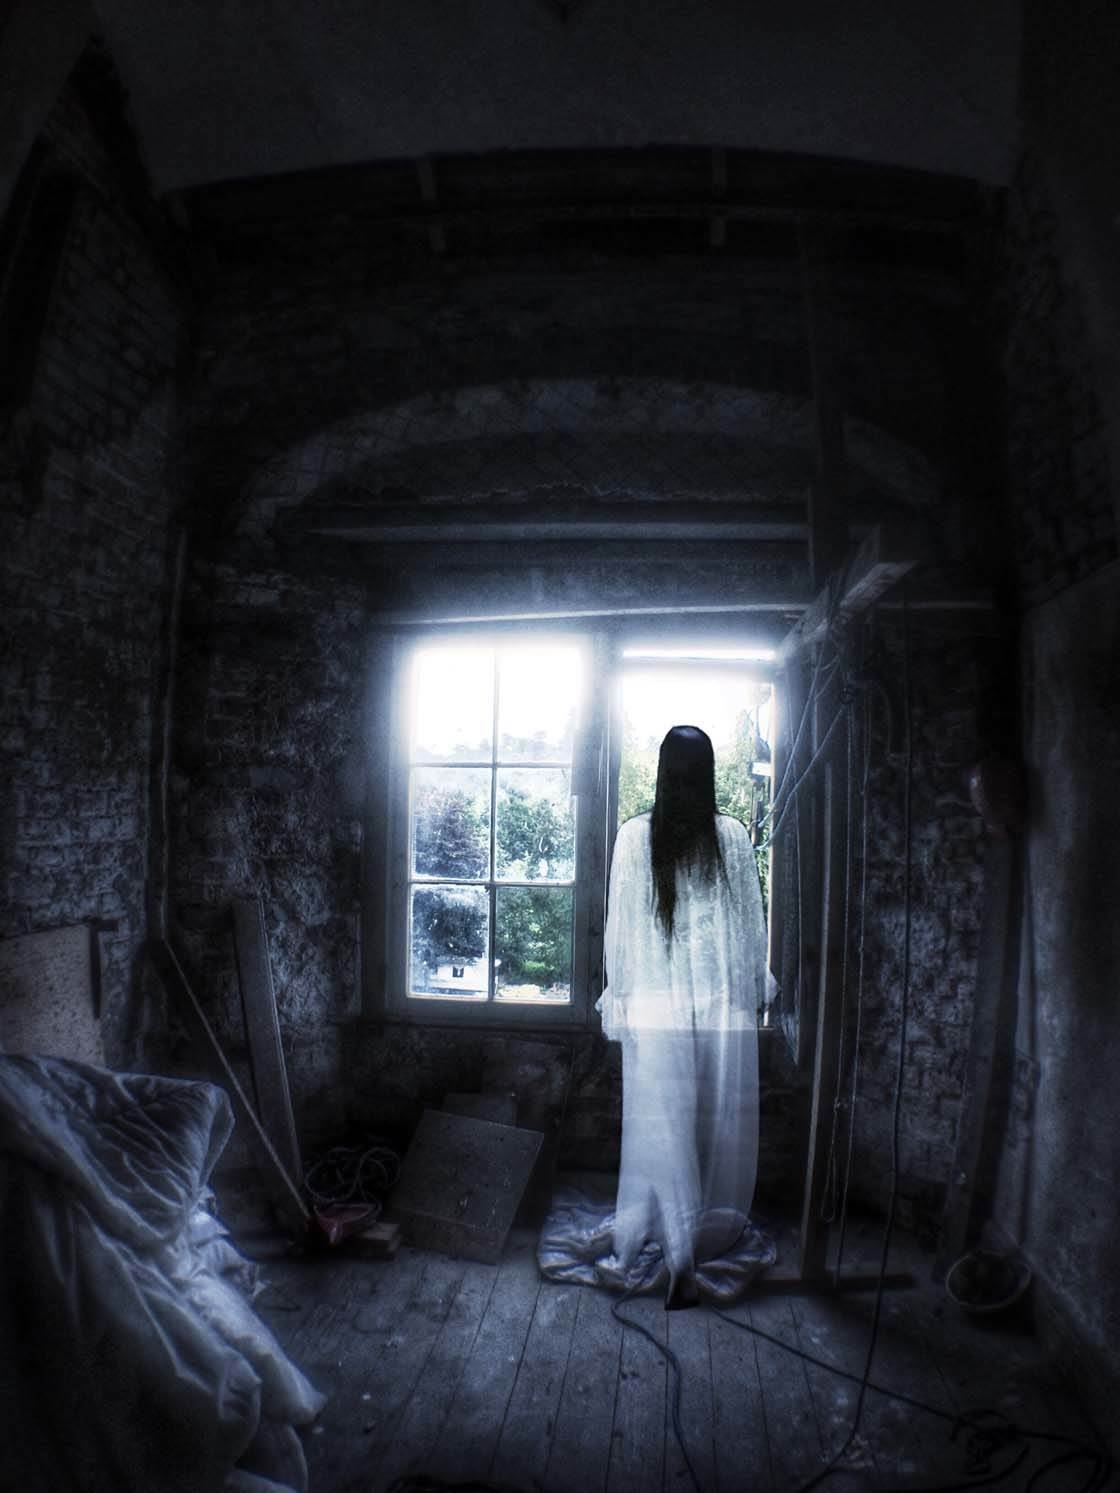
In this case I added the ghostly figure using Juxtaposer. The castle is rumoured to be haunted so this was just a bit of fun. Little additions like this can add to the atmosphere of the image.
I added the Blue Steel filter from Tadaa to make it look like the shot was taken at night. The filters in Tadaa are adjustable so I was able to tone down the effect to leave some colour in the shot.
6. Capture A Building From Different Viewpoints
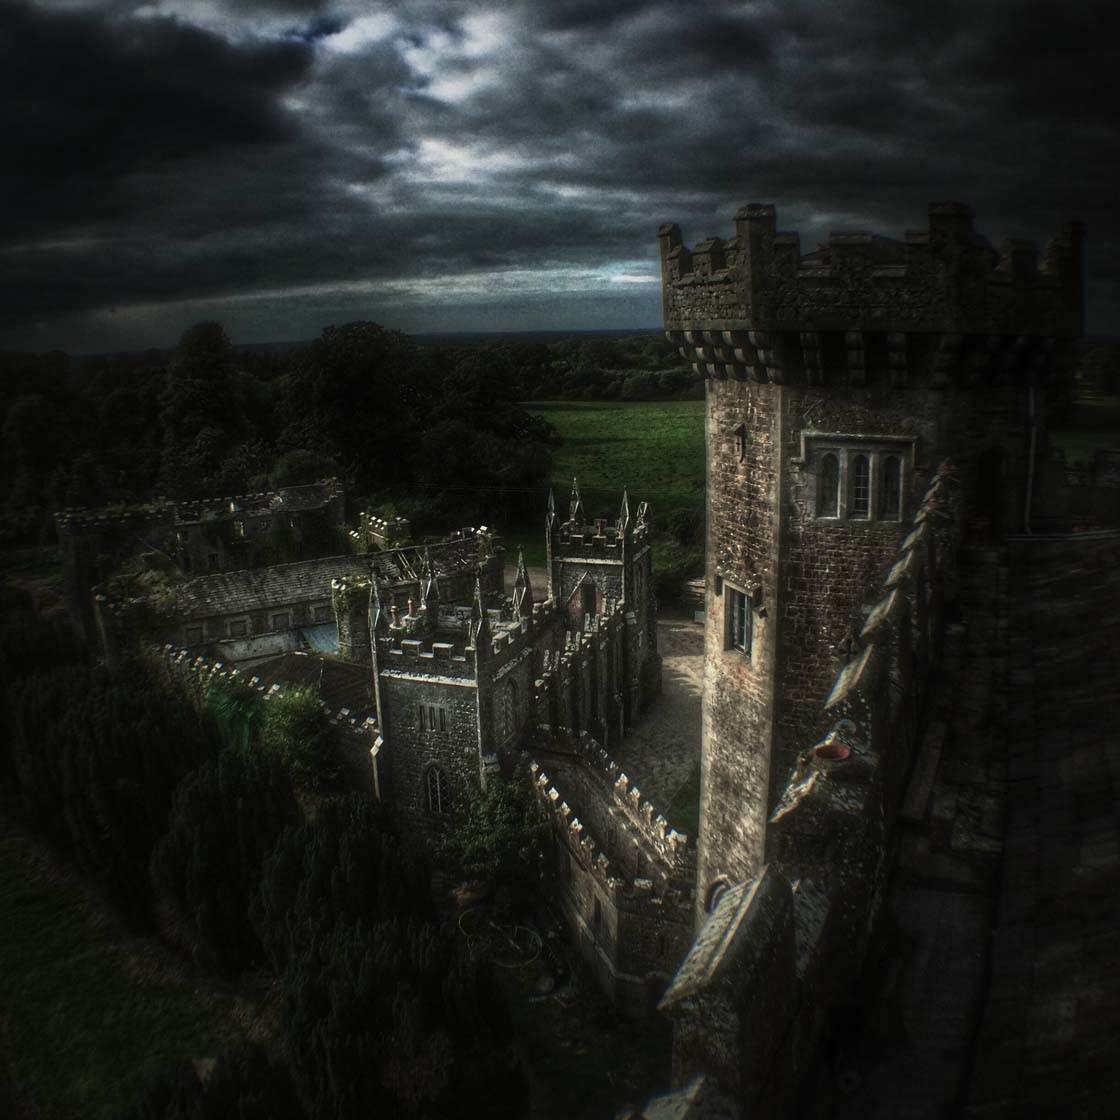
By shooting the same building from different viewpoints you can get very different shots. It’s definitely worth experimenting with different shooting angles and points of view. You can see from these examples that I shot the same building from different viewpoints.
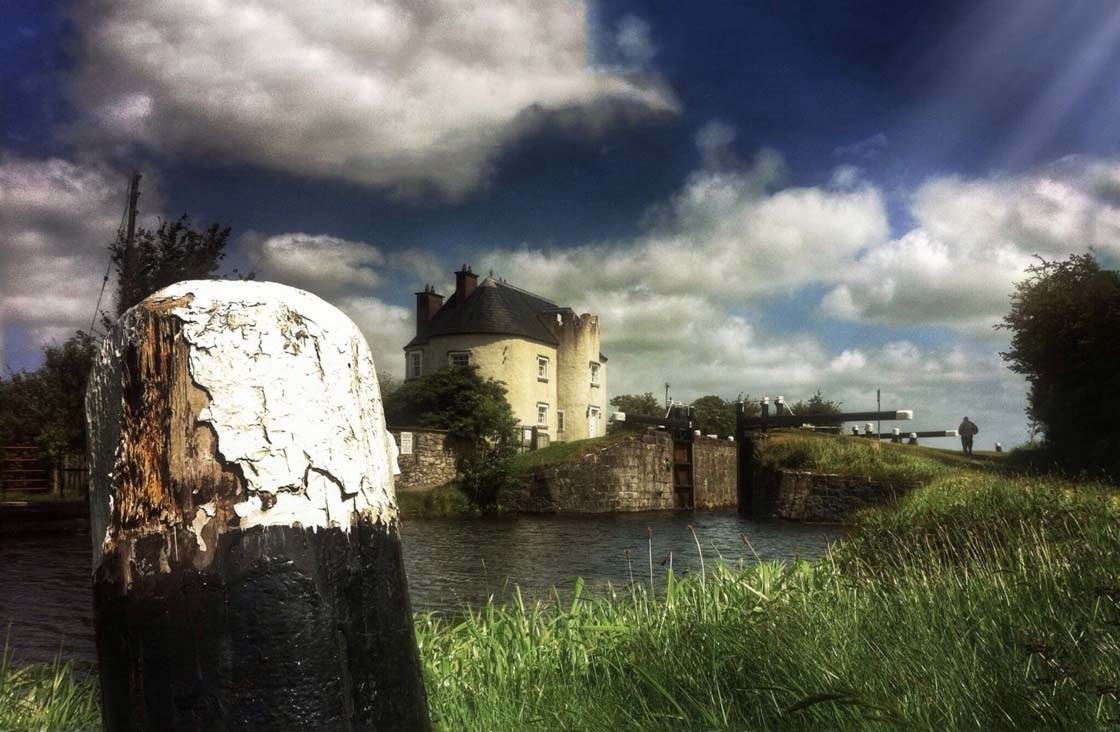
Try taking some shots from close up and other shots from further away, including interesting objects in the foreground to create a sense of depth and lead your eye into the image.
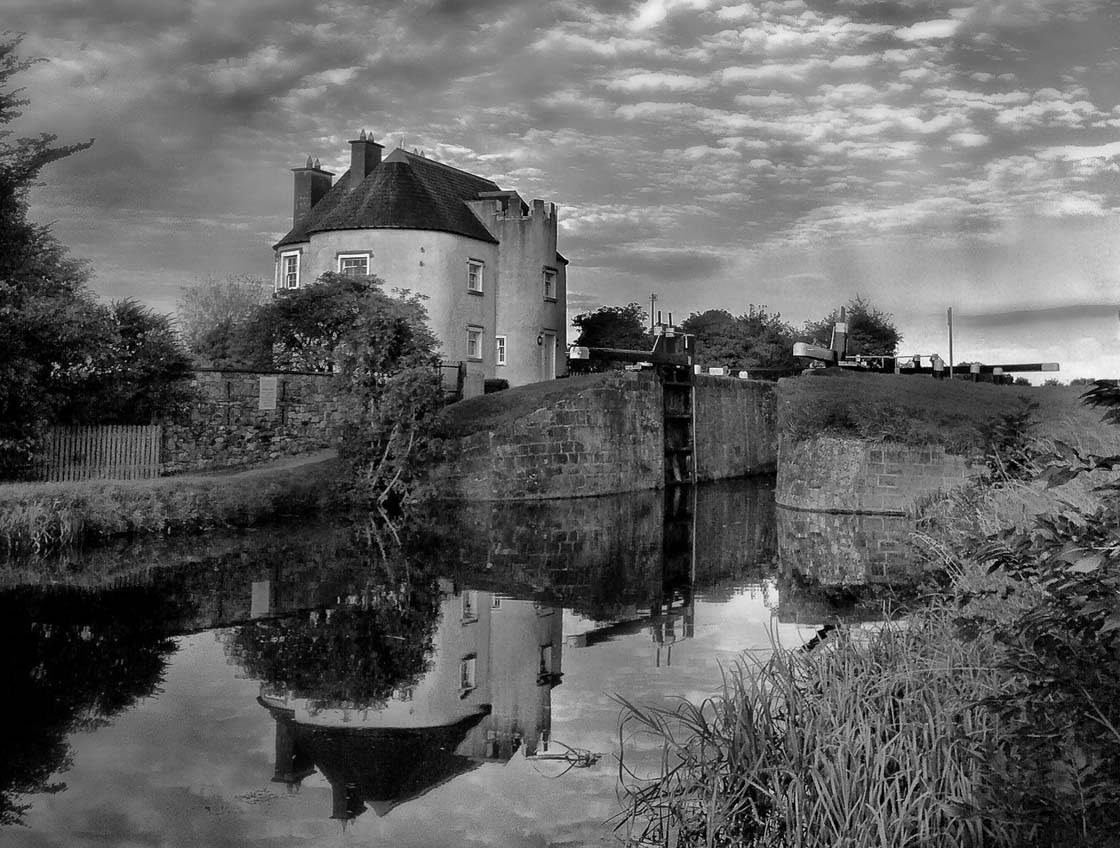
Walk around the grounds, taking photos of different sides of the building if possible. Shooting at different times of the day and using different edits can also make your images more unique.
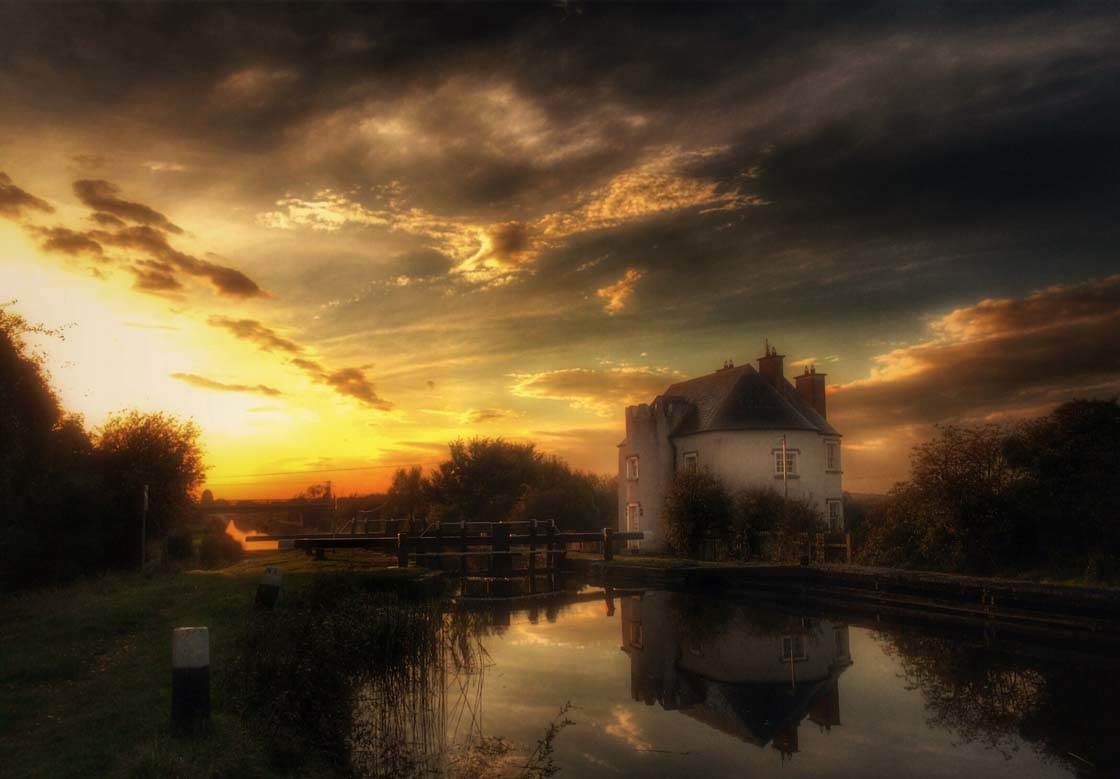
7. Shoot From Low Down
If you’re trying to get a photo of a building, but the background is very distracting and takes away from the impact of the shot, the best thing to do is shoot from low down and use the sky as your backdrop.
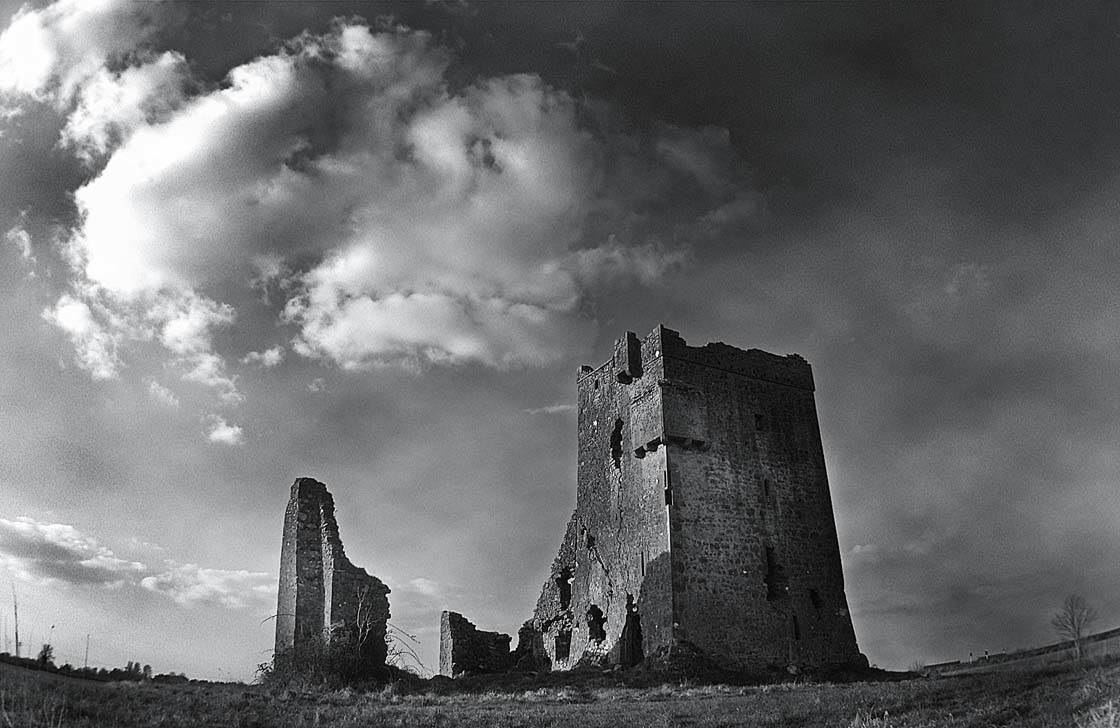
This will work even better if there are dramatic clouds in the sky. It will also make the building stand out, helping to ensure it’s the main subject of the shot.
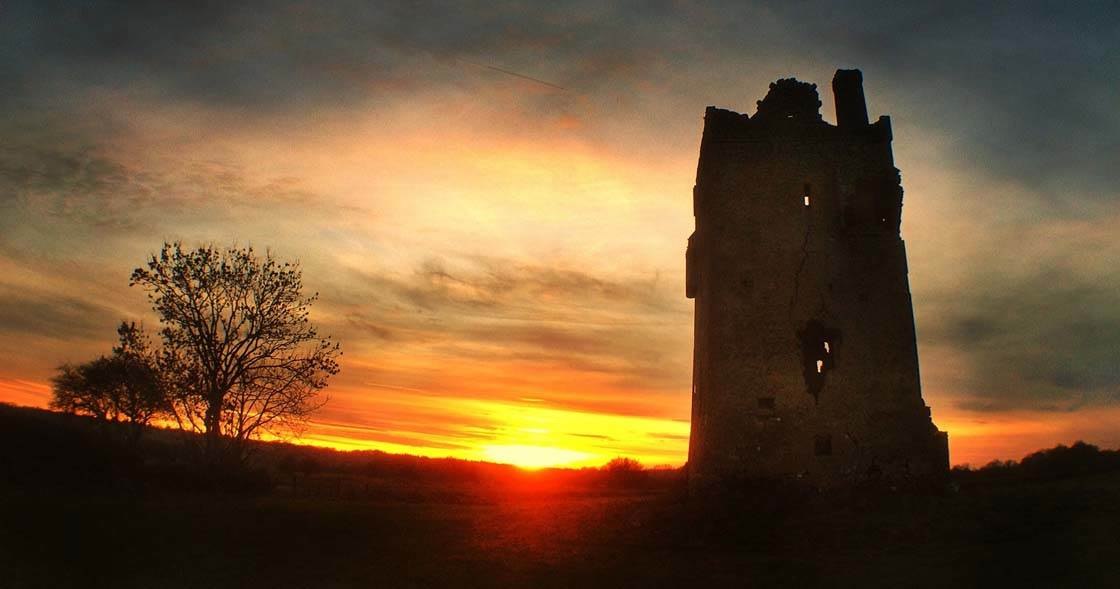
When taking silhouette photos of buildings, shoot from a low angle to ensure the building appears silhouetted against the sky. If you don’t shoot from low enough, the building will disappear into the dark background behind it.
8. Fix Perspective Problems
One of the biggest problems you’ll come across is issues with perspective. Depending on the angle you shoot from, you may notice that the sides of the building that looked perfectly straight to the naked eye will end up slanting inwards in your photo.
This can be an interesting feature that can be used to your advantage to create unique shots, but a lot of the time it can spoil a photo. There are two methods for fixing perspective problems.
The first method uses an app called SKRWT. This app has been specifically designed to fix perspective issues, and it can also be used to fix issues with distortions that can occur when using lens attachments for your iPhone.
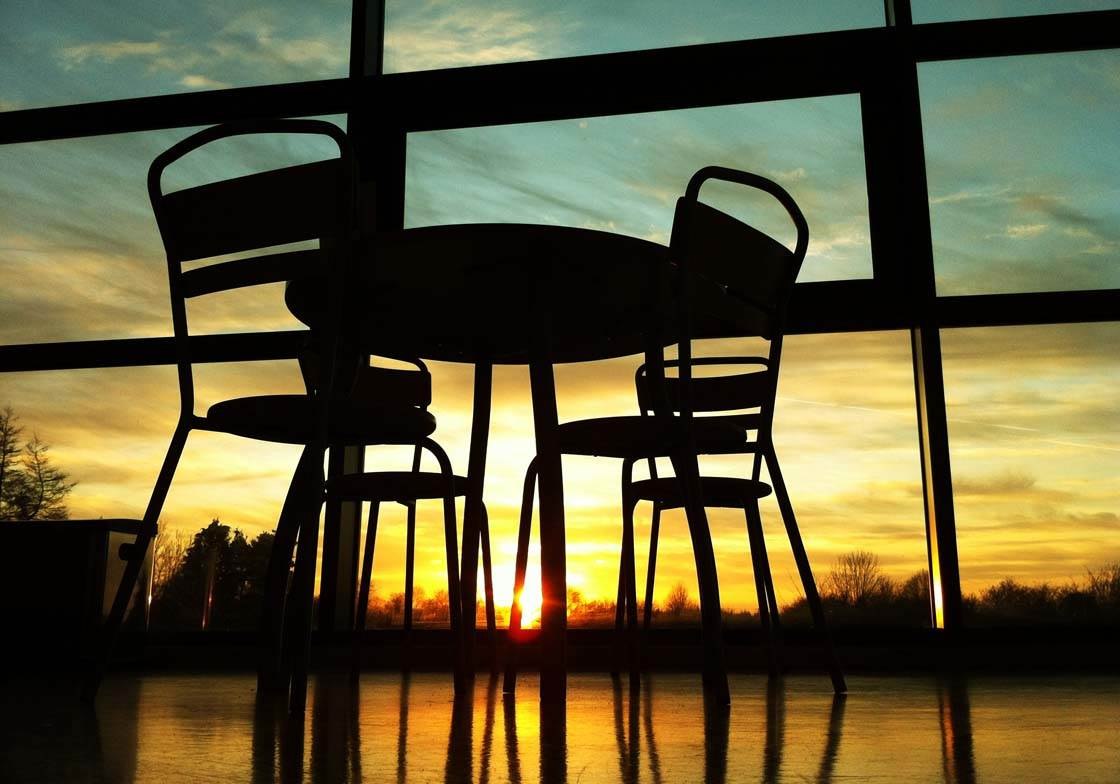
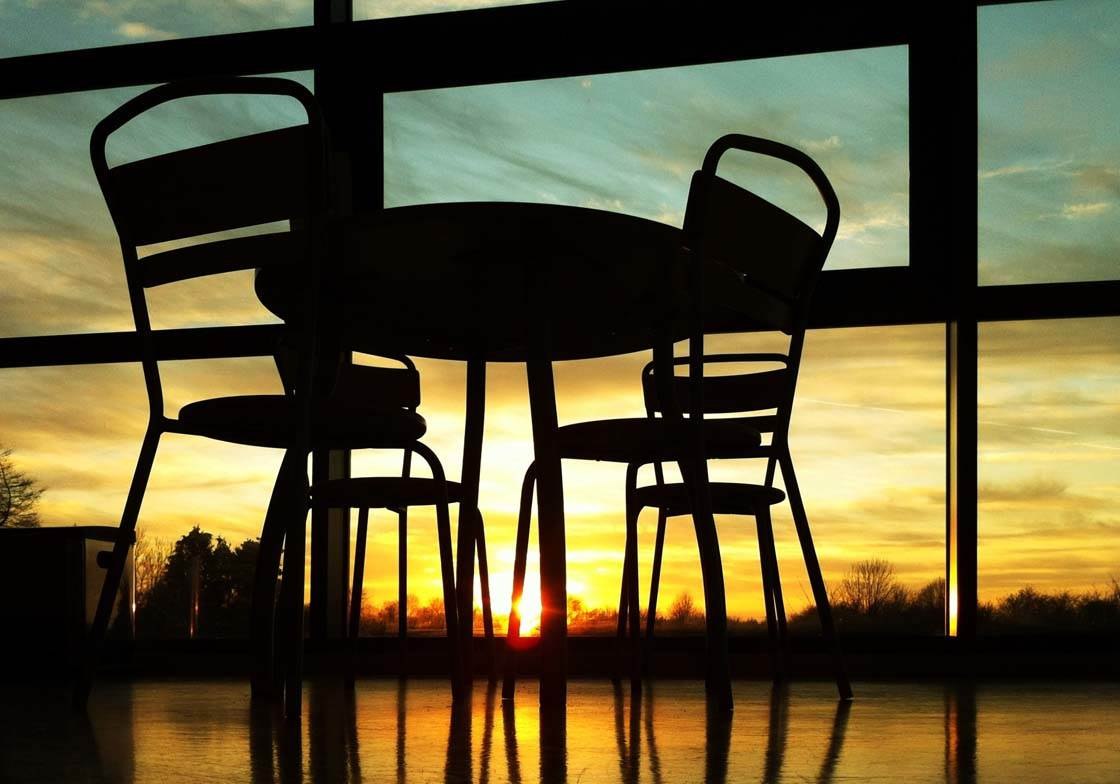
In the above photo you can see how the vertical lines of the window frame converge inwards at the top of the image. This is because the photo was taken from a low angle. Below you can see how the SKRWT app has been used to correct the perspective, straightening up the window frame and chairs.
Sometimes you’ll need to fix problems where parts of the shot appear crooked or off-centre. There is a simple but unusual cheat to overcome this issue.
I use an app called Genius Scan which is actually a document scanning app, but it has a tool for straightening the edges of a scanned document. You can also import photos into the app and use this tool to correct perspective issues.
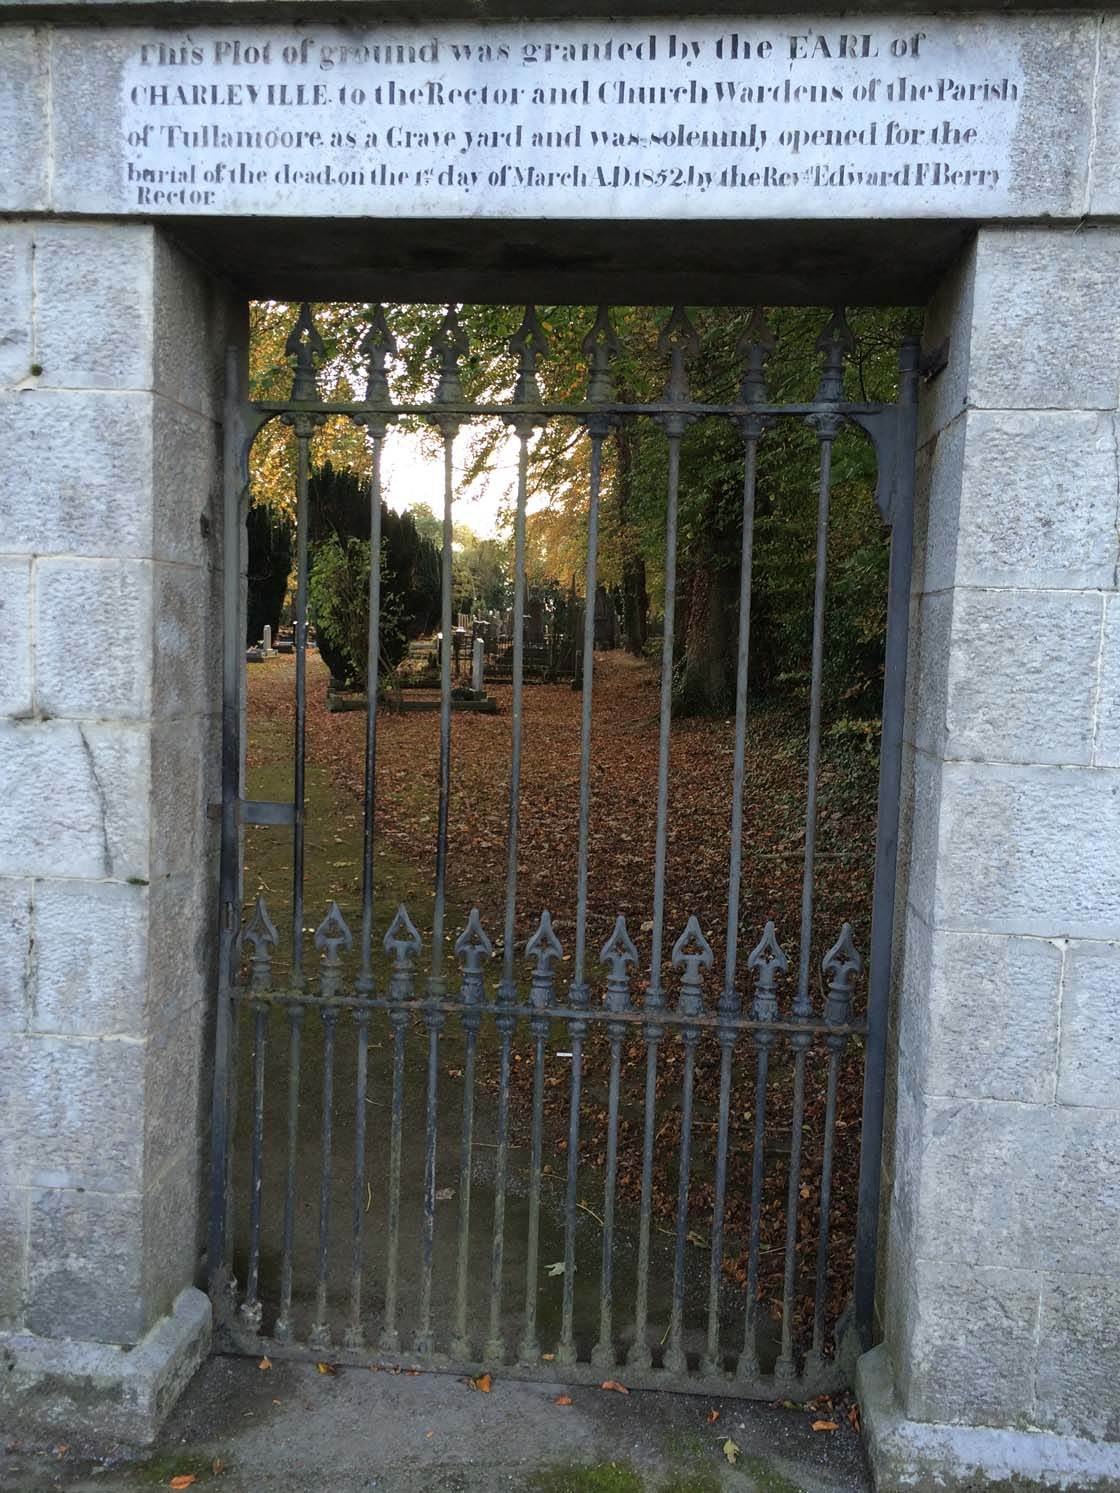
In this photo I wanted to ensure that the inscription above the gate was straight. Unfortunately in order to achieve this it left the gate itself off-centre and crooked. So I imported the photo into the Genius Scan app and used the perspective tool.
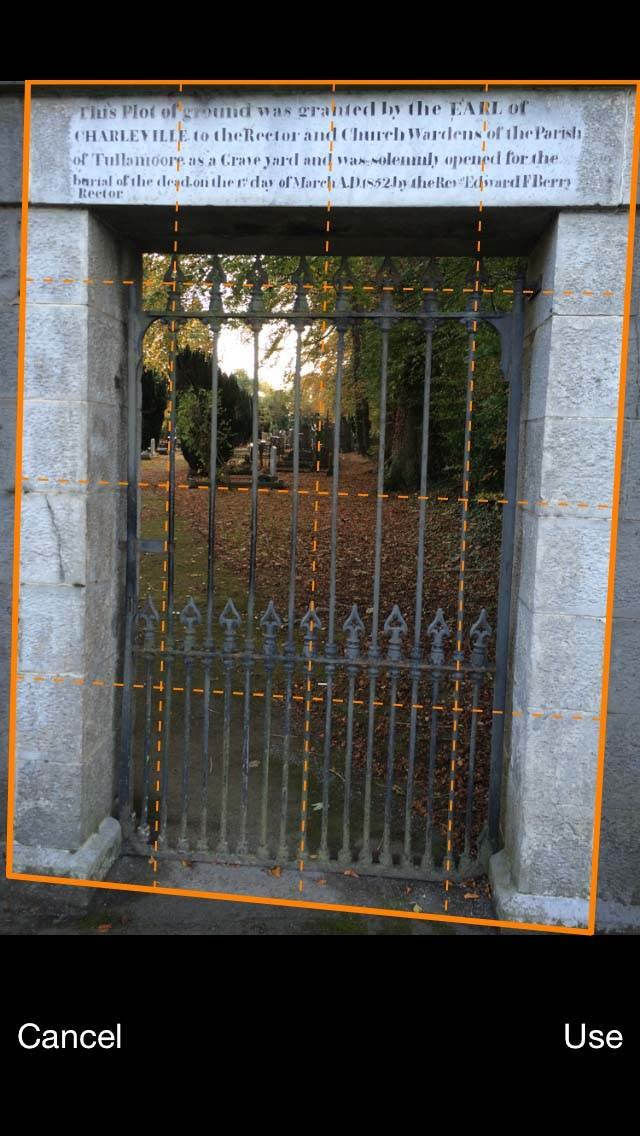
You just drag the corners of the orange box to the points that square off and straighten the photo. Hit the “Use” button and the app will stretch areas of the photo to leave you with a perfectly proportioned shot.
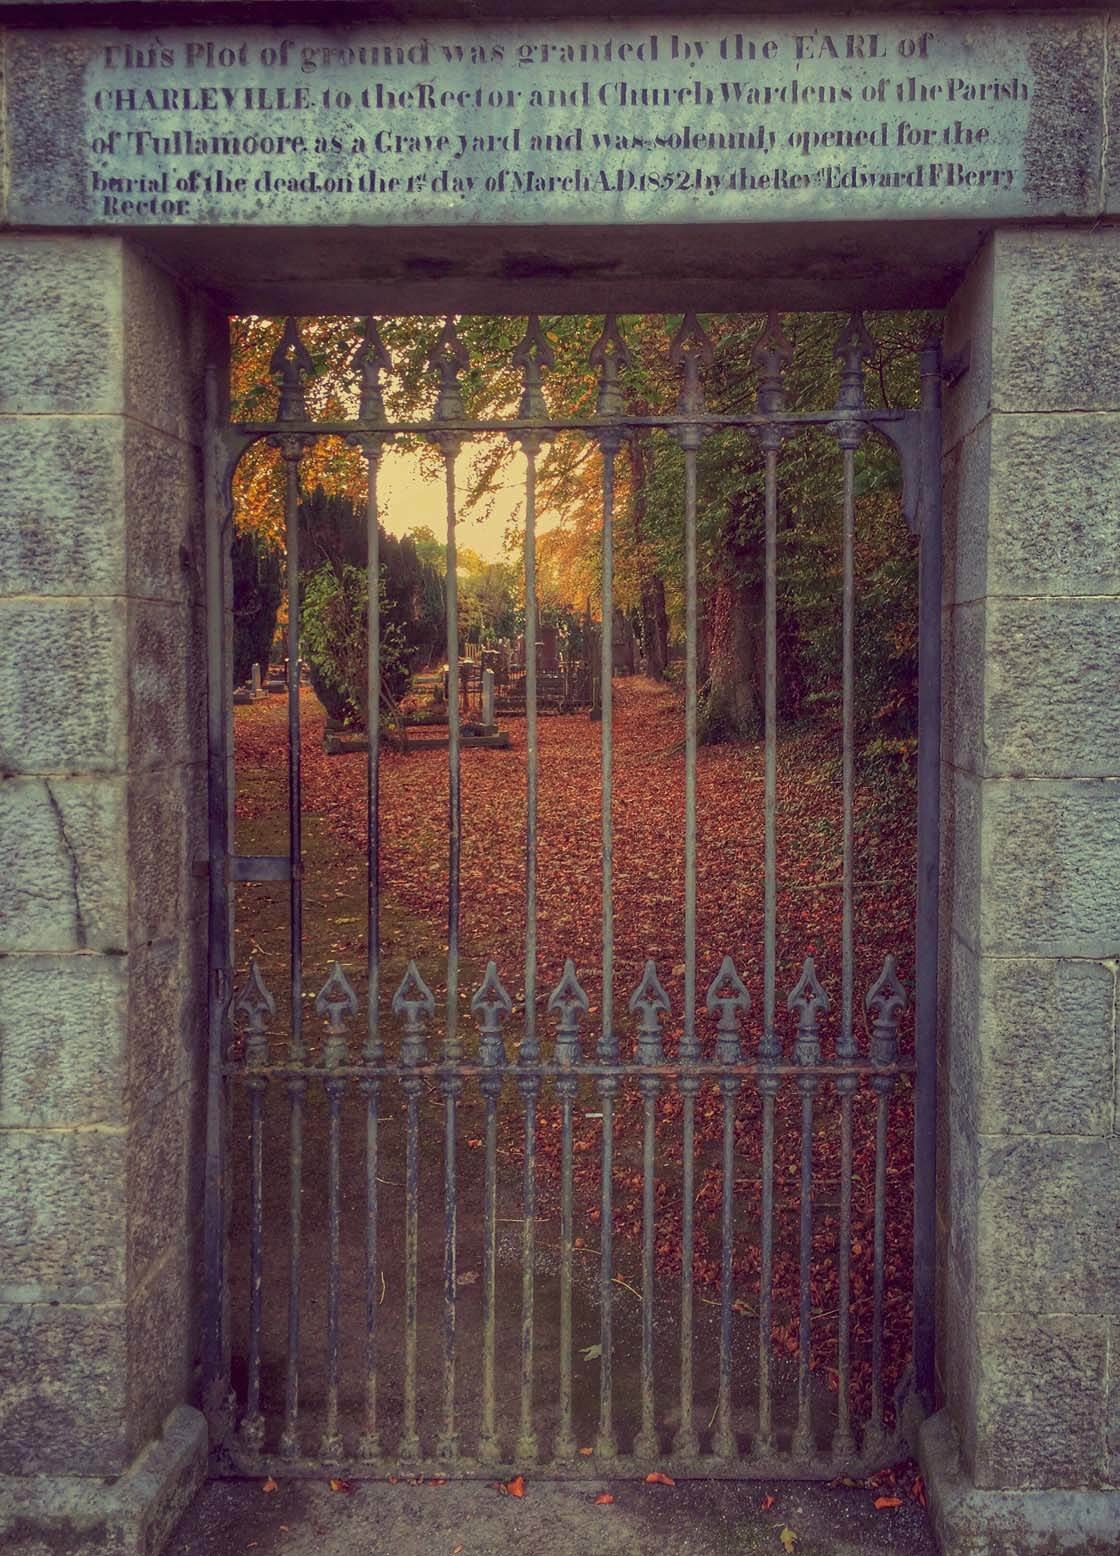
I finished it off with the PhotoToaster and Tadaa editing apps to enhance the fall colors. This is a very handy little cheat that involves a little thinking outside the box, by using an app for a purpose for which it was not intended.
Between the SKRWT and Genius Scan apps you should be able to fix any perspective issues you have with your building shots.
9. Use A Wide Angle Lens Attachment
Wide angle lenses such as the Olloclip or Moment lenses can be very useful for photographing buildings when shooting in confined spaces. Sometimes you just can’t get back far enough to get the whole building or room into the shot. This is where the wide angle lens comes into play as you’ll be able to fit far more into the frame.
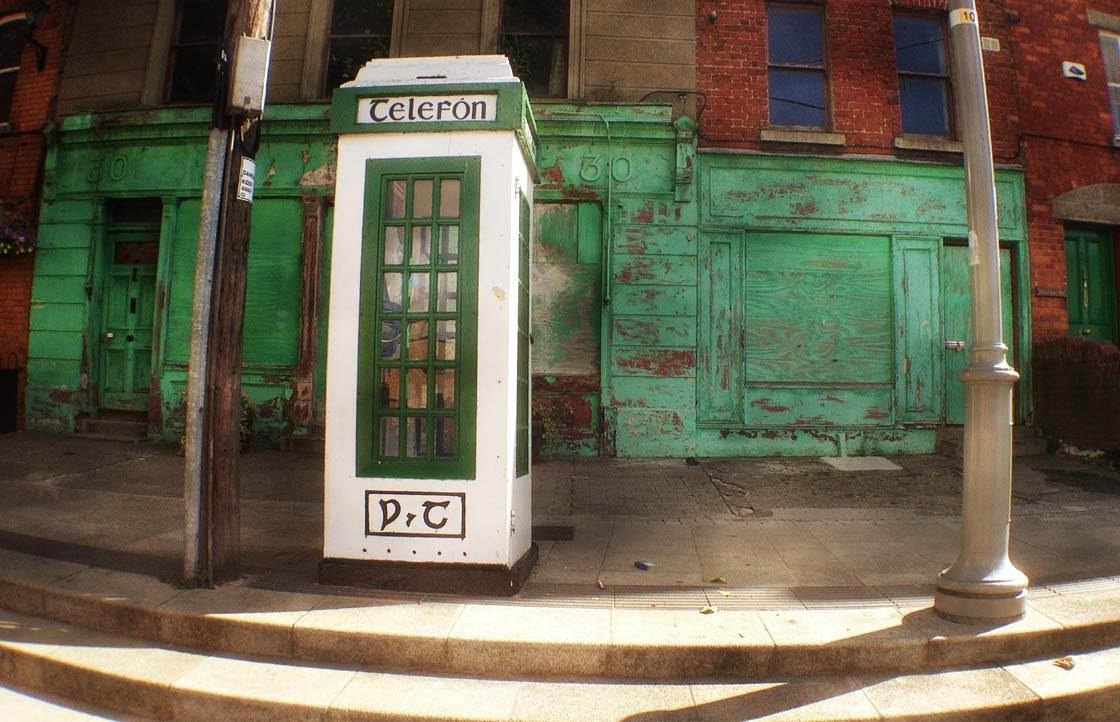
Because of the shape of these lenses there will be some noticeable curving of straight lines around the edge of the shot, but if used properly this can add to the overall image. Alternatively, you can use the SKRWT app to correct this curving if you wish to remove it.
10. Use A Building As A Backdrop
The castle in some of the examples above plays host to a music and arts festival called Castlepalooza every year. This year there was a torrential downpour for the first 48 hours of the festival. The sun only came out on the Sunday evening just before it set.
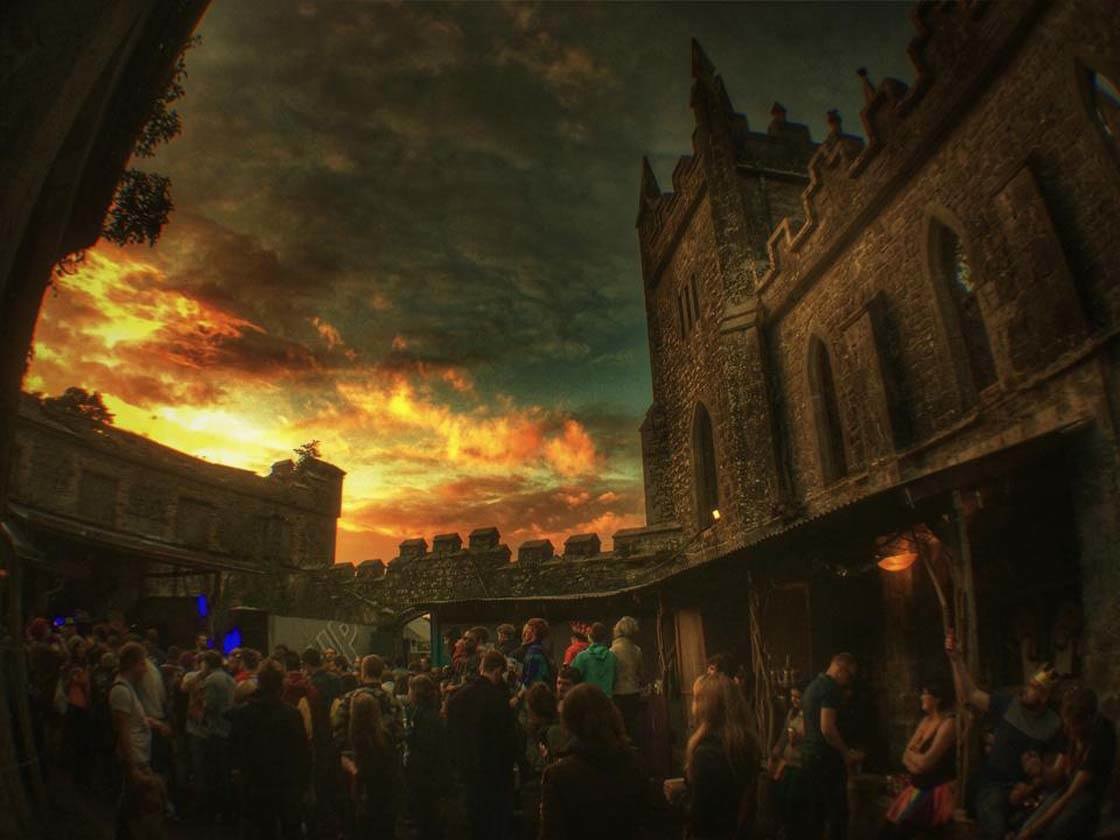
This shot was taken in the courtyard of the castle where the DJs were performing, just as the sun set behind the battlements. The main aim of the photo was to capture the brief glimpse of the sun after two miserable days, but by having the castle in the shot it shows off the uniqueness of the venue.
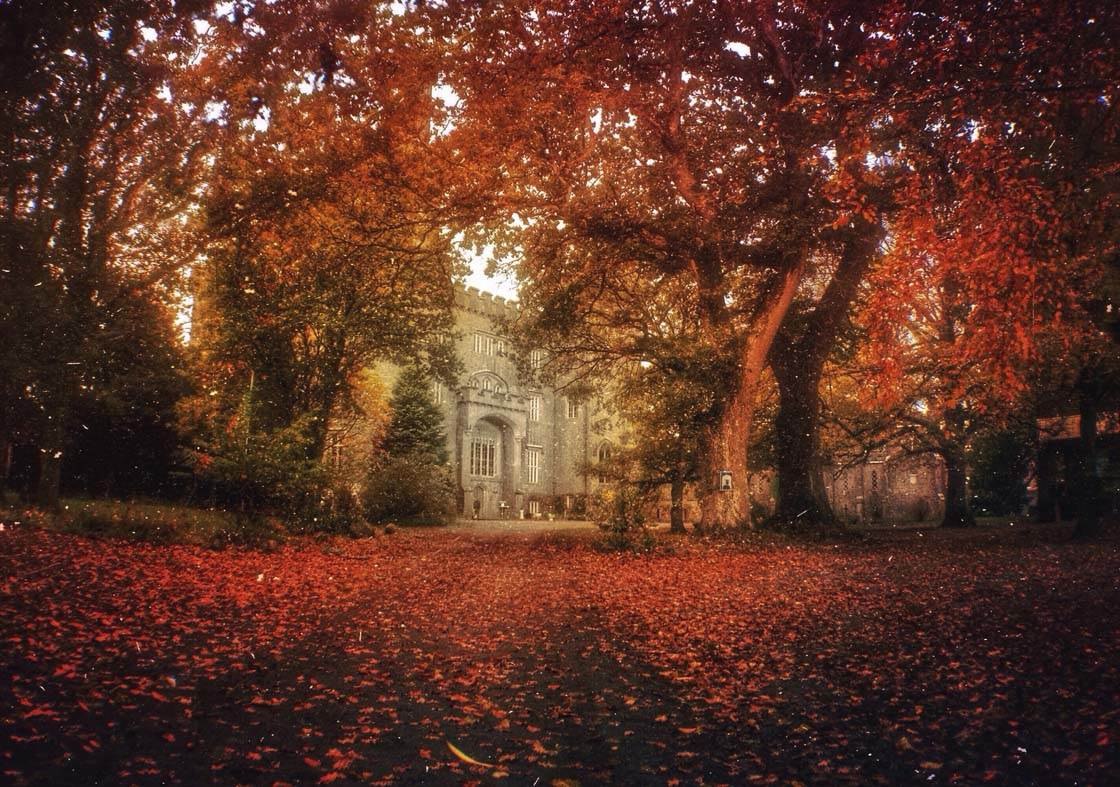
Again, the castle in the background of this photo adds a unique backdrop to this image of a colorful fall scene.
As you see from the above tips, there are many different aspects that can be taken into account when you’re photographing buildings. Hopefully this will give you some ideas for new shots to try out.


Great article. One thing I would add is using some tilt shift app or use it snapseed. You may like the distortion like in the 3rd to last photo but you might also want to straighten it.
Thanks very much Joe. I will have to start experimenting a bit more with tilt shift apps. I used to use them but haven’t tried any in a good while.
These are really great photos Paul, and wonderful tips. I don’t take nearly enough photos of buildings but now I’ve got some new things to try. Thanks!
You’re very welcome. Glad you found some of the tips useful.
Thanks for these great tips and photos Paul 🙂
Thanks very much Kate 🙂