Silhouetting is one of the easiest and most effective photography techniques. Silhouettes look great and add a special feel to the photo, and they also emphasize form and composition while reducing the distraction of detail.
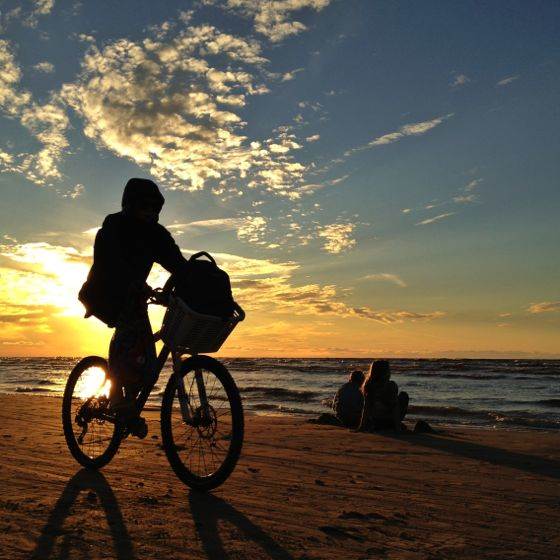
Even though silhouette photography looks fabulous, it can be created quite easily. The one factor to keep in mind is light. To create a silhouette you must be shooting against the light. This can be best illustrated with an example.
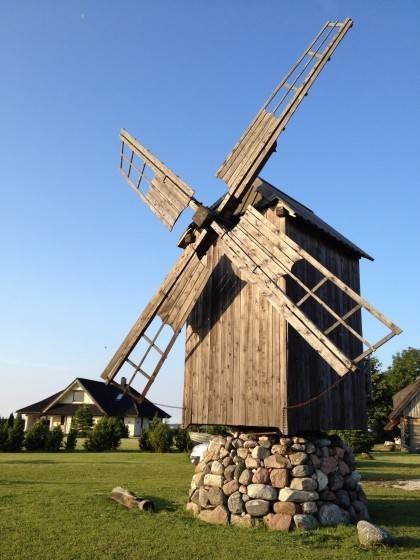
In this photo the light is shining on the front side of the windmill. Look at the shadows to verify that. This picture is taken from the direction of the light and thus most of the windmill is properly exposed.
Knowing that silhouettes can only be taken against the light, can you guess where I should go to to create a silhouette of the windmill?
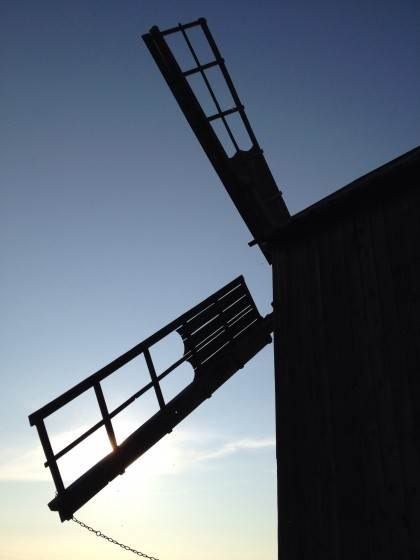
That’s right, I have to go behind the windmill. Note that the two dramatically different photos were taken at the same time of the day.
If you look at this image more closely, you will notice that the sun is positioned behind the bottom blade. This tells you that the image was indeed shot against the light, and you can see that I used the subject in the silhouette to hide the sun. I often try to hide the sun behind my subject, because having it shine directly into your iPhone’s lens is usually a bad idea.
What happens if you don’t cover the sun? Well, it depends. Usually you will get a blown-out white area where the sun was supposed to be, along with some optical disturbances around it. In some cases this may actually make the image more interesting, so feel free to experiment.
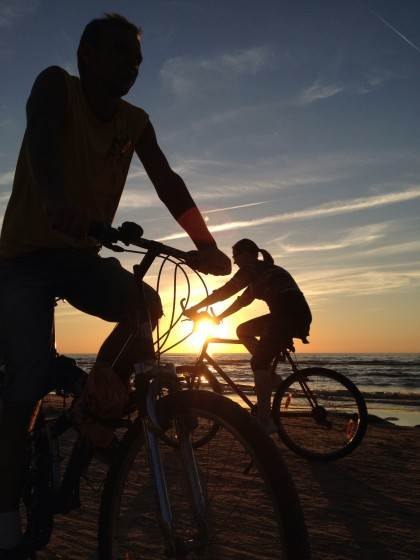
Here the setting sun actually makes the photo more compelling. Note that the red circle on the man’s hand is an optical disturbance caused by the sun shining through the lens.
If you are in an open space outdoors, it will be a lot easier to shoot against the light if the sun is low above the horizon. Therefore the best silhouettes are usually shot near the sunrise, sunset or in winter months at higher latitudes.
Silhouettes Indoors
Shooting against the light is a little different indoors where the brightest light usually comes from the outside (windows, open doors, end of a tunnel, etc.). In these situations you simply have to shoot against the source of light, as seen in the example below.
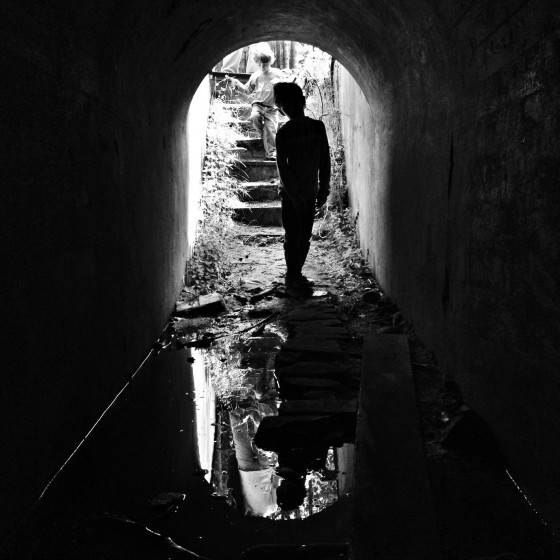
In this photo bright light is coming from behind the boy, thus creating an interesting silhouette.
Setting Focus & Exposure
In many cases iPhone’s automatic exposure will be sufficient to create a beautiful silhouette. However, in some cases it may set the exposure to the subject, especially if the subject is large. This will destroy the silhouette and blow out the background.
To prevent this, simply tap on the brightest parts of the image – such as the sky – and the silhouettes will return, provided that you are shooting against the light. Check out my article on using iPhone’s camera app for more information about setting the right exposure.
By default iPhone’s camera sets focus and exposure at the same point. This is fine in many cases and you usually don’t have to worry about it. However, when your subject is really close to you in comparison to the rest of the scene, this may no longer be optimal.

In the image above the subject – the life ring – is a lot closer to me than the rest of the port, so it makes sense to set the focus on the life ring. However, I also want to create a silhouette, which is only possible if the exposure is set to the bright sky.
In situations like these it is best to use a professional camera app that allows you to separate focus and exposure. For the photo above I used Camera+, which is my favorite dedicated photo-shooting app besides the built in camera.
Gallery
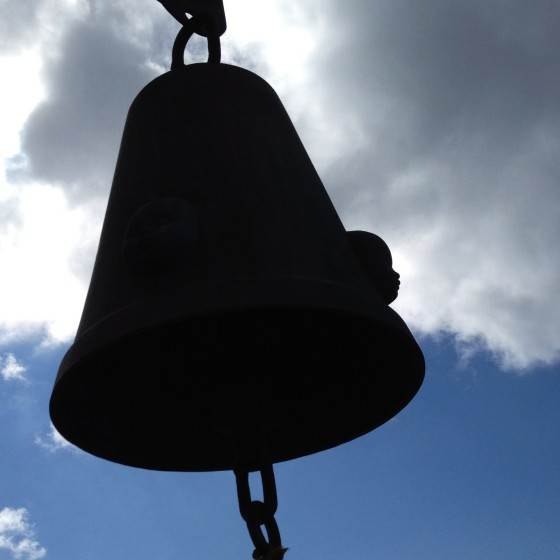
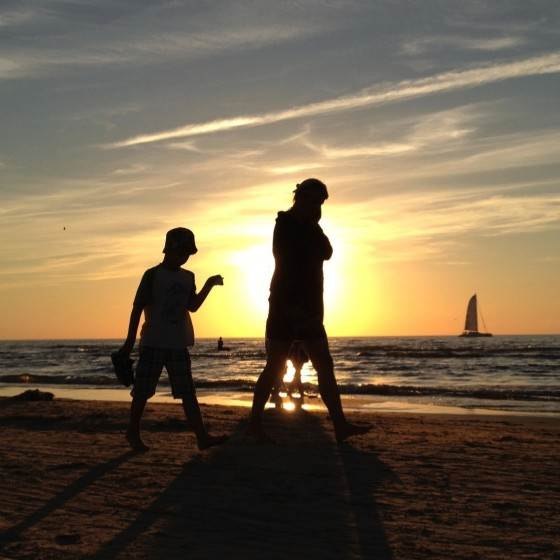
These are a some of the silhouette photos I have shot this month. I hope they inspire you to go out and create your own silhouettes.




Camera + is something really awesome 🙂
I kinda wanted to take a photo of my OWN silhouette since nobody else is on hand…but this was really helpful as well. I am a beginner but this is a super cool and fun hobby. Sure that this page will help loads of other people as well. Maybe this website could create different bars and tabs for beginners?
Glad you found this tutorial helpful! Thanks for the suggestion – we’re actually currently in the process of redesigning our site which will make it easier for people to find tutorials specifically for beginners 🙂
wrow
pizza pasta put it in a box
deliver it to my house and
put it on my cock