Creative thinking is the key to getting your iPhone photos noticed. But if you think you’re not very creative or you’ve run out of inspiration, don’t give up! In this tutorial, I’m going to share my best tips for boosting your creativity and developing your photographic eye. These simple yet highly effective techniques will get you taking unique and eye-catching iPhone photos that you’ll be proud to share with the world.

1. Experiment With Perspective & Angles
There are so many ways to photograph an object, and capturing it from an interesting angle or perspective will make your photos more unique.
Rather than always taking the shot from standing height, why not try capturing your subject from high up or low down? Or how about moving closer, moving further away, or taking a few steps to one side?

Shooting from a low angle is a great option if you want the object look big, mighty and powerful. It can also allow you to capture more foreground detail which is perfect for creating depth in landscape photos and for shooting puddle reflections.
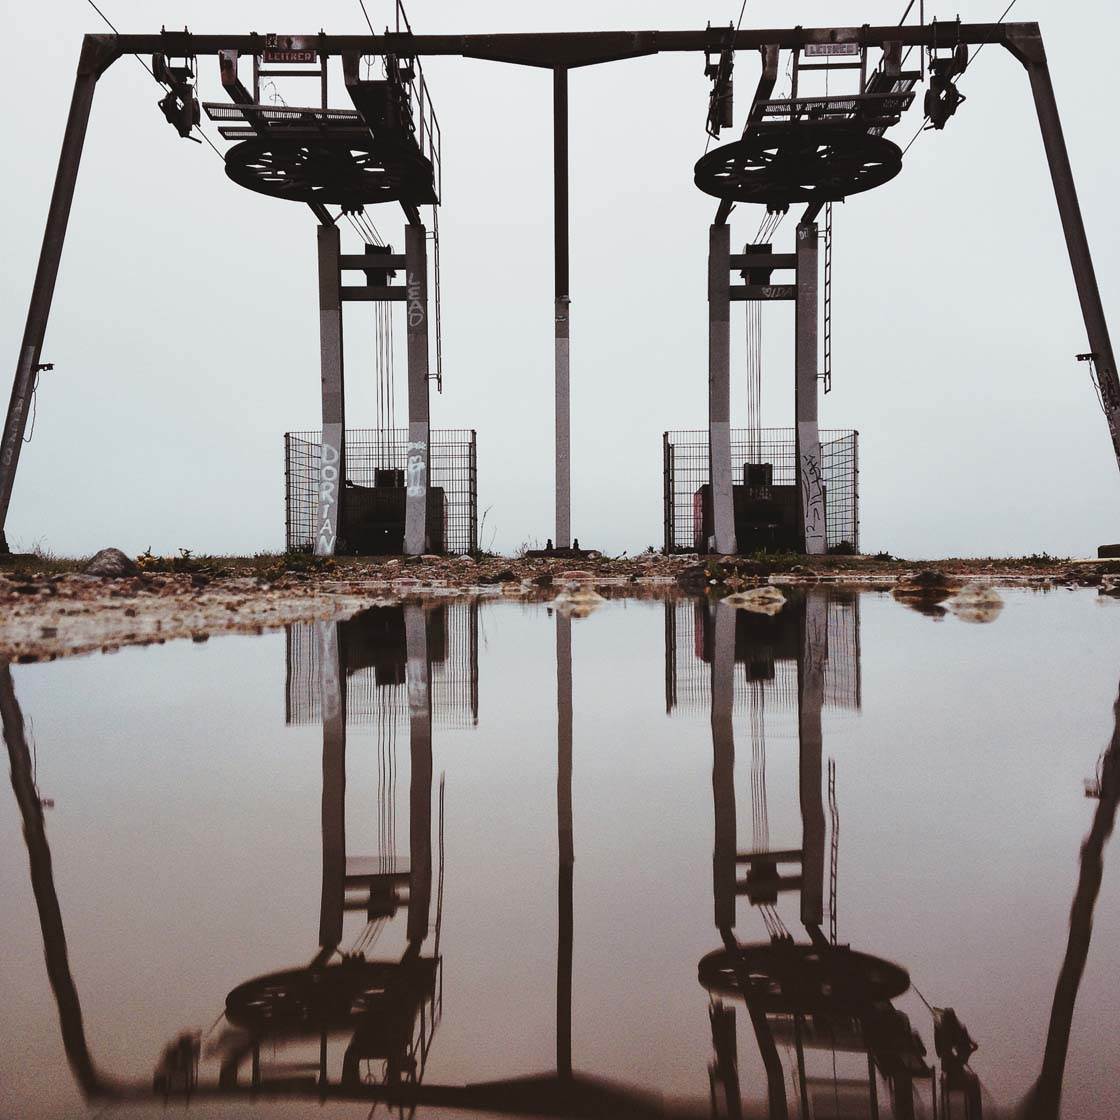
A low angle is also a good choice when you want to eliminate a distracting background. The ski lift in the photo above is actually in the middle of the city, but shooting it from a low angle allowed me to get just the sky in the background.
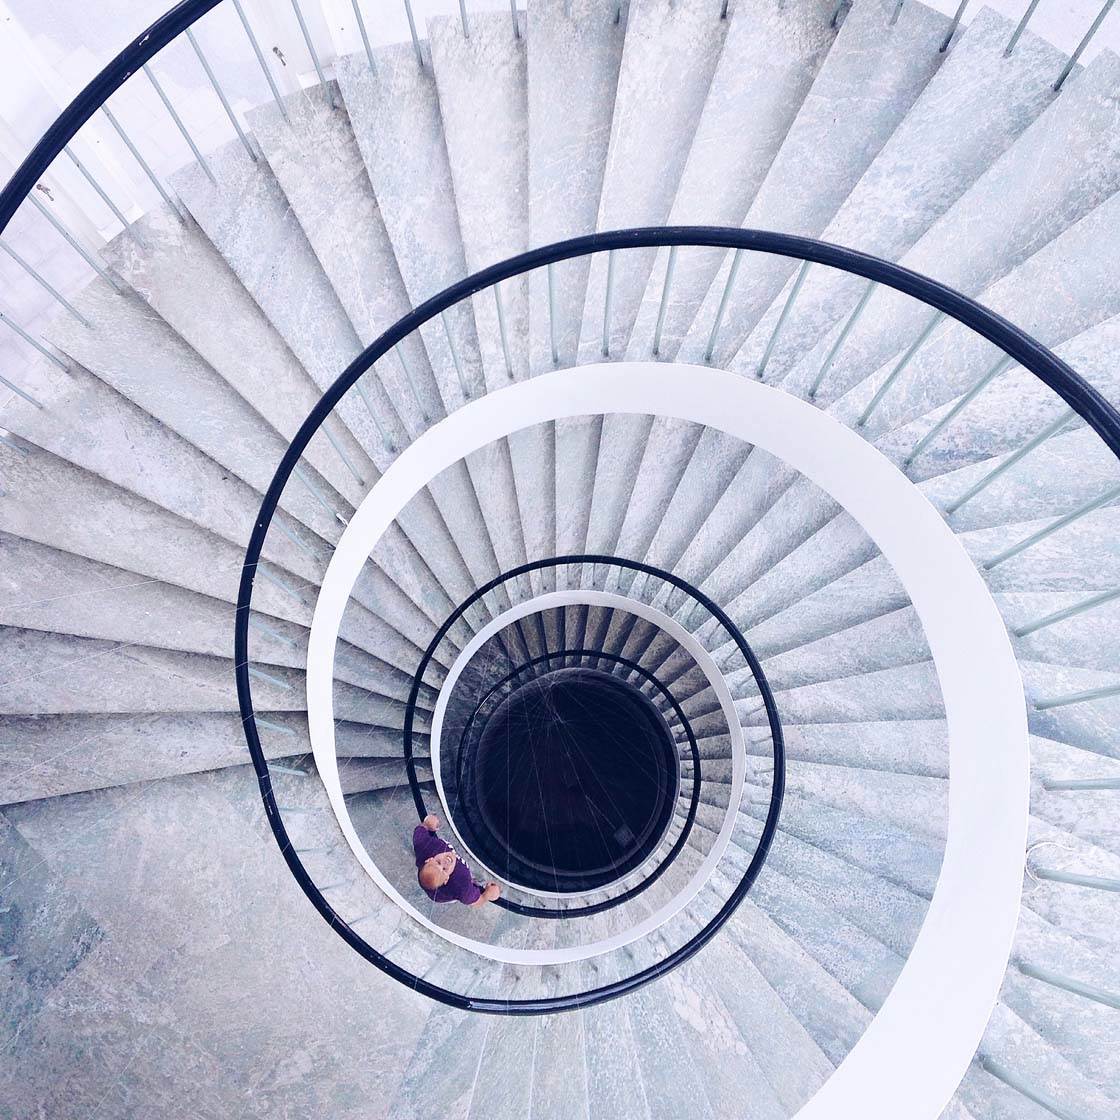
Shooting from a high vantage point has a completely different effect, making the subject appear small compared to its surroundings.
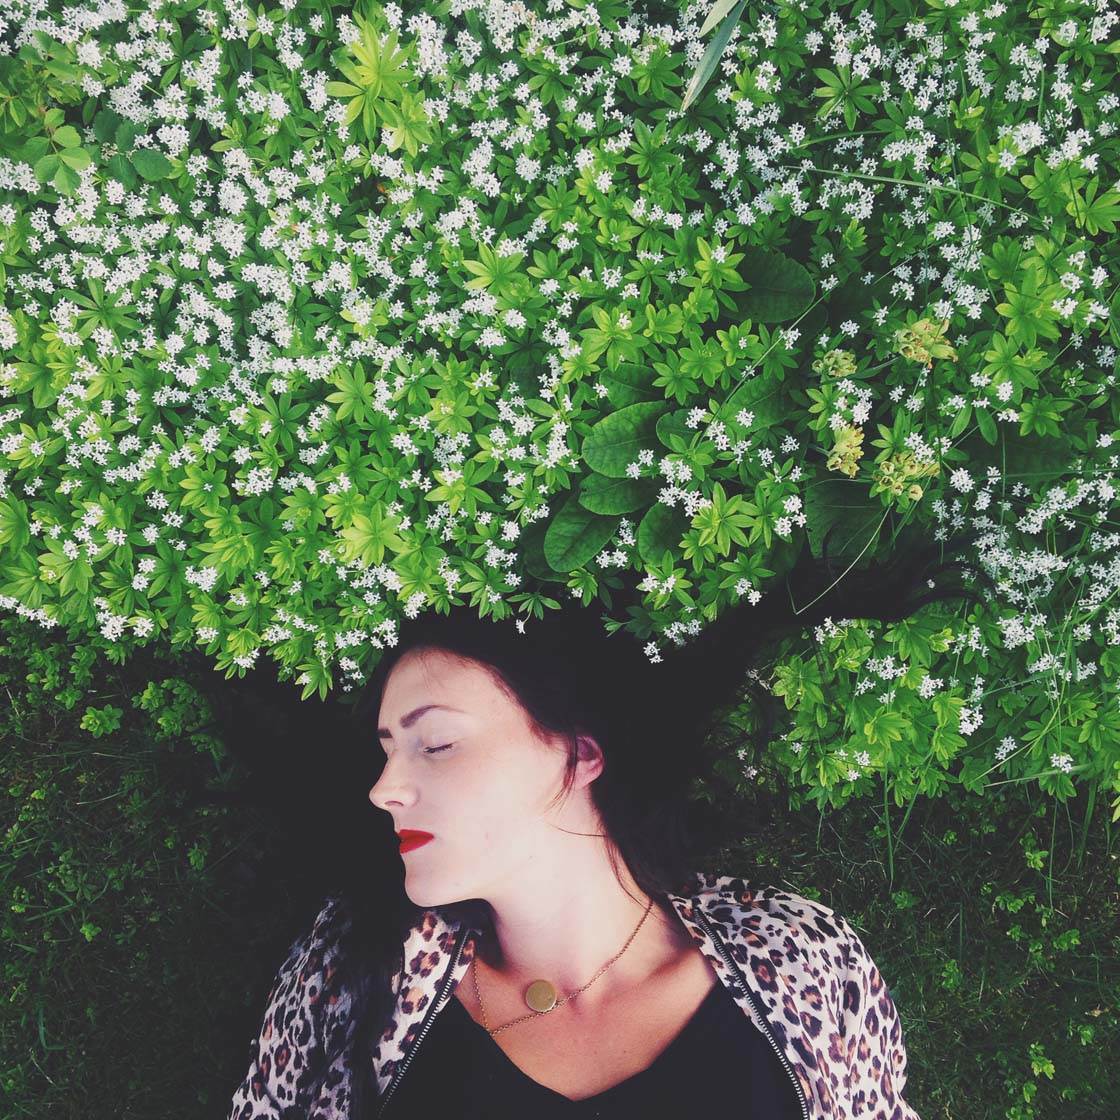
And when you shoot from a high angle, the ground becomes the backdrop for your photo which works really well for creative portraits like the one below.
As well as experimenting with the height that you shoot from, you can also get creative with your shooting direction. Rather than always photographing your subject from the front, you can often create more interesting shots by photographing them from behind.
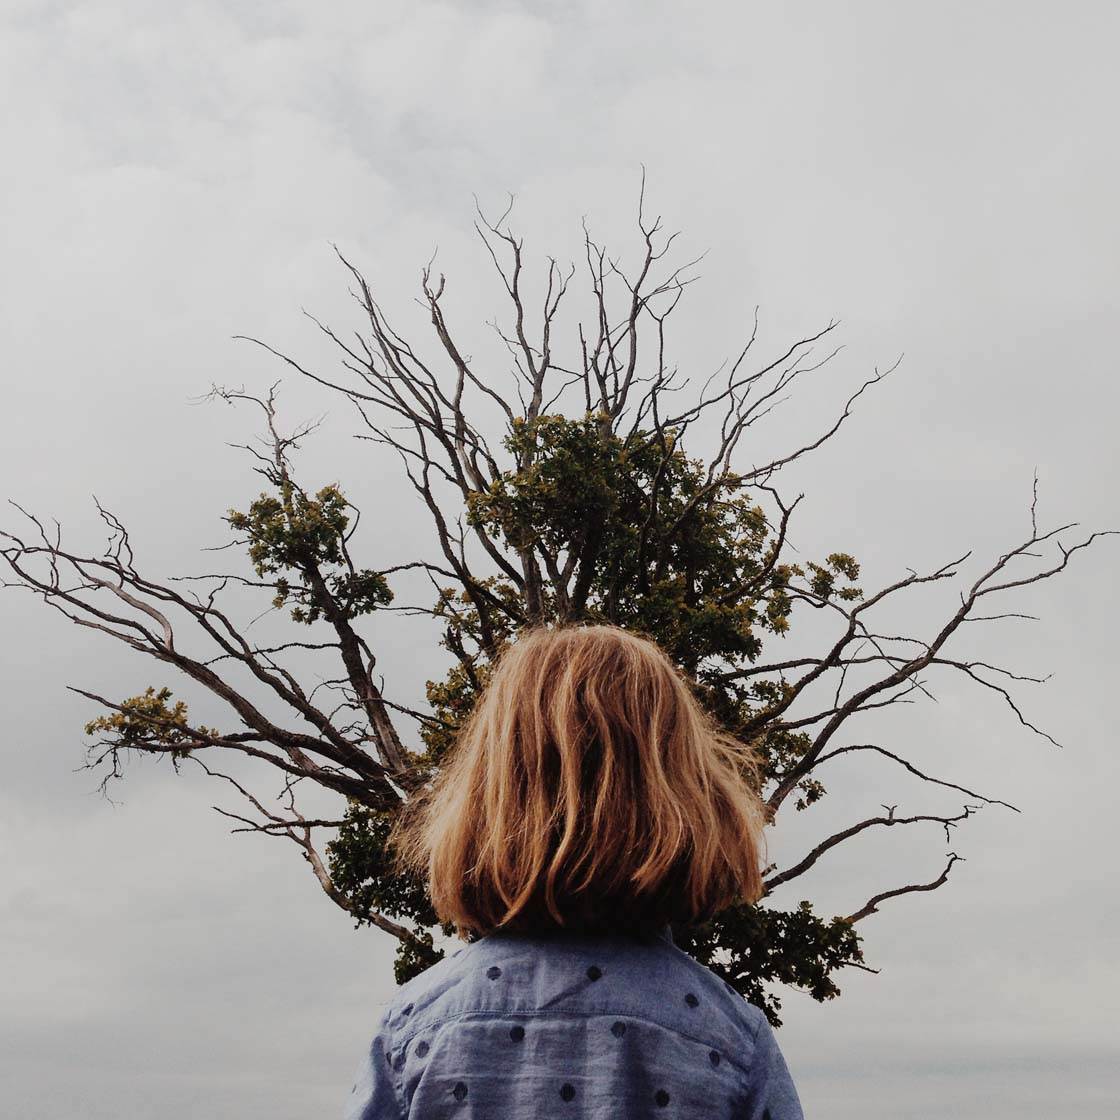
This is especially effective when photographing people. Hiding the person’s face from the viewer creates an air of mystery and suspense.
It can make the viewer intrigued about who that subject is and why they’re not looking at the camera. Mystery is a great way of creating an interesting story in your photography.

Whatever subject you’re photographing, always explore different shooting angles, perspectives and viewpoints. It’s amazing what a difference it can make to the creative impact of your photo.
2. Play Around With Scale
Creating a sense of scale is a great way to show the true size of your subject. To give the viewer an idea of the size of the subject in your photo, you need to include another subject of a known size as a reference point.
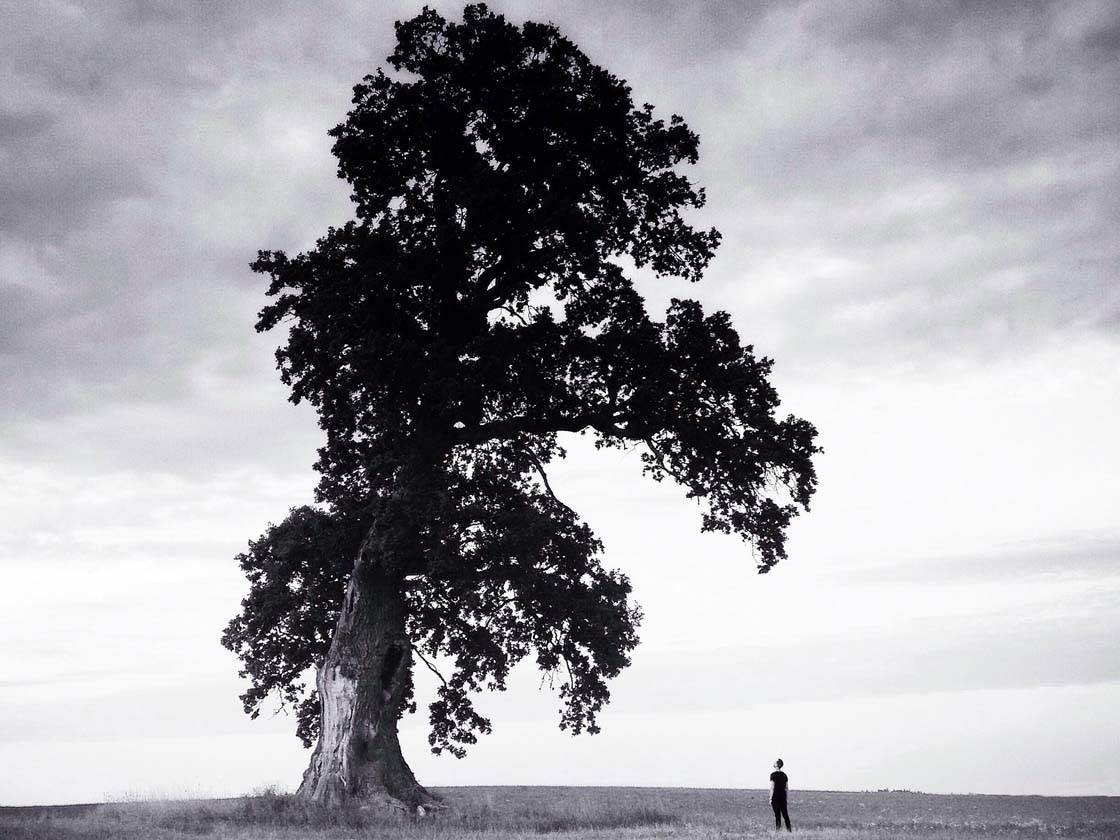
For example, when I was photographing the tree shown above, I decided to include a person standing next to it. This emphasizes just how huge the tree is. Without the person in the scene it would be difficult to gauge its true size.
Scale can also be manipulated for creative effect. By using a technique called “forced perspective” you can create the impression that certain objects are bigger or smaller than they actually are.

This is a fun technique to try out and you can end up with some really creative results. To create this effect, simply position your iPhone close to a small object in the foreground, such as the globe in the photo above.
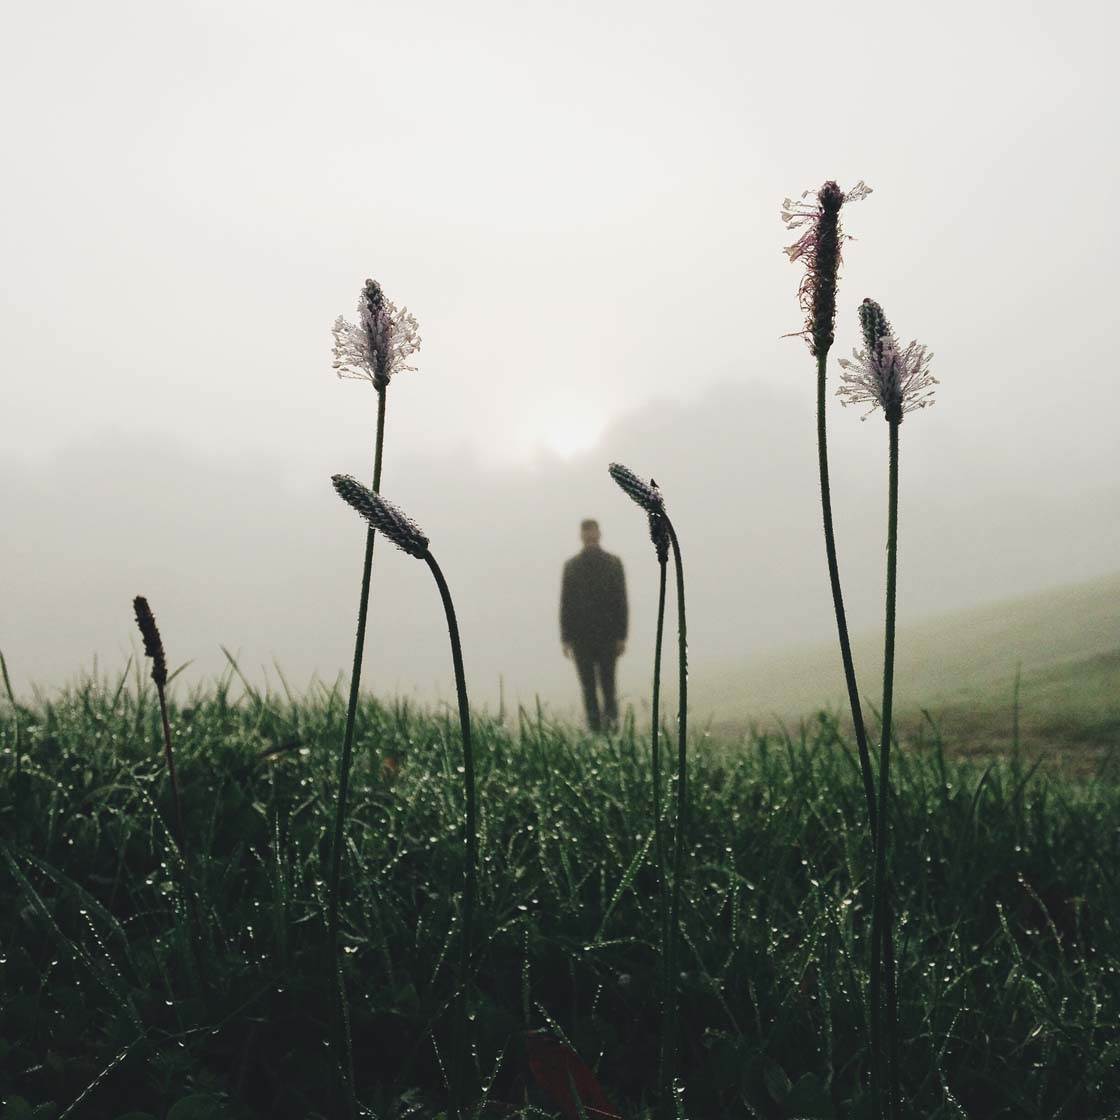
Then position a larger object such as a person behind it. The person needs to be far enough away so that they appear very small relative to the foreground object.
This optical illusion of scale will add a fun and creative edge to your photography, and it’s so easy to set up. You should definitely give this a go!
3. Create A Shallow Depth Of Field
Depth of field refers to how much of the image is in focus from front to back. A large depth of field means that everything is in focus. A shallow depth of field has only a small part of the image in sharp focus, while the rest of it appears blurred.
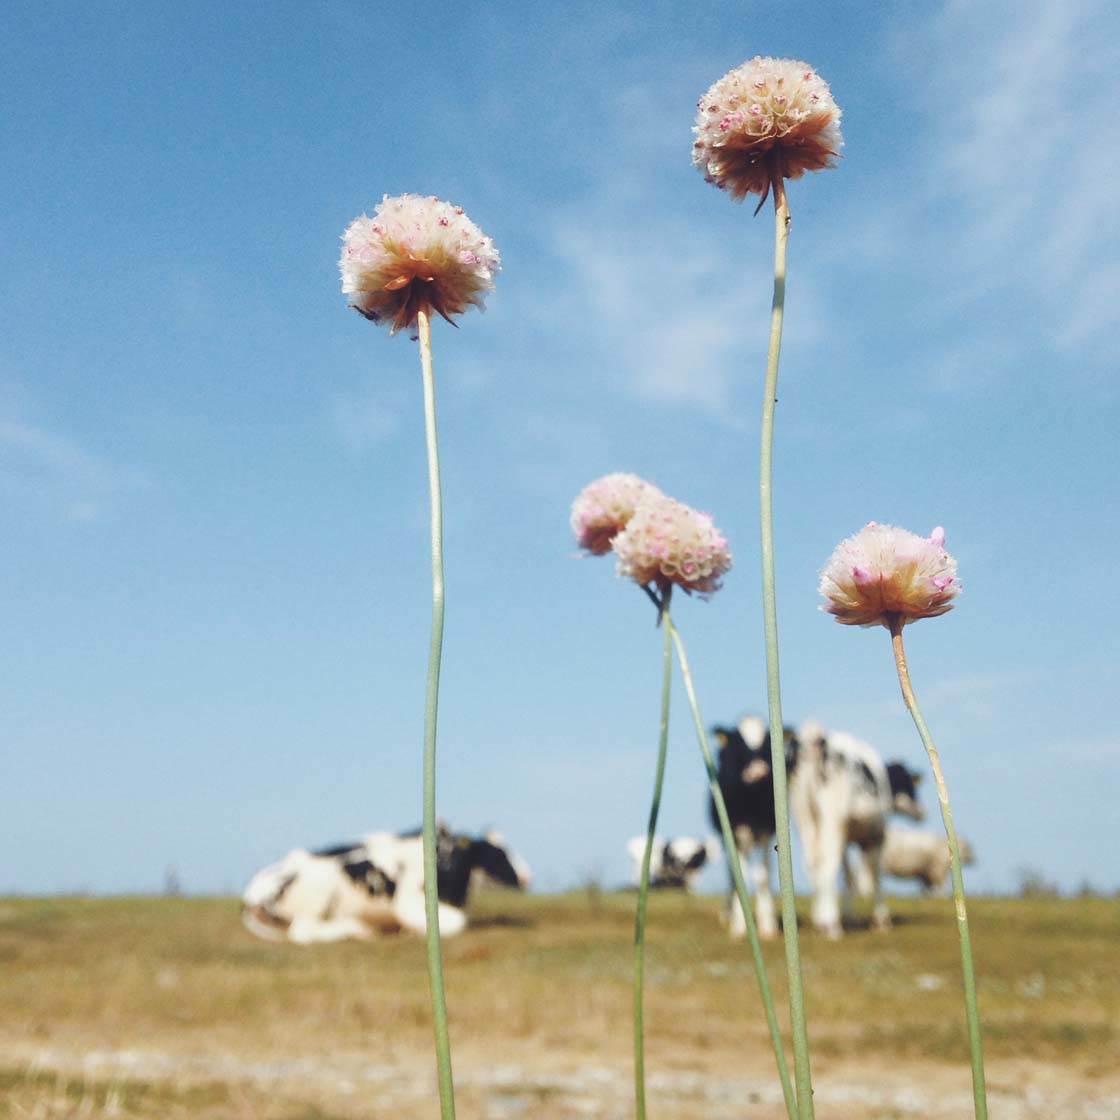
A shallow depth of field is great for placing the main focus on a certain object within the scene. The viewer’s eye will naturally be drawn to the sharpest part of the image.
On a DSLR camera you adjust the aperture setting to control depth of field, but you don’t have this control on an iPhone.
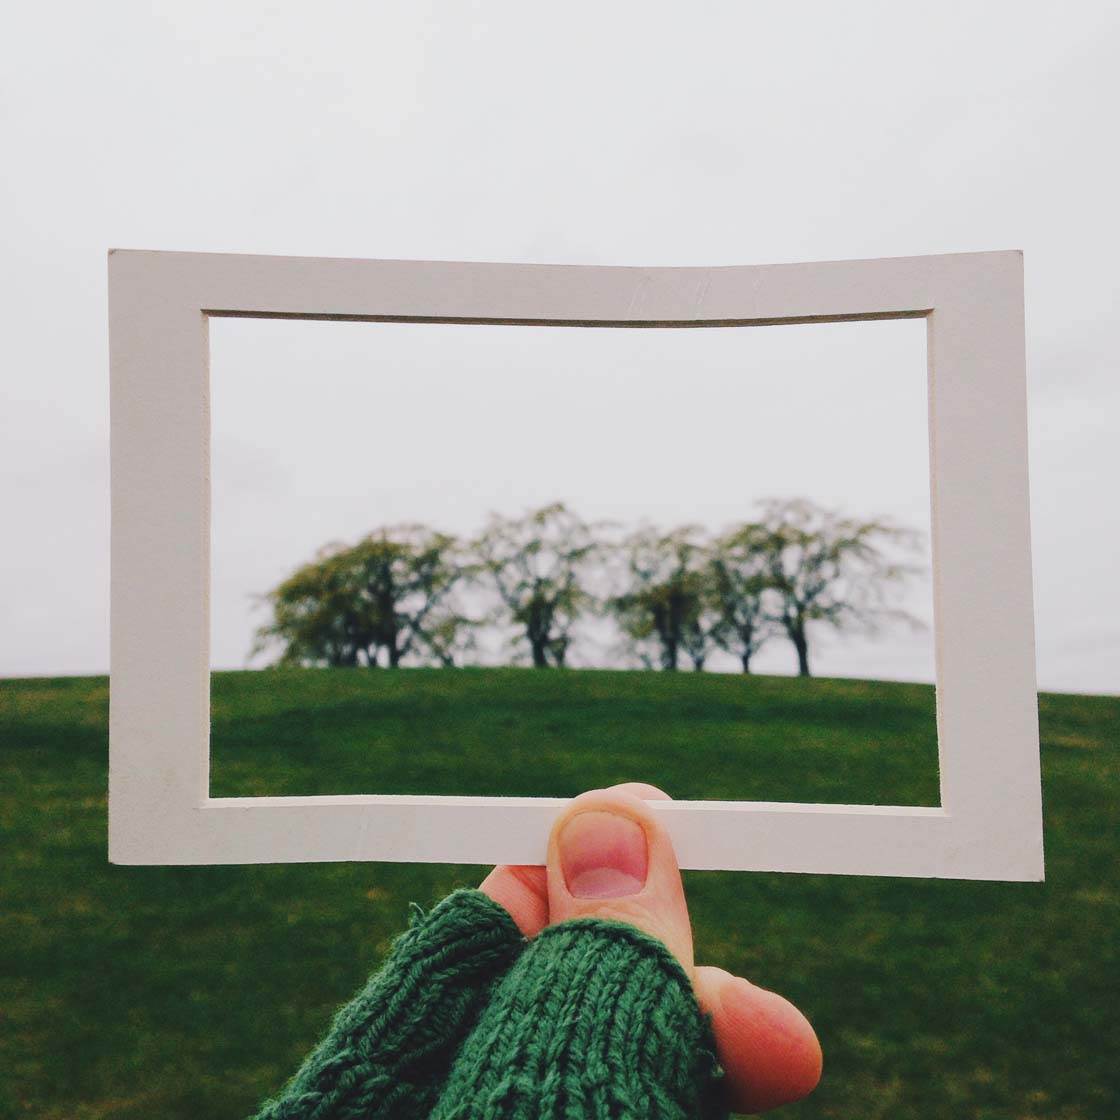
Do you want to know how to blur background in photos on your iPhone? It’s actually very simple. All you have to do is make sure you have an object close the the iPhone’s camera lens, then tap the screen to set focus on that area of the scene.
Focusing on a close-up subject will automatically blur the background to create a shallow depth of field. If the background doesn’t appear blurred, just get a bit closer to your foreground subject.
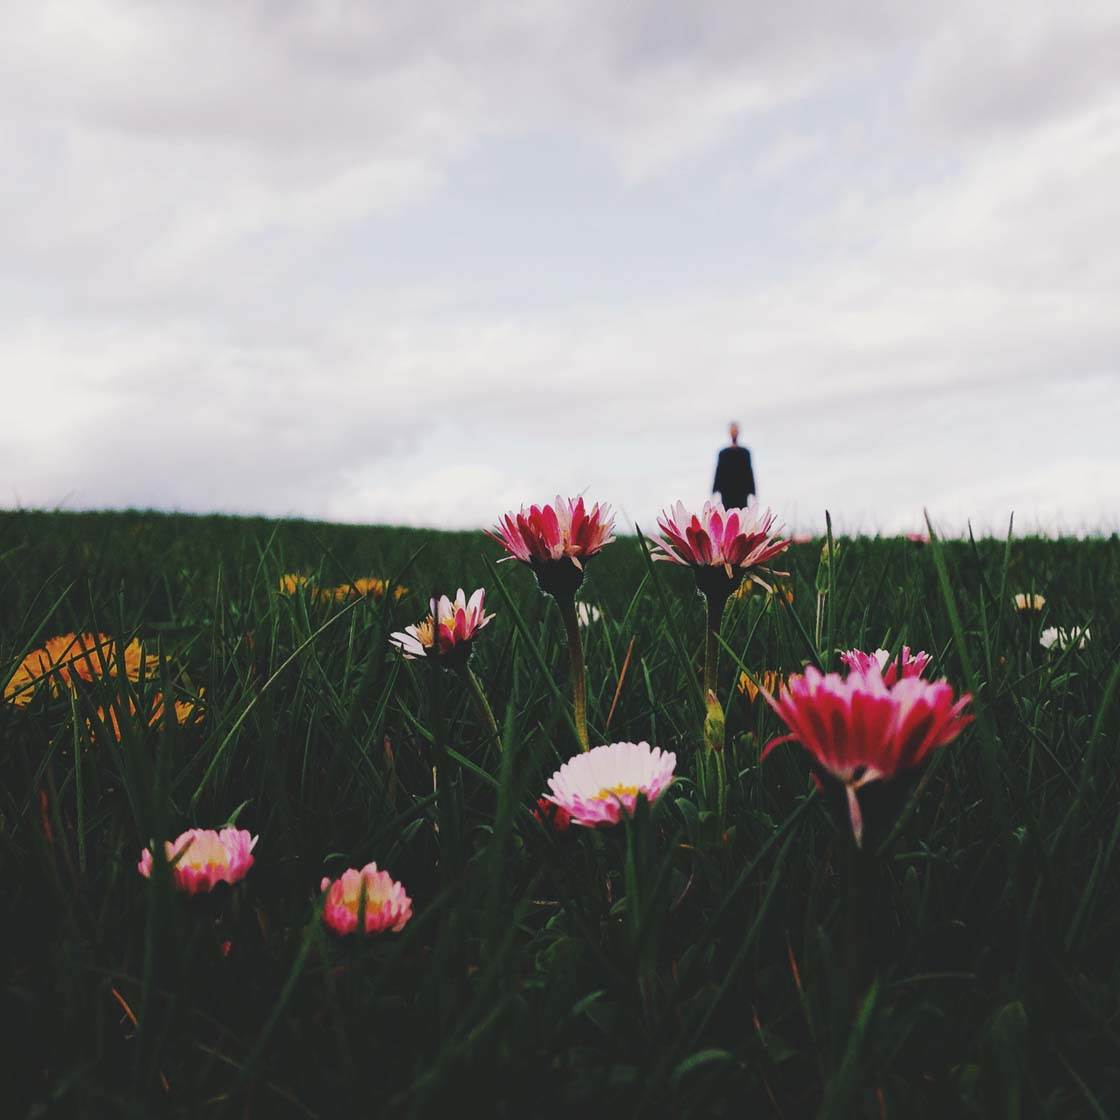
Alternatively, you can use the Portrait mode feature of your iPhone camera!
A shallow depth of field also works well if you want to create a sense of mystery in your image. For instance, by blurring out a person in the background, the image can become more intriguing because the viewer will wonder who that figure is.
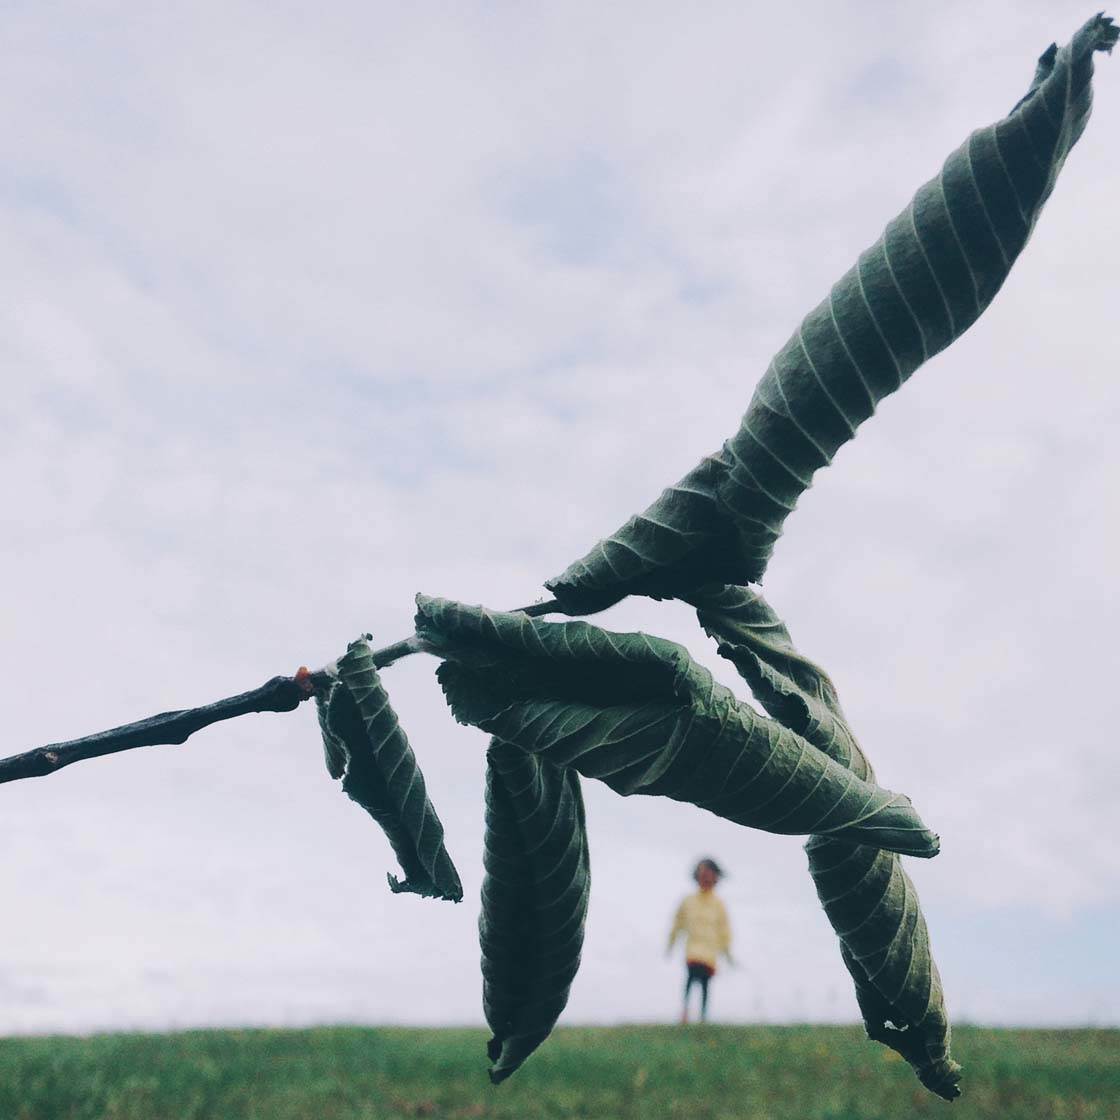
Depth of field is great fun to play around with and will produce some really interesting results. Just remember to always tap on the subject that you want to appear in sharp focus.
4. Create Abstracts
Some of the most creative photography comes in the form of abstracts. Abstract images can be created by photographing fundamental elements such as textures, patterns, lines, shapes, colors and light play.
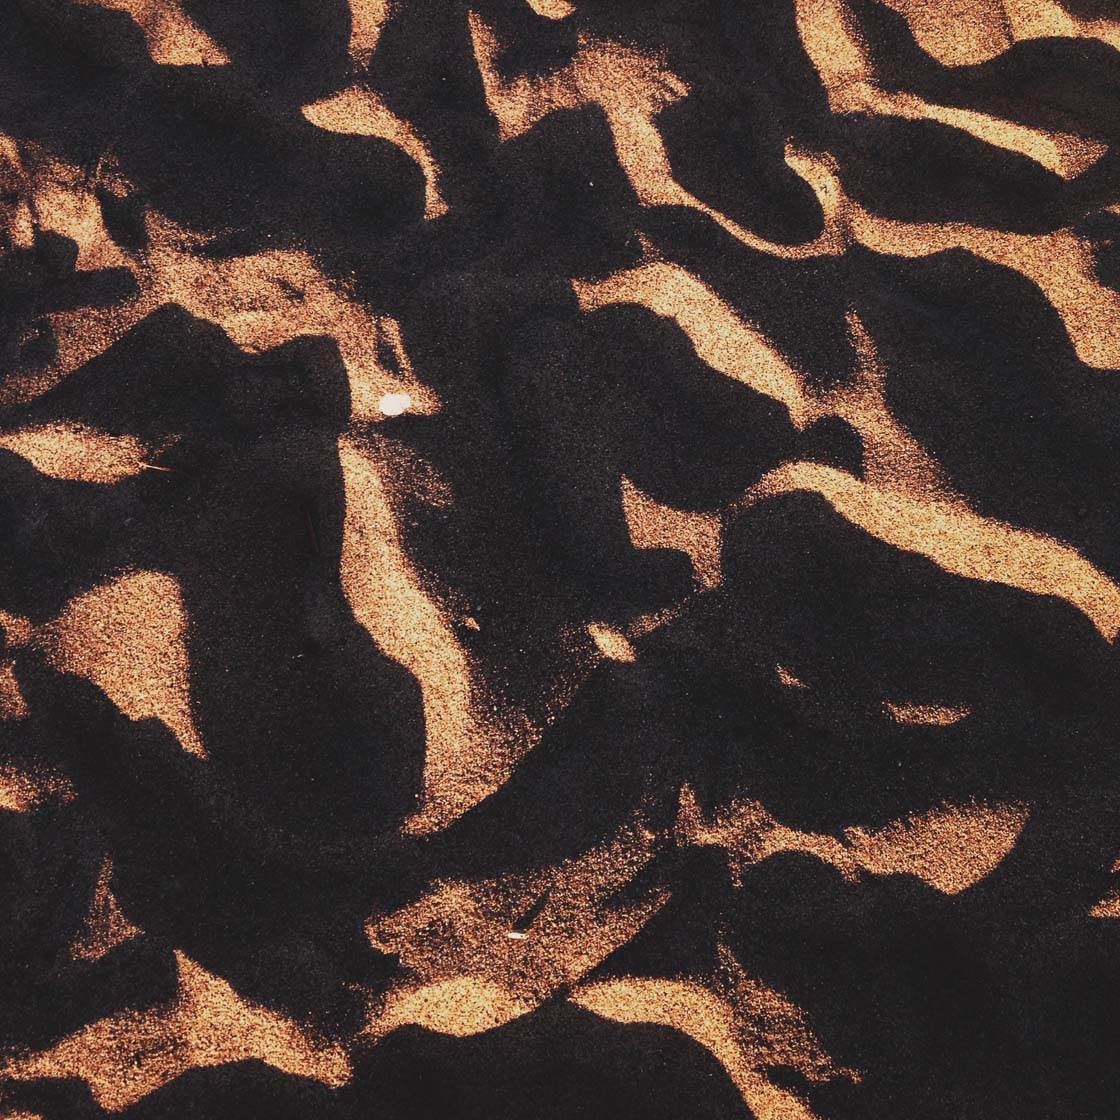
An abstract photo tends to just capture the essence of the subject, rather than the entire thing. So when you spot a subject that would make a good abstract image, always move closer and fill the entire frame with the texture, pattern, etc.

By capturing only a small part of the subject without any of its surroundings, you’re taking the object out of its context. This allows you to take a very ordinary subject and create something new or different.
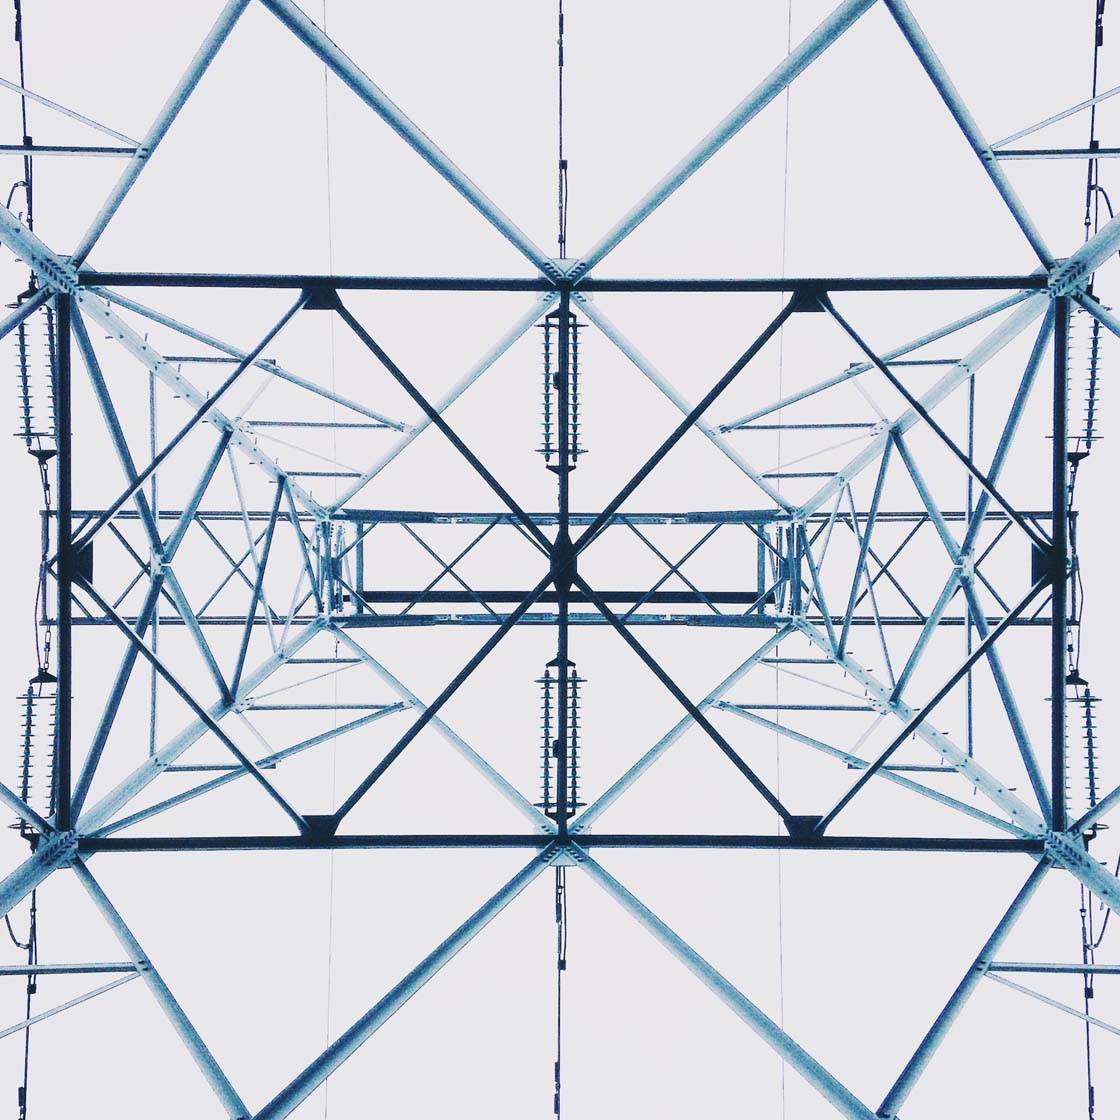
While getting close to your subject is a great way of capturing intricate textures and detail, not all abstracts have to be shot from close up.
A field of crops or the waves on an ocean can also make great abstracts, even when photographed from a distance.

However, the same rules apply as close-up abstracts. You should still fill the entire frame with the abstract element that you’re attempting to photograph.
Abstract photography is easier than you might think. There are so many objects that can be used to create an abstract.

You just need to start looking at everything a little differently and train your eye to notice the patterns, textures, shapes, colors, etc. around you.
5. Include A Person In The Scene
One of my favorite ways to make an ordinary scene more interesting is to add a person into the composition. This is such an easy thing to do, but it has a huge impact on a photo.
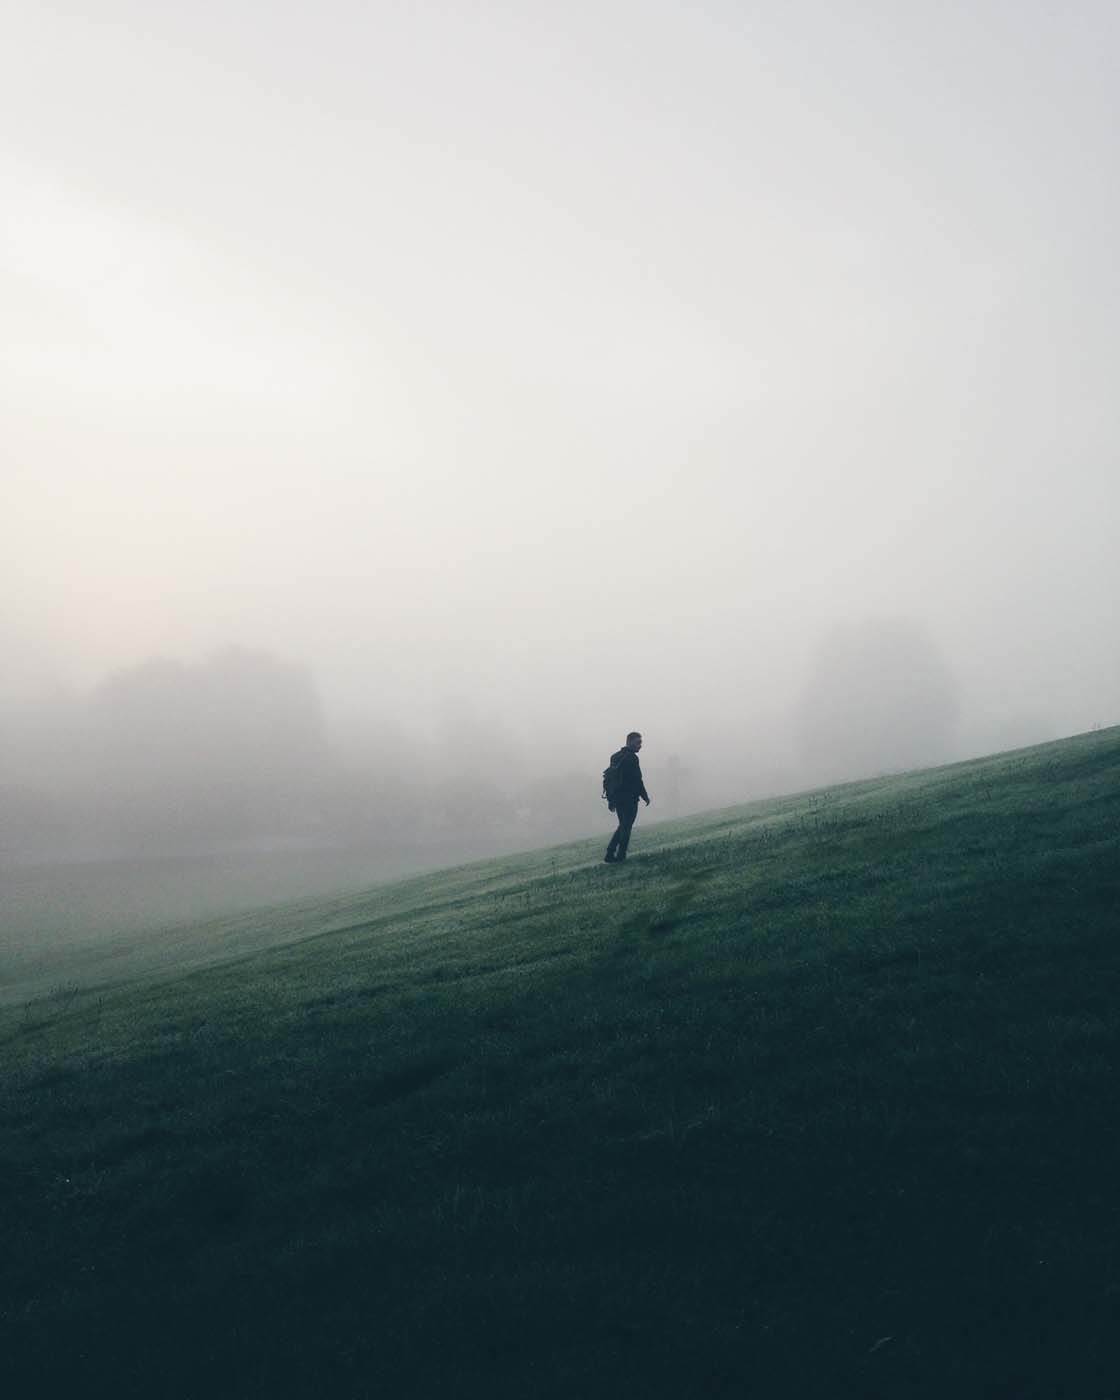
Including a person in the scene is a great way of adding a strong focal point. This is especially useful in landscape photography where you have large expanses of open space without any defining features.
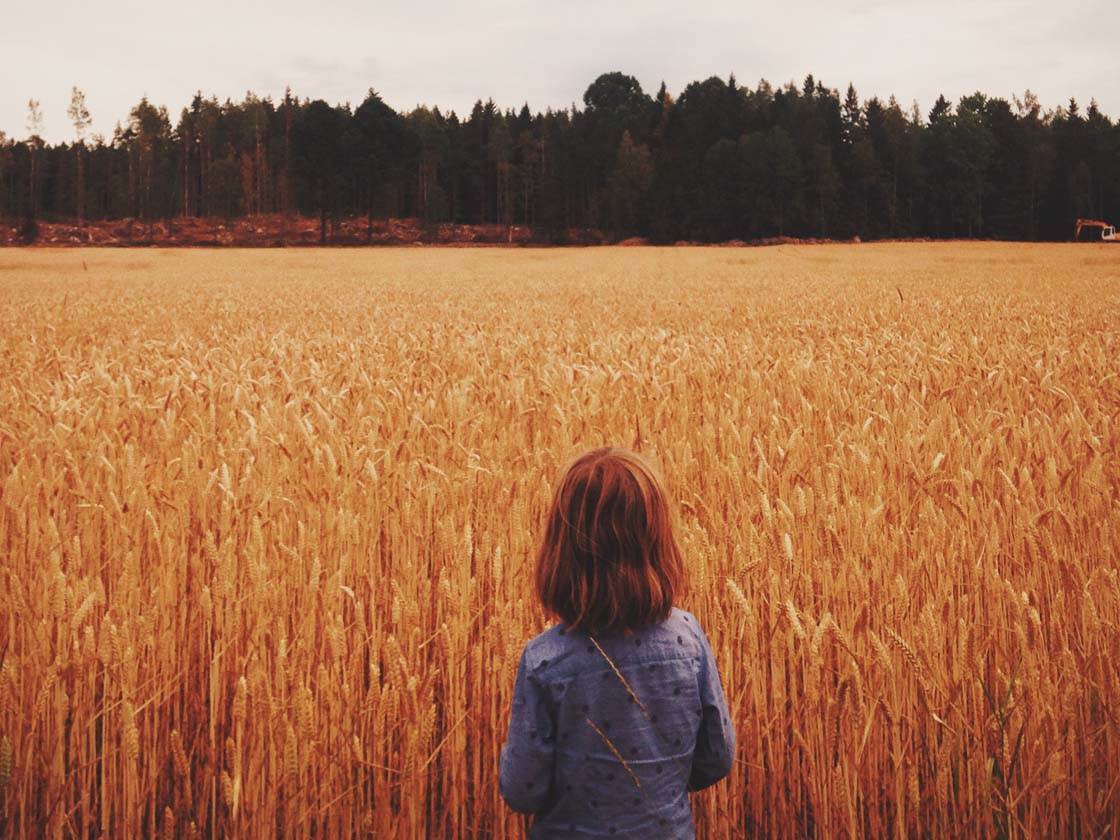
Having a person in the scene gives the viewer something to focus on – a place for their eye to rest. This is really important in photography as a photo without a focal point isn’t very interesting to look at.
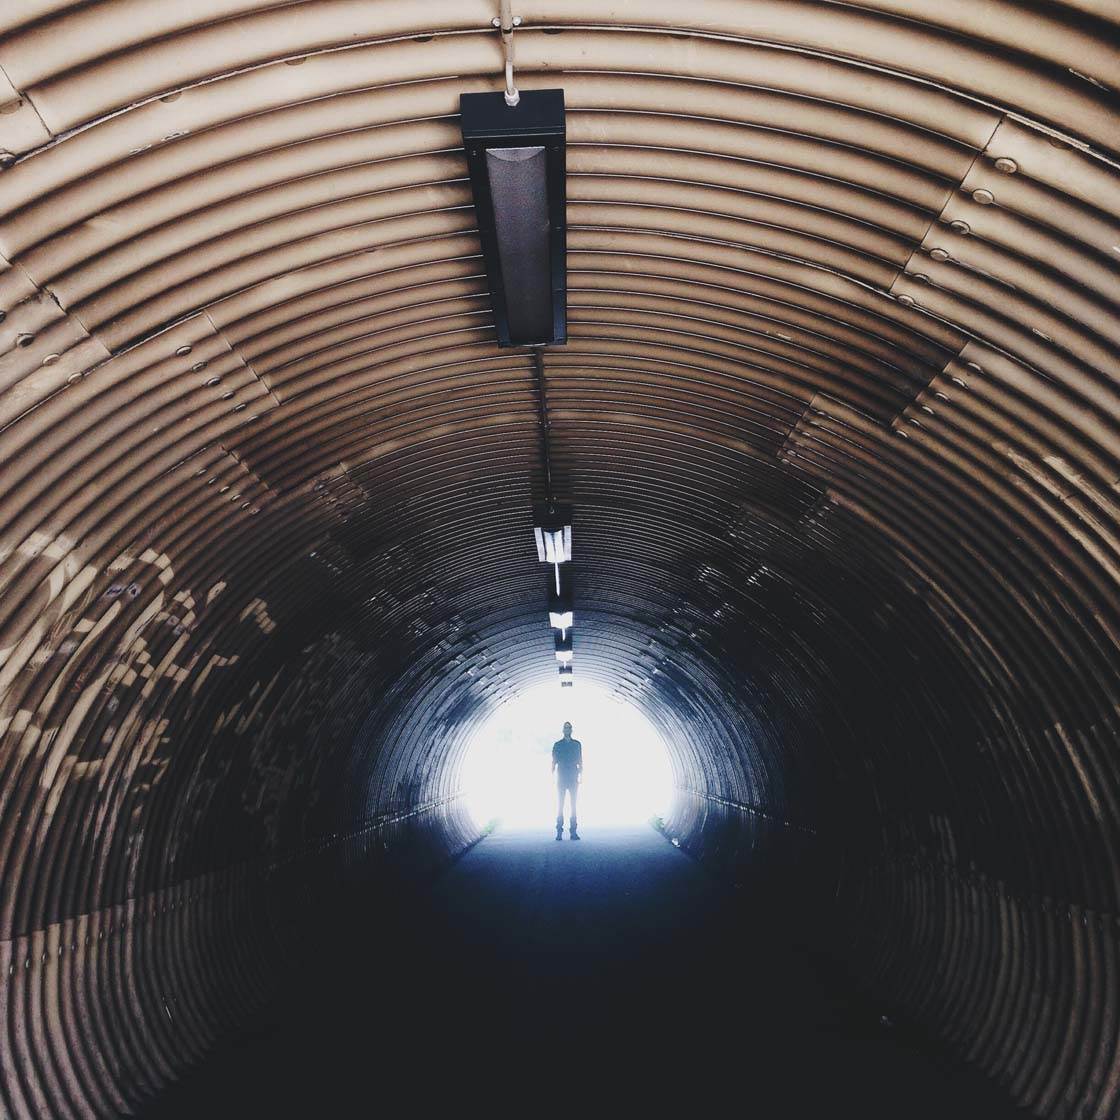
People also add a wonderful storytelling element to your photos. They bring the photo to life, creating a connection between the viewer and the subject.
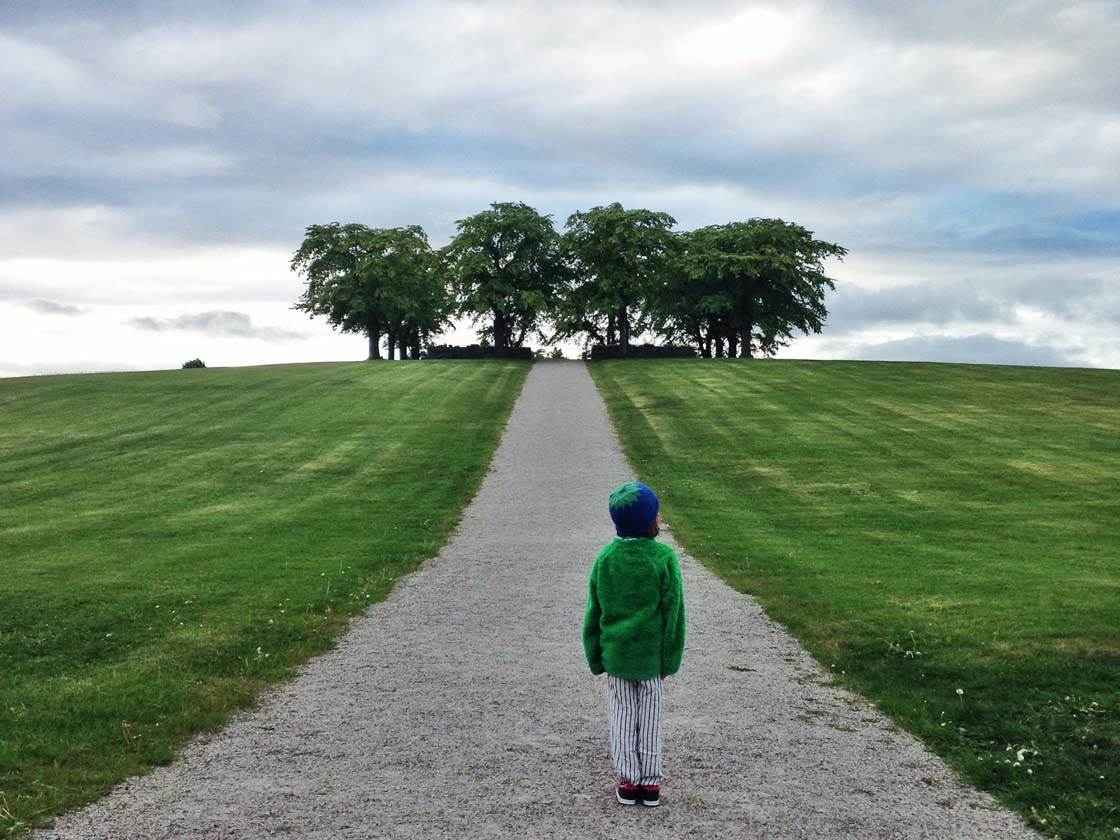
The viewer will try to identify with the person in the photo, creating a story in their mind about what’s going on. I can’t emphasize enough how powerful this technique is!
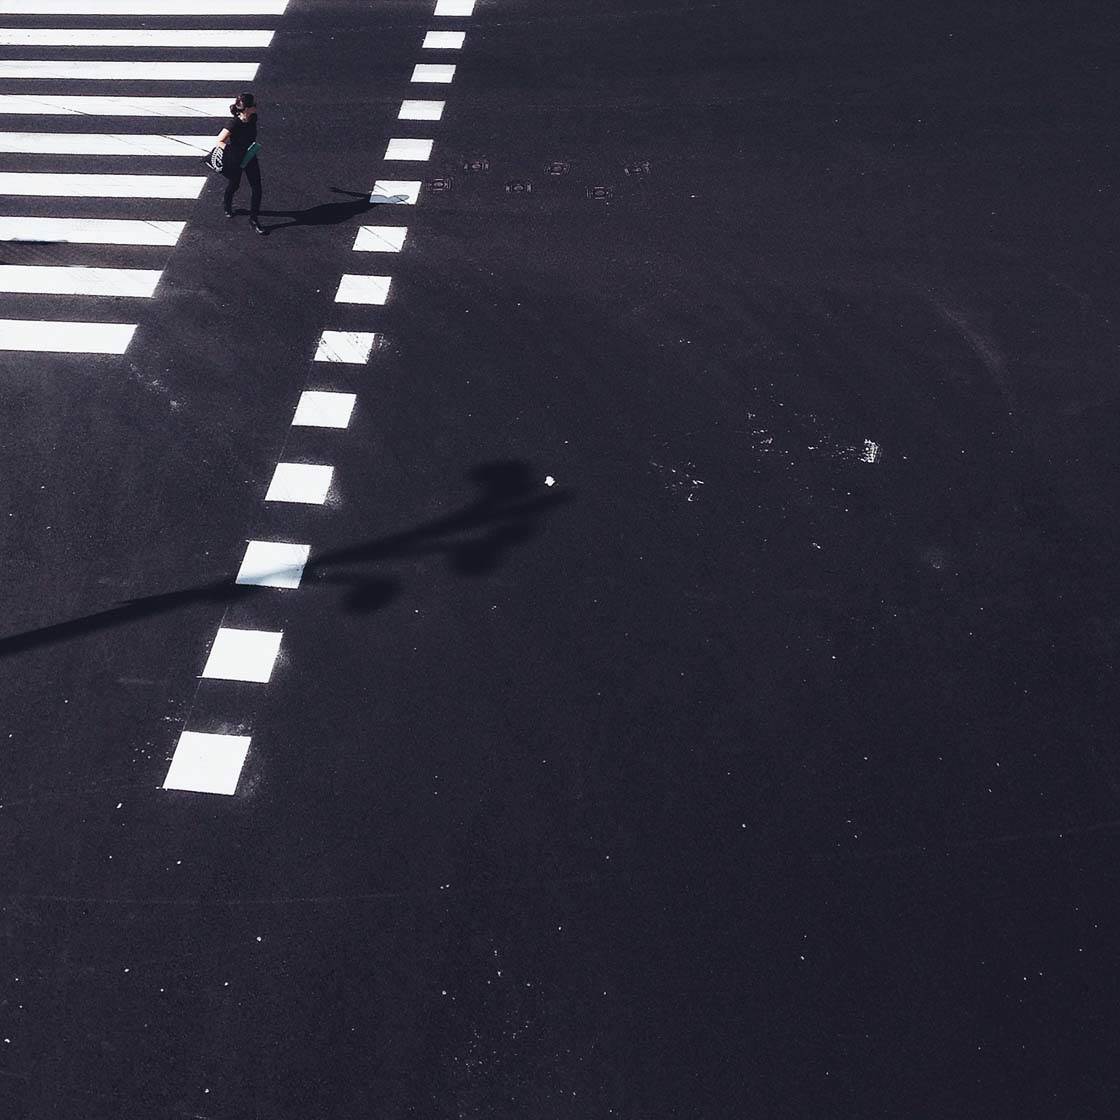
If you want to capture people in your photos, you might be lucky enough to get some great shots of strangers, especially in street photography.
But if you’re shooting out in the countryside you’re unlikely to find many people, so ask a friend to join you to act as your model.
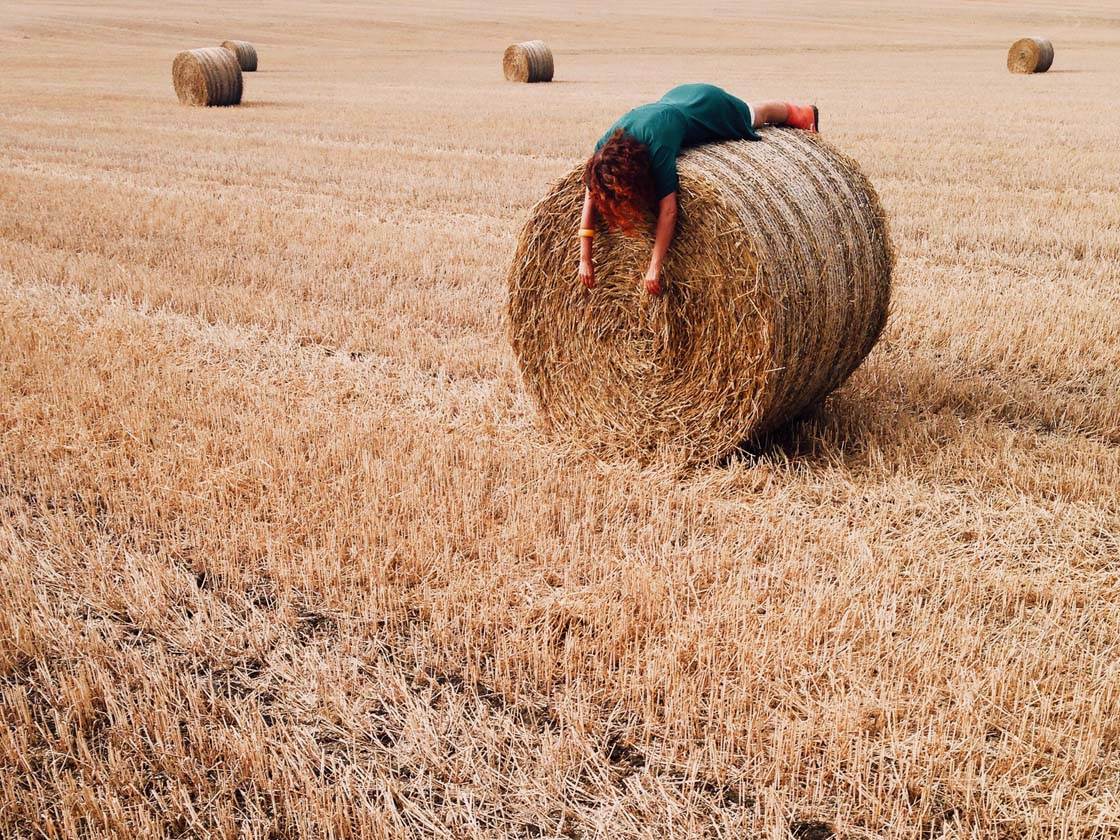
Photographing someone you know gives you more control over where you place your subject in order to tell the story that you envisioned.
You can even ask them to wear certain colored clothing or bring props that will add an extra visual element to the image.
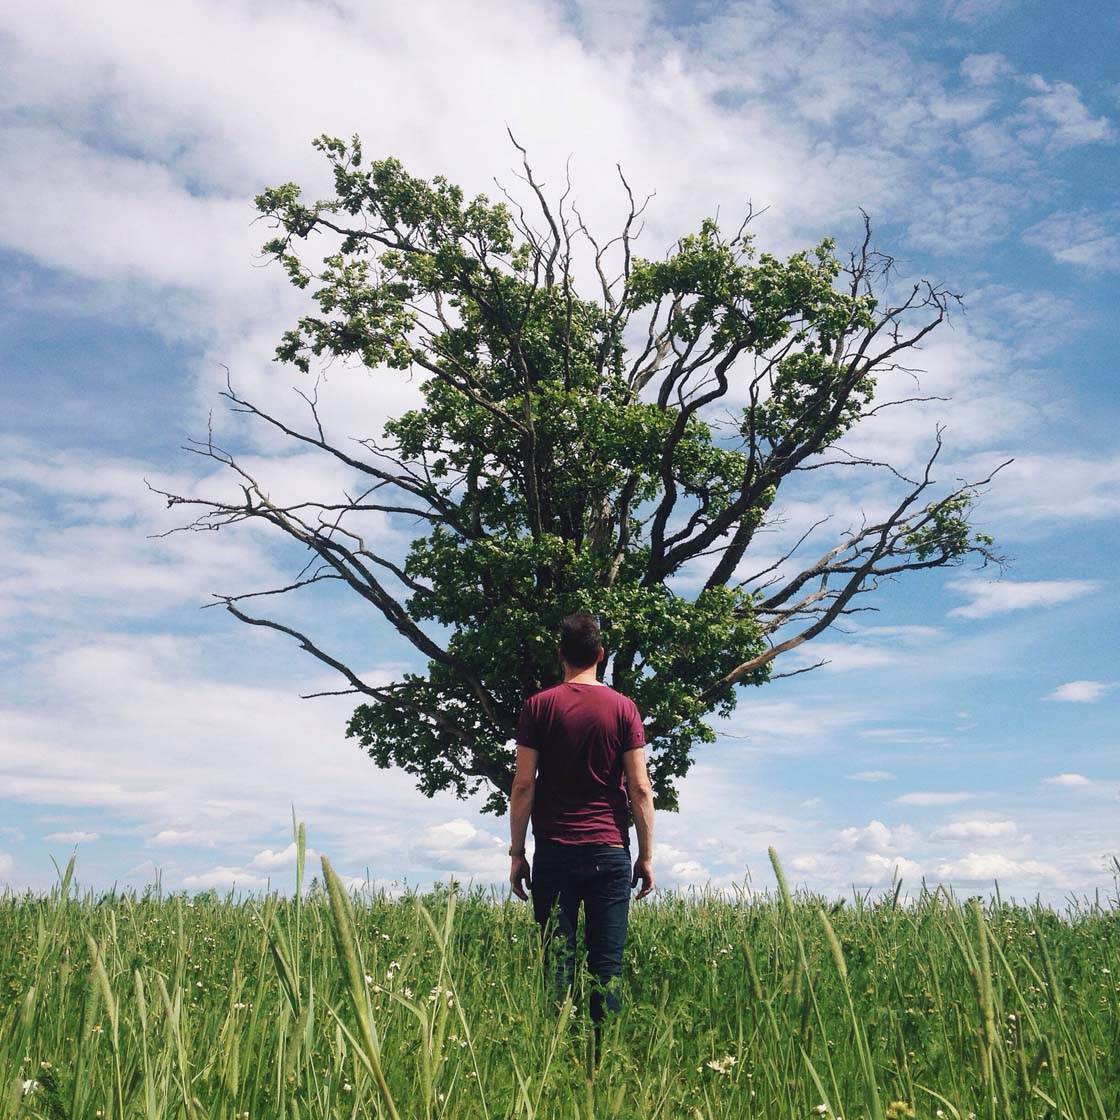
If you’re out shooting on your own, don’t worry. You can simply use yourself as the subject.
All you need is a small iPhone tripod. Then use the self-timer in the camera app or a remote shutter to give yourself time to position yourself in the frame before you take the shot.
6. Create Silhouettes & Shadows
Silhouettes and shadows offer an exciting way to create more intriguing images. The darkness will add a wonderful sense of mystery and drama to your photos.
Capturing them is all down to knowing how to make the most of the available light. To create a silhouette, start by positioning your subject in front of a light source.
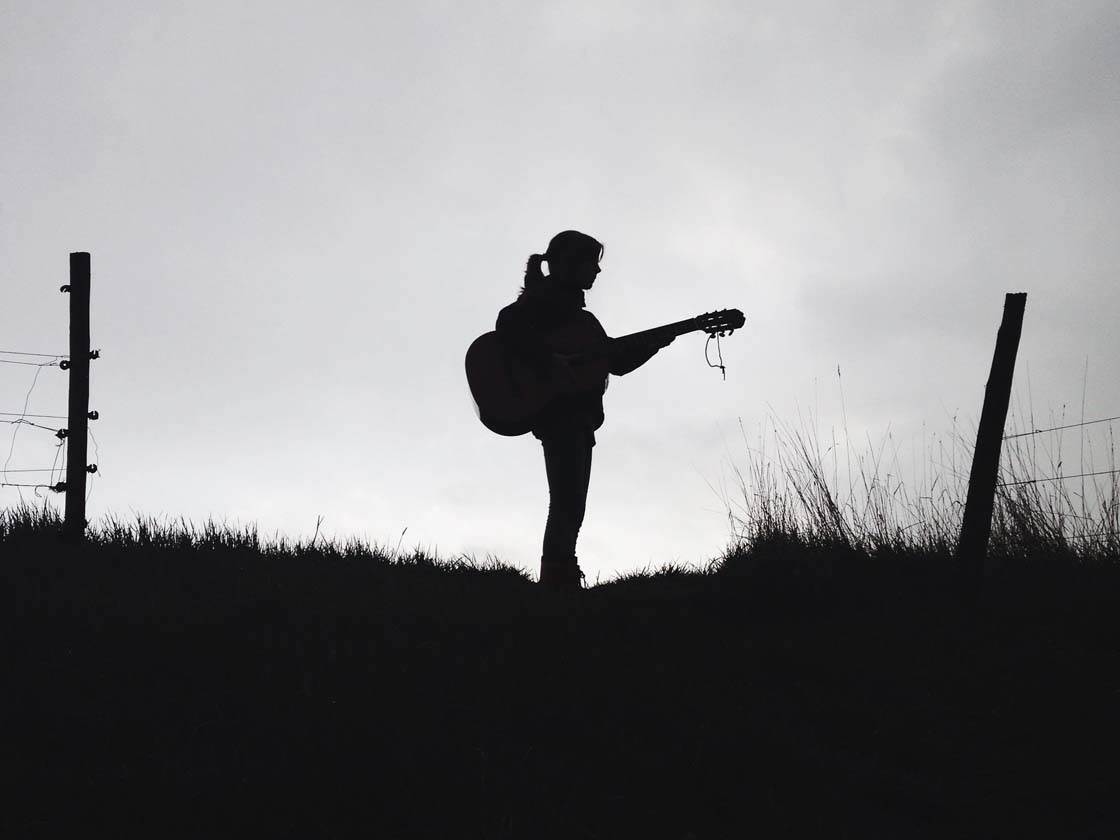
If you’re shooting outdoors, this could be the sun or a bright sky. And if you’re shooting indoors, just place your subject in front of a window or an artificial light source such as a lamp.
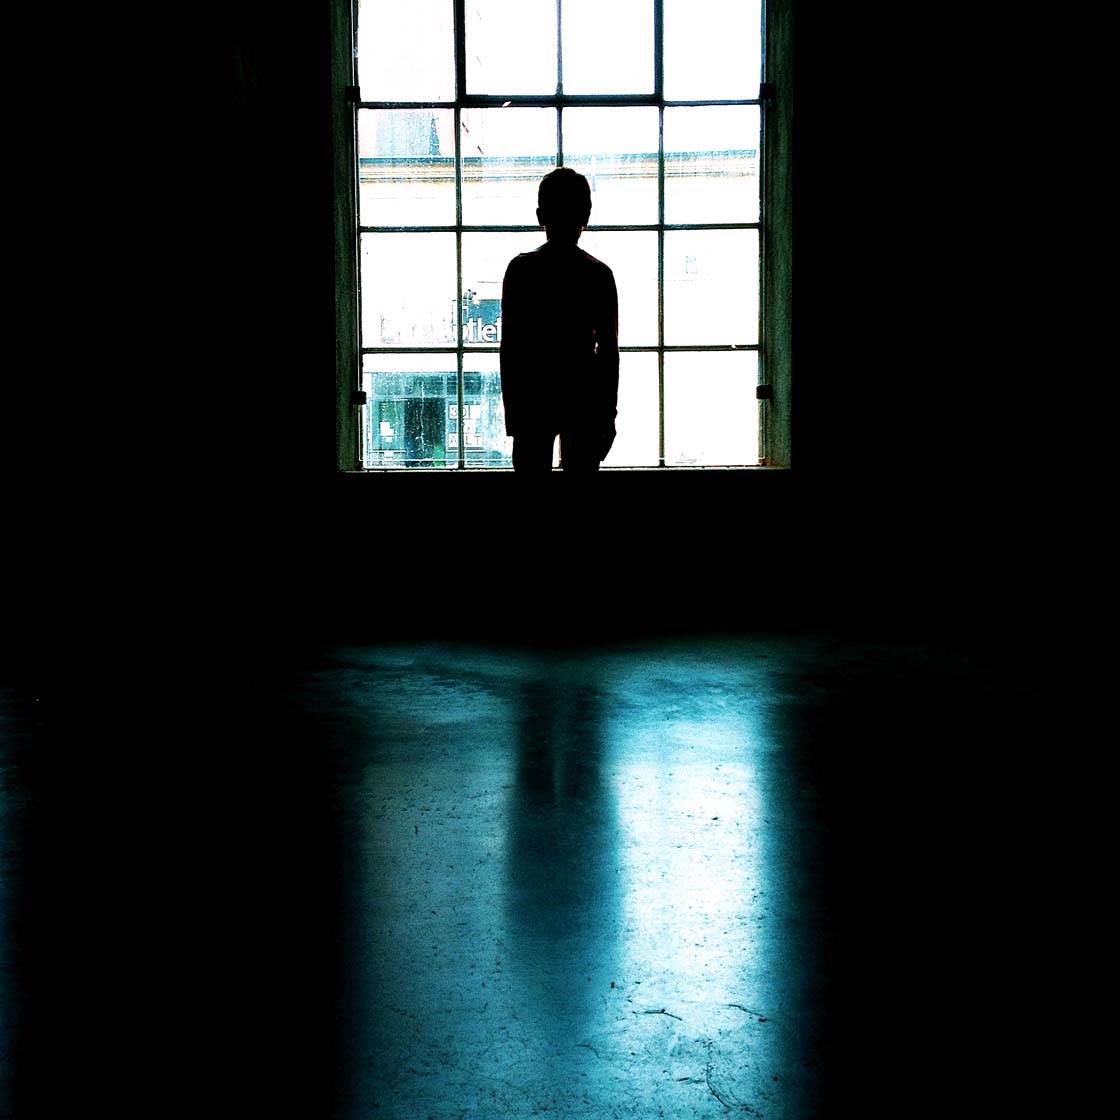
Once you’ve composed your shot, tap on the screen to set focus where you want it, then reduce the exposure by swiping down on the screen. The aim is to darken the image until your subject appears as a dark outline against the brighter background.
To capture dramatic shadows, you’ll need to shoot in harsh light. A bright sunny day will create the strongest shadows.
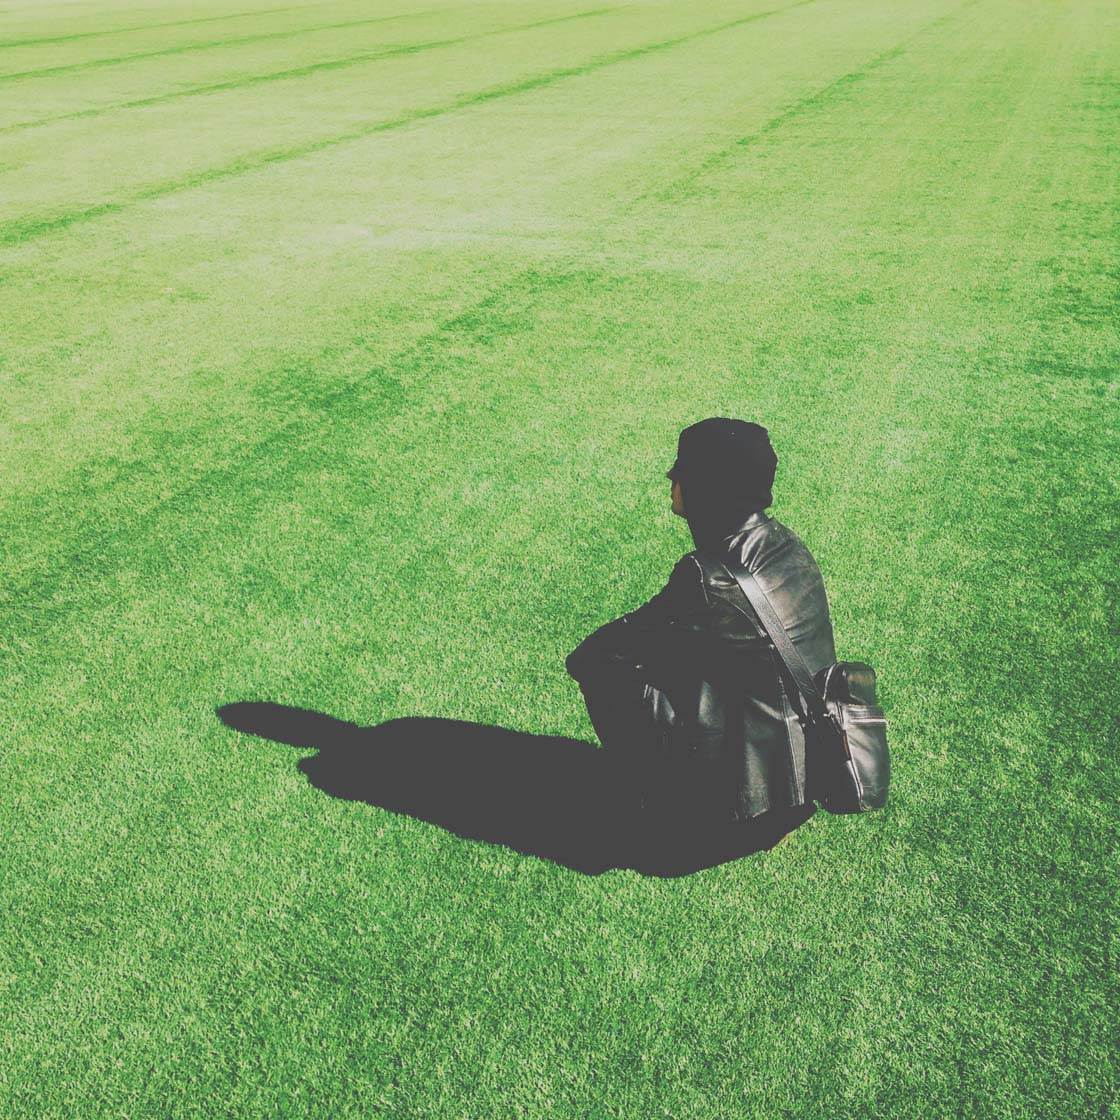
If you want to capture really long shadows you’ll need to shoot when the sun is low in the sky, so the golden hours of sunrise and sunset are the perfect times for this.

If you want to create a mysterious portrait, ask your subject to wear a large hood or hat. You can then position them so that it creates a dark shadow over their face.
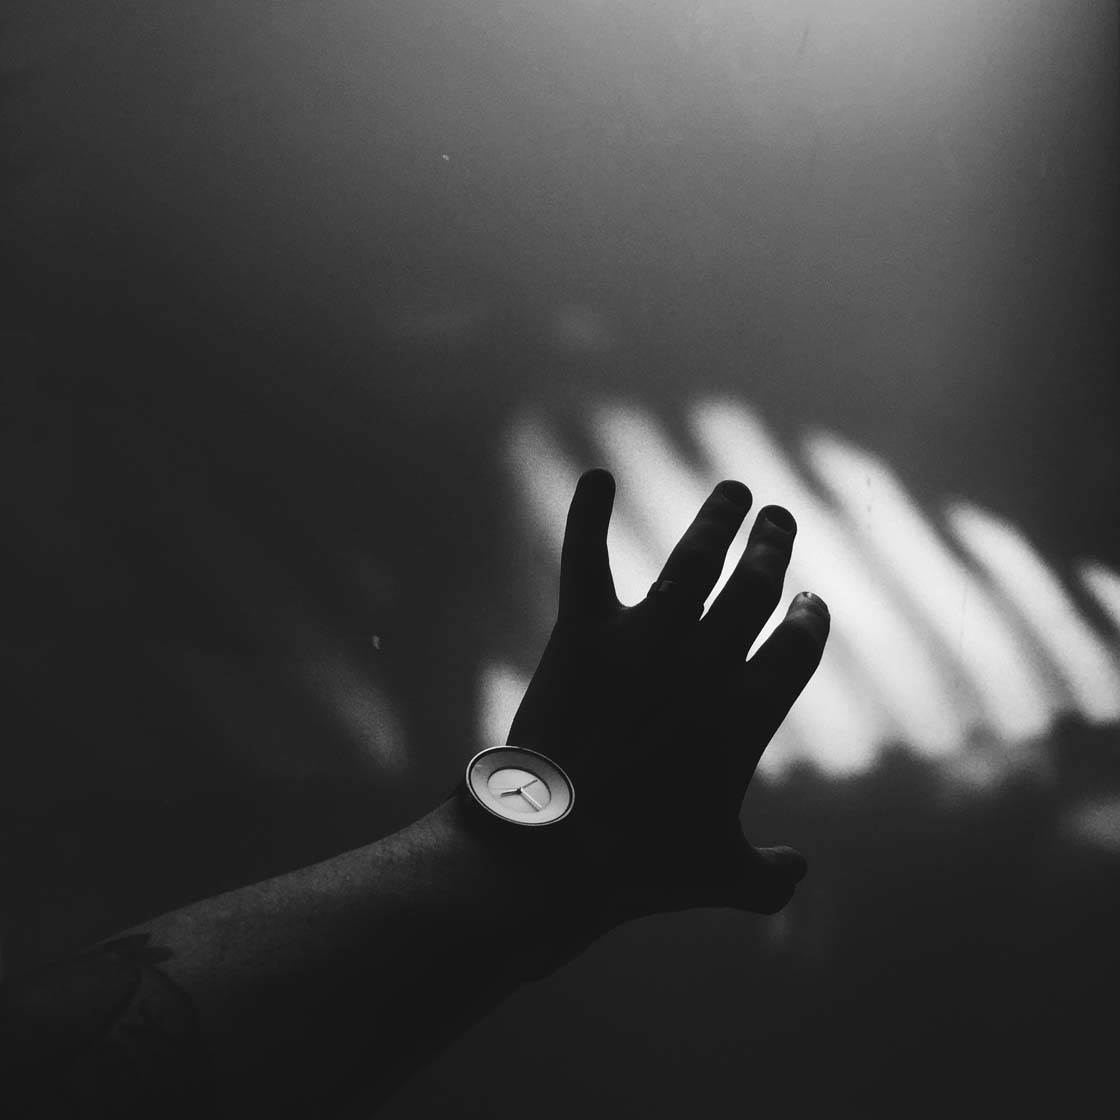
You can also create shadows photos indoors using window light or an artificial light source.
Keep your eyes peeled for interesting shadows throughout the day. They’ll change in appearance as the sun moves through the sky, so each new hour will present a different shadow opportunity!
7. Use Props
I love to use props in my photography. They add a fun and creative element to your photos, and you can use them in so many different ways.
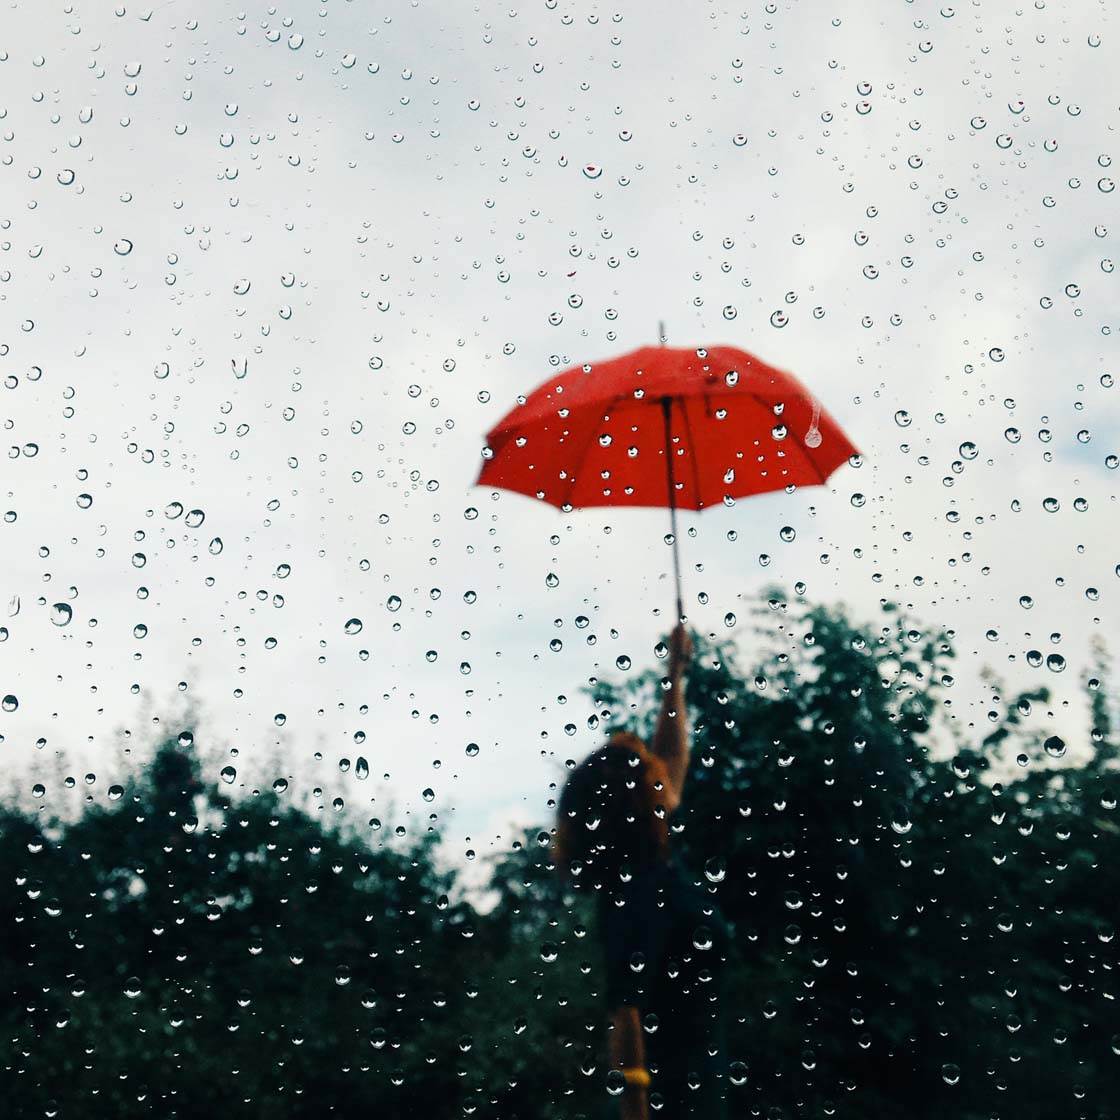
Umbrellas are one of my favorite props. You can use them to add a fantastic splash of color to your images, and their strong shape creates a great focal point in your composition.
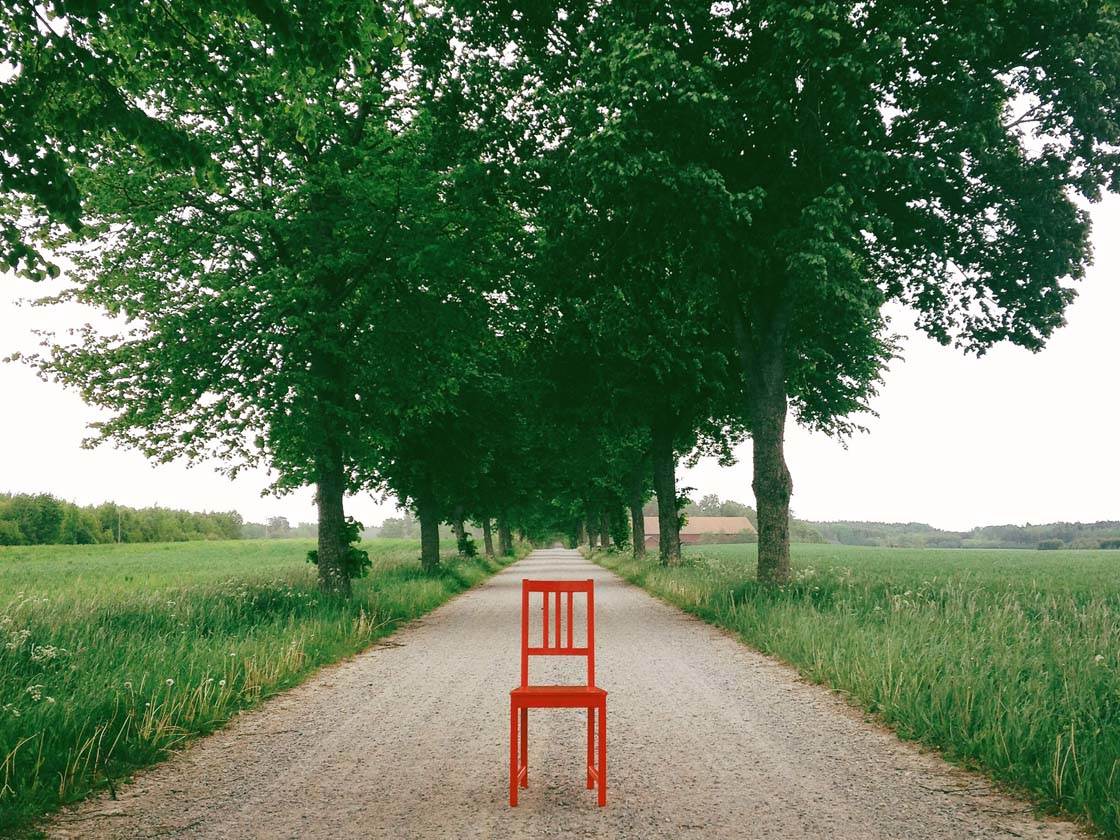
Another prop I like to use is a little red chair. It’s perfect for spicing up an ordinary landscape shot, and it contrasts especially well with a green background.
Props are also useful for portrait photography. You could ask your subject to wear a hat, hold a flower, or hold up an empty picture frame around their face.
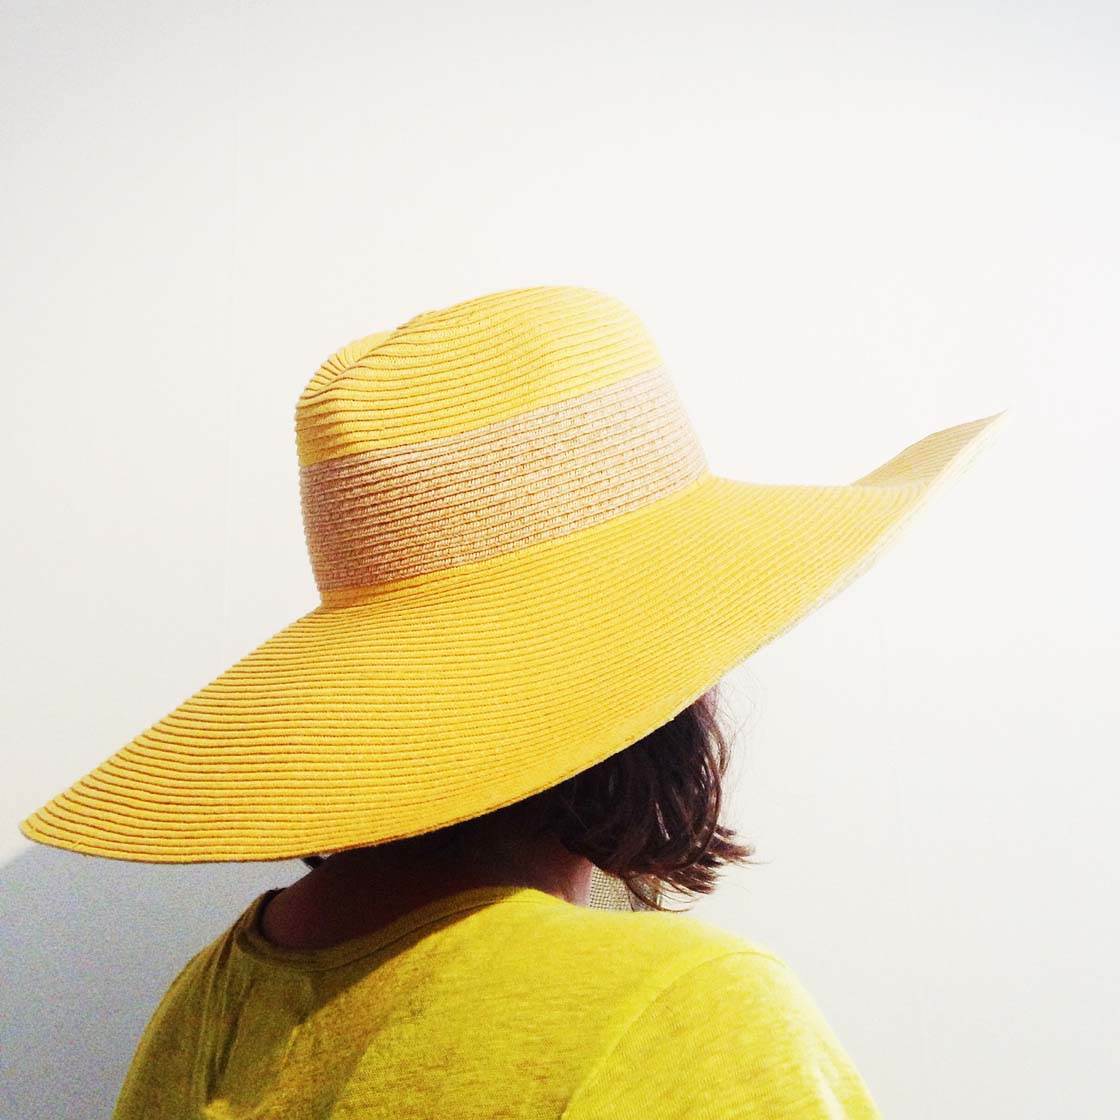
I love the way this yellow hat matches the color of my subject’s clothing, as well adding an air of mystery by hiding her face.
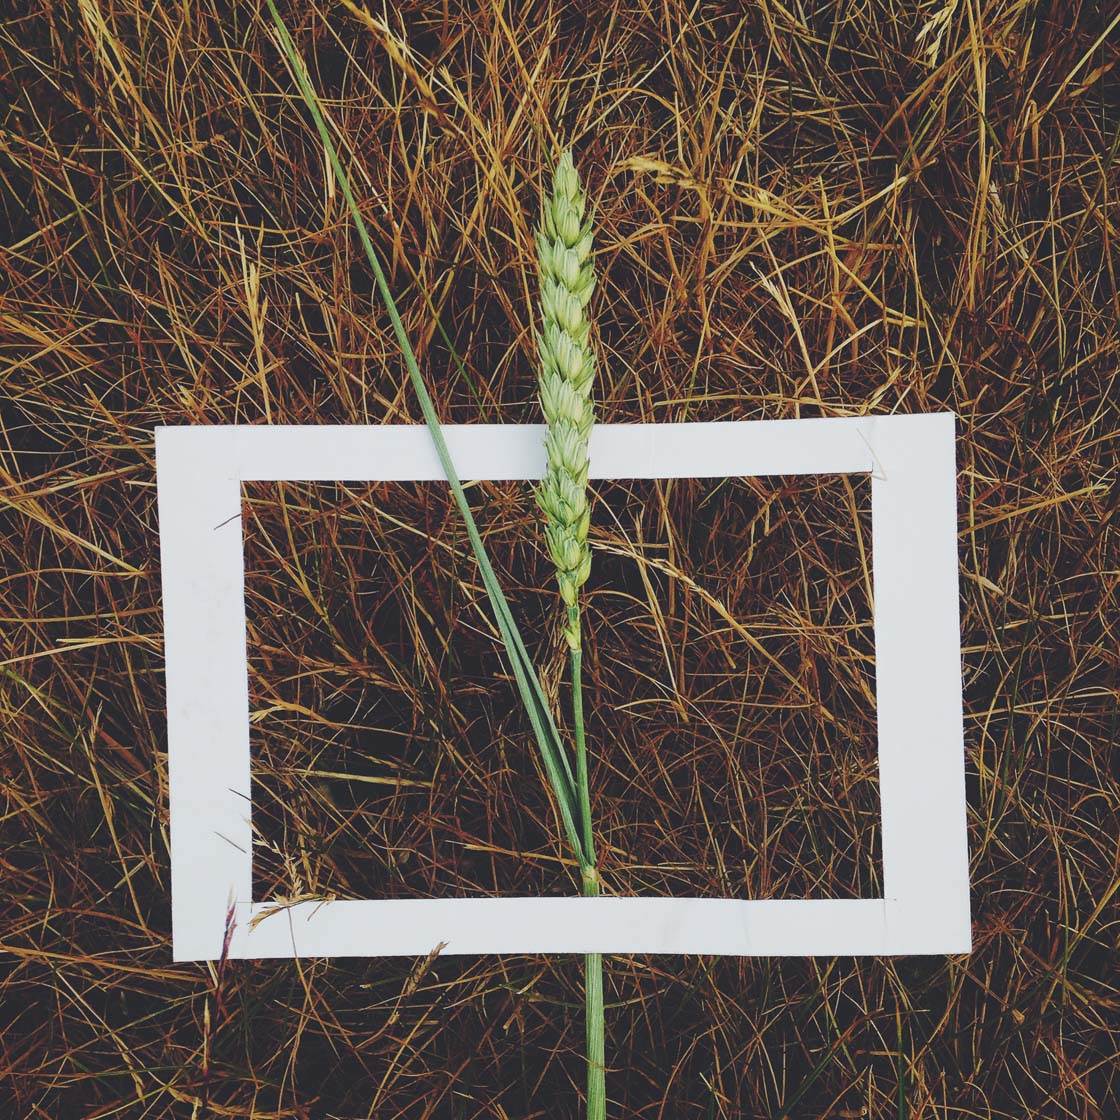
If you take a few minutes to look around your home, you’re sure to find a whole range of props that you could use to enhance your next photo shoot.
8. Photograph Your Subject In Different Ways
When you find something you want to photograph, challenge yourself to find at least three different ways to photograph it. This will really improve your creative eye and develop your skills as a photographer.
Don’t be satisfied with just one decent shot. Push yourself to explore more creative options so that you come away with several great photos of the same subject.
Below is photo of a mosquito net out in a garden. It instantly caught my eye as it was catching the beautiful light from the setting sun.
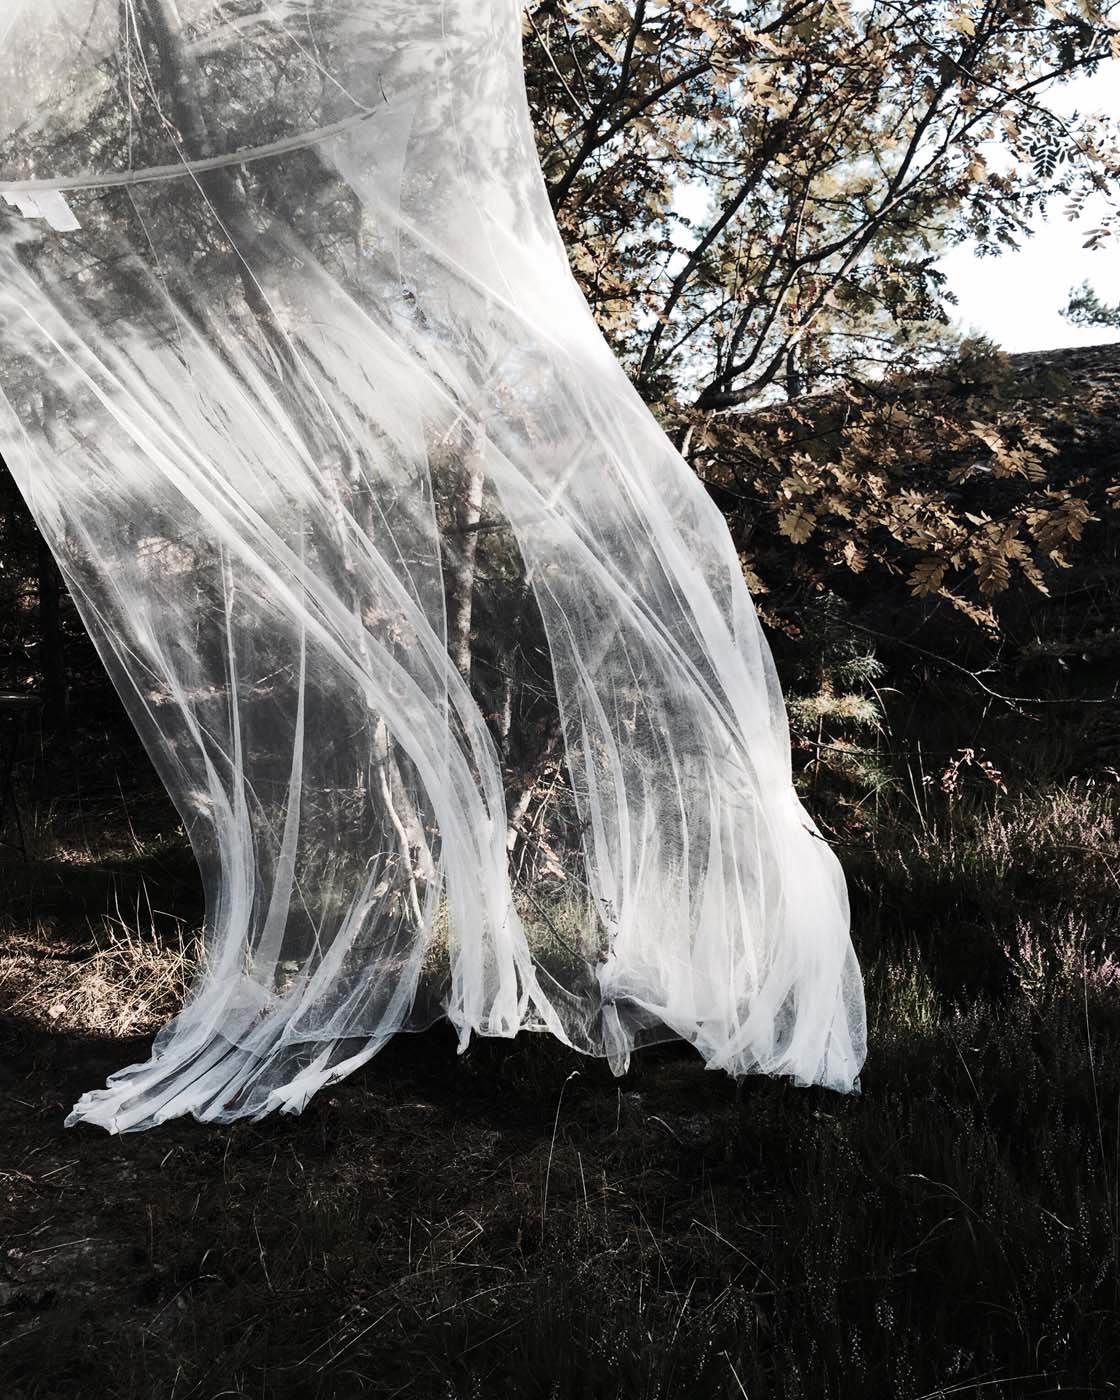
The net was swaying gently in the wind, creating a dreamy scene where it looked like it was dancing across the garden. That was the first thing that I wanted to capture, and so I took the photo shown above.
I was happy with the shot and started to walk away. But then I realized this net could maybe offer some more photo opportunities.
So I moved closer and found the texture of the net to be quite captivating. The sunlight that hit the net created dramatic shadows and lines.
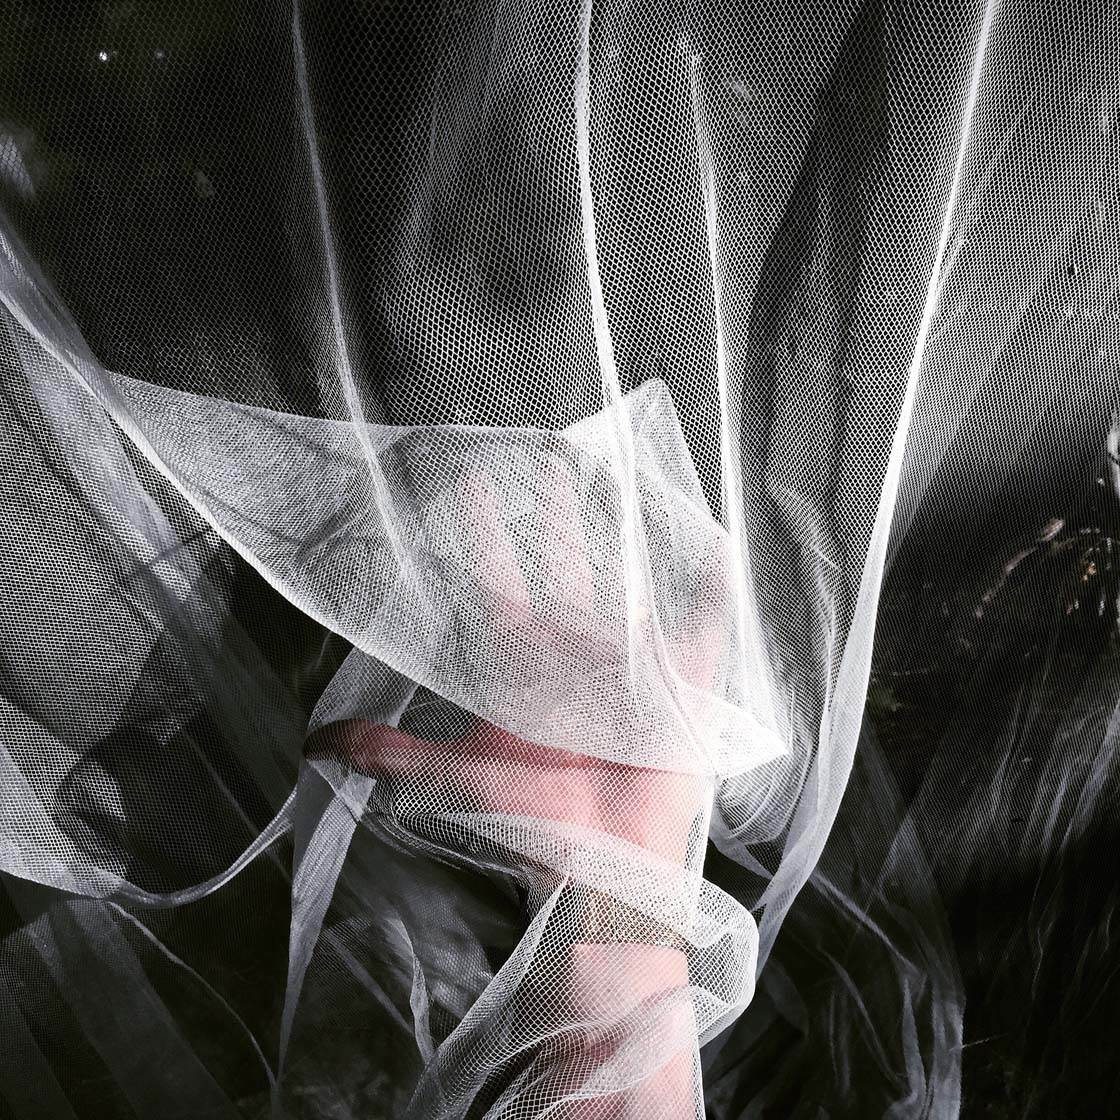
The pattern was highly abstract but I found it mesmerizing and started shooting. For good measure I stuck my hand in there, and at last I got a shot that I really liked.
Even though I’d already taken several great shots, I still wanted to experiment with the net some more. So I called my daughter over and asked her to play around in the net. Adding a human presence created a completely different photo again.
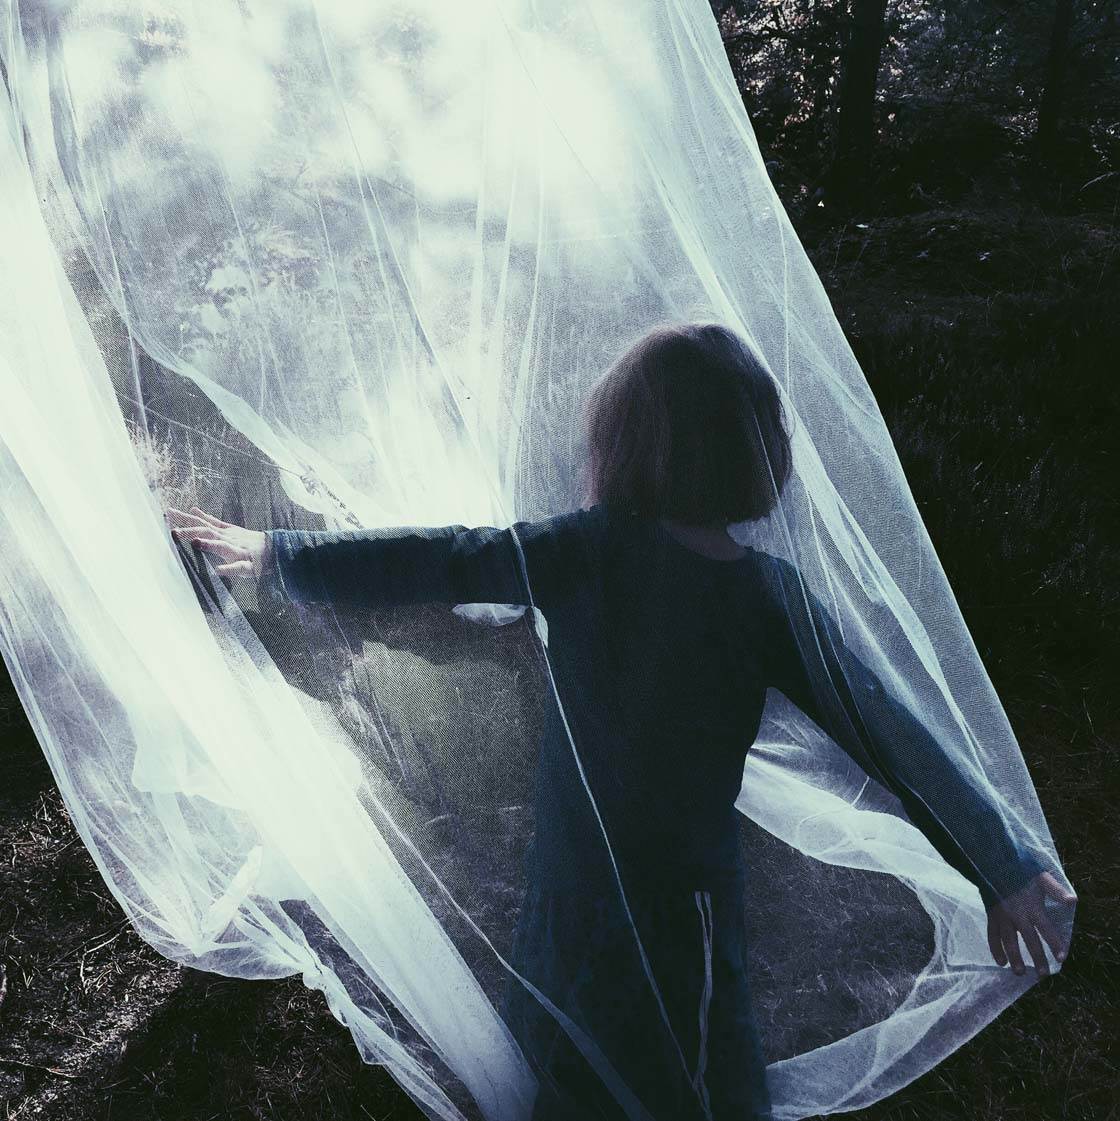
These examples show how I captured one subject in several ways to create three very different photos. Using this technique on any subject that you’re shooting will train you to think in a more creative way.
9. Look For The Common Elements
Another very effective approach is to look for the same thing in different environments. What I mean by this is that no matter where you’re shooting, you could look out for common elements such as leading lines, symmetry or colors.
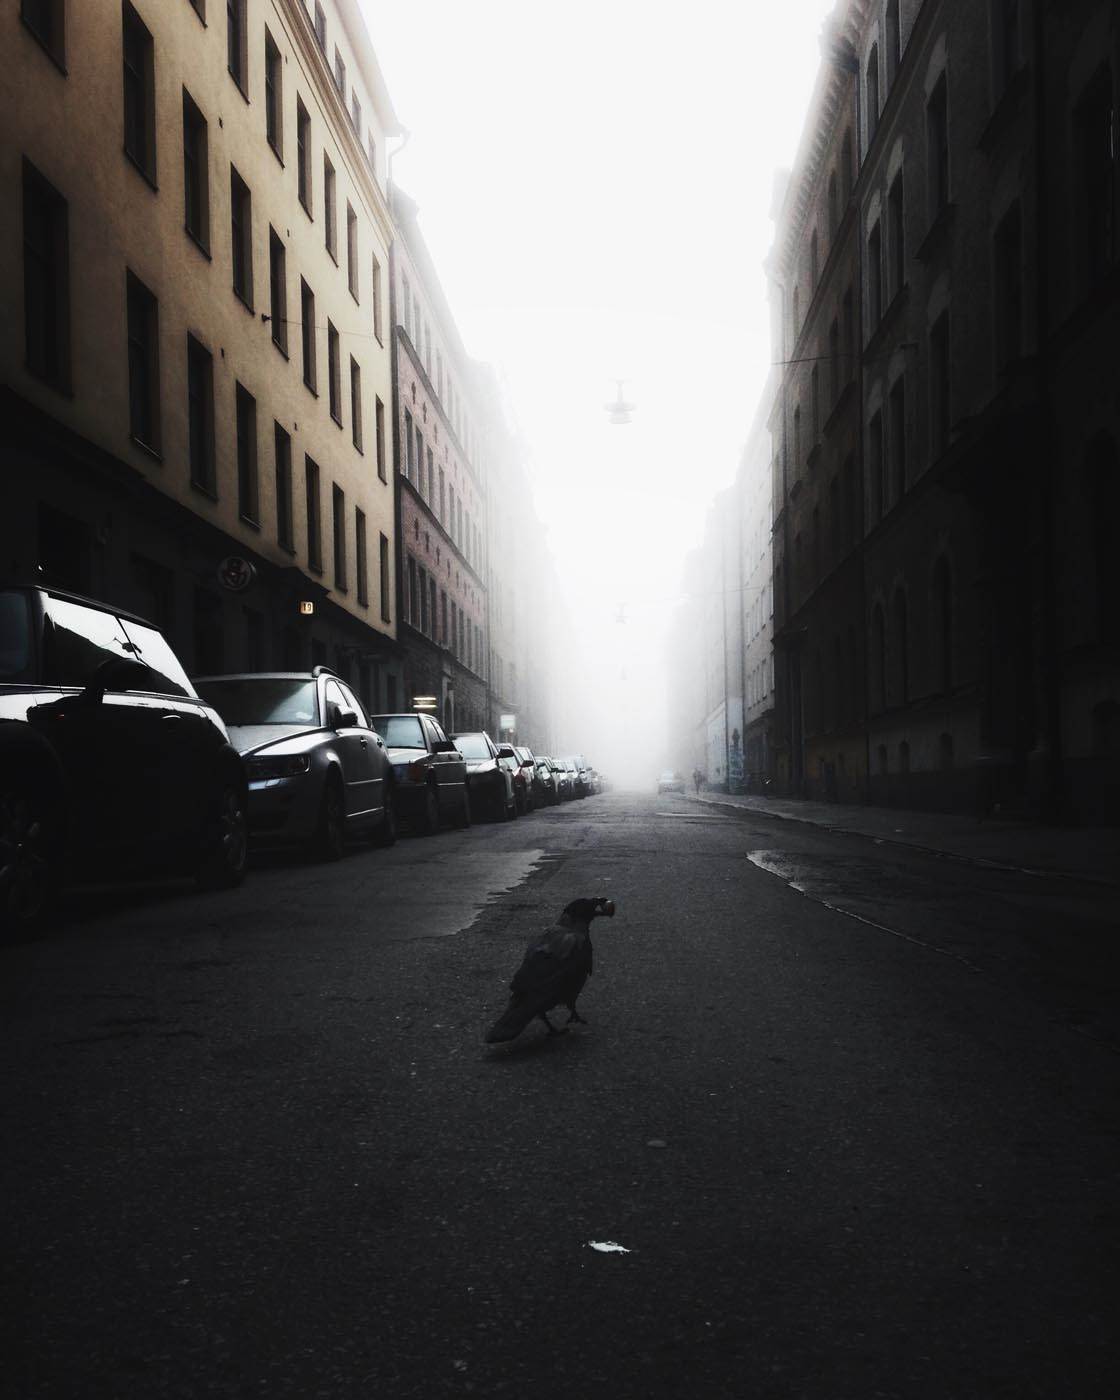
If you enjoy composing your urban shots using strong leading lines and symmetry, try to look for the same things in nature.
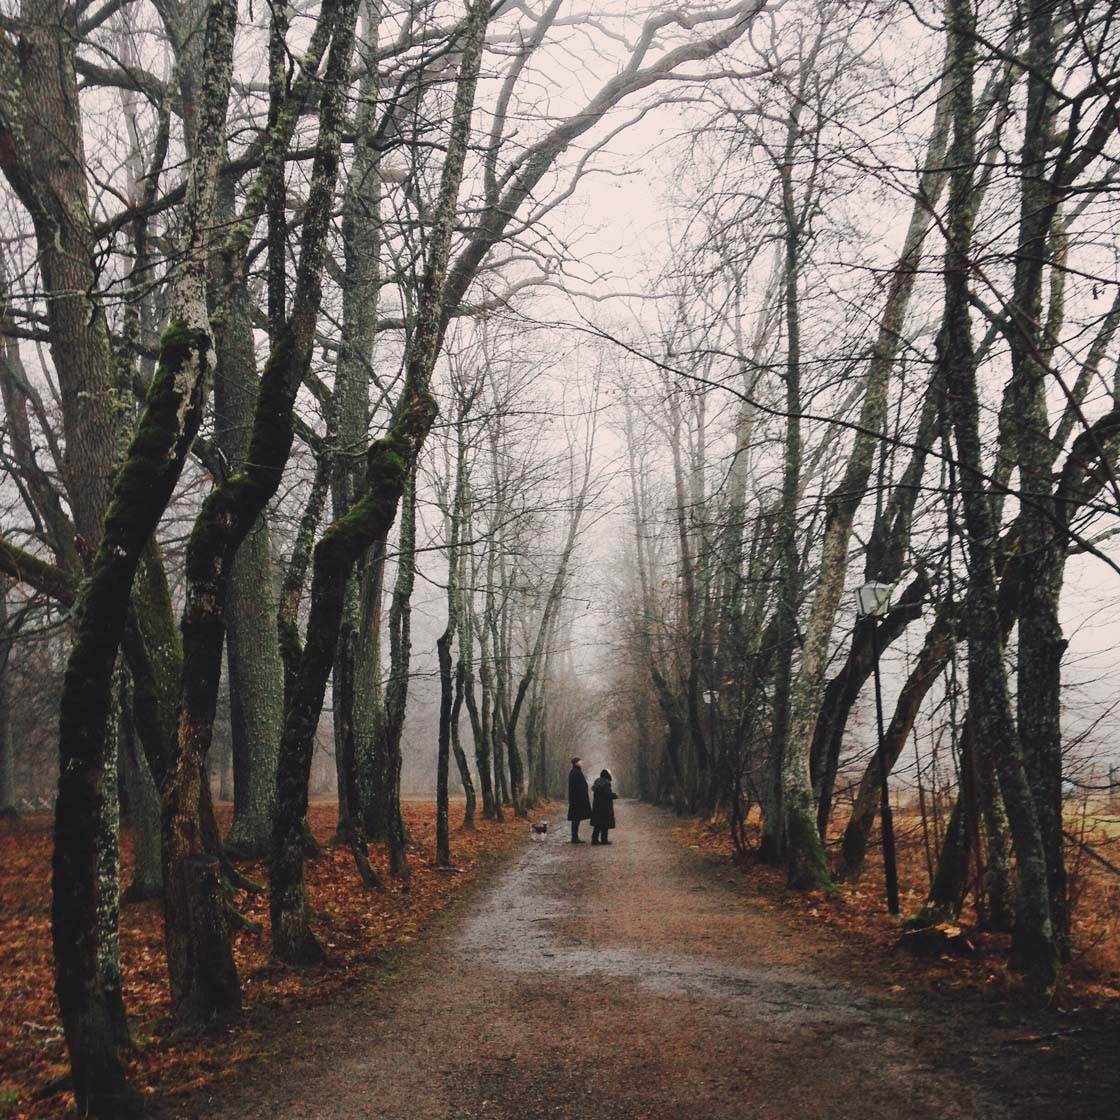
For instance, you can create very similar symmetrical compositions in a subway station, on a street, and with a row of trees along a country path.
Or how about finding similarities using the same shooting angle? The two photos below are an example of this.
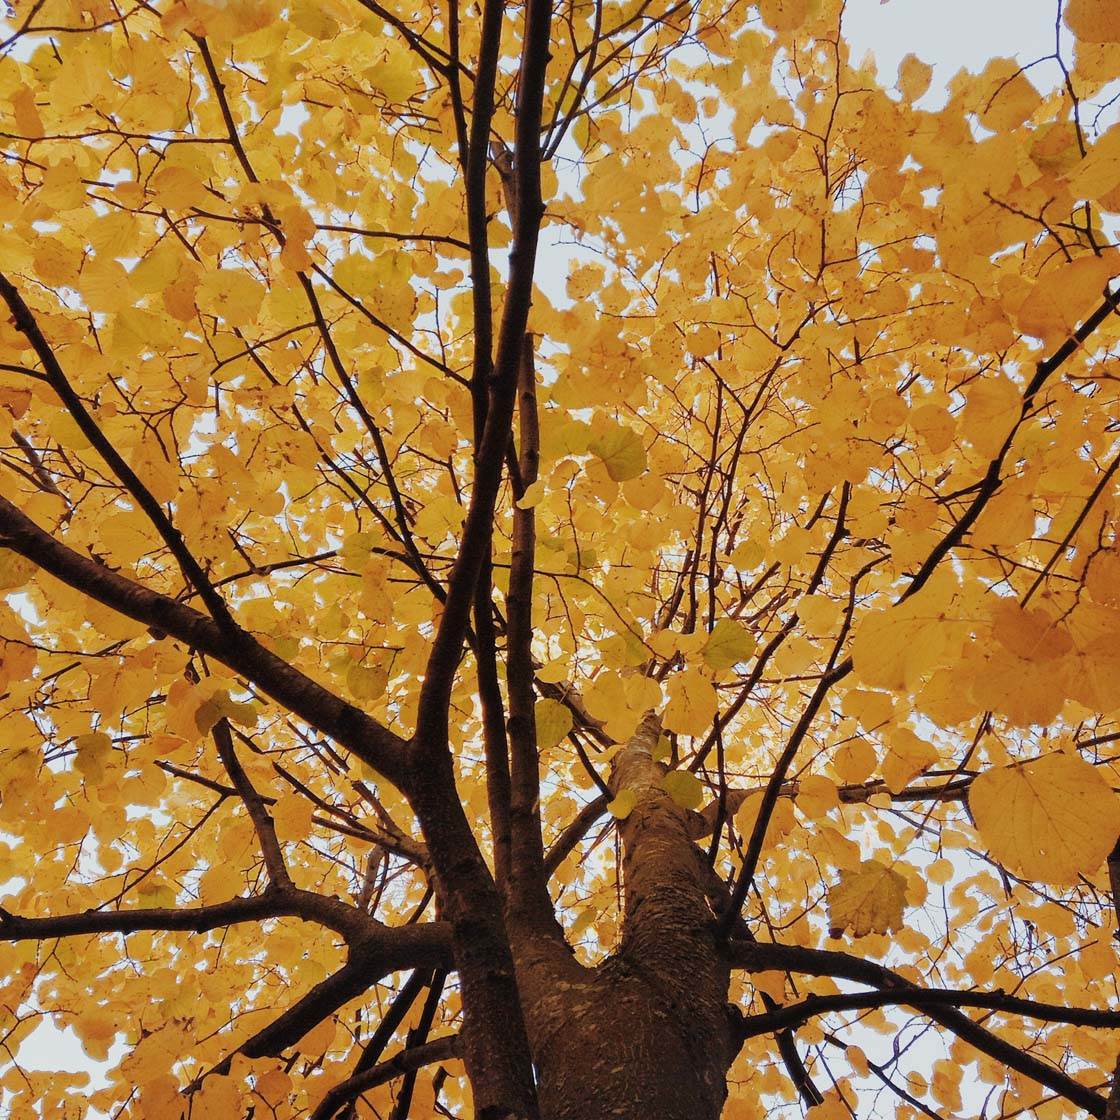
If you look directly above you while standing beneath a tree, the lush canopy can be portrayed in the same way as a futuristic and symmetrical ceiling in a mall. The fact that both images contain a strong yellow element helps to emphasize the similarity.
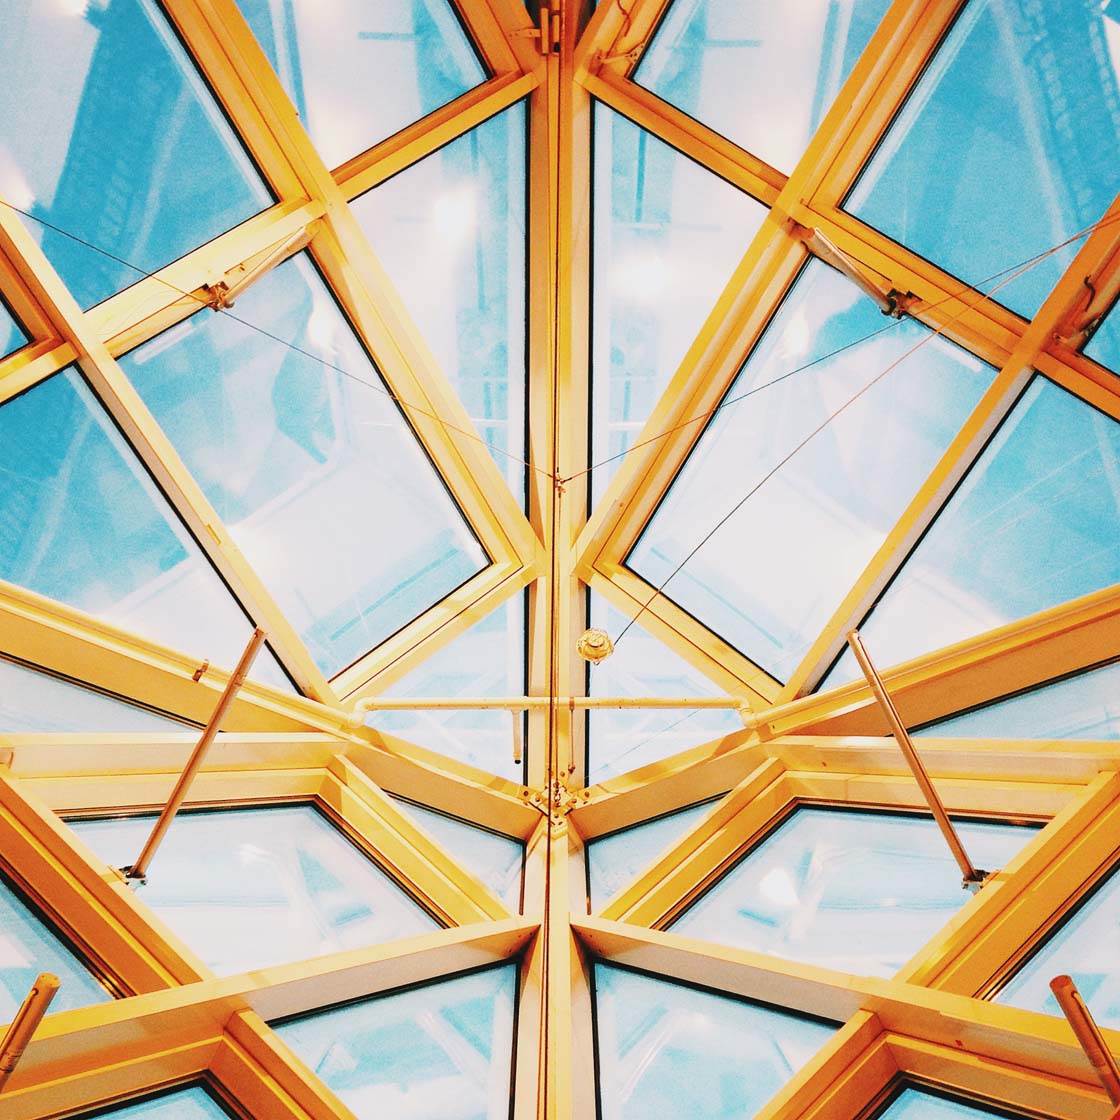
As well as training your eye to spot common compositional elements in different kinds of scene, this technique also encourages you to come up with ideas even when you’re not out shooting.
For me, the process of creative thinking is just as important as executing the shot itself. Many of my shots are the result of spending time thinking about what I want to capture.
This thinking process can lead from one thing to another, based on common elements of different types of scene.
So once you start thinking about that tree you want to photograph from a certain angle, that can lead to other ideas for shooting different subjects in a similar way.
10. Revisit Places You’ve Already Photographed
A good way to develop your creativity is to revisit places that you’ve already photographed and challenge yourself to take a completely different picture than you did the last time.

Choose any place or object that you’ve photographed before, such as a building, tree, lake, spiral staircase, etc. Then go back and attempt to create some different shots.

Maybe you could visit at a different time of year, in different weather, or in different light. This can really alter the mood of the photo.
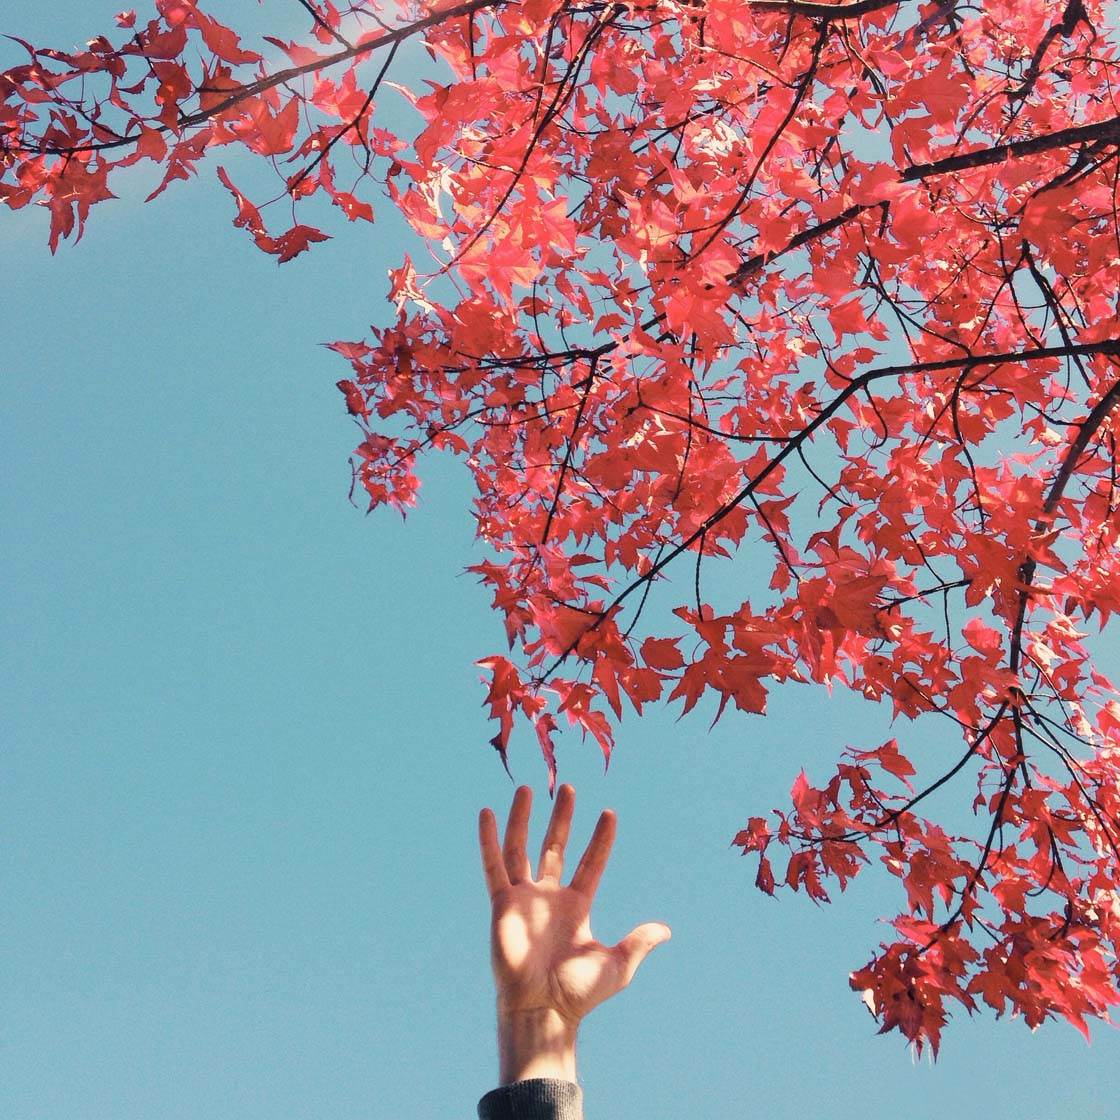
Try shooting the subject from different angles and from different distances. Add a person or prop into the scene to create a new story. Sometimes it’s enough to just add a hand or a foot into the frame to get a brand new version of an old shot!
Conclusion
Boosting your creativity is all about pre-visualization, practice and experimentation. By thinking about what you’d like to create before you actually pick up your iPhone, you’re taking the first step toward a more creative approach to photography.
And the more photos you take using different techniques and in different environments, the more interesting and unique images you’ll begin to create.
The techniques covered in this article are a great starting point for developing your photographic eye. And once you’ve mastered them you’ll be equipped to keep on growing as a photographer.
Don’t be afraid to make mistakes – it’s all part of the learning process! If something doesn’t work out, evaluate what went wrong and think about how you could improve the photo next time around.
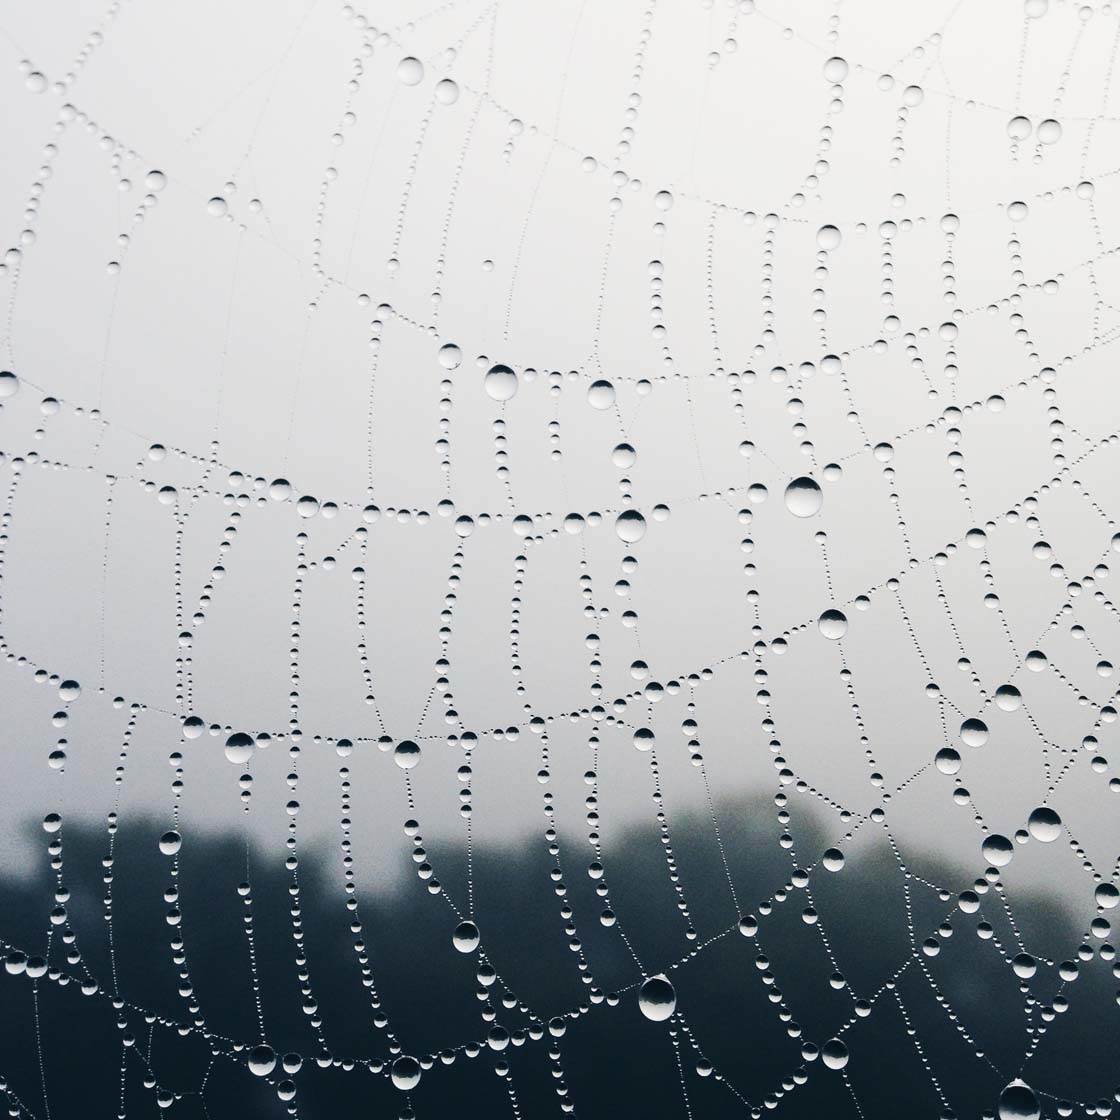
The great thing about photography is that you learn something new every time you take a photo. Your creative development is ongoing, so you can only get better!


Great tips! Thanks!
Fantastic tips thank you! Your photography is amazing! Aurora
Glad you found them helpful Aurora 🙂