Creating a sense of depth and distance in your iPhone photos can sometimes be tricky to achieve. If you don’t have anything in the scene to add a sense of perspective, your images can look flat and lifeless. In this tutorial you’ll discover five highly effective composition techniques that will help you to convey a stronger sense of depth in your images. This will allow you to produce more intriguing and exciting iPhone photos that invite the viewer to explore the details all the way through the scene.
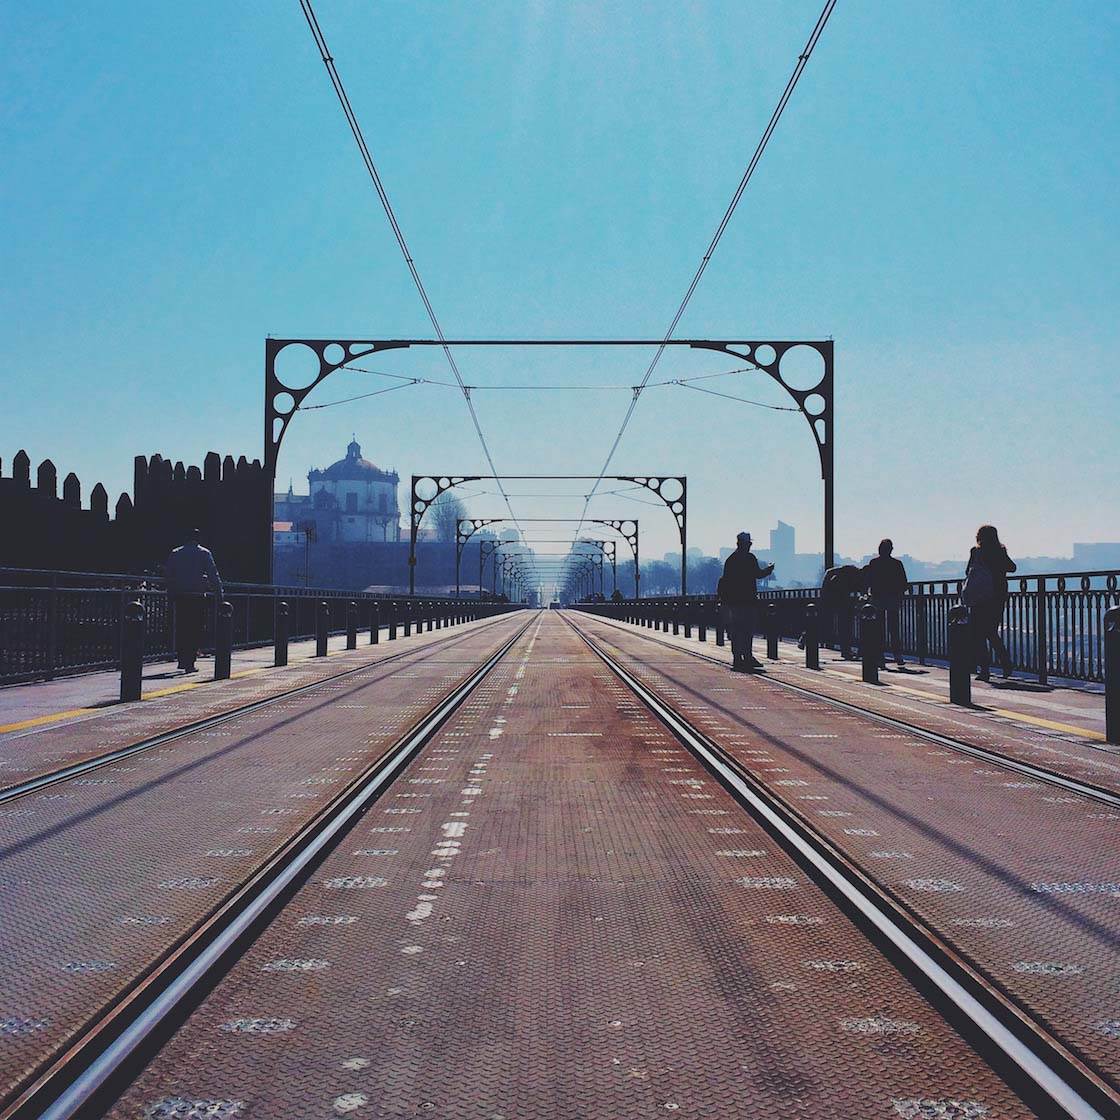
While we see in three dimensions with our own eyes, our cameras only capture two dimensional images. This means that it’s more difficult to capture a scene that looks as good as it did with your own eyes.
Often, just a change in viewpoint or including extra elements in the foreground of the scene can help tremendously with creating a sense of distance. So let’s take a look at five simple, yet highly effective ways to add depth to your iPhone photos.

1. Use Leading Lines
The term “leading lines” refers to lines in a scene that lead from the foreground all the way into the distance. Train tracks, long roads, curvy rivers, a fence, or a path leading through tall grass are all good examples of leading lines.
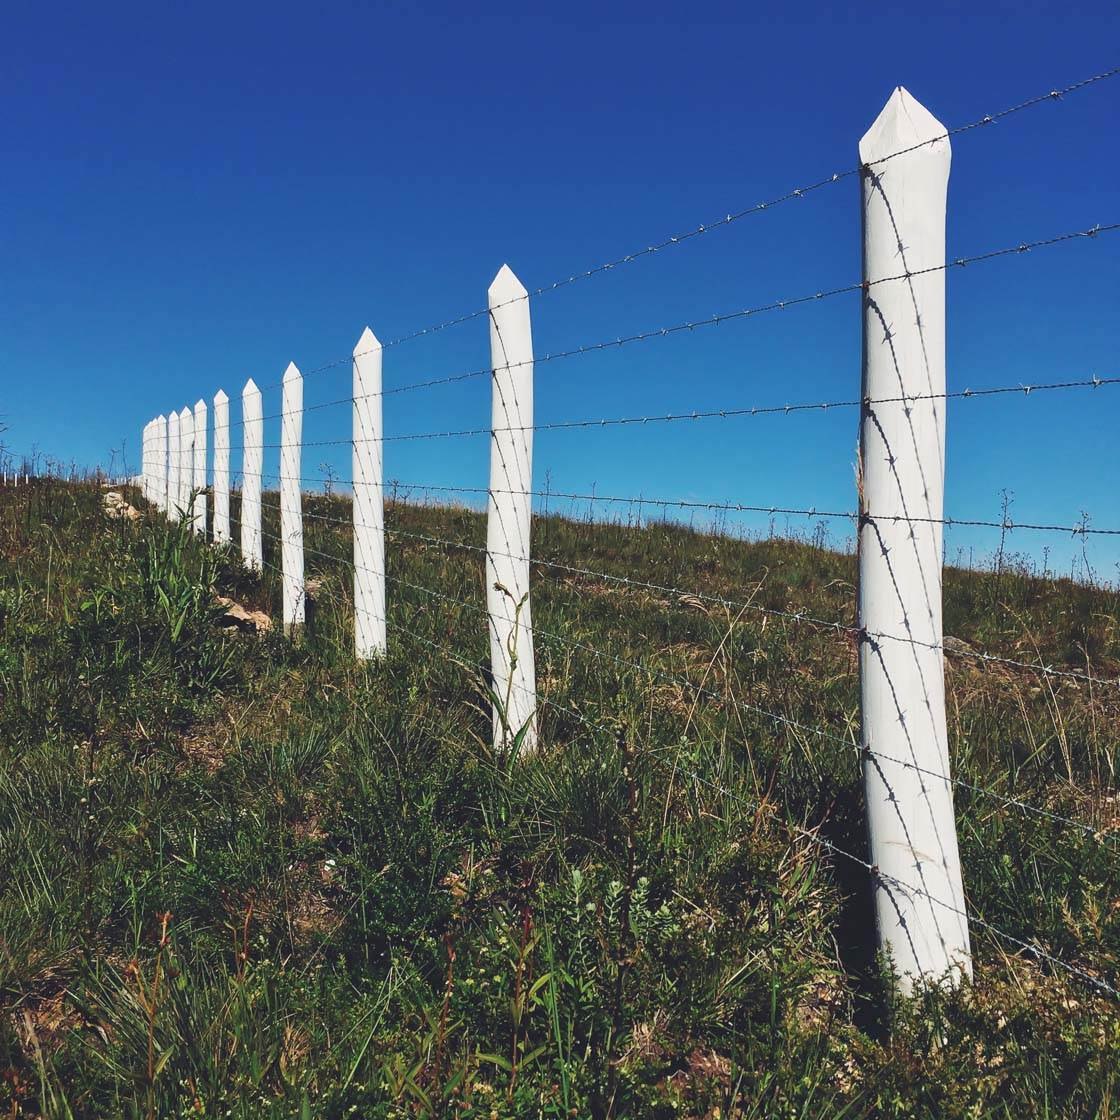
Lines create strong graphical elements that make for an extremely eye-catching image. They’re also one of the best ways to create a sense of depth in your photos. The viewer’s eye will naturally follow the lines through the scene, connecting the foreground to the background.

Leading lines can be used to place emphasis on a subject at the end of the line or where the lines converge, or to draw a connection between two places or objects.
The key to composing a photo with leading lines is to frame the scene so that the lines start from the bottom corners and converge into the distance (upwards and inwards). This leads the viewer directly into the composition, making them follow the course of the lines through the scene from foreground to background.

In the image above, there are lots of different lines that all lead towards the same point in the distance. Notice how there are leading lines up on the ceiling, down on the floor and even on the blue walls. All of the lines are converging towards the red train entering the station in the distance.
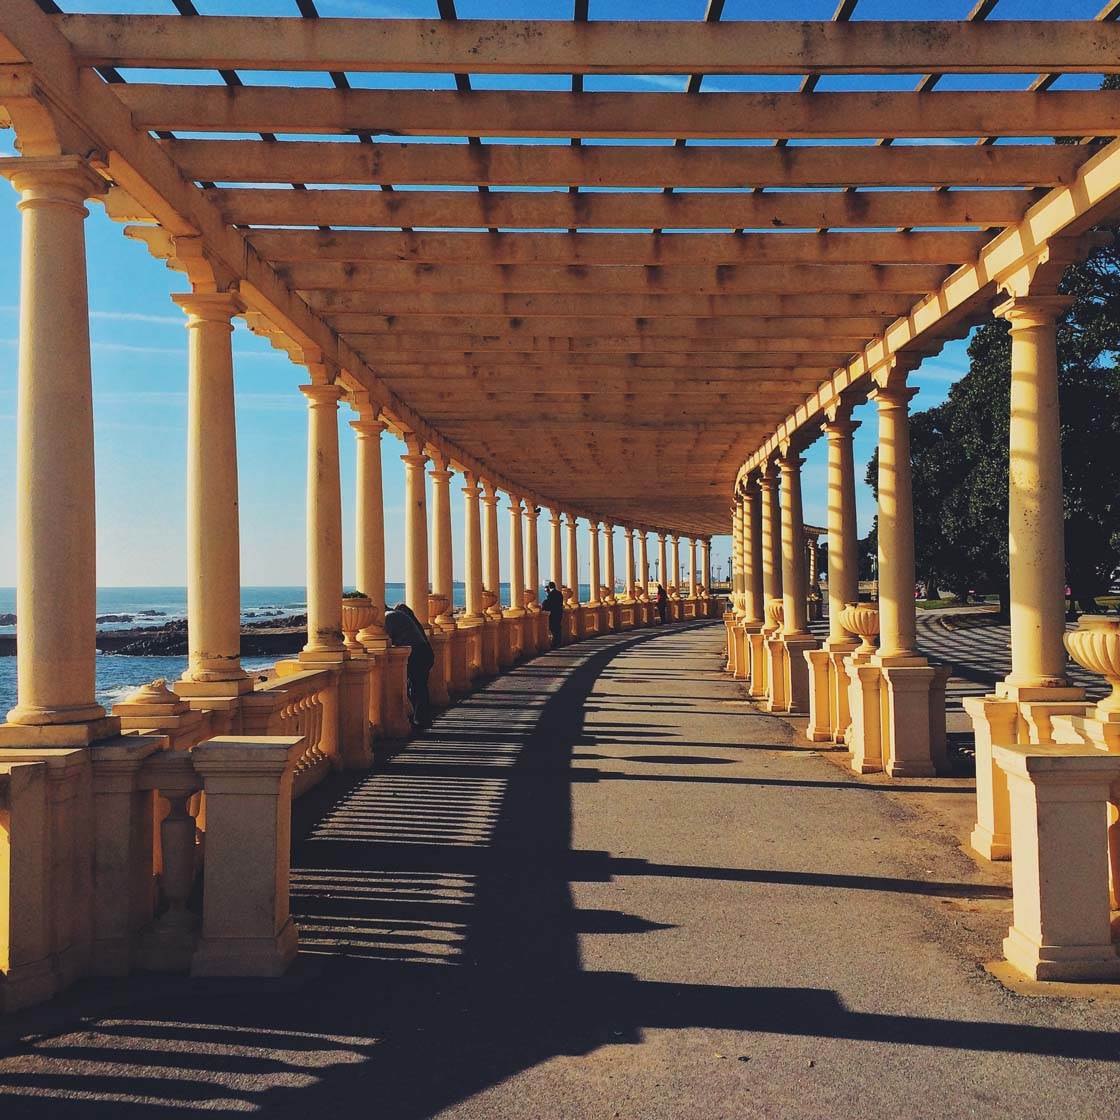
In this photo the long pathway is set on a curve. The leading lines converge into the distance together with the curve. This creates a slightly more subtle composition than straight converging lines, but it still acts to enforce a strong sense of depth in the image.
2. Include Foreground Interest
A common problem with landscape photography is that images can often appear rather “flat.” If you don’t have any leading lines in your scene, it can be difficult to convey a proper sense of depth to the viewer. Without any converging lines, you can’t create that wonderful perspective which gives an indication of distance in the image.

However, a great technique that you can use to add depth to a landscape photo (and indeed other types of photo) is to include elements in the foreground of your scene, such as the person at the front of this beach scene.
Photos with foreground interest are more dynamic and engaging, and they emphasize the distance between foreground elements and the landscape beyond. This helps the viewer to look at your image’s details more carefully, from the front of the scene right through to the back.
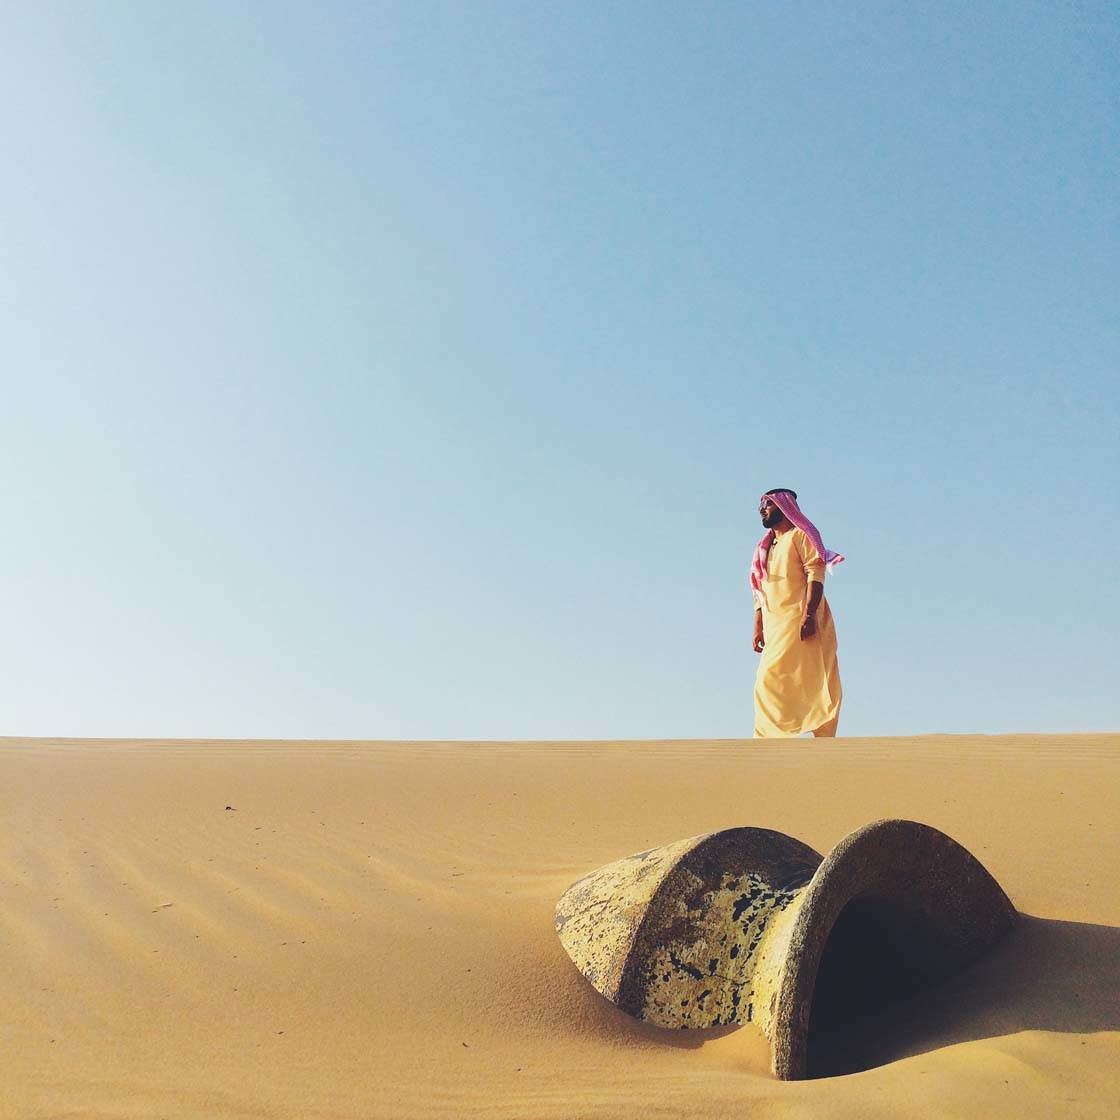
I used this technique when photographing a man walking through the sand dunes. I spotted a vase in the sand, so knelt down and composed my shot with this object in the foreground. It makes for a much more interesting photo and adds a greater sense of depth to the image.

With the absence of any obvious foreground objects that I could use in my photo on this beach, I decided to use a crashing wave to add foreground interest. This helps to create depth in what would otherwise be a very flat and fairly boring scene.

When composing your photos, make sure you look out for objects that would make an interesting foreground in your composition. A shell, rock, flower, person, or even markings on the ground would all make great foreground interest. Compose your photo with these objects placed at the front of your image.
3. Shoot From A Low Angle
Shooting from a different perspective can have a huge impact on your photography. When photographing from eye level at standing height, it’s often difficult to include foreground interest. Shooting your scene from a low angle allows you to give more emphasis to the foreground of the composition and it’s a great way of creating a stronger sense of depth.

Shooting this scene from a low angle, with the iPhone held very close to the ground, creates a more exaggerated perspective. Parallel lines converge quicker than when photographed from standing height, emphasizing the perception of distance.

Photographing tall subjects from a low viewpoint is another technique that you can use to create a strong sense of vertical depth. By getting very close to this tower and ladder, I was able to create wonderful perspective using the converging lines that lead up towards the sky.
4. Frame The Scene With Foreground Objects
The “framing” composition technique is when you use a natural frame, such as trees, rock openings, arches, or a hole to act as a frame around your main subject or distant scene. Using these foreground objects as frames helps to isolate the main subject, and the frame adds interest and context to the photo.
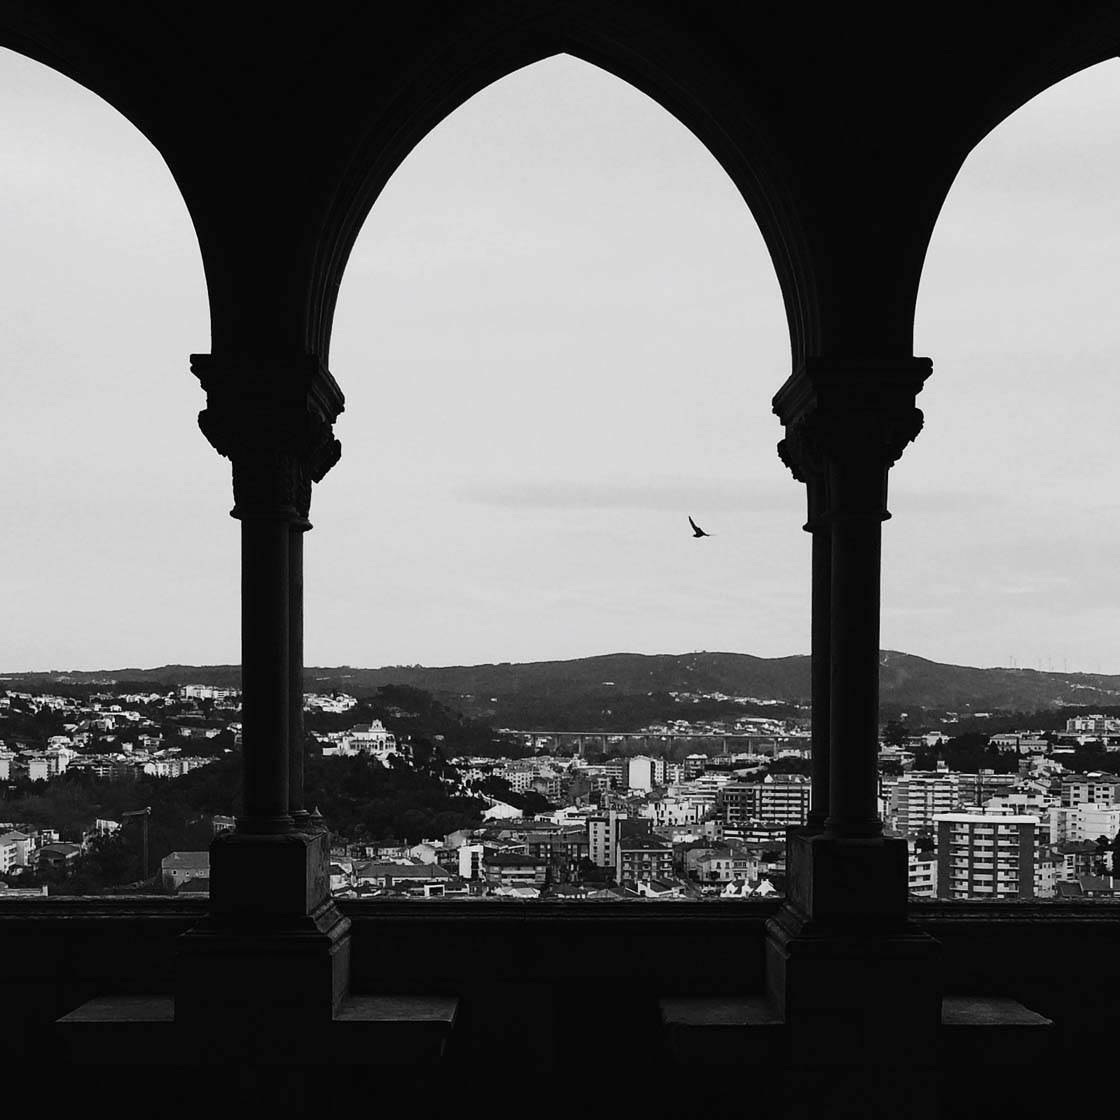
It’s also a wonderful way to create a sense of depth as your eye is led from the front of the photo, through the frame and then into the distance.
In the photo below I’ve used the opening in the rocks to form a natural frame for the island in the distance. This framing draws the viewer’s eye towards that point in the distance, creating a strong feeling of depth.

Pay attention to the natural frames that surround us. Frames can either entirely surround the subject, covering all four corners, or they can partially cover one or two corners.

Natural frames, such as hanging tree branches, make lovely soft frames that partially cover the image. Manmade frames, like archways, doorways, window frames, and other architectural elements are also great examples of objects that can be used as frames to create interest and depth in an image.
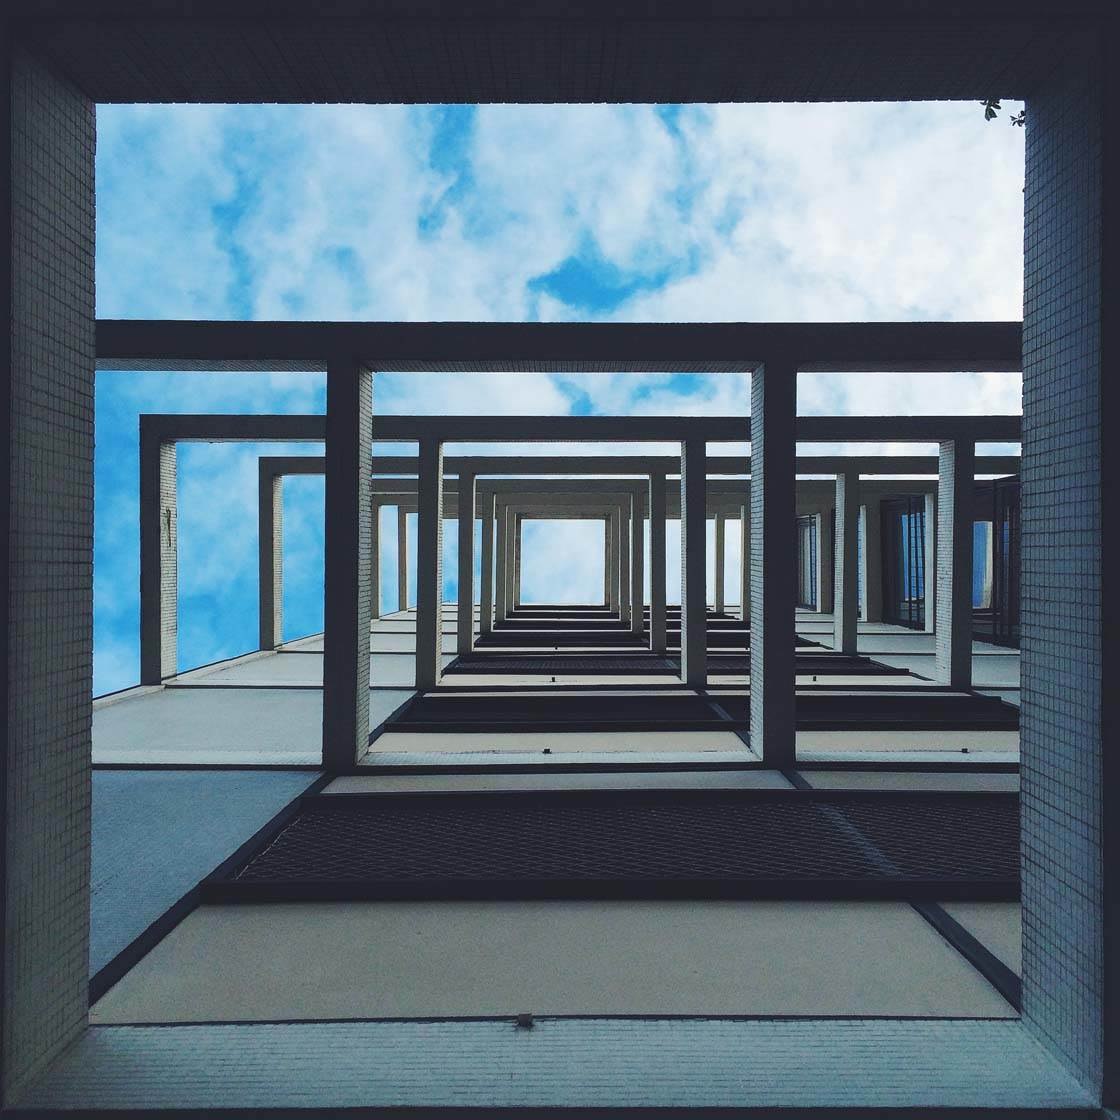
5. Overlap & Layer Objects
The final technique that we’re going to look at is overlapping or layering elements within the scene. This is a great way of demonstrating distance within the composition.
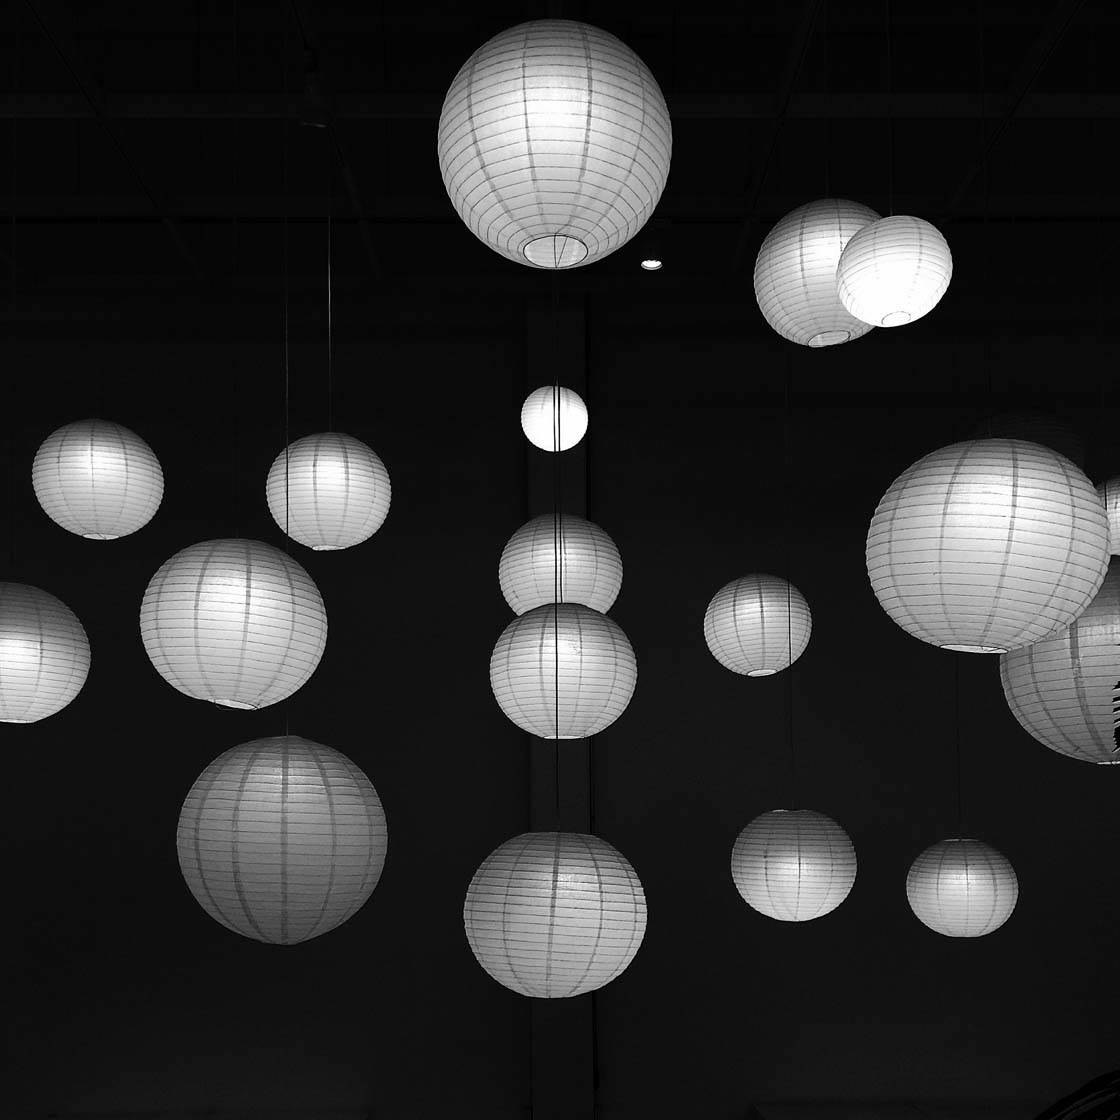
The overlapping lights in this photo tell the viewer that the objects are positioned at different distances from the camera. This creates a perception of depth in the photo that might otherwise be difficult to convey if they weren’t overlapping.

Layering objects works especially well in landscape photography because the elements are already spread apart and overlap naturally. The viewer will recognize layers and mentally separate them, automatically creating a sense of depth. The layers, and the difference between the size of each element, are indications of how far apart the objects are from each other.

Remember to always look around and explore the scene. Try out different viewpoints so that you can capture it from the best angle, using different elements to overlap each other. Sometimes just a slight movement to the left or right can increase the sense of depth, creating a more impactful and appealing composition.



Leave a Reply
You must be logged in to post a comment.