One of the biggest drawbacks to the iPhone camera is the fact that it lacks manual aperture control. The ability to manually set the aperture is essential when you want to control depth of field in your photos. If you want to know how to blur background on iPhone camera, you need to know how to create a shallow depth of field. In this article you’ll discover how create blurred backgrounds using various blur background apps and techniques.

What Is Depth of Field?
In case you’re not familiar with the term, “depth of field” refers to the range of sharp focus in a photograph. When shooting with a larger camera such as a DSLR, you can adjust your depth of field by adjusting the aperture of your lens.
The aperture is the opening inside the lens that controls the amount of light that is allowed through the lens. At the same time, the aperture also affects the range of focus of the camera. With the smallest aperture opening, most (if not all) of the image will be in focus regardless of the focal point. With a very wide aperture opening, only the object(s) at the specific focal distance from your camera will be in focus.
In addition, the closer your focal point is to your camera’s lens, the shallower the depth of field will be. The further away the focal point is (as with landscape photography), the greater your overall depth of field will be. This effect is somewhat noticeable with the iPhone’s camera depending on lighting, etc. However, it is not as controllable as it is with a DSLR or other camera with a manual aperture control.
Depth of field is not just a byproduct of your aperture setting. It’s an important creative device in photography. For example, a shallow depth of field can be an essential component in portrait photography as it is used to blur the background thereby eliminating any distracting elements and focusing the viewers attention on your main subject. On the other hand, a deep/wide depth of field is essential in landscape photography when you want all aspects of the photo to be in sharp focus.
Since the iPhone doesn’t have a mechanical aperture like a DSLR or other camera (it adjusts the exposure through digital means), there is no way to control the depth of field of your photos as part of the image capture process. However, you can still obtain similar results as part of the editing process.
Apps to Consider
There are quite a few photoshop apps that can help you simulate differing depth of field effects with your mobile photos. There are some apps such as Big Lens and Tadaa SLR that were designed specifically with this effect in mind. In addition, many great full-featured editing apps that you may already have like Snapseed and Filterstorm Neue also provide tools for creating this effect.
One of the best things about iPhone photography is that you can try out a wide variety of editing tools (apps) for relatively little money and then keep the ones that work best for your style and approach. As always, I recommend trying out as many apps as you can afford until you find the one(s) that work for you.
Use Blur With Masking Brush
Both Big Lens and Tadaa SLR make use of a masking brush to apply the blur effect to sections of your photo. Essentially, you use the brush tool to “draw” the blur (or the lack of blur) onto your photo and then use additional settings to control the intensity of the effect and other subtle nuances.
Both of these apps are relatively easy to use and have a fairly short learning curve. That isn’t to say that they aren’t powerful though. You can achieve fantastic results with these apps once you learn how to properly mask and adjust your blur settings.
The following image is an example of blurring the background of an image using Big Lens. The masking feature of this app works a bit differently than most other apps in that you mask out the section of the image that you want to keep in focus while the unmasked area will be blurred.

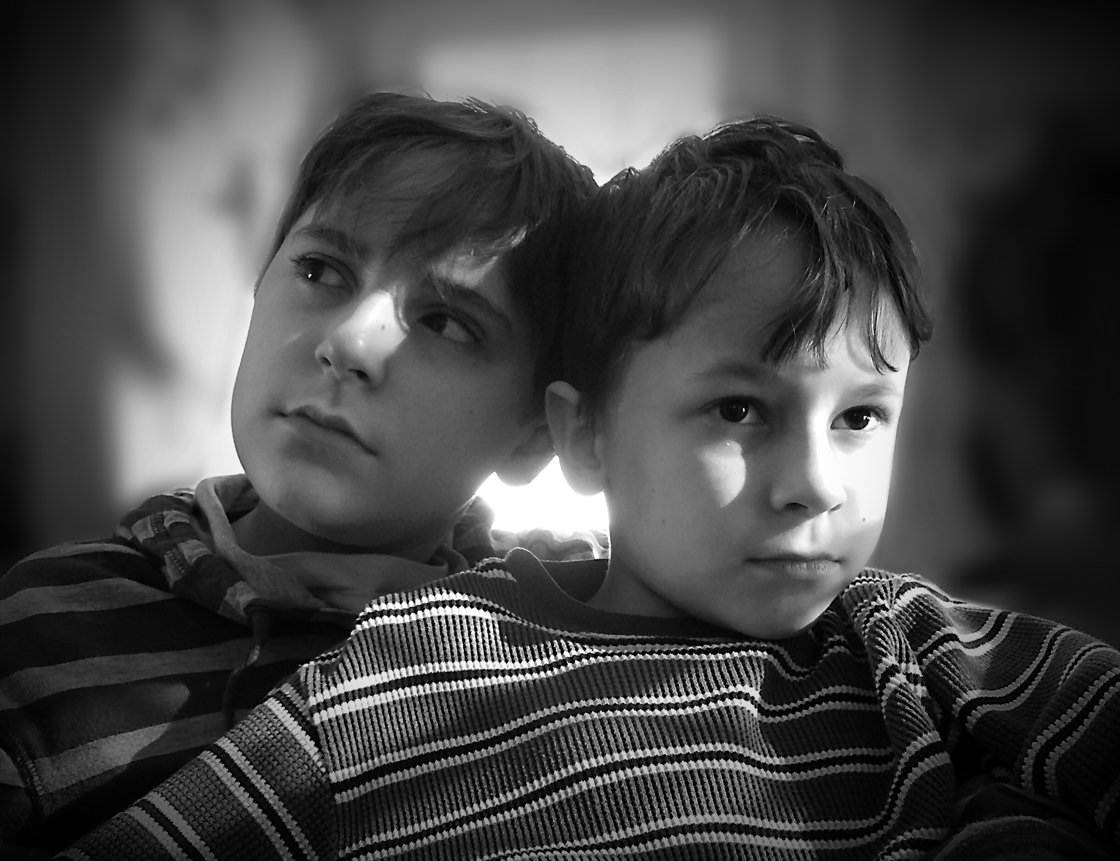
Using the Advanced editing option, you simply mask the areas of the image you want to keep in focus using the Brush tool. After masking and a bit of tweaking to the blur intensity, etc., here’s the final image.

Another great option is to use the blur effect in a full-featured editing app like Filterstorm Neue. The blur tool in Filterstorm Neue is more powerful in some ways than in apps like Big Lens (greater range of effect), but to be fair, it also requires a bit more finesse and has a slightly longer learning curve.
Applying blur with the masking brush in Filterstorm Neue is similar to Big Lens except that you paint the blur onto the area of the image that you want out-of-focus. The following photo is an example of the blur tool (applied with masking brush) in Filterstorm Neue.

Use Blur with Gradient Masks
While a masking brush is a great way to apply blur to an image, it works best for blurring backgrounds around a definitive subject. What if you want to go for a really shallow depth of field effect and blur the foreground as well?
In this case, depending on the effect you’re going for, you may want to apply your blur effect with what is known as a gradient mask. This is a tool that allows you to apply an effect (blur, contrast adjustment, curve adjustment, etc.) so that the effect gradually decreases/increases over an area of the photo. This is the best way that I know of to blur the foreground of an image.
In an app such as Filterstorm Neue, you simply set your level of blur, select the Masking tool and then choose the Gradient option. Select the style that applies a gradient across the width of the photo and use the adjustment tools to apply it to the foreground portion of your image so that the effect is strongest at the edge of the photo and gradually decreases as it approaches your subject.
In the following screenshot the gradient mask is applied to the bottom of the image in Filterstorm Neue (the adjustable arrow guide shows the direction and range of the blur effect from strongest to lightest).

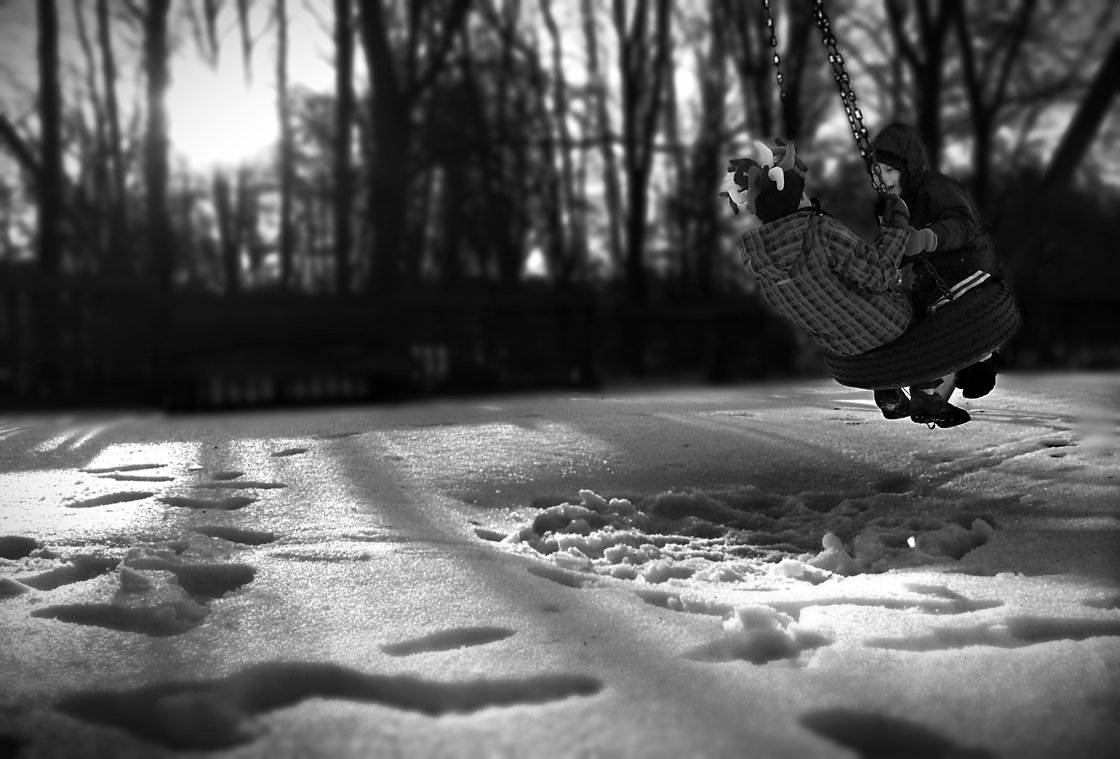
And here is the final image with the background blurred using the masking brush and the foreground with a gradient mask.

As you can see in this photo, I was able to simulate a shallow depth of field where only the main subject and the ground underneath is in sharp focus while the background and foreground are out of focus. This helps to draw the viewer’s attention to the main subject while reducing unwanted distractions in the background.
Consider Tilt-Shift
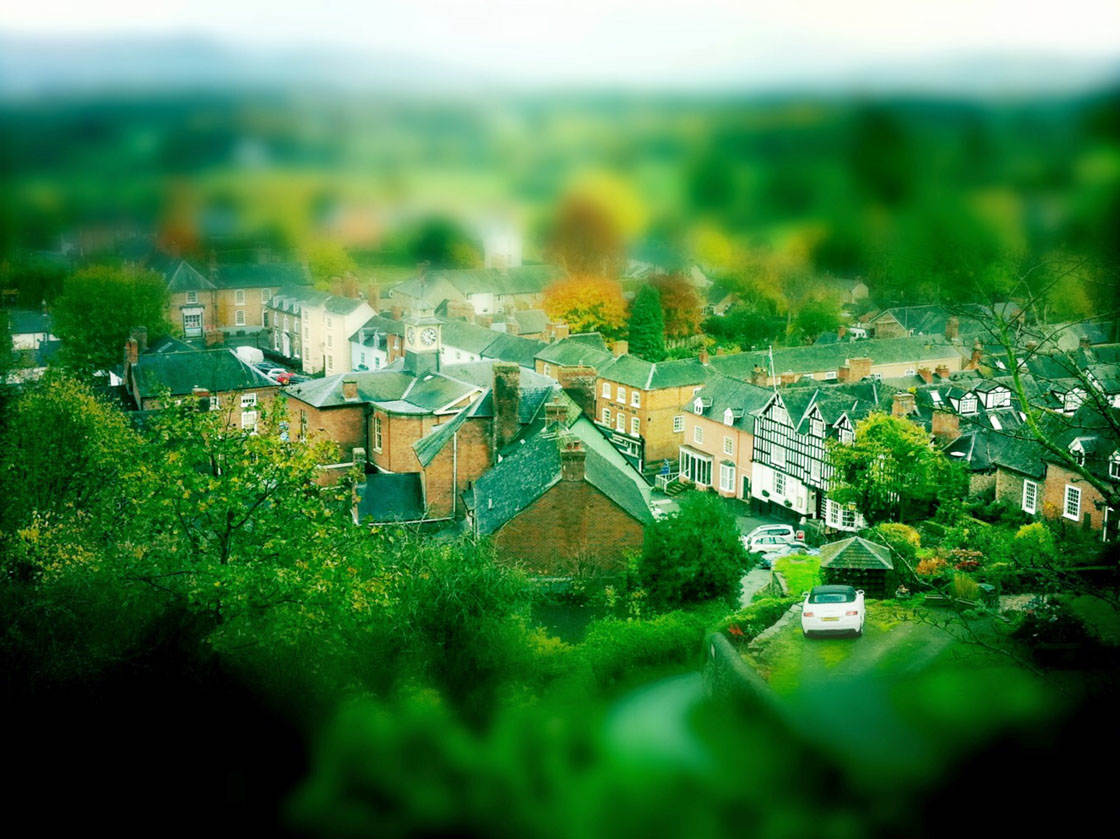
Tilt-shift is an effect that applies blur in such a way that it makes your image look like it’s a miniature scale model. We won’t cover how to create tilt-shift images in detail here, but it should be mentioned here (albeit briefly) due to the effect that it can have on the depth of field in your images.
The name of this feature is derived from the effect of using a large format camera where you can adjust the angle of the focal plane to adjust the perspective of the resulting photo. With old fashioned “large format” film cameras, you can actually change the angle of the focal/film plane so that is doesn’t sit parallel to the lens. This will result in the perspective and/or the focus of the photo being affected.
The tilt-shift effect in apps such as Snapseed (one of the best full-featured editing apps currently available) doesn’t really adjust the perspective of your photos, but it does simulate the effect that changing the focal plane would have on the sharpness of your photos. There are also some great dedicated tilt-shift apps available such as TiltShiftGen2.

Tilt-shift works best in simulating a shallow depth of field in photos that lack a definitive subject such as a person. This is because tilt-shift adds blur to your photos from two opposing directions at the same time. This can be hard to work with when you have a subject such as a person in the photo that may be partially obscured by part of the resulting tilt-shift effect.
I find that this effect works best with landscape photography if you want to focus on the middle-distance objects as opposed to the foreground and background.
For basic depth of field simulation, I don’t recommend using tilt-shift until you’re already comfortable with the other options above. For that reason, in part, we won’t discuss this topic in further detail here. However, if you are so inclined, go ahead and experiment with the tilt-shift effect in Snapseed and/or other apps.
Conclusion
As stated before, the ability to control depth of field is vital to most forms of photography. While the physical specifications of iPhone cameras do not yet allow for direct aperture control, we are lucky to have a wide range of editing apps available to help us achieve this effect in post-processing (only a few of which have been covered here).
If you would like to start experimenting with simulated depth of field effects on your iPhone, I strongly suggest starting with one or more of the apps mentioned above. As you start to get a feel for the technique, you can start to branch out and try other apps/techniques to determine which ones best suit your personal style.
One word of caution though… don’t overdo the blur effect unless you are going for a surreal look to your photos. Using as little blur as possible will help to achieve a more natural depth of field effect. Adding too much blur can make your photos appear over-processed and artificial.
If you happen to have experience taking photos with a DSLR or even a film camera, you likely already have at least a basic understanding of how depth of field works. If that’s the case, rest assured that you can achieve the same effects with your iPhone, and you may actually have more control over the final image in the process.
It’s encouraging to know that through a combination of hardware and software options, there is very little that the iPhone camera can’t do compared to a DSLR – and it may even do more!
Happy shooting!
About The Author
A long-time photographer with a particular love of black and white imagery, Rob DePaolo is passionate about the new medium of mobile photography and is always on the lookout for new tools and techniques for the creation of great photos. Rob loves sharing his ideas and experiences in order to help others go from taking simple snapshots with their mobile phones to creating serious art.


Thank you Rob for the excellent tutorial!
meh, they look more like tilt-shift shots to me, certainly can’t see a natural dof effect in any them
Look more carefully, the difference is certainly there.
Tilt-shift will cover some of the effects that I demonstrated (especially foreground and background blurring in landscape shots. However, unless I am missing something, tilt-shift will not allow you to wrap a blur effect “around” an object. For that you need to apply the blur with a masking tool of some sort.
Another elephant in the room people don’t mention when it comes to small sensors, far too much DOF. Interesting to see how phone cameras cure this problem when manufacturers they are always making their phones slimmer ?
Take the above images on a 6×6 or large format and you will soon realize how fake and unattractive these images look.
Very informative! Now I am dying to try out the above mentioned techniques:)
Glad to hear you found it helpful Srijal 🙂
I don’t know why but that gradient masked photo looks unnatural. It looks like those kids were added to the photo later on. I get the point, but…