Combining several photos into a collage is an excellent way of presenting your iPhone photos, whether in print or on screen. In this tutorial you’ll learn how to create amazing photo collages using the Diptic app on your iPhone.

What Kind Of Photos Make A Good Collage?
Displaying your photos in a collage enables you to tell a story with a set of photos, which creates a more powerful message from you to the viewer.
Before selecting the photos to display in your collage, you should consider carefully what kind of photos look good together. You can learn more about this by reading our tutorial on How To Create Stunning Photo Collages On Your iPhone.

When selecting your collage photos you should always select them with the idea of reinforcing a particular theme. For example, you might select a set of photos that all relate to a certain subject or theme, such as beach photos, portrait photos of your children, leaves, flowers, etc.

You could choose a set of photos that when displayed together tell a story of what happened over a period of time, or even a short amount of time if you captured the images using burst mode.

Another good idea for collages is to display a set of photos that show a particular scene both from a distance and close-up. For example, distance landscape shots and close-up macro shots of small details that you find at that location.

Or you could choose photos based on a particular color scheme, such as this blue collage made up from a random set of photos that have nothing in common apart from their color.

Combining a set of textures or abstract photos can also work well as an interesting combination for a collage.
How To Create A Photo Collage Using Diptic App
Now that you know what kind of photos look good together, it’s time to create a collage!
There are many photo collage apps available for the iPhone, but Diptic is very user-friendly with lots of choice over layout, borders and text, so that’s what we’ll be using here.
The Diptic app costs $0.99 to download from the App Store, and you can make additional in-app purchases if you want extra layout options.
1. Select A Layout
When you open the Diptic app you’ll see a selection of layout categories at the top of the screen, e.g. Recent, Classic, Jumbo, etc. Tap on a category to view the different layouts. Swipe across the layout thumbnails to view more layouts within a category.
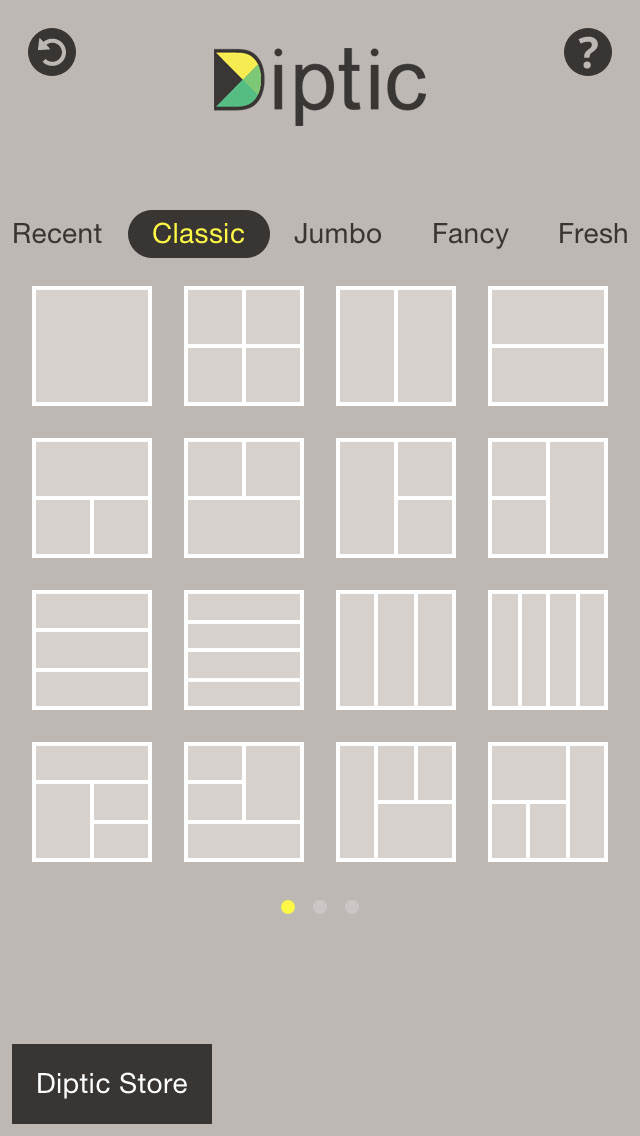
Tap on the layout that you’d like to use so that it fills the screen. If you change your mind, tap Layouts at the top left to go back to the layout thumbnails.
If there are already images in the collage when you open the template, you can clear these images – tap Layouts, then tap the Reset arrow in the top left corner.
2. Add Your Photos
When you’ve chosen your layout, you can now begin to add your photos into the collage. Tap anywhere on the layout template to access your iPhone’s albums of photos. To select several images at once, ensure Multi is selected at the top of the screen.
Select the photos you want to use – the selected image thumbnails will appear at the top of the screen. To deselect an image, tap the image thumbnail at the top of the screen.
Tap Done when you’ve finished selecting photos. The images will then appear in your collage template.
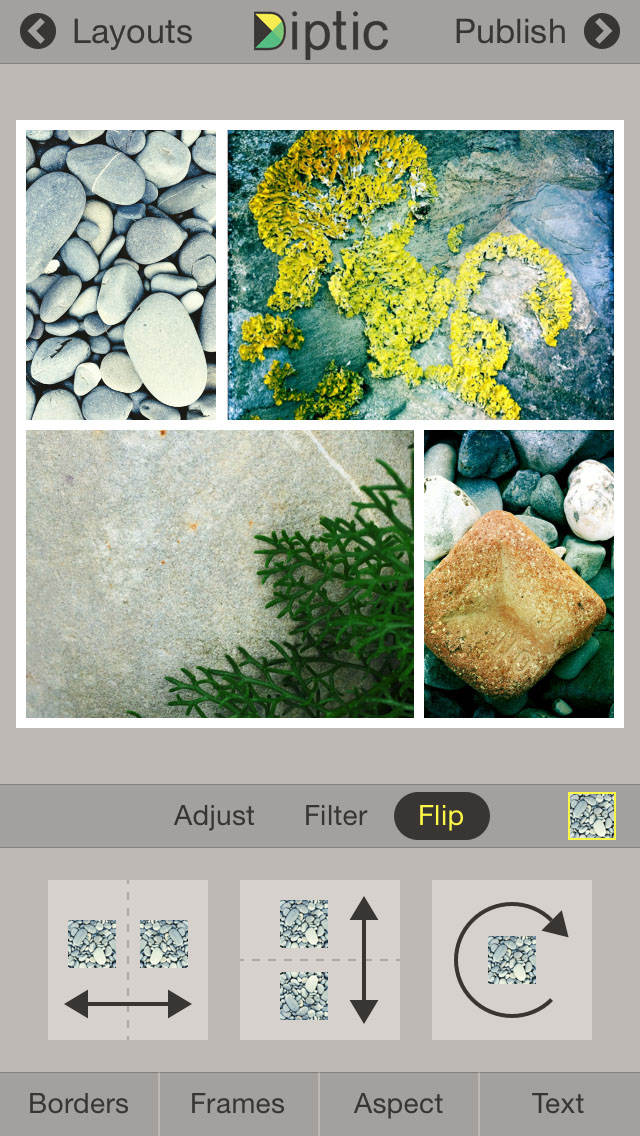
3. Customize The Layout
To swap photos to a different position within the template, tap the two photos you want to swap and they’ll switch positions. You can zoom in on a photo by stretching it with two fingers, and you can use one finger to drag a photo around its box.
To replace a photo with a new one, tap the photo once, then tap it again. Select a new photo from your photos album. To choose a different layout for these photos, tap Layouts at the top left, then select a new template.
To start from scratch at any point, tap Layouts, then tap the Reset arrow at the top left.
4. Make Image Adjustments
Beneath the collage image are three tabs titled Adjust, Filter and Flip. You can use the options under these tabs to make adjustments to each photo in your collage.
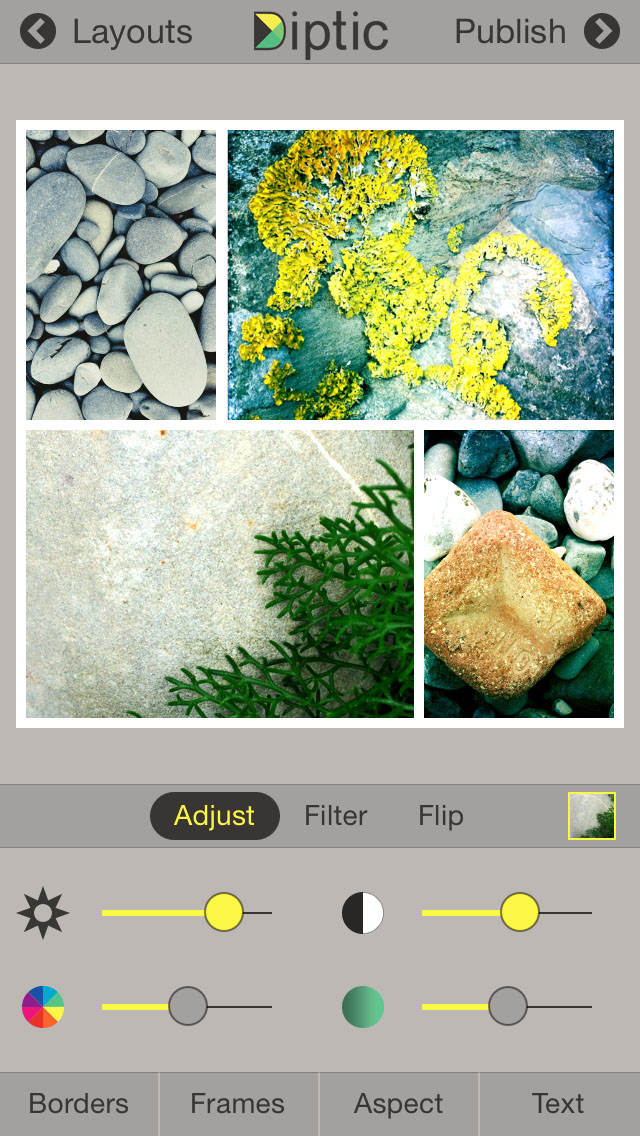
For example, you can adjust brightness, contrast and color. You can apply filter effects. And you can flip or rotate photos within their boxes.
4. Format The Borders
Tap the Borders tab at the bottom of the screen. You can now adjust the size, color, texture and canvas options for the borders surrounding each picture.
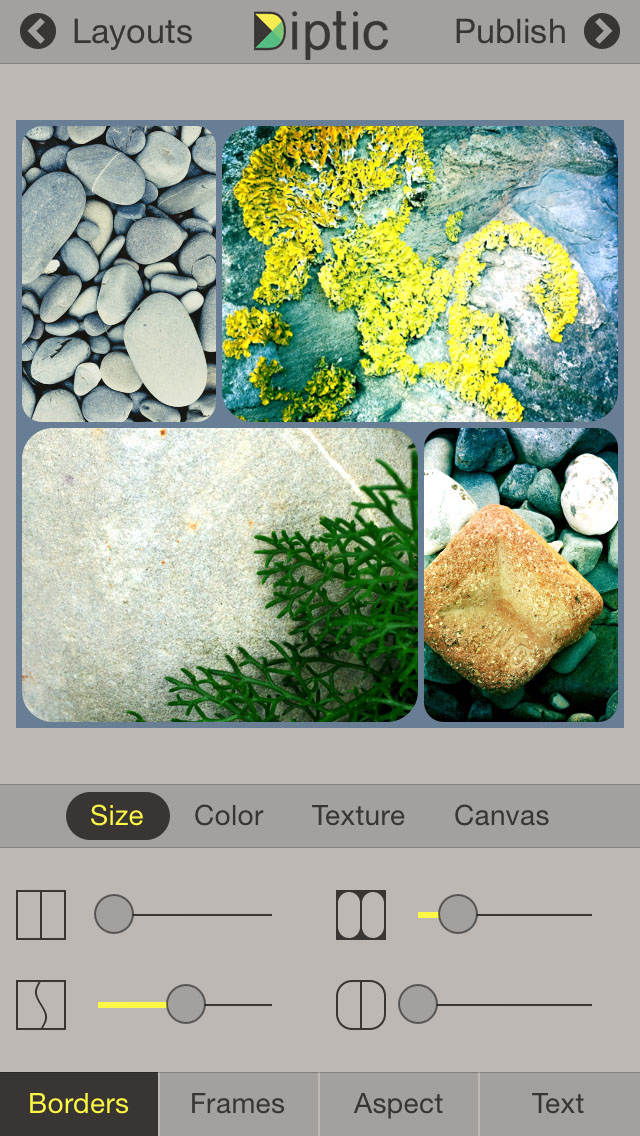
For example, you can make the borders thicker or thinner, create rounded edges, change the border color or add a texture. The canvas option lets you change the color of the outside corners if you choose to make the edges of the entire collage rounded.
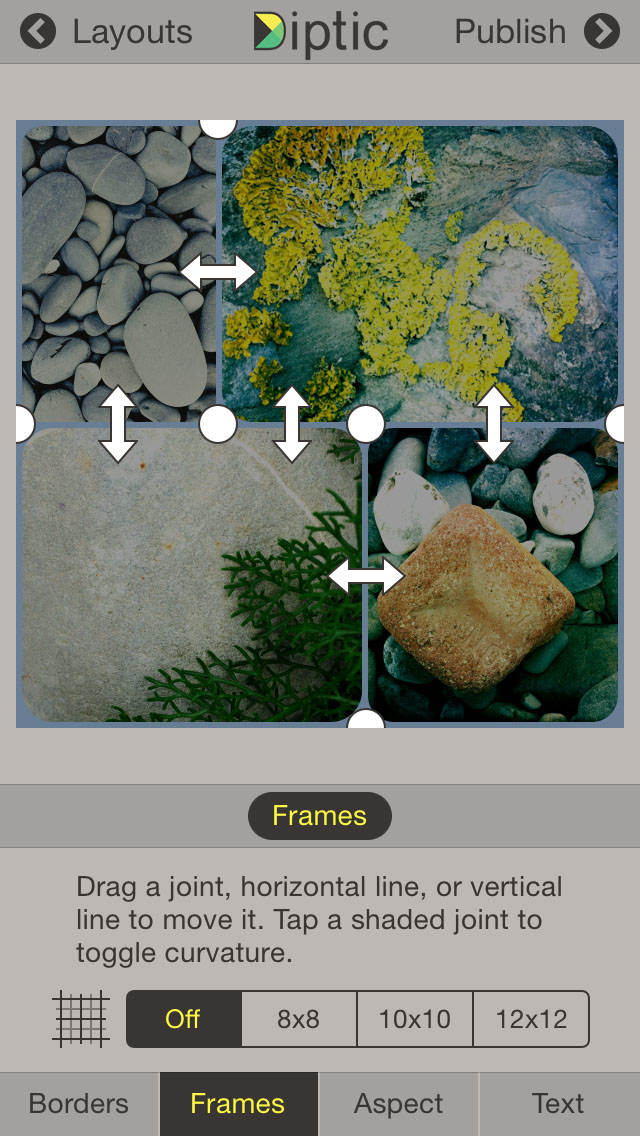
If you want to change the position of the borders to make certain boxes larger or smaller, tap the Frames tab at the bottom of the screen. Drag the arrows to change the position of the border, or drag the circles on the joints to create diagonal lines.
5. Change The Aspect Ratio
The Aspect tab lets you change the aspect ratio of the collage so that you can have a rectangular template instead of square.
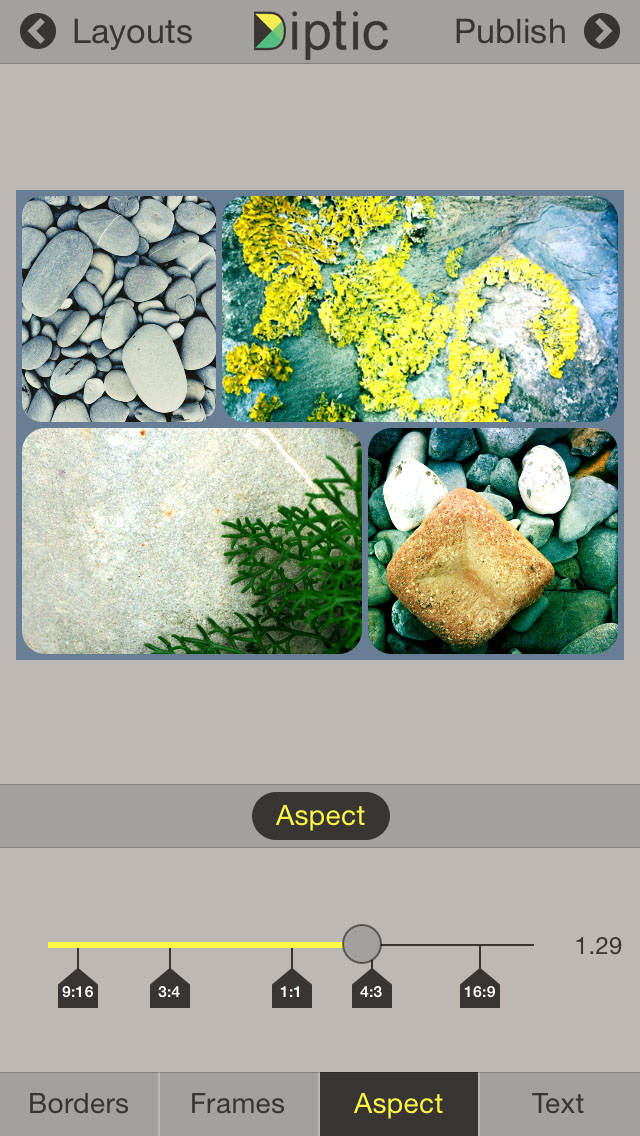
This option is only available as an extra purchase, so if you want to use this feature you’ll need to tap the appropriate option to purchase it via the App Store.
6. Add Text
The Text tab allows you to type text onto your collage. This doesn’t always look good, so use it only when it will add something to the visual appeal of your layout.
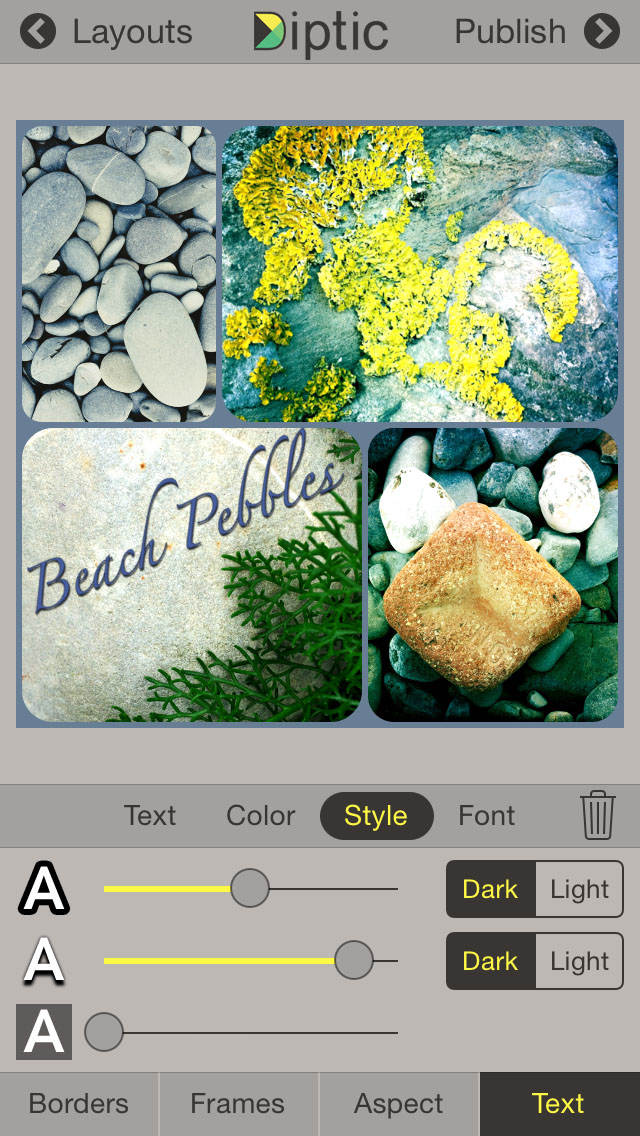
Tap the Add Text button, then type your text and tap Done. Use the Color, Style and Font tabs to customize your text.
You can change the size of the text on your collage by pinching or stretching the words with two fingers. You can move the text around the collage with one finger, and rotate it onto an angle with two fingers.
7. Save Your Collage
When you’ve finished your collage, you can save it to your iPhone’s Photos app by tapping Publish in the top right corner.
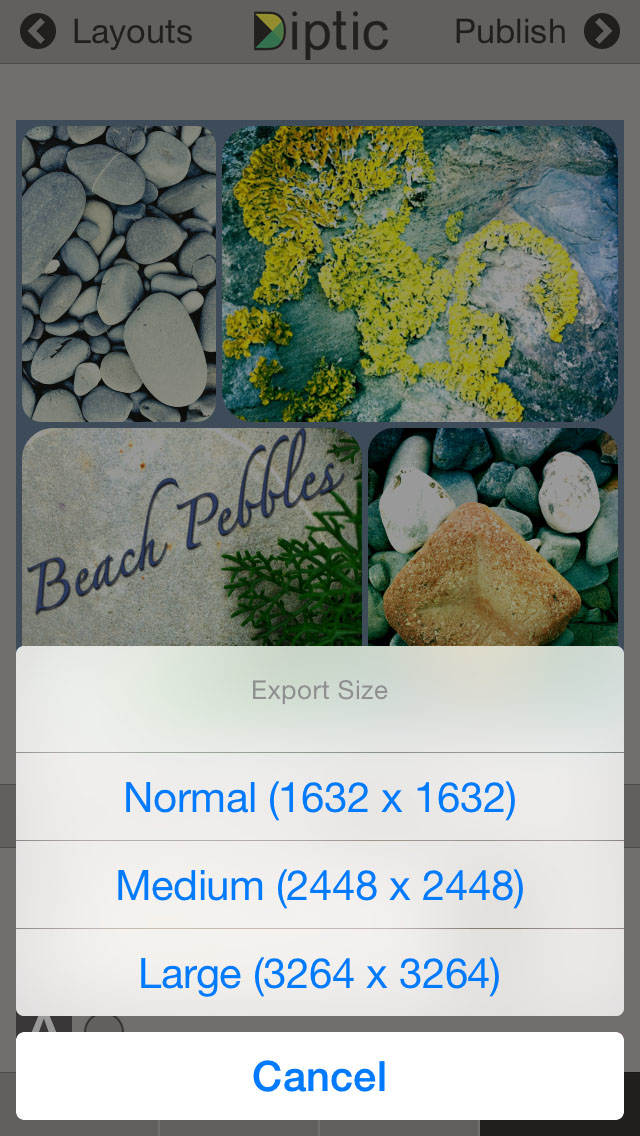
You need to select an Export Size – this determines how many pixels your collage will be saved with. The larger the size, the better quality it will appear when viewed at a large size. I would recommend always choosing Large.
Wait while Diptic processes your collage, then tap Save Image. Your collage will now be available to view in the Photos app.

To start a new collage, tap Layouts at the top left. Tap the Reset arrow at the top left to erase the previous photos that you were just working with, then start creating another collage. Once you start, I can guarantee you’ll get addicted!


Leave a Reply
You must be logged in to post a comment.