The sky is one of the most important factors to consider in outdoor and landscape photography. It often takes up a large portion of the frame, so it’s vital that you capture it at its best. How the sky appears in different weather conditions can have a dramatic effect on your iPhone photos. In this tutorial you’ll learn how to make the most of the sky in your iPhone photos, capturing dramatic skyscapes even when the weather is against you.
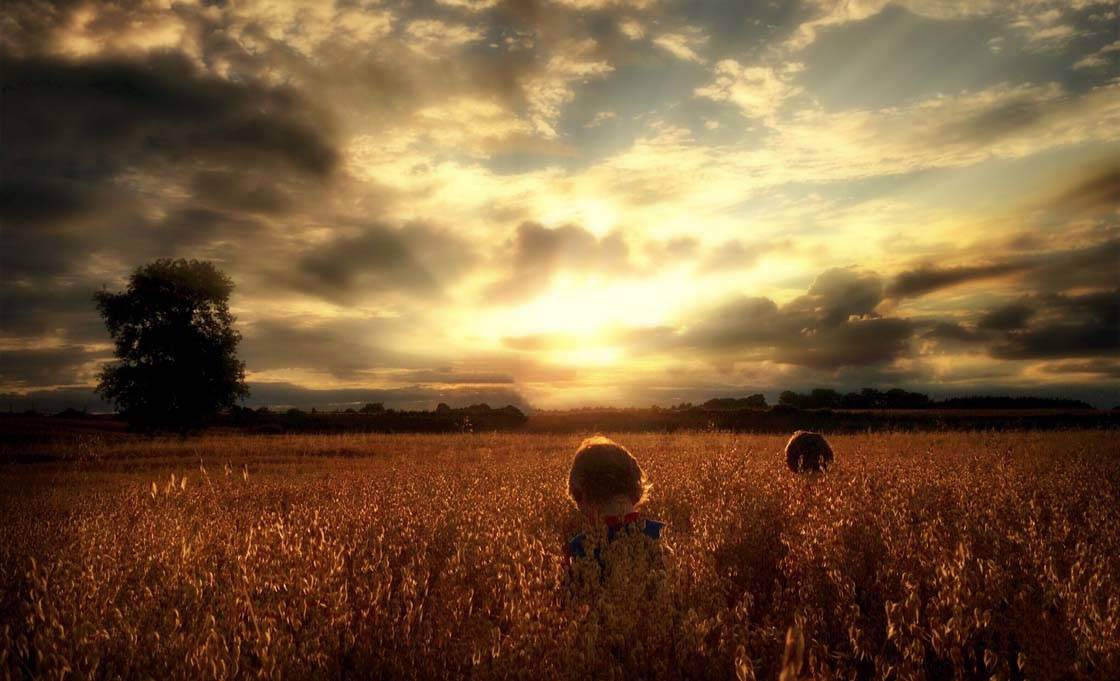
1. Use Clouds To Add Drama
Many beginner photographers make the mistake of thinking that the best time for landscape photography is in good weather when the skies are clear and blue. However, it’s often quite the opposite.
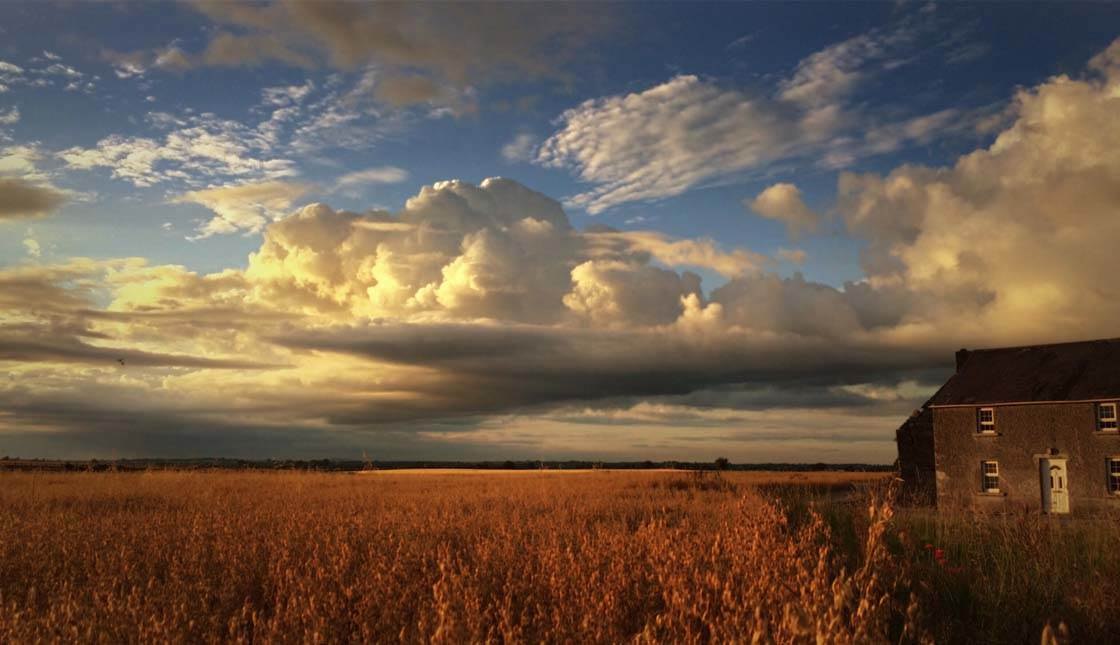
Yes, clear blue skies can add a wonderful vibrant splash of color to your landscape photos, but they can often end up as a large expanse of boring empty space in your picture. This can make your photo look unbalanced as there’s nothing in the sky to balance the detail in the foreground.
And if the sun is shining, you need to be very careful not to shoot towards the sun as it will affect the exposure of the photo and cause a large amount of the sky to appear as an over-exposed blob of light.
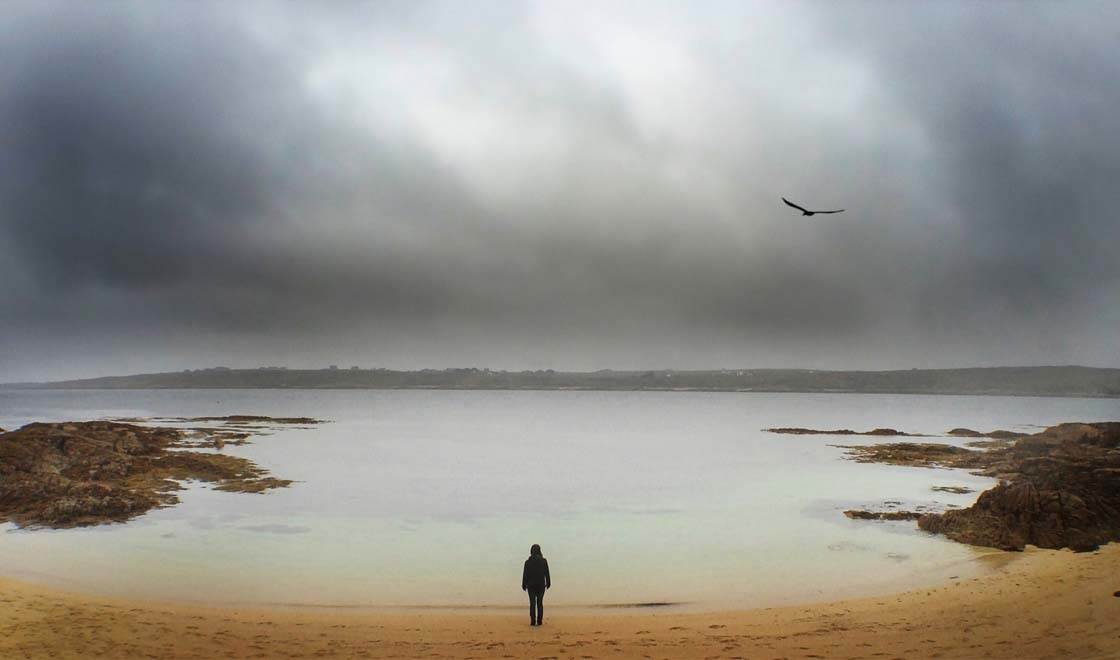
Bad weather and dark cloudy skies are often much better conditions for shooting landscapes. Dark clouds add a sense of foreboding drama to a photo, as well as balancing out the light and detail in the photo.
Cloud formations add interest and detail to what would otherwise be a big empty space in your image. Clouds aren’t just found during bad weather though. You’ll often find white fluffy or wispy clouds in the sky on a nice summer’s day too.
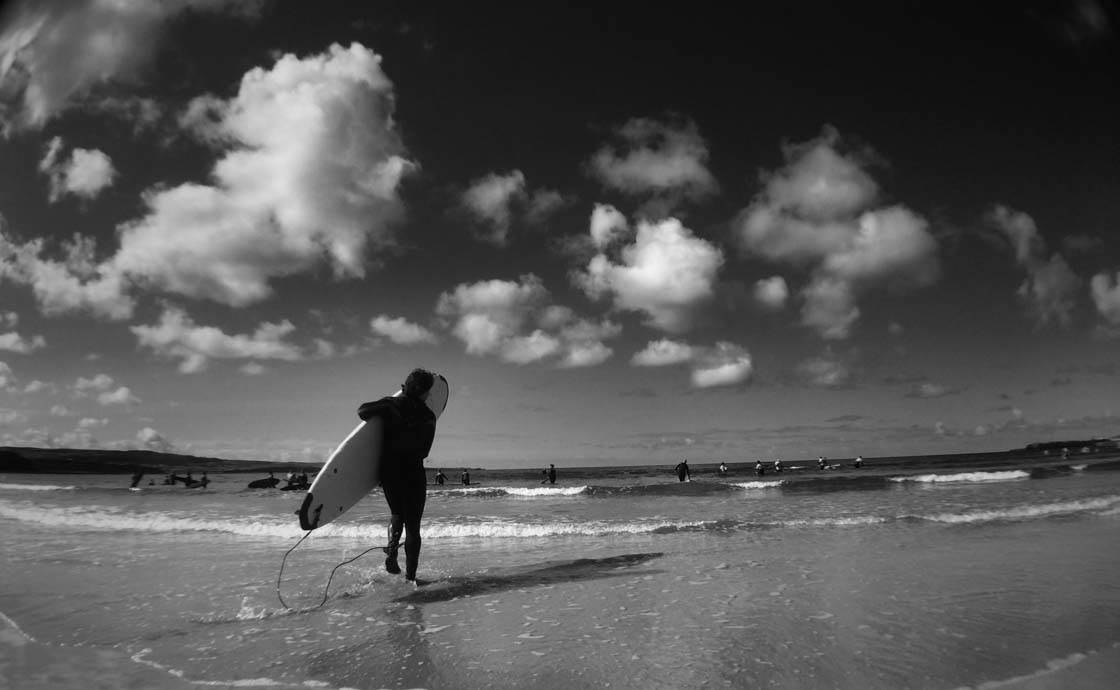
Imagine the photo above without the white clouds in the sky. It would be a much less interesting picture to look at and wouldn’t hold the attention of the viewer for as long. The clouds provide detail that catch the viewer’s eye and balance out the subjects in the bottom part of the frame.
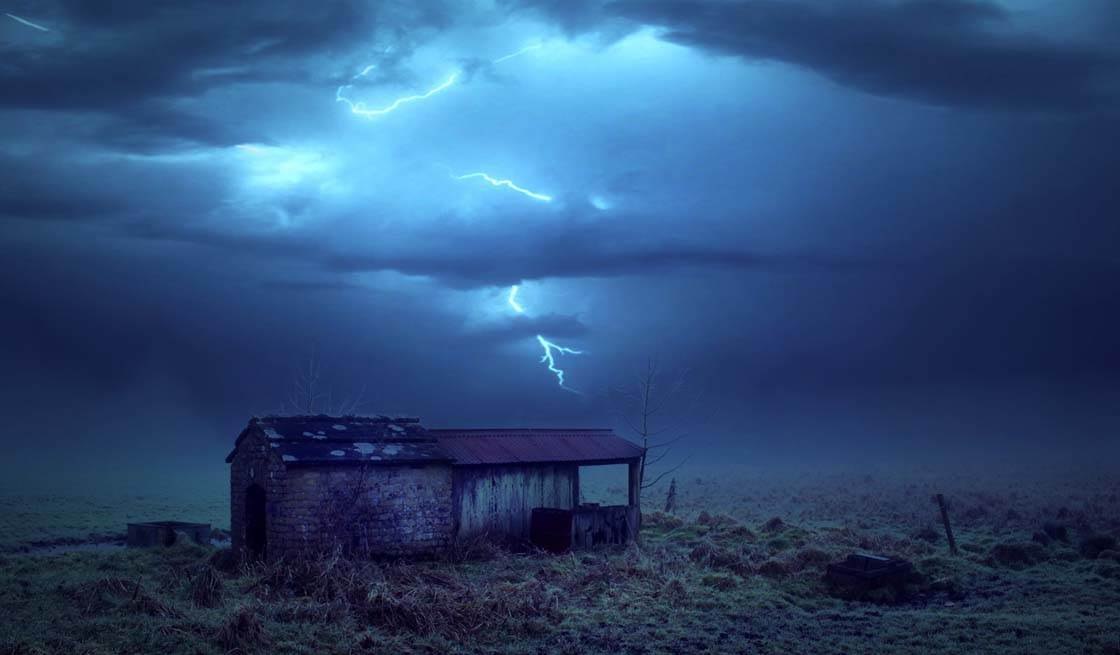
If you’re really lucky (and brave!) you might even capture a lightning storm which is the ultimate dramatic sky shot.
2. Use The Rule Of Thirds
The rule of thirds is one of the most well know composition techniques in photography, and it can be especially useful when you want to place extra emphasis on the sky.
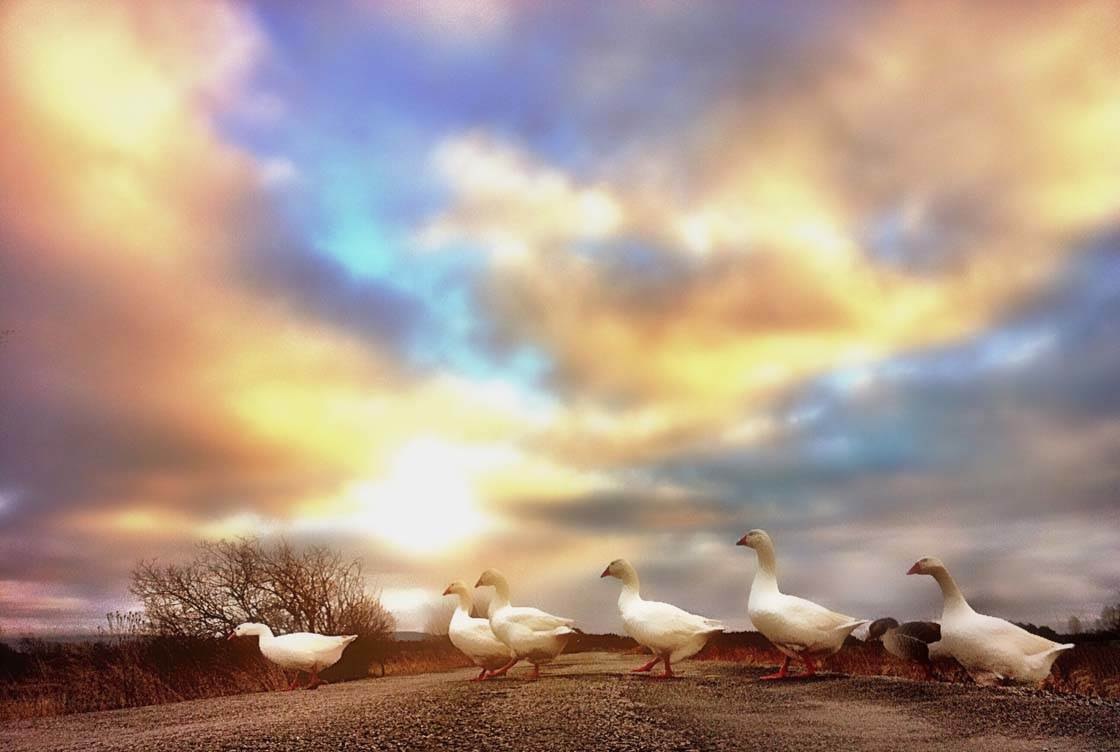
The rule of thirds involves mentally dividing your image into a grid using two horizontal lines and two vertical lines, as shown below. You can then position the important elements in your scene along those lines, or at the points where the lines meet.

When you have a scene with an interesting sky that you want to emphasize, you can position the horizon on the bottom thirds line so that the land takes up one third of the frame and the sky takes up two thirds. This naturally places emphasis on the sky, drawing the viewer’s attention to this part of the image.
On the iPhone you can switch on the camera’s grid option which will place the rule of thirds gridlines over the screen to help you compose your shot. To turn on the grid, go to Settings > Photos & Camera > Grid.
3. Shoot In HDR Mode
One of the hardest things to do when shooting landscapes with a lot of sky in them is to keep the light even throughout your photo. This is because of the high contrast between the bright sky and the dark foreground.
While your eyes can see plenty of detail in both the bright and dark areas of the scene, cameras don’t do such a good job of this which results in photos with loss of detail in either the shadows (dark areas) or the highlights (bright areas).
The problem is that if you expose the shot to capture the sky correctly you’ll end up with a very dark foreground.
Alternatively, if you expose the shot for the foreground, you’ll end up with the sky completely “blown out” or over-exposed. This will lead to loss of the detail you were trying to capture in the sky.
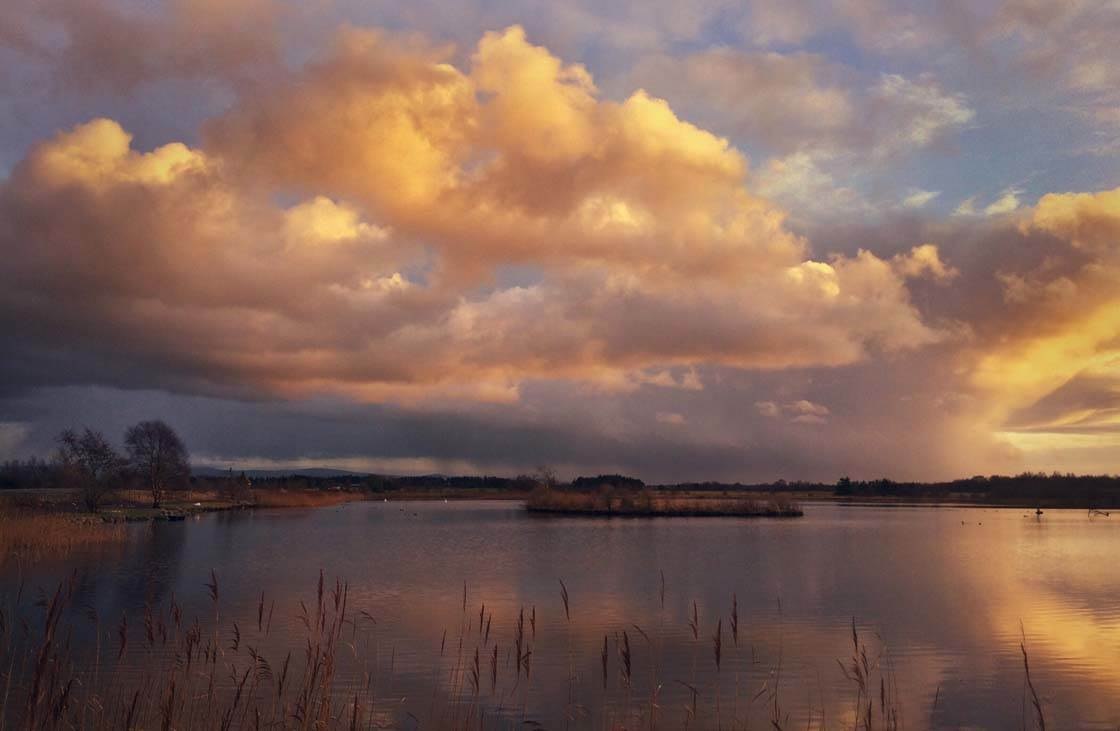
The best way to counteract this is to shoot using the iPhone HDR mode in the camera app.
What is the HDR meaning?
HDR stands for High Dynamic Range, and it allows you to capture more detail in the shadows and highlights than you would normally be able to get.
There’s a HDR mode in the native camera app which you can turn on by tapping the HDR option on the left side of the screen. Using this mode will help keep the detail in both the foreground and the sky.
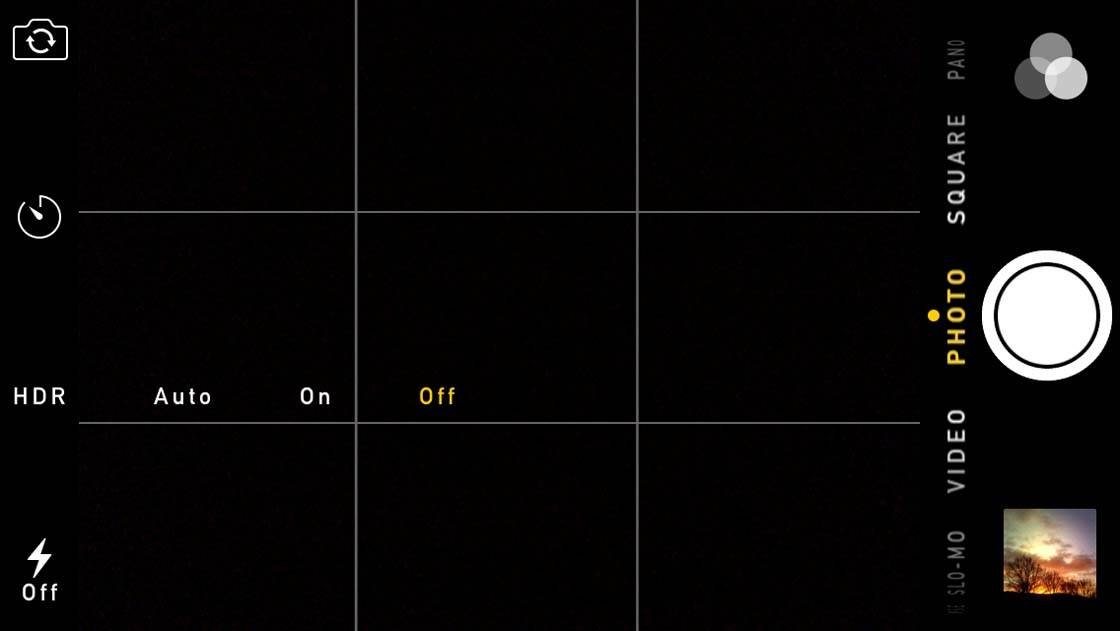
The HDR setting in the native camera app isn’t that strong, which is often a good thing as overdone HDR photos can look unnatural. However, if you’re not getting the results you want, for example, the sky is too bright or the land is too dark, you could try using a dedicated HDR app such as Pro HDR X.
For more information on taking HDR photos with your iPhone, check out our HDR photography tutorial.
4. Use The Lighting Brushes In PhotoToaster
While HDR mode will definitely help you get more evenly lit shots, you might still end up with the foreground being a little too dark and the sky a little too bright.
When I’m working on my landscape shots in post-processing, my first step is normally to use the lighting brushes in the PhotoToaster app to get more even and natural looking light.
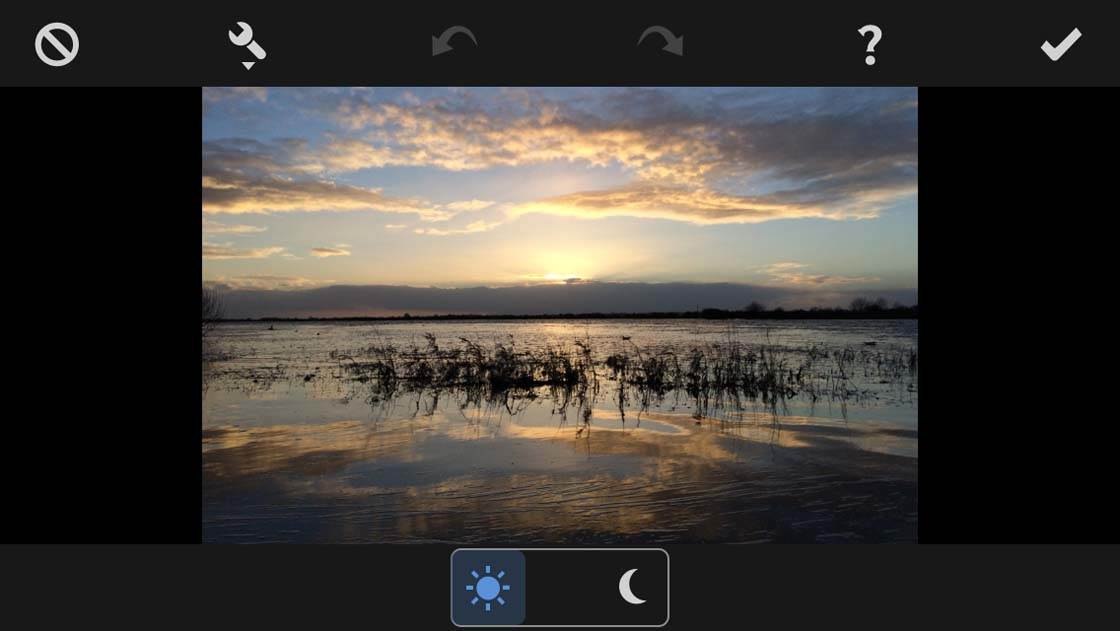
In PhotoToaster, the effects brushes can be found under the brush icon at the top right of the screen. The lighting brushes are the second option down from the top. You can then alternate between the brightening and darkening brushes by tapping the sun and moon icons at the bottom of the screen.
Once you’ve picked the brush you wish to use, just rub your finger across the area of the photo you wish to change. The result is very similar to the “dodge and burn” technique used back in the darkroom photo developing days, but far less hassle.
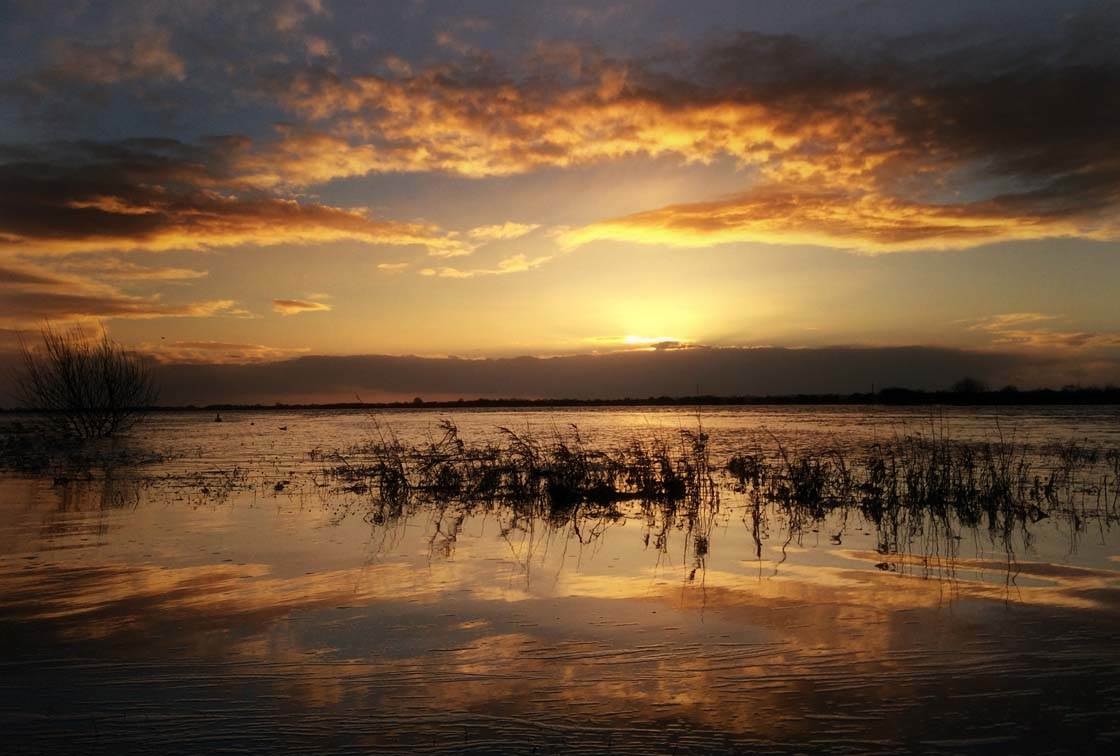
In this example I brightened the foreground to enhance the reflection of the clouds in the river and darkened the sky to bring out the detail in the clouds. This results in a photo with more natural and balanced lighting.
5. Use HDR Effects In Post-Processing
A great way to add drama to your sky shots is to use a HDR filter to bring out the detail in post-processing. HDR will also even out the light in your image by bringing out details that are lost in the shadows and highlights.
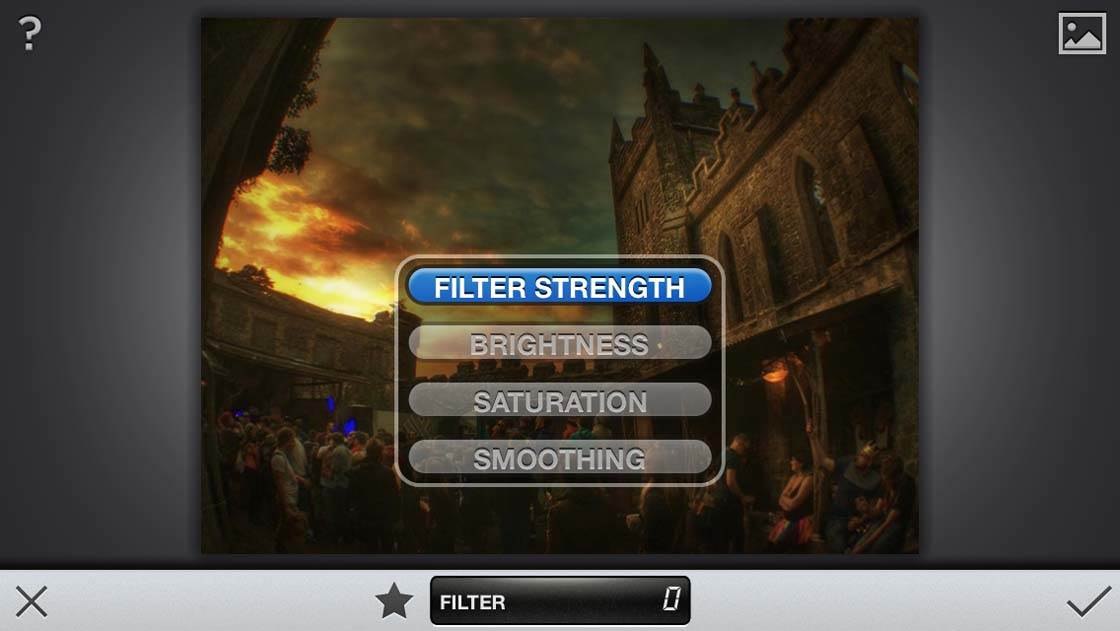
The Snapseed app has a HDR tool which has four distinct HDR types to suit any situation, and they’re fully customizable. It’s always a good idea to reduce the HDR filter strength as the presets can be a bit too strong.
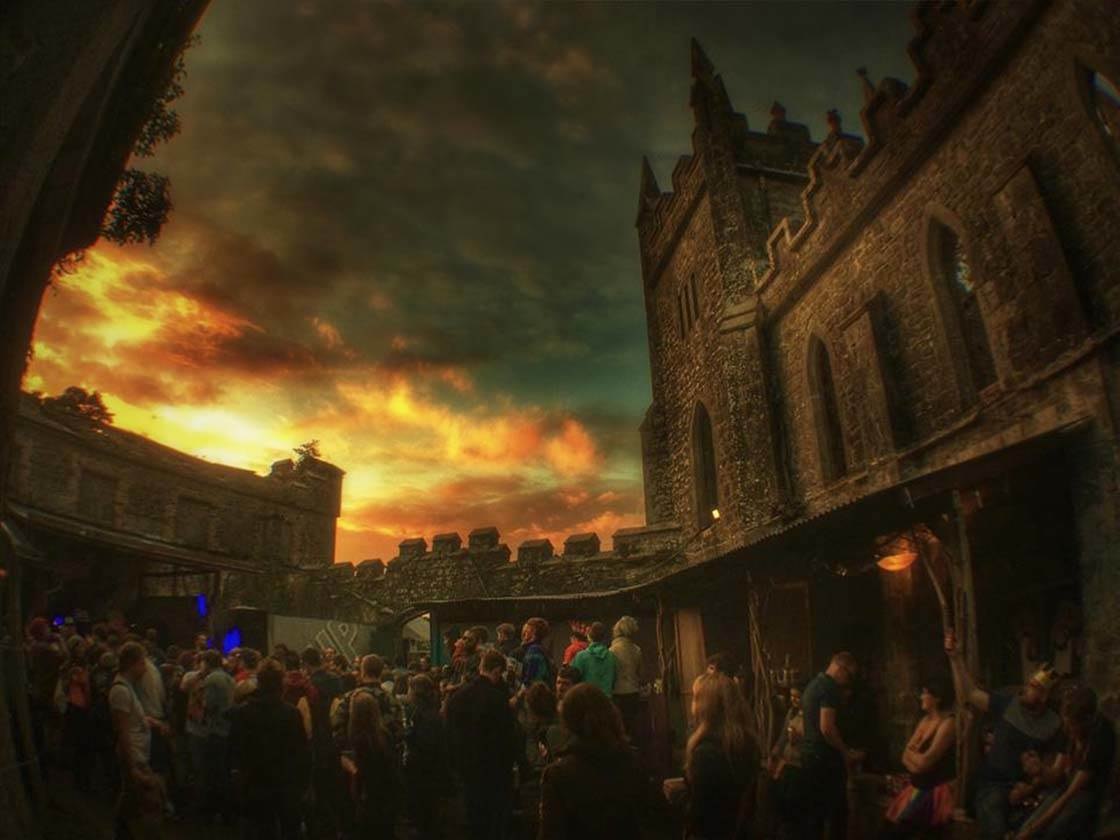
In this shot, the courtyard interior was too dark and the sky was overexposed. Using one of the Snapseed HDR filters I was able to bring out the detail in both areas. The intensity of the colors in the sky really adds to the overall drama of the image.
6. Incorporate Sky As Negative Space
Negative space is the empty space around your subject. Normally we try to fill the frame with interesting elements, but large expanses of empty space in a photo can actually help to focus attention on the main subject.
Your skies don’t have to be full of spectacular clouds for dramatic photography opportunities. If you get the composition right, you can take great outdoor photos when the sky is completely empty of detail.
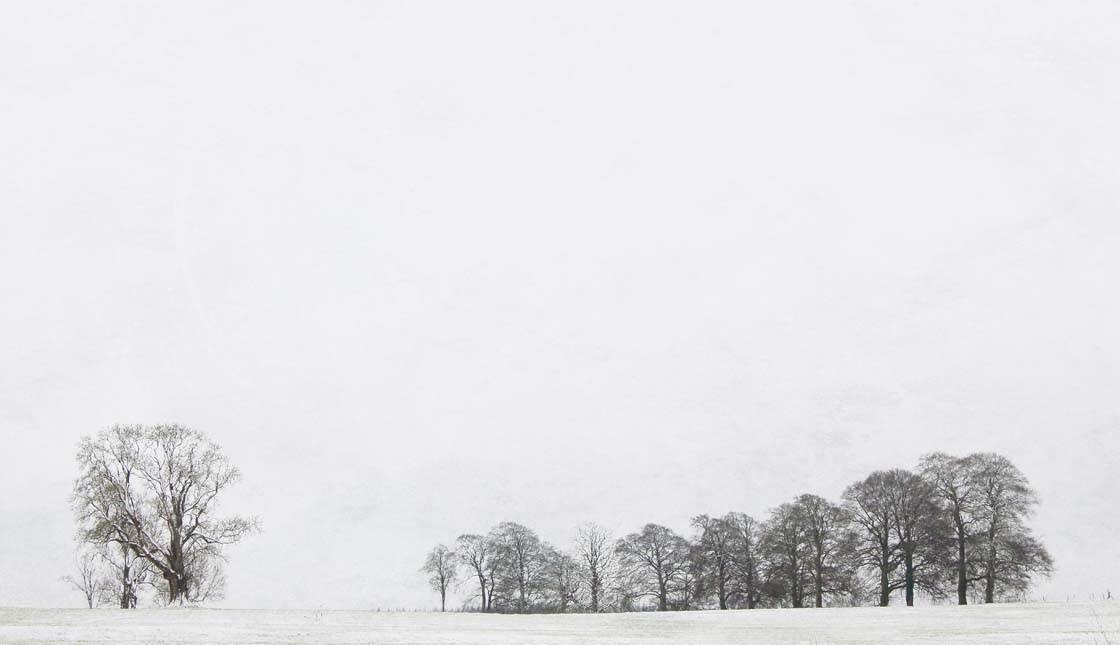
This photo was taken on a winter’s day after a fresh snowfall. The bare trees stood out very nicely against the white background, and the fact that the sky has little or no detail leads the viewer’s eye to them even more so.
The large expanse of empty sky adds to the overall composition of the shot. The result is a stark cold image that nicely captures the conditions on that day.
Don’t be afraid to include a lot of negative space in your photos. It can actually be very powerful, emphasizing the vastness of the scene and drawing attention to your main subject.
7. Add Weather Effects
There’s no doubt that bad weather conditions can greatly increase the mood and drama in your shots. However, shooting photos on dark stormy days can be notoriously difficult. The light will be bad and if you shoot in the rain you could end up with a water damaged phone which is a definite no-no!
A great workaround is to use one of the many photoshop apps from the App Store that can simulate weather effects. My two favorites are Rainy Daze and LensLight.
In this first example below, the original shot was taken at sunset on a summer’s evening. It wasn’t a particularly dramatic backdrop to the subject of the photo. The clouds and light were nice, but the overall shot didn’t work as it had a summery vibe.
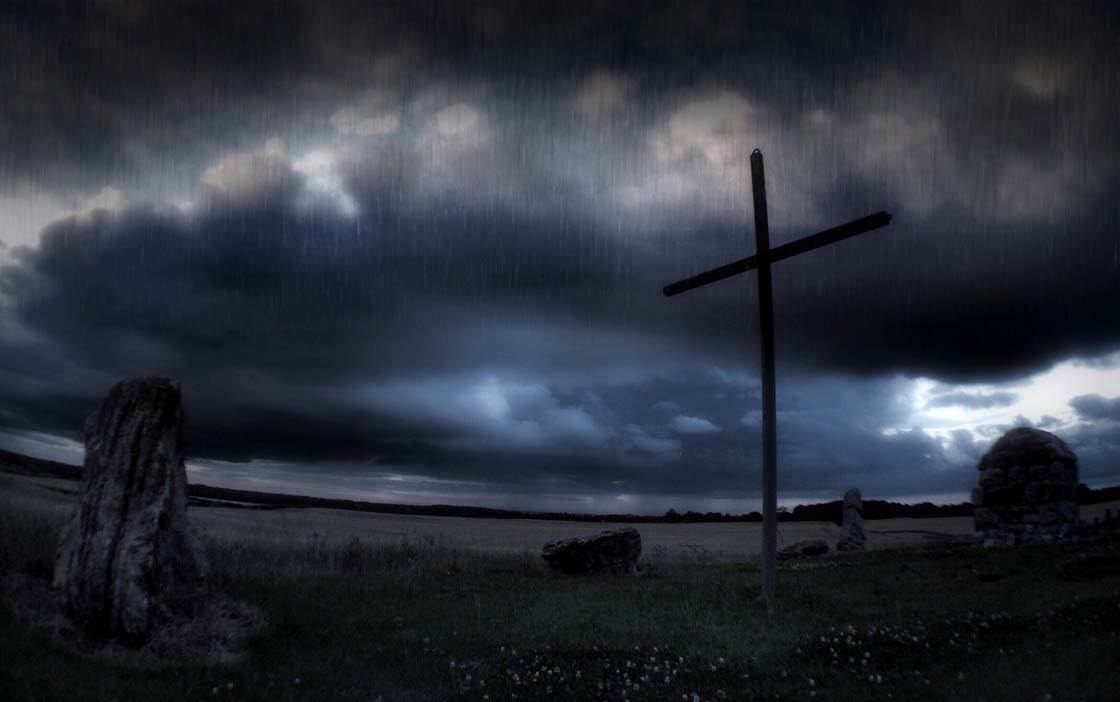
I wanted something much darker, so I used the Rainy Daze app to get the mood I was looking for. This app creates quite realistic rain effects. The type of rain, the direction in which it’s falling, and the tone and brightness of the effects can all be adjusted. You’ll get some nice results from this app.
In the second example below, the original shot was again taken on an overcast summer’s day. But I felt that a photo of my daughter walking along some disused railway tracks with a dreary grey backdrop wasn’t that exciting.
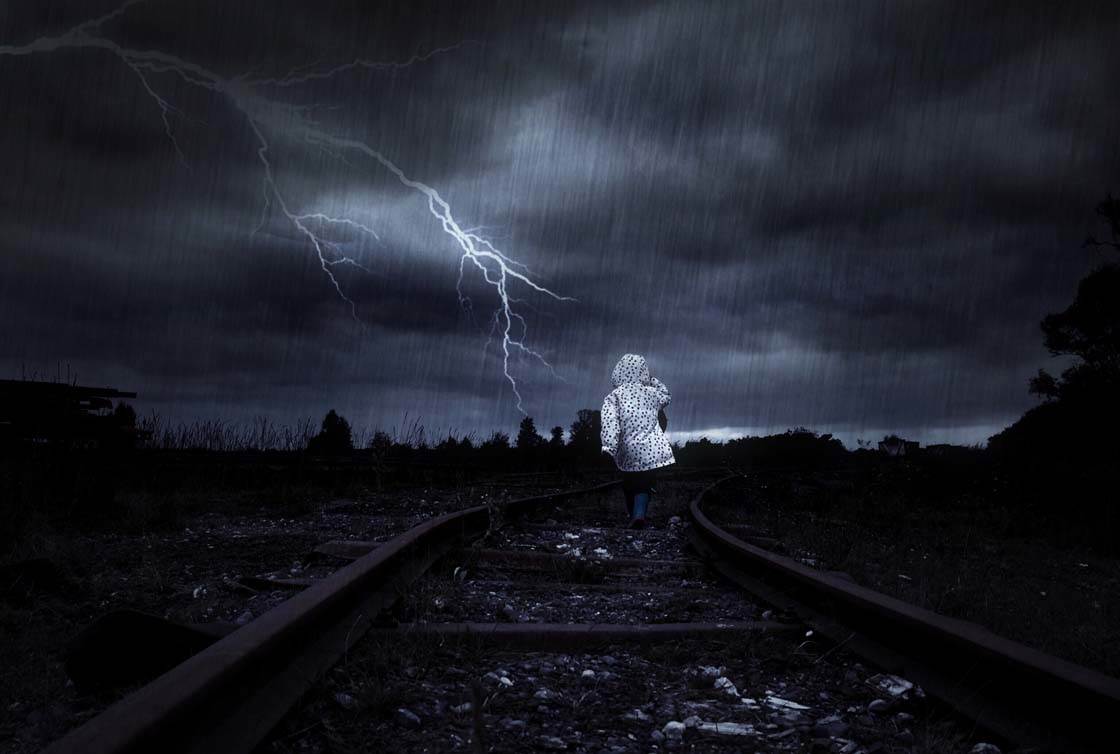
On the other hand, a photo of her walking towards an approaching storm was a far more exciting prospect. Of course I would never have my daughter out in such hazardous weather conditions so I had to resort to special effects to get the look I was after.
I used the Lenslight app to add the lightning, then I used Rainy Daze to add the rain. Using Rainy Daze after adding the lightning effect helped to blend it into the photo a bit more. If you’re going to add special effects to your photos it’s always good to do it at the start of the process as all of the subsequent editing will help to blend in the added effect.
8. Use The Sky As A Dramatic Backdrop
A dramatic sky doesn’t always have to be the main focus of your shot. It can provide a very nice backdrop to increase the overall mood of your photo.
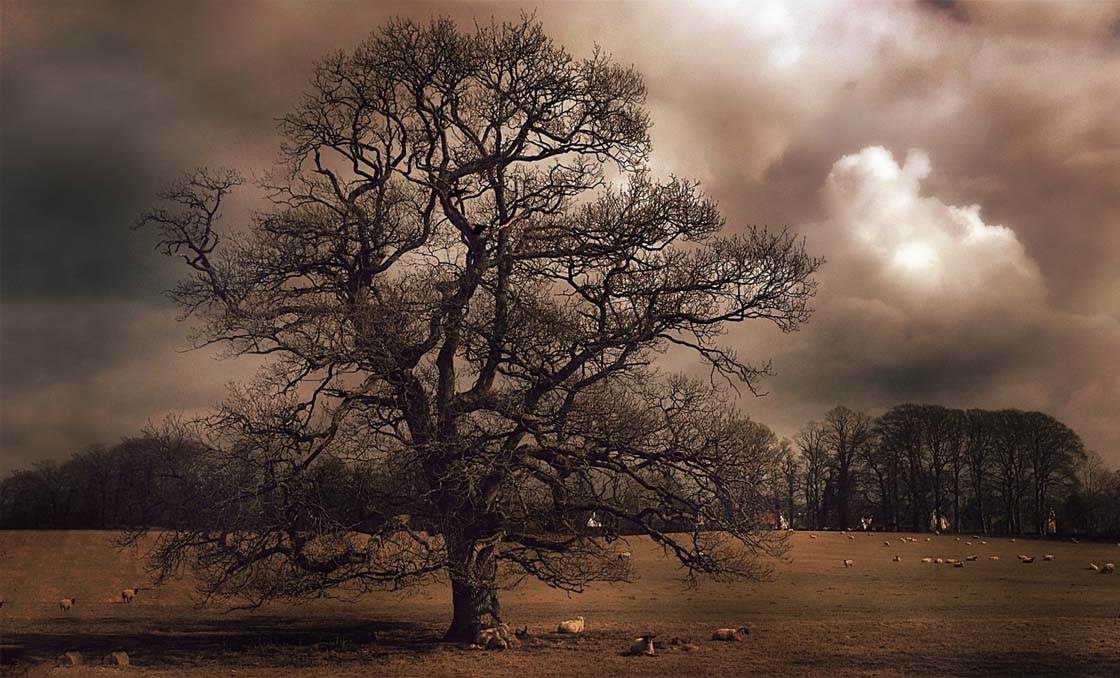
In this first example, the focus of the shot is obviously the tree, but the overcast stormy skies in the background leave the viewer in no doubt that this was taken on a cold winter’s day.
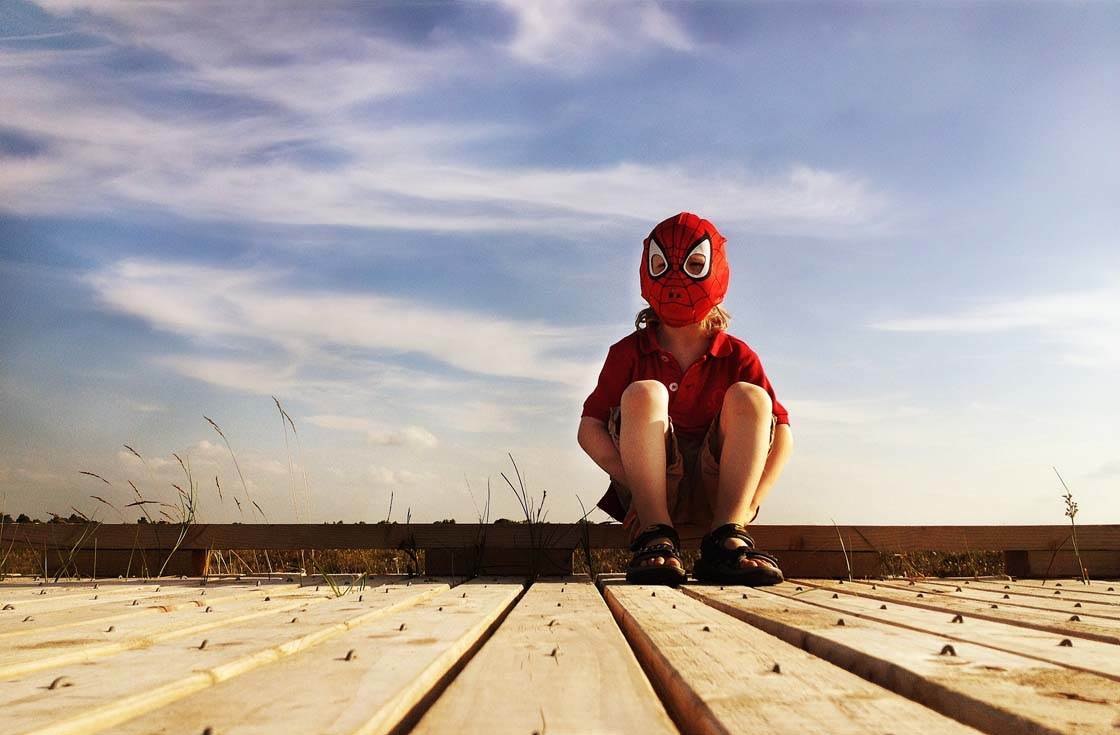
Dramatic skies also make great backdrops for portrait photography. In the example below, I took a photo of my daughter while we were out exploring a boardwalk on a bog in our local area.
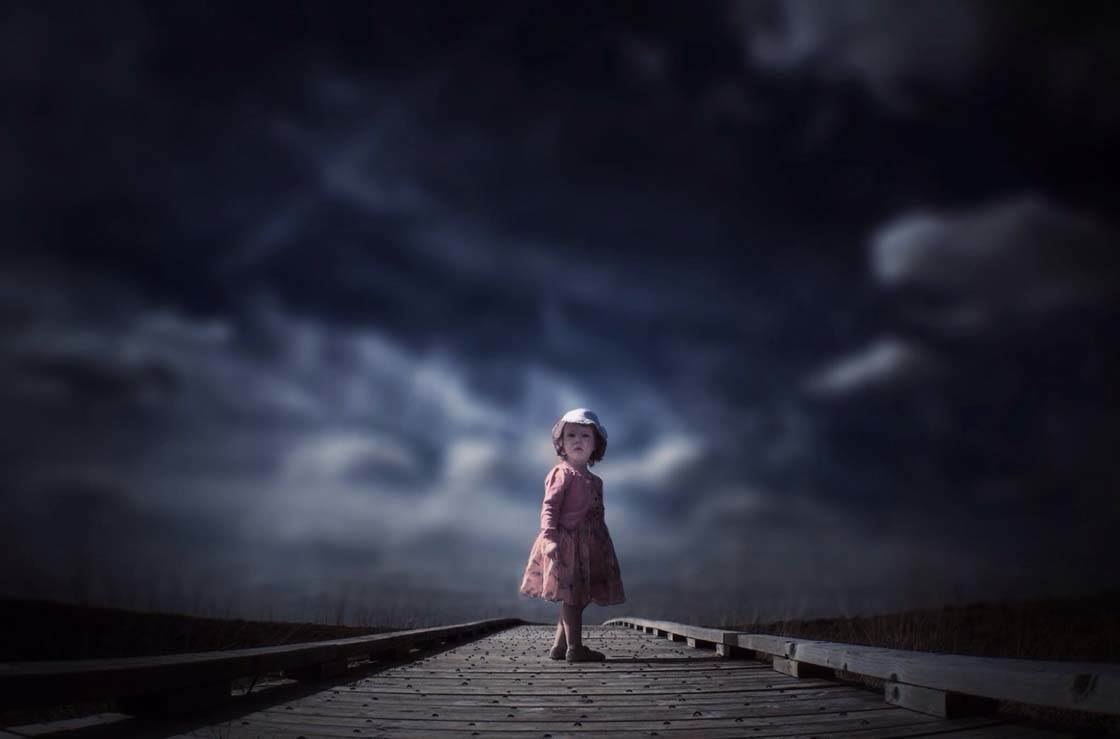
She’d just turned around to make sure I was still there, and the slightly worried look on her face unintentionally created an eerie mood. Having a large ominous sky in the background added to this mood.
9. Include The Sun In The Sky
Having a big sun dominating the sky in your shot can produce very dramatic images. Unfortunately, shooting directly into the sun rarely works well, but if you get the right conditions you can achieve very nice results.
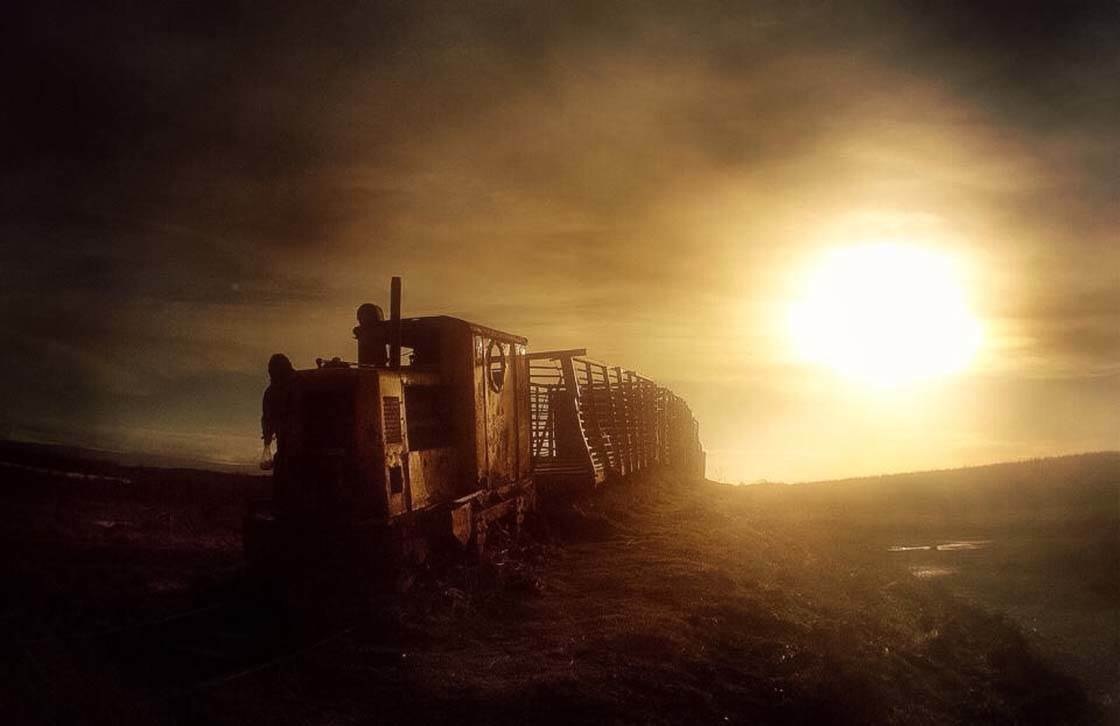
If you’re out on a day when the sky is slightly overcast, but you can still make out the sun through the clouds, these are ideal conditions. The clouds will help to diffuse the sun, making sure that it doesn’t ruin the image.
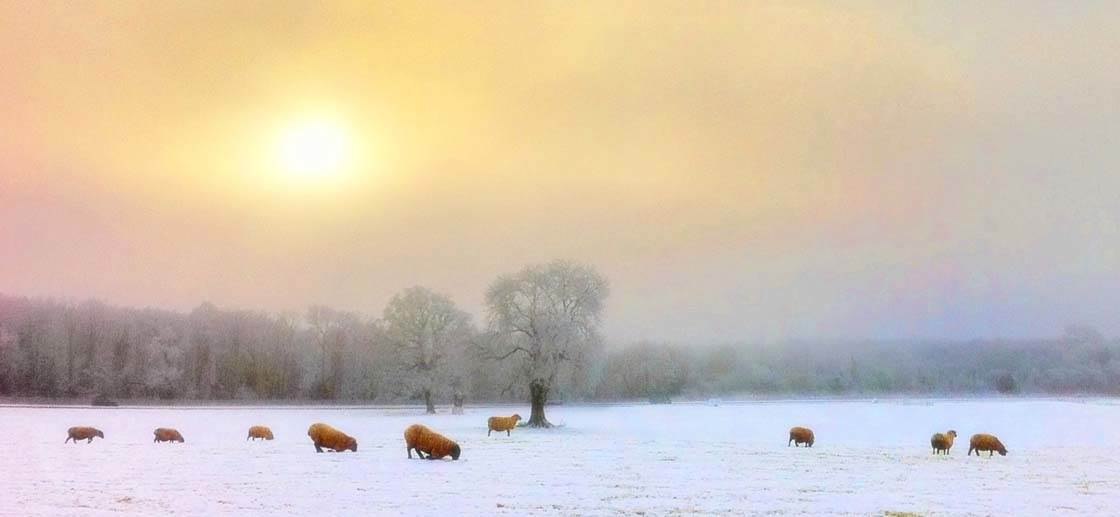
In these conditions you can shoot directly at the sun, but it won’t overpower the exposure and you’ll be left with plenty of detail in the rest of the frame.
In both of these examples the sun was partially obscured by low lying cloud, but was still clear enough to play a big part in the composition of the scene.
10. Capture Sky Reflections
Sometimes when you’re out and about taking photos, you’ll be lucky and get a day when all of the environmental conditions come together to produce spectacular scenes for you to capture.
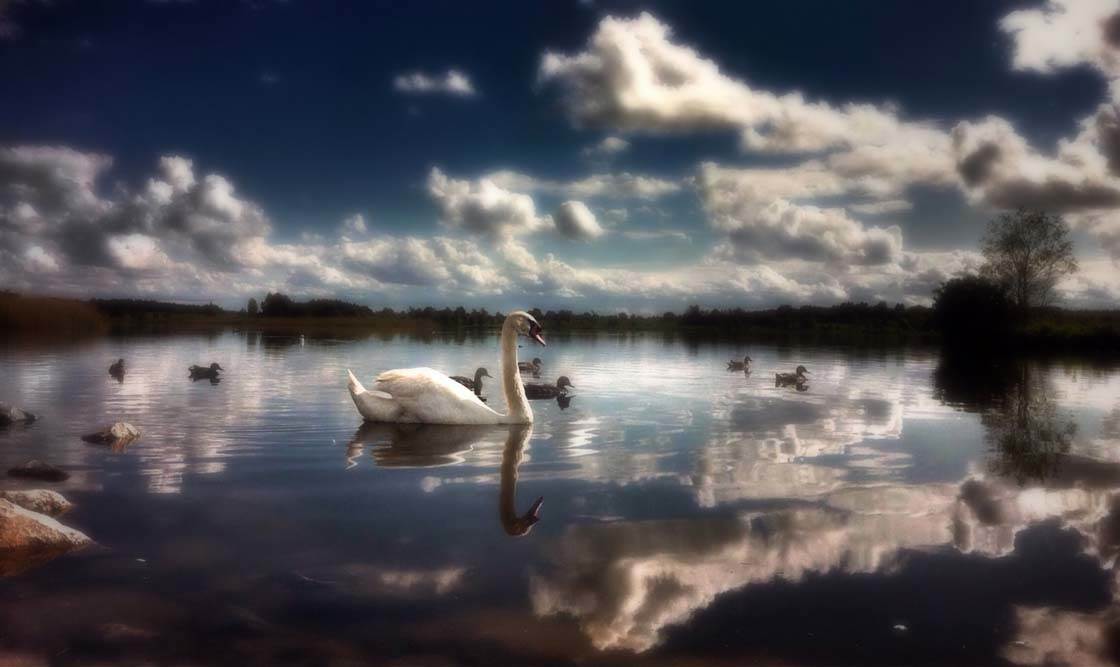
In both of these example that were taken in the same area, the lake was like a mirror as there wasn’t a breath of wind. On a normal day the skies alone would have been dramatic enough to warrant a few shots, but to get them perfectly reflected in the lake made them something a bit special.
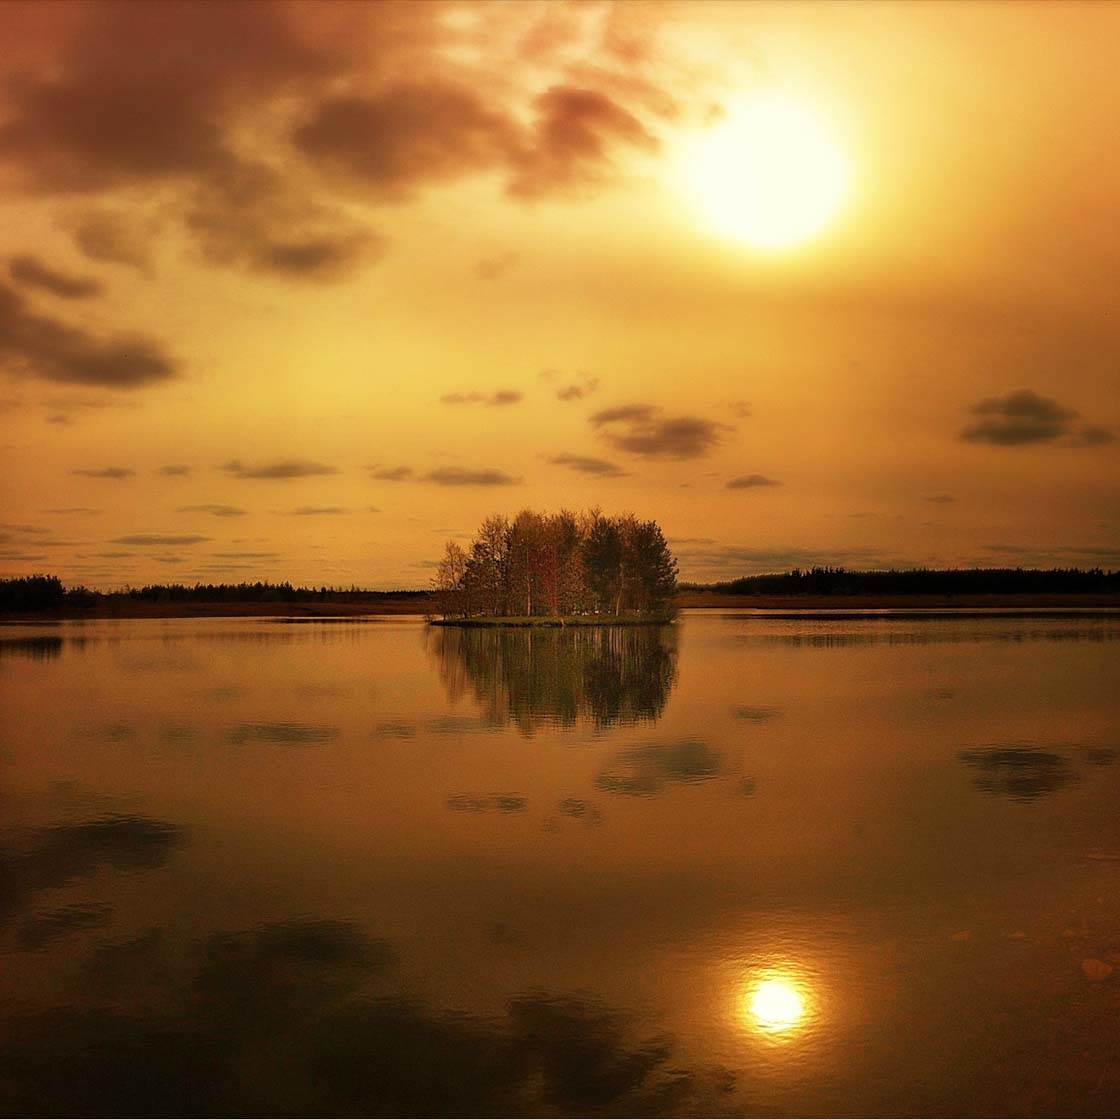
Great reflections shots are purely as a result of being in the right place at the right time. When you’re around lakes or rivers you should keep an eye out for reflections to bring an added dimension to your shots.
11. Convert To Black & White
If your landscape photos don’t look as dramatic as you’d hoped, try converting your shots to black and white photos in post-processing. Most iPhone photo editing apps allow you to turn your pictures black and white.
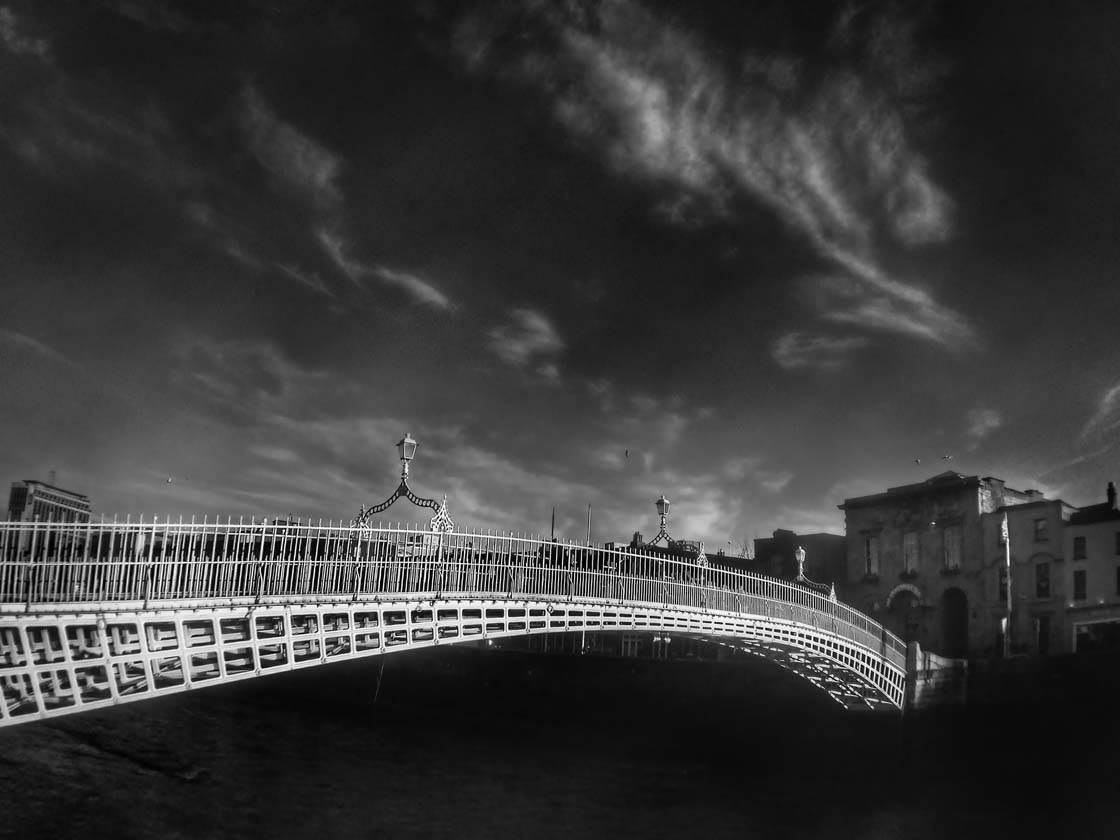
By converting to black and white, you remove any distractions that would be caused by clashing or overbearing colors. This technique tends to work better for photographs that have clouds in the sky, as the white clouds provided contrast against the darker sky.
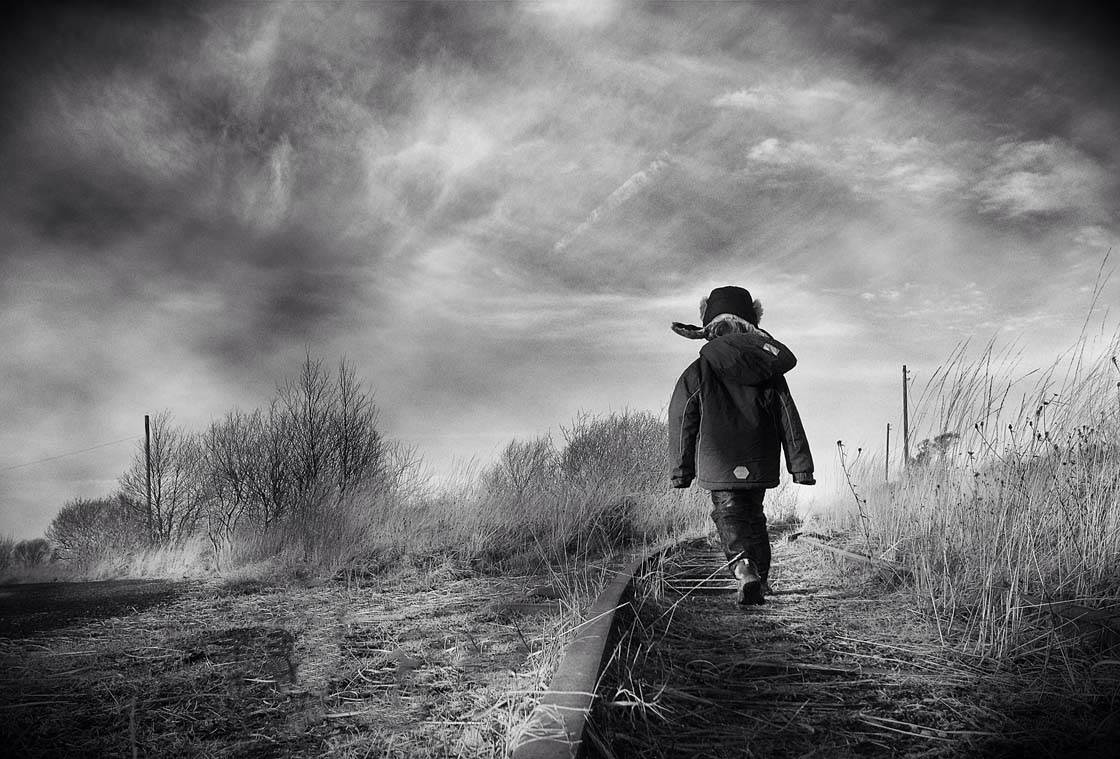
In certain circumstances you’ll only want the viewer to be aware of your subject and the sky. If the shot is composed correctly and you remove the distraction of color, this is exactly what will happen.
12. Add Textures To The Sky
Much of the time when shooting landscape photos, you might end up with a lot of nicely composed and well lit shots that are let down by a bland sky. One way to counteract this is to add texture effects to your image.
One of the best photo filter apps for adding textures to your photos is Distressed FX. The textures available in this app are quite strong and will have a very pronounced effect on your images.
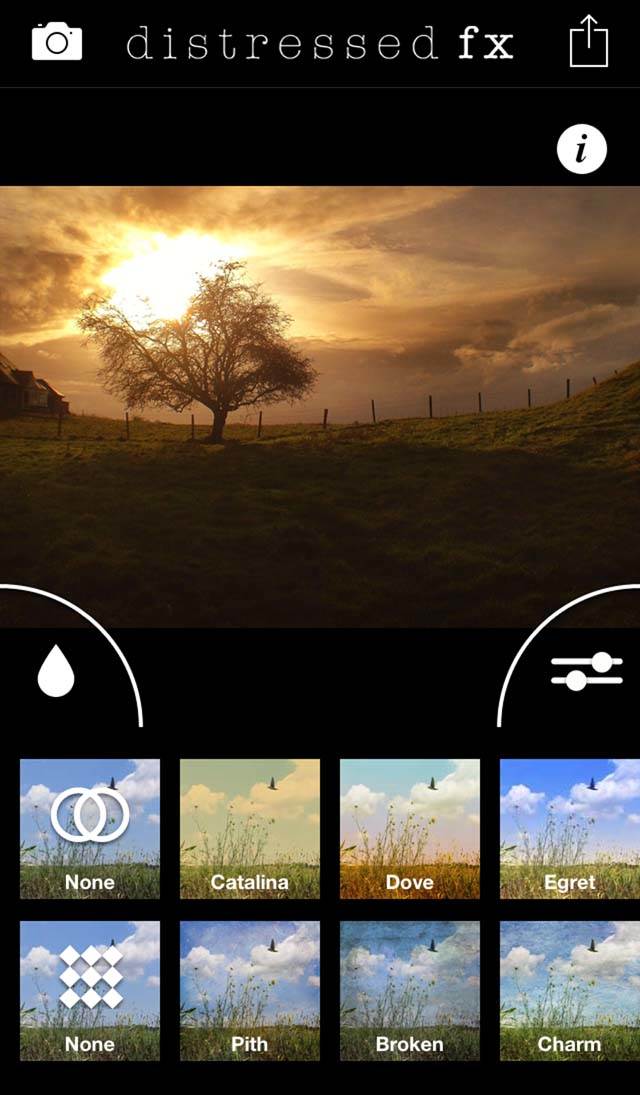
All of the filters are adjustable so you can tone them down to just add a subtle texture to your sky. But it can sometimes be good to just go overboard and completely alter your original image for creative effect.
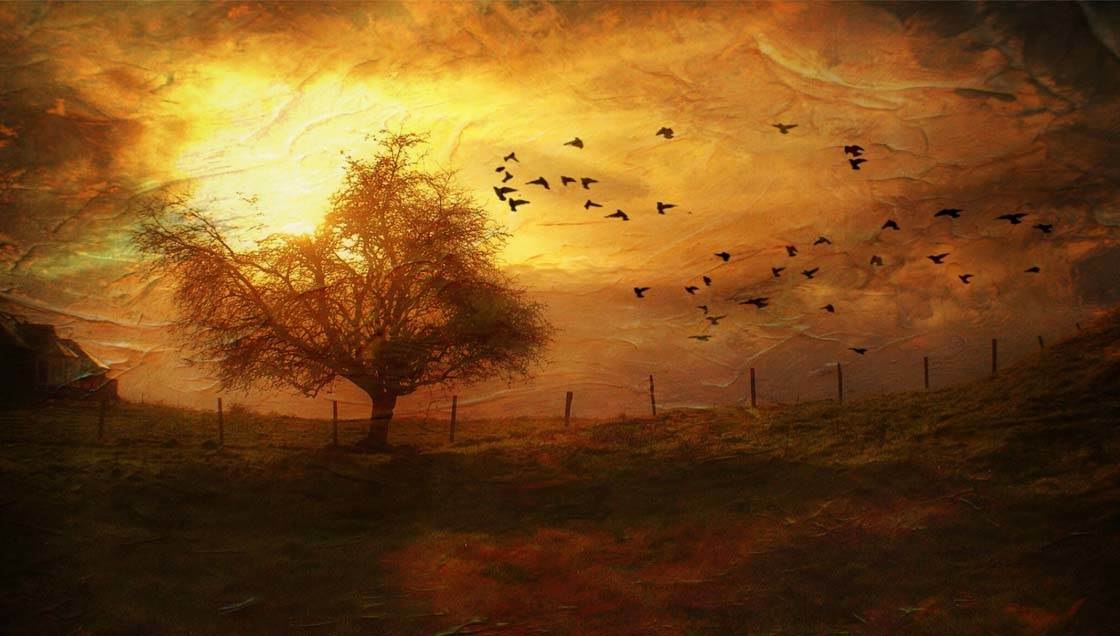
In this example I liked the light coming through the lone tree and the fence, but the sky that took up the entire top right of the image was very nondescript. By adding the texture, it filled that space with detail that wasn’t there to start with. I also used the app to add the birds into this space.
The original photo was an example of negative space going wrong. The big area with nothing in it drew the eye away from the intended subjects.
Textures also help to add drama which is what we’re always looking for with this kind of shot. You’ll need to experiment with different textures and intensities until you find just the right look for your image.
Using the tips covered in this tutorial should help you capture better skyscapes and landscapes with your iPhone. Always keep an eye on the weather and become aware of how the sky will appear in different conditions.
Try to shoot in conditions where the sky is interesting and will add drama and atmosphere to your photo. But if the sky is bland, make the most of this by emphasizing the negative space or adding interesting textures to your skies.


Thanks for these great tips and stunning images Paul! These techniques make all the difference to how your landscape photos turn out.
Thanks very much Kate. I really enjoyed doing this article. It’s one of my favourite subjects.
This is a fantastic article! You covered so much, shared great tips and ideas, and your images are gorgeous! Thank you!
Thanks very much Ann. Delighted to hear that you enjoyed the article and the images 🙂
A lot of tips and tricks to work with here, so that’s great! Snapseed got an update yesterday to 2.0 which lets you do dodge & burn now too!
Thanks very much lensinkmitchel. I downloaded the Snapseed update over the weekend. It is one of the best updates I have seen. Makes a very powerful photo editor even better.
A great article! My photos have improved a lot since I’ve been getting you knowledge sharing articles. Thanks
Thanks very much Marty. Good to hear that these articles are helping you imrove as an iPhone photographer.
First of all Paul, I want to say that your photos are just amazing! Simply beautiful. Secondly, thank you so much for these wonderful tips and ideas.
Thanks very much for your kind words Rosa. Delighted you liked the photos and that the tips were helpful.
these photos are so good 😀 again. thank you
Thanks very much Fardeen. Good to hear you like the photos. Dramatic skies usually produce good photos.
Such good article. Looking forward to learning more.
Thanks very much Daniel. There are plenty more articles to come. Hope they will be useful to you.
Great article! Always learning from you! THANKS
Thanks very much Rfader. Good to hear that 🙂
Great tutorial! Thank you for sharing these tips!
Thanks very Daniel. Glad you enjoyed it.
Wonderful tutorial, Paul, and spectacular photos! Thanks for the tip on using the lighting brushes on Photo Toaster. I really like this app but had not used the brushes. Good information!
Thanks very much Faye. Keep an eye out for my next article which is going to be exclusively about PhotoToaster. It’s a great app.
Emil always great to check out you app tips! Just downloaded a few 🙂
This stuff gets me so excited!
love you ! really!