A very real trap that amateur iPhone photographers fall into is discouragement, especially when they realize that they may not have the resources to travel to distant and exotic lands to create photos. But you don’t need to go far to create incredible images with your iPhone. In this tutorial you’ll discover how to make the most of your immediate everyday surroundings, and see unique photo opportunities that you never realized were right in front of you.
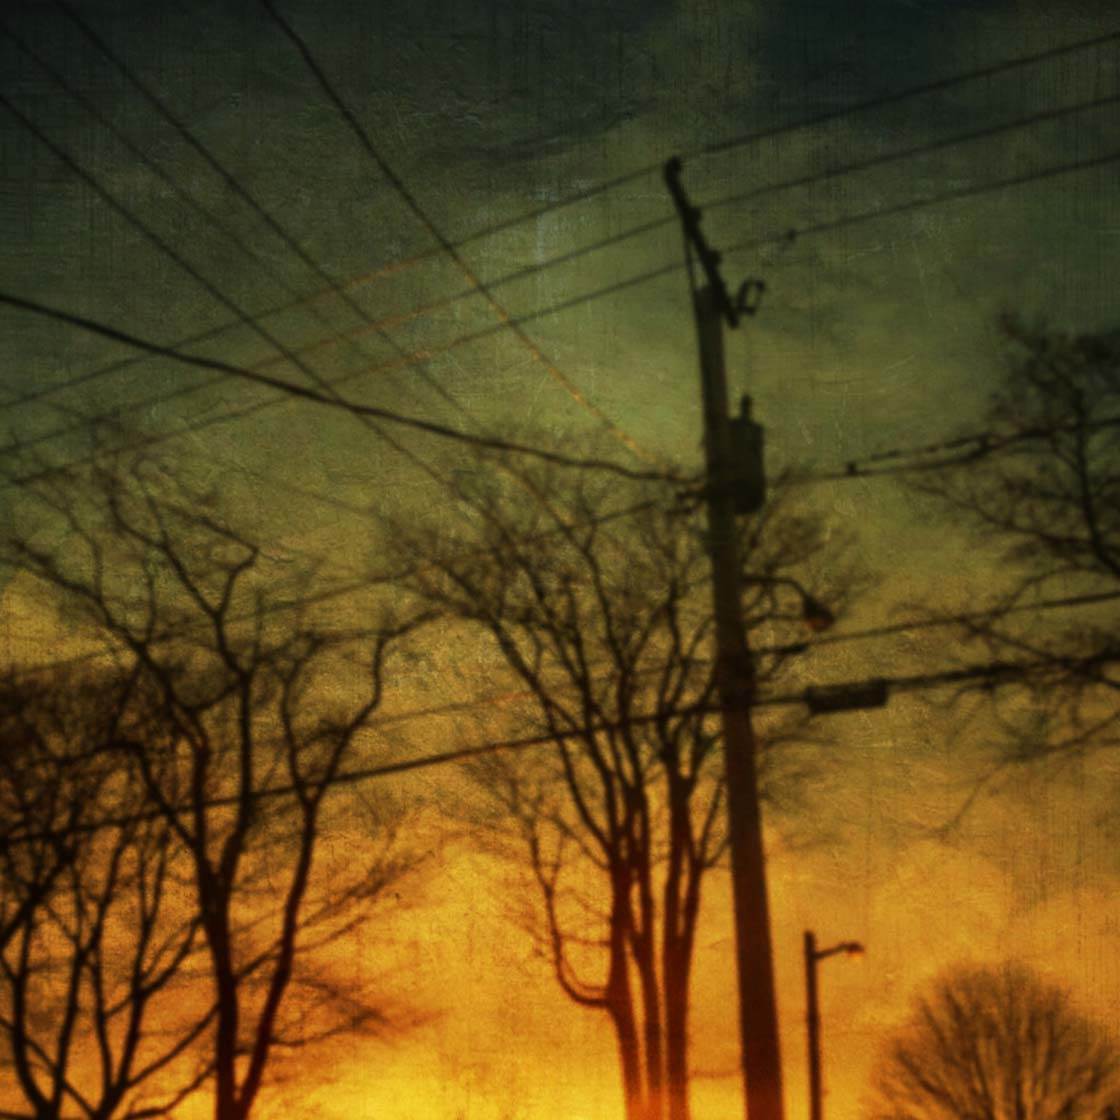
As a professional photographer I’m often in interesting locations, but I always like to stress to my friends and internet acquaintances that the starting point for becoming a strong photographer is to be able to create unique images in your own backyard.
Why is it important to learn photography in your familiar surroundings? The main reason is that we take for granted, or skip by the interesting things that we encounter each day. We need to train our mind to pick up on dynamic compositions that present themselves from the time we wake up to the time we go to sleep.
In this tutorial you’ll learn how to take amazing photos in your immediate and local surroundings. Specifically, we’ll look at taking photos around the home, shooting on the street and taking photos of local scenery and landscapes.
1. Make The Most Of Your Local Scenery
I live on the East Coast of Canada, thus my sample images are ocean related. However, the tips below apply to any scenery or landscape situation, namely exposure and color balance. Following these tips will help you get the most out of your local scenery or landscape photographs.
A big problem with iPhone (or any mobile phone) photographs is that the small lens and internal sensor don’t allow for a large range of bright and dark light capture in a single image. Practically what this means for you is that often you will have blown-out highlights (sections of the photo are too bright) when you let the iPhone decide the exposure.
I suggest that you practice under-exposing when taking scenery photos so that the highlighted areas of your image are exposed properly. If you have to make an exposure sacrifice on the side of light or dark, it is best to err on the side of under-exposure.
Once you’ve set the focus point by tapping on the screen, check the brightest parts of the image. If they look over-exposed (too bright) swipe down on the screen so that the exposure slider and sun icon appear. Keep swiping down to reduce the exposure until the brightest parts of the scene are correctly exposed.
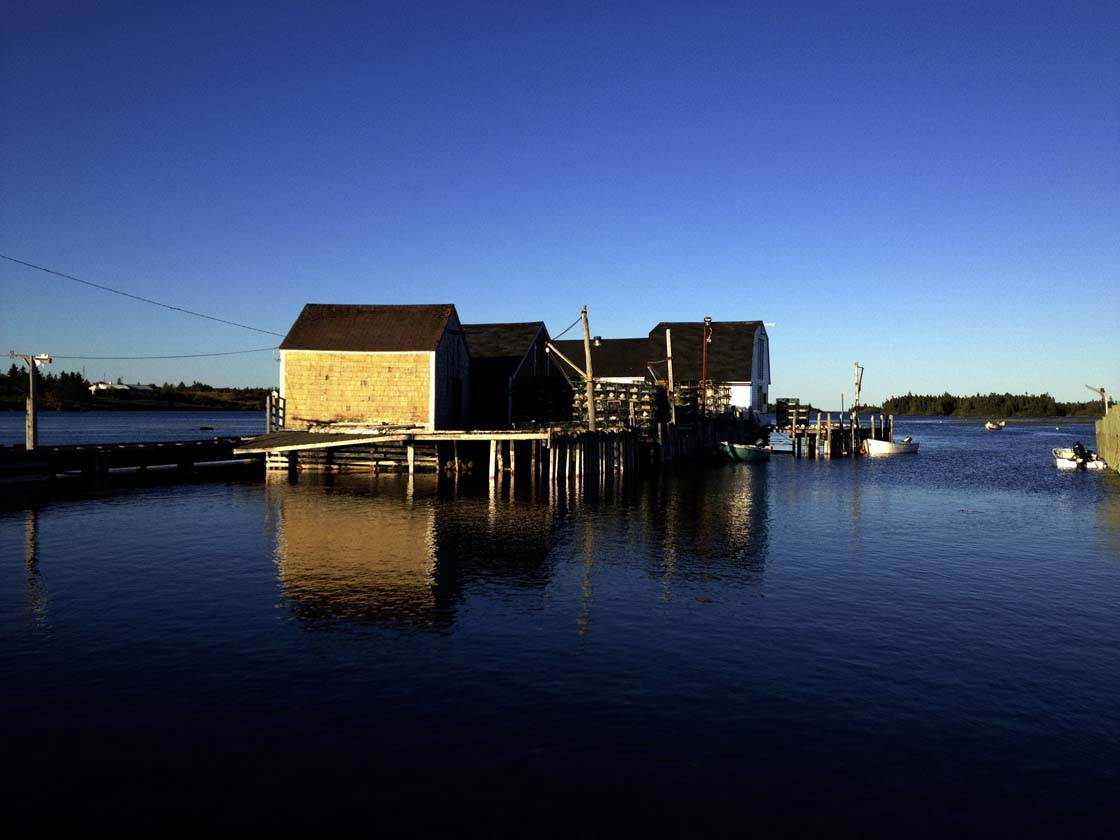
In the above photo of the fishing shacks, if I’d let the camera decide on the exposure the shacks and sky would have been far too bright, and the photo would have lost its punch due to it looking washed out. By under-exposing the image slightly, I avoided any blown-out highlights and created a photo with much more impact.
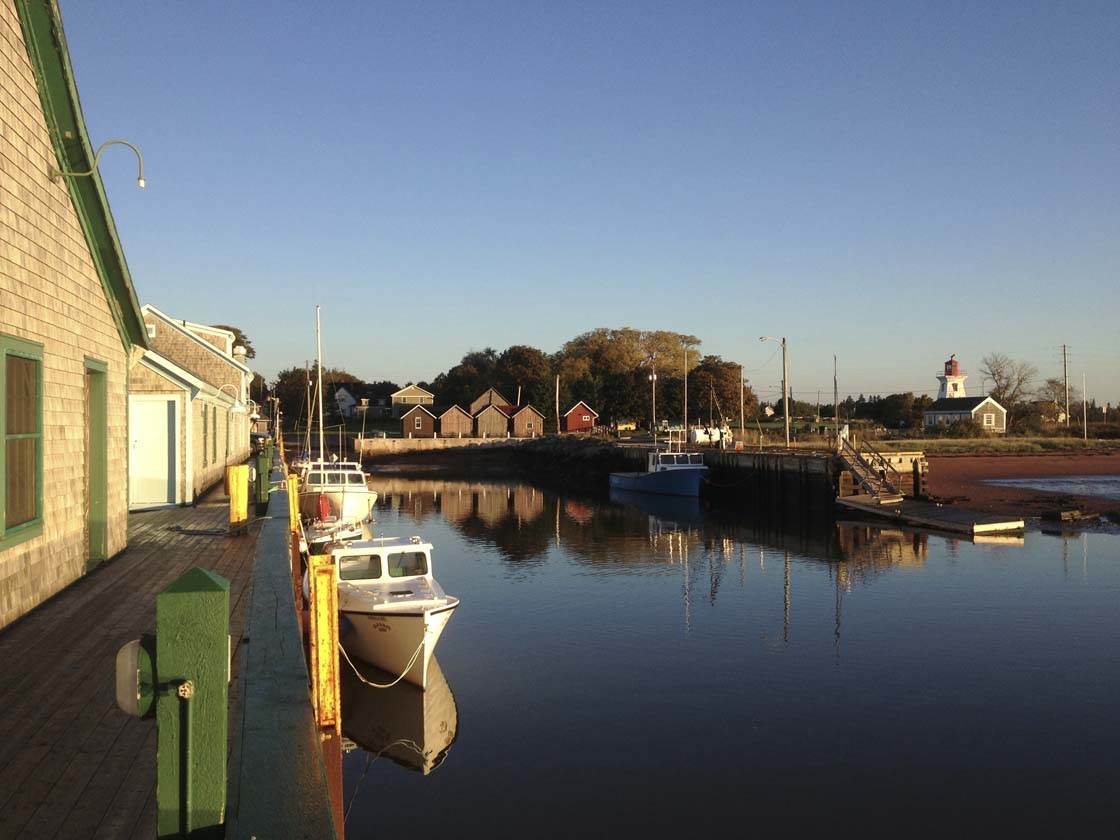
Here’s an example of a photo where I let the camera decide the exposure. What I found was that the fishing boat hull and the door on the building (left side of the photo) turned out too white and over-exposed.
You could argue that the photo looks just fine for a mobile device, but why not push for even greater levels of exposure accuracy? If I’d under-exposed the photo just a little bit, the right side of the photo would still have acceptable exposure, and the left side would have the proper brightness.
As well as getting the exposure right, color is also very important. The aerial iPhone photo of beach rocks below was gray and lacking in color. A simple fix for this is to adjust the color balance in post-processing.
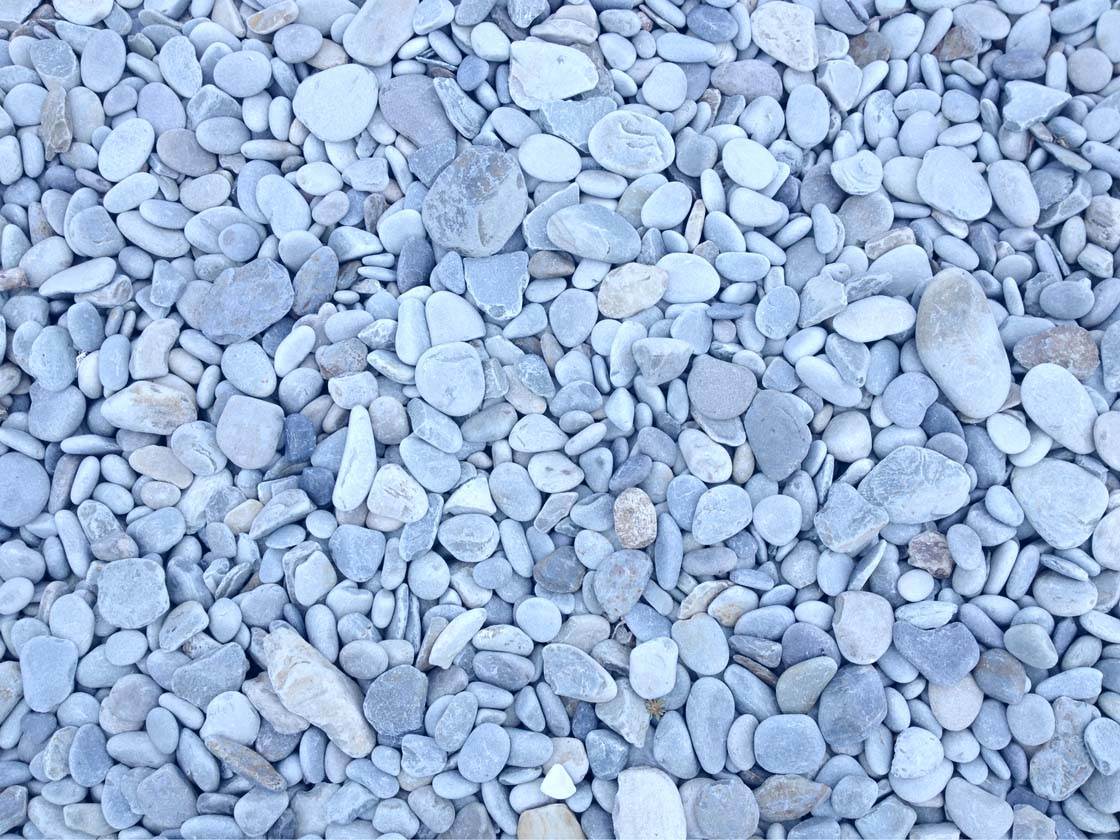
In this case I changed the color balance to a “cool” blue, and the result was far greater than the original. Changing color balance from normal to cool blue is easily found in the editing tools of the native iOS Photos app, as well as almost every image editing app in existence.
What I like to tell my photography workshop students is that before you press delete on a photo that is simply average, try adjusting the color using your color balance settings. Often a dull photo comes to life simply by adding a cool blue-ish tone to it. You can also use color balance settings to add a “warm” orange color if appropriate.
2. Make Use Of Interesting Light Around Your Home
Here are some fun techniques that I like to use when taking photos in my own house. Most often they’re accomplished with morning or evening light, as that’s when the sun usually shines into a house through windows.
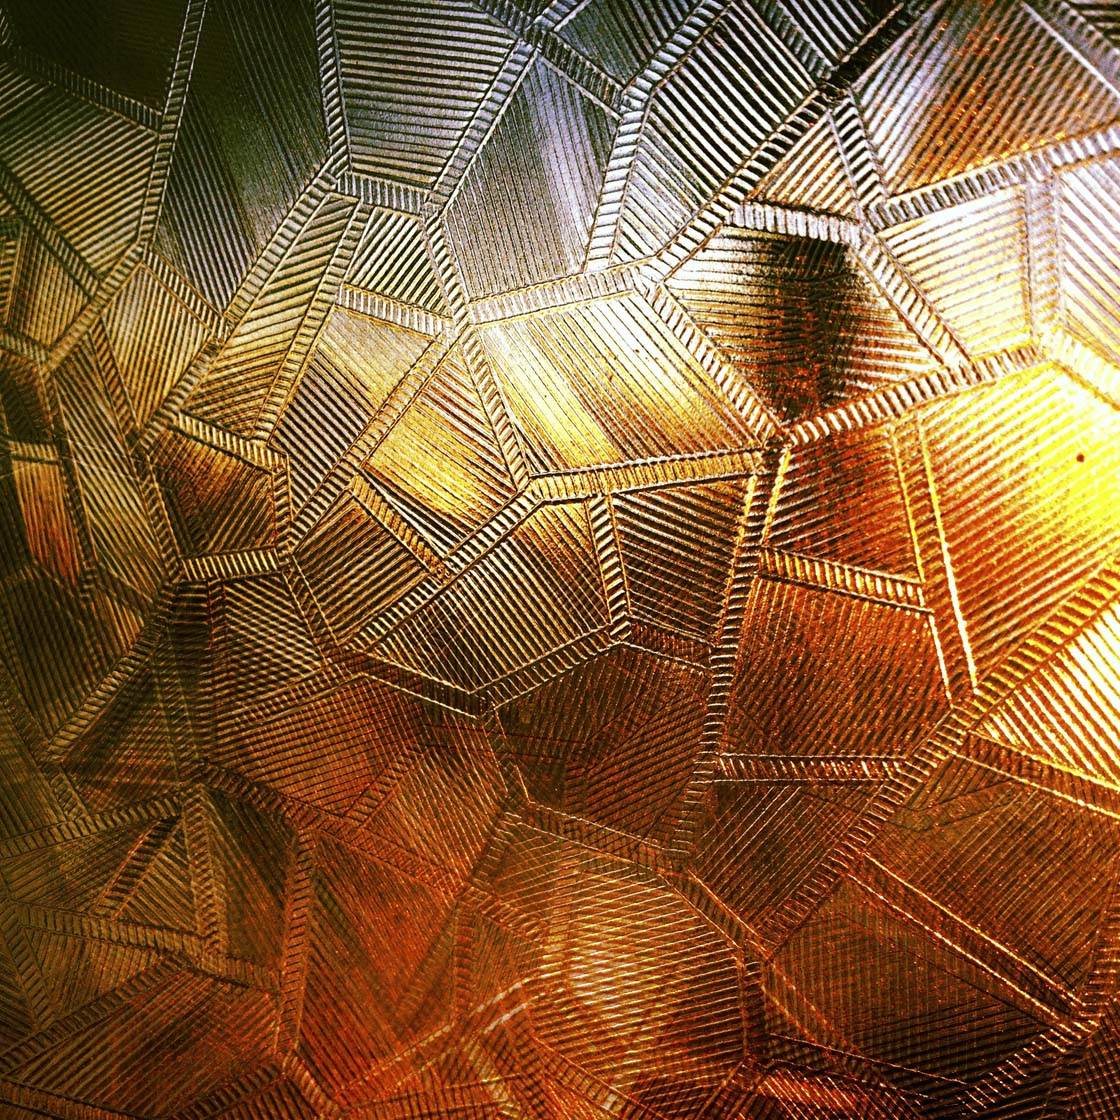
My first suggestion, based on the photo above, is to use various semi-opaque materials found in your home to create interesting abstract photos. The material in the above photo is my shower curtain, and the sun was just rising outside, illuminating the plastic curtain in very interesting ways.
You can try this backlighting technique by using any material in your home that is semi-opaque (somewhere in-between solid and clear). Shower curtains are usually good for this as the plastic etchings and grooves modify and bend the sun rays into interesting visual designs.

When the sun shines into your house and lands on a wall, why not create a shadow? Try this technique the next time the sun rises or sets, by placing objects (or people) in-between the window and the wall.
If your window doesn’t have a ledge, use a small table to hold your props. Make sure you photograph from either side, or below the shadow so that your head or iPhone doesn’t show up in the final image!
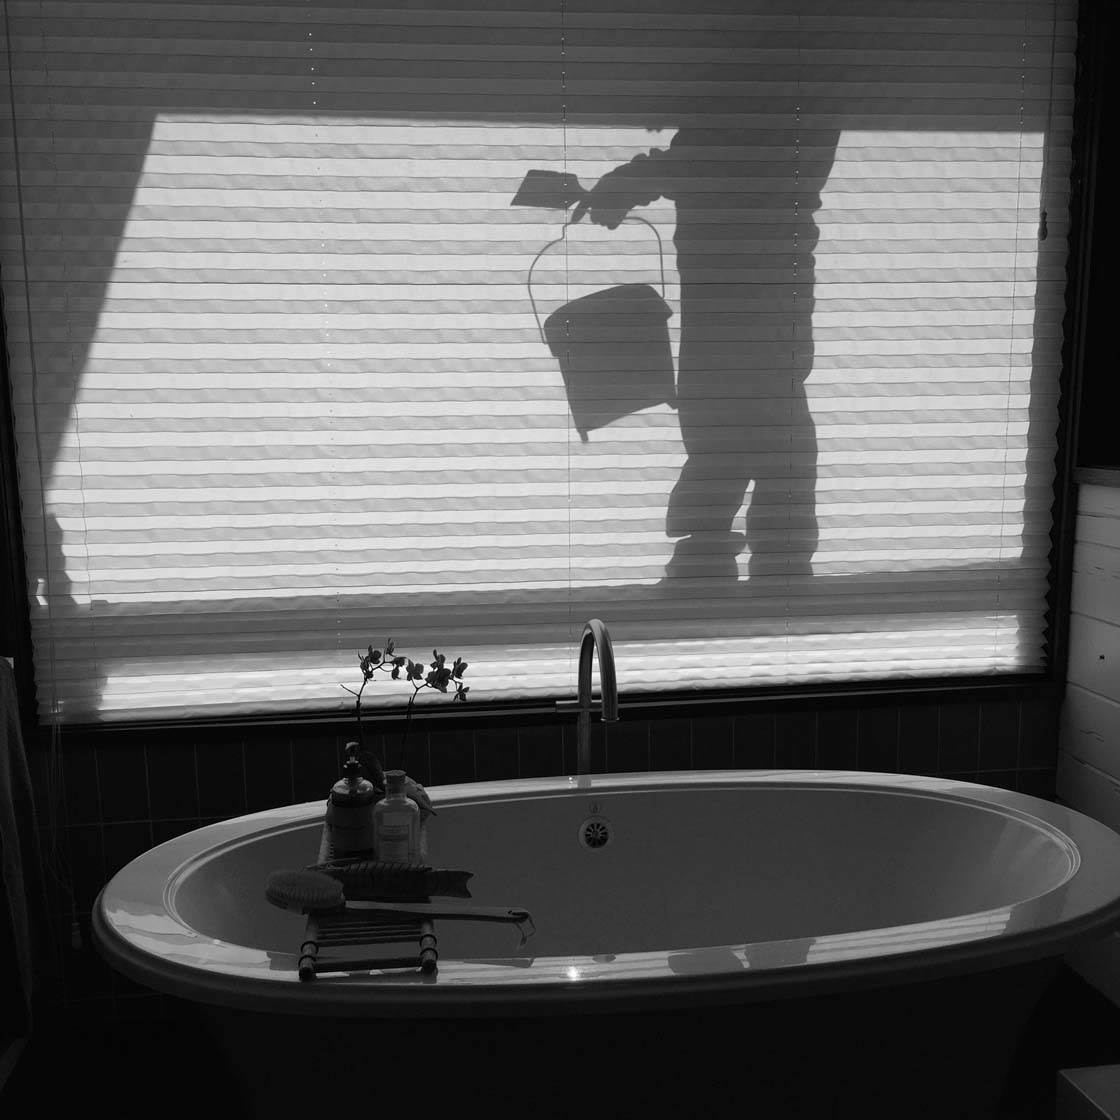
In this example, the person is positioned outside the window, with the blinds lowered. This particular image was not planned. I was doing an interior photo shoot for an architectural client, and to my surprise the painter walked into my frame! I quickly grabbed my iPhone from my pocket and took the shot, and I enjoy the humor of it every time I see it.
Why not try this at home? Get a family member to go outside (if possible) and create a fun image. Or place objects outside and photograph them from the inside of your house. Who knows what kind of photographic winners you’ll get!
3. Create Unique Shots On The Street
I’m blessed to have great architecture in my home town of Saint John, New Brunswick, however you can use a variety of techniques to create amazing and unique images with any ordinary street scene in your own city or town.
One simple technique is to create textured or painterly iPhone photos. I use two apps for creating these types of image: Mextures and DistressedFX.
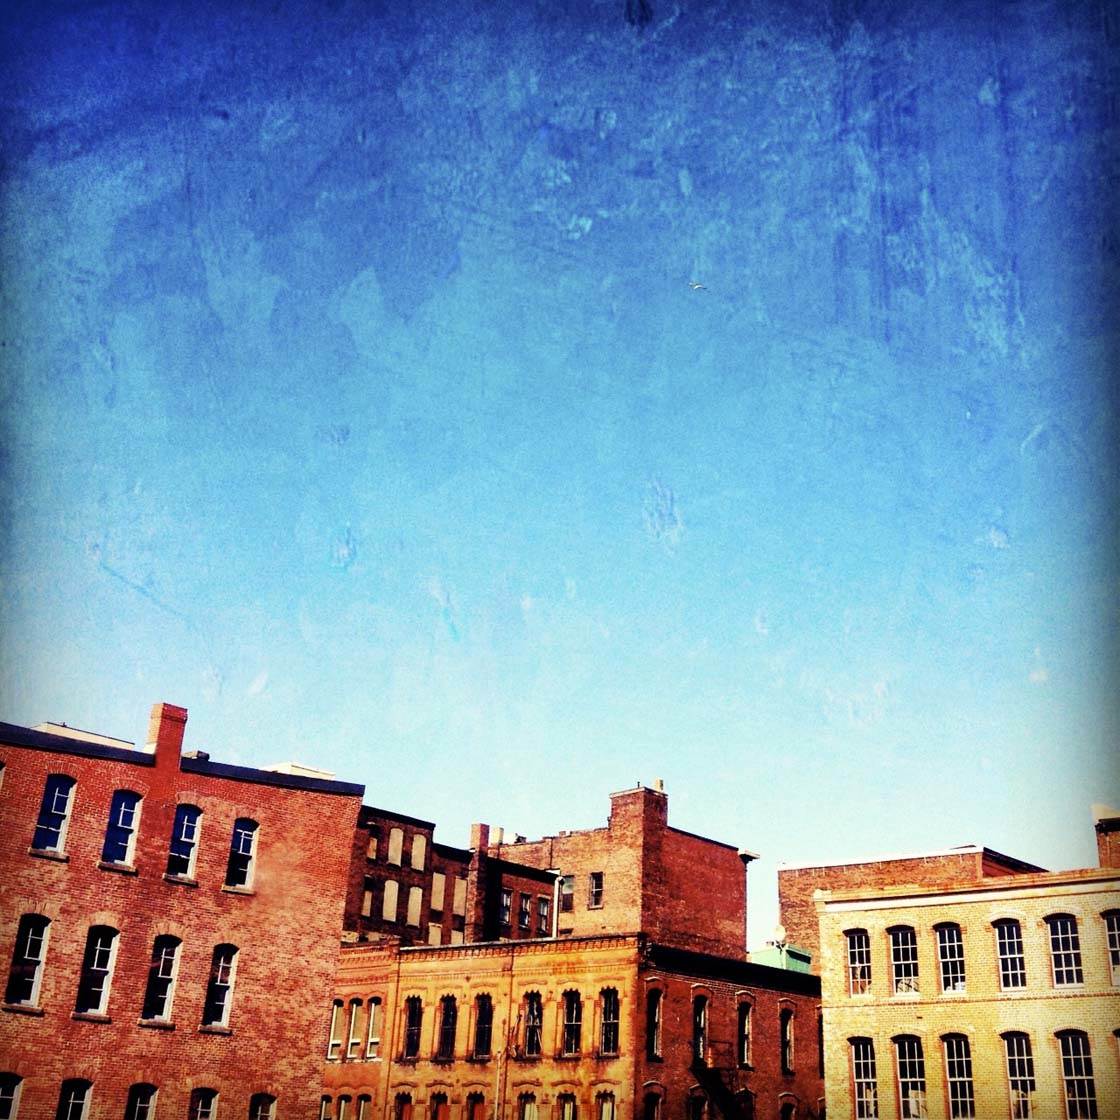
Both of these apps will take the photo that you already took of your city-scape and apply a texture or grain pattern of your choosing, often mimicking a turn-of-the-century photo or a painting.
There are many other great apps that add texture layers as well. Most of them will probably do a great job in helping you transform a normal scene into a great scene.
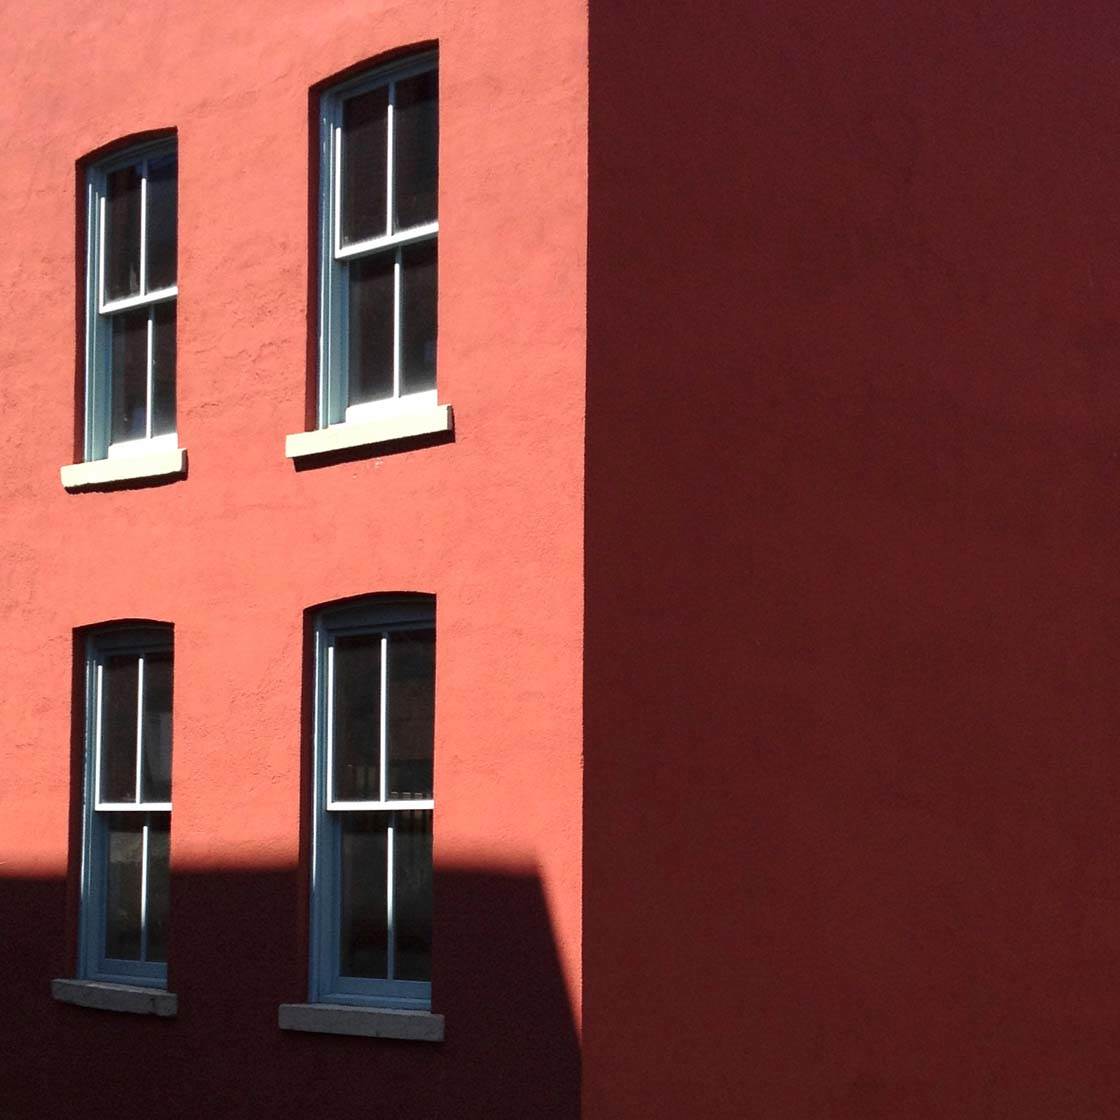
Architect Luis Barragán has been a great influence on my own architectural photography and aesthetic. Whenever I see scenes like that in the photo above, I’m reminded of his usage of clean lines, color and rectangular design elements.
In your own city or town, when the light is shining harshly on one side of a building, try under-exposing the photo so that the bright side is exposed properly and see if your image goes from a normal documentary style shot into an interesting abstract photograph.
To maintain the abstract nature of the image, you may need to move close to the building to remove distracting elements from the street or the sky. Remember, less is more for this type of image. Try to simplify the composition so that there is no visual clutter and as few elements as possible.
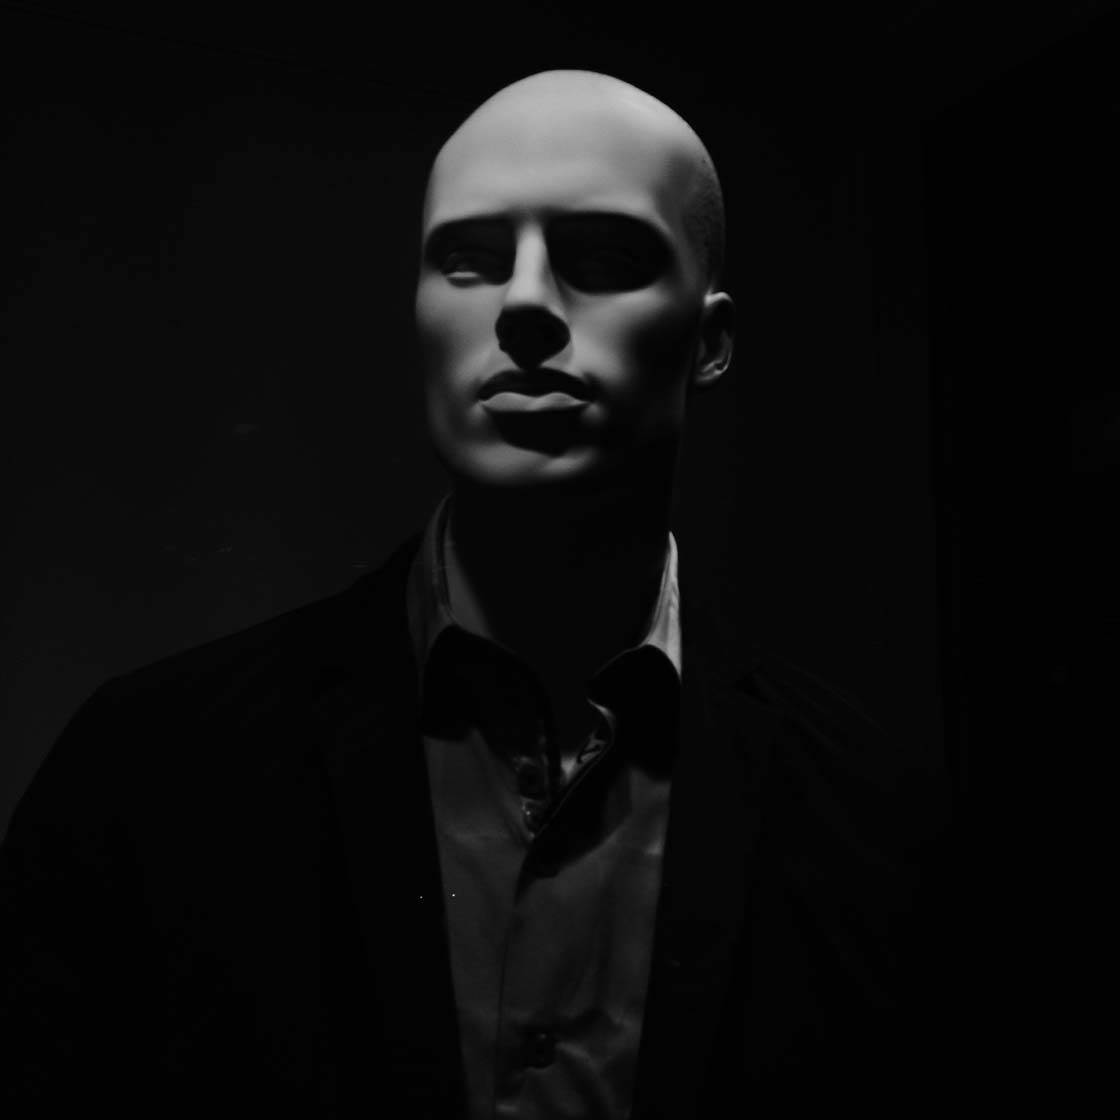
In the evening when walking through town, I’m sometimes impressed with the way that the shop owners choose to light their store window displays. To get a mysterious and often eerie iPhone photo of a mannequin, simply put your phone as close to the window as possible (to avoid reflections), under-expose the scene, and take the photo.
By under-exposing the image you’ll accomplish two things: it will avoid blown-out highlights on the mannequin’s face, and it will usually make the background black for added visual drama.
Conclusion
It’s important to practice being creative every day. This is as important as your exercising routine or eating healthily. Practicing creativity is great for the mind and emotion.
And the best part of all is that it doesn’t take much investment cash at all! All the photos shown in this lesson were taken with an iPhone 4s which is now very inexpensive.
Practice creativity with the scenes that present themselves to you every day, whether it’s in your own home, on the street or in your local scenic or natural surroundings. Happy shooting!


I am going to try the trick with the mannequin tonight right away! I also find your point of under-exposing very interesting. I will keep that in mind from now on. Thank you!
Glad you found these tips useful 🙂
I’m excited to get out there and try these tips.
Great advice, thanks. I’ve never thought about trying to underexpose.
Good tips. Thanks for the advice.
Joe George