Symmetry is one of the most compelling subjects for photography, but an untrained eye can struggle to spot great opportunities for symmetrical compositions. Learning to see symmetry is a fun challenge, and once you start you’ll become addicted to finding the perfect mirror image! In this tutorial you’ll learn about different kinds of symmetry and how to find (or make) your own symmetry to create strong, balanced and beautiful symmetrical photos with your iPhone.

What Is Symmetry?
Symmetry is when one side of the frame mirrors the other side. The two sides correspond in size, shape, and position to create a perfectly balanced and symmetrical image.

The pleasing balance of a mirror image catches our eye, creating a strong and striking composition. We obviously find symmetry satisfying – we’ve been building symmetrical buildings for centuries. Maybe it’s because we humans are symmetrical.

Or because we often find symmetry in leaves, plants or a perfect tree. Or maybe it’s because our brains are wired to pick up patterns, and a symmetrical image is a very simple pattern.

Symmetry is most easily found in buildings or other man-made environments, but it can also show itself in nature. And anything can be made symmetrical through a reflection in a mirror, water or other shiny surface.

While perfect mirror images are fascinating, in this article you’ll also discover how photos that aren’t perfectly symmetrical can actually be more interesting than ones that are.

So let’s take a look at seven tips and techniques for finding and creating the most amazing symmetrical images with your iPhone.
1. Keep The Line Of Symmetry Central
The dividing point between the two sides of a symmetrical composition is called the “line of symmetry.” The image on either side of that line of symmetry is a mirror of the other.
In a perfectly symmetrical photo, the line of symmetry will always run through the very center of the frame.
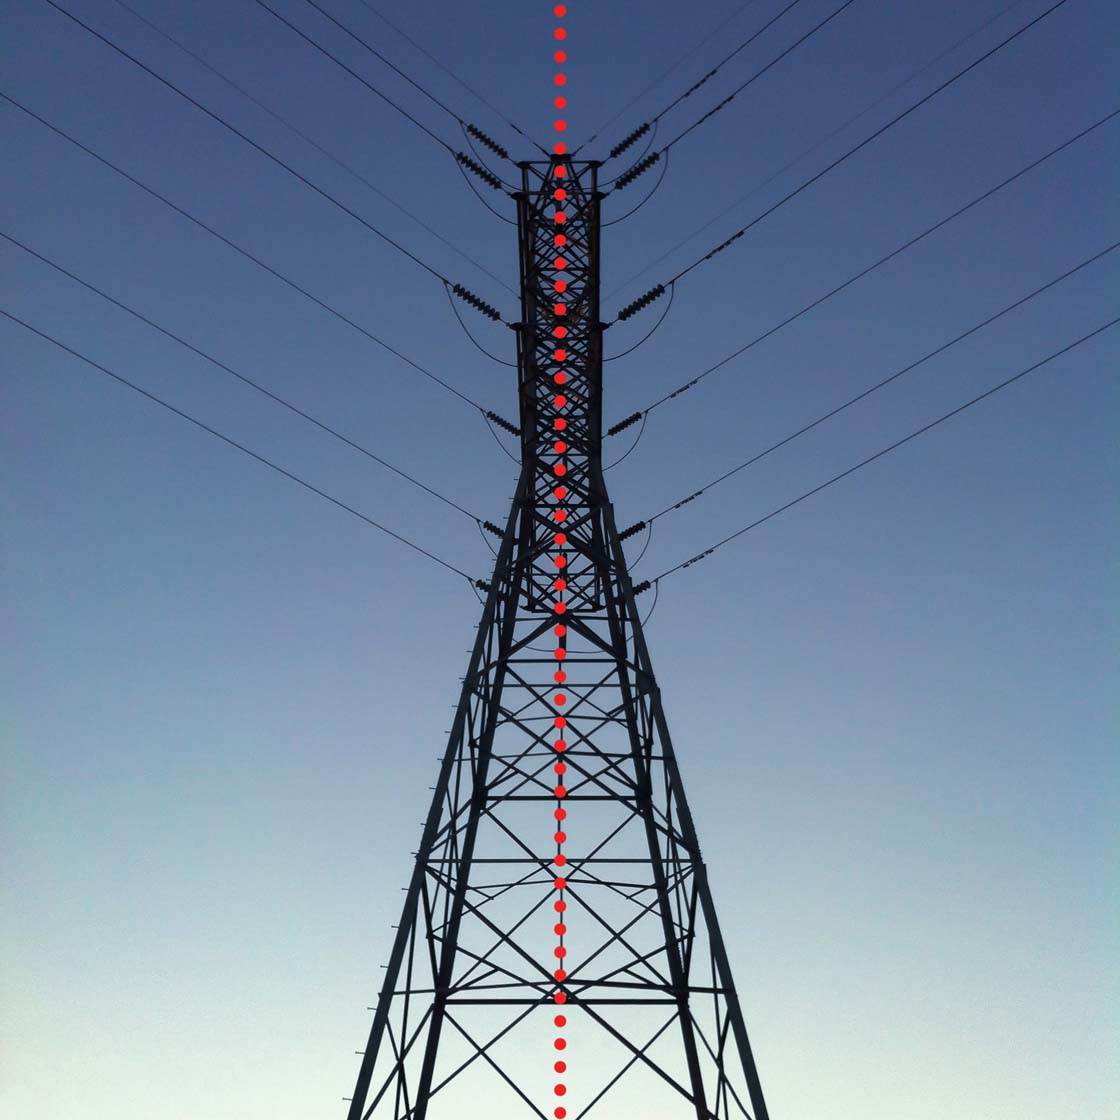
This line can run horizontally, vertically or even diagonally. In the photo above I’ve added a red dotted line to show the vertical line of symmetry.
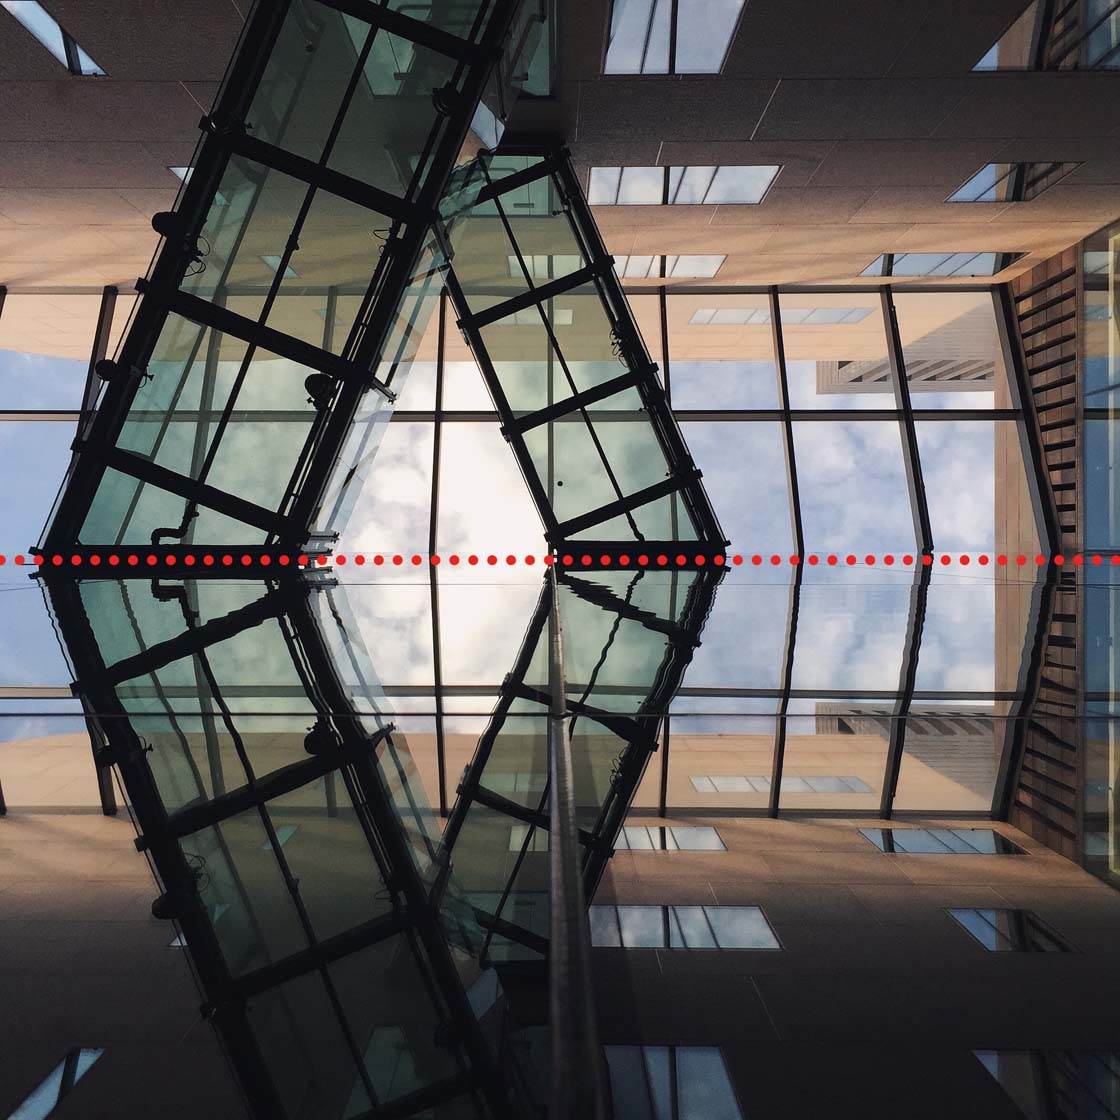
The picture above has a horizontal line of symmetry. And the one below has a diagonal line of symmetry.

You can also make an image appear more symmetrical by placing the main subject in the very center of the frame.

While the photo of this leaf isn’t perfectly symmetrical, it can still be pleasing in the same way, and placing it in the middle of the frame helps to create a sense of symmetry.

It’s very important to think about the line of symmetry when you’re looking for a subject, but once you become conscious of it, you’ll quickly find that it becomes second nature.
2. Find Symmetry In Urban Scenes
Cities are probably the easiest place to find symmetry. Many things that we build are symmetrical, so it’s just a matter of paying attention and looking for interesting subjects to shoot.

If you look for regular patterns in the world around you, you’ll find that they’re symmetrical. Because we generally build things in an orderly manner, architectural structures will often be symmetrical.

Start with the facades of buildings. They’re usually the most formal part of the building and will often be symmetrical.

Scenes that include leading lines often create symmetrical shots. I think of those lines as pointing the way to a great photo. Leading lines are everywhere – in building exteriors, hallways, even swimming pools!

In addition to buildings, bridges are great places to find symmetry. They’re usually built that way so that they hold the load evenly, which is a bonus for us symmetry-lovers!

Repeating patterns can add a fun twist to symmetrical photos, emphasizing the graphic quality of the subject that you’re shooting.
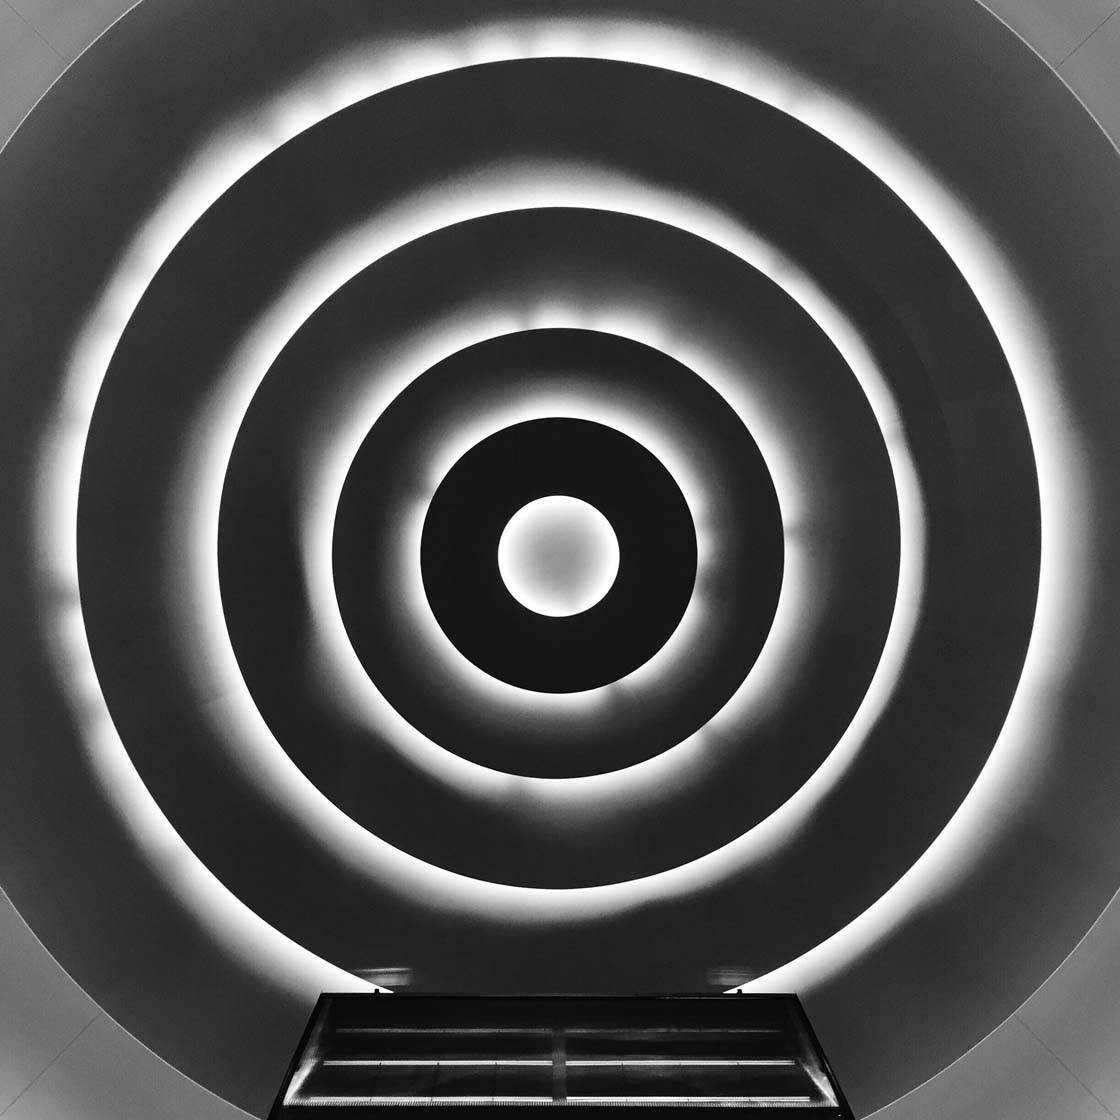
Look around at the floors, ceilings and walls of buildings, and you’ll likely find a repeating pattern. Then you just need to figure out if there’s a place you can stand so that you can make that pattern appear symmetrical.

Adding a human figure can make a symmetrical photo even more interesting. Just make sure that your subject stands in the middle of the scene and that they strike a symmetrical pose.

In the photo above, I asked my friend to stand with her arms like that because it echoed the symmetry of the painting in front of her.
3. Find Symmetry In Nature
Finding symmetry in nature is harder than in the city. Unless you live near someone with a formal French garden, the plants and trees in the world around us tend to grow in more random patterns.

But even though it’s hard, it’s not impossible to find symmetry in nature. One of the easiest places to do that is with smaller details, like a flower, leaf or spider web.

Even though your subject might not be perfectly symmetrical, placing it in the center of the frame will help make your composition seem more even, and increase the symmetrical feeling.

Another way you can take symmetrical photos of nature is by careful framing and cropping. Maybe the entire tree isn’t symmetrical, but you might be able to frame it in such a way to make it seem like it is.

Lastly, a path or trail will often be a great way to find symmetry outside. Look for paths where the trees protrude evenly into the sky, so that you can get a nice “V” shape that will make everything seem more symmetrical.
Paths, trails and rivers can all help to give you a strong line of symmetry for your nature-based symmetrical photos.
4. Use Reflections To Create Symmetry
In addition to finding symmetry in cities or in nature, you can also take great symmetrical photos by using reflections. Water, glass, mirrors, or any highly polished surface can be used to create a symmetrical photo.

Water is the most obvious choice. If you can find a nice reflecting pool or puddle, you’ll be able to make a strong symmetrical image by just making sure your horizon line matches the central line of symmetry.

A reflection in water can make a nice scene even more beautiful because it’s now symmetrical.

One photographer I know carries bottles of water in his car at all times so that he can make his own puddle whenever he wants, and shoot a symmetrical photo anywhere that he finds an indentation in the ground!

Glass is another great opportunity for symmetry. In the photo above, I placed the edge of my iPhone against the window of the building, and made sure the line of symmetry ran right down the middle. To me, this photo is much more interesting because of the reflection on the left side.
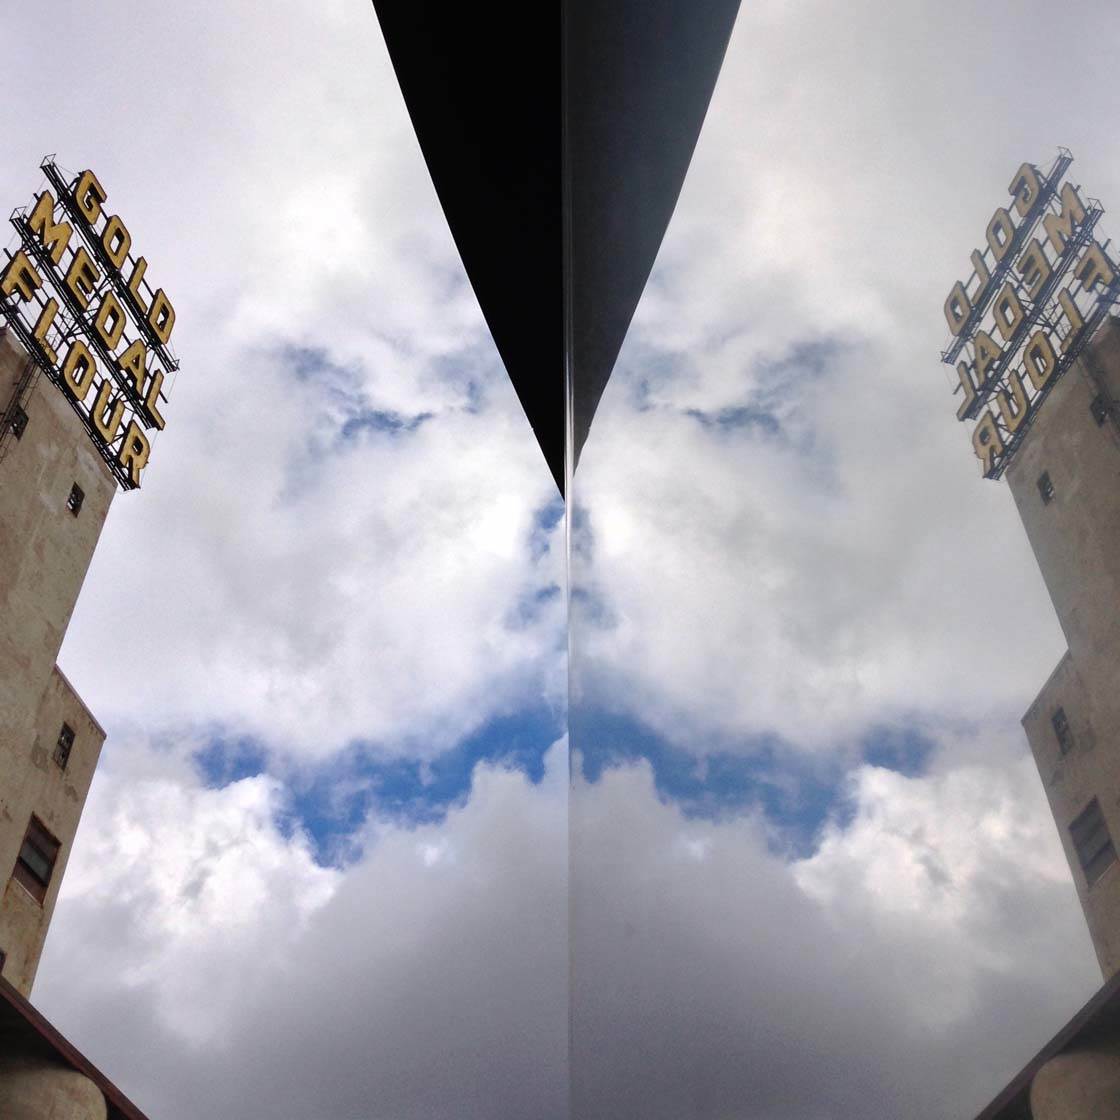
Mirrors are also an obvious choice for symmetry, since you’re trying to make a “mirror-image.” Experiment with placing your phone right up against the mirror and see what the world looks like when everything is doubled.

Reflections mean that you don’t always have to look for a symmetrical scene to create a symmetrical photo. You can use reflective surfaces to create your own symmetry simply by where you choose to place your phone.
5. Fake Symmetry In Apps
Besides having an eagle-eye for symmetrical scenes or reflective surfaces, you can also create symmetrical photos using apps on your iPhone.

Apps like Diptic, Layout and Sparkmode can make any image symmetrical with the push of a few buttons. You can use apps like this to create fantasy scenes that don’t actually exist.
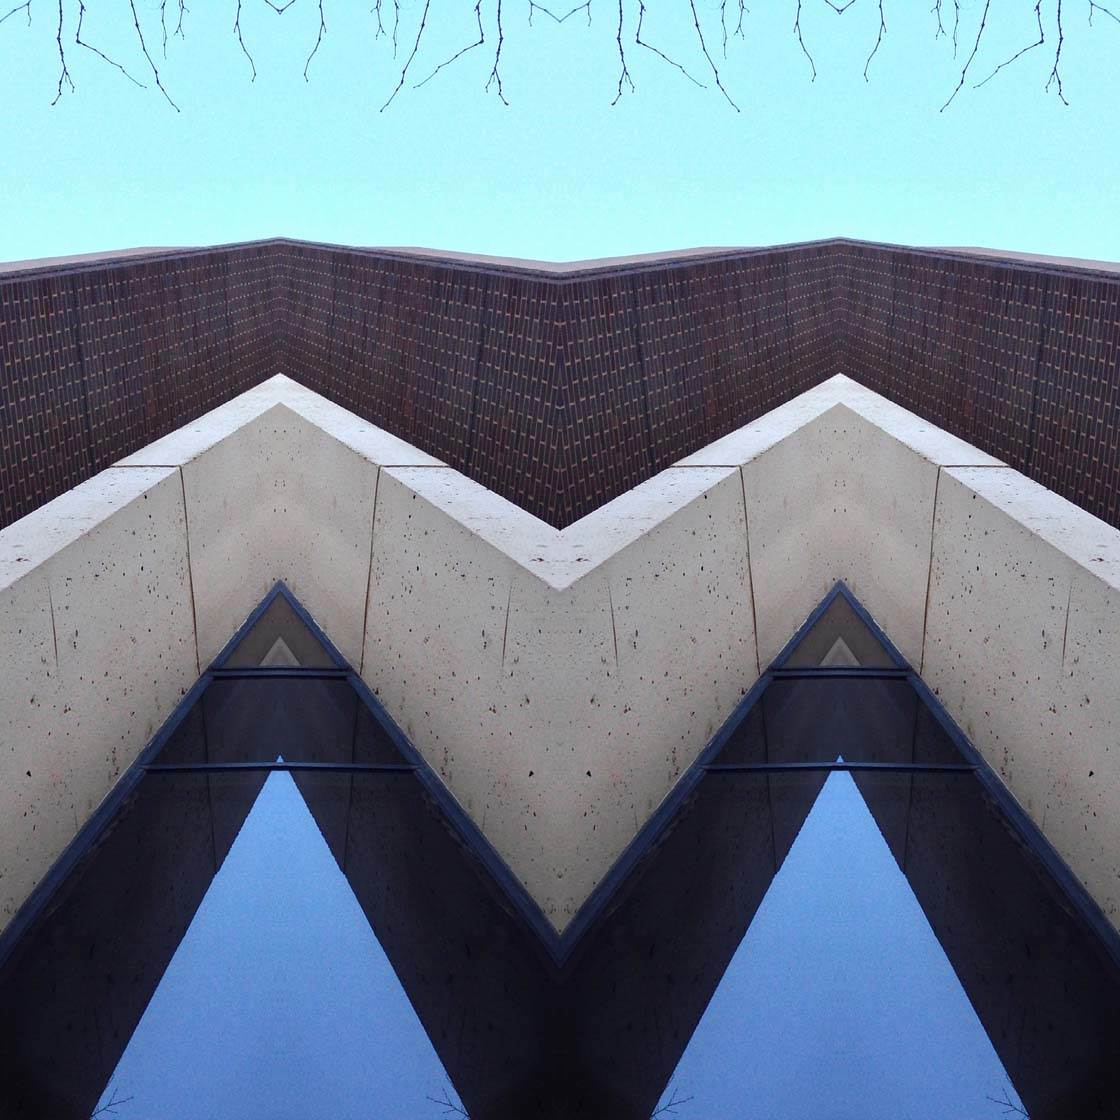
Sometimes it’s fun to take a scene and mirror it just to see what it looks like. Or you can use apps to create abstract images that clearly aren’t trying to look real, but can still be attractive.
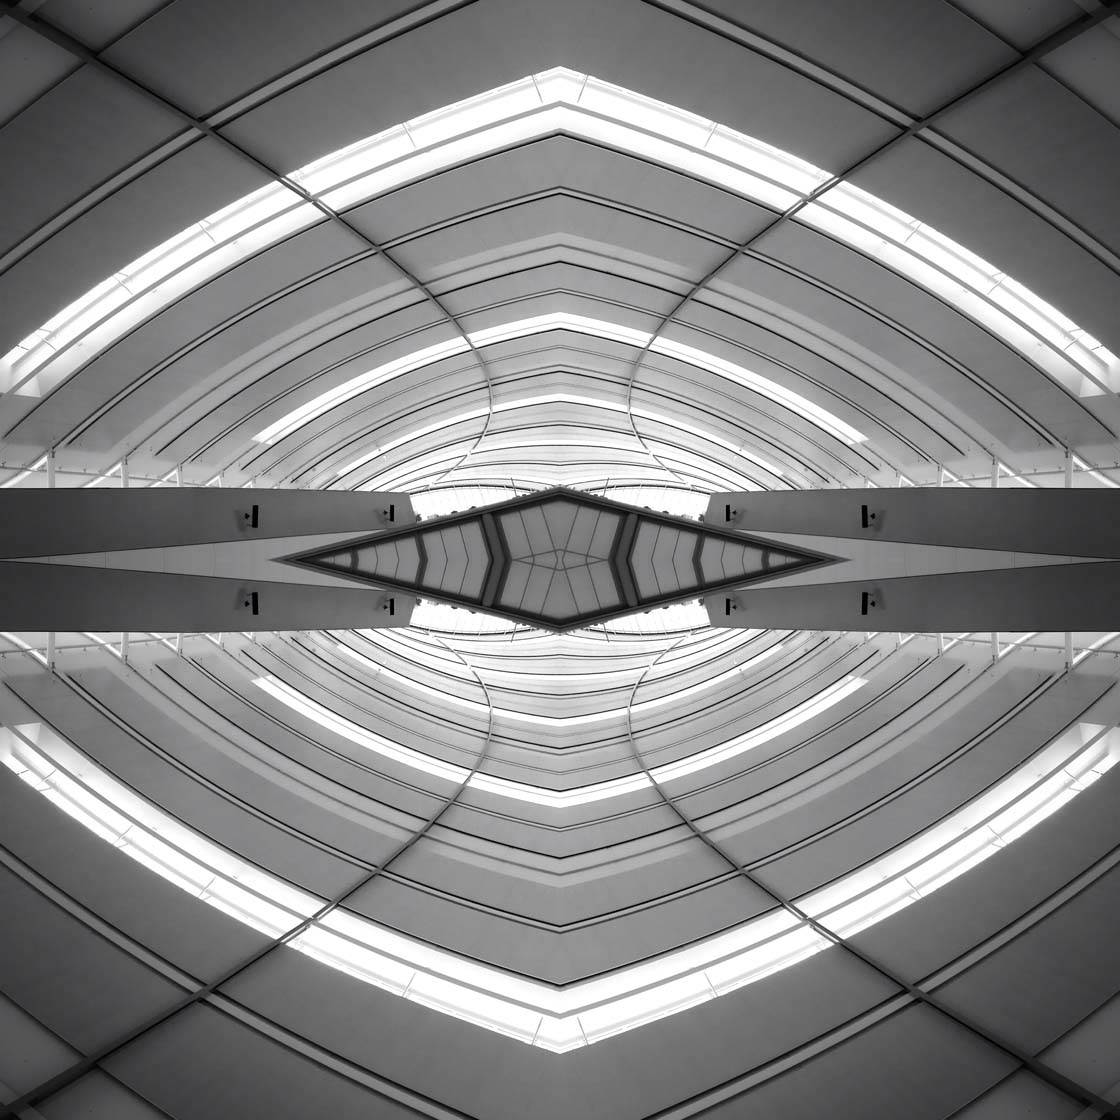
The third thing you can do is to use apps to create a symmetrical photo, but then change some parts of the image so that the mirroring is less obvious.

You’d be surprised how much mirroring you can sneak into a photo to make it seem more symmetrical than it actually was in reality.

In the photo above I couldn’t quite get the shot right when I was shooting, so I mirrored the scene using Sparkmode, then I changed some subtle details to hide my tracks.
For instance, I used the TouchRetouch app to erase some of the sprinkler heads in the ceiling so that the left and right sides would be slightly different. Even changing just a little bit of your photo can trick the viewer’s eye so that they don’t realize you “cheated.”

6. Break The Symmetry
I’m assuming that if you’re reading this tutorial, you think symmetry is beautiful. But sometimes adding one non-symmetrical element to a photo can be a nice twist, and make for a delightful surprise. This is called “breaking the symmetry.”

Images that are mostly symmetrical can be even more wonderful because they add a surprise element to an otherwise symmetrical scene.

By placing your main subject slightly off center, you’re purposely making a statement that you wanted to create a photo that wasn’t about perfect symmetry.
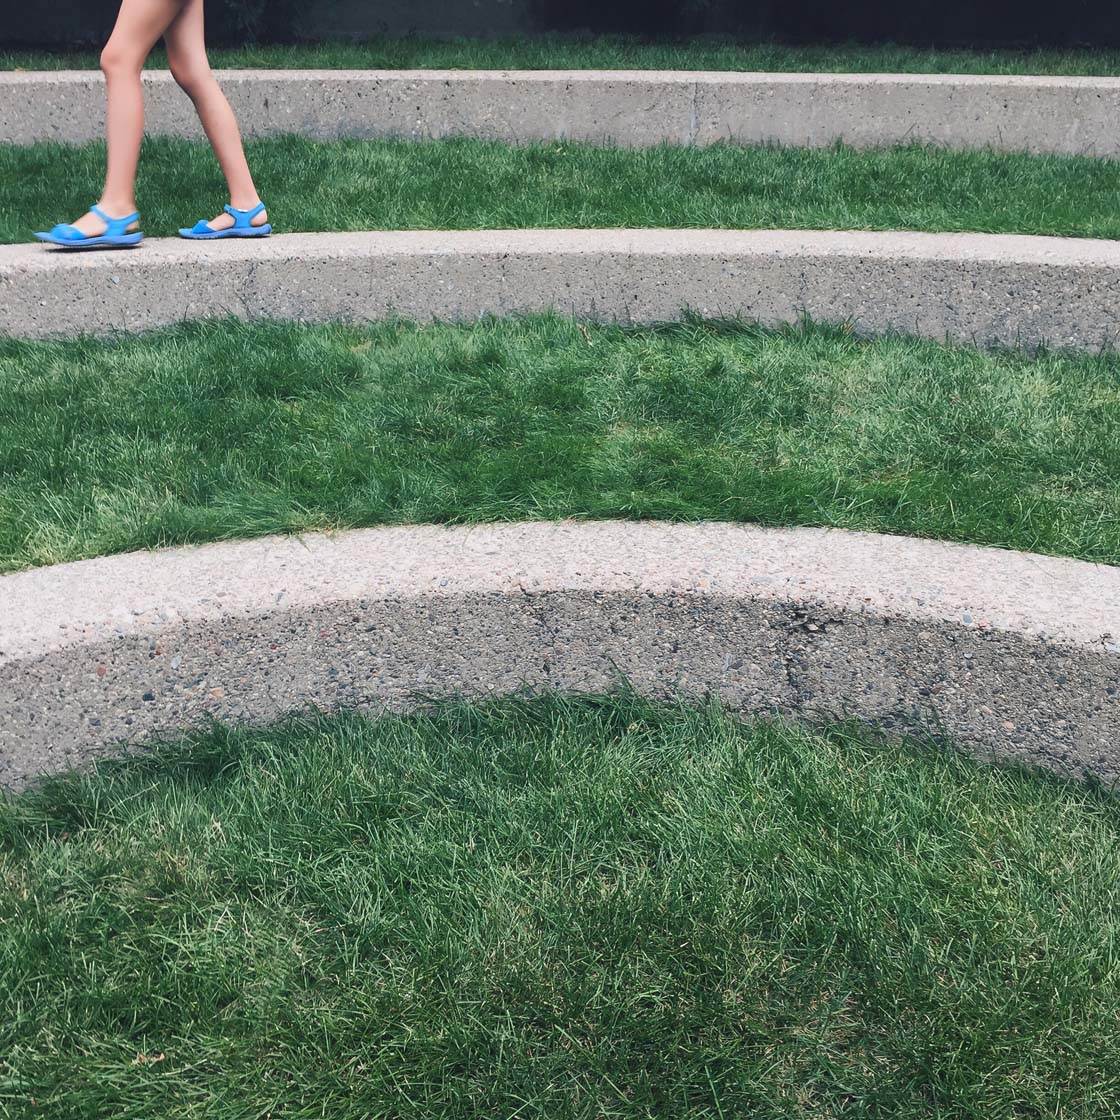
In the photo above, I framed up the scene so that the steps were centered, and then waited for someone to walk through and break the otherwise perfect symmetry.
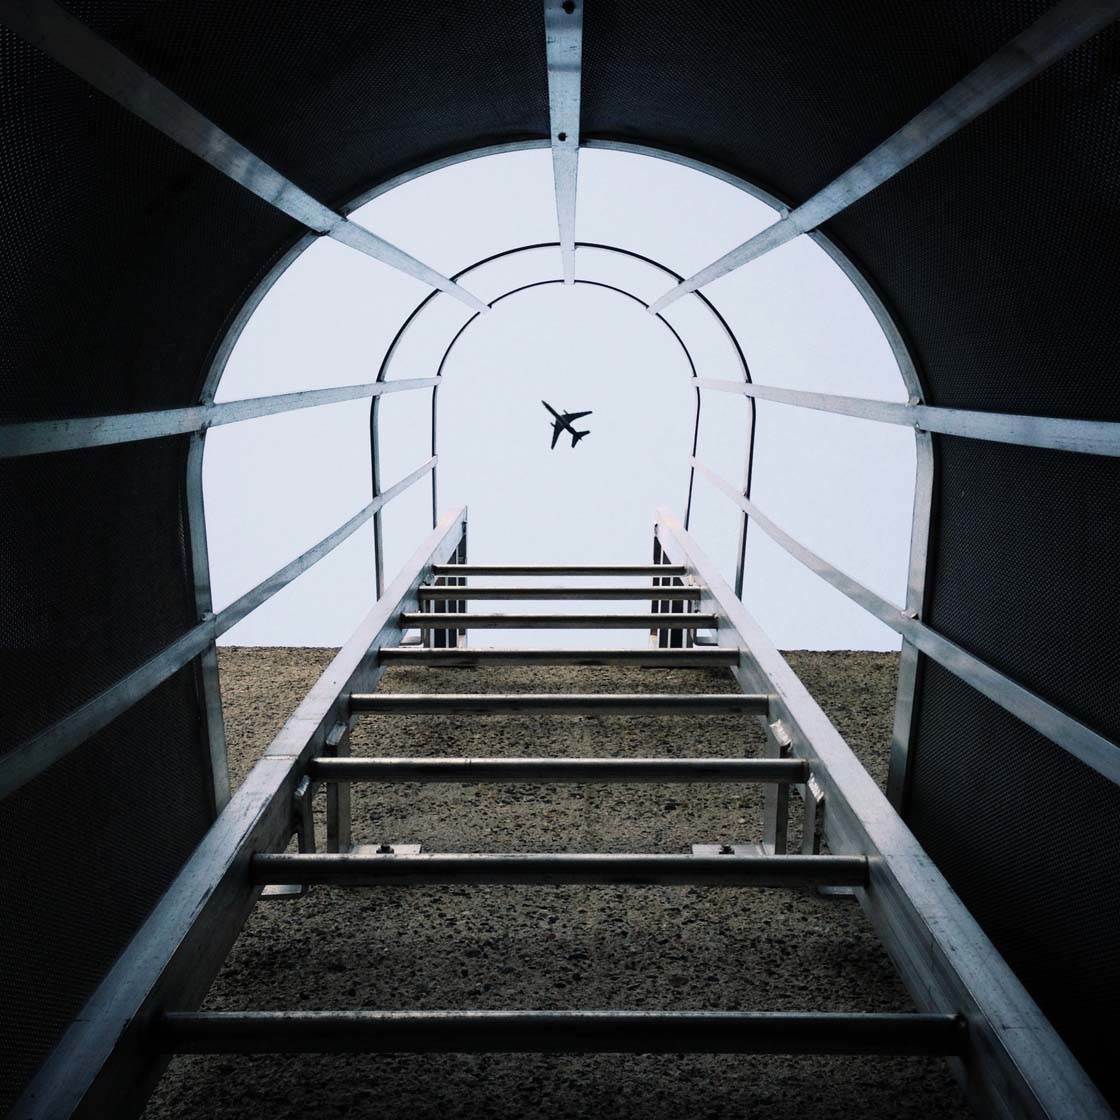
I thought about positioning the plane facing straight up in this photo, but to me it seemed more fun if it was intentionally facing off-center because it plays with the viewer’s expectations. Photos where one element is purposely askew can bring some much-needed humor to an otherwise rigid scene.
7. Use Partial Symmetry
After you’ve become an expert at finding symmetry, as well as practiced breaking symmetry, you’ll find you can incorporate symmetrical elements into many of your photos.

This is called “partial symmetry.” Partial symmetry is when one side mostly mirrors the other, but has significant differences.

Partial symmetry is also when you place the line of symmetry someplace other than the very center of the frame.

Partial symmetry is often found in nature, where a strong leading line can act as a line of symmetry, giving the photo a symmetrical feeling even thought it’s not a perfect mirror image.

Photos that feature perfect symmetry, and ones that have partial symmetry, can both be beautiful.

With practice, creating symmetrical images will become second nature to you, so you might find that you’re incorporating symmetrical elements into your shots without even realizing it.
How To Shoot Perfect Symmetry
Once you start looking for symmetry you’ll begin to see it everywhere. But once you’ve found symmetry in a scene, what’s the best way to capture it in a photograph?
There’s actually a lot more to shooting symmetrical compositions that you might think. And there are many camera features and apps that can help you to shoot perfectly symmetrical iPhone photos.

That’s why we’ve created a separate tutorial on how to use your iPhone camera to shoot perfectly symmetrical photos in all kinds of shooting situations.


Great tips Eric! And stunning photos 🙂
Thanks very much, Kate!
Rosa, thanks again. Hope you’re able to find more symmetry now all around you!
Love your attention to detail Eric! I like to change things on either side to hide fake symmetry as well 😉 It’s a great tip.