Do you want to take beautiful close-up flower photos with your iPhone? With an iPhone macro lens, you can capture the intricate detail of even the smallest flowers. But to get high-quality sharp photos, you need to know a few tricks. In this tutorial, you’ll discover 9 tips for shooting stunning flower macro photography with your iPhone.

1. Use A High-Quality iPhone Macro Lens For Beautifully Sharp Photos
The built-in lenses of the iPhone camera aren’t suitable for extreme close-up photography. They’re just not capable of focusing at such close distances.
So, how do you shoot close-up macro photos with your iPhone?

You simply attach a special macro lens to your iPhone!

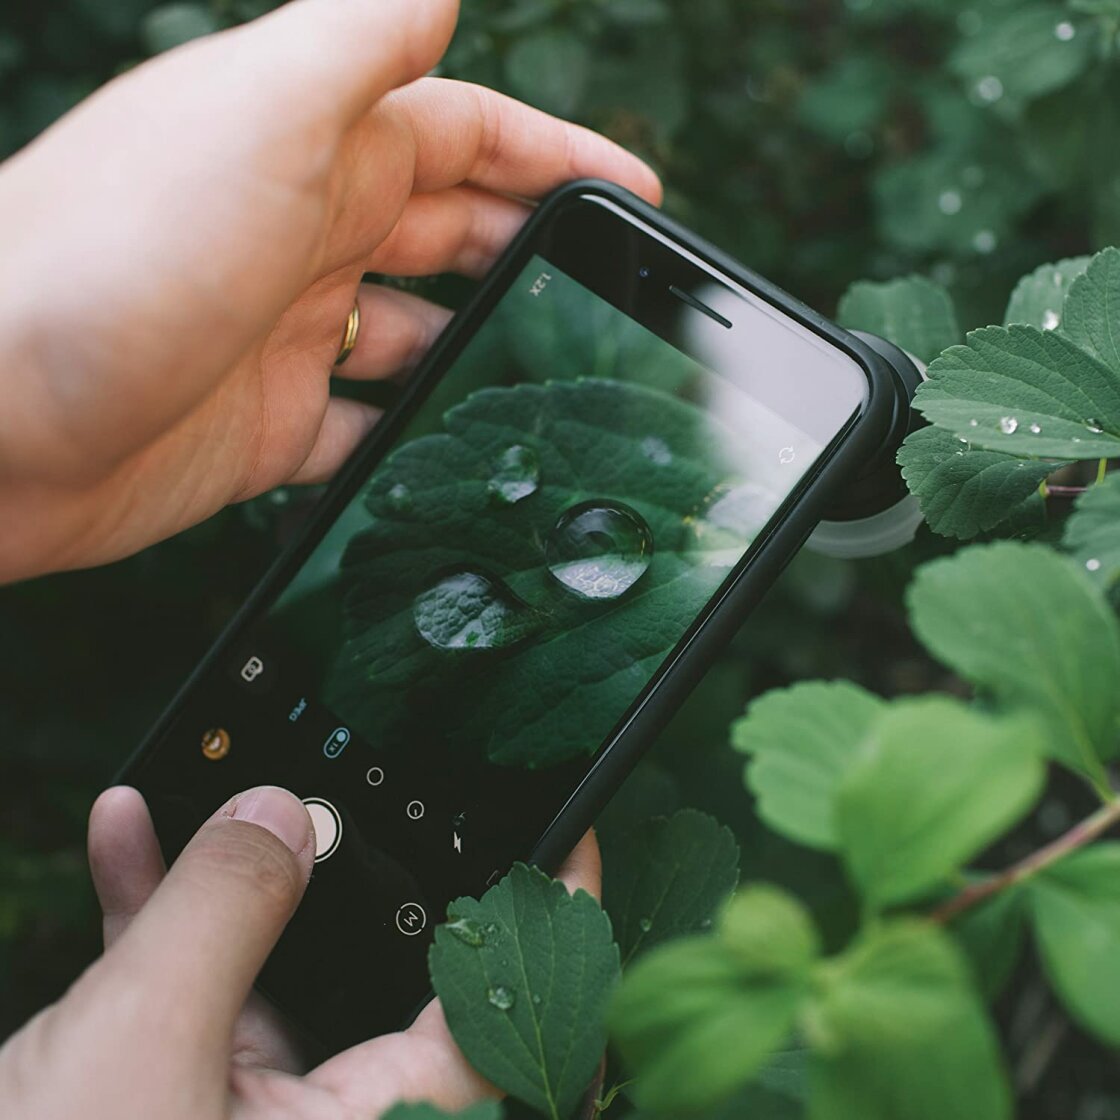
An iPhone macro lens allows the camera to focus at very close distances – which is perfect for capturing the intricate detail of flowers.
To capture sharply focused images, make sure you use a good quality macro lens.
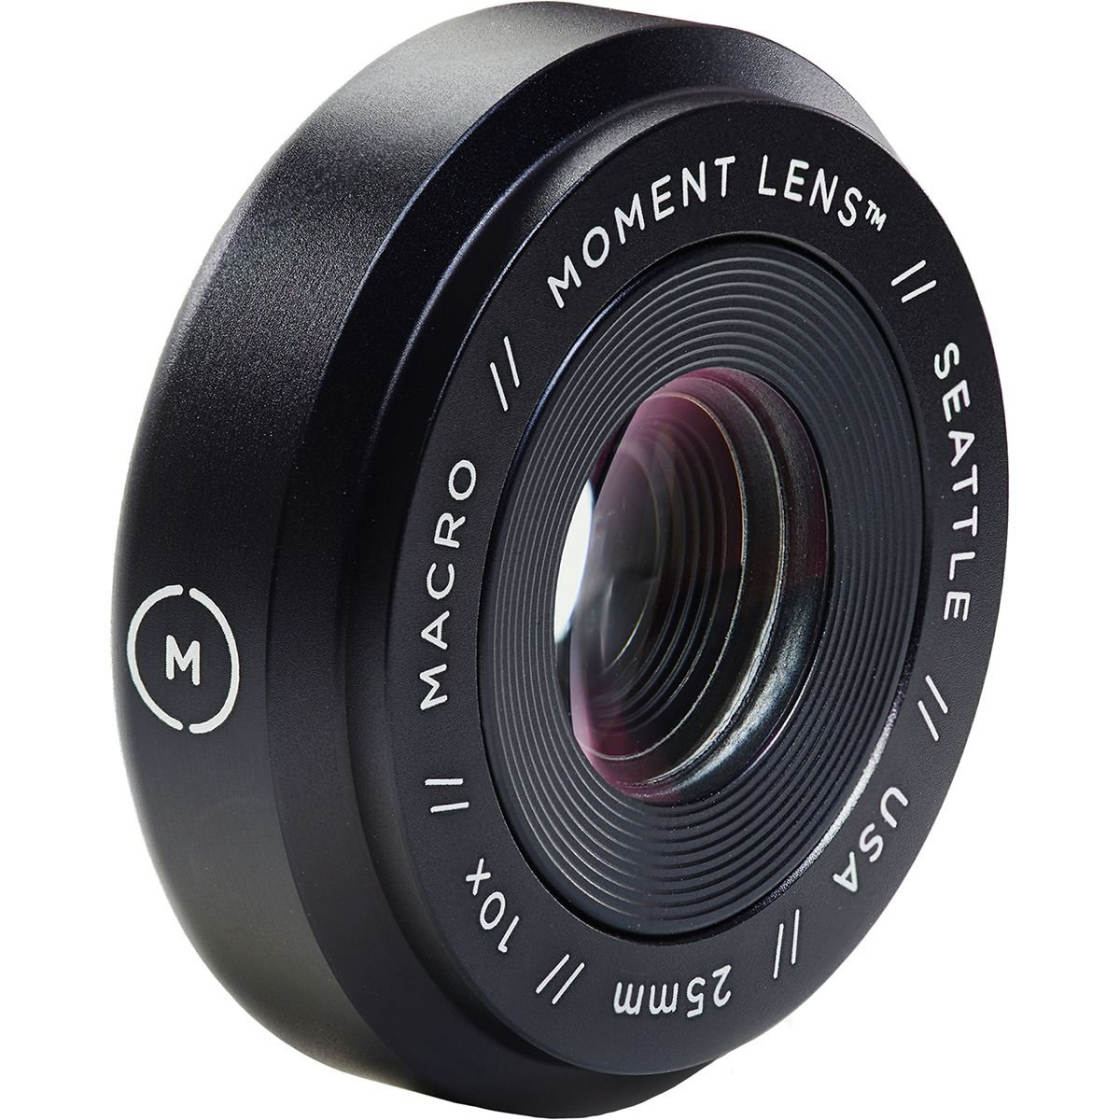
One of the best quality macro lenses available is the Moment macro lens.

The Moment macro lens costs $129.99. You’ll also need to buy the Moment iPhone Case (from $49.99) for connecting the lens to your phone.

With your macro lens attached to your phone, you can now start shooting beautiful flower macro photography!
2. Look For Interesting Features In Your Flower Subjects
The great thing about flower photography is that your subjects are always beautiful.
That said, some flowers are more interesting than others.
So what features should you look out for when searching for the perfect flower to photograph?
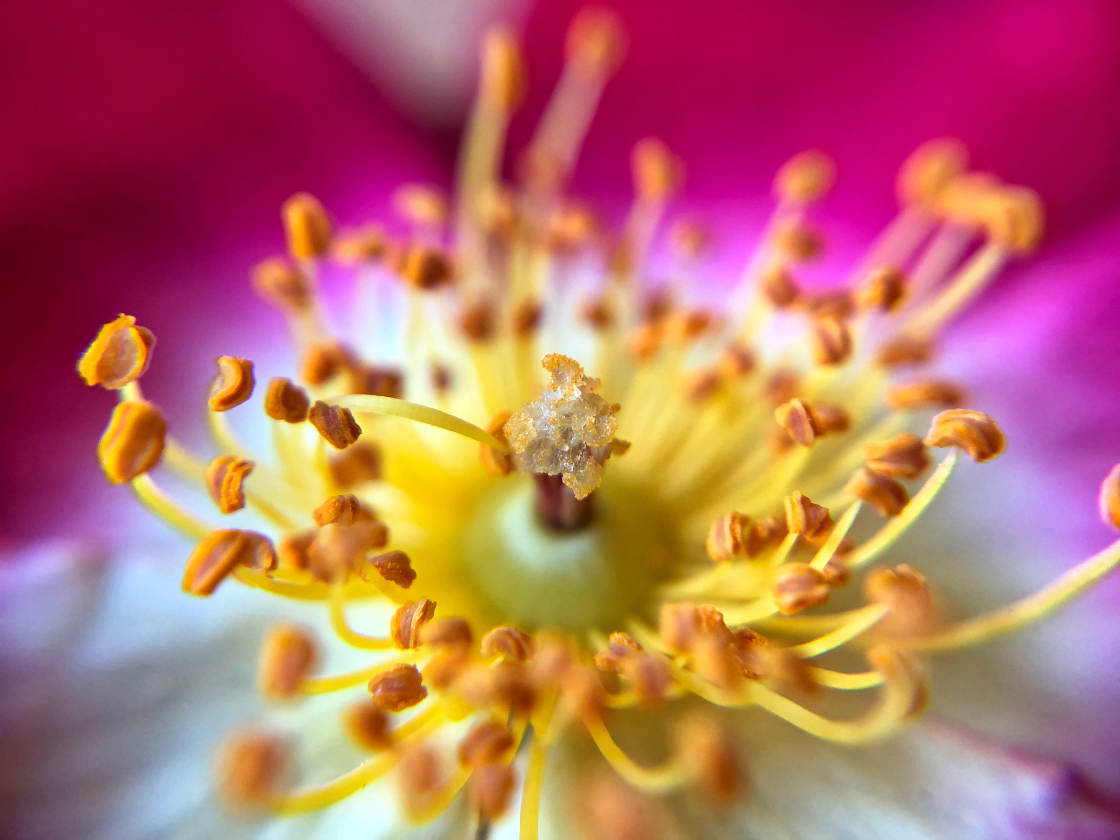
Flowers with interesting stamens make excellent subjects for iPhone macro photography.

Look for flowers with open faces so you can get the lens really close to the stamens.
Capturing fine textures also makes for interesting macro photos.
The magnified view allows you to capture textures that are difficult to see with the naked eye.
Look out for delicate details that will add a magical quality to your photos.

Dandelion seeds make wonderfully delicate subjects for iPhone macro photography.
Water droplets also add an interesting element to your flower macro photos.

You can look for water droplets after the rain. Or go out early in the morning when you’ll often find dew drops on flowers.
You can also use a water dropper or spray bottle to add your own water droplets to flowers. This allows you to capture water droplet photos whenever you want!
Of course, flowers attract bees and other insects. So if you spot a bug on a flower, be sure to capture a stunning macro insect photo.

I also like to keep flowers until they dry out. This allows you to capture even more unique features, such as crispy textures and dried seeds.
Once you start noticing the intricate details of flowers, you’ll be able to create mesmerizing macro photos with your iPhone.
3. Consider Color In Your Flower Macro Photography
Color is another important consideration when shooting close-up flower photos.
Flowers come in all sorts of beautiful colors – whether you’re shooting ordinary garden flowers or exotic blooms from the florist.
But there are ways that you can use color to create a stronger visual impact in your photos.
For example, contrasting colors will create a bold, striking image.
In the photo above, the contrast of purple against orange really makes the flower stand out.
Filling the frame with similar colors can also work well. But try to have a small pop of contrasting color to add a point of interest.
In the photo above, the white petal stands out against the blue surroundings. And this adds a strong focal point to the image.
Of course, white flowers make excellent subjects too. They add a bright, fresh feel to your photos. And they look great against any colored background.
Make sure you pay attention to the colors in your photos. If you do, your flower macro photos will be incredibly eye-catching.
4. Shoot In Soft Natural Light For Amazing Color & Detail
Good light is essential for creating beautiful macro photos of flowers.
The best type of light is soft natural daylight.
Why? Because you won’t get overly bright light or harsh shadows (which can ruin your photo).
The light will be soft and warm during the golden hours around sunrise and sunset.
So early morning and early evening are perfect for outdoor macro flower photography.
When you’re out shooting, tilt the flower with slight movements to find the best angle of light.
Notice how the light illuminates the flower in different ways as you move it.
You have to get very close to the flower with your macro lens, which might cast a shadow on your subject.
So keep moving around until you find the perfect illumination. And take lots of photos from slightly different angles.
If the flower has thin petals you could try lighting it from behind.
Backlighting will reveal wonderful details and textures as the light shines through the petals.
Try to avoid shooting during the middle of the day. Harsh sunlight can over-expose your photo, making everything too bright. And your camera will cast a dark shadow over the flower as you move in to photograph it.
If you have to shoot in full sun, try to use your body to cast a shadow over the entire flower. But be careful this doesn’t dim the light too much.

You could also use the semi-opaque diffuser hood that came with your macro lens. This diffuses the sunlight to create a softer light without harsh shadows.

If you’re shooting indoors, position your flower so it’s illuminated by light from a window.
You’ll need to ensure there’s plenty of light coming through the window. But the light needs to be soft, so avoid direct sunlight.
Remember, good lighting is the key to incredible macro flower photography.
And soft natural light is the best type of light for revealing amazing color and detail in your photos.
5. Shoot On A Still Day Or Take Your Flower Indoors
For stunning macro photos, the flower must be perfectly still.
Any movement will result in blurry photos… which won’t look good.
So, if you’re shooting outdoors, make sure you avoid windy weather. Wind makes it very difficult to capture sharp photos.
A still day is perfect for flower macro photography.
You’ll be able to take sharp shots while your flower remains perfectly still.
If there’s a slight breeze, you could try holding the stem of the flower to keep it steady.
But a better option is to take the flower indoors. There, you can shoot in more controlled conditions without any breeze.
Just make sure you position the flower near a window so you have plenty of natural light on your subject.
Remember, movement results in blurry photos. So, keeping the flower still is essential for clear and sharp macro photos.
The trick is to shoot on a still day. Or take your flower indoors to photograph it.
6. Get The Flower In Sharp Focus
The hardest part of iPhone macro photography is getting your subject in sharp focus.
Why is it so challenging?
Because when you shoot at very close distances, the depth of field becomes extremely shallow.
Depth of field refers to how much of the image is in focus.
With a shallow depth of field, only a small part of the image will appear in sharp focus. Anything behind or in front of the focused area will be blurred.
So, how do you get the camera to focus on a particular part of the flower?
First, ensure the flower is perfectly still. If the flower is blowing around in the wind, it will be almost impossible to set the focus accurately.
Next, decide which part of the flower you want in sharp focus.
Do you want to focus on the stamens? Is there a particular petal that you want to focus on? Is there a water droplet that you want in focus?
Finally, you need to get the camera to focus on your chosen area.
The iPhone Camera app lets you to easily set the focus point. Once you’ve composed your shot, tap and hold for a couple of seconds where you want the focus to be set.
When the focus is locked, you’ll see AE/AF Lock at the top of the screen. You’ll also see a yellow box with a sun icon which indicates the focus point.

Tap the shutter button gently to take a shot.
Now, there’s one problem:
The photo you just took might not have perfect focus.
If you moved the camera (even very slightly) towards or away from the subject, the focus will be on a different part of the flower.
So, here’s the key to getting perfectly focused macro photos with your iPhone:
Take lots of photos at slightly different distances!
With your focus locked (you’ll still see AE/AF Lock on the screen), use tiny movements to move the camera towards or away from the flower. Take a photo each time you change the distance.
When you look through your photos, there should be at least one picture with perfect focus.
Be sure to zoom in (pinch outwards on the screen) when viewing the photos you took. That way, you can clearly see which part of the flower is in focus.
Here are a few more tricks for taking sharper macro photos with your iPhone:
Find a comfortable position and ensure your body is relaxed. Sitting or kneeling down will help you keep your body steady.
Try to rest your hands on a solid surface to stop them from shaking the camera.
When shooting indoors, I use a small block of wood to rest my hands on.
Just before you take the photo, hold your breath to prevent any movement caused by breathing.
And press the shutter button gently to avoid moving your iPhone as you take the shot.
These tricks will ensure you capture perfectly focused macro photos that really stun the viewer.
7. Create Beautiful Backgrounds For Your Flower Macro Photography
When you’re shooting close-up flower photos, you might not pay much attention to the background.
After all, the background will appear blurred. So you might not think it’s important.
But the color, lighting, and detail of the background can really enhance your image.
So what makes a good background?
First, consider the color of the background.
Does the background color look good with the color of your flower?
A background color that contrasts with the color of the flower will make the subject stand out.
But a background color similar to the flower can also work well.
When you’re shooting outdoors, use surrounding flowers or leaves as the background for your photo.
With indoor macro photography, you could use colored card to create any background color you like.
It’s also important to have some kind of detail or texture in the background.
When this detail becomes blurred, it will create visual interest even though it’s not in focus.
Ideally, you want something that adds color and texture. And if it catches the light, that’s an added bonus.
I love to use glitter in the background of my macro photos. It reflects the light and adds a colorful shimmer to the photo.
You could also use a string of beads or colored straws. Even a kitchen scourer can make a great background for your macro flower photography!
For beautiful bokeh (out-of-focus points of light), use mini fairy lights in the background.
When the fairy lights become blurred, they appear as shimmering circles of light.
And this creates a truly stunning background for your iPhone macro photography.
8. Use Tiny Props To Add Interest To Your Close-Up Flower Photos
Have you ever thought about using props in your close-up photography?
Props can make your macro flower photos more interesting – especially when the flower is very small and doesn’t fill the frame.
Props are also perfect for resting your flower on while you take the photo.
So what kind of props work well for iPhone macro photography?
Small household objects make great props.
Try placing your flower in a miniature glass bottle. Or lay a tiny flower on some colored pencils.
In the photo above, the pencils add vivid colors to the background. And the tip of the pencil creates a sense of scale, showing just how tiny the flowers are.
You could even place a small flower in the eye of a sewing needle. Again, the needle adds a sense of scale to the photo.
You could also look for objects found in nature. For example, you could rest your flower on a leaf, a shell, or a piece of driftwood.
Feathers also make good props. Their delicate texture and pattern is perfect for macro photography.
Try placing a single dandelion seed on a shimmering feather for a beautifully delicate macro photo.
Look around your home and outdoors to see what other props you can find. Then try incorporating them into your macro flower photography.
The results will definitely be worth it!
9. Photograph The Flower From Many Different Angles
The great thing about flowers is that they look good from so many different angles.
This means you can capture lots of unique shots using just a single flower.
So once you’ve found an interesting flower, photograph it from as many different perspectives as you can.
Shoot from directly above to capture the detail of the stamens.

Then shoot from beneath the flower to show it from an angle that we don’t normally see.
Turn the flower upside down. And capture a side-on view.
Tilt your camera in different directions and take lots of photos.
Notice how different parts of the flower come into focus. And notice how the angle of the light affects the image.
If you experiment with different perspectives, you’ll be able to capture the many unique features of a single flower.


Leave a Reply
You must be logged in to post a comment.