Flowers are one of the most popular photography subjects. Their stunning colors, intricate detail and amazing variety mean you’ll never get bored of photographing these natural wonders. But without the right light and composition it’s difficult to show the true beauty of your subject. In this tutorial you’ll discover ten great tips for improving your iPhone flower photography by getting more creative with shooting and editing.
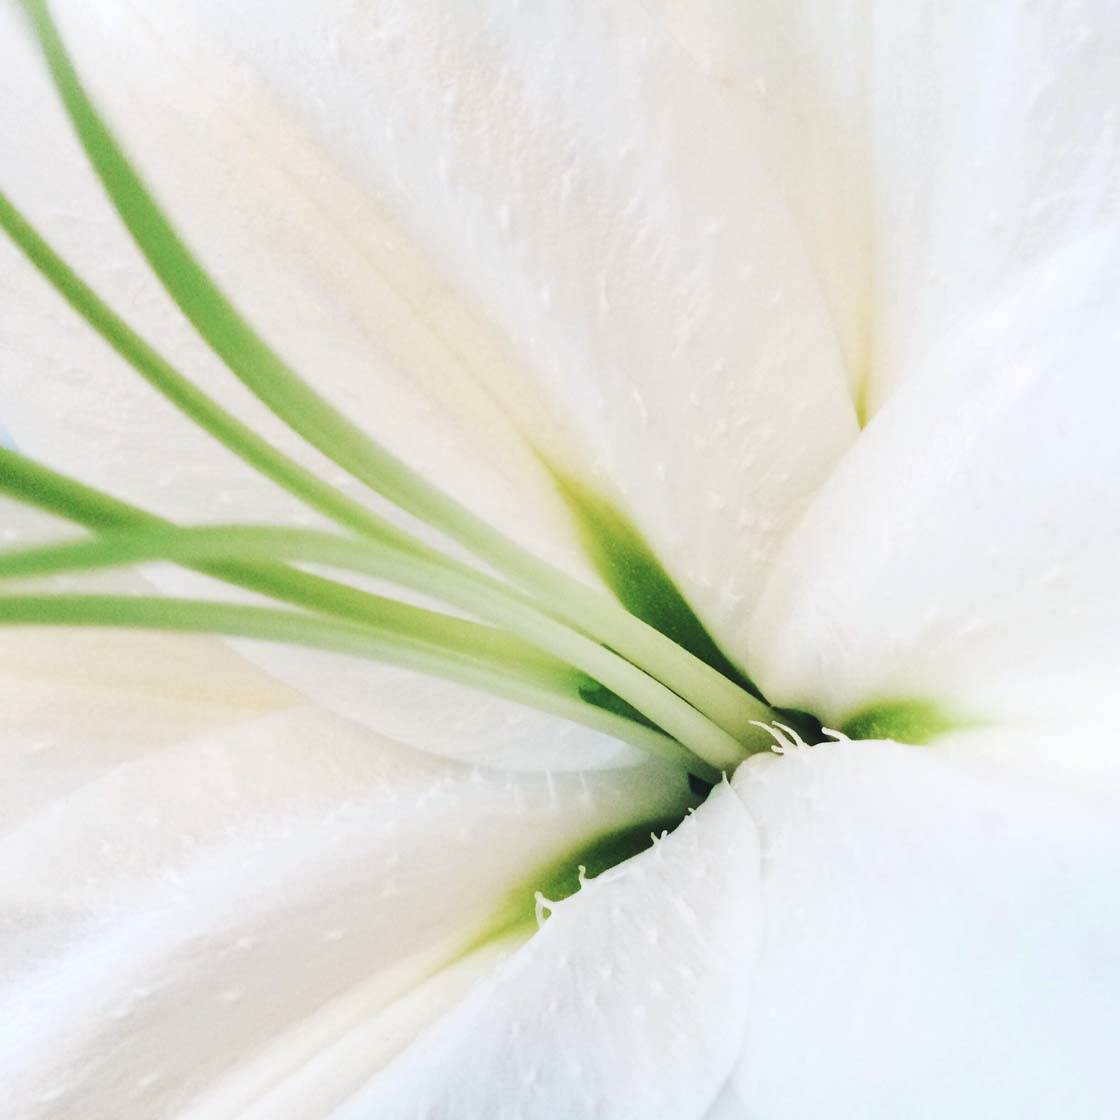
1. Shoot In Soft Light
The type of light you shoot in can have a big impact on your flower photos. Typically we like to go outdoors in sunny weather, but this isn’t normally a good kind of light for taking pictures of flowers. Bright sunlight can create harsh shadows on your subject, and may cause the brighter areas of the petals to appear over-exposed.
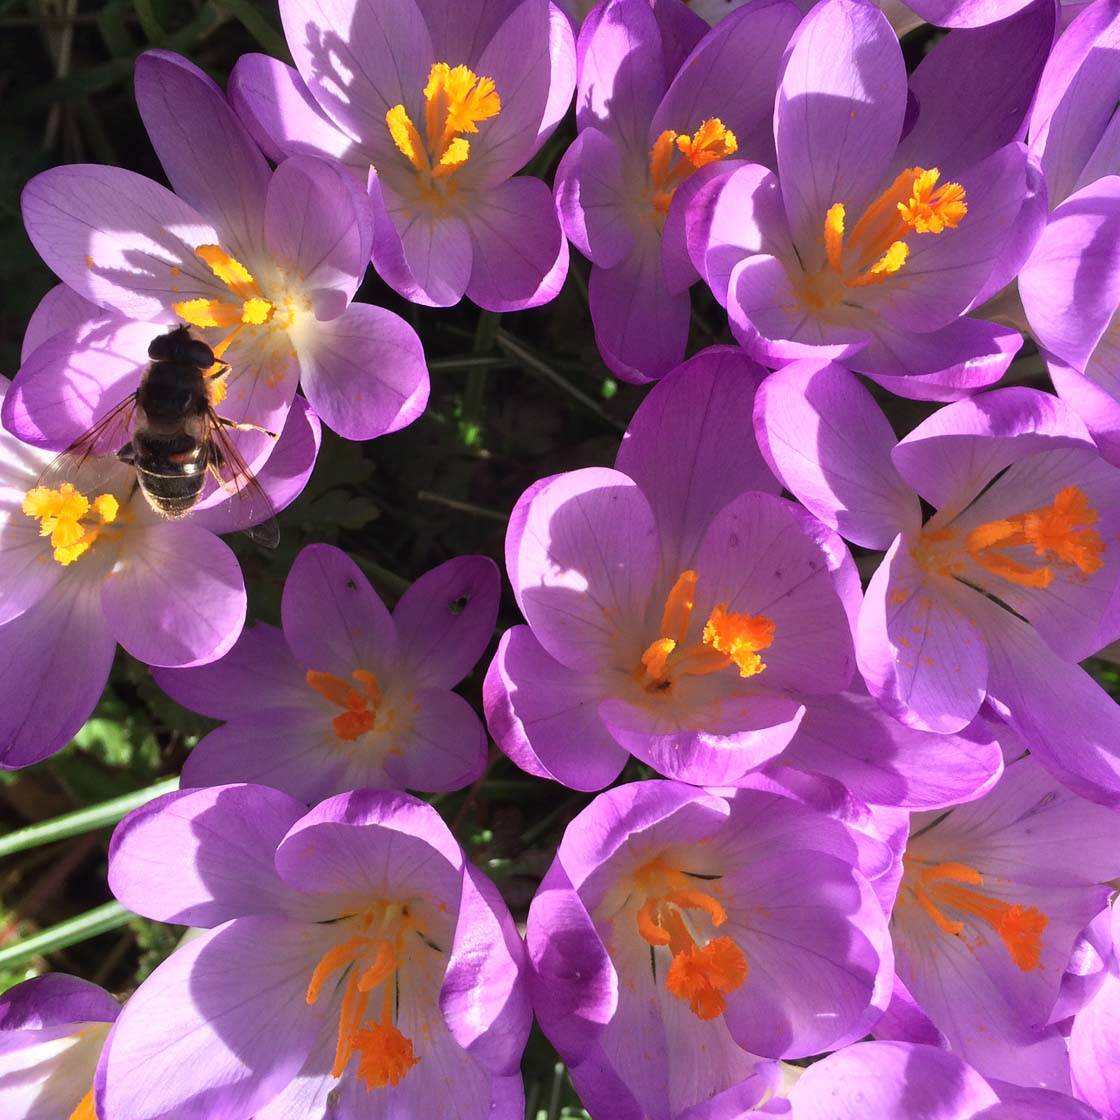
The photo above was taken in bright afternoon sun, and you can see that the picture is full of hard shadows on various parts of the petals. This is distracting and takes away from the natural beauty and softness of the subject.
Now compare this to the photo below which was taken when the sun went behind a cloud. The lighting is much softer and more even throughout the photo.
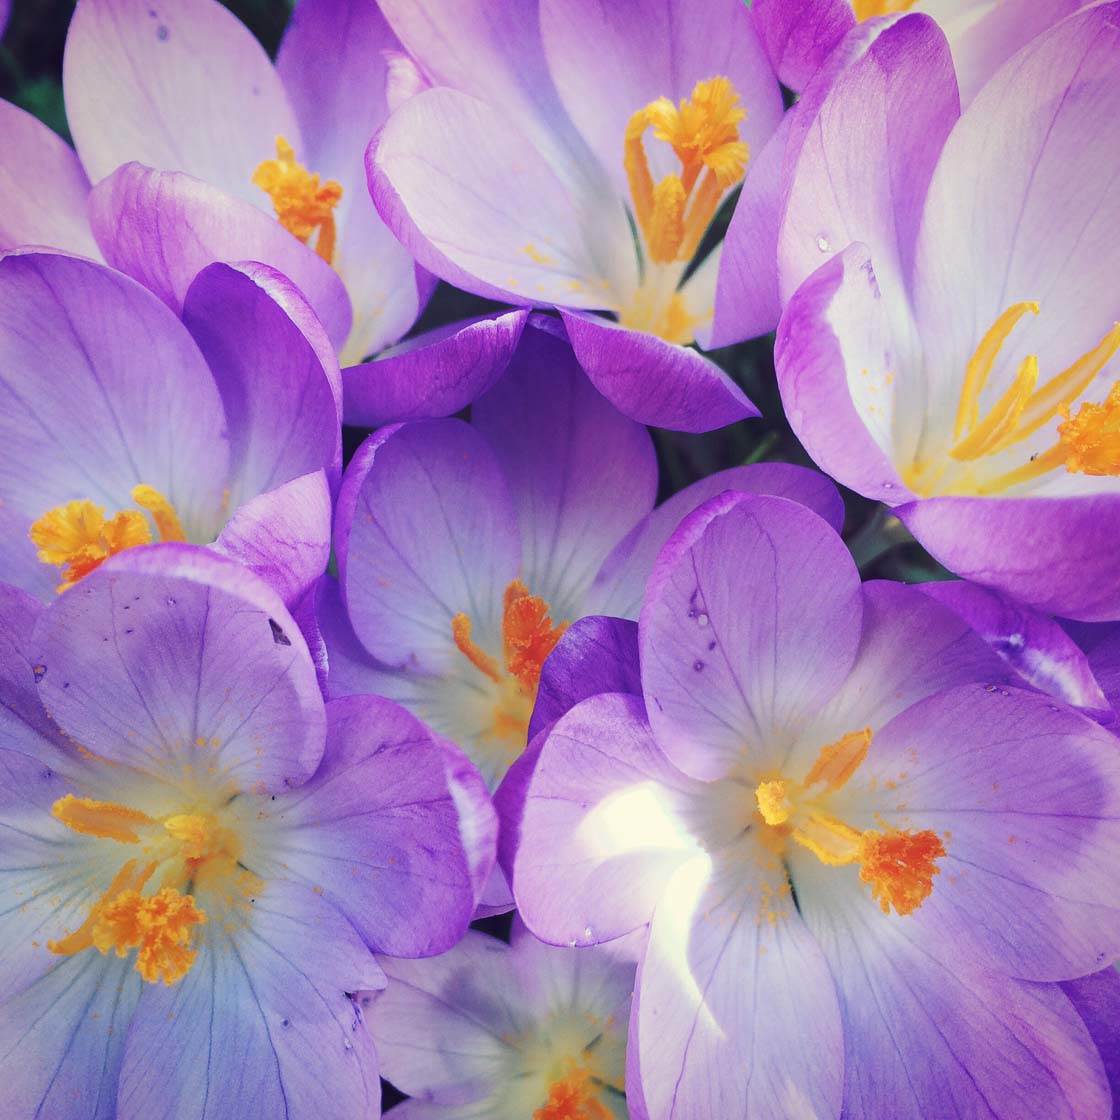
It’s often much better to take flower photos when the sky is slightly overcast. The clouds act as a natural diffuser, softening the light that hits your subject. The golden hours around sunrise and sunset, when the sun is lower in the sky, are also great for this kind of photography.
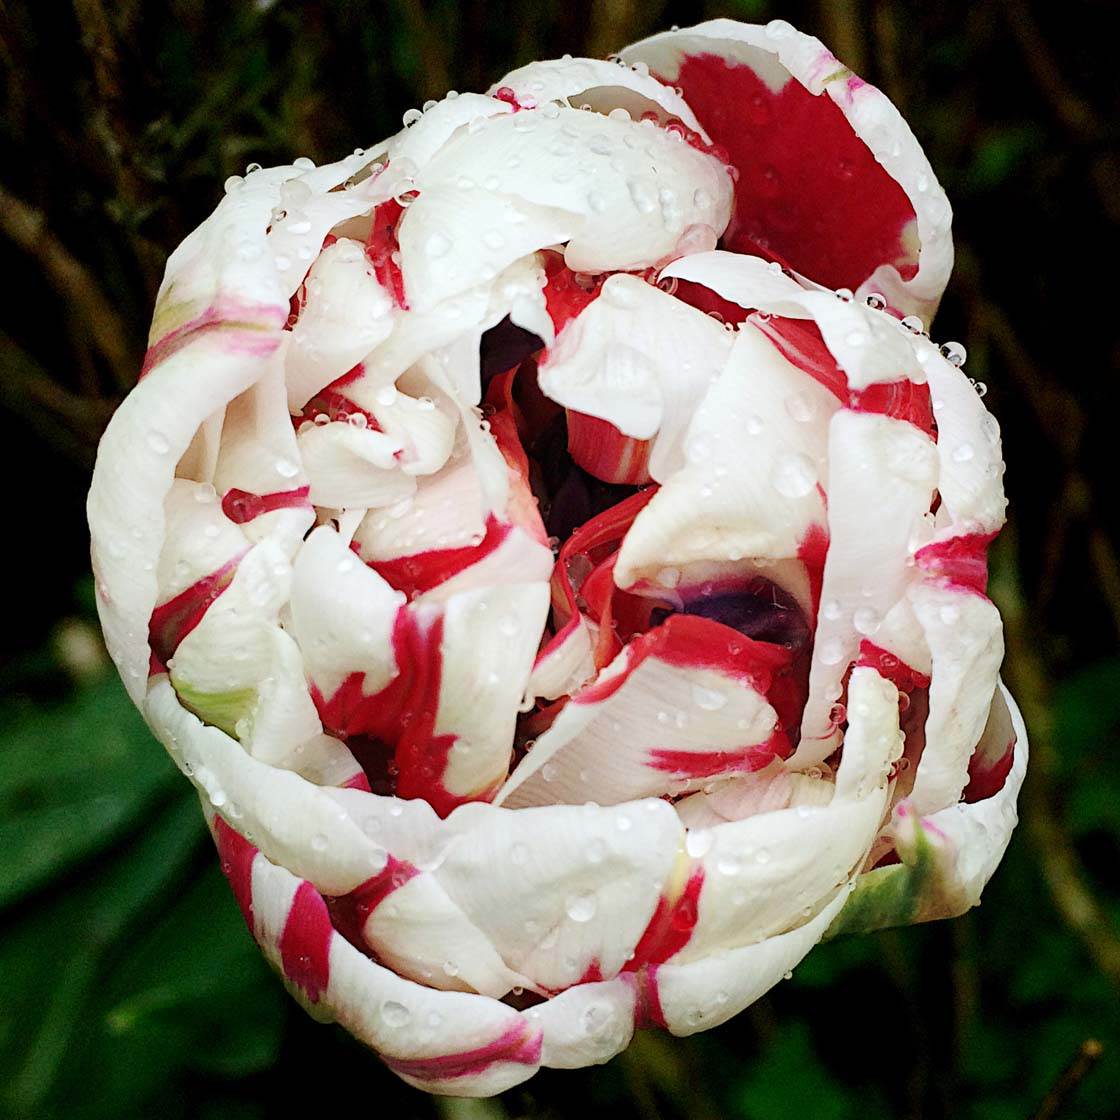
You could also try looking for flowers that are in shade, such as under a tree or in the shadow of a building. The light will be much more even if the bright sun isn’t directly hitting the subject.
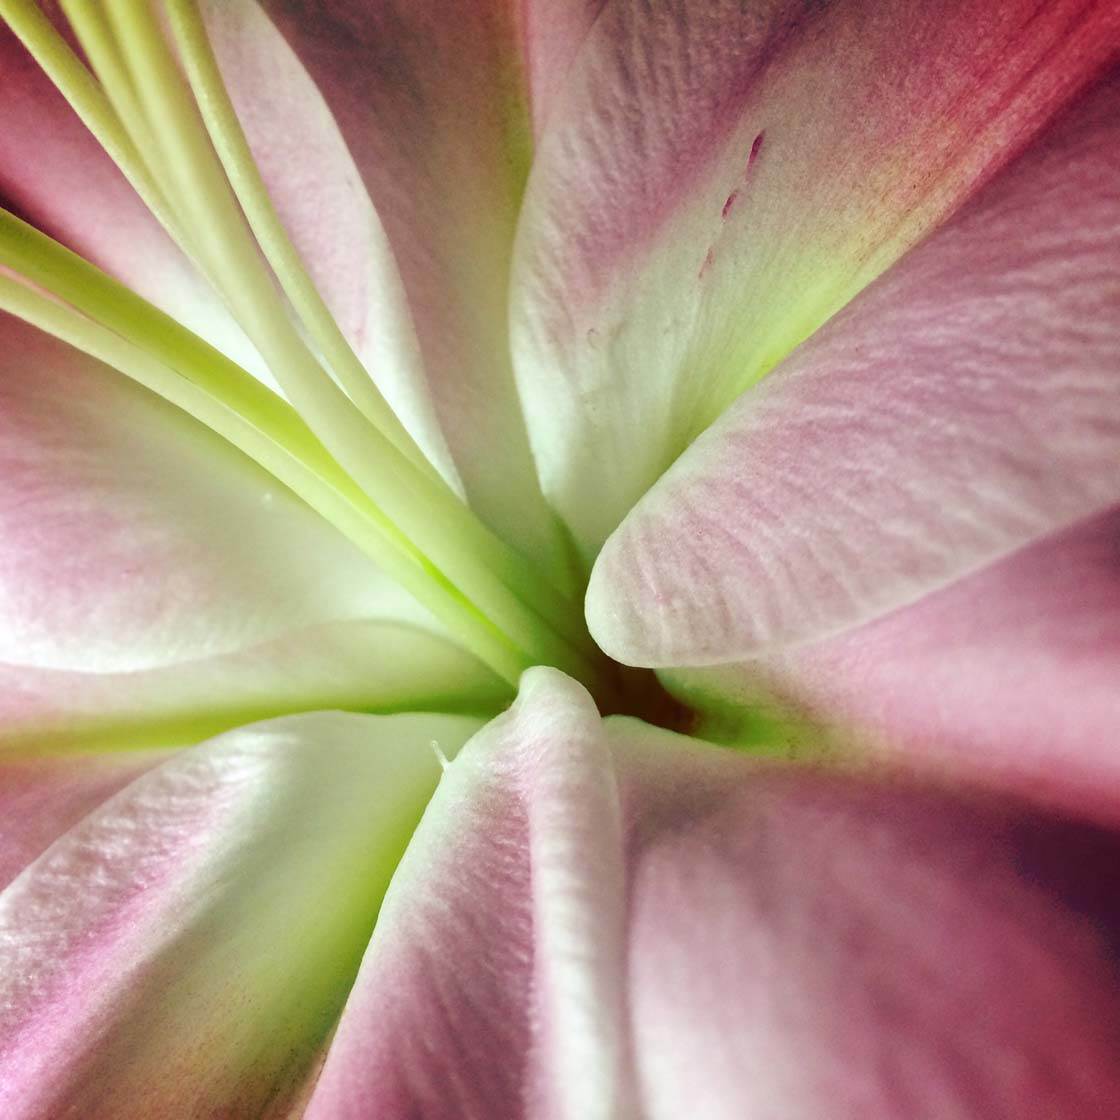
If you’re photographing flowers indoors, window light is perfect for illuminating them, as long as the sun isn’t shining directly onto the subject. Beware of photographing flowers under artificial light such as a lamp, as light bulbs tend to create a warm color cast and your flowers will be tinted orange.
2. Simplify The Background
One of the biggest mistakes that people make when photographing flowers is not thinking about the background. A busy background is very distracting and will take the viewer’s attention away from the flowers that you want them to focus on.
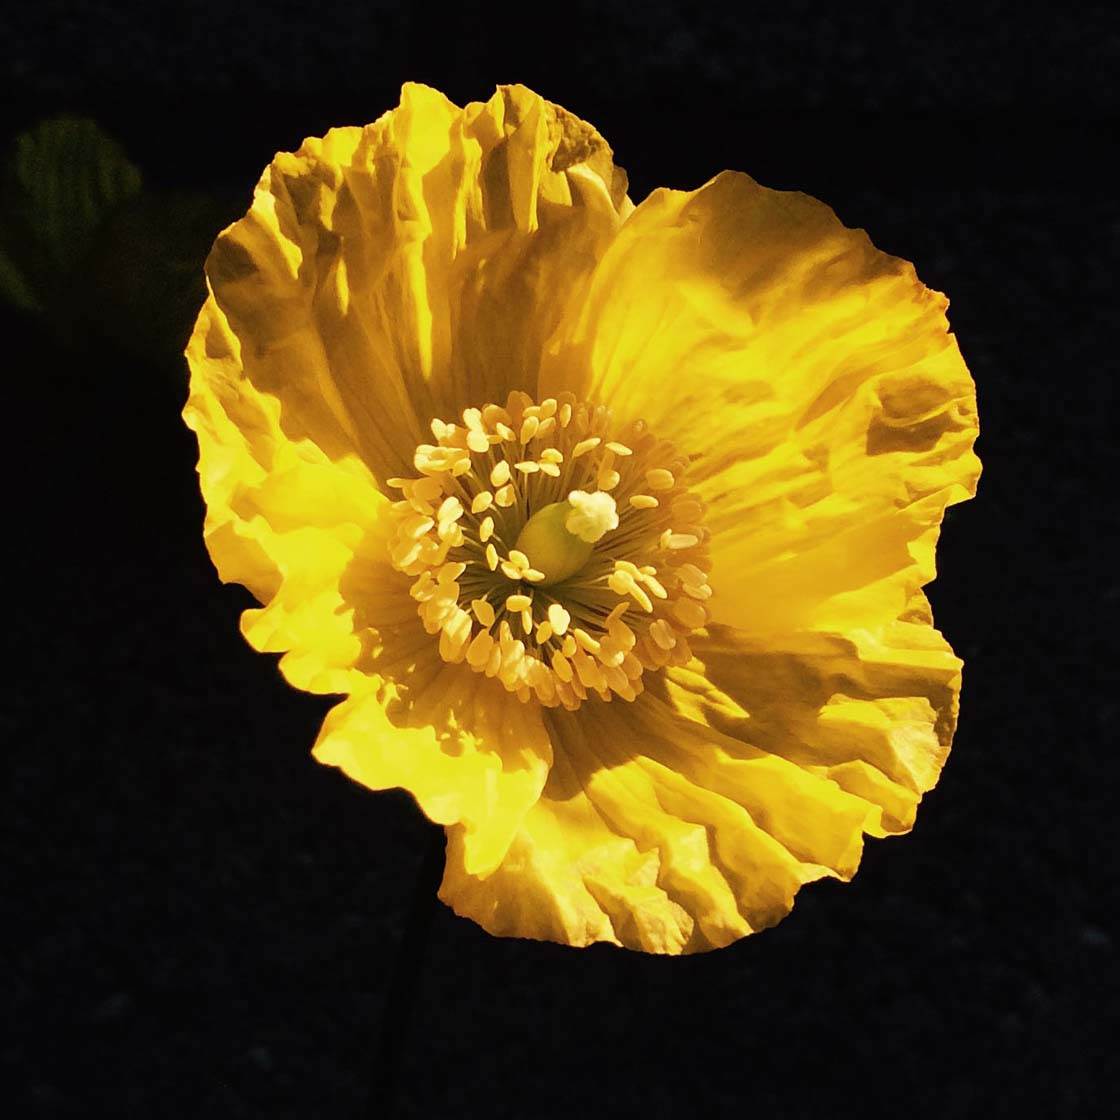
The problem with photographing flowers is that they’re often surrounded by other plants, or have an ugly fence or other unsightly background behind them. Getting a clean backdrop is important, so you need to do whatever you can to ensure that you keep it as simple as possible.
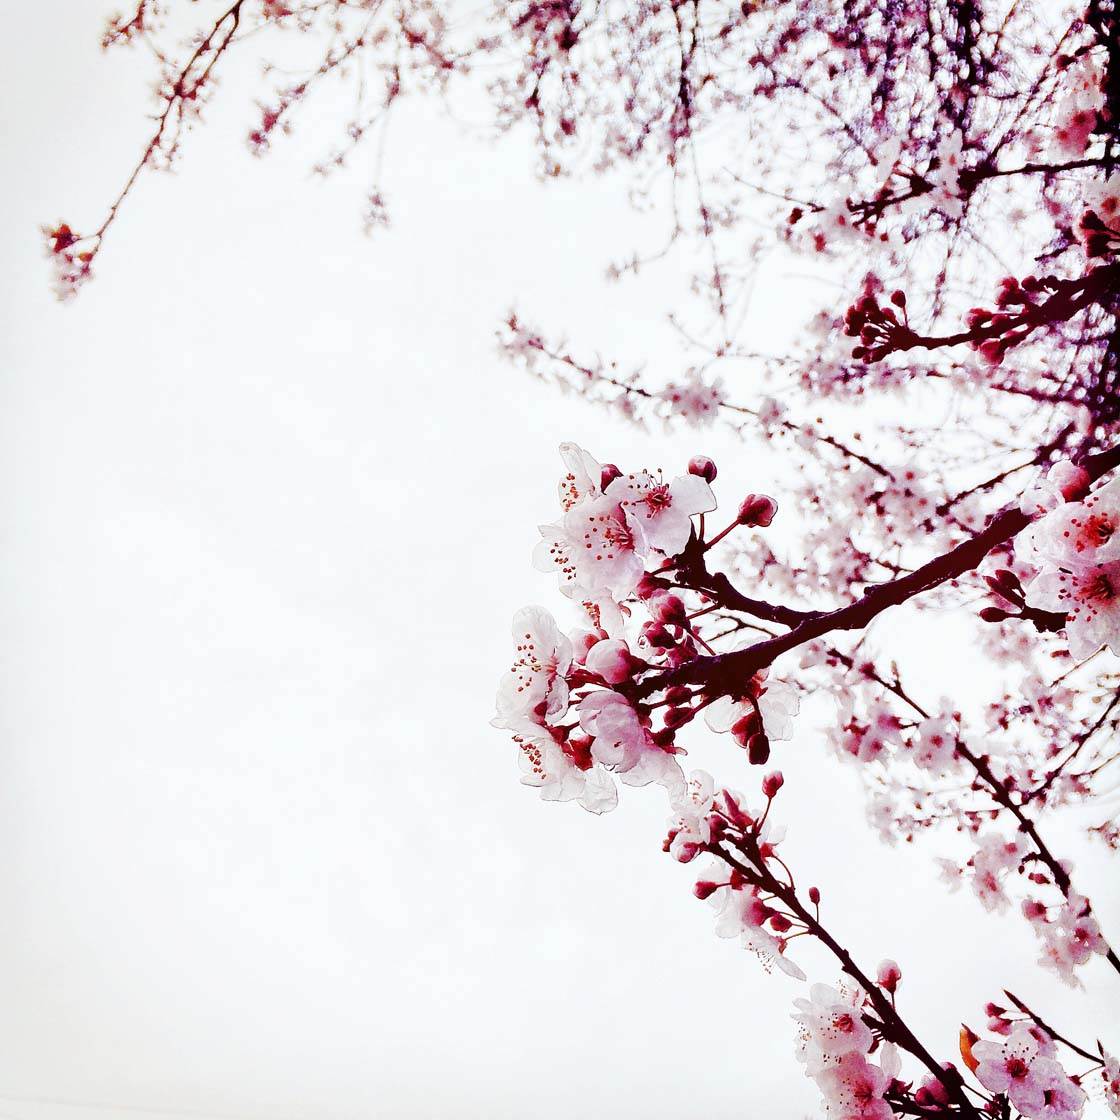
Outdoors there’s always one part of the scene that’s nice and clean, and that’s the sky. So a simple method of getting a plain background behind your flowers is to shoot from a low angle, aiming your camera up towards the sky.
This was easy with the blossom tree flowers above, but if you’re photographing flowers on the ground, you may need to lie on the ground to get low enough. But trust me, it will be worth it!
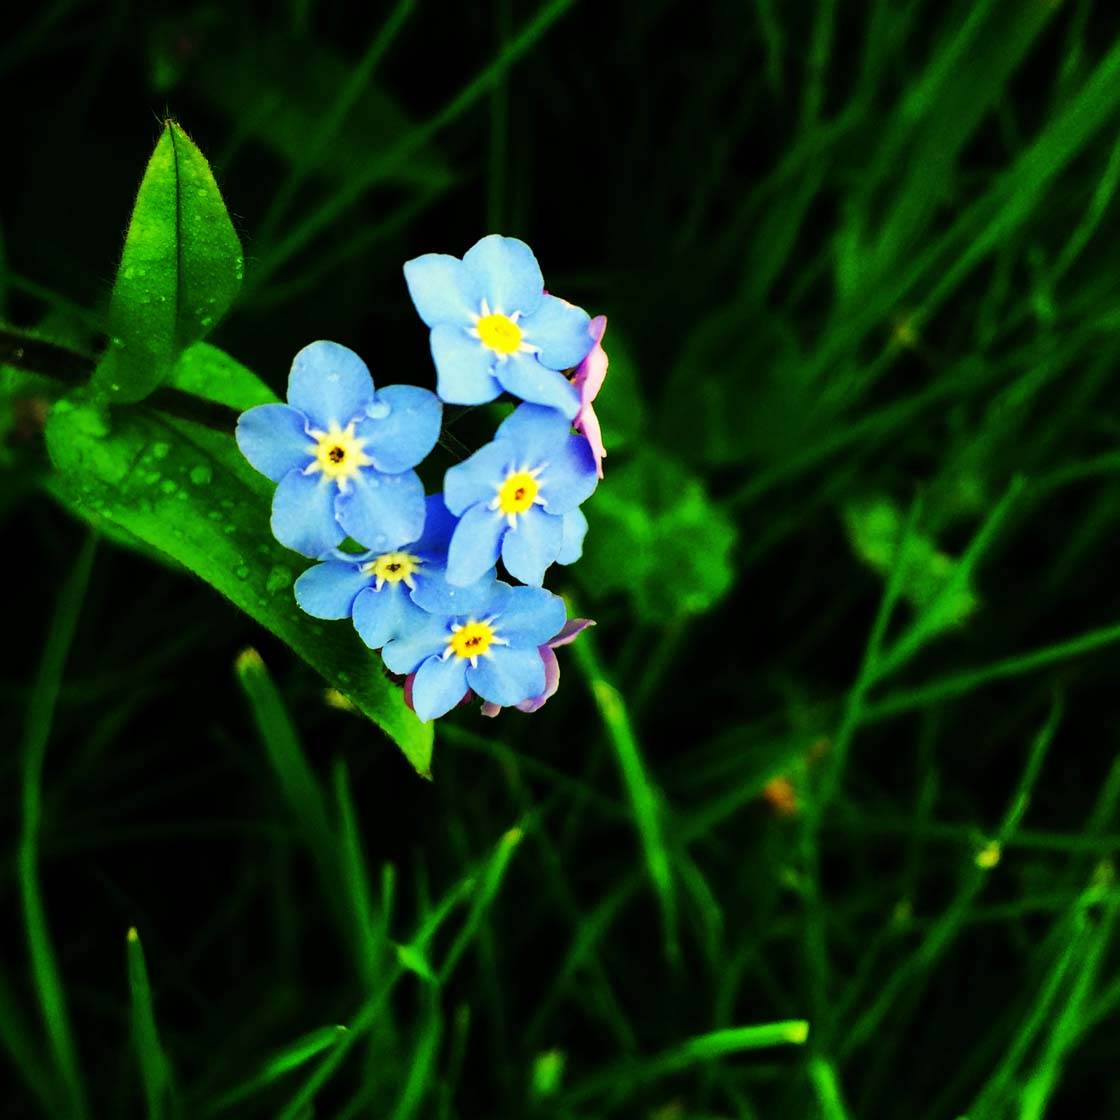
Using the ground as a backdrop is another option, as long as it’s not too distracting. Green leaves or grass tend to work better than soil as the vibrant color usually complements the color of the flowers. You’ll need to get close to eliminate everything else from the scene.
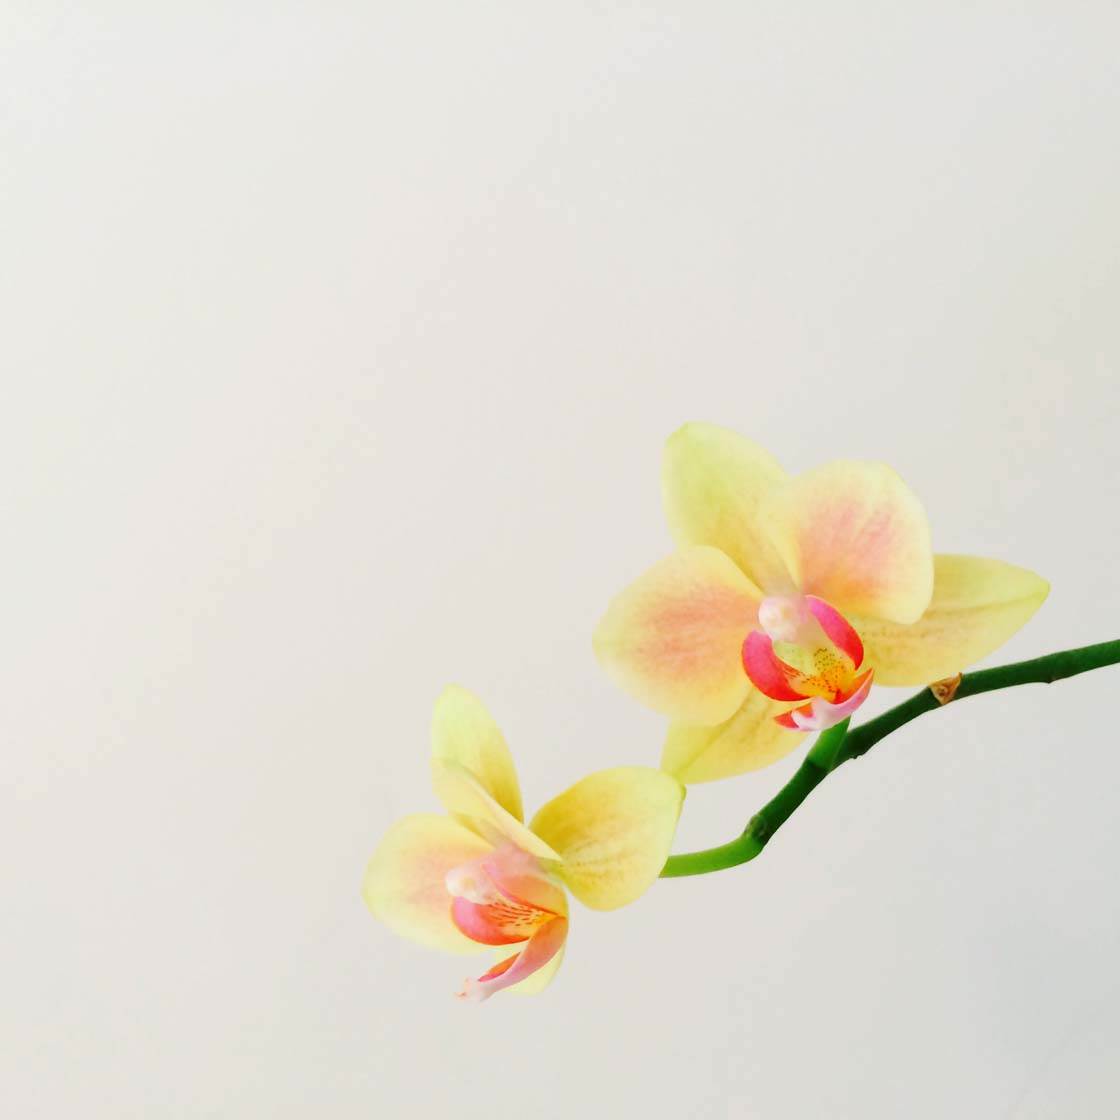
Another option is to take a piece of plain card out with you. Simply position this behind your flower to create a simple backdrop and hide anything distracting in the background.
3. Shoot From A Low Angle
As you’ve just seen, shooting from a low angle allows you to get more sky behind your subject in order to eliminate distracting backgrounds. But there are some other great reasons for shooting from a lower viewpoint.
Shooting from a low angle shows the flowers from a more unique perspective. Most people look at flowers from standing height, but if you crouch down or even lie on the ground to take your photo, you’re likely to create a much more interesting photo.
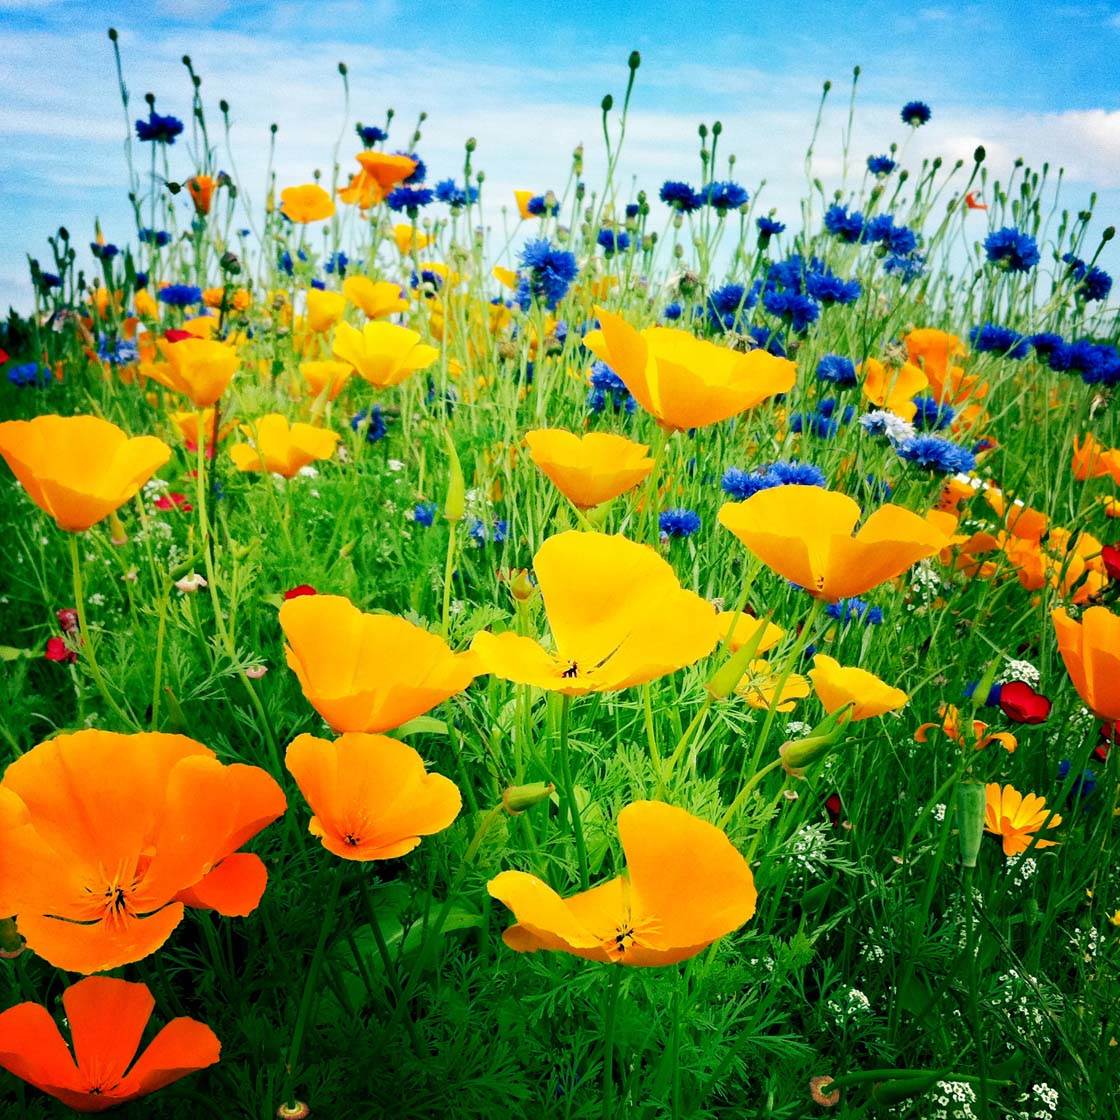
Getting down to the level of your subject also makes your subject appear much bigger than it is. The low shooting angle in both of these photos gives the impression that the flowers are looming over the viewer, making them much more impressive than if shot from above.
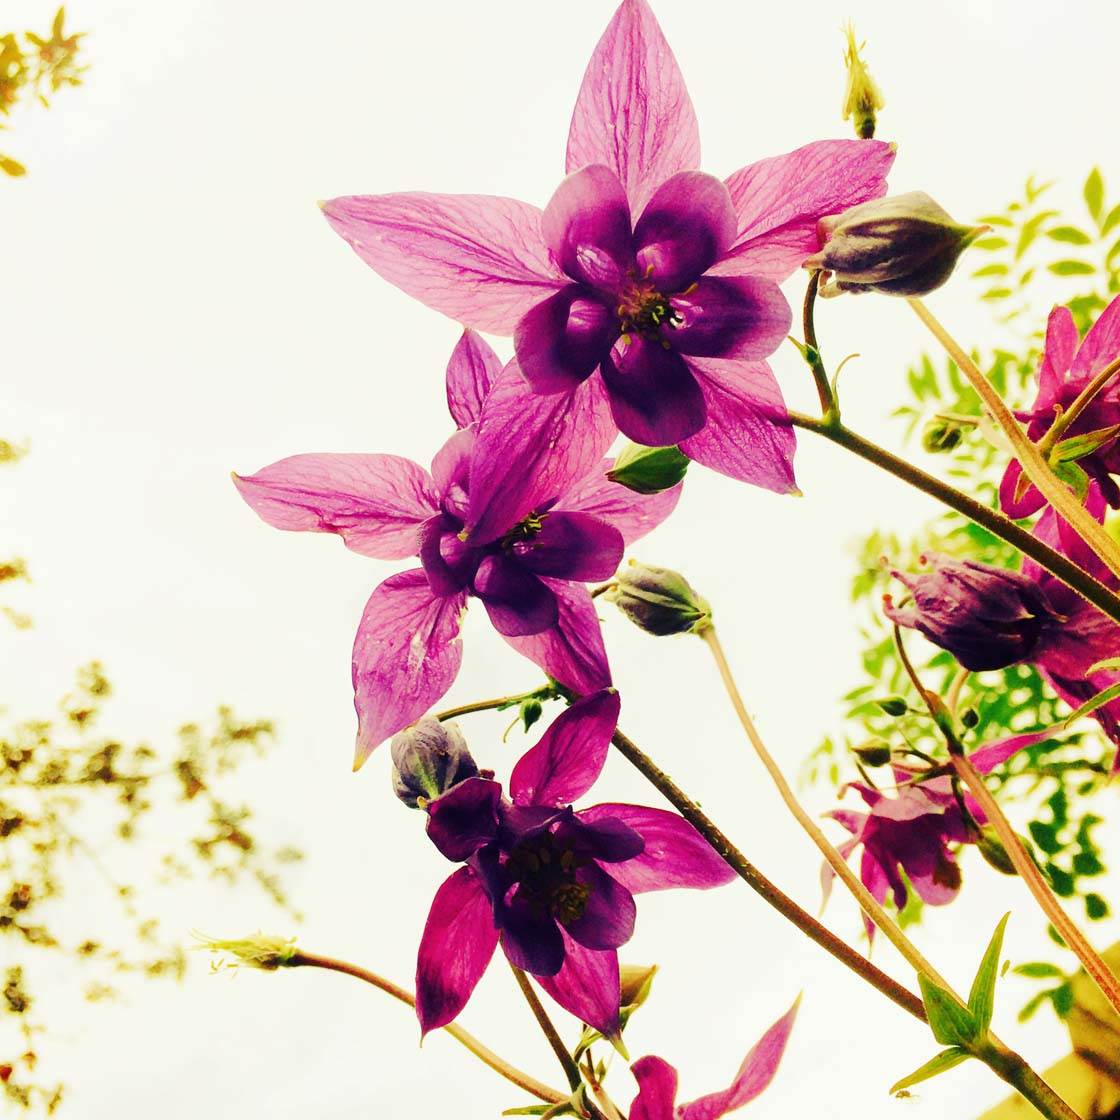
Another advantage of shooting up towards the sky is that the bright light behind the flowers will shine through the semi-transparent petals, revealing color and detail that you wouldn’t otherwise be able to see.
4. Fill The Frame
Flowers are full of intricate detail, but it’s difficult to capture this with your camera unless you get up close. Many people worry about “chopping off” the edges of the petals in their flower photos, so they end up including some of the background in order to get the whole flower in the frame.
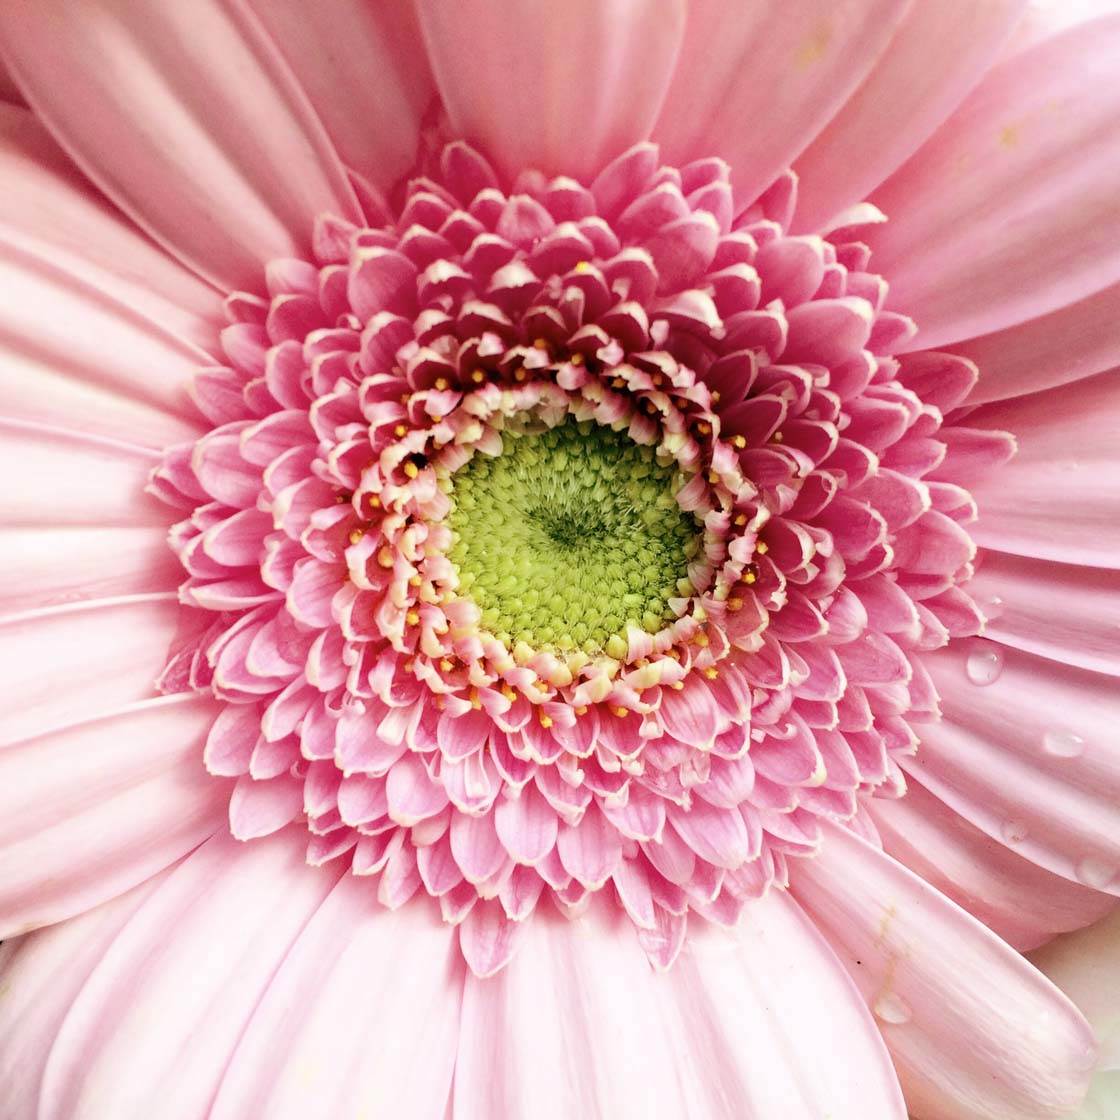
But moving in closer and filling the entire frame with just part of a single flower often creates a more powerful photo. The image above has much more impact with this tight framing. You don’t get any distracting background and the fine detail of the flower is clearly visible.
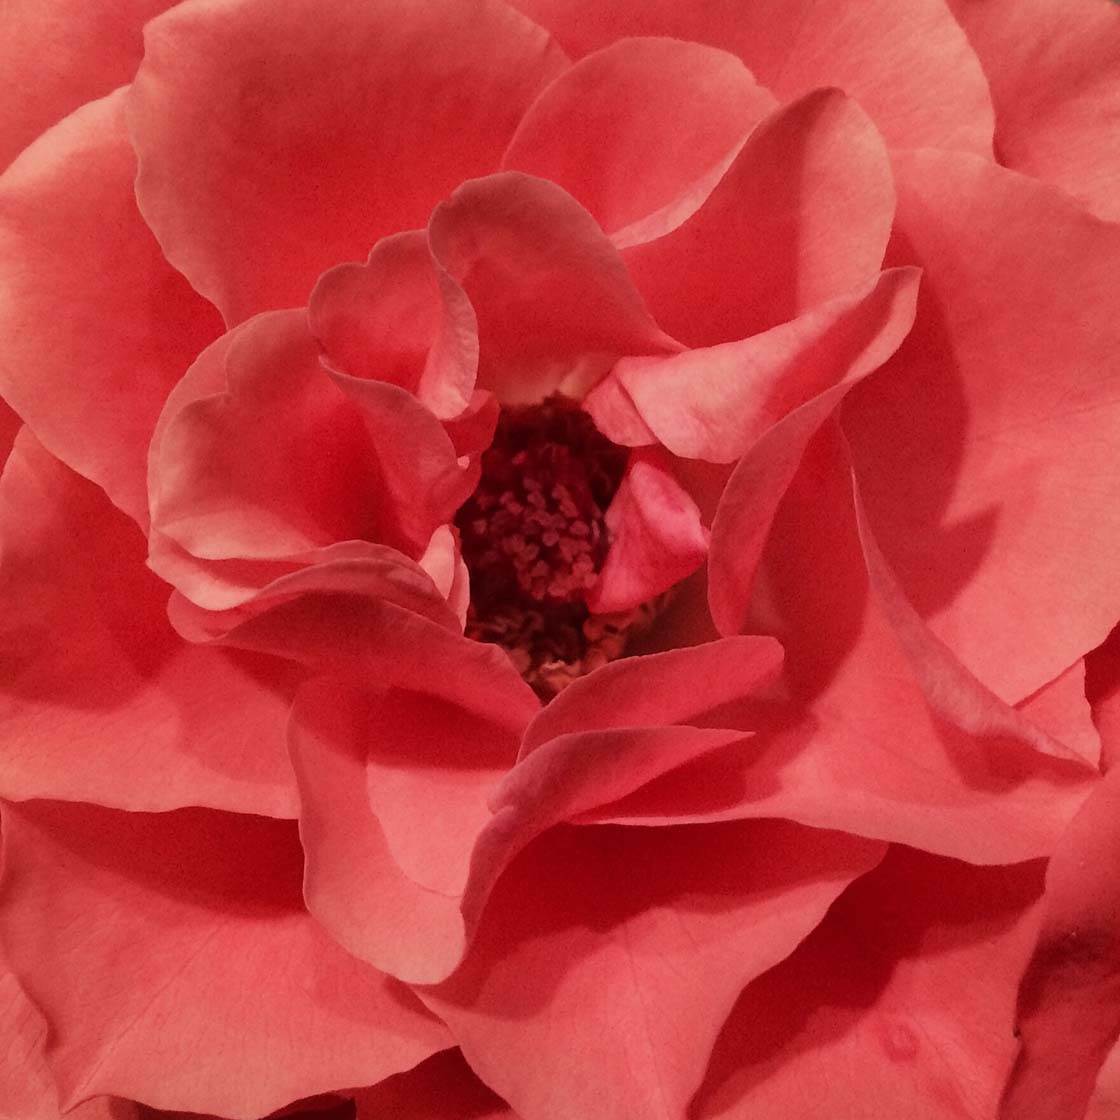
Be aware that your iPhone won’t be able to focus if it’s too close. If the entire photo appears blurred, pull the iPhone back a bit then tap to focus again. After taking a photo, always view the image and zoom in to check the sharpness.
If you need to include more of the flower than you want in order to keep enough distance for the iPhone to focus properly, remember that you can always crop away the edges of the image in post-processing.
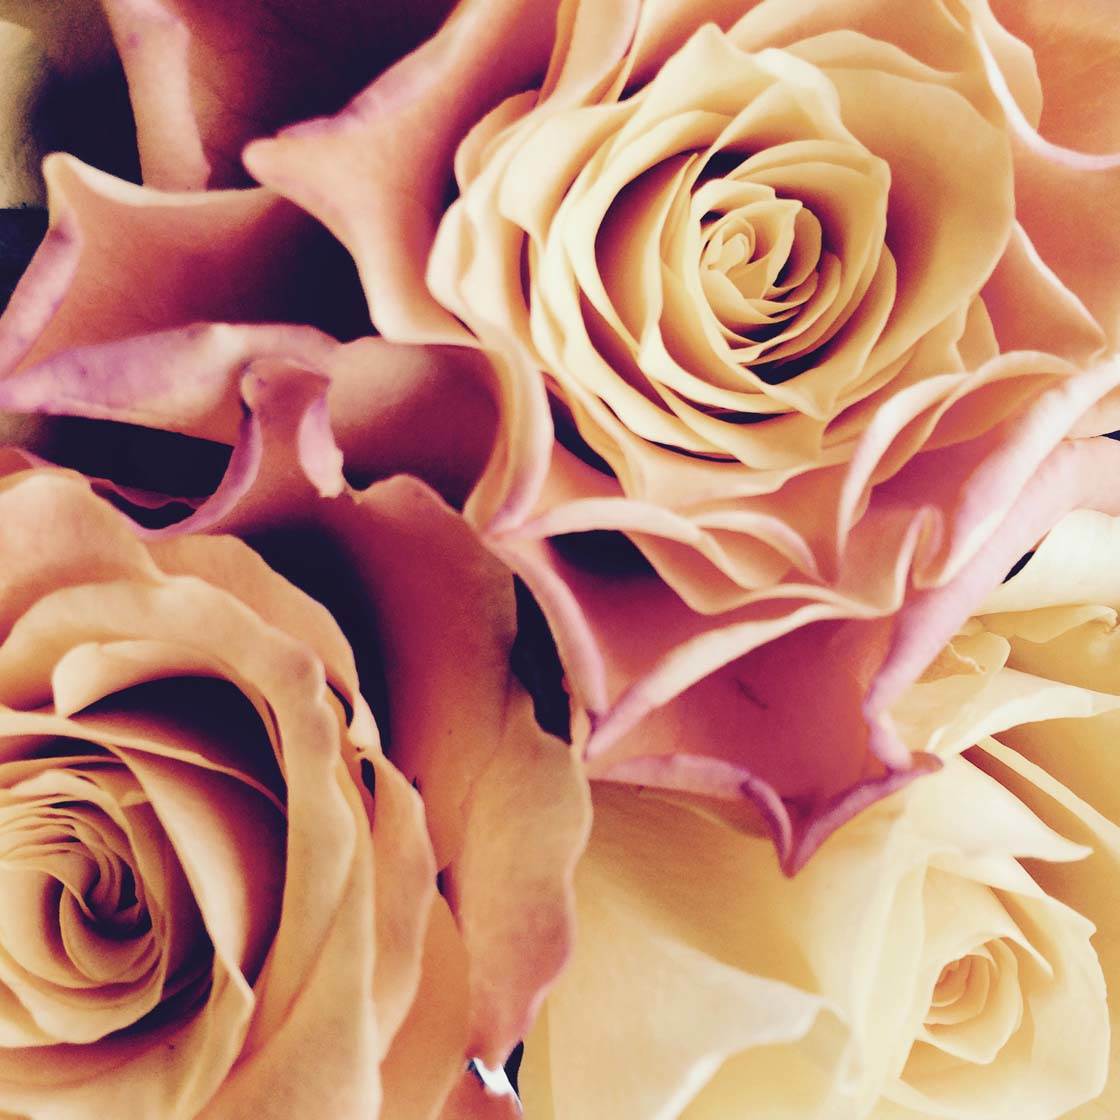
If you’re photographing a bunch of flowers, try moving in close to just get two or three flowers in the shot. This often creates a more impactful image than photographing the whole bouquet.
5. Use A Macro Lens
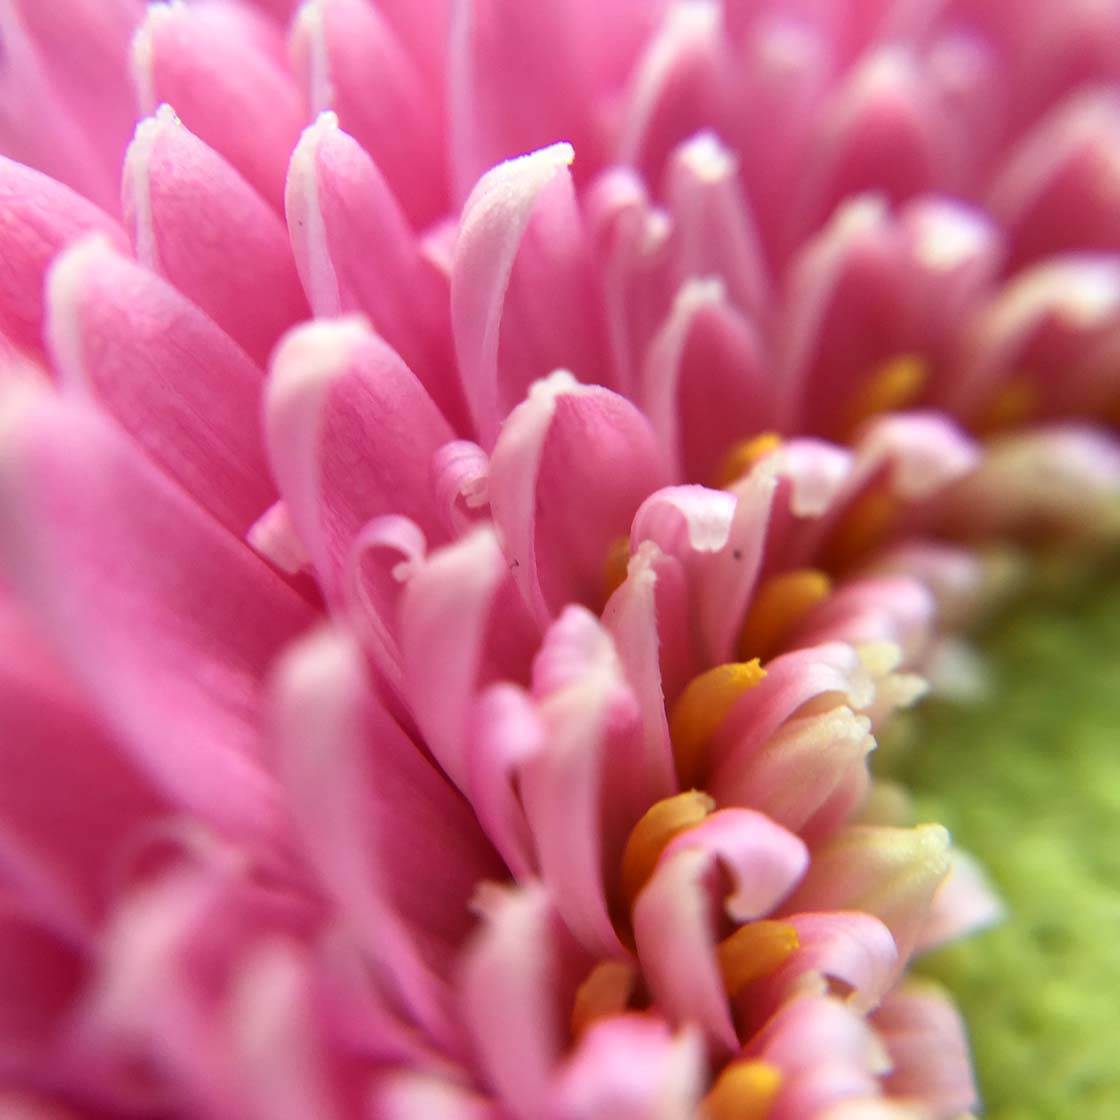
If you want to capture really close-up detail in your flower photos, you’re going to need a macro lens.
There are many third-party macro lenses available for the iPhone, including the popular Olloclip lenses.
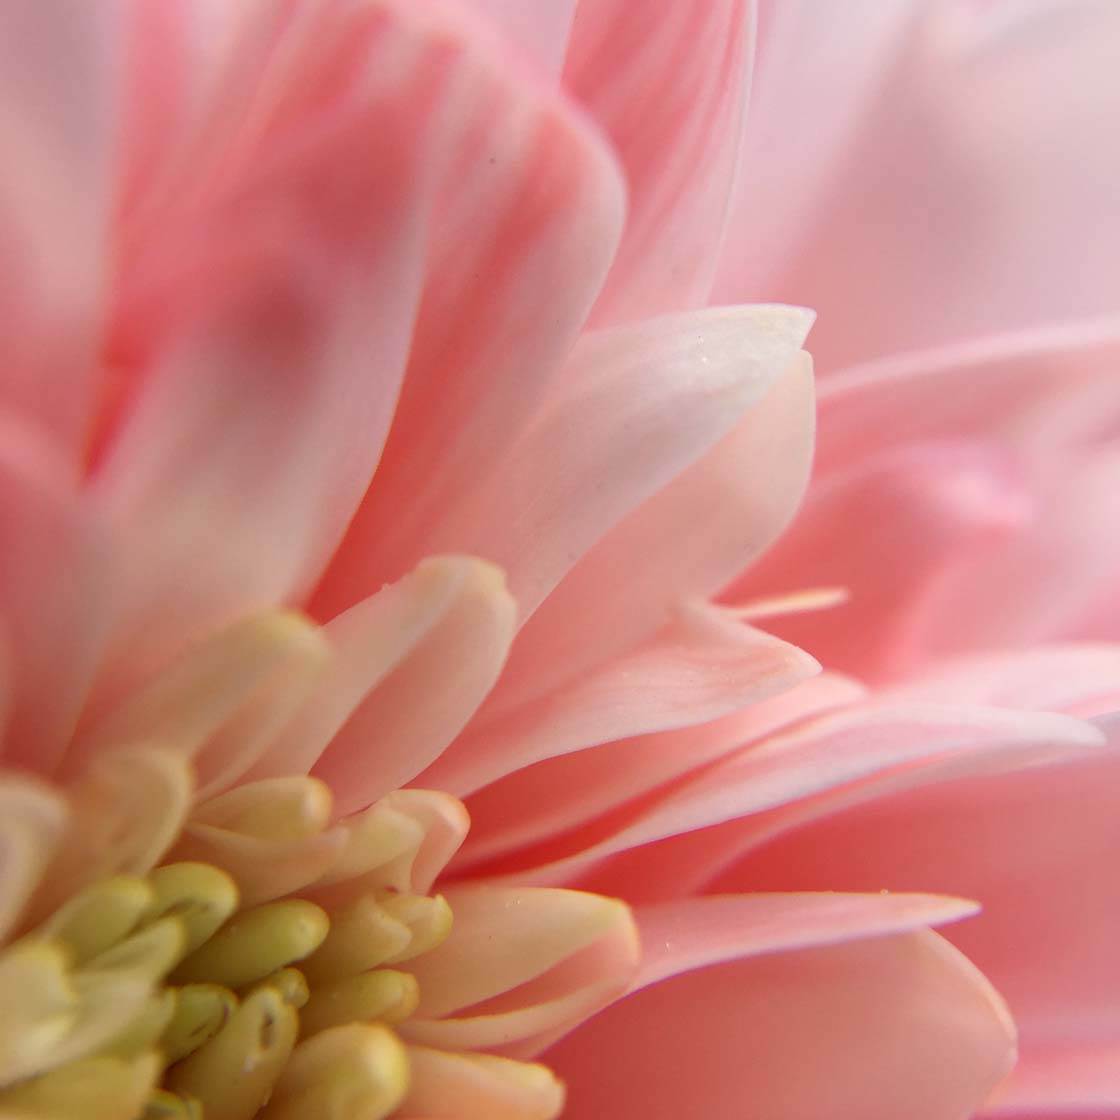
Macro lenses allow your iPhone to focus at a much closer distance than with the built-in lens.
Flower macro photography is incredibly rewarding. You can reveal intricate detail that’s often difficult to see with the naked eye.
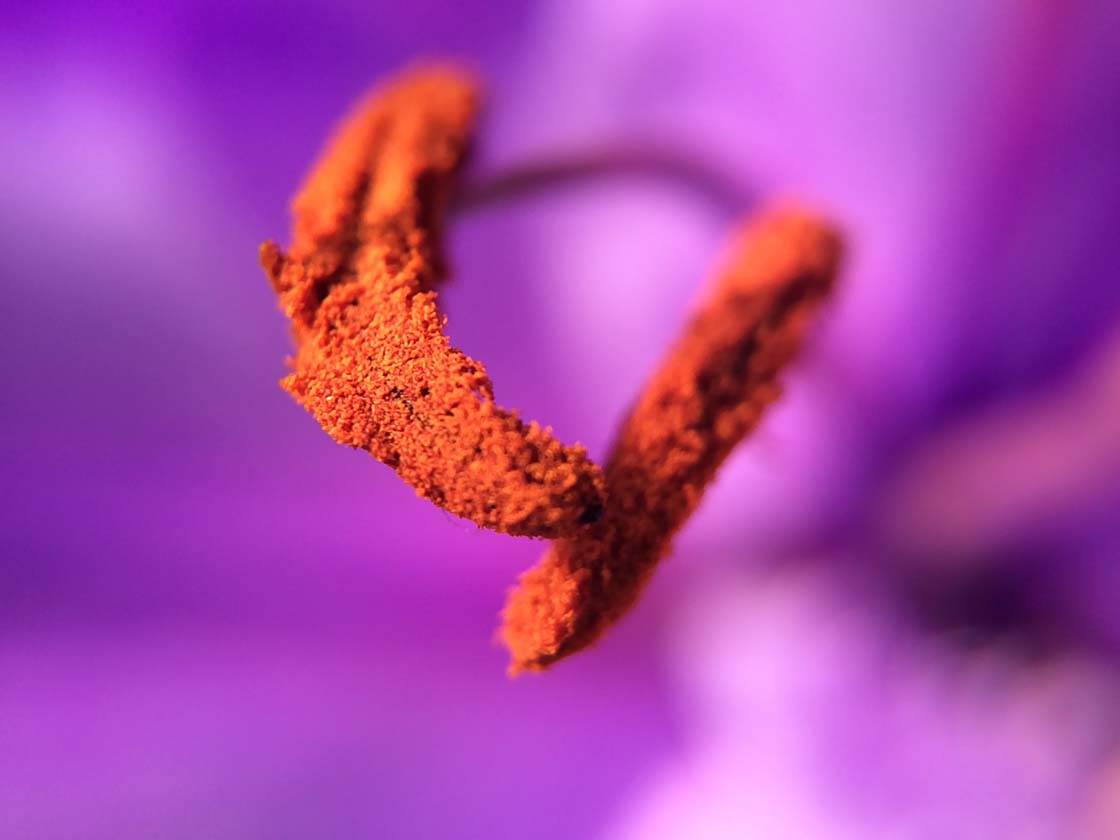
When using macro lenses, be aware that the depth of field becomes very shallow. This means that only a small part of the image will be in focus, with anything in front or behind that area appearing blurred. Therefore, you need to be very careful to set focus on the area you want, and don’t move the camera after setting focus.
6. Take A Step Back
Often we get so focused on the intricate detail of a single flower that we forget to take a step back and look at the whole scene in front of us. While close-up shots are stunning, in certain situations showing the wider surroundings will make for a more engaging photo.
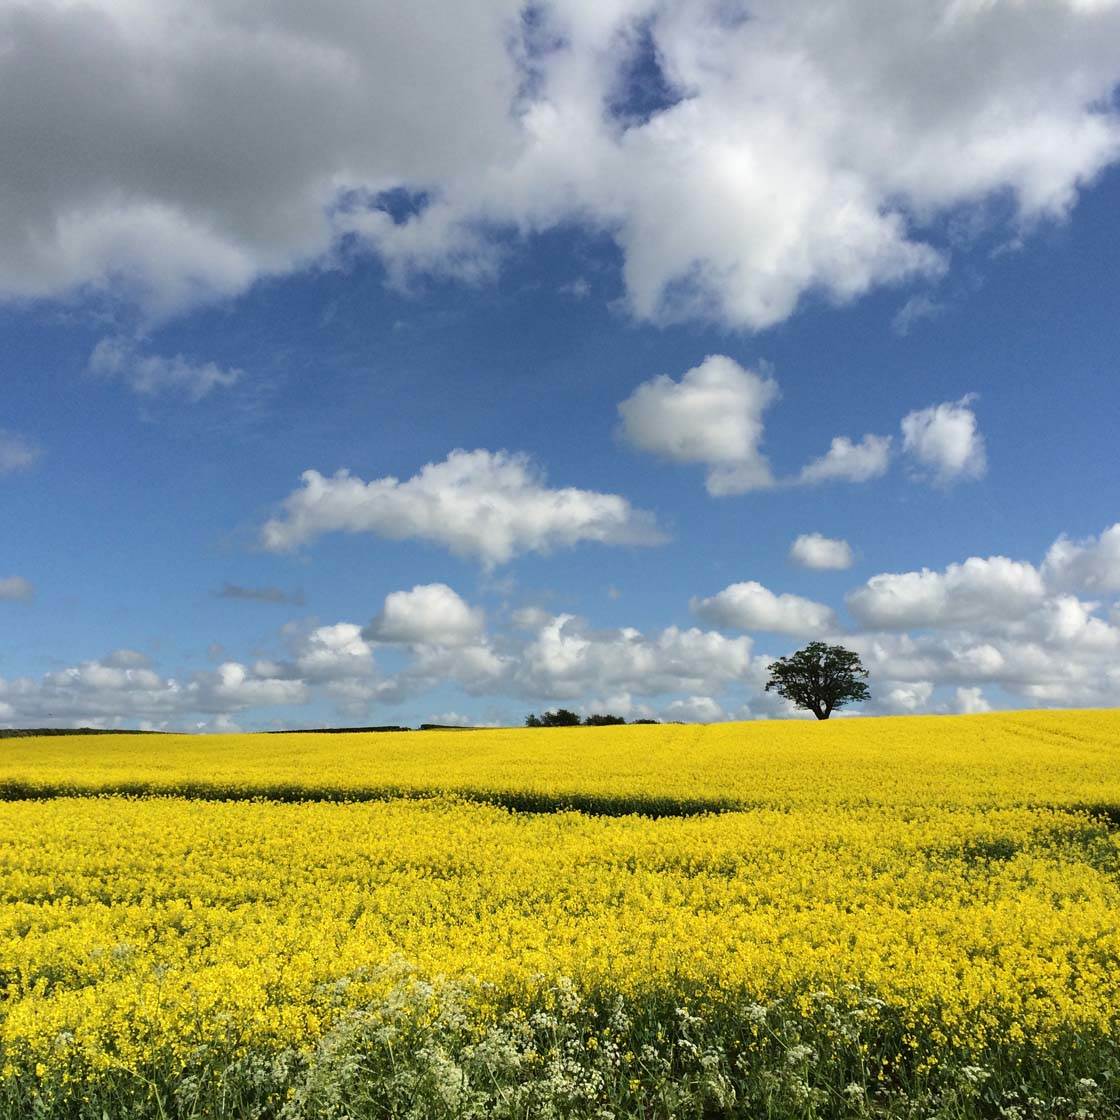
Maybe there are several flowers that would make a good composition, or possibly even an entire field of flowers that create a wonderful blanket of bright color. Including some of the surroundings in your flower photos can add context to your image, telling a more complete story about where you were.
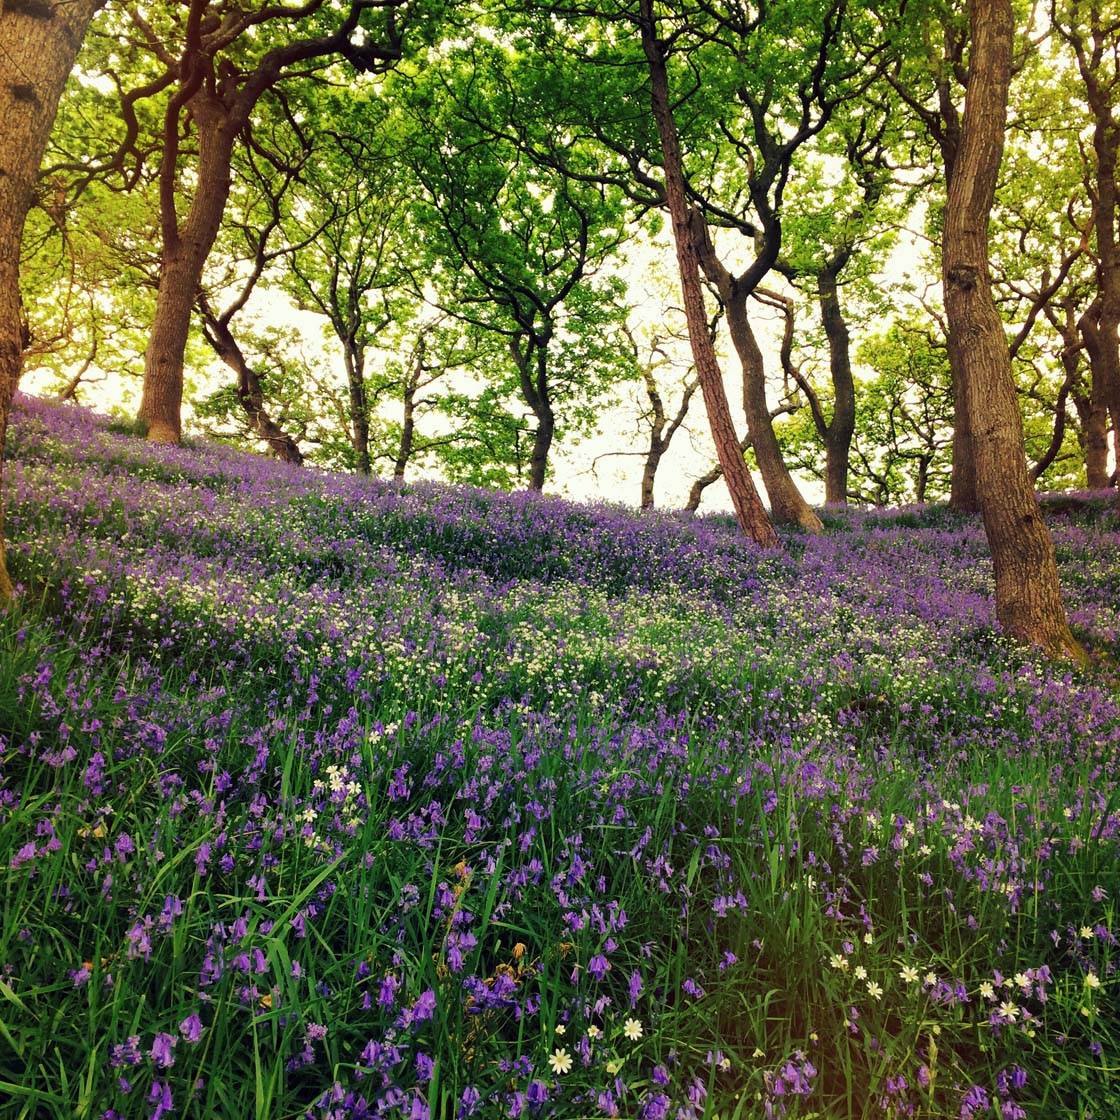
The close up shots of these bluebells were great, but a single flower couldn’t convey to the viewer the huge amount of bluebells that were in this woodland. Taking a photo of the entire scene shows the bigger picture, and in this case was more effective than a single close-up shot.
7. Capture Water Droplets
You can’t beat photographing water droplets on flowers! They add a sparkle to your photo and complement the delicate nature of your subject.
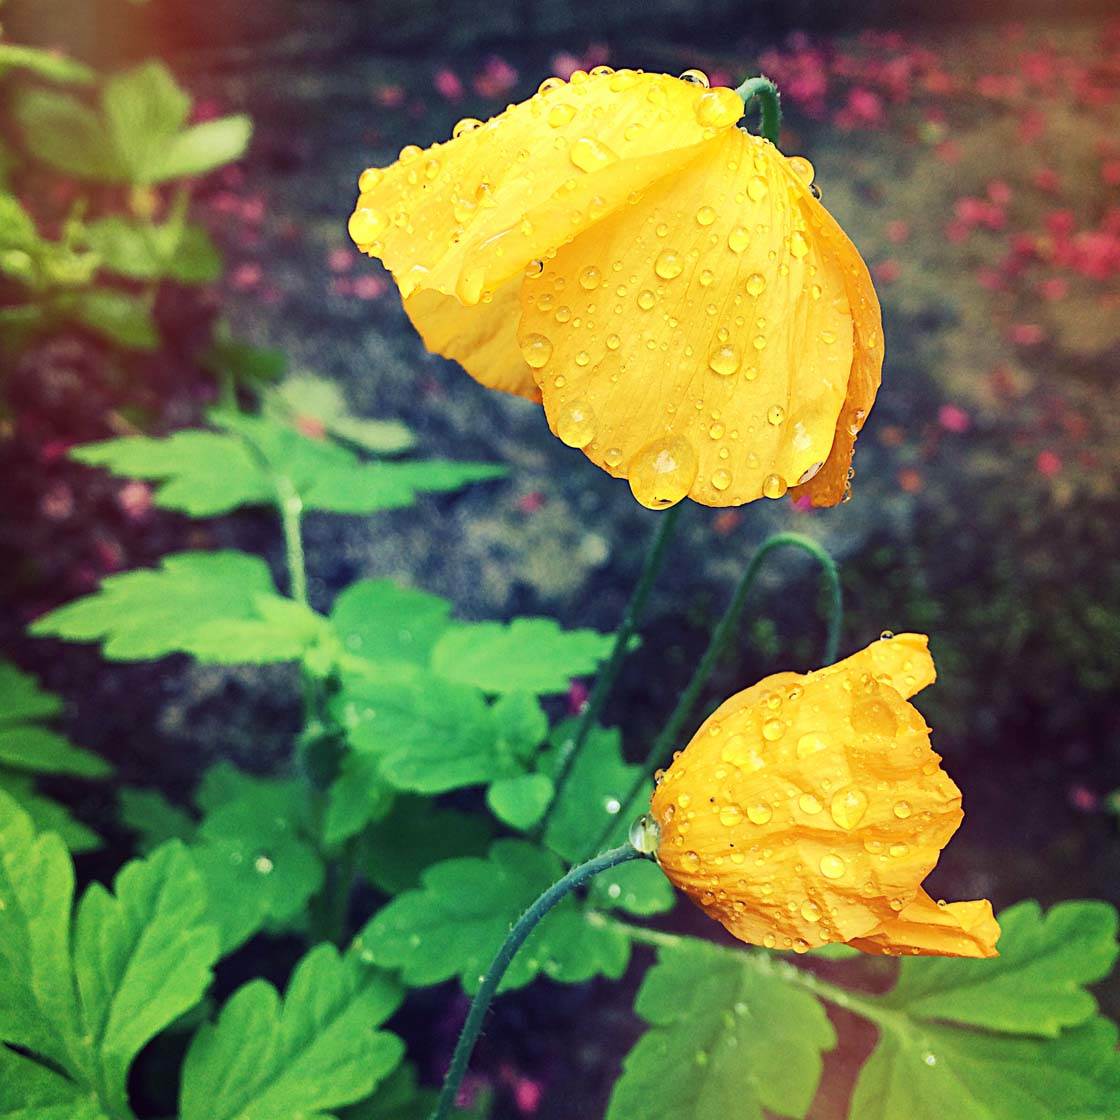
If you make the effort to get up early, you’ll often find beautiful dewdrops on flowers and leaves. If it’s just rained, venture outside to photograph the raindrops before they dry up.
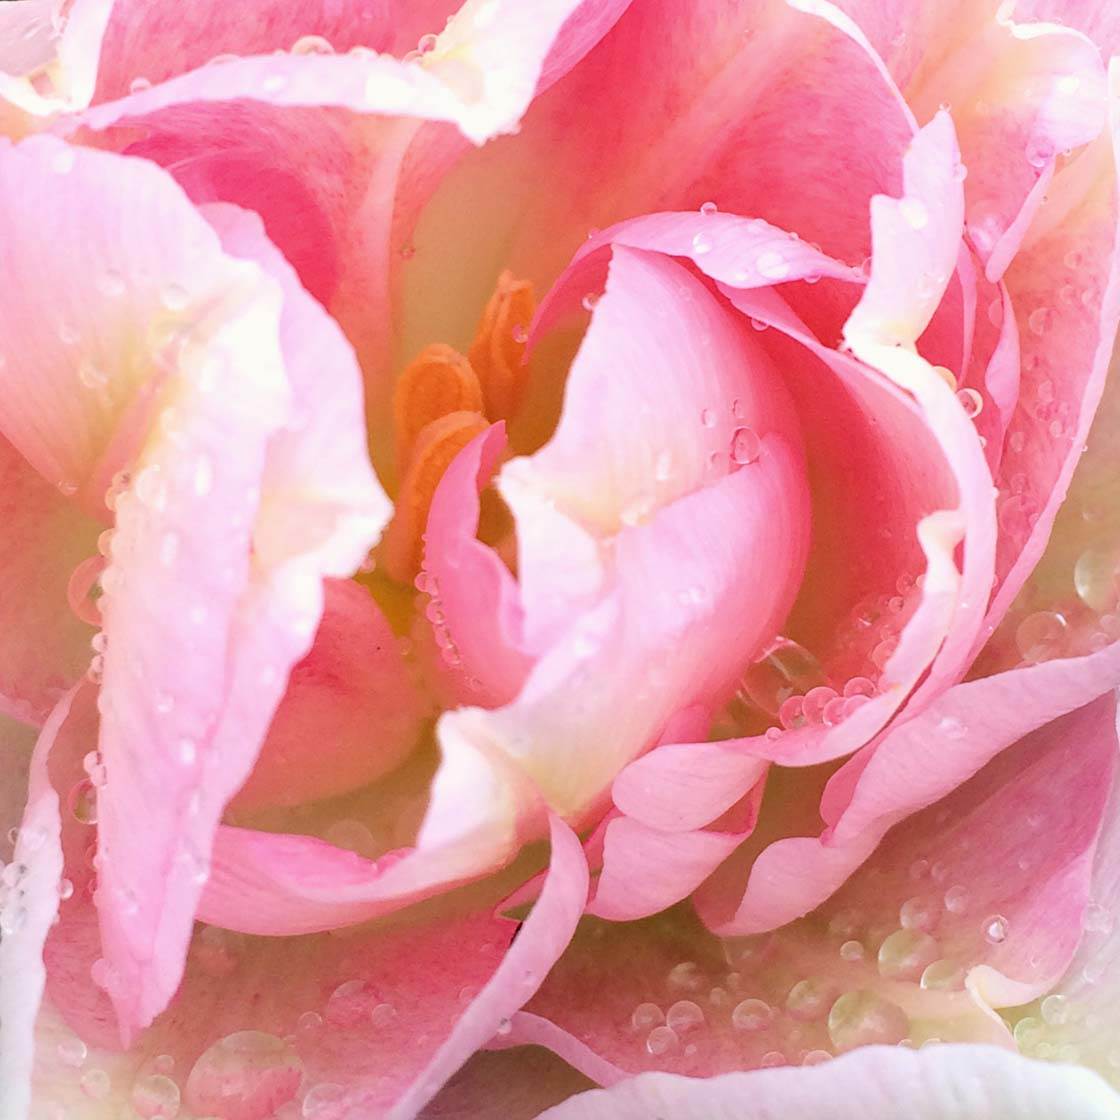
If there’s no dew or rain, make your own water droplets! In your garden you can use a watering can or hosepipe to lightly sprinkle the flowers with water. If you’re going out on a walk, take a small spray bottle with you so that you can add water droplets to any flowers that you find.
8. Shoot Indoors
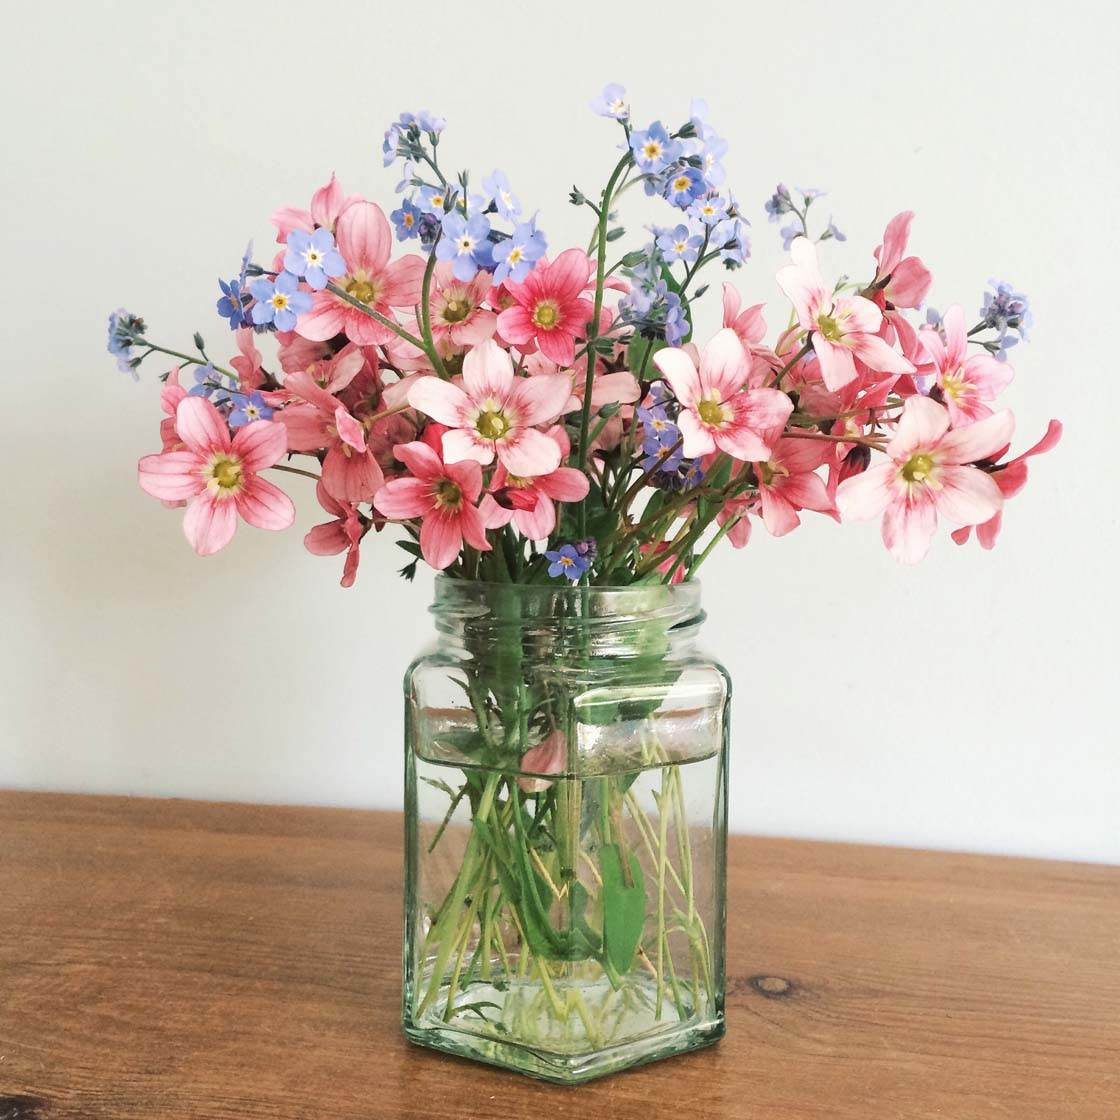
Not all flower photography has to be done outdoors. In fact photographing flowers inside is often easier as you have more control over the positioning of your subject.
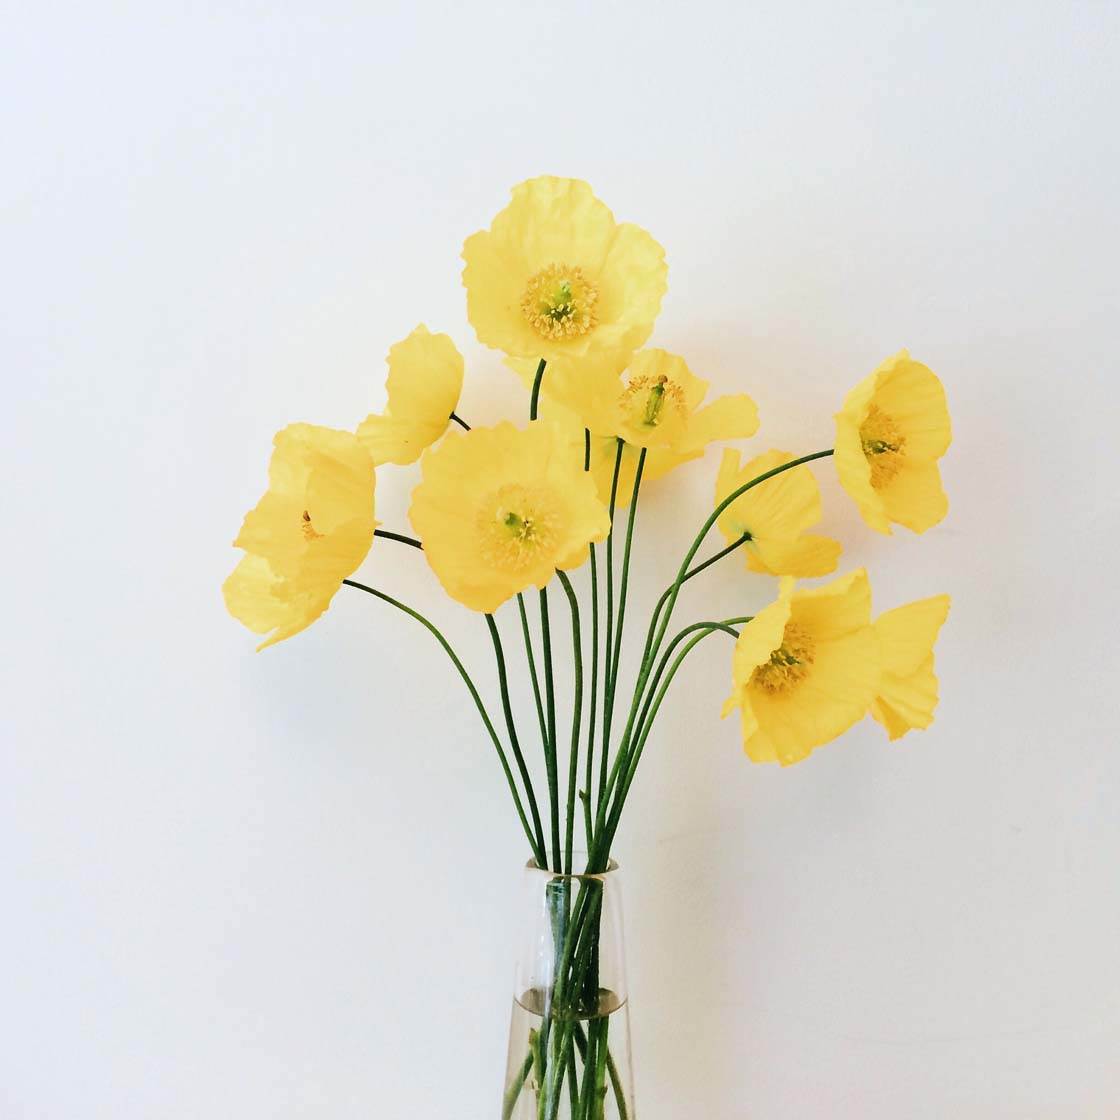
A simple vase of cut flowers looks great against a plain white wall. If your house is full of busy wallpaper or bright colors, don’t worry – just place a white piece of card behind your flowers.
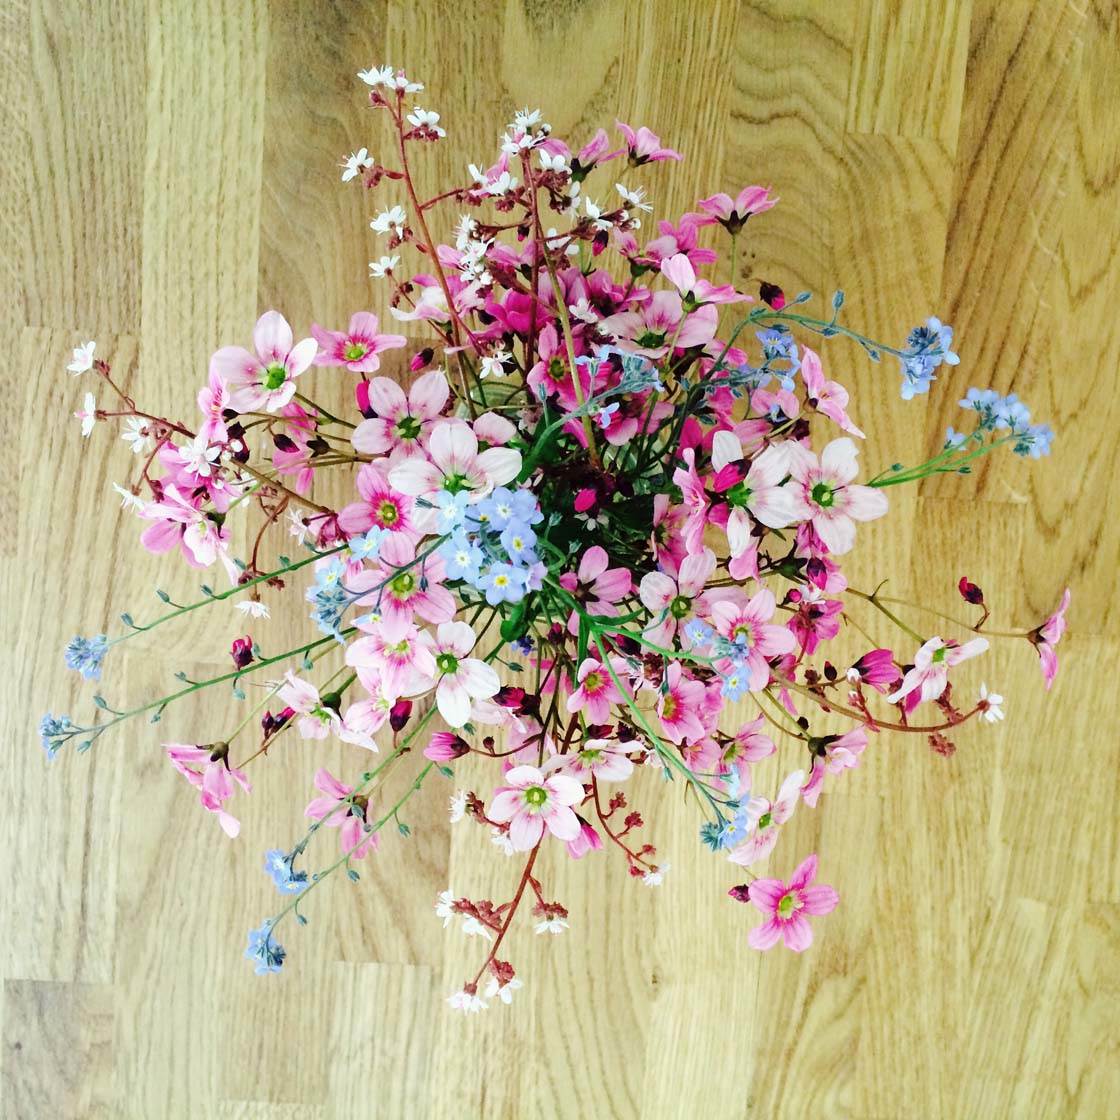
Alternatively, place your flowers on a neutral surface such as a table or worktop, then shot from directly above. This creates a more unique perspective and solves the problems of a busy background.
For a natural look without any strange color casts, use window light rather than artificial light to illuminate your subject. If there’s strong sunlight coming through the window, it’s likely to cause problems with over-exposure and harsh shadows.
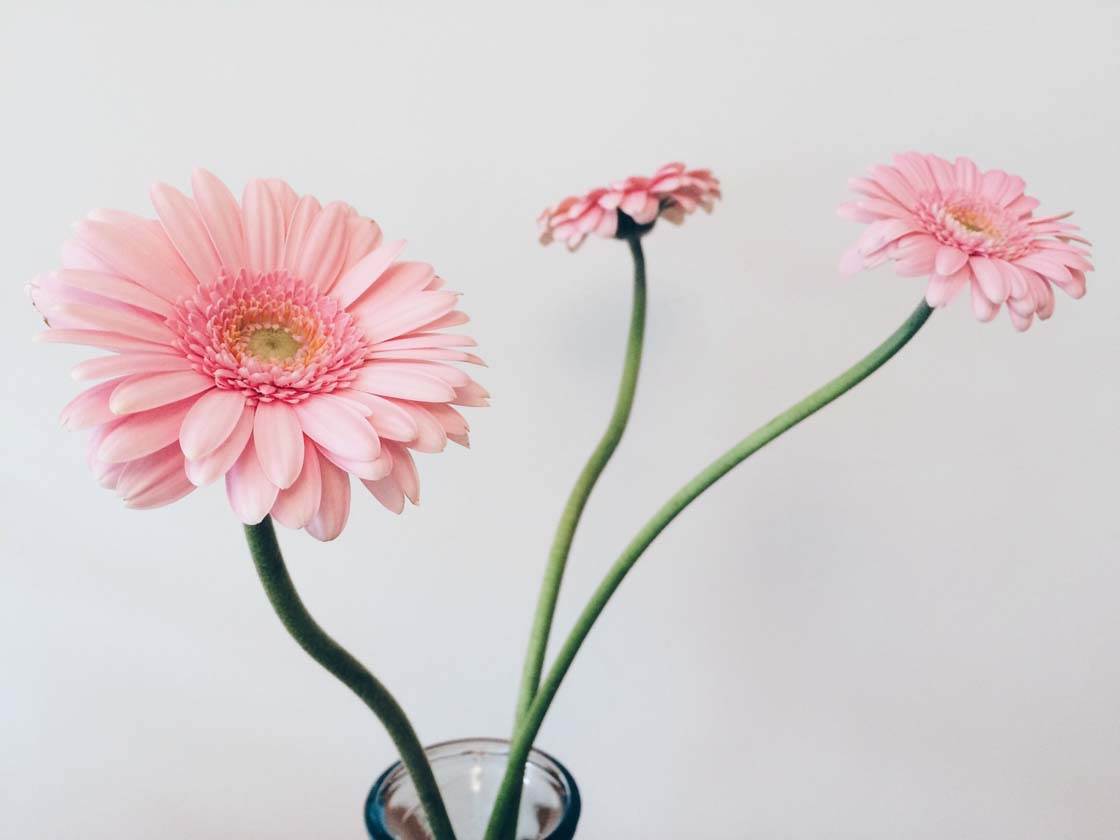
In this situation, either move the flowers to a different position so that they’re out of the direct sun, or place a white sheet or veil over the window to create a soft diffused light.
9. Go Minimal
Flowers make great subjects for minimalist photography. Their vibrant colors and interesting shapes are all you need when surrounded by a lot of negative space.
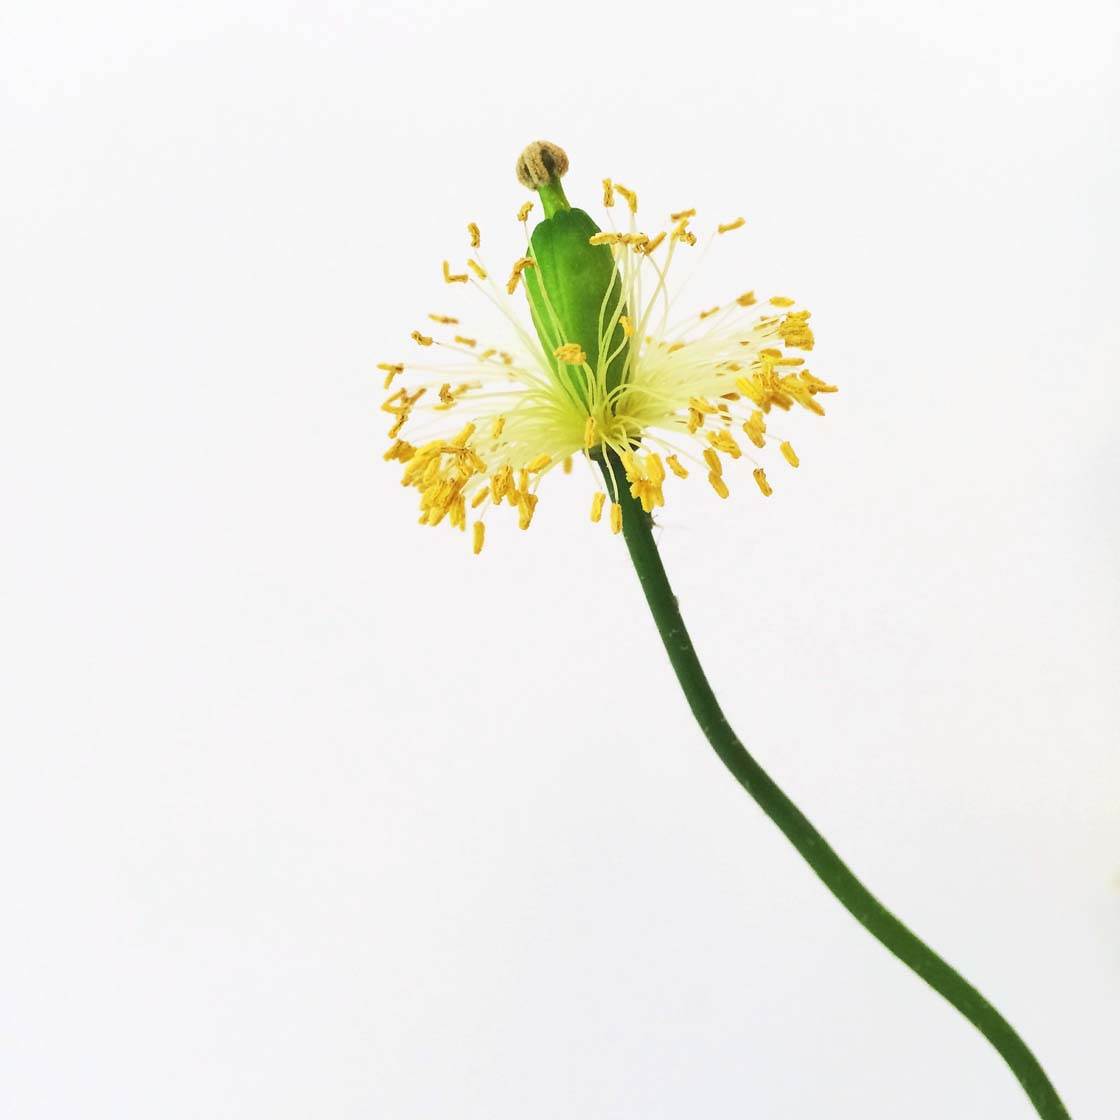
Don’t be afraid to use large amounts of empty space in your flower photography. A simple composition of one or two flowers against a plain white background will have a surprisingly strong impact.
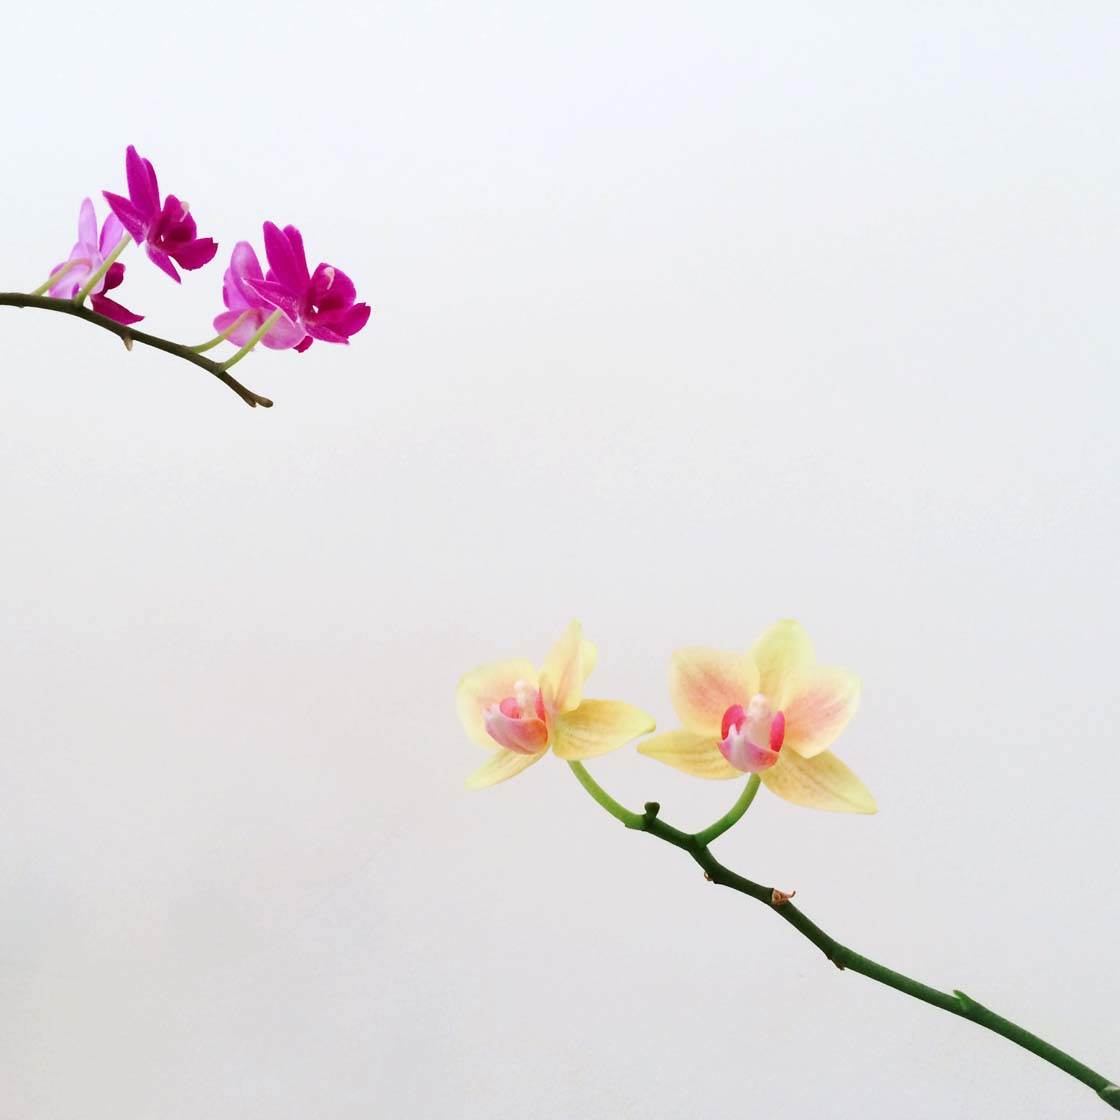
Minimal flower photography is easier to achieve indoors that outside, but it’s perfectly possible to include a lot of negative space in your outdoor flower photography.
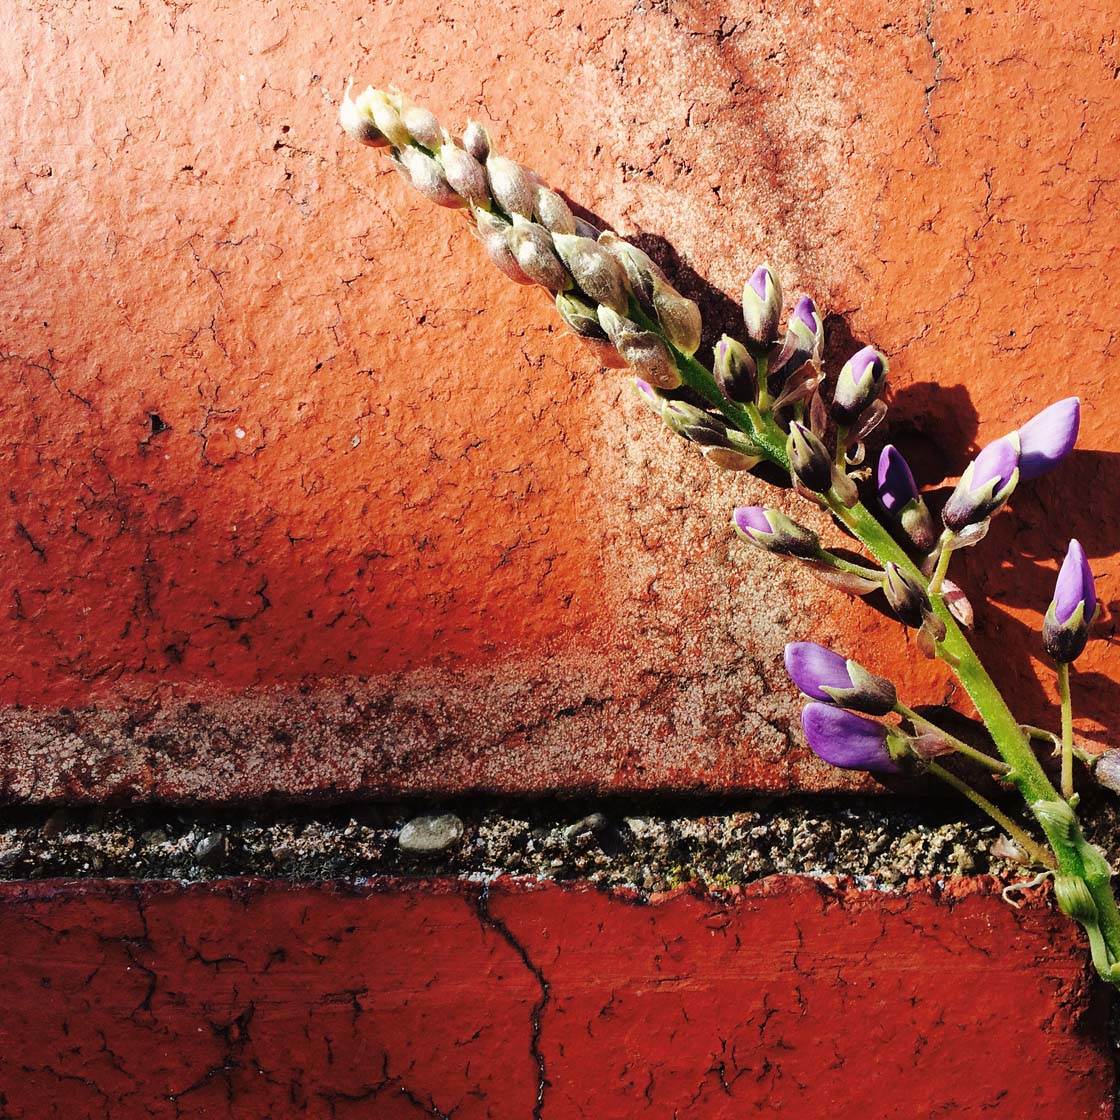
Below is an example of a beautiful wisteria plant climbing up a brick wall. But taking the shot from a distance didn’t work – it looks messy and there’s no clear focal point.
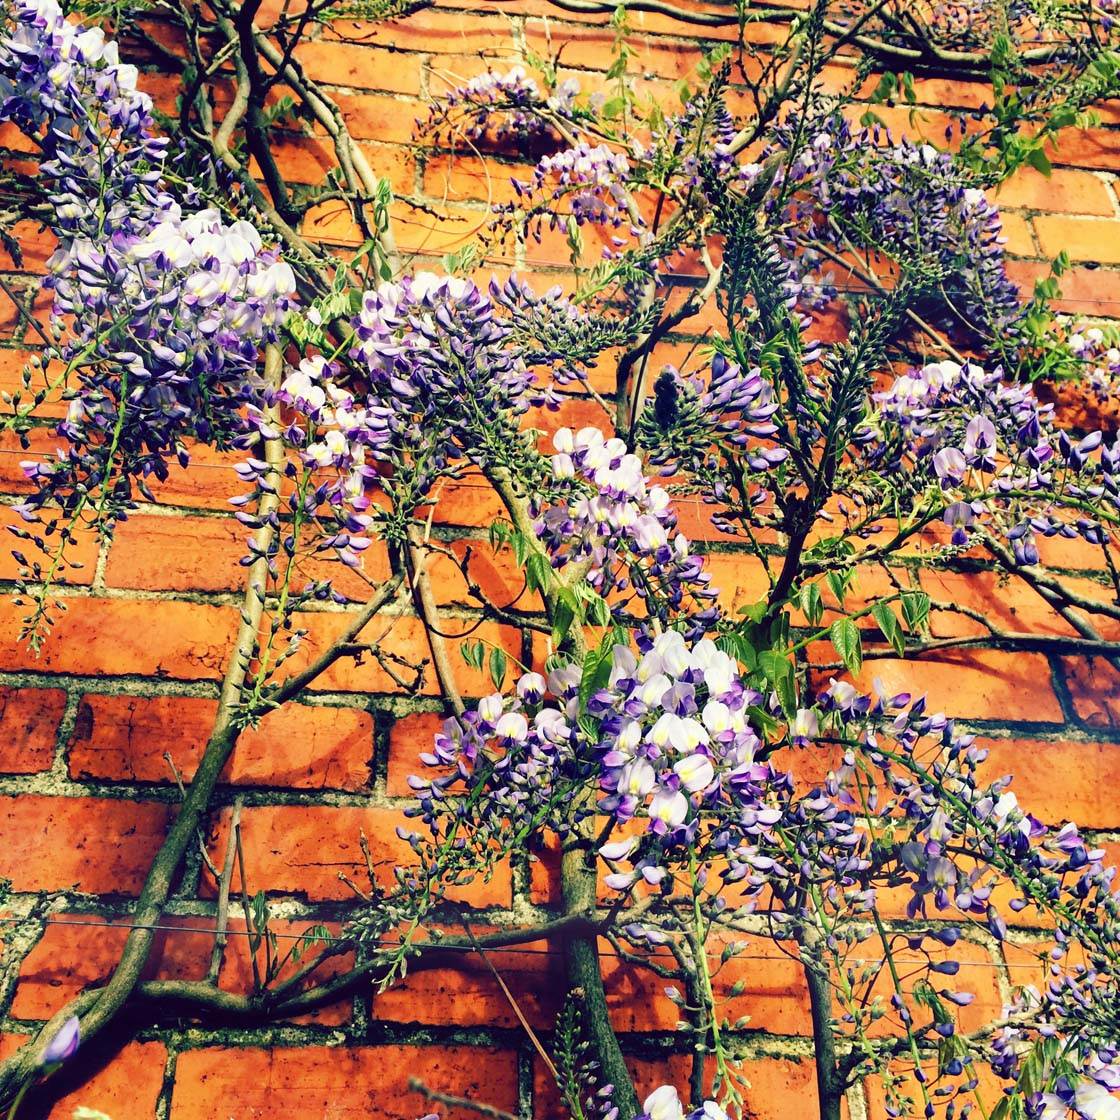
Focusing in on a single flower that’s creeping in from the edge of the frame, and using the brick wall as a colorful but neutral background has created a much more impressive image.
Another simple technique would be to hold a single flower up against a blue sky. Remember, including a lot of empty space in your photo will actually give the flower more emphasis as there’s nothing else competing for attention in the frame.
10. Get Creative
Flowers are great subjects for experimenting with your creativity, both with shooting and post-processing. One technique that I love to use when photographing flowers indoors is to capture their shadow on a wall.
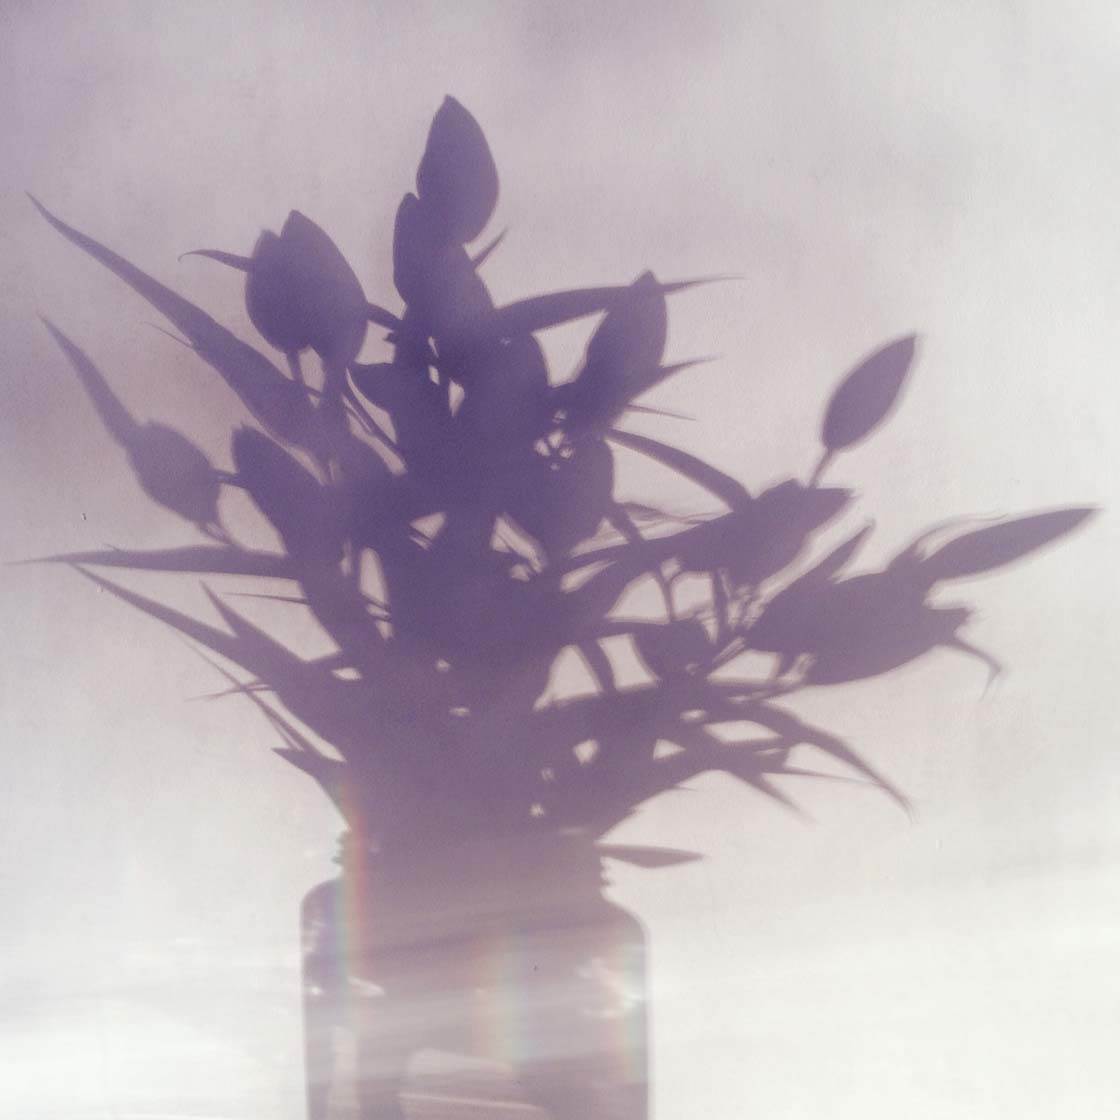
If you have a bright light source such as the sun or a lamp, creating shadows is easy. Just place your vase of flowers in front of a plain wall and ensure the light is shining onto the flowers towards the wall.
Changing the distance between the flowers and the wall will alter the hardness of the shadows, and experimenting with the angle of light will also create different effects.
In post-processing, you could try experimenting with painterly effects to make your photo look as if it’s been painted, e.g. watercolor, oil painting, etc. This kind of editing really suits flower photos.
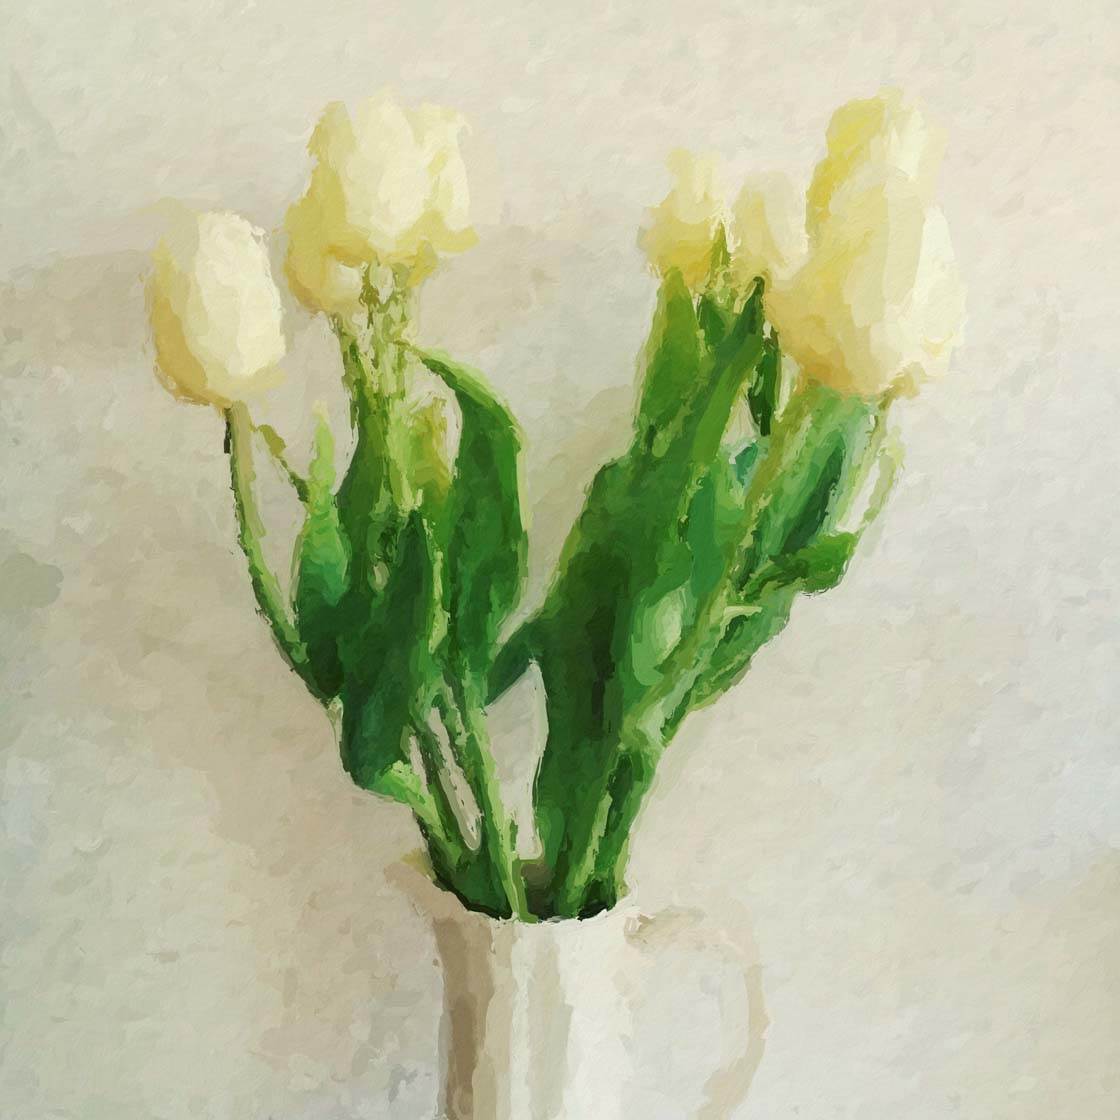
Many editing apps contain painterly effects and filters. I used the free Glaze app to apply this painted effect to a vase of flowers. Glaze has a great selection of painterly filters and it’s very easy to use.
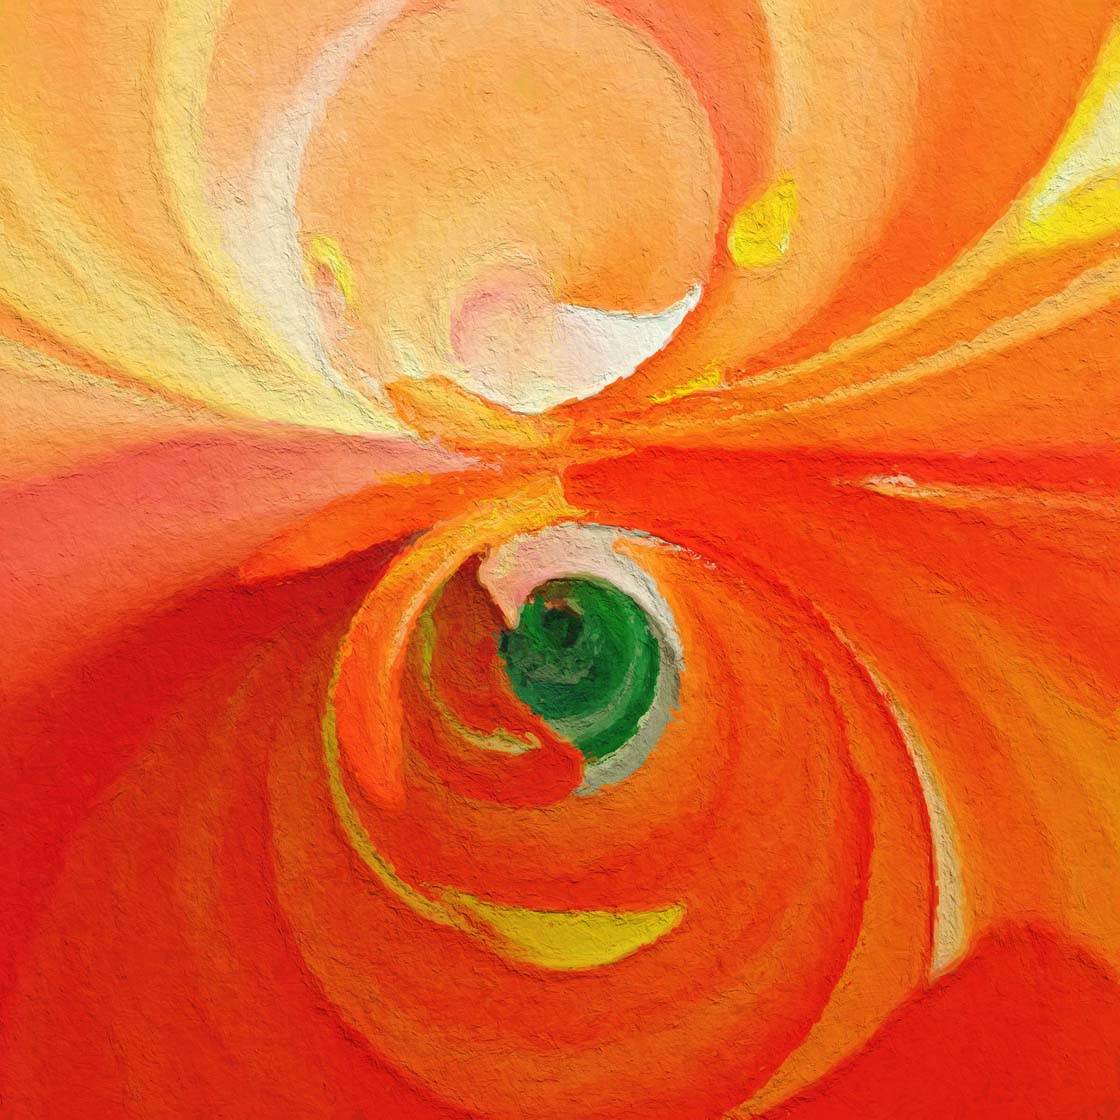
Or how about creating one of these flower abstracts using the free RollWorld app to distort your flower in unique ways?
However you decide to photograph or edit your flower photos, always remember to do whatever you can to emphasize their amazing color, form and intricate detail. Thinking about the light, background and shooting angle will help you to make the most of their natural beauty.


Thanks Rob for these great tips. As I’m interested in flower photography I can see that I will be using these helpful hints and tips a lot.
Thanks Rosa – I do hope these tips prove useful. 🙂
Great tutorial thanks Rob! 🙂
Thank you Karin! 🙂
I miss the Quick Tips cheat sheet.
Thanks for letting us know about that, Fred. We’ll see if we can get the Quick Tips’ cheat sheet back. 🙂
Great Laine!
Thank you.
Revisiting comments section after 10 months . . . This subject matter is close to my heart. I love Flower Photography and Macro Flower Photography – Rob, I watched this tutorial 10 months ago and I must say your tips and hints were invaluable to me. A different view/perspective certainly changed the way I took photos of flowers and since then a few of my flower/macro shots have been featured in online photo communities. So thank you for this great tutorial. 🙂
Congrats on getting your photos featured, Rosa! That’s wonderful. 🙂
Thanks so much Laine! ?❤
Gorgeous images!