In photography, the golden hour is the period shortly after sunrise or before sunset during which the light is redder and softer compared to when the sun is higher in the sky. This kind of light is perfect for golden hour landscape photography. In this tutorial, you’ll discover nine great tips for taking amazing iPhone photos during the golden hours of dawn and dusk.
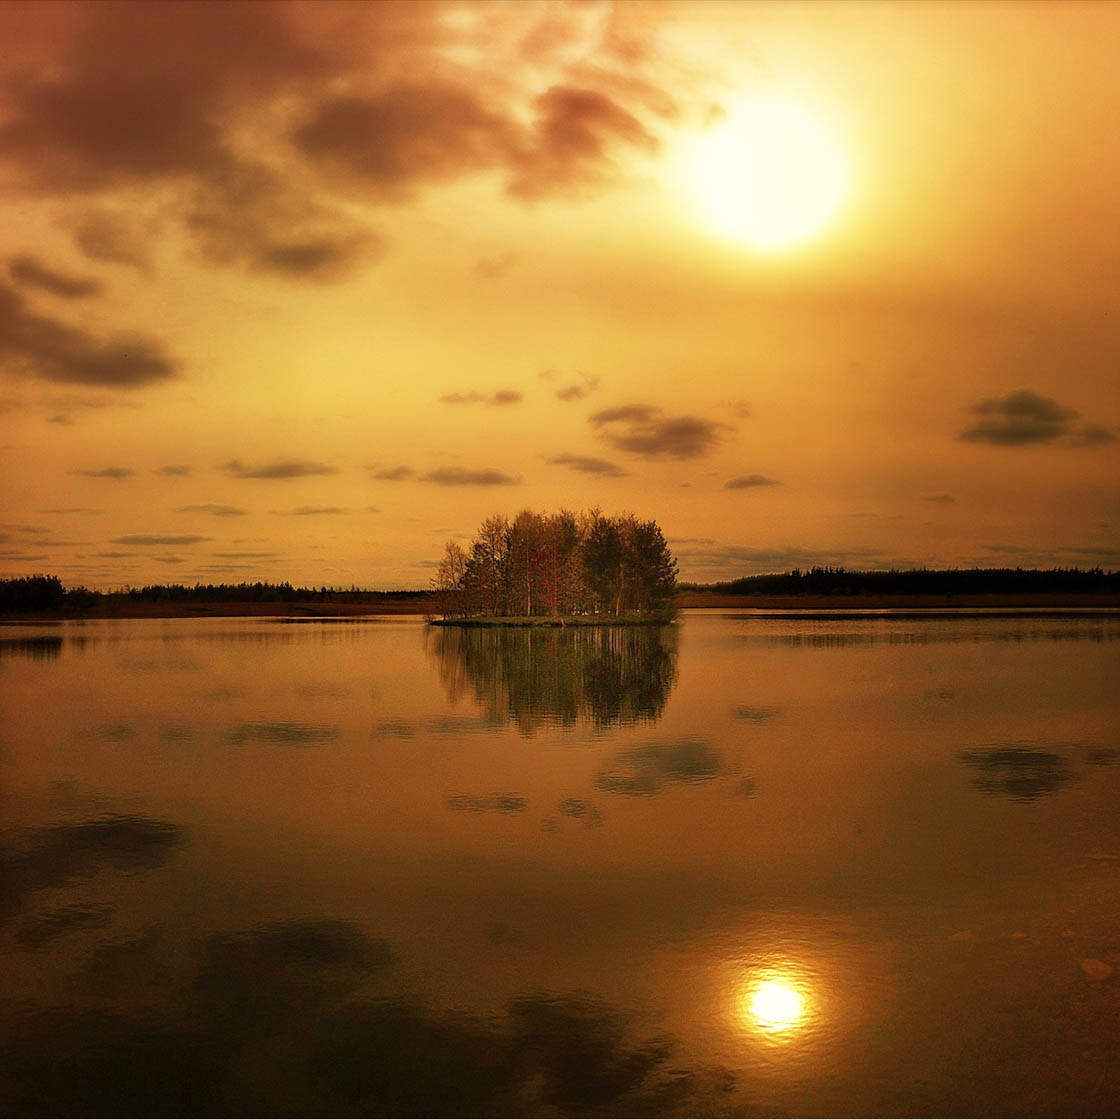
When you take photos closer to midday, the resulting images can have very harsh shadows and high levels of contrast, especially if you’re shooting in strong sunlight. In most cases this doesn’t look good.
A much better time of day to take photos outdoors is during the golden hours (also known as magic hour, especially in cinematography). This kind of light occurs just after the sun rises and just before the sun sets.
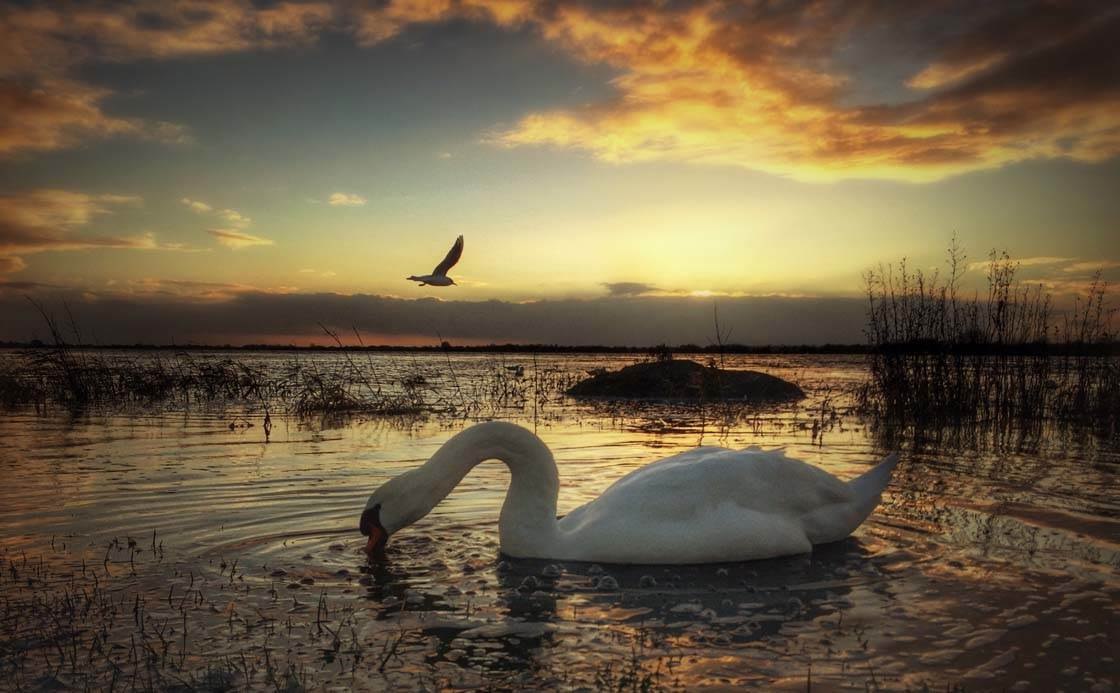
The golden hours are my favorite time of day for taking photos, and this is when most professional landscape photographers choose to shoot. I particularly like shooting around sunset – I’m a bit of a night owl so I’m not a big fan of early mornings!
By following the tips below, you’ll learn how to make the most of the golden hours and take stunning sunrise or sunset photos with your iPhone.
1. Avoid Camera Shake
Obviously, as the golden hour refers to the time around dawn and dusk, availability of light will be an issue. In low light conditions the iPhone camera will automatically reduce the shutter speed to allow more light to hit the sensor. This can result in blurred images if you move the camera while taking photos.
You should therefore do everything you can to keep your iPhone still while taking photos. If you’re hand-holding the phone, hold it tightly with both hands to keep it as still as possible. Brace your elbows against your body rather than holding your arms out in the air.
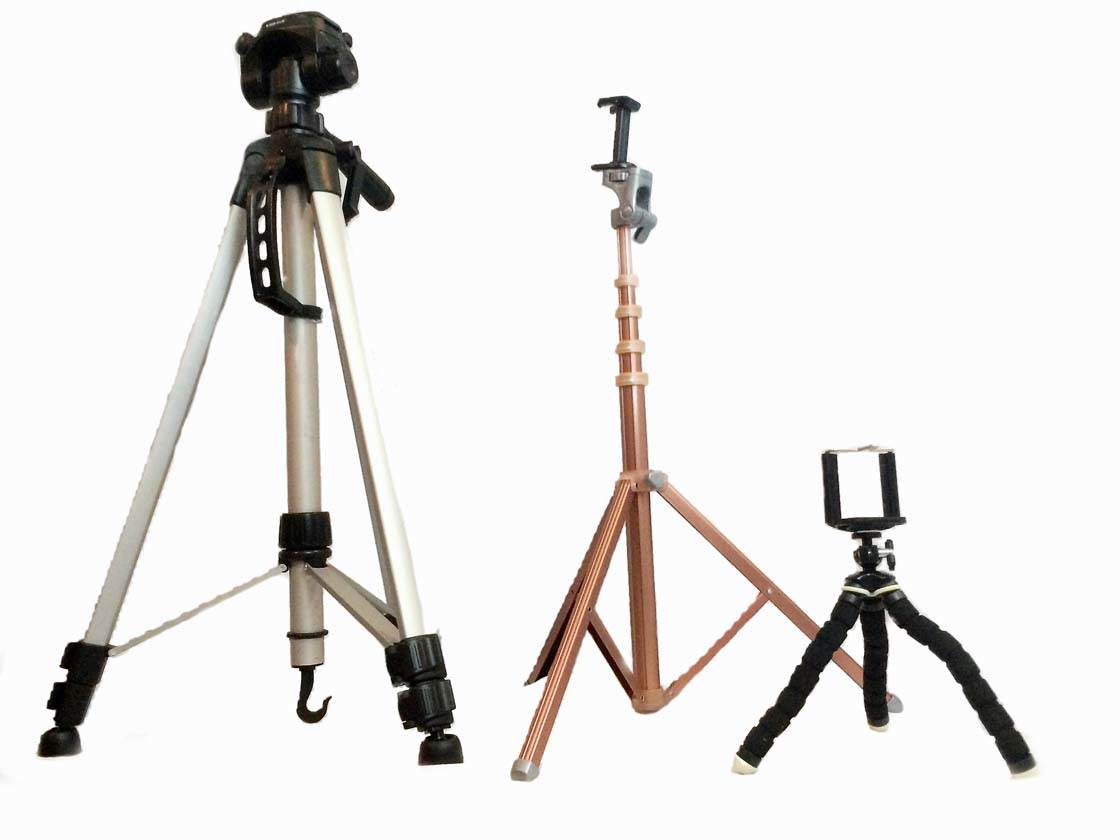
You could also try leaning against a tree, wall, fence or other object to help keep you still. Alternatively, you could use an iPhone tripod or place the phone on a secure surface to prevent movement when taking your shots.
2. Take Advantage Of The Low Sun
When the sun is lower in the sky during golden hour, the light is much softer than when the sun is high in the sky. There are a lot scientific reasons for this, but all that matters is that the result is a warm, soft light that enhances your images if captured correctly.
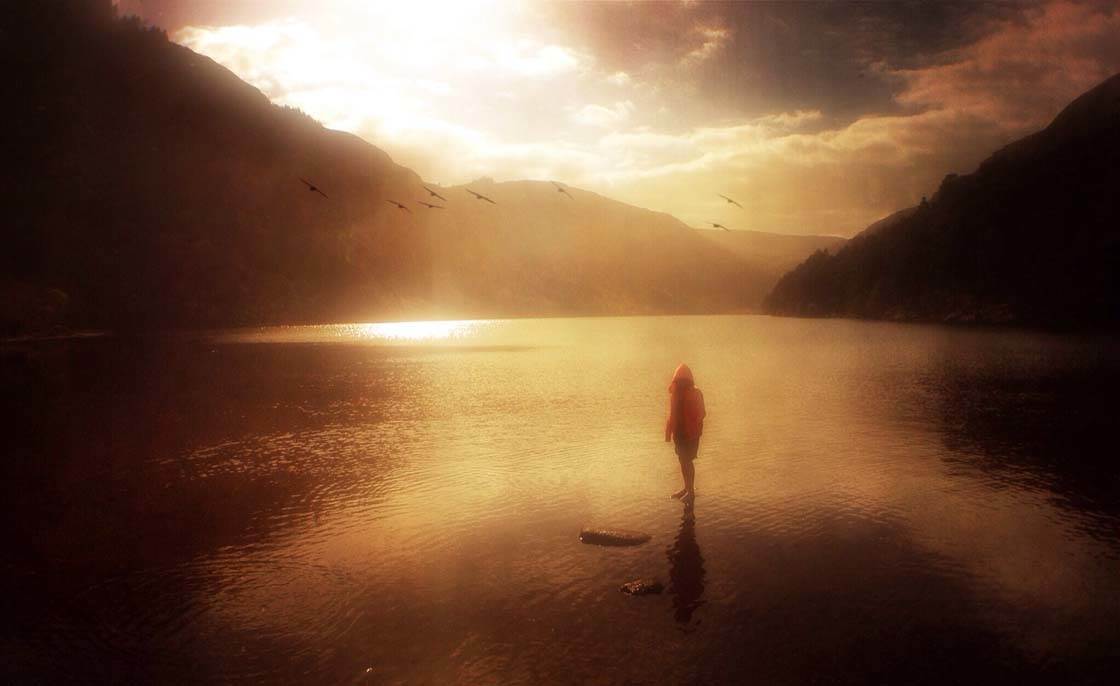
In this photo, the sun was just about to set behind the mountain on the left. There was just enough light left to bathe the scene in a soft, warm glow. There’s a hint of a reflection on the water before the sun disappears over the horizon.
In this photo below, the sun was setting in a misty sky behind the train. The direction of the light meant that some of the train is in darkness and some is lit up, further enhancing the light and mood of the shot.
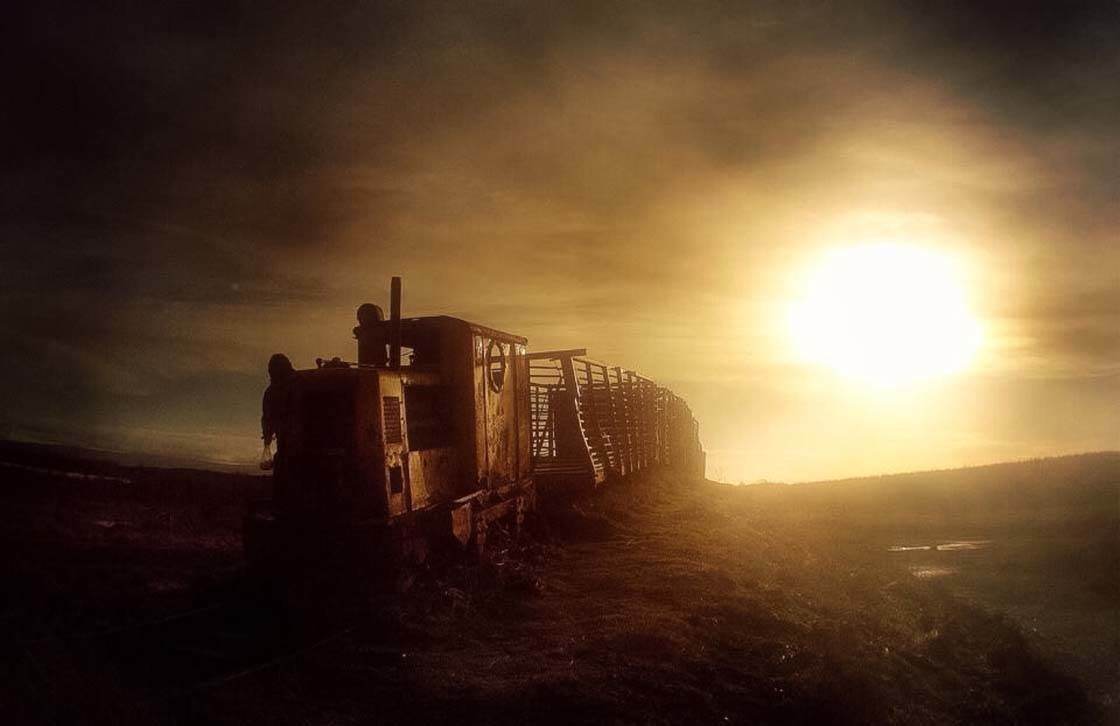
If these photos had been taken while the sun was high in the sky, the harsh bright light would have created a completely different effect. In most cases your landscape photos will turn out better if you shoot in the soft light of golden hour at dawn or dusk.
Both of these shots were taken in low light so are quite dark in the shadowed areas. But this can help add drama to a scene, and it has the effect of focusing your eye on the sunlit areas.
I edited both of these images with PhotoToaster to further enhance the warmth of the scene and to add a hint of texture to try and disguise the “noise” (grain) that you can end up with when shooting in darker conditions.
3. Include Interesting Subjects
Obviously, you’re only going to be able to capture these types of shots during the golden hour at dawn or dusk. Even though a sunrise or sunset is beautiful in itself, you can make these shots a bit more unique by always including something interesting in the foreground of the shot. This is key to achieving beautiful sunset photography.
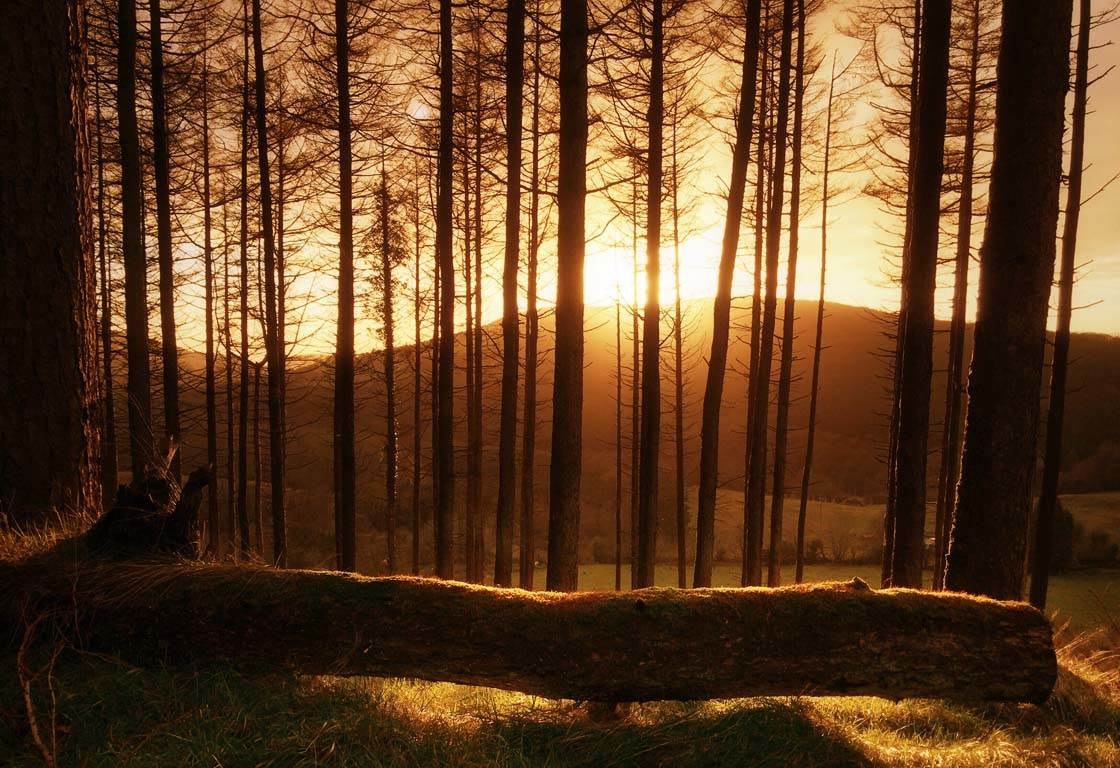
In the photo above I liked how the light highlighted the trees and crept under the fallen tree. Including these trees in my shot makes it much more unique and interesting that if I’d just taken a photo of the sun setting behind the hill.

This fairground ride made the perfect subject to photograph at this time of day. As well as all the interesting silhouetted shapes against the sky, it enabled me to partially hide some of the bright sun so that it didn’t dominate the photo.
4. Capture Stunning Reflections
If you’re shooting around water at sunrise or sunset, try to capture reflections of the orange colored sky and other objects. This kind of shot can make for a really stunning image due to the beautiful colors that will be reflected in the water.
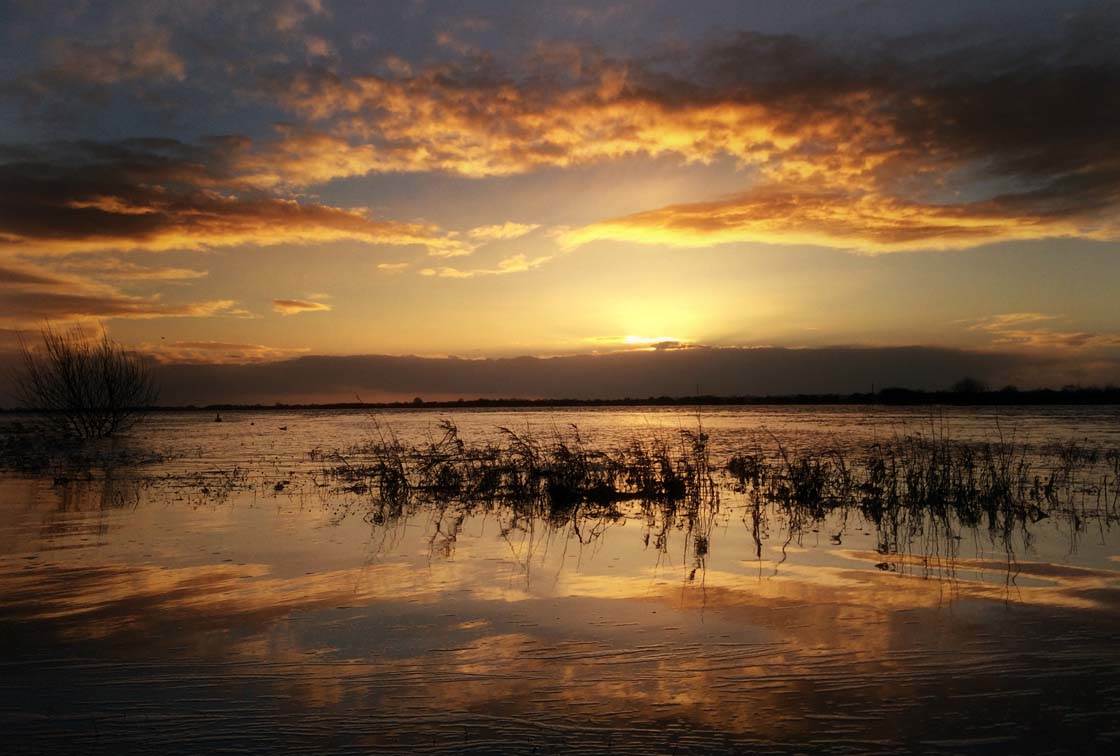
In this photo of the Shannon River, it was the clouds and how they reflected off the water that caught my eye. Still bodies of water such as a lake, pond or even a puddle will work best for reflection photos. However a few ripples on the surface can add a lovely painterly effect.
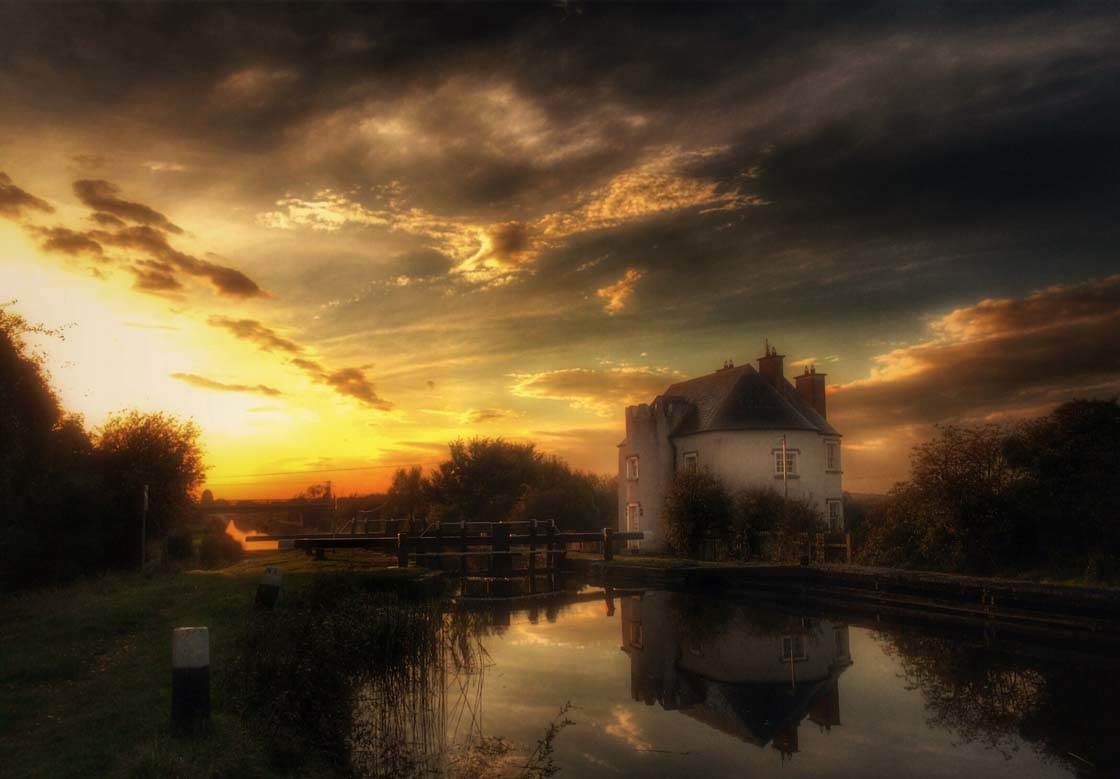
Keep your eye out for any objects that are reflecting off the water, such as trees or buildings on the shoreline, ducks swimming in the water, etc. You can create wonderful symmetrical compositions using reflections in water.
5. Backlight Your Subject
Backlighting means placing a light source behind your subject. This can create a lovely halo or aura of light around them. And what better light source is there than the sun?
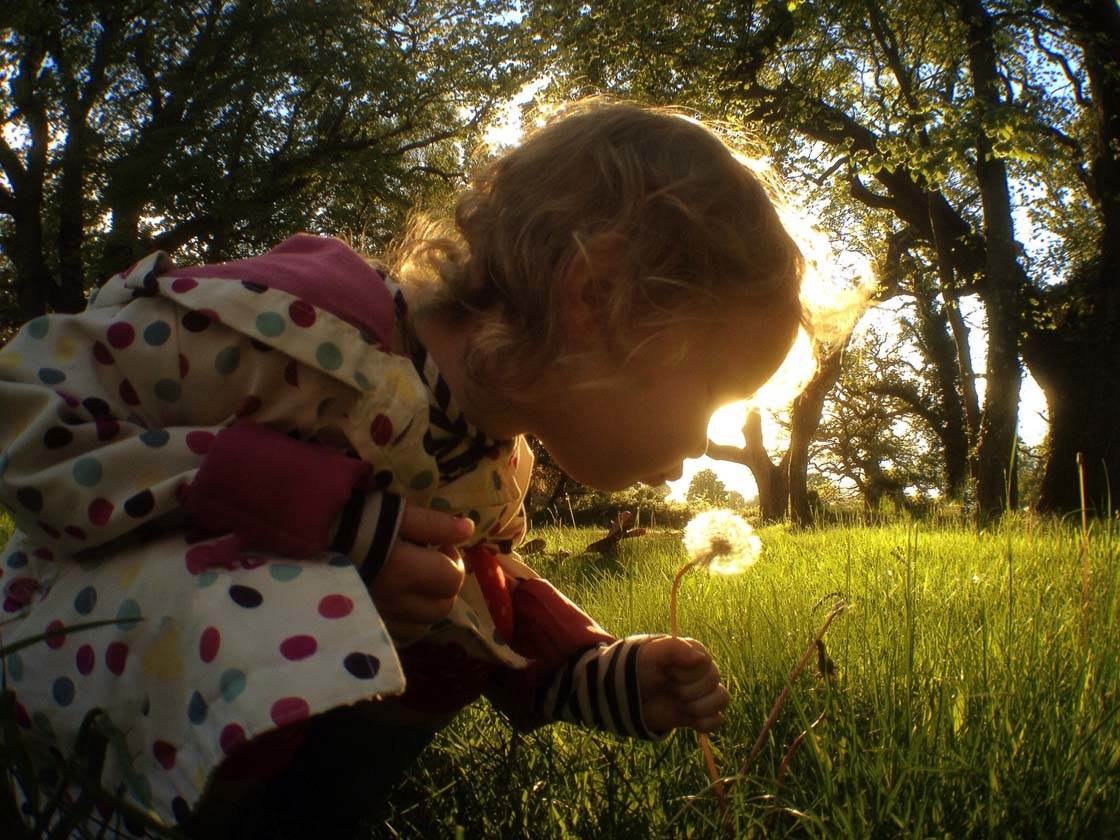
In this first example I was out for an evening stroll with my kids, and my daughter stopped to look at a dandelion. I liked the way the low evening sun highlighted her hair and the fragile dandelion.
The important thing to remember when taking shots like this is to have the sun directly behind your subject. As with any situations where you’re shooting into the sun, if the sun is visible in the frame it can totally overwhelm the exposure of the shot.
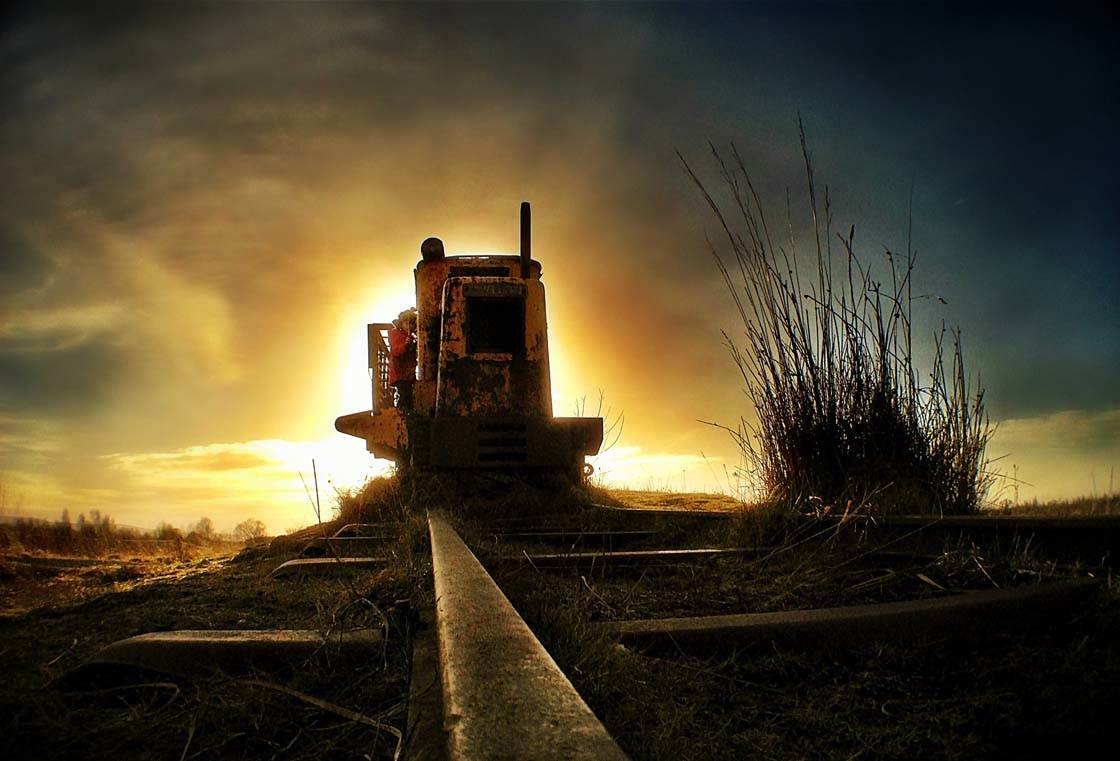
This second example follows all the same rules as the first one. The sun was low in the sky behind the train which created a brilliant aura of light around it. Setting the focus/exposure point on the front of the train meant that I was able to capture the detail of the train and enhance the light creeping out from behind it.
6. Capture Long Shadows
Another advantage of shooting during golden hour is that the lower sun can result in stunning long and dramatic shadows. Shadows add interest to the foreground of the image and help to create a sense of depth in your photo.
For best results, shoot directly into the sun and set your exposure point on the ground where the shadows are falling – to do this simply tap on that area of the scene on your screen. If you set the exposure on the sky you’ll end up with a very dark foreground and all the detail of the shadows will be lost.
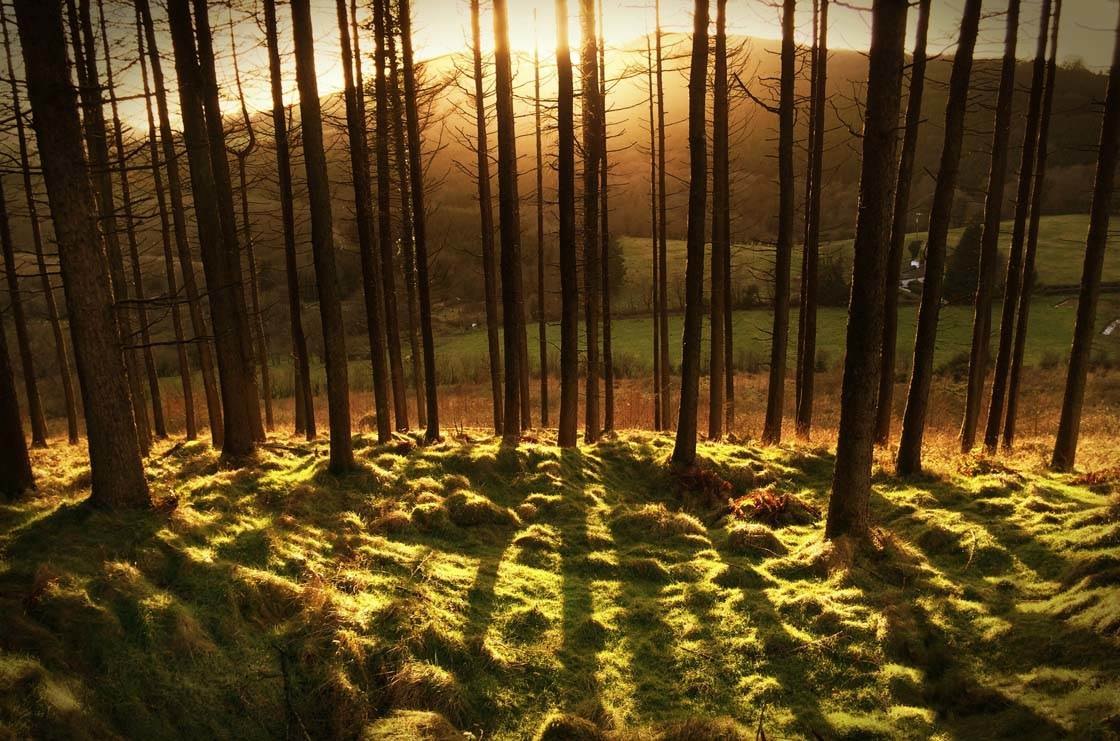
In this photo I was hiking on a local mountain trail in the evening when I came across this scene. I liked the way the sun was casting individual shadows from each of the trees. Setting the focus/exposure point on the grass meant that I was able to capture the shadows correctly.
I framed the shot in such a way as to have the sun just out of shot at the top of the frame. This meant that the sun didn’t overwhelm the image and not too much detail was lost in the trees.
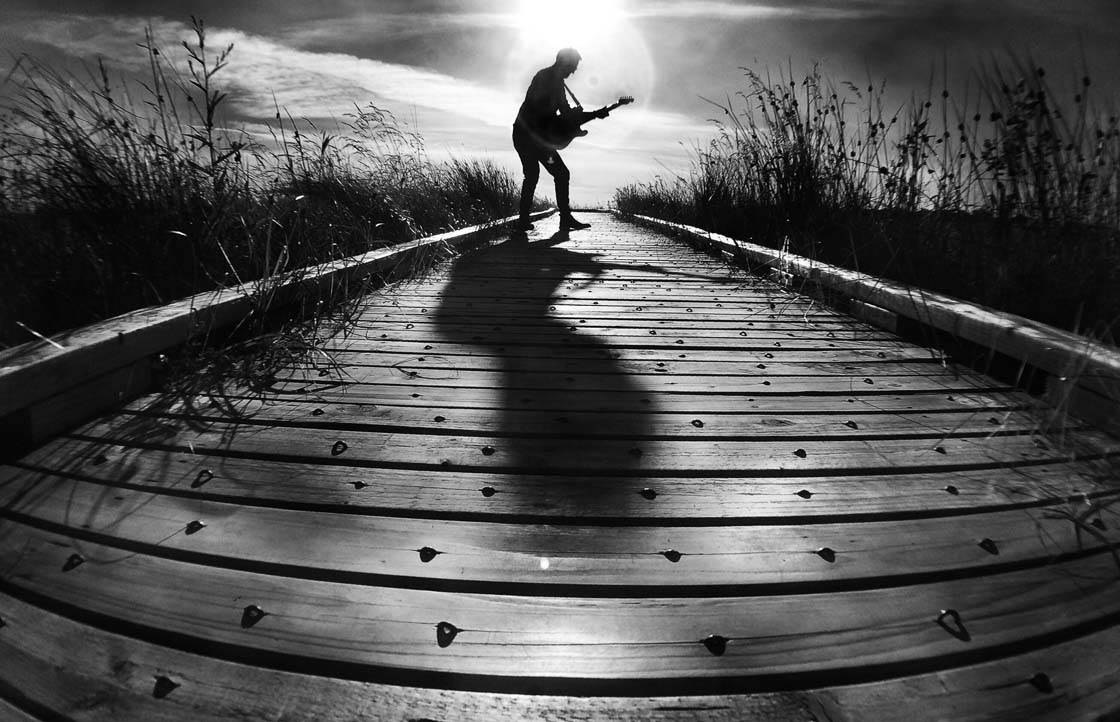
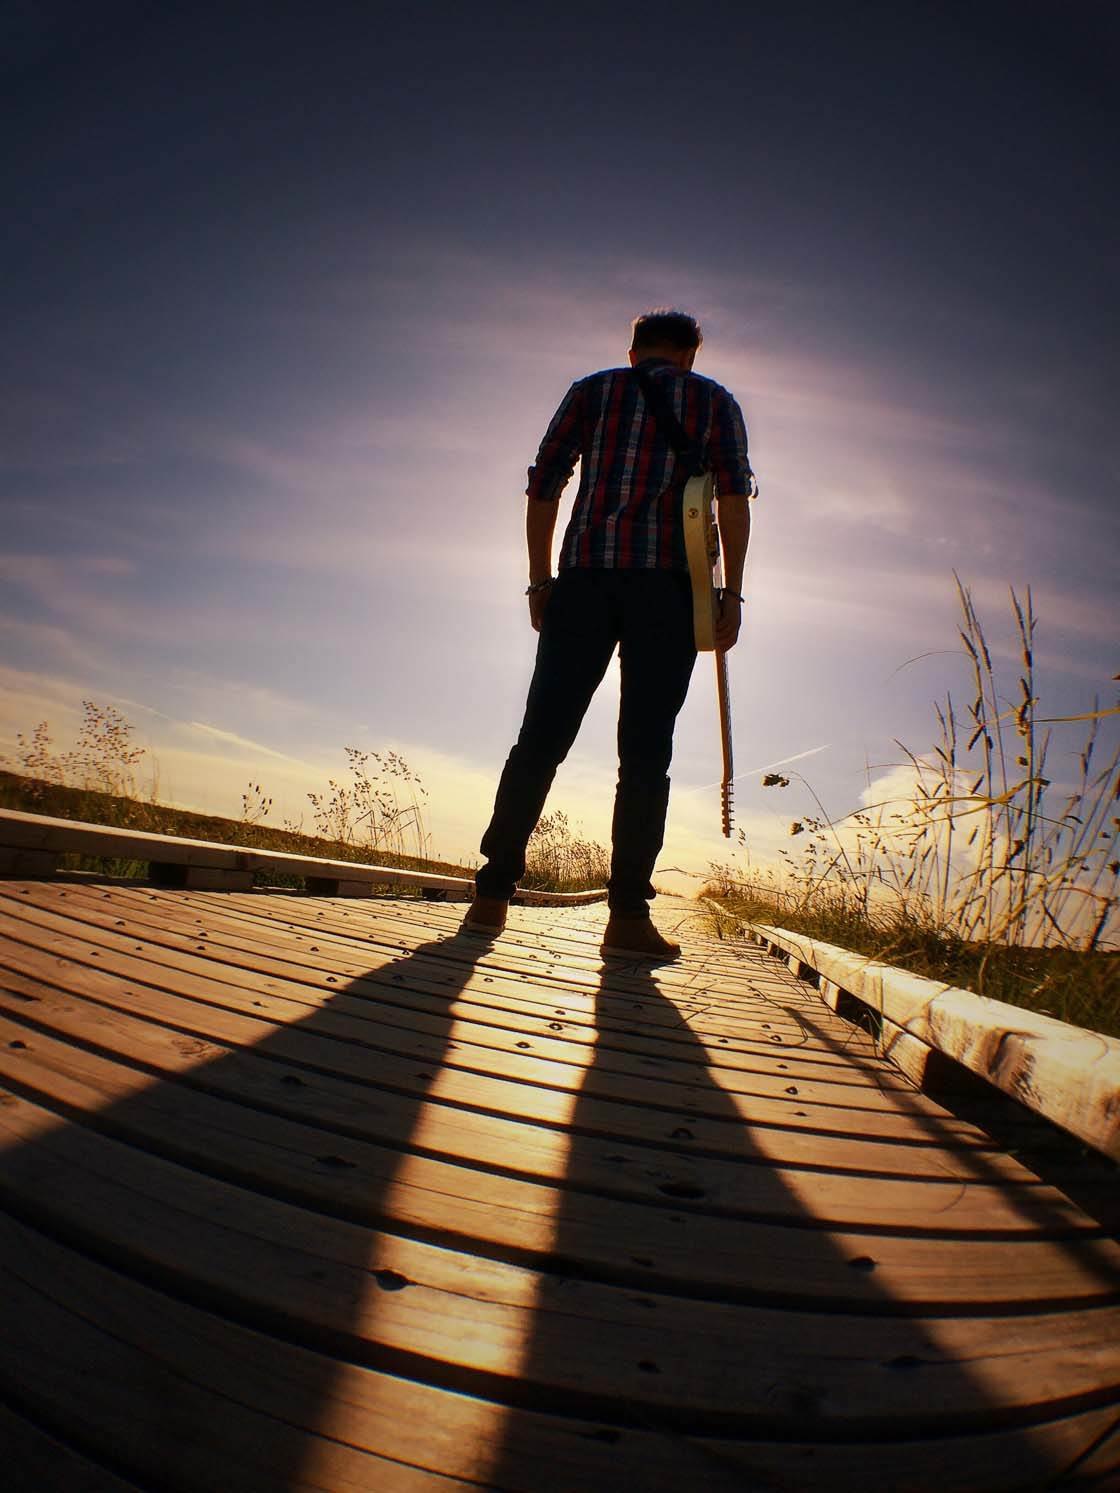
In this example a local singer/songwriter asked me to take a few shots of him. He wanted something a bit different from the usual photoshopped studio shots.
By arranging to have the shoot in the evening we were able to take advantage of the lower sun resulting in this dramatic image with the long shadow in the foreground. Again, I followed the same steps regarding framing and exposure as the last example but with quite different results.
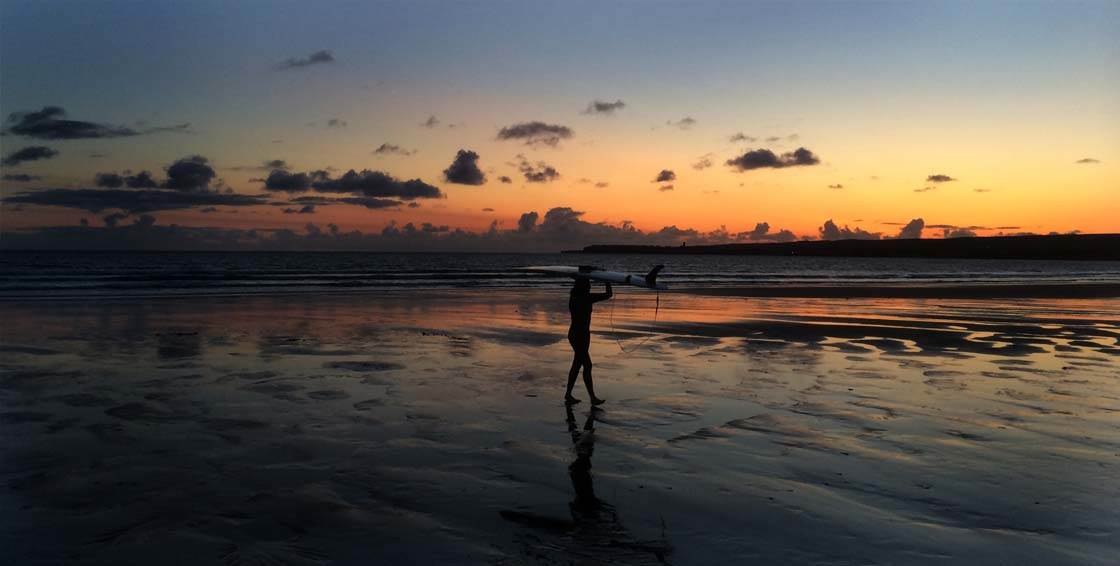
7. Create Silhouettes
Golden hour is also the perfect time for silhouette photography (where the subject appears as a dark shape or outline against the bright background of the sky). To get the best silhouette shots you need to ignore most of the advice I have given in the previous tips!
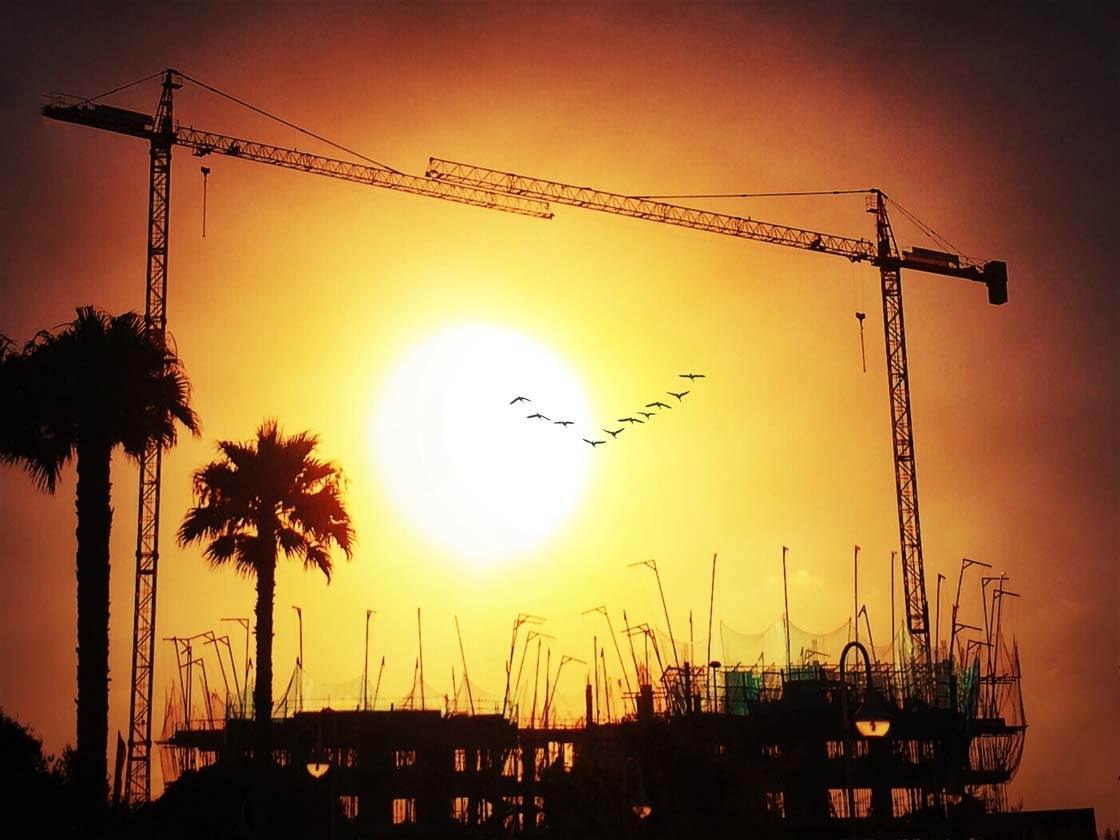
The sun will need to be behind your subject, but you’ll need to set the exposure point at the brightest point in the frame, rather than on your subject.
The brightest part of the scene would normally be the sun, or if the sun is out of the frame it will be the brightest part of the sky. This will take away all the detail from your subject and foreground, creating perfect dark silhouettes.
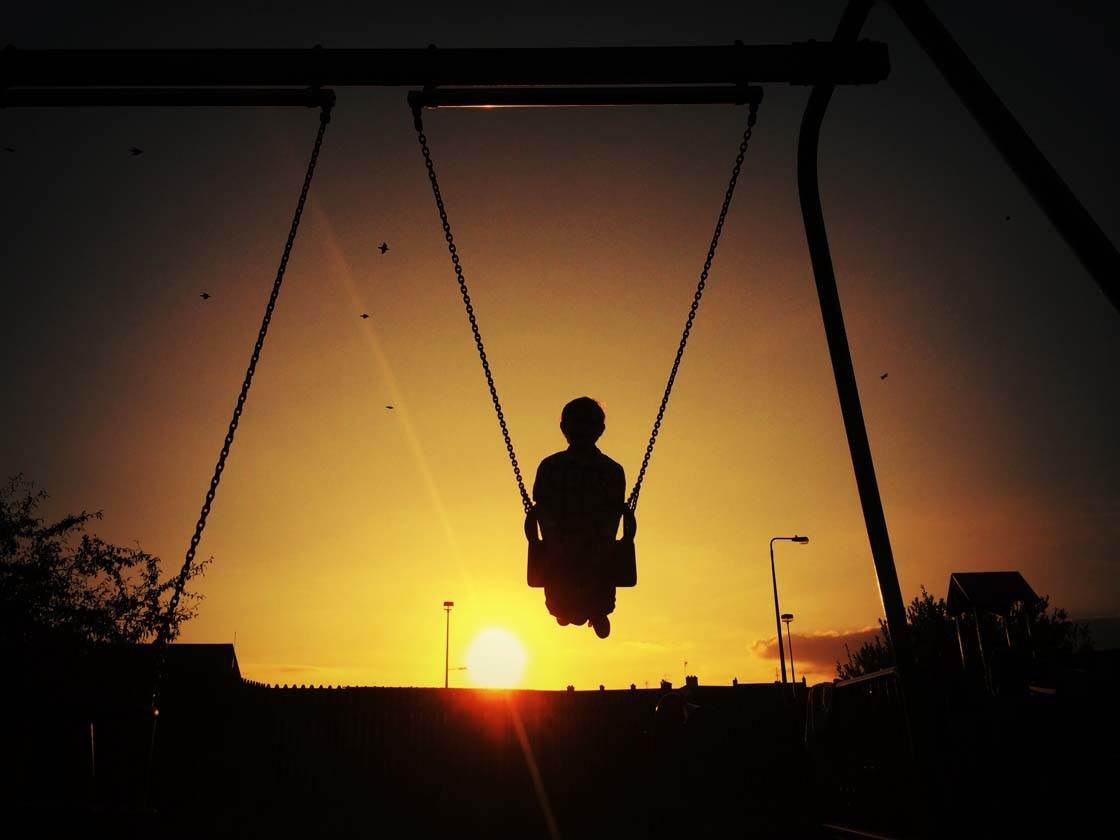
You can edit the photo afterwards to increase the contrast and add warmth if necessary. In both of these examples, by using the sun to set the exposure I ended up with the strong silhouettes I was looking for.
8. Convert To Black & White
While you’ll probably want most of your sunrise and sunset photos to be in color to show off the beautiful warm light, it’s worth mentioning that converting an image to black and white can sometimes be quite effective.
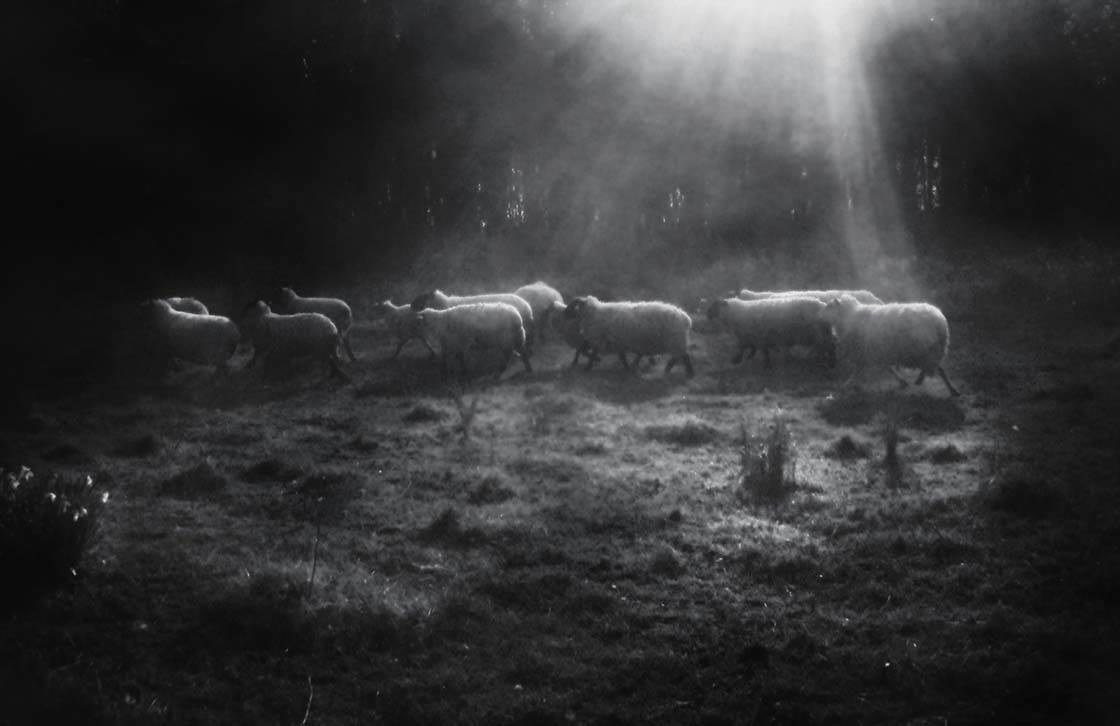
Removing color from your golden hour shots can help concentrate the eye on the light by eliminating the distractions that would be present in full color shots. This can be especially effective when your shot includes rays of light shining onto your subject.
This isn’t something you’re going to want to do with every shot, but it’s worth trying out a black and white conversion sometimes, especially in high contrast scenes like the sheep photo above.
9. Shoot Indoors
Finally, don’t limit your golden hour shots to the outdoors. When the sun is low in the sky it will stream in through windows producing lovely rays of light as it reflects off specks of dust floating in the air. Again, these types of shots would not be possible at any other time of the day.
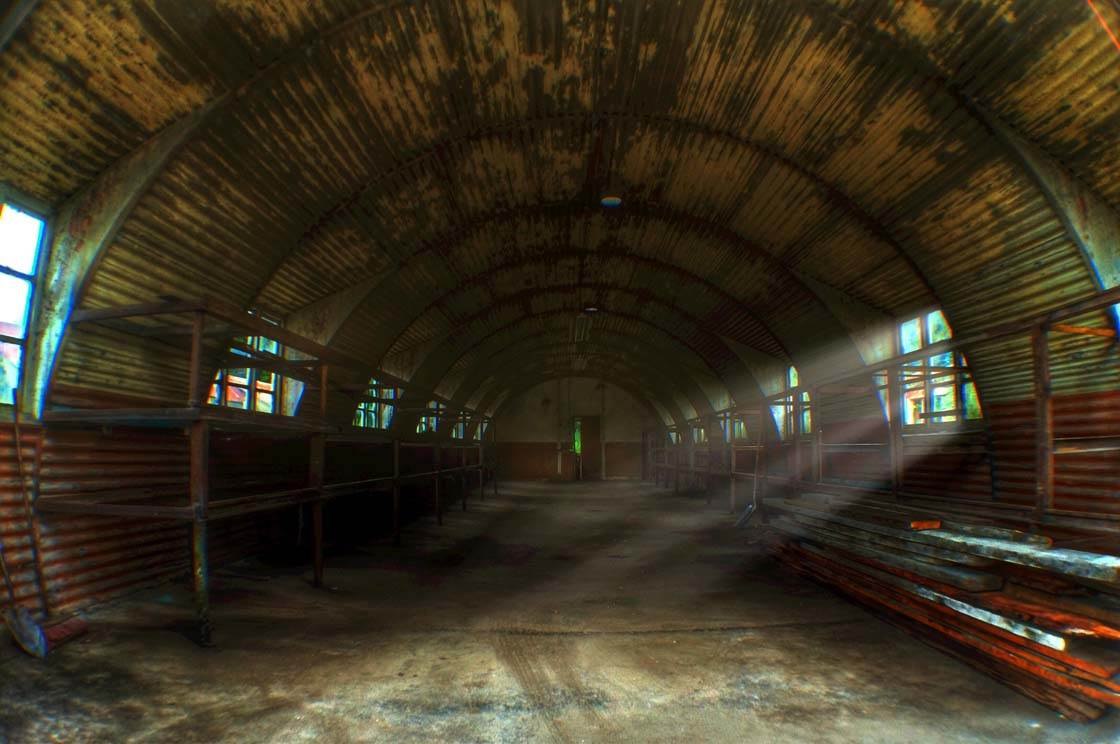
The essence of good photography is capturing available light. Shooting during the golden hour gives you so many more options. By varying the direction of the light in your frame when taking photos you can dramatically alter the results. Just remember not to let the sun totally overwhelm the shot.
By following the tips and techniques covered in this tutorial, you’ll be able to take incredible sunrise and sunset photos with your iPhone. So set your alarm early for sunrise or venture out before dusk to make the most of the stunning light of golden hour.


Hi Paul. Thanks for those great tips.
I wonder if you also use HDR in your golden hour photos? Some of them have quite substantial tonal range…
Thanks Michal. I rarely use HDR on these type of shots as it tends not to give great results on images with a large difference in the bright and dark parts of the photo. I use the lighting brushes tool in PhotoToaster. With this I can lighten the foreground and darken the sky and as a result even out the light a bit more. Also the lighting brush brings out more detail in the darker areas. Hope this helps.
Is it possible to take 300 dpi images with my iPhone 5? What do I need to install?
Hi Linda. It is possible to change the DPI on iPhone photos. You can use an app like iResize. I haven’t tried it yet. Alternatively you could use PC based software.
There’s an app called “Manual” which gives you complete control as if it were a DSLR. It will also produce RAW or JPEG, or both. You can set the ISO and elements of exposure.
Thanks for the tips! I have an iPhone 6 Plus and the camera is amazing! I got a case for christmas that came with a 4 in 1 lens adapter which includes a wide angle I love for these types of shots. Do you use anything like that? I use the fisheye pretty regularly and the macro for food and stuff. Its really convenient that i dont have to swap lenses when I want a different shot, the lens revolves so I can flick the lens I want over the camera and I’m good to go. Heres the site if you want to take a peek:
http://phonelenscases.com/iphone-6-plus-cases.html
thanks again!
Thank you for this great tutorial
Hi and thank you for the great tips! I am going to Italy in August. I was tempted to bring out my digital camera, which I can’t even remember how to use! Someone said that I should just use my iphone 6+. However, I am a little nervous that it will tell me that I haven’t got enough space on my phone to take a picture or video. (This has happened before) Can you advise me as to how to prepare my iphone ahead of time so that this doesn’t happen?
also, you will need to contact you provider to see how much it is going to cost you using the phone there. AND in Europe, they like phones, so you will have to be very carefull with it.
Yes I know these things. I am asking about clearing up enough space to not run out of room for photos. Ty
Hi Carolyn,
First delete any apps you don’t absolutely need.
Next, go to Settings<Storage & iCloud Usage and see how much storage you've used and what's available. From there go to Manage storage. You'll get a list of all the apps and how much Storage each is using.
From there you can go to each app, for instance Safari, and clear up space from your off line reading list and history.
It's very tedious, but it's necessary.
Remember to close apps running in the background by clicking on the Home button twice and slide off all the open apps.
Look on YouTube for instructional videos on how to clear up space, make sure it's recent and for you model iPhone.
It's also a good idea to have a back-up power supply to recharge, taking photos used a lot of power fast!
And #1 rule, you don't have to take a photo of everything!
I hope this helps a little, at least get you started.
Good luck and have a great trip!
Don’t know why it’s doing that Sorry!
Thank you LoveyK! I will try this.