Whether you’re just starting out in iPhone photography or you’re a seasoned professional, there are certain good habits to pick up and use on a daily basis. These habits will not only help you take better photos with your iPhone, but they’ll also keep you motivated and inspired to continue taking great pictures. In this tutorial, you’ll discover ten good habits that every iPhone photographer should follow.

1. Always Have Your Camera Ready
You never want to miss the opportunity to take a great photo. The good thing about the iPhone camera is that you’ll probably always have it with you.
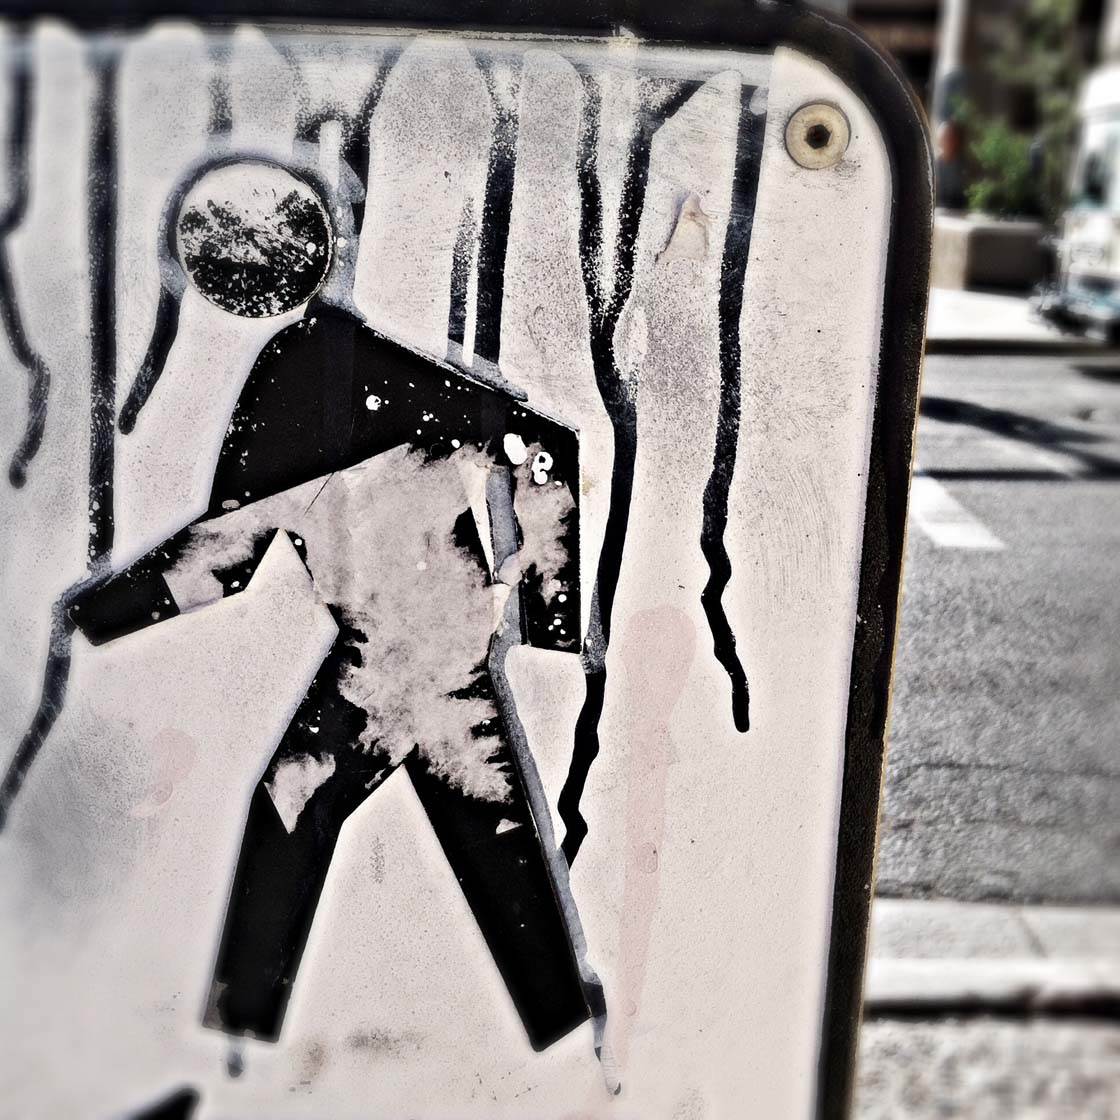
To ensure you’re always ready to shoot at a moment’s notice, make sure your iPhone is always switched on and that it has plenty of battery life.
Make sure you know how to access the camera instantly from the lock screen – simply swipe up on the lock screen and the camera app will open, allowing you to bypass having to enter your passcode.

Even if you take the same route to work or to the store all the time, there’s always something new that you might encounter. Being ready with your camera ensures that you won’t miss those fleeting photo opportunities.
2. Take Photos Every Day
Take a photo of something, anything, each and every day. Doing so will keep you in practice mode and improve your photography skills. This habit will also help you to be creative and think outside the box.

For instance, you don’t have to go outside your house to take photographs. Think about all of the interesting things you can photograph inside your home.
Another idea is to focus on abstract photos or close up macro shots. Start noticing the details of everything around you… the paint peeling from walls, the texture of the sidewalk, the number of legs on an insect, and figure out a unique way to shoot these images.

If the thought of taking a photo a day sounds overwhelming, join a daily photo challenge and make a game out of it. A photo 365 project is a great way of motivating you to take at least one iPhone photo every single day.
3. Take Multiple Shots
When I find a subject I’d like to photograph, I always take multiple shots of it. You never know which shot will really be magical until you review them.
Move around your subject and shoot from different perspectives to show the subject from various angles. Shoot from high up, low down and from different sides of the subject. Shoot from far away and close up to see what difference it makes.

Selecting a different focus point will also create a new perspective. For example, you may wish to focus on an area close to the camera, or a part of the scene further in the distance.
Put the subject in different areas of the camera grid for a unique rule of thirds composition. With iOS 8 you can also shoot in burst mode, which is especially helpful for capturing movement.
4. Look For The Best Light
The most important element of photography is light. iPhone photographers who want to create better photos are always looking for the best kind of light and using it to their advantage for each shot.

The most beautiful lighting is found during what is known as the golden hour. This is the first hour of light after sunrise and the last hour of light before sunset. The golden hour creates a soft, diffused, golden light that’s perfect for any kind of photography.
In contrast, the light at midday is more difficult to shoot in. It creates long, harsh shadows, but if captured in the right way they aren’t all that bad if you wish to add depth and texture to your subject.
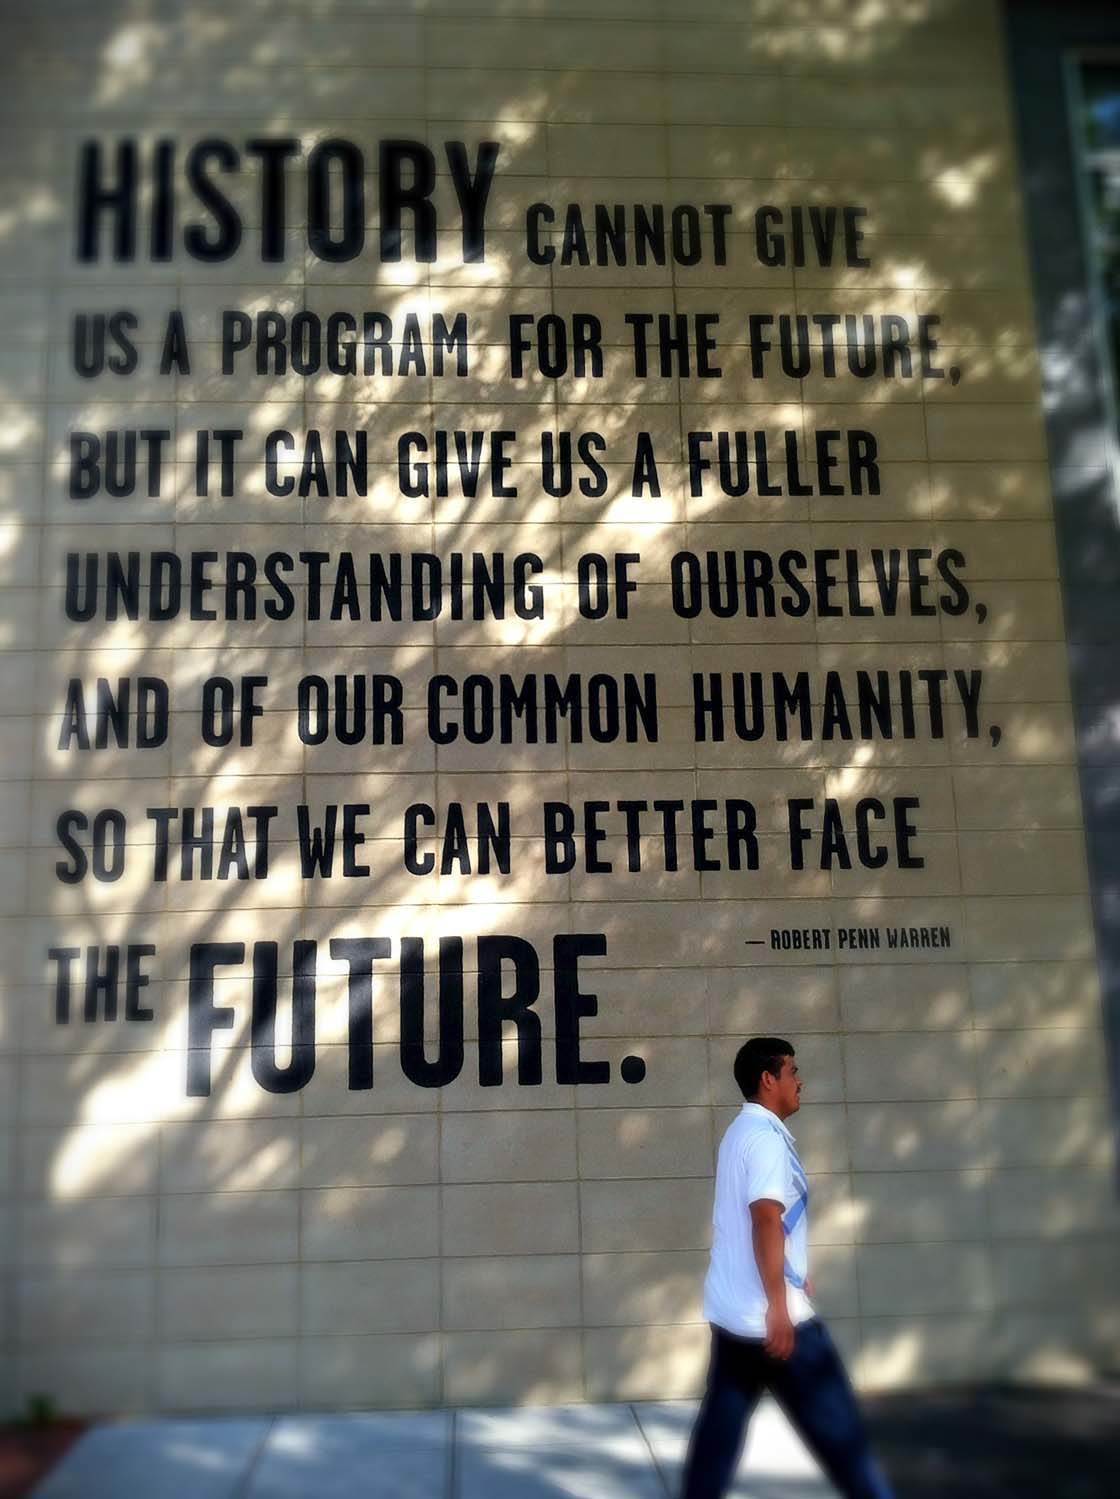
Getting into the habit of looking for the light all the time will help you understand the impact of different types of light on your subject. You’ll intuitively know how a photo will turn out just by looking at the type of light in the scene.
5. See Without The Camera
Start to see the world as if you’re always looking through your iPhone camera lens, even when you’re not. I was brand new to photography just two years ago when I began taking photos with my iPhone.

I noticed that even if I didn’t have my iPhone camera out, I was always looking for potential photos. I began to look at the world as if I was setting up my next shot.

I considered composition, lighting and subject matter. I thought about the rule of thirds and how I might frame the shot, and whether the scene would look better in color or black and white. This habit allows you to practice photography even when you’re not taking photos.
6. Back Up Your Work
Backing up your photos to an alternative storage source will not only help you protect your photos from loss, but it will also free up valuable storage space on your device. There are many backup options available.
The first is simply to transfer photos from iPhone to computer.
Click here to learn how to download photos from iPhone to Mac.
Or read our tutorial on how to transfer photos from iPhone to Windows PC.
Cloud-based storage is another option – this is where your files are backed up over the internet, rather than onto your own computer.

Two popular cloud-based storage services are Dropbox and Google Drive. Many apps are available for this purpose that can help you organize your photos by keywords which is helpful when you’ve got several thousand photos to sort through.
You might also consider a portable backup device such as the new Piconizer gadget. It allows you to back up to a physical device when you’re away from your computer or out of Wi-Fi range for cloud-based backup.
![]()
The Piconizer simply plugs into your iPhone and the images are transferred via an app. This device was successfully funded through KickStarter in December 2014 and is available for pre-order.
7. Review Your Work
You should always review your photos before posting to social media to ensure that you only post your best photos. I like to do this after a photo shoot where I’ve taken a bunch of photos at one time.

There are often shots that I think will be great that just don’t pop when I review them in my camera roll. Or, there are shots that I bypass at first but, upon second glance, are really noteworthy. Using a critical eye, identify the photos with real potential.
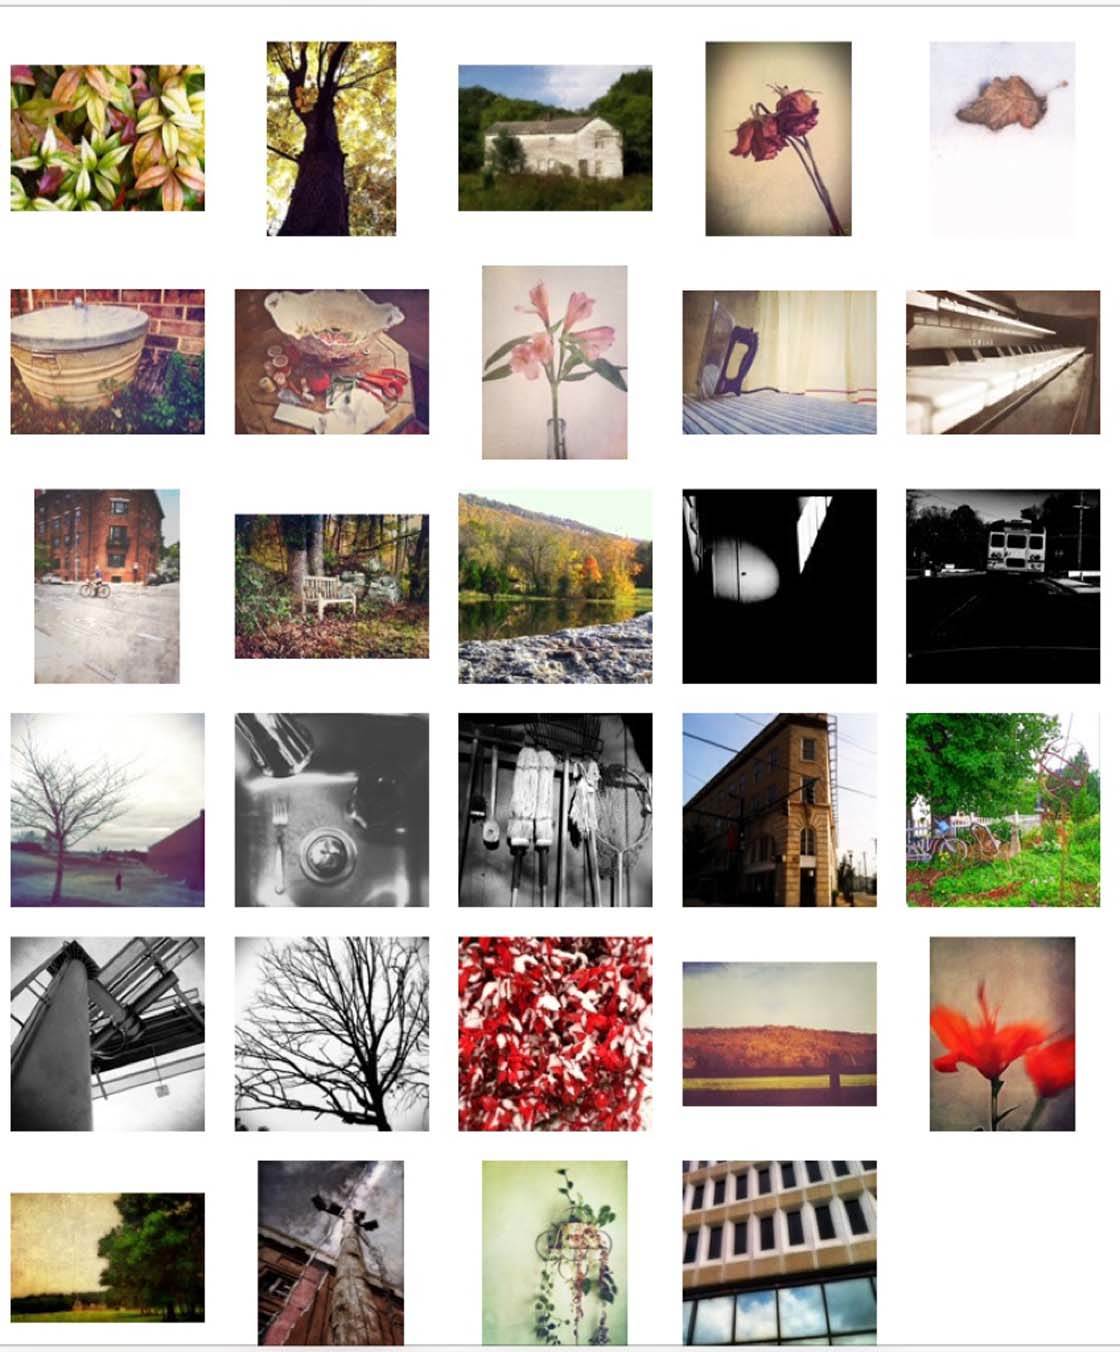
One of the ways I do this is to look at the photos in the group preview mode in the camera roll. I take note of anything that really jumps out at me at this size. Taking time to assess all of your photos periodically will help you see how your photographic style is evolving.
8. Seek Inspiration
Who or what inspires you as an iPhone photographer? You may be inspired by the work of other photographers or artists. Or the simple act of watching your children at play inspires your desire to capture those memories.

If there are other iPhone photographers you want to emulate, follow them on Instagram and EyeEm. Check out their updates and new blog posts.

Seek out people and experiences that motivate you to take photos every day and to continue growing as an iPhone photographer.
9. Share Your Work
iPhone photography is a social medium and there are a lot of places to share your photos. Instagram and EyeEm are two social media platforms designed for sharing photos with other iPhone photographers (check out our tutorial on how to get your Instagram photos noticed).

If you have a blog, share your work on there. Whenever you share your photos, invite comments and reply promptly and enthusiastically to your followers. This habit will help you build confidence and also get feedback on your photography.

If you’re a little intimidated by the thought of sharing your photos, I’ve found the online group Mobitog, to be very welcoming.
10. Keep Learning
I’m always reading new articles on iPhone photography and photography in general. Keep learning from other professionals and stay on top of the latest updates, camera and editing apps, accessories and photography techniques.

There are new books and courses coming out each week. Read as much as you can. And if you can join a course or two, all the better.
It’s often easier to learn techniques through video instruction rather than reading an article or book. iPhone photography is a burgeoning field and there is so much out there still to discover.



Thanks for these great tips Kristen! I think tip 5 is especially important – being able to compose a shot without the camera screen in front of you is a great skill to help improve the composition of your images.
Thanks Kate! I agree about tip 5. It’s helped me to not just do photography but to THINK like a photographer.
Really informative post. I am new to iphonephotographyschool but have been a keen photographer for a few years and only recently started going down the iPhone photography route. It’s amazing the quality of shots you can take on your iPhone and it’s so much easier and quicker than having to lug camera equipment around!
Off to spend another evening delving into the iphonephotographyschool archives.
Kate, you’re already ahead of the game if you’re coming into this as a photographer. The iPhone is really easy to use so it should be a smooth transition. iPhone Photography School has loads of great articles that should help you get up to speed.
~Kristen
IPS has a wealth of information for beginners and beyond. I always look forward to the latest tutorials and interviews. Enjoyed this one a lot, Kristen!
What is the app used in Seek Inspiration #8? This information is so helpful! Thanks!
I used a few apps to create the workflow for the photo. The trees were made in ARTREE. Then I blended the trees together with the image of the girls and a texture I created for the final image.
More great hints and wonderful photos. I really look forward to these tutorials. Thanks Kristen and Emil.
Great job Emil and thank for share the amazing story
Thanks, Emile, just what I needed for my inconsisrency and recurring bouts of lack of commitment in photography.
Terrific article and I can see how much I have learned from delightful you already! many thanks!