Do you want to know the HDR meaning? And do you want to know how to use HDR to create perfectly exposed iPhone photos? In this article, you’ll discover exactly what HDR is. Then you’ll learn how to use the HDR feature to take better photos with your iPhone!
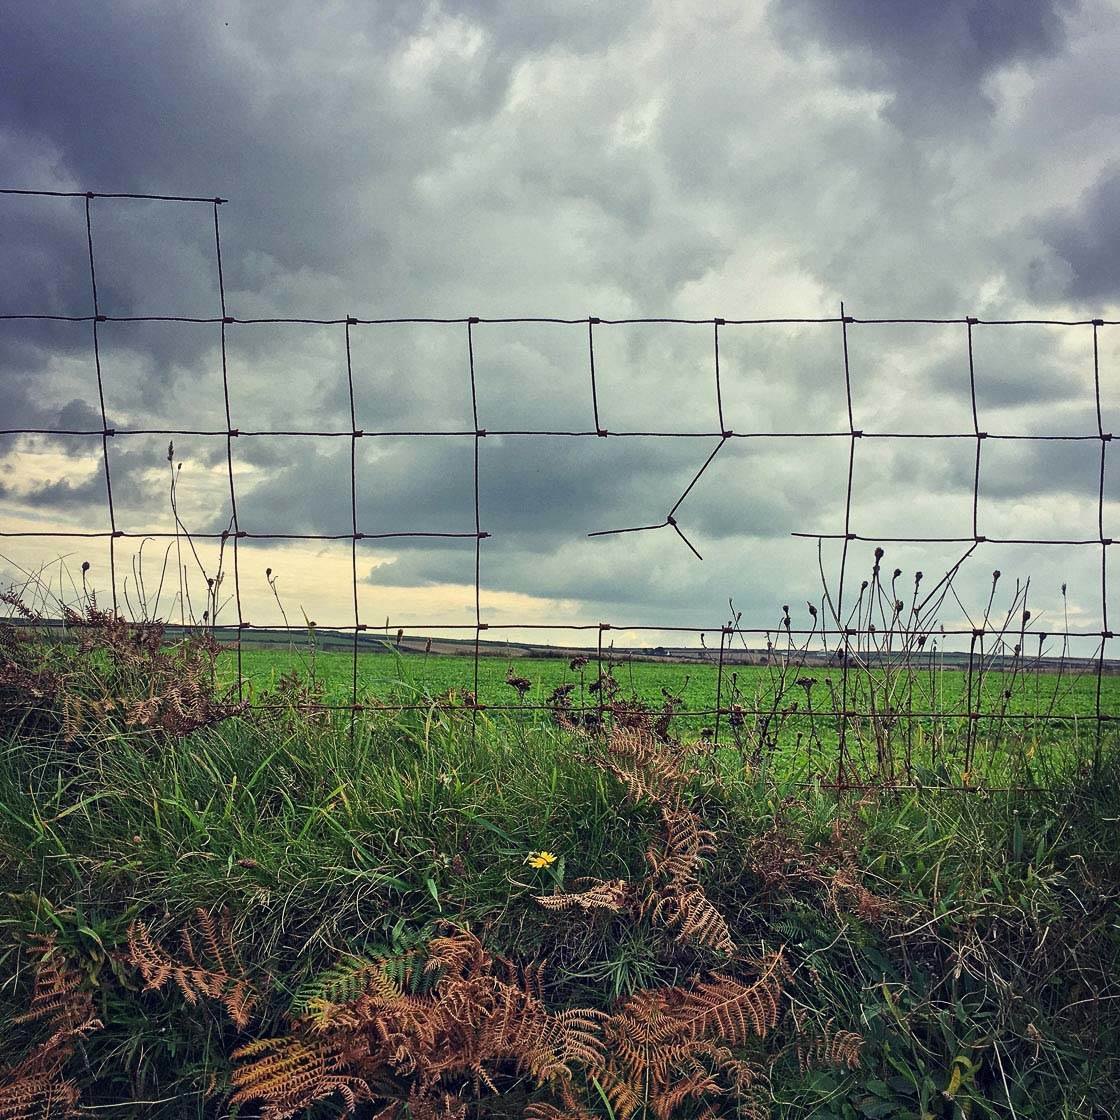
Table Of Contents: HDR Meaning
Click any title link below to go straight to that section of the article:
1. What Is HDR?
1.1 What Does HDR Mean?
1.2 What Is HDR On iPhone?
1.3 How The HDR Feature Creates Perfectly Exposed Photos
2. How To Use HDR On Your iPhone Camera
3. When Should You Use HDR For Stunning iPhone Photos?
3.1 Use HDR To Take Wonderfully Exposed Landscape Photos
3.2 Use HDR To Take Sharp Photos In Low Light
4. When Should You Avoid HDR?
4.1 Avoid HDR For Stunning Silhouettes
4.2 Avoid HDR When Photographing Moving Subjects
4.3 Avoid HDR For Beautifully Saturated Colors
4.4 Avoid HDR When You Want To Create Drama
1. What Is HDR?
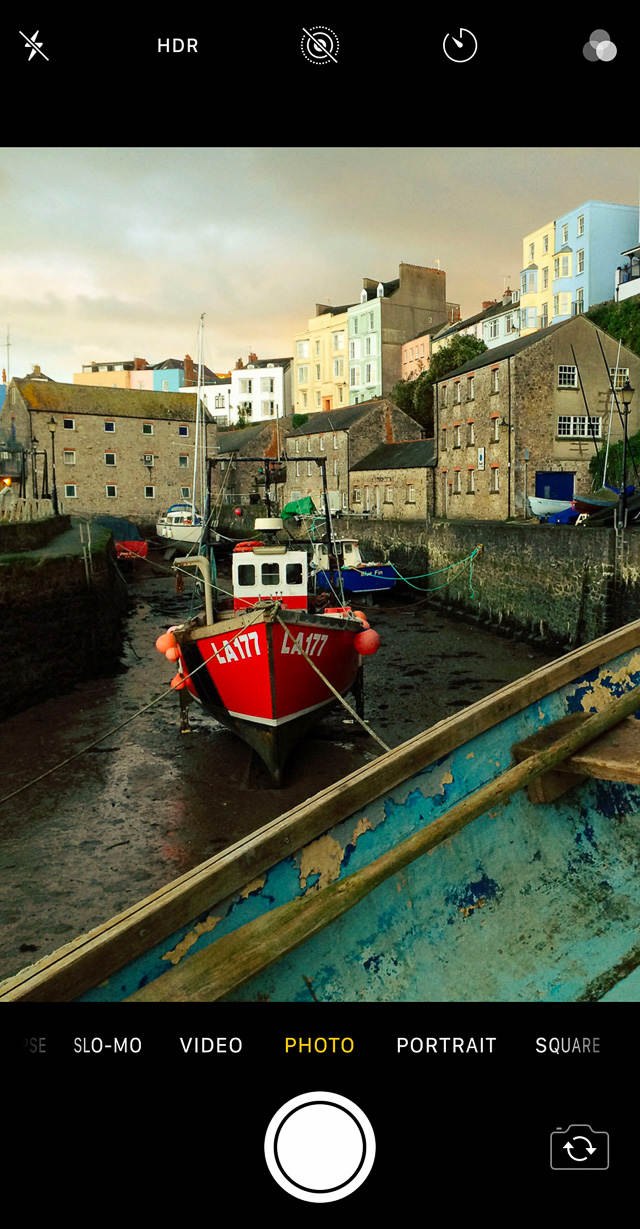
You may have heard the term “HDR.” You may have seen the HDR symbol in your iPhone Camera app. But what is the HDR meaning? And how does the HDR feature work?
1.1 What Does HDR Mean?
HDR stands for high dynamic range.
And dynamic range refers to the difference between the light elements and dark elements in a scene.
A scene with both very bright and very dark parts has a high dynamic range. On the other hand, a scene without extremely light or extremely dark elements has a low dynamic range.
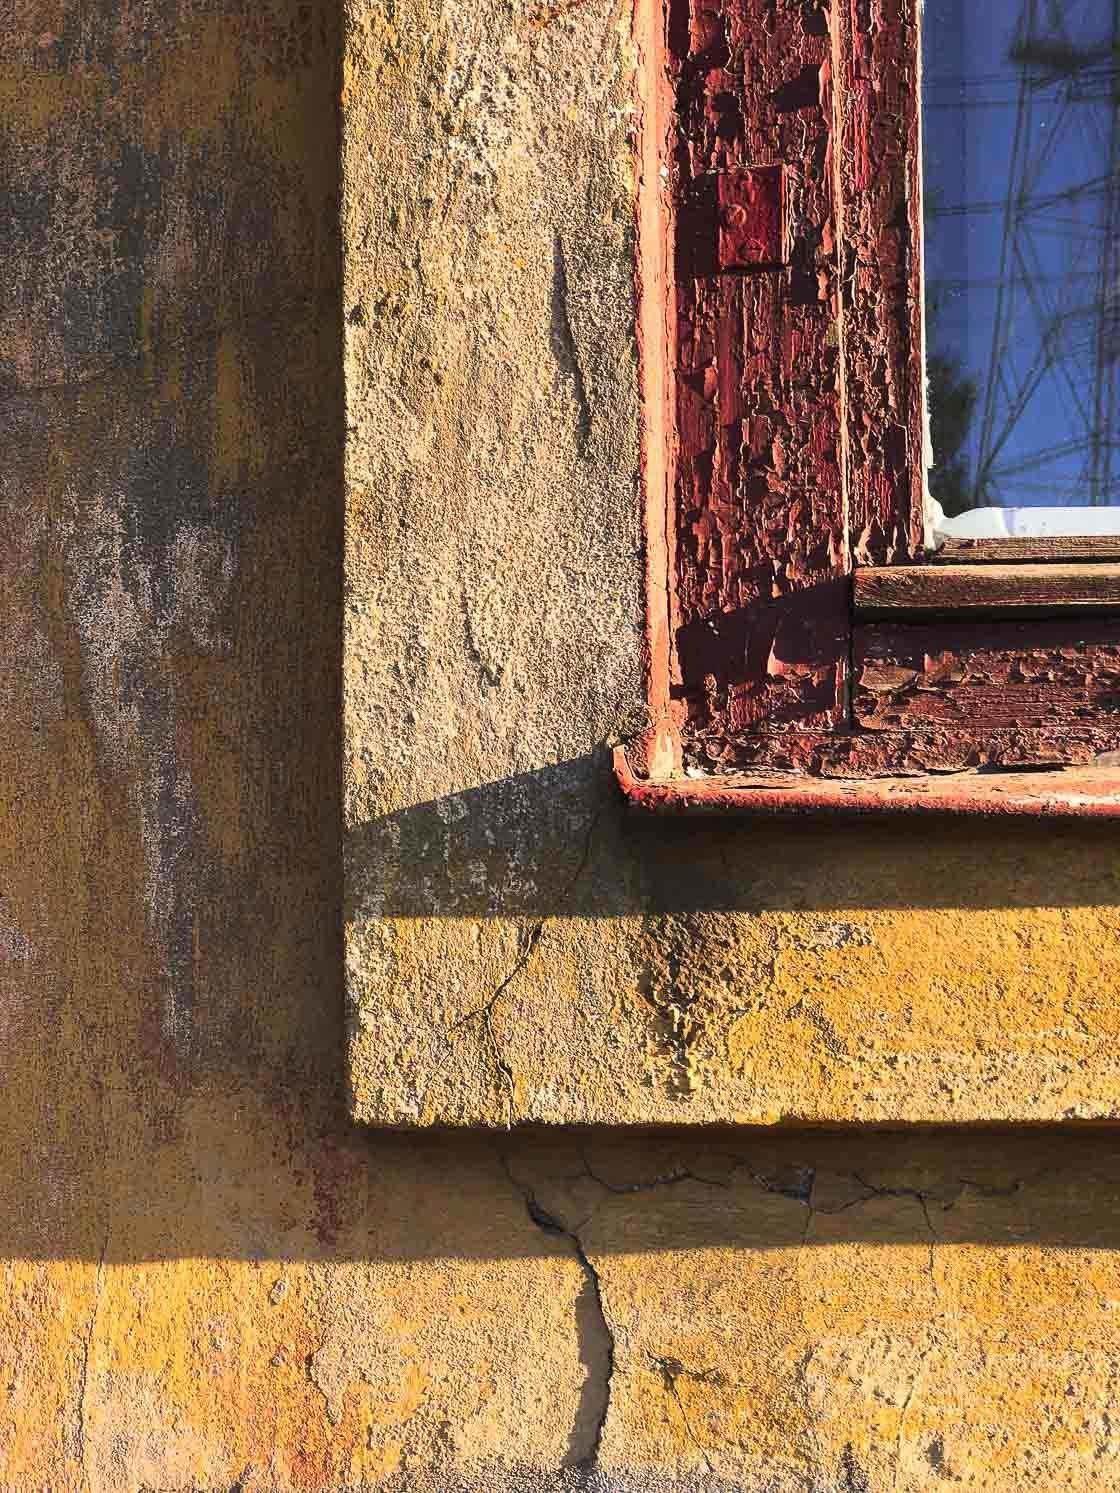
For instance, the scene below has very dark elements (the shadows) and very light elements (the yellow paint). Therefore, it has a high dynamic range.
1.2 What Is HDR On iPhone?
All cameras, including the iPhone, are limited.
Specifically, when shooting a scene with a lot of dark elements and a lot of light elements (high dynamic range), your iPhone often cannot portray all of the elements accurately.
Your iPhone could portray the light elements accurately. But then the dark elements would just be pure black—they’d lack detail. This is called underexposure.
(Exposure refers to how light or dark your camera makes the scene.)
Or your iPhone could portray the dark elements accurately. And this time, the light elements would be pure white. They’d have no detail at all. This is called overexposure.
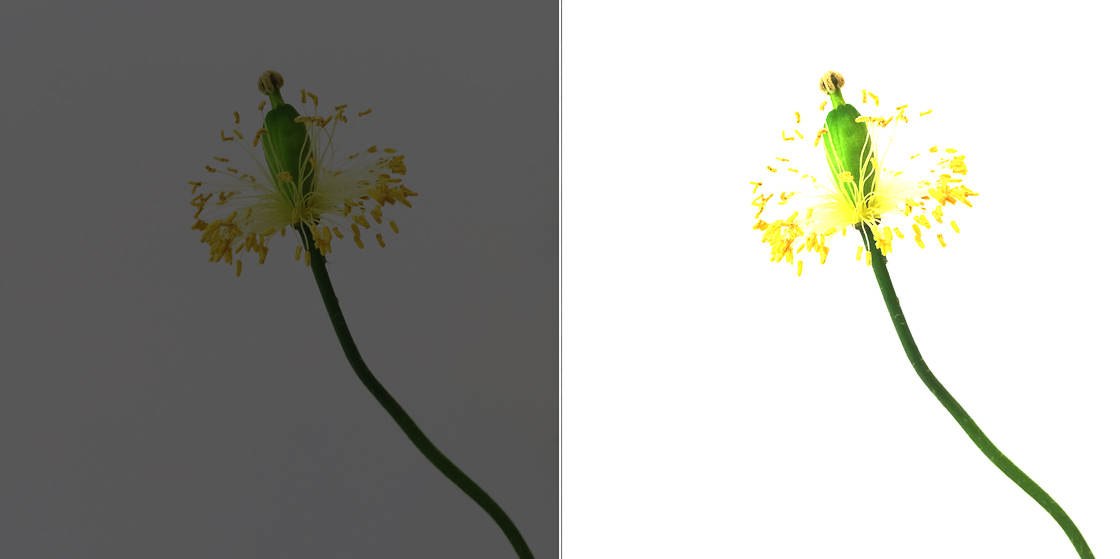
The flower on the left is underexposed. The flower on the right is overexposed. Do you see how both photos lack detail?
But why can’t your iPhone simply expose for both the light elements and the dark elements?
Because your iPhone’s camera lacks the ability to portray scenes with a large difference between the lights and darks in a photo—scenes with a high dynamic range.
The iPhone camera simply cannot photograph both light and dark at the same time.
At least, this would be the case…if it weren’t for the HDR setting on iPhone.
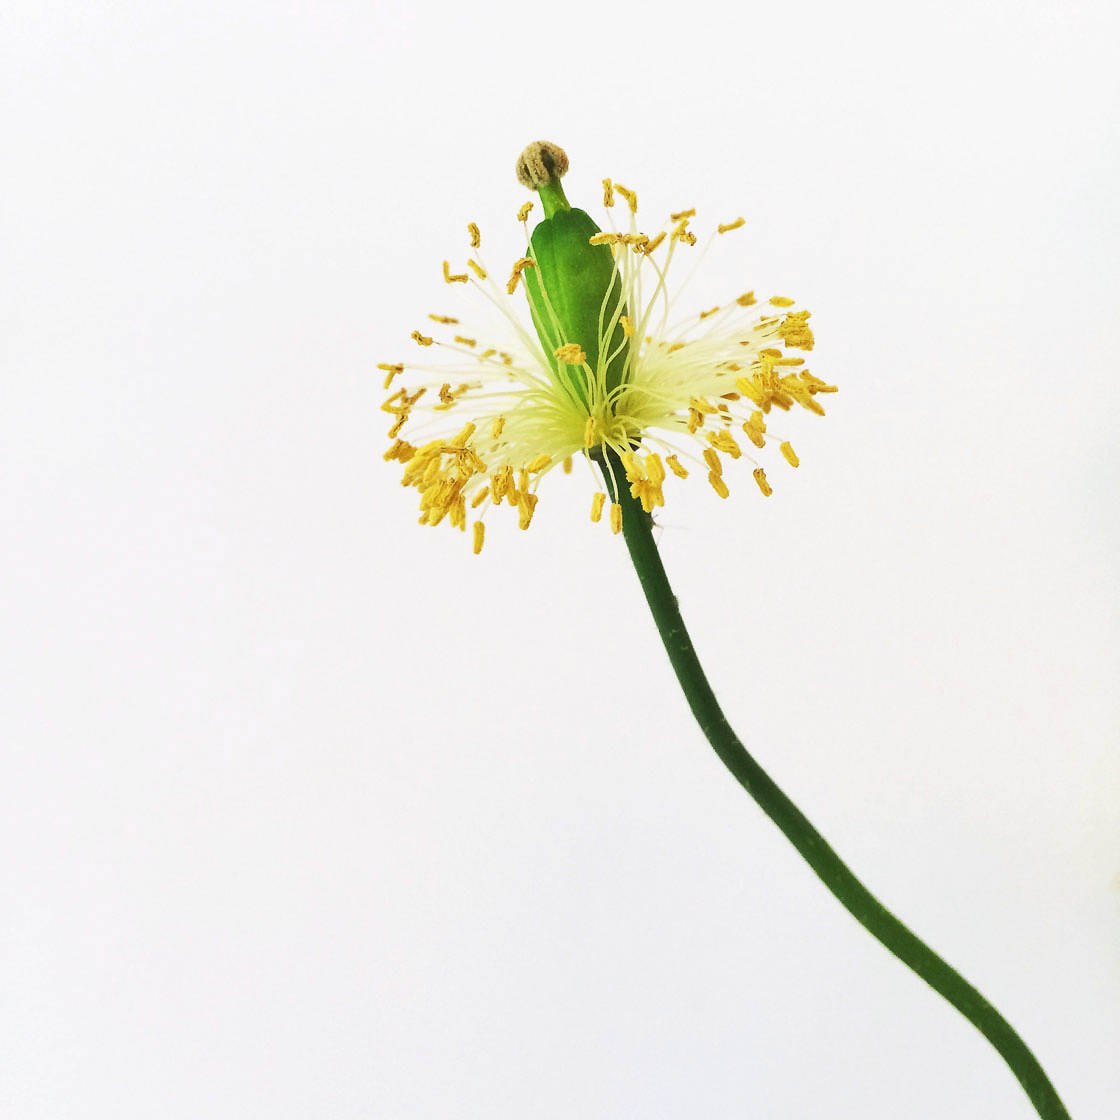
What is the HDR setting on your iPhone?
The HDR setting allows you to capture photos of high dynamic range scenes.
More specifically, the HDR setting uses software to give iPhone cameras a boost when photographing high dynamic range scenes. That is, it uses software to produce perfectly exposed photos—photos that accurately capture both the darks and the lights.
Using the HDR setting on your iPhone, you can expose for both the darkest elements of the scene and the lightest elements of the scene.
1.3 How The HDR Feature Creates Perfectly Exposed Photos
So how does the HDR setting actually work? What is HDR in camera?
When you take an HDR photo with your iPhone, the camera is actually taking several separate images.
It does this in a quick series. Some photos are overexposed (too light), some photos are normally exposed, and some photos are underexposed (too dark).
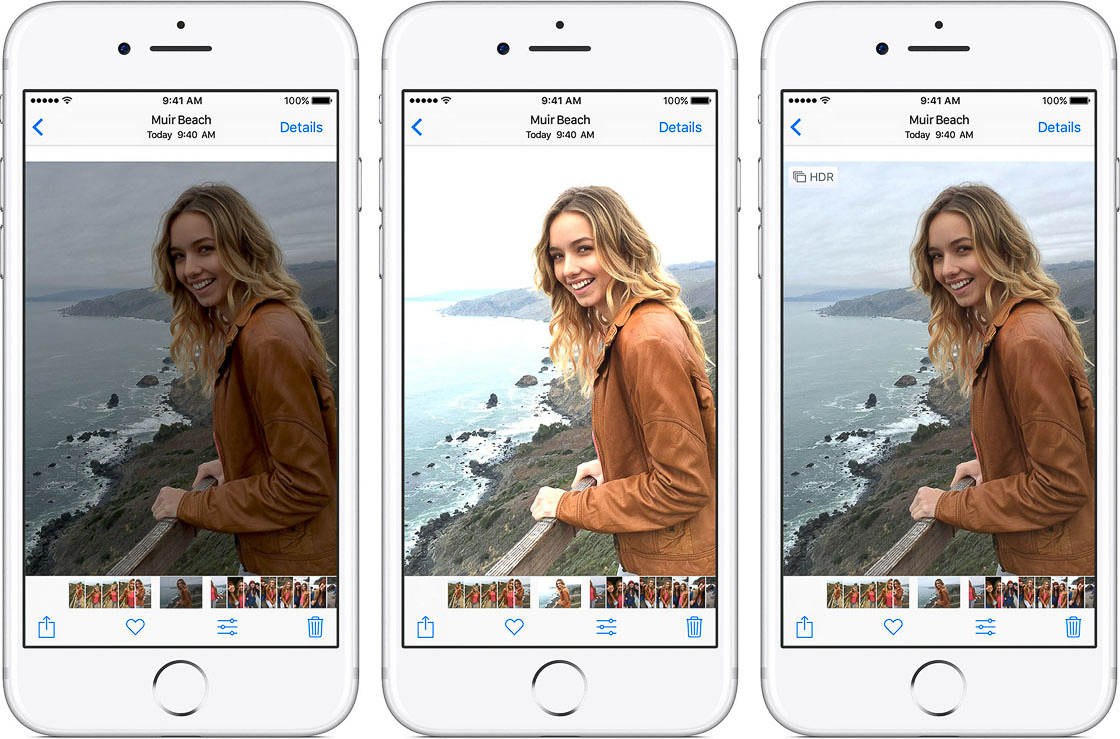
Your iPhone then takes these photos and blends them together. The final photo keeps all the best parts—the perfectly exposed whites (from the underexposed images), the perfectly exposed blacks (from the overexposed images), and the perfectly exposed midtones (from the normal images).
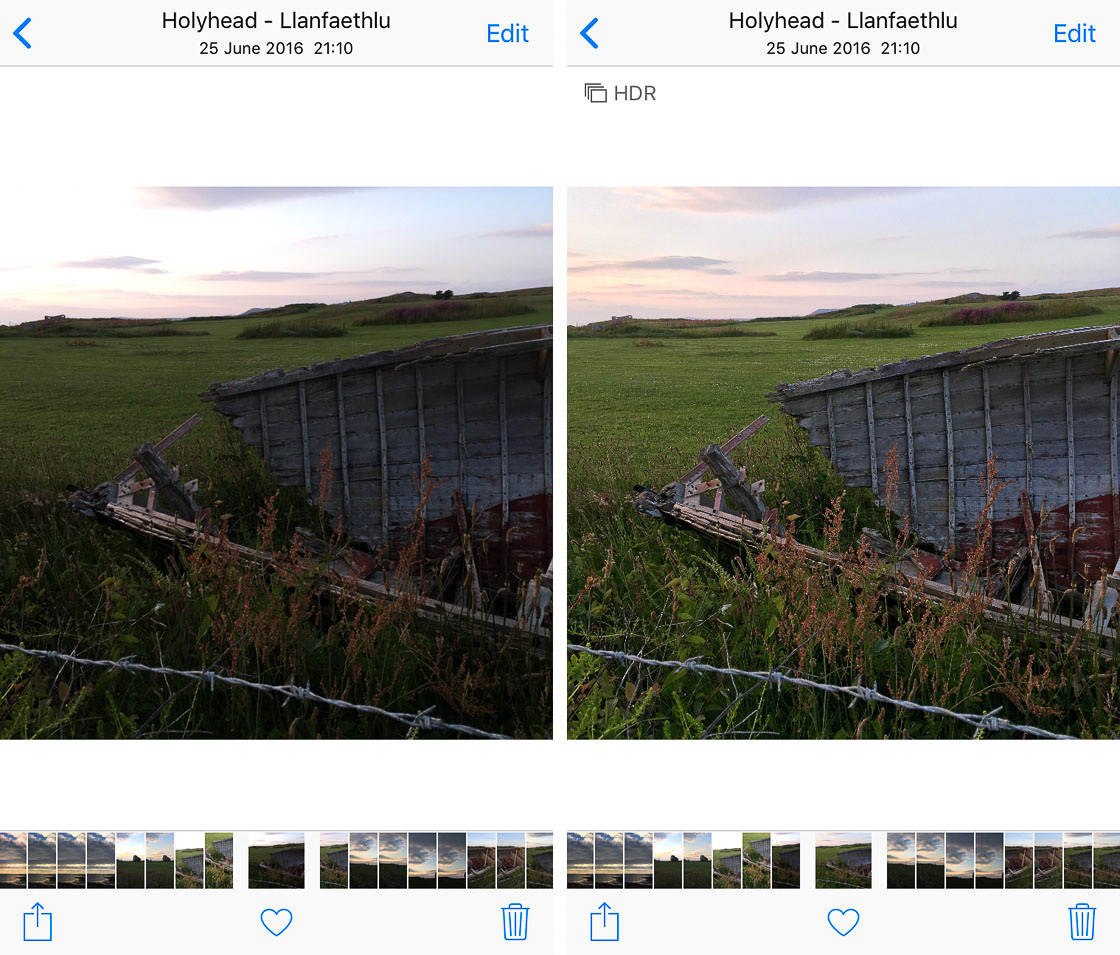
Notice how the HDR photo above has a more balanced exposure and, as a result, captures more detail. The HDR feature allows you to capture a high dynamic range scene!
2. How To Use HDR On Your iPhone Camera
Now it’s time to learn how to take HDR photos on your iPhone!
But first, you need to make sure you have the proper settings.
Tap Settings on the Home Screen. Tap Camera. Make sure that Auto HDR is turned off.
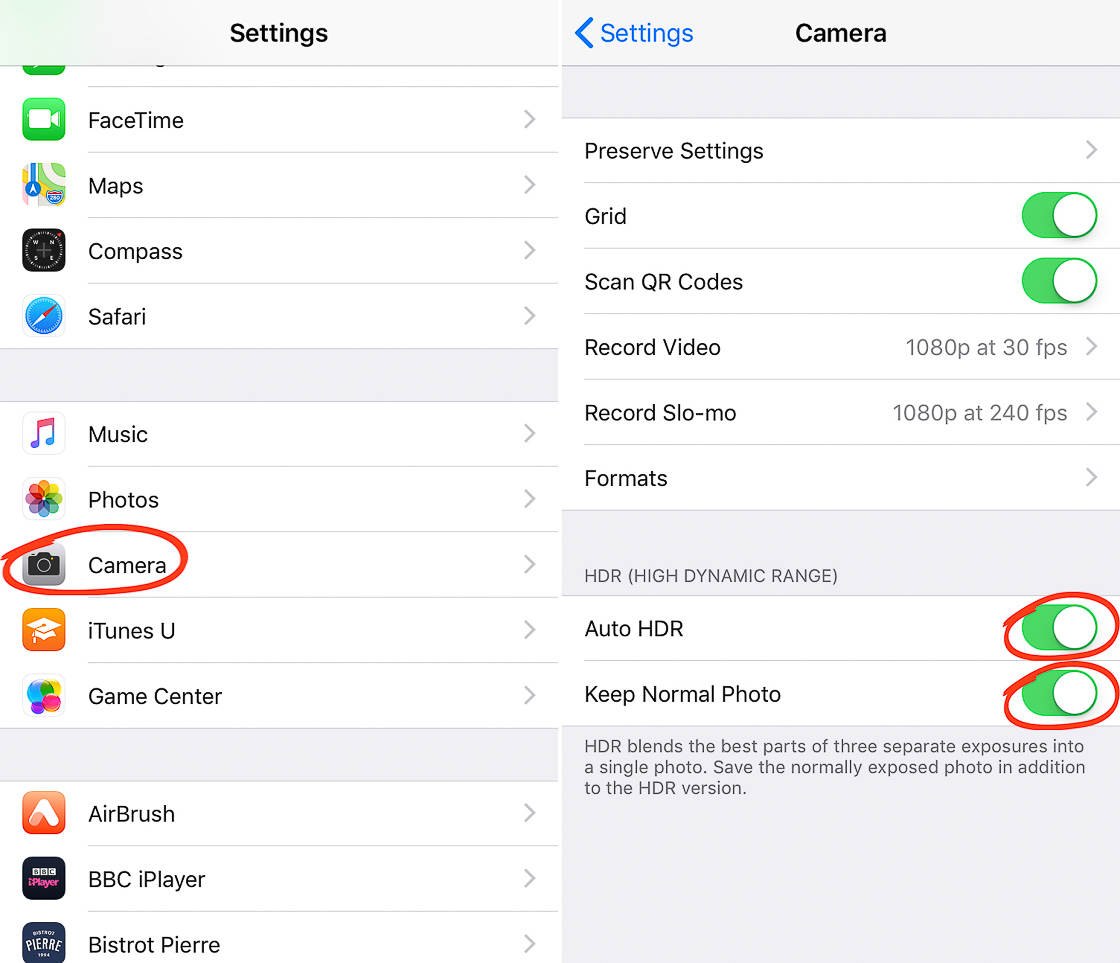
(On some iPhones, Auto HDR is called Smart HDR.)
Turning off Auto HDR will ensure that you can activate the HDR setting yourself (in the Camera app).
Second, make sure that you select Keep Normal Photo. This causes your iPhone to save both the HDR and non-HDR version of your image. Therefore, if you don’t like your HDR photo, you’ll be able to go back and find the non-HDR version in your Photo Library.
Now open your Camera app.
Look at the side (or top) of the screen. You should see the HDR icon. Tap this.
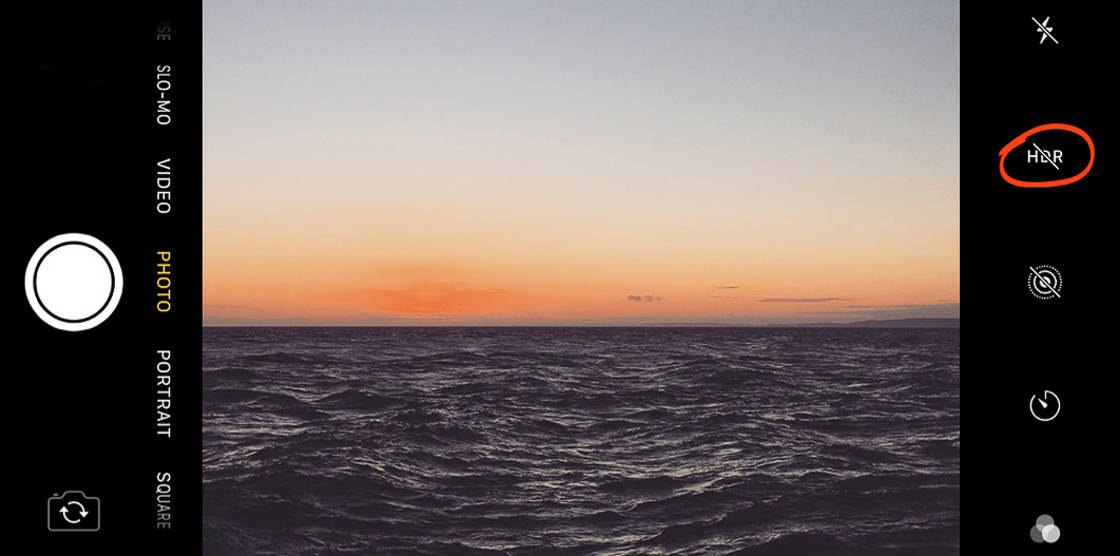
On older iPhones, you’ll be given the option to select Auto HDR or to turn HDR on. If given the option, tap On. This will ensure that an HDR photo will definitely be taken when you press the shutter.
On newer iPhone models there are no additional settings. Just tap the HDR icon and the HDR feature will be activated.
Then, once you’ve found a good composition, go ahead and press the shutter button. The resulting photo will use the HDR feature—and it will display detail in both the lights and the darks of the scene.
3. When Should You Use HDR For Stunning iPhone Photos?
HDR is a great camera setting. After all, it helps you get perfectly exposed iPhone photos!
But there are some situations that allow the HDR feature to really shine. In this section, you’ll discover the best times to use HDR.
3.1 Use HDR To Take Wonderfully Exposed Landscape Photos
One of the best times to use the HDR setting is in high contrast situations.
That is, you should use HDR when you have very light and very dark elements in a scene. HDR will ultimately give you a more beautiful final image.
And landscapes are often very high contrast.

Why is this?
In landscapes, the sky tends to be significantly brighter than the ground. This is true regardless of whether the sky is cloudy or sunny.
So it’s often essential that you use the HDR setting if you want to expose for both the sky and the ground.
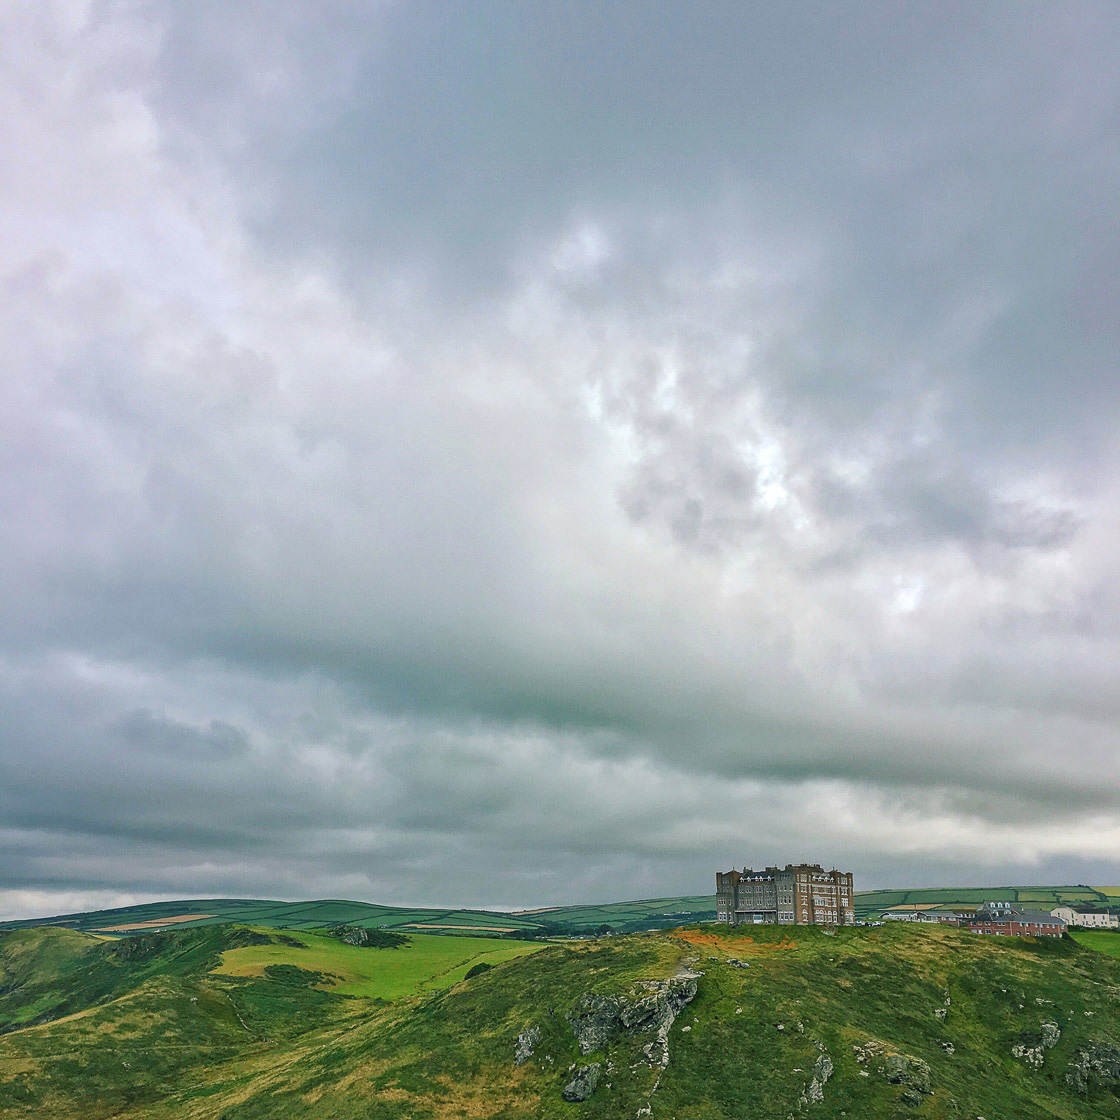
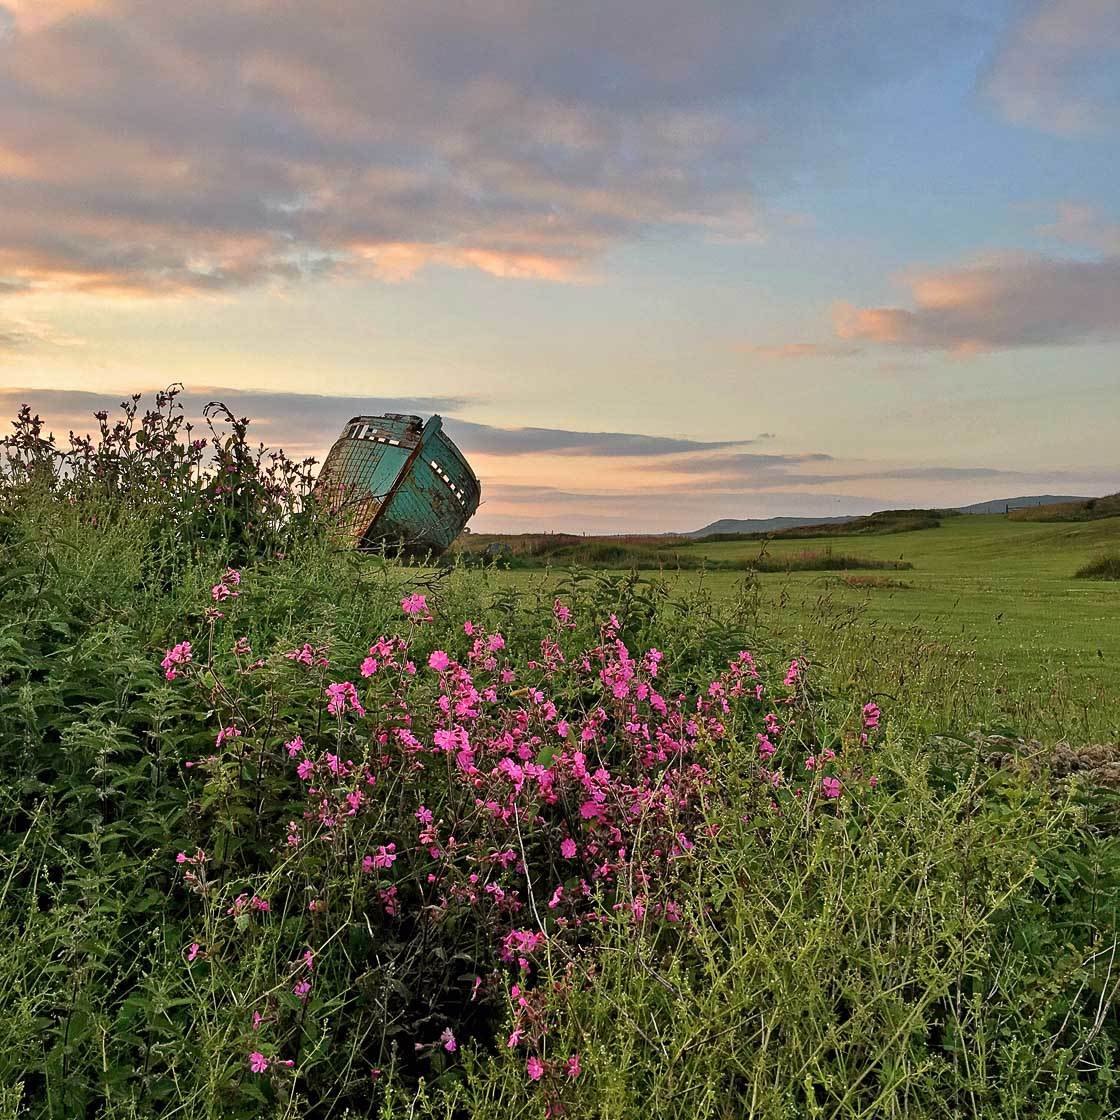
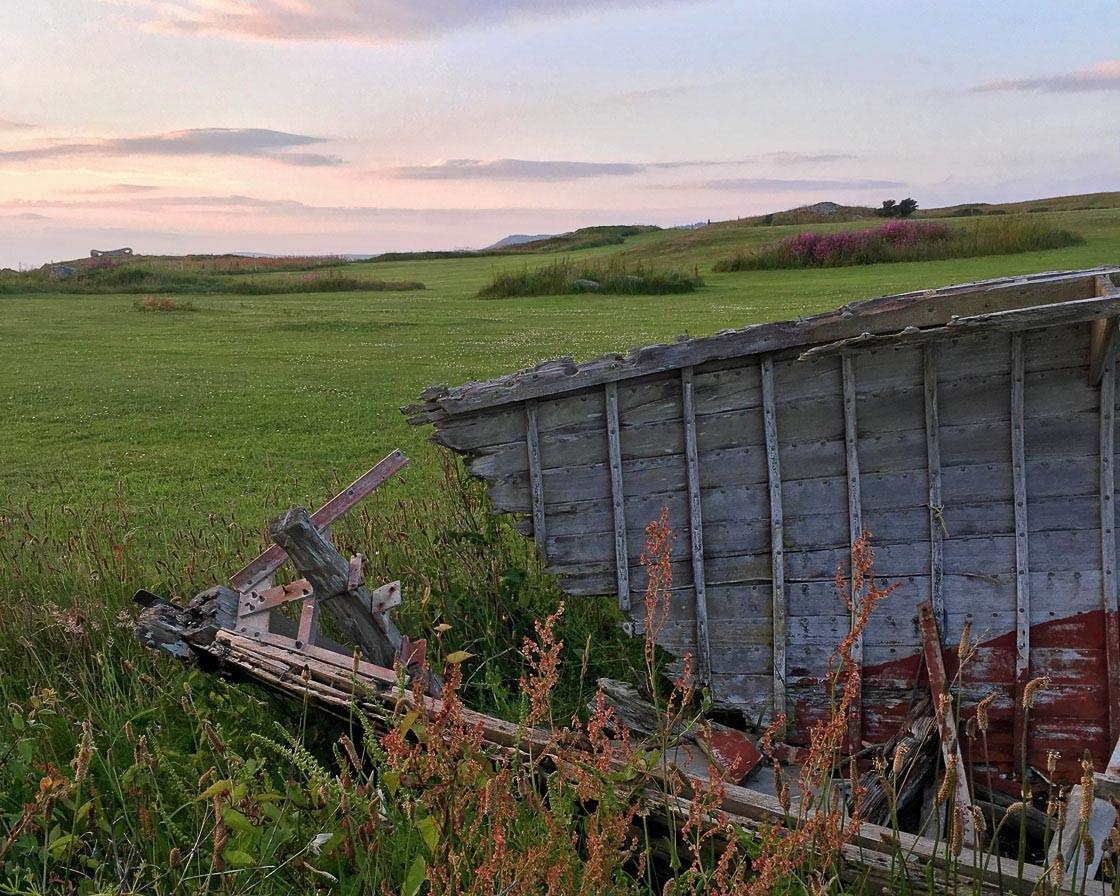
For the photo above, the HDR setting was essential to avoid losing detail in the sky. HDR combined the best exposure for a bright sky and a darker foreground. It properly exposed for the scene.
In summary: HDR is great for landscape shots!
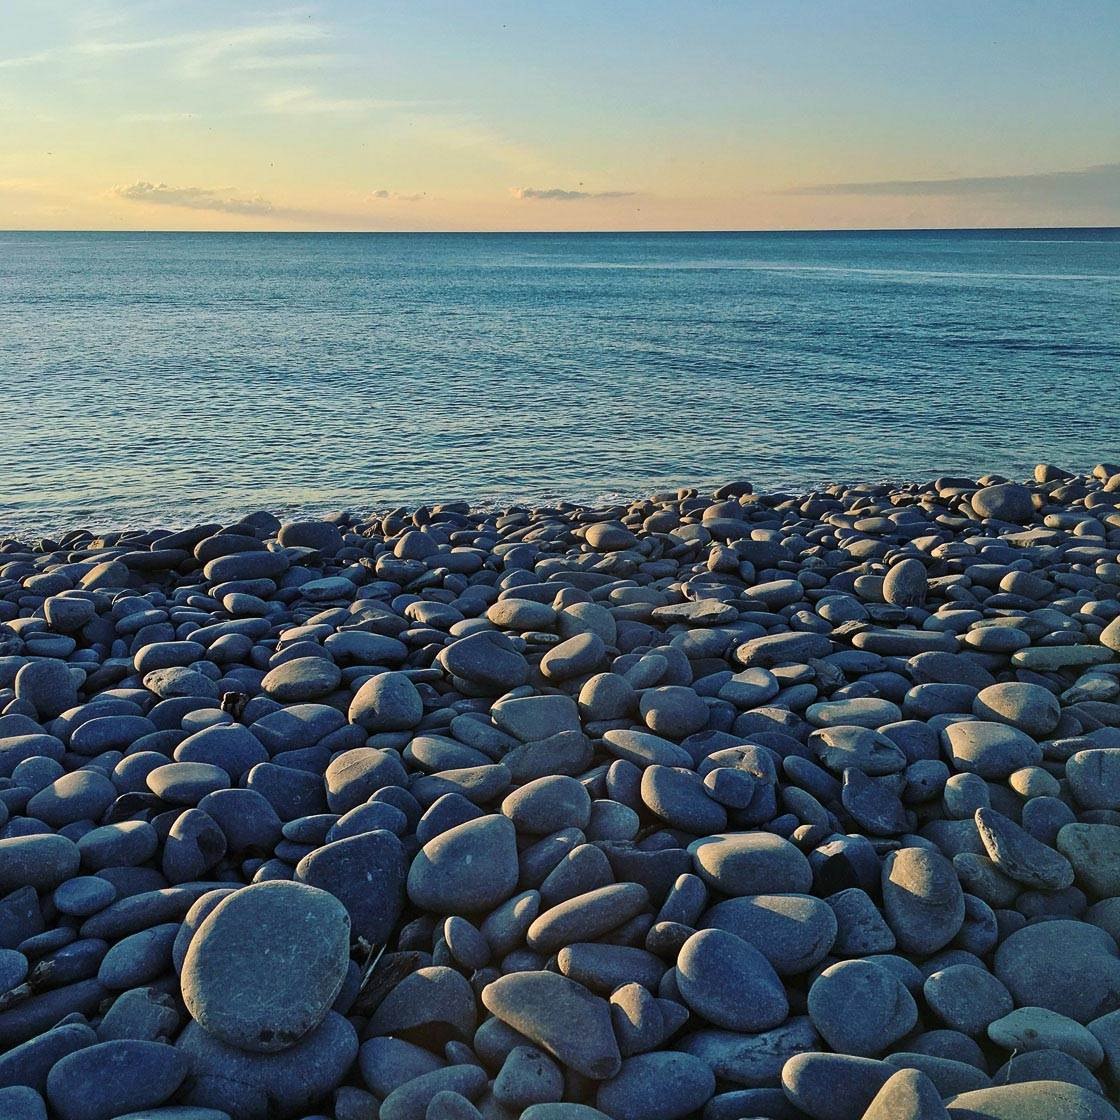
3.2 Use HDR To Take Sharp Photos In Low Light
Do you want to know another great way to use the HDR setting?
Turn it on when shooting in low light.

iPhones tend to struggle when shooting in low light. They either create photos that are too grainy—or photos that are full of contrast.
However, if you have the iPhone X or older, you can use HDR to improve your low light photos.
Unfortunately, if you have the iPhone XS, the iPhone XS Max, or the iPhone XR, HDR cannot be activated in low light conditions.
What is so great about HDR in low light conditions?
Specifically, turning on HDR will reduce grain in your low light photos. This results in higher-quality photos overall.
Additionally, HDR can help expose for streetlights. In low light photos, streetlights often become white and lose detail. However, with HDR, streetlights are properly rendered.
Just remember: HDR is great for photographing low light scenes.
So next time you’re shooting in low light, try HDR.
You won’t regret it!
4. When Should You Avoid HDR?
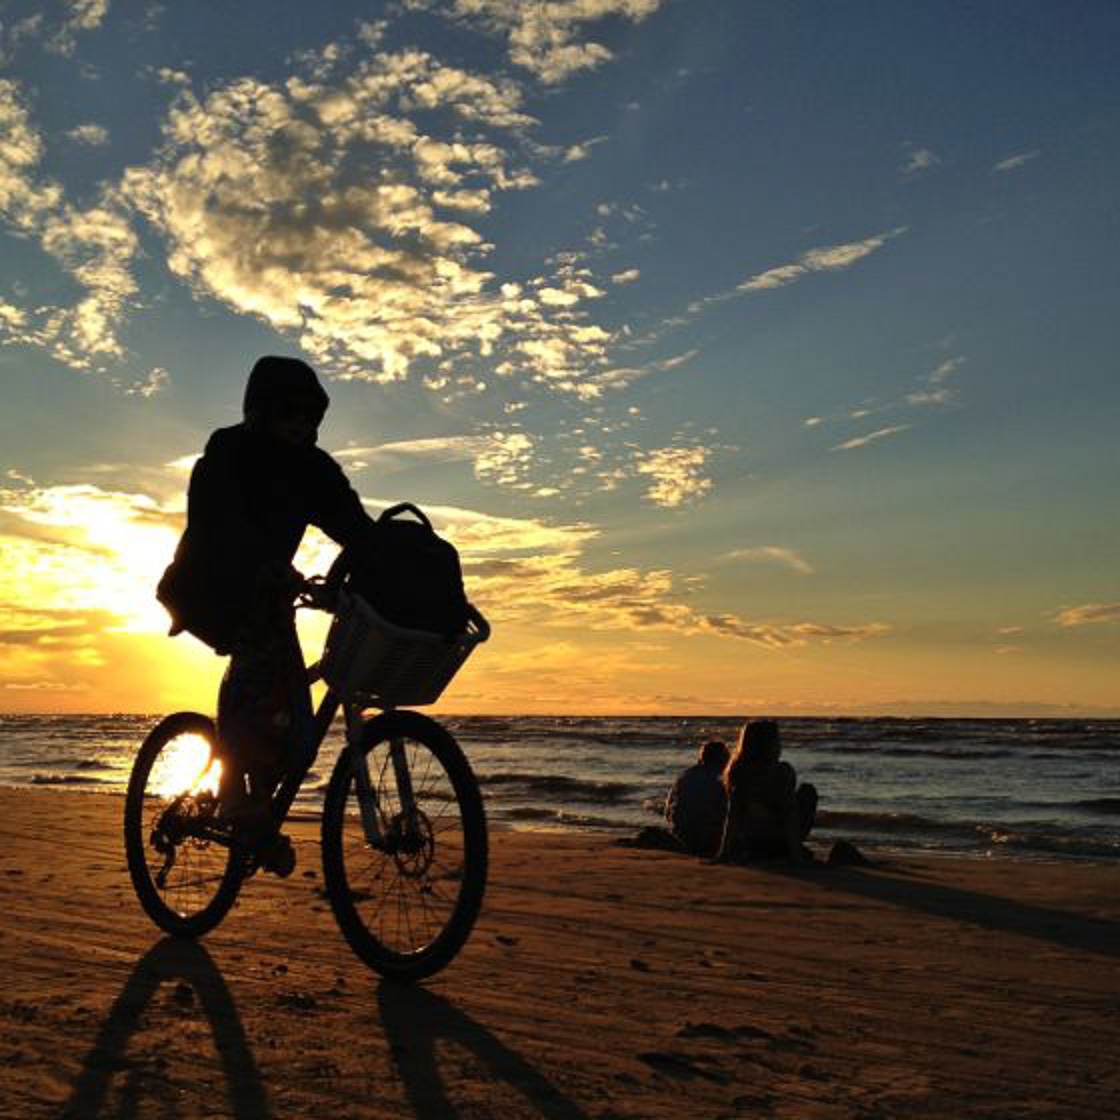
HDR is great for dealing with high contrast situations. But HDR isn’t always the way to go. In this section, you’ll discover a few times when you’ll want to avoid the HDR setting.
4.1 Avoid HDR For Stunning Silhouettes
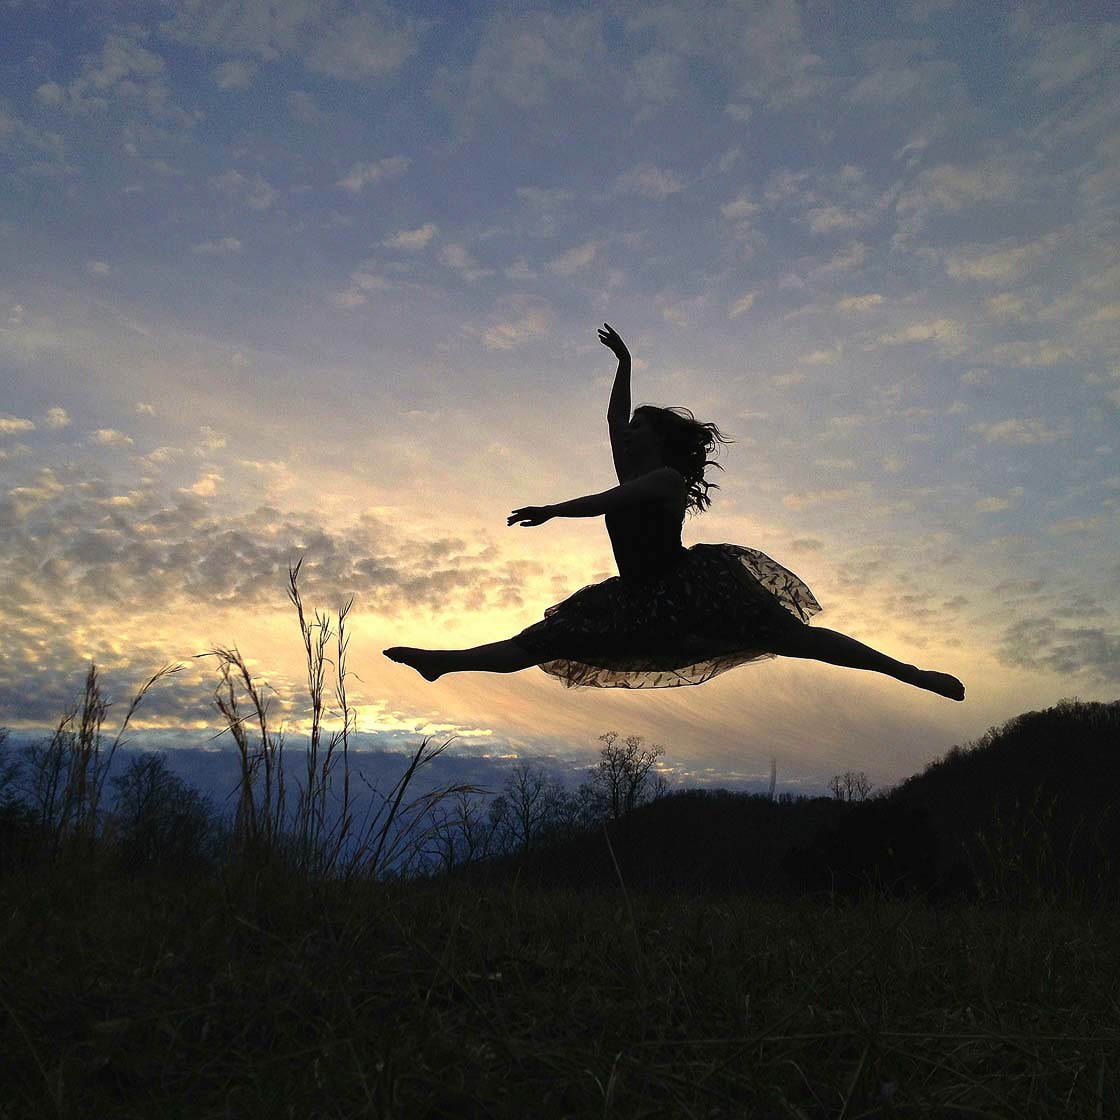
HDR preserves detail.
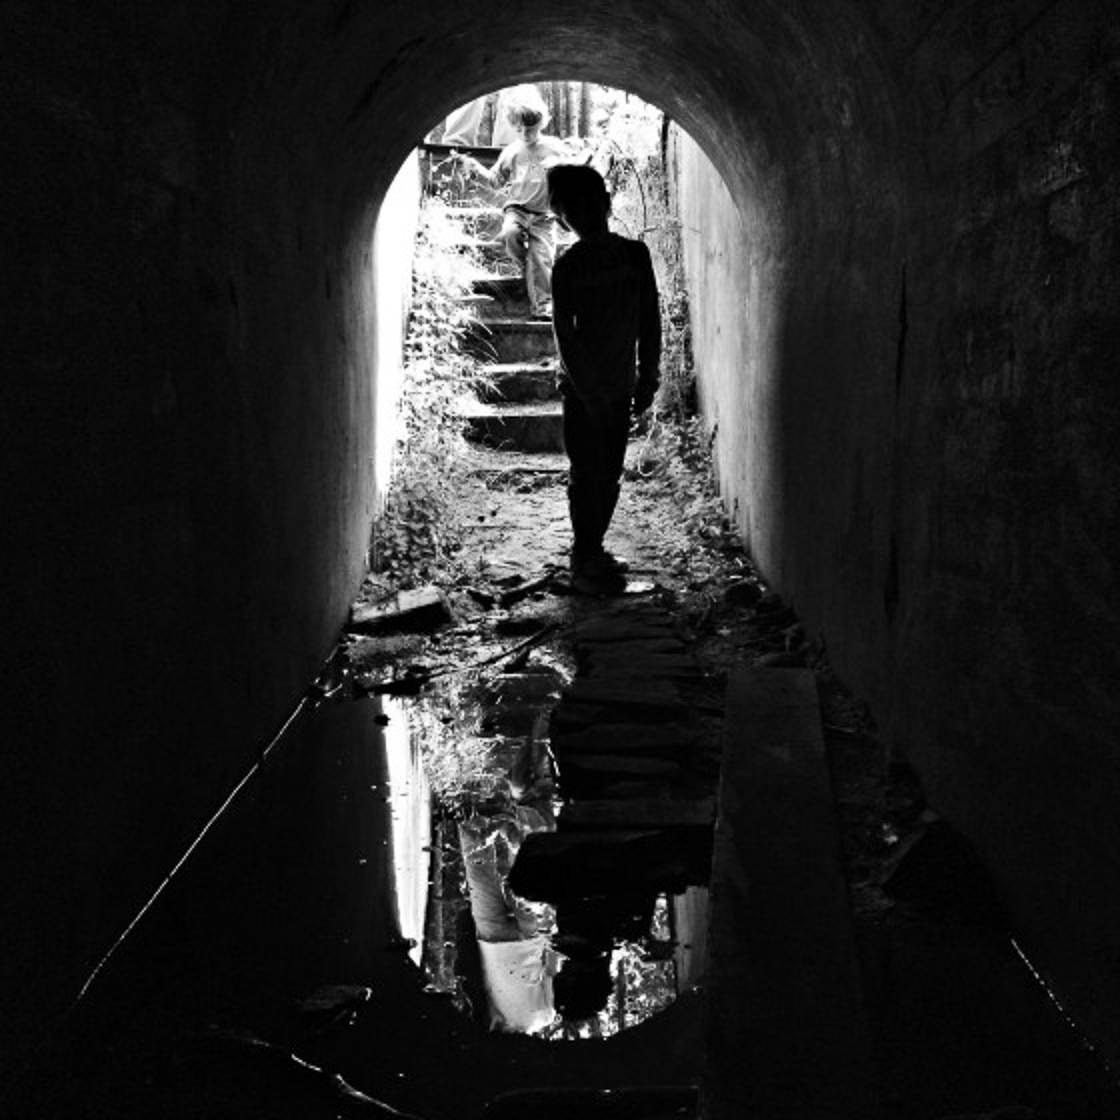
But the best silhouette photography doesn’t preserve detail. In fact, great silhouette photos get rid of all detail in the subject!
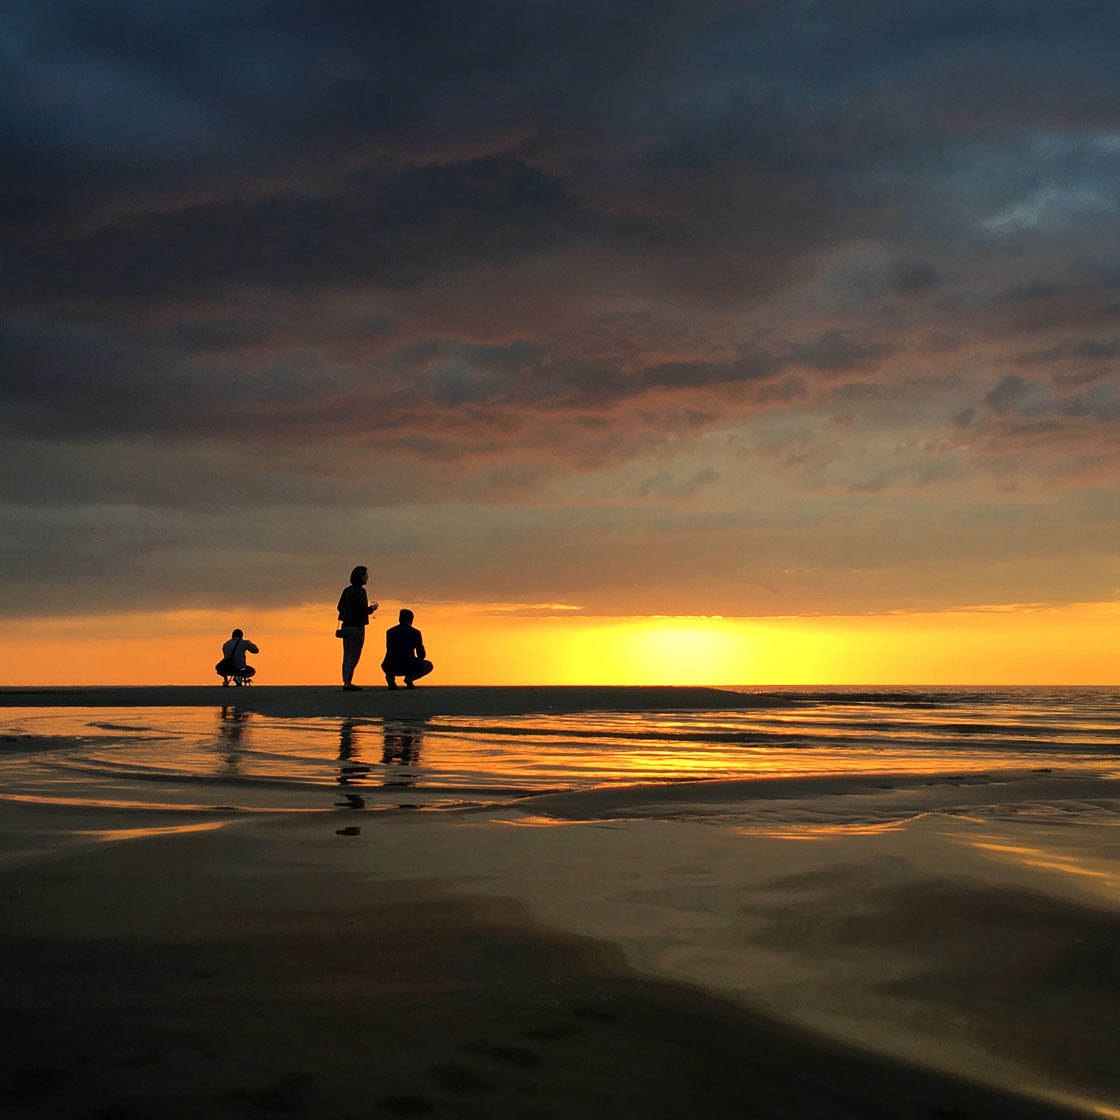
Look at the photo above. There isn’t any detail in the silhouetted people. They’re entirely dark!
Therefore, it’s best to avoid HDR when shooting silhouettes. That way, you can capture your perfect silhouette—without having to deal with too much detail.
4.2 Avoid HDR When Photographing Moving Subjects
Unfortunately, you generally cannot use HDR to take photos of moving subjects.
Why is this?
As I mentioned above, an HDR photo is actually a combination of several photos. But these photos cannot be taken all at once. They’re taken in quick succession.
And if several photos of a moving subject are combined, they just result in a blur!
Look at the person in the photo below. This is what happens when you use the HDR feature while photographing a moving subject!
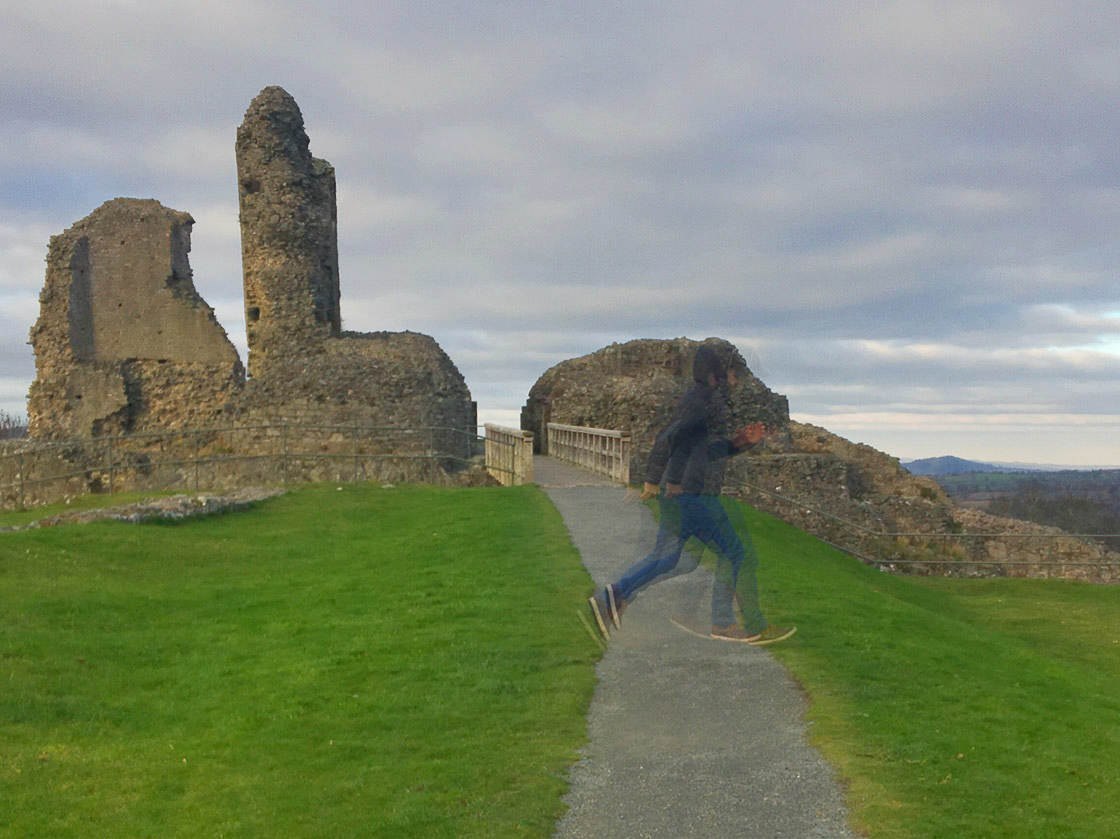
Fortunately, if you have an iPhone XR, iPhone XS, or iPhone XS Max, you have the Smart HDR feature. This is designed to compensate for movement during HDR photos.

The feature isn’t perfect, however. No matter your iPhone model, try to avoid taking HDR photos of moving subjects.
4.3 Avoid HDR For Beautifully Saturated Colors
Do you want to create photos with gorgeous, saturated colors?
Then you might want to avoid HDR.
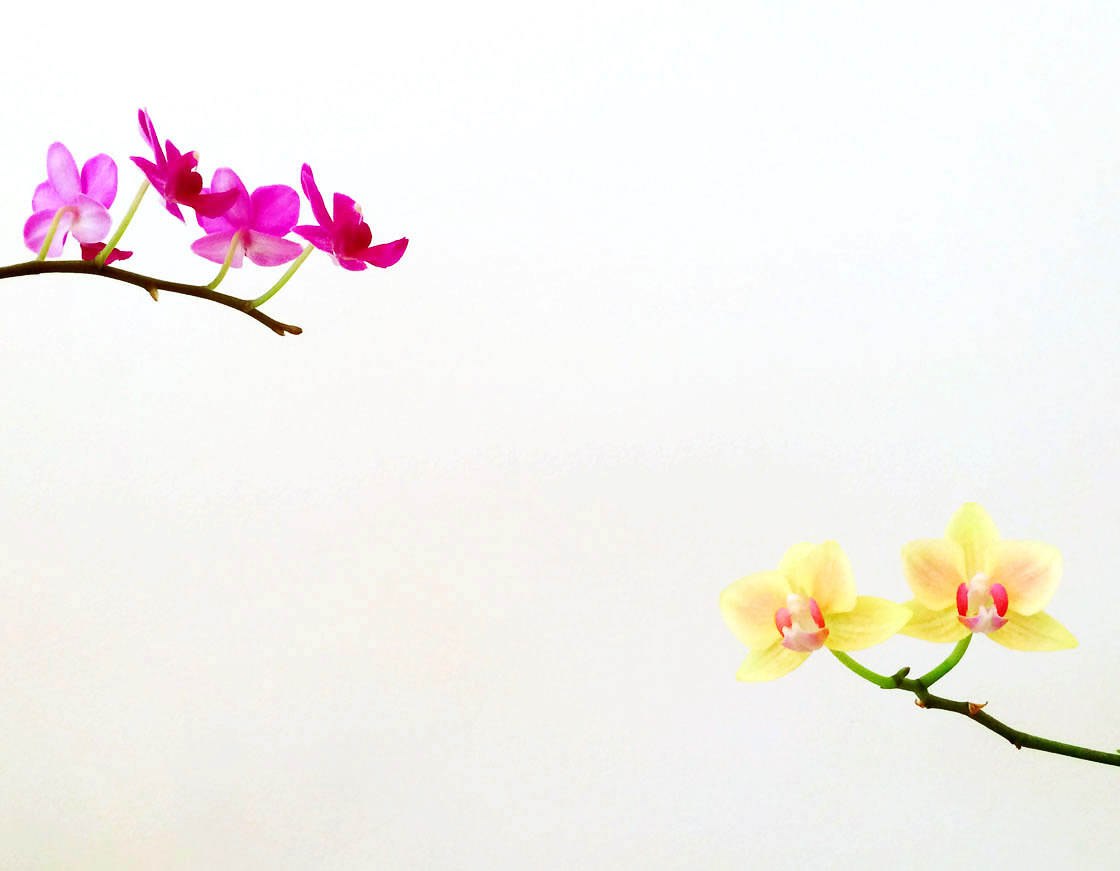
HDR is great at bringing color back into scenes that are too light or too dark. But it doesn’t always work if the scene is already colorful.
In fact, HDR can wash out the colors of a vivid scene. It can give a dull final image.
So be careful.
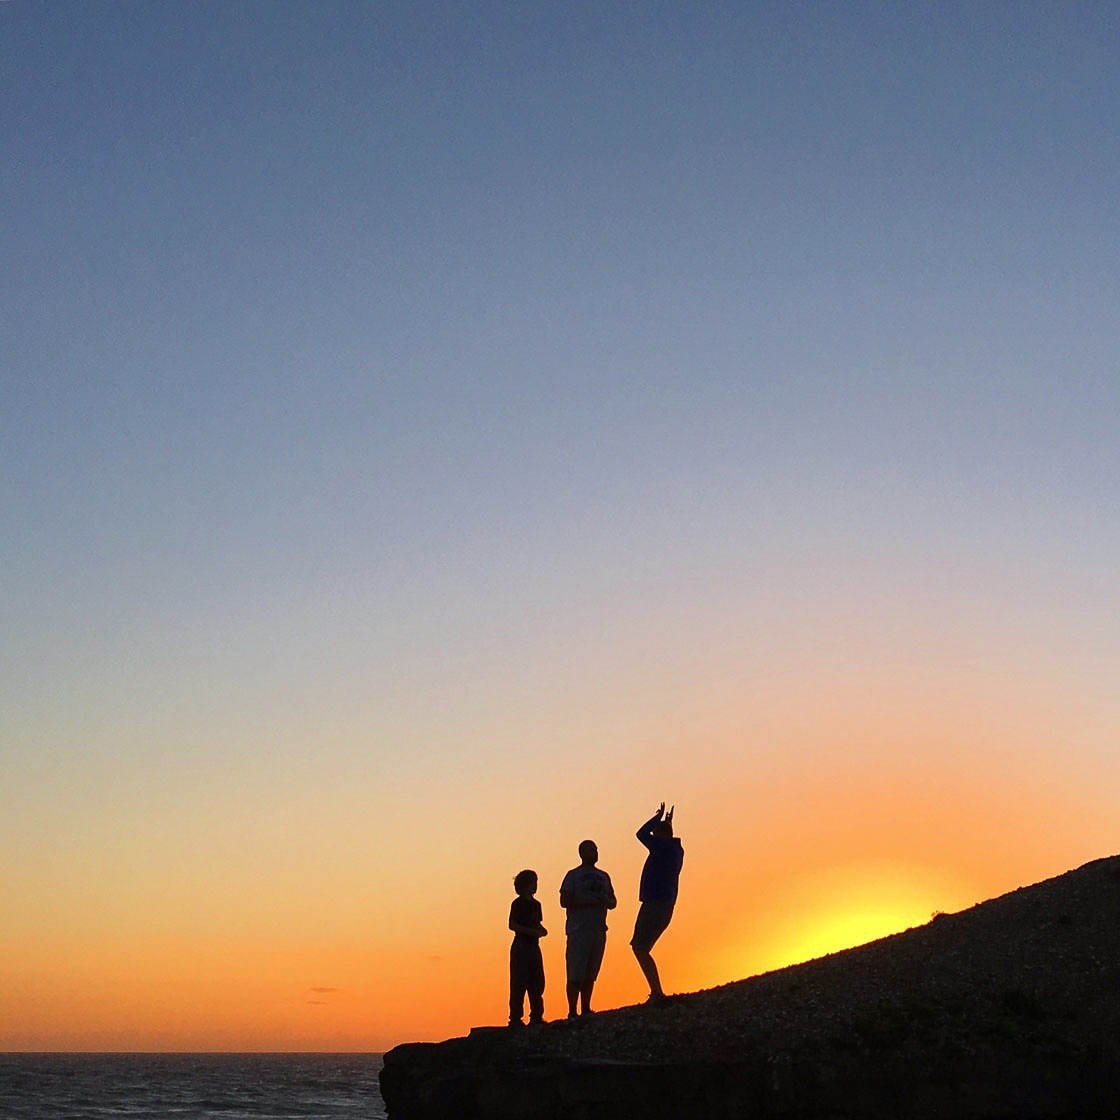
You don’t want those vibrant colors to disappear!
4.4 Avoid HDR When You Want To Create Drama
HDR brings detail back into the scene. But what if you want to have a contrast-heavy, dramatic image?
After all, sometimes you want to take a photo because you like the drama. Perhaps you like the look of shadows on your subject’s face. You like the shadow of a building on your subject’s body.
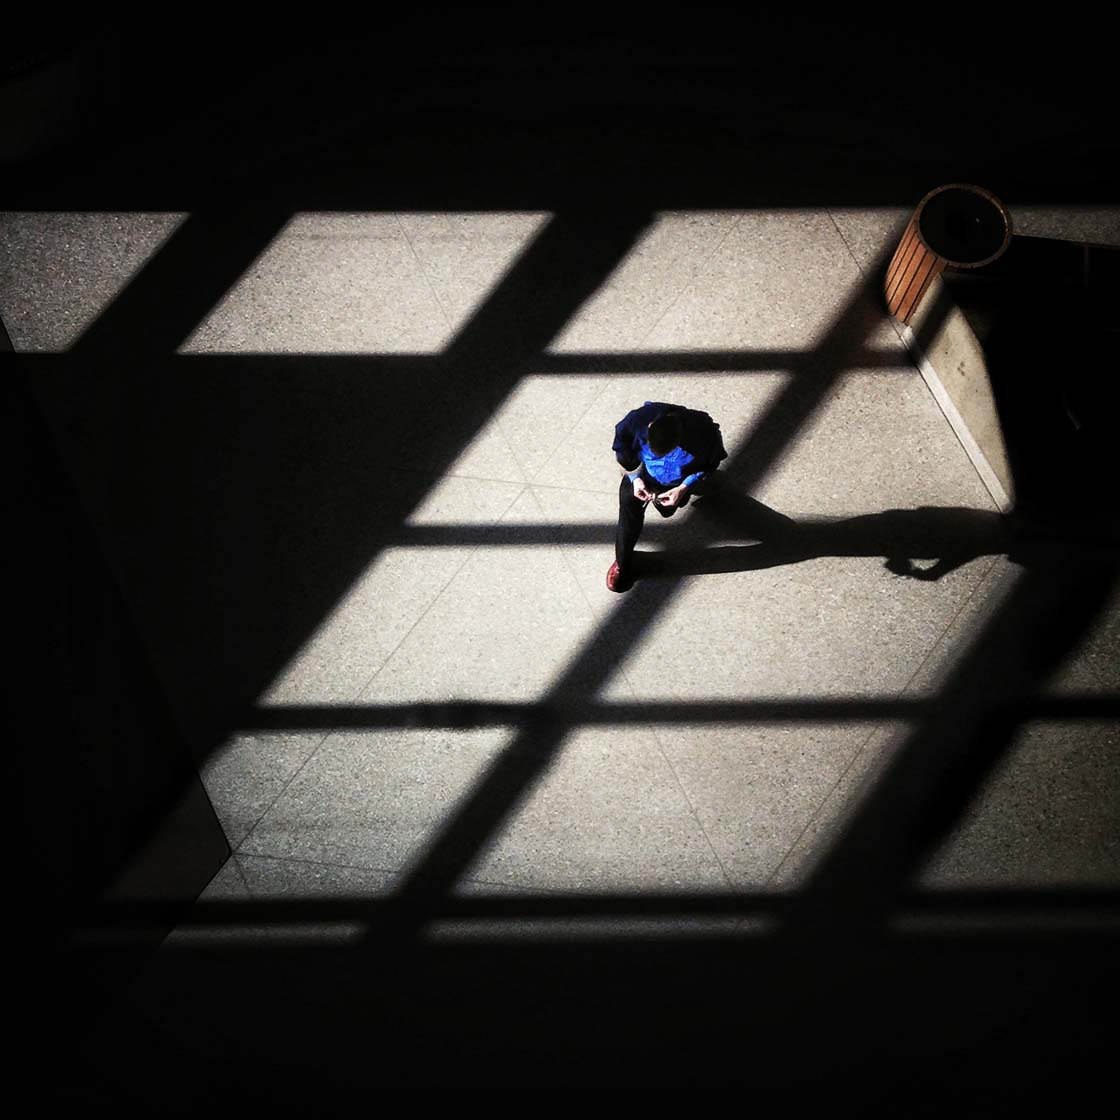
In these cases, you want to portray deep, dark, dramatic shadows (like in the photo above).
Therefore, you may want to avoid HDR.
Just remember: HDR is great for maintaining detail. But sometimes you want to lose detail—in order to create beautiful, dramatic images.


Leave a Reply
You must be logged in to post a comment.