Even if you’re new to iPhone photography, there’s a good chance that you’ve heard of the Hipstamatic app. It’s one of the most popular iPhone camera apps for capturing photos using a variety of different filter combinations. In this article you’ll discover some of the best Hipstamatic (and Oggl) lens and film combinations for taking fantastic black and white photos with your iPhone.
About The Hipstamatic App
So why is Hipstamatic so popular? Probably because it’s so easy to take great looking photographs with it.
The various filters to choose from in Hipstamatic fall into three categories: lens type, film type and flash type. When you take a photo in Hipstamatic you choose which lens, film and flash you want to use.
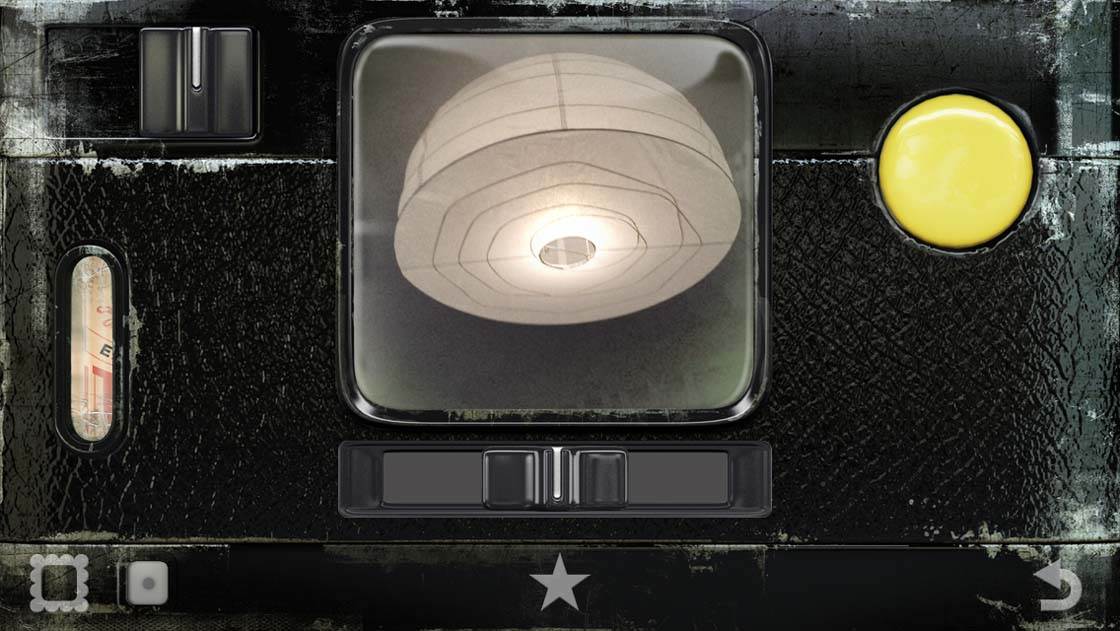
The different combinations of lens, film and flash that you choose will create different effects on the final image. For the sake of this article, I’m going to focus only on lens type and film type.
All of the films and lenses are designed to work well with one another, no matter how they’re combined. These lens and film combinations are referred to as “combos.”
In the mix of lens and film combos are a few particularly powerful options that work very well for black and white photography.
For detailed instructions on how to use this app, check out our in-depth tutorial on shooting and editing with Hipstamatic.
About The Oggl App
In addition to the original Hipstamatic app, there’s also an app by the same developers called Oggl. This app utilizes the same great filters as the original Hipstamatic, but there are a few key differences to note.
With Hipstamatic, you pre-select the lens and film that you want to use before shooting. You can create multiple preset combos to switch between, but once you’ve taken a shot, you can’t change the settings for that photo.
With Oggl there are a few notable differences, including the ability to set separate focus and exposure points like many other camera apps.
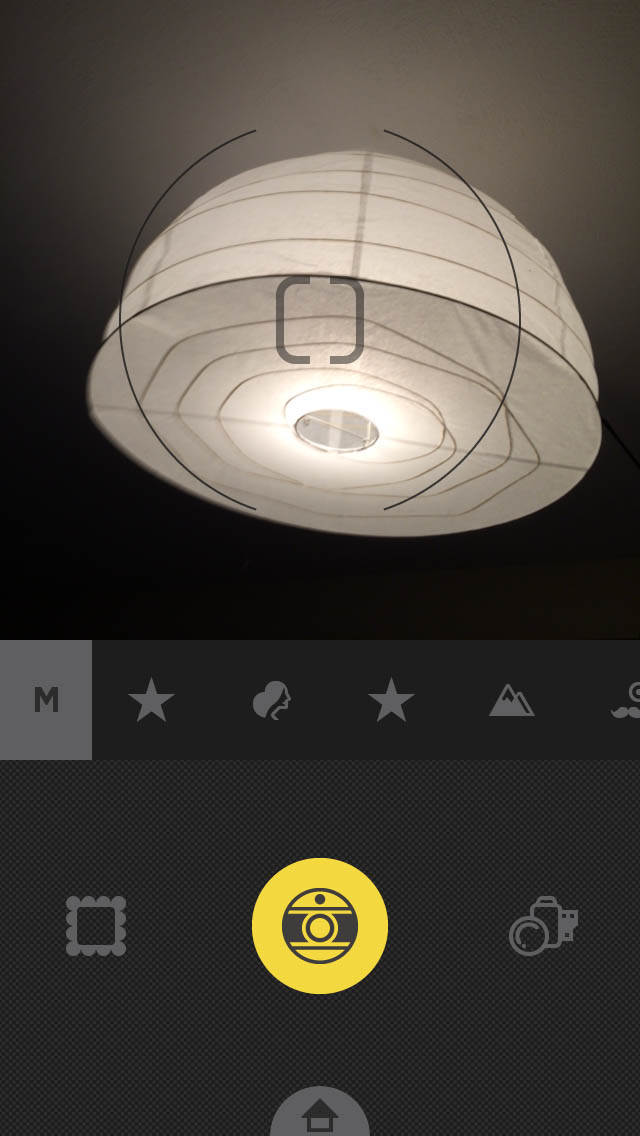
But the most important feature is that it allows you to change the lens and film settings even after a photo has been captured. In many ways, this makes it even more powerful than the original Hipstamatic app.
No matter what combo of film and lens you use to take a photo, with Oggl you can go back and try other combinations to see what you like best, and then save the final image to your camera roll.
You can even save multiple versions of the same image with different lens and film combinations.
Both apps come with a small set of lenses and films to choose from, and additional ones can be acquired via an in-app purchase. New filters are made available on a regular basis, so there are always new options to consider.
Oggl even offers a subscription option whereby you gain access to all available filters for an annual cost (even new ones as they are released).
There are so many lenses and filters available that one could write a whole book on potential options for combos.
For the sake of this article, I’m going to show you a handful of great combos that can help you get started with using one or both of these apps for black and white iPhone photography.
Basic Black And White Combo
My go-to combination for most of the black and white work I do with Oggl is the Lowy lens and the BlacKeys Extra Fine (XF) film.
The Lowy lens filter is sharp and very clean (no added effects or distortions). The BlacKeys Extra Fine (XF) film filter offers rich contrast and very little noticeable grain.
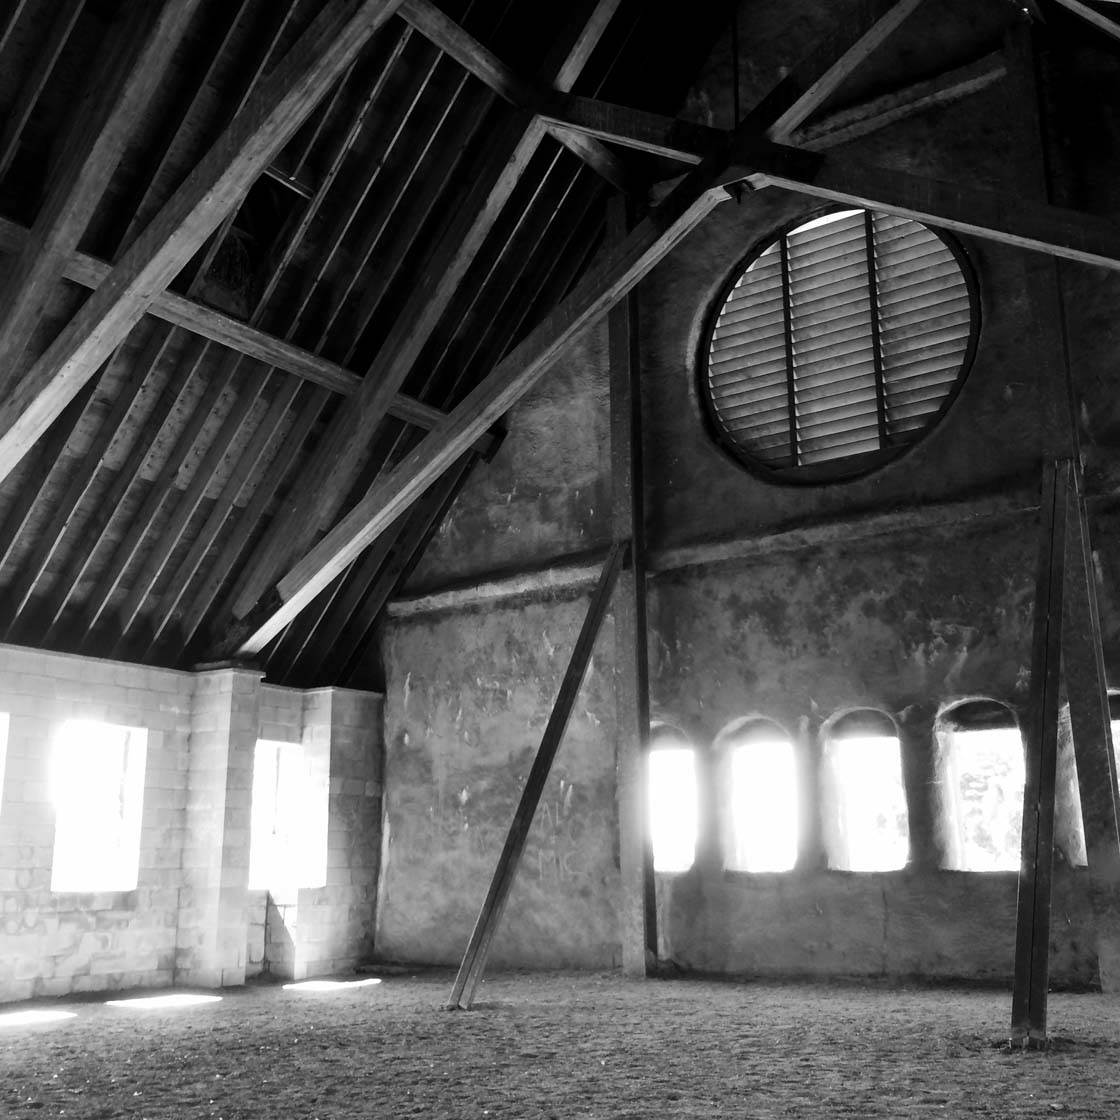
Lens: Lowy
Film: BlacKeys XF
This combo, while very straightforward, is a great base to start from when using Hipstamatic or Oggl for black and white photos. There are no frills such as frames or blurs to deal with.
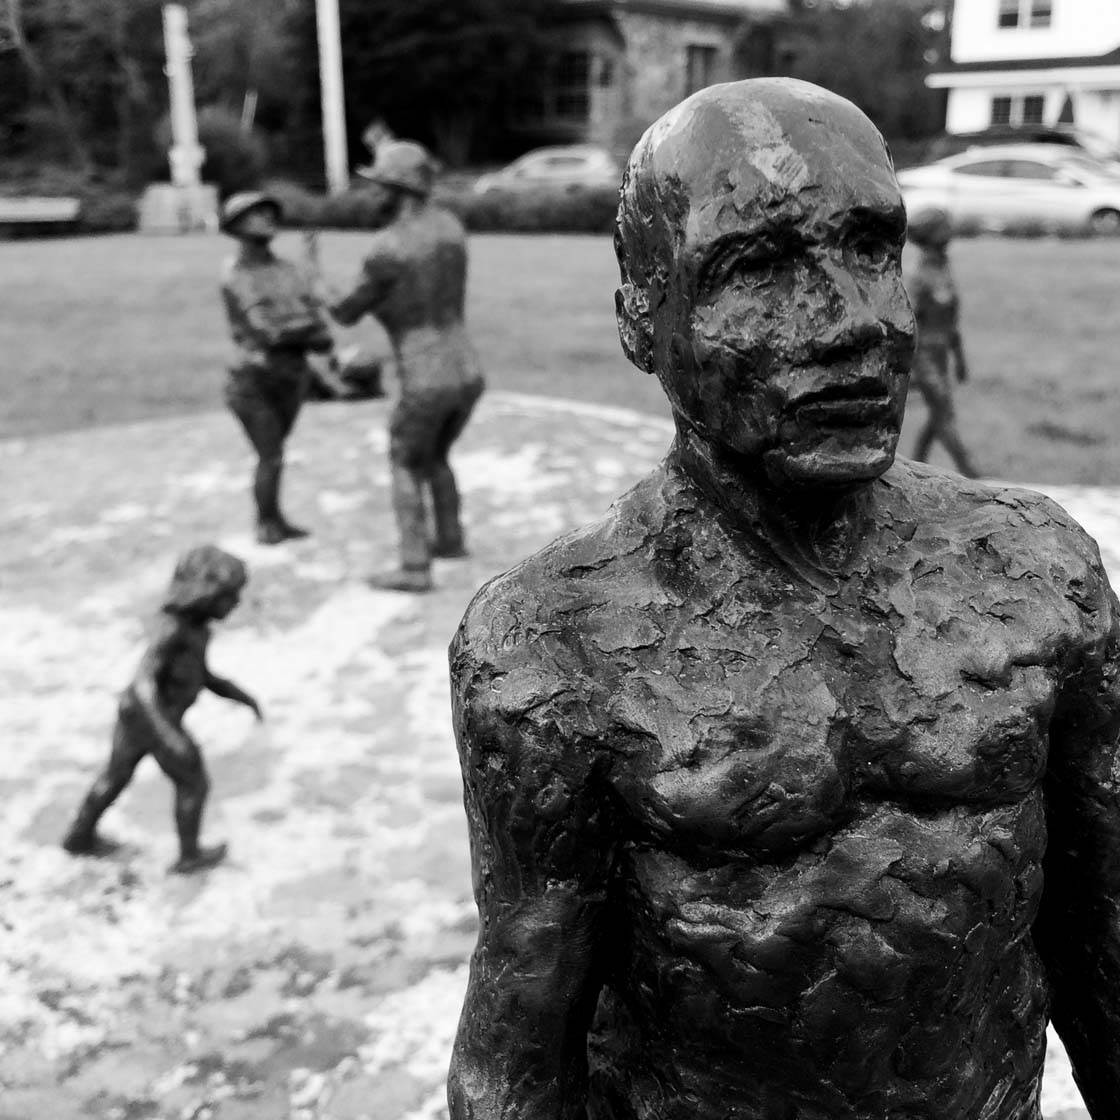
The photos resulting from this combo are also well-suited for further editing in other apps if you so desire.
In fact, photos created with any combo can be edited further in other apps, but a simple combo such as this one provides a more flexible base to start from.
Vignette Combos
If you’re already a fan of black and white photography, you’ve probably seen your fair share of photos with vignettes, where the photo gradually becomes darker toward the edges.
It’s not that vignettes can’t be used in color photography (they can!), but they tend to be more common in black and white work.
Vignettes can help to soften the edges of the photo and emphasize a particular part of the image (often, but not always, the center).
The three combos shown below offer a variety of options for adding a vignette to your photos. They range from a soft/subtle vignette in the first photo to a very strong vignette with a black border and a touch of grain in the third photo.
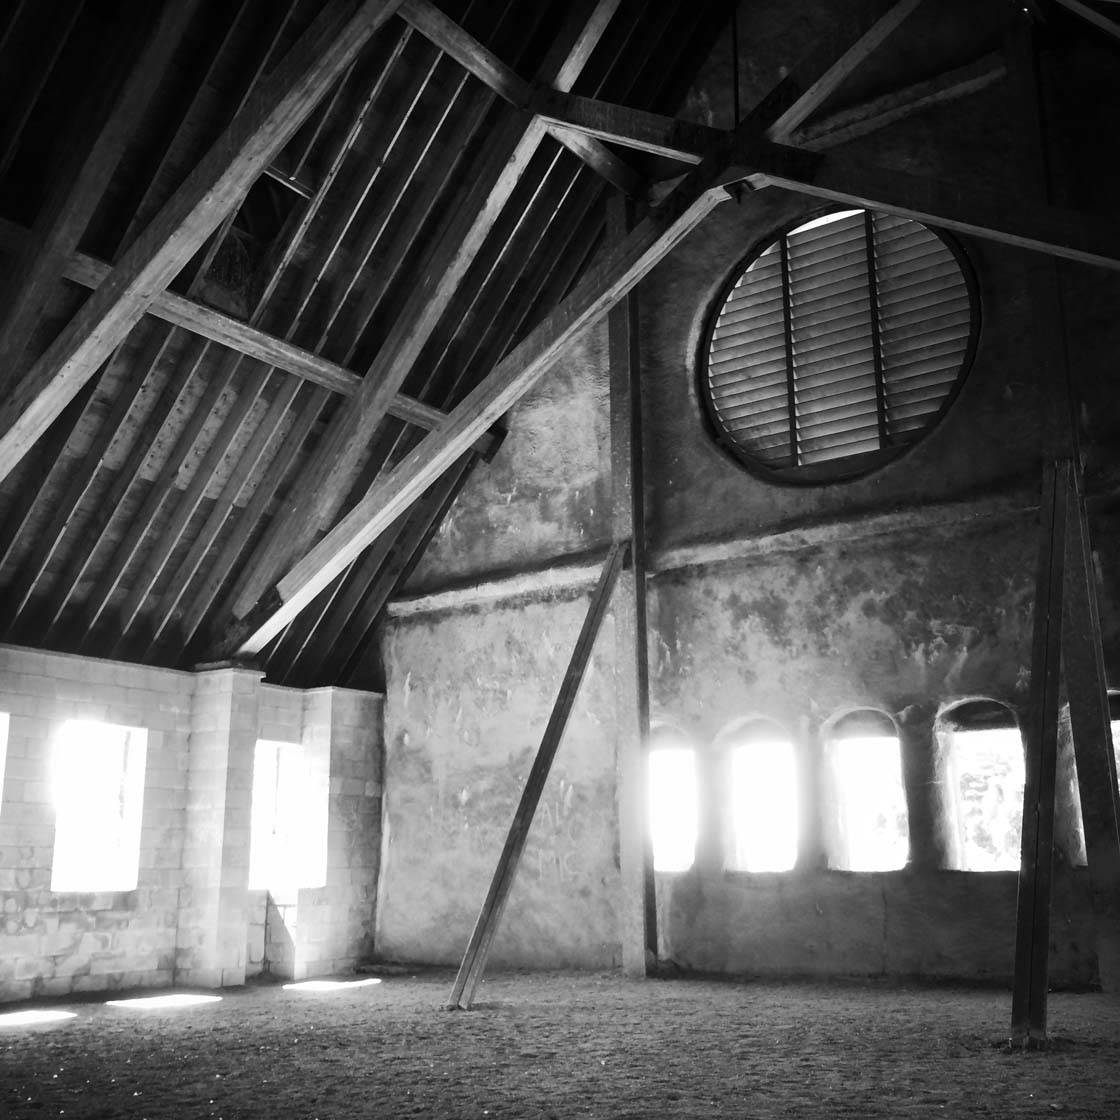
Lens: Jane
Film: BlacKeys XF (Soft Vignette )
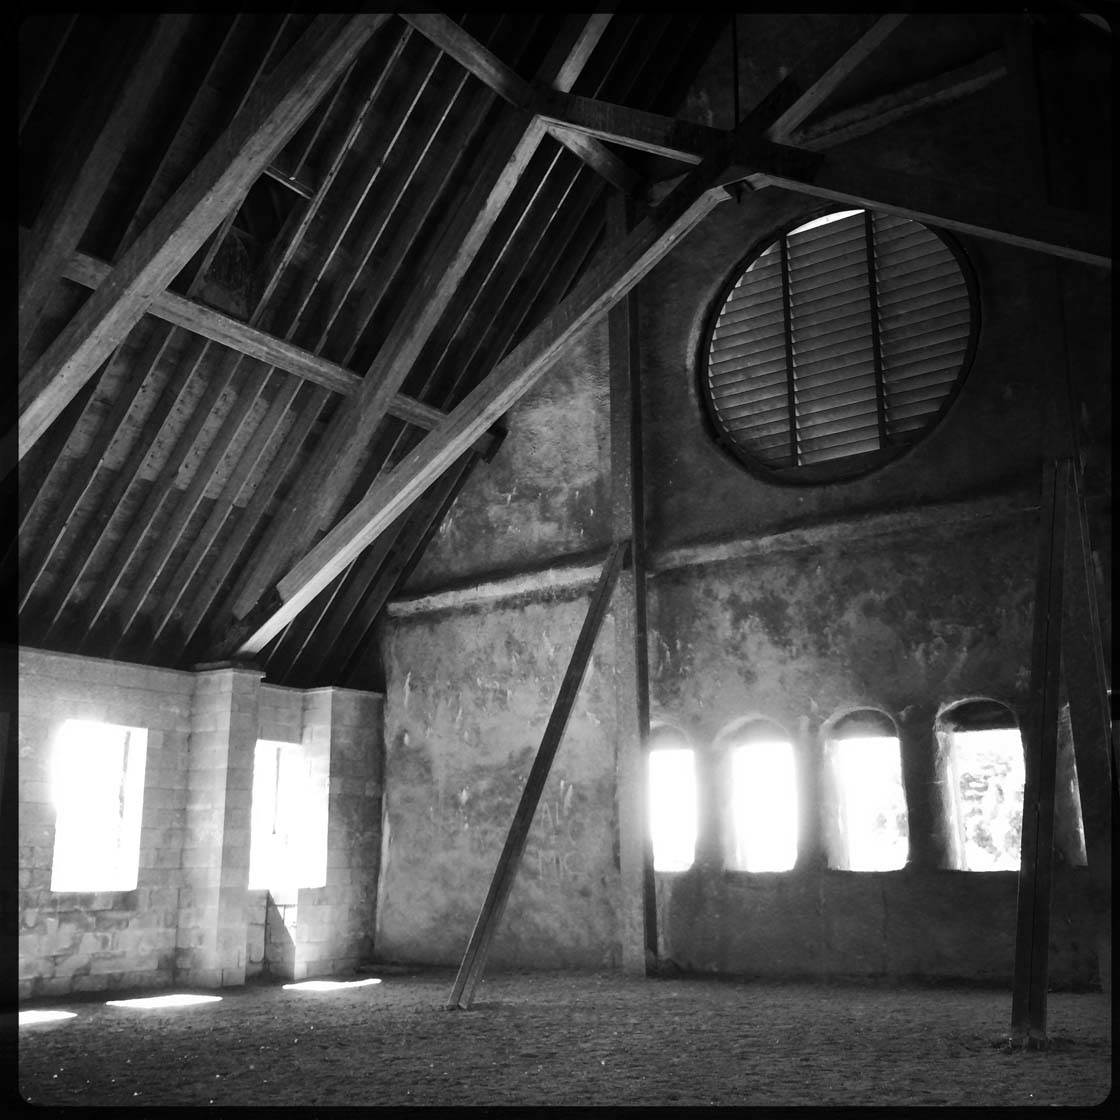
Lens: Jane
Film: Rock BW-11 (Medium Vignette with Border)

Lens: Jane
Film: BlacKeys Supergrain (Strong Vignette with Border and Grain)
All three of the above lens and film combos offer a similar level of contrast and tone, so the main difference is in how much of a vignette you want.
It should be noted that the vignetting tends to be more of a product of the lens choice than the film.
As you can see from the examples above, while the vignetting is mainly derived from the use of the Jane lens, it is how that lens filter interacts with the different film filters that leads to varying degrees of vignetting.
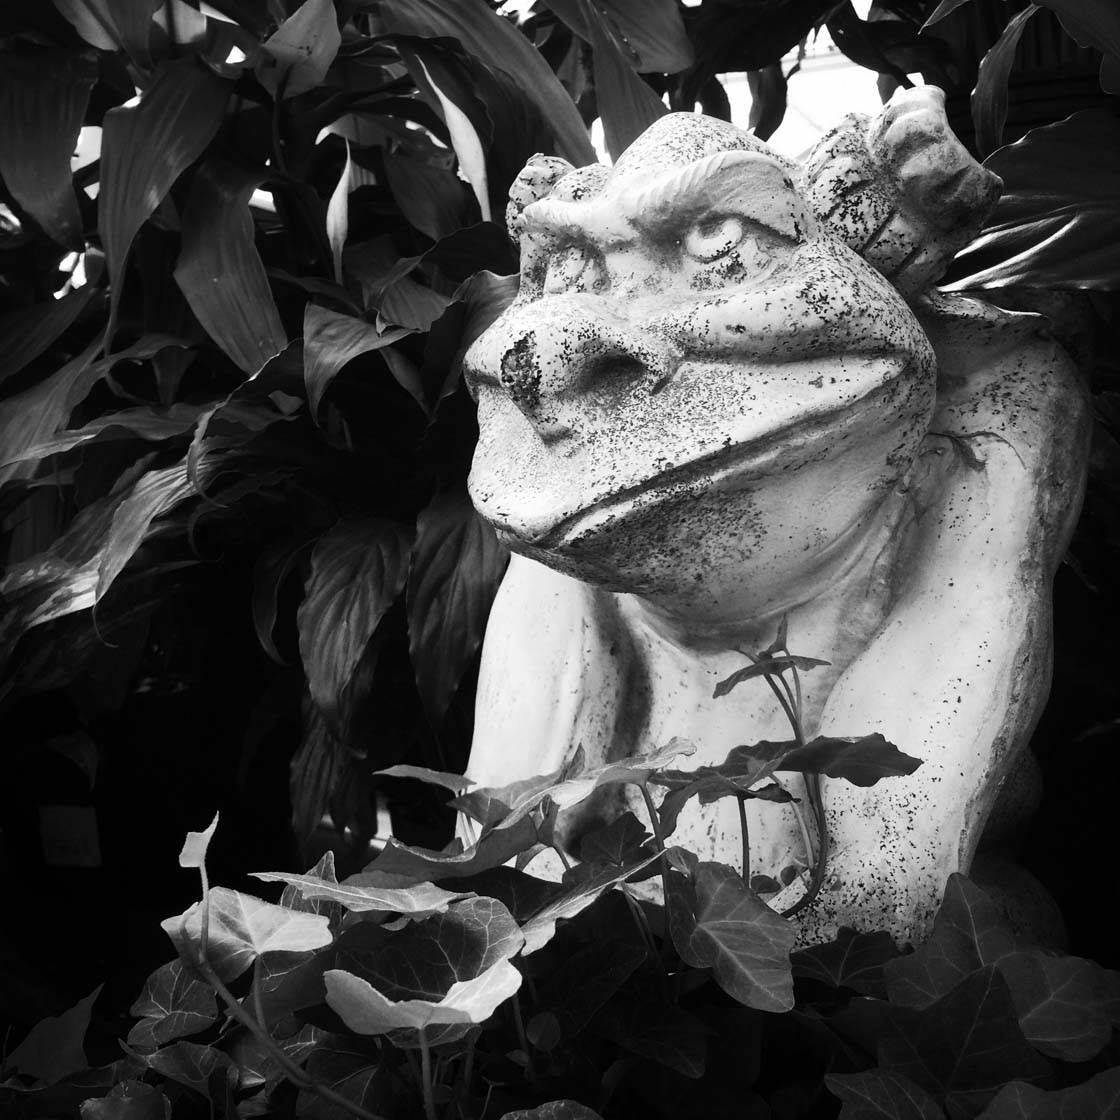
These three combos are by no means the only ones that will add vignettes to your black and white images. Many of the available filters will add a vignette to some degree.
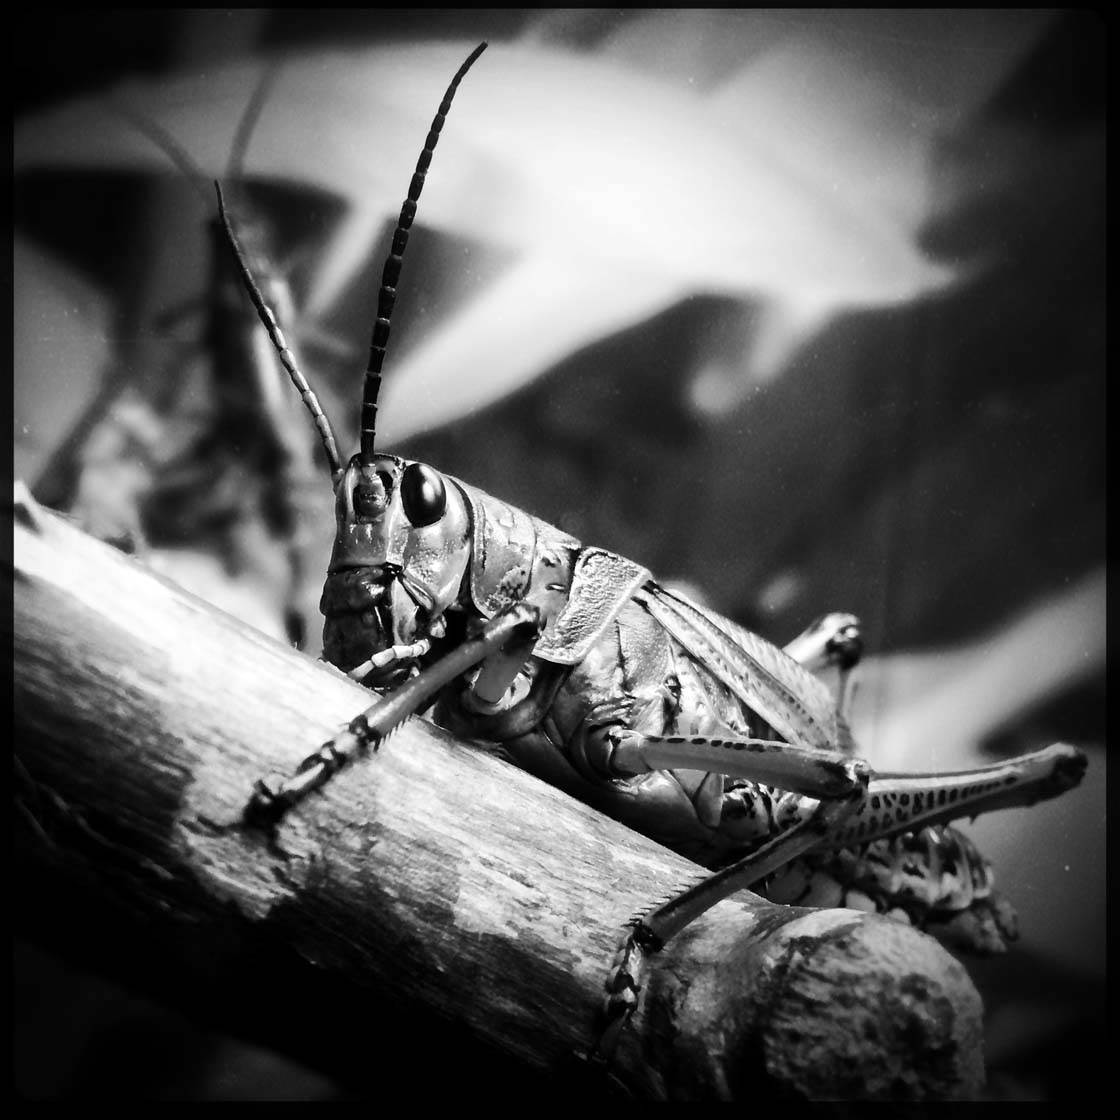
The different borders (or no border) are tied to the film choices and can’t be changed. If you don’t like borders on your photos, they can easily be cropped off with other editing apps.
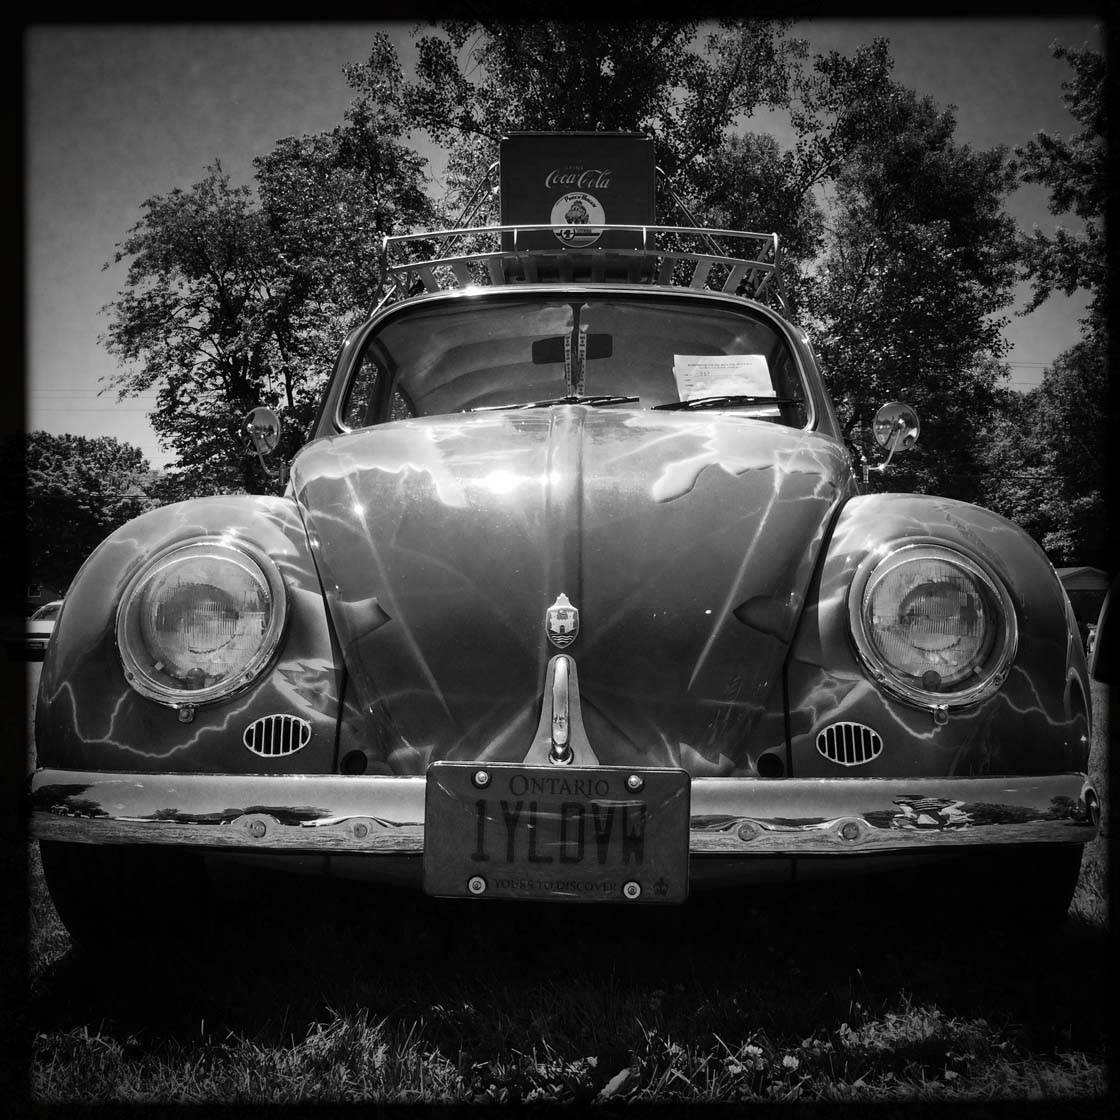
If you like vignettes, experiment! There are so many great options to explore.
Antique Effect Combo
If you’re a fan of creating photos with an antiqued look to them, this is a great combo to experiment with.
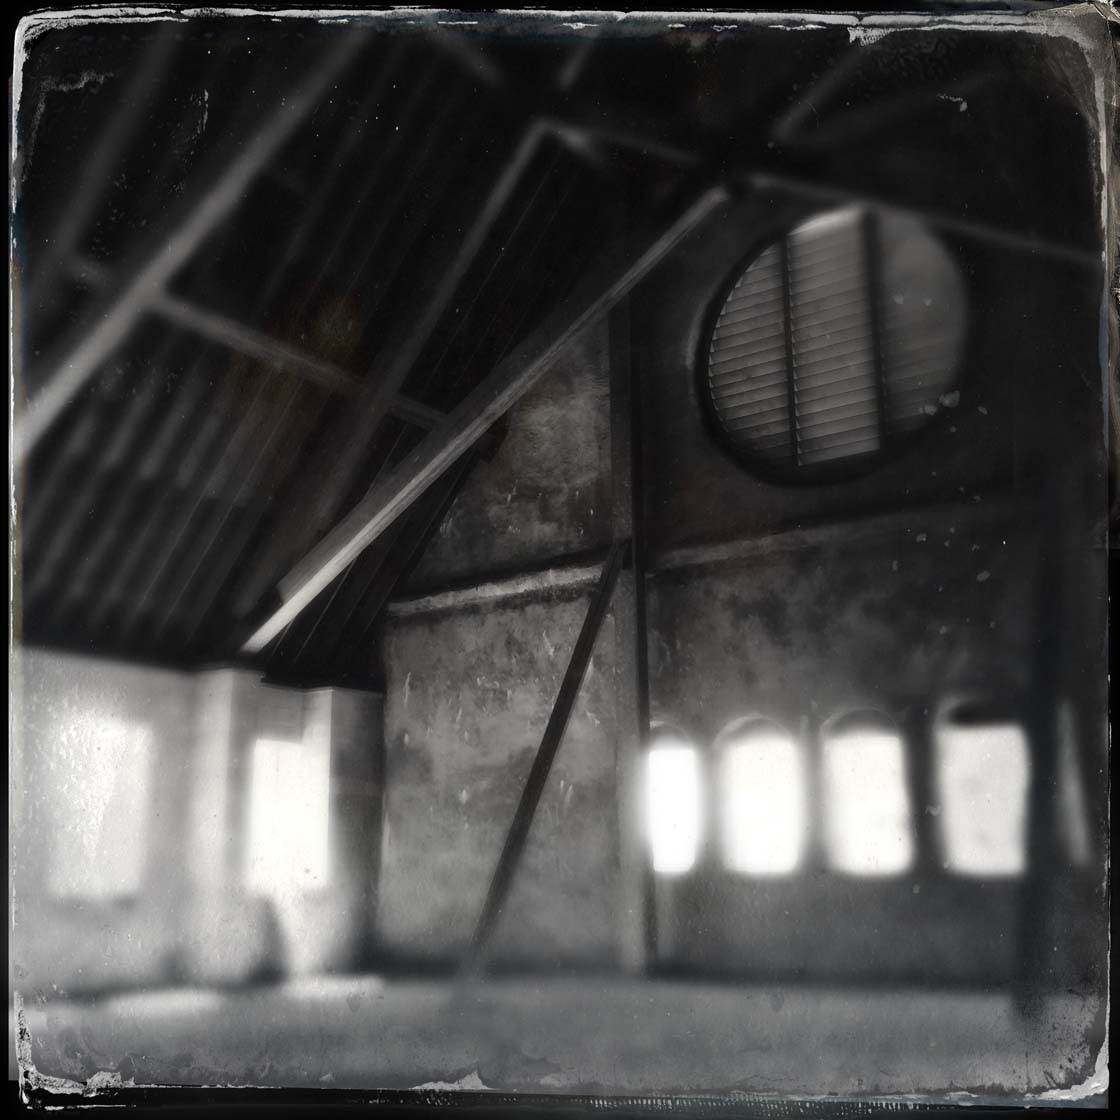
Lens: Tinto 1884
Film: D-Type Plate
The above combo adds an old-fashioned tintype look to your photos along with a blurred vignette, which is a great way of placing the focus on the center of the photo.
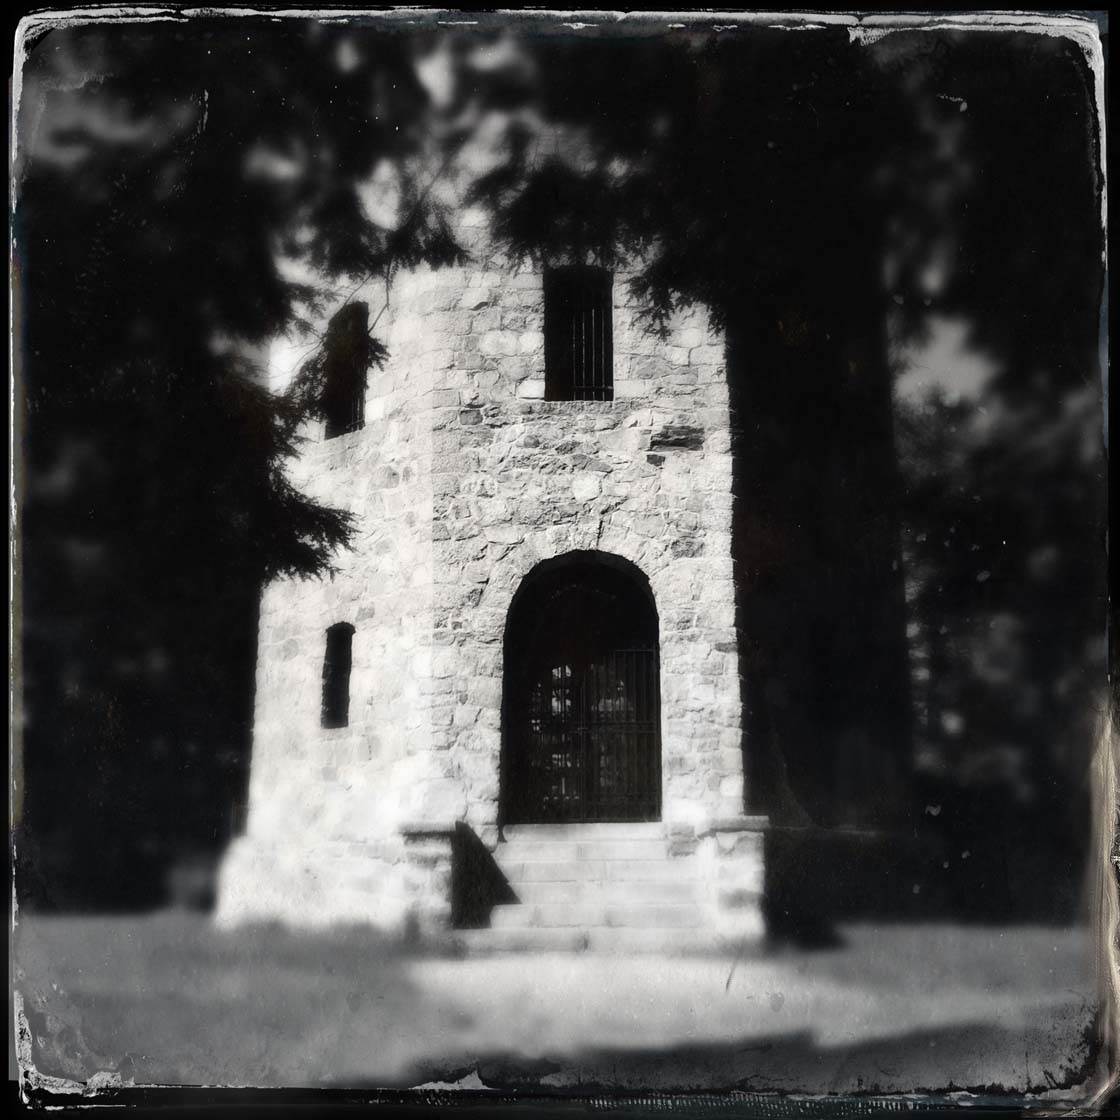
Combos such as this can be a bit “gimmicky”, but if used tastefully and paired with an appropriate subject, they can create a powerful image.
“Warm” Black And White Combo
The lens and film combination below is an interesting one, in that the final result is somewhat dependent on the image you capture. Generally, this combo produces a flatter (lower contrast), warmer black and white image.
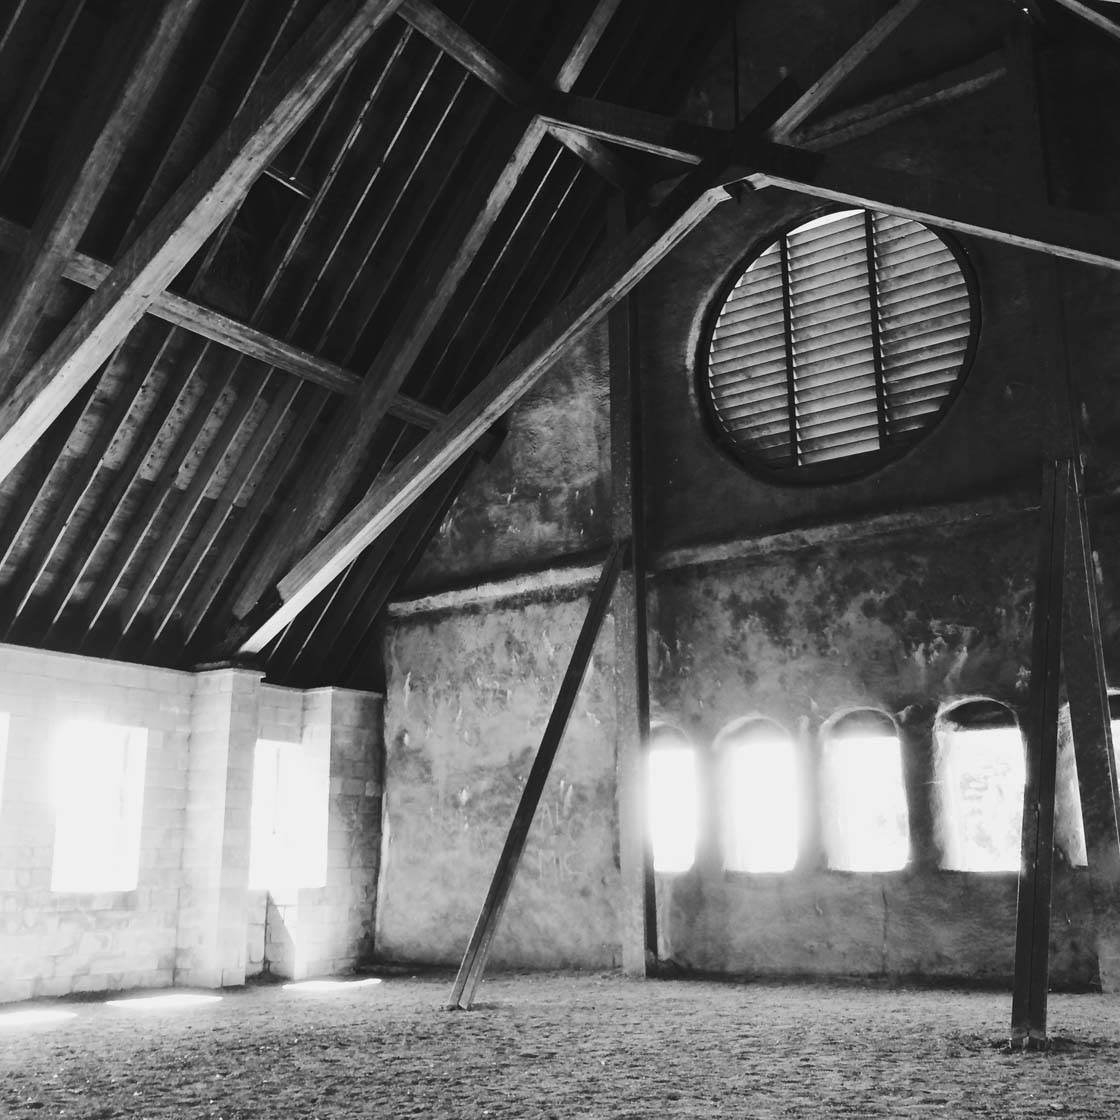
Lens: Florence
Film: BlacKeys XF
However, I find that if you start with a somewhat low contrast image, it actually increases the contrast.
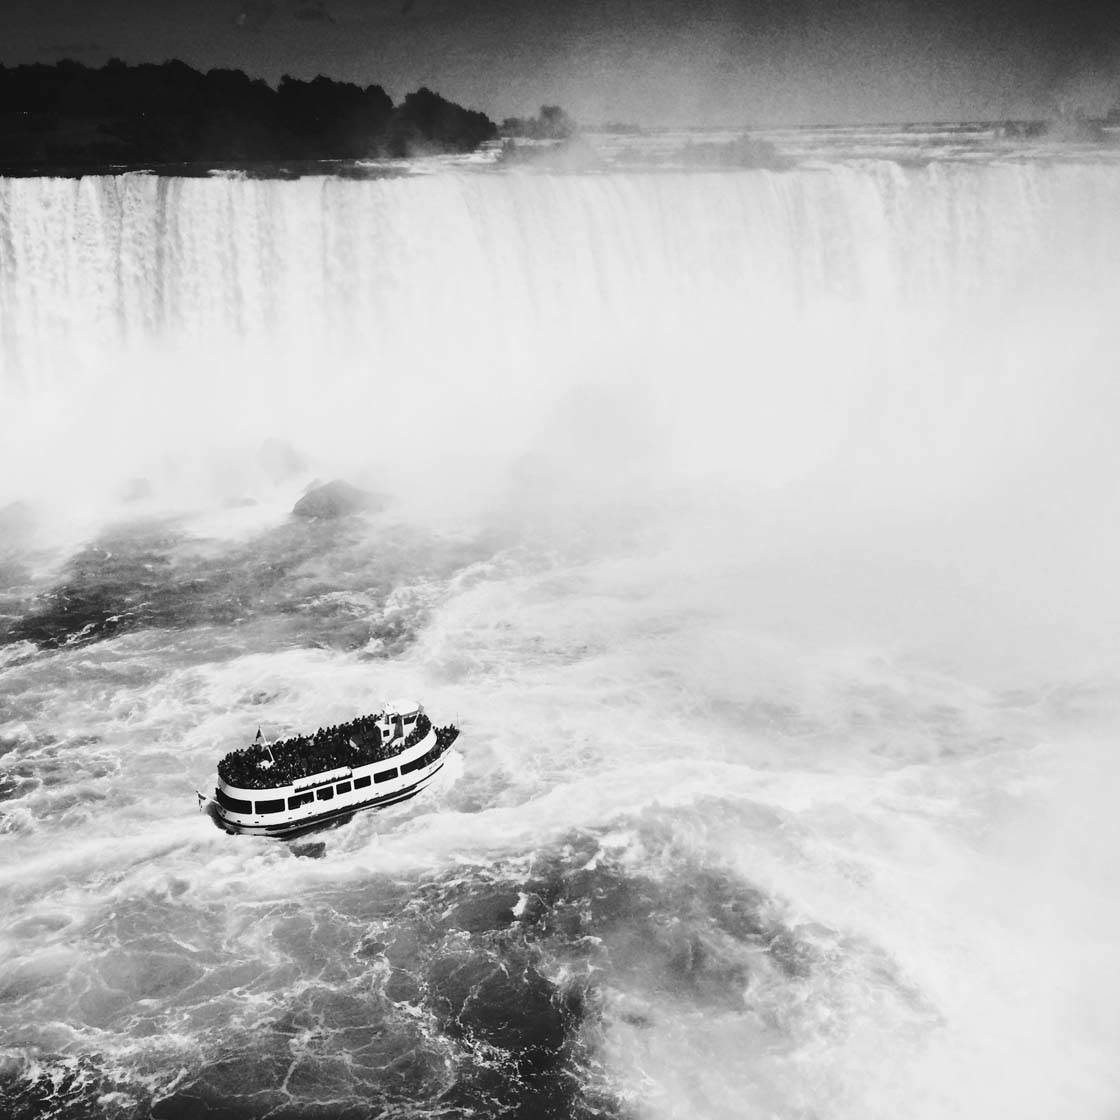
Some of the lenses and films seem to work in mysterious ways, but almost always with great results! Try this one for yourself and you’ll see what I mean.
Grainy Black & White Combo
While some photographers aspire to creating the sharpest images possible, others like to incorporate a more noticeable level of film “grain” for the unique texture that it adds to the image.
This combo is fantastic for creating a high level of grain in your black and white photos.
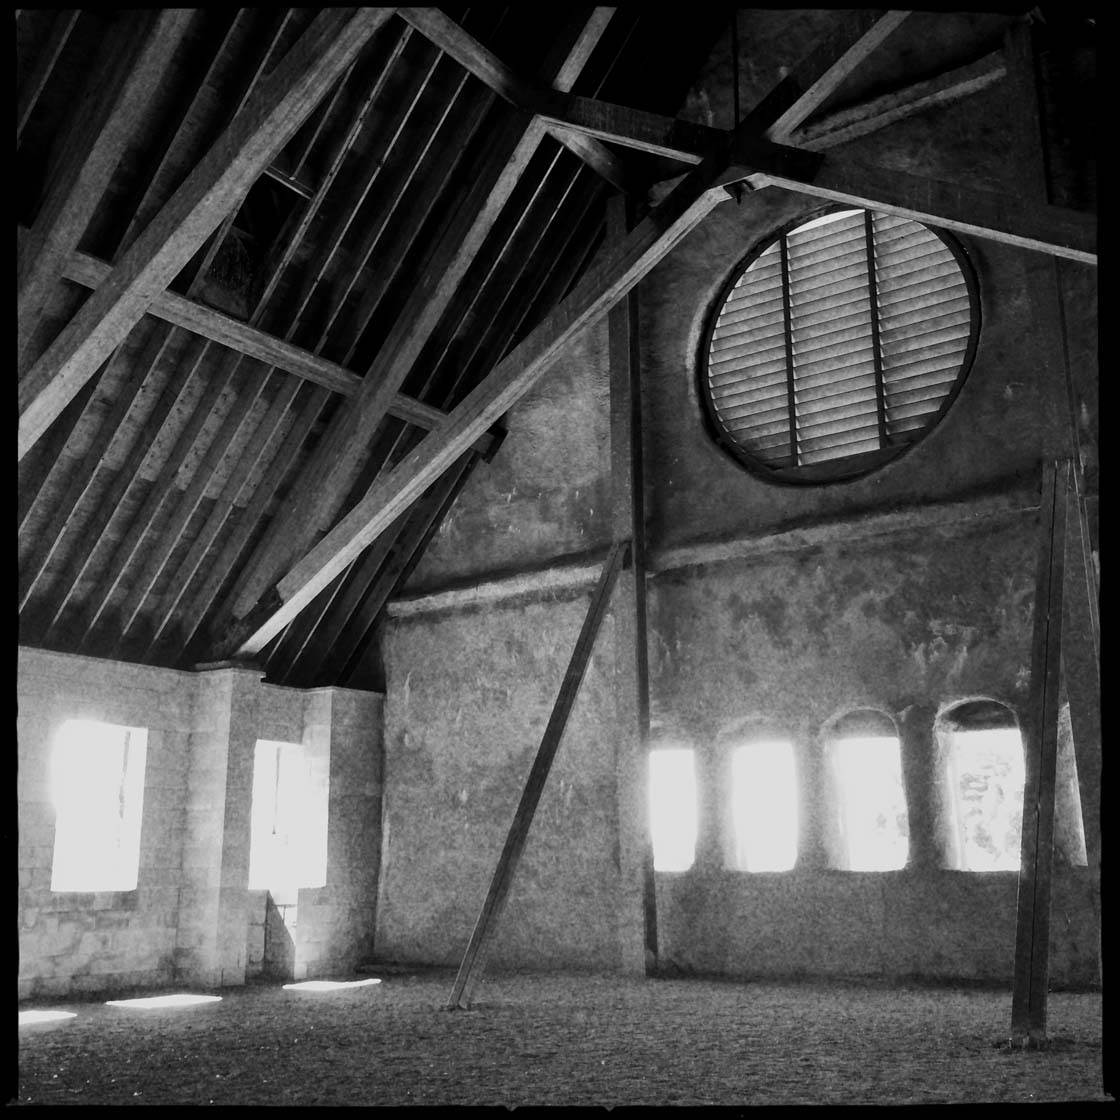
Lens: Lowy
Film: US1776
Personally, when I use this combo, I’m reminded of when I used to shoot Kodak Tri-x B&W film back in the late 1980s/early 1990s, and would push the exposure and development time, resulting in a higher than normal grain structure.
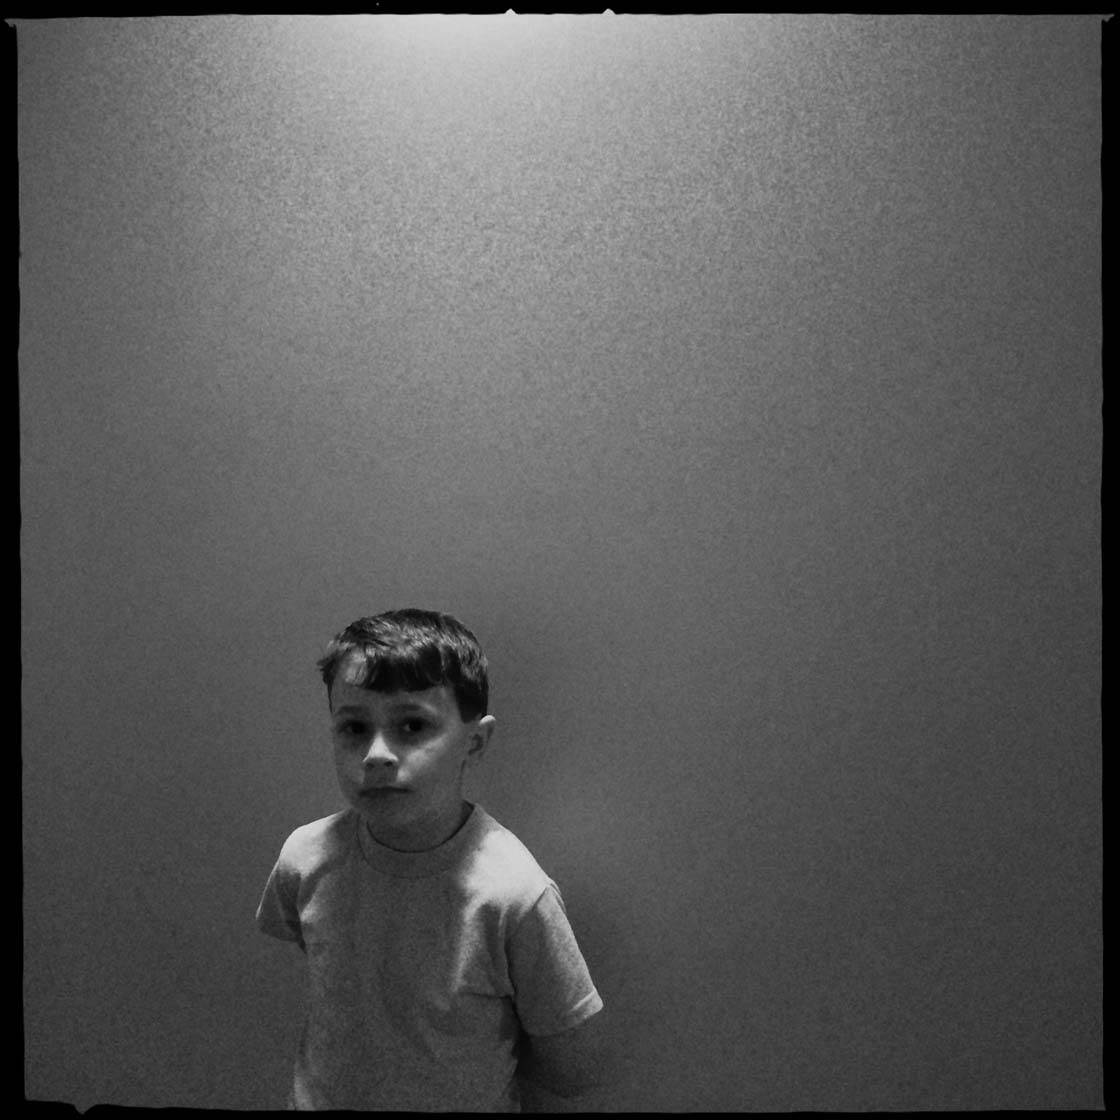
Experimenting With New Combos
All of the above combos are just the tip of the iceberg. As you start using Hipstamatic and/or Oggl, you’ll quickly see just how much potential there is for creating your own preset combos based on your needs and tastes.
As with most aspects of iPhone photography, the more you practice and experiment with different combos and settings, the more you’ll learn about what’s possible.
Eventually, you may settle on a handful of combos that you use on a regular basis. But I recommend always trying new ones too as you never know what you might discover.
Trying new combos (especially on existing images via Oggl) can be a great way to get out of a creative rut too.


Thanks papapol! You’re right. That is a great combo as well! Thanks for sharing.
Cheers!
It is possible to change the lens and film after taking a shot with the Hipstamatic as long as save the original photo. This can be done on the camera as well as on an iPad.
Hi Ilene. You’re absolutely right. This article was actually written before Hipstamatic allowed you to do this, but we’ve recently published an updated article on using Hipstamatic: http://iphonephotographyschool.com/hipstamatic/