In addition to improvements in the native Camera and Photos apps, iOS 8 brings a host of new capabilities that can be used by third-party camera apps to put more power into the hands of the iPhone photographer. In this article, you’ll discover how to these new iPhone manual camera controls to take incredible photos.
iOS 8 was released on September 17, and there’s been a lot of excitement about the new manual exposure controls now available in the native Camera app.
But iOS 8 also enables third-party camera apps to offer a whole range of new manual capabilities, namely:
- Exposure compensation
- Manual exposure
- Manual focus
- Manual white balance
- Bracketed capture
This is very exciting for photographers! These new manual controls will give us DSLR-like control over our iPhones, enabling us to achieve better exposure and get more creative with our photography.
Over the next few weeks we expect many third-party camera apps to be updated to support manual camera controls in a meaningful way. VSCO, which is the best free camera app for iPhone (aside from the built-in Camera app) was among the first to update their camera apps.
Also, watch out for new apps, such as Manual, that are being created solely to support manual camera controls.
Let’s take a look at these new manual camera capabilities in a language that everyone can understand, and see how they can improve your photographic workflow.
Exposure Compensation
Exposure determines the amount of light that reaches the camera’s sensor, and therefore affects how bright or dark the photo will be. Exposure is controlled by three parameters:
- Aperture – the size of the opening in the lens determines how much light reaches the sensor
- Shutter speed – how much time the shutter is open for determines how much light reaches the sensor
- ISO – the parameter determining how sensitive the sensor is to light
On the iPhone, the aperture is a fixed size so this can’t be used to change exposure. However, shutter speed and ISO can be altered to manually adjust the exposure of a photo.
The longer the shutter speed, the brighter the photo will be. The higher the ISO, the brighter the photo will be.
If you’re using the native Camera app and you’ve tapped the screen to set focus (or you’ve used tap and hold to lock focus/exposure), you’ll see a vertical yellow line with a little yellow sun icon on the right of the focus box.
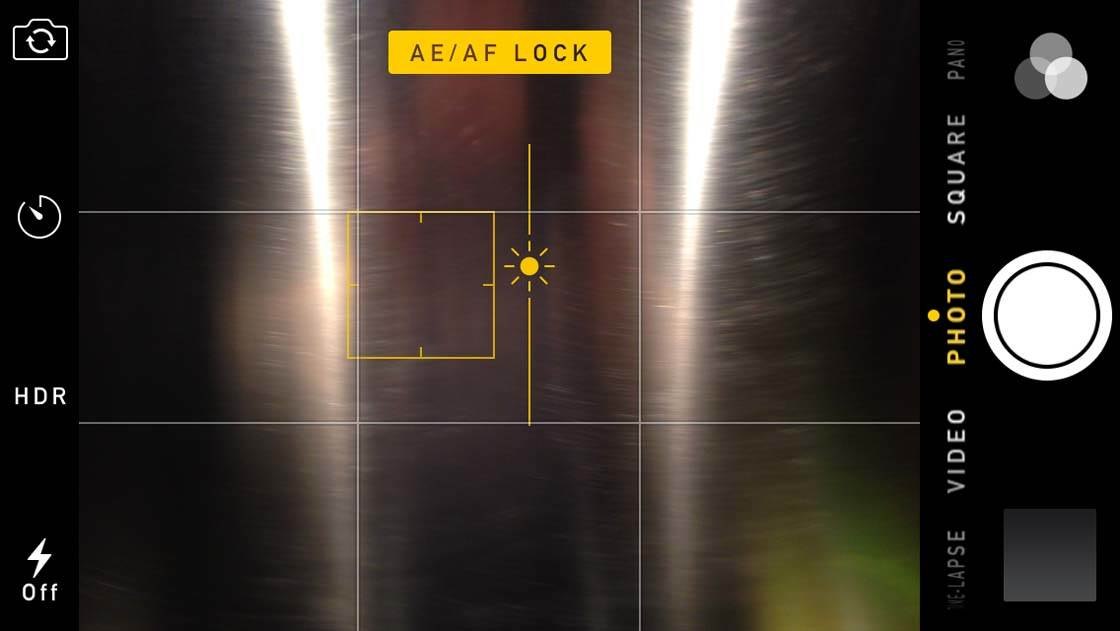
Swipe up to increase the exposure or swipe down to decrease the exposure. You’ll see the effect immediately on the screen. Tapping elsewhere on the screen will reset the exposure to the automatic values.
By swiping the sun icon in either direction, we’re telling the camera to intentionally over-expose or under-expose the photo to suit our personal taste. The camera will automatically apply a suitable shutter speed and ISO setting to get the exposure you want.
Exposure compensation in the native Camera app is very user-friendly, and I would highly recommend that you start using it to expand your photographic workflow on your iPhone.
Manual Exposure
Manual exposure allows the photographer to control the values of shutter speed and ISO manually. This gives you a lot more creative freedom when taking photos, as opposed to letting the camera decide these values for you.
The VSCO app really shines here because it offers semi-automatic modes. For example, you can set the shutter speed manually, and the app will adjust the ISO accordingly to achieve the correct exposure.
Or vice versa – you set the ISO manually, and the app adjusts the shutter speed accordingly. There’s also a full manual mode where you can modify both parameters to your liking, with all of its pros and cons.
Beware of what power is at your disposal though! Only a handful of shutter speed/ISO combinations will result in well-exposed photos. The rest will deliver either under-exposed or over-exposed photos that you won’t be able to correct in post-processing.
So, when would control over shutter speed be useful? Remember, shutter speed is the amount of time that the shutter stays open for when taking a photo. Normally, you adjust shutter speed to change how the camera captures movement in the scene.
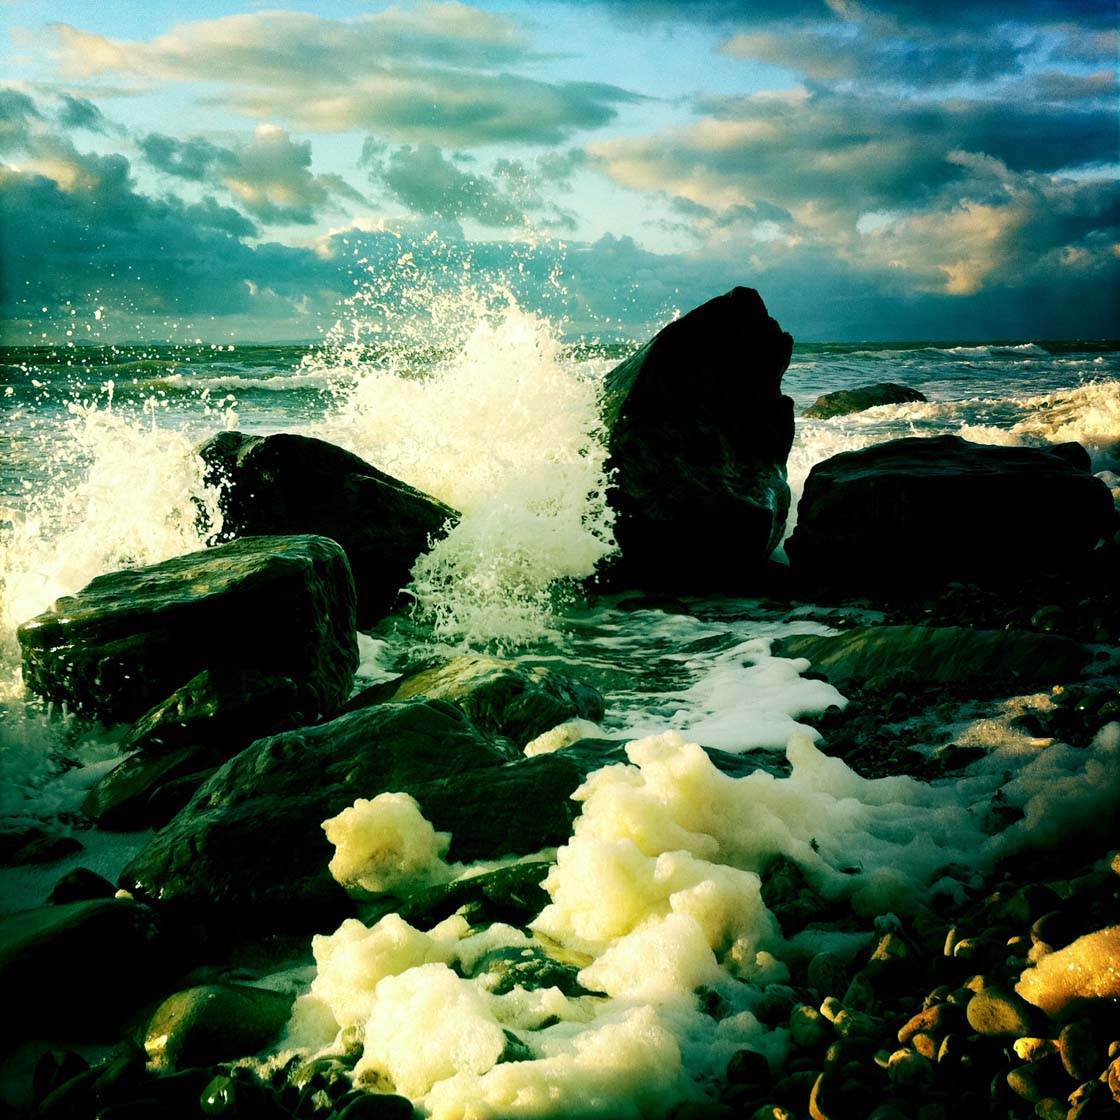
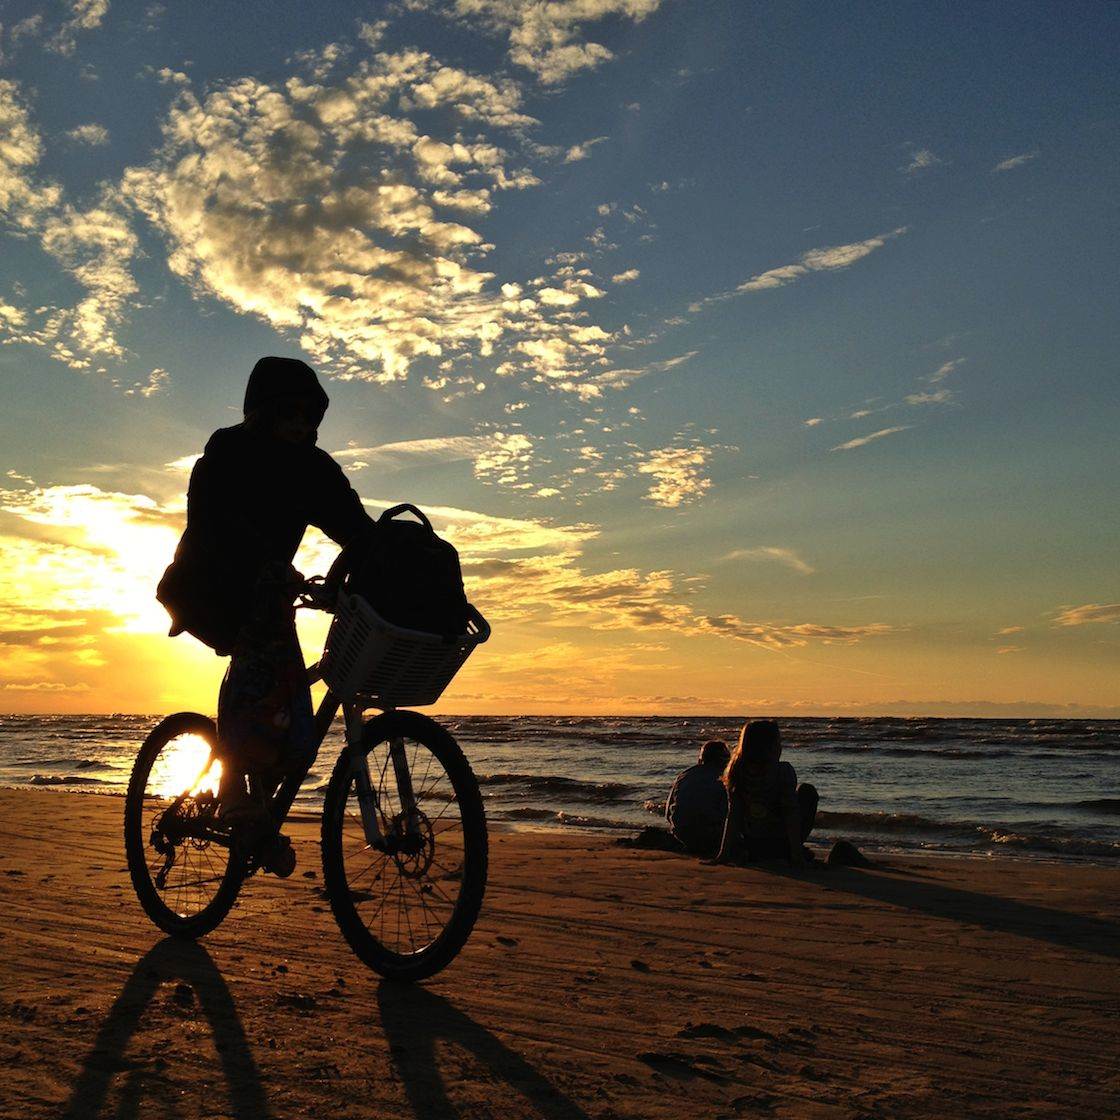
A fast (short) shutter speed is used to freeze any motion, for example, a person riding a bike or the individual water droplets of the crashing wave as shown in the photo above.
A slow (long) shutter speed is used for long exposure photography to deliberately blur any movement. For example, to create intentional blur of a car speeding past to convey how fast it was traveling. This type of blur is referred to as motion blur.
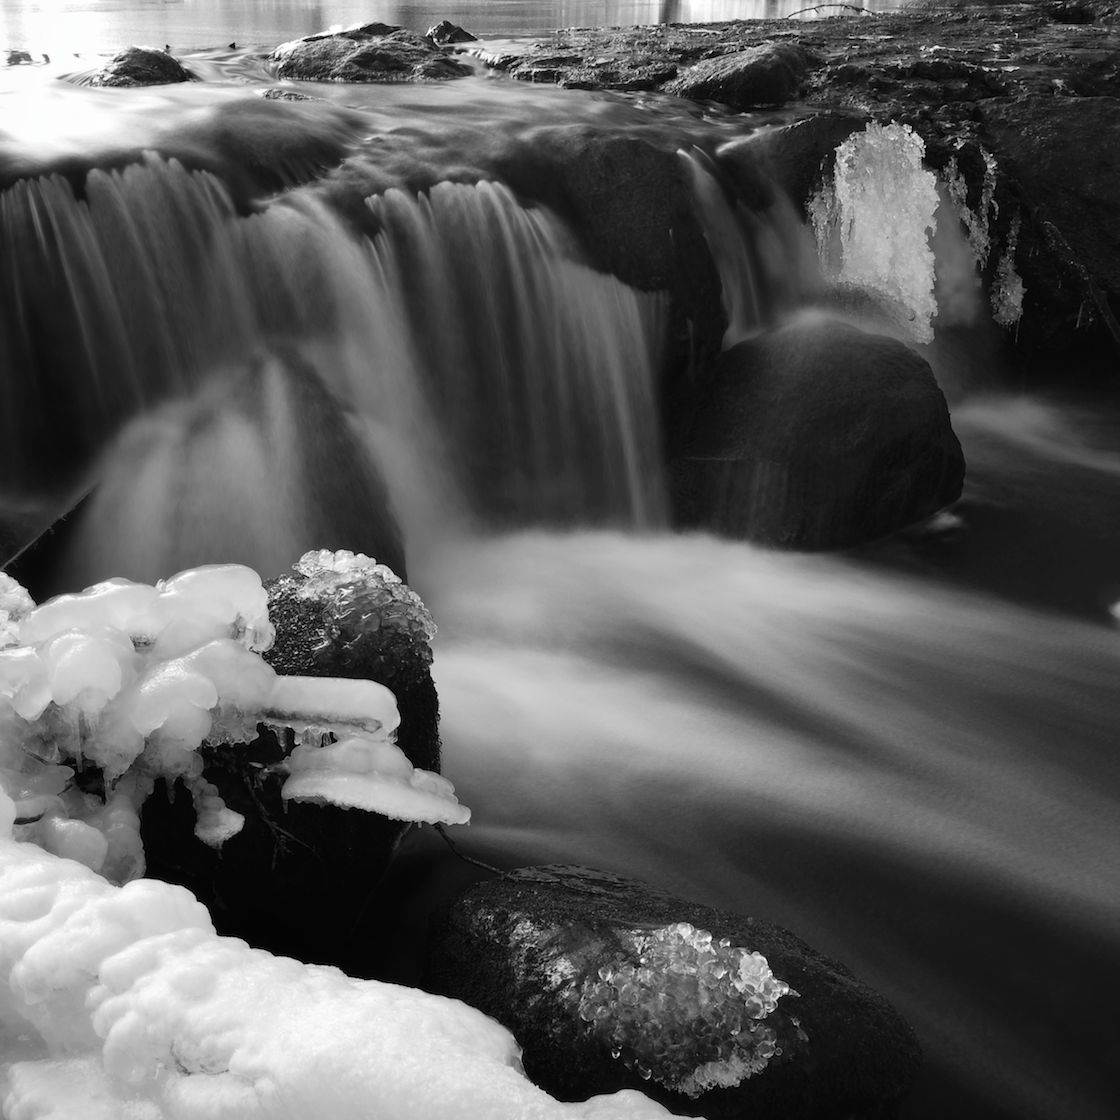
Slow shutter speeds are also used to create the soft veiling effect on flowing water that you can see in the waterfall photo below.
What about ISO? When would you want manual control over that? Remember, ISO controls the camera’s sensitivity to light. The higher the ISO, the more sensitive to light it will be, and therefore the brighter the exposure will be.
With this in mind, you should be able to work out that you could use a higher ISO in low light situations to increase the exposure without having to use a slower shutter speed.
So you can capture fast moving subjects in low light without them appearing blurry. Or you can hand-hold the camera in low light without getting blurry photos from camera shake.
However, you must bear in mind that using high ISO values can result in digital noise, which is seen as colorful grain in your photos. This tends to reduce the quality of your photos and isn’t seen as a desirable attribute.
As a photographer, you must decide what’s more important – a sharp photo with no noise, but where moving subjects appear blurred. Or a grainy photo where the subject’s movement is frozen.
If there’s no movement in a low light scene and you can put your camera on an iPhone tripod or other steady surface, it’s best to keep the ISO at a low value and use a longer shutter speed to expose the photo correctly. This will limit the grain in your photo.
As a photographer, you’ll probably use full manual exposure mode relatively seldom. Achieving the correct exposure parameters can be time consuming, even when you fully understand what you’re doing. So if your scene is not static, you’ll almost certainly miss the shot.
Therefore, I recommend that you use the semi-automatic modes in VSCO, where you set either shutter speed or ISO, and the app sets the other value for you in order to achieve a correct exposure.
The semi-automatic modes provide you with more creative possibilities than fully automatic mode, but the app supports you on the way, so you can set your desired exposure much faster.
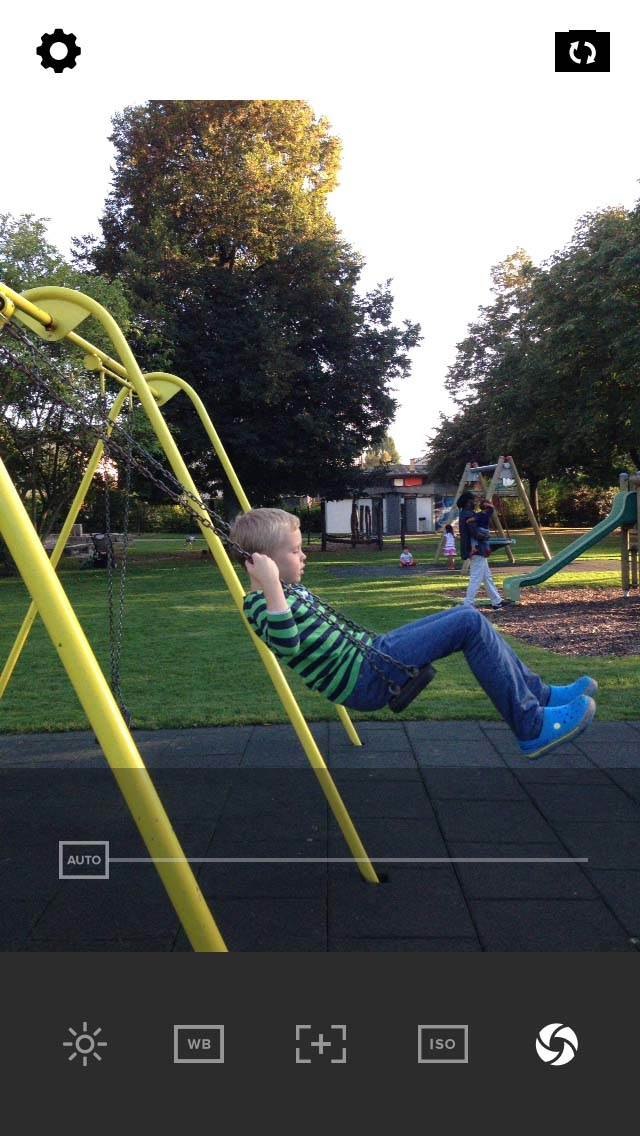
In the picture above you can see VSCO in the manual shutter speed mode. The icons in the bottom bar give you access to the sliders for each manual control.
From left to right, the icons are: exposure compensation, manual white balance, manual focus, manual ISO and manual shutter speed. The little “Auto” button on the left of the slider lets you toggle between automatic and manual mode for the setting.
In this particular case I moved the shutter speed slider all the way to the left to to use a very fast shutter speed. This allowed me to freeze the movement in the scene.
The automatic setting would have used a slower shutter speed, resulting in the moving subject appearing as a blur.
Manual Focus
Manual focus allows you to control the plane where the camera sets its focus (called “hyperfocal point” in photography speak).
Before iOS 8 you were only able to tap the part of the screen where you wanted focus to be set, and the iPhone would do its best to make that part focused (and also well exposed).
In iOS 8 it’s possible to arbitrarily set the focus to a given value, enabling you to accurately focus on the foreground or the background, or anywhere in between.
Manual focus can prove useful when you struggle to get the focus on the right area. For example, if you’re photographing through a shop window, the camera often ends up focusing on the nearest plane which is the glass of the window.

By using manual focus, you’re able to move the focus point past the glass and put it onto the items behind the window.
As a photographer, you probably won’t use the manual focus option very often. It’s usually easier to tap to focus, and even if the camera doesn’t focus well the first time, just repeat the process and tap again.
Using manual focus can prove useful in macro photography when you want to have full control over what is in sharp focus and what is not.
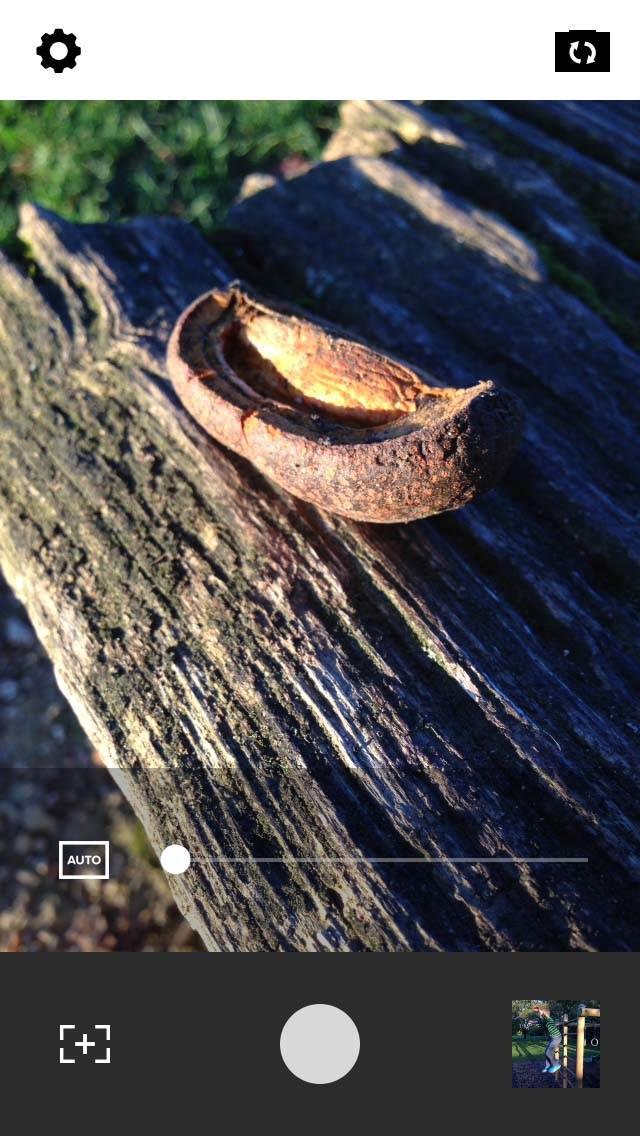
The above picture shows the manual focus mode in VSCO. I moved the slider all the way to the left, which allowed me to capture the detailed texture of the old tree in the foreground.
I didn’t have to fight with the inaccurate tap-to-focus technique that is usually quite cumbersome in macro photos. I was in full control.
Hint: when using manual focus, it’s best to stabilize the camera by putting it on the steady surface, or preferably on a tripod. Especially when taking macro photos, even the slightest movement can put the photo out of focus again.
Manual White Balance
White balance determines how the colors in a scene are reproduced in the digital picture. Different types of light produce different color casts based on their color temperature. These color casts have an effect on how those colors appear in your photo.
For example, candle light produces a warm orange color cast, so the colors in your photo will appear warmer (more orange) than normal. Which is why when you take a photo of a lovely candle-lit dinner, that white table cloth often appears orange.
By contrast, taking a photo in outdoor shade produces a cool blue color cast, so the colors in your photo will appear cooler (more blue) than normal. Which is why when you take a photo of a beautiful snowy woodland scene, the snow often appears blue.
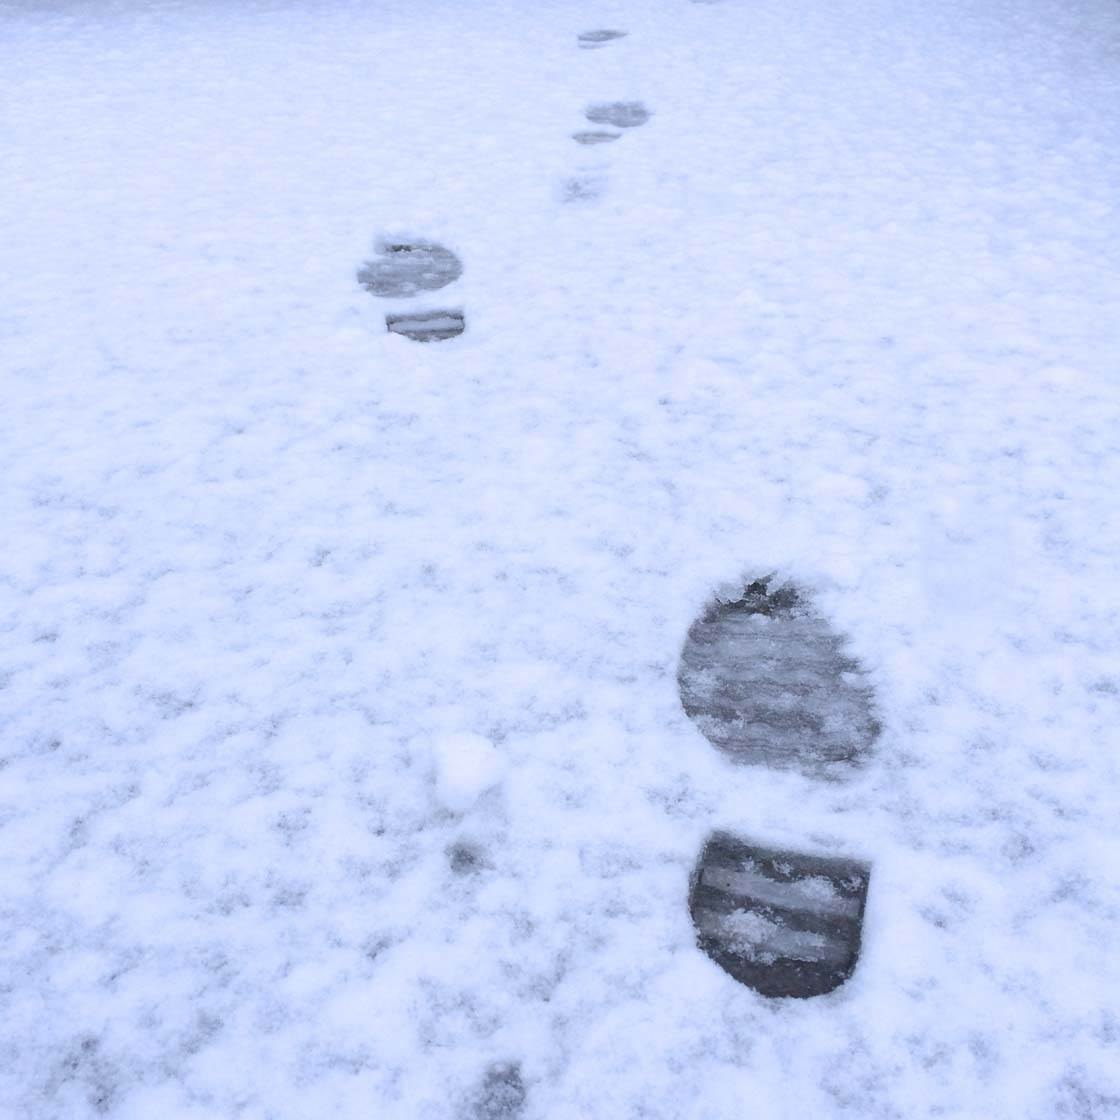
Luckily, the white balance feature in digital cameras can neutralize these color casts by warming up or cooling down the colors. The iPhone’s camera actually does a very good job of automatically setting white balance for the scene.
But in certain lighting situations it doesn’t do so well, and in these instances you need more manual control over the white balance, so that your whites appear white and all of the other colors are reproduced accurately.
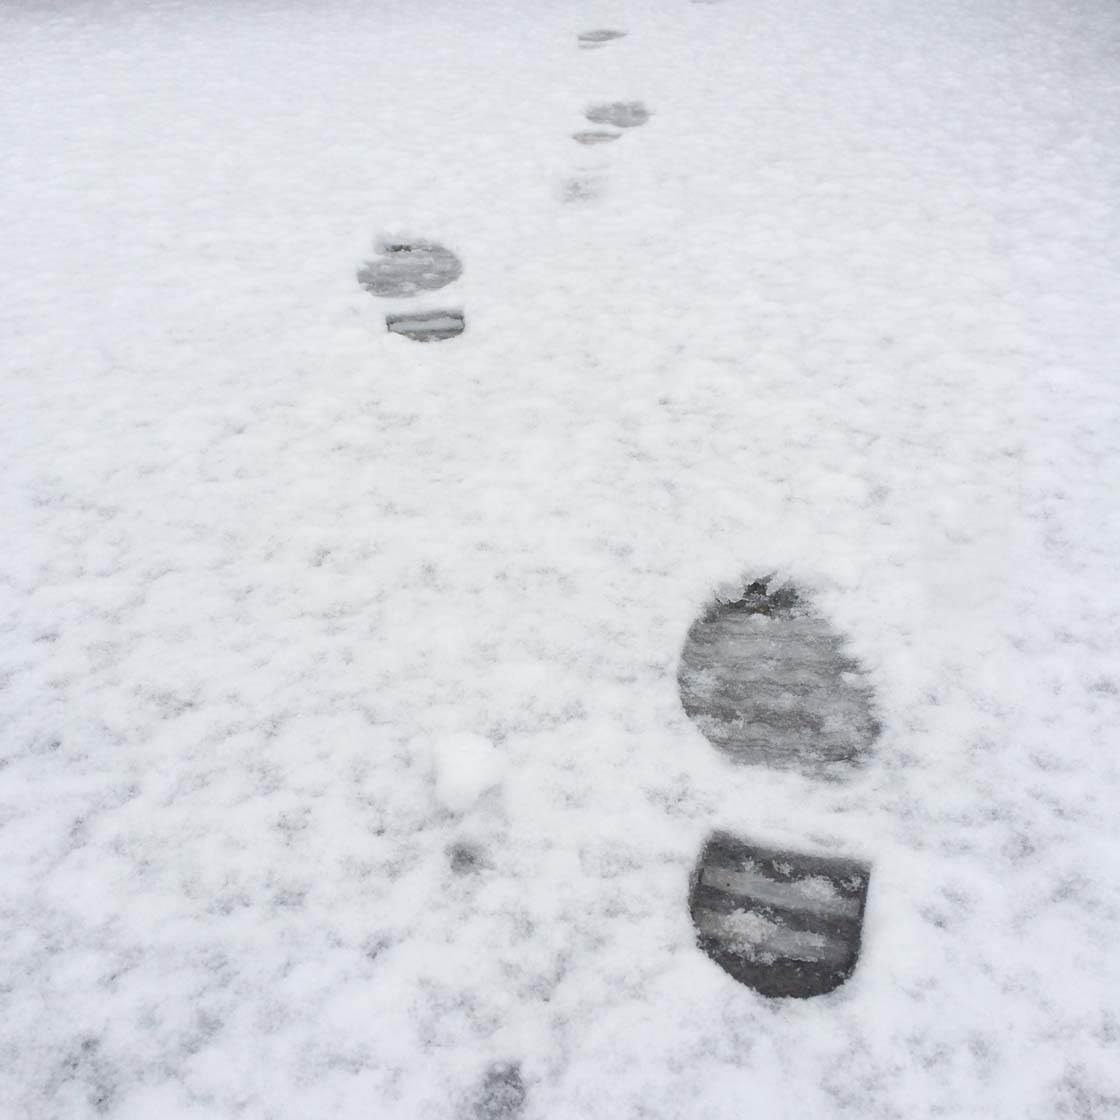
So far, iPhone apps (apart from iPhoto) weren’t able to set a custom white balance for the scene. In iOS 8 this changes, and third-party apps can now allow full manual control of the white balance.
White balance, or color temperature, is measured in Kelvin degrees (K), which sounds abstract for the majority of people shooting photos with the iPhone.
Therefore some apps like Camera+ 6.0 (not yet released) have decided to offer photographers a set of useful presets which can be used to quickly adjust the white balance to the relevant lighting conditions. The presets are called:
- Auto (default setting)
- Sun
- Cloudy
- Flash
- Shadow
- Incandescent Light
- Fluorescent Light
You simply select the relevant option for the type of lighting you’re shooting in, and it should remove any color cast from that light. It’s also possible to set manual white balance, but this is quite an advanced technique requiring the use of gray card.

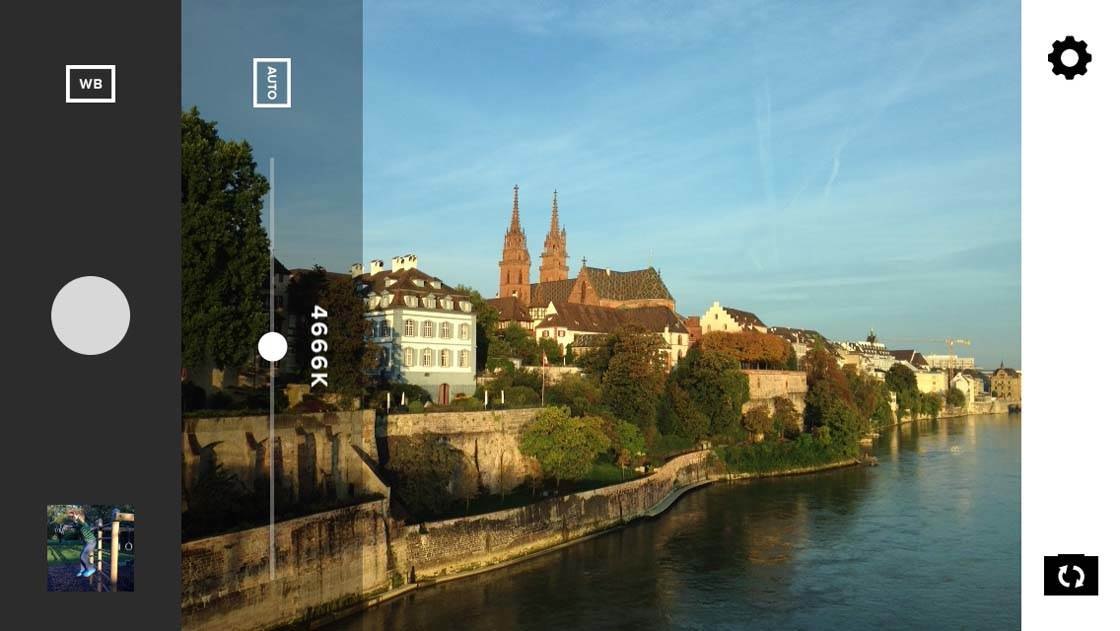
The picture above shows the manual white balance mode in VSCO. I used this mode to bump up the color temperature a bit.
Despite the fact it was early morning and the colors were looking rather cool, I was able to warm them up a bit to give the viewer the impression that the sun has fully risen.
As a photographer, you would definitely want to use manual white balance when doing commercial photography, especially product or food photography, where proper color reproduction is key to the success of the photo session.
But also think about using it any time a photo appears too cool or too warm. It really can make the world of difference to your photos.
Bracketed Capture
Bracketed capture is an automatically initiated series of photos. There are two scenarios for bracketing. The first is when all of the photos in the series are taken with the same settings – in this case we call it burst bracket.
The second bracketing scenario is when the photos are taken with different settings. If the series of photos are taken using different exposure compensation settings, then it’s called auto exposure bracket.
If the photos are taken with different shutter speeds or ISO values, then it’s called manual exposure bracket.
The native Camera app uses bracket mode quite frequently. It uses it in burst mode when you shoot a series of photos in quick succession by holding down the shutter button.
And it uses it in the self-timer mode when it shoots a series of 10 photos so that you can choose the best one.
It also uses bracket mode in low light conditions, where it automatically shoots a burst of several photos and tries to stabilize them digitally to remove blur.
And finally, it uses it for HDR photos when you have the HDR option switched on in the native Camera app. In this case, the camera shoots the with different exposure settings and merges these photos together to achieve wider tonal range in the final photo.
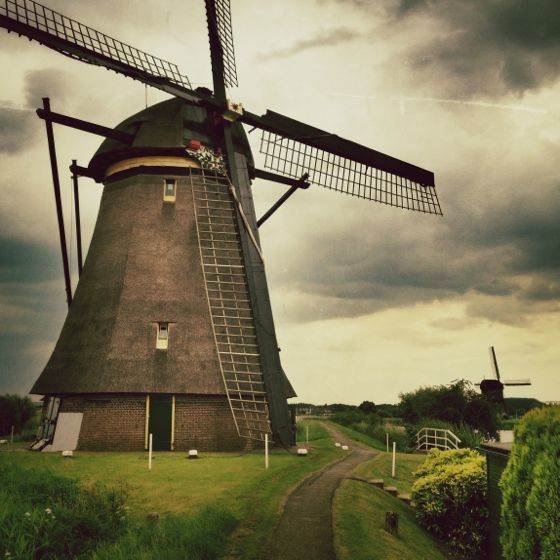
Some third-party HDR photo apps, such as vividHDR have announced plans to use bracket capture to speed up the process of taking HDR photos.
As a photographer, you won’t have to worry about the details of bracket capture too frequently. It’s just good to know that it’s there and that it can be used to your advantage.
About The Author
Michal Szklanowski is a Polish enthusiast iPhone photographer currently living in Basel, Switzerland.
Michal is an active member of the Polish mobile photography collective “Grupa Mobilni” and has published numerous Polish and English articles on mobile photography.
His photos have been exhibited several times in Poland, and two of them got an Honorable Mention in the 2014 IPPA Awards competition. You can reach Michal via Instagram or on the Grupa Mobilni website.


Excellent how-to article! Knowledge makes a difference and a background in manual-analog cameras too.
Thank you for your kind words Enrique! It is my pleasure to make this knowledge available to a wider audience.
Michal, thank you for the useful article. Two questions: 1.) how did you get your vsco manual controls to look like that — displayed next to each other. Mine only shows one at a time, and I have to cycle through them. Did you have an early release of the app that maybe they’ve changed? 2.) do you know if any apps can use the HDR exposure from the native camera built into ios 8, or do they have to come up with their own bracketing solutions? Thanks again
Brett, thanks for your appreciation. Answering your questions:
Ad 1. Tap and hold on the control icon on the left to get them all displayed in a line. Having said this I still think that there is room for improvement in VSCO to handle switching between different controls.
Ad 2. The way native Camera app uses bracket burst and stitches photos together is part of its internal algorithms and is not available for 3rd party app developers. Starting with iOS 8 app can request a hardware (means its very fast) bracket with specific parameters, but what you then do with resulting 3 or 5 photos is up to app developer. vividHDR will soon release an iOS 8 optimized app version where they will use hardware-supported bracket from iOS 8.
Not exactly sure what is going on, but on iOS 8.0 when you shoot in landscape position, try cropping the photo to square and it doesn’t get saved. However, shoot in portrait position and cropping works as supposed to. Any ideas?
Not sure what’s going on there Harry – I’ve just tried shooting in landscape position and then cropped to square and it saved the crop. Is anyone else having this problem?
Hi Harry, I tried it on my iPhone 5, running iOS 8.0.2 and I couldn’t replicate your behavior. Could be it’s one of the strange bugs from iOS 8.0 and the best way to get rid of them is to upgrade.
Great article. Any camera app save bracketed exposures for off-camera HDR processing?
One app I know that does it pretty nicely is AutoBracket HDR ($1.99). It also allows you to specify at which intervals to take brakets eg. EV -1,0,1. It also proposes you to optionally merge them and create the HDR for you, but it’s up to you to use this function or postpone HDR creation to a later time.
Thanx! Will have a look.
Glad you enjoyed the article 🙂 Pro HDR X saves each separate exposure in your camera roll, as well as the combined HDR version. You can read more about this app in our HDR article: http://iphonephotographyschool.com/hdr/
Hope that helps.
Thanx Kate, will check it out.
Does manual focus option exist in old iPhone 4S with iOS v8.3? I don’t see it?
Why can’t consumer camears just leave in the manual exposure function? I’ve had dozens of cameras that claim to have manual exposure only to leave it out in video mode.
What is wrong with camera manufacturers? I give you my money and you purposely FORBID me from disabling your god damned distracting auto-exposure function.
they’re not video/photographers and can’t “see” what features we need in their products they can only “see” in huge PROFITS and unless theres a HUGE demand for a feature and THEN they’ll reluctantly put it in… lazy bastards! Nikon and sometimes Canon are notorious companies that we all know who won’t get along with their valued customers :-/
This is a really well written article. Very clear to understand for amateurs like myself and also provides examples of situations where the use of certain features would be well utilized. Thanks so much!
You’re welcome, Estella! I’m glad that you find this article valuable. 🙂
my photos with iphone 5s with flashlight on are not clear and photos appear with a bluish background
The ‘hyperfocal point’ is not necessarily the plane where you set focus. It is the focal distance at which maximum depth of field is achieved.
Hi Kate, nice article indeed. I have one silly question to ask. I am trying to use iphone 8+ to shoot milky way, with Camera+ app, setting was ISO2000 at 30s shutter speed. The outcome was over-exposed. Not really sure why it became like that.