Some time ago a reader emailed me asking to write a blog post about the different genres of iPhone photography. While I immediately loved the idea, I also realized that nobody can be an expert in all genres of iPhoneography, and approaching photographers from each genre would be the only way to create this post. After weeks of work by me and so many others, I’m super excited to publish tips for all the different genres of iPhone photography.
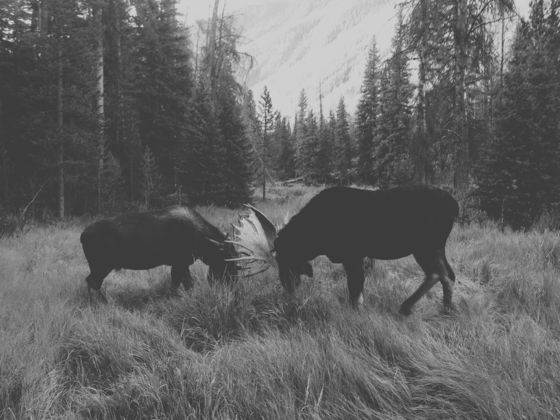
Photo by Kevin Russ
Architecture Photography – Chris Stern
Architecture can be interpreted in many different ways such as seeing it as part of architecture landscape and how one building compares to another through old vs new or through a minimalist view of lines, curves or symmetry.
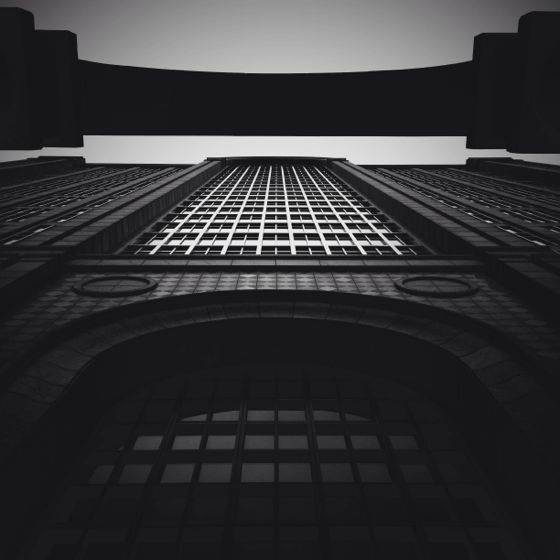
Architecture photography is different from other styles of iPhoneography in the sense that you are focusing on one subject such as a building which is more isolated than other genres such as street photography where you are focusing on a scene where you are trying to capture emotion.
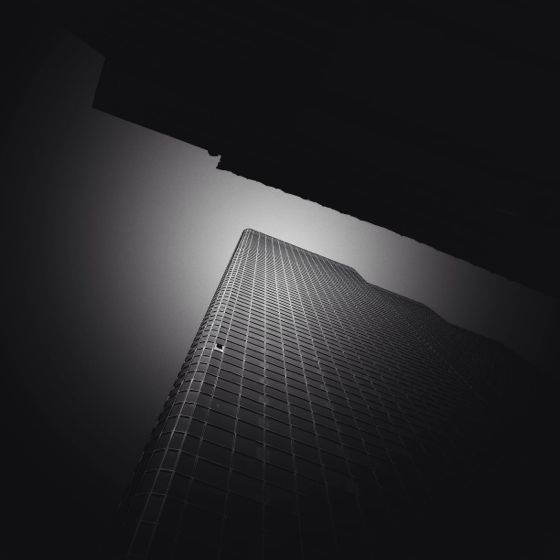
Architecture Photography Tips
1. Look at works of others who enjoy photographing architecture as there are many different styles to choose from.
2. Don’t be afraid to experiment in different styles of architecture photography. This will help in defining what you love to capture.
3. Experiment with post processing as it takes time to define your style. For example, it wasn’t until recently that I discovered a style of post processing which defines what I enjoy in my architecture photos.
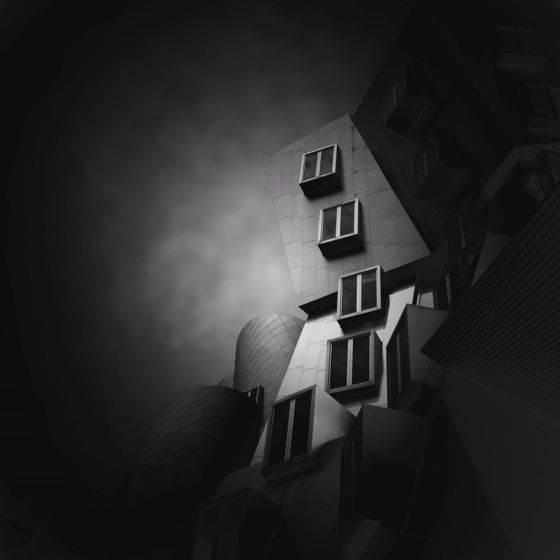
4. Don’t be afraid to go shoot the same buildings or structures as you may see something you didn’t capture the first time. In addition, weather can often produce a more dramatic shot than the first time you visited.
5. Get out and shoot photos as much as you can.
Black & White Photography – Paul Brown
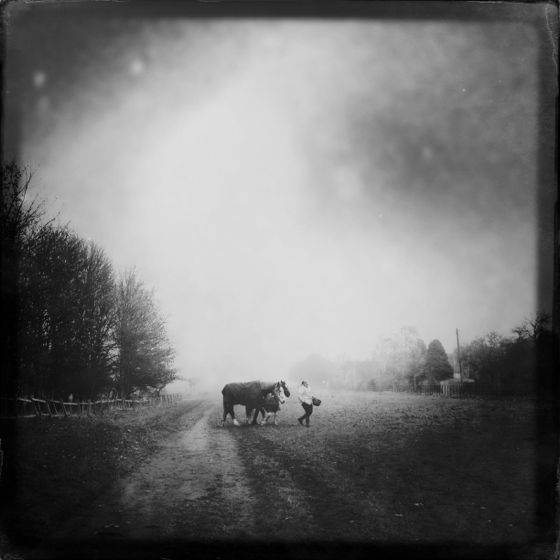
My world is in color. It’s beautiful. Black and white shows a different world, one I only see on paper. It removes the distractions and clashes that color can introduce. Suddenly shadows, light, shapes, lines and textures leap out in a harmonious way. The image can feel more cohesive.
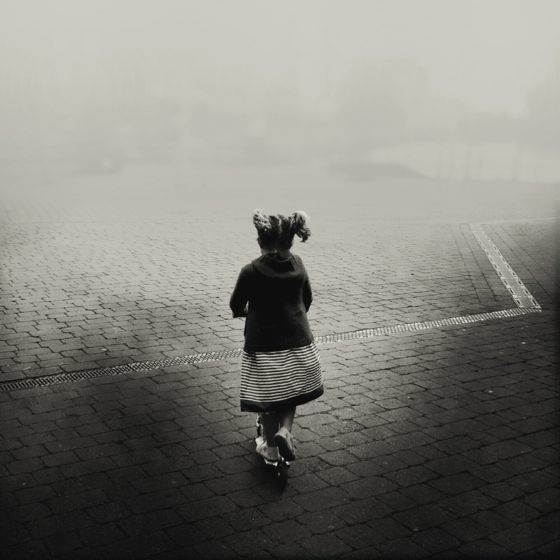
I try to capture (or create) an atmosphere, not a scene. Broadly I think the atmosphere can be changed by adopting either a bright high key and washing away shadows or a darker low key, possibly with its related high-contrast noir style. I tend towards the low key/noir end of the spectrum and for my taste I think that atmospheric style is suited to black and white.
Black & White Photography Tips
1. As with traditional photography you can choose to capture black and white directly or you can capture color and convert to black and white in post processing. To start, try comparing the results from both methods. Spend some time capturing in black and white. The native camera app has a couple of options (including Noir) and there are a range of specialist black and white camera replacement apps.
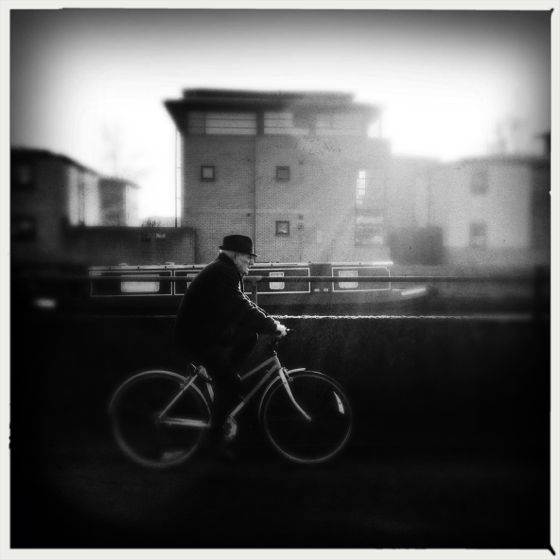
2. There is one technical shortcoming of iPhoneography that for me can be beneficial in black and white – noise. It means that in low light conditions or on the rare occasion that I want a heavy crop, image quality in terms of noise becomes a problem. What we define as noise in color photography with a bit of editing can be very pleasing grain in black and white photography. I very often actually add grain to black and white images to enhance the atmosphere.
3. When it comes to converting color images to black and white, don’t just be content with “convert to black and white” or “de-saturate”. Many apps have a wide range of conversion options and presets. Experiment with them. Look especially at two areas – (i) adjusting brightness, contrast and noise levels (the results can be very different when comparing black and white and color), and (ii) use the color filters when converting. Notice for example that a green filter will tend to work with skin tones whilst a red filter will add drama and contrast and can result in some spectacular landscapes.
Children Photography – Elaine Taylor
Children photography is a challenge! Children are unpredictable. They will do their own thing. They get bored. They have energy and they move. They won’t pose if they don’t want to. They won’t produce a genuine smile on demand. But these challenges bring huge satisfaction. There’s nothing more rewarding than capturing children in the moment, creating snapshots that reflect the magic and emotion of childhood. The iPhone is perfect for the job. It’s not intrusive and it’s always to hand.
Children Photography Tips
I’m not a professional and certainly no expert. I’m an enthusiastic amateur who likes taking photos of my sons. I rarely take photos of anyone or anything else so any tips I can offer simply lie in how I do things and what works for me.
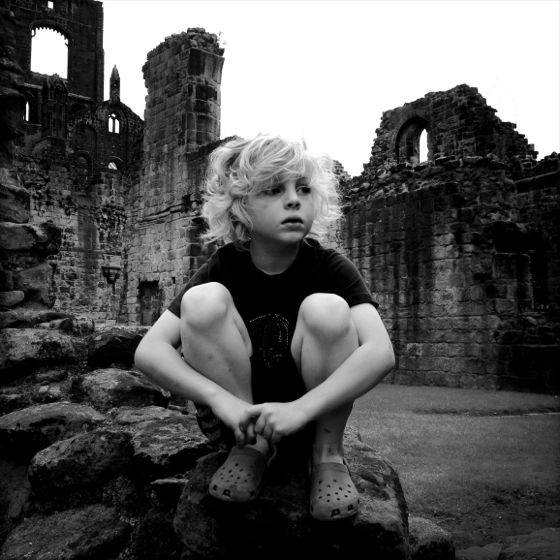
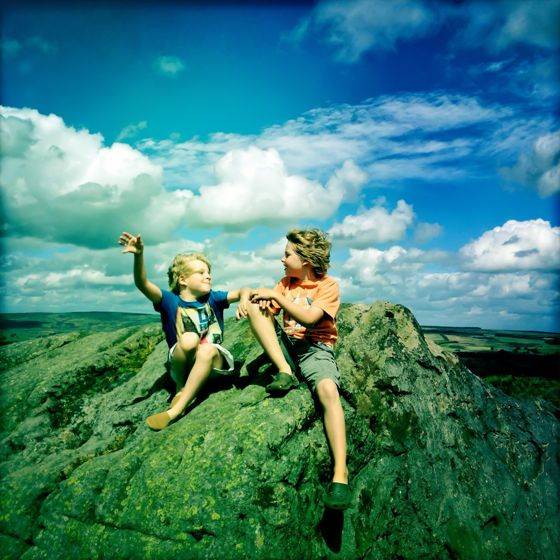
I try to shoot candidly in the hope that my images will truly reflect my boys’ personalities and show genuine emotion. I rarely ask them to pose or point the iPhone directly at their faces. I try not to affect what they are doing and I never say the word “cheese”. If I think I’ll get a better shot by doing so, I’ll get down to my boys’ level, jump on a wall, hide behind a tree or wade right into the sea. I might wait patiently for the right moment, but usually I’ll take shot after shot (as discreetly as possible). Through continuous shooting and different perspectives I’ll usually get a bunch of rubbish shots, a few shots that I was looking for, and sometimes one or two unexpected gems. Oh, and if I want a particular shot I’ll happily resort to bribery.
Light is extremely important. I prefer to take photos outdoors in natural light. That results in better quality images (and also means my boys are free to just do their thing without too many restrictions). And I’m always aware of the environment, ensuring that the background does not detract from my boys.
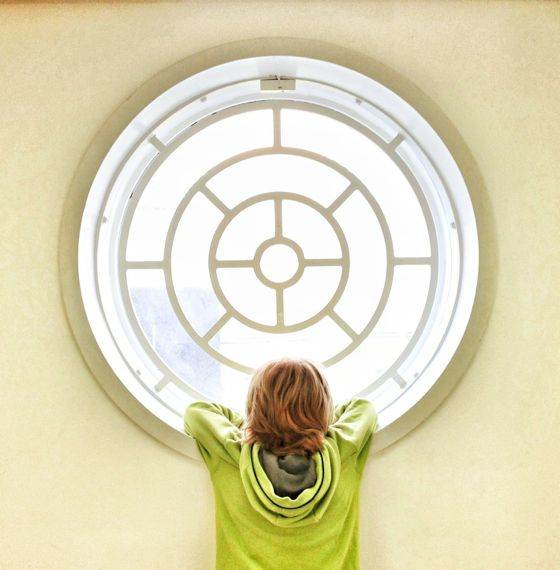
I know which camera and editing apps work best for me. I often use Hipstamatic to shoot, and I will have my favorite film/lens combos at that time saved so there’s less chance of losing the moment while fiddling around trying to find the best settings. But I try to find time to experiment with apps too. There’s always a new favorite waiting to be discovered.
Above all else, I try to have fun with photography. I enjoy taking photos of my boys, playing around with different editing techniques afterwards and sharing my images with them. But of course, above all else, I love being in the moment with them.
Hipstamatic – Manel Bello
From my point of view, Hipstamatic is the most complete app for analogue pictures on mobile devices. In a market with a wide range of apps with retro and vintage filters, Hipstamatic has been able to distance itself from other apps thanks to its functionality, philosophy and the amazing photos it takes.
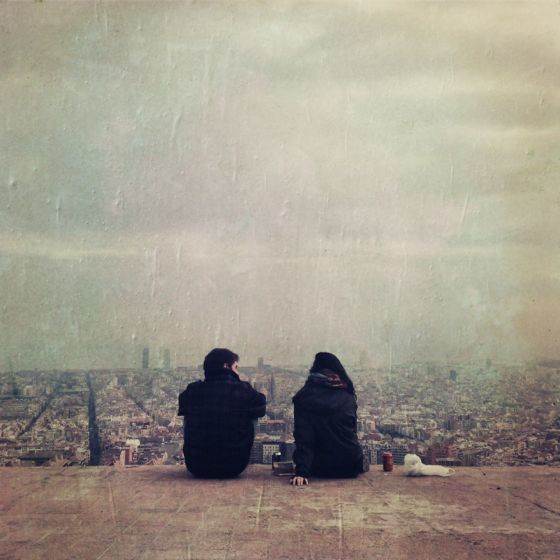
The attractiveness of Hipstamatic is based on the fact that unlike the rest of apps, the filters – lenses, films and flashes – are applied before taking the photo and not afterwards, which forces the photographer to have a previous visualization of the photo he wants to take.
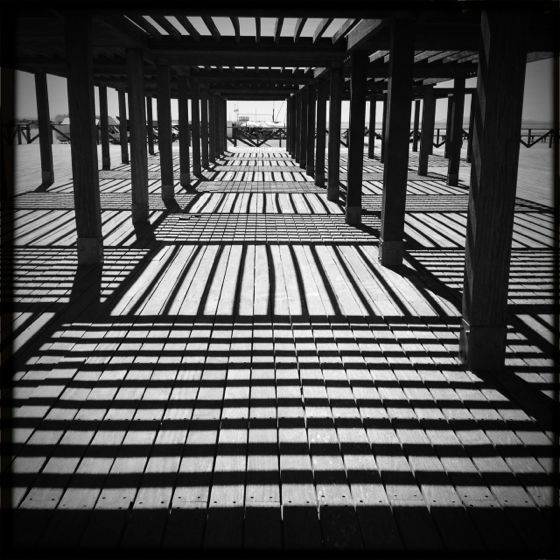
As the number of lenses, films and flashes grows when the app is updated, the number of combinations also increases, and the huge number of combinations allows you to take a really unique one-off image from each moment.
Additionally, Hipstamatic allows you to select the option of random shoot, so that the app itself makes a combination of filters. The results are often amazing and unexpected.
Hipstamatic Tips
I would say that the main thing is to feel like experimenting and playing, keep on shooting and trying new combinations, and slowly you will find the ones that make you feel comfortable and adapt to your photographic eye.
Once you overcome the first stage, you will be able to take pictures with the best combination, and they will be great shots.
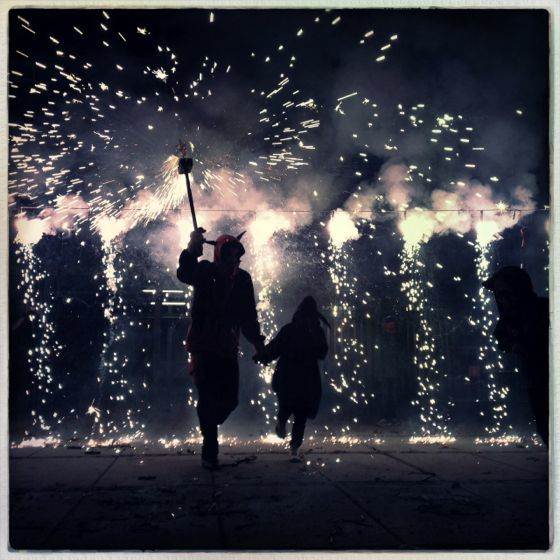
Thanks to the large number of possible combinations, Hipstamatic is an app that allows you to almost forget the rest of apps that apply filters to your photos.
Moreover, the large community of Hipstamatic users will allow you to share, and above all, learn by seeing the amazing images taken with the different combs of lenses, films and flashes.
Landscape Photography – Benni Grigoli
For some, landscape photography is just taking a picture of a field, but it’s way more than that. It’s not everything that’s outside and green or white, whatever the weather might be. It’s what connects you with nature, what makes you feel free, the past and the present right there with you. In my experience it’s the only kind of photography that brings the childhood out of you.
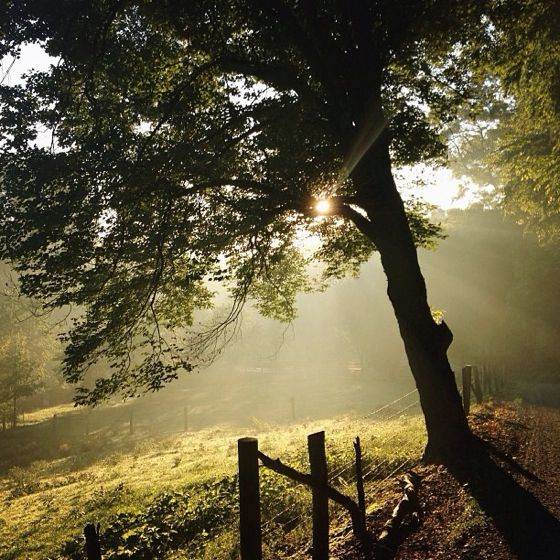
Landscape Photography Tips
Get close – you don’t have that fancy zoom like DSLR’s do – pick a subject and make it stand out. Explore, set time and dates when you want to shoot that particular spot. Early mornings and late evenings are best, and fog makes everything look beautiful so don’t waste a minute, you don’t know how long it’s going to last.
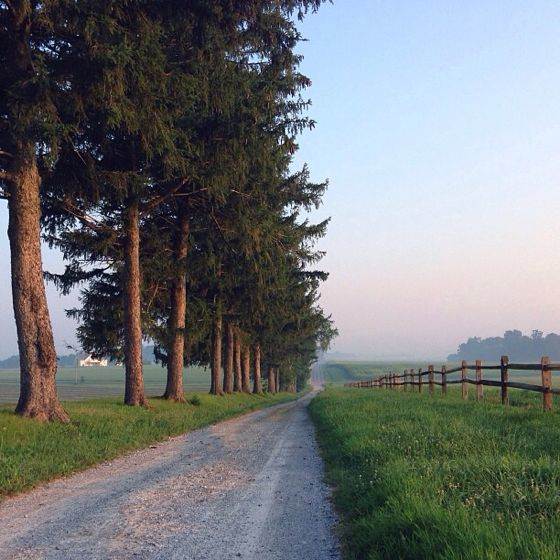
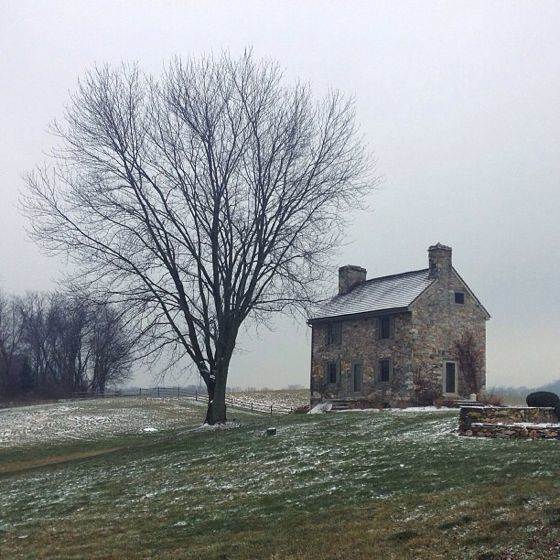
Always explore and don’t be afraid to try different things. Also, have fun with apps and find one that’s easy to use. VSCO Cam and the AfterLight app are great for landscape photography. Carry a notebook with you and take notes. Take different angle shots of that particular spot.
Layering – Karen Divine
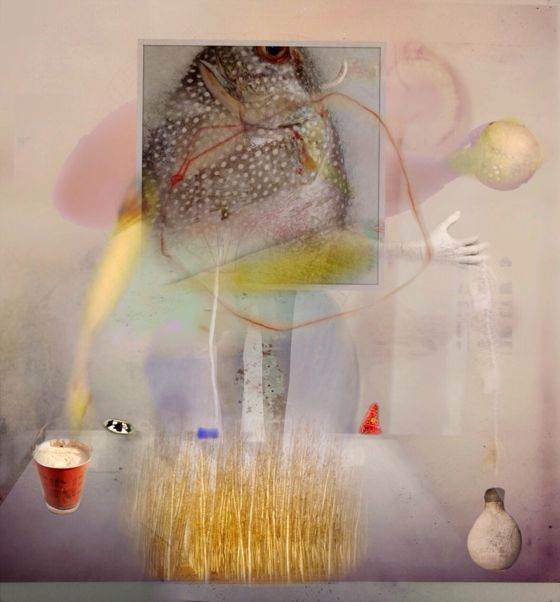
The iPhone is an exciting way to create abstract art using layers. Because this form of expression is usually subjective and spontaneous, using apps that blend and mask parts of images can be exciting. New shapes appear in ways we don’t anticipate, creating colors, forms and textures that are interesting and unexpected.
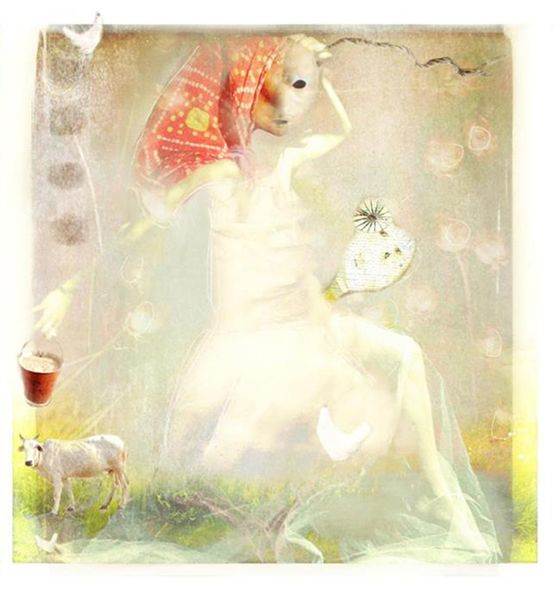 Layering requires the photographer to look at qualities in imagery that can be combined in surprising ways. Blender, Leonardo, Superimpose X, Procreate and even Juxtaposer are wonderful apps that offer traditional blending modes, masking and resizing. A few of these apps allow for multiple layers that can be rearranged and changed at any point, providing an overwhelming amount of possible scenarios.
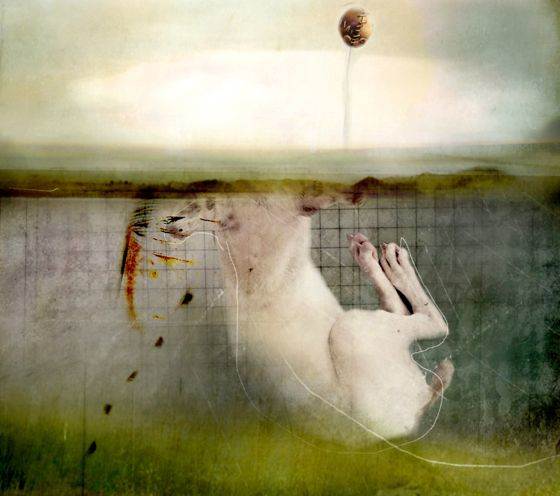
Working on the iPhone in this way is the antithesis of looking at photography in a traditional way. One doesn’t shoot for the single image and instead shoots for forms, textures and colors with the intention of combining them in new ways.
Layering Tips
Blend random images together as you experiment with different blending modes and masking. Next, blend that combined image with a new image, building or replacing images until something wonderful shows up. Save each layer that has something to offer (even if it’s just a section or texture) and then add that element back in using Juxtaposer or Leonardo. There are many apps that allow for this. Be playful, spontaneous, expect surprises, and most importantly, learn to work with your intuition.
Macro Photography – Chris Belcina
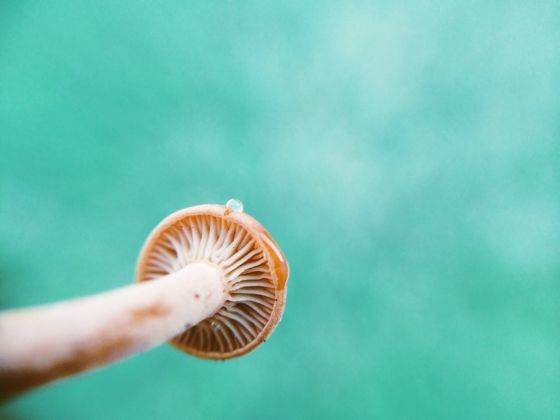
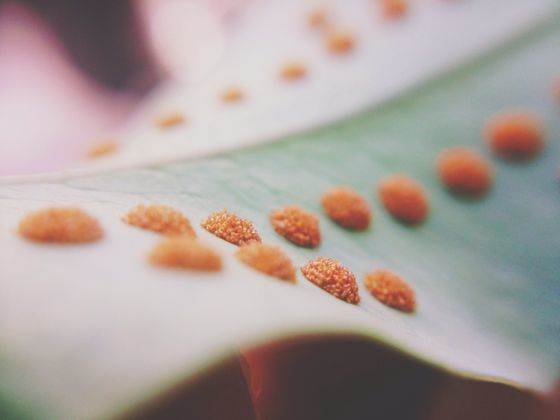
Macro photography is capturing extreme close-up photographs, very small subjects such as tiny flowers, insects and such. It is very different from other styles of iPhoneography because with macro photography you reveal the tiniest details of things that aren’t seen normally.
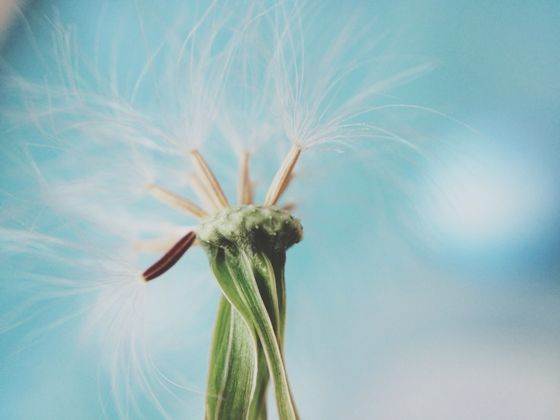
Macro iPhone photography can be quite challenging – from shaky hands to not scaring the bugs away to finding the right amount of light and avoiding the strong winds.
Macro Photography Tips
Here are a few tips I can give when starting out with macro iPhone photography:
1. Tools
a) Attachable lens. I recommend SquidCam, Photojojo or Olloclip.
b) iPhone tripod (that is if you have really shaky hands, but in the process your hands will eventually learn how to stay still, or you can use an alternative stabilizer like the ground or the wall).
2. Lighting
Macro photography is at its best when it’s taken early morning or late afternoon, where it’s shady. We cannot capture a macro shot in direct sunlight because it will come out really bright and the details won’t be as clear. But if you do find a beautiful flower in a bright environment, just look for a shaded area and capture it.
3. Taking The Macro Shot
Adjust the distance until you get the part of the subject you want perfectly focused. Don’t take just one shot, take a dozen just to make sure you actually get it right. If it’s windy or if the iPhone keeps on shaking, I would suggest you block the wind from whatever direction it’s blowing. If you have really shaky hands, I suggest you stabilize your elbows on the ground or against the wall. And don’t get frustrated if it doesn’t come out the way you wanted. Macro photography takes practice and patience.
Nature Photography – Kevin Russ
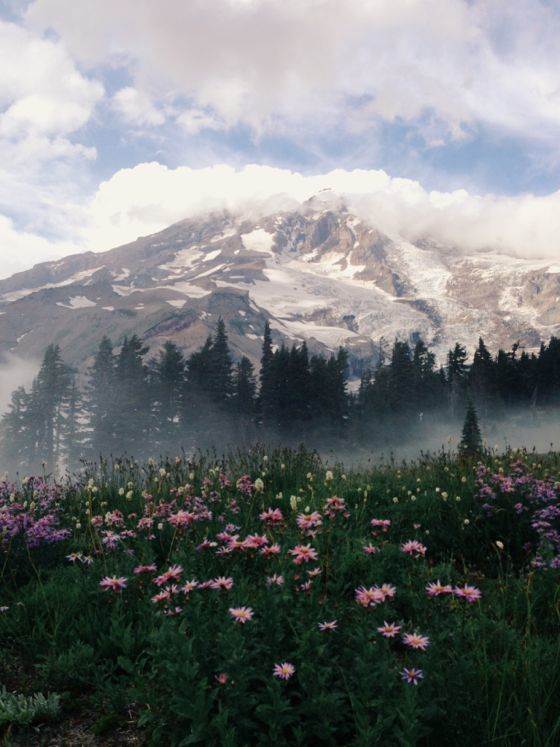
Nature photography is photographs of nature like landscapes and wildlife. It’s different from other styles of iPhoneography because you are’t working with people or manmade objects.
Nature Photography Tips
Get out early and stay out late. The iPhone is not good with harsh light so the softer light of the morning and evening are best. If you can get an overcast day, that is great too. Shoot as much as possible. The best way to refine your eye is by putting it to use composing photographs.
Painterly Art – Geri Centonze
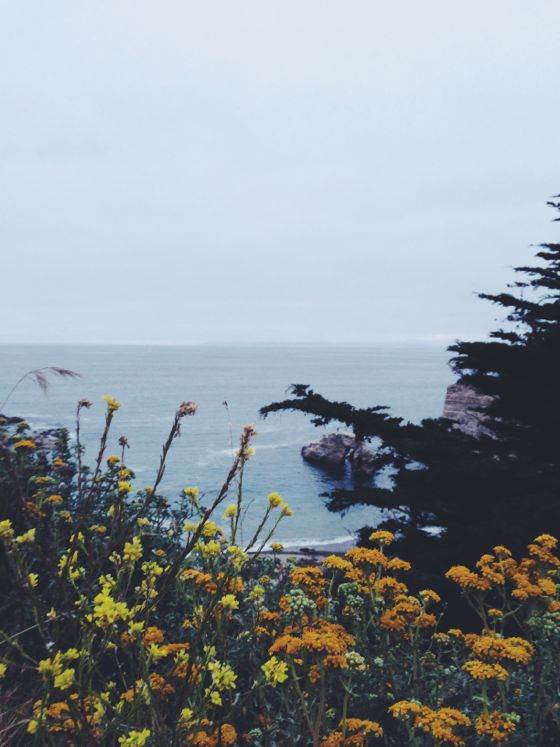
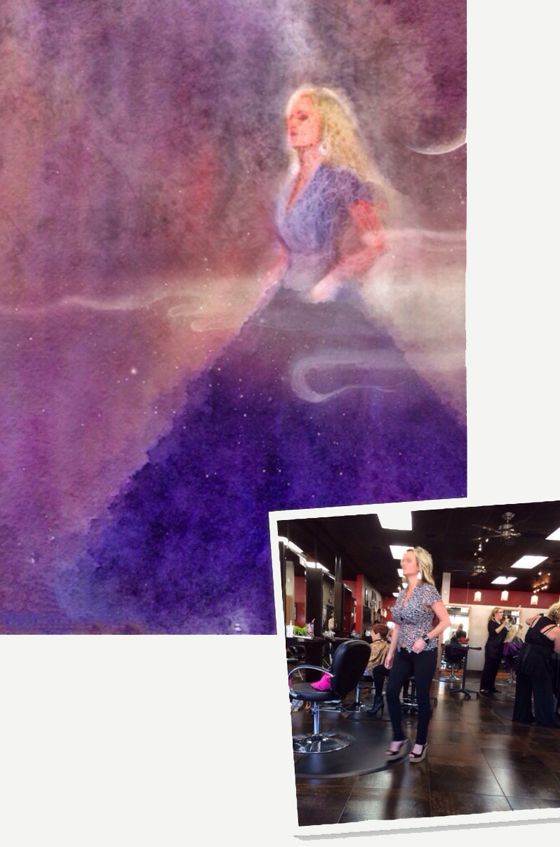
Painterly iPhoneography is a style of editing that takes a photograph and manipulates the pixels in a way that creates an effect that looks as though it were painted rather than photographed. This can be done using a variety of apps – some of my favorites include Artists Touch, Glaze, Repix, Clever Paint, Tangled FX and Waterlogue.
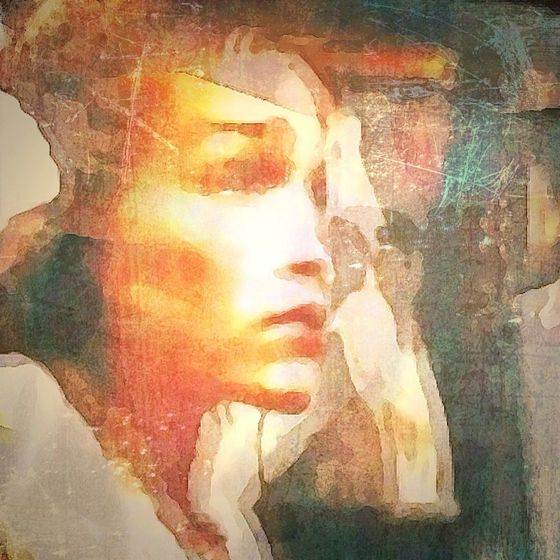
It is also possible to combine actual digital brushstrokes using apps like Art Rage or Procreate to paint over a photograph. I also like to use Sketch Club which allows me to combine layers and blur and smudge the image.
Painterly Art Tips
Experiment with the photos on your camera roll even if they don’t look like much at first glance. With a little imagination, you can turn them into something new and even beautiful! Visit the Painterly Mobile Art Flickr Group for inspiration. There are over 200 artists contributing to the group each with their own unique style.
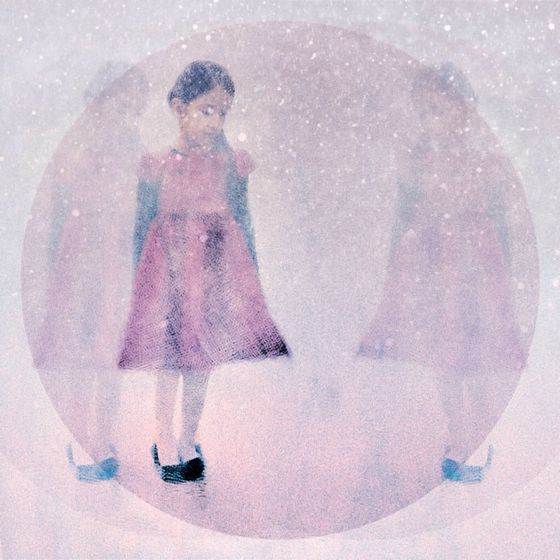
My usual workflow involves creating several versions with various painterly apps and then combining them in an app like Image Blender (I use Sketch Club). You can also add texture using apps like Distressed FX or Mextures. Purchase a stylus to give you more control – I’m currently using the Wacom Bamboo stylus. If you’re serious about this art form, I would definitely recommend investing in an iPad as it will save the strain on your eyes.
Portrait Photography – Jack Hollingsworth
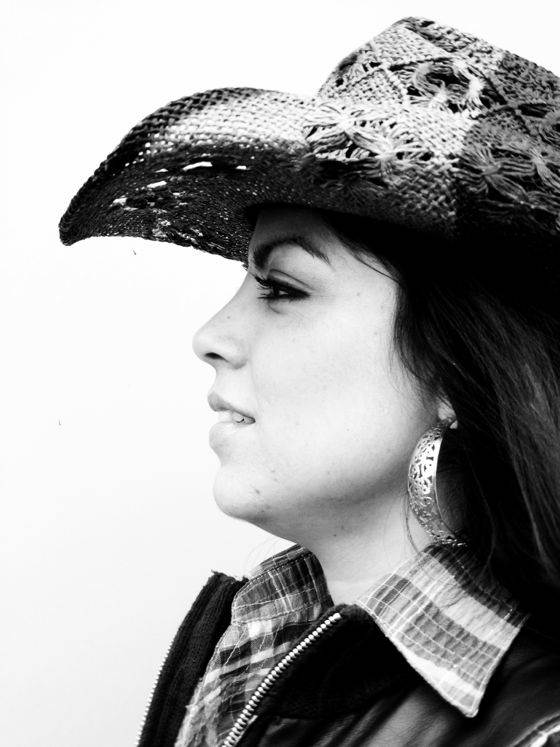
For the better part of my 30-year career, I have been shooting portraits and lifestyle photography. It’s a key part of who I am as an artist and human being. I’ve always loved to connect with people face to face… in fractions of a second. So it should come as no surprise at all that once I discovered iPhone Photography, I heartily embraced mobile portraiture.
Portrait Photography Tips
Here are a few do’s and don’ts for elevating your mobile portrait craft.
Do’s
1. Soft Light Is More Flattering Than Hard Light
For a good amount of my mobile portraiture, I look for open shade. I then lock my white balance to a ‘warmer’ tone. If I have to shoot in direct light (which can be quite harsh) I try to diffuse, bounce or reflect the light to make it less glaring and more pleasing.
2. Expose For the Skin Tones
I almost always use a camera replacement app that allows me to independently control both exposure and focus. My go-to app for shooting mobile portraiture is Camera+. I set my Camera+ exposure control right on the brightest part of the face (skin tone) and lock the exposure. Then, I just shoot away!
3. Simplify Your Background
There is nothing more distracting than a busy background or backdrop that competes with the subject itself. I like finding neutral color backgrounds. Then, if possible, gently move my subject in front of that simple background.
4. Get the Eyes in Focus
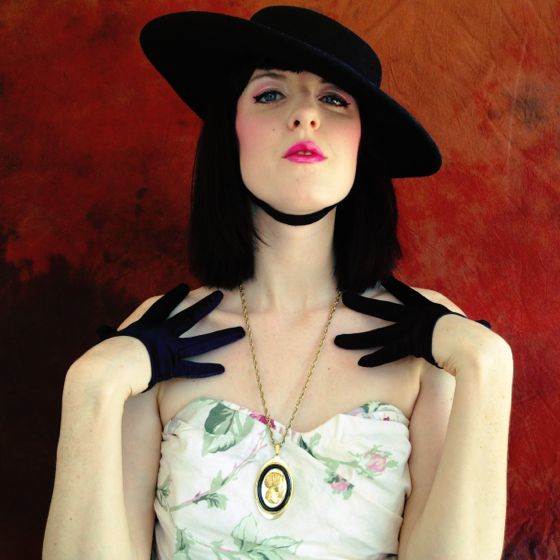
Without a doubt, the eyes are the central element to mobile portraiture. Make absolutely sure you get the eyes in focus (or at least the eye that is closest to the camera lens). The eyes are the windows to the soul and spirit of the subject you are shooting.
5. Use Discriminating Filters
For most of my mobile portrait work, I prefer the discriminating color presets of an app called PicTapGo – beautiful, creamy, natural, authentic, believable – with full stocking and slider controls. Less bling, more bang.
6. Connect With Subject… First
Before you jump in and start snapping away, first try to make a quick connection with your subject (if it isn’t someone you already know). Trust me… the better you get at this, the better your mobile portraits will be.
Don’ts
1. Don’t Get Too Close
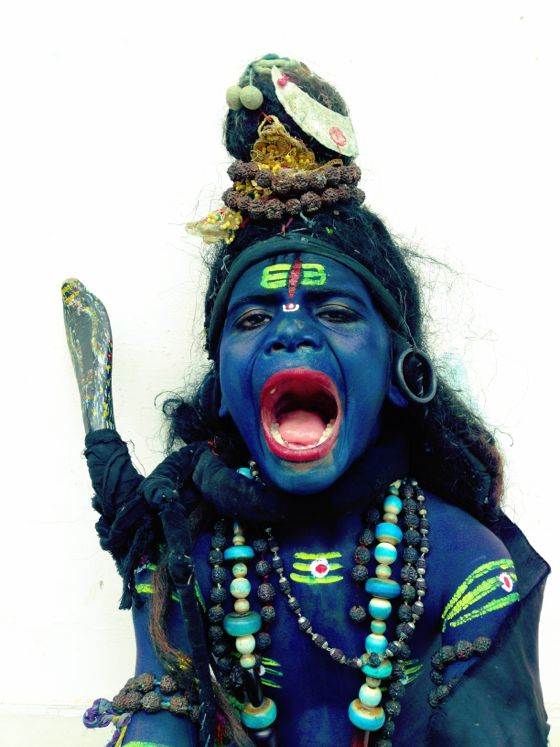
Stay about an arms length away from your subject. Don’t get too close. The tiny lens in your iPhone is roughly the equivalent of shooting with a 22mm wide-angle lens. Wide angle lenses distort facial features within a 24” (60cm) range. Keep your distance.
2. Don’t Crop At the Joints
As a general rule in mobile portraiture, you don’t want to crop at the joints – neck, waist, knees, and ankles. That makes an awkward photo. To create a more natural crop, better to be slightly above or below the joint lines.
3. Don’t Use Your Digital Zoom
If you want to get close and fill the frame with someone’s face, then it’s better to crop in editing than shooting. Almost all photo apps have some sort of cropping tool. And the native resolution of an iPhone image is large enough to crop into.
4. Don’t Give Up
Compelling and inspiring mobile portraiture is not easy. Not in the least. As a matter of fact, even after 30 years of shooting, I’m still learning and growing! Practice on your family and friends first. Then make your way to strangers. The more you shoot, the easier it will become.
Street Photography – Mohsen Chinehkesh
Street photography has a very long and rich history which can be traced back to the works of Eugene Atget capturing the streets of Paris beginning from the 1890s. Henri Cartier-Bresson is another French photographer whose name is linked strongly with street photography mostly because of his influential idea of the ideal or decisive moment. American photographers like Garry Winogrand, Robert Frank, Joel Meyerowitz and William Klein can also be referred to as street photography heroes.
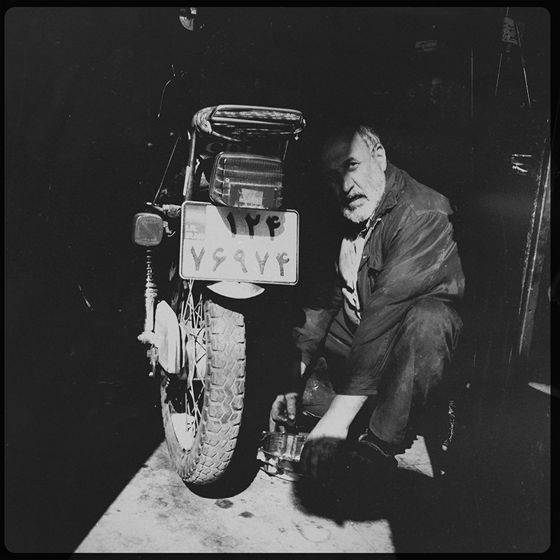
So street photography is not a new phenomenon which can be defined as a mobile photography or iPhoneography style, but we should regard it as a photography genre. Street photography has always been concerned about human condition within the society.
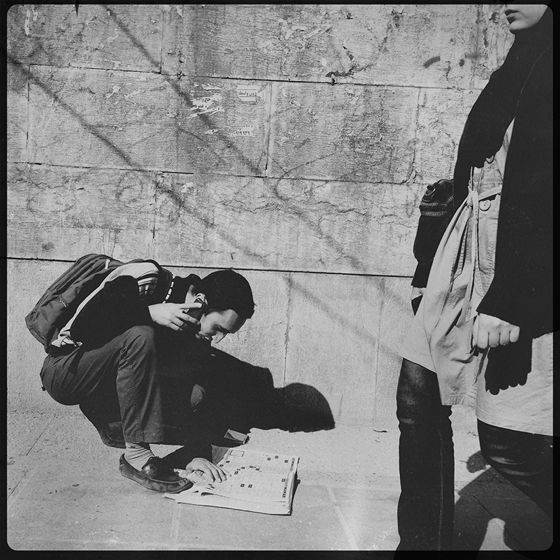
In practice it might be defined as depicting the human actions within public places. However, it does not necessarily require the presence of the human. Since many street photographers prefer to remain unnoticed while shooting subjects to be able to represent them in their most natural mood, the smartphone is a perfect tool for this purpose. And I think this is what makes mobile street photography different than other mobile photography styles. Mobile phone is just the perfect tool for street photography, not what defines it.
Street Photography Tips
Part of my answer to this question relates to my previous answer. The most important words I have for those who want to enter the field is that you should regard street photography as a photography genre instead of considering it as merely a mobile photography style. If you take this approach, the results will be apparent in every move you make. First of all it allows you to define and evaluate your artistic activity in a wider horizon as well as providing you with richer sources of inspiration. It also helps you not to become over-fascinated by the tool you use and lets you concentrate more on the photography practice.
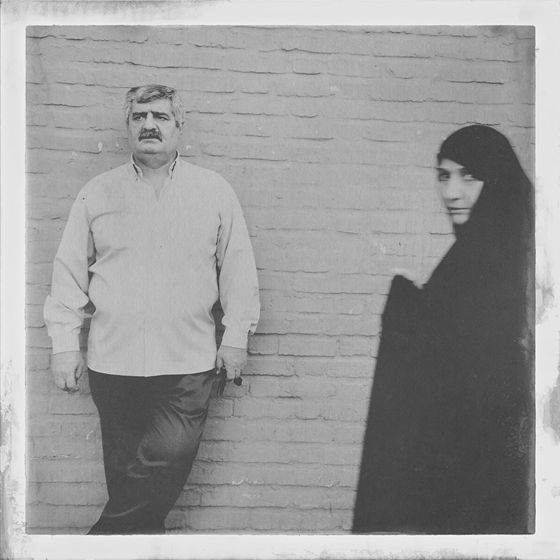
“The best camera is the one that’s with you?” Well, that’s right but that’s not why mobile street photographers have their iPhones with themselves. True mobile street photographers have their iPhone because it’s their best camera!


Great article and discussion about all the styles of iphoneography! One thing about landscape and nature photography is that you really can get great images any time of the day and I have the iphone does well even in harsh light as long as you are careful about your focus and exposure. I often just combine images(one dark and one light) to get the right light. Also, not mentioned is that cloudy days are some of the best for landscape and nature photography. Thanks and I am loving the blog!
I love cloudy days. They are perfect for photographing any time of day!
Thank you Dave, great tips!
I feel completely honoured to have been asked to take part in this, and to be in such amazing company. Thank you Emil.
It really is a great read, and there are some fabulous tips that I will definitely be taking on board.
Great job putting it together Emil!
Thank you so much Elaine! Your part is awesome!
An excellent article Emil. The tips, from artists who know what they are talking about, are priceless 🙂 I love all the featured artwork.
Thank you Jeffrey!
Great, great article, I would of liked to hear more from Kevin Russ, he is by far my favorite Iphoneographer – but still great piece and great tips!
keep up the good work Emil!
Thanks Luke, will see what I can do.
Some great tips there, especially the portraits. Interesting to think about how we divide up mobile photography into genres. The competitions try to do it. Here we’ve got some genres by subject (street, portraits, etc), some by tool (eg Hipstamatic), some by technique (layering). Obviously some photos fall into various genres. But I think it’s a sign of a maturing genre (mobile) when we start dividing it up into sub-genres.
Thank you! I tried to pick what I see as the major trends and directions in iPhone photography, but of course my selections are a bit arbitrary. But the different sub-communities inside iPhoneography are indeed a sign of maturation!
Thank you Emil, really great advice I think and honoured to add my thoughts re black and white.
Thank you so much for your amazing tips! Well done.
I think I would have included selfies as a separate genre so much more popular with mob photography then it ever was with dslrs:-)
There’s selfies, food pics, pics of friends drinking beer and so on… Despite their popularity, I don’t think they deserve a place in this article.
I guess my thinking behind that suggestion was that selfies created a docial phenomenon whereas photos of food pushed interest in food photography in general… Selfies haven’t resulted in DSLR world catching up on the trend simply because it’s super impractical and mobile phones are the best tools for this “genre”
I recently saw a quote someone pinned on Pinterest “you know we are real friends when I show you my ugly selfies” – a selfie in a particular style (you cAn see they all are taken from above and at an arms distance) gone mainstream with even classes offered on how to take better selfies and I even recently saw a “tripod” that actually works like an extention if your arm designed specifically and only for taking selfies!:-)
Crazy:-)
Wow, that’s crazy indeed. Of course, the movement is interesting, but I still don’t think selfies need even more attention… Maybe I’m old fashioned 🙂
🙂
Thanks Emil! I found the answers to all your questions
Great, happy to hear that!
We’ll done Emil and to all contributor of this article
Thank you Poy!
I think this is one of the best posts you’ve made, Emil. It is very thorough and well thought out. I am familiar with and an admirer of almost everyone you reached out to to contribute. There is so much good material here I will keep comeing back to this!
This is a lovely page with so many beautiful images that I really, really hate to say the least thing critical here but in case there are students at this page trying to do a research assignment, I must speak up and it’s to these students that I address this comment.
Dear Student of art/photography/aesthetics/what have you, I doubt very much there is anyone else out here besides the editor of this article who would consider these the top genres of photography. Indeed, a couple seem to have been made up on the spot (“layering”? Do you by any chance mean “montage”? What about “Painterly Art”? When last I looked, the term has always been, since the genre was invented by Alfred Steiglitz, “Pictorialism”)
Again, this is a beautiful site. But please understand at least half the items offered here will almost certainly not be accepted by your professor as legitimate for use in a proper photography program.
Thanks Emil you’ve really been very helpful for us!
great article
ive not received any email 🙁
Which email are you expecting to receive Bobby?
speechless, Amezing
In the section on Painterly art it says a.o.: “Purchase a stylus to give you more control – I’m currently using the Wacom Bamboo stylus.”
Now, is it possible in any way to connect a stylus to an iPhone/iPad? I didn’t know that.
Great article ! Also a huge Hipstamatic fan. Hi Henrik yes I use an adonit Jot Pro stylus. Magnetic so attaches to your iPad iphone. Also comes with this cute tiny round plastic tip.
I also use a Bamboo Wacom white tablet on my iMac as a mouse pad with Photoshop.
Glad to hear you enjoyed this article Jane 🙂
Thank you, Emil. I deeply appreciate you sharing your knowledge.
What a great article. So many apps and styles I wasn’t familiar with.
Glad to hear you found this helpful 🙂
Great post, great tips, great artists! Thanks a lot!
Great article – I will save and refer to it many times. I choose my iPhone over my canon many times. I am a little surprised you didn’t include Icolorama in the apps available for editing photos – it is the most comprehensive app for blending, painting, filters etc. And constantly being upgraded. (No it’s not my app nor do I work for them- just a user) I use it daily along with some of the others you mentioned. I signed up for you june 6 online seminar and can’t wait.
Hi Phyllis. Glad to hear you found this article useful, and glad to hear you’ll be joining us for the seminar in June 🙂
I had no idea there are so many amazing genres for iPhone photography!
Black and white photography is just so dramatic and I like it.
Great read. My focus has always been on nature, but do travel quite a bit & take structures. Have begun to experiment with street photography & b&w shots. Always look forward to your reads & different perspective of photographers. Thanks
Hi Bob! Glad you enjoyed the article. Good luck with your street and b&w photography experiments. 🙂
And what about food photography?