Landscape photography can often seem intimidating, especially when you see amazing photos from exotic locations and foreign countries. But it’s possible to take interesting photos even in the bleakest of locations. In this tutorial, you’ll discover ten great composition techniques to help you take stunning landscape photos with your iPhone, no matter where in the world you are.
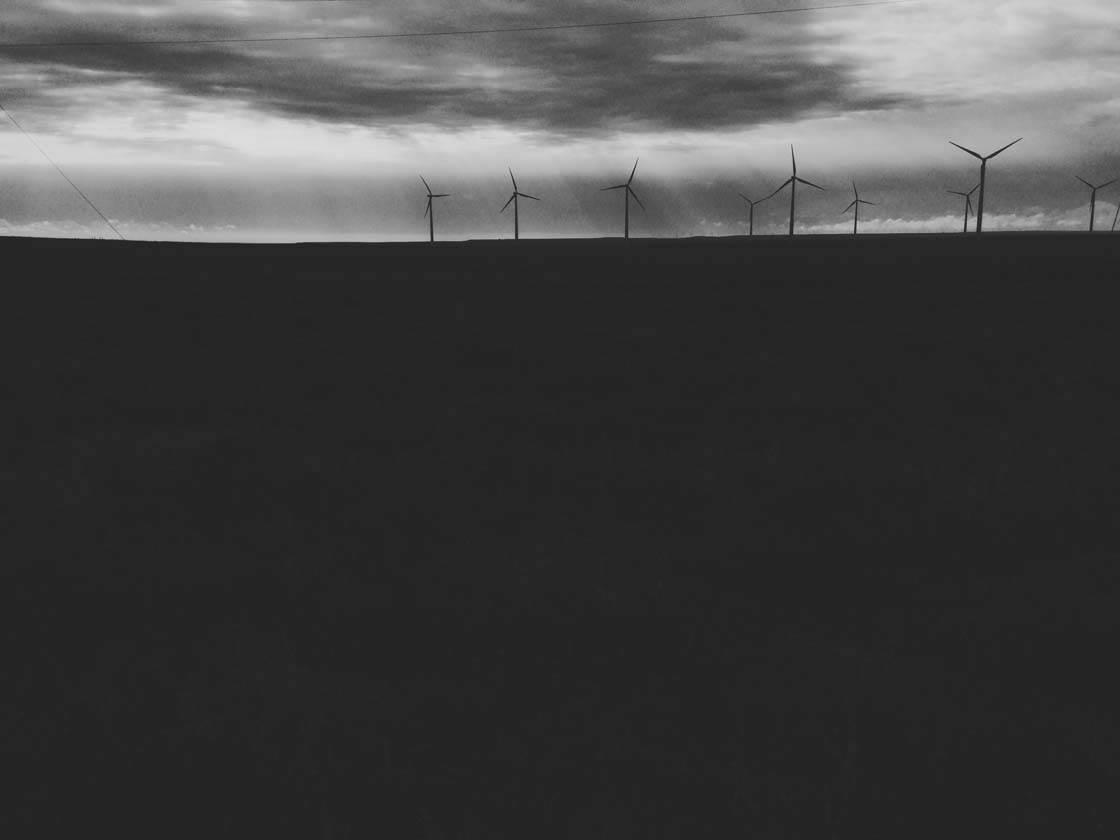
I live in Wichita, Kansas, which can feel like a world away from anything interesting. But there are interesting subjects and landscapes in any locale – even yours.
It’s not so much about where you are or what the landscape looks like. A good photographer can create amazing photos from almost anything. It’s all down to how you compose the shot, the angle that you shoot from and what you include in your frame.
So, let’s take a look at ten tips and tricks to help you get the most out of your landscape photos, even if your landscape is less than extraordinary.
1. Find An Interesting Subject
This may seem obvious… of course you want to find an interesting subject for your photograph. A photo without a point of interest is pretty pointless. But “interesting” may have to take on a different role when you’re in the middle of nowhere.
If you’re shooting in a busy city or exotic location, there are interesting subjects everywhere you look. It can be hard to capture it all. But if you’re in a bleak landscape with no obvious outstanding features, you may struggle to find anything interesting to photograph at all.
But look closer. There will always be something of interest to photograph, no matter what type of landscape you’re shooting in. Familiar objects such as trees and telegraph poles can make interesting subjects in a landscape photo.
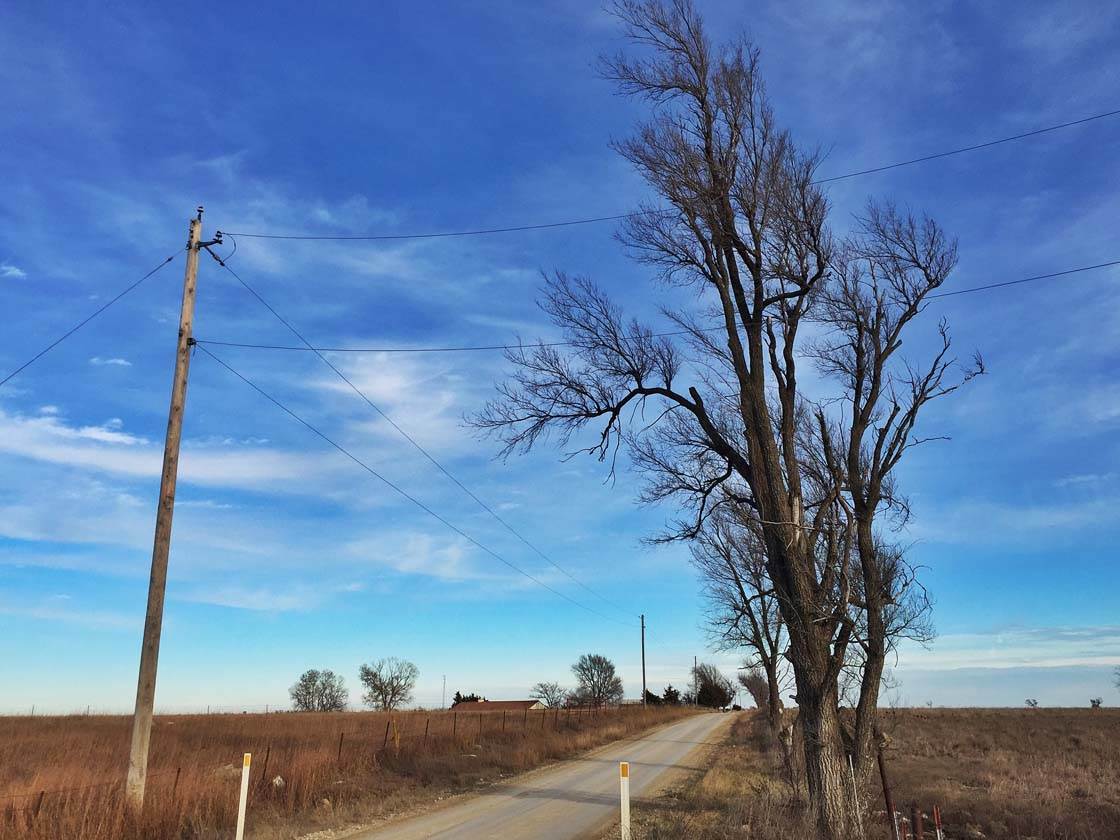
This photo doesn’t have anything in it that’s particularly extraordinary. Yet the composition and the scale work to create a fairly dynamic image.
If I’d taken a few steps forward I wouldn’t have got the tree and telegraph pole in the frame, and it would have been a fairly boring photo with nothing of particular interest and a very large expanse of sky.
But composing the shot from this position, and including these objects in the frame, has created a much more interesting photo of this landscape.
2. Use The Rule Of Thirds
The rule of thirds is a basic composition rule that says you should keep your subject in either the right, left, top or bottom third of the frame. This creates more dynamic energy in your photograph than if you were to position the subject directly in the center of the frame.
To compose your shot using the rule of thirds, imagine two lines crossing your frame horizontally and two more crossing vertically. Then try to place your subject on one of the spots where the lines intersect.
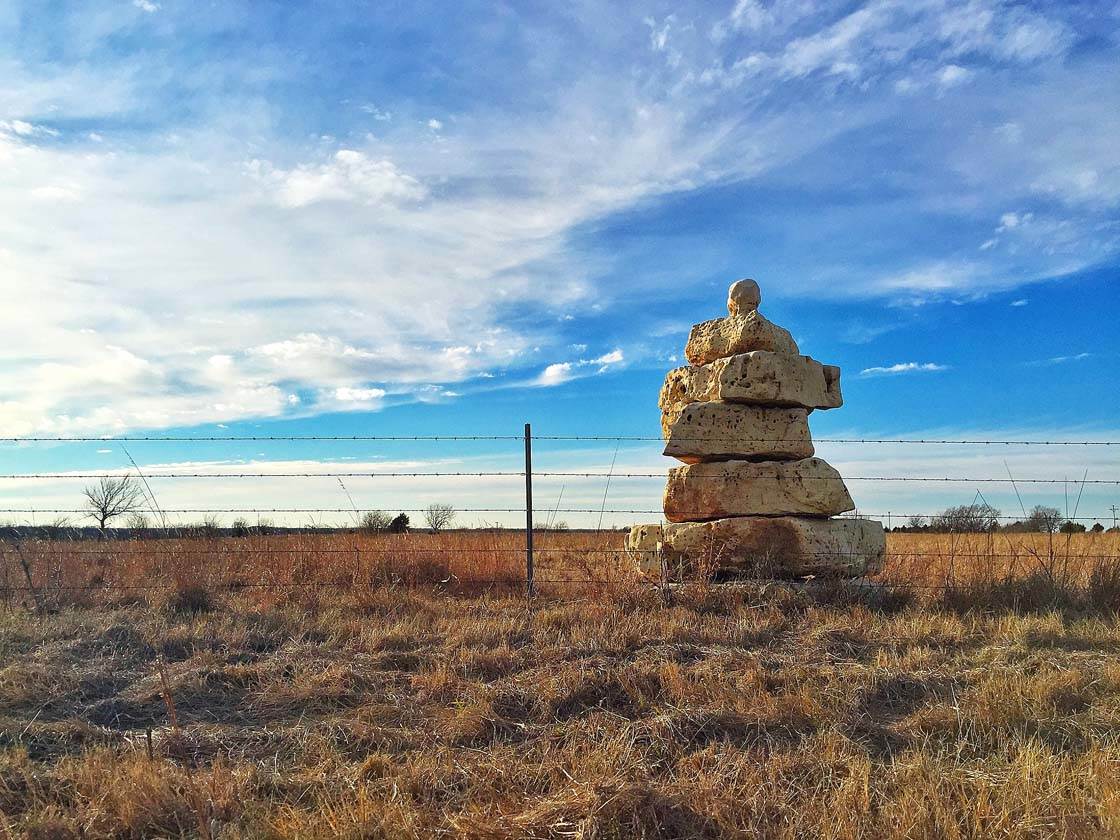
Turning on the grid in your camera settings is a great way to help you compose your photos using the rule of thirds. To turn the grid on, open the Settings app on your iPhone, tap Photos and Camera, then switch on the Grid option.
Of course, this “rule” is really just a guideline, and rules are made to be broken! So once you’ve learned to use the rule of thirds, you can then try intentionally breaking the rule and positioning your subject in the centre, but only do this if there’s a good reason for it and it adds to the composition.
3. Look For Symmetry
This rule is almost the opposite of using the rule of thirds as it focuses your eye in the center of the frame. Using symmetry involves creating an images that is similar on both sides of the frame, and it can create a very strong composition that instantly catches the viewer’s eye.
This technique works great for patterns, so if you see something that is repeated, such as a row of trees or stacks of hay bales, compose your shot so that your subjects are symmetrically lined up on either side of the frame.
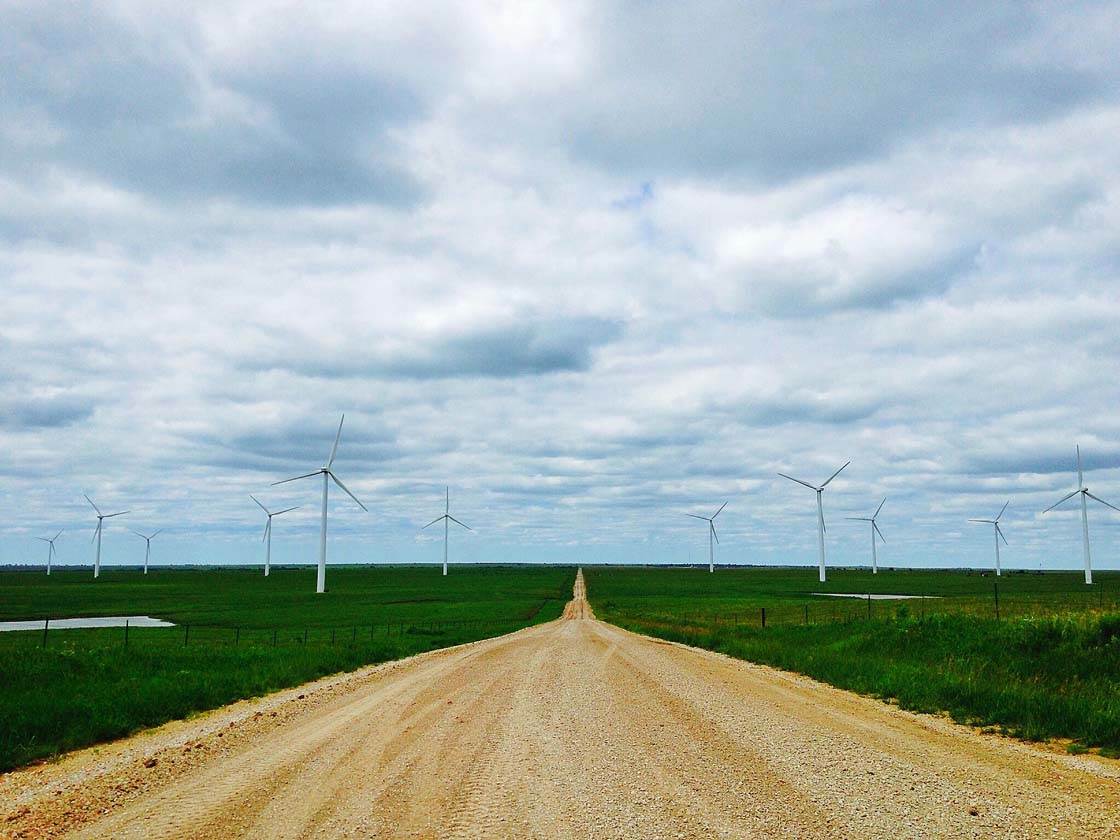
Images can be vertically or horizontally symmetrical. The above image is horizontally symmetrical since the left and right sides of the photo are almost a mirror image of each other.
Water is a great place for creating vertical symmetry as it allows you to capture a reflection of the sky in the water at the bottom of the photo.
For a slightly more natural composition, you could try off-setting the symmetry just a little bit, almost like using the rule of thirds.
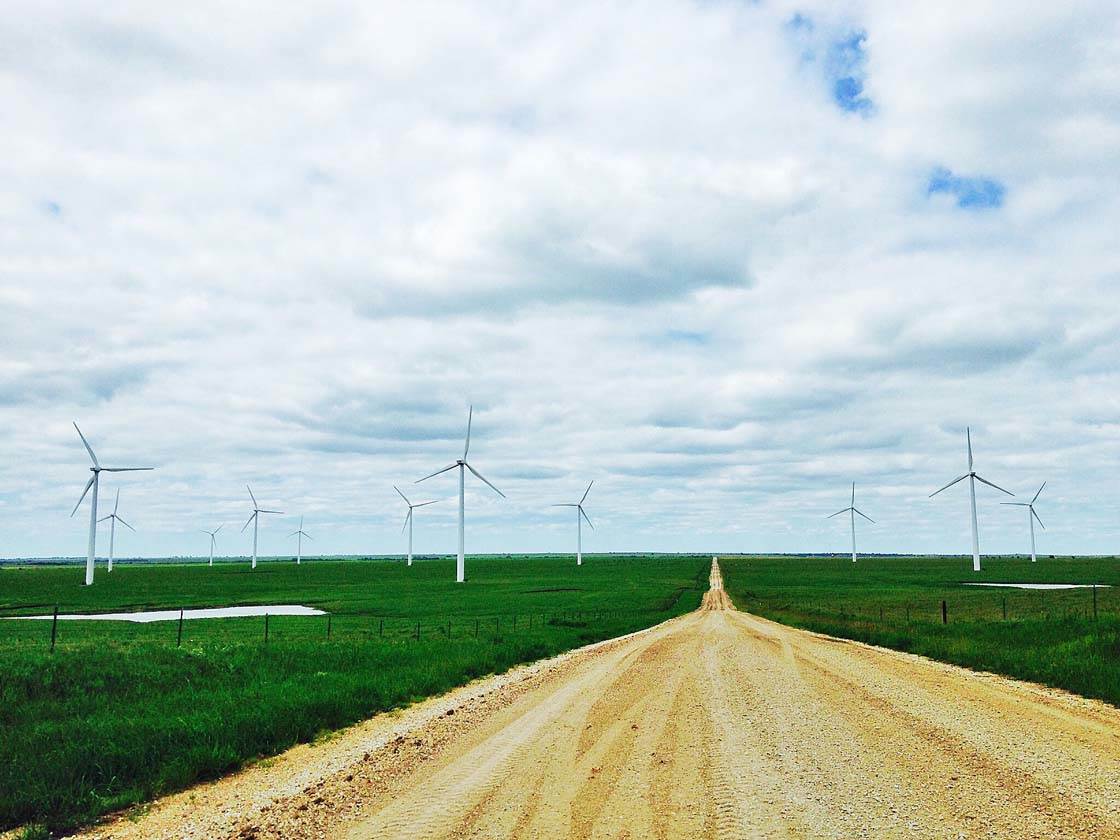
In this example you can see that the photo has an element of symmetry, but it’s offset slightly by positioning the road more to the right of the frame.
It’s always worth taking several shots from different viewpoints, centre and off-centre, so that you have a variety of images to choose from.
4. Incorporate Leading Lines
Leading lines is another composition rule that states you should use naturally occurring lines, or things that look like lines, to lead the viewer’s eye towards the subject.
This works really well with roads, rivers, fences, power lines, or natural rows of objects such as a row of trees.

In this composition, I use a road to lead you to the subject. In this case, the subject is the wind turbine. Leading lines can be straight, curved, S-shaped, converging, etc.
It usually works best if the line leads your eye from the front of the image towards the main subject, so try to position the line starting at the bottom of the frame or in one of the bottom corners.
5. Take Advantage Of Negative Space
This one is pretty simple. If you’re shooting somewhere that is fairly sparse with very little going on, use that to your advantage to create interesting minimalist photos.
Including empty space, often referred to as negative space, can actually help to emphasize the main subject as there’s nothing else competing for attention.
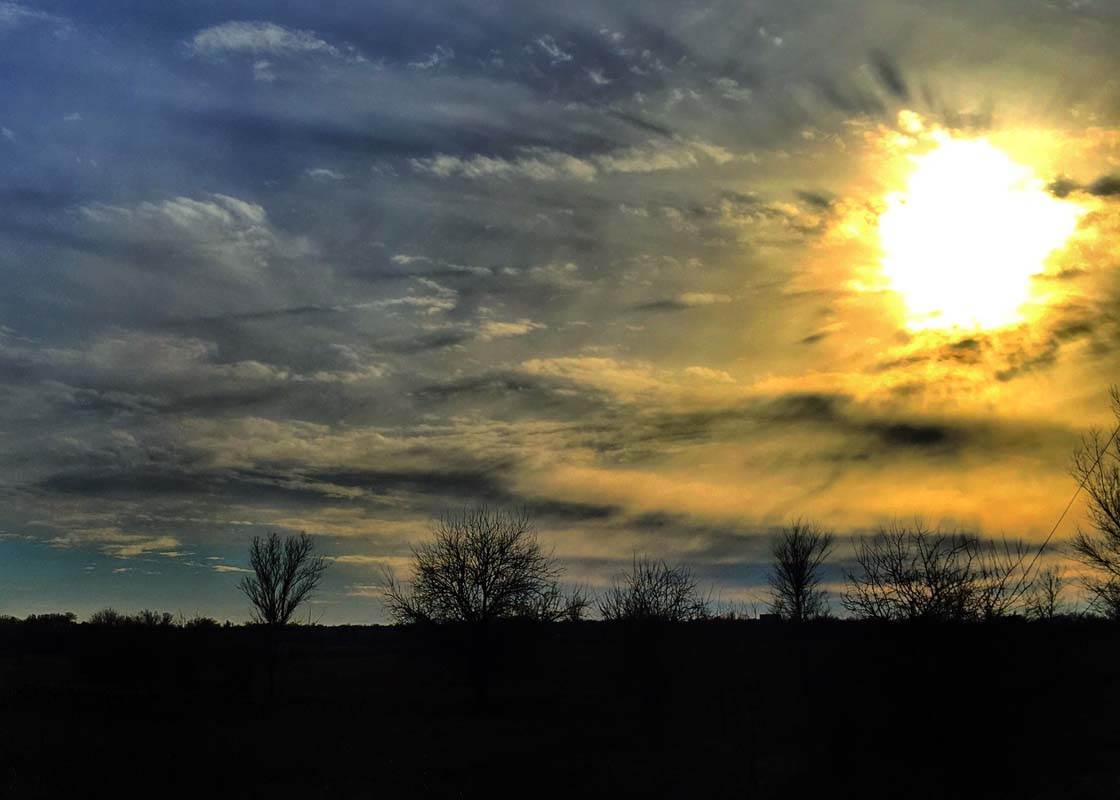
One way of using negative space is to create silhouettes, like I did here with the trees in the foreground. The black empty space actually draws your eye straight to the trees. If the foreground was brighter, the detail would distract your attention from the trees.
Another good way of using negative space is to include a lot of sky in your frame. Again, this can place more emphasis on the main subject in the image.
6. Include People To Show Scale
A space is only as vast as you make it seem. In a photograph, it can be hard to grasp how big or small the landscape really is. That’s why you should always try to display the size by using something, or someone, as a ruler.
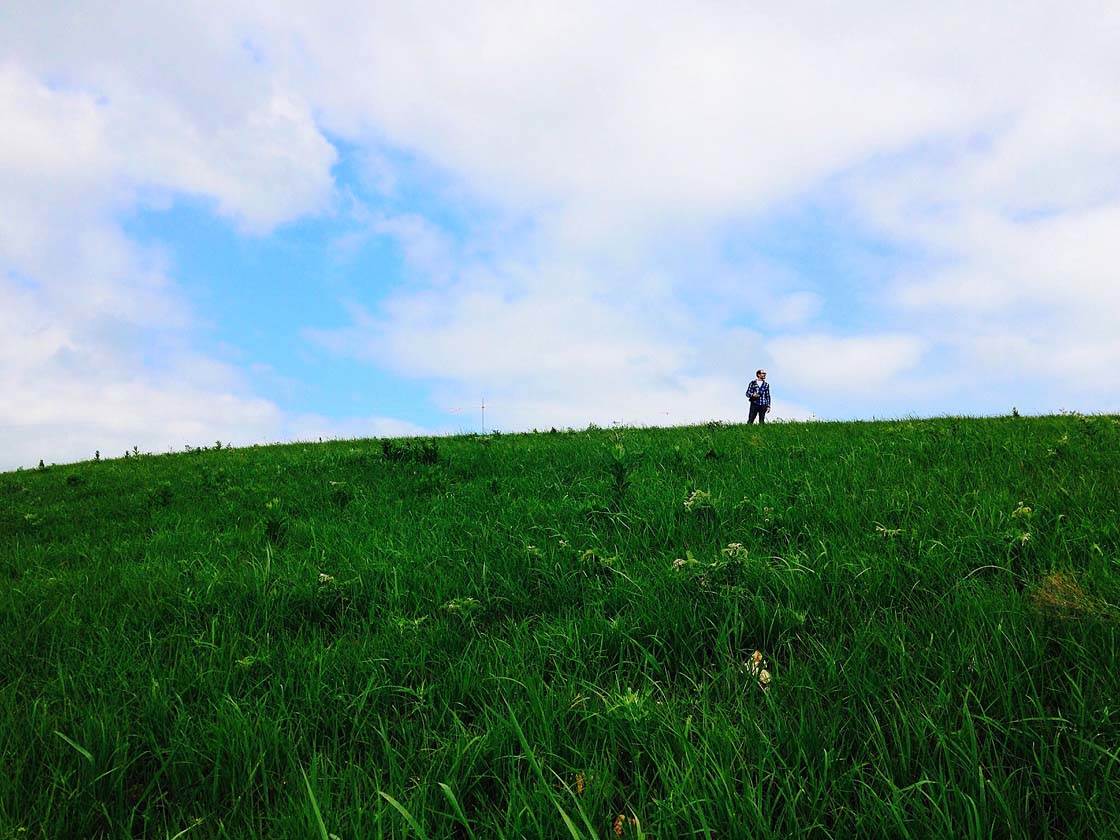
People are all generally about the same size, so if you see a person in the distance of a landscape photo, you can really tell just how vast that landscape is.
And of course, including a person in your photo is a great way of adding an interesting subject and focal point to what might otherwise be a boring scene of just fields and sky.
7. Include Foreground Interest
By including interesting objects in the foreground of your scene, you can show a landscape in the background while finding a subject to focus on in the foreground.
This is also a great way of creating a sense of depth in your landscape photos as it draws the viewer’s eye from the front to the back of the image.
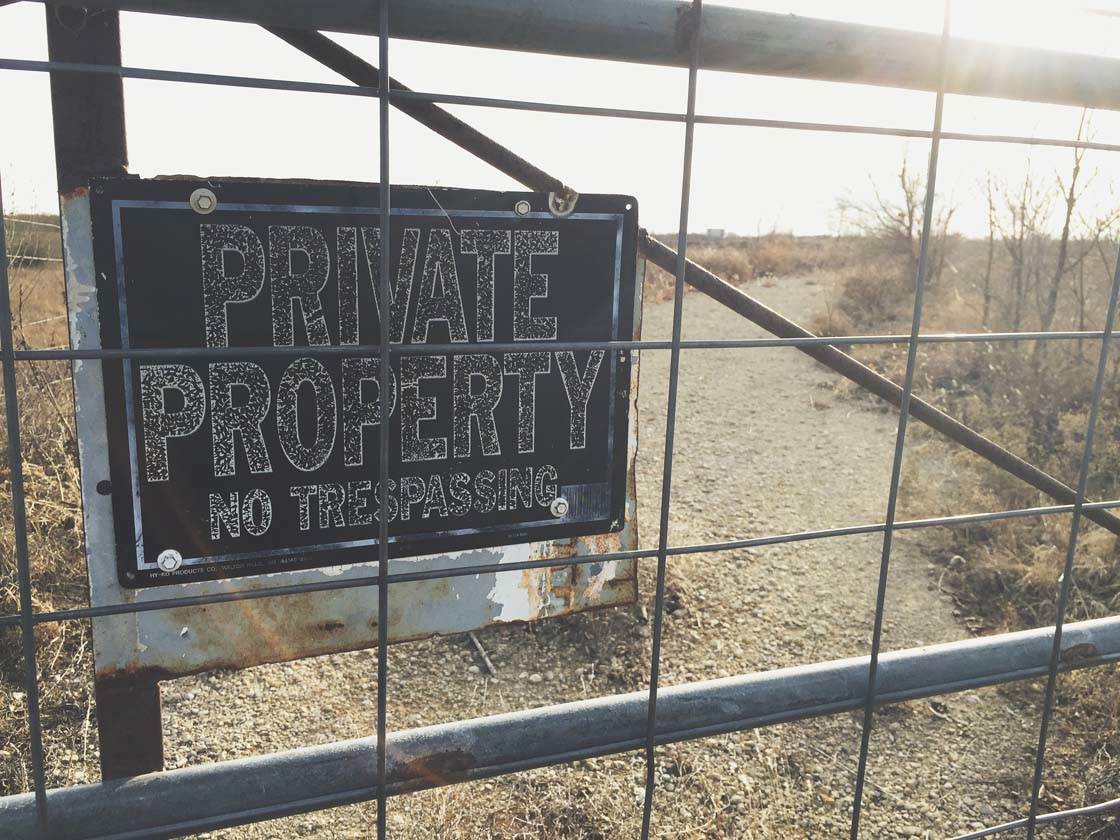
Here, I focus on the sign on the fence, but show the glaring background as well in an almost bokeh, or shallow depth of field, effect. This means the background becomes somewhat blurry while the subject in the foreground is sharp.
Common objects to use as foreground interest in landscape photography include rocks, pebbles, flowers and grass. But you can use anything at all in the foreground of your composition. The more interesting the better!
8. Shoot From Different Angles
People generally see the world from one perspective: their own height. When you shoot from low down or high up, you’re sharing a perspective that looks and feels more unique, dynamic and exciting. This is because we don’t usually see the world from this viewpoint.
When you’re out shooting, always try to shoot from a variety of different angles. You may be surprised at what you find from a different perspective.
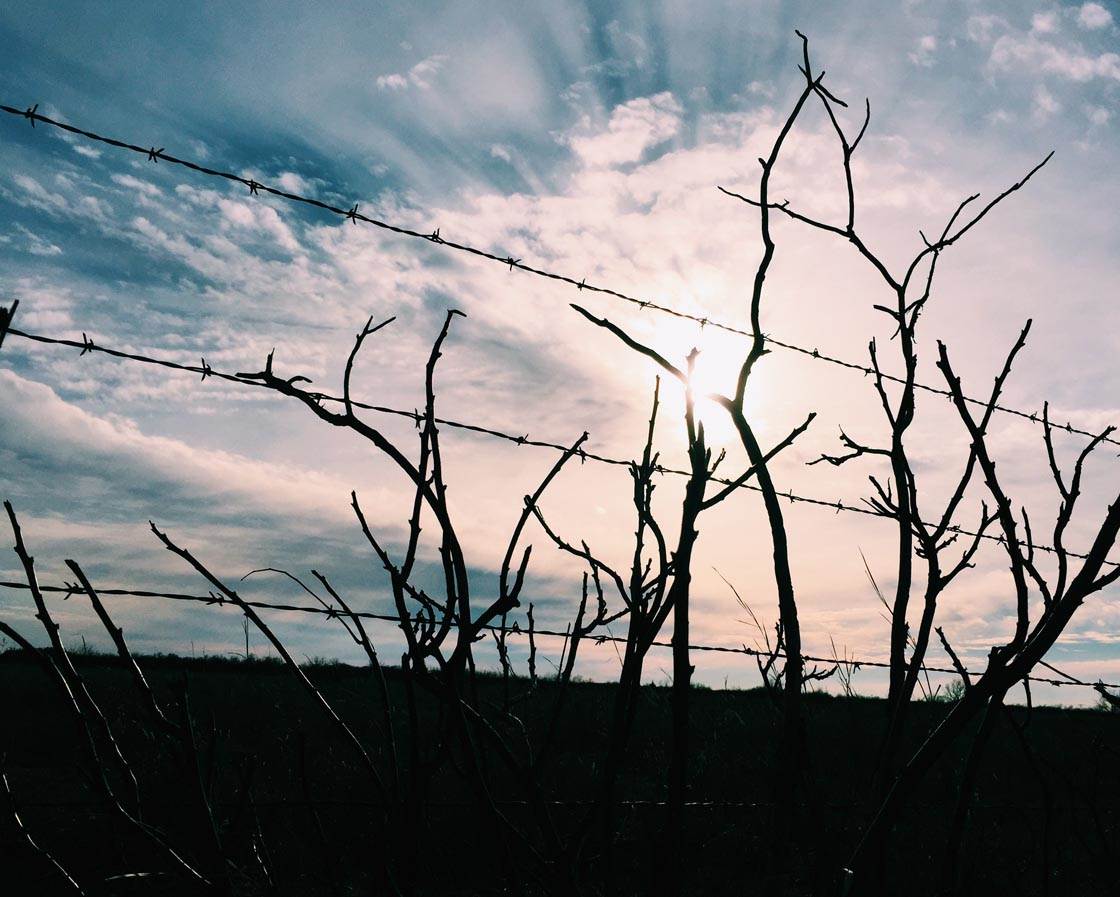
Shooting from low down is a great way of including foreground interest in your shot, as well as eliminating distracting backgrounds as it allows you to include more sky. And shooting from high up gives a great aerial view of your scene.
9. Find Interesting Textures
If a subject seems boring to you, try to get closer. And I mean way closer. You may be surprised to find how different things can look up close when you see the nitty-gritty details.

Here, I get up close and personal with a plant to emphasize the unique texture it brings to the scene. I often find that you can get more detail in texture images, without as much noticeable grain, by converting your photo to black and white.
If you get really close to your subject, eliminating all background distractions, you can also create some amazing and unique abstract images, adding an artistic element to your photo album.
10. Make The Most Of Interesting Light
Light is really what all iPhone photographers should be looking for. Light is the main factor in how we see our subject, and subjects can look very different in different types of light. That’s why you should always be mindful of where the sun is and how it’s hitting your subject.
Overcast days, or shooting when the sun is low in the sky (sunrise and sunset) often produces the best results in landscape photography. However, shooting in harsh sunlight can create some interesting effects when you get it right.
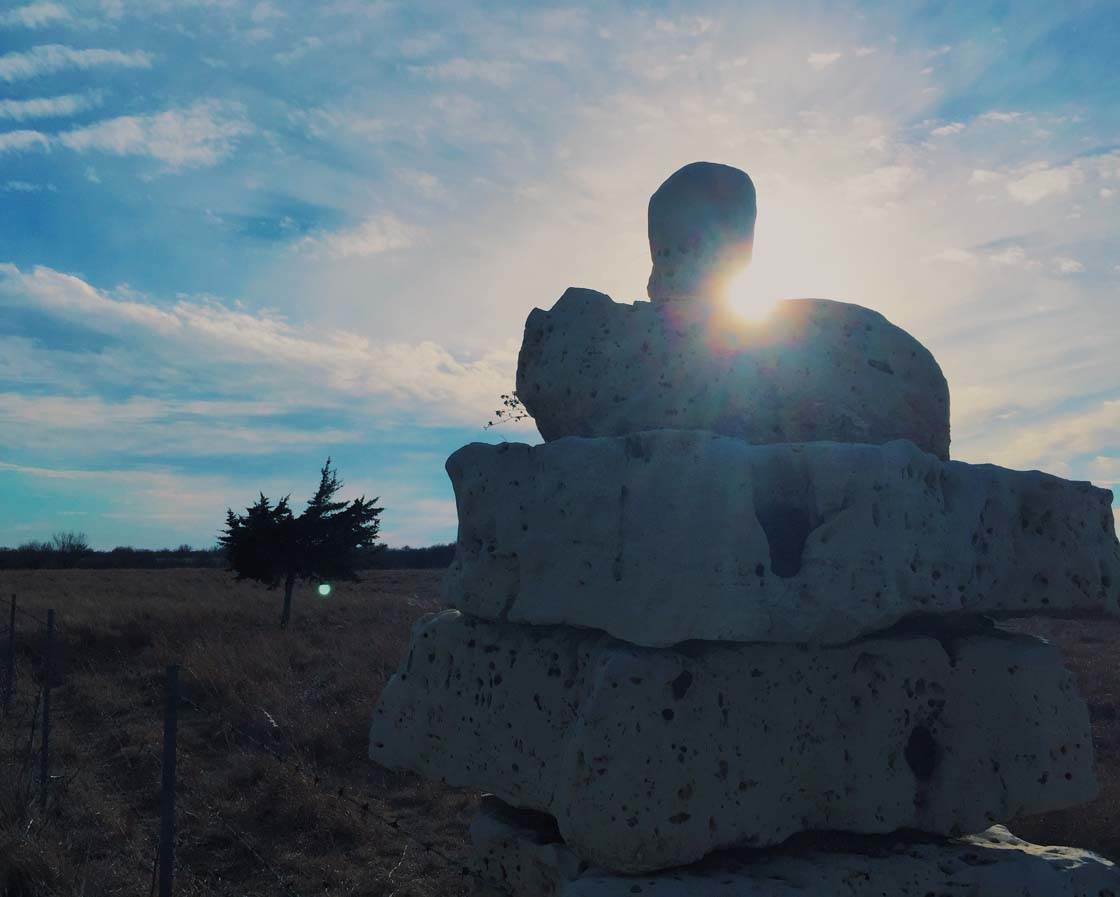
In this photo, I use light in an interesting way by having the sun in front of me and peaking around a boulder. This has produced some lens flare which adds interest to the photo.
Always think about where the sun is, and then choose your shooting angle carefully to compose your shot with the sun in the best position for the effect you want to achieve.
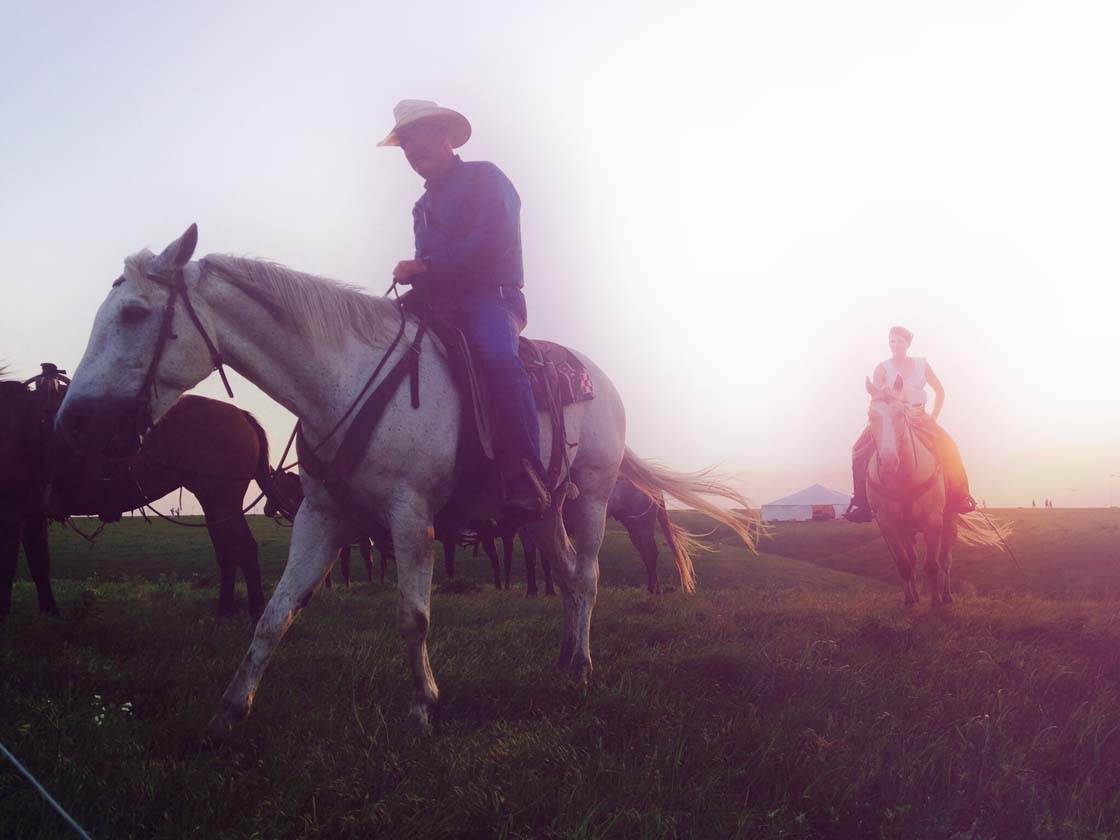
As you can see from the photo examples in this article, iPhone landscape photography doesn’t have to take place in exotic locations. You can take incredible landscape photos where you are right now, simply by following these composition techniques.


Thanks for these amazing techniques! 🙂
Thanks for reading, Je-ann! I’m glad you found them useful!
Great tips Jake! Composition is the key to amazing landscape photography 🙂
Thanks for reading, Kate! Composition certainly is key!