I recently returned from a trip around Iceland, where I had the pleasure of seeing some of the most extraordinary landscapes in the world. Even though I’d done a lot of iPhone landscape photography before, the great outdoors of Iceland made it possible to apply some extremely powerful iPhone photography principles that I’m going to share with you in this post.
1. Shoot From Different Viewpoints
One of the easiest ways to improve your photos is to shoot from a different angle. Changing the angle you shoot from has a huge impact on how your subjects relate to each other and their surroundings, and finding the right photography angle is essential if you want to get the composition right.
While it’s very easy to change the angle when your subjects are close to you, it requires more work to do the same thing in landscape photography since your subjects are so large. However, you should always walk around the area and try different viewpoints as much as possible since you will get very different results depending on where you shoot from.
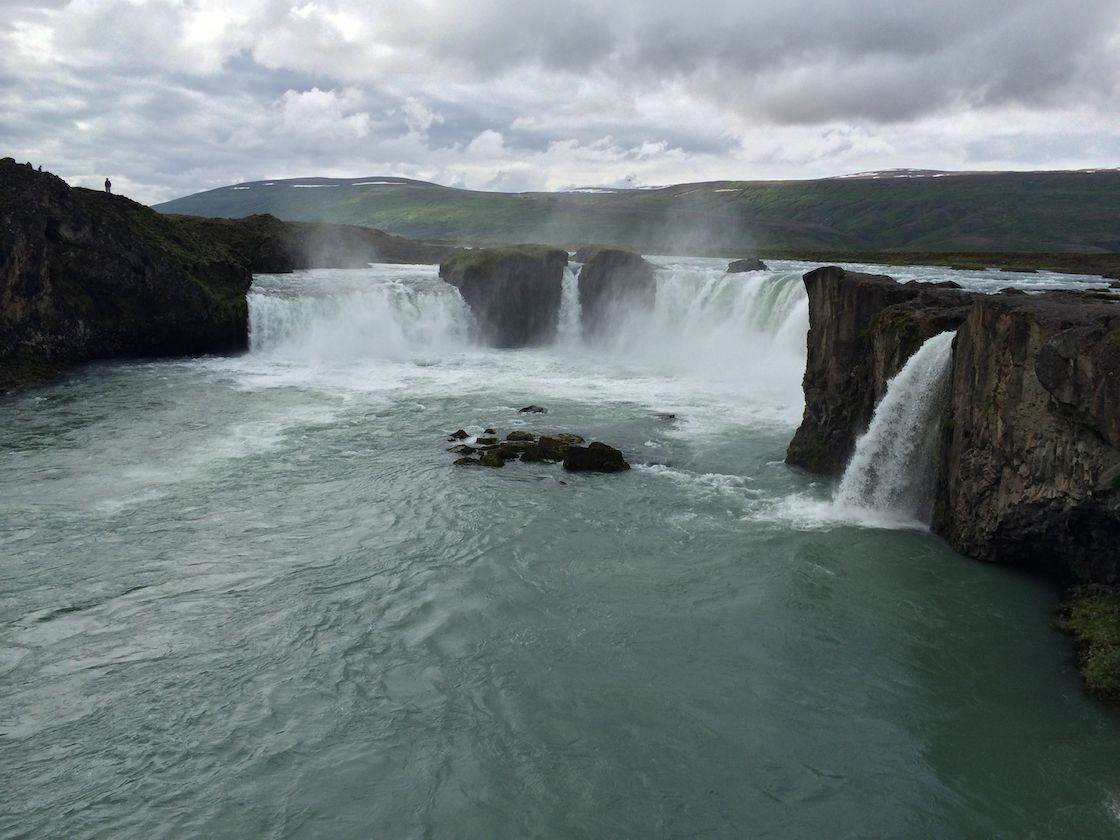
The first example is a photo of a waterfall taken from a fairly typical angle. There were several people standing next to me who were also taking the exact same photo. While this is not a bad photo, there are definitely ways we can make it more interesting simply by shooting from a different viewpoint.
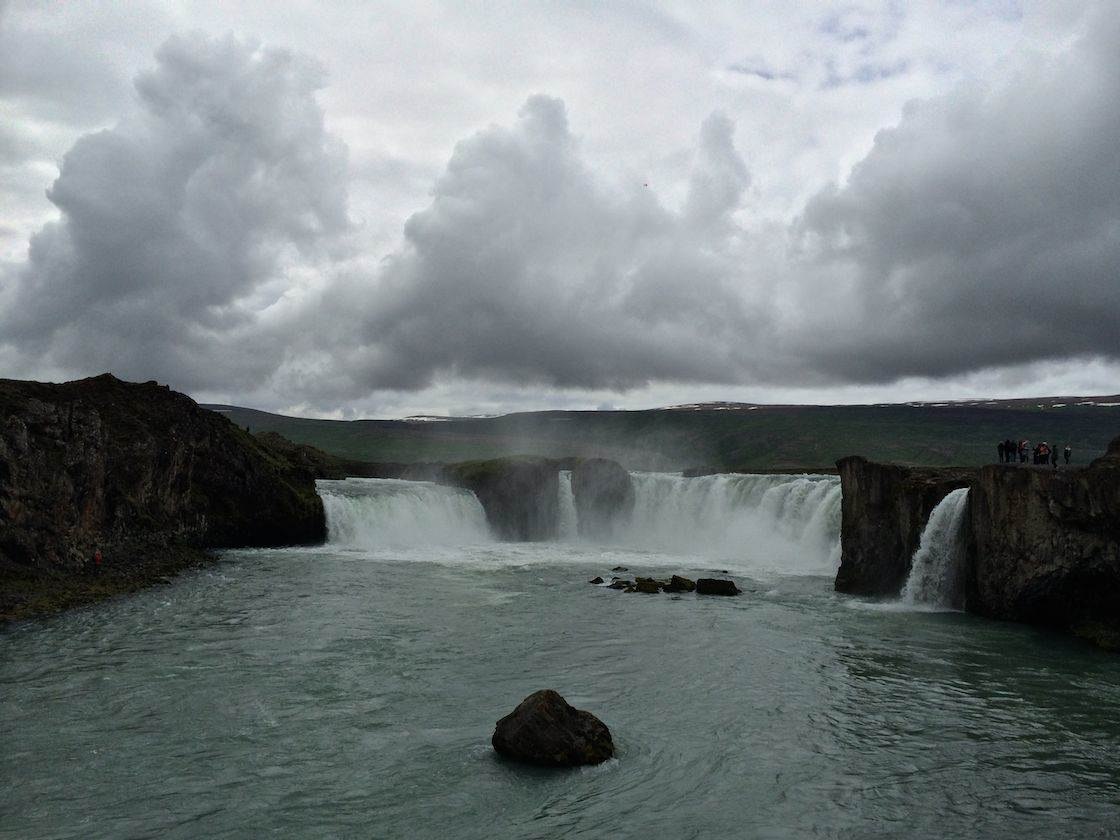
It turns out that simply by taking a couple of steps back, I was able to include the rock in the middle of the river, which adds another interesting subject to the composition. Besides, by stepping back I was also able to include more of the sky, which is an interesting addition as well. However, there is even more I could do with this scene by simply walking around…
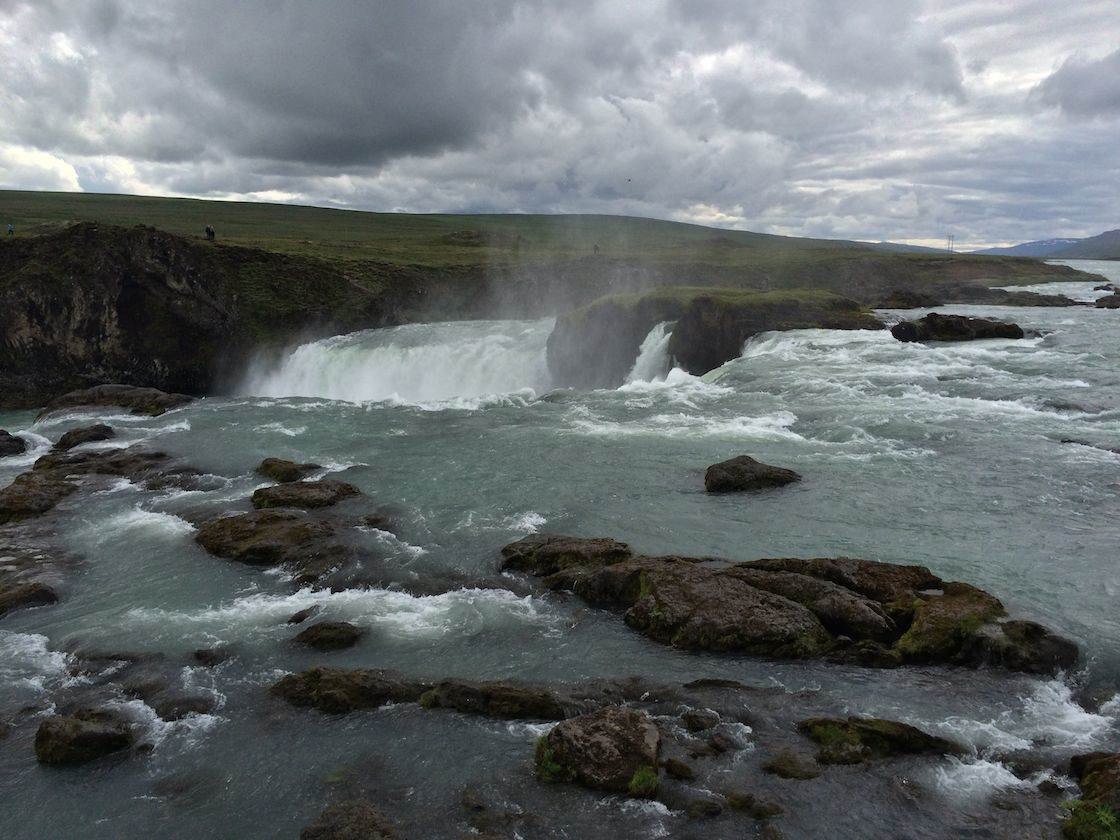
This example is a photo of the same waterfall taken from a less common and thus more interesting angle. Even though the waterfall can’t be seen as well in this photo, the rocks in the foreground create an interesting pattern and I like the mystery that’s created by the river disappearing into the gorge.
You shouldn’t settle for the most convenient viewpoint when taking landscape photos with your iPhone. You’re going to get more interesting results if you explore the area to find out how the different landscape features are positioned relative to each other from different points of view.
2. Pay Attention To Light Conditions
The light conditions make a huge difference in your photos, and landscape photography is definitely not an exception. While you don’t have much control over light conditions (besides visiting the same place at different times), it’s very important that you pay close attention to how different light conditions impact your photos.
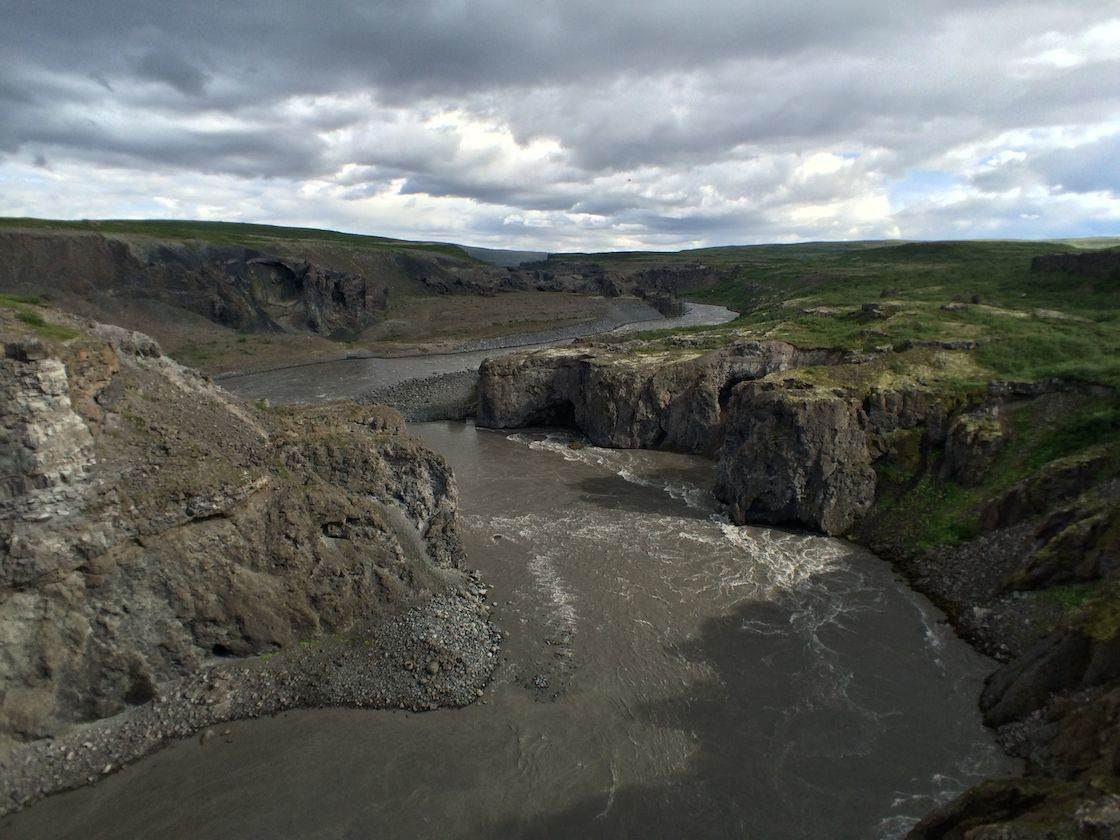
This first photo of a gorge was taken on a mostly cloudy day. There was a limited amount of sun shining through the clouds, and the colors and landscape features look dull as a consequence. But as I was getting ready to leave, the light suddenly changed and the sun started shining through the clouds, which completely changed the scene.
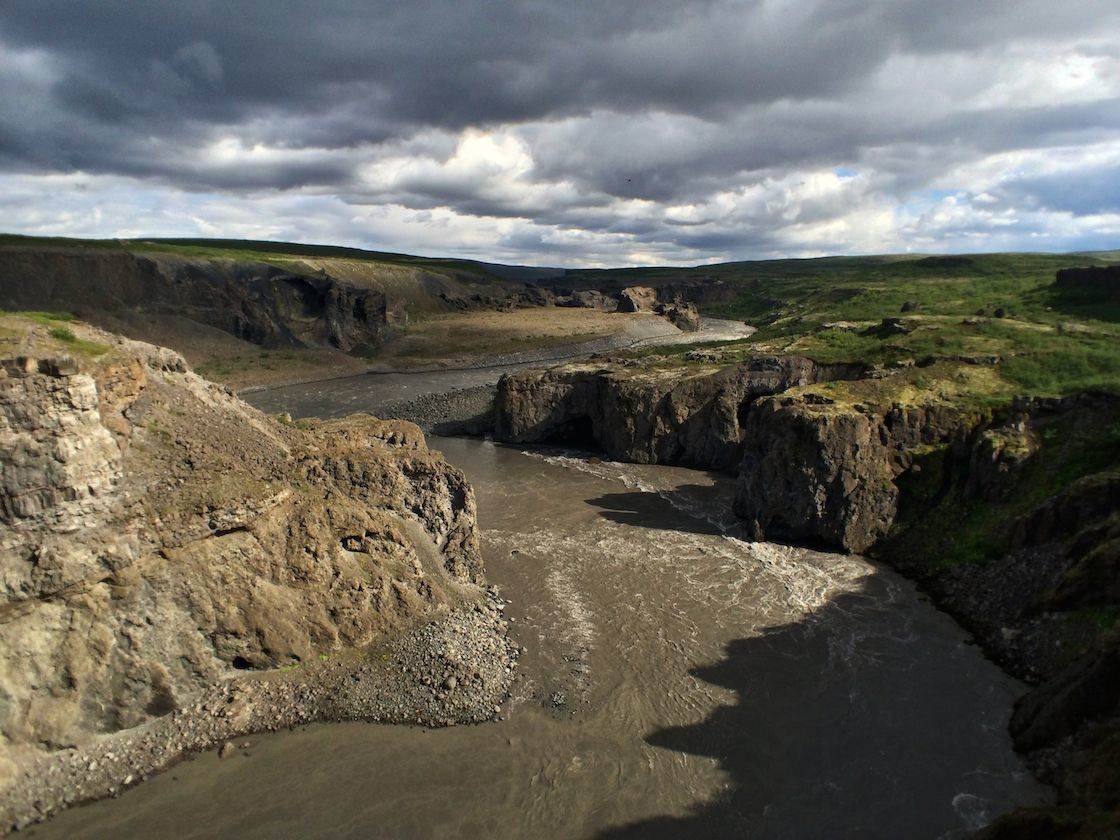
With the sun shining through the canyon, the colors look brighter, the shadows are darker, and the relief of the canyon becomes far more prominent as the different landscape features are illuminated by the low evening sun. Even though I had already taken several photos of the same view, it was definitely a good idea to capture more as the light changed.
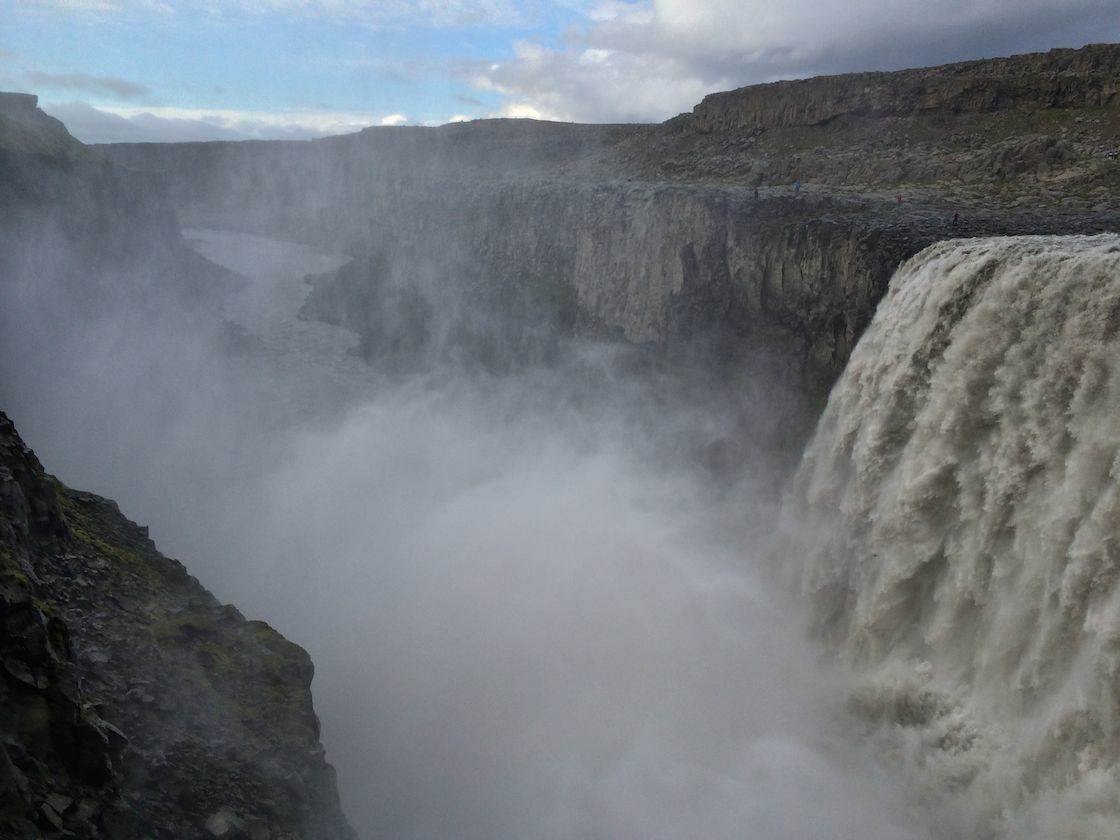
To give you another example, here are two photos that were both taken from the same angle. However, the light is very different in the two photos, and in the second example we get far more contrast and two rainbows as the sun is shining through the canyon.
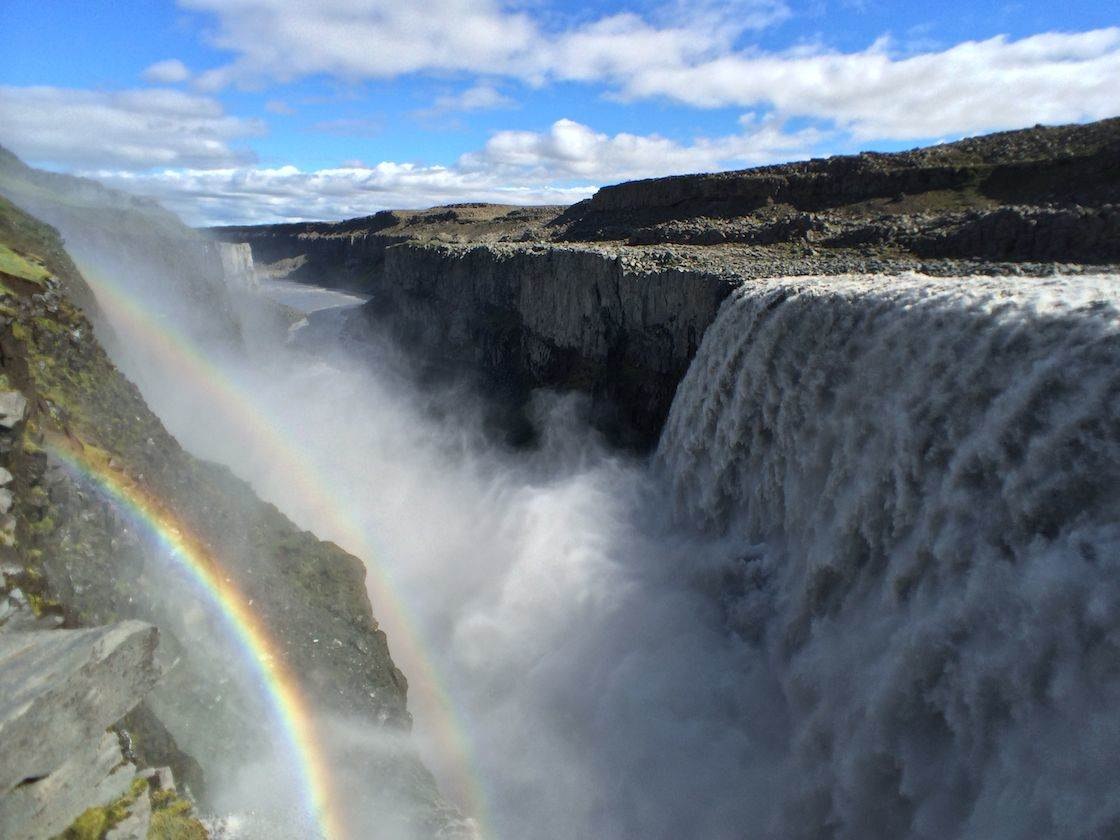
When possible, capture the same landscapes at different times of the day and in different weather conditions. You’ll be surprised how different the results are going to be simply because the light conditions are different!
3. Include Sky In Your Composition
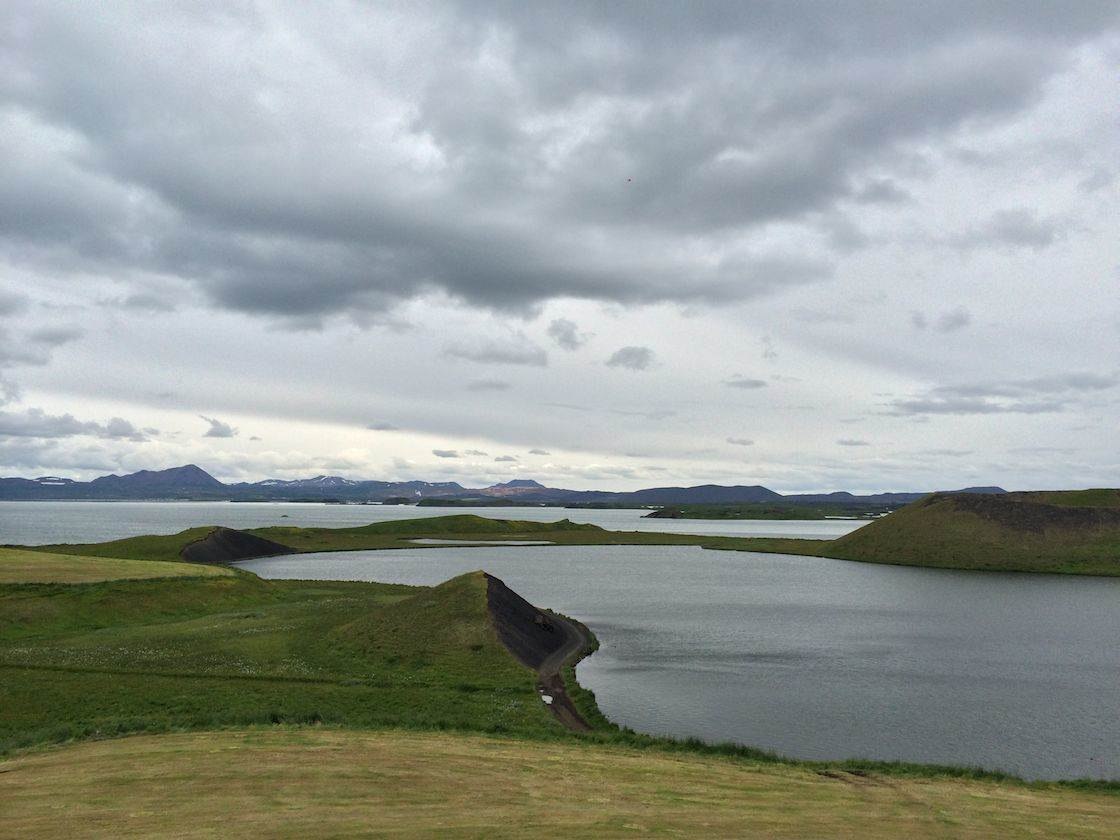
One of the most underused parts of any landscape is the sky, especially on cloudy days when there are patterns in the sky that can be used to enhance your photos. You may often find yourself in a situation where your subjects take up only a small horizontal section of the frame, as seen in the following example.
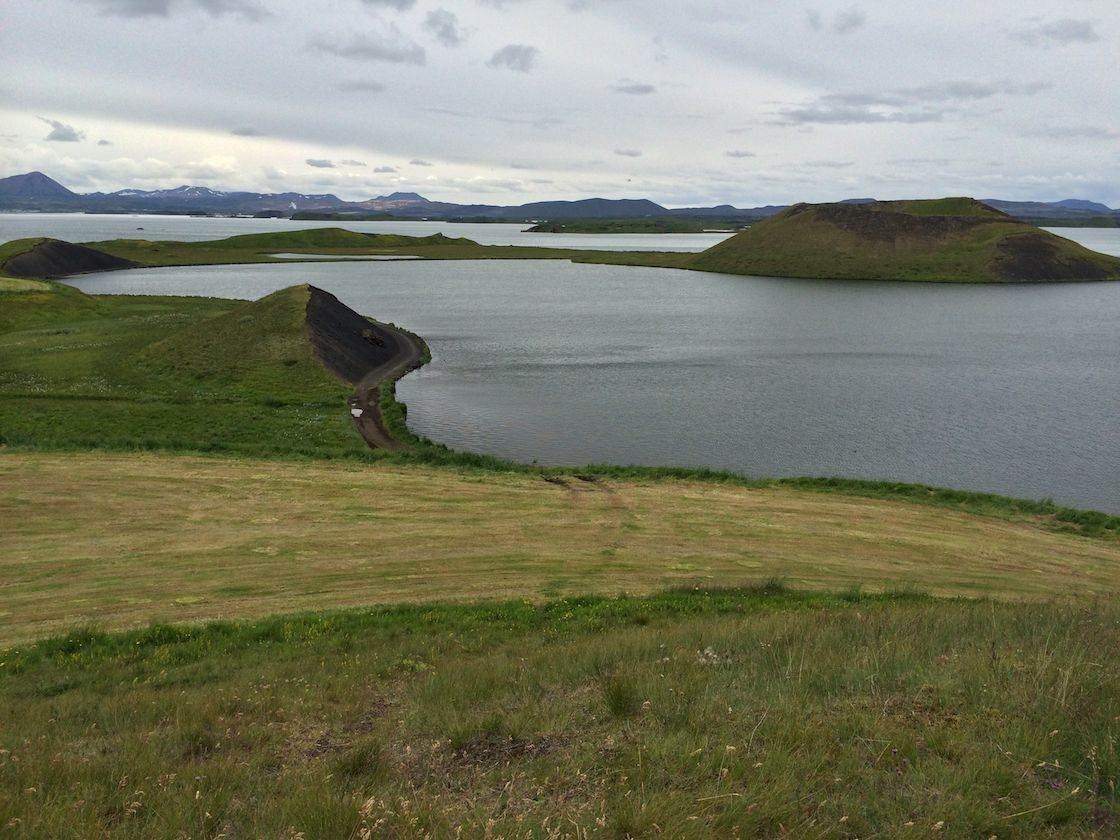
While the foreground in this case is empty and boring, the sky is actually quite exciting, which allowed me to take a more interesting photo where clouds are a nice addition to the composition.
4. Include Foreground Interest
One of the most challenging things about landscape photography is that the most exciting subjects are typically located towards the background of your photos. From beautiful mountains and rivers to floating icebergs, your landscape photography subjects are likely to be far from the lens of your iPhone.

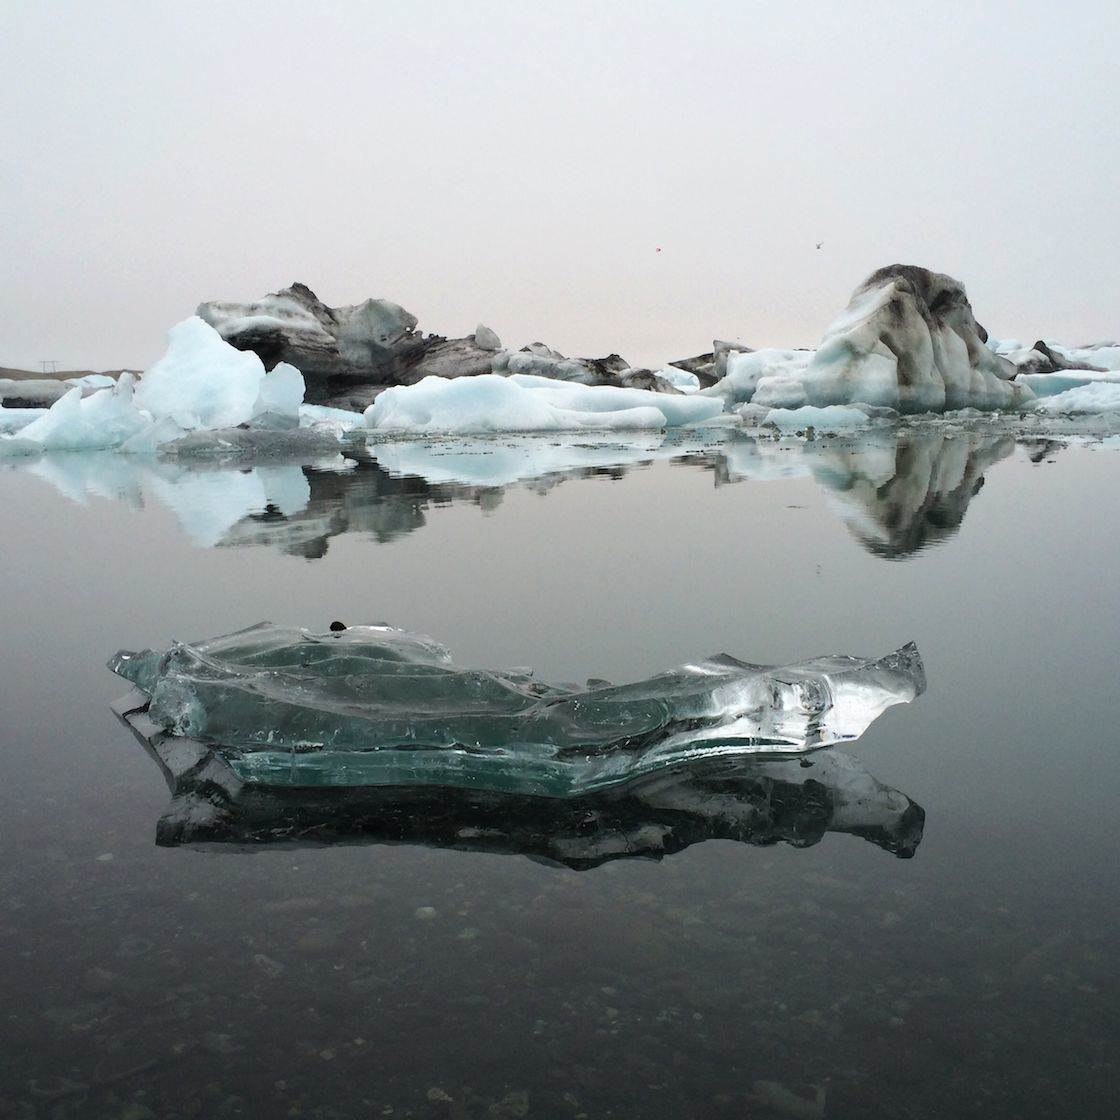
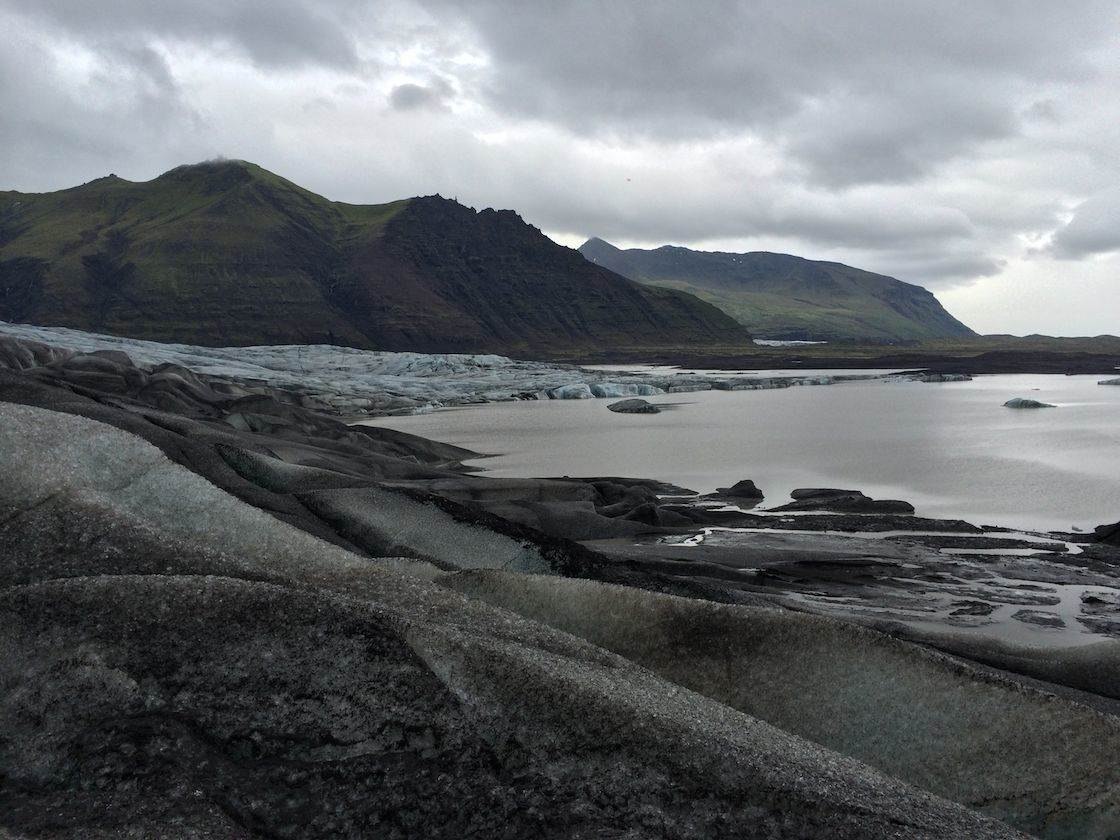
However, the best landscape photos show depth and feel immersive, and the easiest way to achieve that is to also include interesting subjects in the foreground. In this example the small block of ice is an essential part of the composition of this photo despite the fact that it’s tiny relative to the large icebergs in the background.
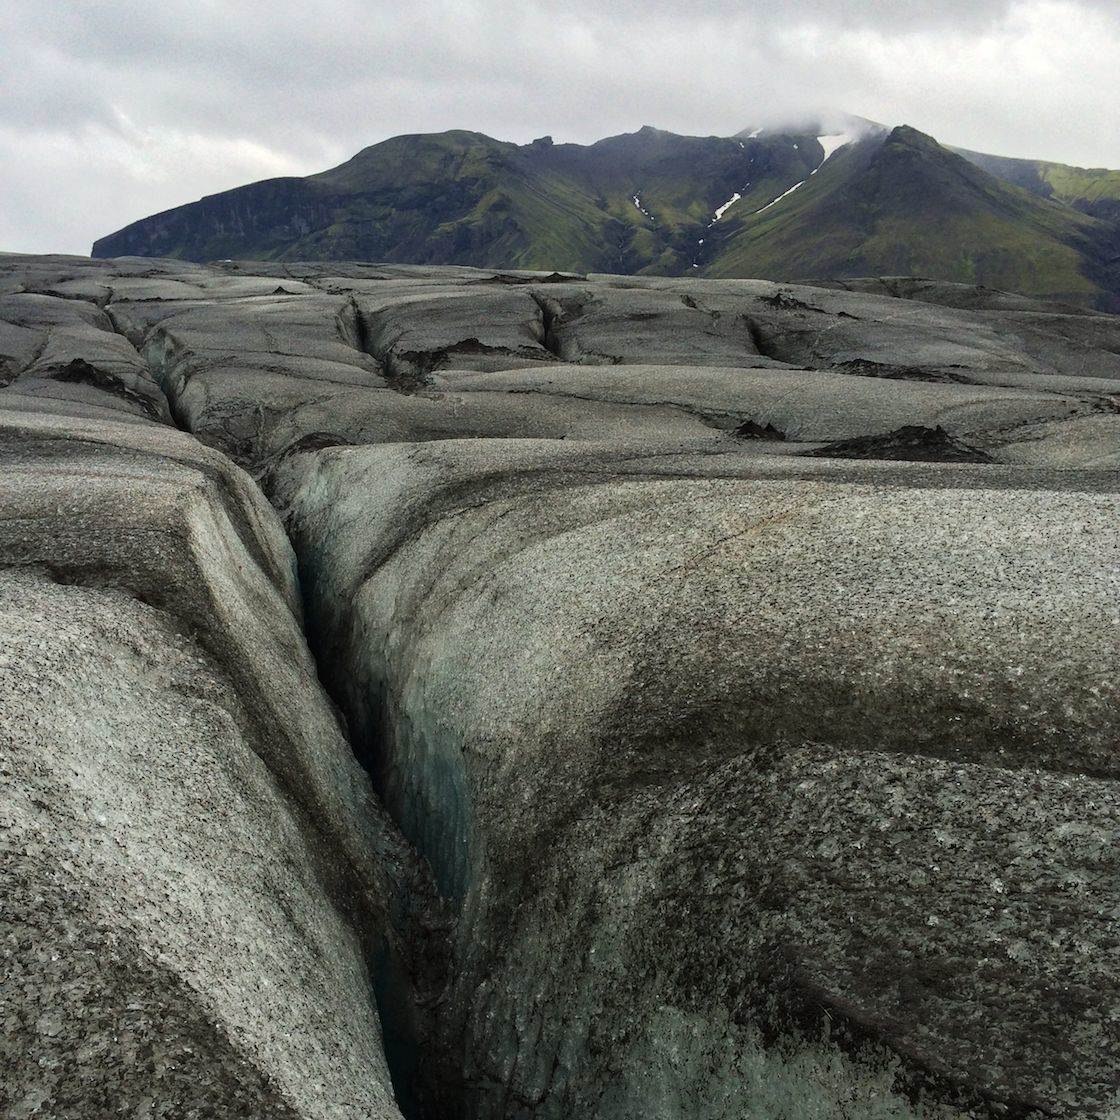
Here’s another example. Even though the mountain in the background and the glacier are very impressive in real life, they wouldn’t stand out very much without an interesting foreground. Here I was able to create a more immersive photo by including the crack in the foreground and thus showing depth in this photo.
5. Show People Admiring Landscapes
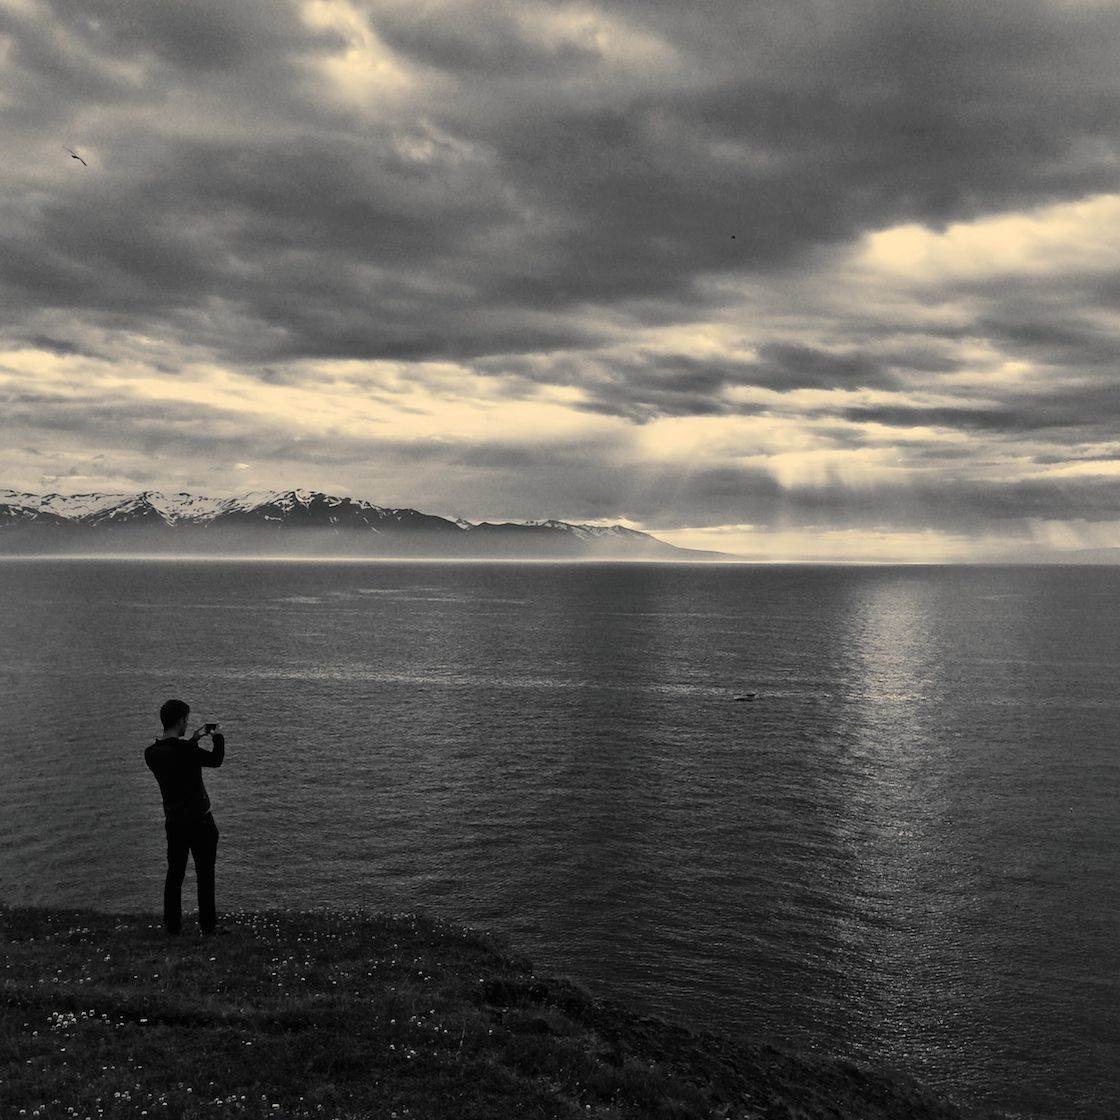
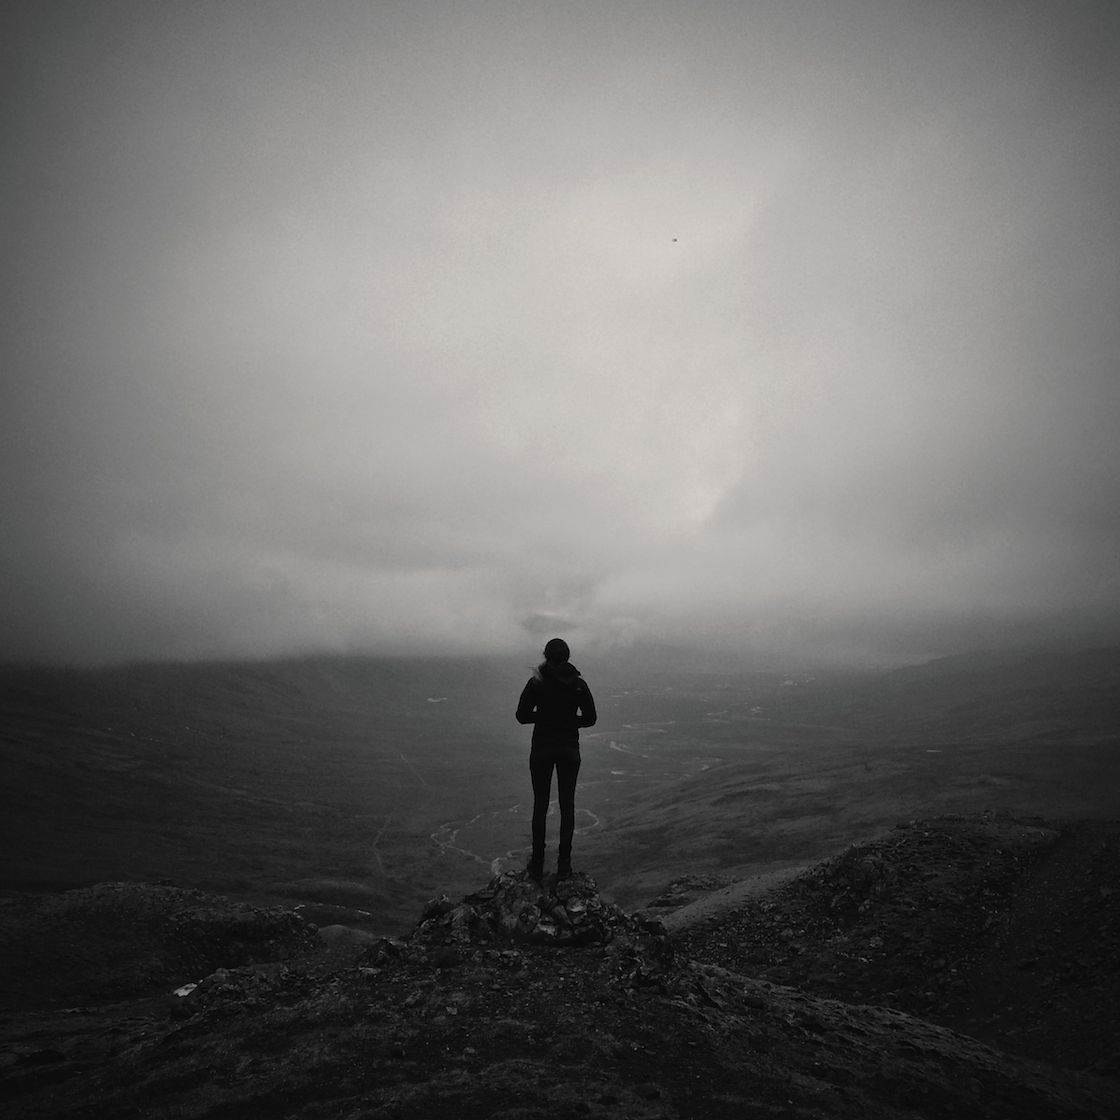
It’s not always easy to find subjects for the foreground of your photos, especially when the most impressive parts of the landscape are far away as they are in the following example. That’s when human subjects can be really helpful.

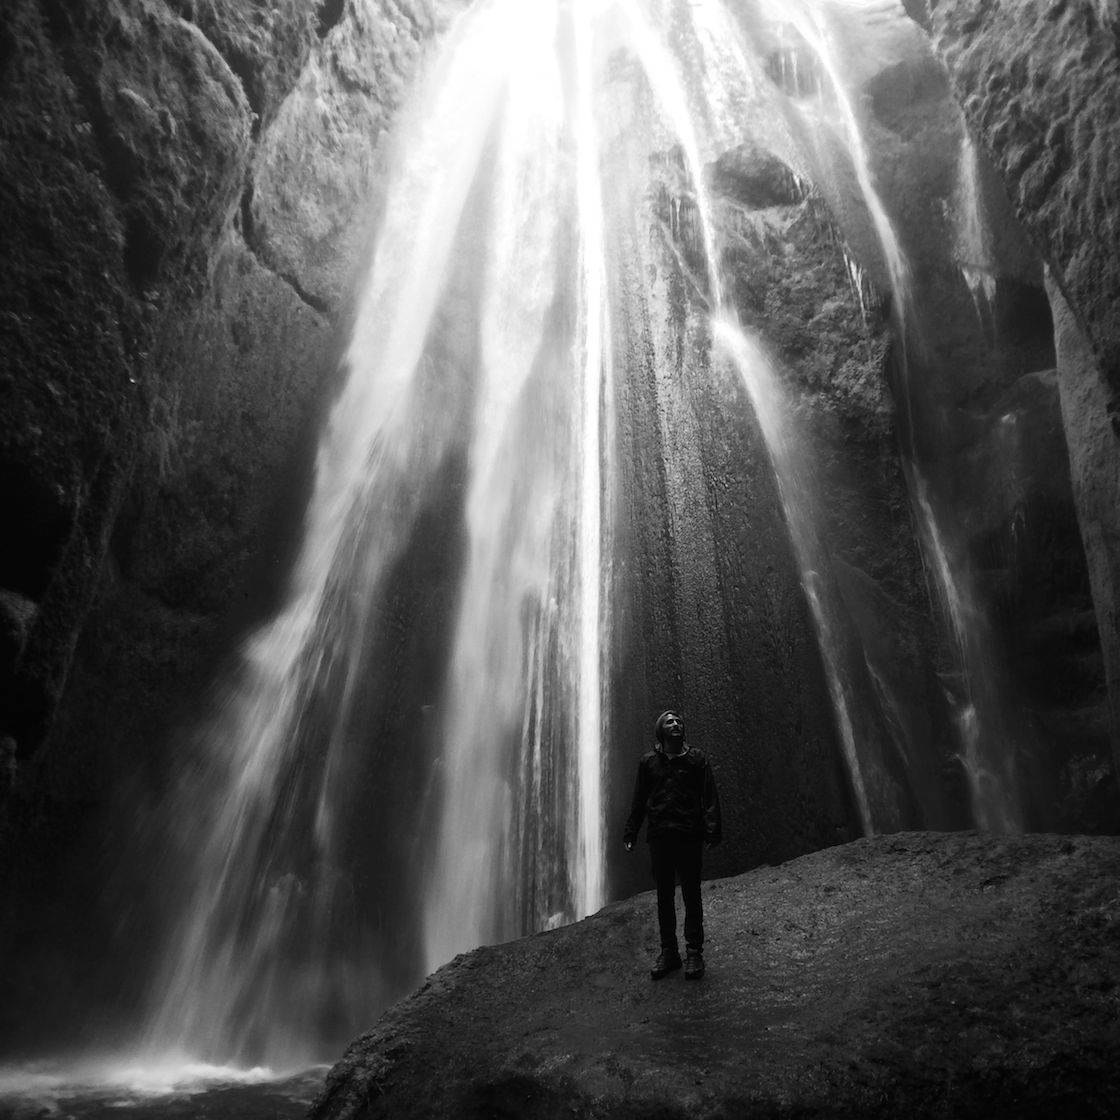
While most people try to avoid people in their landscape photos, you can often enhance the composition by adding a human figure in the foreground. Your friends or other people admiring the view can greatly enhance your landscape photos!
Another great reason to use people in your landscape photography is that they can provide a sense of scale, which in turn makes the landscape more impressive. In the following example it would be hard to show the height of the waterfall, but the human figure adds a sense of scale to the photo and thus makes the waterfall a lot more impressive.
6. Use Leading Lines
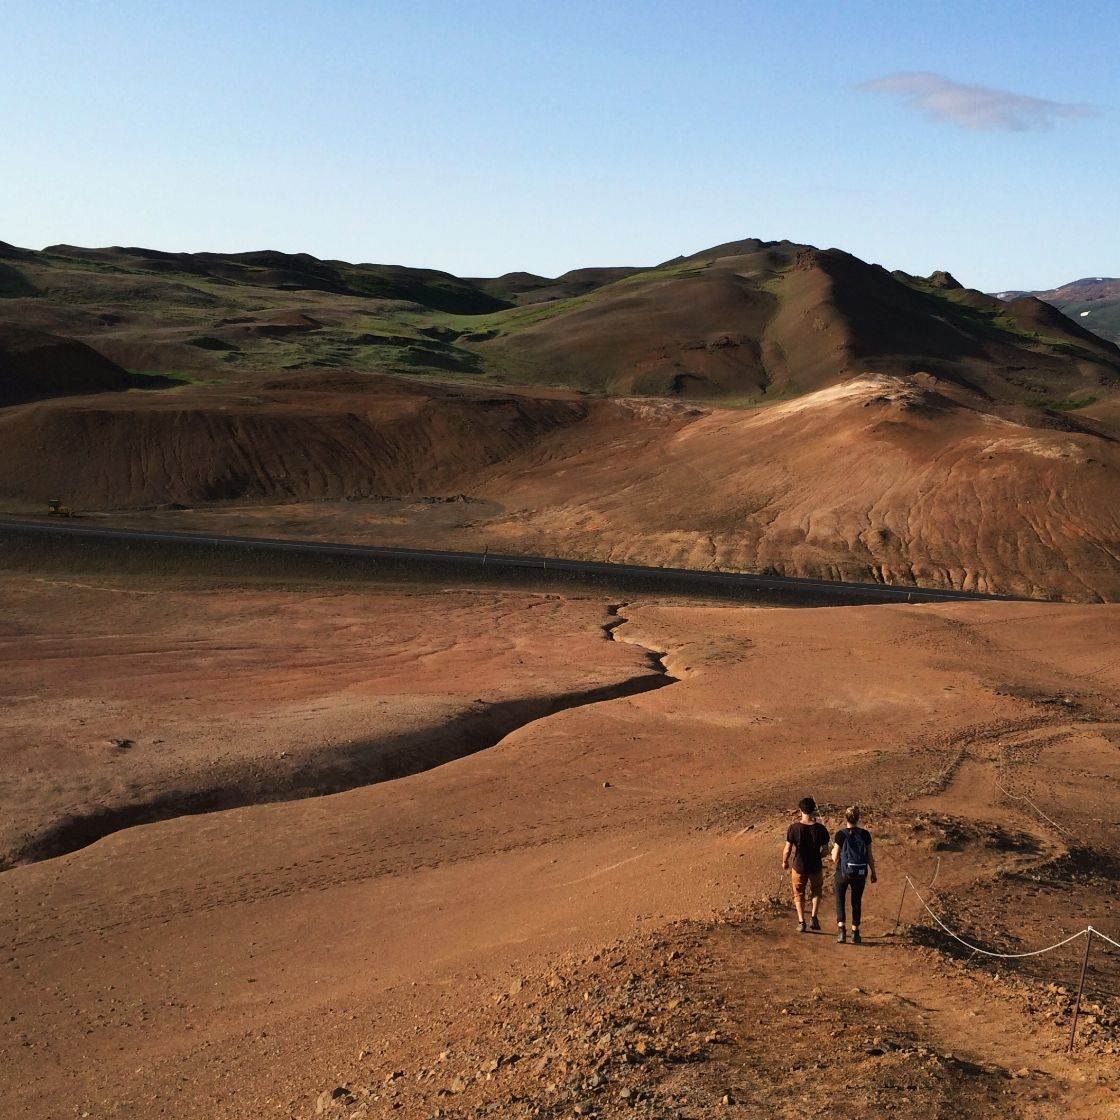
Leading lines is another great technique that you can use to make your landscape photos more immersive. Any lines in the photo – such as roads, paths, rivers or the coastline – can be used as leading lines, and the best leading lines are diagonal and extend from the foreground towards your subject in the background.
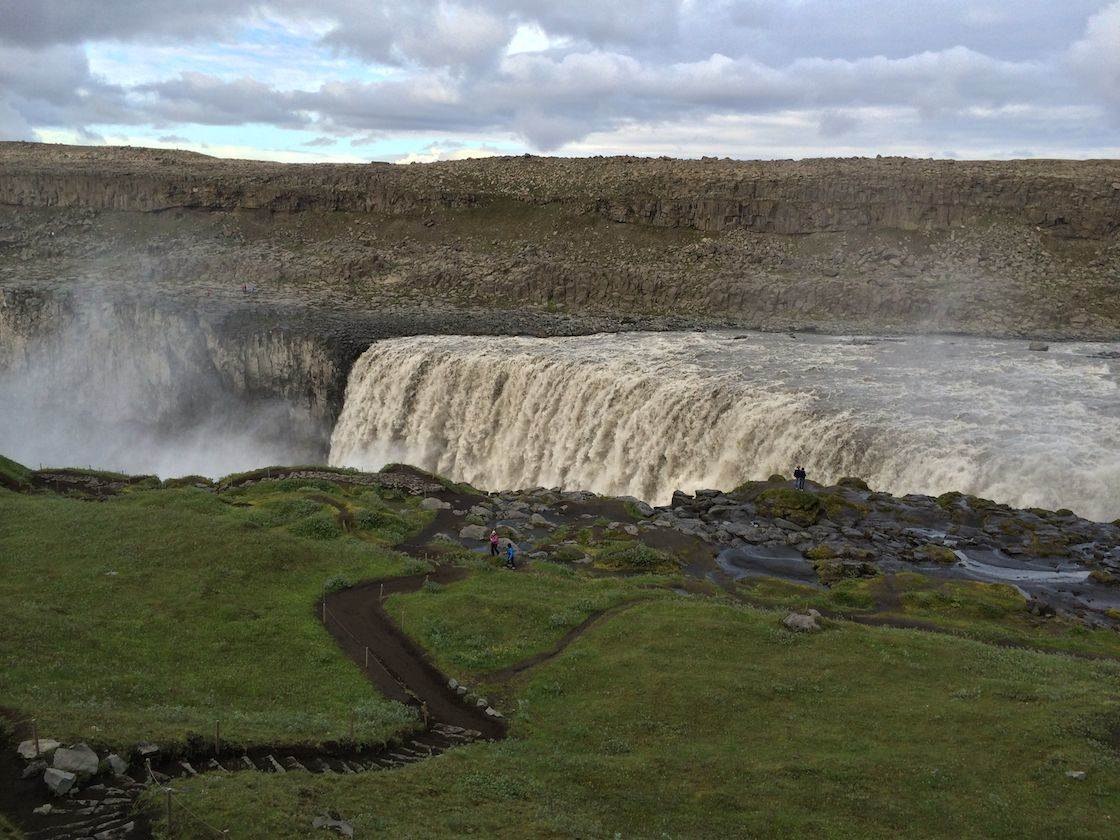
If you look at the other photos in this article, you’ll be surprised to see how many photos use leading lines to draw the eye through the photo to make it more immersive. There’s nothing worse than a flat landscape photo!
7. Use Long Exposure – But Only For Small Waterfalls
Long exposure is one of the most interesting iPhone landscape photography techniques as it allows you to blur out any movement of water, which works particularly well for photos of rivers and waterfalls. You can easily take long exposure photos with the iPhone. All you need is an iPhone tripod, together with an iPhone tripod mount and the Slow Shutter Cam app.
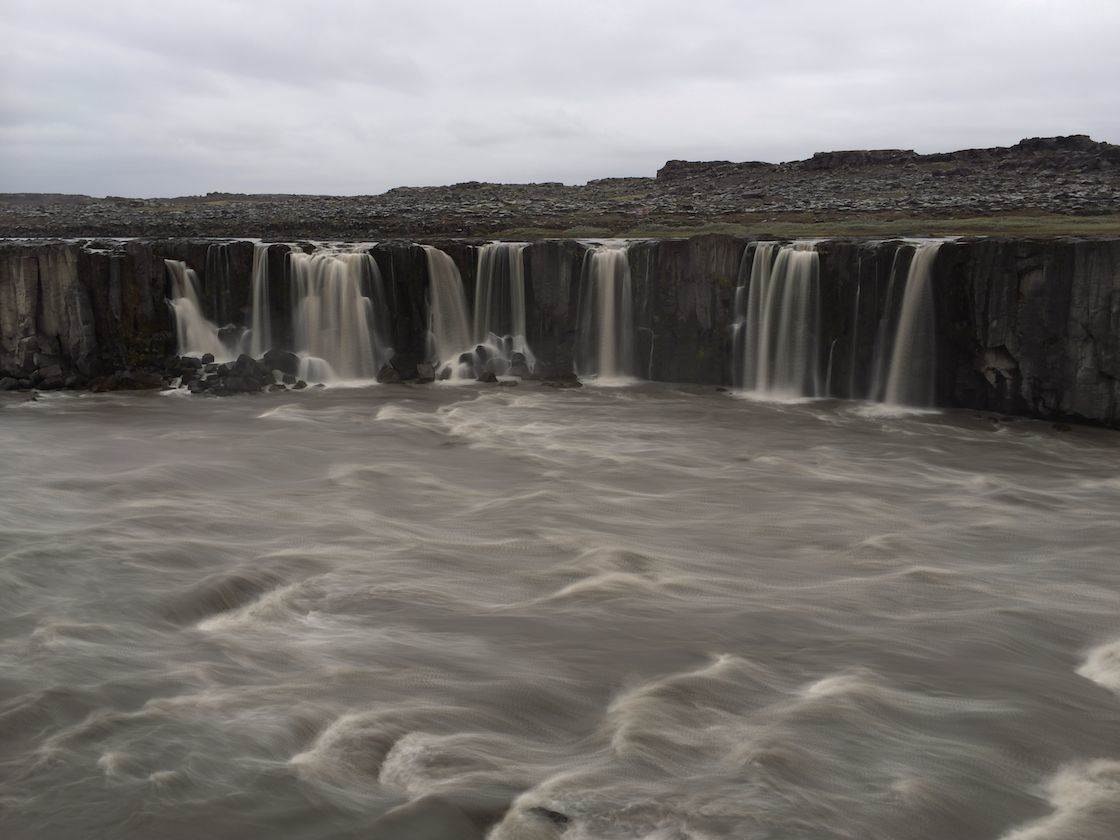
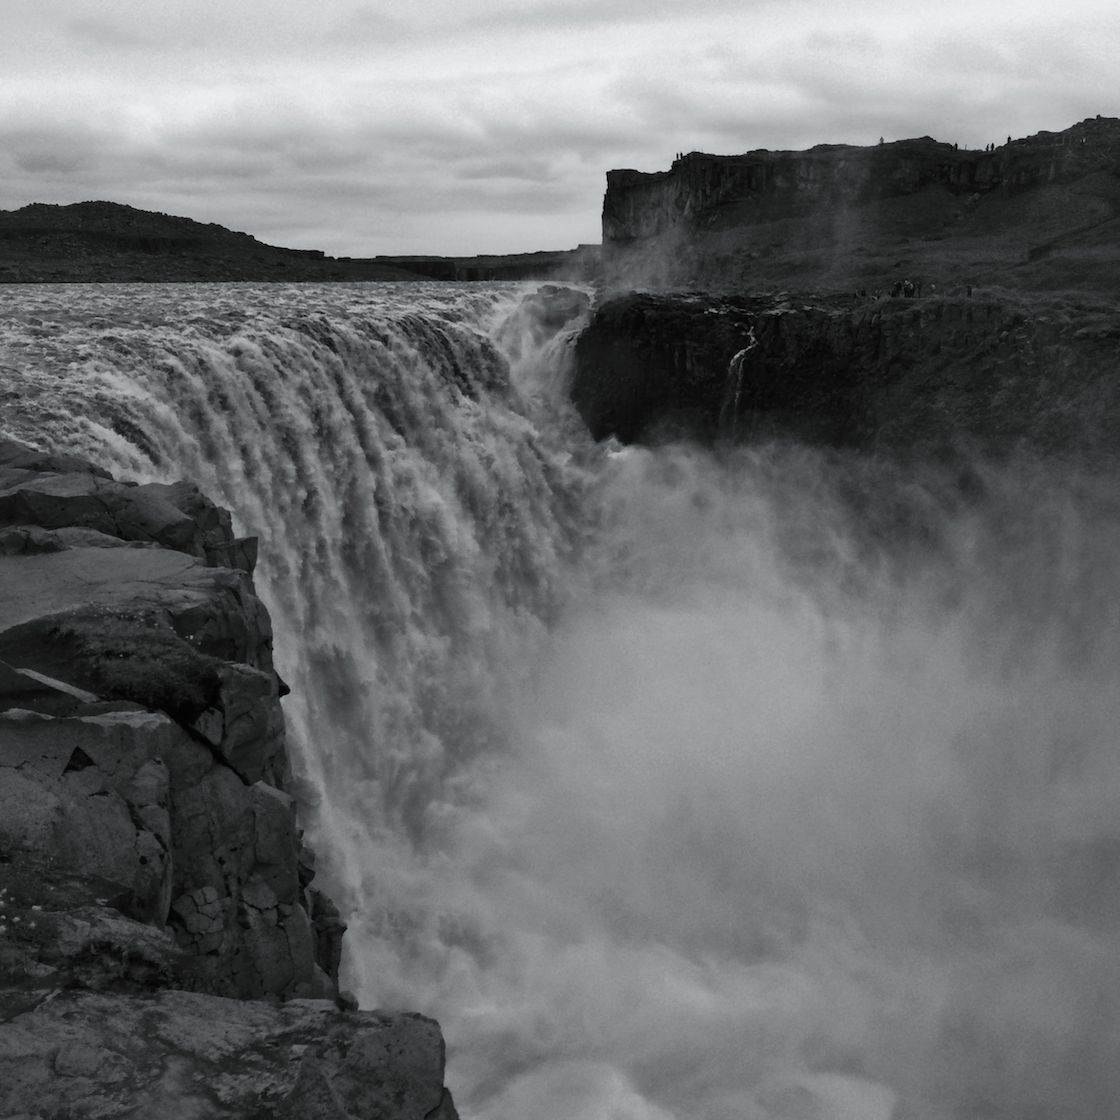
As you can see in the example above, long exposure photography works really well when taking photos of small waterfalls where the water falls down in relatively small amounts. However, I discovered that long exposure is not such a good idea when capturing huge waterfalls since they become completely blurred out at the time of the capture as seen on the left side of the following photo.
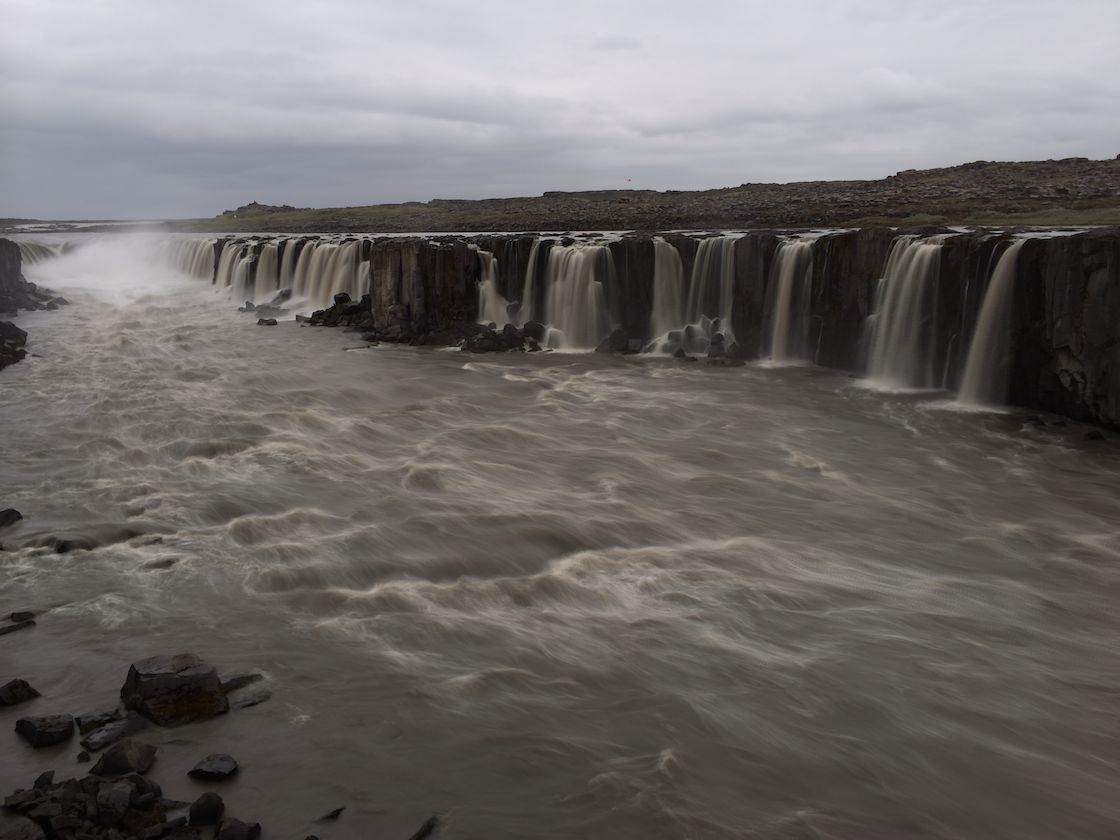
That’s why for massive waterfalls like the one below it’s best to avoid long exposure as it lets you convey the power of the waterfall by capturing the texture of the water that’s falling into the gorge.
8. Focus On Textures
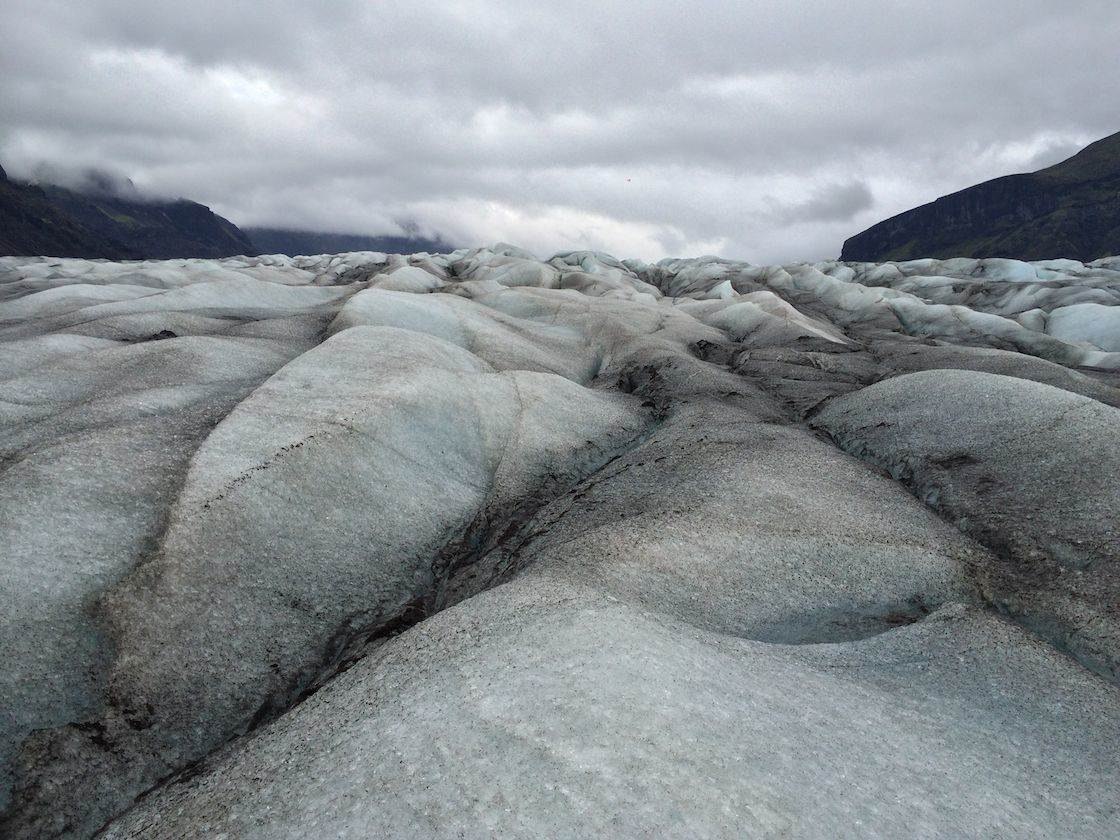
Another interesting way to make your landscape photos more engaging is to focus on strong textures and repeated patterns. Textures can be used to make your landscape photos feel three-dimensional and immersive, as if you could feel the texture if you were to touch the image.
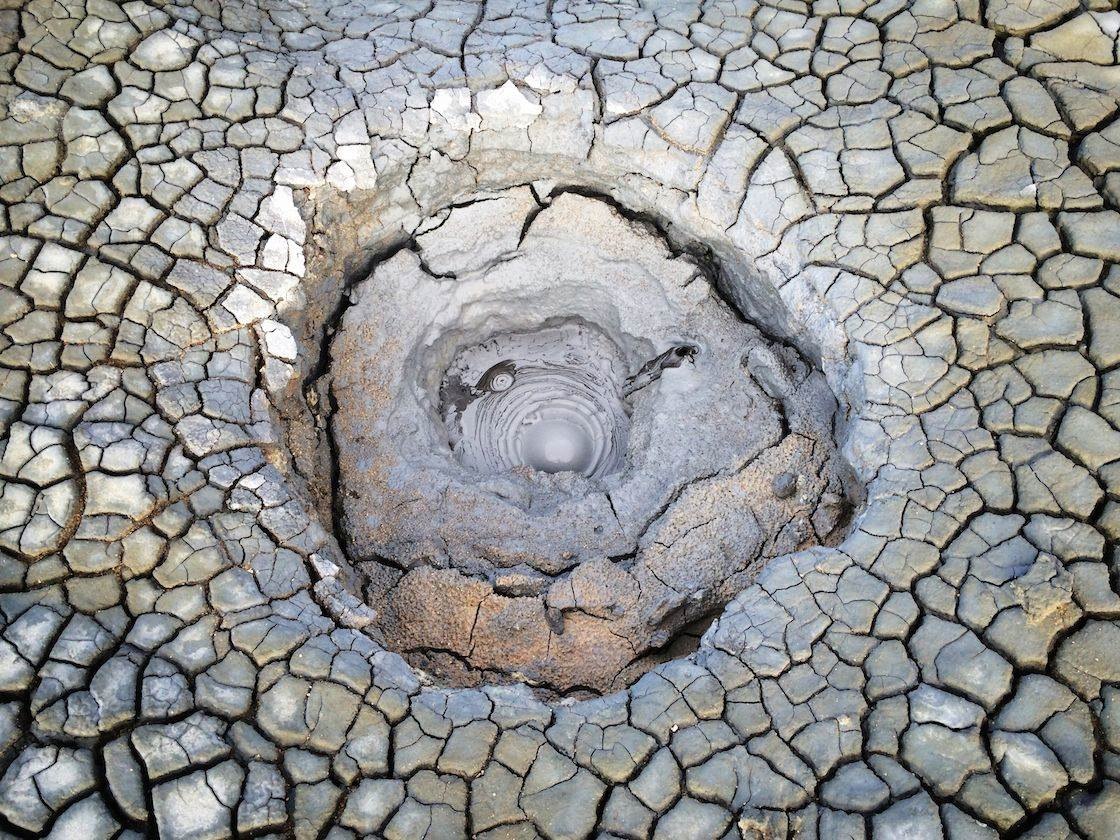
Of course, there are landscapes that don’t feature any textures or repeated patterns, but once you start paying closer attention, you’ll be surprised how often you can make use of textures and repeated patterns. Rocks, mud and sand formations, tree trunks and even snow and ice often feature strong textures that can be used to enhance your photos.
9. Use A Wide Angle Lens
Even though I don’t like using much gear in iPhone photography, the one accessory that I found incredibly useful during this trip was my wide angle lens. There were many cases when I was only able to capture a great photo because I had a wide angle lens.
To give you just one example, here is a photo that I captured using the built-in lens of my iPhone. Due to the physical constraints of the landscape, it wasn’t possible to step back to include more of the surroundings in the frame.
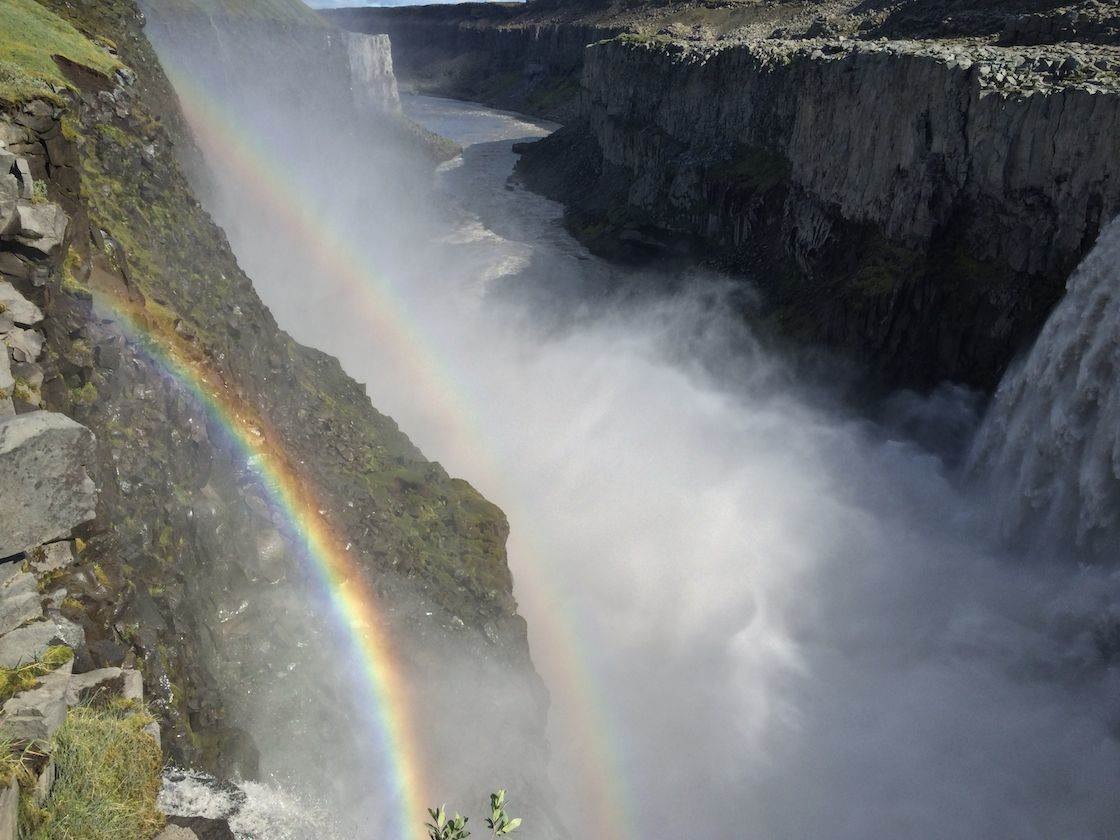
And here is the exact same photo taken from the exact same spot, but this time using the iPro wide angle lens. This was just one example where having the wide angle lens made all the difference since it wouldn’t be possible to take the same photo otherwise.

10. Shoot More And Keep Experimenting
The one thing that I can’t emphasize enough is the importance of taking hundreds and hundreds of photos. If you want to get great photos, you can’t expect things to work out the first time you press the shutter. Instead you should always keep experimenting and trying out new things, knowing that the more photos you take, the more good ones there are going to be.
Finally, don’t get upset when things don’t work out the way you want them to work. The more you experiment, the more often things will go wrong…. and the more often you’re going to get truly extraordinary results!


Stunning photos, Emil, and great tips! Did you do much editing? It doesn’t appear so.
Thank you Faye! Most of these photos are completely untouched, partially because no editing was needed, and partially because I was a bit lazy 🙂
No editing needed. 🙂
Great tips. Thanks, Emil.
Thank you Keith, glad you enjoyed them!
Thanks for the tips! those are great photos.
Thank you Bradley!
Hi Emil…. Just a few words, to thank you for the wonderful tips on landscape photography. I have the habit of discovering figures on clouds, rocks or shadows, you get the point. Now if you scroll down to the sixth photo, you will see a big rock on the left. If you look closely, you can see the head of a bull. The right eye is in the perfect spot. You can perhaps imagine, drinking from the river. Thanks again for your photo tips
Interesting, I wouldn’t have noticed that 🙂
Thanks for the amazing picture and tips Emil.
Have a good day, best regards from Germany.
Dani
Thank you Dani, glad you enjoyed the article!
Excellent
Great post Emil!
I enjoyed a lot seeing the “not so good” version and the “better” version of the photos. Sometimes when we see a great photo, it seems that the composition and the angle are obvious. But that’s not the case… not at all!
Thanks!
Thanks Luisa! I was trying to do that when possible, but you’re right that the best composition often seems obvious in retrospect.
Great post, Emil. Question. I leave for Iceland next month and was wondering what kind of tripod you used/carried, if any. I saw your tripod recommendation on a different post, but was wondering if you use a different one on excursions like this. Thanks!
I had a tiny pocket tripod that I only used for long exposures. Everything else was done handheld. You get sharper photos with a tripod, but in my case it was equally important to also spend time enjoying everything that I saw 🙂
Good point. Maybe I’ll just stick with a small travel tripod as well. 🙂 Thanks!
The last one should be framed! What did you use to create that atmosphere ?