Leading lines are one of the most useful elements in photography. They can be used to create powerful images with a strong visual impact. Leading lines help draw the eye into the image and focus the viewer’s attention on the main subject. They’re also an excellent means of creating depth and symmetry. In this tutorial you’ll discover how to use a wide variety of leading lines to create incredible photos with your iPhone.
What Is A Leading Line?
A leading line is a line in the picture that leads your eye from one part of the scene to another. The strongest composition is usually achieved when the lines lead your eye towards the main subject or focal point within the scene.

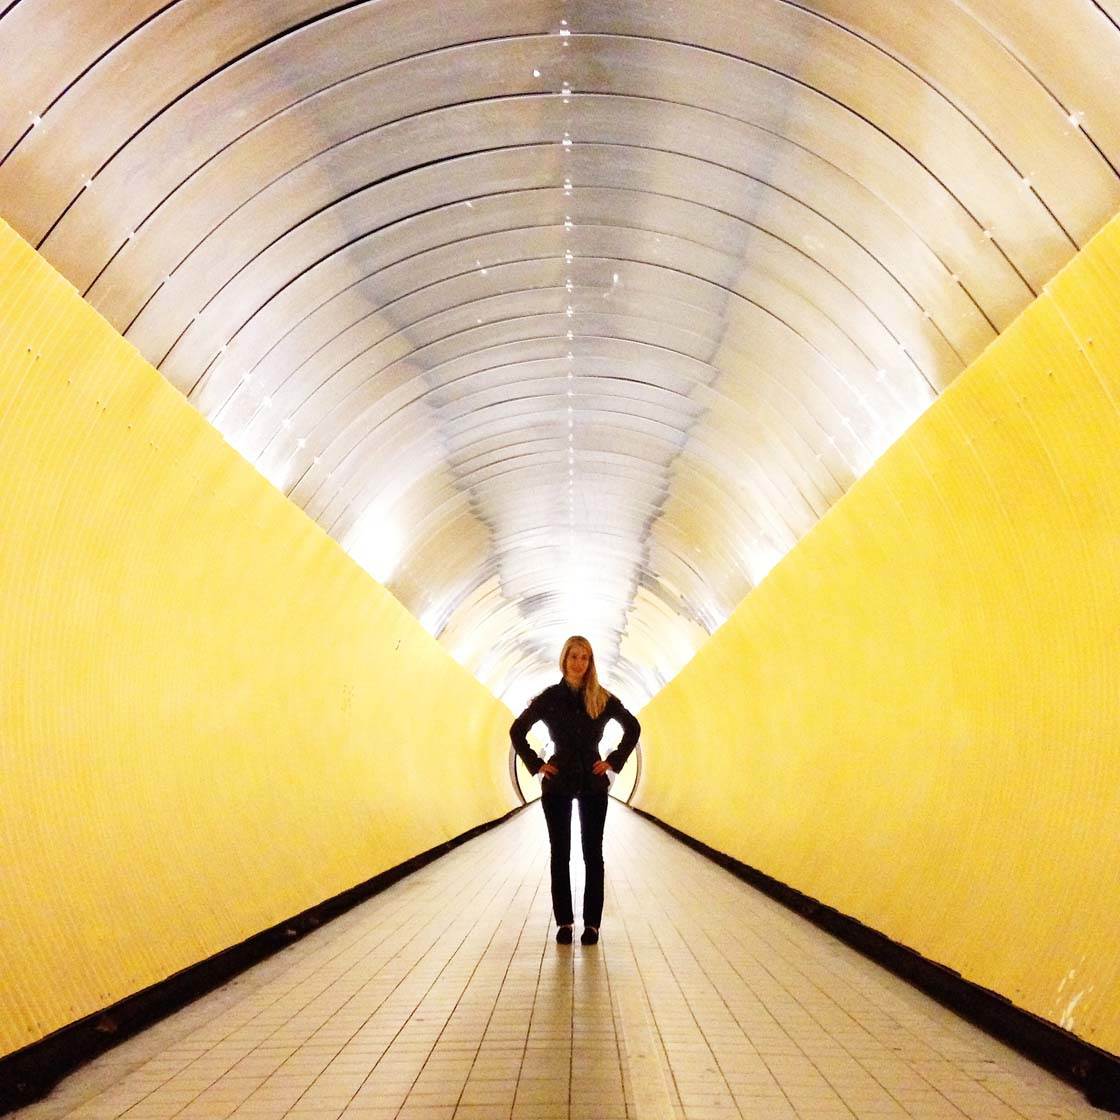
For example, a path leading towards a person or tree in the distance, a bridge with a train at the end of it, a row of trees with a building at the end, or a subway tunnel with lights leading your eye to someone in the distance.
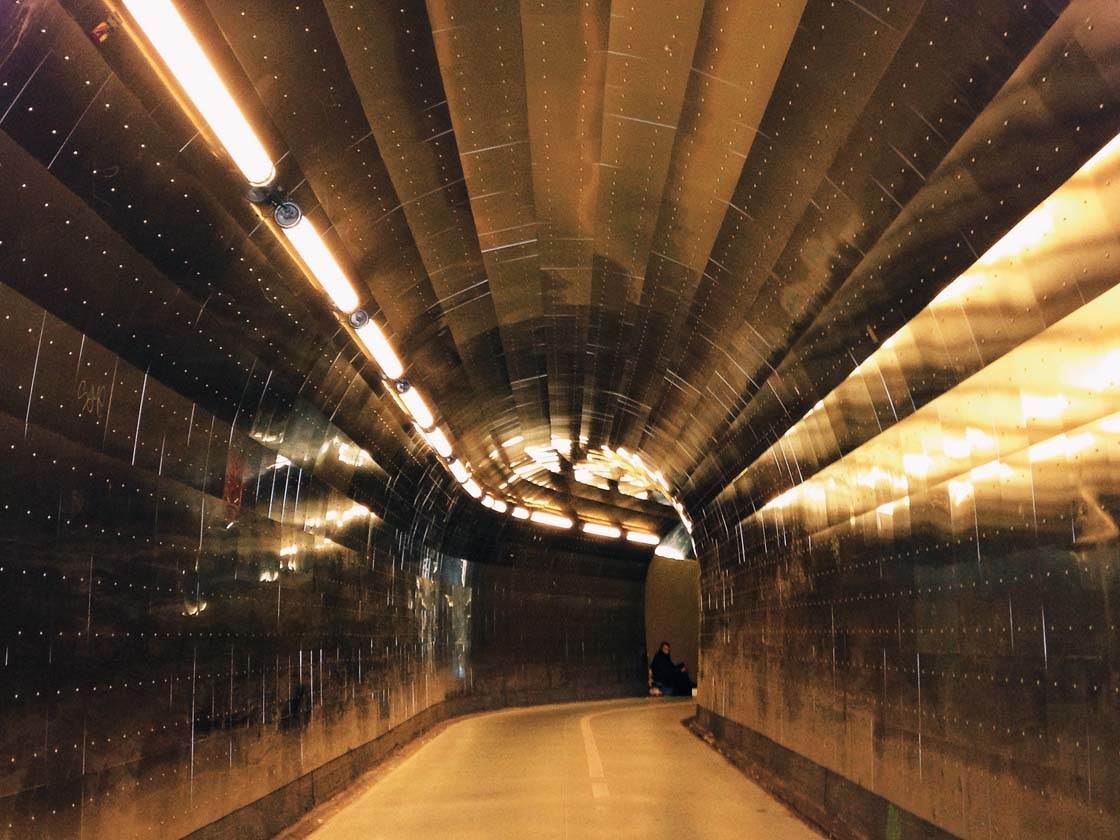
So a leading line works as a bait for the eye, inviting you to follow the line through the picture. Even if the lines don’t lead to a particular object, lines leading into the distance are still very effective in any image. Alternatively, the lines may be so strong that they actually become the main focal point of the image.

A picture can contain multiple lines, which often results in interesting symmetrical patterns being created. The strongest compositions will be where each line leads towards a single point.
Why Are Lines So Important?
Our eyes are naturally drawn to lines, and a well executed shot with a strong leading line should appeal to even the most uninterested viewer. Leading lines can often create a very strong and distinct visual experience, instantly catching the viewer’s attention, even from a distance.
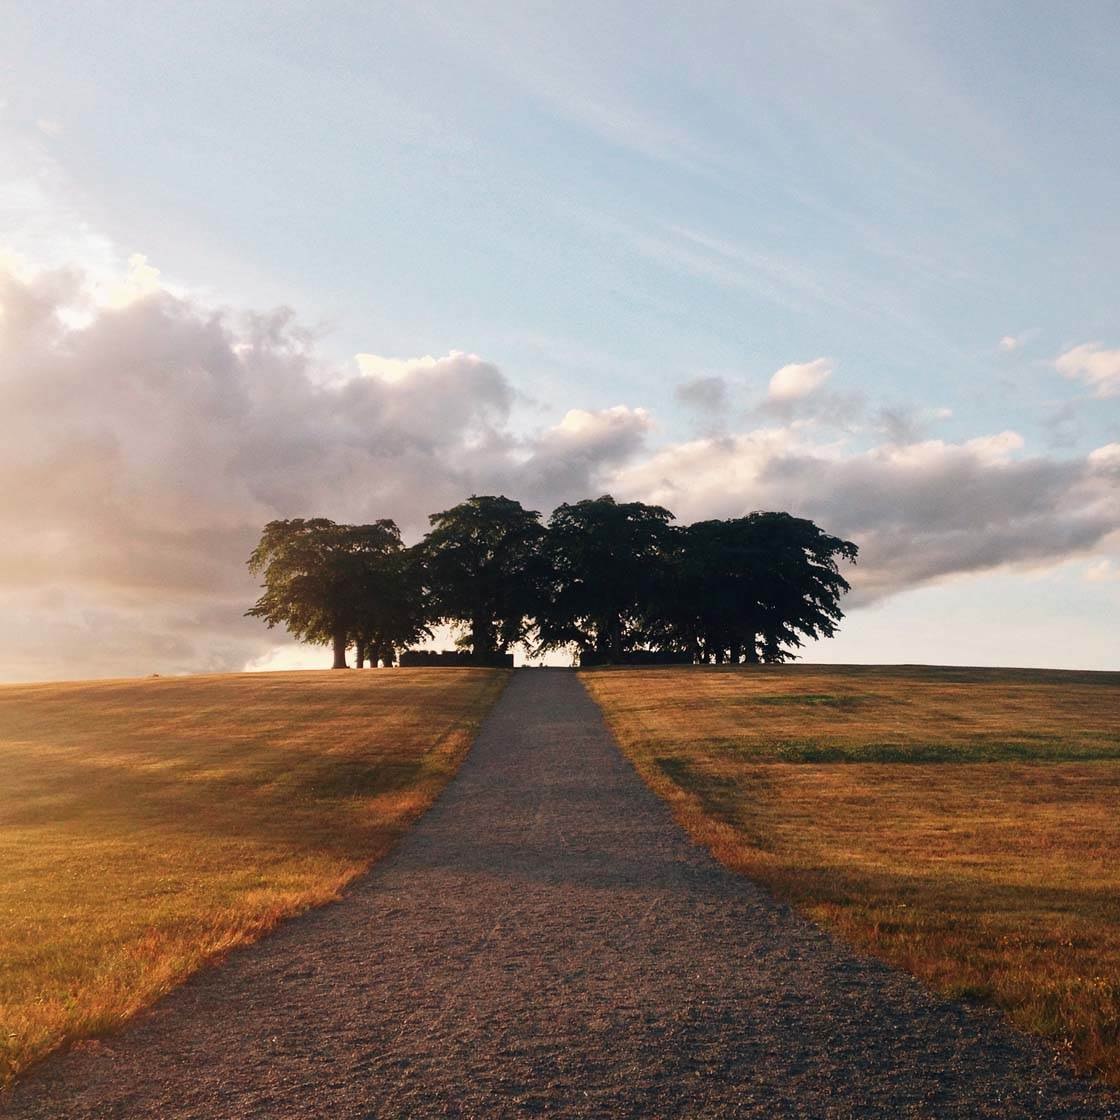
A leading line instantly gives you a hint of what this particular image is about by drawing your eye to the most important part of the image. And it’s a great way of creating a sense of depth in your scene.
A leading line will also help you to compose your image. If there’s a particular object in the image you want to emphasize, you can place it along the leading line or at the end of it.

Leading lines will also assist you when you have to decide where to position yourself before taking the shot. If you’re shooting a road for example, the most natural position would be to stand in the center of the road along the central line.
What Makes A Good Leading Line?
Almost anything can be used as a leading line. Only your own imagination will set the limits. But let’s take a look at some of the most common objects to use as a leading line.
In my opinion the most classic type of leading line is a road. Preferably a road with lines. The lines will make a great contrast against the tarmac and therefore serves as an excellent leading line.

A beautiful road can make the most incredible image as it communicates a sense of freedom and mystery. Where does the road lead to? What’s around the bend?
A bridge will also make for a strong leading line, and there are different ways to capture it. Shoot it from ground level so it makes a horizontal leading line across your image. For a unique view, stand under the bridge and shoot upwards it if it’s possible to get down there.
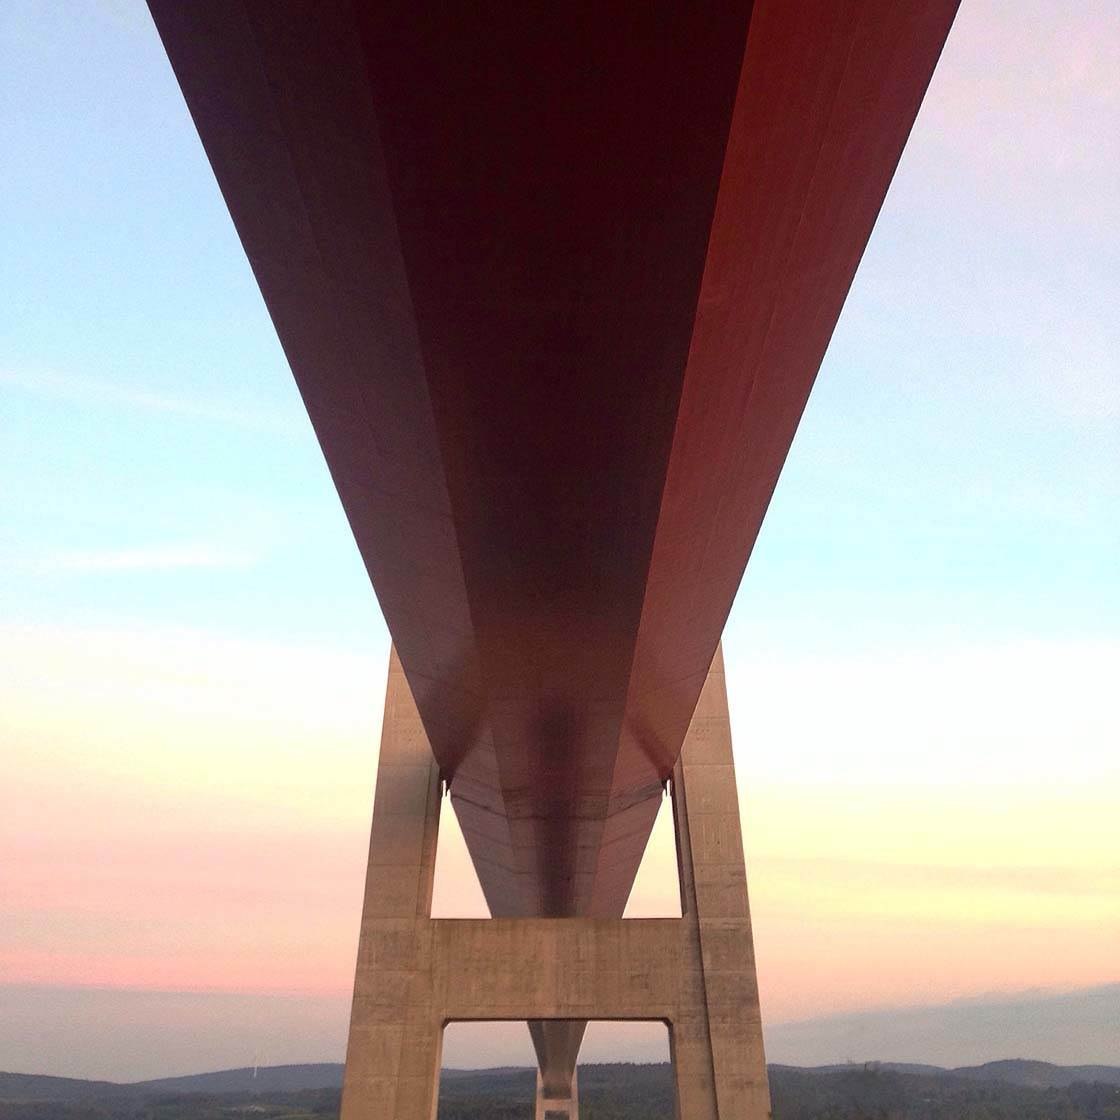
And if there’s not too many distractions on the bridge, such as traffic or bulky bridge abutments that will break the leading line, the most obvious choice would be to capture it standing in the middle of the road on the bridge (as long as there’s no traffic about!).
When you’re taking landscape photos, try to find leading lines that wind through the scene, such as a river, a fence, railway tracks, a road or path. It could even be a row of trees or telegraph wires. Anything that draws your eye through the scene will work.

If you end up in a forest it can be hard to compose an image due to the repeating patterns that the trees create. Look for a path or a fallen tree that can serve as a leading line trough the trees. Any line that breaks a pattern in the scene will work really well.
Once you start looking, you’ll find many objects that you can use as a leading line in almost any scene. I encourage everyone to think creatively. Look for any line and try to make a great image with its help.
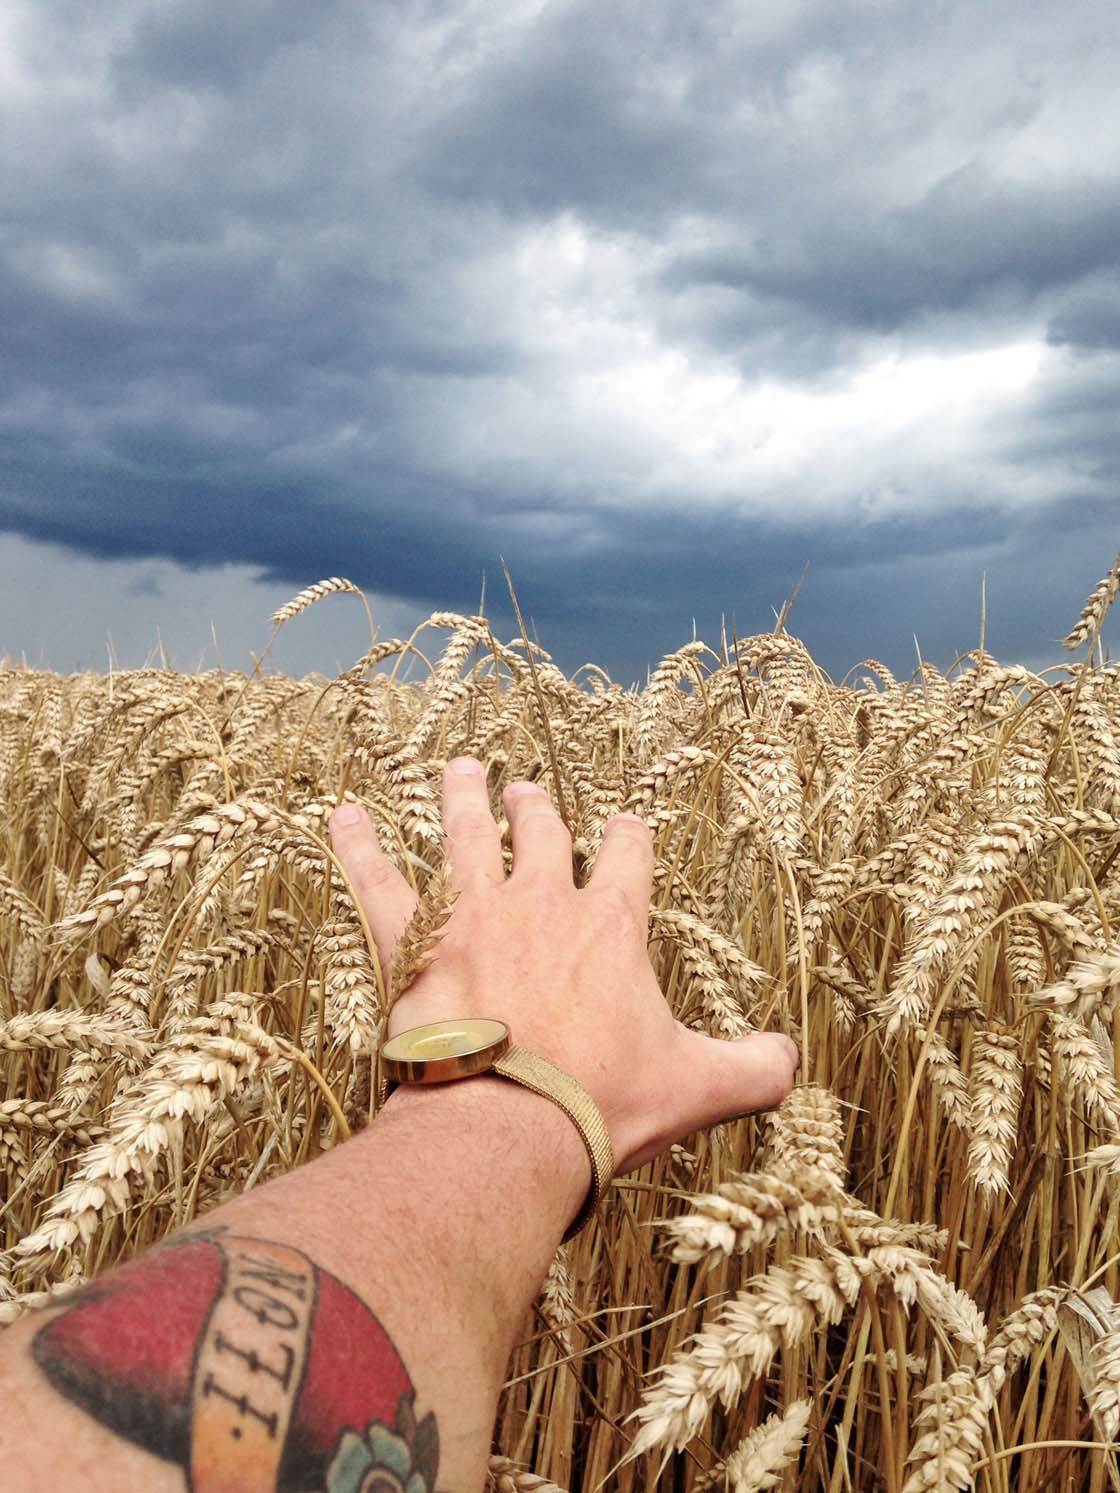
Even my arm emerging from the corner of this image acts as a leading line, drawing your eye from the front of the image towards the distance, and breaking the pattern of the crops.

Remember, lines don’t even have to be physical objects – they can be implied, such as these shadows which wind their way around the image, meeting at a point where the main subject (the cyclist) is positioned.
Types Of Leading Lines
A leading line doesn’t necessarily have to be just one isolated line that runs through the image, and it doesn’t have to be straight either. For example, the fence on the bridge below creates two parallel lines that run through the picture.
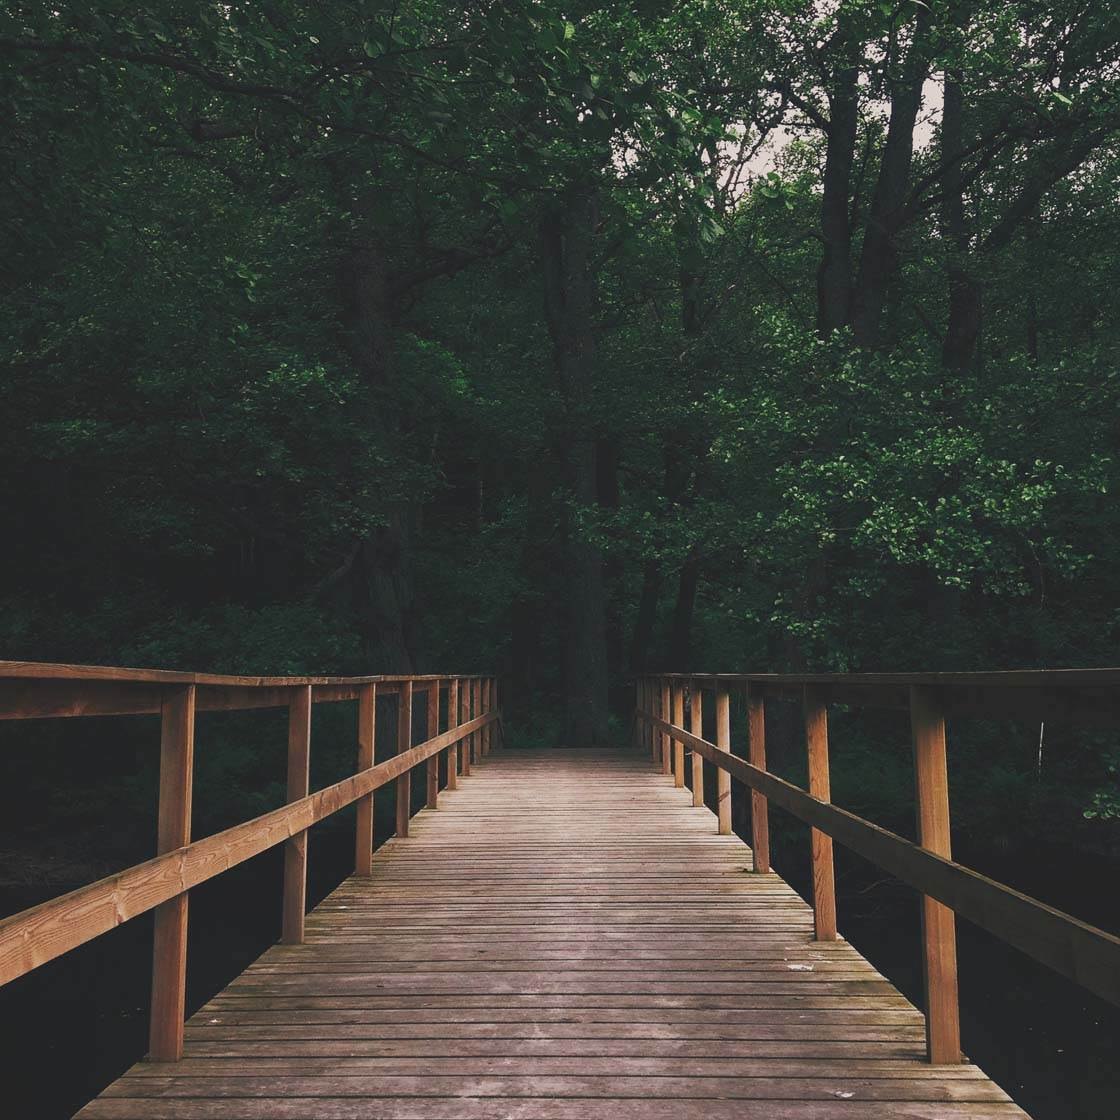
Parallel lines that lead into the distance probably have the strongest visual impact. They draw you into the picture, focusing your eye at the point where they converge. You can’t help but follow them to that point in the image.

The same goes for a road with a strongly contrasting roadside or lines running along each side. You’ll get two parallel lines that give the image depth and draw your eye into the distance.
Straight leading lines create a very strong visual impact, but you should also look out for curved lines too. If you’re lucky enough to find an S-shaped or nicely curved road to shoot, this can create a vivid image filled with a sense of movement.

A spiral staircase shot from above will create a swirling line that reminds you of water running down the sink. Your eye will follow the spiral all the way down to the bottom of the stairs.
Use Lines To Create Depth In An Image
Conveying a sense of depth in a photo can sometimes be difficult, especially in landscape photography. Landscapes often appear very “flat” in a photo, and it can be difficult to convey any real sense of distance. An excellent way of adding depth to a photo is to include leading lines. The leading line does several things.
The first is that it creates foreground interest, as long as the line starts from the front of the image. Foreground interest is very important in landscape photography as it creates a sense of depth by giving the viewer something to focus on in the foreground before their eye moves to the objects, such as mountains or trees, in the distance.
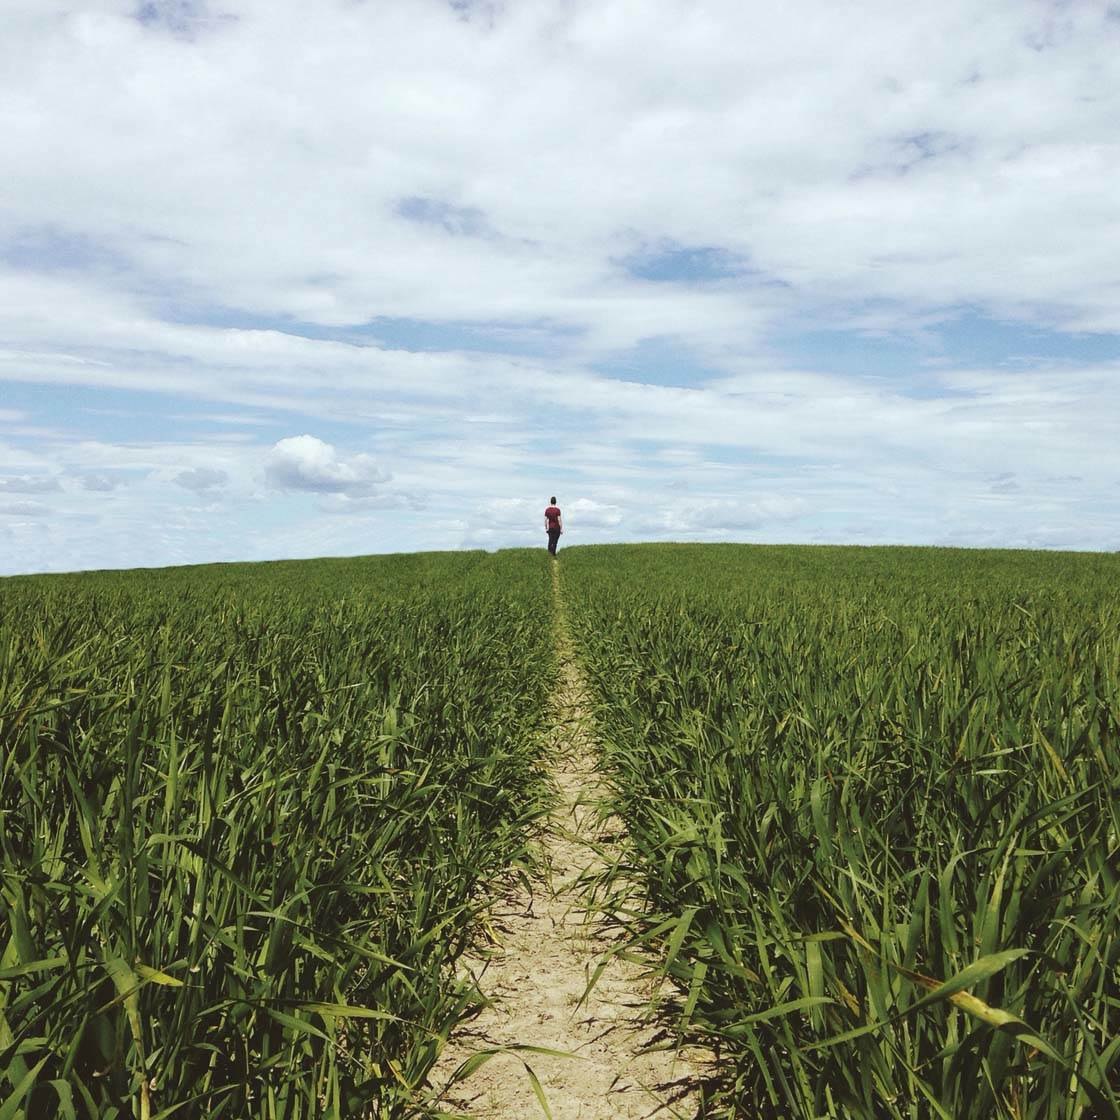
The second thing a leading line does is to create a sense of distance due to the perspective it creates. For example, if you photograph a road or river running through a landscape, the parallel lines gradually converge the further away they get. This tells the viewer that the line is leading into the distance, adding to the sense of depth.
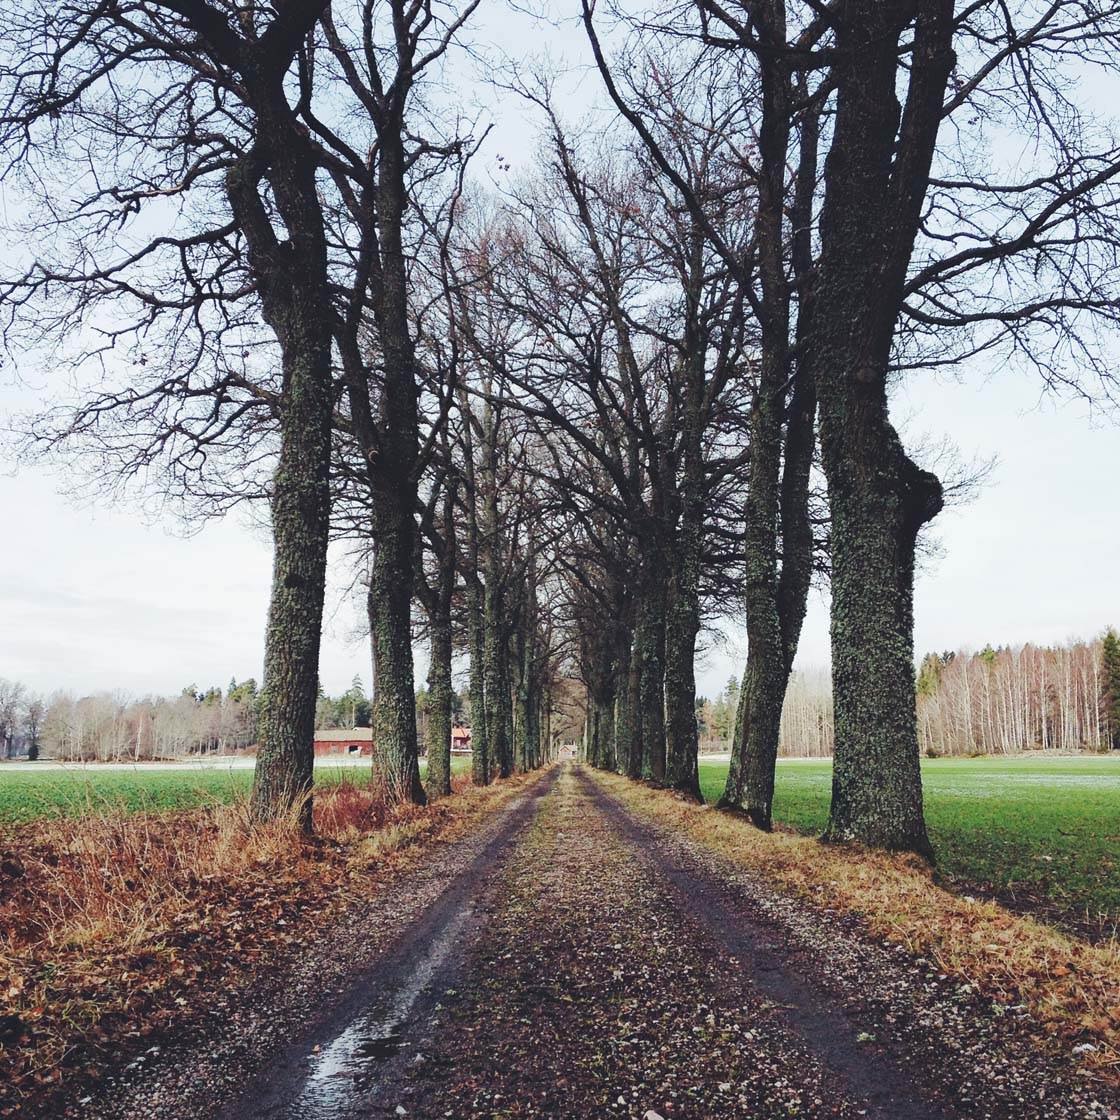
Finally, the line leads the eye through the landscape, sucking the viewer right into the picture. It takes them from the foreground, through the scene and on into the distance.
Leading lines also work really well in landscape shots that include water. Because water scenes contain so much empty space it’s often difficult to get any idea of depth or distance.
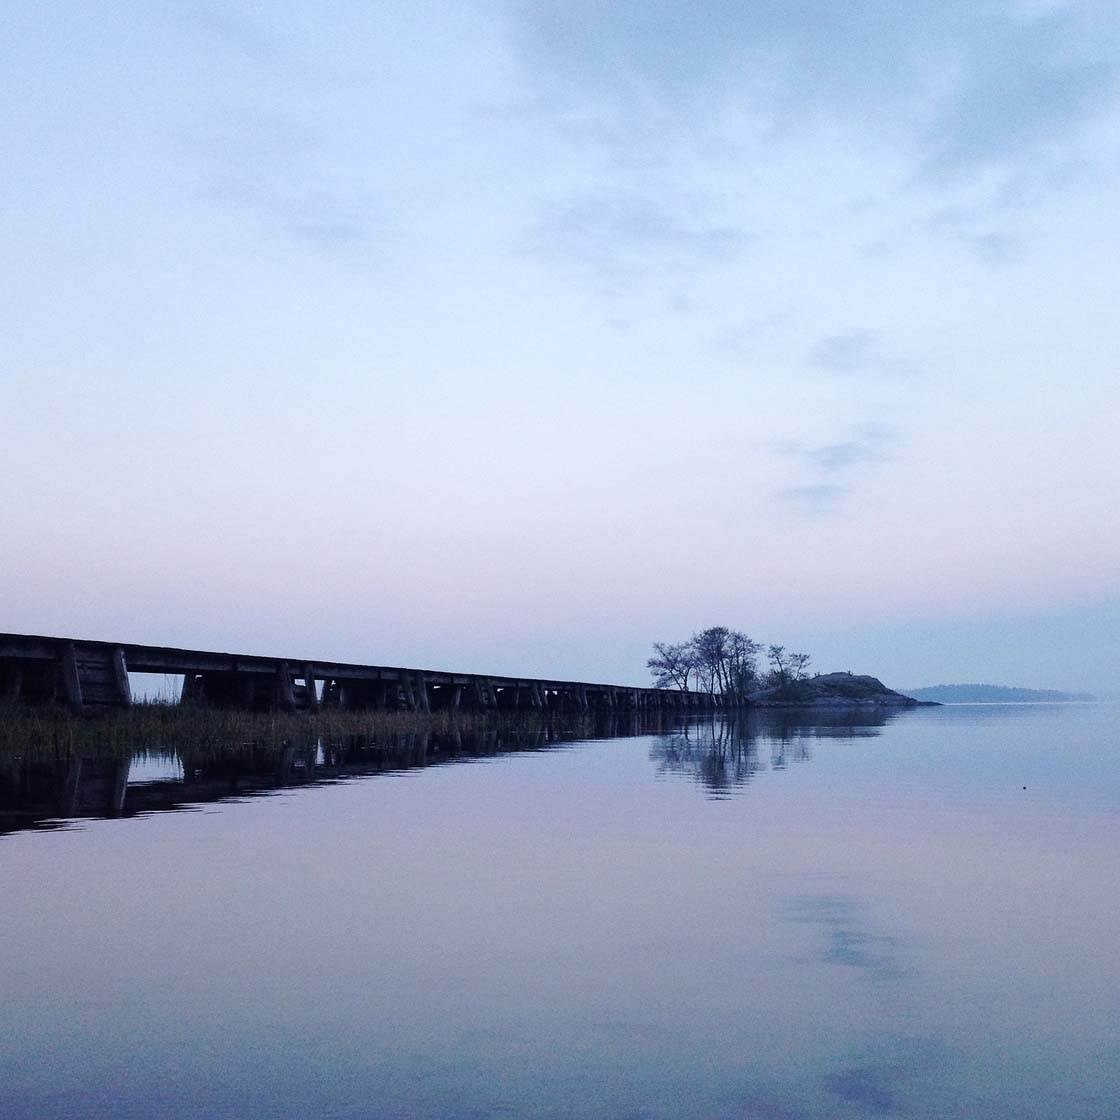
Why not use a jetty to spice up a water landscape? Imagine just the water without the jetty in the photo above – it wouldn’t be a very interesting picture.
Lines can also create a sense of depth when shooting directly down on your subject, or directly up towards your subject.
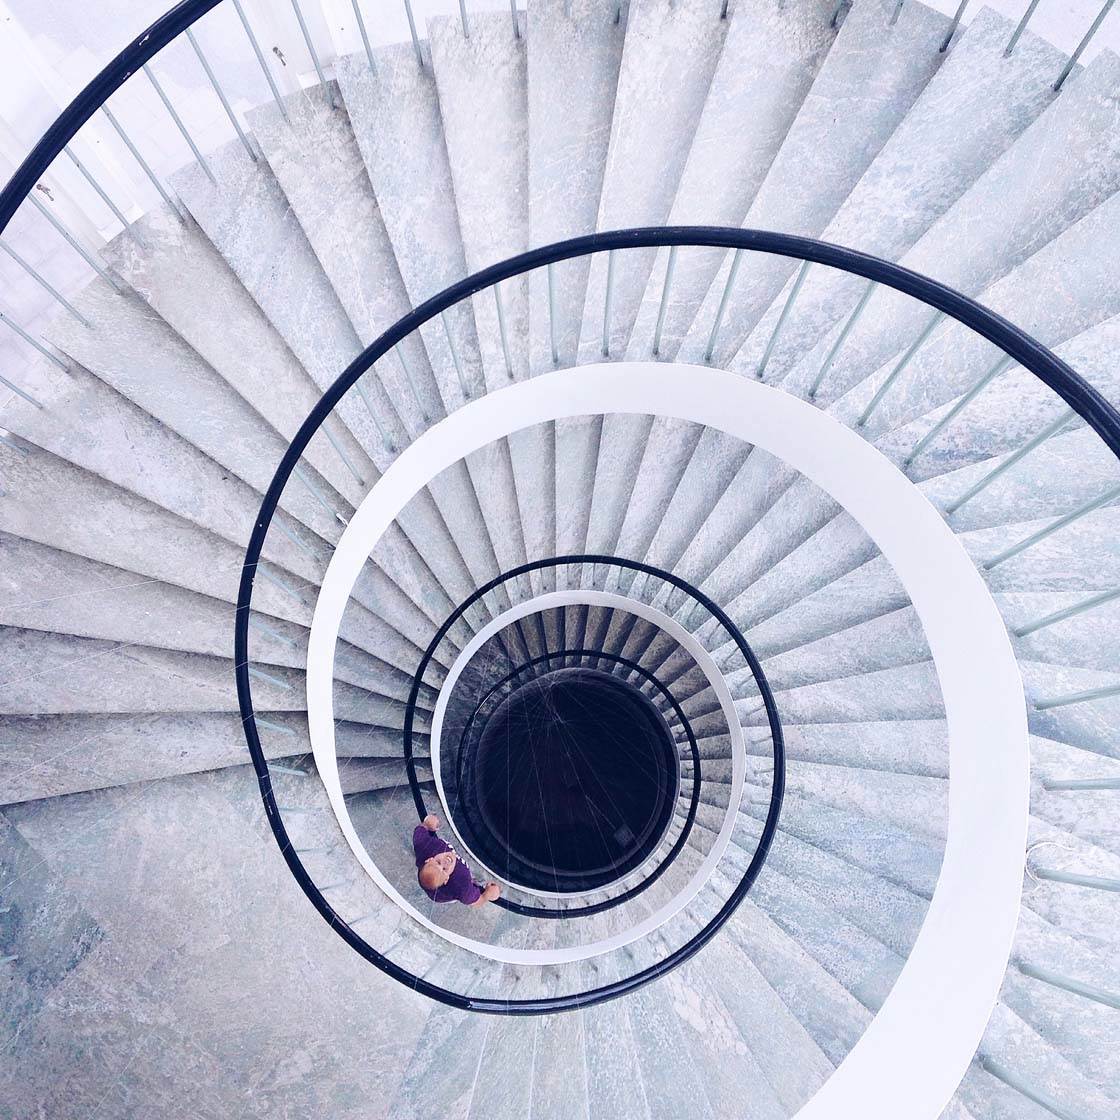
If this image had been taken looking down at the person without the spiral staircase in the shot, it would be difficult to covey how high up the photographer is. But the lines of the staircase create a great sense of depth as they converge down to smaller and smaller spirals the further down they go.
Composition Tips For Using Leading Lines
The first thing to do when composing a picture with leading lines is to active the grid in the camera app – go to Settings > Camera > Grid.
The grid will be of great help with positioning all of the elements within the frame, especially when you’re using the leading lines to lead to a central point in your scene. In these situations it’s very important to get the horizon straight.

So many times I’ve succeeded in using leading lines to lead towards a central point of interest, but at the same time failed to get a straight horizon.
Of course you straighten and crop the picture during post-processing, but most likely the picture will end up looking asymmetrical and distorted. So remember to keep an eye on all key elements of the image, and keep that horizon straight.

One good way of positioning parallel lines is to make them start at the bottom corner of the image and let them run through the image until they lead the eye to the point of interest. This will create great symmetry and a well balanced picture. You may need to crouch down and shoot from a low angle to achieve this composition.
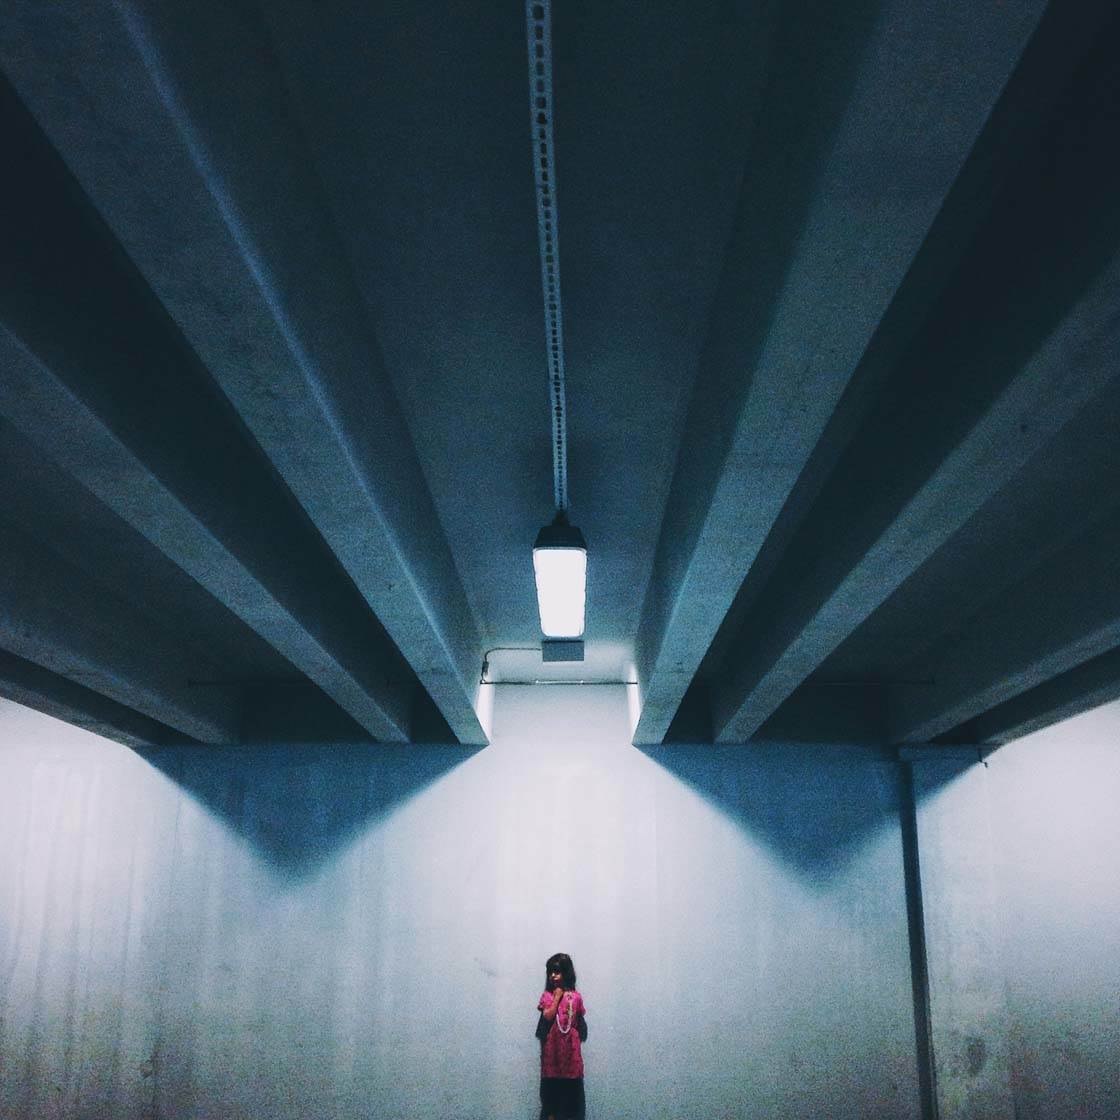
Turning the previous tip on its head, a more unusual composition would be to have the leading lines starting from the top corners of the image. It’s a more unconventional method, but can be extremely effective when framed correctly. This is a useful technique when shooting beneath bridges or overhead power lines.
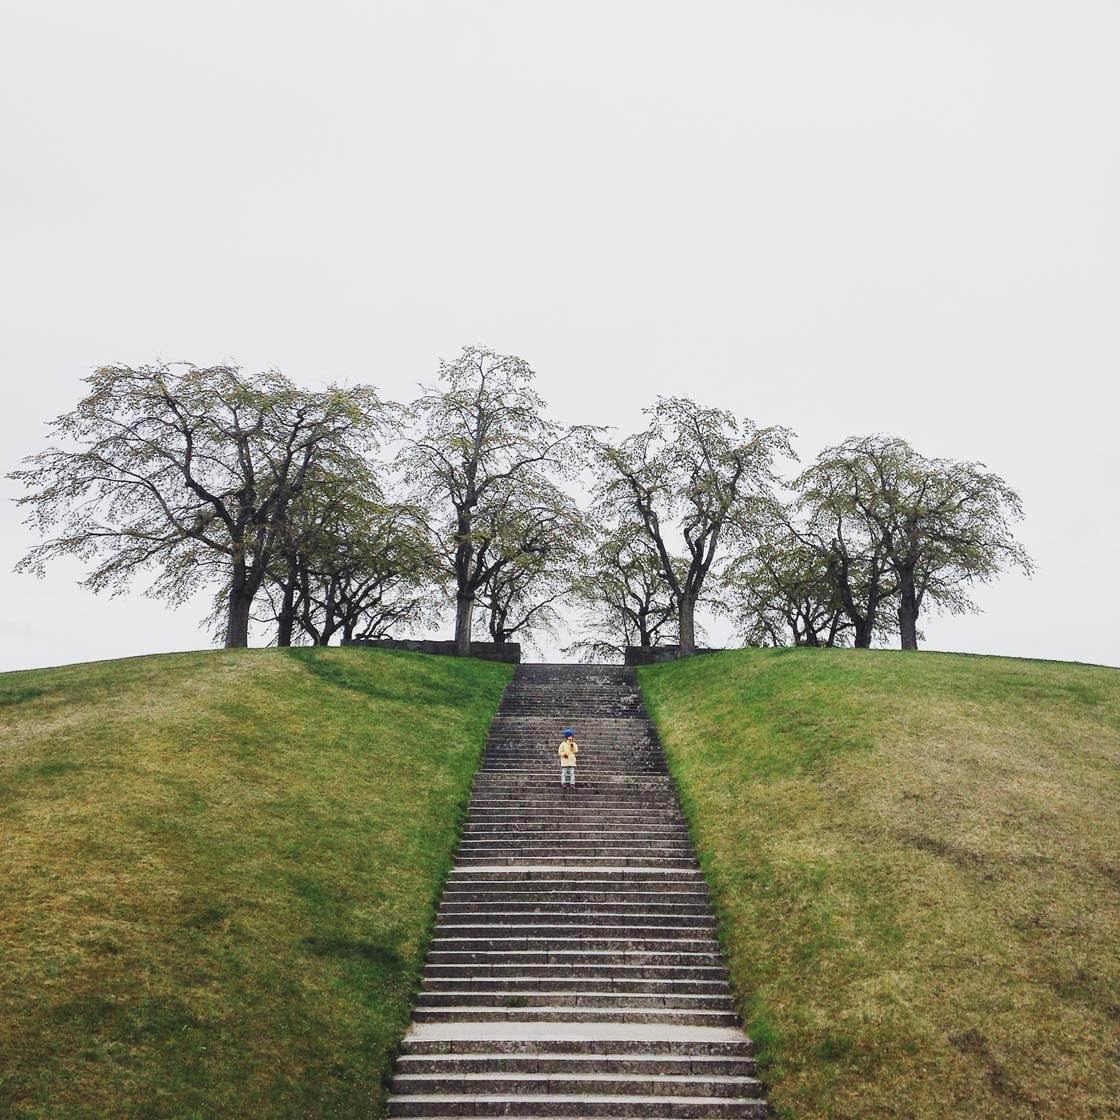
A straight line often looks best when centered and starting at the bottom of the picture. If it’s not centered, you’ll once again get an asymmetrical looking picture which won’t have as much visual impact.

Alternatively you could aim for a completely non-symmetrical image and start the line at one corner or at a point on the side of the image.

Normally we use leading lines that run vertically in an image, but sometimes they work horizontally too. The line in this wall not only creates a symmetrical composition, but it leads from one side of the image towards the person.
Horizontal lines tend to have less impact than vertical lines that run from the front of the image into the distance as they don’t create any sense of perspective or distance. But it’s worth considering using them in certain circumstances.


Excellent idea. Something basic but something that should be considered when shooting if possible to incorporate lines in a scene. Thanks.
Different subject
Oh, and on your 7-best photo apps, (whatever they might be), you definitely want to make sure ‘Enlight’ is in there. It is one of the best and pushes my first place positioned ACDSee , Filterstorm Neue, Snapseed down one notch. Enlight is not free,but 50% off limited time
Enlight is a great app
I refresh this list several times per year, and Enlight might make it there for the next update. The ones that are there now are really great as well 🙂
Great tutorial! Thanks Carl!
Thanks, Rosa! Good luck with the shooting!
Great tips Emil…Friends are already saying they love my photos.
Glad to hear you seeing good results from using our tips James 🙂
Excellent explanation of Leading Lines. Thank You!
Glad you enjoyed this tutorial Judy!
I just took a photo of a kayaker using leading lines. I really looks nice. There is no doubt they will come in handy again and again.
Its awesome! from now I will also use leading lines! Thanks for advising me!
Glad you found these tips helpful Ravi!
What program is it?