Leaves make really interesting and beautiful subjects, and I photograph them a lot! I’m fascinated by their many shapes, colors, patterns and textures, and the fact that they change so much throughout the year. In this tutorial I’m going to share my top 10 tips for creating stunning leaf pictures with your iPhone.

1. Shoot In All Seasons
One of the great things about leaves is that they look so different during each season. So you should never get bored of photographing them!

In spring, I love to look for new leaf growth, such as this fern found in a bluebell wood. It stood out to me because of the interesting heart shape that had been formed by the new unfurling leaves.

During summer, there will be an abundance of vivid green leaves wherever you look. Try to search out interesting shapes and patterns, such as the lines in these fern leaves.
Remember, when using lines in your iPhone photos, it usually looks best if the lines run diagonally from one corner of the image to another.
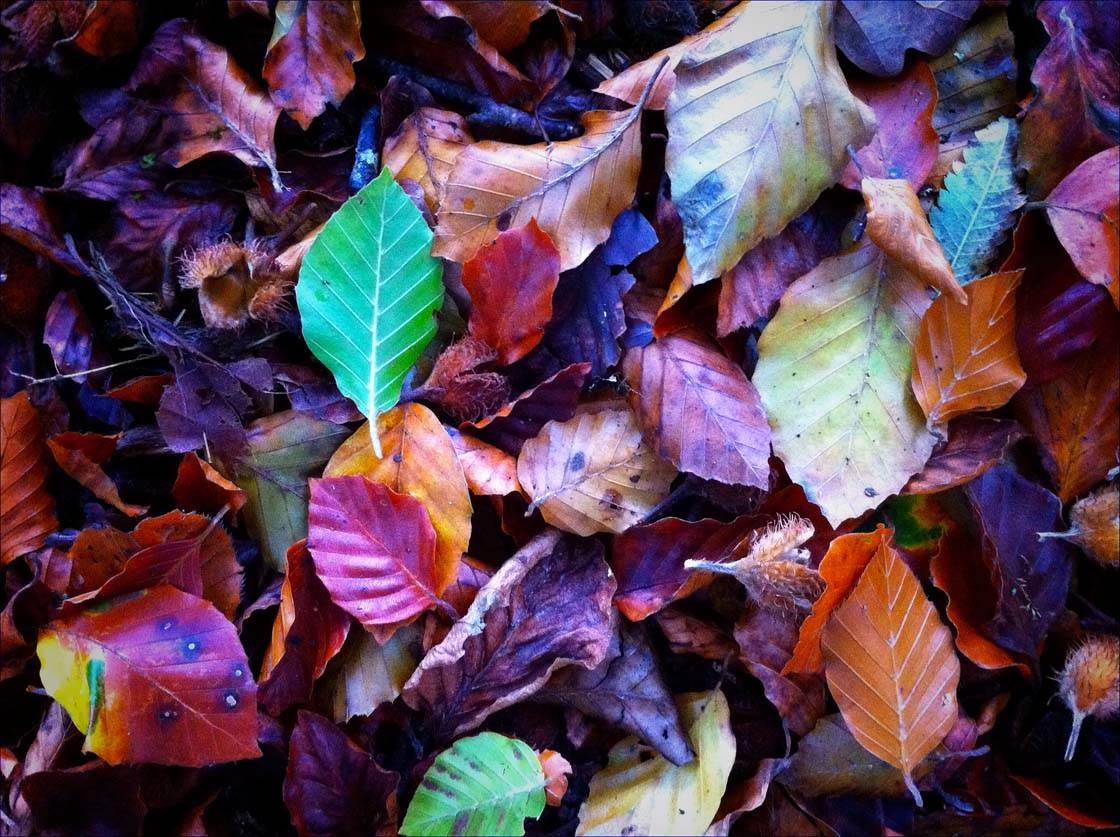
Autumn is my favorite times of year for photographing leaves. As they begin to fall from the trees, leaves can be found in an abundance of colors and different states of decay.
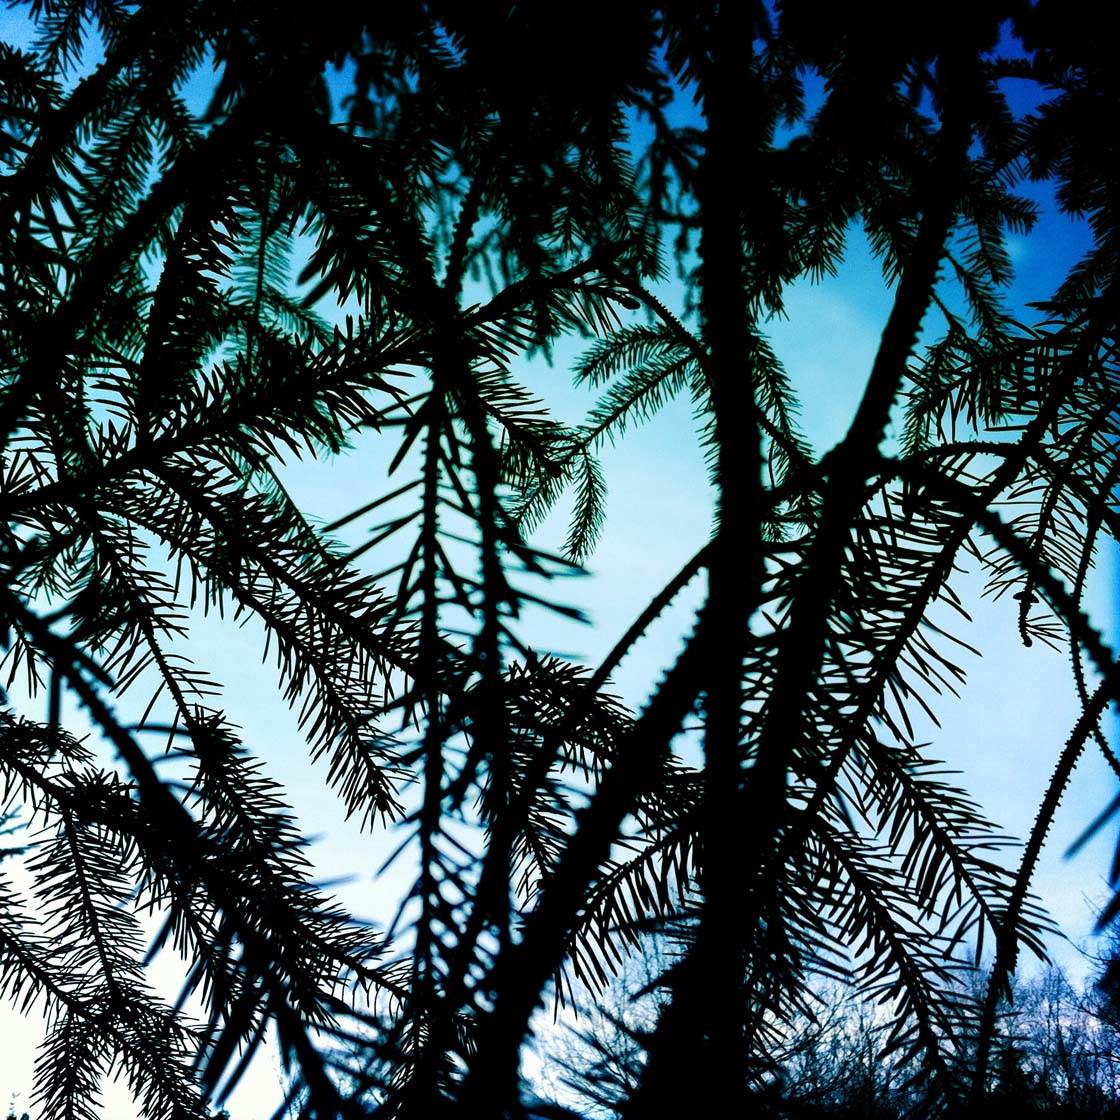
In winter, there are generally less leaves around as the deciduous trees will have shed their leaves. But keep your eye out for evergreen trees as their needles can make interesting subjects, especially when silhouetted against a winter sky.
There should also still be plenty of decaying leaves littering the ground in winter, and they’ll look amazing covered in frost on a winter’s morning. The winter photography opportunities are endless!
2. Get Close For Maximum Impact
When you look closely at leaves you’ll notice the intricate patterns and textures that adorn their surface. To capture this detail in your photos you need to shoot up close with your iPhone.

Shooting up close also has the added benefit of you being able to fill the entire frame with the leaf. This enables you to eliminate any distracting background objects and can create some really stunning abstract images.
If you have a macro lens attachment for your iPhone, be sure to try it out for these types of close-up shot.

The photo above is of a savoy cabbage leaf that I bought from the store. Shot from close up, it reminds me of an aerial photo of the Amazon rain forest with the river and its tributaries running through it!
3. Backlight Your Leaves
Another really effective way of capturing the detail, texture and color of leaves is to backlight them. This simply means placing a light source behind the leaf so that it shines through the semi-transparent leaf material.
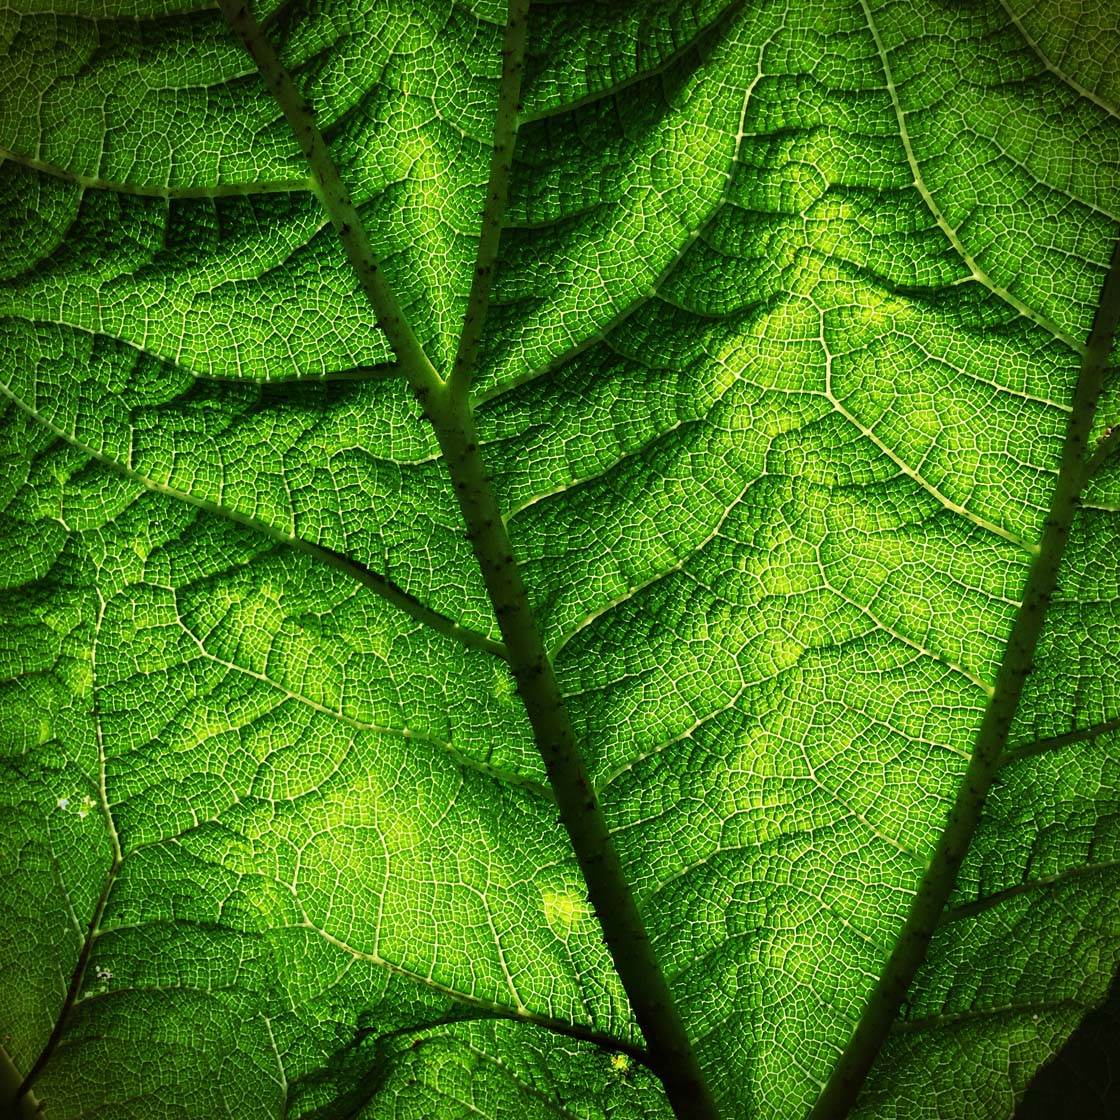
If you’re shooting indoors, a great way to backlight leaves is to use sticky tape to fasten the leaf to a window with the light behind it. Alternatively you could position the leaf in front of a lamp.
You’ll be amazed at the detail that will reveal itself with backlighting, and the colors will really pop.

When outdoors, you can simply shoot with the sun in front of you. Either hold a single leaf up towards the light, or photograph an entire tree with the sun behind it.
When photographing backlit subjects, you may need to experiment with setting the exposure point by tapping the iPhone screen in different places. Tapping on the leaf will expose for that part of the image, creating good color and detail in the leaf against a bright background.
If you expose for the sky, you’ll probably end up with the leaf in silhouette (covered in the next tip).
4. Create Silhouettes
Creating silhouette photos of leaves is a great way of making a strong visual impact and accentuating their shape. Contrary to the previous tip, silhouette photos will eliminate all color and detail from the leaf, leaving its shape as the main point of interest in the image.
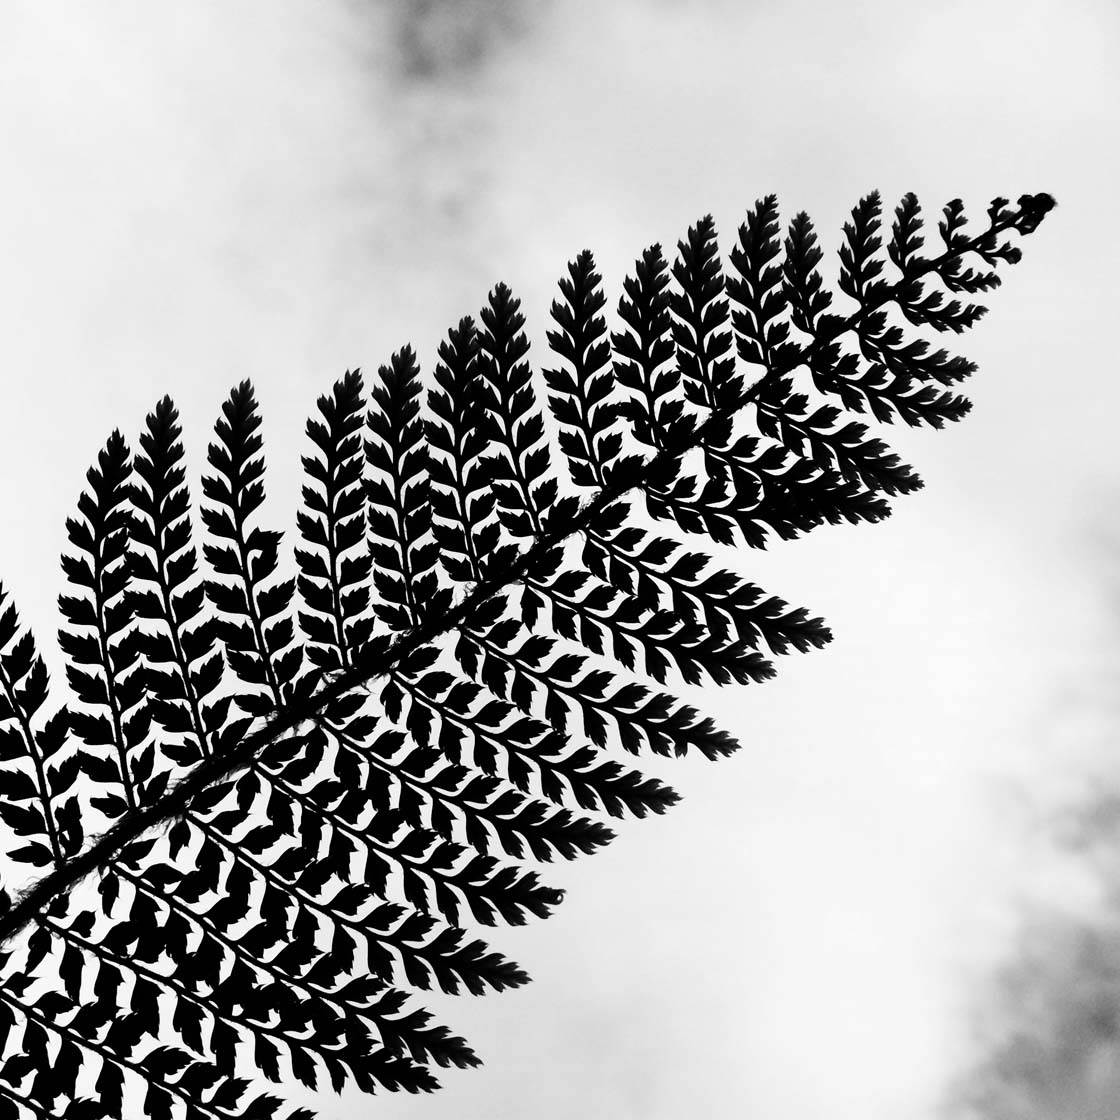
To create a silhouette image, the leaf needs to be backlit, i.e. the light source needs to be behind it. Simply hold the leaf up towards the sky, or shoot up into a tree with the sun behind it.

To ensure the leaf becomes a silhouette (just a black shape against a bright background) you need to expose for a bright part of the image, e.g. the sky, so that the leaf appears dark. To expose for the sky, simply tap on that area of the image on your iPhone screen.
5. Photograph Wet Leaves
Rain has two main benefits for leaf photography. The first is that wet leaves appear more vibrant in color, and their shiny surface can reflect light in interesting ways.
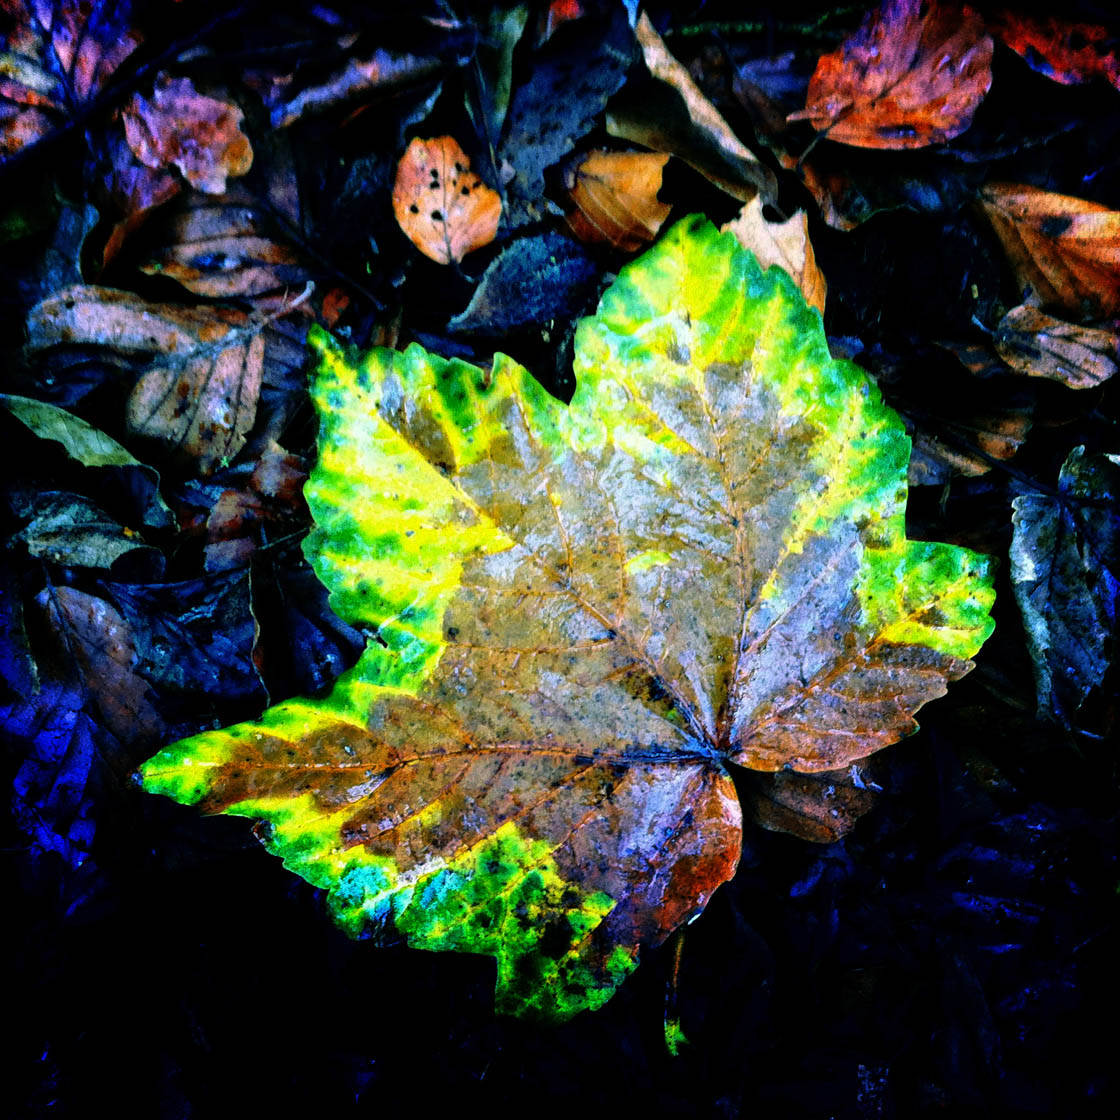
The second benefit is that water droplets on leaves make for an extra special photograph. They look especially good when the sun comes out just after the rain, lighting up the droplets and making them sparkle.
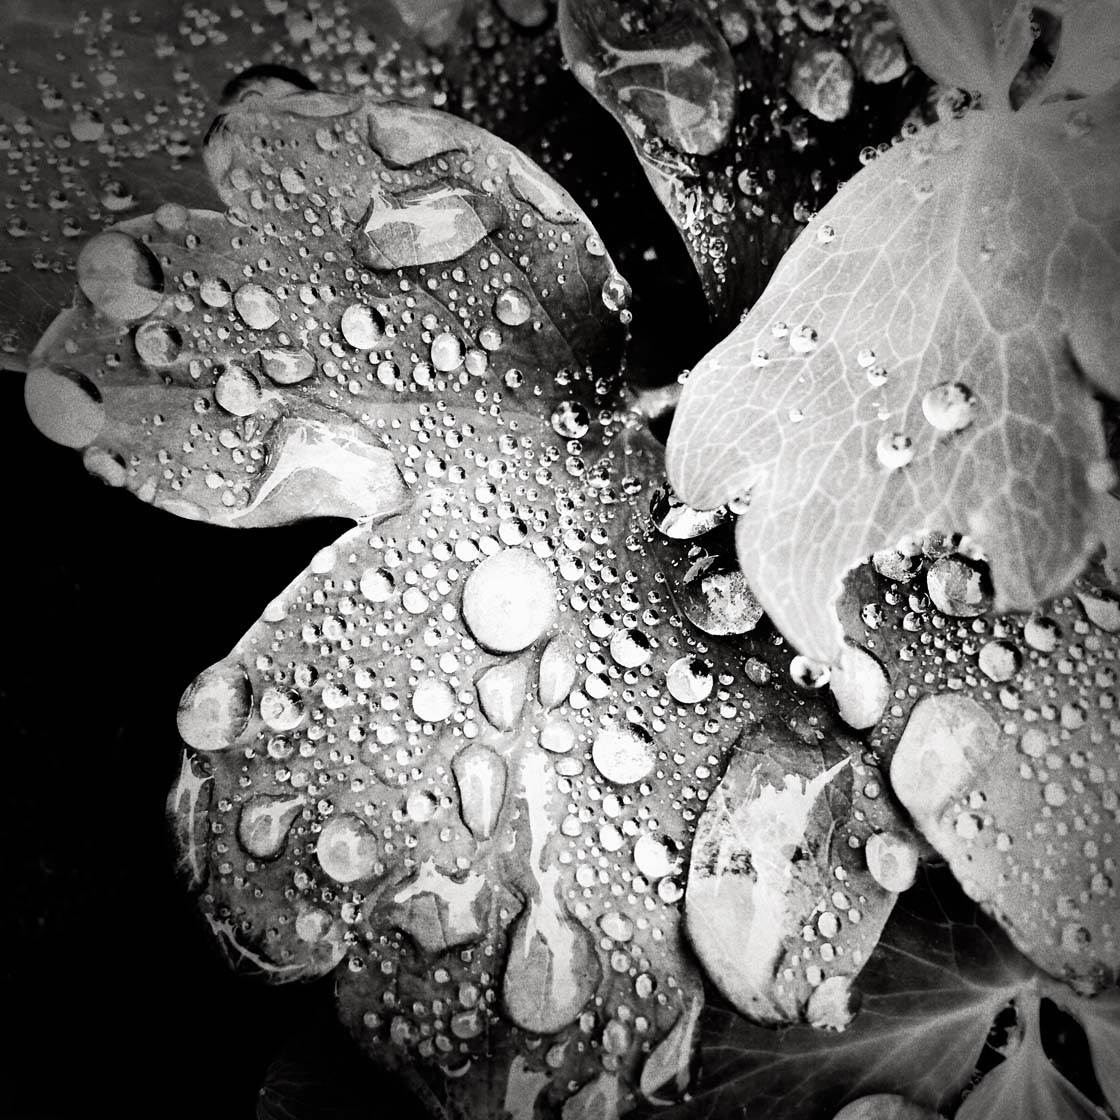
It doesn’t just have to be rain – look out for morning dew drops too. Or cheat and spray water on the leaves yourself!
6. Photograph Leaf Reflections
Wherever there is water, you can photograph reflections, and leaves are no exception. You might find a single fallen leaf reflected in a puddle or an entire tree canopy as in the example below.
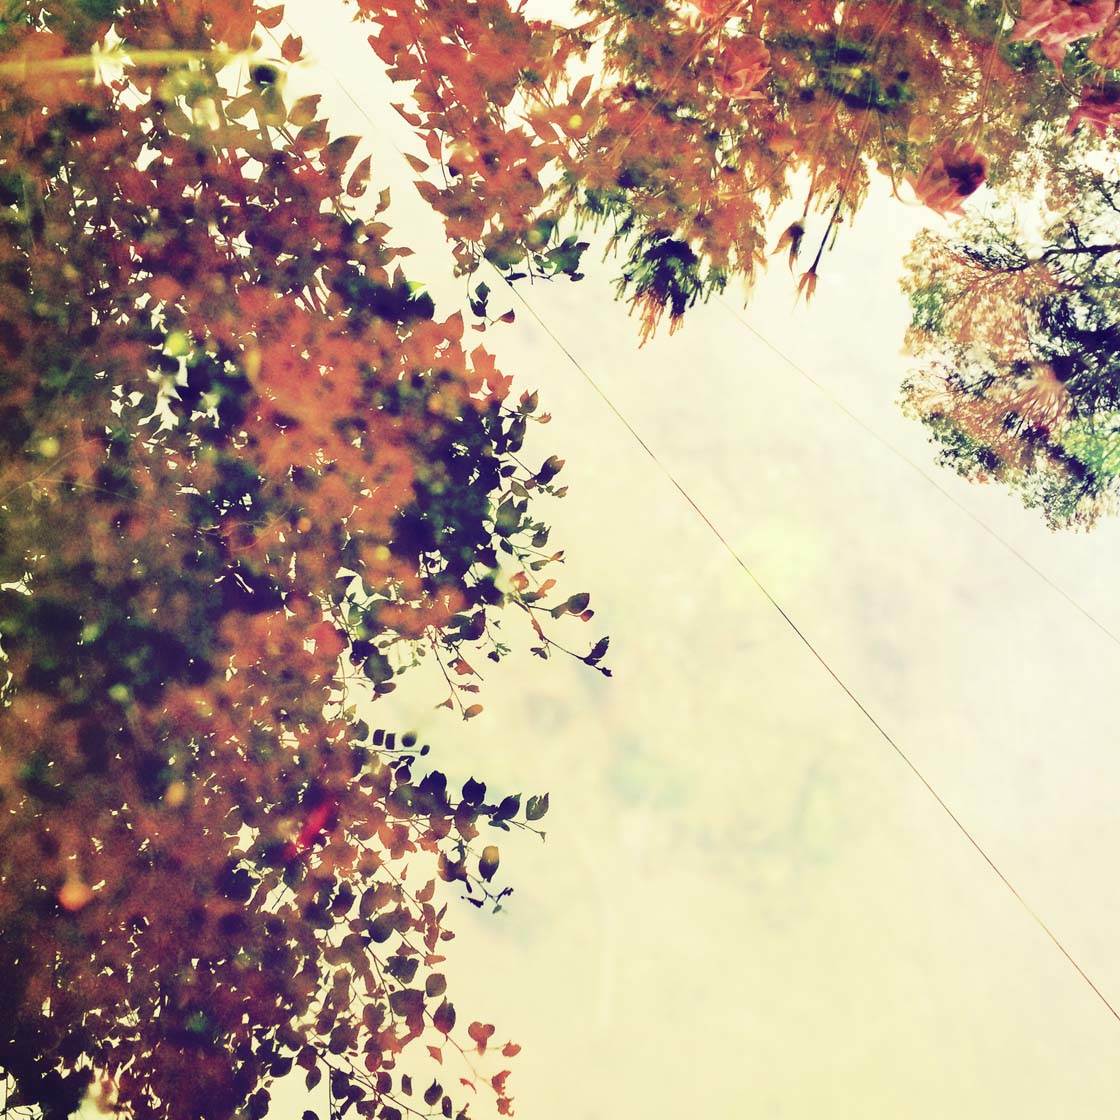
Experiment with shooting the reflection from different angles – you’ll often get the best result when shooting from low down. You could include the leaf and its reflection in the frame, or just the reflection.

This green colors in this abstract image are created purely from the reflections of trees on a slow-flowing river.
7. Look For Leaf Shadows
Due to their strong shape, shadows of leaves create excellent subjects in themselves. Shadows appear when leaves are close to another surface such as a wall or fence, and have a light shining on them.
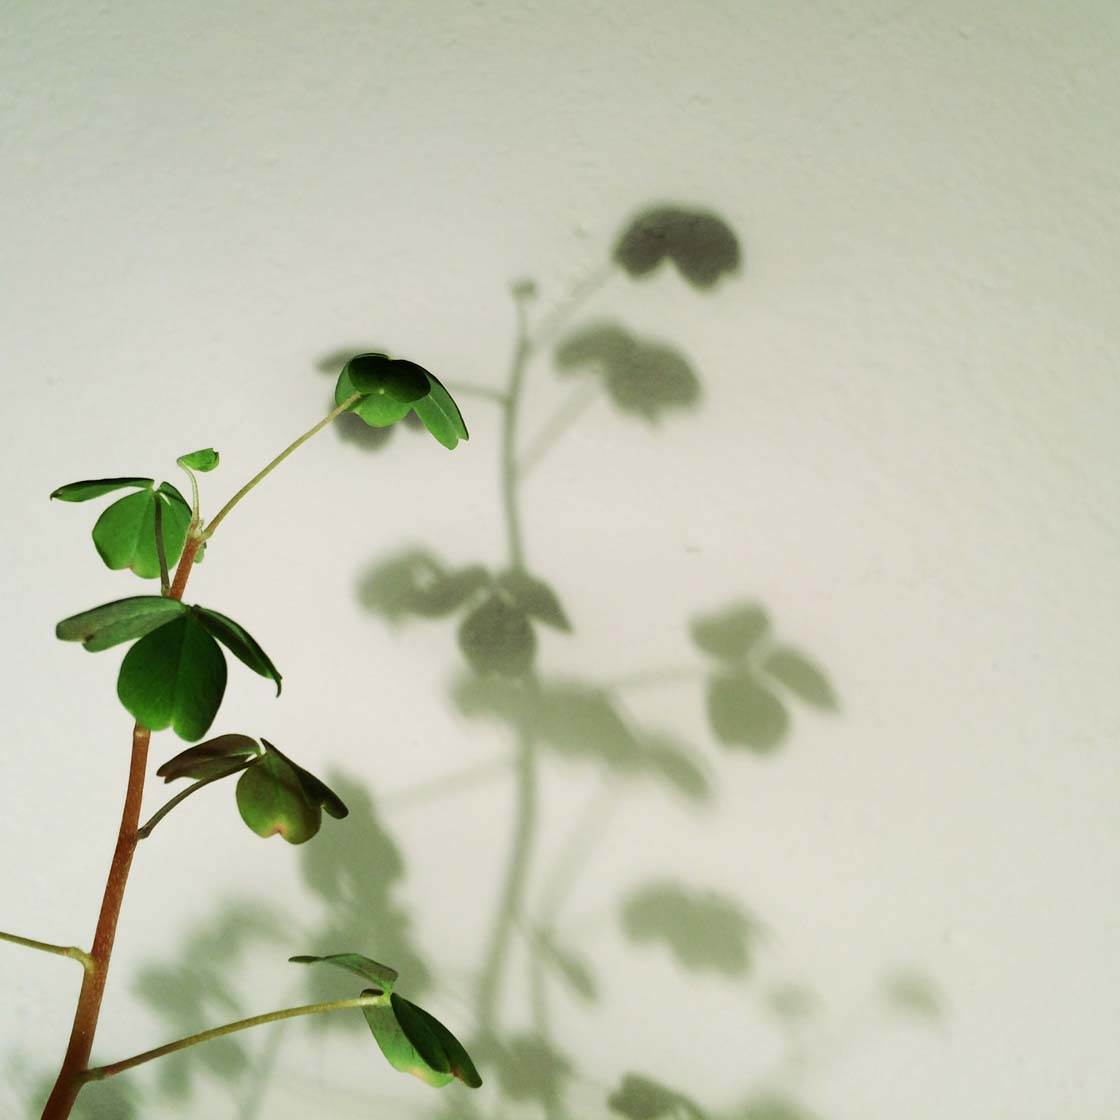
You could include both the leaf and its shadow in the image, or add mystery and intrigue by just photographing the shadow.
8. Look Down
Often we’re so busy looking straight ahead, especially when wandering through a beautiful landscape or bustling city, that we forget to look down at the ground for photographic subjects.
Leaves inevitably fall off trees and plants, so the ground is where you’re likely to find interesting leaves to photograph.
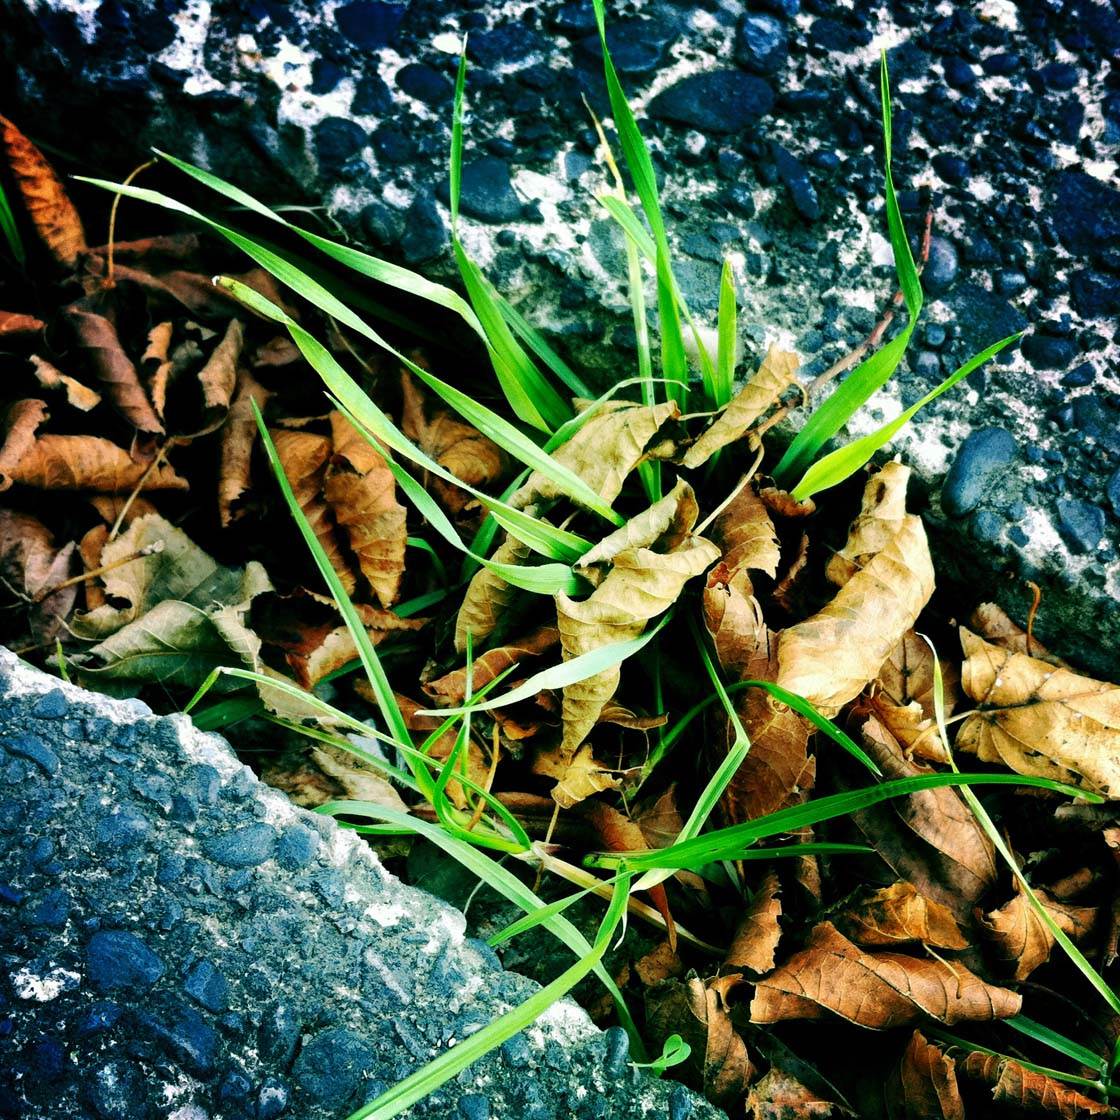
As I was walking through town, I looked down and noticed a crack in the pavement containing this interesting mix of old dead brown leaves combined with vibrant green blades of grass.
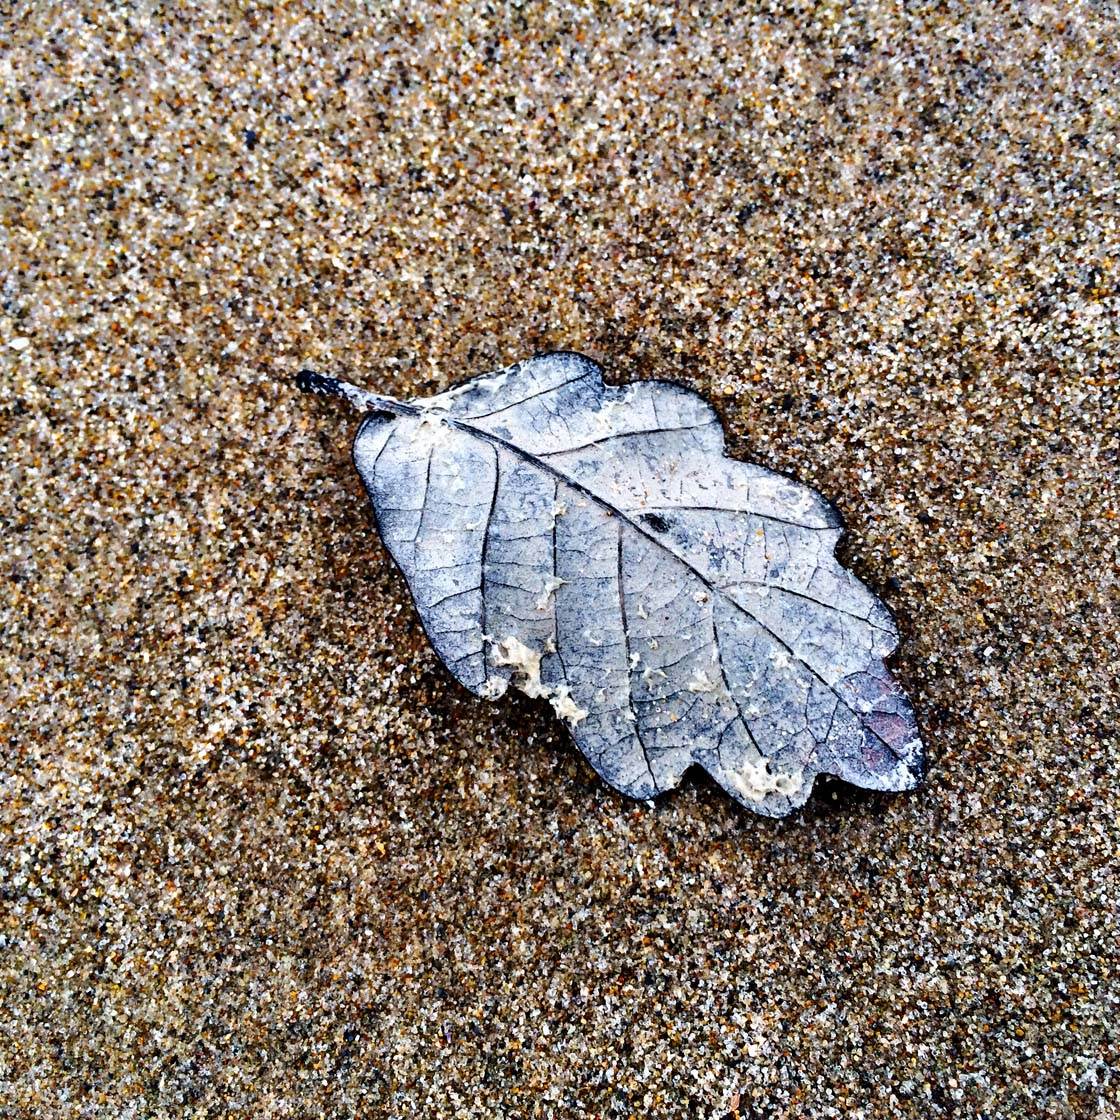
On a wintry stroll along the beach, I looked down to discover this lone leaf washed up on the shore. It had an unusual coloring, which looked great against the sand.
9. Look Up
If you’re walking through a forest or tree-lined street, try looking up as well as down.
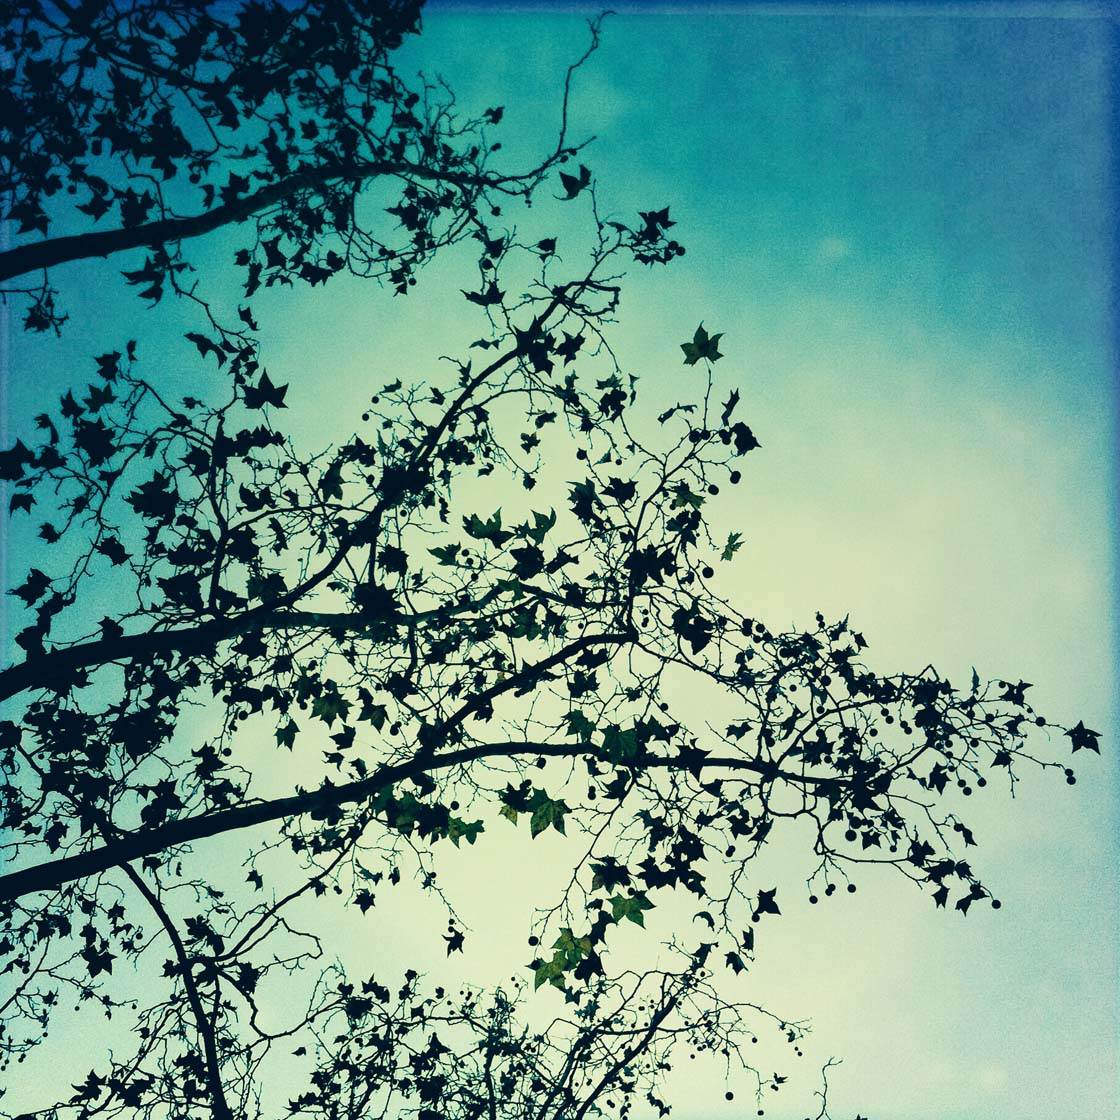
Photographing a scene of leaves above you works especially well when you have a vivid blue sky or interesting cloud formations as a backdrop.
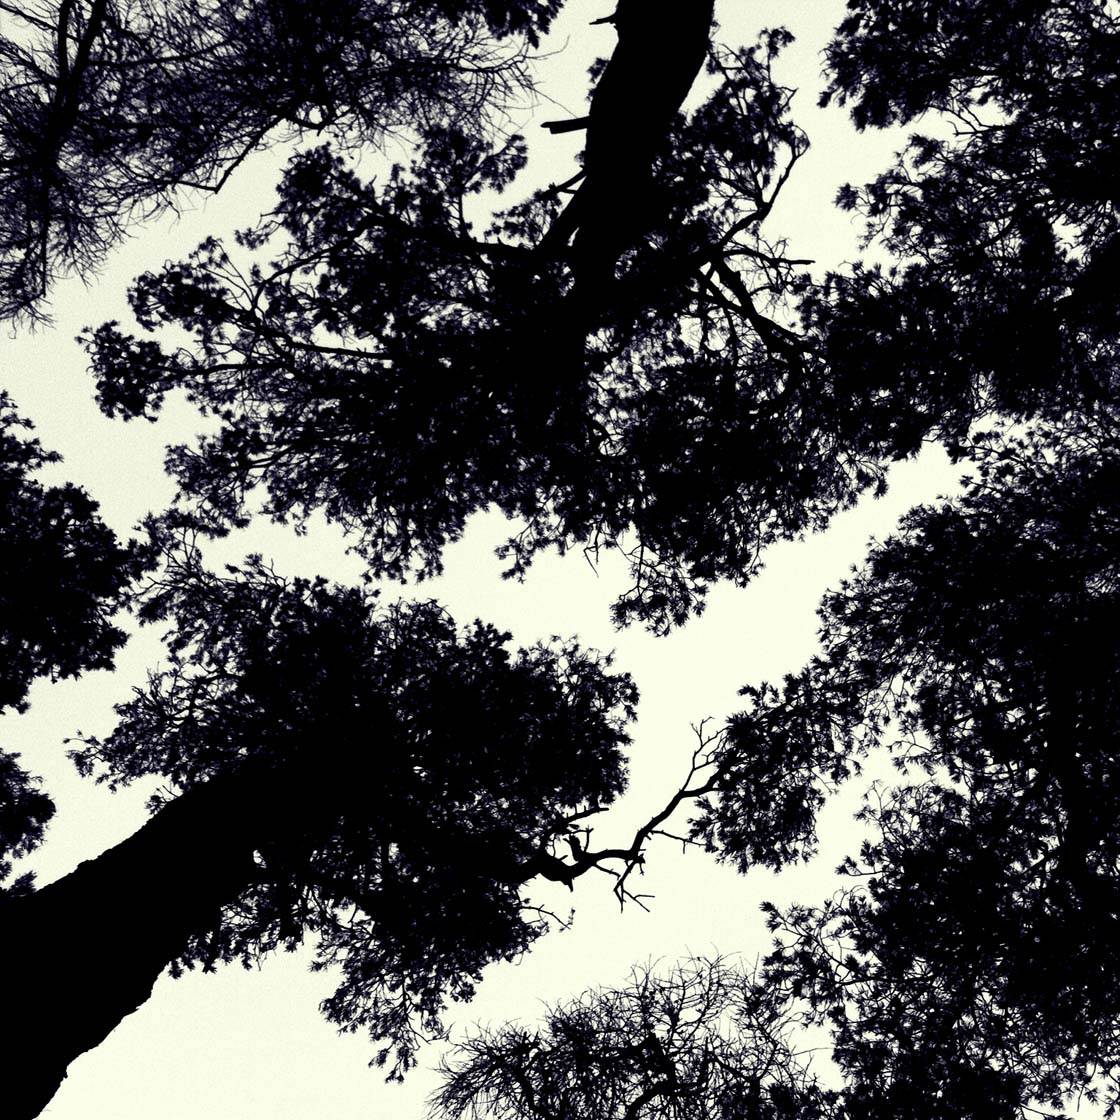
Depending on where you set the exposure point, shooting up into the canopy can result in a really strong silhouette of the leaves and trees against a bright background. These often make for amazing forest photos when converted to black and white.
10. Use Leaves As A Frame
You don’t just have to use leaves as the main subject in your iPhone photos. They also make great “frames” which can help draw the viewer’s eye towards your main subject, as well as adding foreground interest and color to your images.
I often use the overhanging leaves on tree branches to form a frame around one or more edges of the photo.
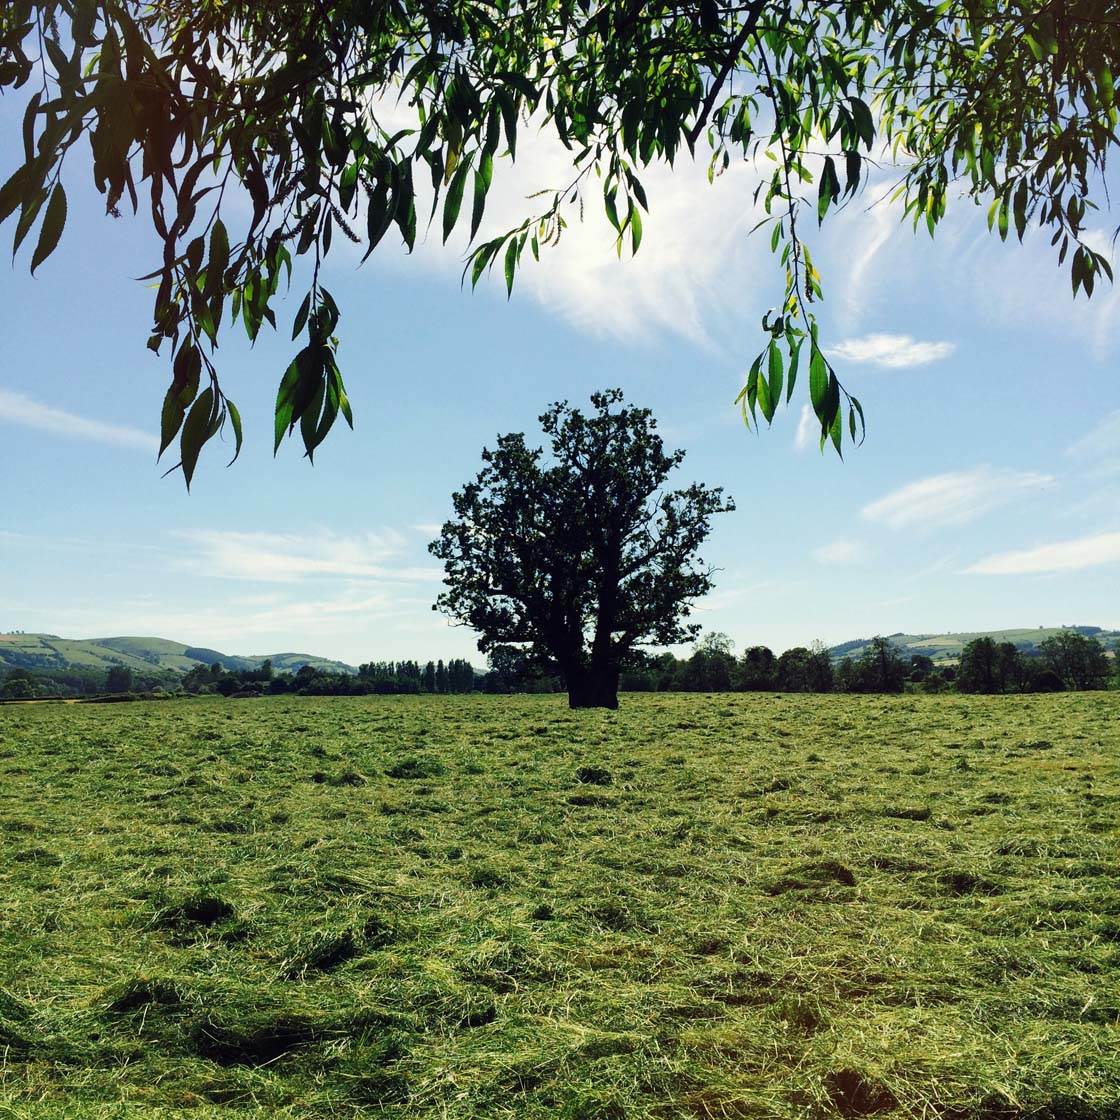
When taking this photo of a tree in the middle of a field, I stood under another tree so that the leaves hung down into the top edge of the image. As well as adding foreground interest, they provide a frame around the main subject which helps to focus your eye towards it.
Without the overhanging leaves, there would be a lot of empty blue sky and the photo wouldn’t be as interesting.

Again, the inclusion of these beautiful backlit leaves at the top of the photo help to fill the empty expanse of sky and draw your eye towards the cyclists.
So next time you’re out taking photos, keep your eyes peeled for overhanging branches whose leaves might form an interesting frame around your subject.


Why i cant get pohotgraphy tip via email…whenever.i put my name n email it says page not availble.
Hi, I’m not sure what the problem is sorry – I’ve just tried it and it worked fine for me. Could you try it again later and if it’s still not working, can you let me know and I’ll look into it for you. Many thanks, Kate.
Hi kate wesson thanks for reply.i am trying this from last 3 days..still its saying “web page is not available”
AR
We’ve added you manually to the email list, so you should start receiving the email tips now 🙂
Thank you very much kate
I checked email..but there is a link.for grant the permissiom…that page is blocked in my country… 🙁
Great tips, thank you!
No words to express my thanks