Shooting from a low angle is one the easiest ways to create unique and powerful compositions. It provides a different perspective on the world and makes your shots more interesting. It also allows you to overcome some tricky photography problems such as distracting backgrounds and not being able to fit everything in the frame. In this article you’ll discover 10 great tips for getting amazing low angle shots with your iPhone.
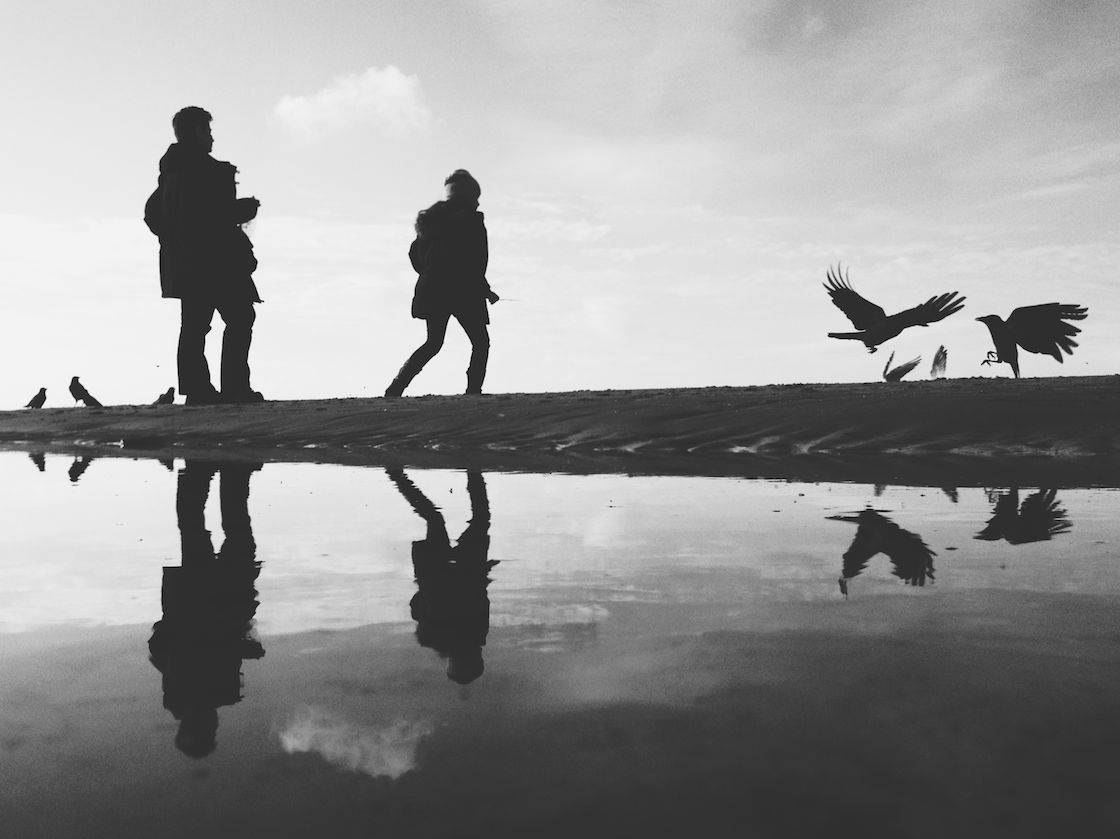
Shooting from a low angle means shooting with your iPhone either beneath the subject and looking straight up at it, or with the iPhone positioned much lower than normal standing height.
Depending on how low you want to shoot from, this may involve crouching down, kneeling on the ground or even lying down to get a “worm’s eye view” of the world.
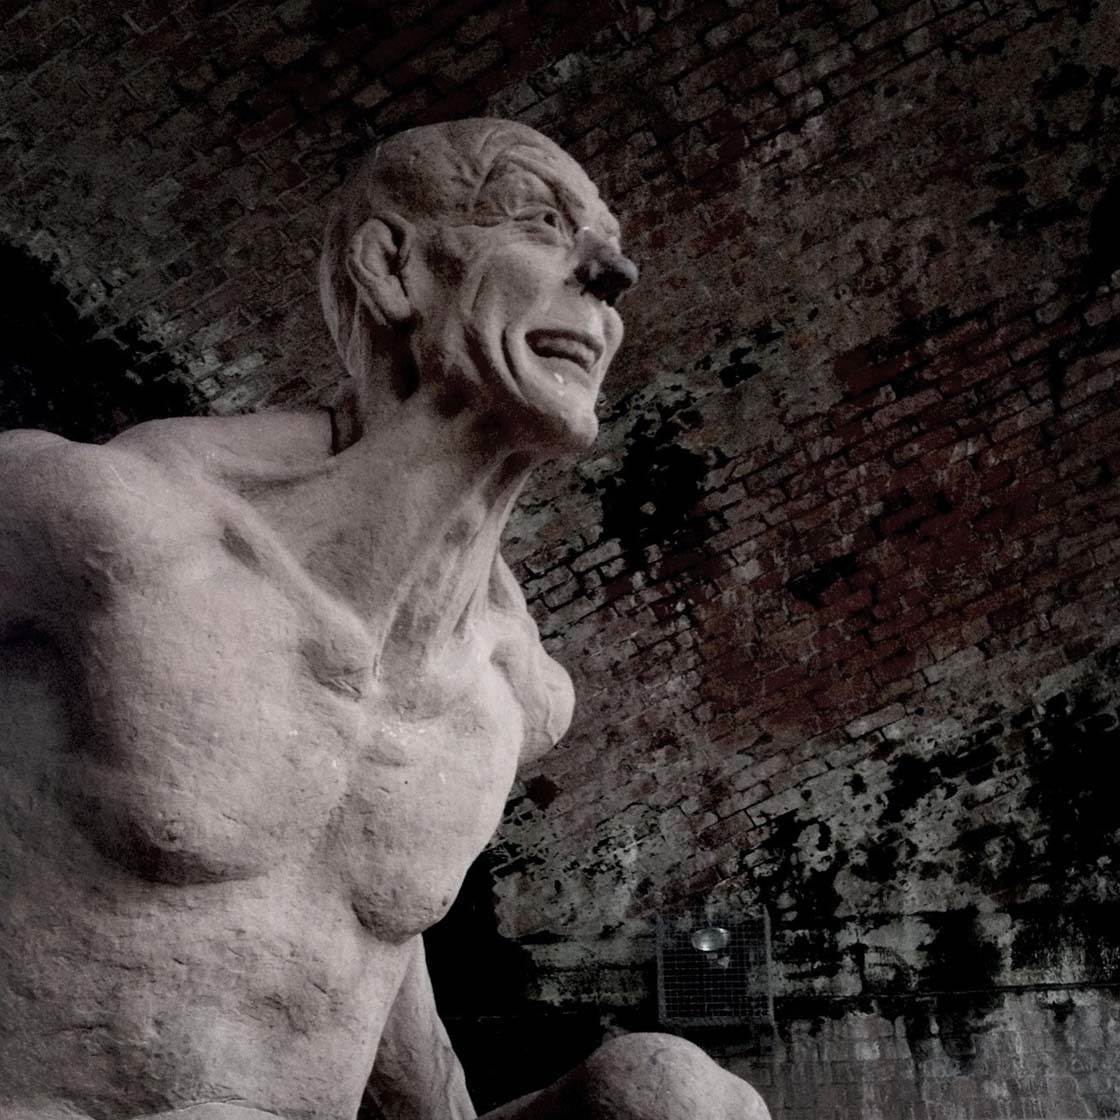
Don’t be afraid of shooting from a really low angle. And don’t worry what people will think of you while you’re lying on the floor… they’ll soon be jealous of your amazingly unique shots!
Using a small iPhone tripod can help with low angle photography as it can be difficult to hold the camera steady when you’re crouched down. It’s also great if you struggle with crouching or kneeling down for periods of time.
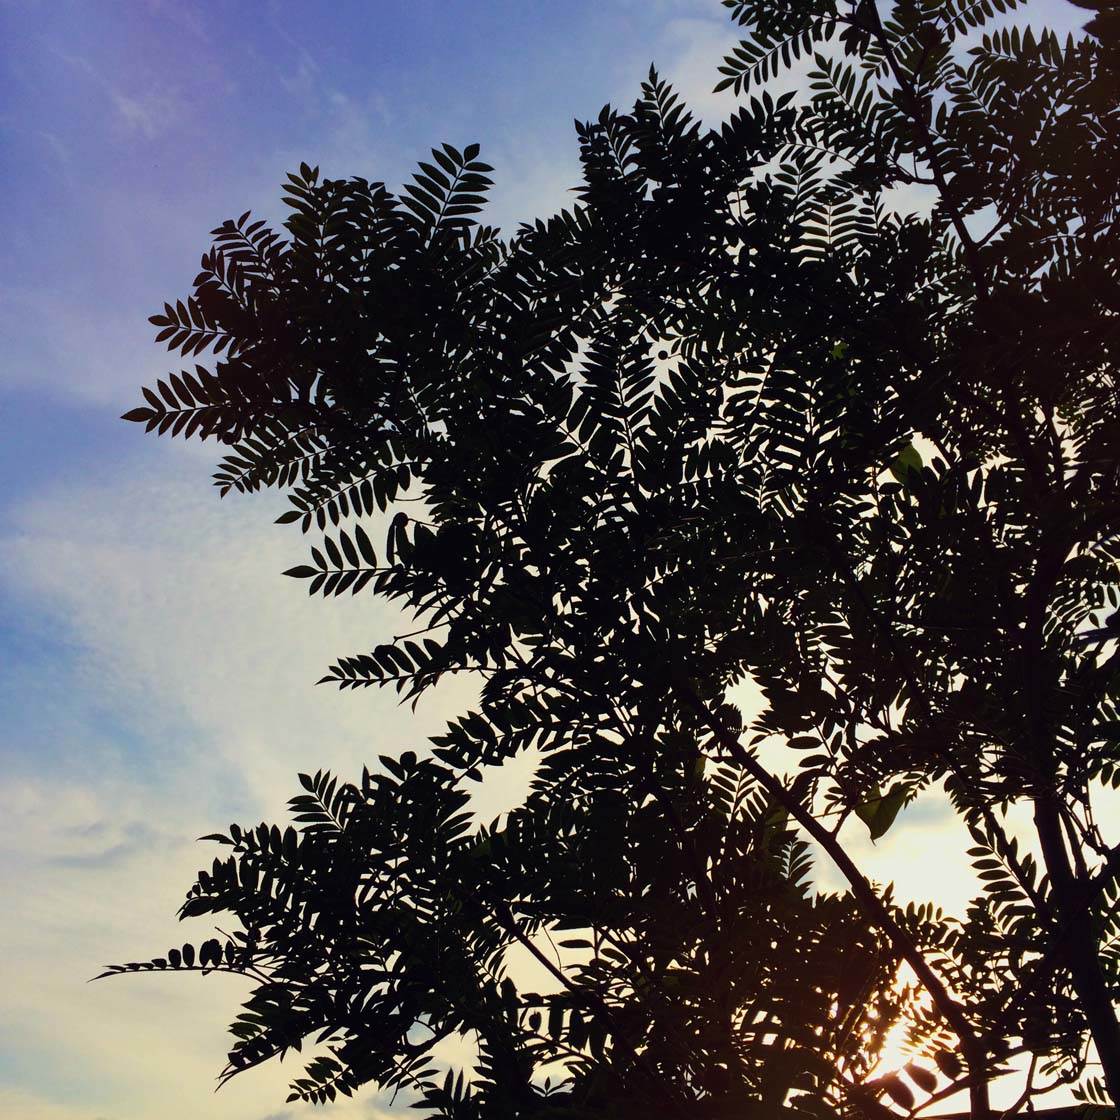
Shooting from a low angle works well in so many situations. My advice would be… when in doubt, shoot from a low angle.
So let’s look at 10 ways that shooting from a low angle can help you create incredible and unique photos with your iPhone.
1. Show Your Subjects From An Unusual Viewpoint
A unique and creative angle is one of the easiest ways to make your photos stand out. Photographing your subject from a low angle is a great way of enabling you to capture the world in an entirely different way.
Shooting from a low angle can make your photo much more interesting to the viewer. It’s more likely to catch their eye in the first place and it will hold their attention for longer.
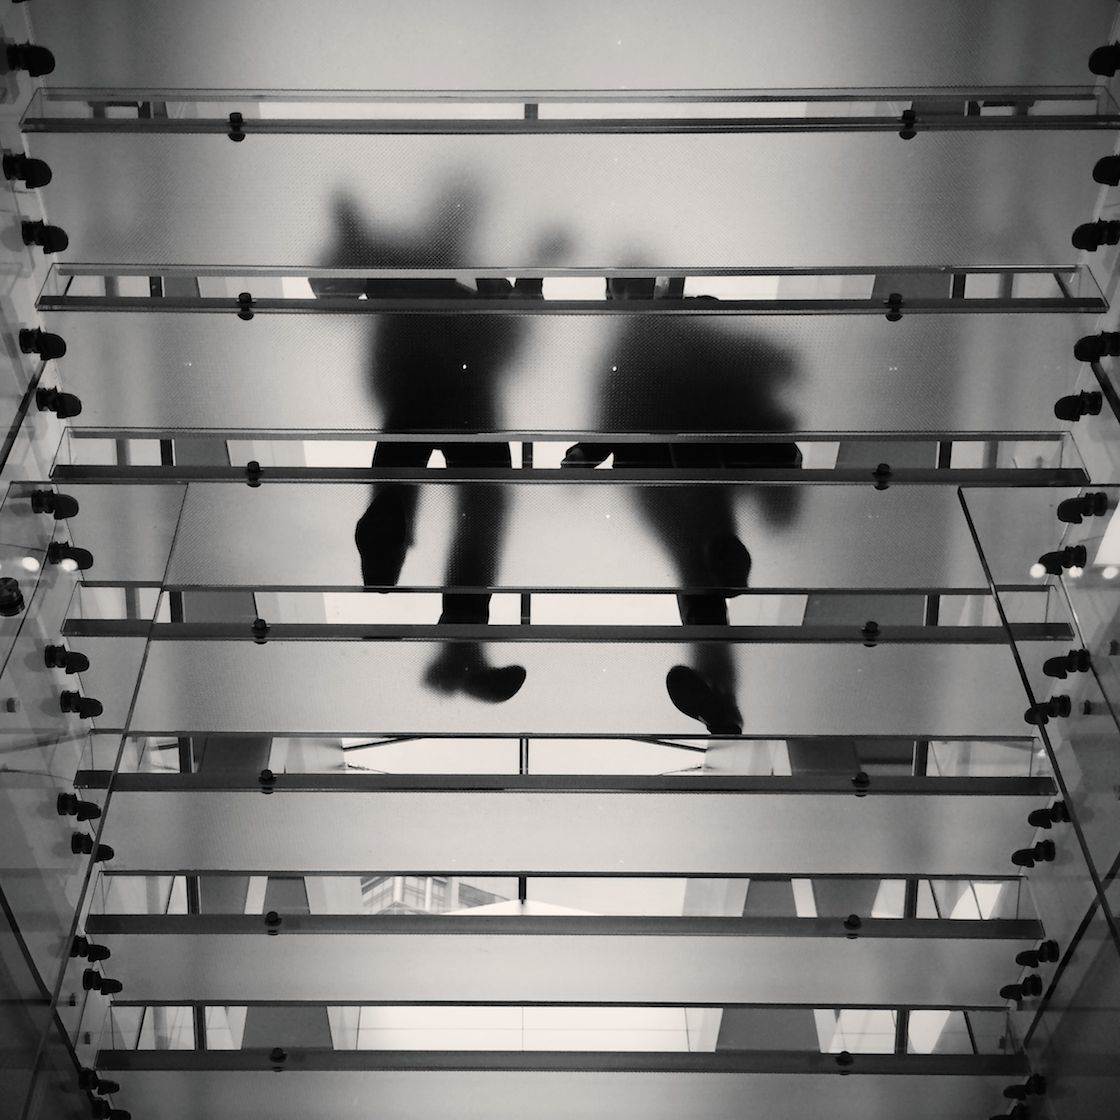
Taking this photo of a glass staircase from below shows the scene from a perspective that you wouldn’t normally see, which makes it more unique.
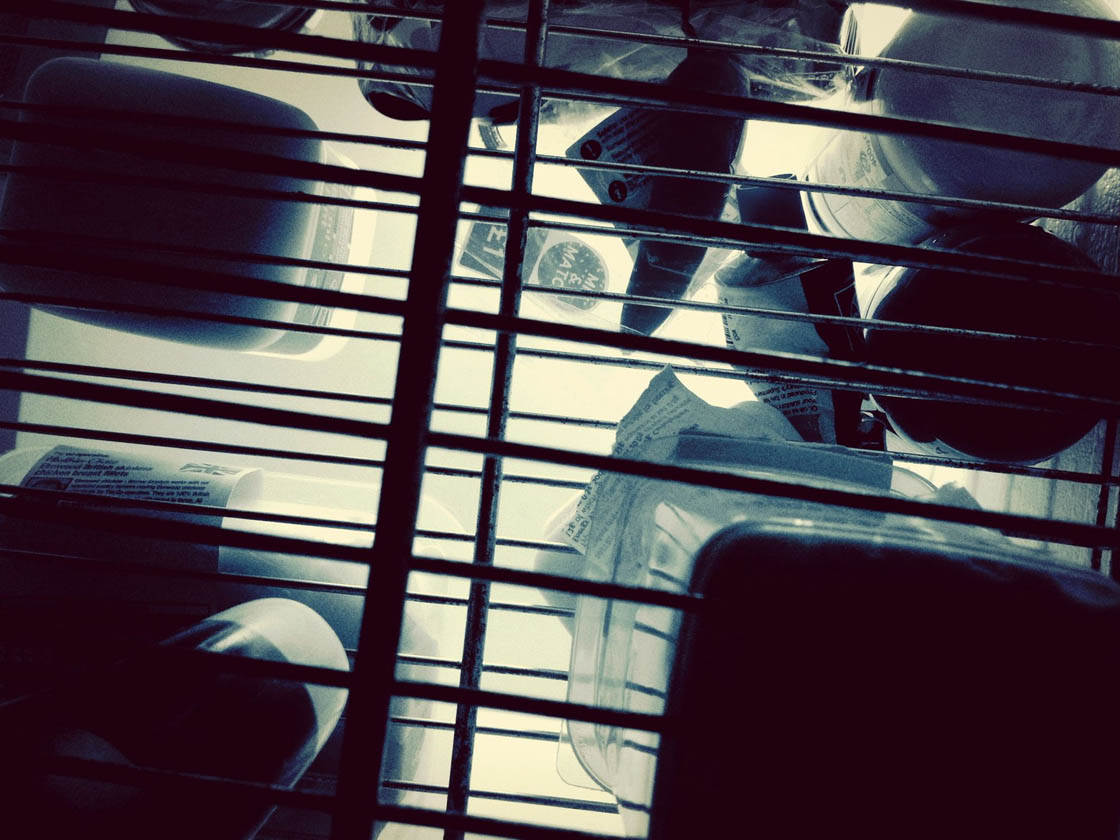
This is a photo of the inside of a refrigerator, with the iPhone placed on the bottom shelf looking up. I’m guessing this isn’t a view that you’ve seen very often, which makes it a more interesting image.
By photographing from a lower angle, you’re able to show something familiar from an entirely different perspective.
2. Simplify The Background
When you take a photo from standing height, you often get a lot of distracting background behind your subject. This isn’t good as it will detract attention from your subject.
The angle that you shoot from changes how your subjects are positioned relative to the background. If you don’t like the background you can change the angle that you shoot from.
Shooting from a lower angle is one of the best methods for simplifying the background, especially when shooting outdoors, as will get more sky and less of the busy background behind the subject.
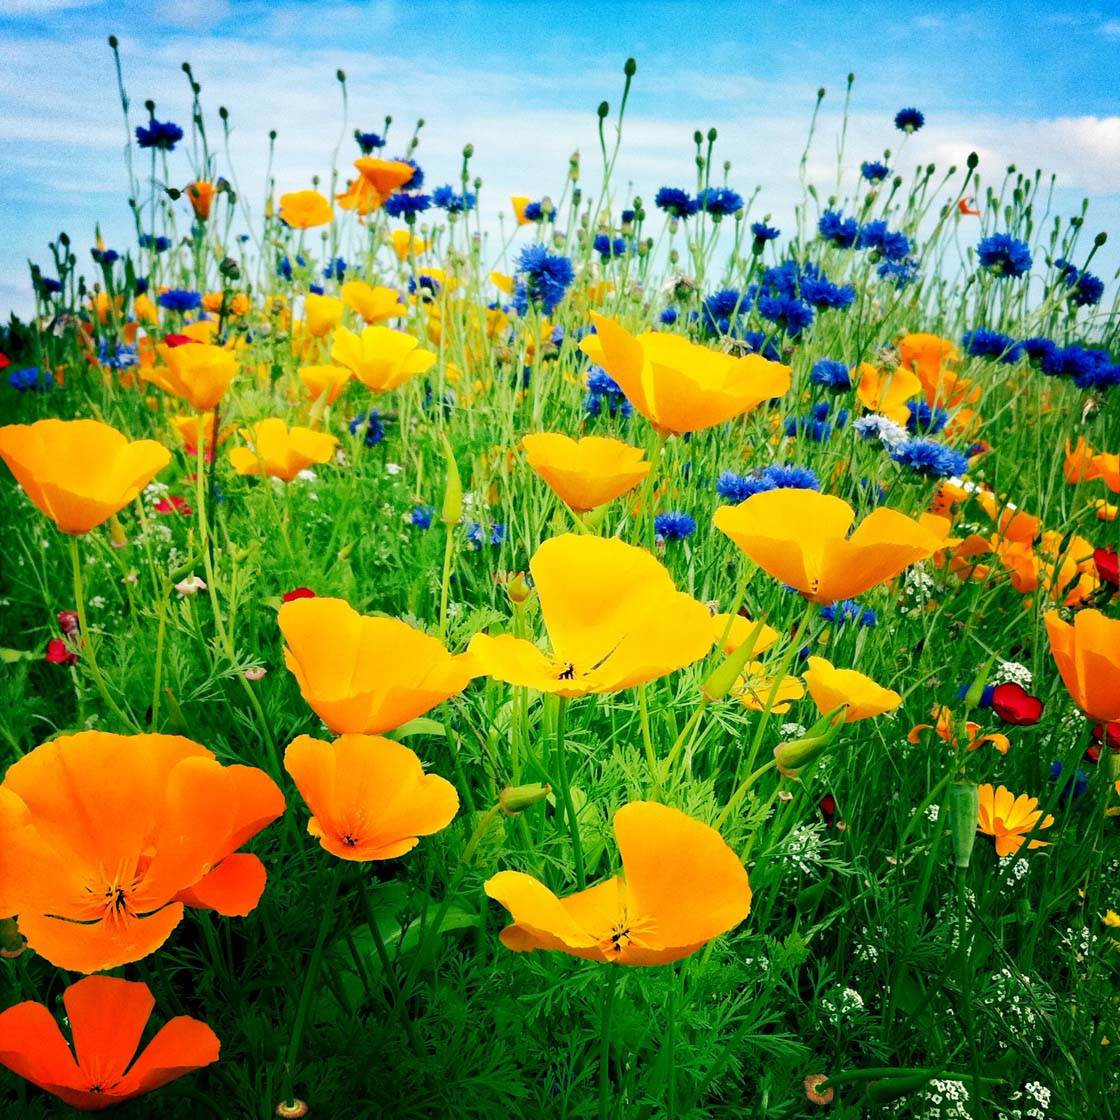
Behind these flowers were a lot of cars and ugly fencing that I didn’t want to include in my photo.
By crouching down and shooting from a low angle, I managed to include only sky in the background. This places the emphasis on the flowers and makes it much more pleasing to the eye.
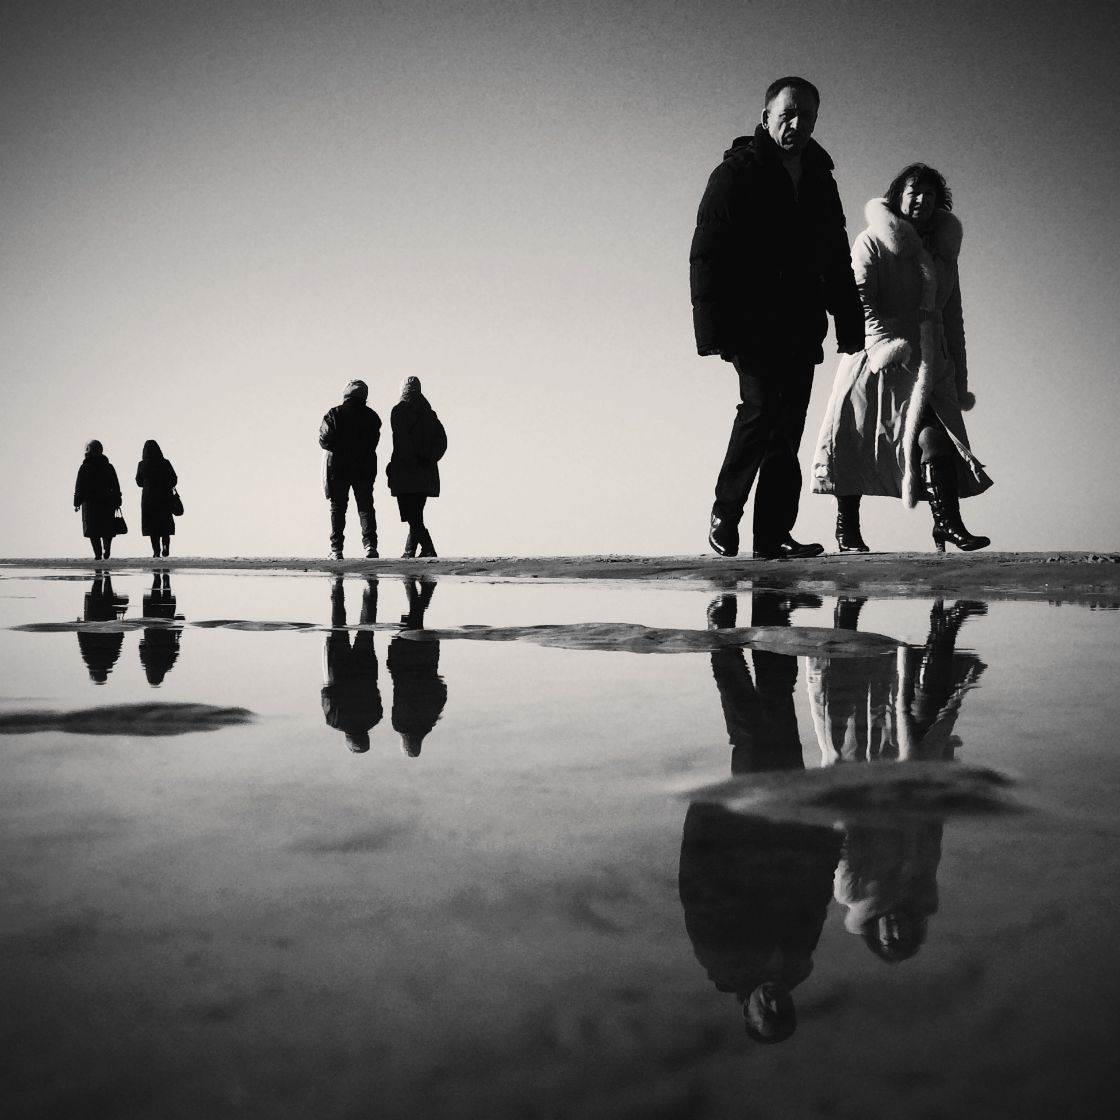
Shooting from a low angle can also work well when photographing people. If this photo had been taken from standing height, there would be a lot less bright sky and a lot more dark beach behind the people, and they wouldn’t stand out so well in the photo.
3. Emphasize The Foreground In Landscapes
Including foreground objects makes your photos more interesting as well as creating a sense of depth. This is especially important in landscape photography where the image can look very flat if there’s nothing in the foreground.
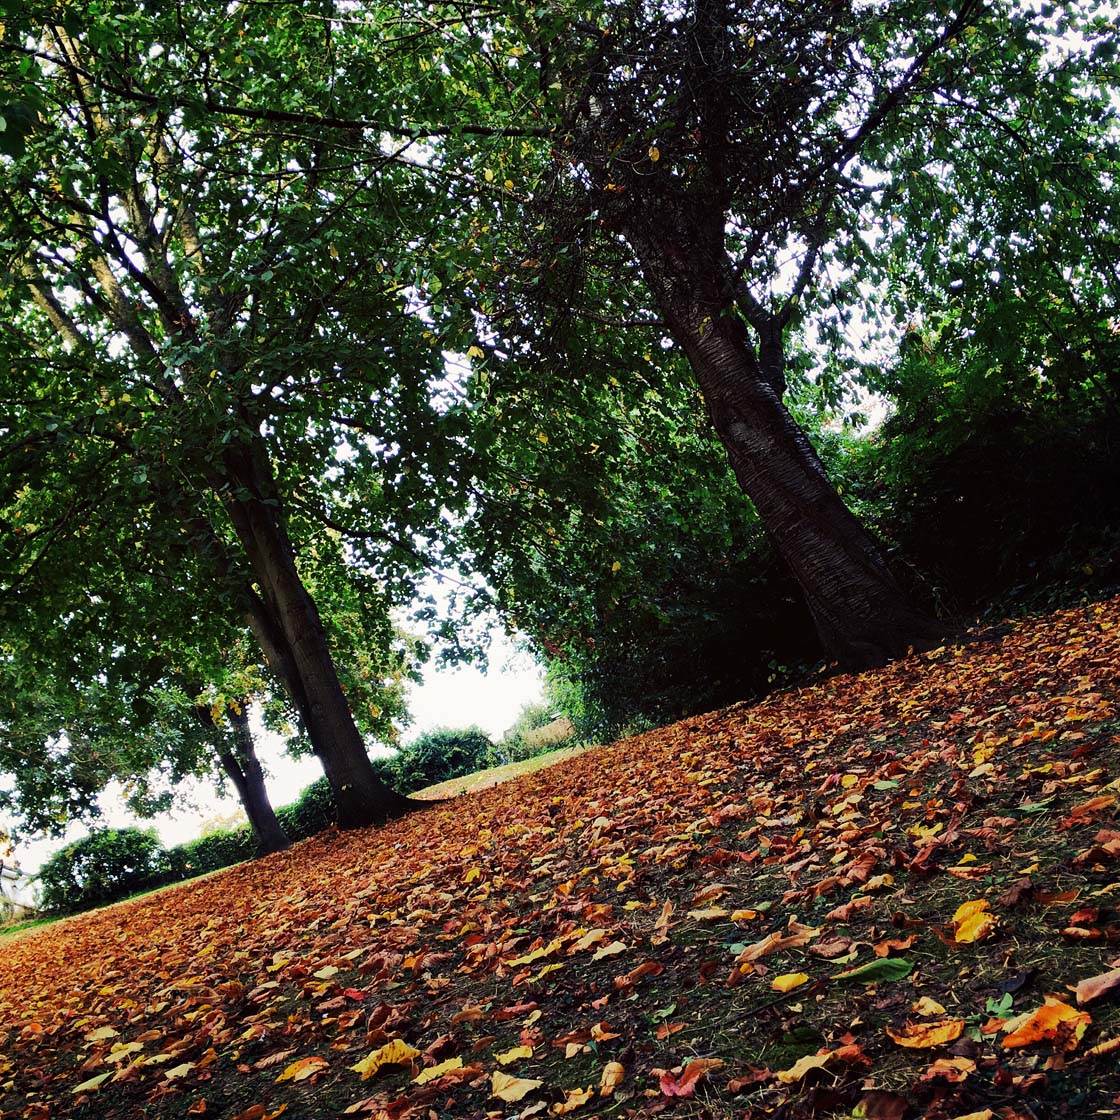
When shooting from standing height, it can be difficult to include enough foreground interest. But shooting from a low angle makes foreground objects more prominent.
If I hadn’t included the grass in the foreground of the photo below, it would be quite a boring image – there would just be a lot of mud in the foreground.
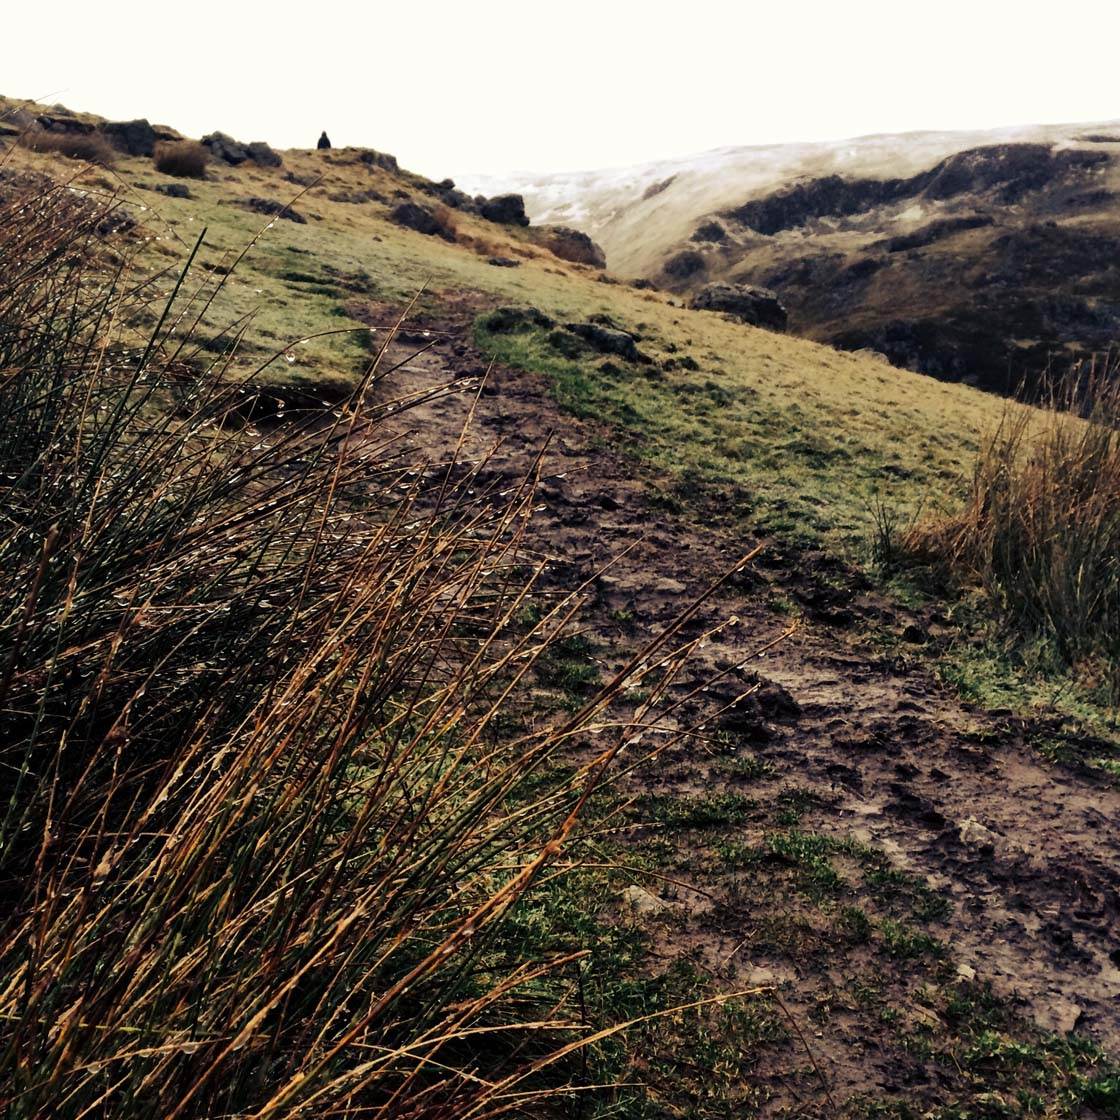
From standing height, it wasn’t possible to achieve this composition, but by positioning the iPhone closer to the ground, I was able to make the grass much more prominent in the foreground of the photo.
Foreground interest helps to lead the eye into the image, from the front of the photo into the distance. This makes your images more dynamic and will hold the viewer’s interest for longer.
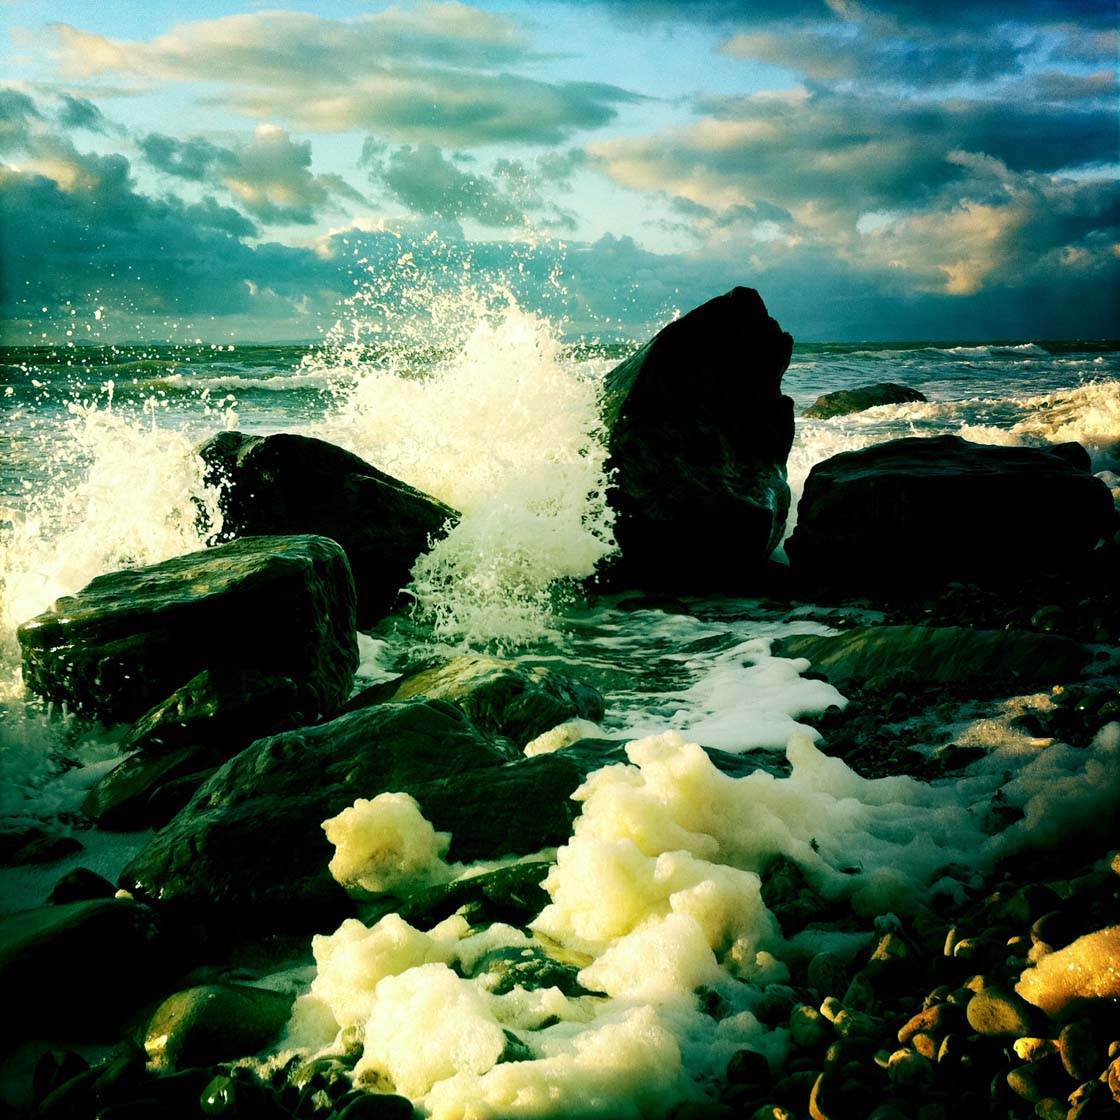
The white foam in this photo adds interest to the foreground and helps brighten up what would otherwise be a very dark background. It also helps to lead the eye from the front of the image towards the crashing wave.
Imagine the photo without the foam – it would be a much flatter image and the only point of interest would be the wave. I was only able to include the foam in the foreground by crouching down and shooting from a low angle.
So next time you’re photographing a landscape, try shooting from a lower angle. It’s highly likely to dramatically improve the composition of your photos.
4. Eliminate Distracting Foregrounds
Whilst including foreground objects is often desirable, sometimes you might want to eliminate the foreground if it’s distracting or uninteresting. In these situations, shooting from a lower angle can help.
This technique is great when shooting in a busy environment such a street full of people and traffic. By tilting the camera up, you can capture buildings and other objects above you without including any of the unwanted distractions below.
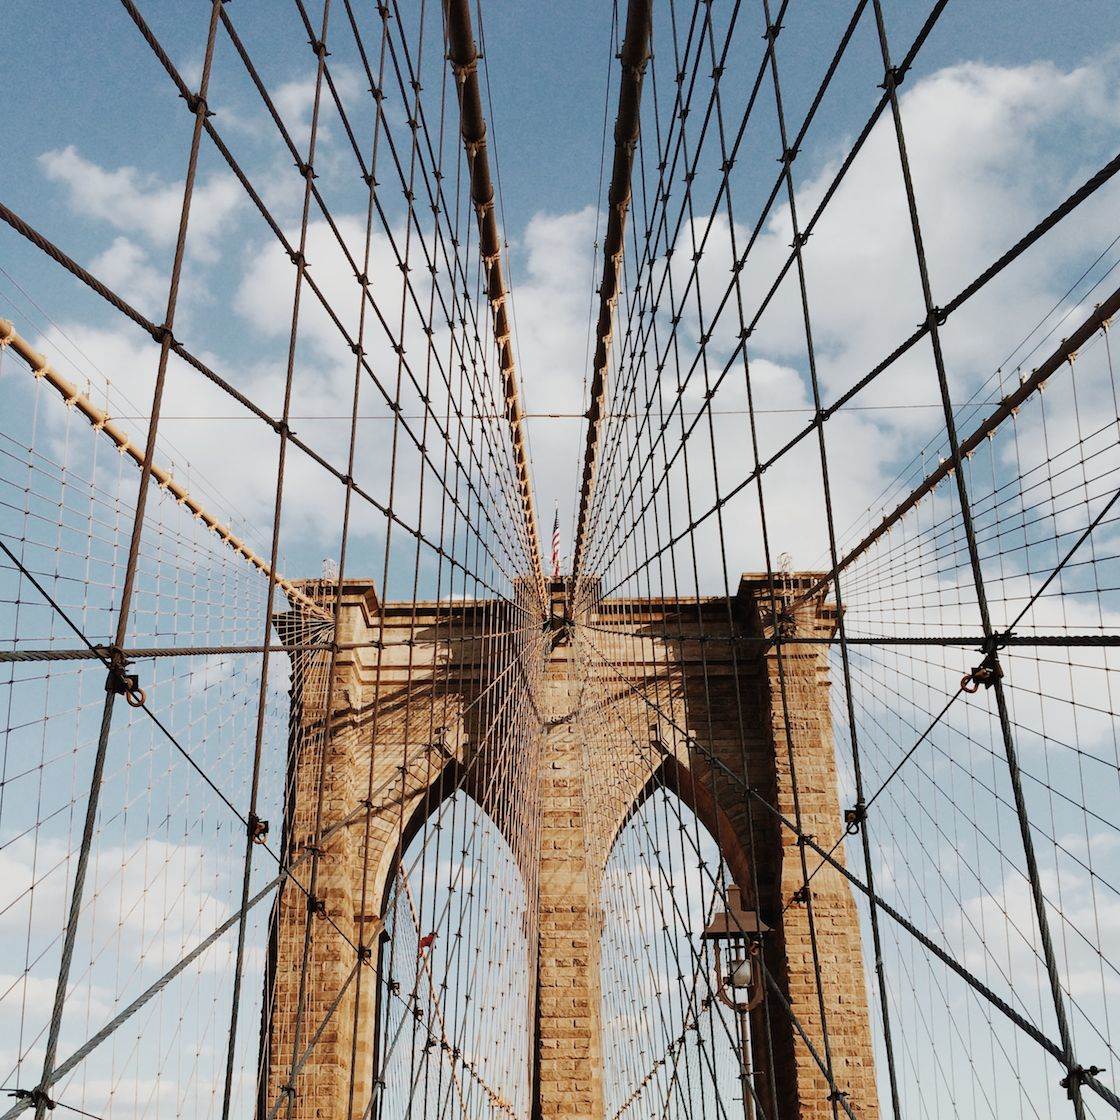
This bridge was full of people, but getting down and shooting from a low angle meant that just the detail of the bridge against a blue sky could be captured.
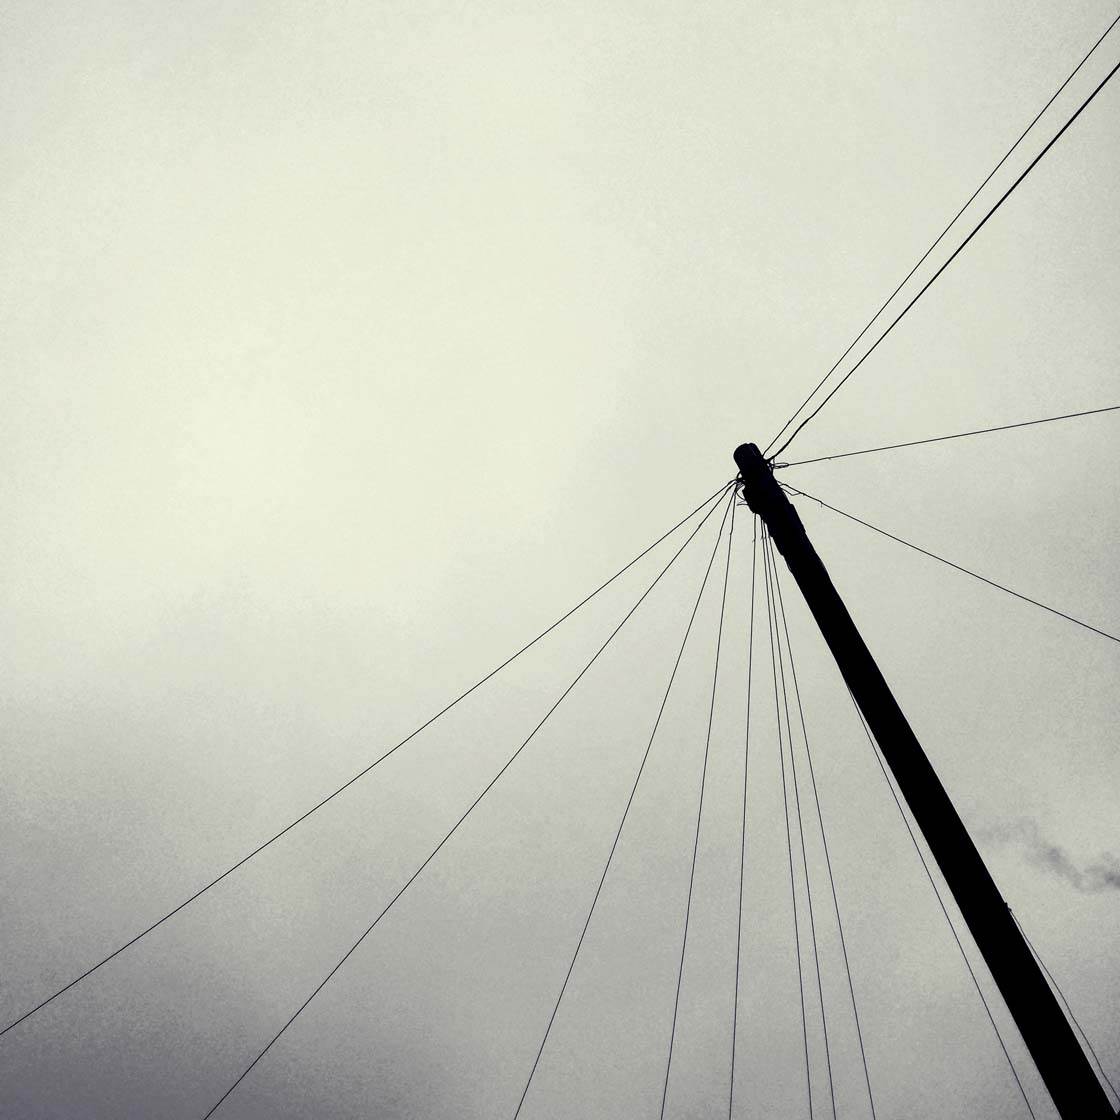
This telegraph pole was very close to some houses and trees, and didn’t stand out well against them. I needed to ensure that I composed the shot with only sky behind it.
The only way I could capture it with just plain sky behind was to crouch down very low, and then tilt the camera right up so that nothing in the foreground was included in the frame.
5. Create Extreme Perspective With Lines
Using lines in your photos is one of the most powerful composition techniques you can use as a photographer. Lines create a strong visual element and help lead the eye into the image.
Photographing parallel lines that run from the foreground and converge into the distance, such as a bridge or railway tracks, creates a very strong statement in a photo.
The way that the lines converge together into the distance really draws your eye from the front to the back of the image.
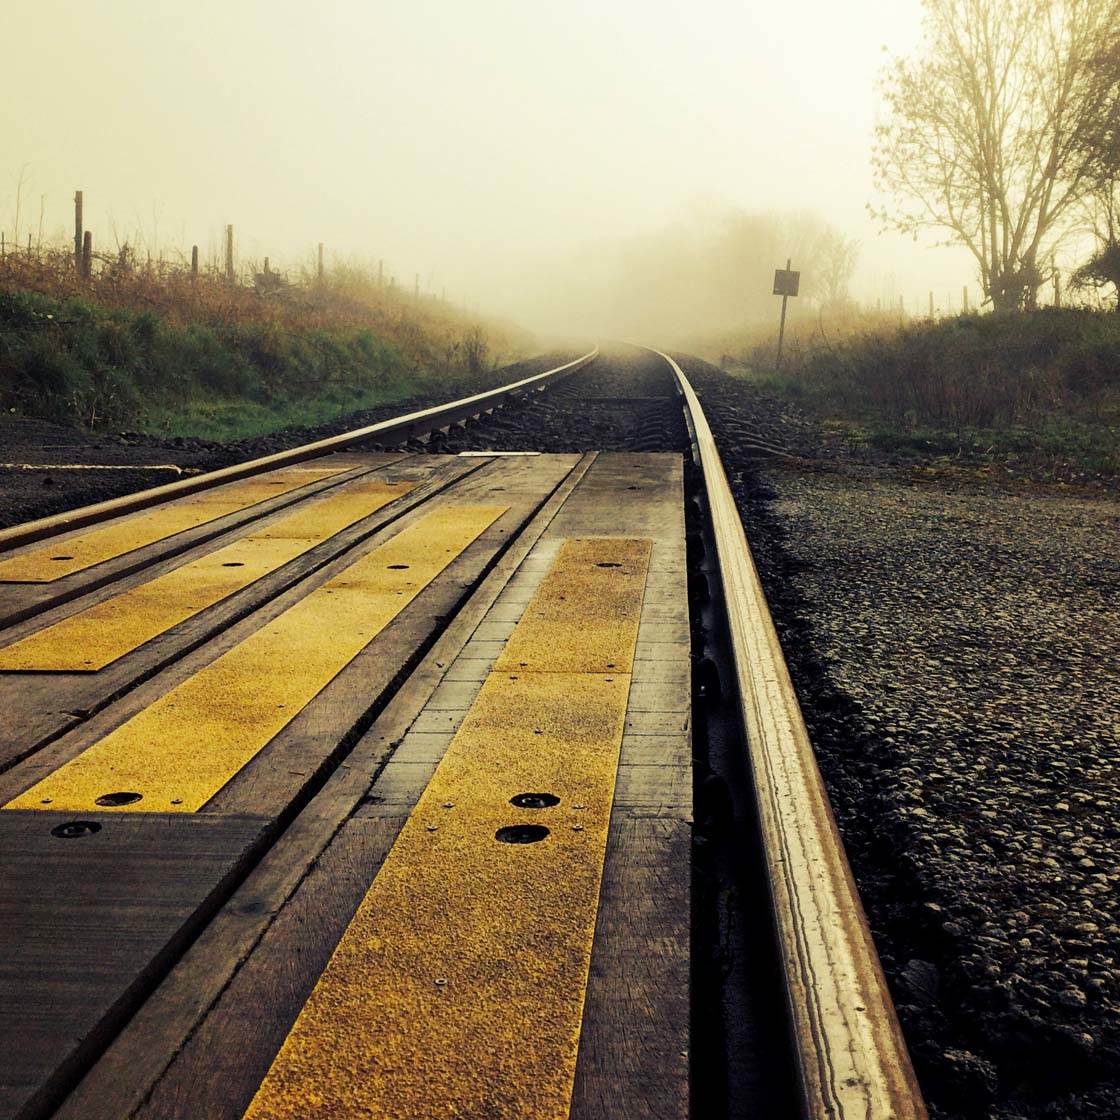
But if the lines are low down on the ground, such as railway tracks, shooting from standing height often doesn’t create the impact you were hoping for.
Positioning your iPhone closer to the ground will have a profound impact on how the lines converge, and allows you to show a more extreme perspective in your photos. The lower you get, the quicker the lines will converge, and the stronger the visual impact will be.
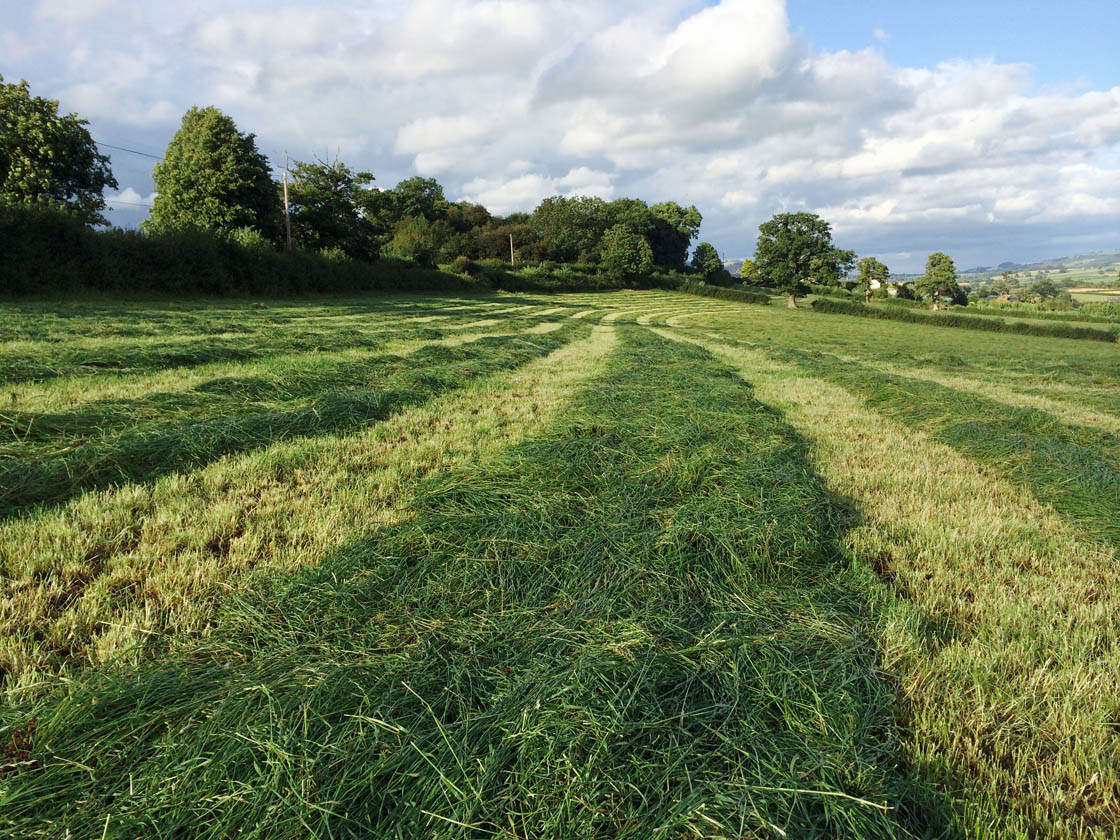
To create the strongest impact with parallel lines, get low down and make sure the two lines are positioned so they emerge from the bottom corners of the photo. Your eyes will have no choice but to follow those lines into the photo!
6. Get More In The Frame
Sometimes it can be impossible to fit everything into the frame on your iPhone, especially if you have important subjects in the foreground and background of the scene.
Changing the angle that you shoot from can have a big impact on how much you can fit in the frame. This is because the position that you shoot from changes how the subjects in a scene relate to each other.
Shooting from a lower angle reduces the vertical space between subjects, enabling you to get both foreground and background objects in the frame.
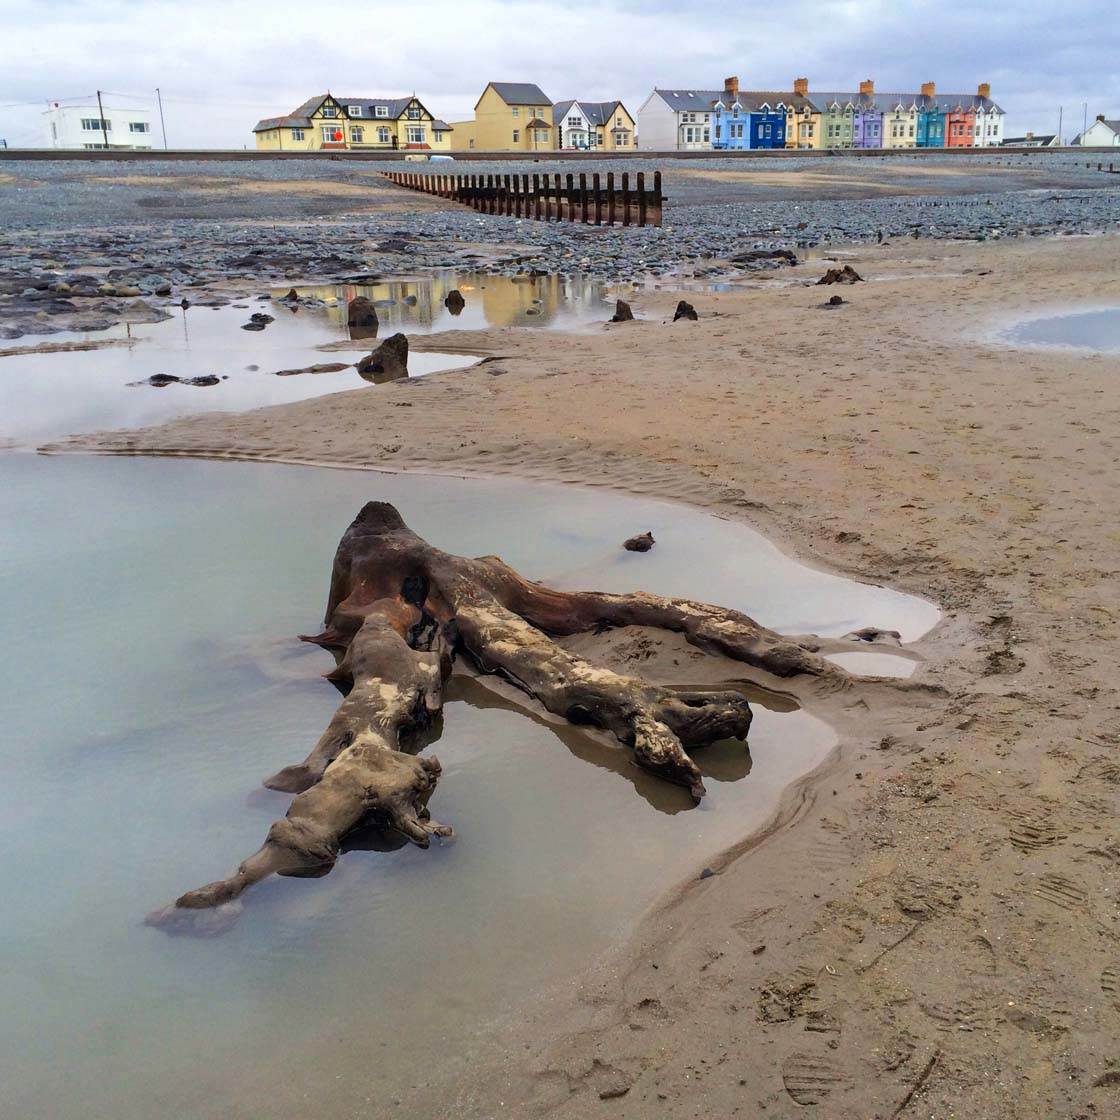
At standing height, it was impossible to get the tree stump and the houses into the frame at the same time – there was too much vertical space between them. By shooting from a much lower angle, I was able to reduce that space and fit everything into the frame.
This also had the added advantage of reducing the emphasis on the large empty space between the tree and the houses, placing more visual weight on the important subjects.
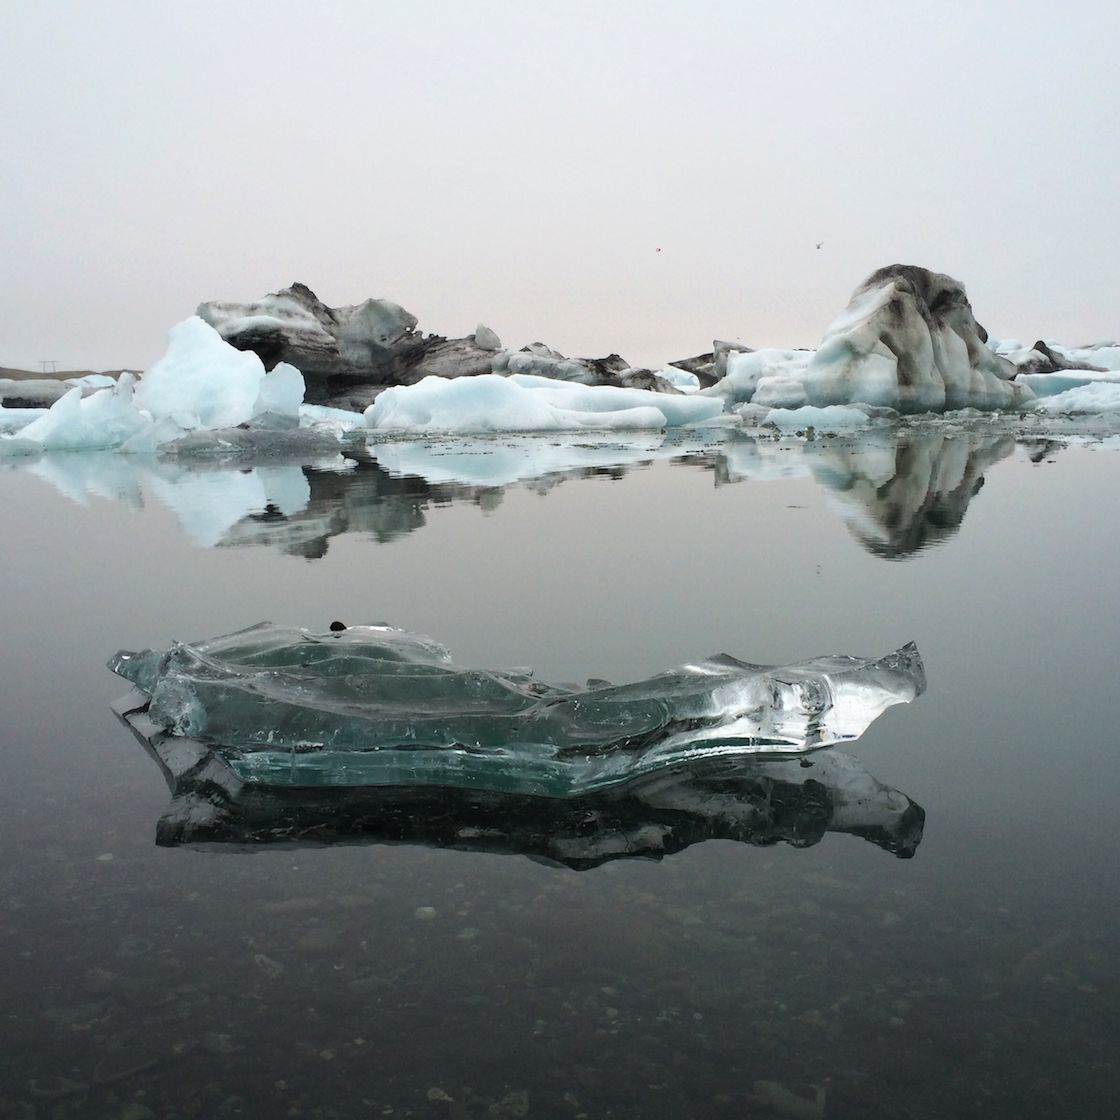
Again, this photo shows how shooting from a very low angle closes the large amount of space between the foreground and background subjects, enabling you to fit them both in the frame.
7. Capture Better Reflections And Shadows
Capturing shadows and reflections in your photos is a great way of adding interest and mystery. When the sun is low in the sky, shadows will become longer and it can often be difficult to fit the subject and its long shadow in the frame.
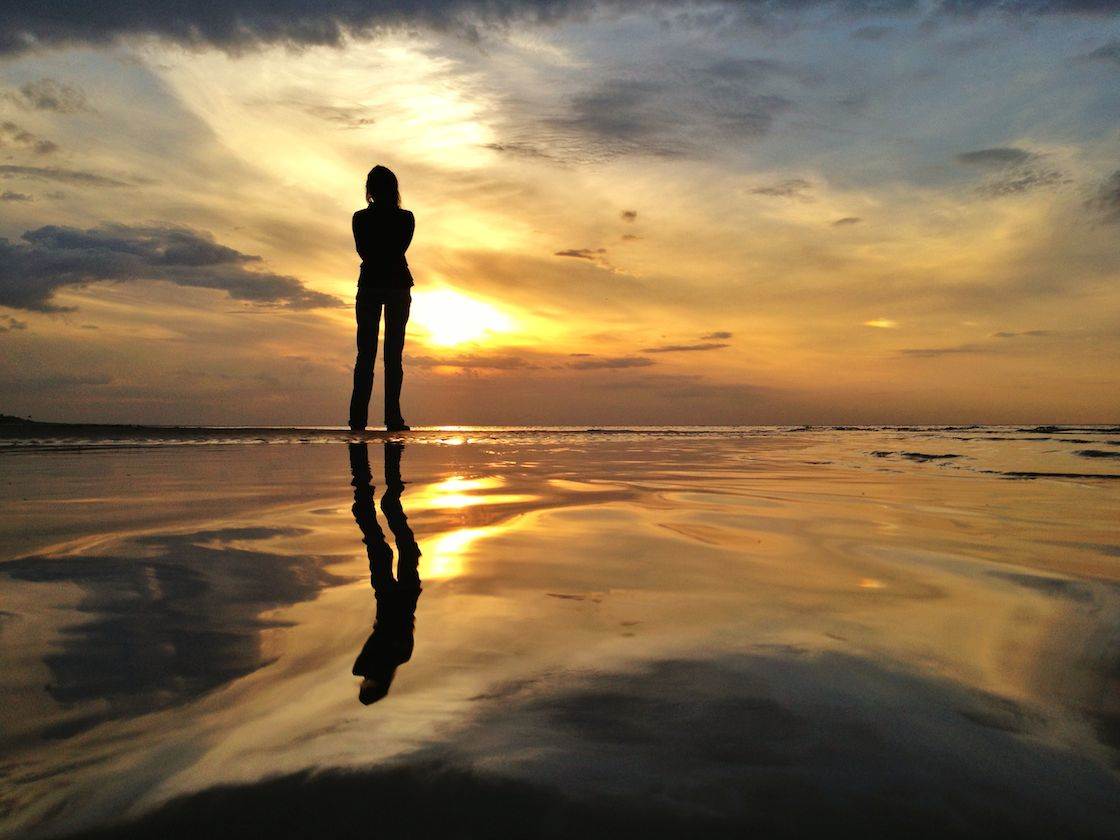
Shooting from a low angle will help you get more into the frame. In the photo above, it was possible to fit the person and their long reflection into the frame by shooting from low down.
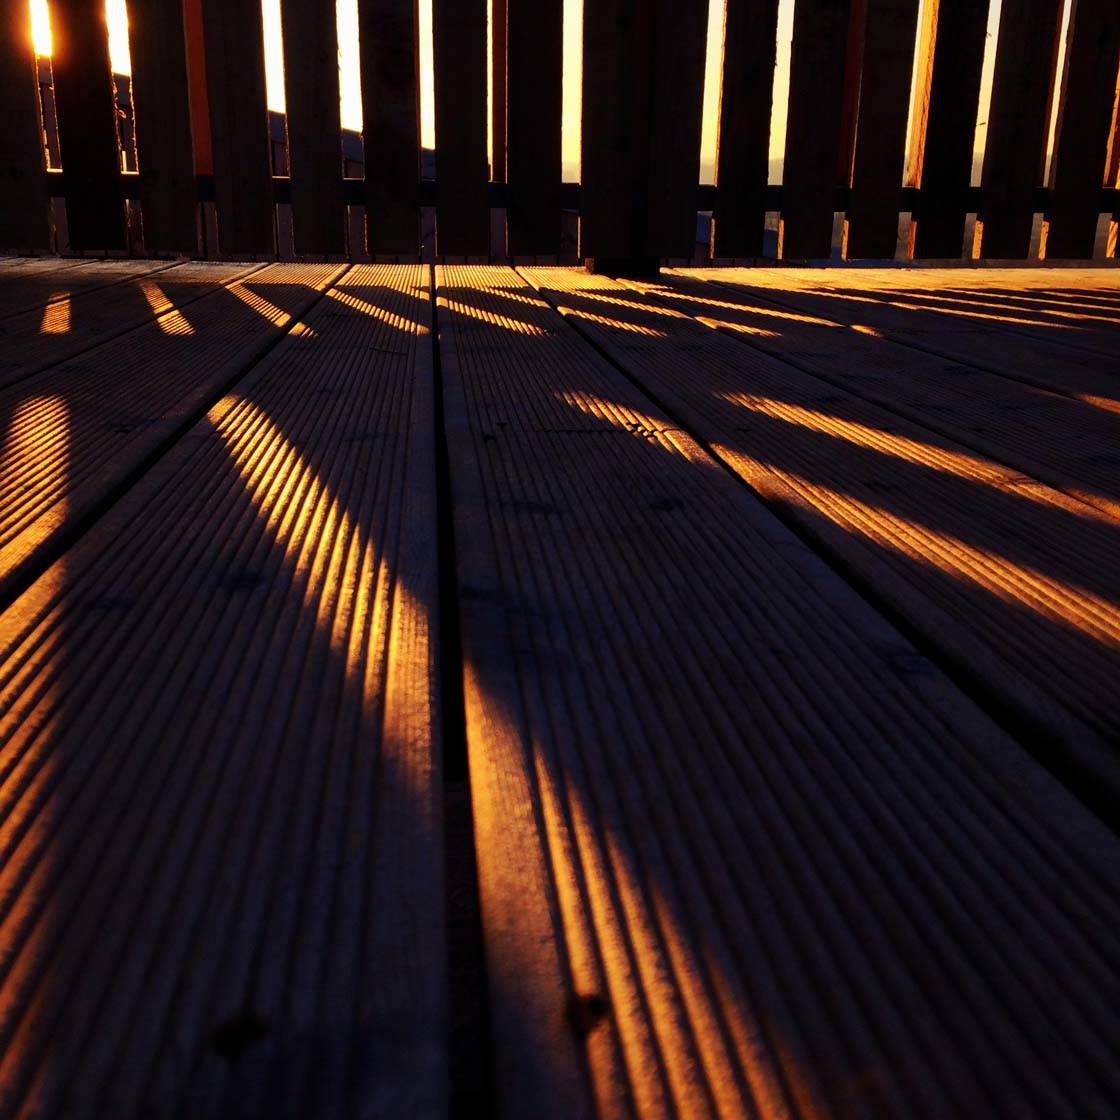
Photographing shadows from a low angle can also be a great way of creating an extreme perspective. The part of the shadow closest to the camera will appear very large, and will then quickly shrink down as it gets further away.
8. Create Silhouette Photos With More Impact
Silhouette photos are created by positioning your subject in front of a bright light source, such as the sun or bright sky, and then exposing for a bright part of the scene, e.g. the sky.
To expose for the sky, simply tap on that area of the image on your iPhone screen. This ensures that your subject is underexposed and appears as just a dark shape against the bright background.
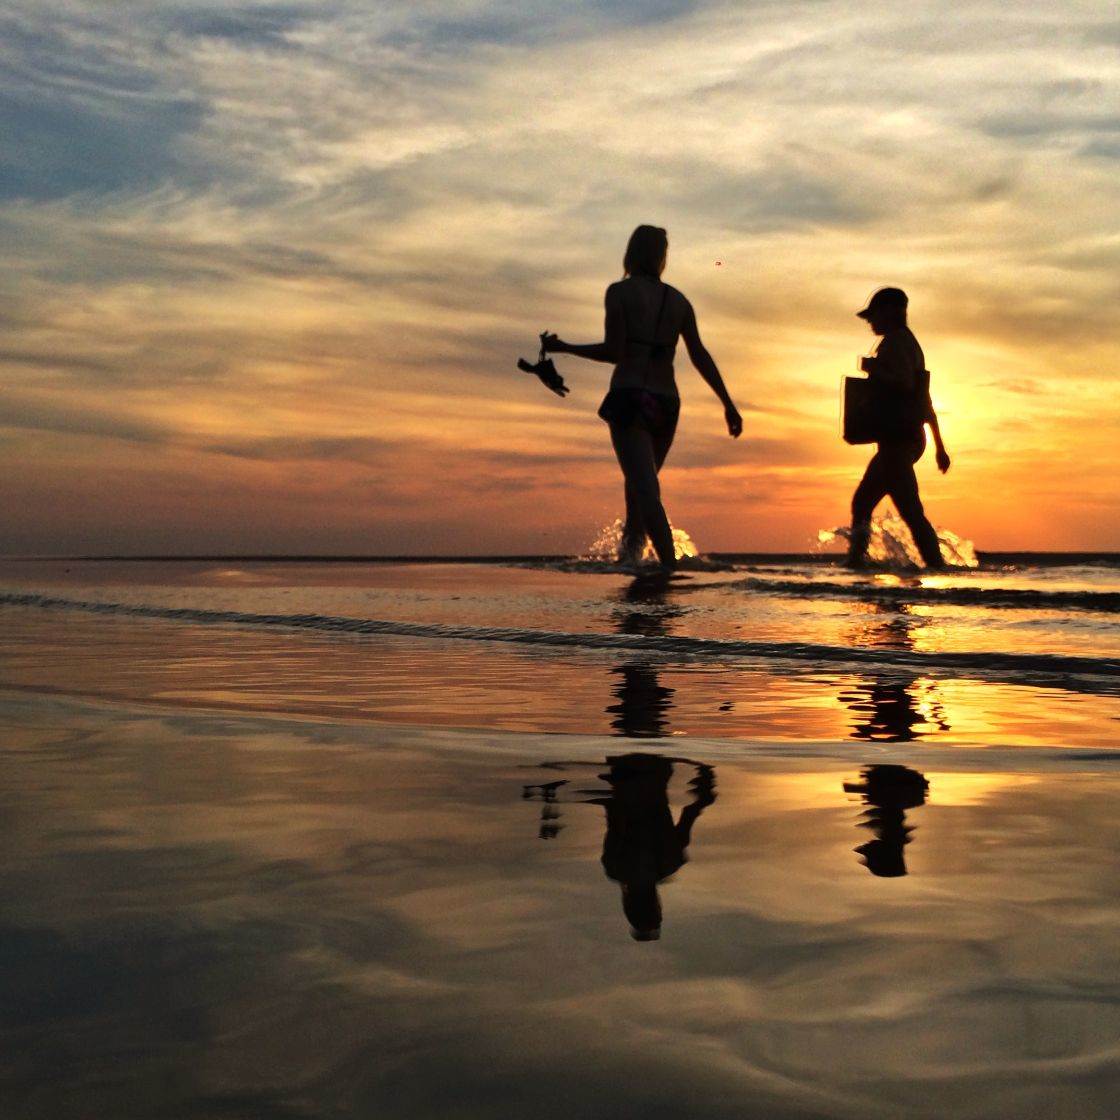
The problem with shooting silhouettes photos from standing height is that you can end up with a lot of dark background behind the bottom half of the subject. This won’t make your silhouetted subject stand out very well.
Silhouette photos have much more impact when they have only a plain bright background, such as a sky, behind them. Shooting from a low angle will help you get more sky behind your silhouettes.
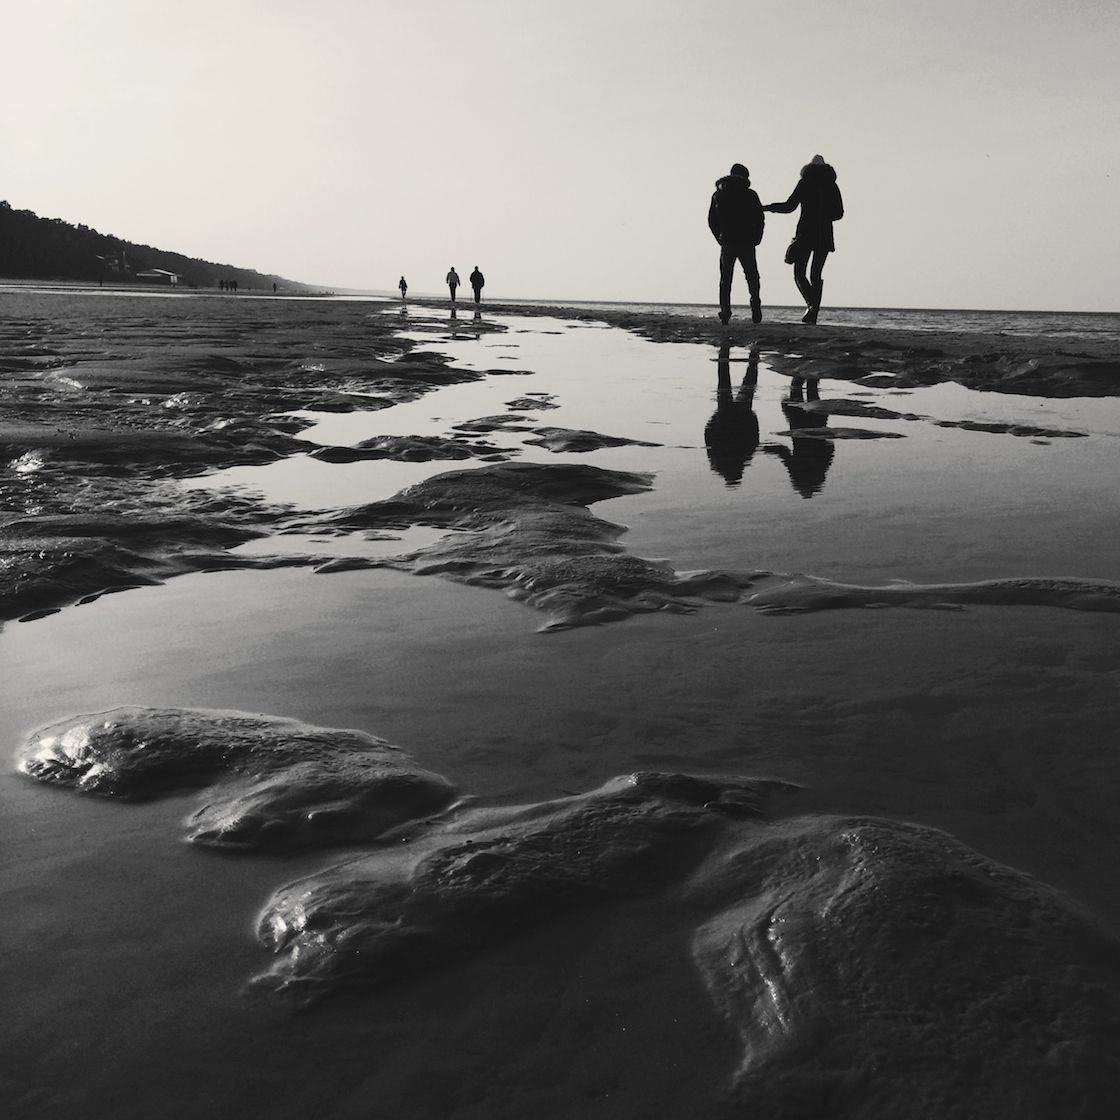
Imagine if both of the above silhouette photos had been taken from standing height. They would have a lot less sky behind them and the figures would have become lost in the dark background of the beach and water.
9. Backlight Your Subjects To Reveal Color And Detail
Placing the light source behind your subject is called backlighting. As you have just seen, backlighting is used for creating silhouettes. But it’s also a great technique for revealing detail and color in semi-transparent objects.
To eliminate the dark distracting background behind these flowers, I lay on the ground with my iPhone directly beneath the them.
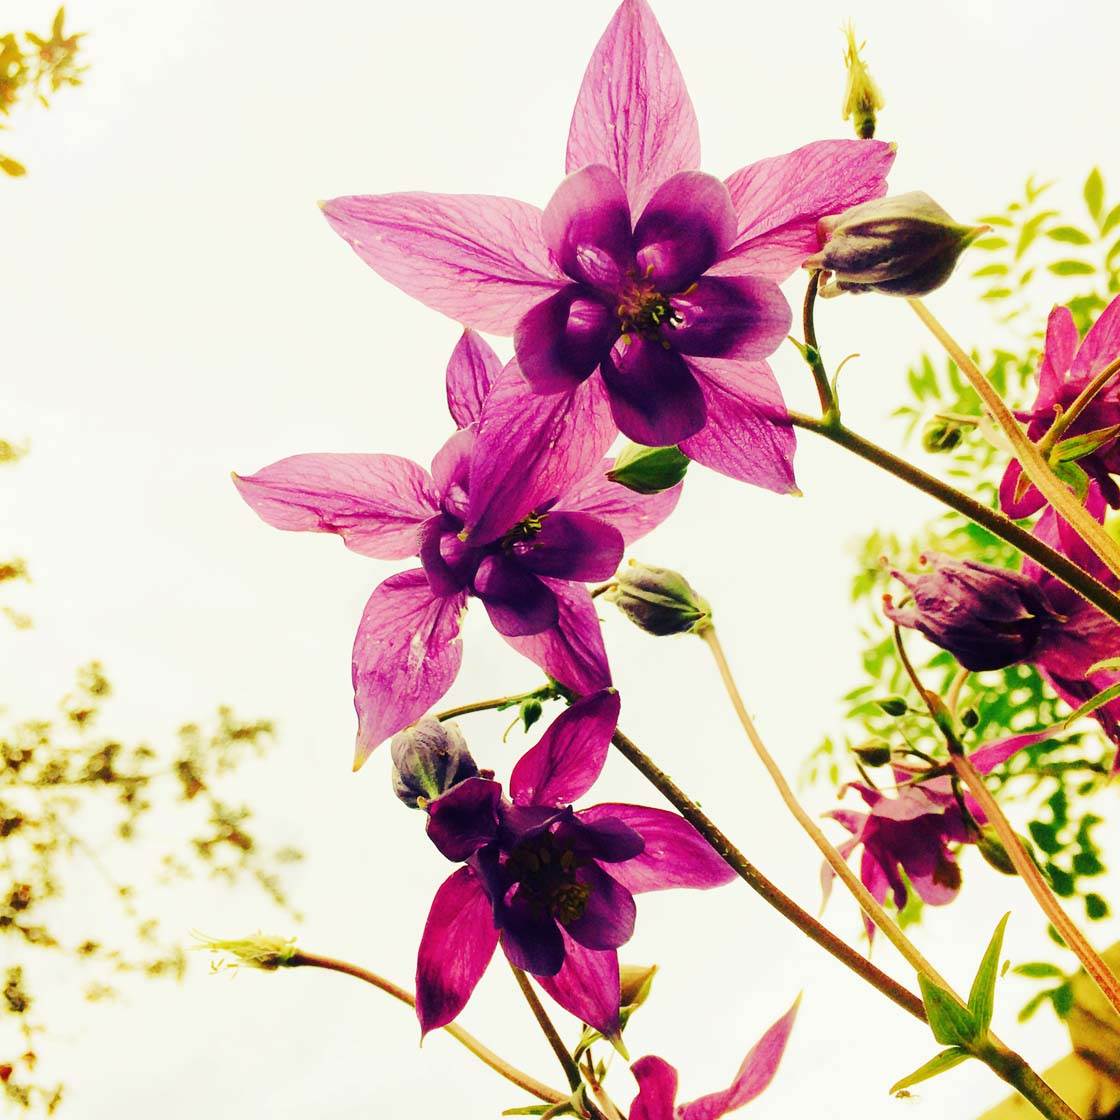
As well as eliminating the busy background and showing them from an angle that you wouldn’t normally see, this allowed me to position the light source (the sky) behind them.
The light shining through the semi-transparent petals has revealed detail and color that wouldn’t have been captured if photographed from above with a dark background behind.
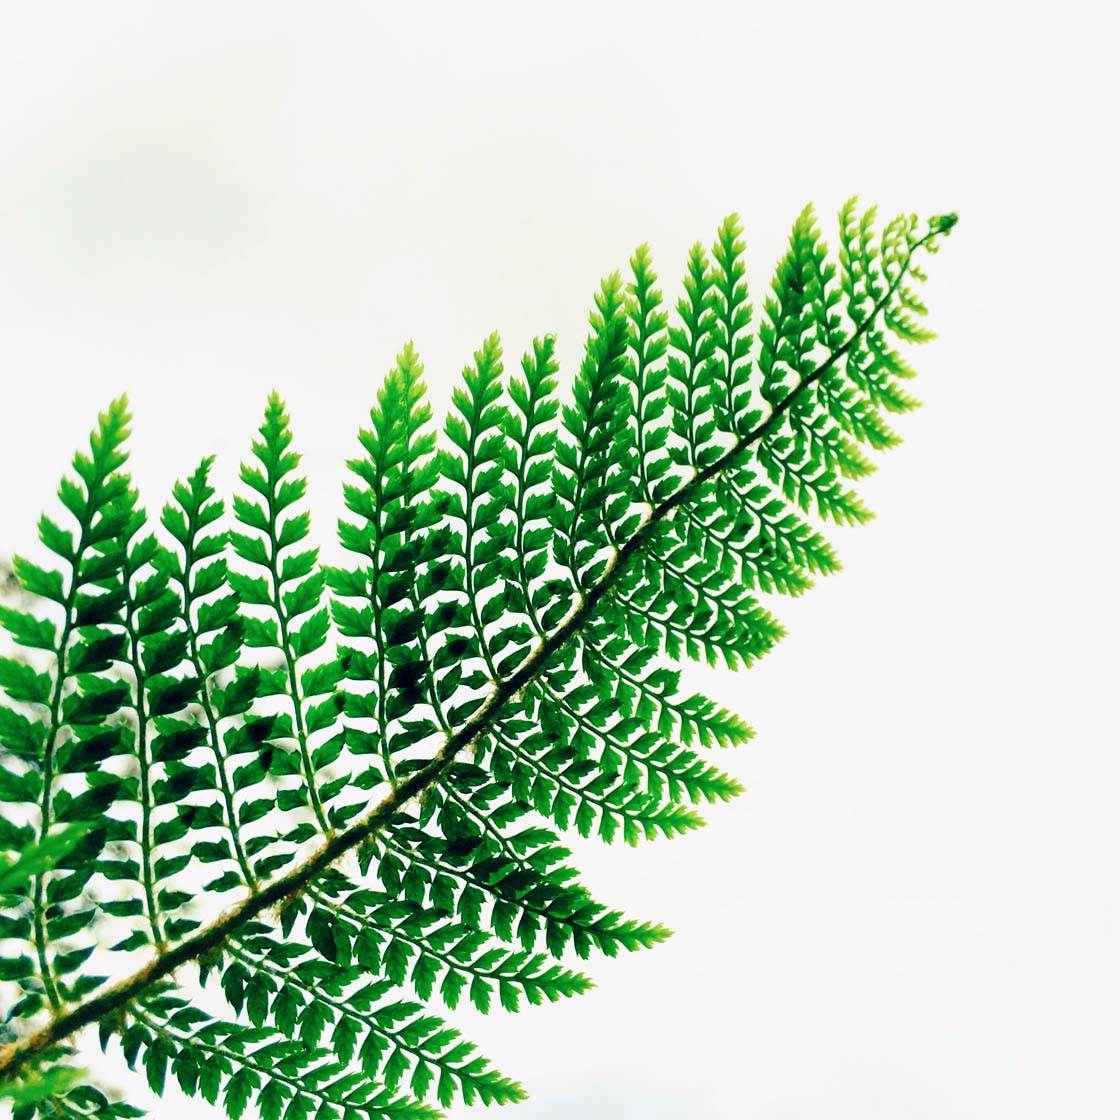
Photographing this fern leaf from below enabled me to backlight it with the bright sky behind. This has emphasized the vivid green color and revealed detail that you wouldn’t have seen if photographed from above.
When backlighting your subject like this, you need to ensure that you expose for the subject and not the sky, otherwise you may end up with the subject as a silhouette. To expose for the subject, simply tap on this area of the image on your iPhone screen.
10. Look Up At Subjects Above You
We’re often so busy looking straight ahead or down at the ground for things to photograph that we forget about what’s directly above us. Looking up can reveal some great photo opportunities.
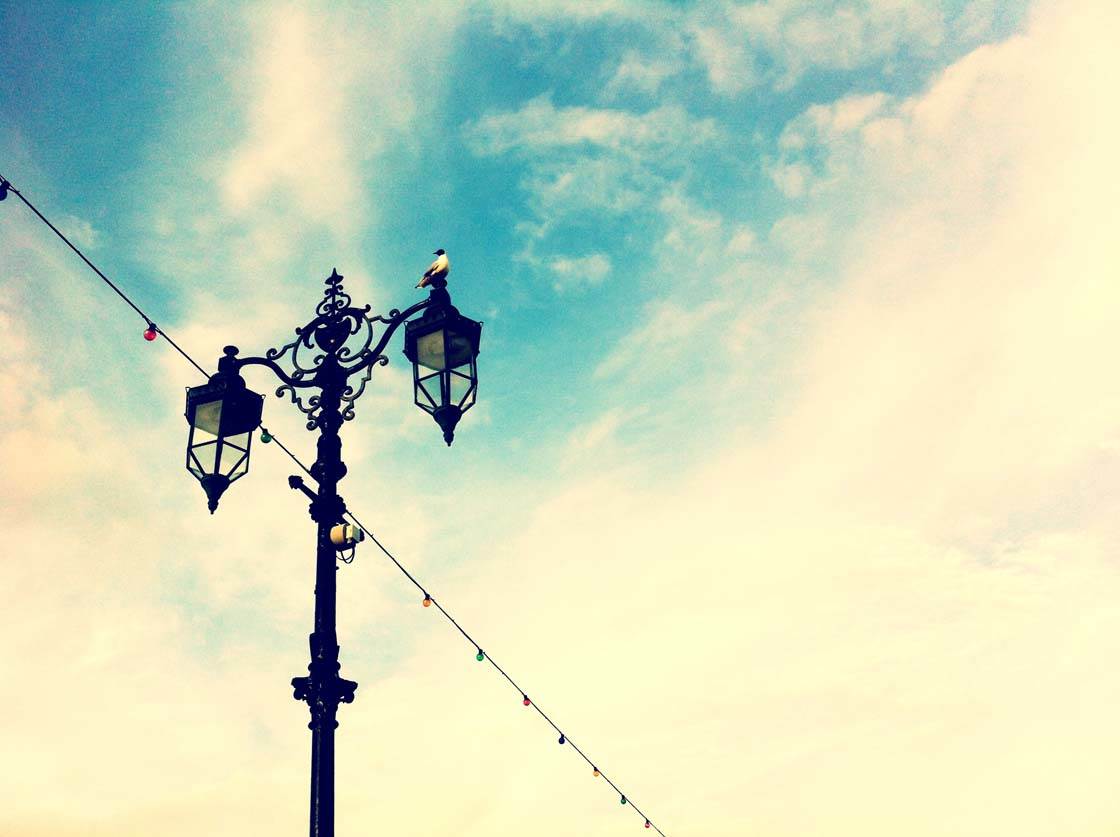
When you’re out photographing street scenes, don’t forget to look up to see what’s above you. You’ll often find interesting subjects such as birds sitting on street lights, and the plain sky behind them can be a welcome relief after photographing busy streets.
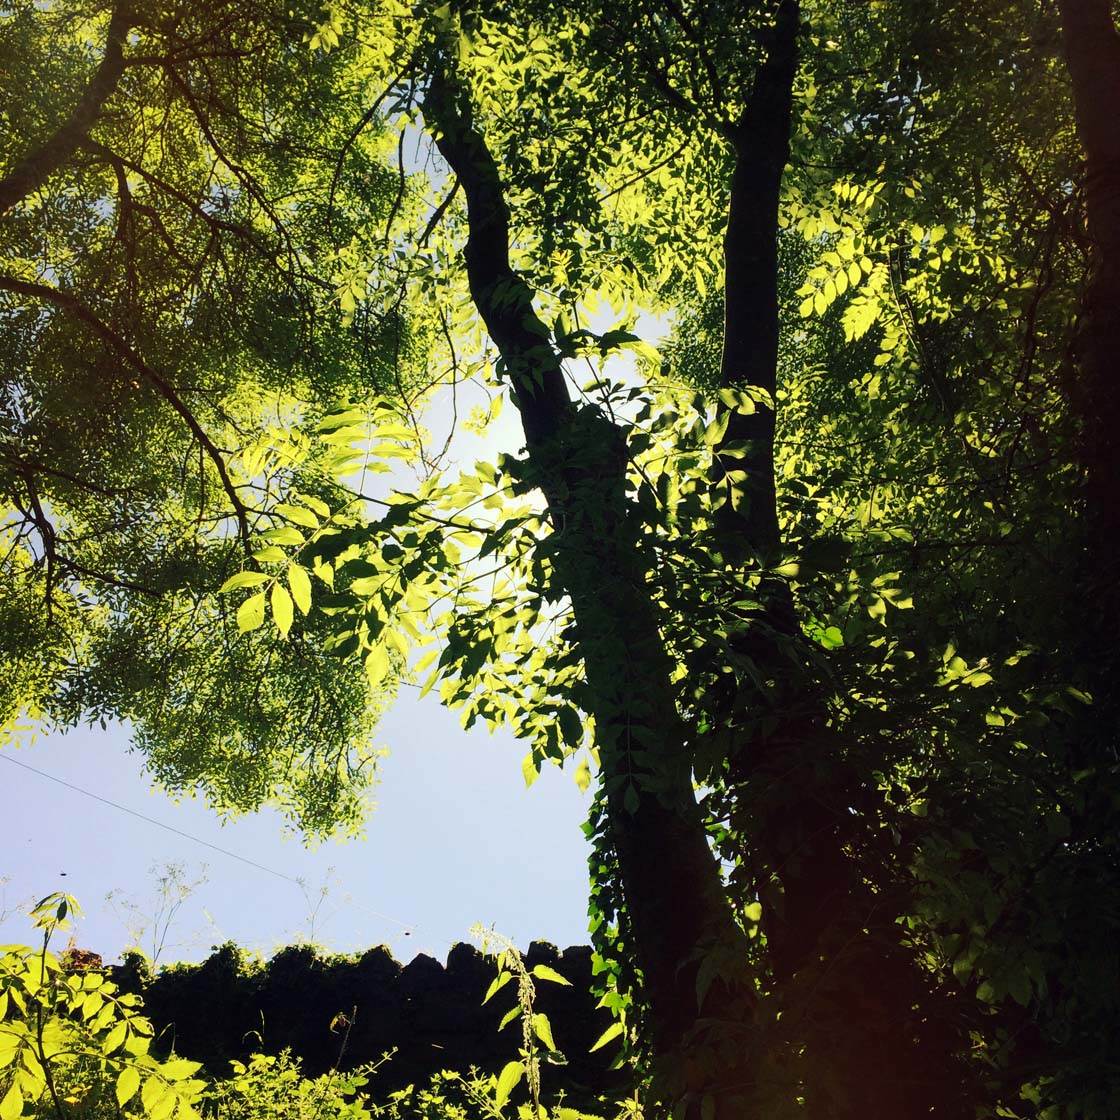
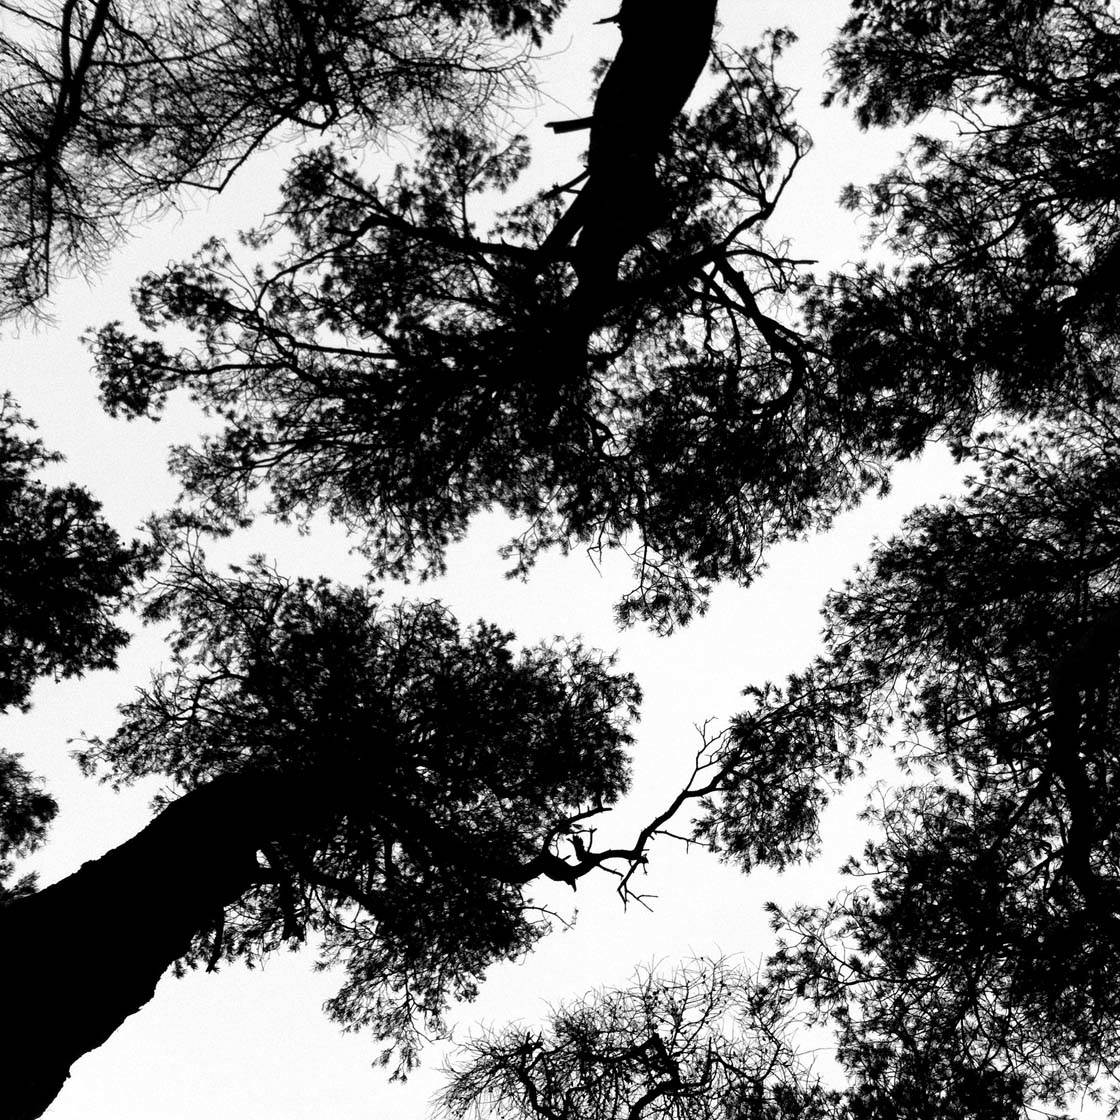
Shooting up into the trees above you can result in some great images because of the plain sky behind them and the light shining through the leaves.
Depending on how bright the sky is, and which part of the scene you choose to expose for, will affect whether the trees appear as silhouettes or not.


These are very helpful tips. I enjoy taking photos from a low angle to get cool shots.
Glad you found this useful! 🙂 It can make all the difference to the composition by shooting from a low angle can’t it.
Thank you for sharing. These are very helpful tips.
I appreciate these conceptual tips as to why to take photos from a low angle, however, from the title and opening comments, I was expecting this tutorial to show techniques for shooting these types of images. I am, as I am sure are many readers, somewhat agility impaired, so getting many of these low-angle shots using regular framing, focusing, and exposure techniques is difficult or impossible. I hoped to see more “how to” info such as using selfie sticks, mirrors, brackets, remote triggers, or second phones with less repetitive comments about “why”. Such techniques would benefit able-bodied photographers as well as the less-agile.