I love iPhone macro photography. It fascinates me what amazing little things you can capture with your iPhone and an attachable lens. Every day we have all these pretty little things, on the sidewalk, in our garden, etc, that we take for granted because we get sucked in our fast-paced life.

I’ll be glad to teach you how to capture macro shots. It’s quick and easy, trust me!
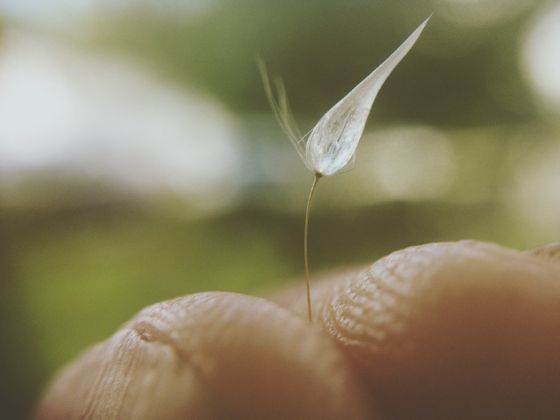
Things You Should Have
1) iPhone
2) Attachable lens. I recommend SquidCam, Photojojo or Olloclip.
3) Tripod for iPhone (that is if you have really shaky hands, but in the process your hands will eventually learn how to stay still, or you can use an alternative stabilizer like the ground or the wall).
Step 1: Lighting
First I will talk about lighting. Macro photography is at its best when it’s taken early morning or late afternoon, where it’s shady. We cannot capture a shot in direct sunlight because it will come out really bright and the details won’t be as clear.
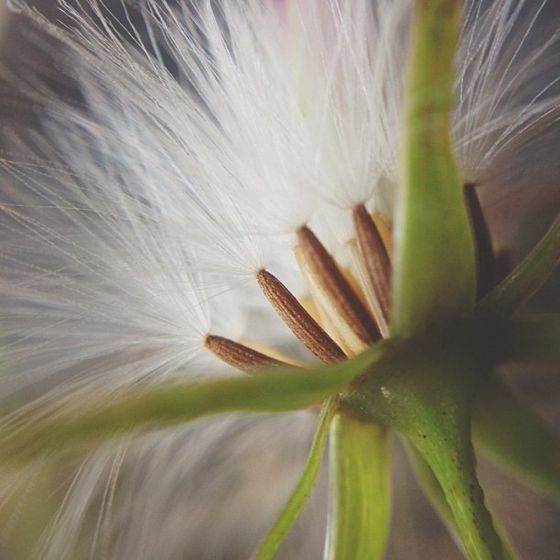
But if you do find a beautiful flower in a bright environment, just look for a shaded area and capture it. Above is an example of a shot I took under a tree (the shade that I found).
Step 2 : Places To Go
The amazing thing about macro photography is that it makes you go to places that you would not go to because you would never believe what amazing things can be found, lets say, in your backyard, on the sidewalk while you take a stroll, or even in your front yard.
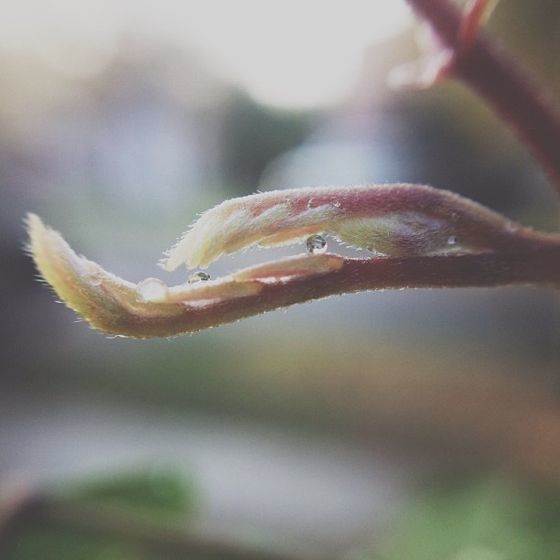
For a beginner it will be hard to find extreme close-up things, but for now I suggest shooting the flowers you see as that will train your eyes for extreme macro scanning.
Step 3 : Taking The Macro Shot (Flowers)
So this part will be slightly hard because most people really haven’t been exposed to this type of photography. Usually most of us take large-scale photos. Anyway, after you find your subject, adjust the distance until you get the part of the subject you want perfectly focused.
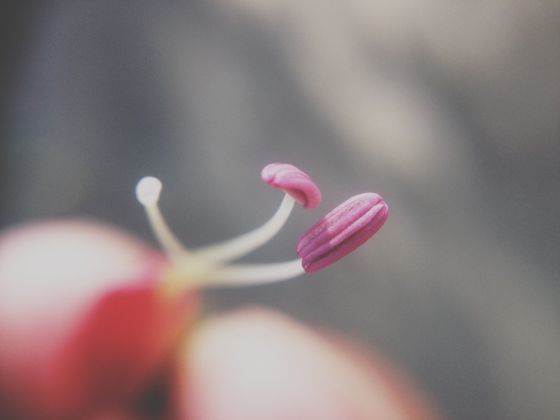
In the photo up here, I wanted the focus to be on the lavender flower, so I tapped on the iPhone screen until it was focused on the lavender. This is the part when you try not to shake the camera. Once you get the focus you want, take the shot.
Don’t take just one shot, take a dozen just to make sure you actually get it right. If it’s windy or if the iPhone keeps on shaking, I would suggest you block the wind from whatever direction it’s blowing. If you have really shaky hands, I suggest you stabilize your elbows on the ground or against the wall. And don’t get frustrated if it doesn’t come out the way you wanted. Macro photography takes practice and patience.
Step 3 : Taking The Macro Shot (Insects)
Okay, so you see a jumping spider and yes, it’s small and absolutely awesome. Wouldn’t you want to take a picture of it? Of course you would!
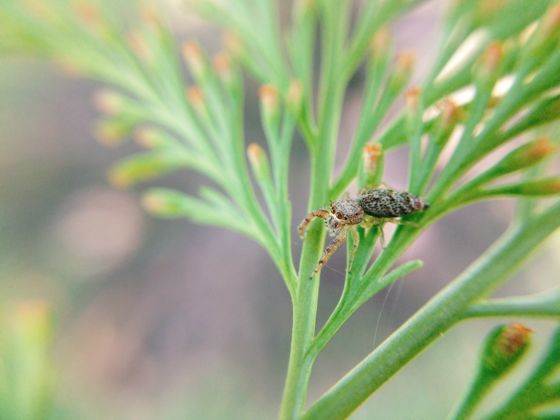
Actually there is not a big difference between capturing flowers and insects. The only problem with insects is that they keep moving away from you, especially when they see the lens since you have to be close when you take the shot.
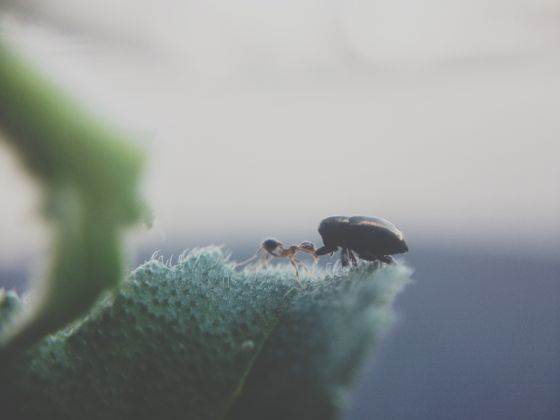
But once you master a few simple techniques, insect macro photography will become totally addictive!
I would first recommend creeping up slowly. Then be as quick as you can, get close, focus and capture. If the insect didn’t move the first time you took the picture, it has given you the permission to take as many photos as you want.


I hate that iphone camera can’t zoom and the accessories are so expensive until I found this: the Band below is easy to carry and as cheap.. search google for ” Easy Macro Cell Lens Band art of creativelife “