Manfrotto have long had an excellent reputation for producing quality products for the professional and enthusiast photography markets. So with their latest offering, it’s great to see them taking mobile photography as seriously as it deserves. In this article, we’ll be reviewing the Manfrotto KLYP+ system comprising an iPhone case, add-on lenses, tripod and LED light, to see what they have to offer the iPhone photographer.
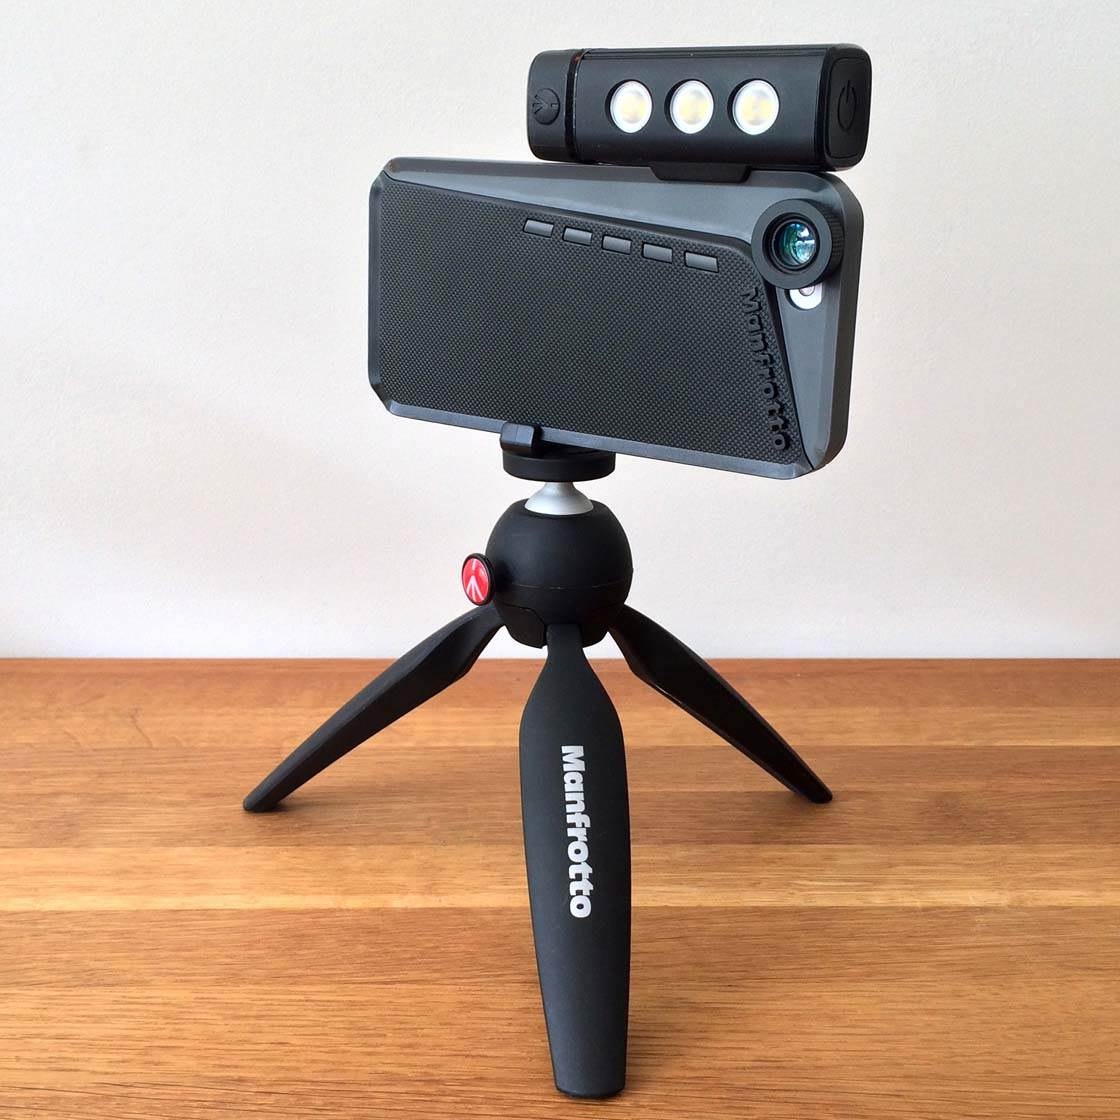
The KLYP+ collection of products includes a newly designed case which allows the easy attachment and removal of Manfrotto lenses, a tripod adaptor allowing the iPhone to be attached to any standard tripod, an LED photography light, and lastly a handy compact tripod.
We’ve been trying out these products, so let’s take a look and see how they performed with the iPhone 6.
The Case
The case is a two-part hard plastic item (available in black, white or red) with a lens mount onto which you can attach a variety of Manfrotto lenses for iPhone. It features a beveled edge almost all the way around which the various adaptors and attachments, such as the tripod mount and LED light, can slide onto.
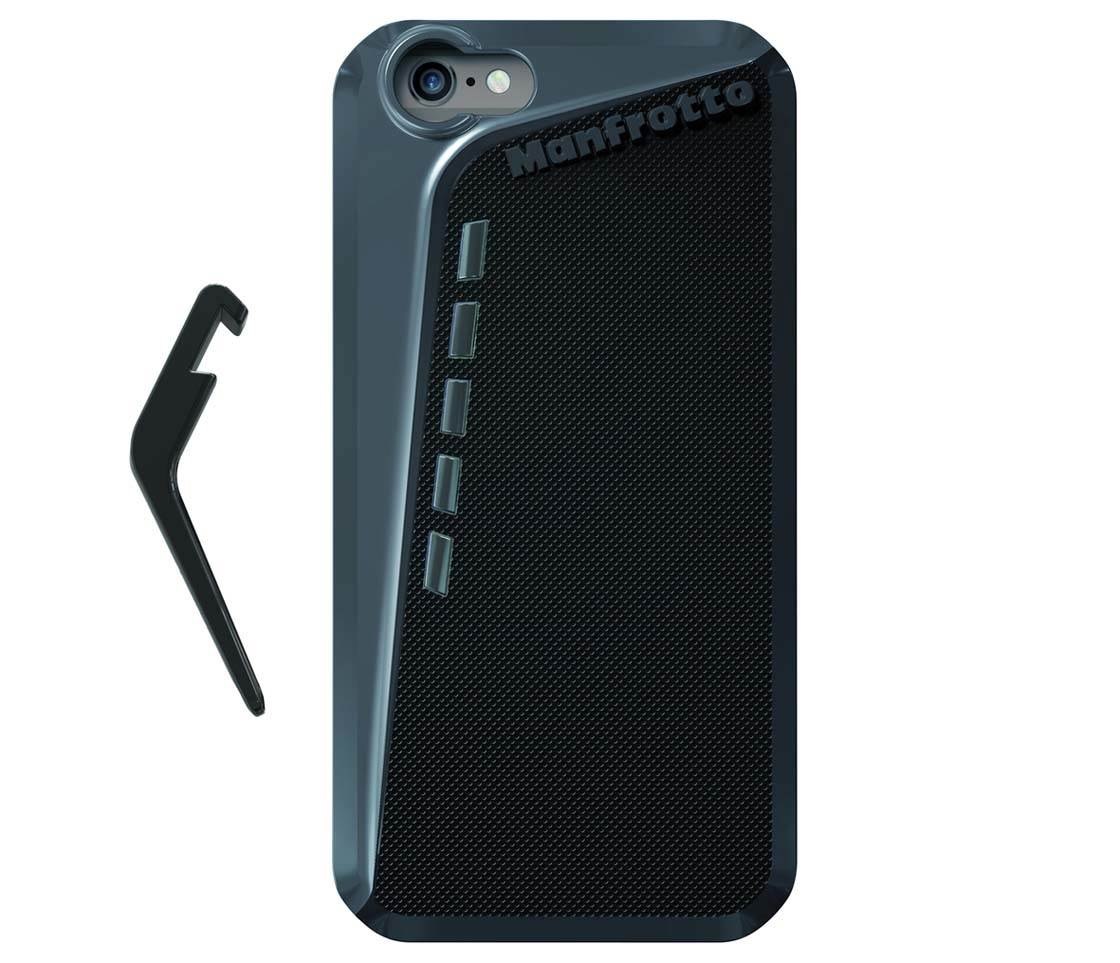
The case is provided with a small “kickstand” adaptor which slides onto the case’s beveled edge. You can use this as a kickstand for hands-free viewing of your iPhone screen when placed on a solid surface. It also provides a standard threaded iPhone tripod mount, as well as a useful arm for maneuvering the iPhone when mounted on a tripod.
The case is a clever design, allowing multiple items to be attached. While the beveled edges serve a useful purpose, they do feel a little too sharp to be truly comfortable in the hand.
My main concern is that the case is made up of two parts that fit together and if you’re not careful when you remove it from your phone it starts to come apart. My advice would be to pull it off your phone from a corner that doesn’t have a join.
The Lenses
Manfrotto has developed several interchangeable lenses to fit onto the Klyp+ case: a wide angle/macro combination lens, a super wide angle lens, a fisheye lens, two telephoto lenses (1.5x and 3x), and a polarizer filter.
The lenses are threaded to enable them to be securely fastened to the plastic case, and they’re supplied with protective lens caps and also a soft fabric drawstring pouch.
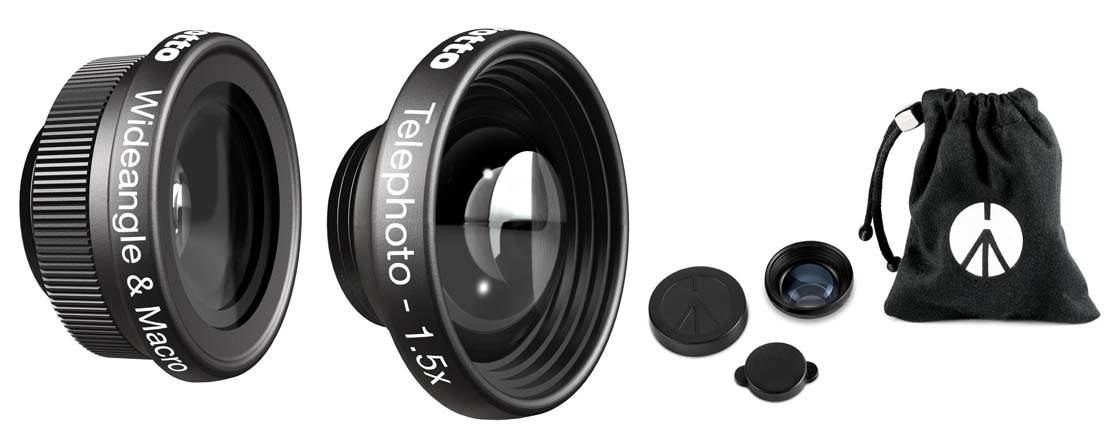
We were sent a wide angle/macro combination lens and a 1.5x telephoto lens to review. The lenses themselves are well made, with a quality look and feel. As we’d expect from a company of Manfrotto’s caliber, the lenses are made of glass rather than plastic and the lens housing is aluminum.
The wide angle and macro lenses need to be connected together in order for you to achieve the wide angle results. To shoot macro shots simply unscrew the wide angle lens. The 1.5x telephoto lens works completely independently of the wide angle/ macro lenses. Let’s take a look at each of these lenses in turn.
1.5x Telephoto Lens
This telephoto lens offers a fairly modest 1.5x magnification, however it does allow you to get a closer view of your subject without you having to physically move towards it.
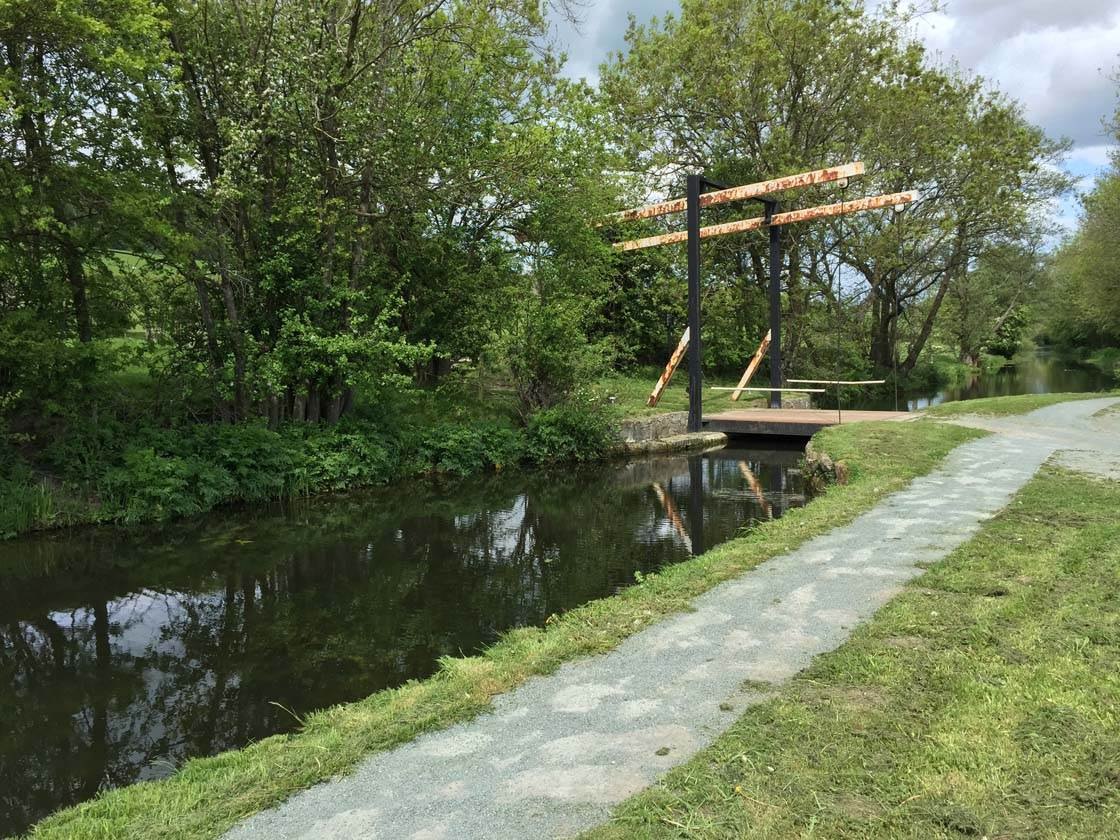
The image above was taken without any lens attached, and below is the same scene taken using the 1.5 telephoto lens. I took the photo from exactly the same position, and you can see that the lens has allowed me to effectively zoom in closer on the scene.
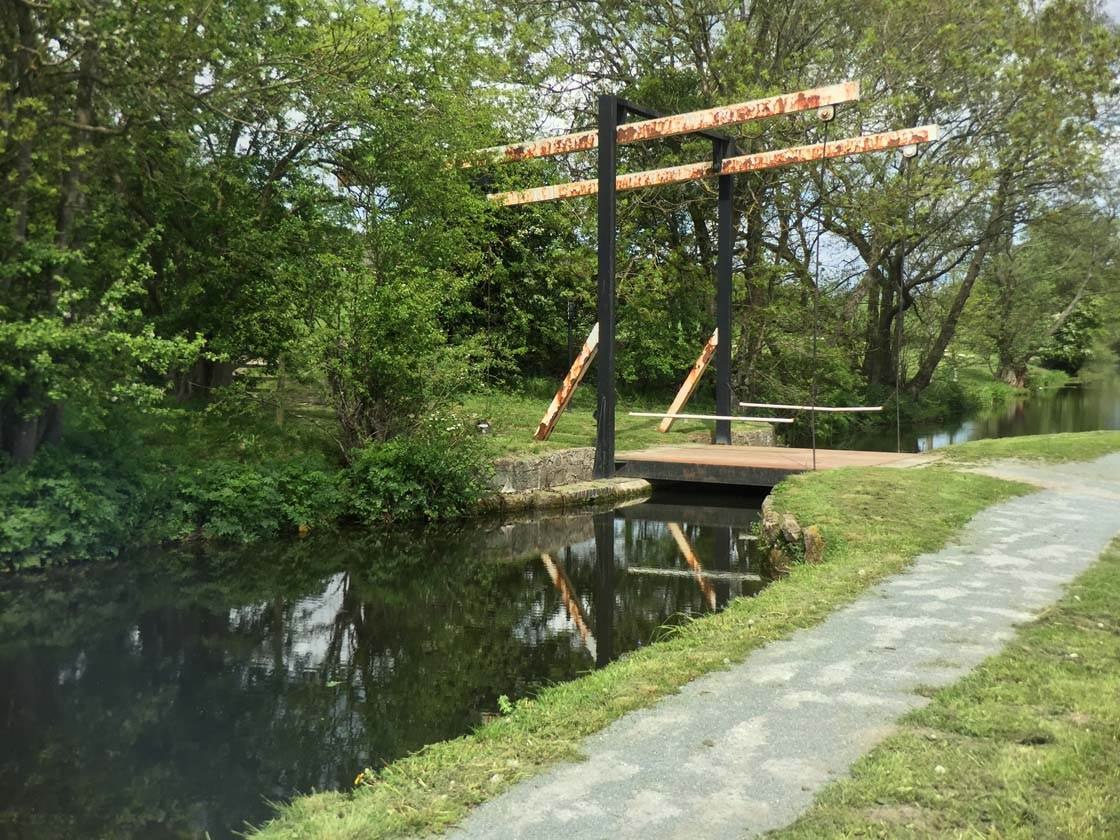
A common problem with add-on lenses for the iPhone is distortion and softening in the corners of the images. With this Manfrotto lens, the majority of the shot is sharp, however, if you look closely you’ll see that the detail in the corners is slightly soft. But like I said, this is common with all third-party lenses.
Personally, I think I’d find the 3x telephoto lens more useful as it would allow me to zoom in on the scene even further. We weren’t sent this lens to test out so can’t comment on how much edge-softening would occur with the 3x telephoto.
Wide Angle Lens
Sometimes you may not be able to get everything you want into the frame using the iPhone’s built-in lens. If you can take a few steps back this may solve the problem, but in certain situations you can’t do this, such as where there’s a wall or fence behind you. In these situations a wide angle lens can be very useful.
In the photo below I wanted to capture the beautiful tree and show all its detail and scale against my human subject stood beneath it. Unfortunately a large pond behind me meant that I couldn’t stand any further back, so it was impossible to get the entire tree and all of its branches into the shot.
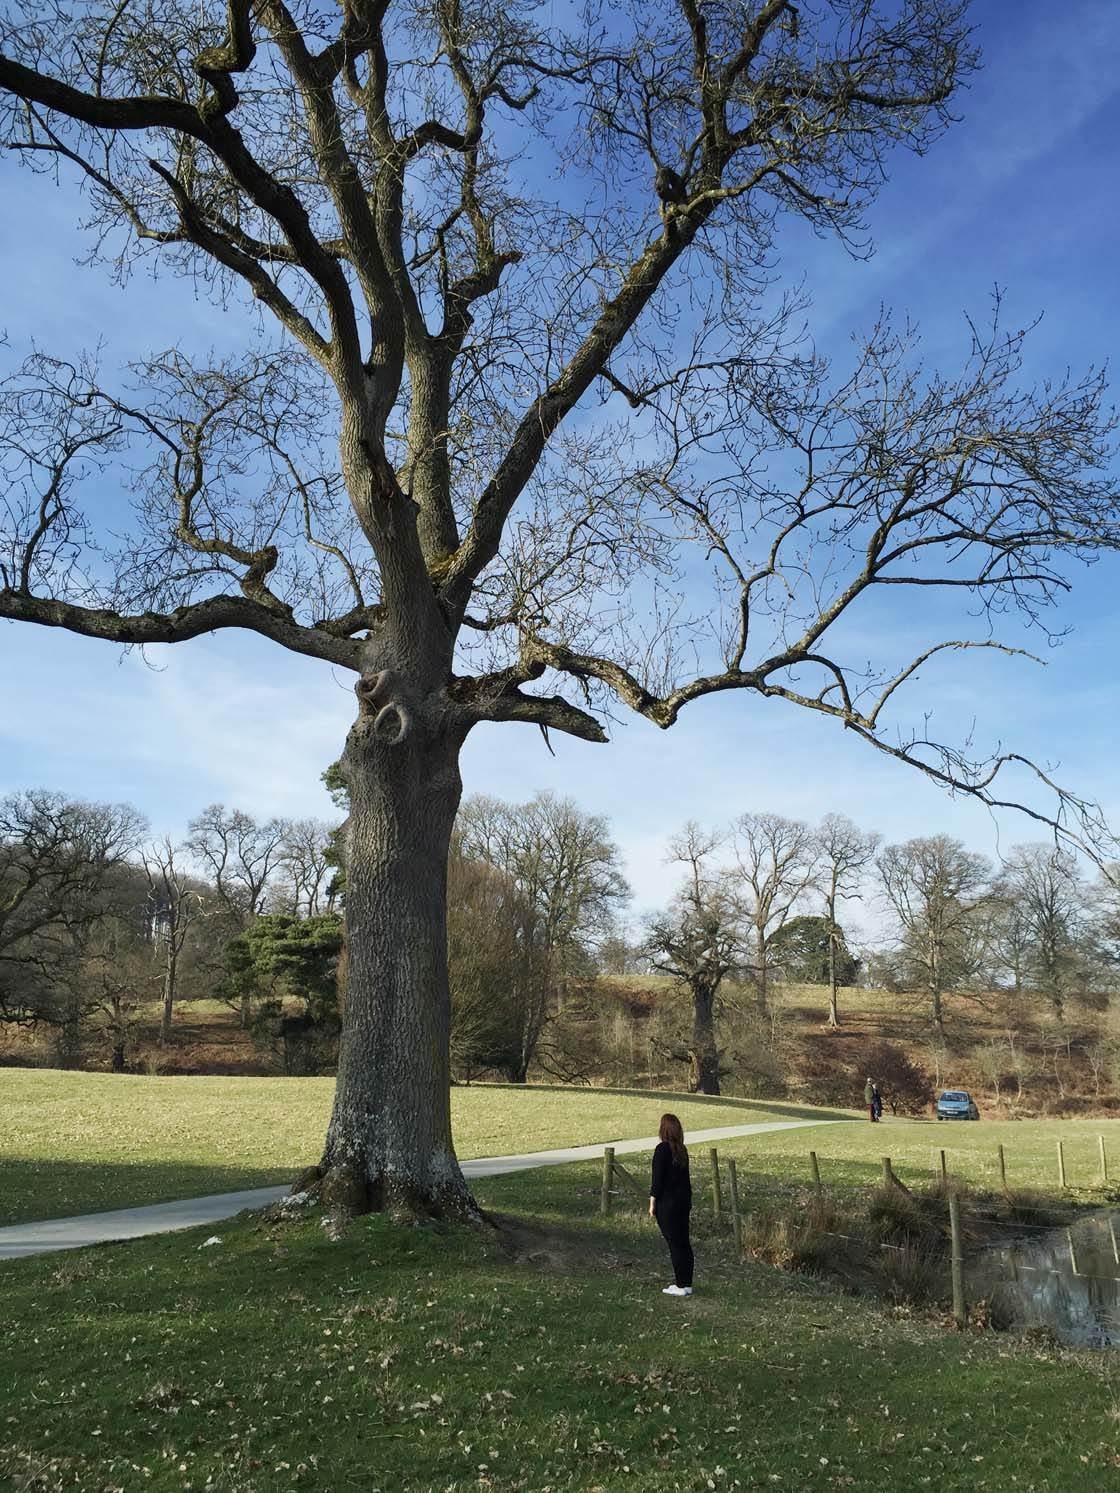
After attaching the Manfrotto wide angle lens, I was able to include everything I wanted in the shot, as you can see below. The centre of the image is very sharp, however there is evidence of some softening at the edges and corners of the image.
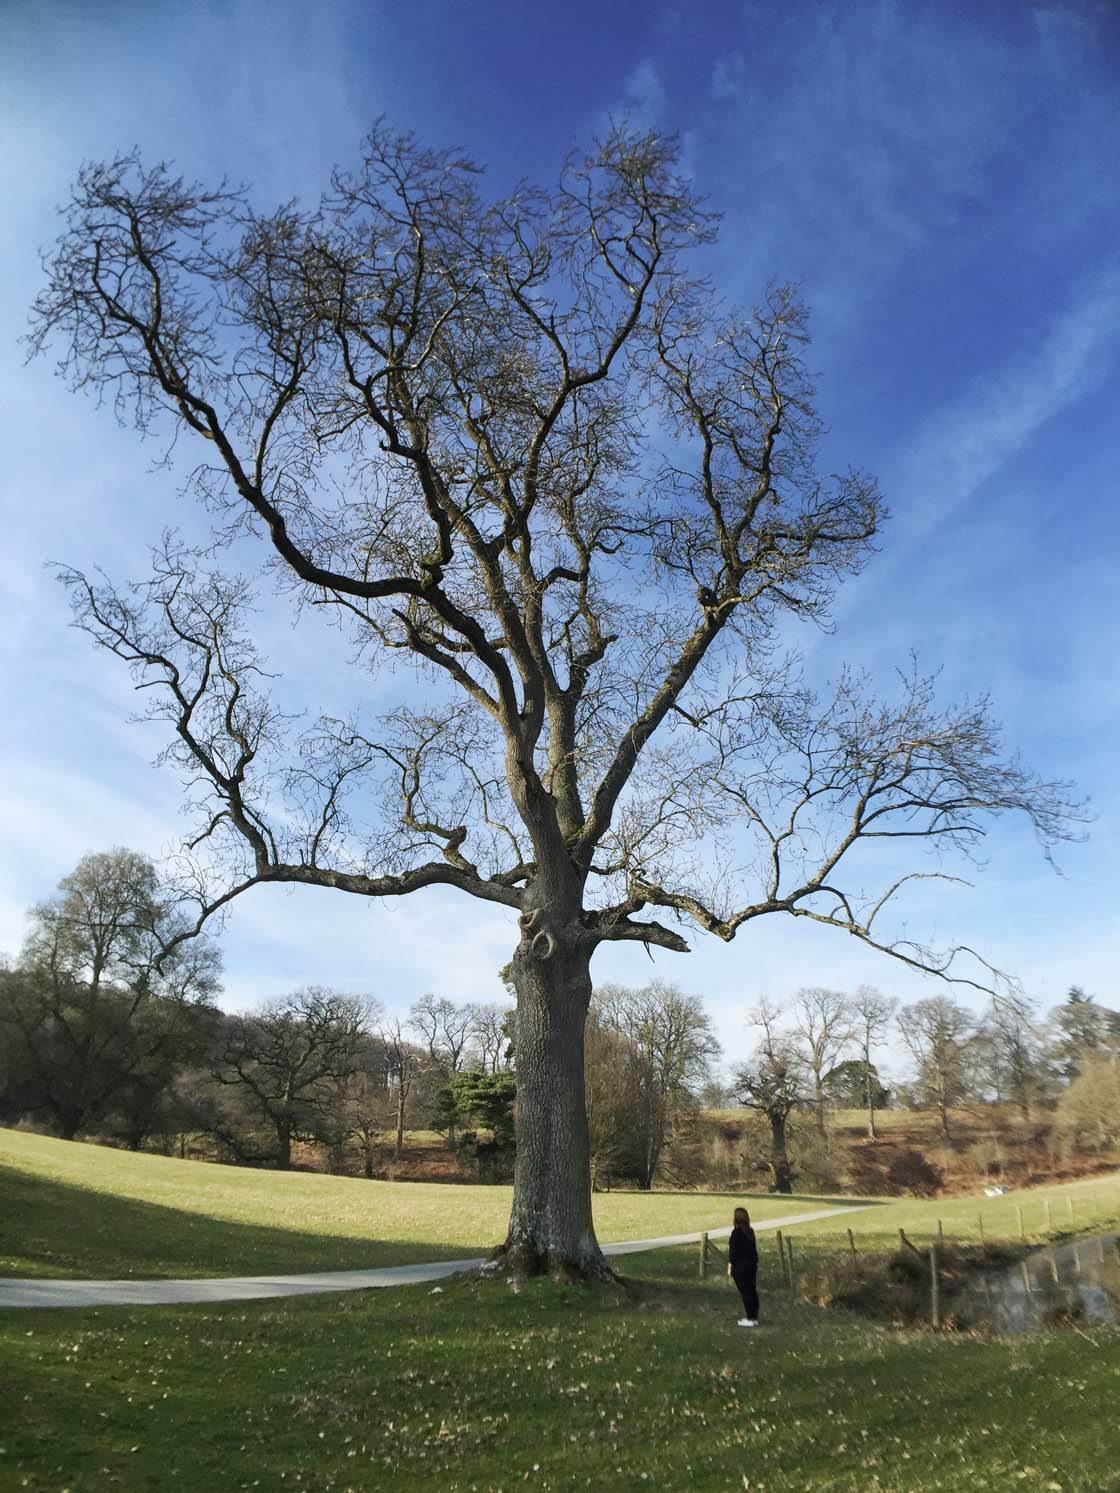
It’s clear in the second image that the wide angle lens has introduced some geometric distortion into the shot, making straight lines appear more curved. This happens with all wide angle lenses, and the perspective problems can be corrected using an app such as SKRWT.
Macro Lens
When we want to get closer to the subject than the built-in iPhone lens allows, we have to use a macro lens. The Manfrotto macro lens magnifies the subject by a factor of 10.
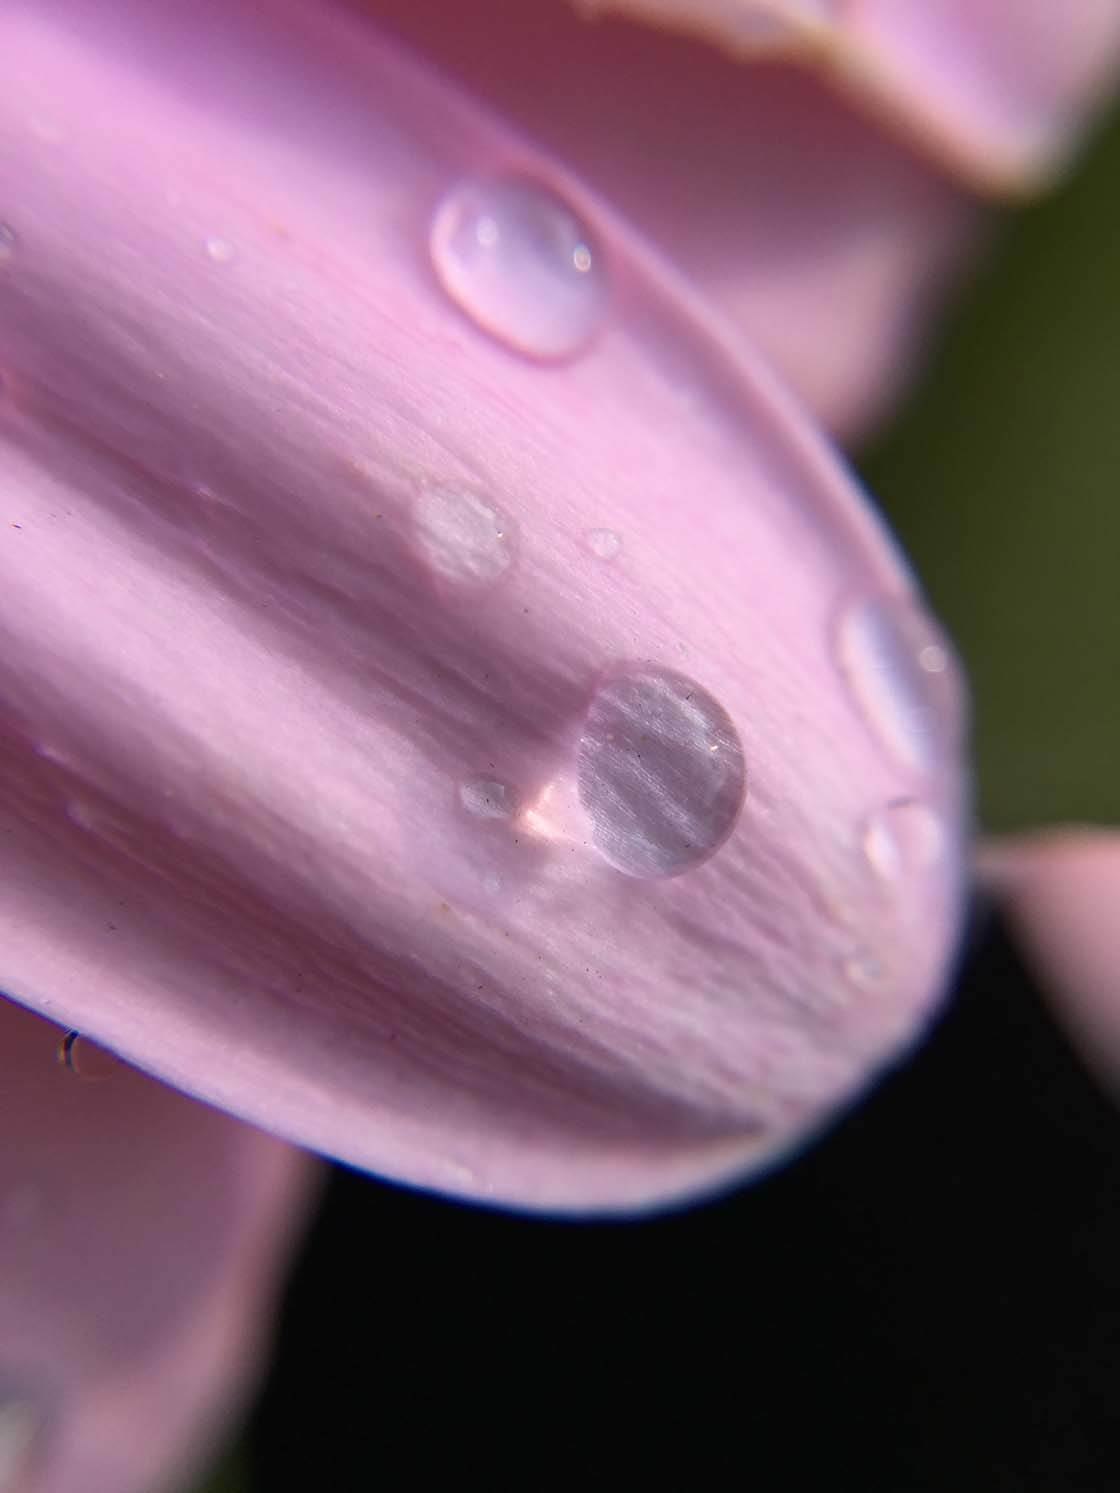
A macro lens is great for taking close up photos of flowers, insects and anything where you want to show intricate detail close up. The Manfrotto macro lens has done a great job of capturing the tiny water droplets on the petals of this flower.
The macro shot below shows some lichen growing on tree bark. In this image you can see that the corners of the image have the common blurring that you get with add-on lenses.
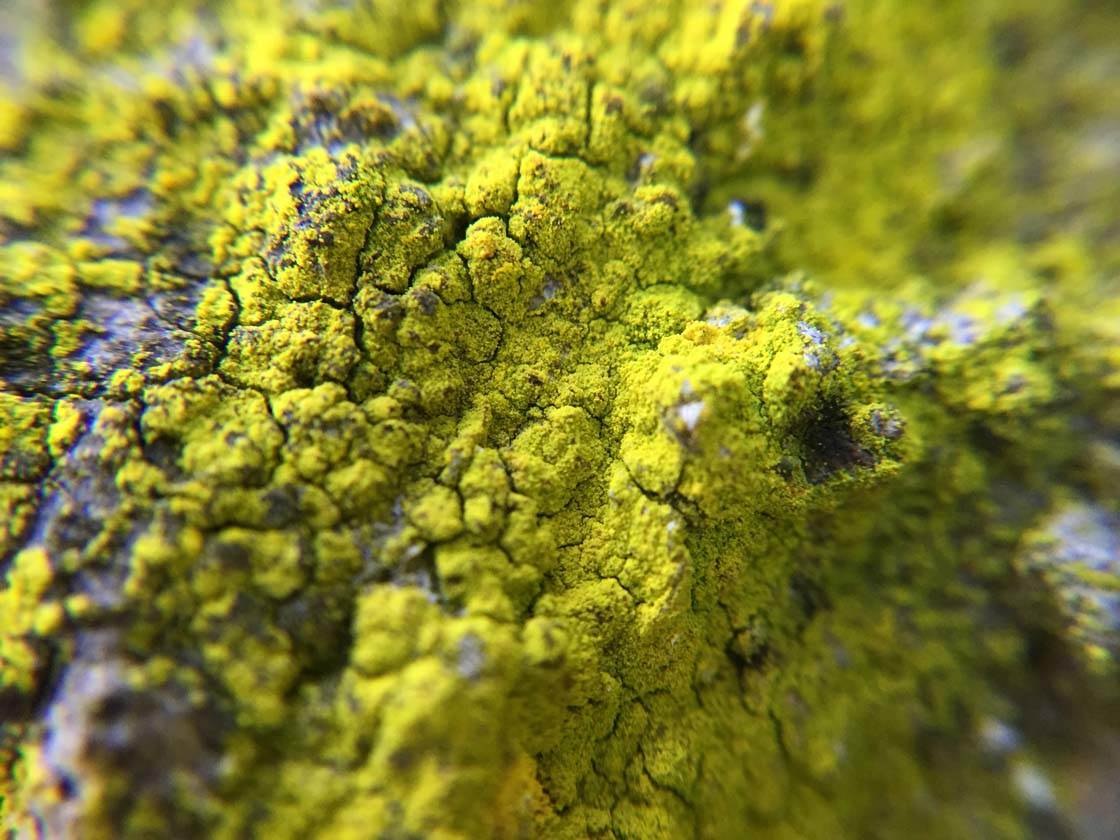
Macro lenses radically reduce the depth of field (how much of an image is in focus from front to back) so it’s very difficult to get all of your subject in focus when using macro lenses. It’s therefore very important to choose your point of interest and set the focus on that part of the image by tapping the screen.
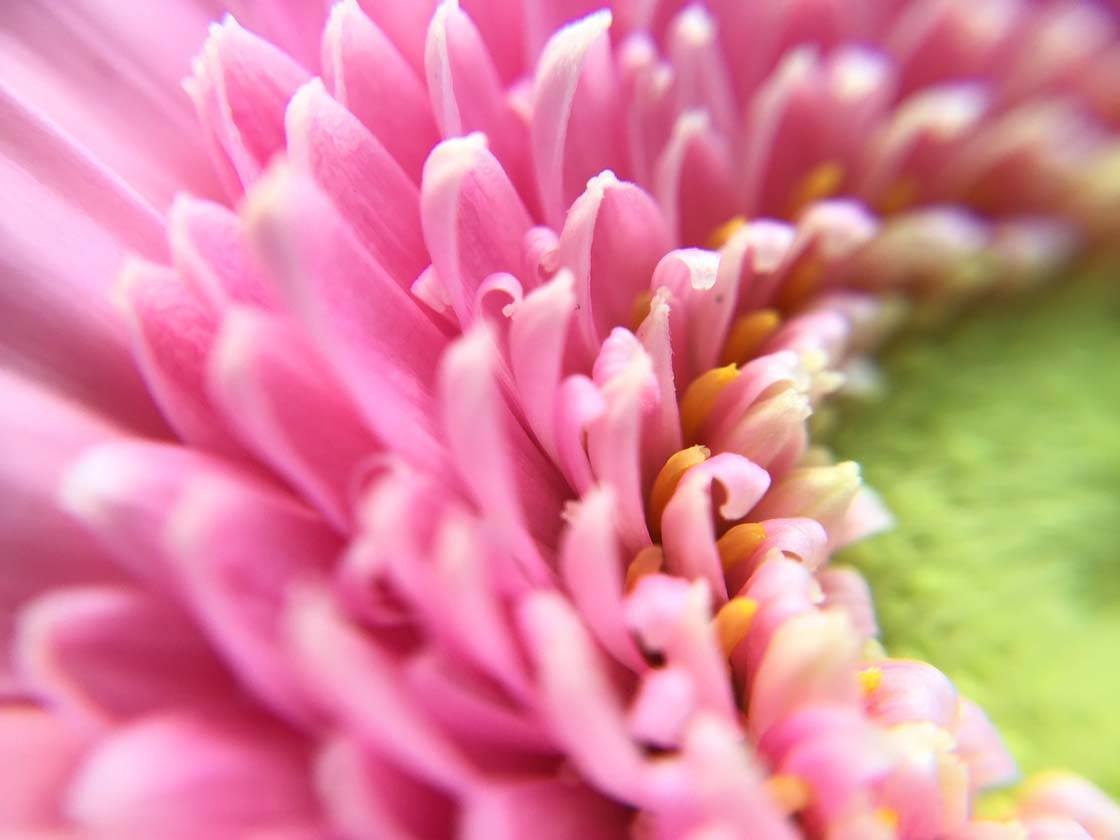
It’s essential to keep the iPhone as still as possible when shooting macro photos as even the smallest change in distance from your subject will cause it to fall out of this focal “sweet-spot.”
The LED Light
The LED light is an impressive piece of kit that will dramatically improve your low light photography. It has three powerful LED lights built into a compact but solid body. This accessory clips neatly onto any side of the Manfrotto beveled case.
To switch on the light, just press the button at the end for a couple of seconds until it illuminates. Then keep clicking the button to cycle through the three different lighting strengths (low, medium and high).
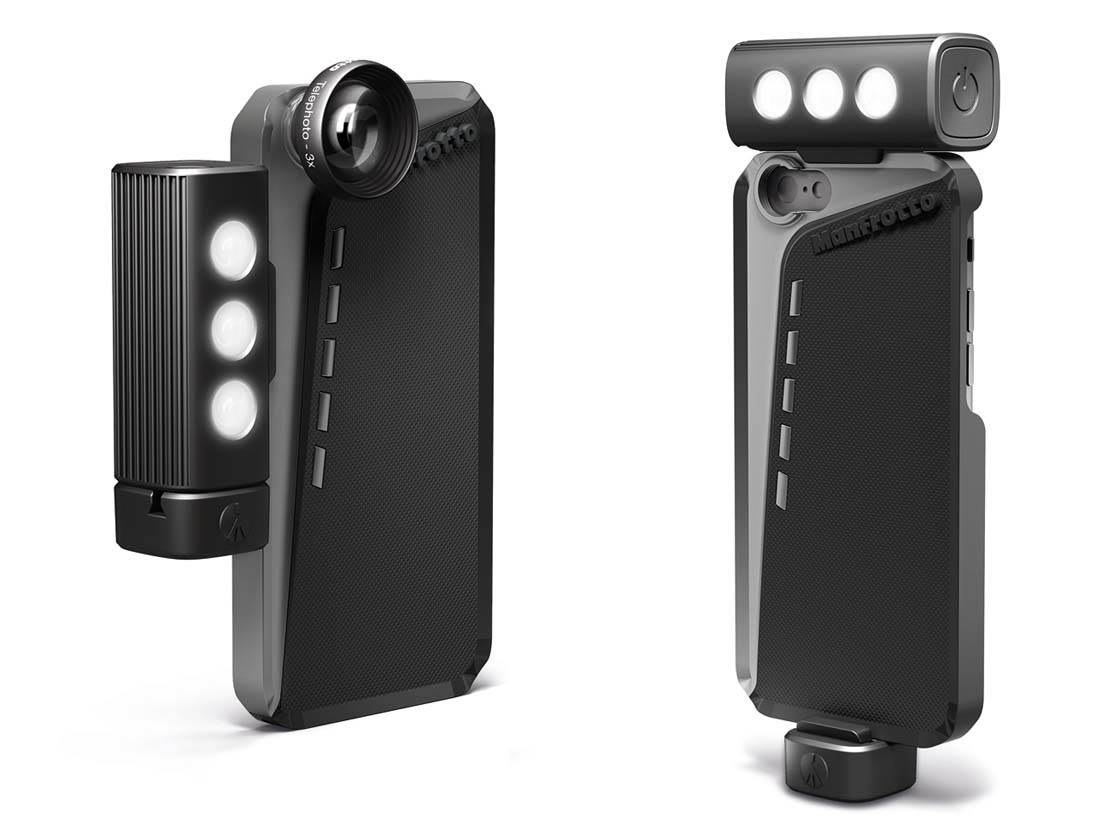
It’s important to note that this is a constant light source, rather than a flash/strobe light. This is beneficial in that you get to compose and expose your shot while seeing the exact effect of the light before you press the shutter button, as opposed to flash where you only see the results after the shot is taken.
Because it’s a constant light, it will use up battery power whenever it’s switched on, so ensure you switch it off whenever it’s not in use. On that subject, the light has an built-in, non-replaceable battery which can be charged by connecting it to a USB socket using the cable provided.
The light offers a 60 degree beam angle with a maximum power output of 225 lumens. I haven’t been able to find the power of the iPhone 6 flash, but the iPhone 5 is reported to have a flash power of 10 lumens in continuous use, so you can see how much more light this Manfrotto accessory can put out.
In use it’s as impressive as it looks. I found I got best results when the light was used off-camera, positioning it away from the iPhone, either pointing at my subject or bounced off a nearby white wall or ceiling to create a more diffused light.
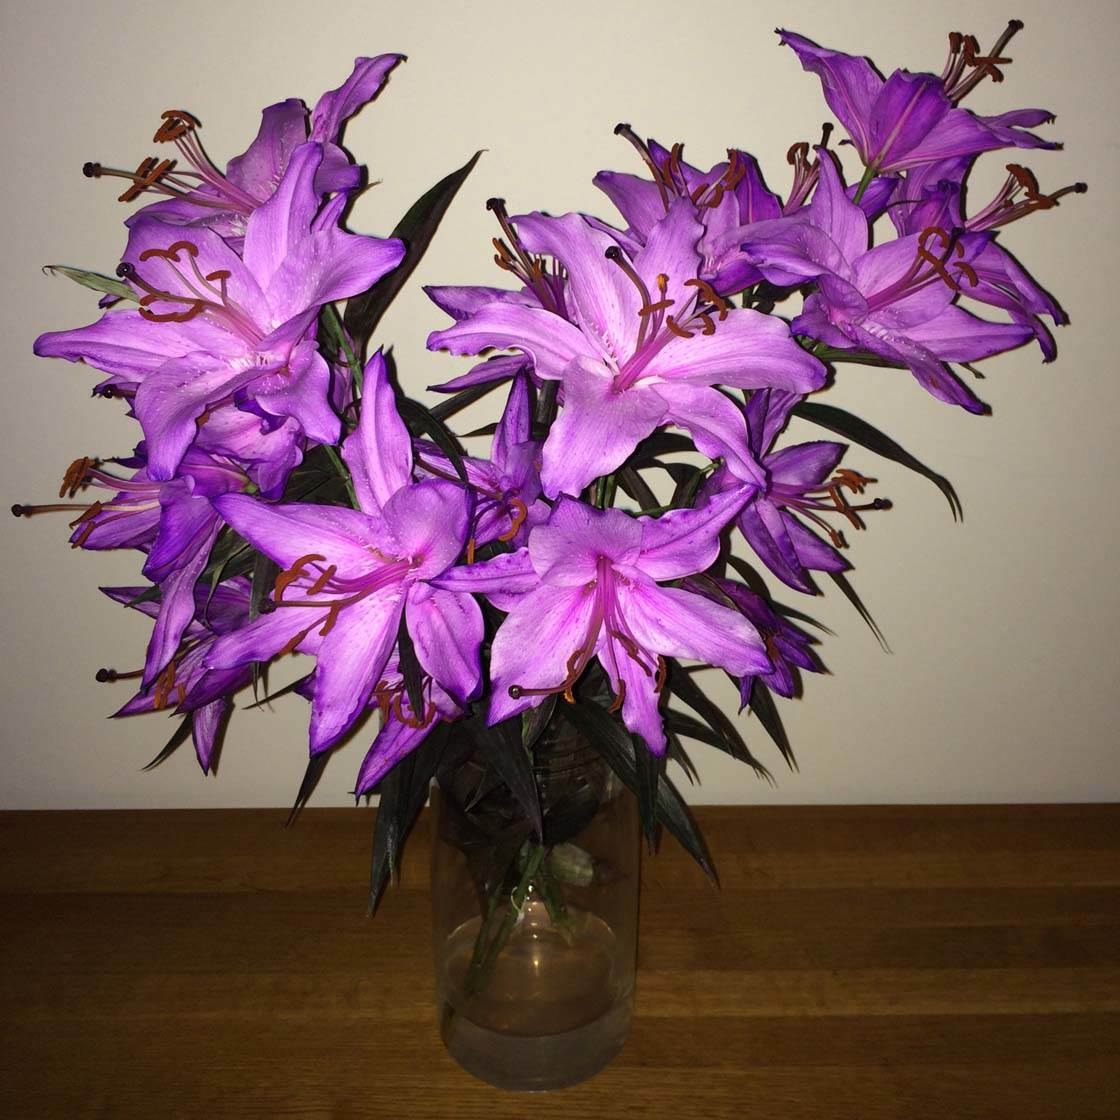
To test the light out I took two shots of a floral display – one with the iPhone’s built-in flash and the other using only the Manfrotto LED at full power, bounced off the white ceiling above.
Above is the photo that I took with the iPhone’s built-in flash. Using the flash rarely results in a good photo, and in this example you can see how harsh this direct light is. It’s created quite a harsh glare on the flowers and you can see the reflection of the light in the glass vase.
There’s no light diffusion to soften the light as the flash is pointing directly at the subject. Even if I did diffuse the light by putting a light diffusing material such a piece of tissue between the flash and the subject, the light source is too weak to be of much use once it’s diffused.
Also, because the iPhone’s flash is fixed in relation to the position of the lens, and because our floral display is close to the wall behind, we’re seeing fairly hard shadows behind the subject.
In this next shot you can see the benefit of using the much more powerful Manfrotto LED light. Because the light is detachable, it can be positioned anywhere and pointed in any direction.
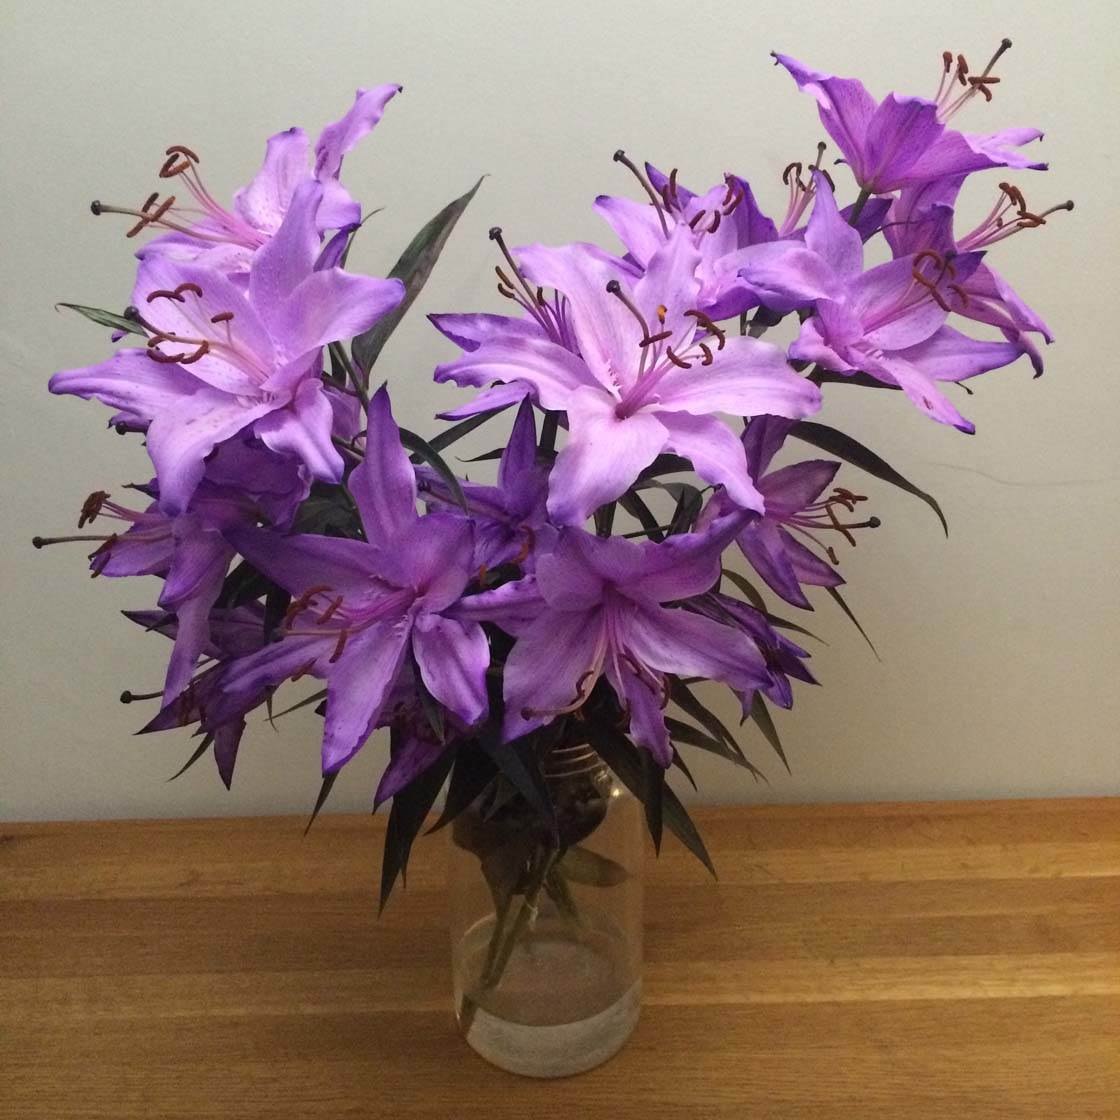
Rather than pointing the strong LED light directly at the subject, I positioned it pointing upwards so that the light bounced off the ceiling. This creates a much softer diffused light over the subject.
The color of the flowers looks more natural without the glare, and there are no harsh shadows behind the subject. Bounced light usually works much better than direct light on your subject, and the Manfrotto LED light allows you to easily achieve this.
A nice feature of this light is the tripod socket on one end. This enables the light to be easily attached to a tripod, so you could set up your light, leaving you free to move around with your iPhone camera.
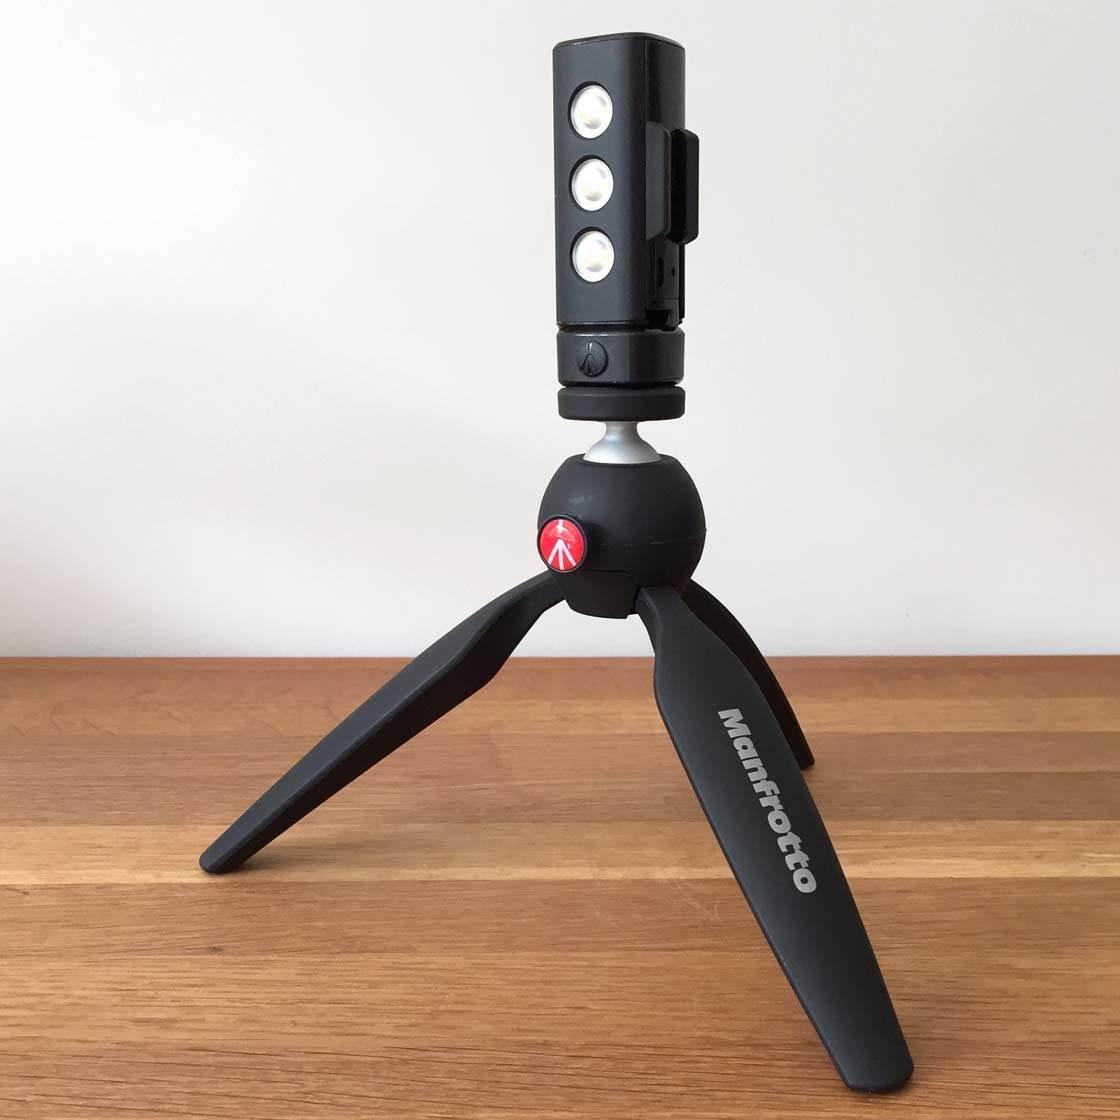
In addition, this end of the light slides off and can be attached to the Manfrotto case as an alternative to the kickstand adapter provided for connecting the case to the tripod.
The Tripod
This mini tripod is one the best iPhone tripods on the market. It has rubber feet to prevent slipping. It weighs 0.22kg and is supplied with a small adaptor which, like the other adaptor mentioned above, slides onto the Manfrotto case’s beveled edge. At 18.5cm (closed) the tripod would easily fit in a jacket pocket, handbag or small rucksack.
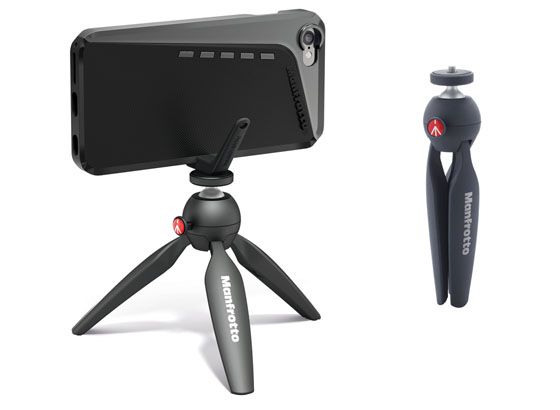
The ball-adaptor allows for the mounting plate to be angled (up to 35 degrees from vertical in any direction) once the push-button on the side of the tripod ball is pressed. Releasing the push-button locks the mount into position.
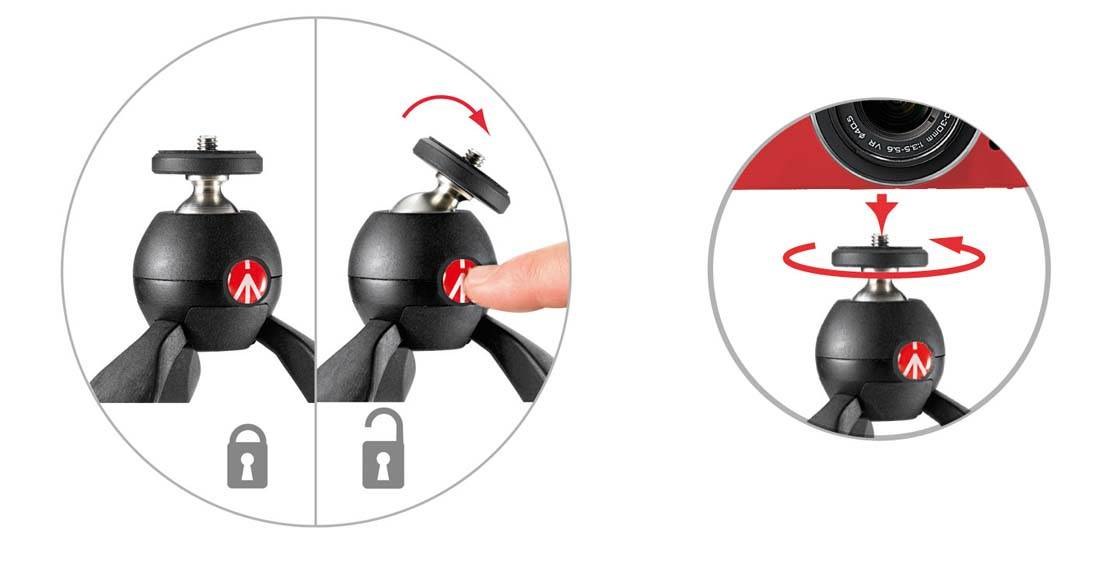
An additional benefit of the tripod is that once closed, it makes an excellent grip to hold the camera when shooting video with the iPhone. It keeps your hand out of the way of the screen and definitely reduces camera shake in handheld video footage.
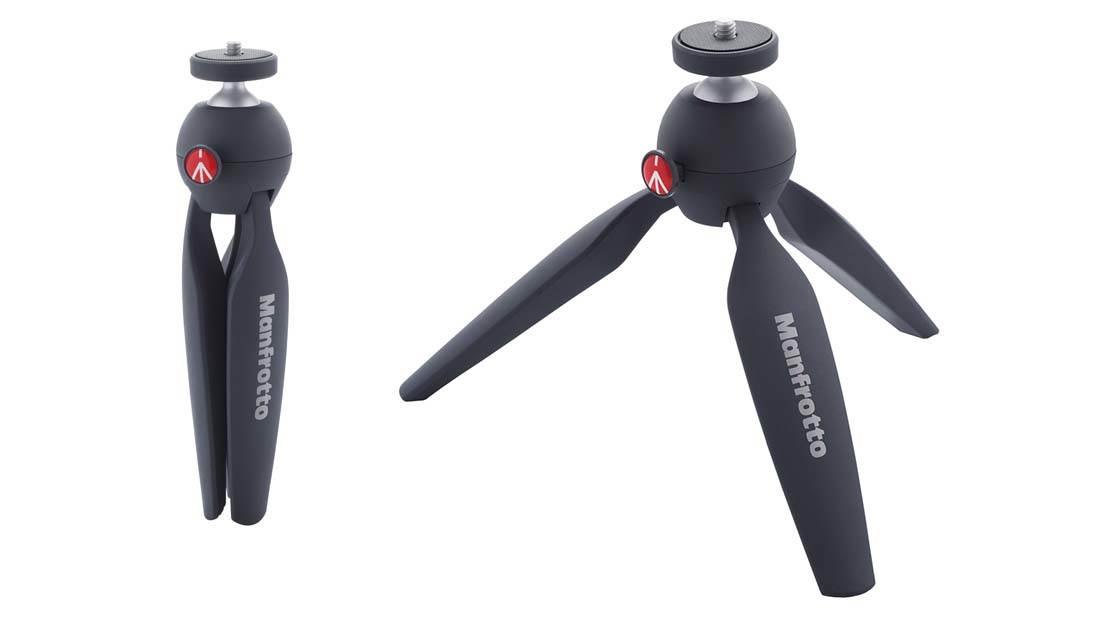
Lastly, because this tripod has a standard ¼ inch sized adaptor screw thread, it can be used with all other cameras that have the same common screw thread size, providing the camera weight is no more than 650g (1.4lbs).
Conclusion
To summarize, this is an excellent bundle of accessories. I felt the case was the weakest link due to its two part construction, but it serves a useful purpose. For me the standout products are the LED light and the tripod.
You can purchase all of these products and more from the Manfrotto website. The case with kickstand costs $24.99, or you can purchase it with the tripod for $44.99. The LED light is $64.99, and lenses start at $29.99. You can also purchase these items as a variety of different bundles depending on which combination of products you require.


I have used this system with all the lenses and the tripod. I have not used the light yet. The case has been on my phone for 4 weeks now. I find it very convenient and easy to use. The little lens caps keep the dust out. The only problem I’ve had so far is after dropping the phone a chunk of the plastic case fell off. So be careful not to drop it. It’s not like a normal iPhone protective case. It’s a bit fragile.
Thanks for sharing your experience, Shane! 🙂