Minimal compositions are one of the most powerful ways to create an eye-catching photo. The simplest photos are often the most beautiful, and also the most intriguing. By including a large amount of empty space in your images, you can give your subject the attention it deserves, even if it’s very small within the frame. In this tutorial you’ll discover ten great tips for creating stunning minimalist iPhone photos in a variety of shooting situations.
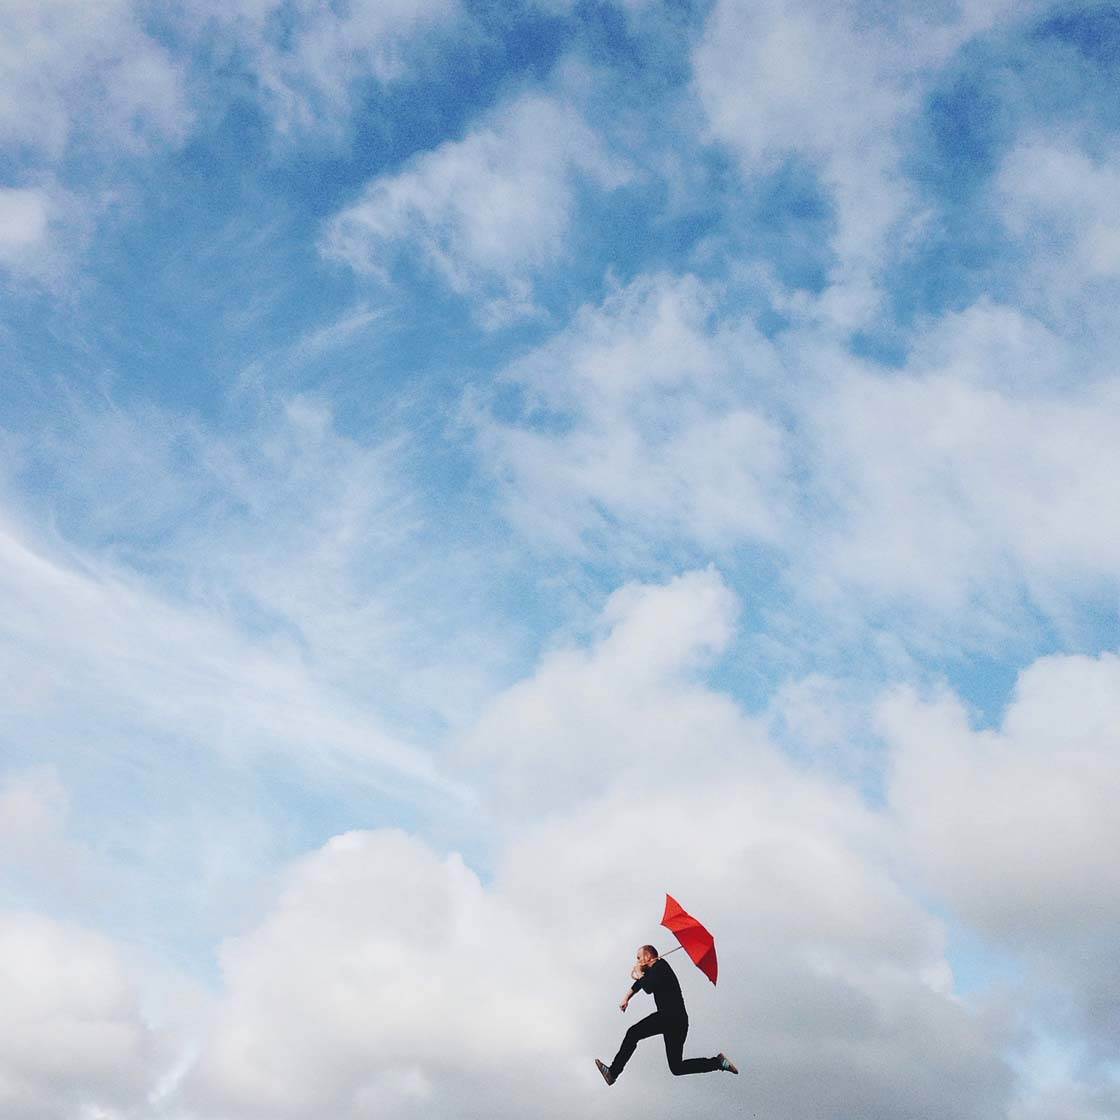
What Is Minimalist Photography?
Minimalist photography is all about stripping down a scene so that you only include the most important elements within the frame. Simplicity is the key to creating amazing minimalist photos.

Less is more with this genre of photography. Empty space, lone subjects, simple lines, geometric patterns and contrasting colors are all great ways of achieving the desired result. You can find minimalist photography opportunities everywhere, landscapes with lone trees offer incredible minimalist landscape photographs. Singular or repeating shapes in an urban setting make excellent minimalist subjects in the city.
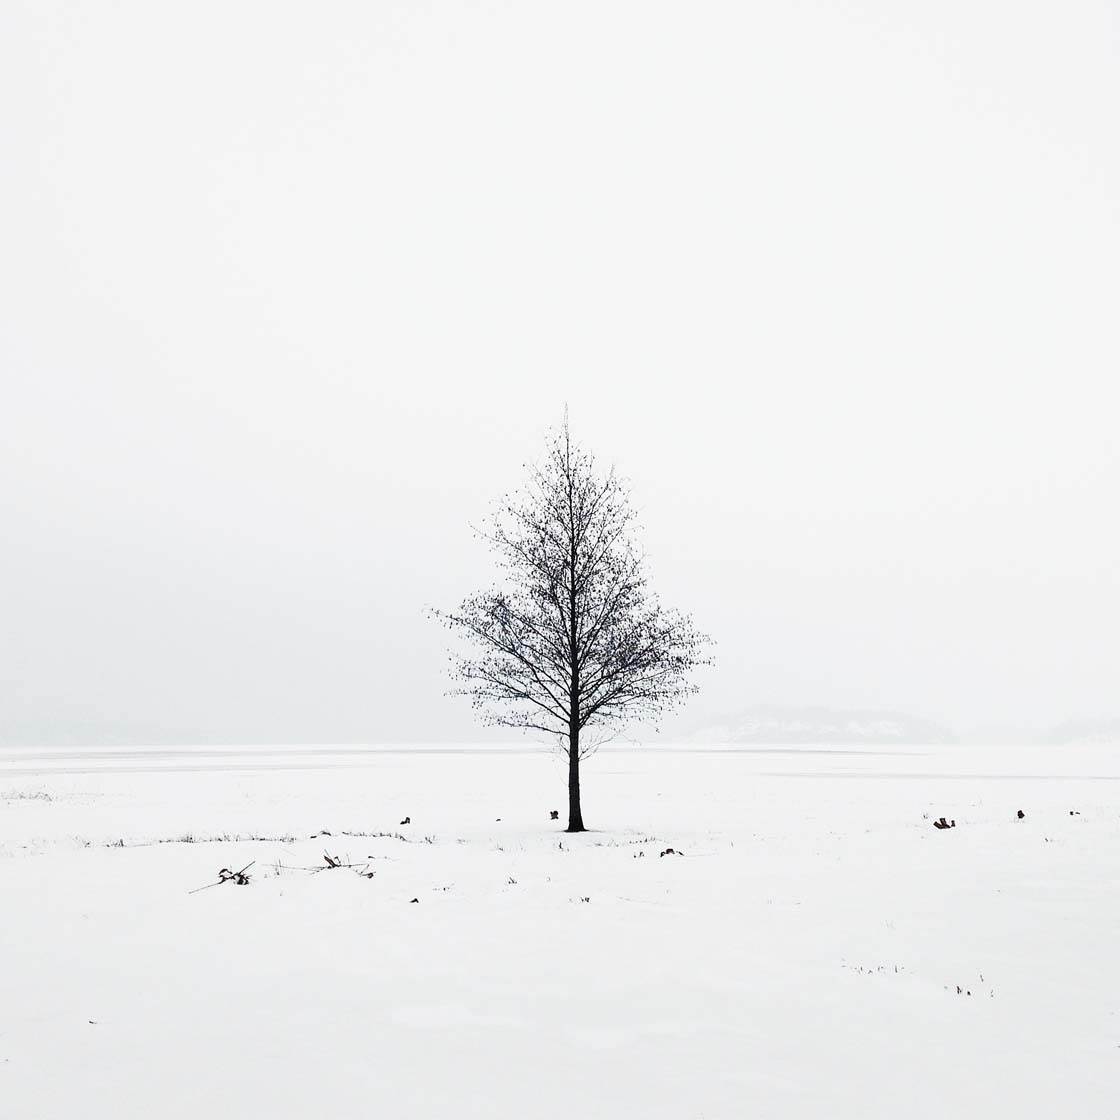
As easy as this sounds, taking a good minimalist photo can sometimes be more difficult than you might think. Finding the right subject, shooting angle and composition can take a little time and experimentation. But once you get it right, the results will be amazing!
What Makes A Good Minimalist Subject?
Many objects make a good subject for a minimalist photo. It’s actually more to do with what surrounds the subject. The aim with minimalist photography is to isolate your main subject, and this is usually done by ensuring that the subject has a lot of empty space around it.
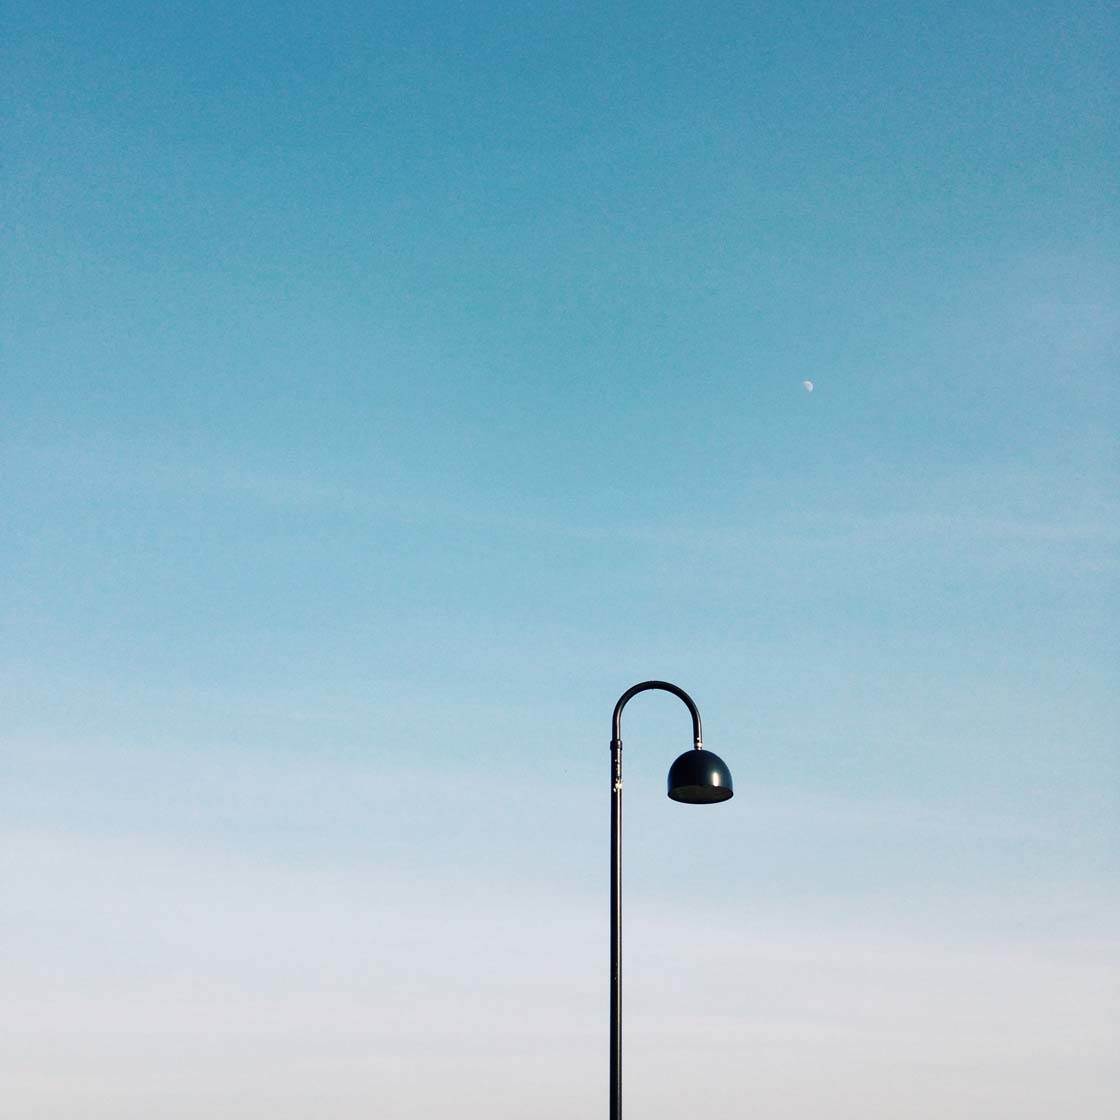
Scan the sky with your eyes. Look for objects that can be separated from any distractions in the background until only the sky is behind it. Naturally you’ll look for tall buildings, bridges, signs, lampposts, branches and trees.

But you could easily pick up anything interesting that you find on the ground and hold it up against the sky. Once you find your object, make sure there’s nothing in the frame that will ruin the picture before you aim and shoot.
You’re looking for a clean shot with a minimalistic approach here. This kind of shot can be varied in lots of ways depending on your location and where you choose to position your subject within the frame.
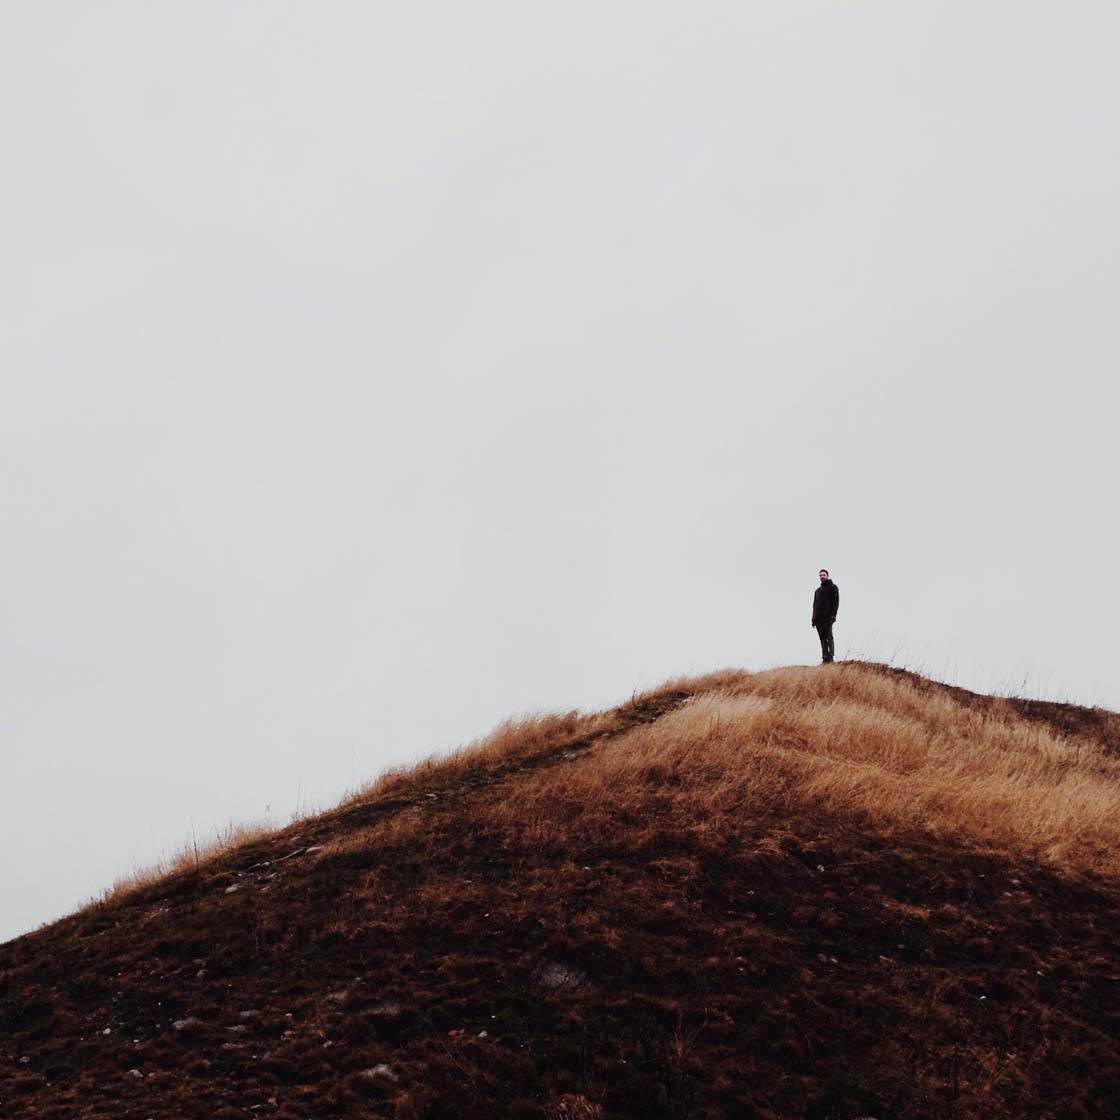
So let’s take a look at ten ways in which you can start to explore the wonderful genre of minimalist photography, creating stunningly simple compositions with your iPhone.
1. Keep It Simple
The most important, and probably most obvious, tip for creating minimal compositions is to keep it simple. However, this doesn’t mean your photo has to be boring or uninteresting.
As long as you choose a subject that will catch the viewer’s eye, your photo should be engaging and interesting, even though it may not take up much of the frame.
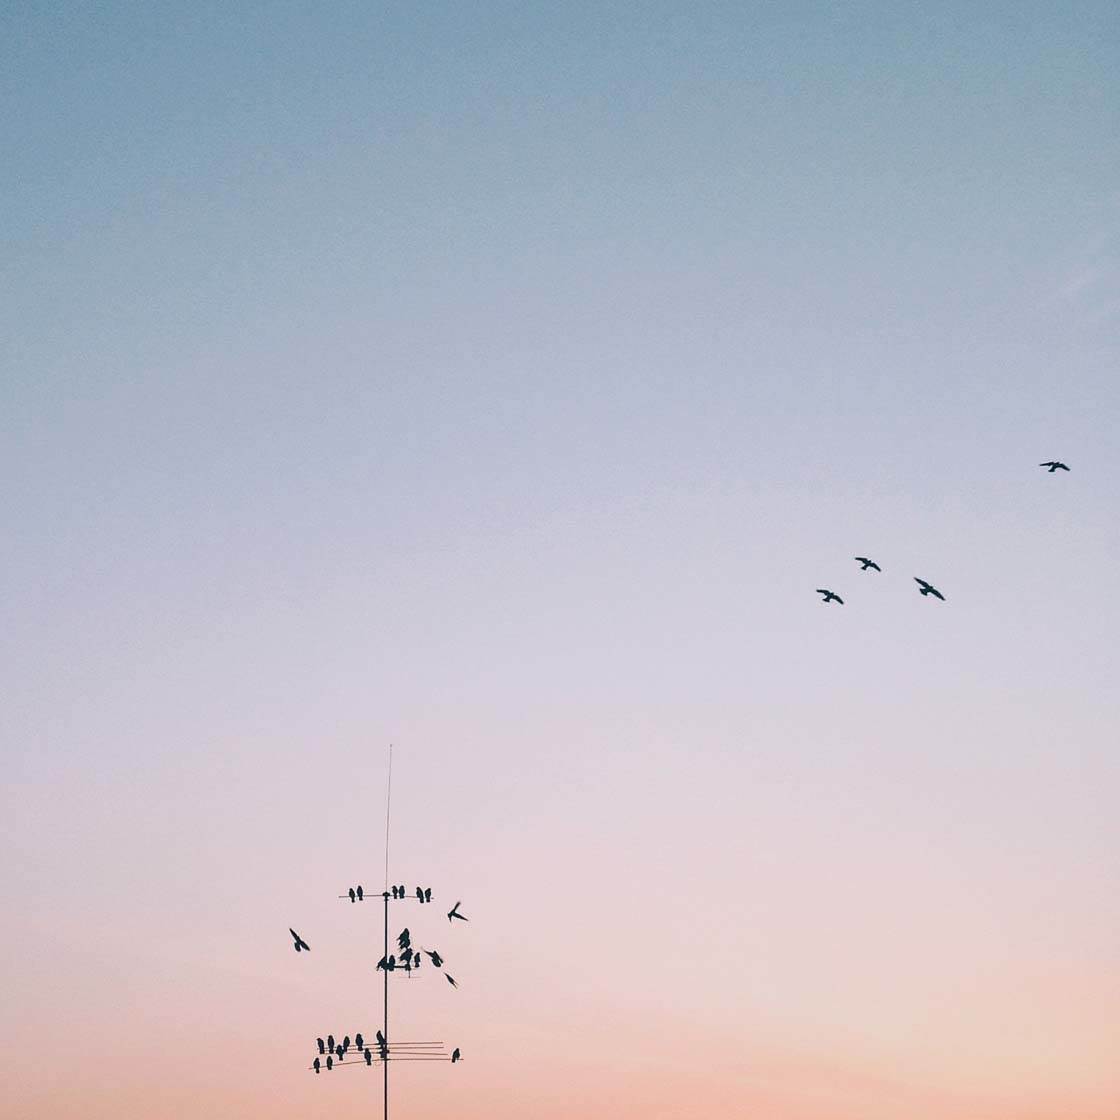
Once you’ve chosen a subject to photograph, consider how you can simplify the scene. Make sure there are no distracting background elements or other objects in the scene that will take attention away from your main subject.
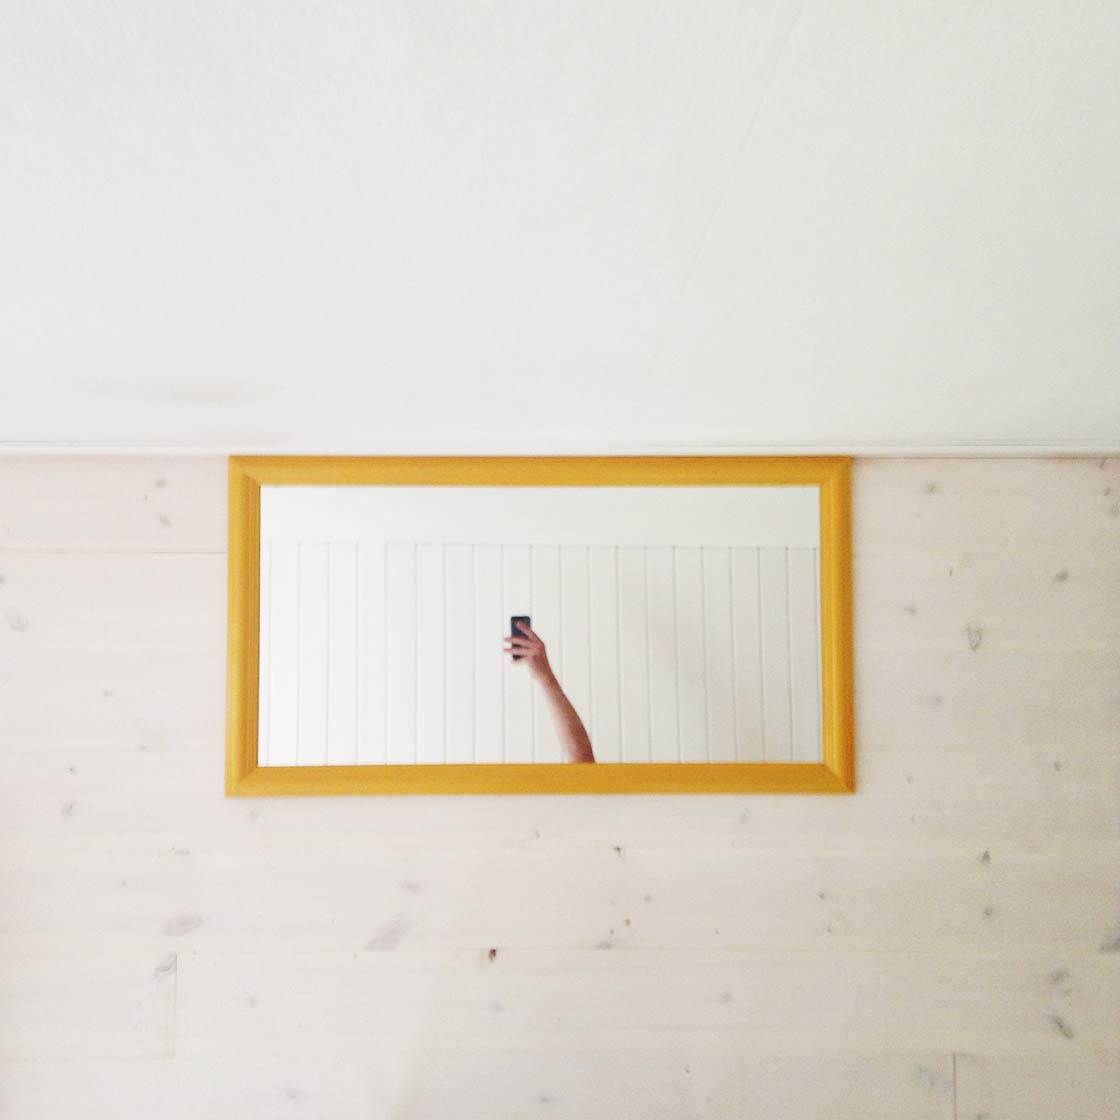
Think about what you want to include and what you want to eliminate from your shot. Then work towards achieving this. That might mean moving your subject to a different location to use a cleaner background, or shooting from a different angle to eliminate distracting objects from the scene.
2. Include Lots Of Negative Space
Negative space is the empty space around the subject in an image. In most cases, negative space is used as a neutral or contrasting background to isolate the main subject. The subject is referred to as the positive space.
You might think that empty space doesn’t have much importance in a photo, but that’s far from true. Negative space is an important tool to help you emphasize your main point of interest in the scene.
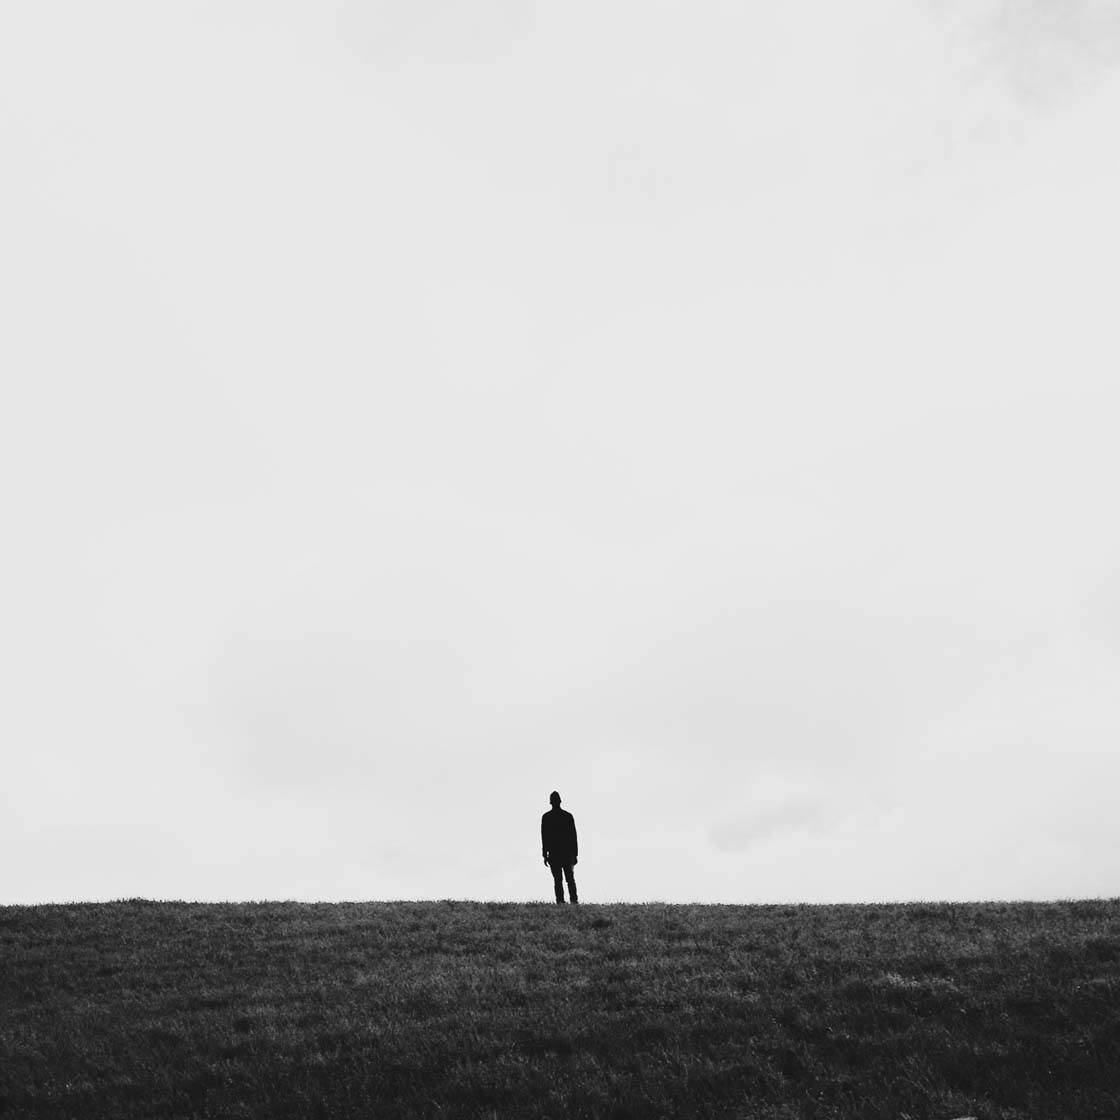
Without any distracting elements in the background, there’s nothing to compete for attention with the main subject. So even if your main subject is very small within the scene, they will still be very prominent due to the empty space surrounding them.
Negative space also helps to create a sense of scale in an image. It gives the viewer a good idea of how big or small the objects in the image really are. The relation in size between the negative and positive space will naturally create a sense of scale.
Using large amounts of negative space can also help you to balance and compose your image. I like to experiment with the balance between the positive and negative space.
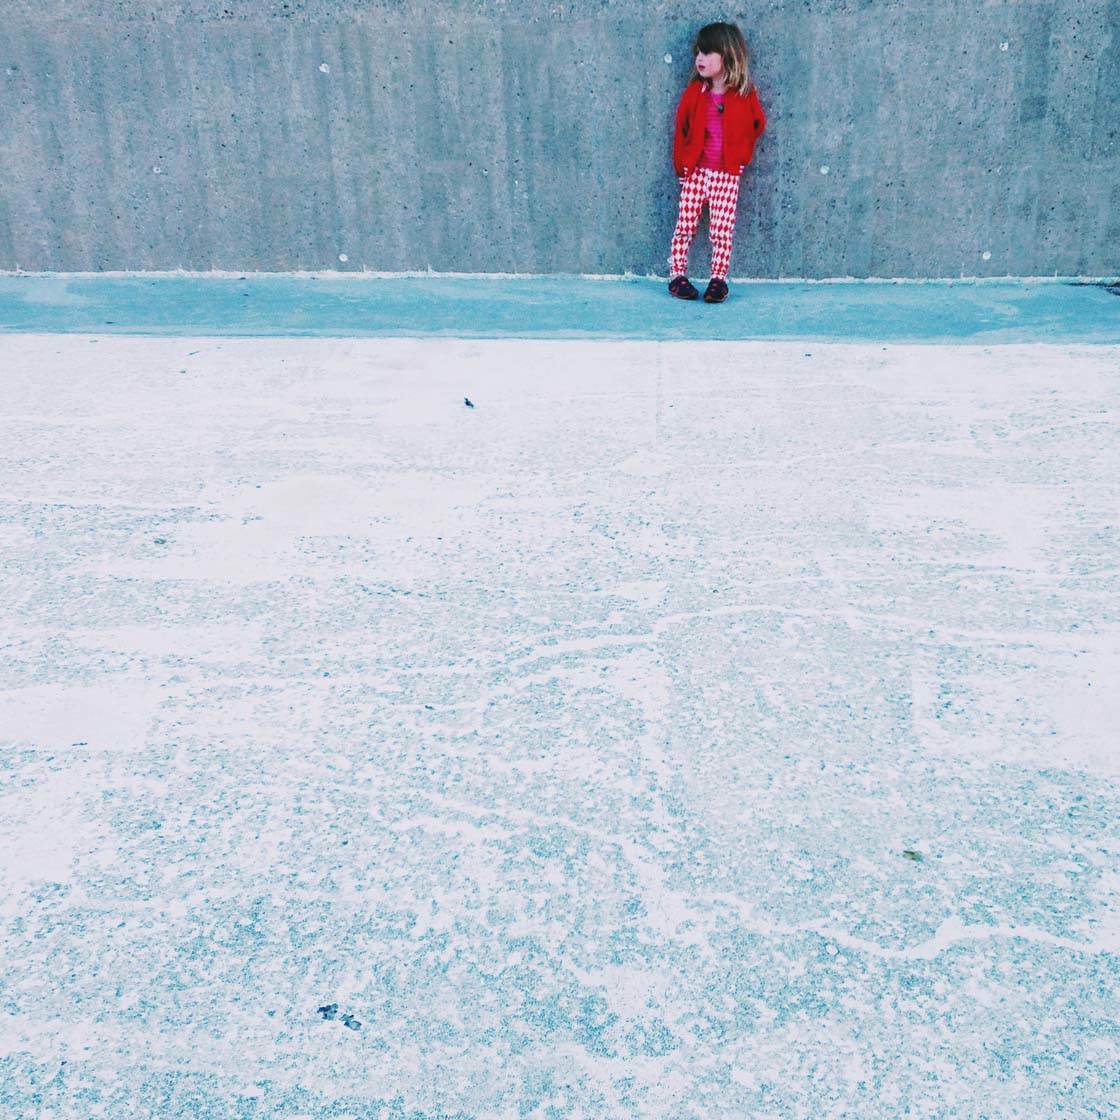
Don’t be afraid to use a lot of negative space, especially if you have a strong subject such as this child wearing bright red clothing in the photo above.
It’s not an exact science and is mostly based on personal preferences, but when you find that perfect balance between the empty space and your subject, you’ll know it!
3. Shoot Against A Plain Background
Shooting against a plain background is vital for minimalist photography. You don’t want any distracting objects or patterns competing for attention with the subject.
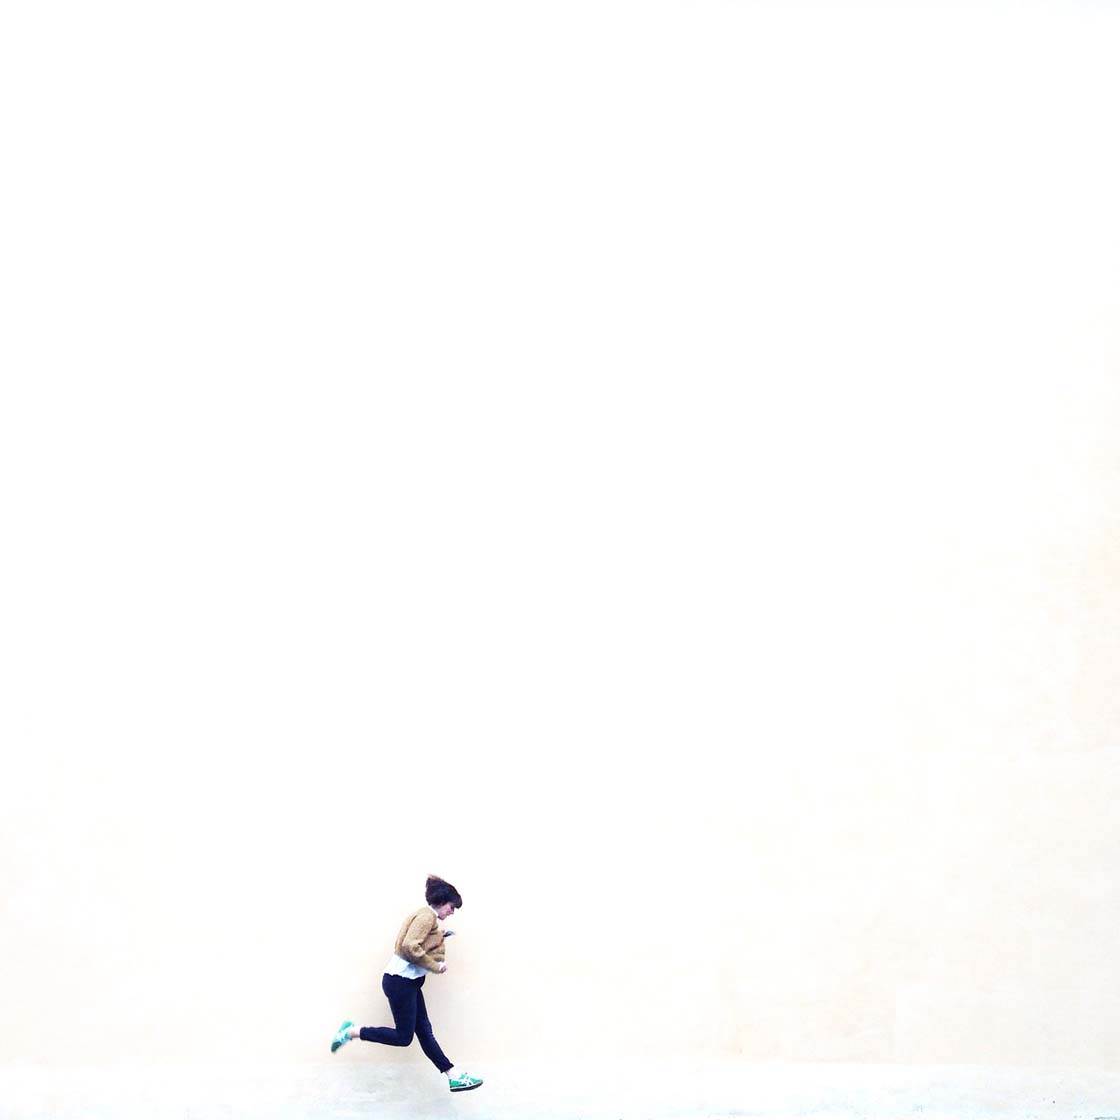
A plain wall or floor is perfect, or if your subject is small enough you can place it on a table or other plain surface. Alternatively, you could use some drapes or sheets if you’re shooting in your own home.
This gives you complete control of the image. If you want a white background, place a white sheet on the ground and position your object on it for shooting. If you want a red background, use a red sheet.
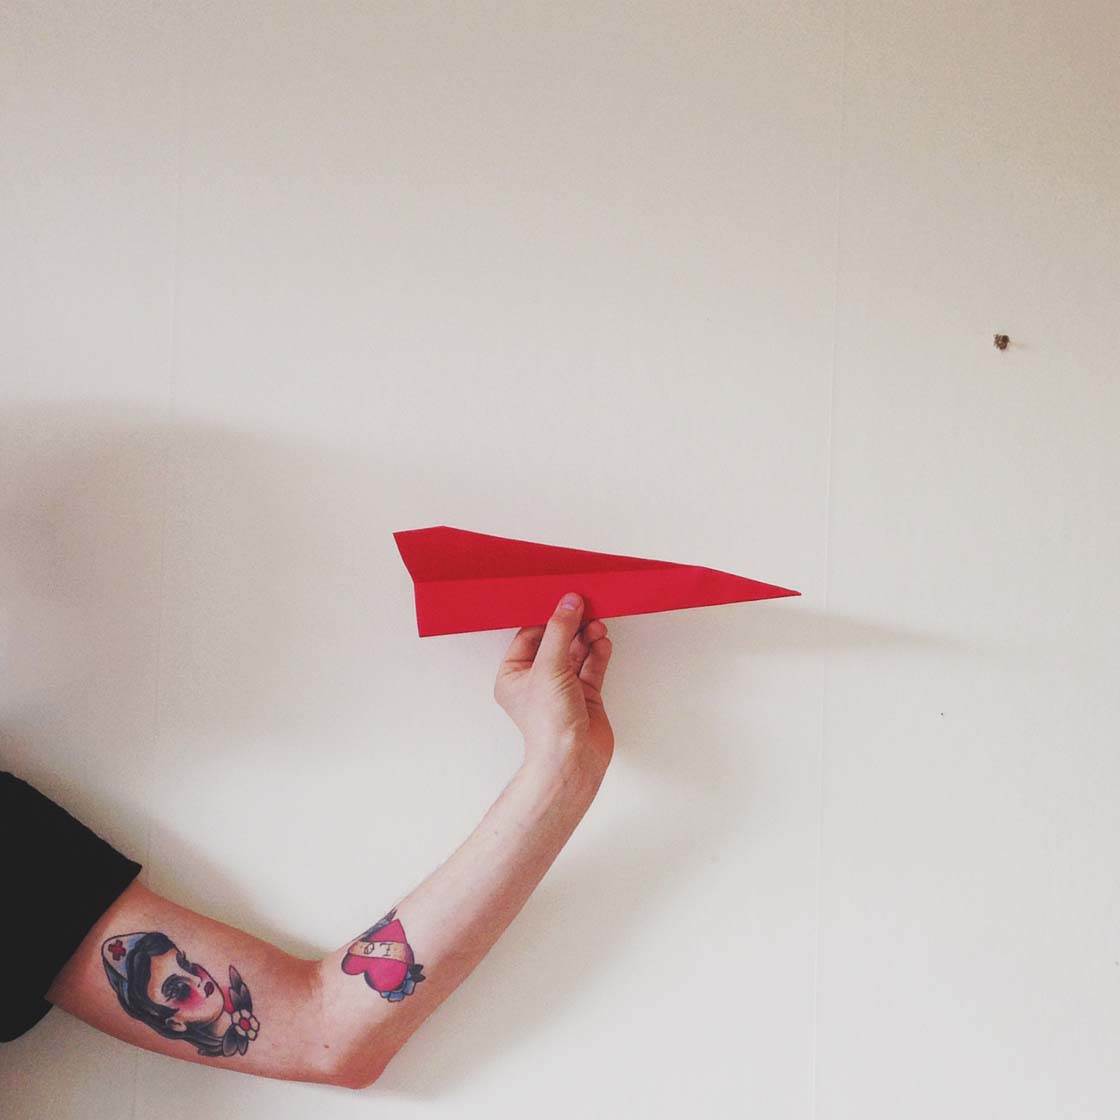
When you use one of above mentioned spaces as a background, you won’t have to look for an angle where the distractions in the background aren’t visible, because there won’t be any distractions.
4. Use The Sky As Negative Space
If you’re shooting outside, it can often be difficult to find a neutral background or a large expanse of empty space against which to photograph your subject. In these cases, a simple solution is to use the sky as your background.

If you can pick your subject up, simply hold it up against the sky and take the photo. If your subject can’t be moved, get down on the ground and shoot from a low angle, ensuring that you get only the sky behind your subject.

5. Shoot Contrasting Colors
I love to play with colors in photography, and finding two contrasting colors is a great way of creating stunning minimalist iPhone photos. You just need to ensure that the color of your subject contrasts with the color of the negative space, so that the subject is isolated against the background.

This technique is an easy way to strengthen your intended point of interest. All you have to do is decide what you want to shoot and which colors you want in the image. This pink flower stands out really well against the vivid blue sky, creating a striking and vibrant minimalist image.

As well as using vivid colored backgrounds, try using a plain black background. Whatever props you use, I guarantee that they will stand out as long as the background consists of negative space that’s a contrasting color.
6. Include Only Part Of Your Subject
For interesting minimalist photos that create a sense of mystery and intrigue, you might like to experiment with only including a small part of your subject in the frame. The more negative space you include, and the less you see of the positive space, the greater the mystery.

I love to use this technique when photographing people. Just including their arm and hand in the frame is a simple way of creating a minimal composition with an air of mystery. Who is this person? What are they doing? Why are they there?
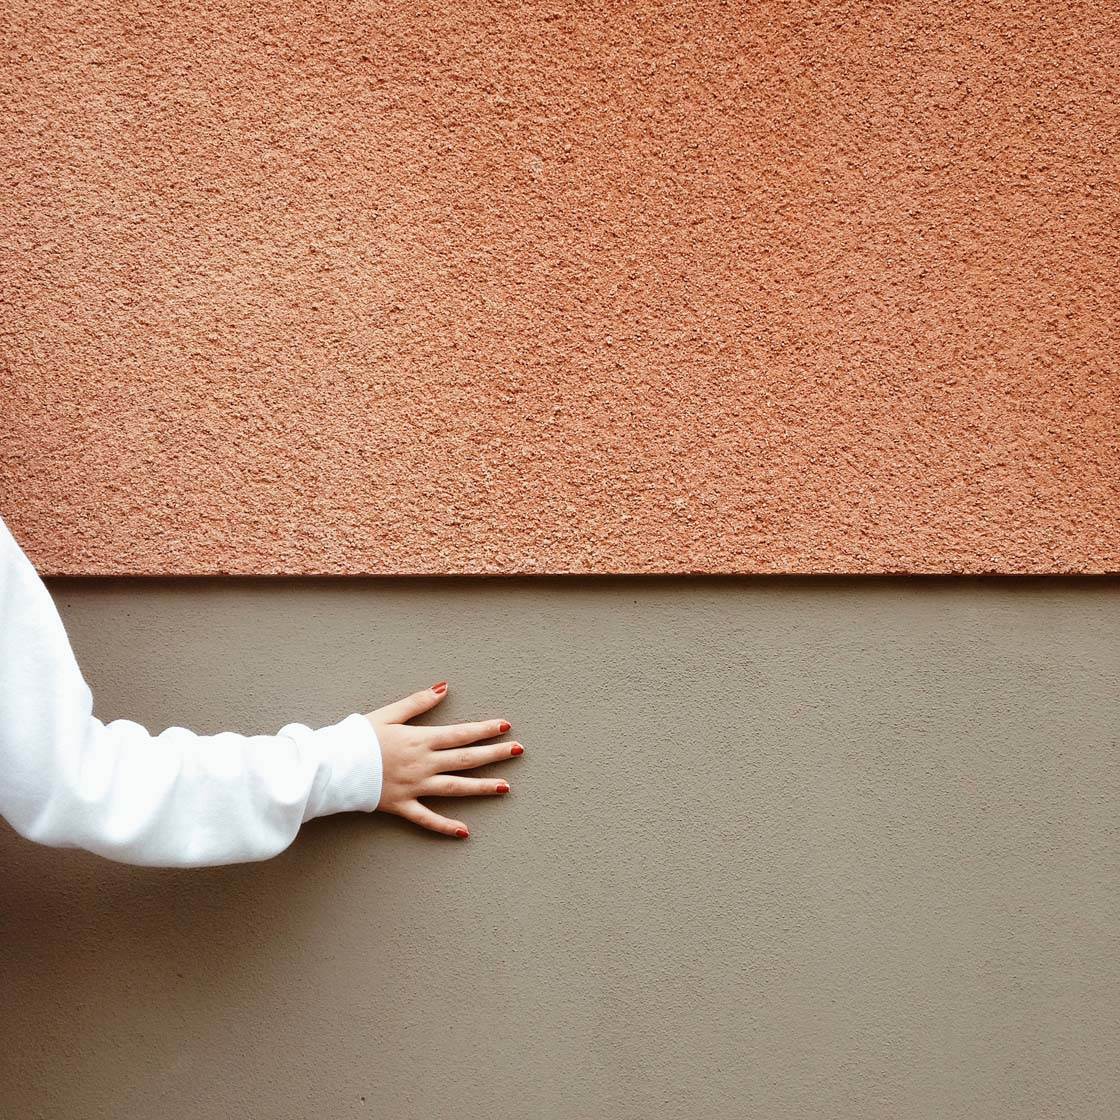
Just make sure you have a plain background such as a wall, field or sky behind them. You could also use this technique with larger subjects when shooting from a distance.
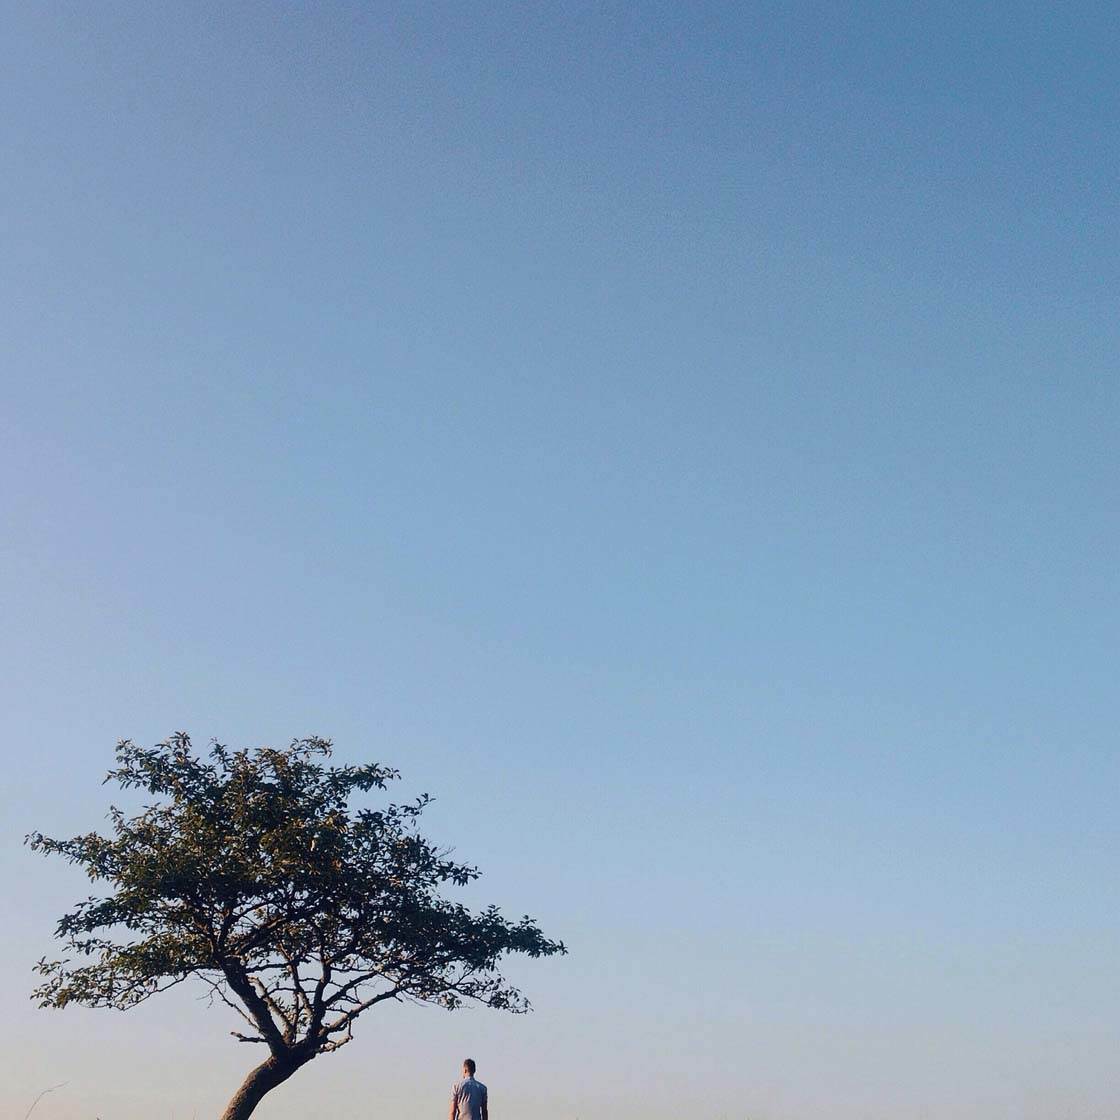
Here I chose to compose the photo by chopping off the bottom half of the person and tree, using mostly sky as negative space and not including any foreground in the photo. Without the details from the bottom of the scene, you lose any point of reference which creates a sense of mystery in the photo.
7. Create Silhouettes
If you shoot an object against a bright sky, you can create the most beautiful and mysterious silhouettes. Sunset and sunrise, when the sun is low in the sky, are usually the best times of day for creating silhouettes.
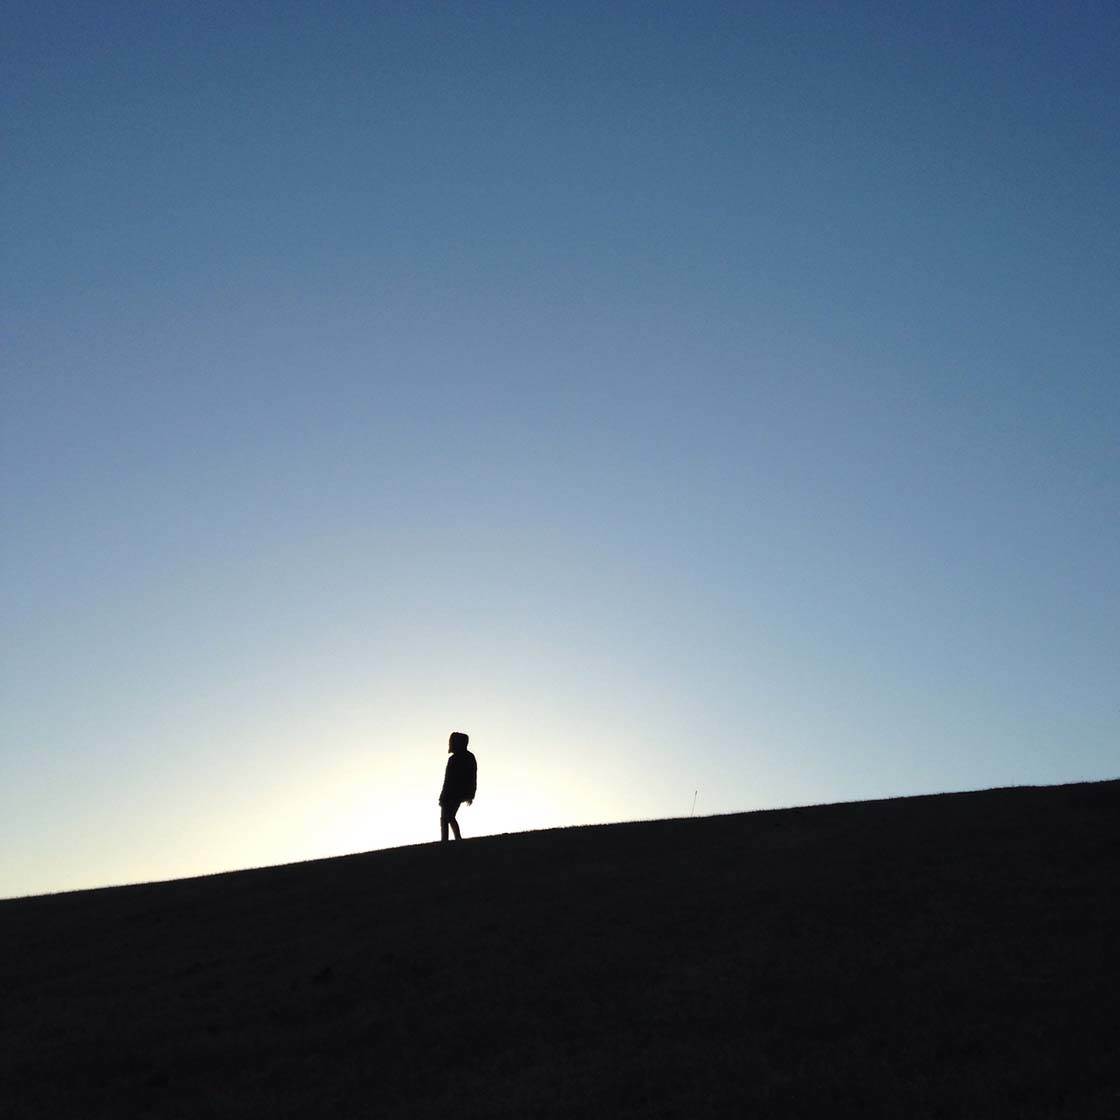
Position your subject so that only the sky is visible behind them, then focus on your object and adjust the exposure by swiping down on the screen. You need to make the image dark enough so that your subject appears as a black silhouette against the bright sky.
There are two easy ways to ensure you get only plain sky behind your subject. You can either find a hill or other elevated position to put your model on, and shoot from lower down so that you’re looking up at them. Or take the shot from a very low angle – you may need to lie on the ground to ensure you get only sky behind your subject.
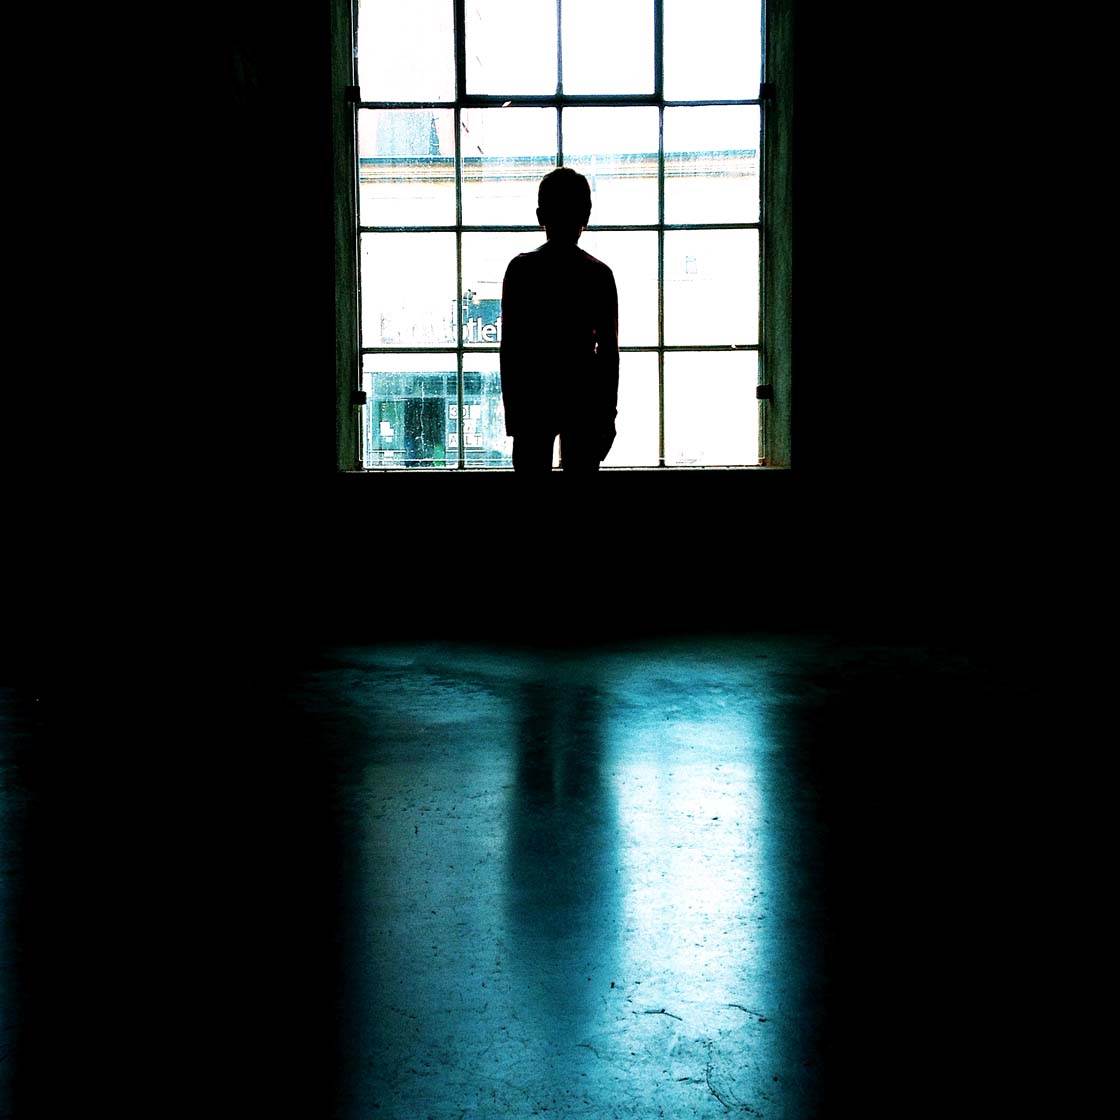
You can also create silhouettes indoors by shooting against strong light coming through a window. You could also use an artificial light source, such as a lamp, behind the subject. Just remember to reduce the exposure so that your subject and any other dark areas become completely black.
8. Photograph Lines & Patterns
Lines and patterns make great subjects for minimalist photography. As always, make sure you have a plain background to act as negative space within the image.
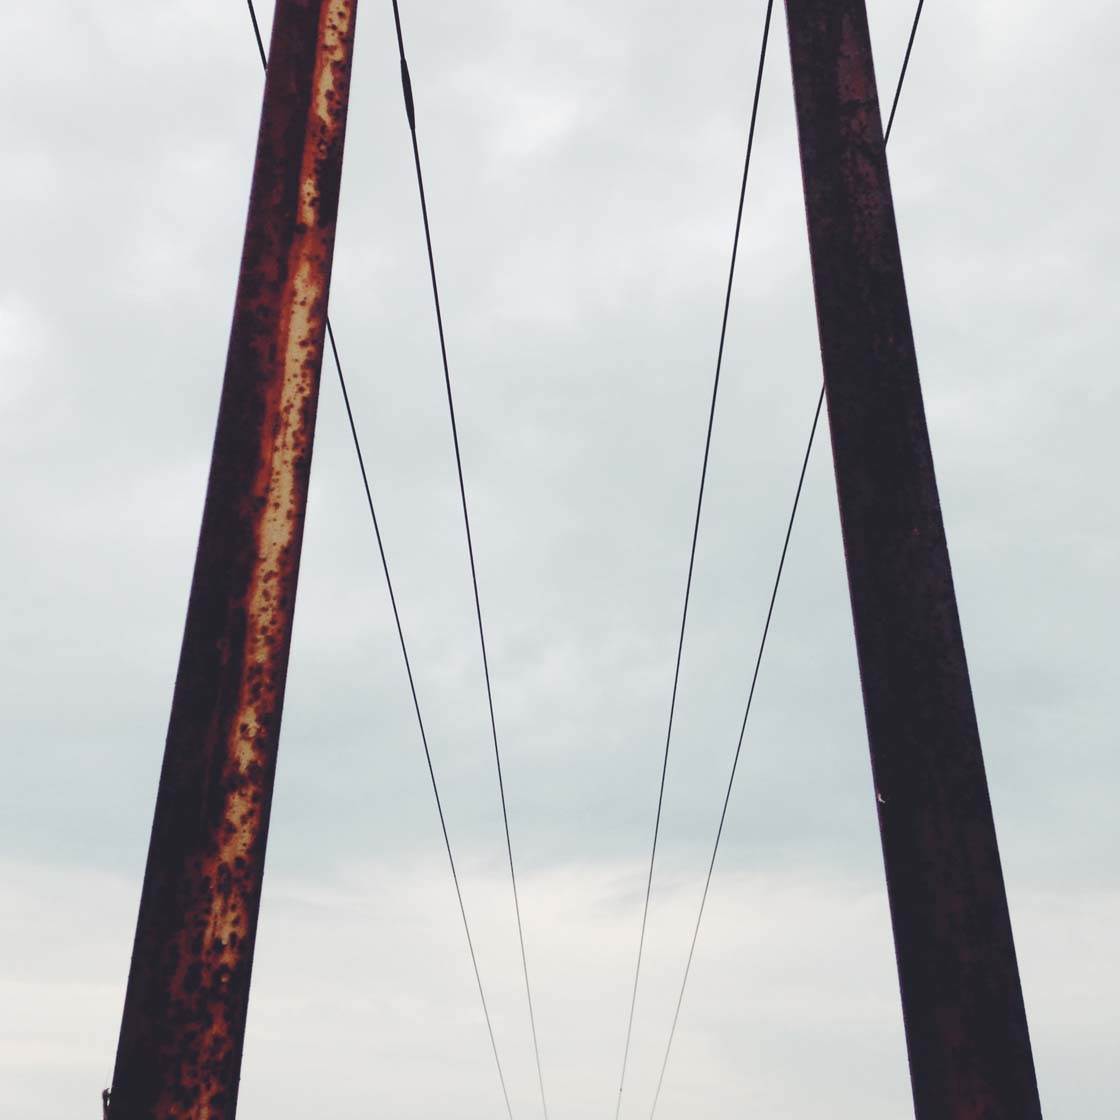
Photographing these lines against the sky creates a simple yet powerful image. The symmetrical composition helps to create a balanced image and the lines draw your eye into and around the scene.
Look out for interesting and geometric patterns as you can use these to create wonderful abstract and minimalist images.
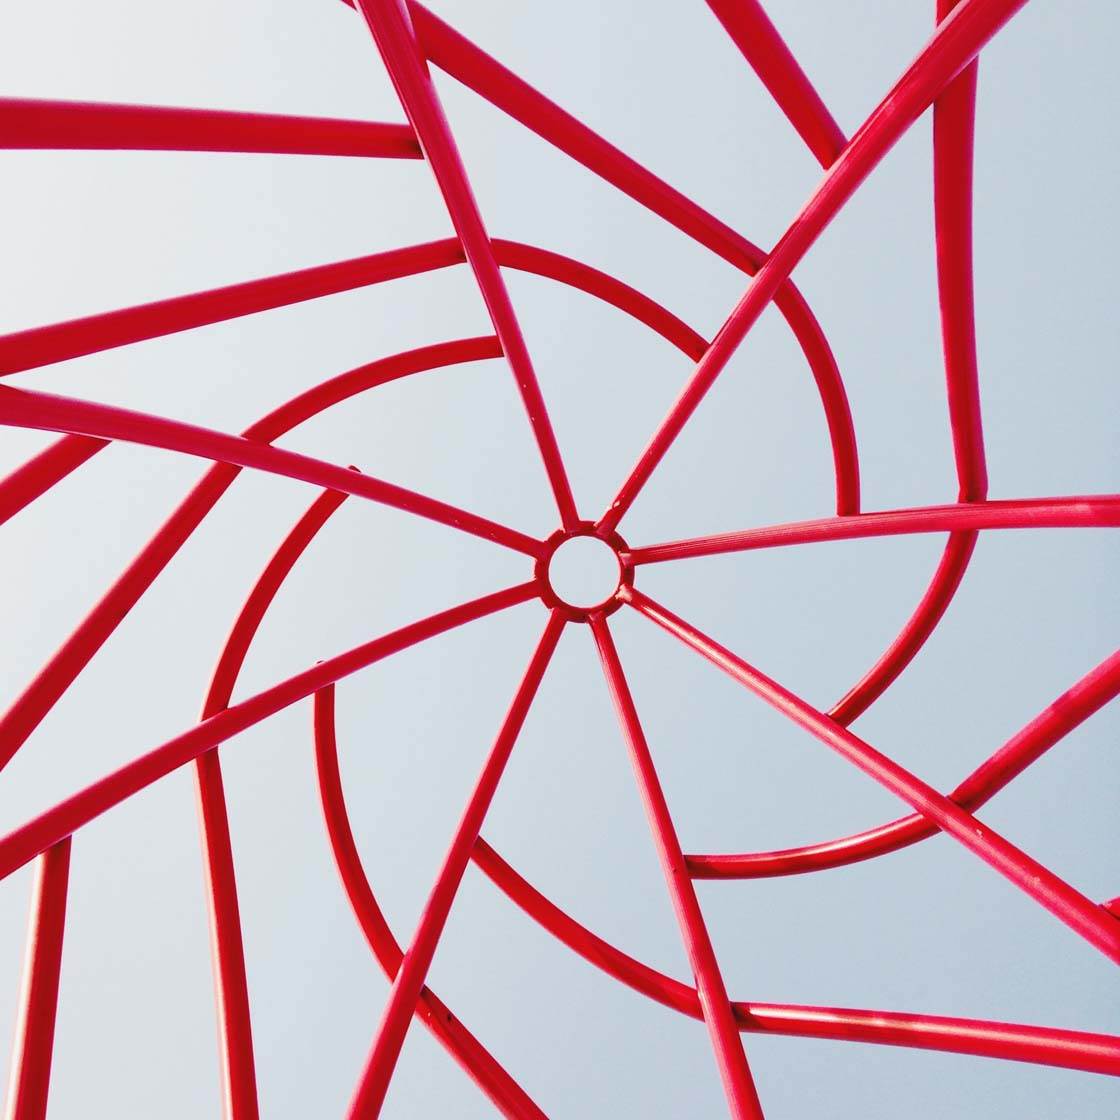
The vibrant red pattern in this image really stands out against the plain sky behind it. Filling the frame with your pattern is usually the best way to compose the shot in order to create maximum impact.
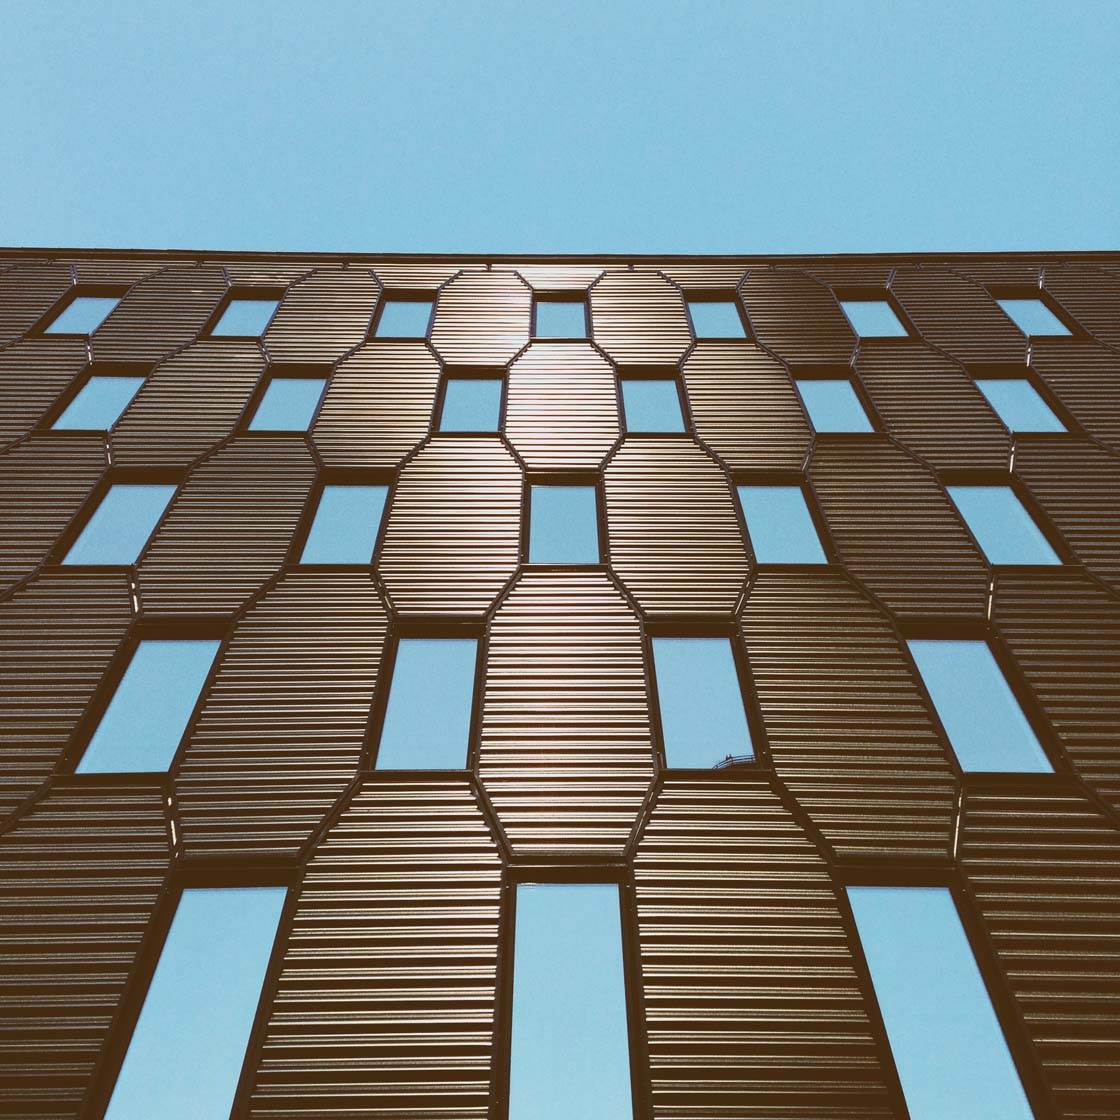
You’ll often find interesting patterns on building facades. Get up close to the building and then shoot a classic look-up shot like this with just plain sky above it.
9. Tell A Story Through Minimal Street Photography
You wouldn’t normally think of street photography as a good scenario for creating minimal compositions. Busy street scenes don’t lend themselves to minimalist photography for obvious reasons – distracting backgrounds, lack of a single subject to focus on, etc.
However, it’s certainly possible to find good locations for minimal street scenes, and when you do, you’ll be able to tell great stories using a single person in the frame. High vantage points are often the best option for this type of photography.
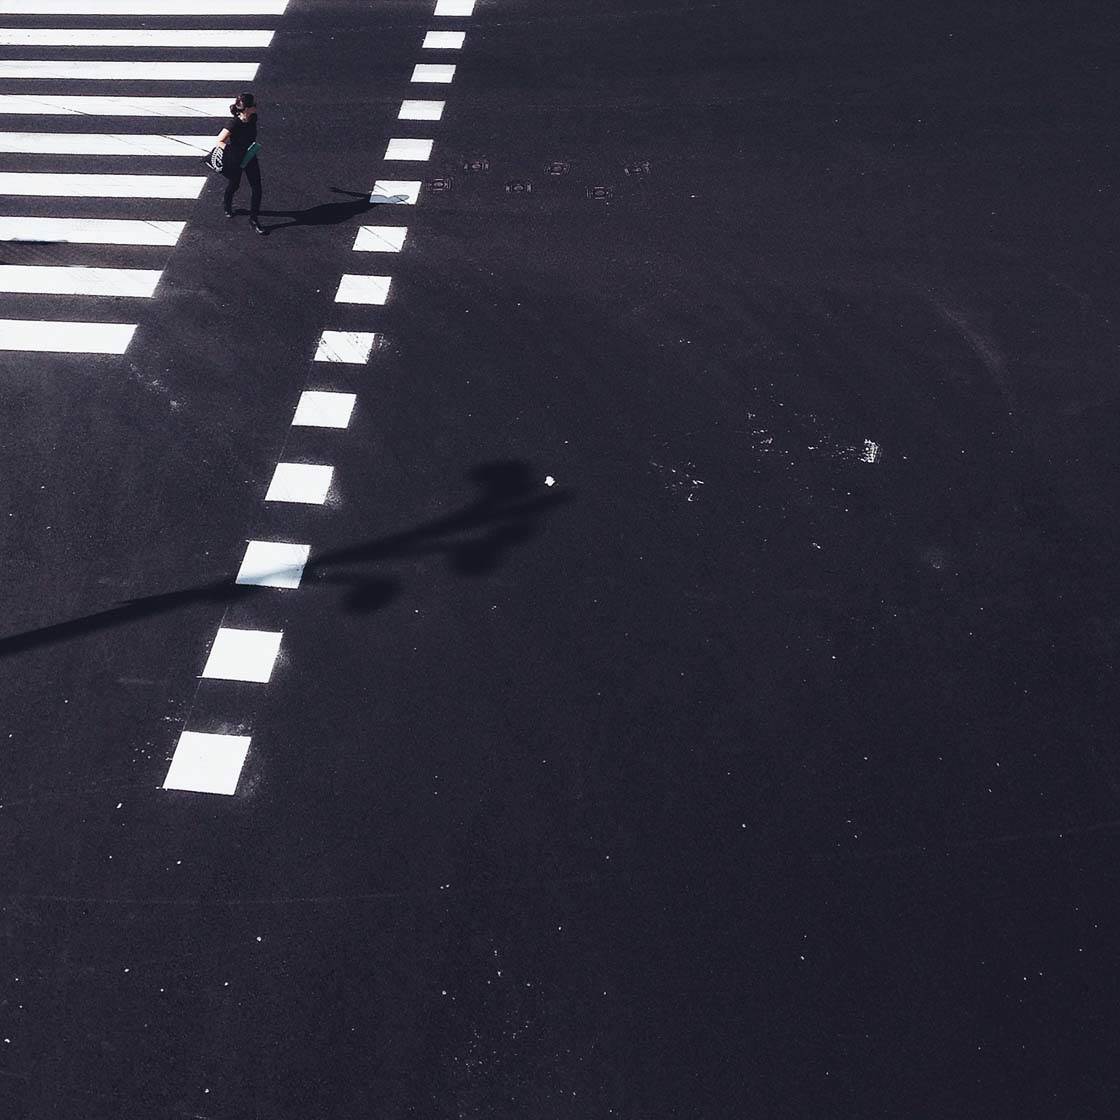
By looking down, you can exclude the busy background of a street scene, while just including a certain part of a road or street in the frame. Then you just need to wait for a person to enter your scene and snap the shot.
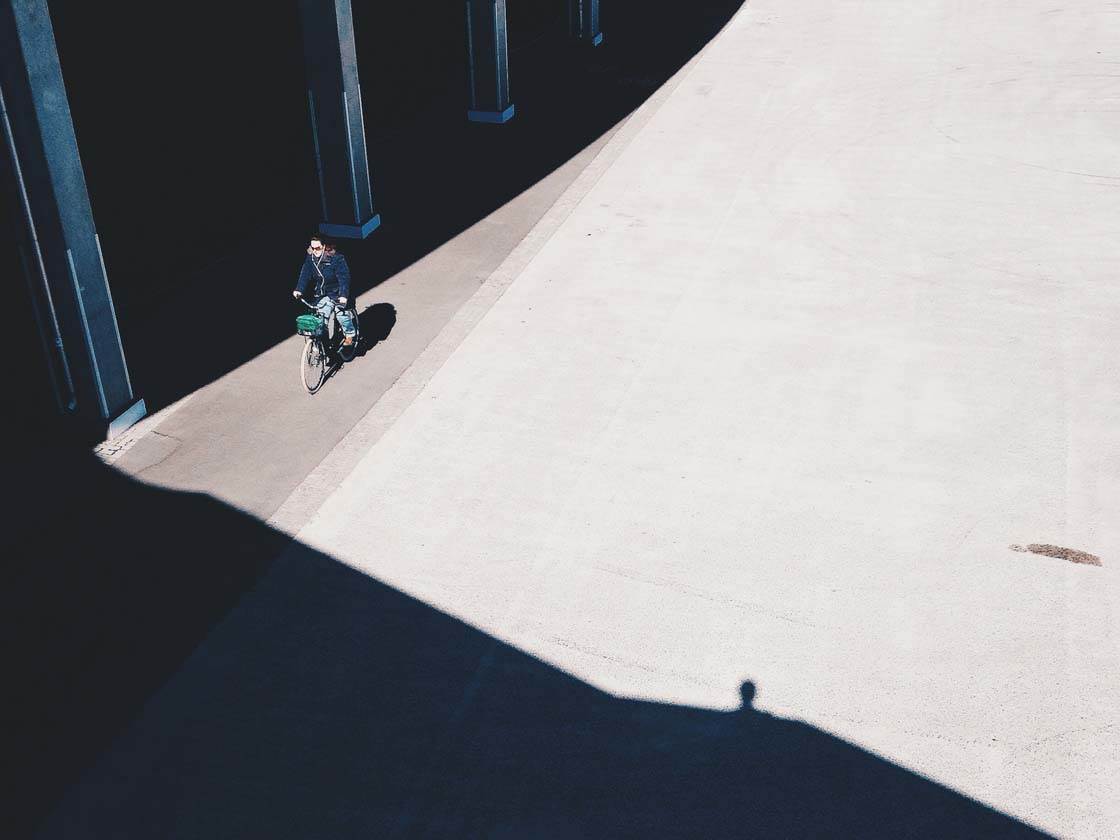
Look for areas with interesting contrast that will add to the composition, such as white markings on a road or shadows created by nearby objects. Shooting in harsh sunlight can be challenging, but it’s great for capturing strong shadows which can help create dark areas of negative space in your image.
Use burst mode to capture a sequence of shots as the person moves through the scene, then you can select the best shot from the series. To activate burst mode, simply hold down the shutter button as you shoot.
10. Use A Fifty-Fifty Composition
Rather than always using mostly negative space, you could also try experimenting with a fifty-fifty composition. Basically this means splitting your image in half, with 50% negative space and 50% positive space.

Giving the negative space and positive space an equal amount of room within the frame can create a simple and clean image that still contains a strong focus on your point of interest. You could apply this kind of composition to any object, but I like to use this method on fields and lakes.
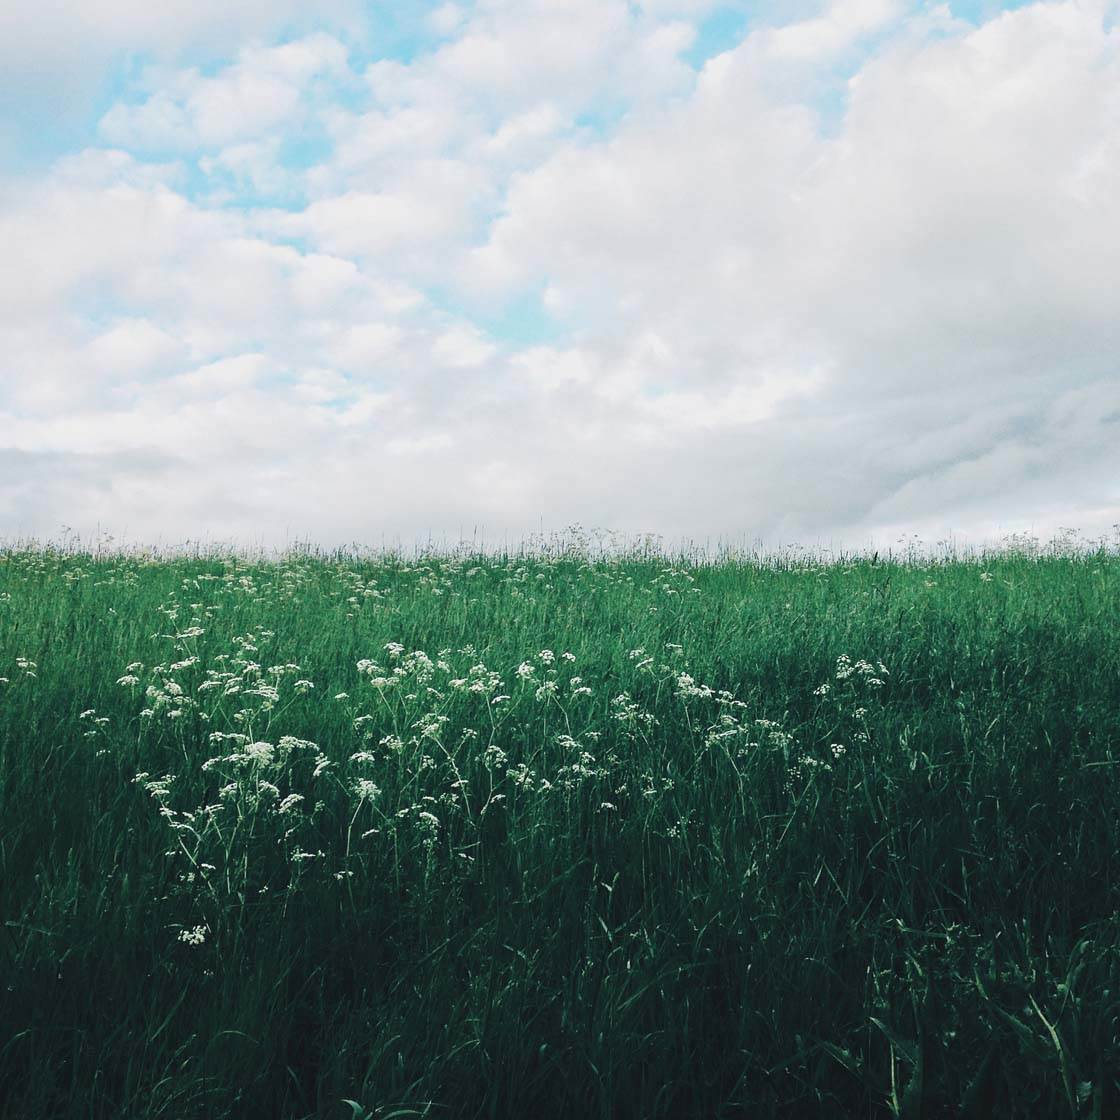
This goes against the rule of thirds which is a well used composition technique for positioning the horizon or subject off-centre. However, breaking this rule and placing the horizon across the middle of the frame in a minimal composition can create a very strong symmetrical image.
Don’t be afraid to break the rules and try new things. For an alternative take on this method, try flipping your picture vertically in post-processing to see how it looks upside down. You might get an interesting result!


Thanks for these great tips Calle – they’re so effective. Stunning images too! 🙂
Now these tips are just great! Thanks!
Really enjoyed this one. Please contribute more Carl
Glad you liked this article Nick. You can see all of Carl’s tutorials here: http://iphonephotographyschool.com/author/carl/
Enjoy 🙂