Most of the best landscape photography is taken in mist and fog, but a lot of people find it difficult to get good photos in this type of weather. However, with practice you can learn to take amazing, crisp shots in these low light conditions. In this tutorial, you’ll discover ten great tips to help you capture the stunning beauty of mist and fog with your iPhone.
1. Find The Fog
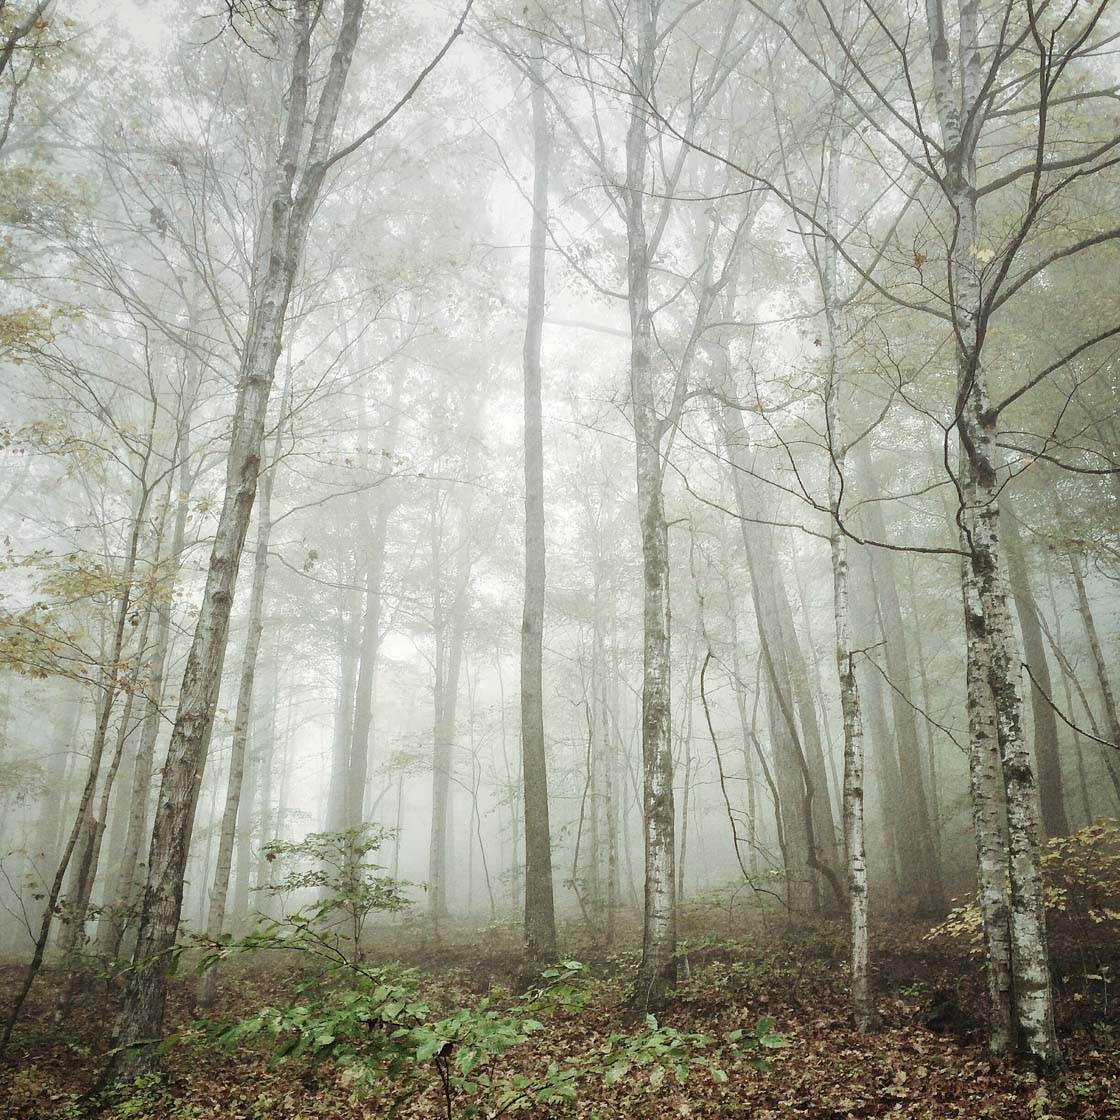
Of course, mist and fog aren’t always present, so working out where and when you can find it is the starting point for this kind of photography. Your best option is to check the weather forecast, but you can also go out and explore your area to find where and when the fog occurs. It’s commonly known as chasing fog.
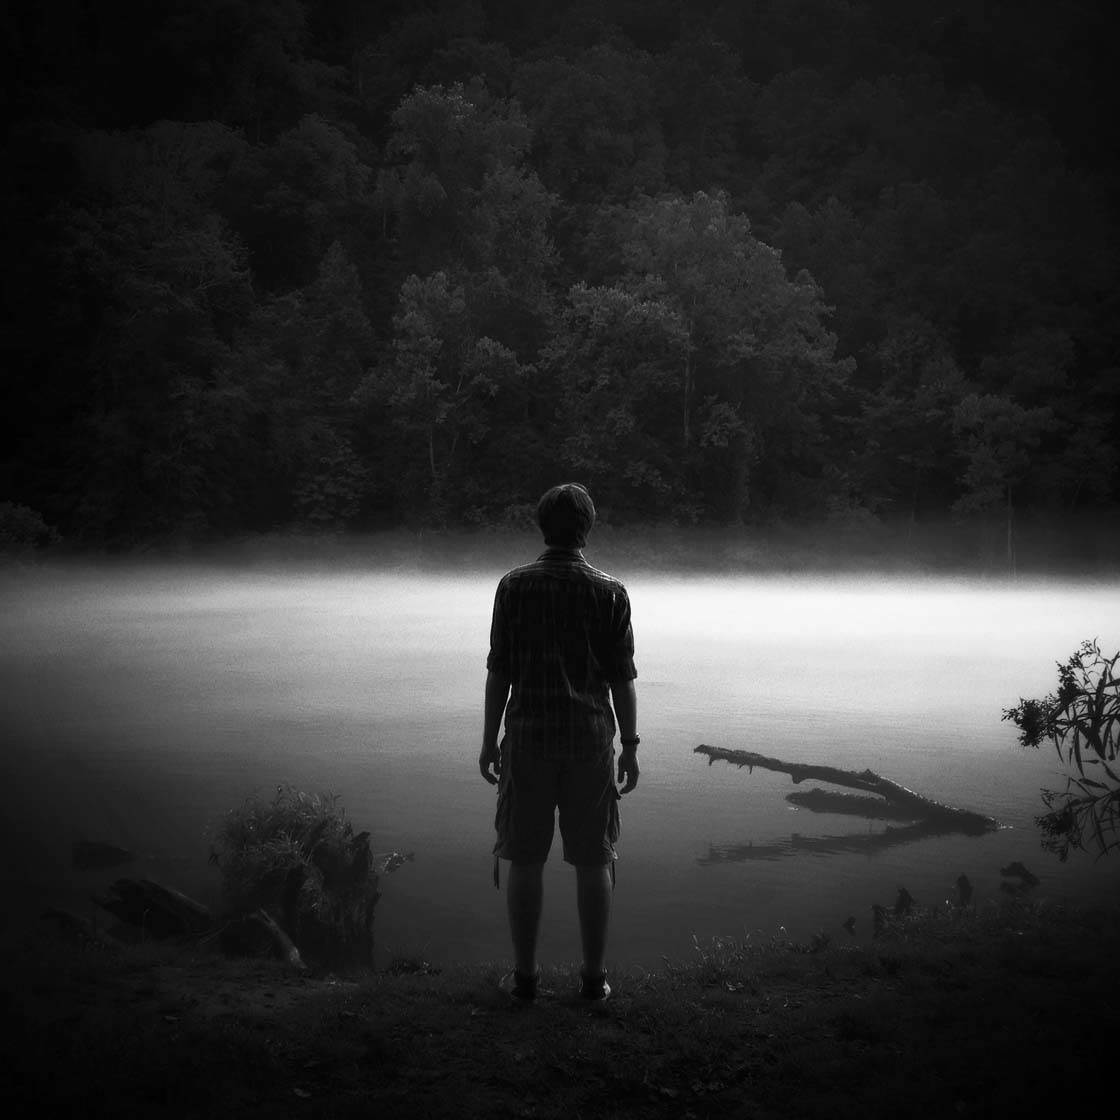
I live in the southern region of the United States near a large body of water and a river. These are great places to find fog, but there’s also a beautiful valley nearby that at times can be filled with the most enchanting mist. Forested areas are also great places that the mist creeps into.
The best time of day to take photos of fog is usually very early in the morning before sunrise and sometimes later in the evening hours after sunset. You need to make the effort to go out early in the morning for the best chances of finding fog.
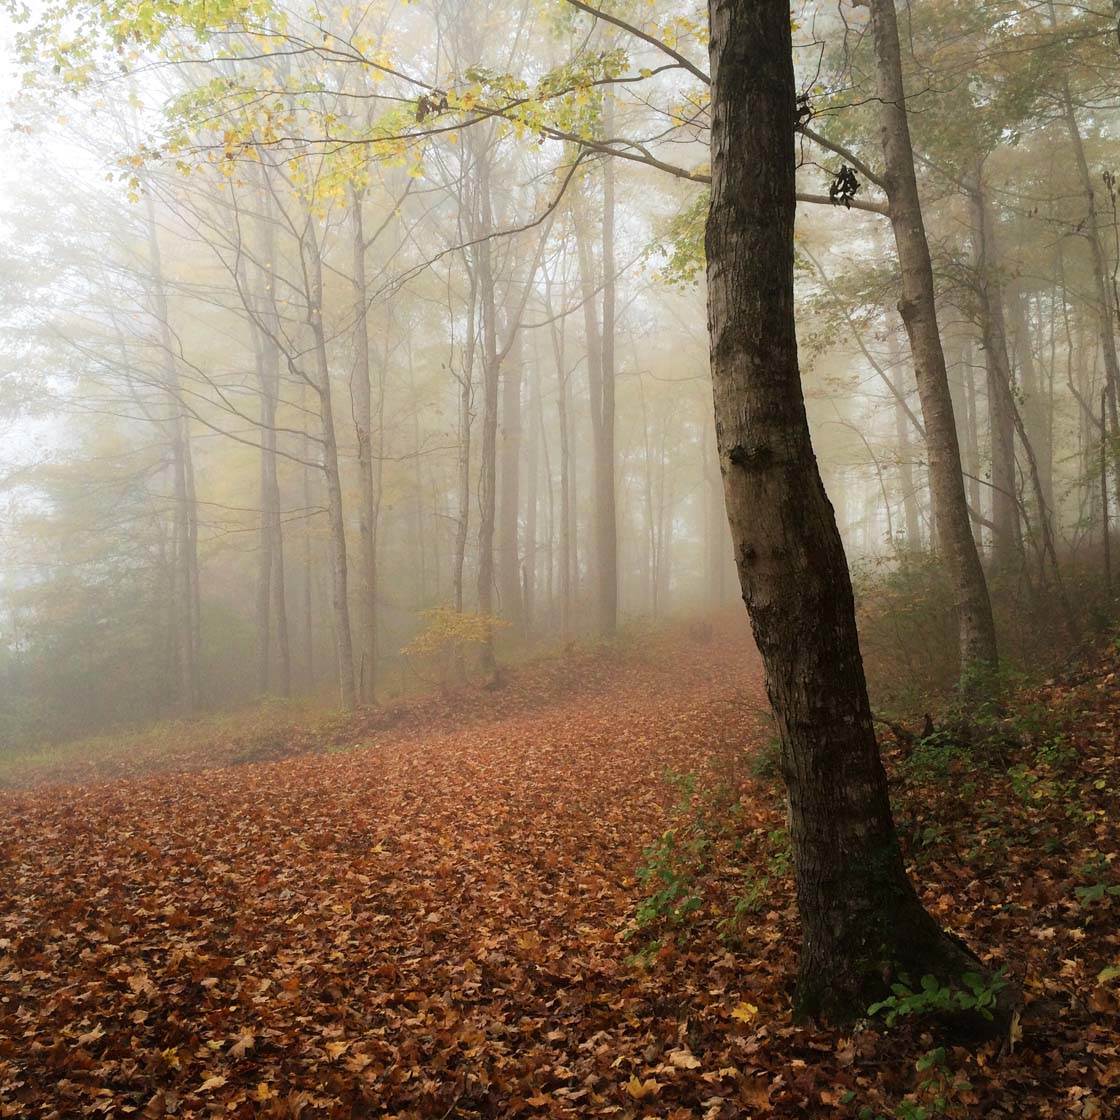
I find it so rewarding to wake up early, find my favorite places filled with the beauty and mystical charm that fog creates, and capture a stunning photo. You have to be ready to go when the time is right. The fog doesn’t wait for you.
If you don’t live in a region that has fog, there are apps that can give your photo a misty or foggy look. We’ll take a look at this option at the end of the article.
2. Keep The Camera Steady
The most important thing to remember when shooting with your iPhone is to keep very still to avoid any camera shake. This is especially important when shooting in fog as the low light conditions will cause your camera to use a slower shutter speed, resulting in blurry photos if there’s any movement in the iPhone.

To help avoid any blurring, keep your elbows close to your side to steady your device and hold your breath the moment you release the shutter to get a crisp shot. Avoid using the volume buttons on the side of the iPhone to release the shutter as this often cases the phone to move.
It’s better to use the on-screen shutter release button – just remember to tap it gently to avoid shaking the phone. It’s also handy since you’re already using your finger on the screen to adjust the focus and exposure. You could also try using the volume button on the iPhone headphones, meaning that you don’t have to tap the screen at all.
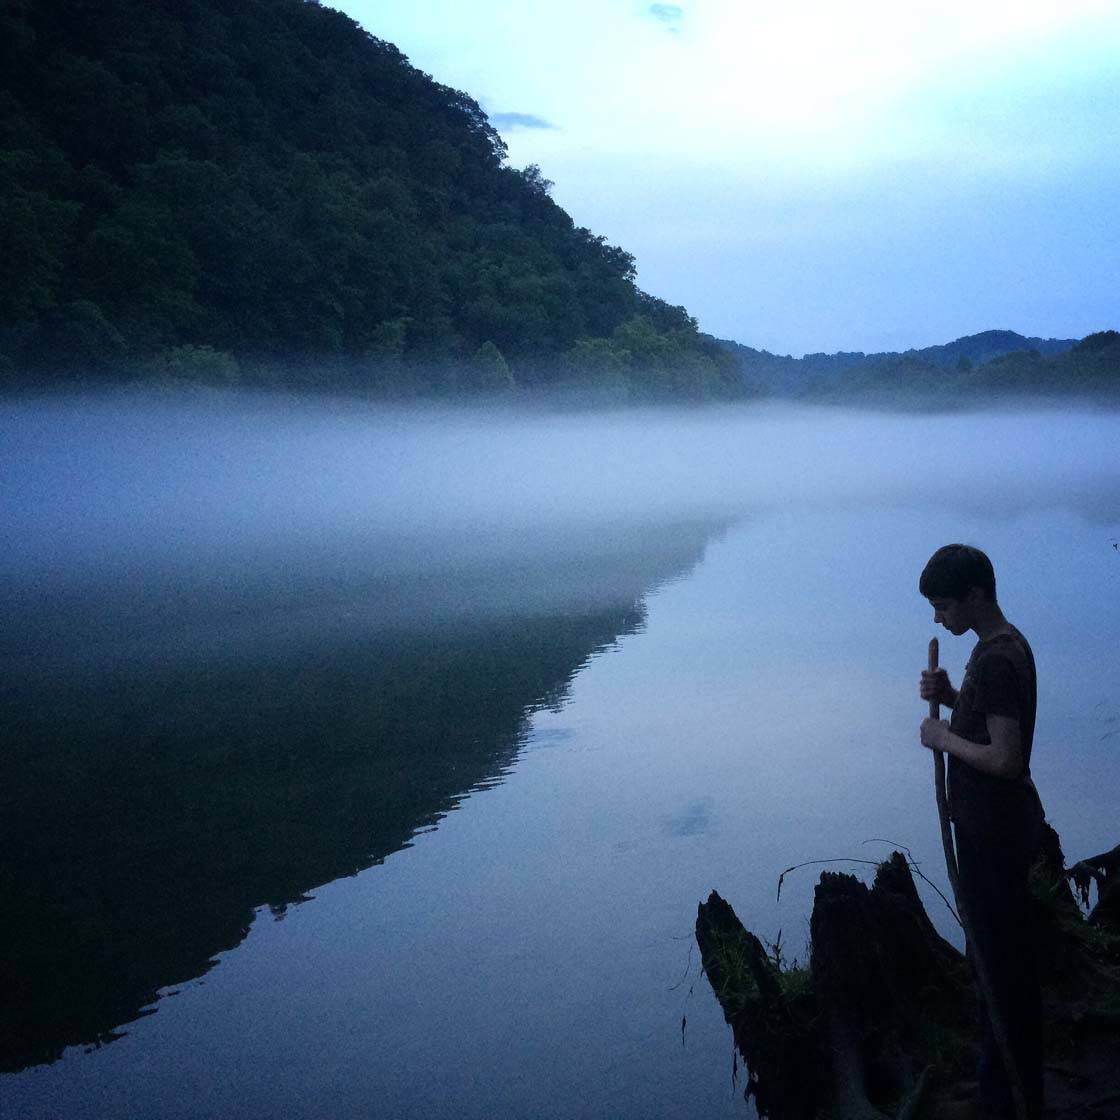
If you’re still getting camera shake, even when using the techniques above, you’ll need to use a tripod to keep your iPhone steady. I use the GorillaPod tripod, but there are other tripods for iPhones available.
For those who have the iPhone 6 Plus you won’t need to worry too much about being as steady because it’s equipped with optical image stabilization, but a tripod would still be useful.
3. Adjust Exposure Manually
Mist and fog can trick the automatic exposure of your iPhone camera, so in most cases you’ll need to adjust the exposure manually. Exposure simply refers to how dark or bright the picture is.
It’s very important to get exposure right when taking a photo. Yes, you can tweak exposure in editing apps after you’ve taken the photo, but if the image is too over-exposed or under-exposed you won’t be able to rescue it in post-processing without ruining the quality of the image.
Once you’ve tapped the screen to lock in the focus on your main subject, just swipe up or down on the screen to adjust the right amount of exposure. Swiping up will make the image brighter, and swiping down will make it darker.
You may want to take several shots at different exposures and then choose the best one later. Getting exposure right will take some practice, but it’s worth the effort in order to get fabulous foggy shots.
4. Include A Focal Point
Finding beautiful fog or rising mist for photography is one thing, but being able to find a subject or focal point is just as important. Without a main subject your picture isn’t likely to hold the interest of the viewer for long.
I enjoy photographing my family in foggy settings, searching the lake and river for wildlife, and noticing trees, foliage or flowers so that they can be isolated by the fog for a focal point.
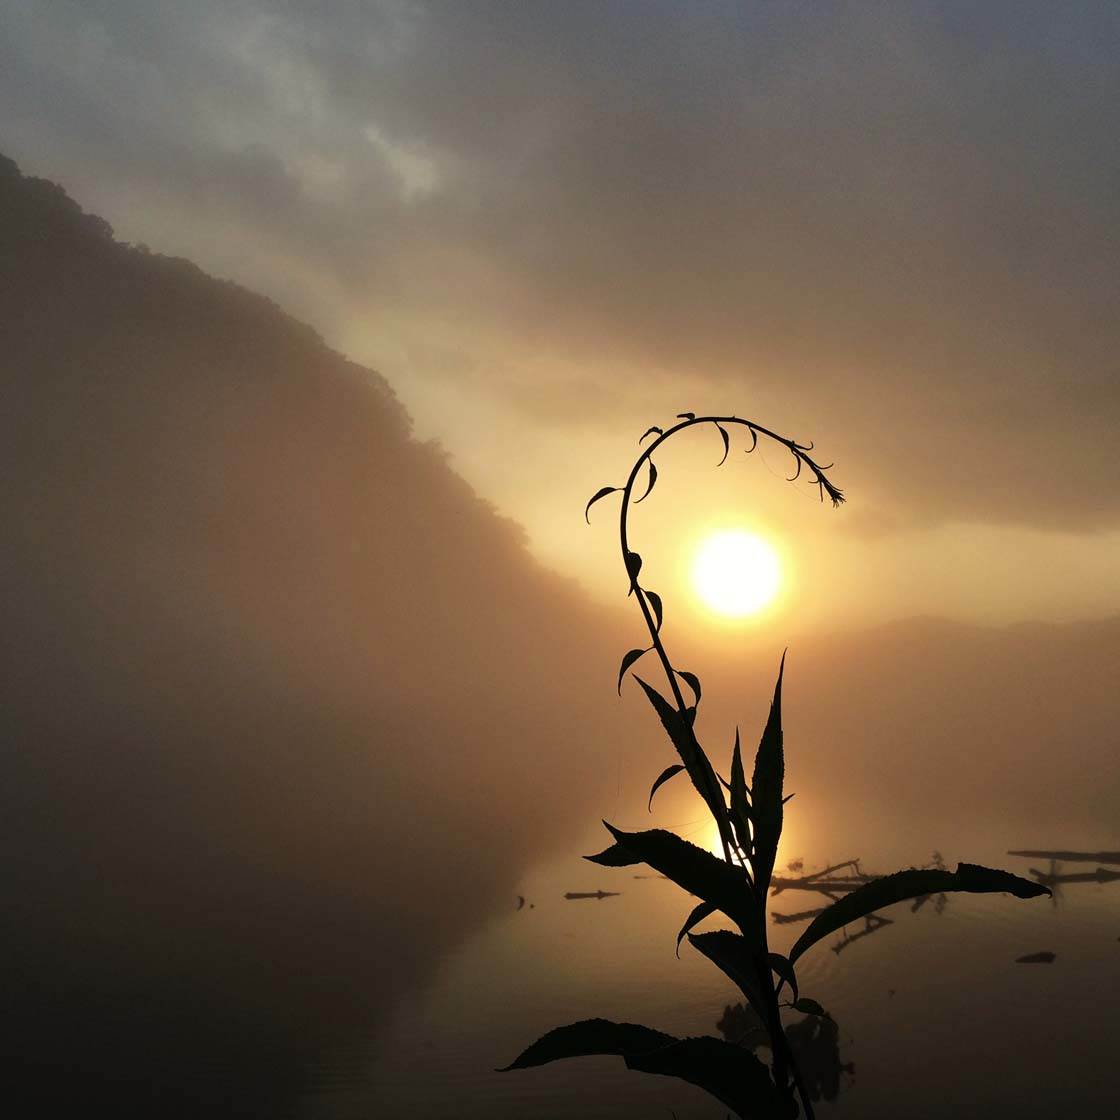
Be patient. Be observant. Watch how the light of the morning or evening sun can be used to further enhance your subject. Remember that having a focal point or strong subject makes your photos much more interesting and memorable.
5. Make Use Of Negative Space
Since I live in an area absolutely filled with trees, it’s always a challenge to discover ways of shooting photos with lots of negative space. Negative space means that there’s a large amount of empty space or plain background, with the subject (positive space) placed somewhere within that area to create a truly amazing shot.
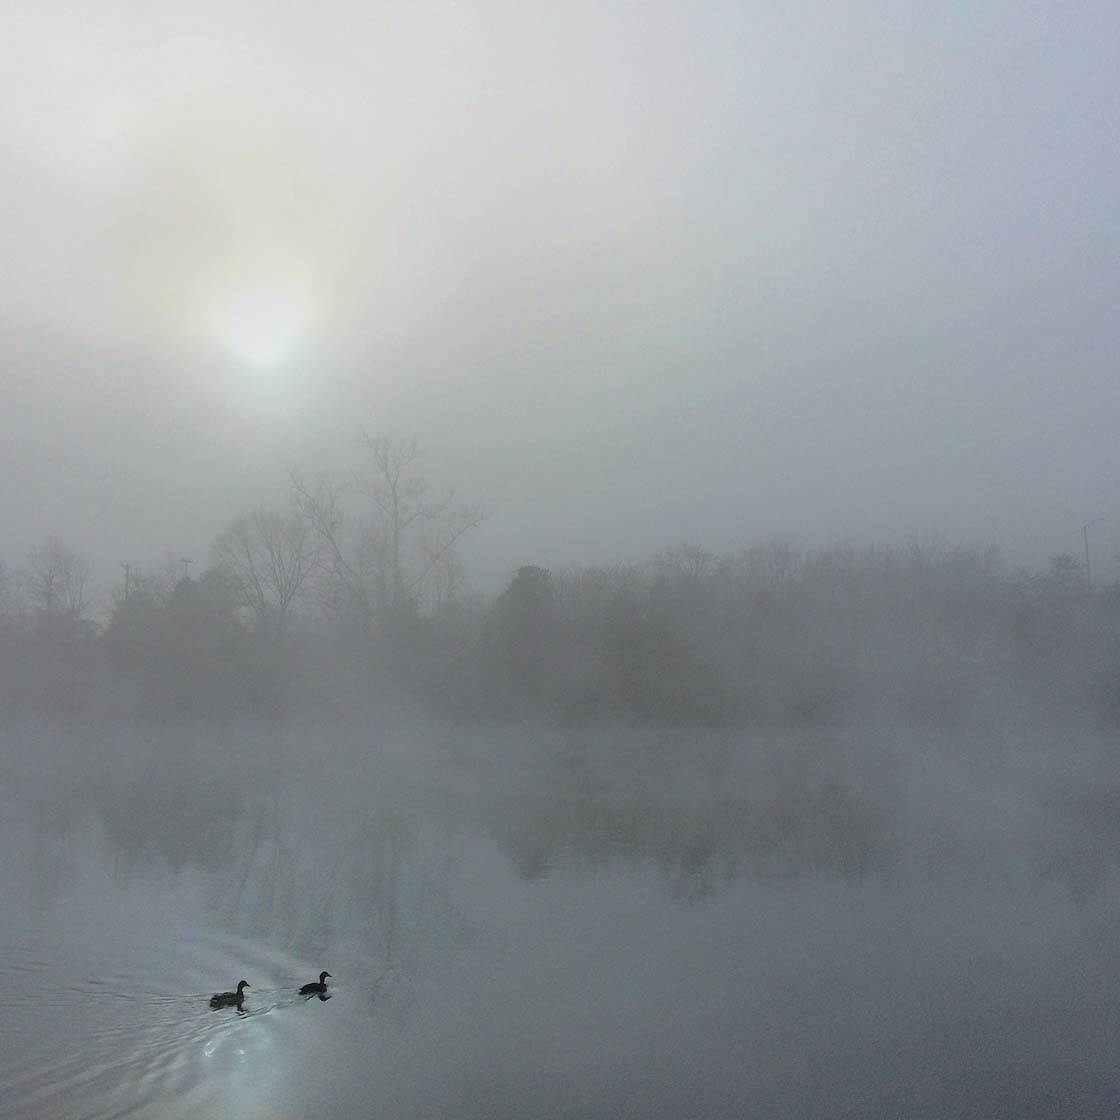
Fog is perfect for creating a wonderful backdrop of negative space to isolate the subject. This type of photo is always interesting to look at, not only because it’s less cluttered and messy, but also clean and easy on the eyes.

The negative space allows your eyes to have a place to rest and makes the subject really stand out. Practice placing your subject in a way that’s pleasing to the eye. Don’t be afraid of using too much negative space. These types of photos can evoke feelings of peacefulness and calmness.
6. Create A Sense Of Depth
Fog is perfect for creating layers and depth in photos, which is extremely important in landscape photography which can often appear flat and lacking in depth. In fog, objects close to you will appear darker, and everything farther away just seems to disappear into the fog.
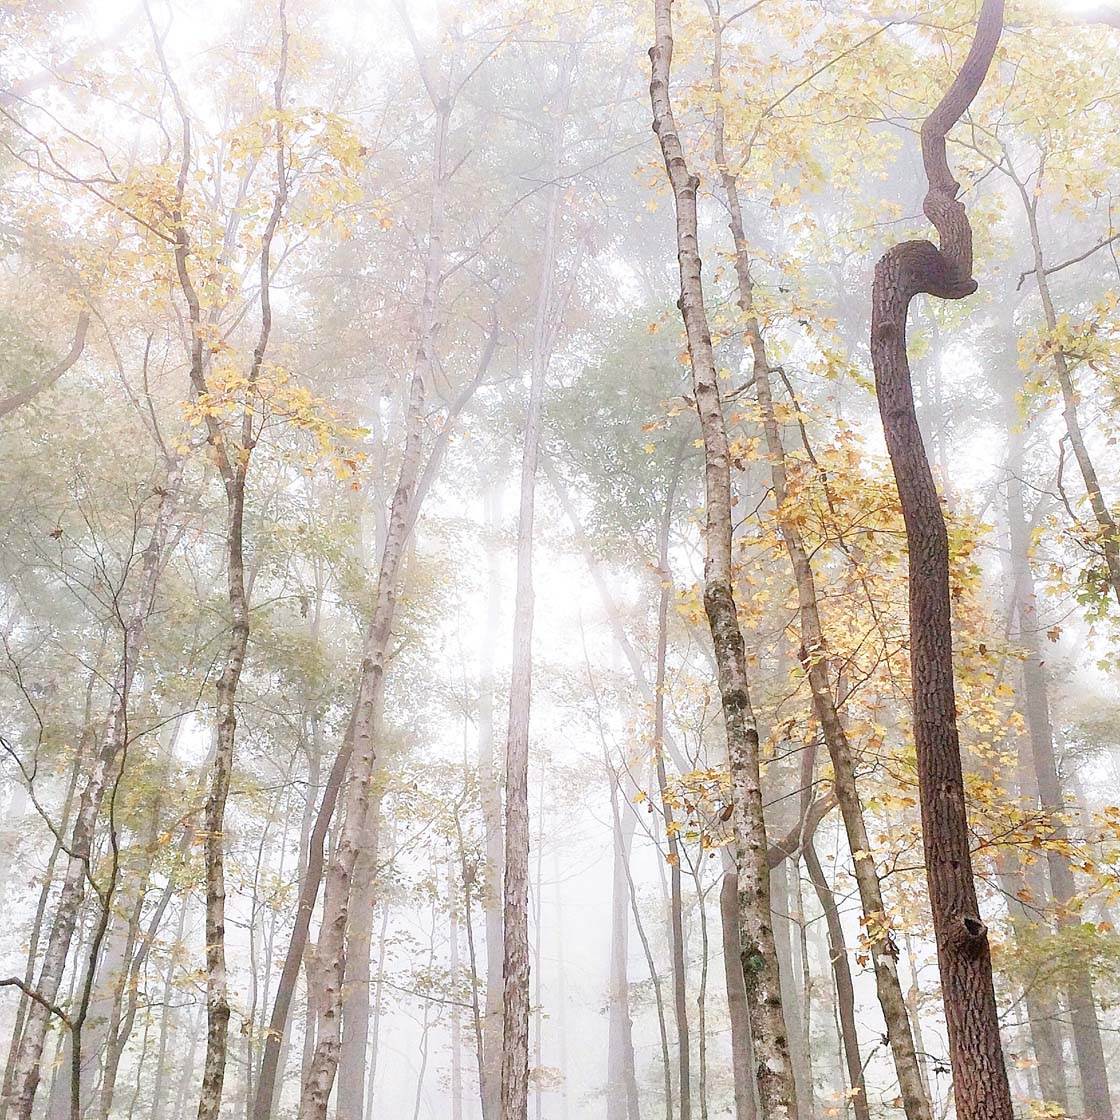
With that in mind, find objects such as rocks, trees, animals, people or buildings that are positioned at different distances from the camera. This is a great way to create that depth that you’re looking for and make your image more interesting.
Be aware of where your subject is in relationship to the overlapping layers of light and dark. Make sure your subject stands out or is emphasized so that it doesn’t get lost within the layers.

I also like to use the lighter layers as leading lines to direct the viewer’s attention to the subject. Again, it’s a case of being observant of everything around you.
7. Create Stunning Silhouettes
My favorite type of misty photo is one that includes a silhouette of family members, interesting foliage, trees or animals. A silhouette photo is when your subject appears as a dark shape or outline against the brighter background.
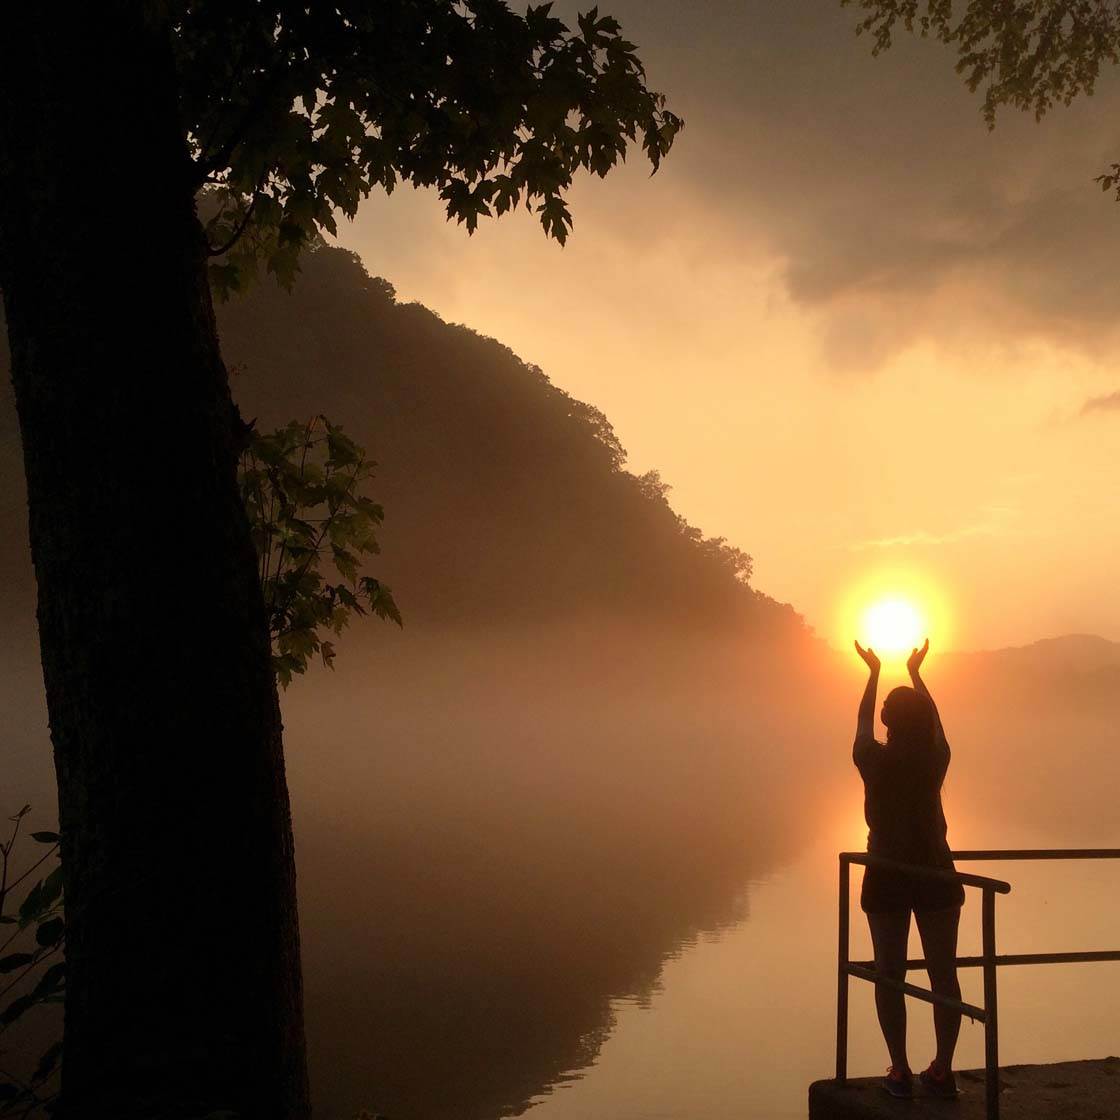
Silhouettes are magical because a lot about the photo is left to the imagination of the viewer. These kinds of photos are always very dramatic and mystical.
To create a silhouette image, place the subject in front of any light source, so that you’re shooting into the light. Since the sun is often low in the sky or non-existent when shooting foggy scenes, place the subject with the brightest part of the scene behind them.
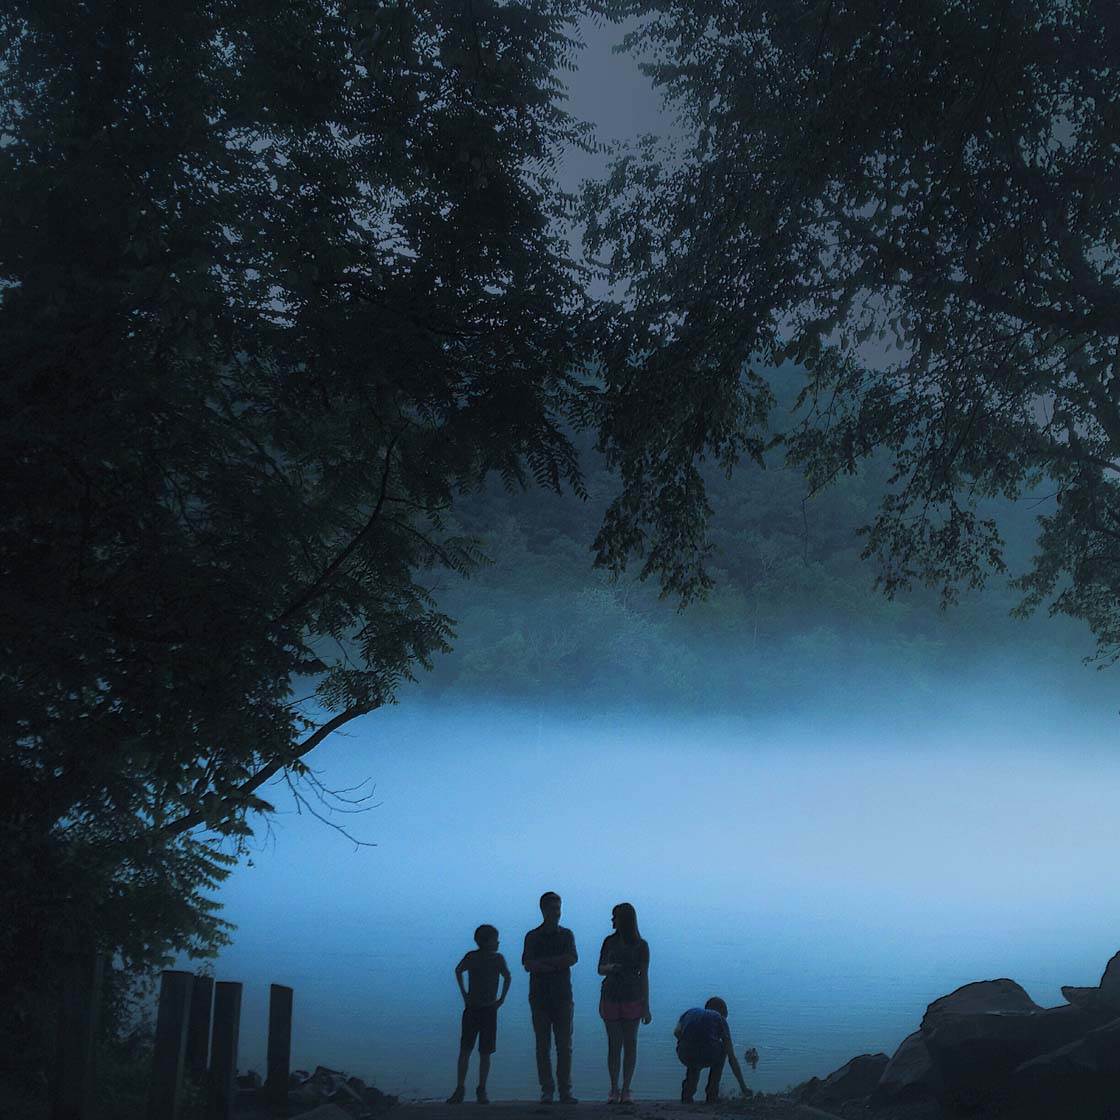
Tap the screen to set the focus and then use your manual exposure control by swiping your finger down the screen to under-expose the shot. This action makes the subject very dark and often black, which is what you’re aiming for with a silhouette. Just practice for great results.
8. Look For Foggy Reflections
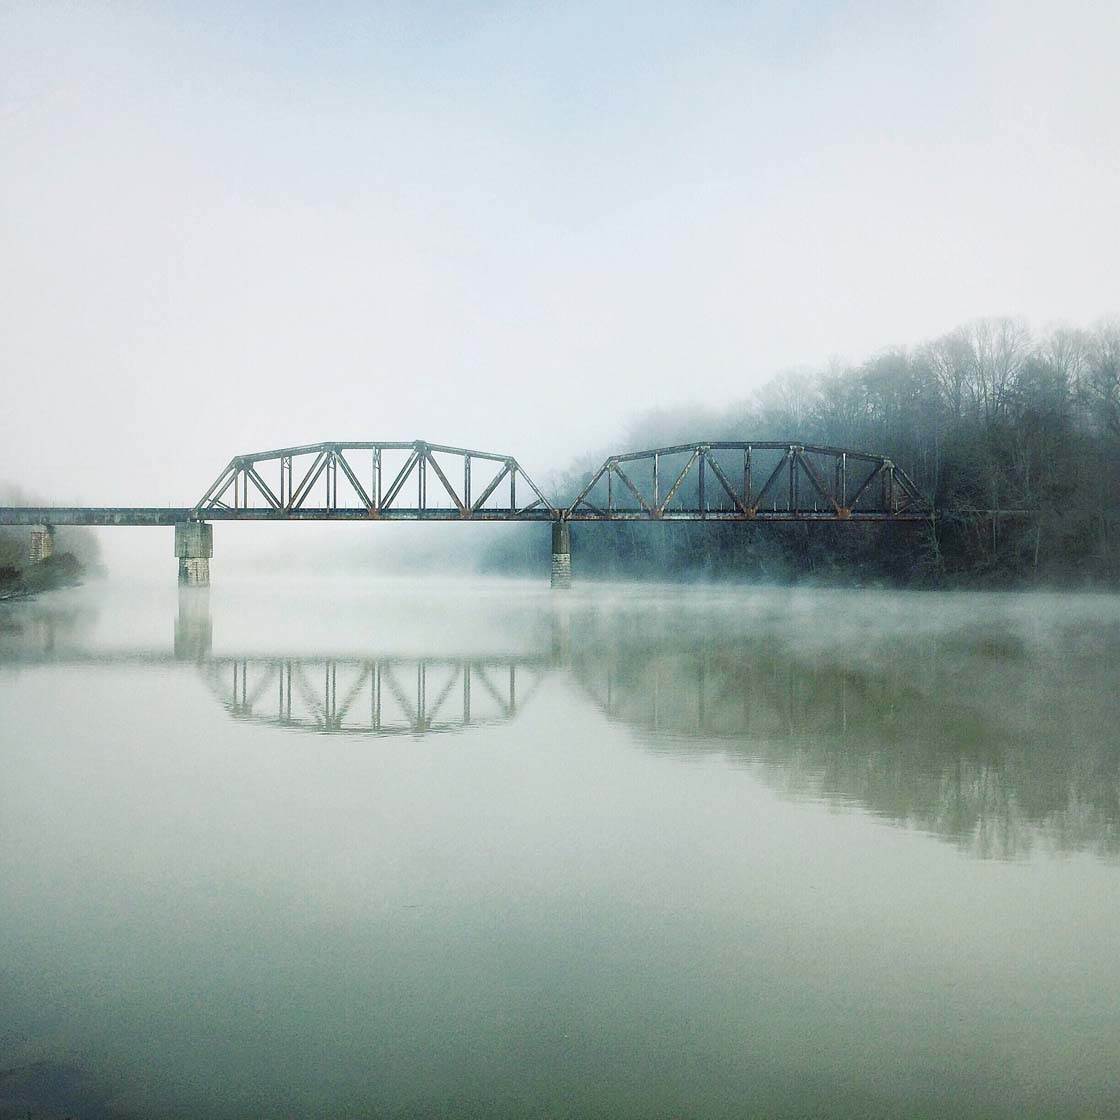
Another wonderful way to feature fog is to capture reflections in water. Including a reflection of the foggy or misty landscape in your photo can make it even more captivating and appealing. The patterns and forms created by the reflection can be quite stunning, especially if you create a symmetrical composition.
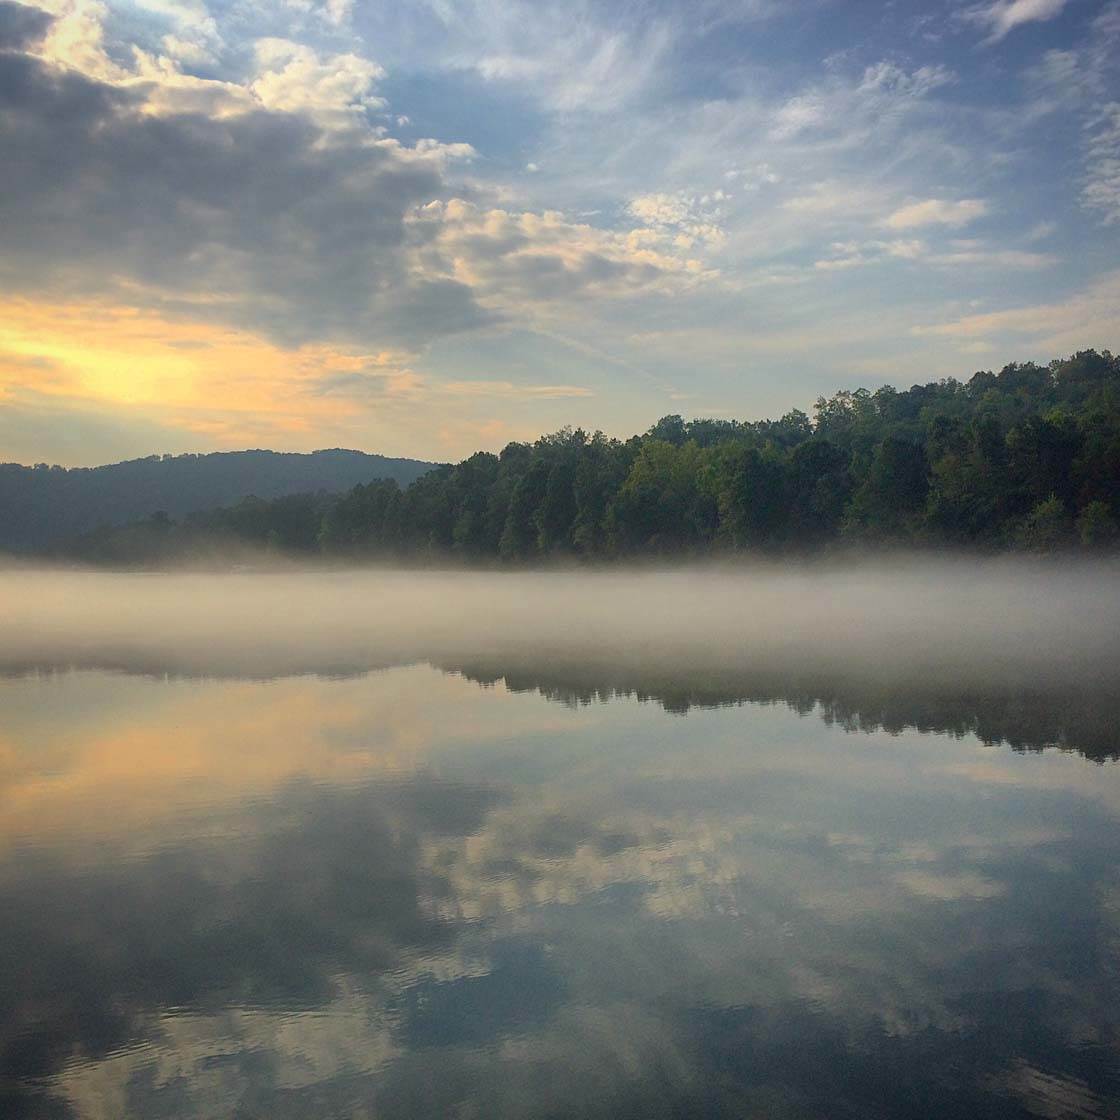
To create a symmetrical reflection photo, make sure you include all of the landscape above and below in the reflection. Place the line of symmetry (where the water meets land) across the center of the frame for a perfectly symmetrical image. You may need to shoot from very low to the ground in order to include all of your subject in the reflection.
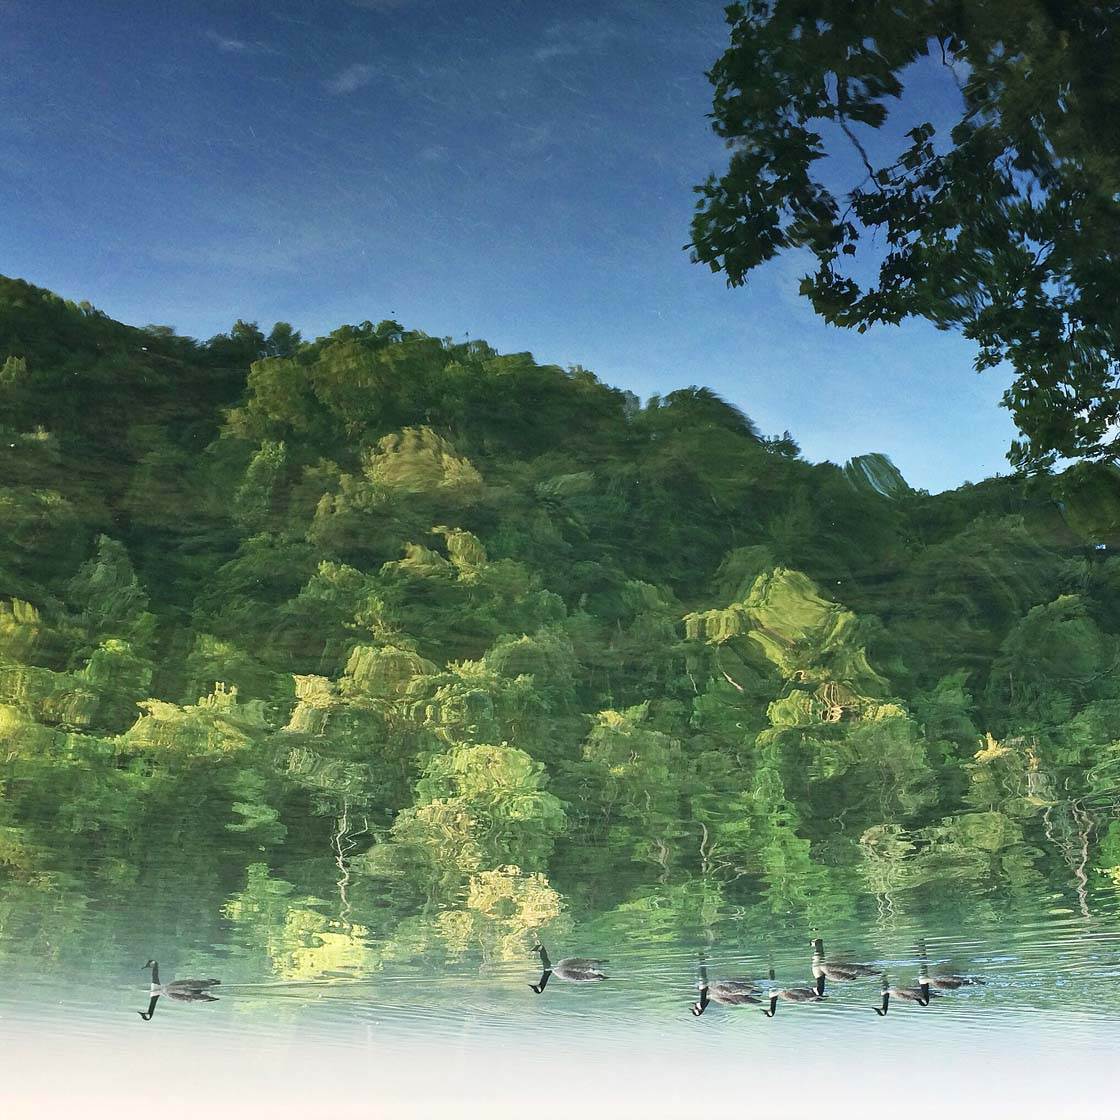
To get even more creative, once you’ve taken your reflection picture, cropped and edited it, try flipping it upside down for a surprising result.
9. Use Burst Mode For Moving Subjects
Shooting fog is usually done during very low light conditions and can cause any moving subjects to appear blurry. The best way to counteract this is by using the built in burst mode on your iPhone.
This will give you multiple shots of the scene and plenty of choices when deciding which photos are most in focus. You can then save one or two of the best and just delete the rest.
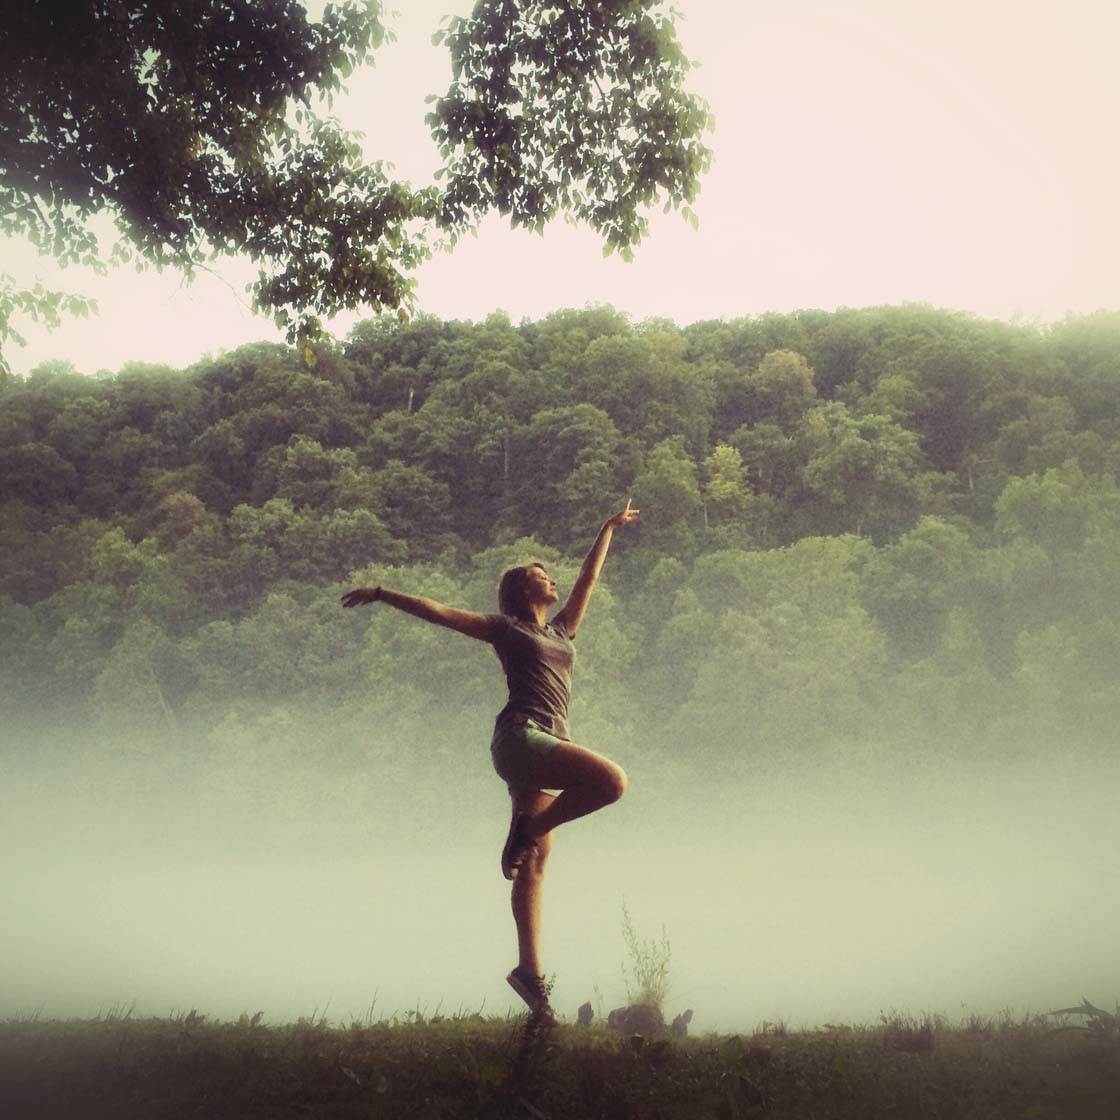
Once you’ve framed your shot, activate burst mode by pressing and holding your finger down on the on-screen shutter release button for as long as you want to keep taking photos for.
When you go to the camera roll to view the photos, you’ll be prompted to choose which ones you want to keep. If you’re not sure which ones are best or if it’s hard to tell, just save all of them and then go back and look at each individual shot in more detail.
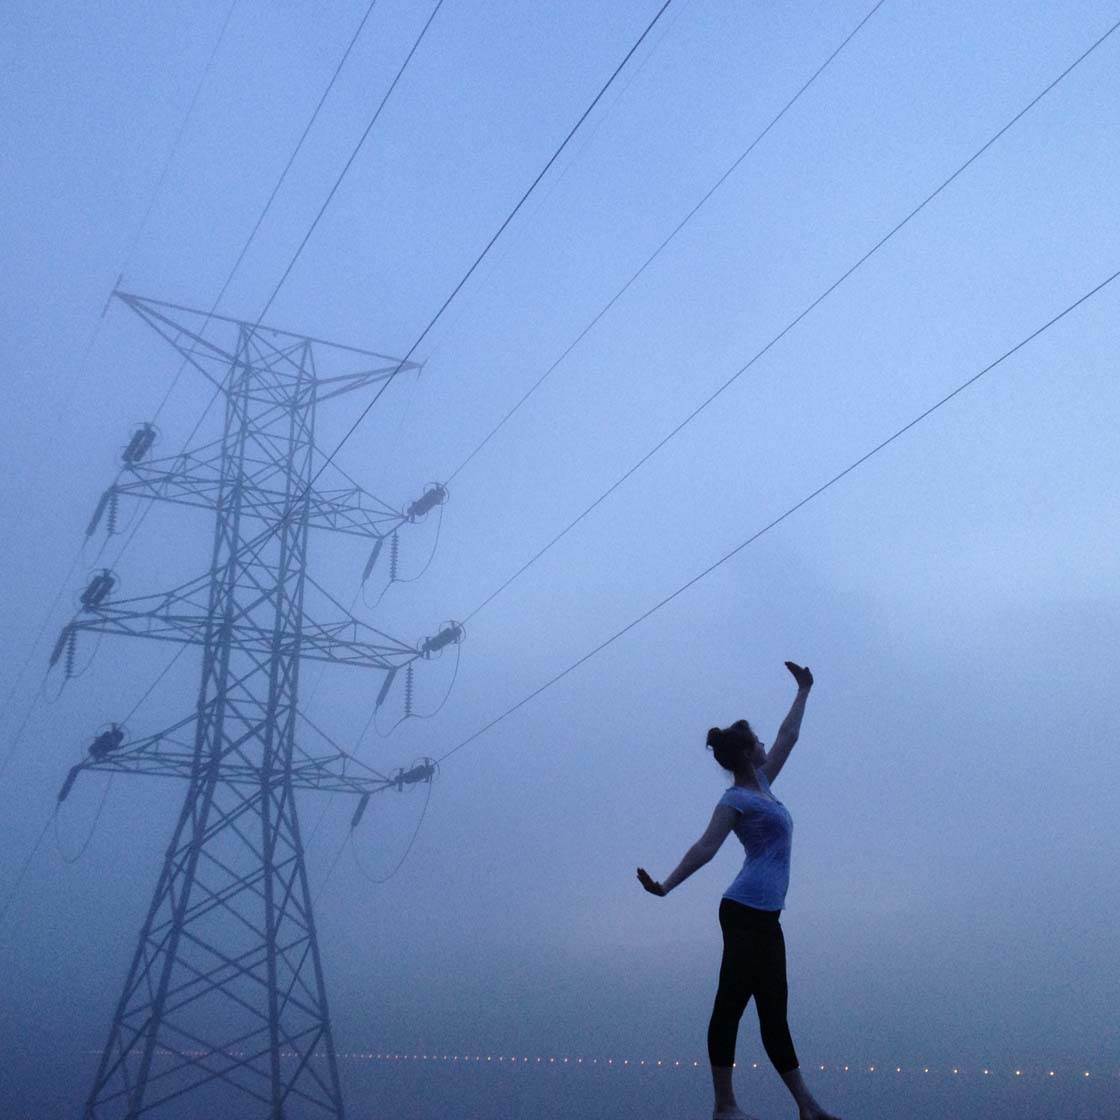
Double tap on the picture or two-finger pinch to zoom in and get a really good look at the crispness. Just delete all images that are a bit blurry. Sometimes, though, I may use the blurry movement shot for artistic reasons. Remember beauty is in the eye of the beholder. Have fun and experiment!
10. Use Minimal Editing
Fog and misty photos are inherently so very beautiful that editing them is sometimes not really necessary. When I do decide to edit, Snapseed is my favorite photoshop app (check out our in-depth Snapseed tutorial).
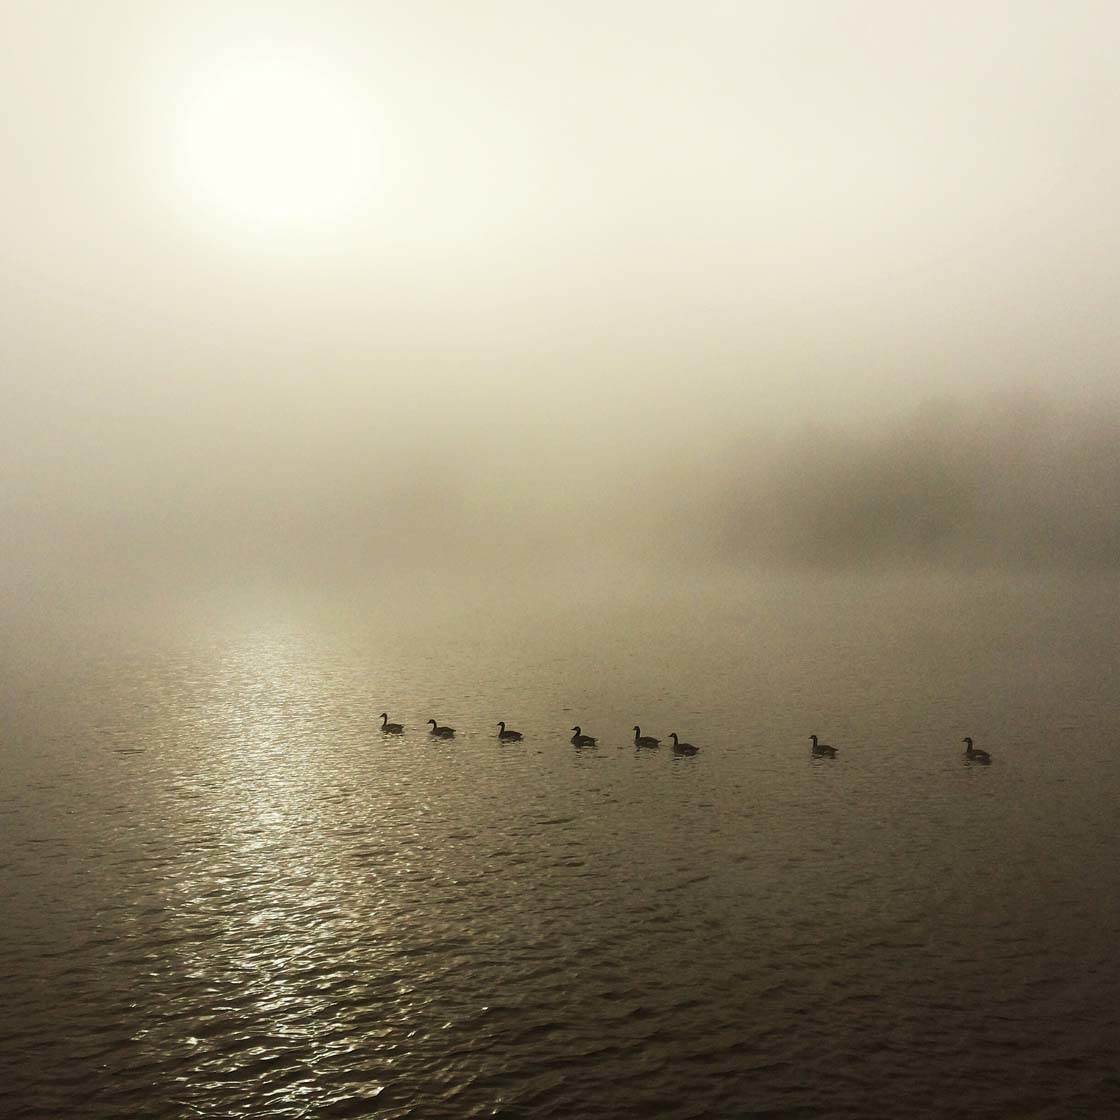
In Snapseed I generally use the “Tune Image” tool, making adjustments using the six different options: brightness, ambience, contrast, saturation, shadows, and warmth. These usually give me all the results I need to create a beautiful image.
If you live in a region that doesn’t have a lot of fog or none at all, the Photo fx app has a tool in the “Special fx” section that allows you to add different levels of a fog effect. Experiment with different edits and other apps to create your own beautiful misty masterpiece.



Thanks for these great tips Karyn. Misty landscape photos are my favorite! 🙂
Thank you so much, Kate!
Stunning photos! Thanks for the great tips.
I really appreciate your kind comment, Faye! So glad you found them helpful.
Great tutorial and excellent photos to demonstrate!
Very kind of you! I’m happy you enjoyed the tutorial.
Nice tip. I have a question though, in taking pictures with the sun in it, how do u take out the small “yellow glare dot” opposite the sun. Do u experience this every sun shot?
Thank you, Einar! To answer your question, I do experience the sun dot at times, but if you take your pictures when the sun is very low, it shouldn’t be an issue. There are apps that can take out the unwanted spot. That might be a great idea for my next tutorial!
Great article Karyn! Personally, I think fog related pictures lend themselves to being converted to b&w and/or sepia images. They’re often monochromatic to start with so the conversion is an easy process. For many photographers who don’t ‘see’ well in black & white (me included), this is an easy way to get outside your comfort zone.
I certainly agree with you, Mark. If I wasn’t so in love with color photography, I’d edit more as black and white:) Thank you for your comment!
Very helpful and informative!
I’m so glad it was helpful, Elsa!! Thanks:)
Great tutorial karyn
Thank you so much, Stuart!!
awesome!
Very nice & useful tips with awesome pictures . Many many thanks for improving knowledge to concentrate before taking such clicks ….