Using your iPhone to take photos of moving subjects is great fun, but it can also be difficult to get good shots. Whenever you’re shooting a scene containing motion, it’s important to capture a sense of that movement in order to tell your story. However, moving subjects can be unpredictable, and the shutter speed of your camera determines whether that movement is frozen or blurred. In this tutorial you’ll discover eight useful tips and techniques for taking amazing iPhone photos of moving subjects.

What Makes A Good Moving Subject?
Before we start looking at how to capture great motion photos, let’s talk about what makes a good moving subject for your iPhone photos. There are many different subjects you could use to practice your motion photography.
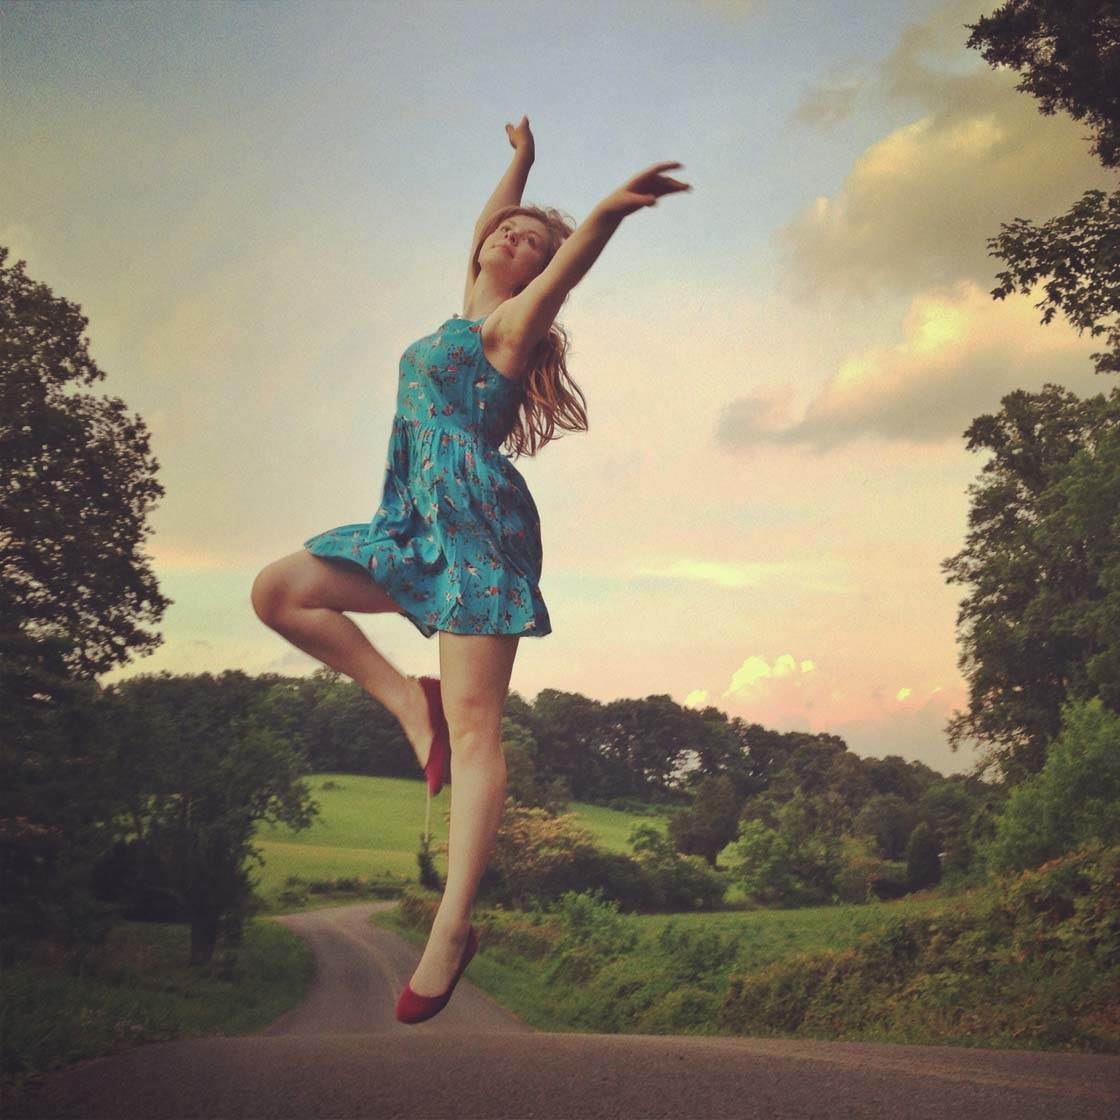
People are the obvious option. They don’t move too fast and you can ask them to try out different poses and movements. Unless you’re photographing strangers, you can ask the person to repeat the movement if necessary, giving you plenty of chances to get the perfect shot.
Think about the different ways in which you can capture people moving, such as walking, running, cycling, jumping, dancing, sledding, skateboarding, swimming, etc.

Animals are another good choice, although you don’t have as much control over how they move, so it can be a bit more tricky to get the perfect shot first time.
Birds in flight make wonderfully mesmerizing photos, but you could also photograph your pets if you have any. Try capturing a dog in mid-air as it jumps up to catch a ball, or a horse galloping around a field.
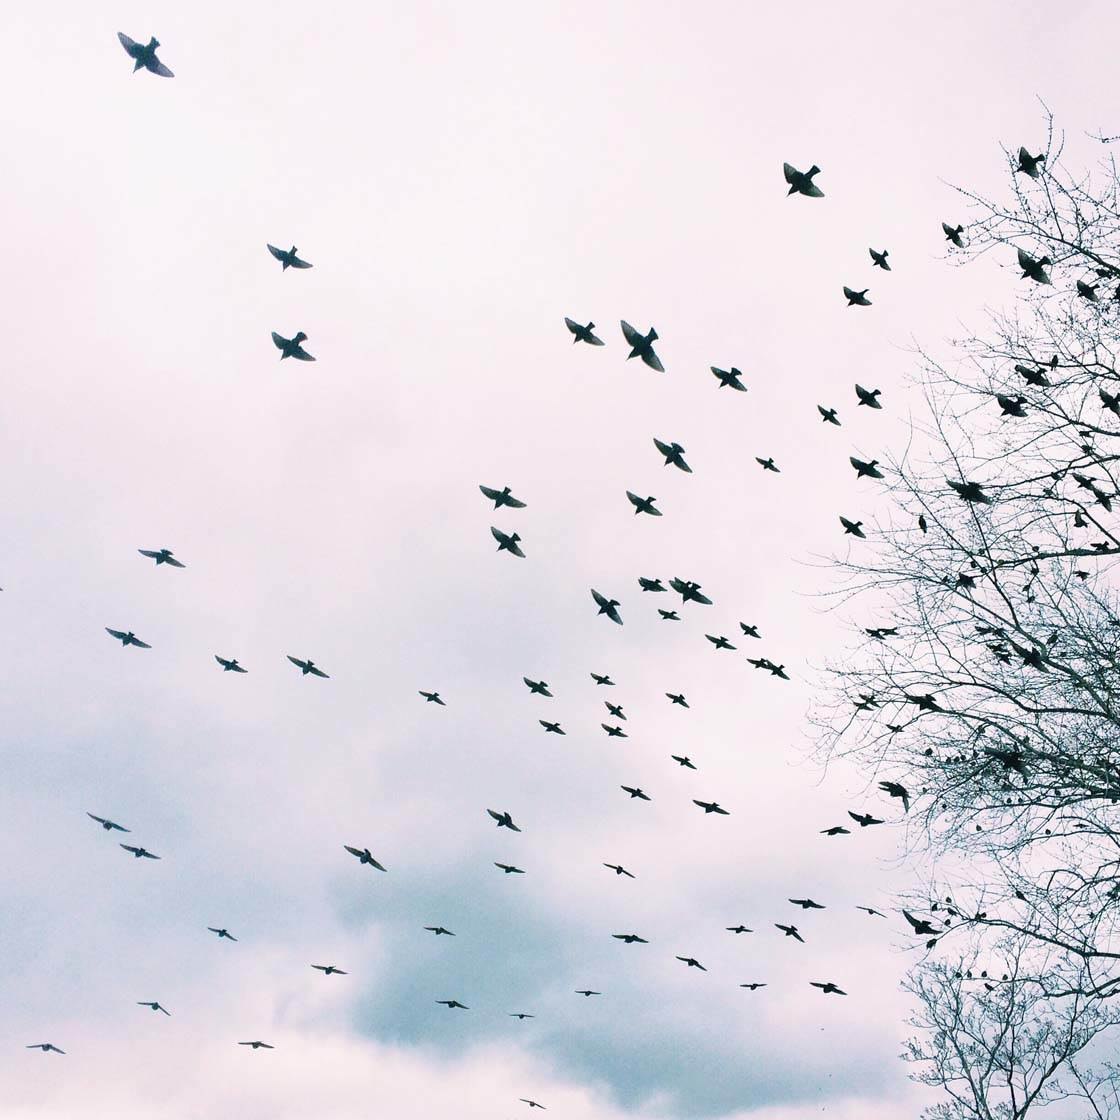
Other good subjects are moving vehicles, such as cars, motorcycles, trains and airplanes. Flowing or splashing water also makes for interesting motion shots. Try shooting a waterfall, a flowing river, waves crashing onto the beach, or a splash in a puddle or lake.

On a windy day you’ll find plenty of objects being blown about in the breeze. Try capturing the movement of trees or long grass swaying in the wind, fallen leaves being blown around, or a person’s hair or clothing being blown in different directions.
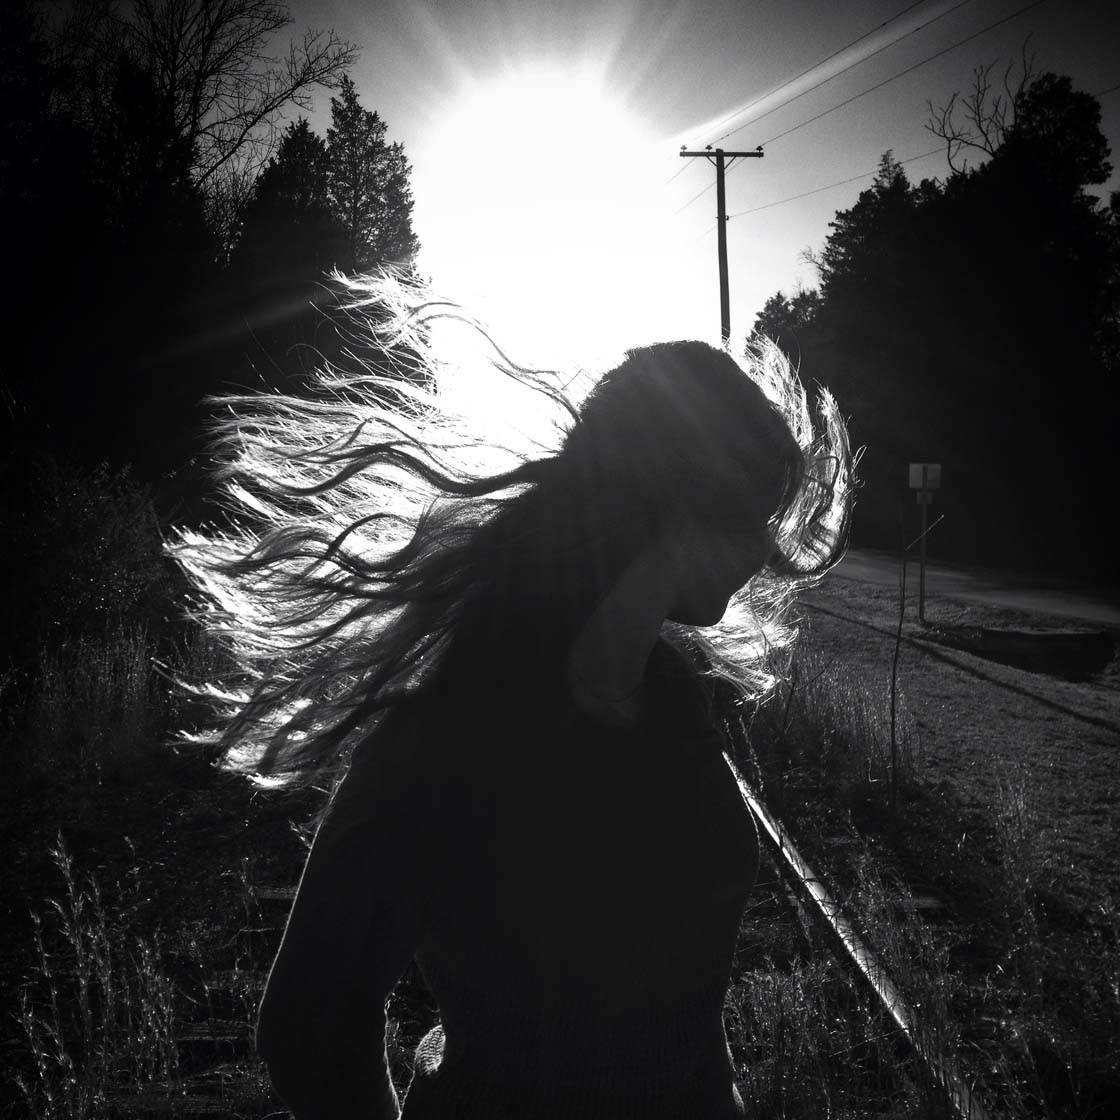
The aim of motion photography is to ensure that your image captures the movement at the perfect moment. This allows you to tell a story and convey a sense of motion to the viewer.
Now let’s take a look at some of the issues that you need to consider when photographing movement, and how to get the creative results you envisioned.
1. Understand How Motion Is Frozen Or Blurred
When shooting moving subjects with your iPhone, you’ll end up with one of two results in your photo: the movement of the subject will either be frozen or blurred.
If the motion of the subject is frozen, that subject will appear crisp and sharp showing their precise movement at a certain point in time.
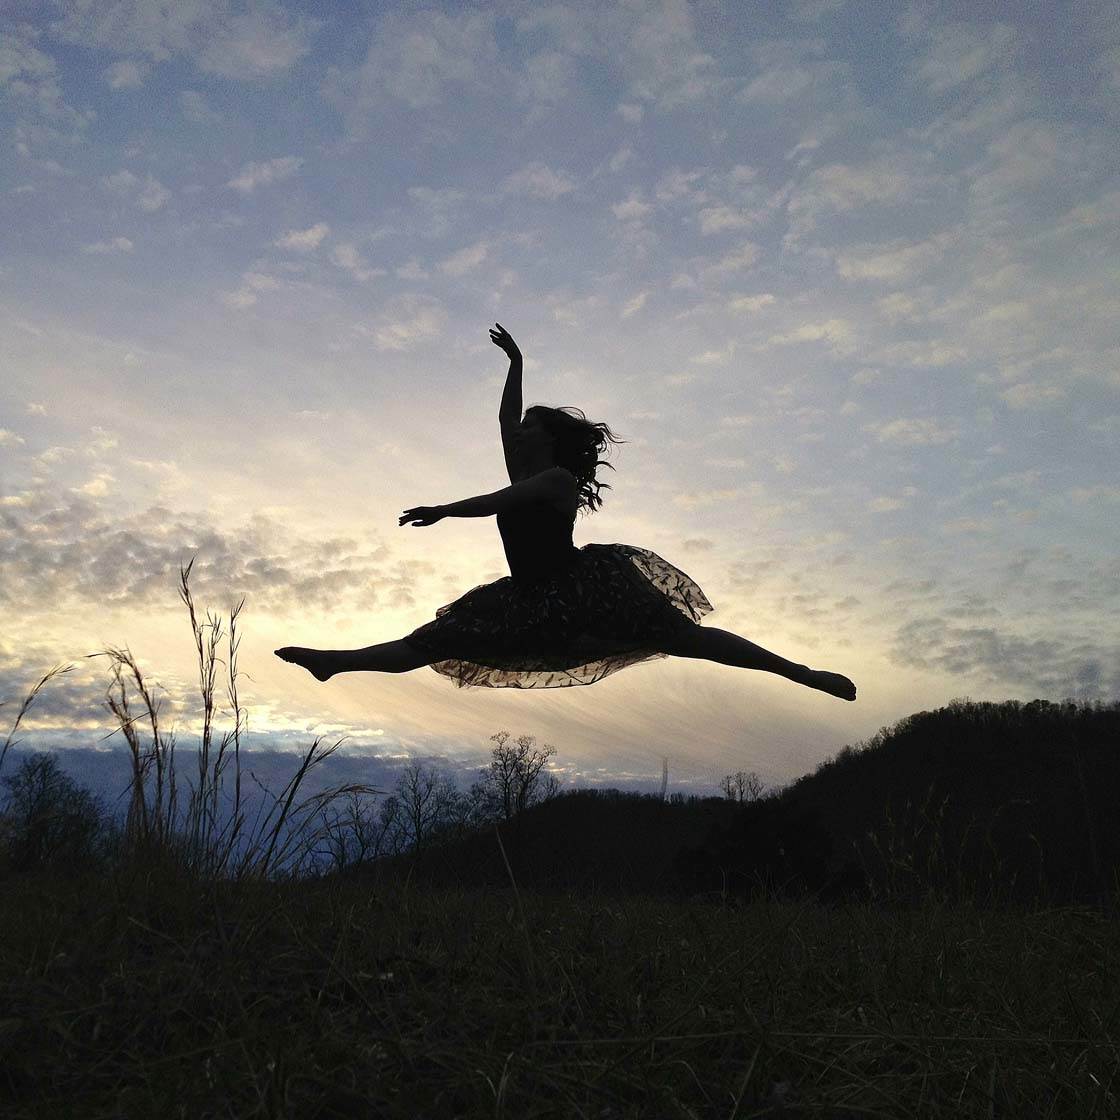
For instance, when the movement is frozen by the camera, a person will appear in a clear pose in mid-air during a jump, or the individual water droplets of a splash will be clearly captured.
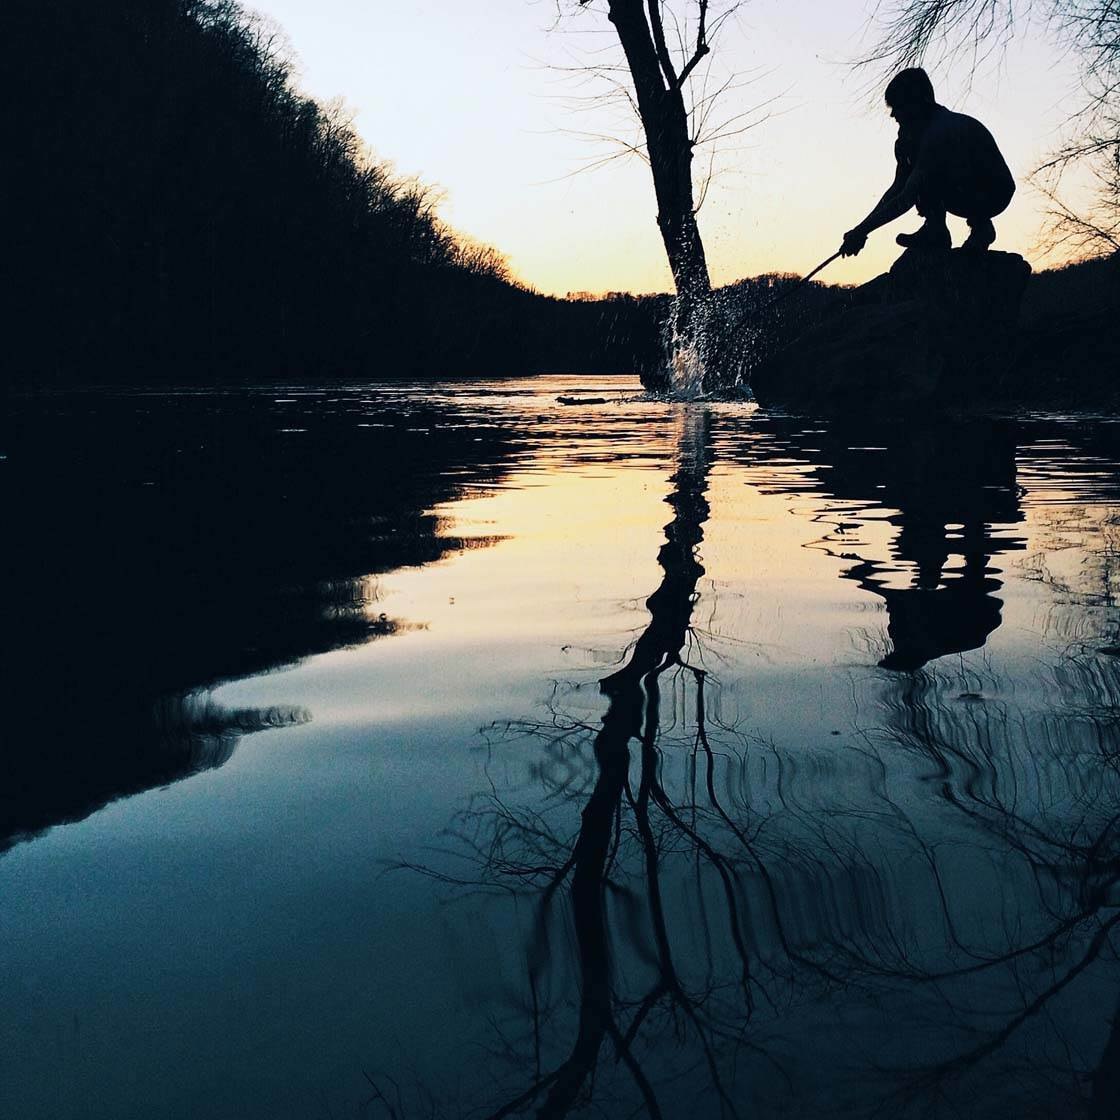
If the motion of the subject is blurred, the photo will look very different. The background and any stationary objects will be sharp, but any movement will appear either slightly blurred or as a faint blurry streak of color across the image.
Normally you wouldn’t want your subject to appear blurred, but motion blur is a great way of conveying a sense of movement, fluidity and speed to the viewer. If the motion of water flowing down a waterfall is blurred, it will appear with a soft veiled effect as the movement of the water is captured over a period of time.

A speeding train that just appears as colored streaks across your image will create a sense of speed in the photo. In certain situations motion blur can create a more interesting and dynamic image than if the movement had been frozen.
So what determines whether the movement of your subject appears frozen or blurred? The first factor is how fast the subject is moving. The faster the movement, the more likely it is that the subject will appear blurred. So a train speeding past is likely to appear more blurred that a person walking or running.

The second factor is the shutter speed that the camera uses when taking the photo. Shutter speed is the amount of time that the shutter is open when your camera takes a photo. The faster the shutter speed, the more likely the movement will appear frozen. The slower the shutter speed, the more likely the movement will appear blurred.
The amount of light in the scene determines your iPhone’s shutter speed, and therefore how sharp or blurred the moving subject will appear. The brighter the light, the faster the shutter speed will be, and the more likely any movement in the scene will be frozen.
2. Freeze The Movement Of Your Subject
If you want to freeze the movement of your subject so that they appear crisp and sharp, you need to ensure that your camera uses a fast shutter speed.
Remember, the brighter the light in the scene, the faster the shutter speed will be. Therefore, if you want to freeze the movement of your subject, you need to ensure there’s enough light in the scene so that your iPhone can use a fast shutter speed.
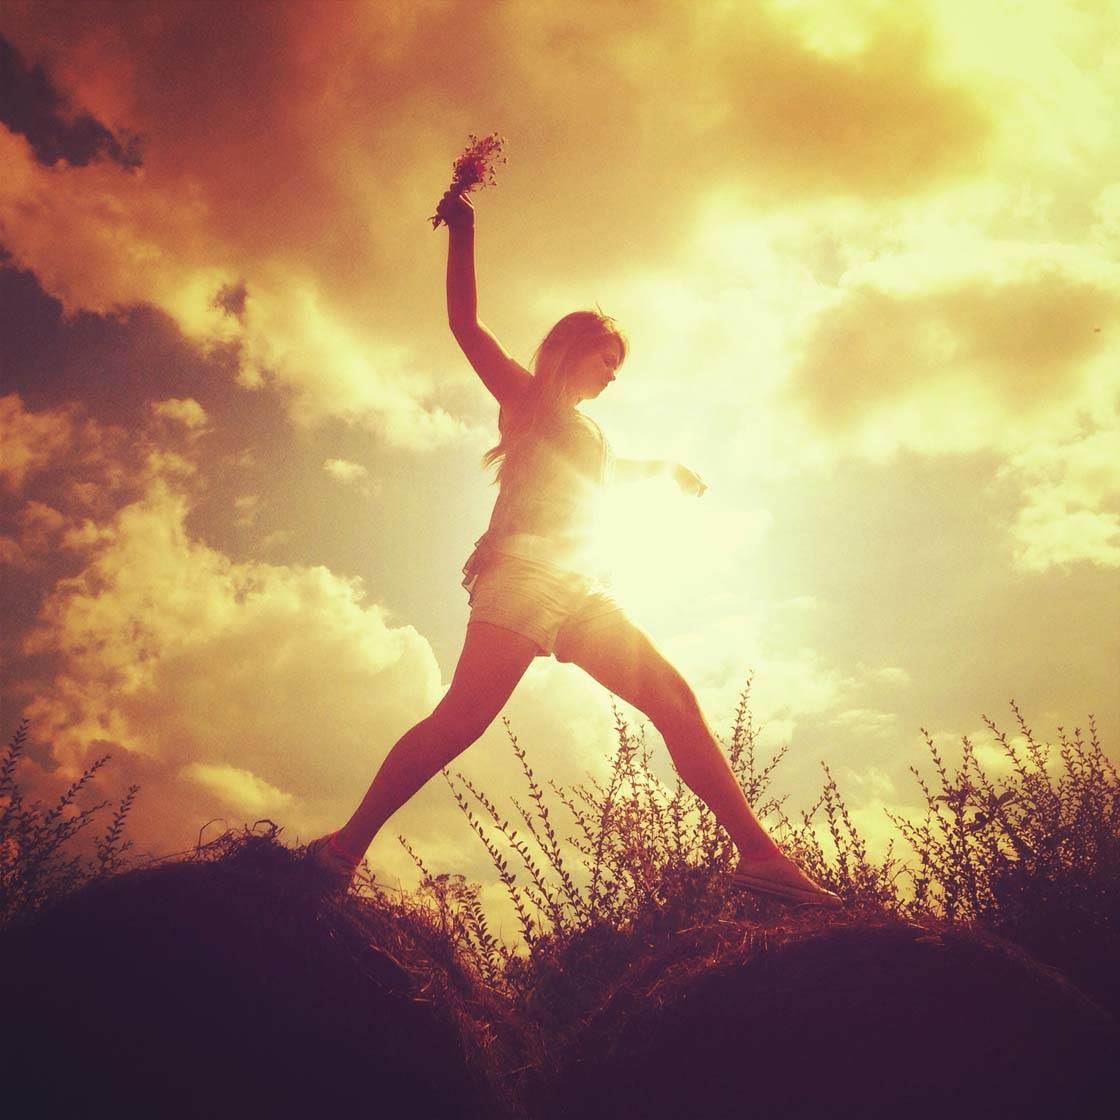
Generally, it’s best to take photos of moving subjects during the day if you want to freeze their movement. Bright sun works well, but you may encounter problems with harsh shadows on faces if the sun is high in the sky.
Often the best time to take photos is during golden hour when the sun is lower in the sky or when the skies are overcast but still quite bright.
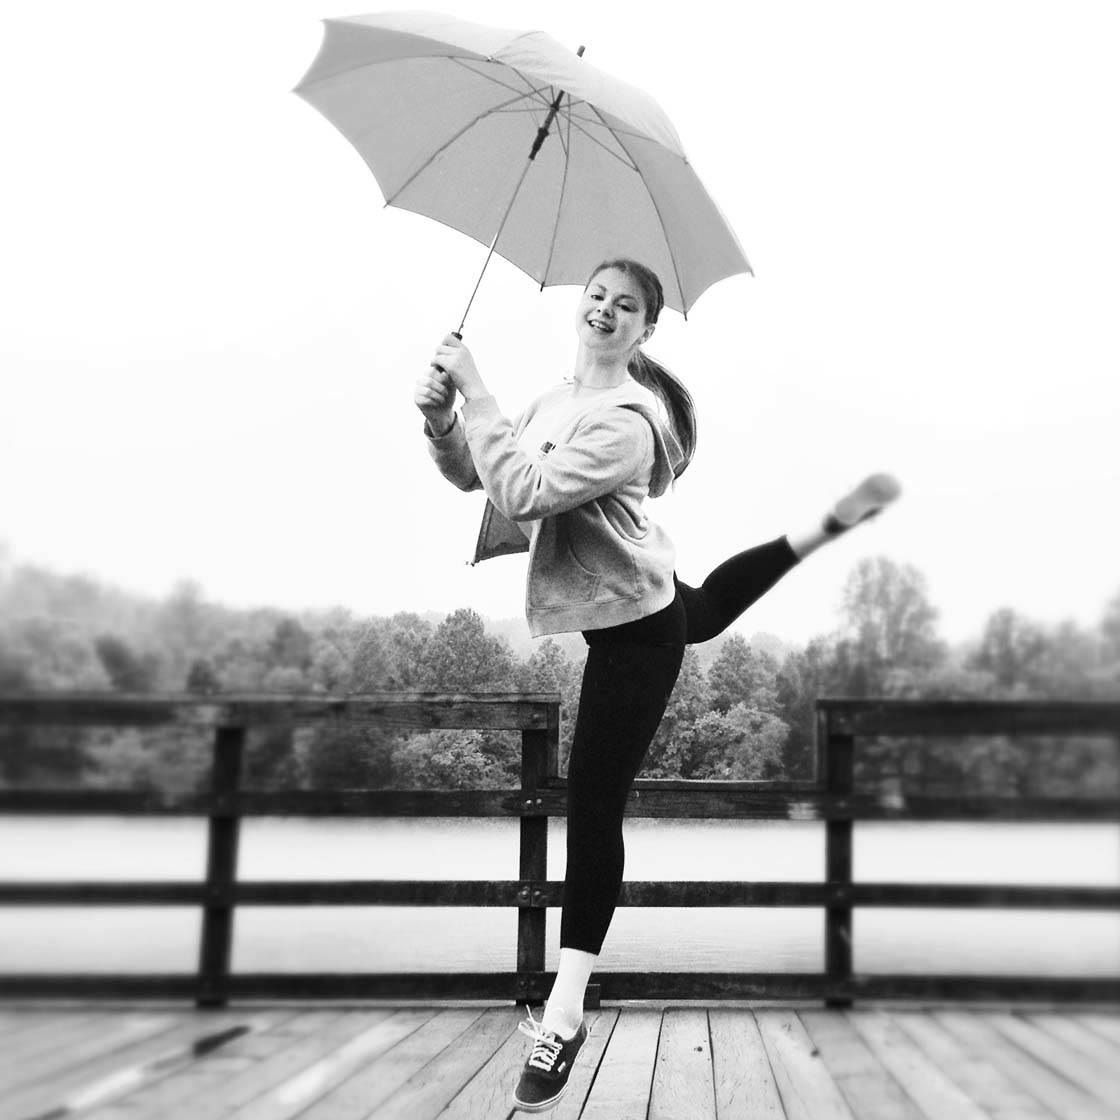
That said, it is possible to freeze movement when you shoot at night with the right kind of lighting – you just need to ensure your light source is bright enough. Keep in mind that the brighter the light, the better the camera will freeze the movement of your subject and keep it crisp.
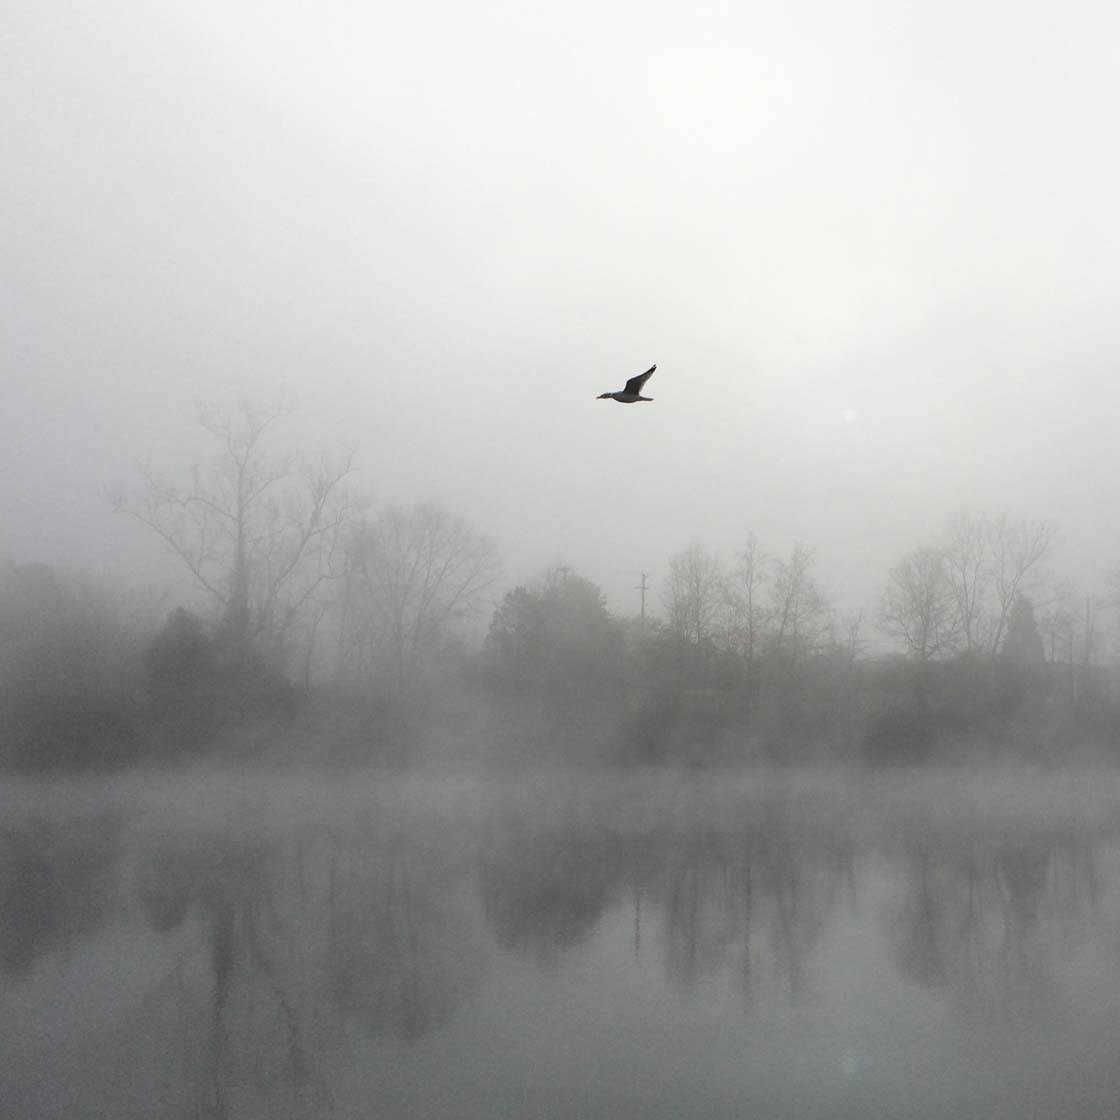
However, you also need to take into account how fast your subject is moving. The faster the movement, the more difficult it will be to freeze the motion, even in bright light.
3. Capture Motion Blur
If you want to blur the motion of your subject, you need to ensure that your camera uses a slower shutter speed. Remember, the darker the scene, the slower the shutter speed will be.
Therefore, if you want to blur the movement of your subject, you need to ensure that you’re shooting in fairly low light situations so that your iPhone can use a slow shutter speed. Try shooting indoors, in shaded areas such as a forest, at night, or any other situation where there isn’t that much light in the scene.
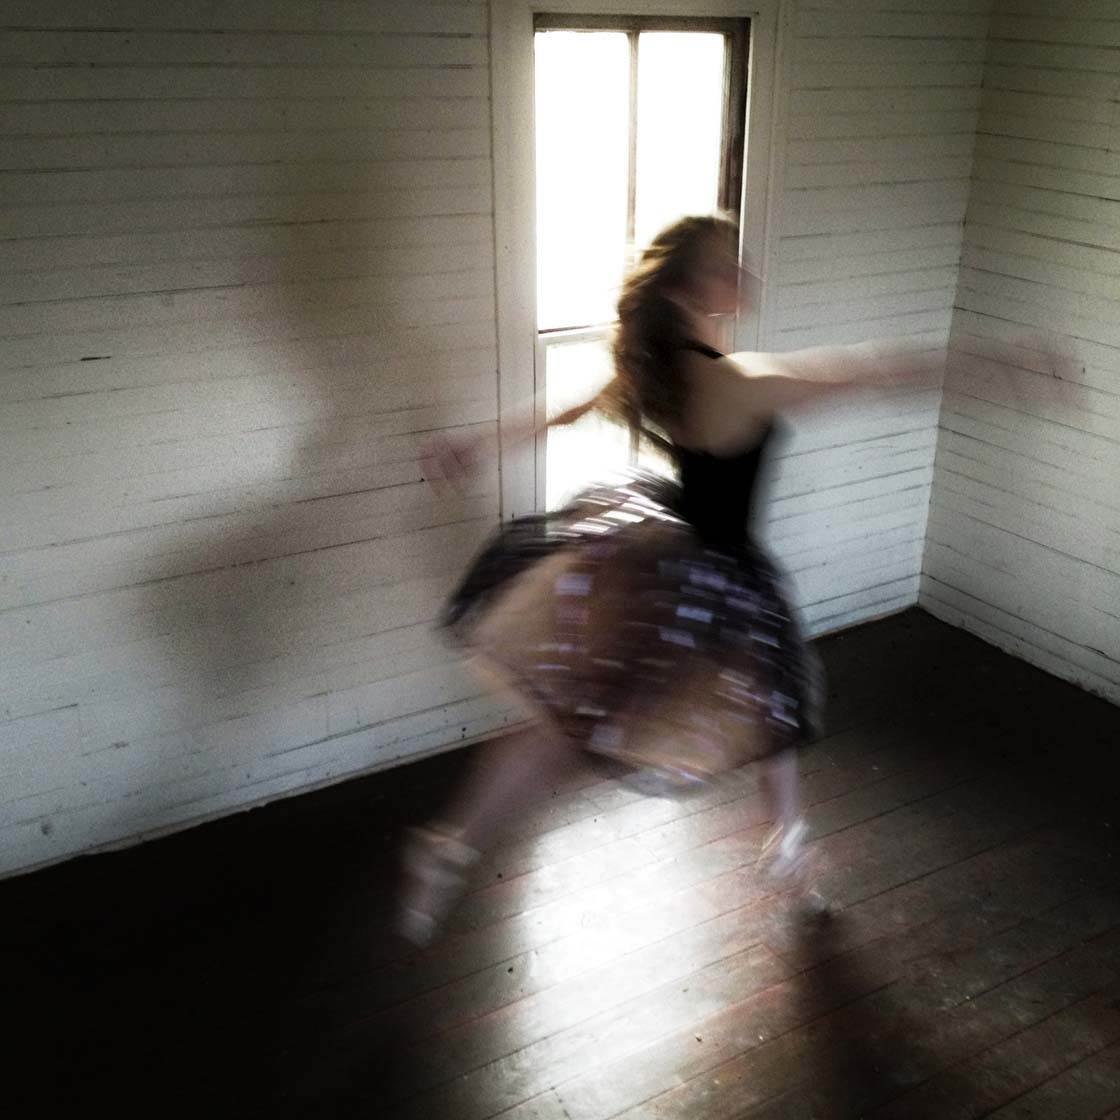
In this photo my daughter appears blurred as she’s moving quickly across the scene. Because I was shooting indoors in relatively low light, the camera used a slower shutter speed which enabled me to capture the motion blur of the movement.
When shooting in low light with slower shutters speeds, make sure you keep the camera very still. If you move the camera during the exposure, the entire picture will be blurred because of camera shake. This won’t look good as it will just look like a bad blurry photo. You need the background to be sharp to emphasize the motion blur of the moving subject.
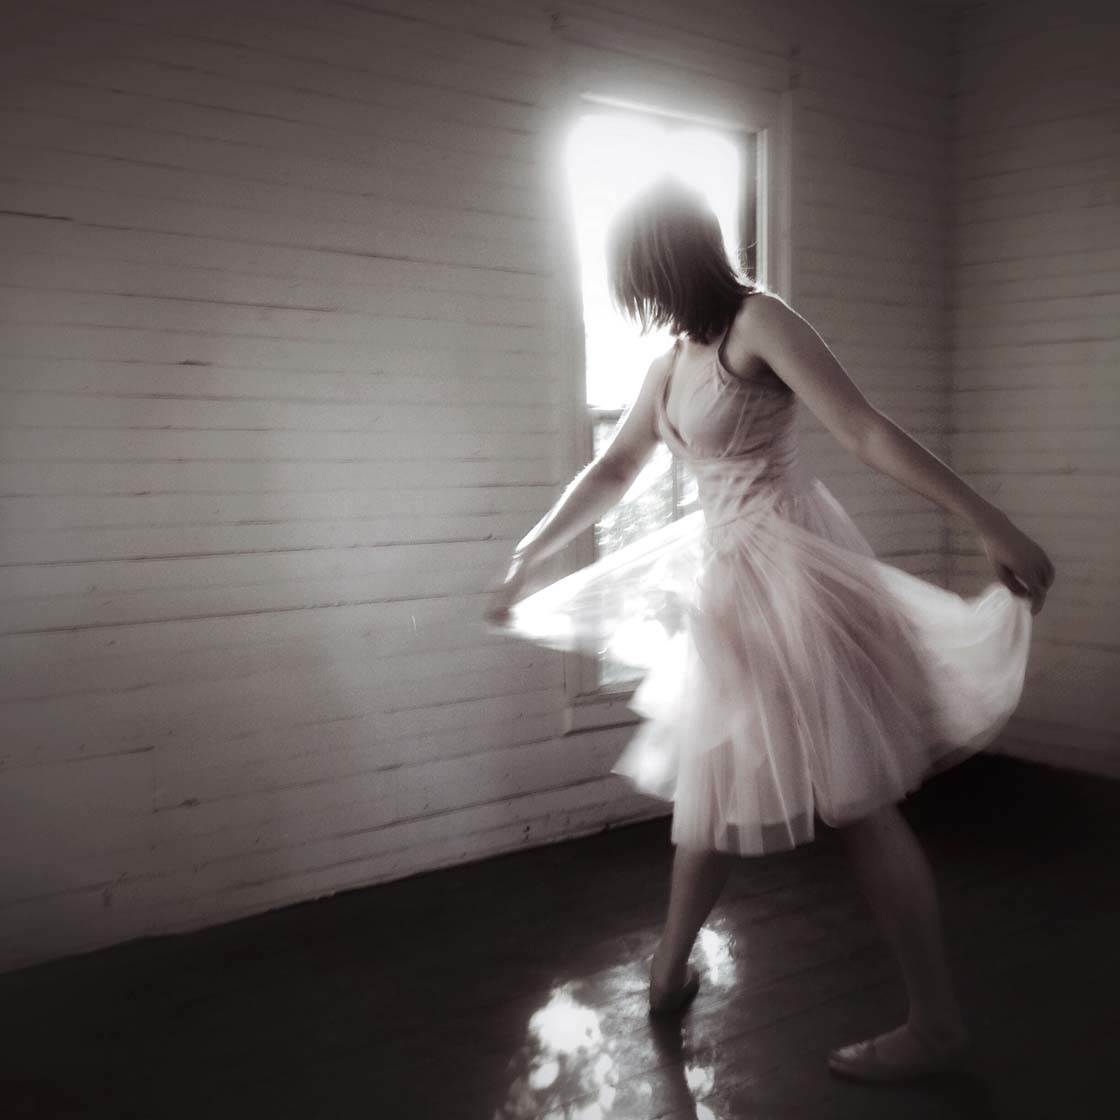
If you’re struggling with camera shake, you may want to use an iPhone tripod and your Apple earbuds as a remote shutter button. This will ensure that the background stays crisp while capturing the movement from your subject.
Shooting in low light is more difficult than shooting in bright light so it might take more time to get the shot just right. If your subject appears too blurry, try introducing more light, e.g. turn a light on, shine a flashlight or car headlights on your subject, etc.

Remember, the faster the subject is moving, the easier it will be to capture motion blur, even in good light. This photo of a train shows that it was traveling at speed because it appears as colored streaks across the image. The closer the moving subject is to the camera, the more motion blur you will see.
4. Use A Slow Shutter App To Create Motion Blur
If you want to capture photos that show even more movement, especially if you’re shooting in good light, you can use a slow shutter app to create long exposure photos. Apps such as Slow Shutter Cam allow you to simulate the effect that you would get if you used a slow shutter speed on a DSLR camera.
Slow shutter apps are great for creating beautiful silky water effects on waterfalls, flowing rivers or waves. The water in this small creek became more visibly flowing by using the Slow Shutter Cam app.
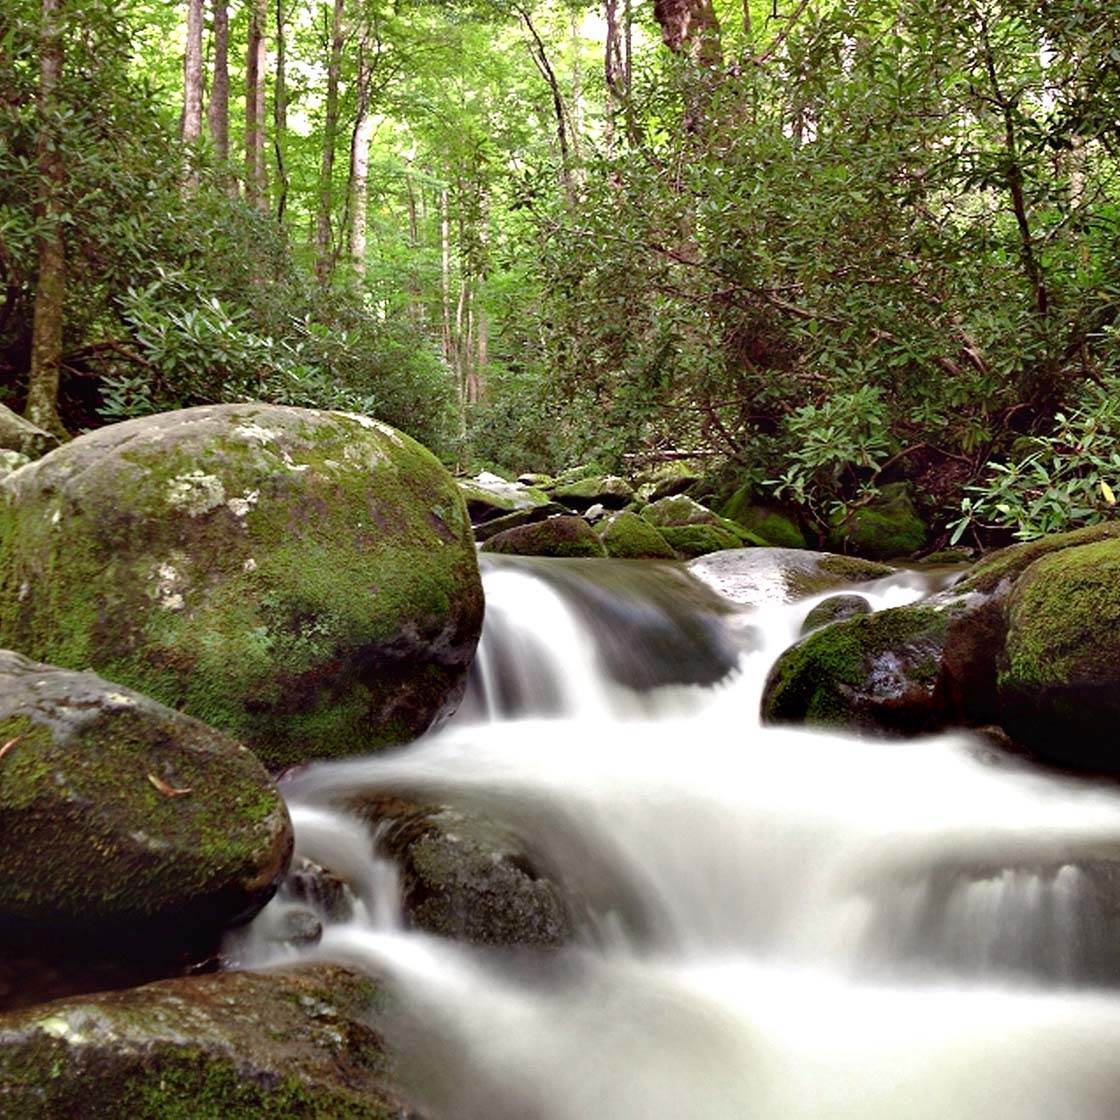
Because the picture is being taken over several seconds, it’s vital that you keep the camera absolutely still. For best results, use a tripod and remote shutter release to avoid blurring the whole photo.
Notice how sharp the rocks and trees are in the photo above – if the camera had moved during the exposure, these details would be blurred due to camera shake. Avoid taking this kind of photo during windy conditions because anything moving in the wind, such as the trees and leaves, will appear blurred.
During evening hours you can use slow shutter speeds to create light trails that show movement. For example, car tail lights trailing into the distance or a person making swirling movements with a flashlight or sparkler.
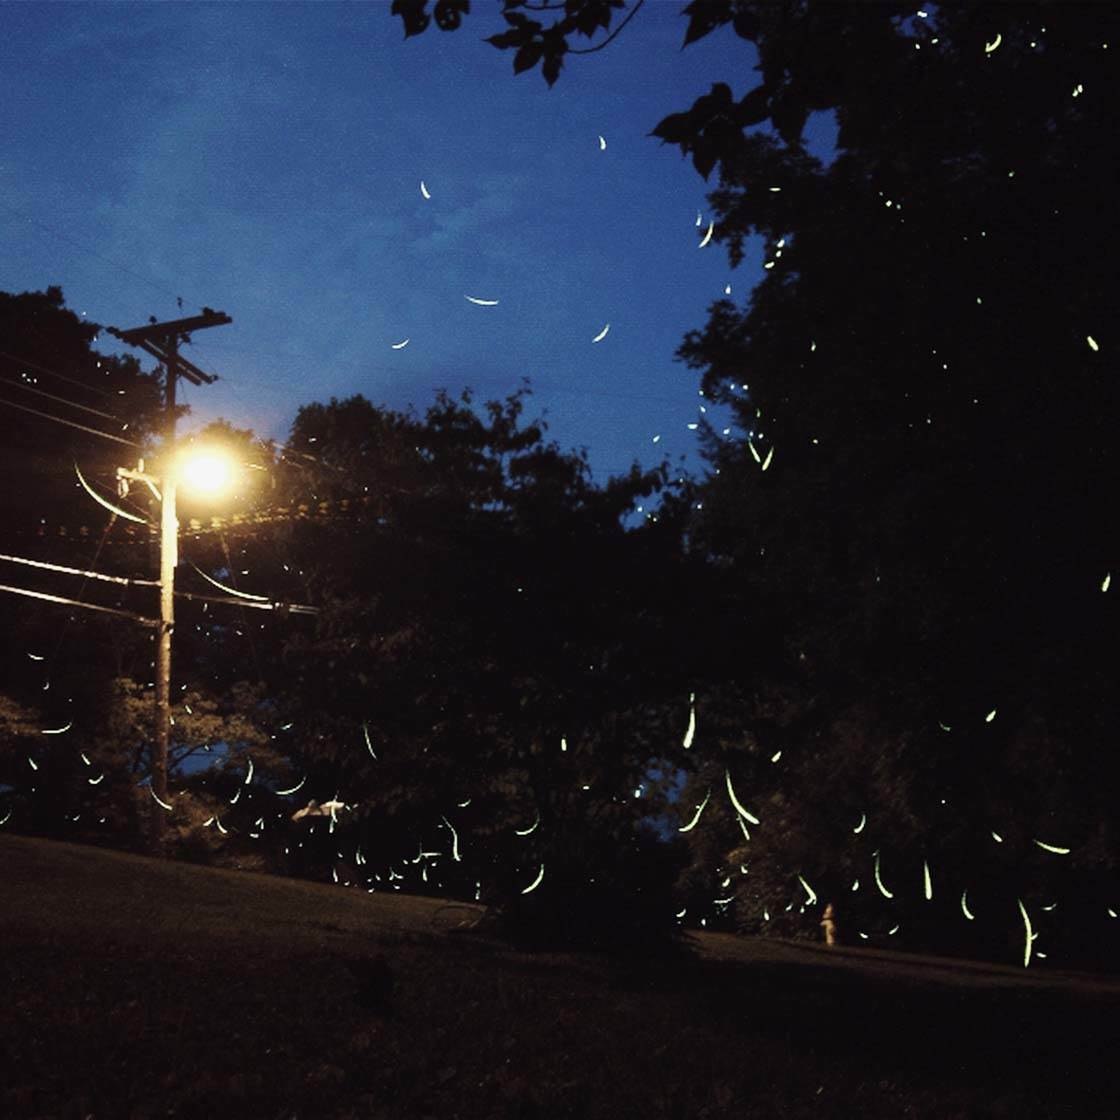
This photo was taken in my yard using a slow shutter app to capture the light trails of fireflies. I mounted my iPhone on a tripod and used the earbuds as a remote shutter button.
5. Shoot A Series Of Photos With Burst Mode
When capturing movement it’s best to use the burst mode feature in the native camera app. Just hold down the shutter release button on the screen or use the volume buttons on the side of the iPhone to capture a series of shots. You can then choose the best shot from the sequence.

It was a windy day when I was photographing this blossom tree and many of the shots appeared blurred because the branches were blowing around in the breeze. Using burst mode allowed me to take several photos in quick succession and then select the best one from the series.
You could also take a series of shots and then combine them into a collage using apps such as Diptic or Layout. This works really well for jumping shots to show a sequence of movement.
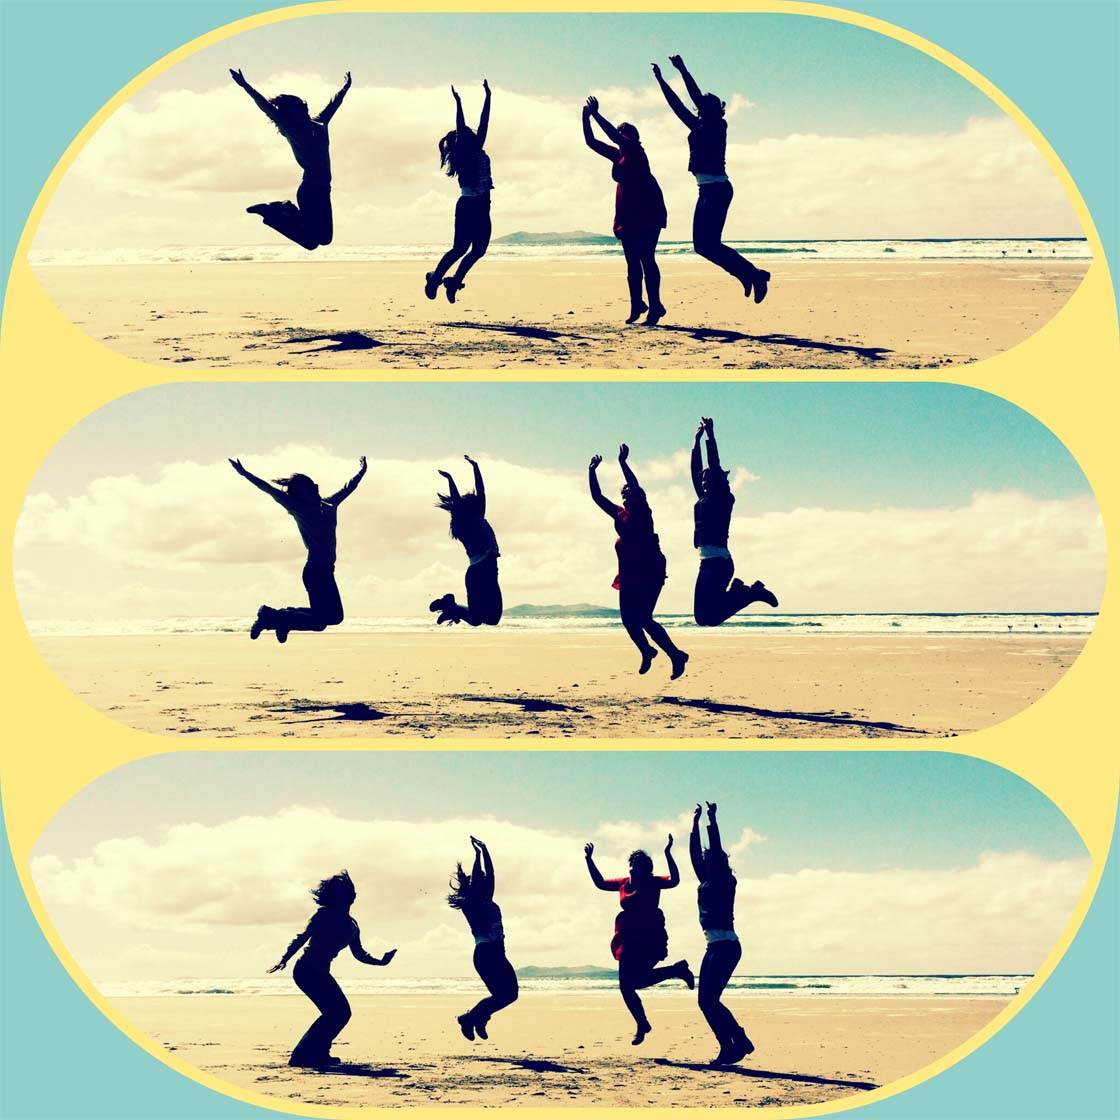
Have your subject count off so that you know when to touch and hold the shutter for a burst of photos. When I photograph my daughter jumping or performing a dance move, I usually have her do the same movement a few times.
She will count “5, 6, 7, 8, jump” and I try to time it by touching my finger on the shutter button just before “jump.” This allows me to capture the whole movement in a sequence of shots.
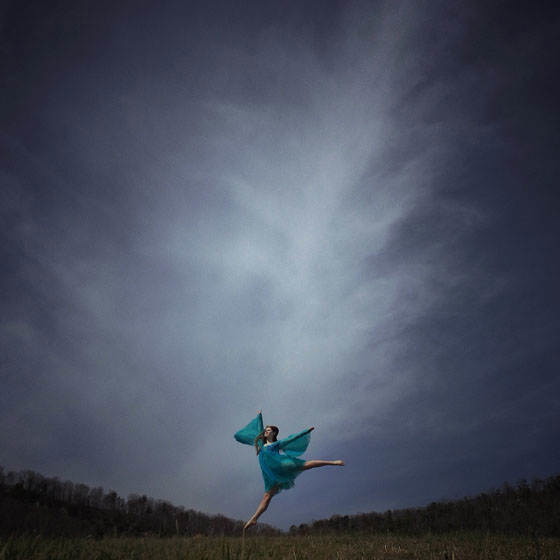
I then usually select one where she’s in mid-flight on the way up. It makes her look like she’s floating and her dance costume is smooth and unruffled.
To create the illusion of the wind and a flying umbrella, I had my daughter count off when taking the photo below.
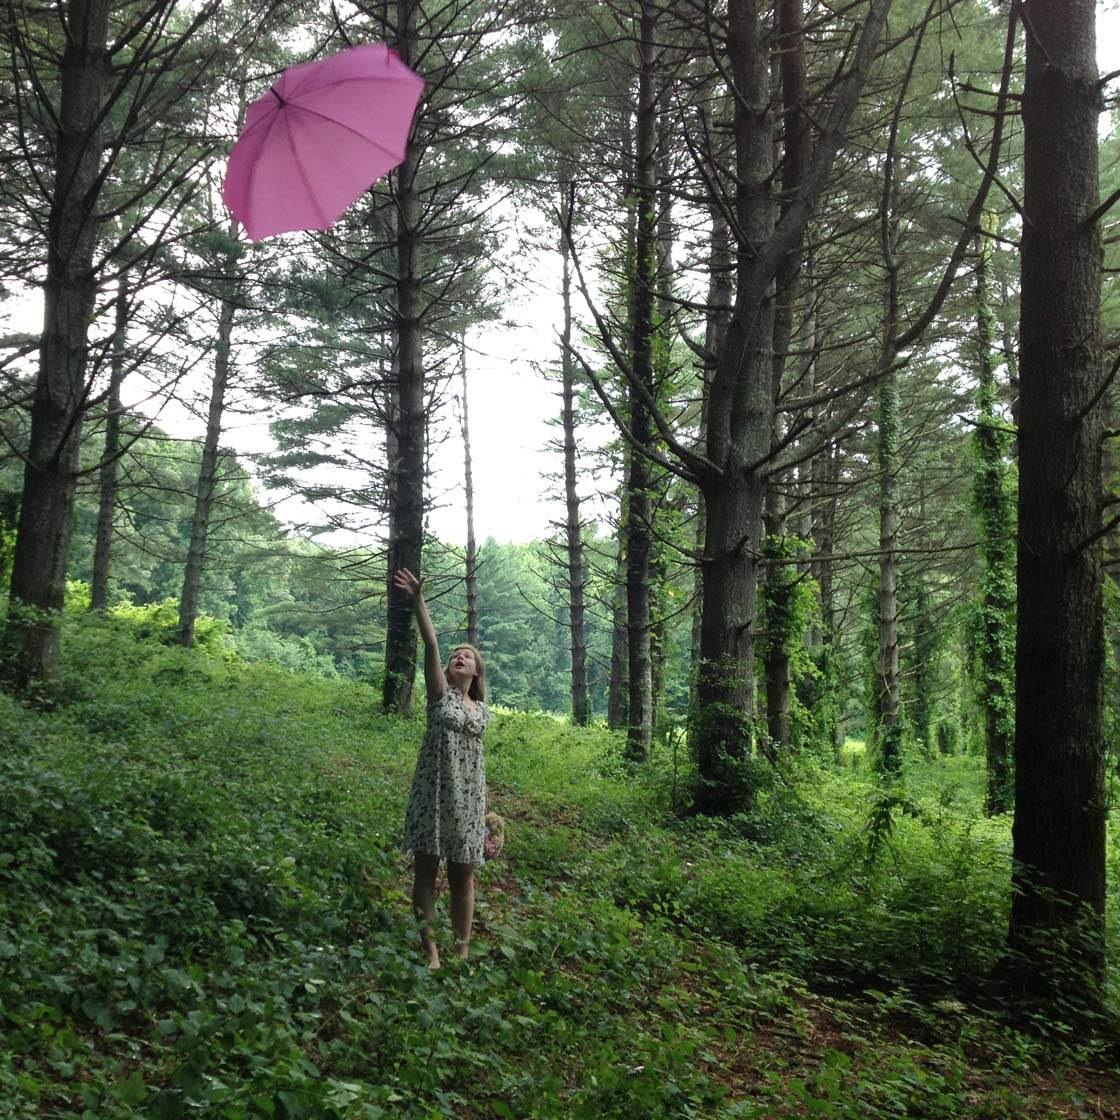
As she threw the umbrella, I was able to take a series of shots using burst mode. I ended up with several images where the umbrella was in different positions, and I could then choose the best photo from the sequence.
6. Capture Movement In Silhouettes
Capturing movement in silhouettes is one of my favorite techniques and they’re actually very easy to create. A silhouette is when the subject appears as a dark shape against a brighter background. Silhouette photos are visually stunning and will instantly catch the viewer’s eye.
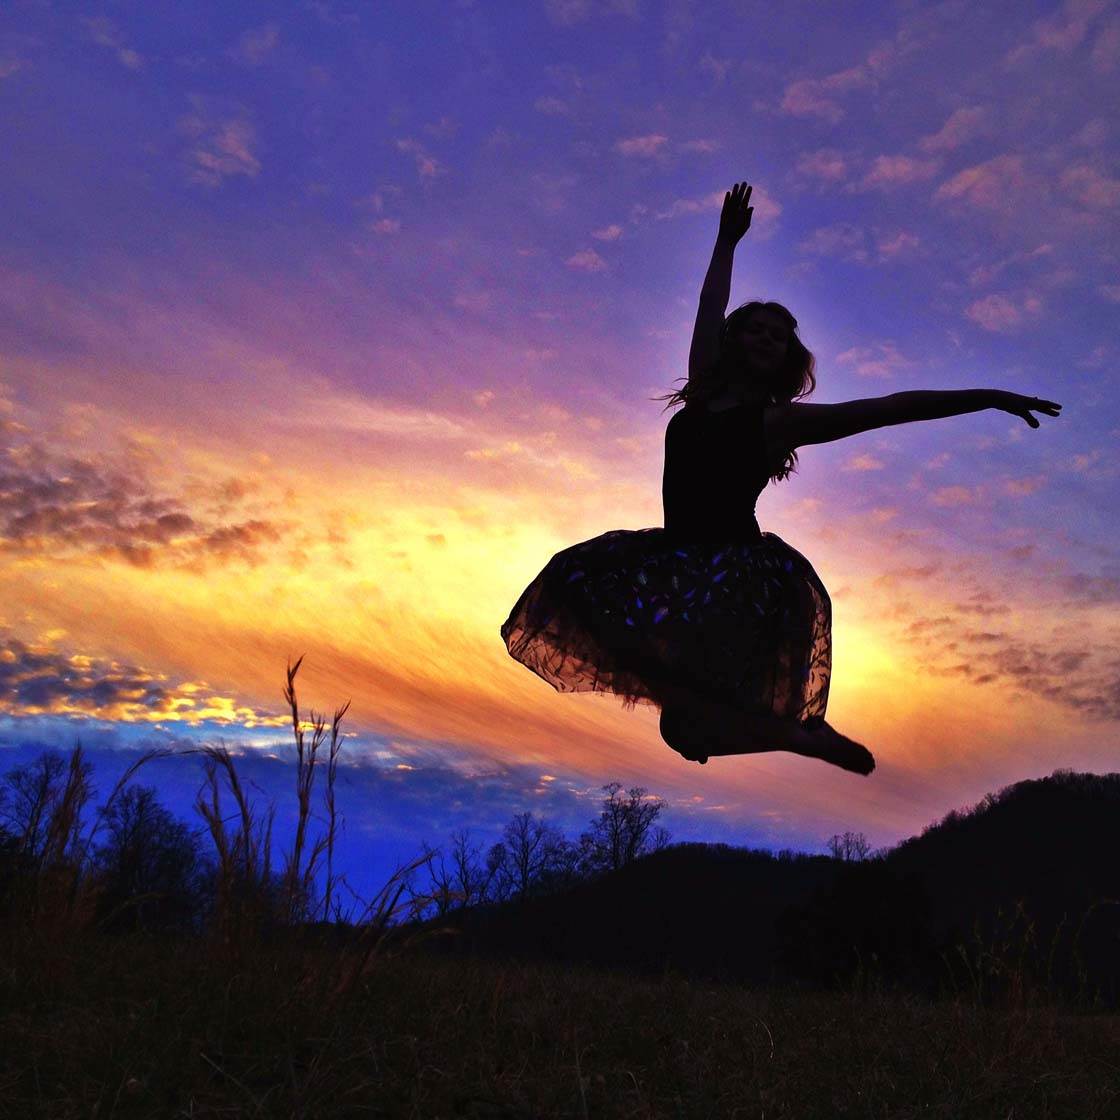
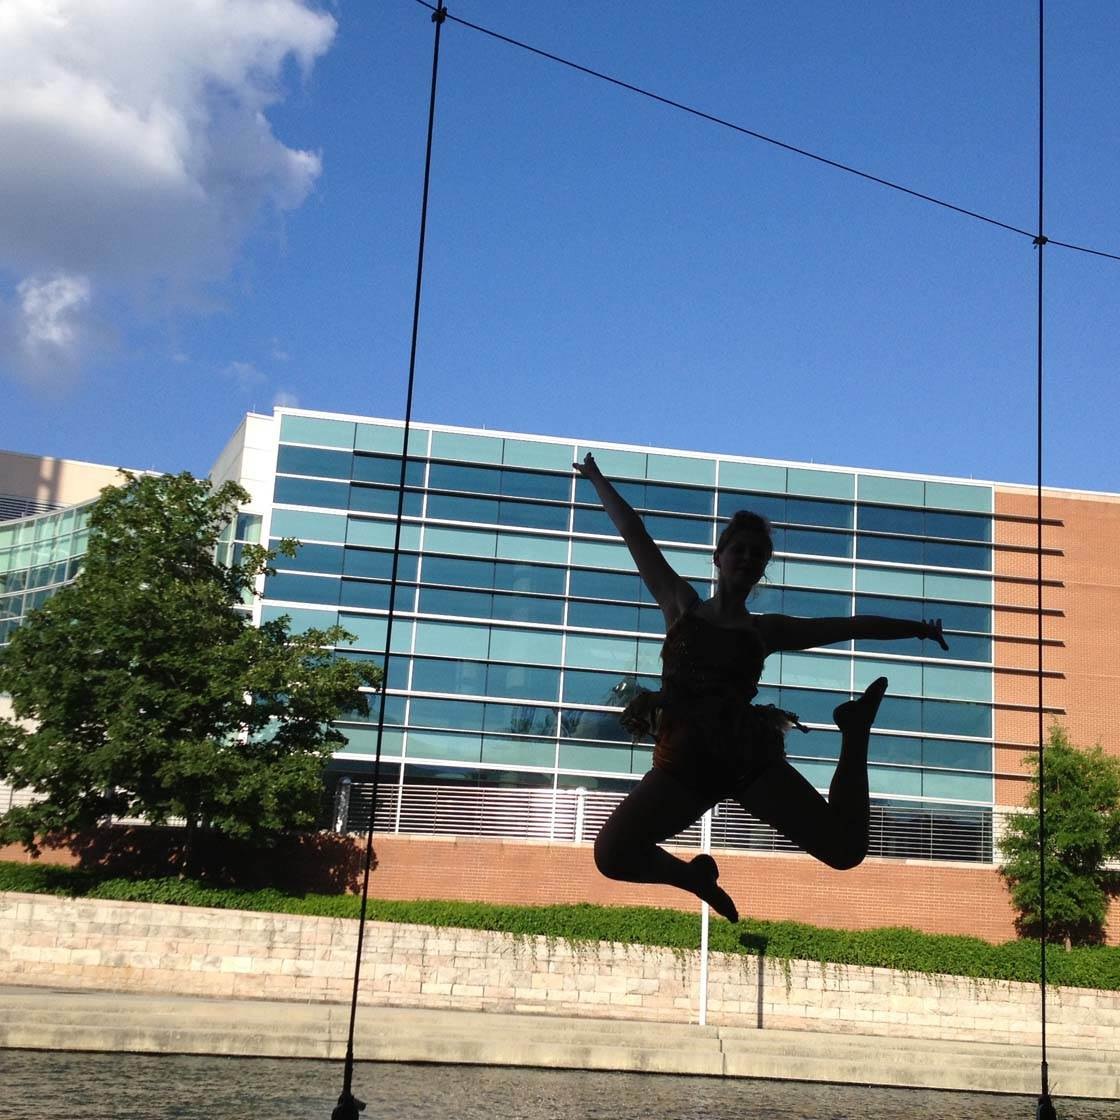
Silhouettes are best taken when the sun is lower in the sky. People jumping are usually the best subject for this kind of photo as it separates the person from the ground.
Make sure that the light source (sun or bright sky) is behind your subject, then tap the brightest part of the scene in your viewfinder to expose for that area. The subject should now appear dark, but you can make the scene even darker if necessary by swiping down on the screen to reduce exposure.
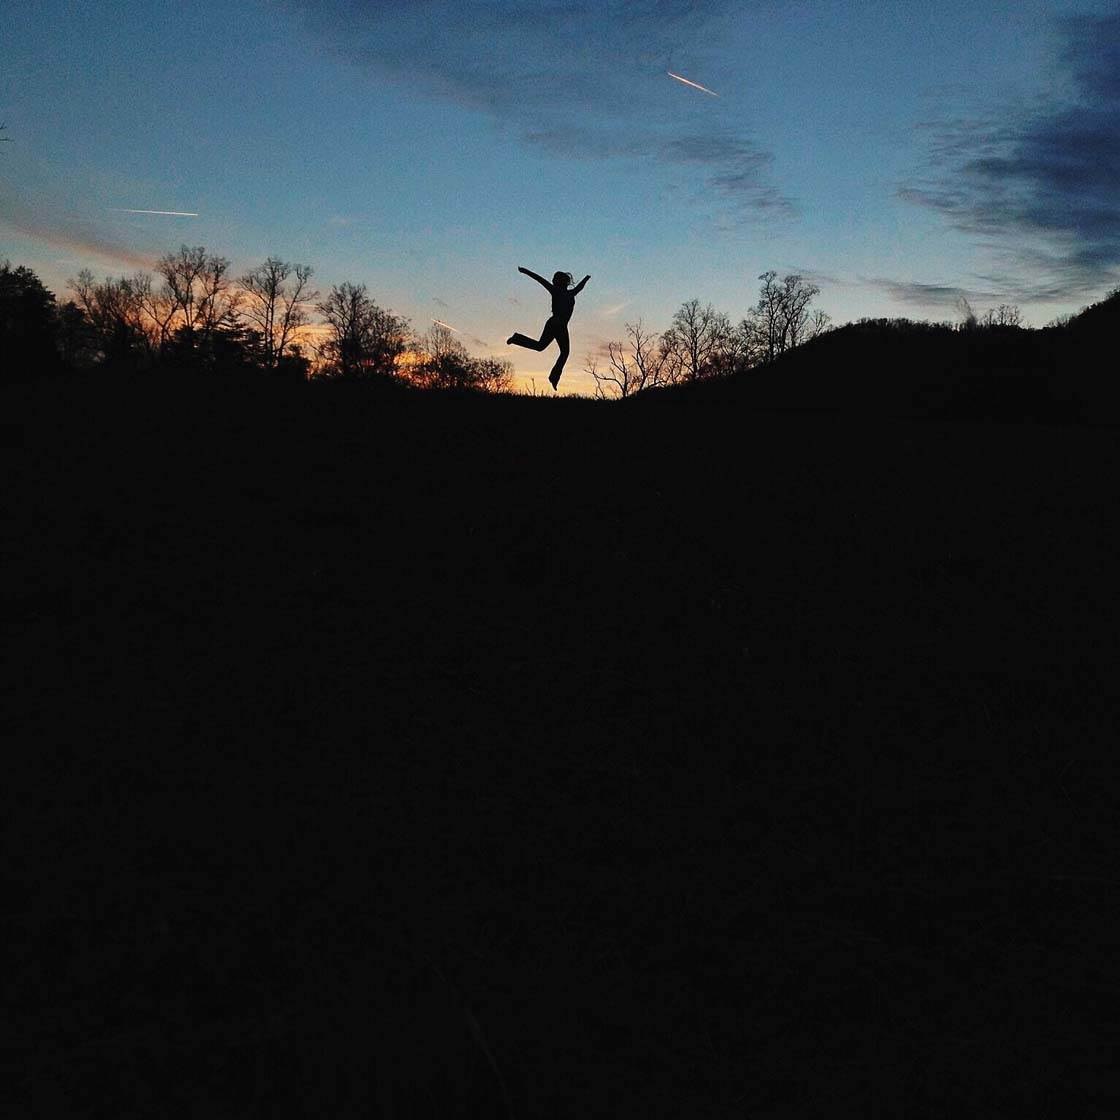
Capture a series of silhouette movement shots using burst mode, then select the best one from the sequence. In low light situations, keep in mind that you need to hold the camera very still to avoid camera shake.
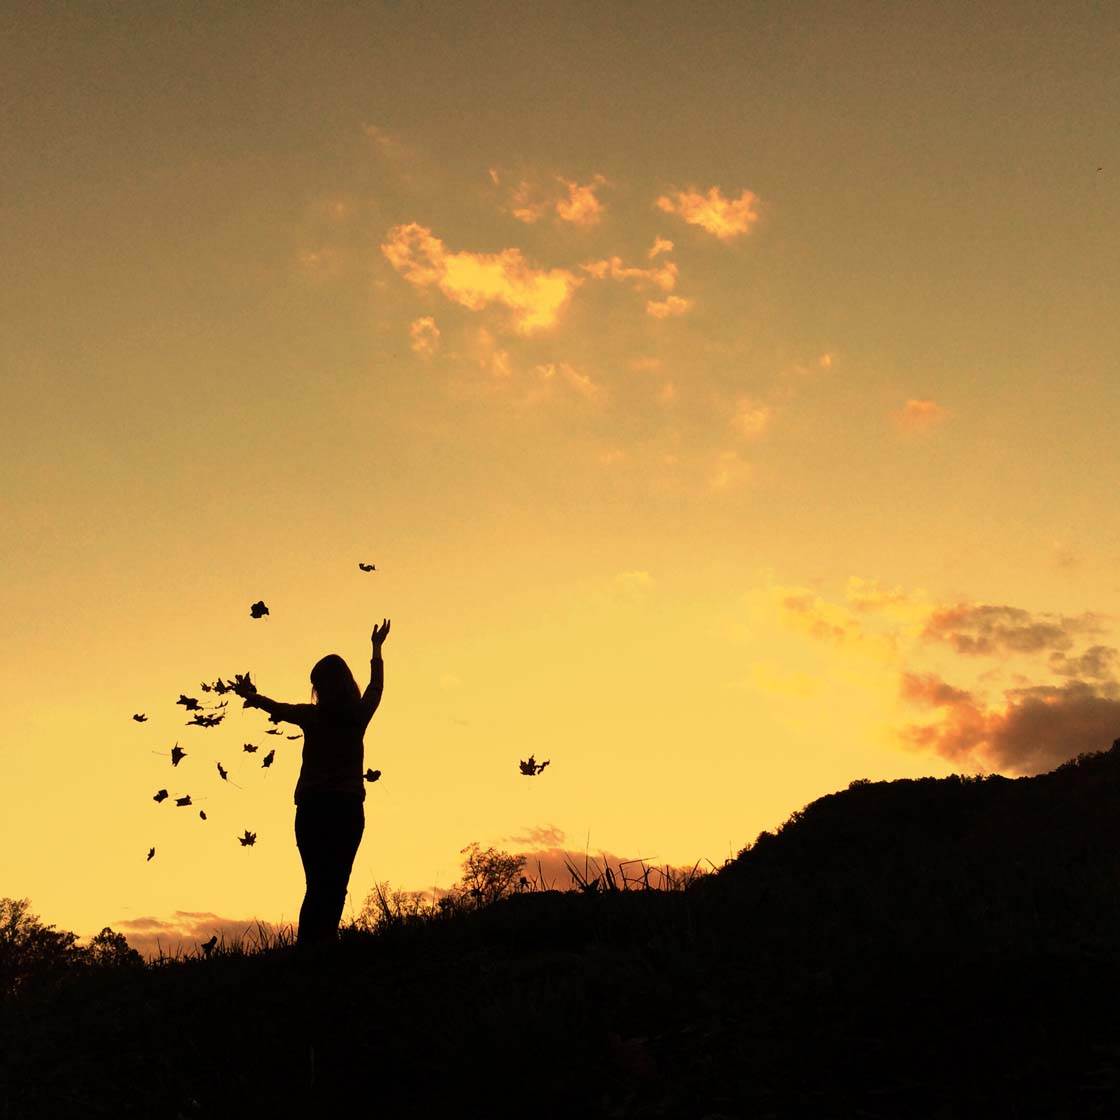
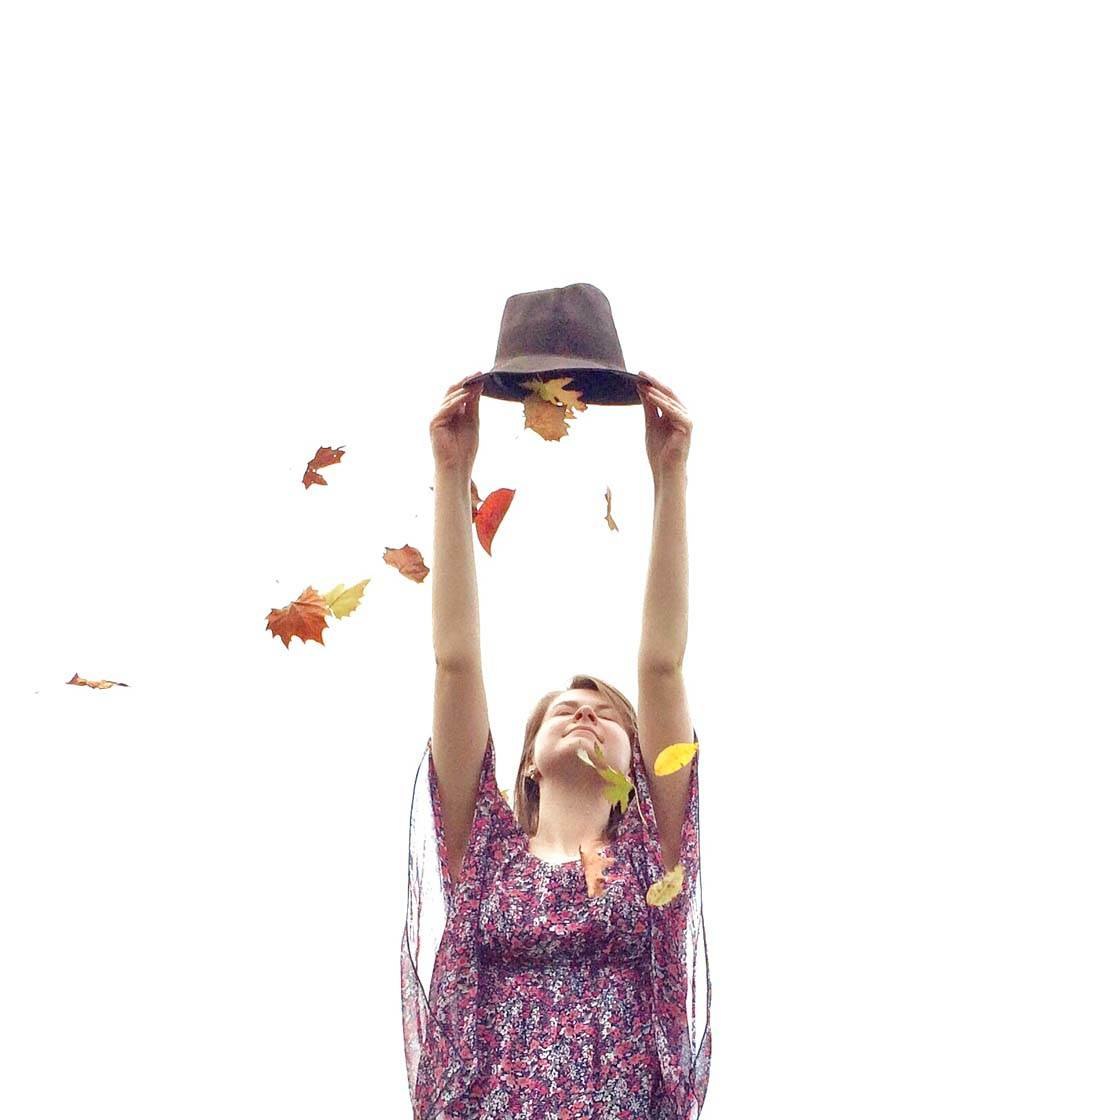
As well as jumping shots, you could have your subject perform other movements, such as shaking their head so that their hair swishes around, or throwing leaves into the air as shown in the photo above.
7. Use The Wind To Show Movement
Another way to capture motion is during a windy day. Even when the light is at its best and your camera is using a fast shutter speed, the wind can cause clothes or hair to blur.
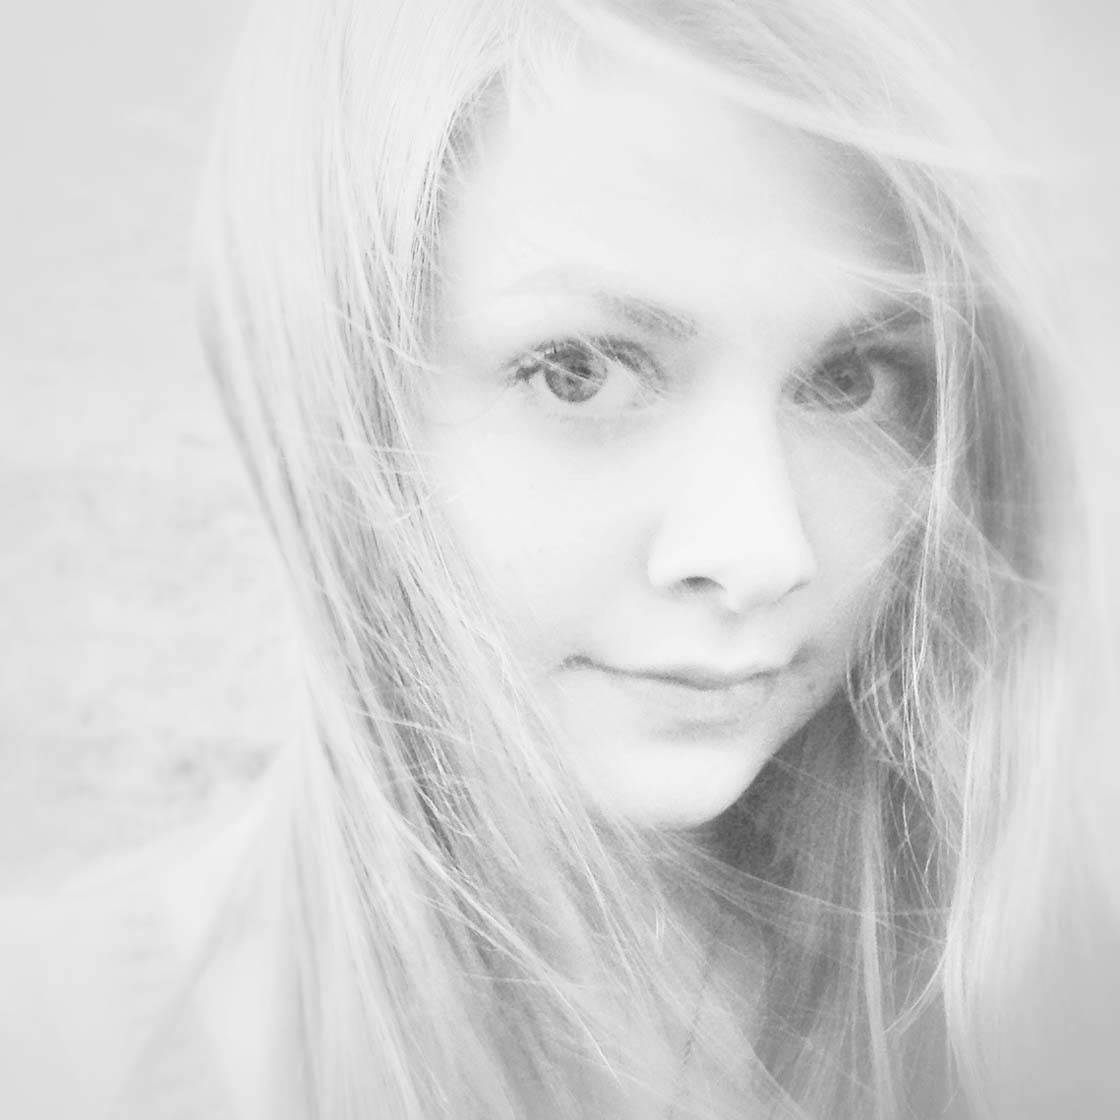
Sometimes this may not be want you want, but often it can actually enhance a portrait shot. It creates a feeling of movement and shows that the subject is at one with nature.
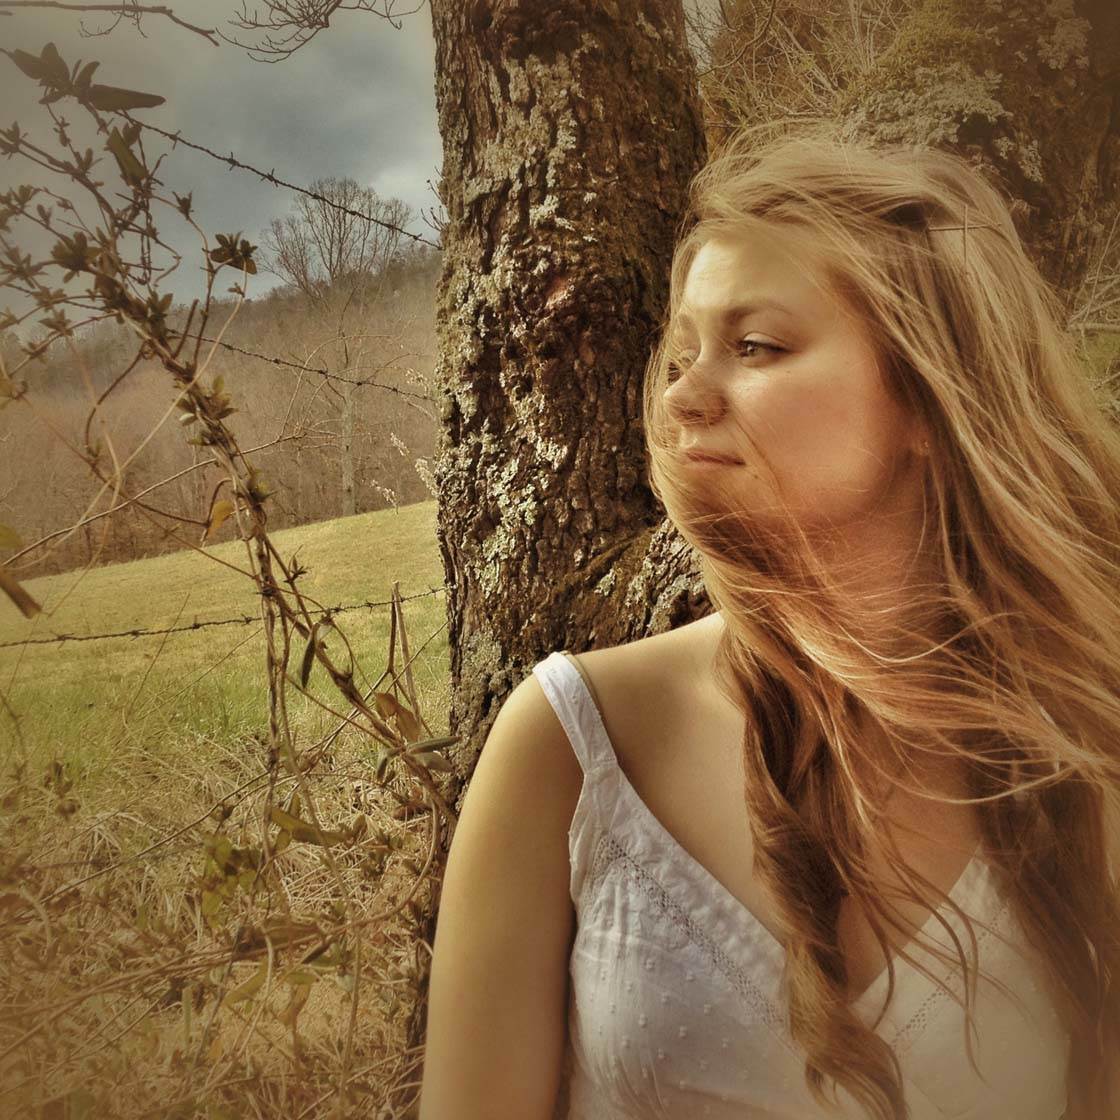
On a windy day, you can also look out for trees or grass blowing in the breeze. Use these elements to convey a sense of movement in your photos. If the light is bright and the movement is being frozen, use the Slow Shutter Cam app to blur the movement.

Another classic shot is to capture the seeds being blown off a dandelion clock and swept away by the breeze. Swirling clouds in the background can also convey a sense of movement and drama.
8. Leave Active Space
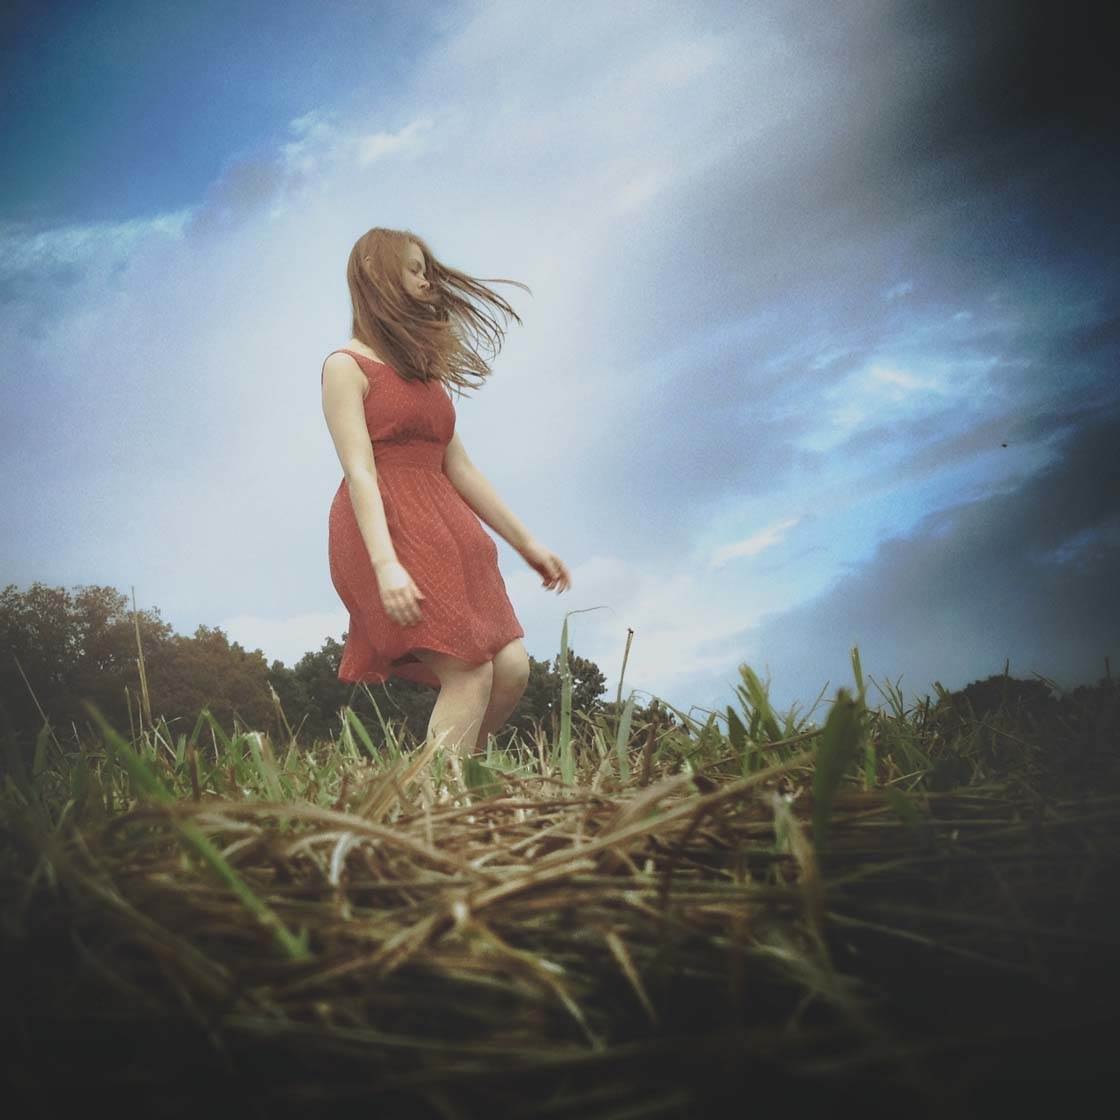
When photographing moving subjects, it’s generally best to leave more space in front of the subject than behind them. This gives the viewer the feeling that the subject has enough space to move into, and their eye can follow the direction of the anticipated movement. We call this “active space.”
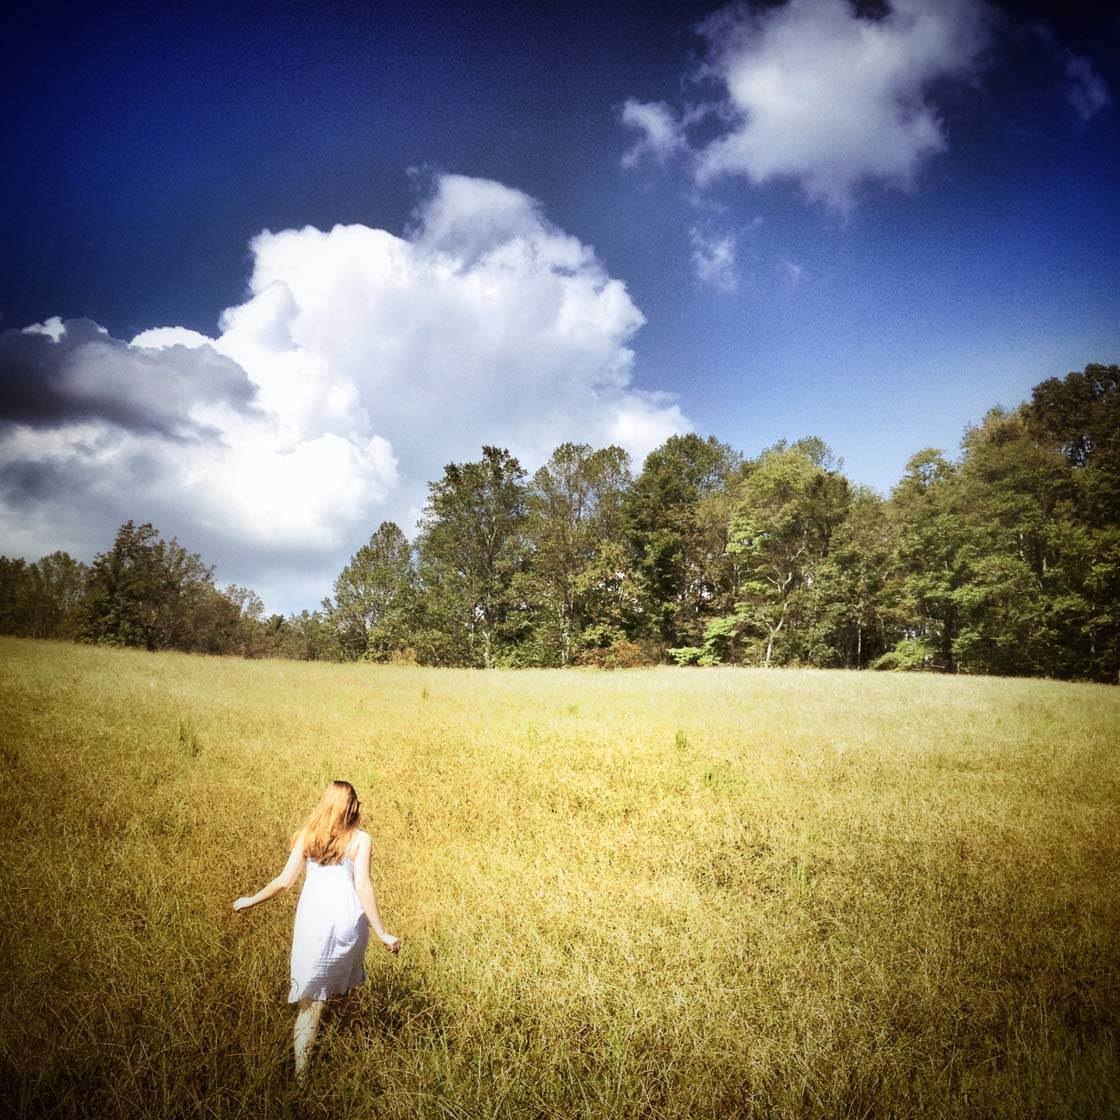
When photographing a subject that’s moving across the scene from left to right, position them nearer the left side of the frame with more space in front of them than behind. Likewise, if they’re moving from right to the left, position them nearer the right side of the frame.
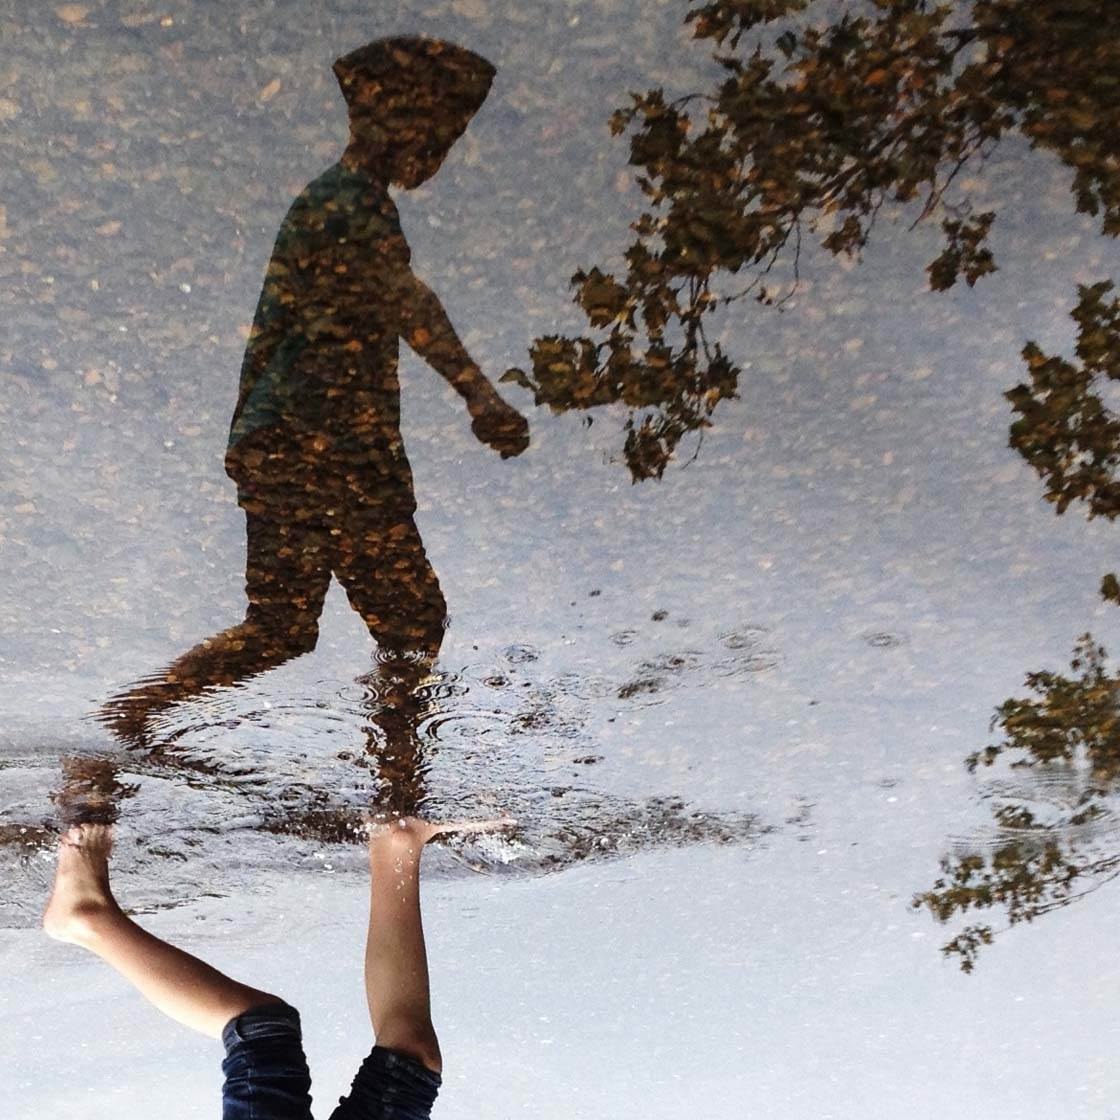
If you position the subject on the other side of the frame they’ll look like they’re about to walk out of the picture. Of course you can intentionally break this rule for creative effect, to convey a feeling of speed or to create tension in the image.
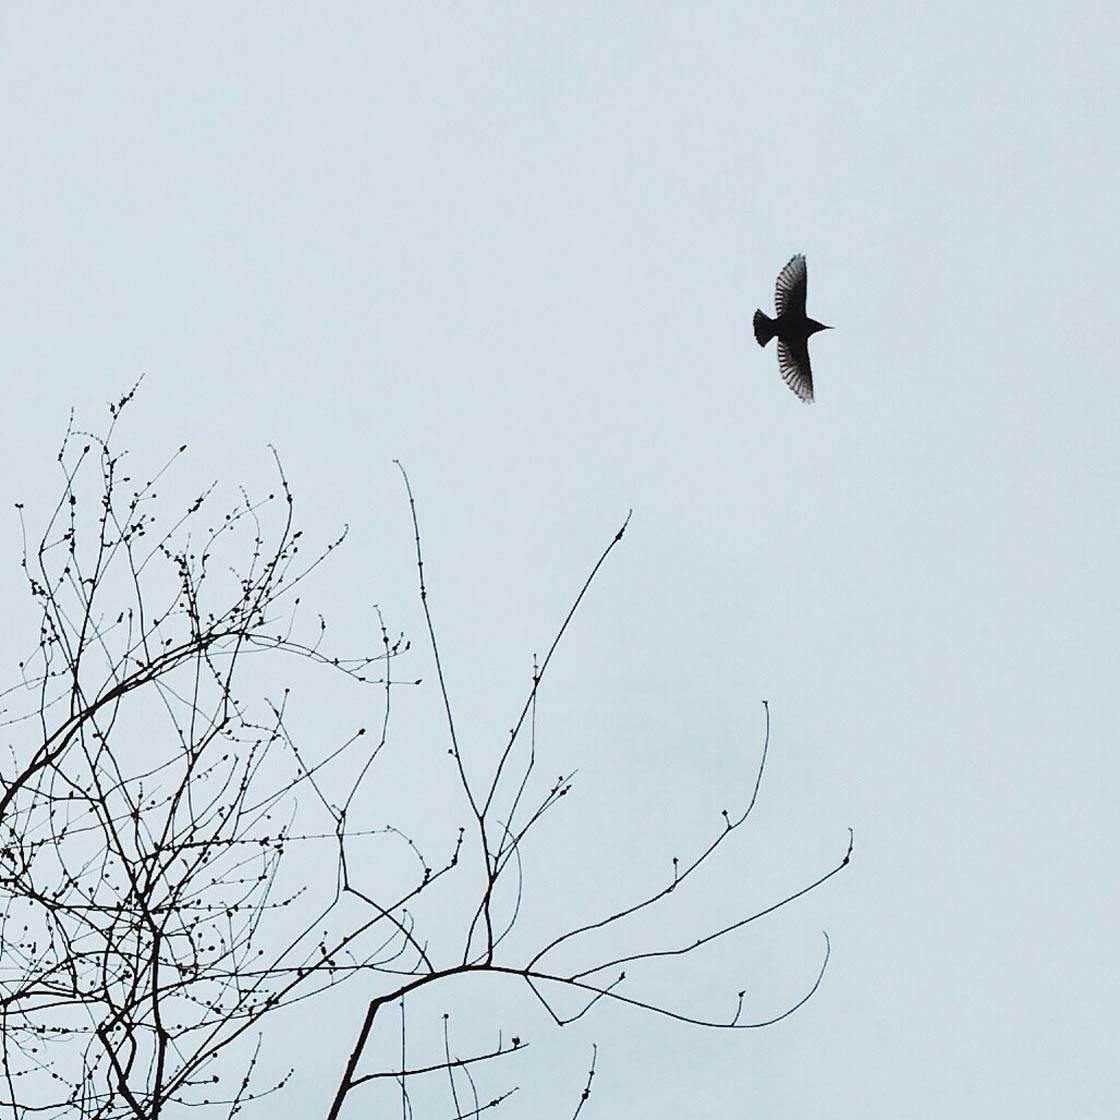
I like this shot of a flying robin where it has more space behind than in front. It creates a sense of speed, showing how fast the bird is traveling though the frame.
Rules are made to be broken! But you should learn the rules first, so that you can break them with intention for creative or dramatic effect.


Thanks for these great tips and fantastic photos to show the difference between freezing and blurring motion in an image.
Thanks, Kate! It’s one of my favorite kinds of photography techniques.
so so good
Thank you, Fardeen!
Thank you, very useful tips.