Creating mystery and intrigue in your iPhone images will always raise an interest beyond your normal everyday photography. A photo that makes the viewer curious, ask questions, and wonder about the story of the subjects is likely to be a great success. In this tutorial you’ll discover nine highly effective ways to create intriguing and mysterious photos with your iPhone.
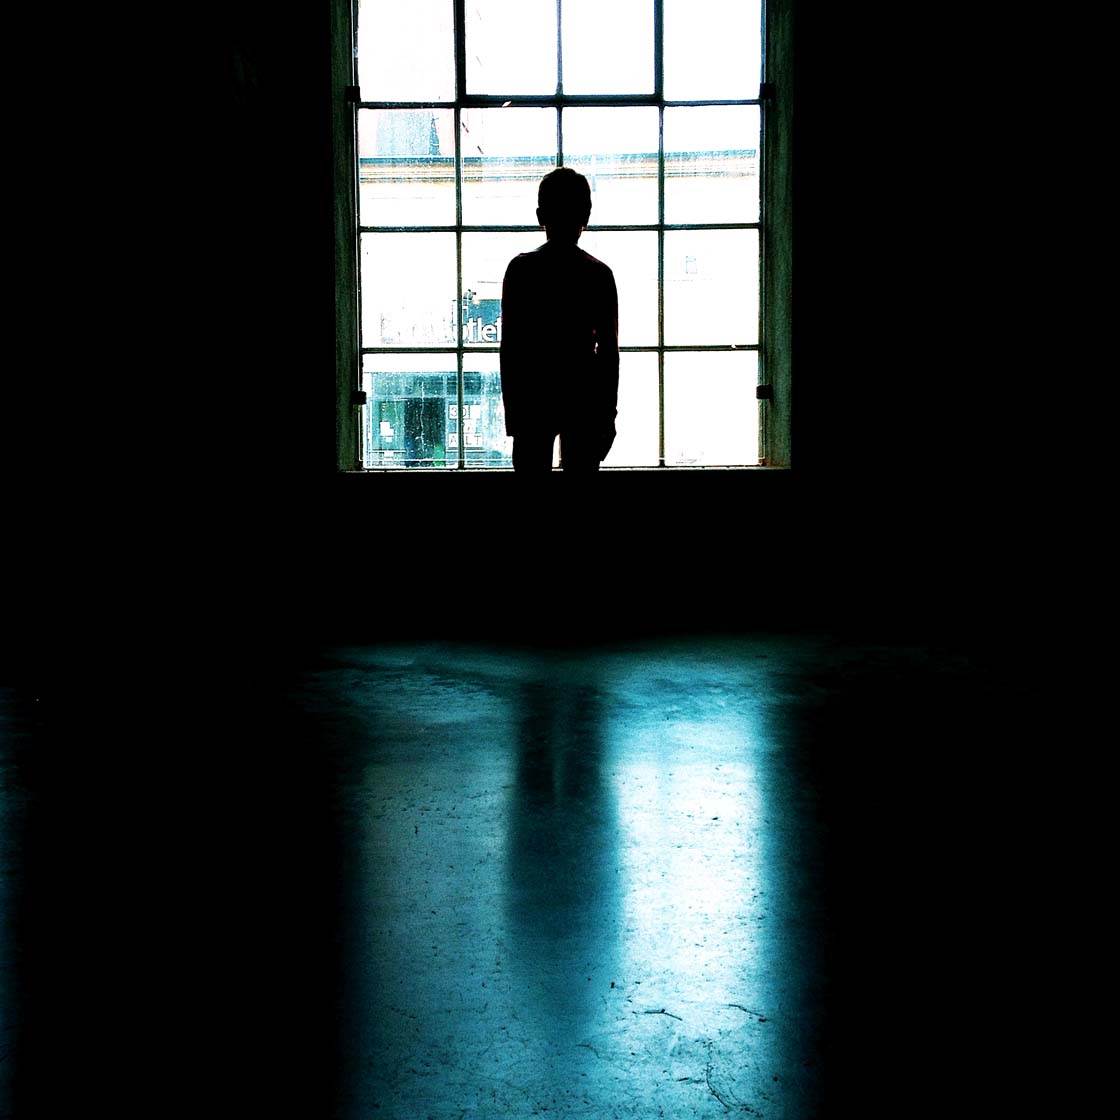
1. Create Silhouettes
Creating a silhouette is probably the easiest way to add a bit of mystery to your photography. A silhouette photo is where the subject appears as a dark outline against a bright background, and we tend to find them extremely visually powerful.
Because no detail can be seen in the subject, this will leave the viewer intrigued about what or who they’re looking at, and this naturally creates a longer lasting impression of the image.
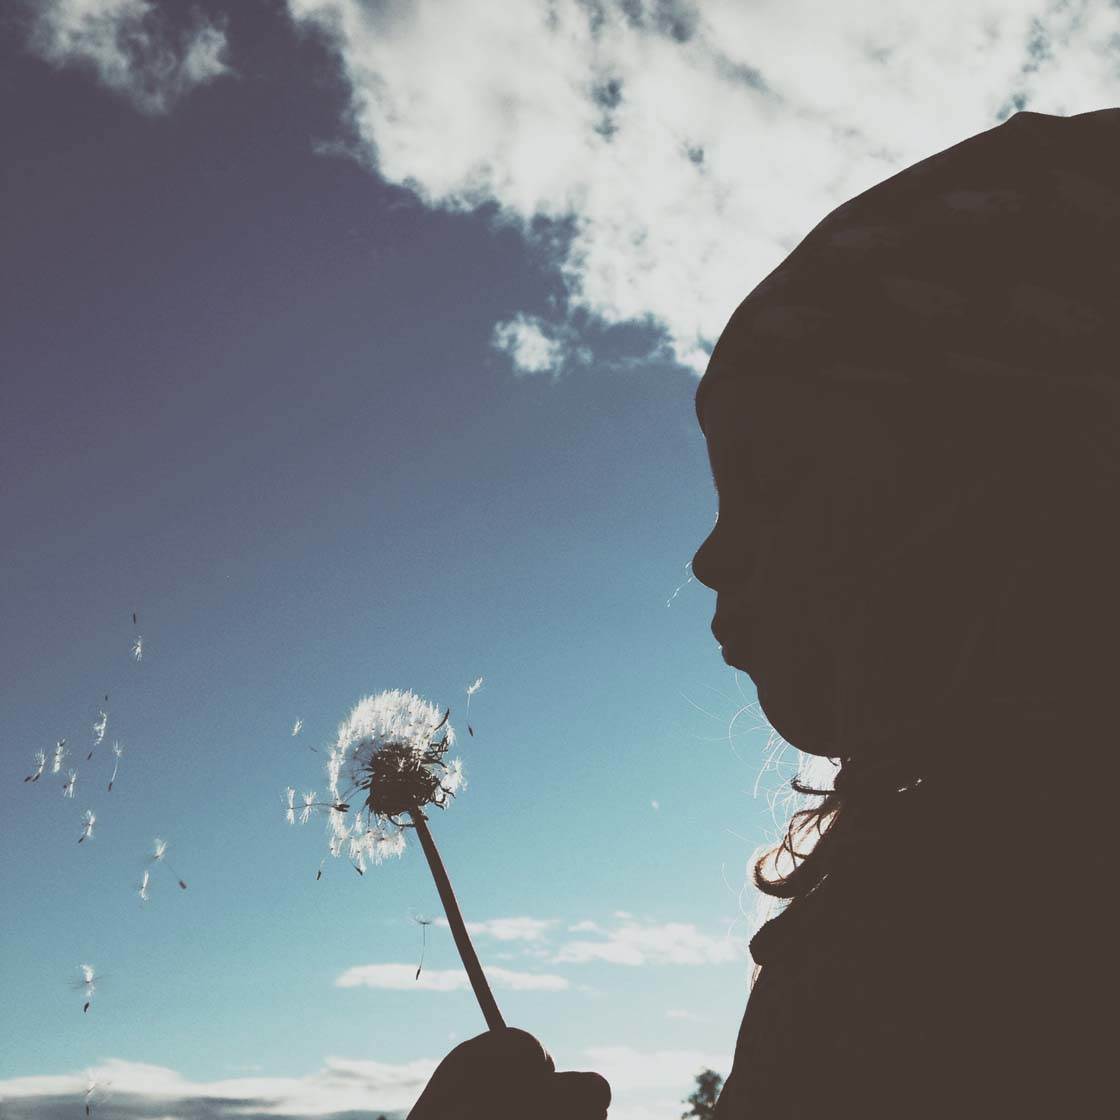
So how do you create a silhouette? Start by placing your subject in front of any source of bright light, then tap on the screen to get your subject in focus. Now swipe downwards on the screen to reduce the exposure, making the subject appear as a dark silhouette against the brighter background.
One of the best sources of light comes naturally, in the form of the sun. Try to shoot around sunset or sunrise for the best results. During the golden hours (an hour after sunrise and an hour before sunset) the sun stands low in the sky so you can place your subject directly in front of it. At this time of day the light is soft and mellow, and the sky can be all sorts of wonderful colors.
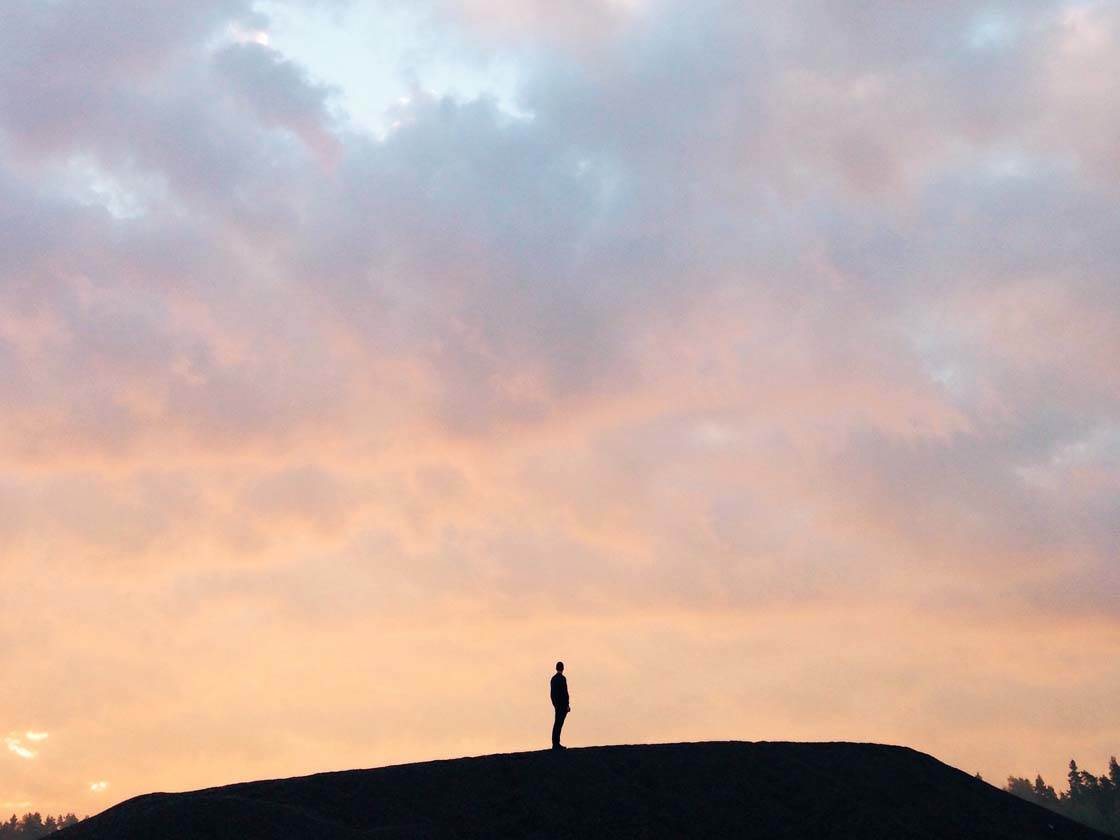
You can also create silhouettes by positioning your subject in front of a window, or by placing an artificial light source behind them. Any situation where you have a bright light source backlighting your subject is perfect.
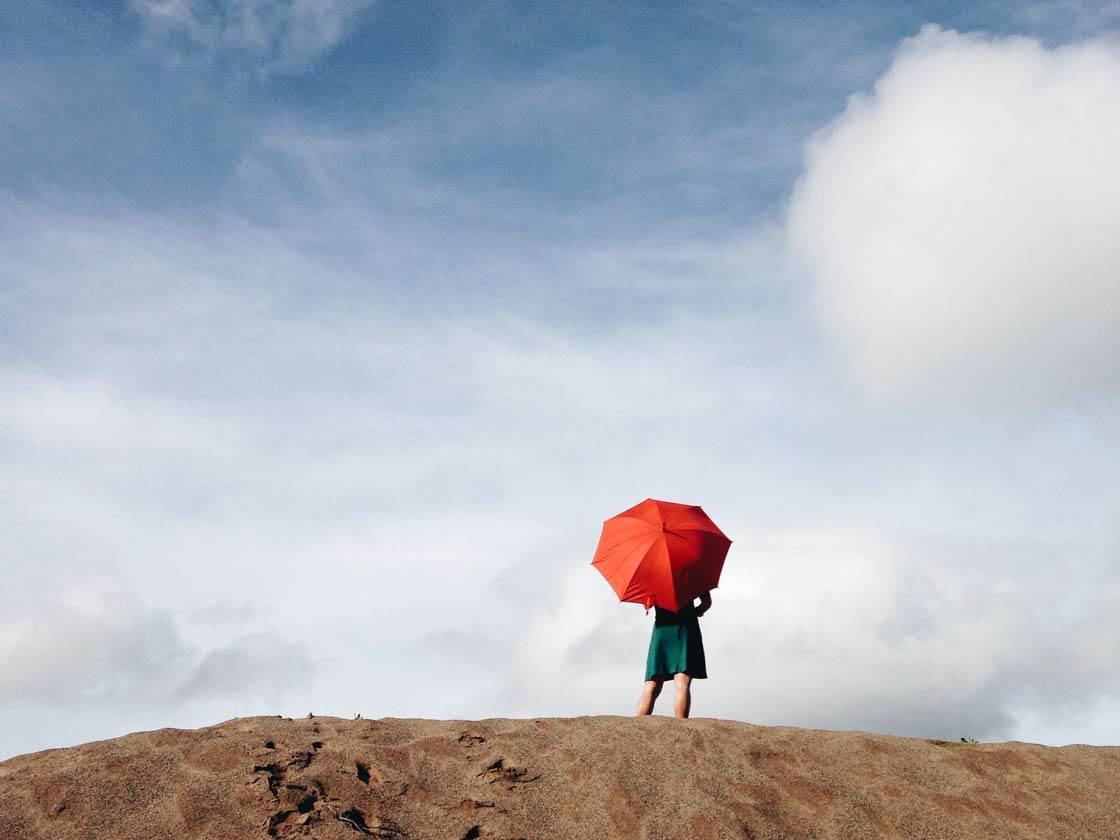
When creating silhouettes, aim to get as much plain background behind your subject as possible so that they stand out better. A busy background will be distracting and will take attention away from the silhouetted subject. An easy way to get more sky behind your subject is to place them as high as you can.
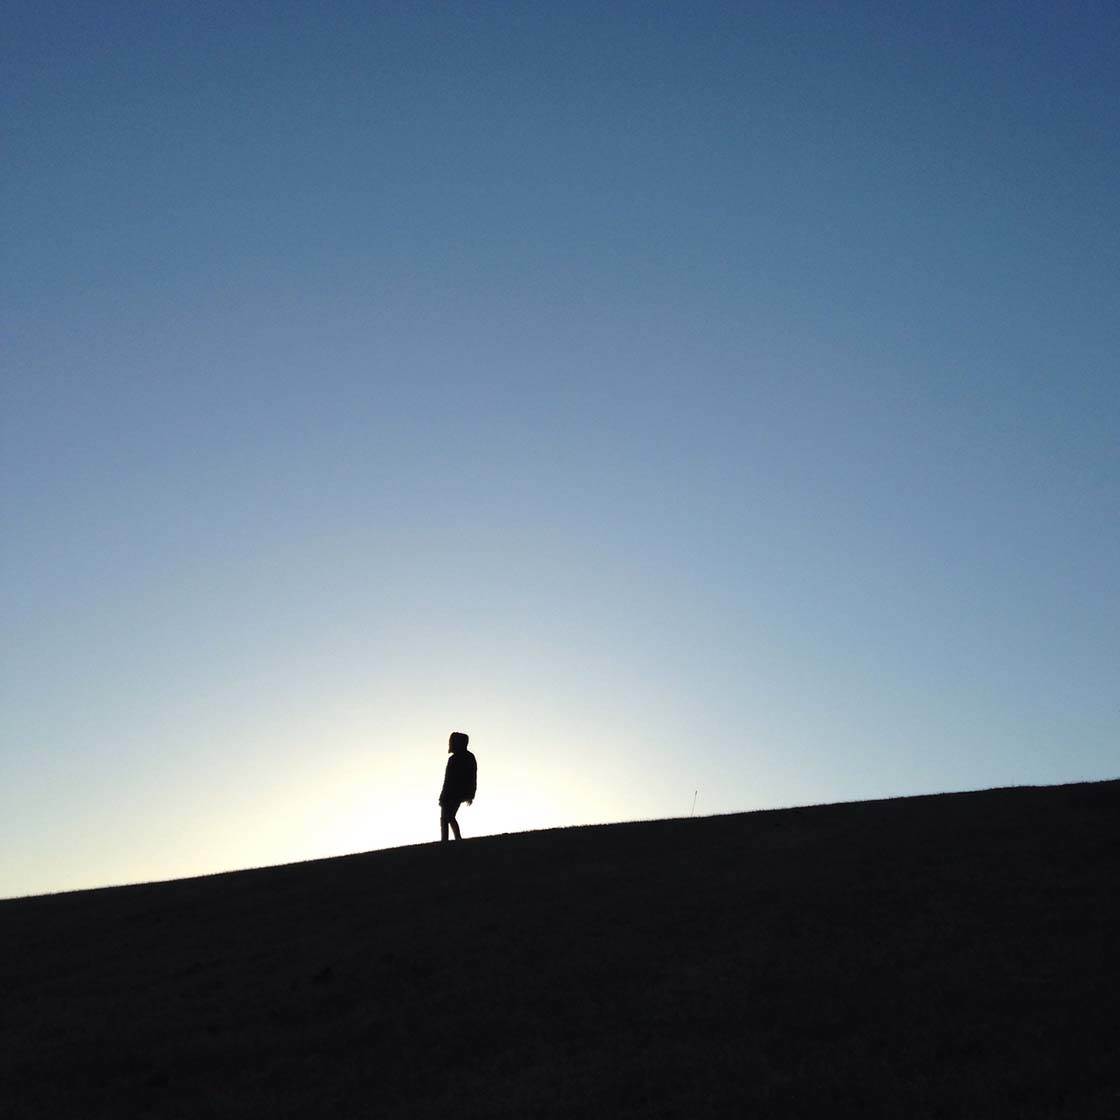
Look for big rocks or hills where you can position your subject, then shoot from a lower viewpoint. If this isn’t possible, try getting low to the ground with your iPhone and shooting from a very low angle. This will have the same effect as placing the subject higher, and you’ll get more sky behind the silhouette.
2. Include Only Part Of Your Subject In the Frame
This is a rather easy kind of image to create, which can add a fun and intriguing element to your photo. All you need to do is find your backdrop of choice and decide which part of the subject you want to include in the frame.
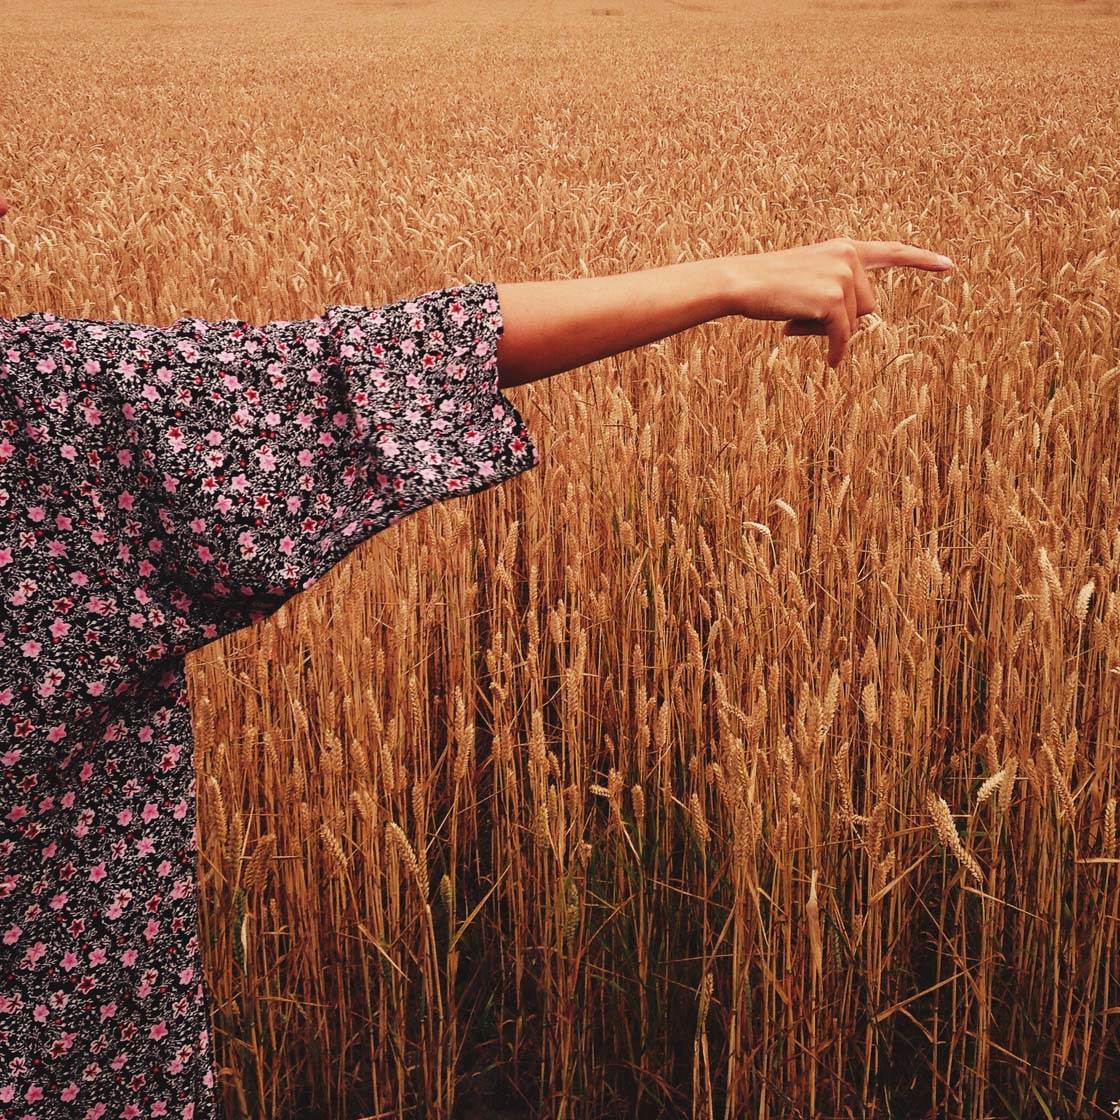
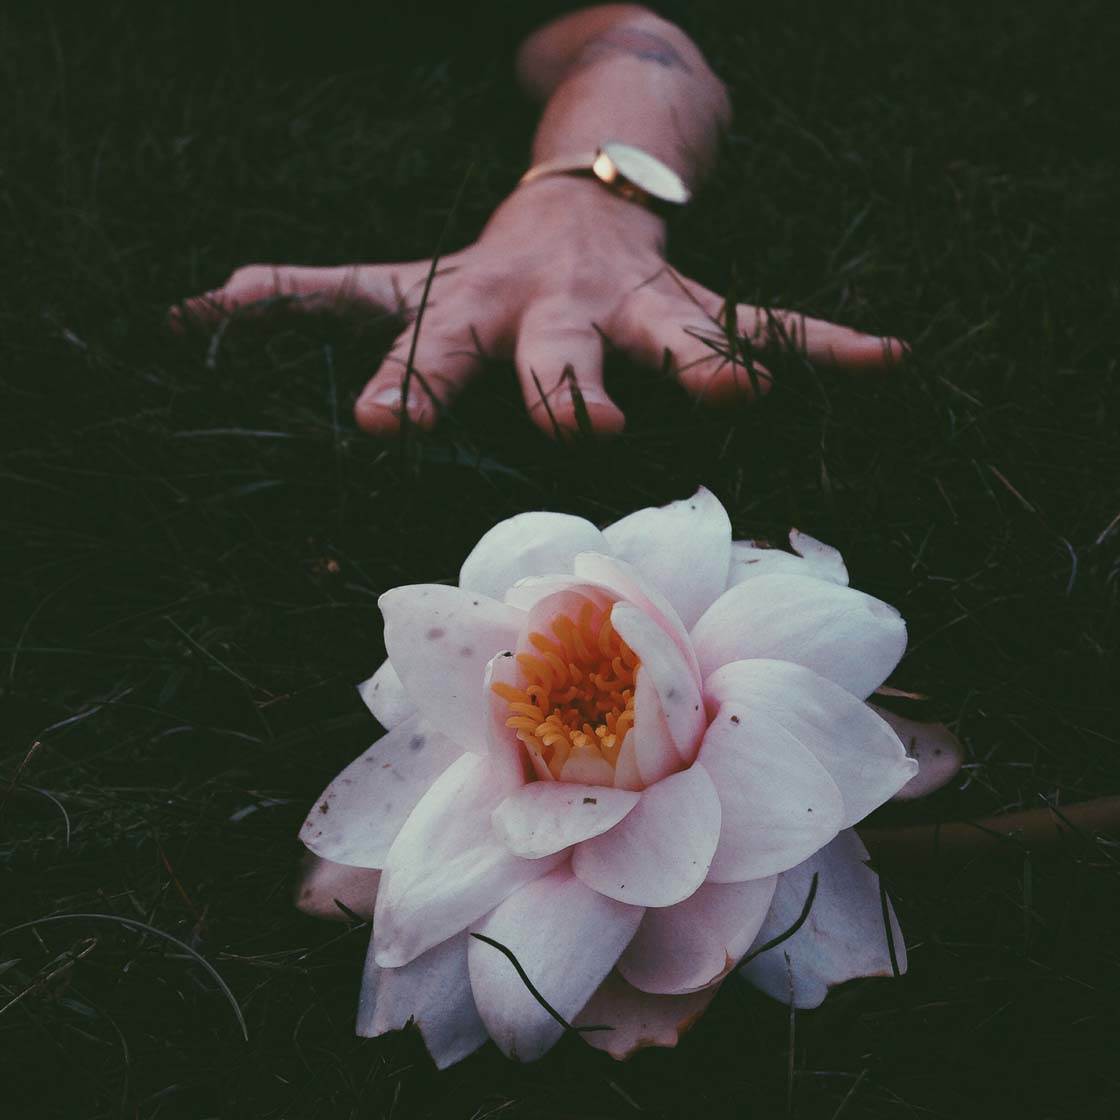
Human subjects are great for this kind of photography as you can just include an arm, a foot, their hair, etc. in the frame, leaving the rest of their body out of the picture. This creates an air of mystery, forcing the viewer to create their own version of the story.
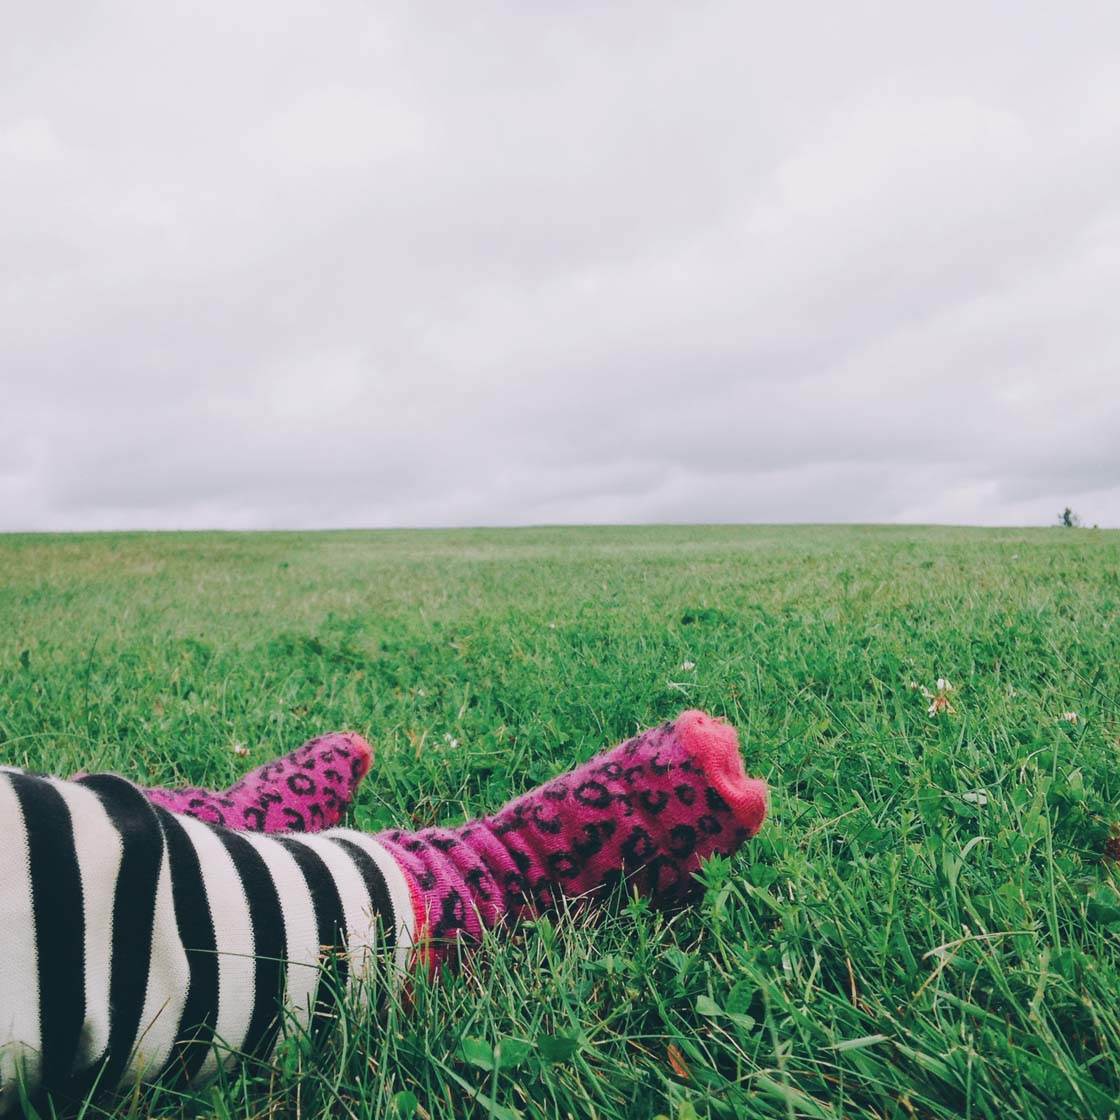
Having someone else pose in the frame would be perfect, but if you’re stuck for a subject you could try photographing your own hand or foot reaching out in front of you. Or use an iPhone tripod and the self-timer to set up a shot where part of you can be in the frame without you having to hold your iPhone.
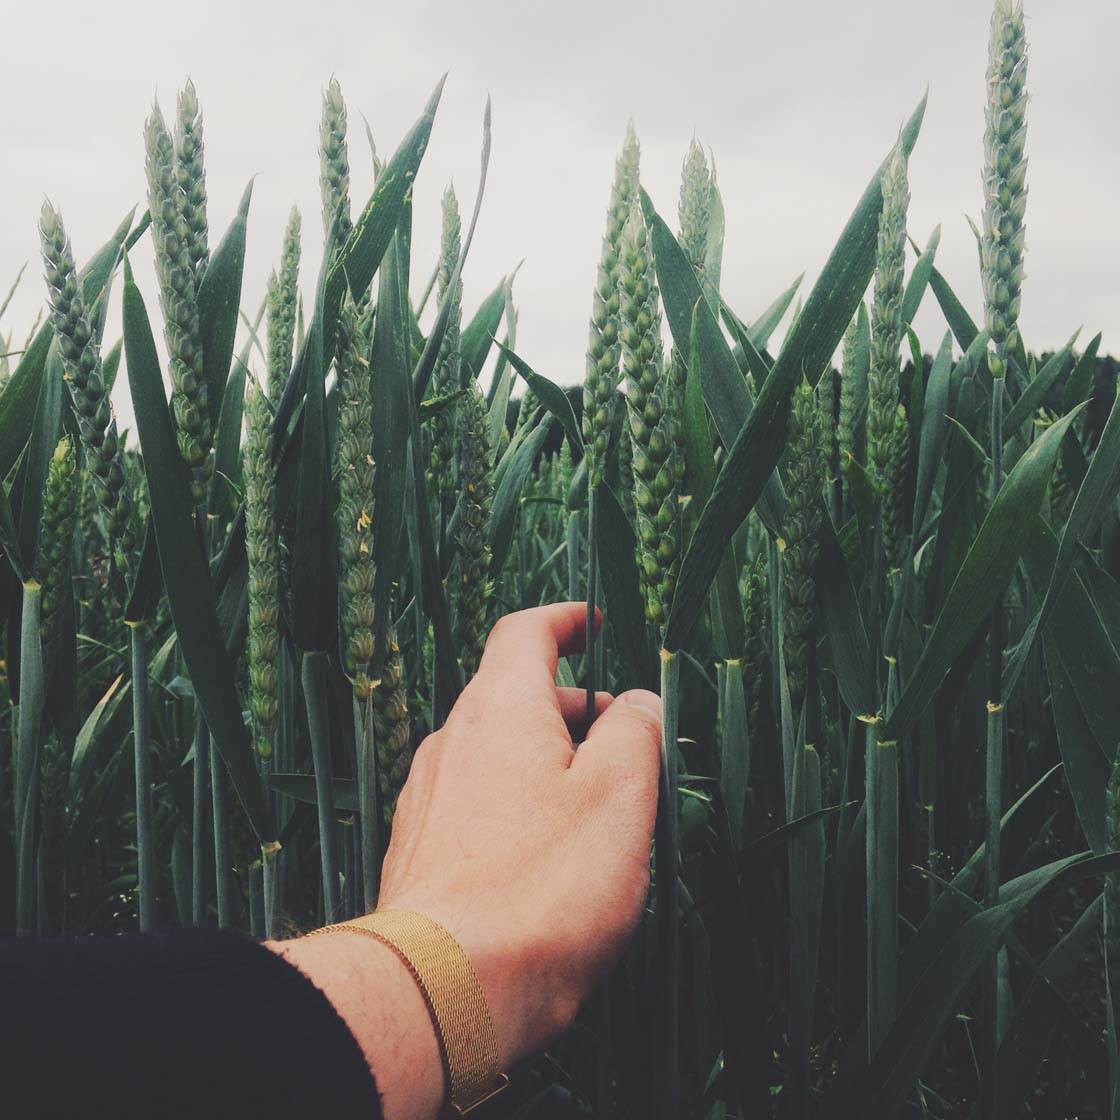
Spring and summer are excellent seasons to do this with all the flowers and greenery coming back to life. Just placing your hand in a bed of flowers, some lush green grass or a field of crops can make a wonderful and intriguing composition.
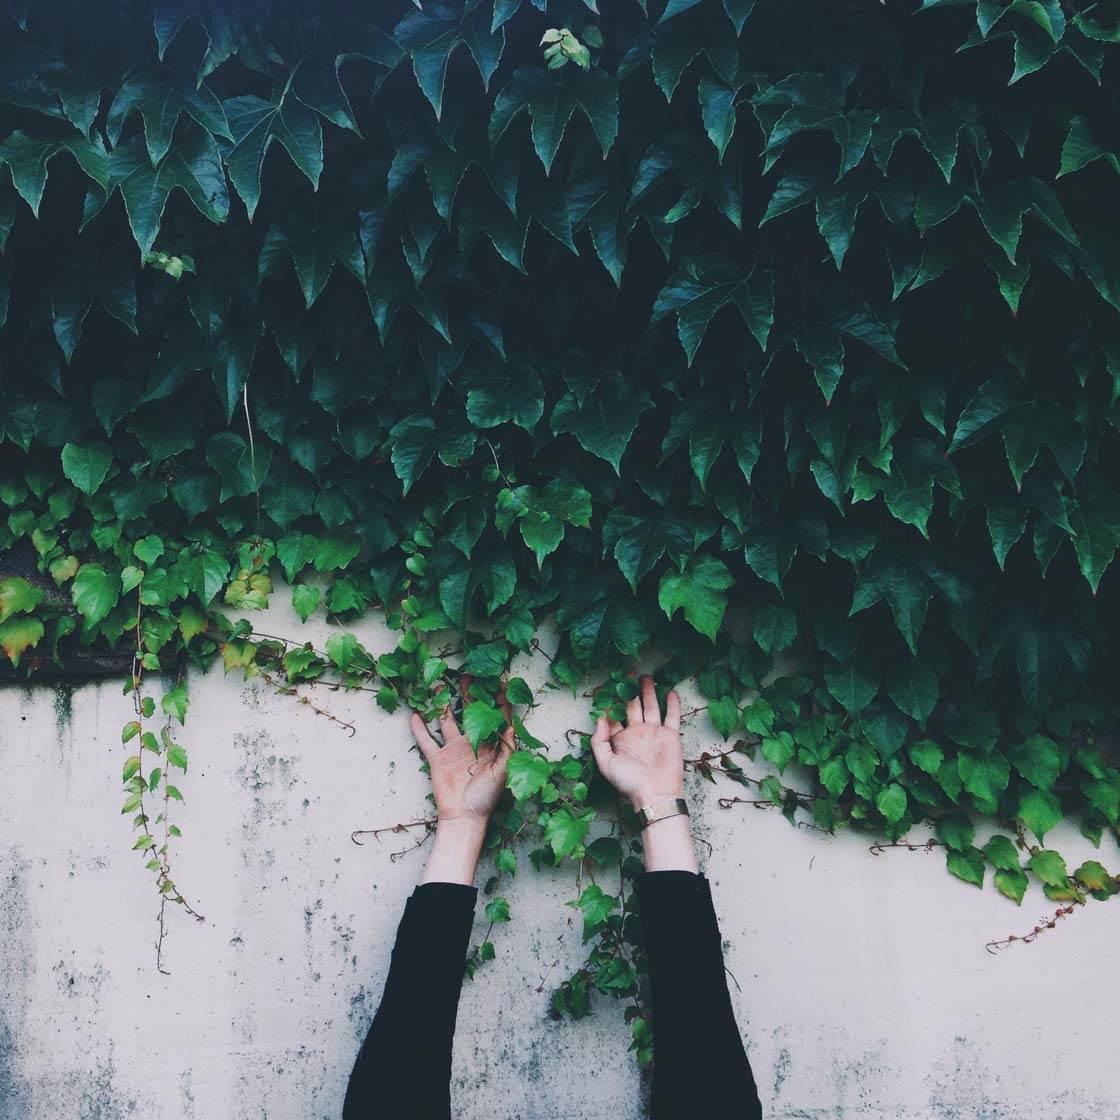
Try out different poses and angles until you get the framing right. Remember that the background is just as important as the subject. Without a good backdrop the photo won’t be very interesting.
3. Hide Your Subject’s Face
Taking photos of people where their face is hidden is a great way of putting a different and mysterious spin on a portrait photo. It’s much easier to create than a traditional portrait as you don’t have to worry about capturing the right expression on your subject’s face. It tends to create a dark and sinister mood which can be very effective.
One of the easiest ways to capture this kind of image is to photograph your subject from behind. Find an interesting backdrop, then ask your subject to turn around so that they’re facing away from you. Getting them to wear a jacket with the hood up creates even more mystery and forms a strong shape against the background.
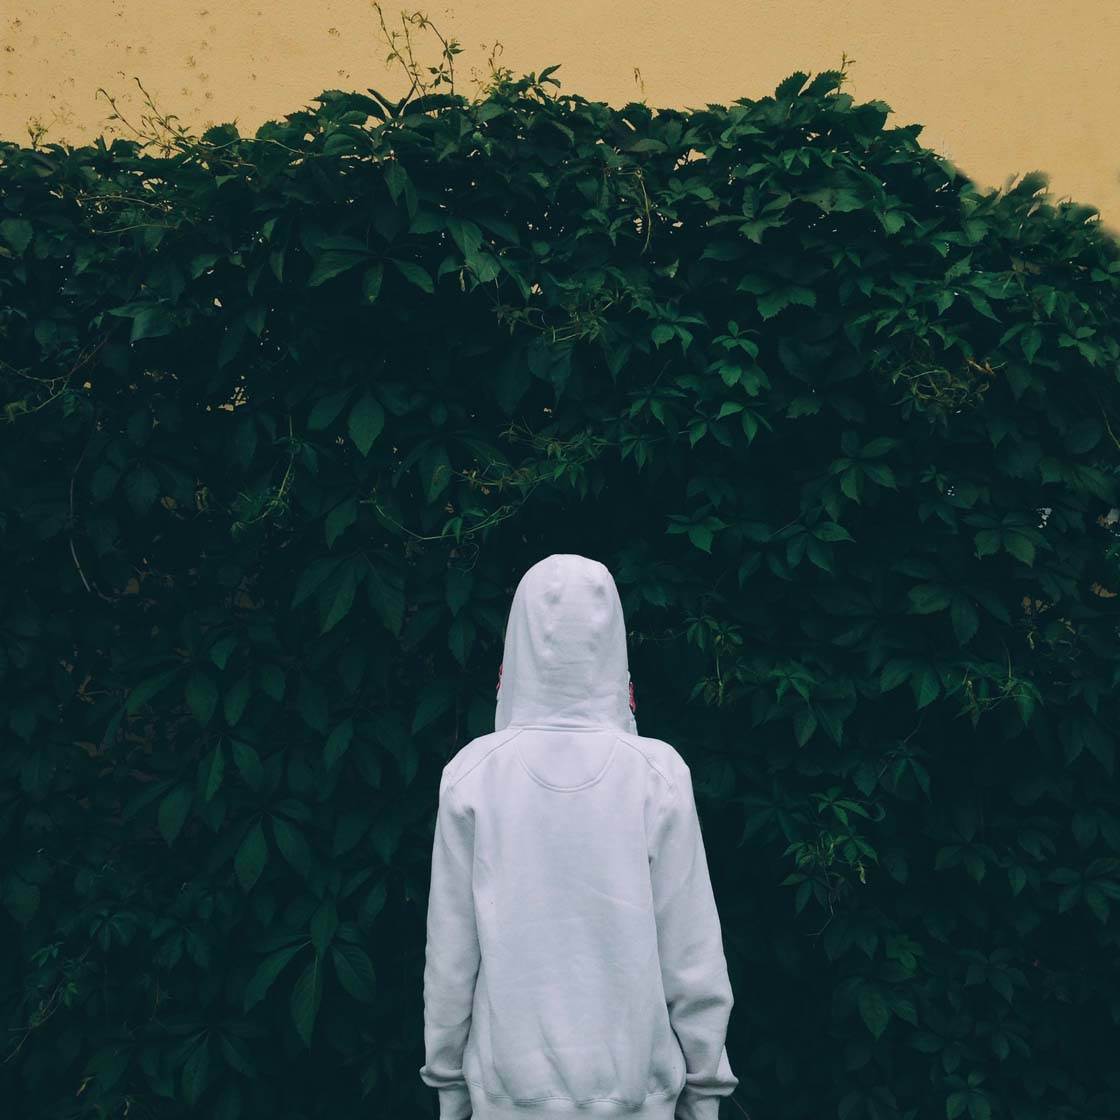
This can also be a good way to photograph a person who doesn’t feel comfortable in front of the camera. They don’t have to be exposed in the same way that they would be if you were taking a traditional portrait photo. It should be relatively easy to find a friend who’s willing to help you out by posing for the image.
It’s also a good way of photographing strangers as it allows them to remain anonymous. You don’t have to worry about them noticing you and they won’t feel intimidated that you’re photographing their face.
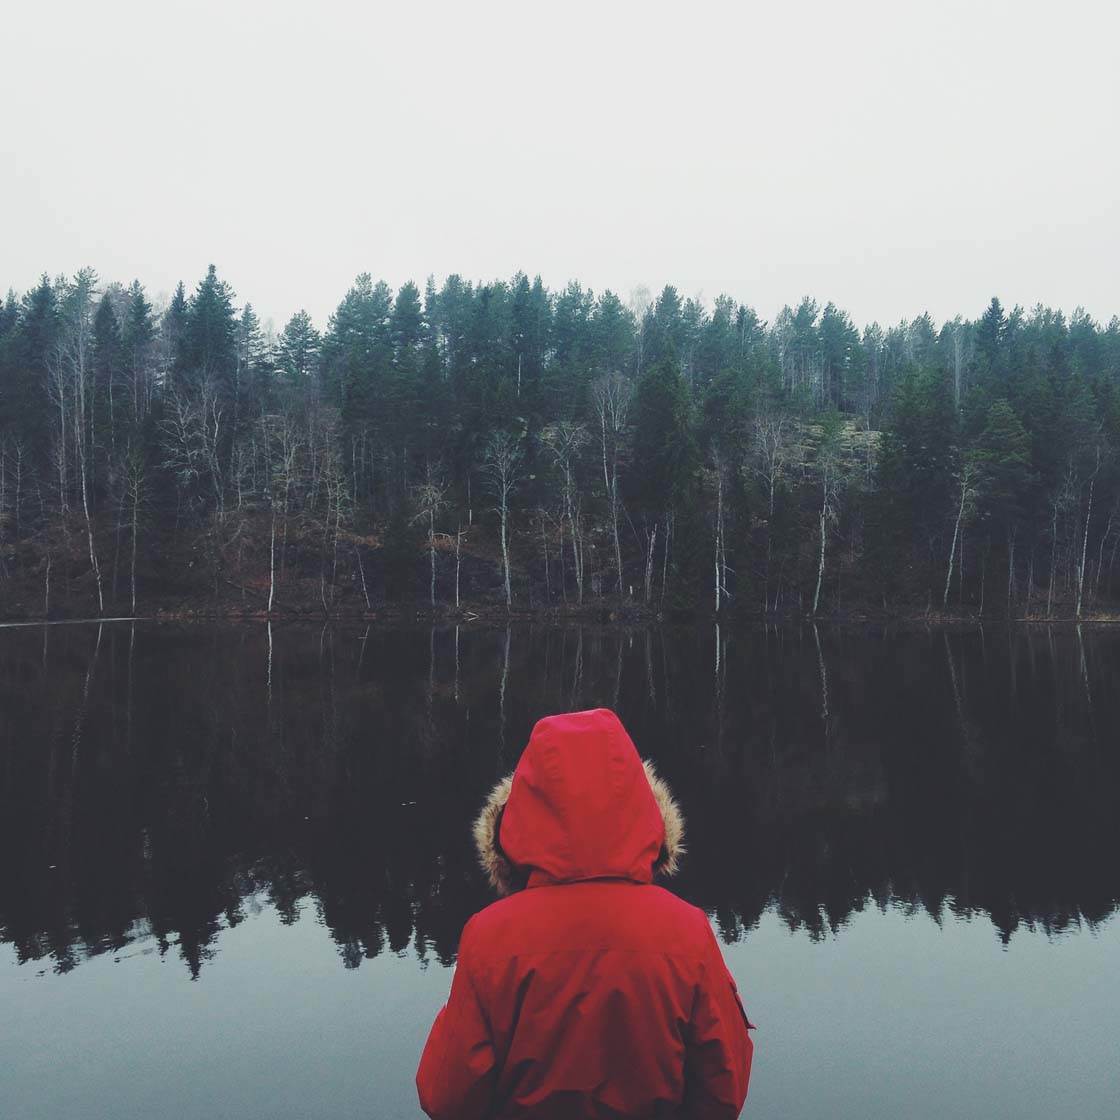
Photographing your subject from this viewpoint while they’re looking out towards a scene is also a great way to imply that your model has some sort of connection to the backdrop. It leaves it up to the viewer to figure out the connection, and will definitely raise some questions in their mind.
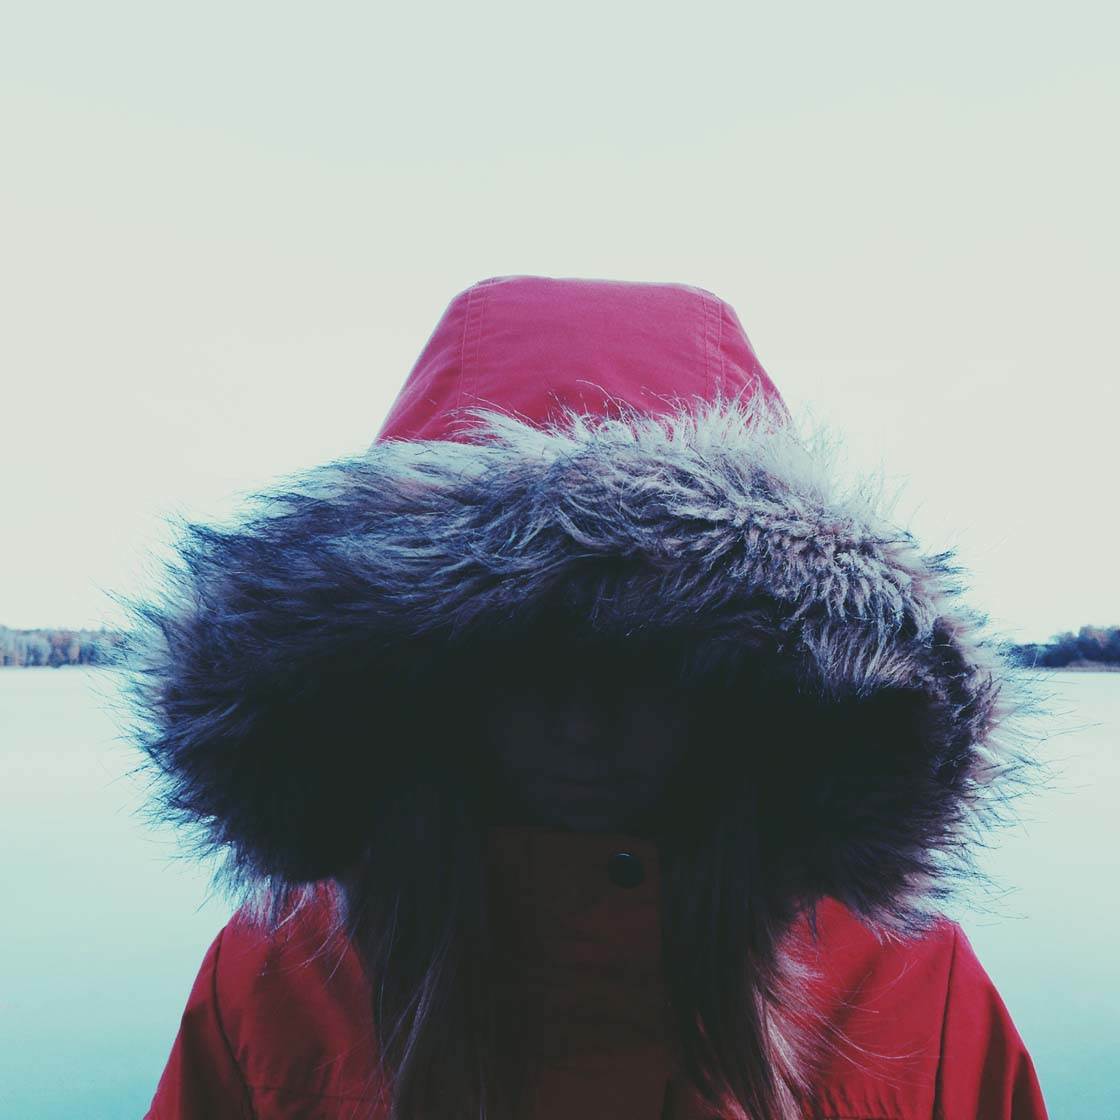
There are plenty of other ways of hiding your subject’s face, even if they’re facing the camera. You could ask them to wear a hat, hood, scarf or veil that covers all or most of their face.
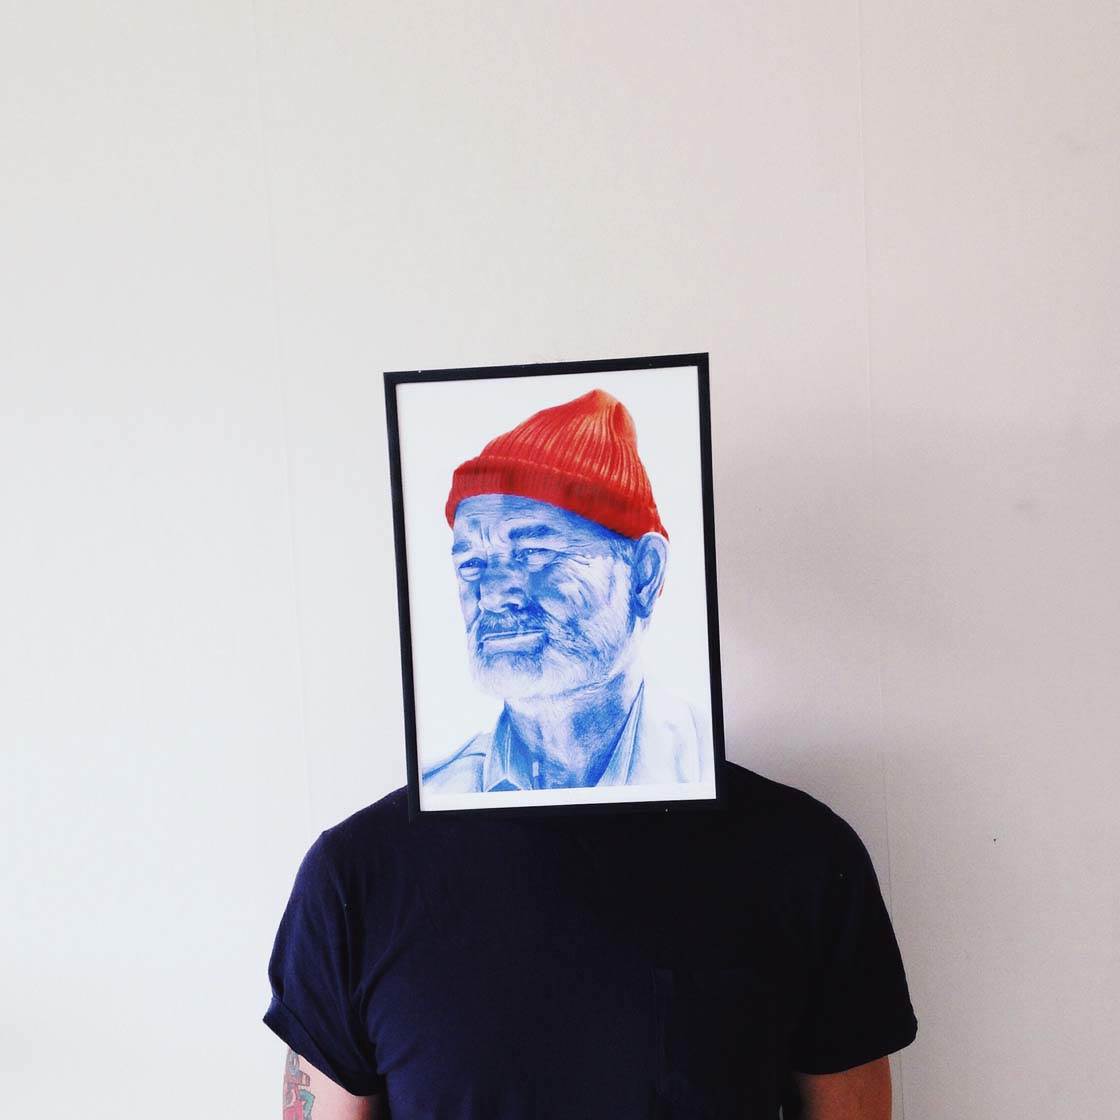
Or get even more creative with fun and interesting props. You could place a picture of someone else in front of the subject’s face to create a different identity for them. Ask them to hold a bunch of flowers out in front of them or cover their face with their hands. The options are endless!
4. Make Your Subject Small In The Scene
Another technique that helps to create a sense of mystery is to make the subject very small within the scene. The lack of detail in the tiny subject will make the viewer wonder who that subject is, and they’ll question what they’re doing so far away from the camera.
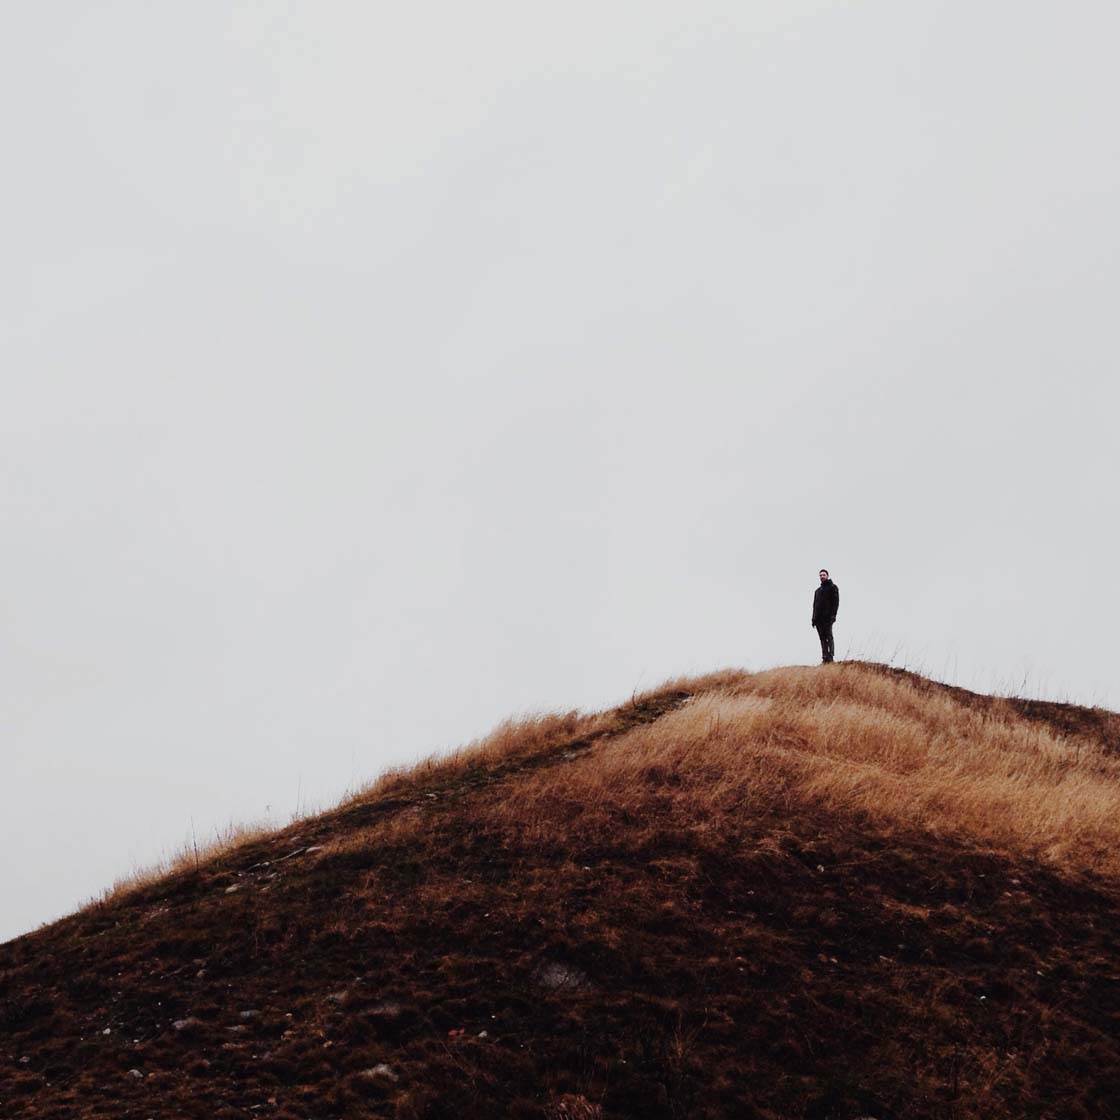
This kind of composition tends to create tension in the photo, with the viewer wanting to reach into the photo to get closer to the subject. This type of photography particularly suits wide open landscapes, but it can work in other situations.
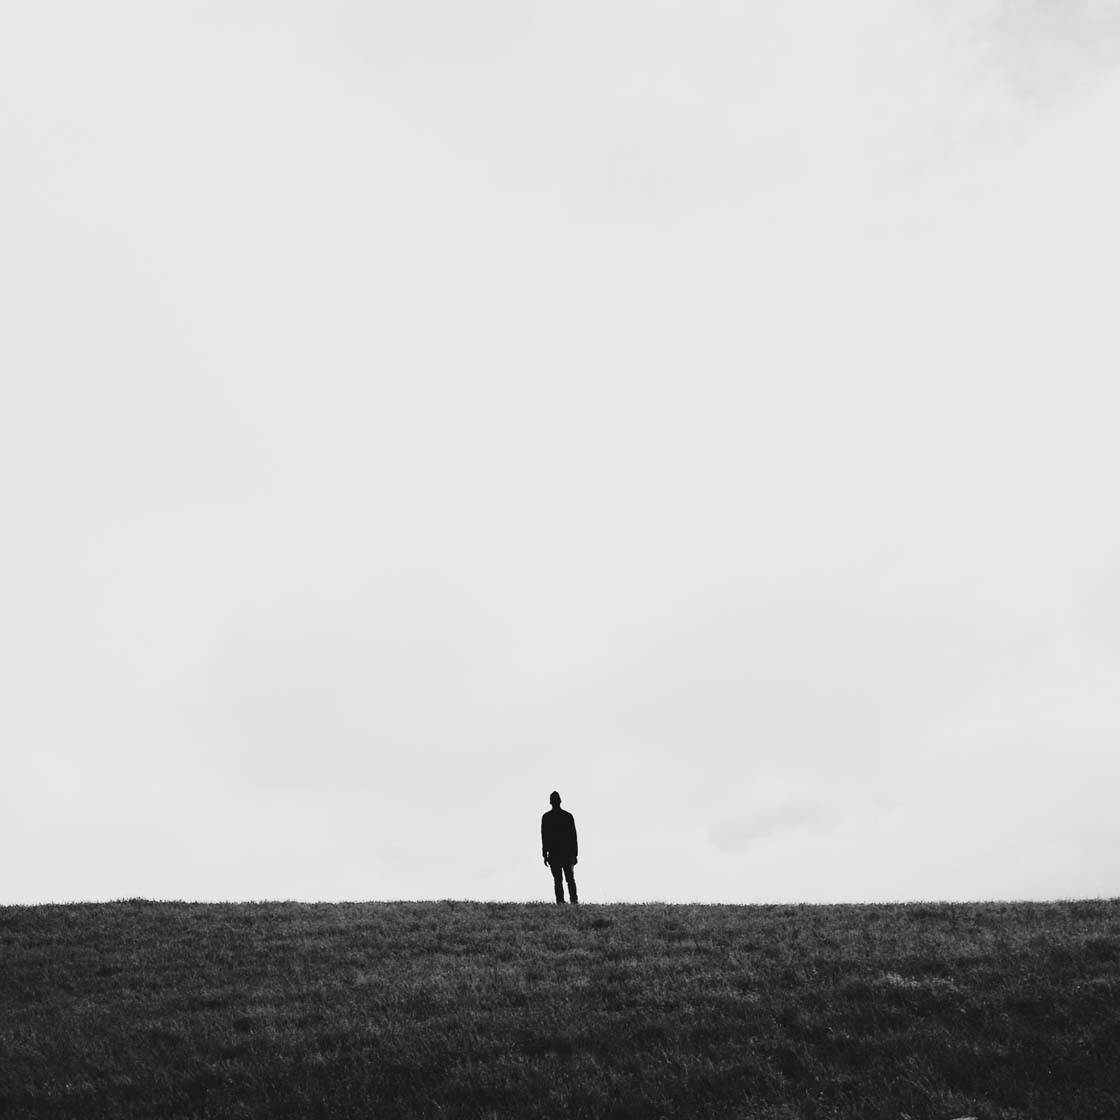
Just make sure that you can place the subject you’re shooting far away from the camera, while still being able to separate your subject from the surroundings to make them clearly visible to the viewer.
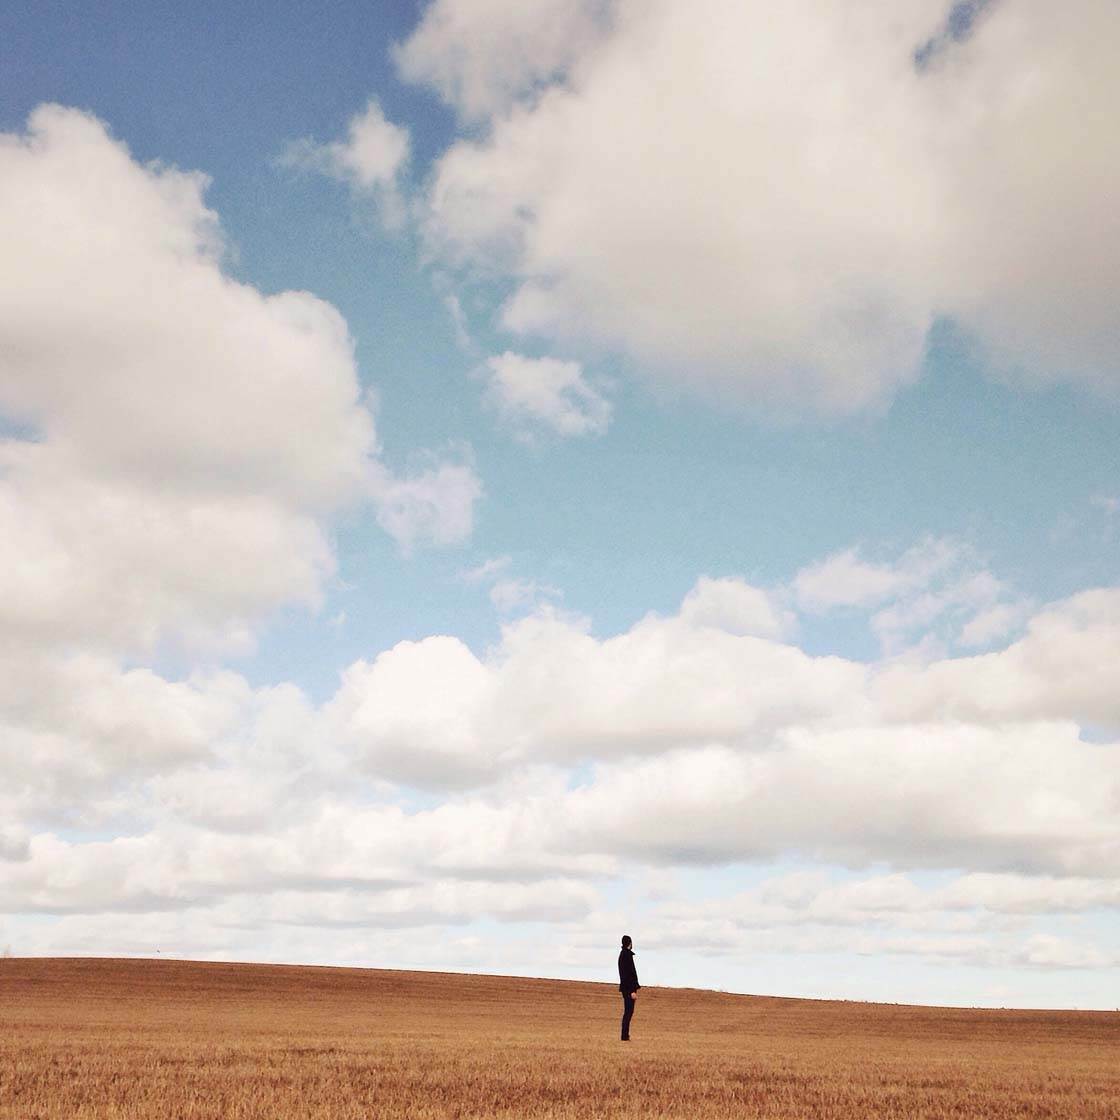
The small size of your subject and a large amount of empty negative space will help emphasize the scale of the landscape. Scale can be very intriguing to the eye, and a small person against the might of nature will always spark an interest.
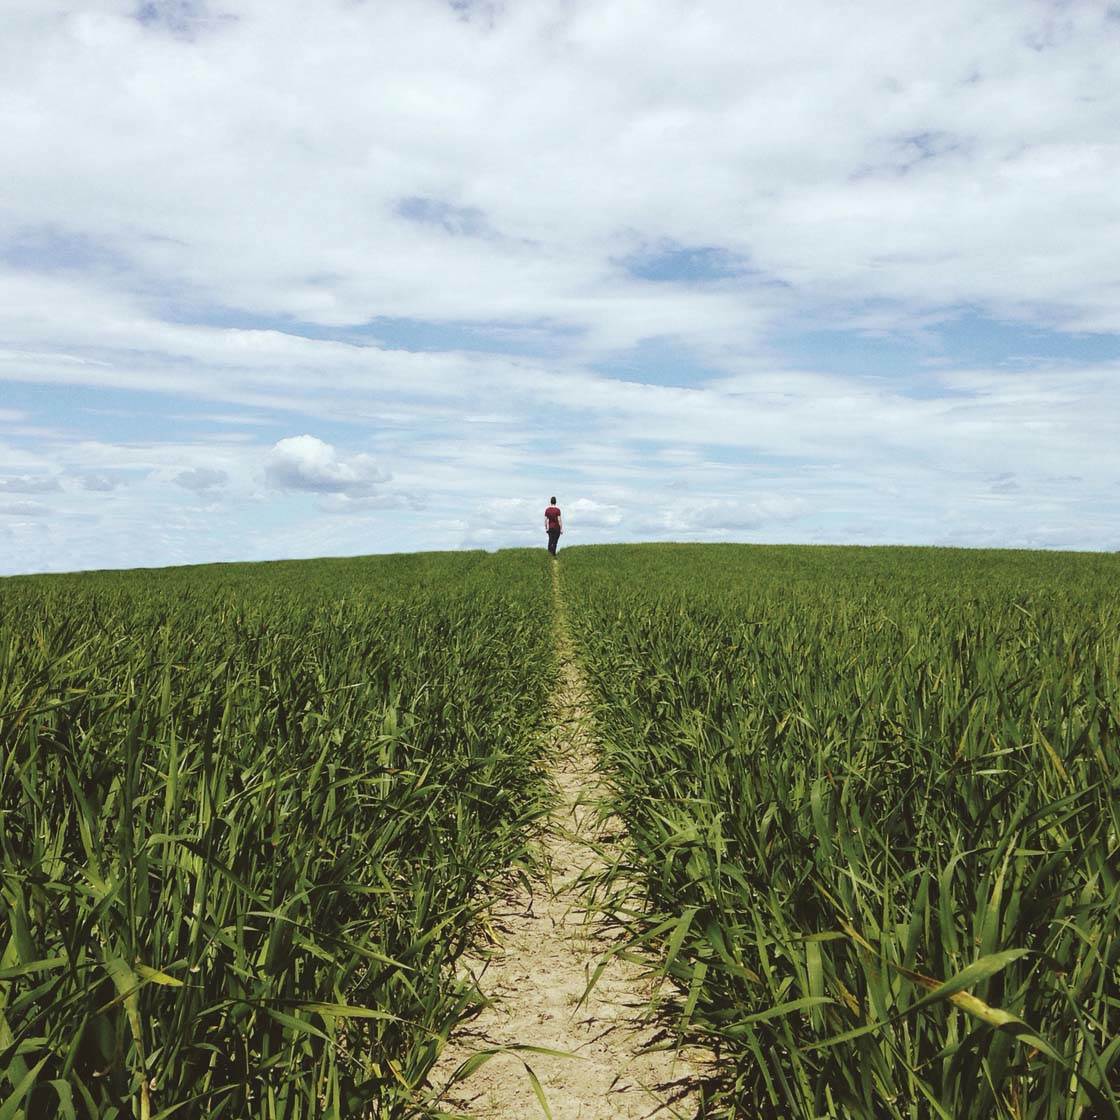
Placing your subject far away from the camera also helps to create depth in your photo. This will take the viewer’s eye from the foreground of the image towards the point of interest. The viewer’s eyes are invited on a small journey through the scene that they will definitely appreciate.
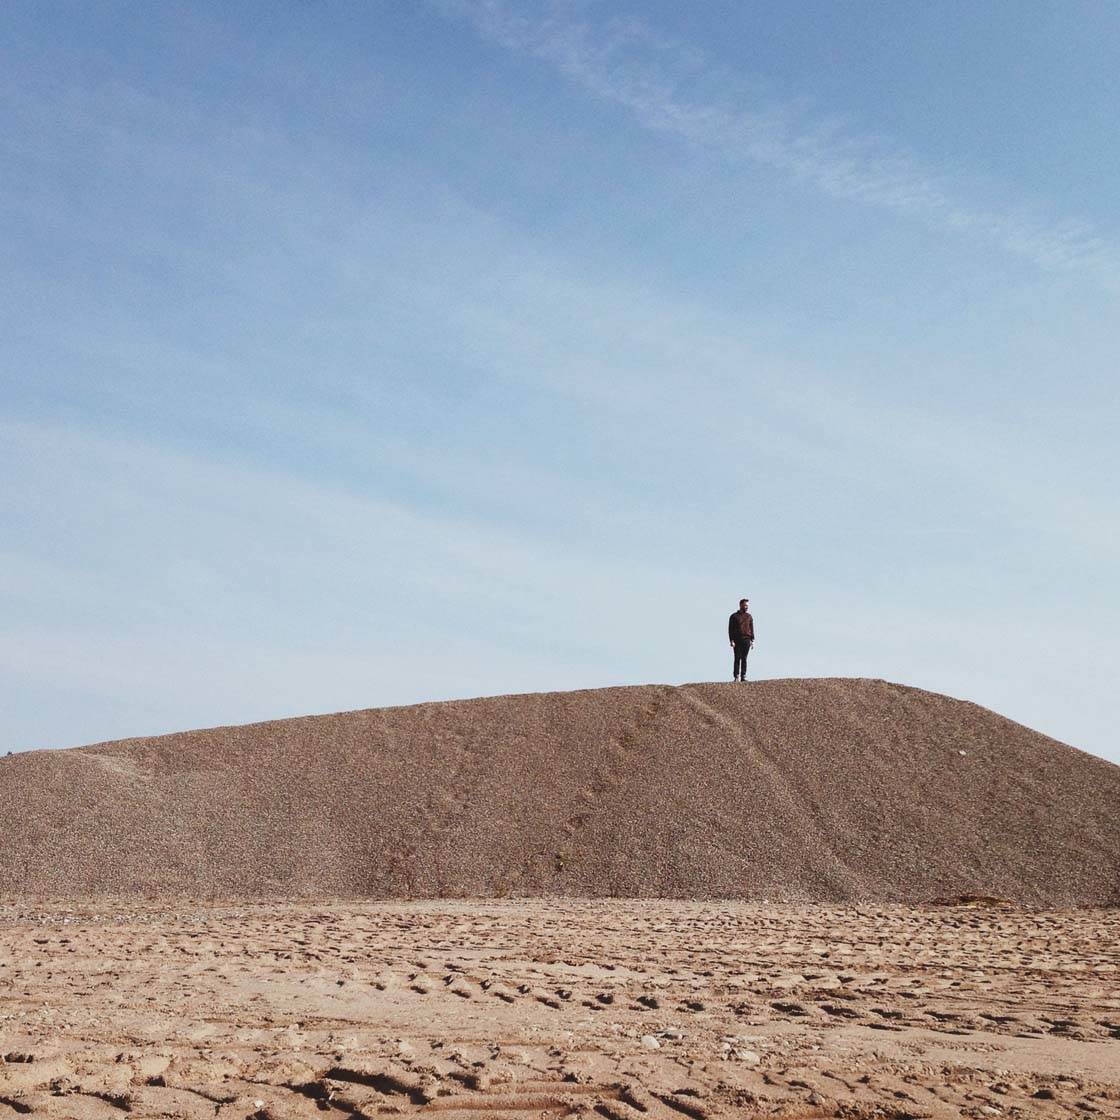
Here I found a place with some tracks on the ground. This detail in the foreground catches the eye, adds depth that leads the eye towards the main subject, and creates an extra layer of intrigue to the photo. If I’d cropped the image by the foot of the hill, I would have lost all this depth and interest, resulting in a much weaker image.
5. Pose Your Subject In A Mysterious Way
Anything that makes the viewer wonder what’s going on, or creates an illusion that tricks the eye, will help to add a sense of mystery to your image and hold the viewer’s attention for longer.
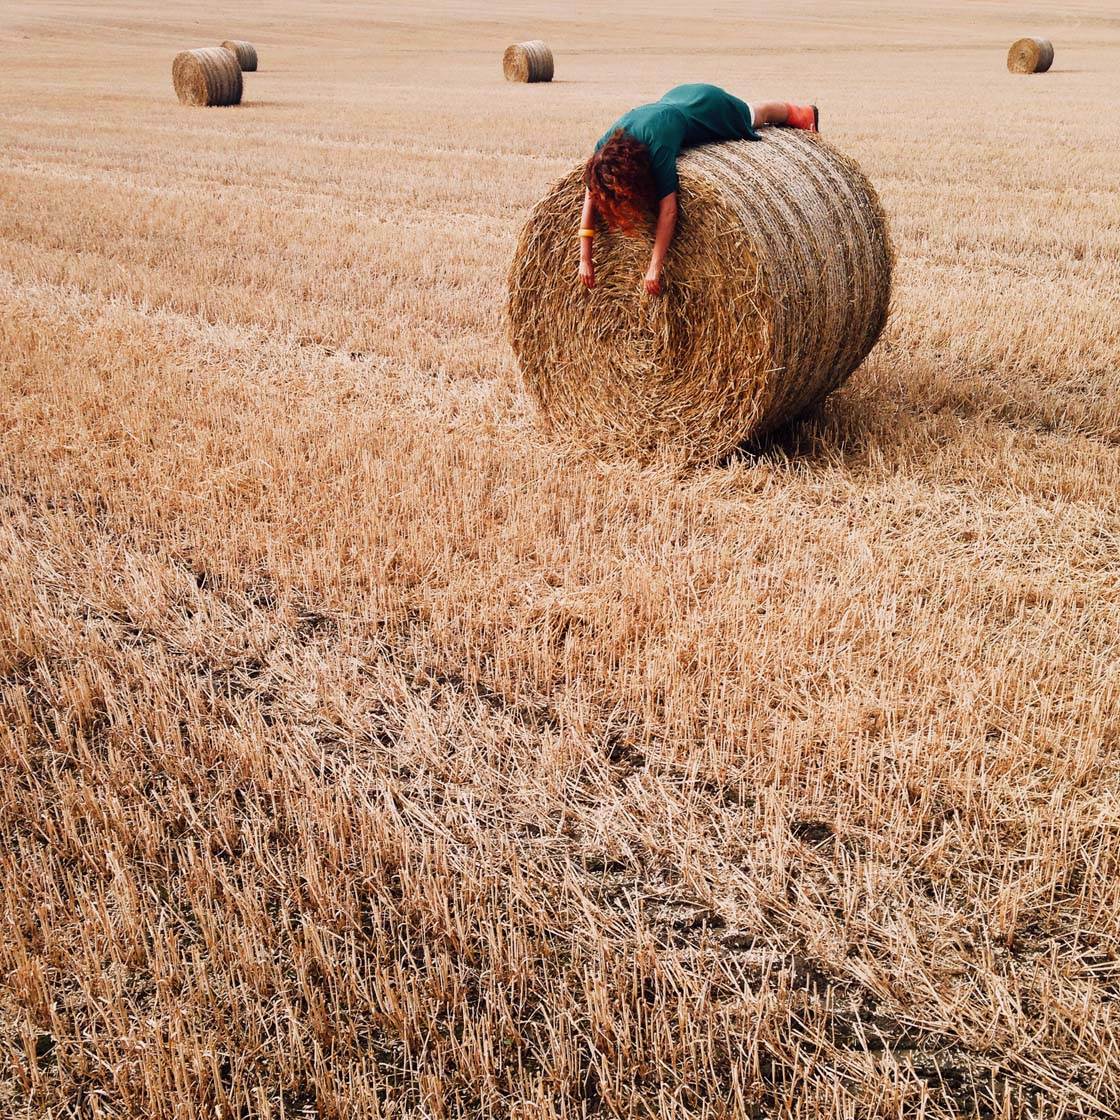
Try placing the person you’re shooting in an untraditional way to create an original and intriguing image. Instead of creating a traditional portrait photo with your model standing in front of you, why not get them to lie down or pose in an unusual way?
Try placing your model on an object you normally don’t find people on. The viewer will wonder why this situation has occurred and how.
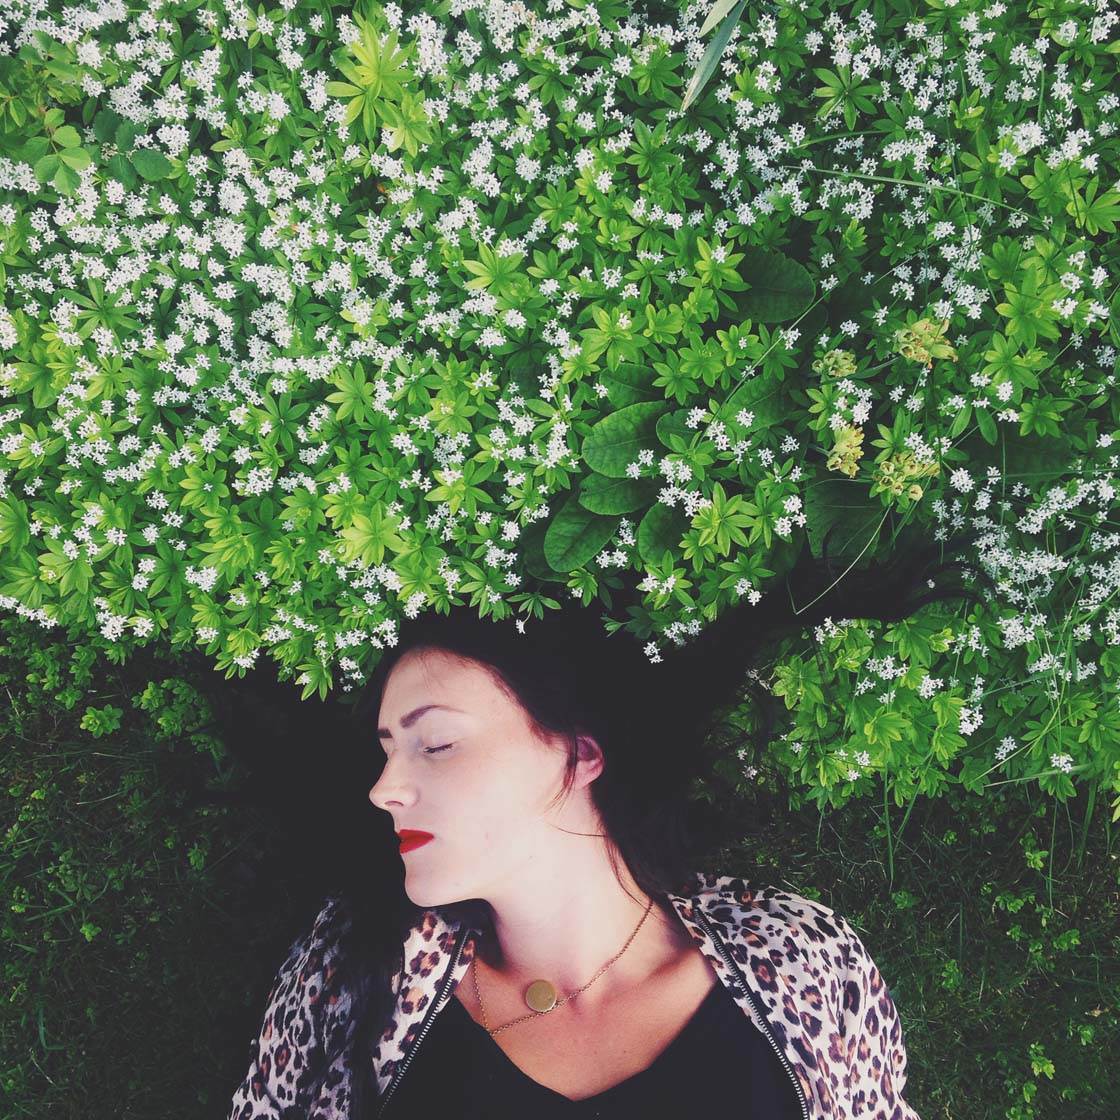
The composition of this image creates an intriguing photo that makes the viewer question what’s going on. By photographing only the top part of my subject, it doesn’t reveal whether she’s standing up, where she is or why she’s there. At first glance you may think she’s standing, but she’s actually lying on the ground.
Having your subject close their eyes in a portrait photo can also add an air of mystery. Why have they got their eyes closed? Are they sleeping? The eyes tell you a lot about a person, so by keeping them closed you’re adding another layer of mystery to your photo.
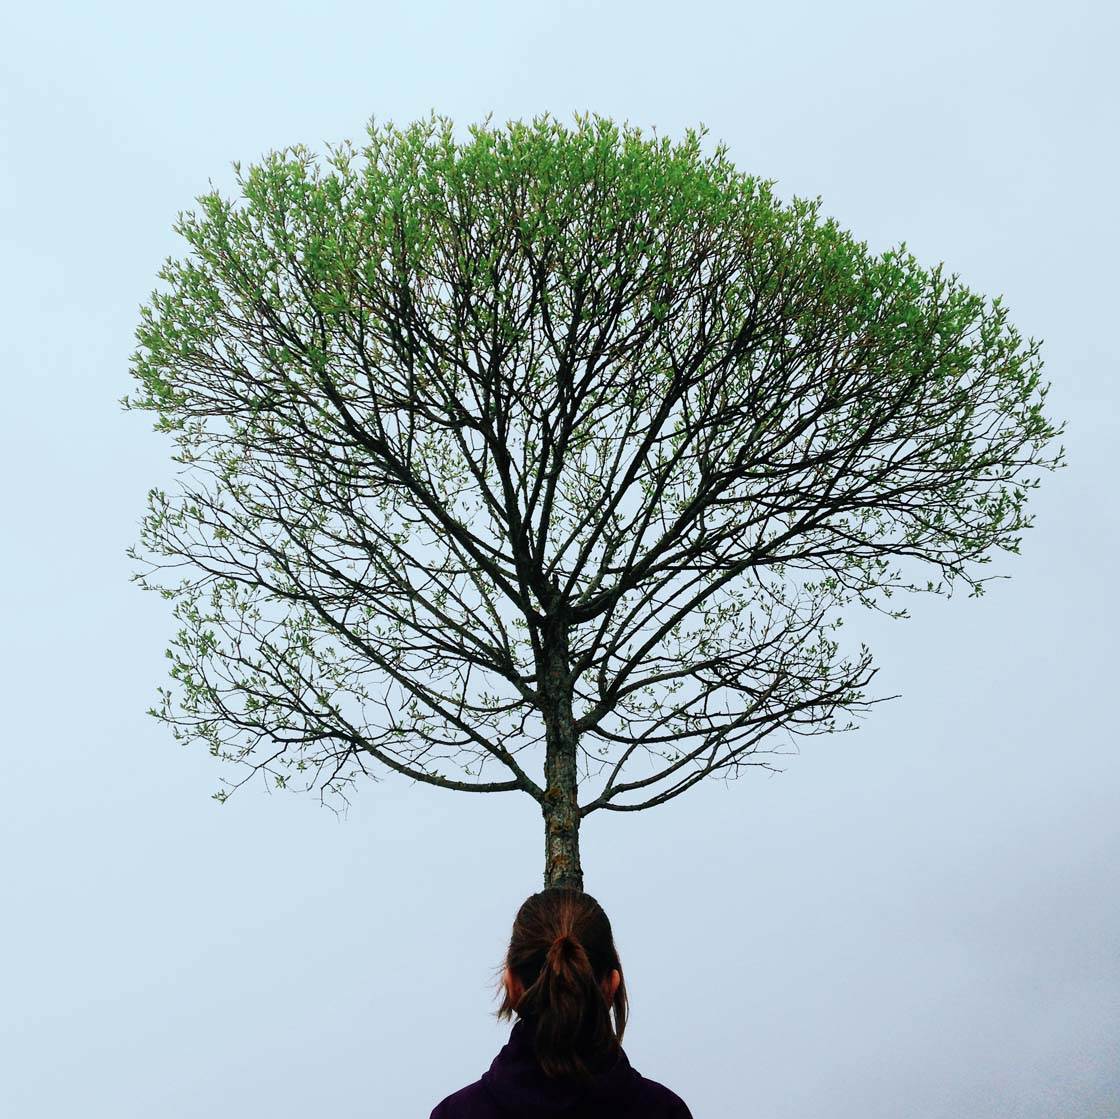
A fun posing technique that I like to use when out in nature is to create a “tree hat.” I simply position my subject in front of a tree, creating the illusion that the tree is growing out of their head!
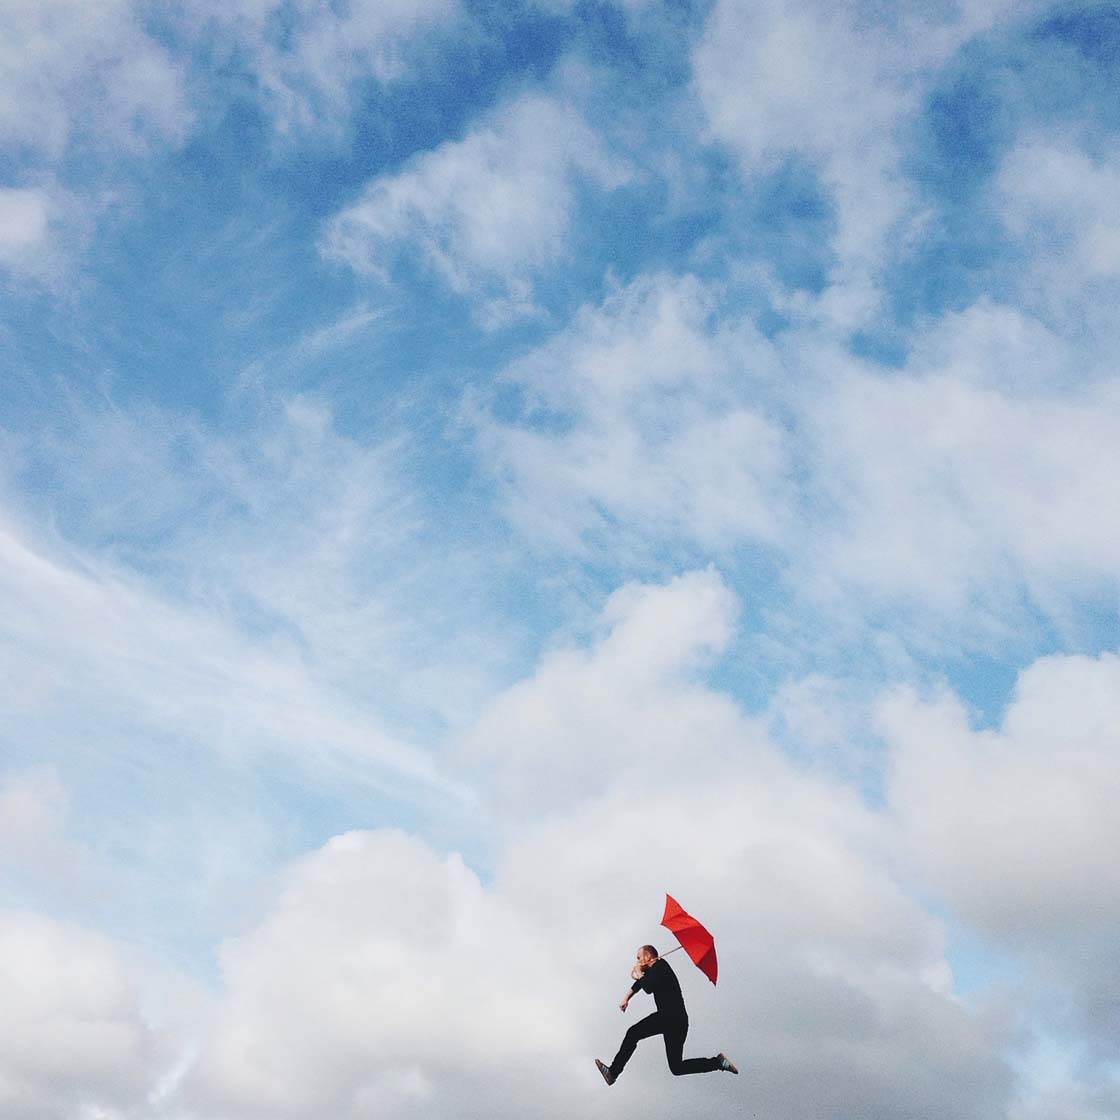
How you choose to frame your shot can also have an effect on the pose of the subject. Here I cropped the ground out so it appears as if my subject is drifting away among the clouds. Taking away the ground creates a more dreamy and interesting picture, that holds the attention of the viewer.
6. Use Selective Focusing
Creating a shallow depth of field can be a good way to add a sense of mystery to your iPhone photos. This is where only a small portion of your image from front to back is in focus. Anything that’s blurred will appear more mysterious as you can’t see as much detail in those parts of the image.
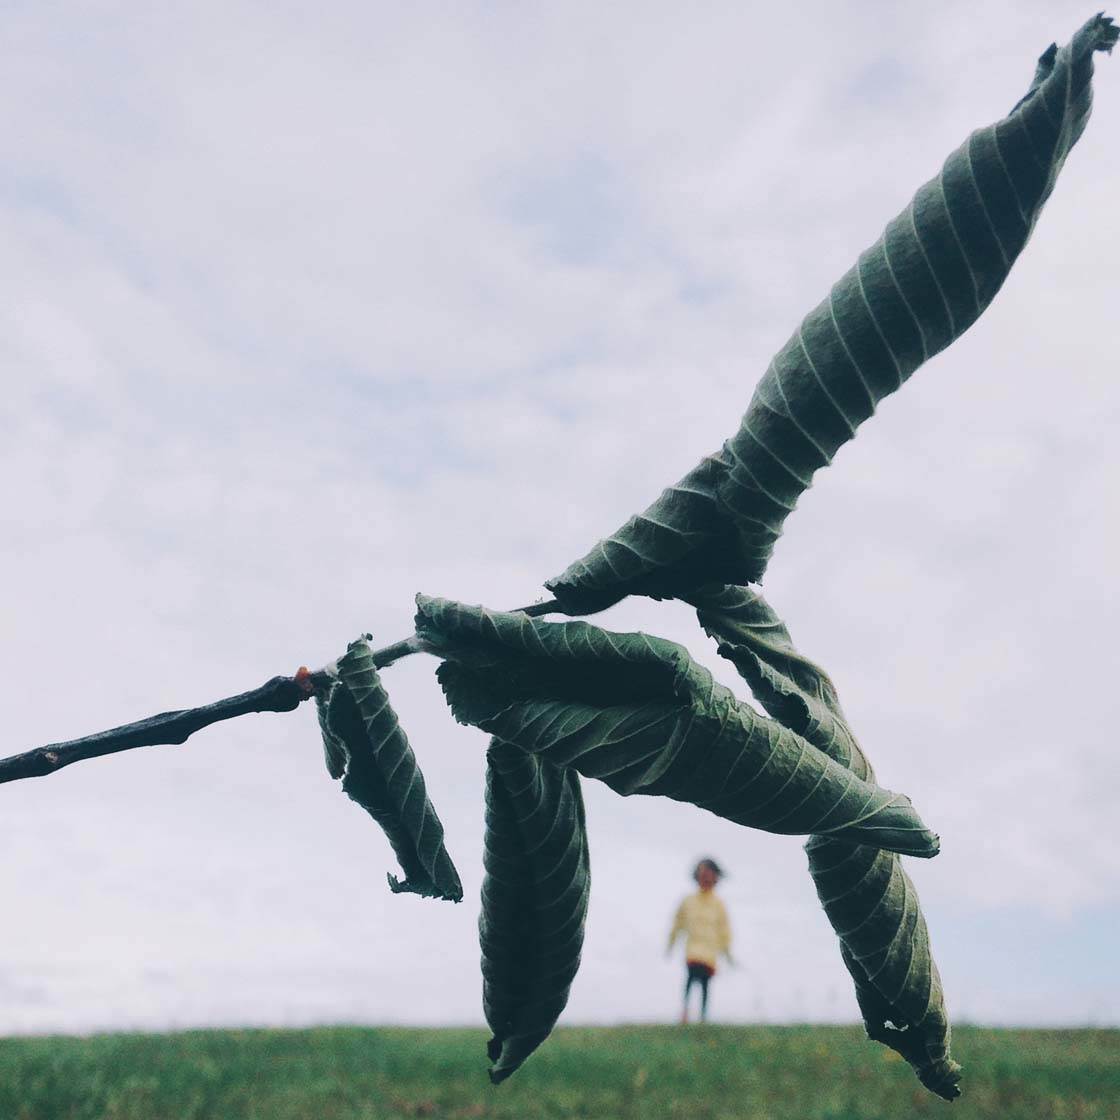
A technique I often use is to focus on something in the foreground, making my subject in the distance blurred.
Do you want to know how to blur background on iPhone? All you need to do is place your camera very close to an object in the foreground, and then tap that object on the screen to set the focus on this area. Any objects that are behind the focus point will appear blurry.
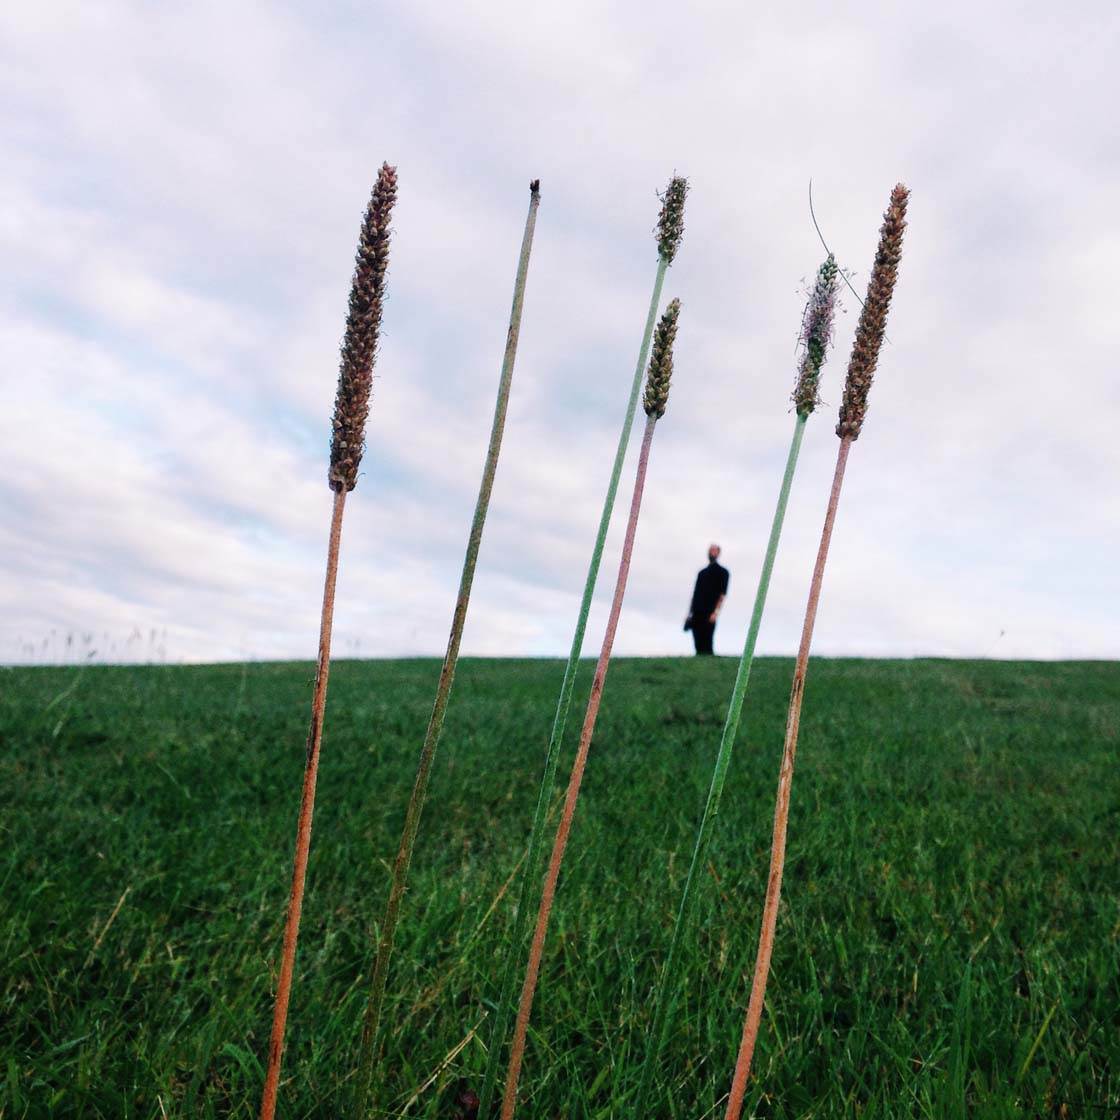
If the blurred out object is a human, the viewer will definitely wonder who it is and what they’re up to. This method will also create a stronger sense of depth in your image. The strongly focused foreground and the blurry background give you two completely different dimensions in just one image.
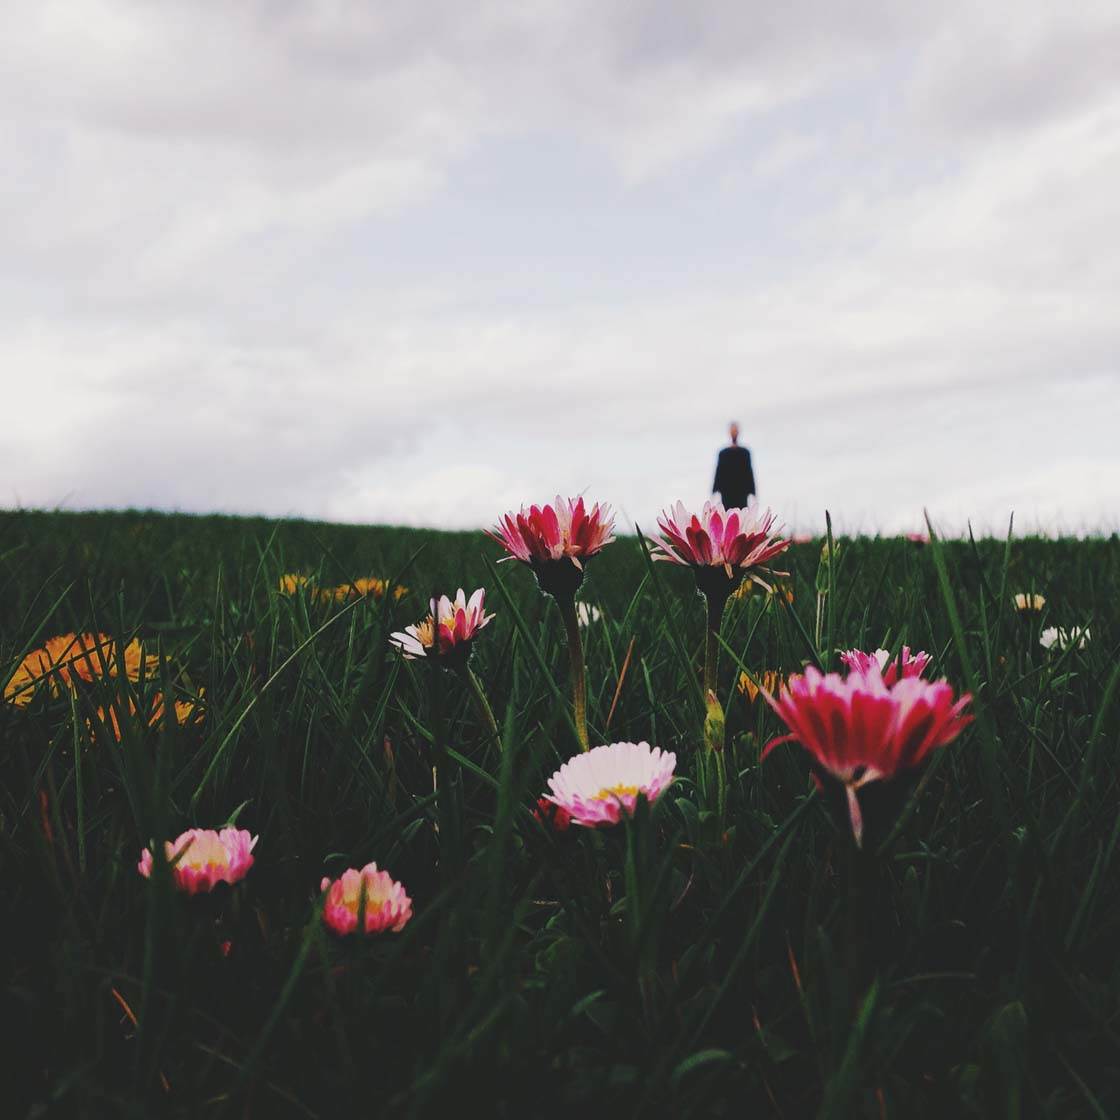
As you can see in my example images, this technique usually works best if you place your iPhone down low on the ground so that the blurry object in the distance will be more visible against the sky. This technique can of course be used on any object, such as a fence or a window with raindrops.
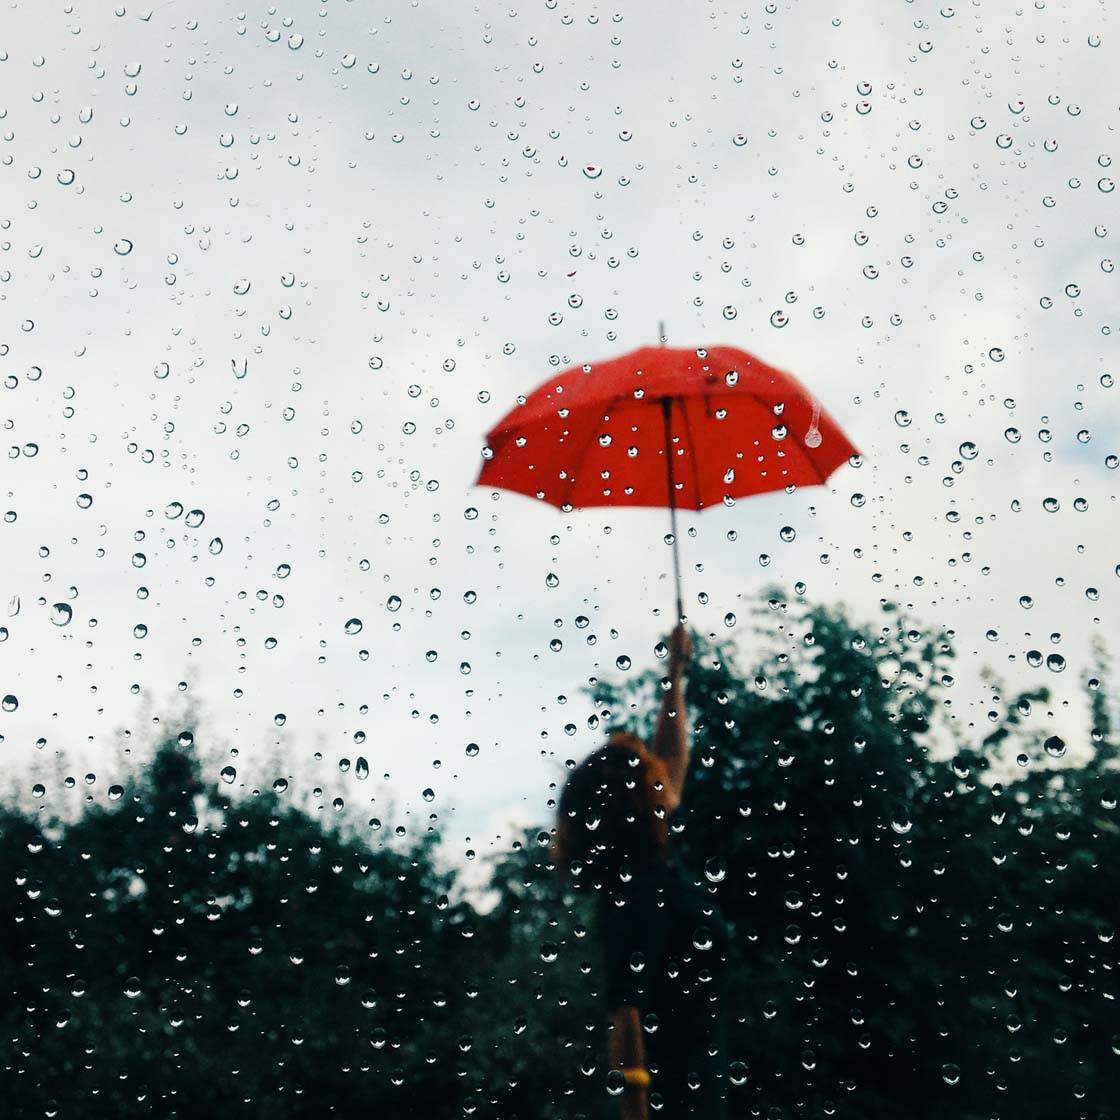
7. Use Leading Lines
Leading lines create wonderfully strong compositions, but they can also add an intriguing element to your image. A leading line is simply a line in the image that leads the eye from one part of the frame to another. Leading lines usually work best if they start in the foreground and lead into the distance.
So how do leading lines create a sense of mystery? Well, not all lines have this effect, but if you can’t see where the lines end up, it can leave the viewer wondering where they lead to.
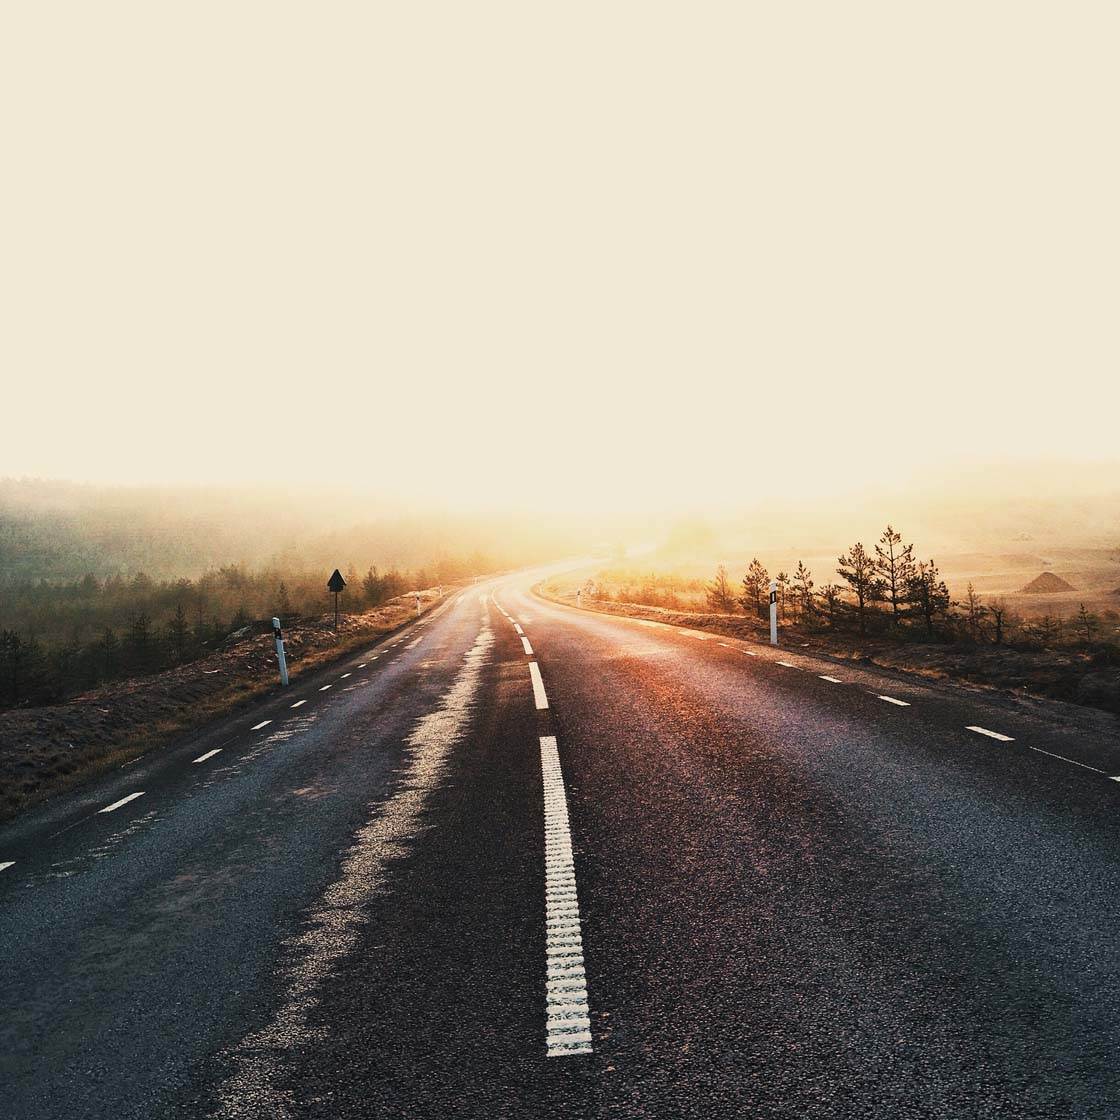
For example, this photo of a road leading into the mist makes you wonder what lies beyond that mist in the distance. Mist and fog are great for creating mysterious images as it leaves the viewer to imagine what might beyond this natural veil.
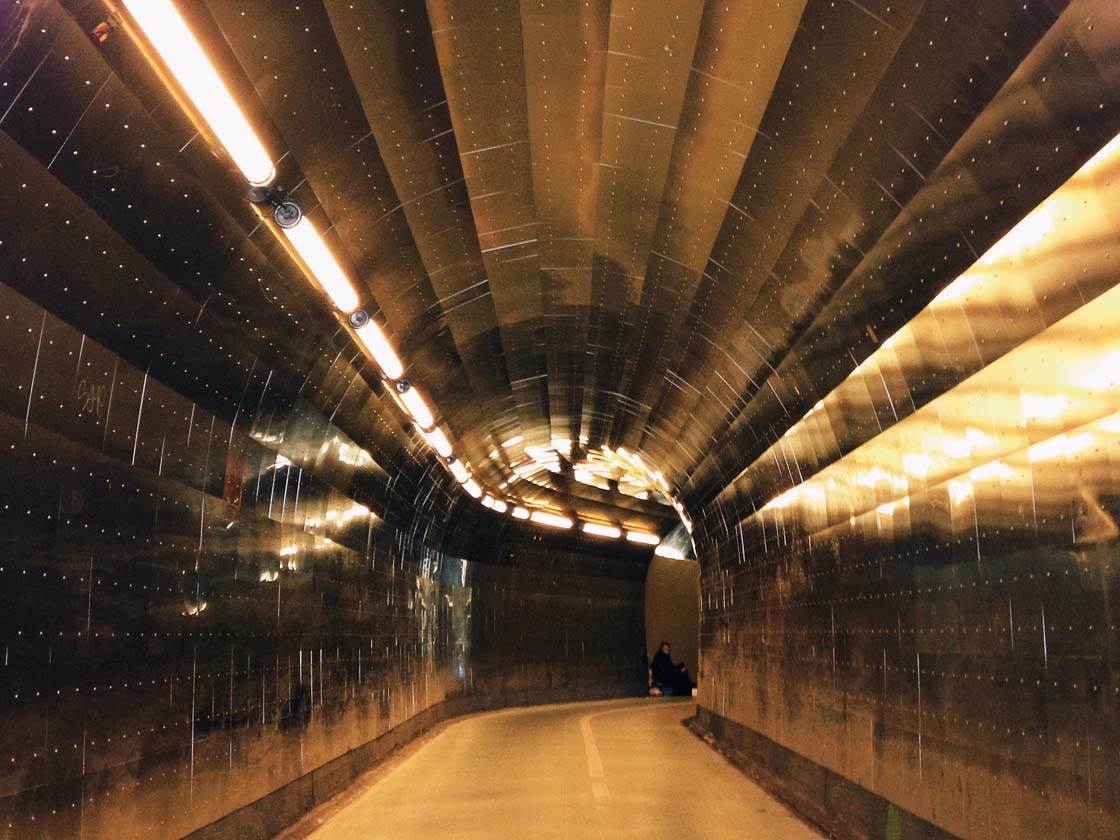
Another technique you can use is to include lines that turn a corner, such as this subway tunnel. Your eyes follow the lines but because you can’t see what’s around the bend, it leaves you with questions about what you might find if you ventured further into the tunnel.
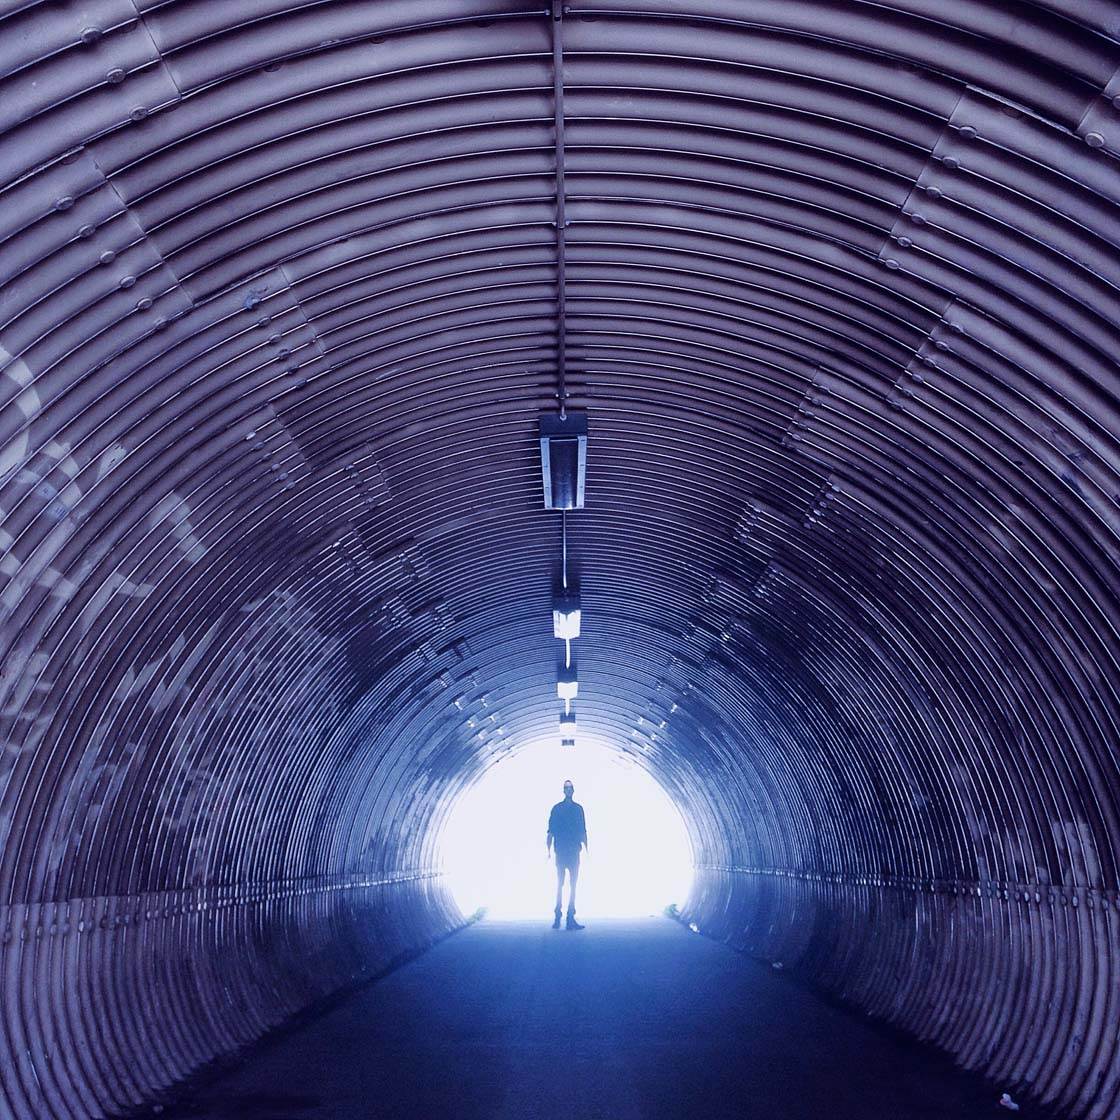
Lines that lead to light at the end of a tunnel can also be very effective. Because the light is so bright you can’t see any detail and it leaves you wondering what might be out there. Including a silhouetted person at the end of the tunnel will create an even more mysterious and dramatic image.
8. Create Abstracts
Abstract photography is all about creating images that concentrate on the lines, patterns, shapes, colors and texture of a subject. Normally, photographing just part of a subject is a great way of creating wonderfully intriguing abstract images.
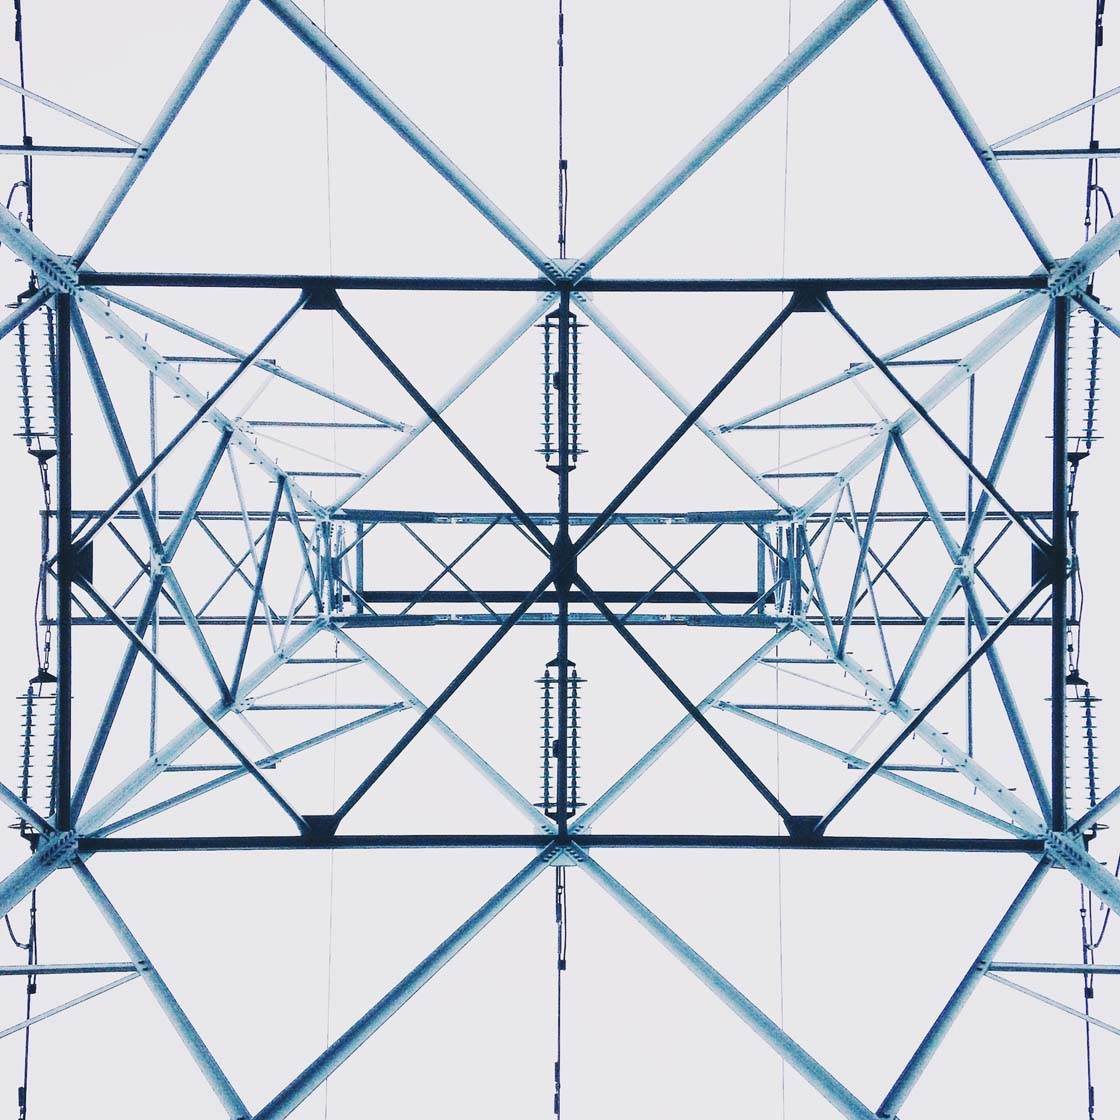
By focusing in on a certain part of the subject, you’re only capturing an essence of the whole thing. The resulting image will be visually captivating, but can also create a sense of mystery as the viewer wonders what the actual subject is in its entirety.
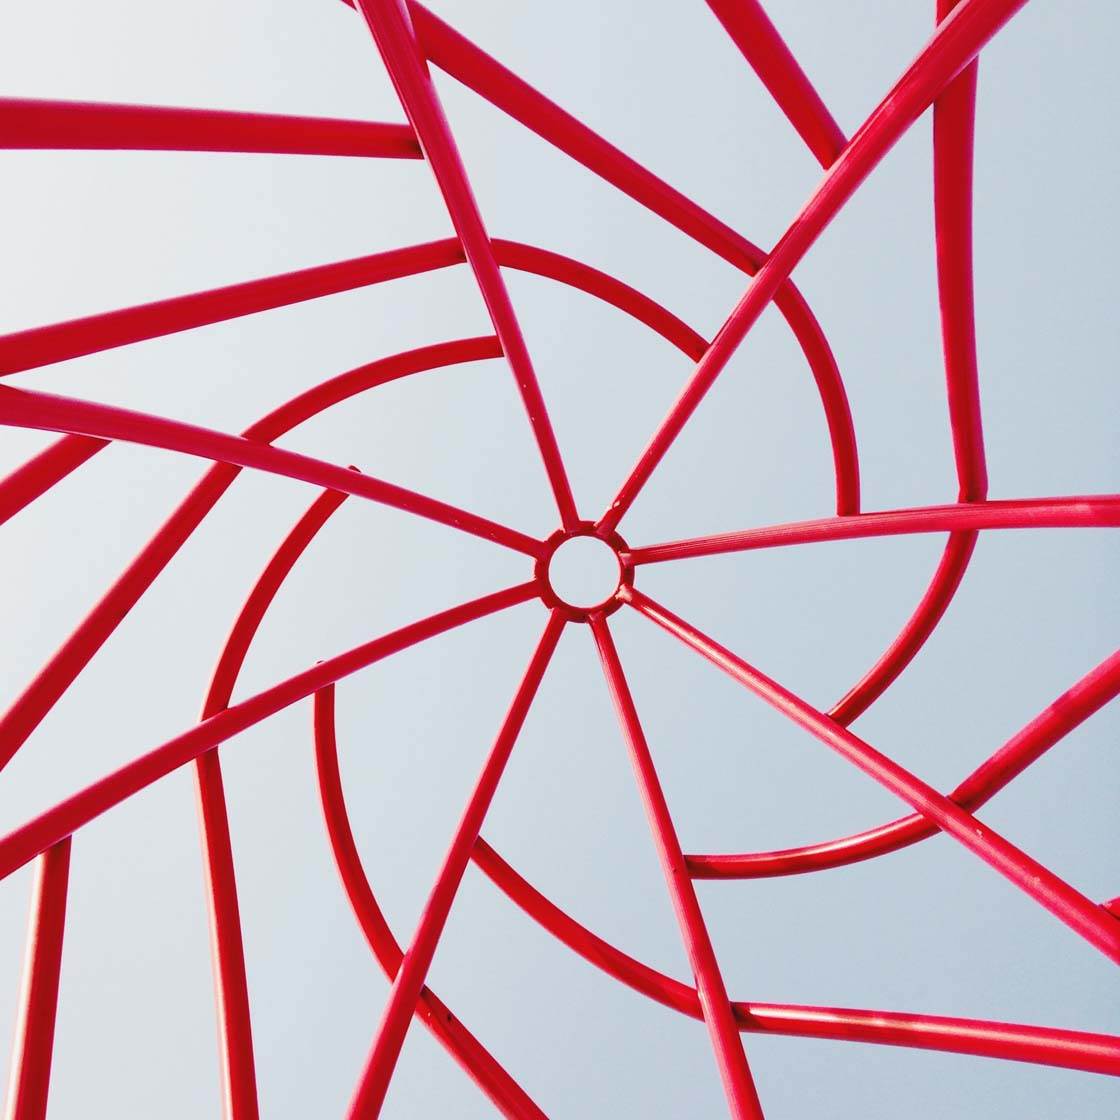
Abstract images tend to look better if you fill the entire frame with just a part of the subject. Keep the background clean so that the patterns, lines and colors stand out well. Shooting from an unusual angle will create a more unique image.
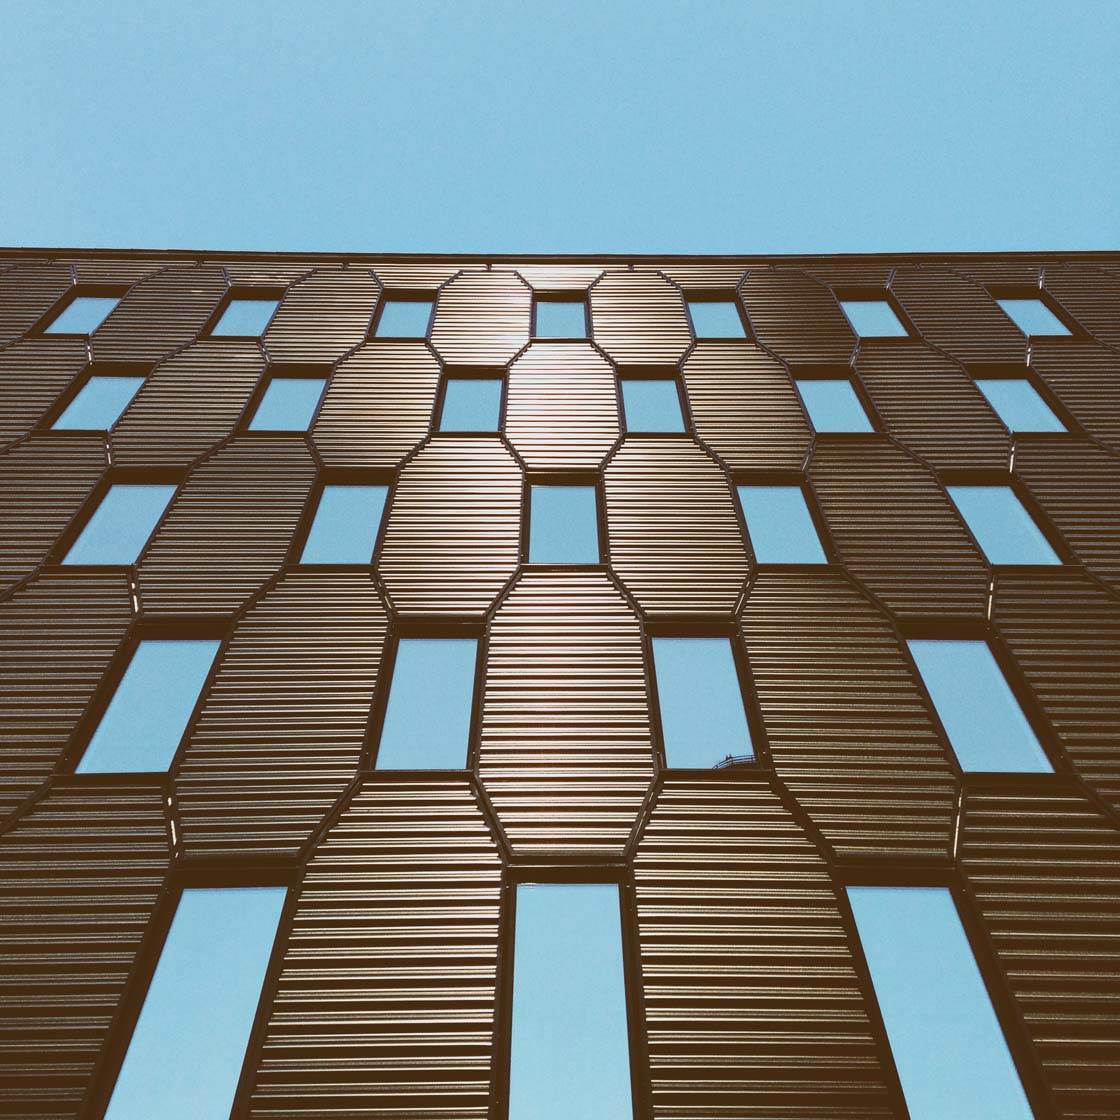
Buildings and architecture make great abstract photos if you focus in on a particular section that contains an interesting and repetitive pattern. Shooting from a low angle so that you’re looking up at the architecture often works well as it allows you to capture the scene without any distractions on the ground.
9. Use Props
Props can be used for many purposes, such as adding a fun, colorful or beautiful element to your photos. But they’re also a great way of creating mystery and intrigue when used in the right way.
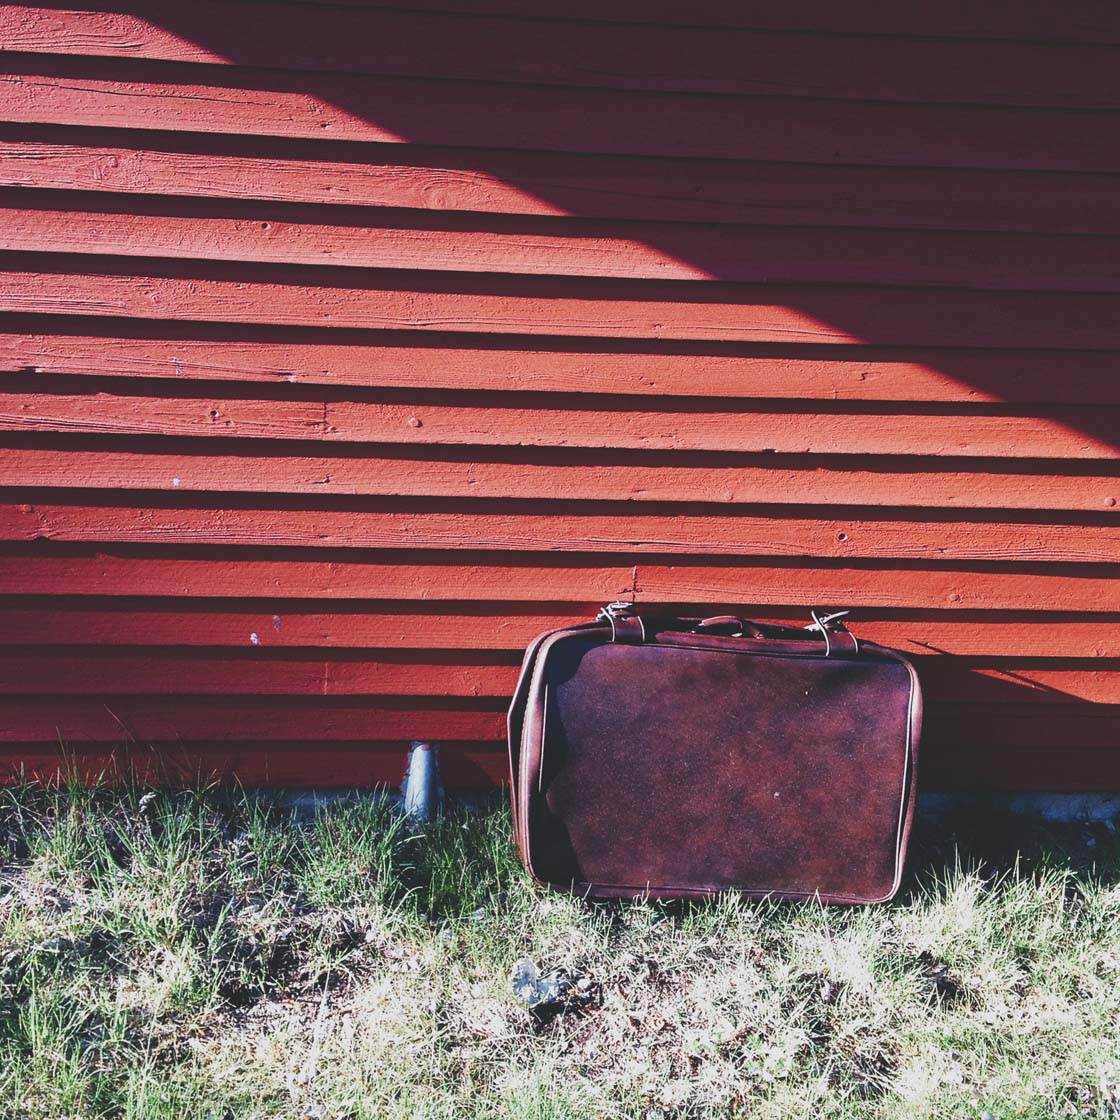
Photographing this old suitcase makes you wonder what the story is behind it. Who does it belong to? Why is it there? What’s in it? Has it been abandoned?
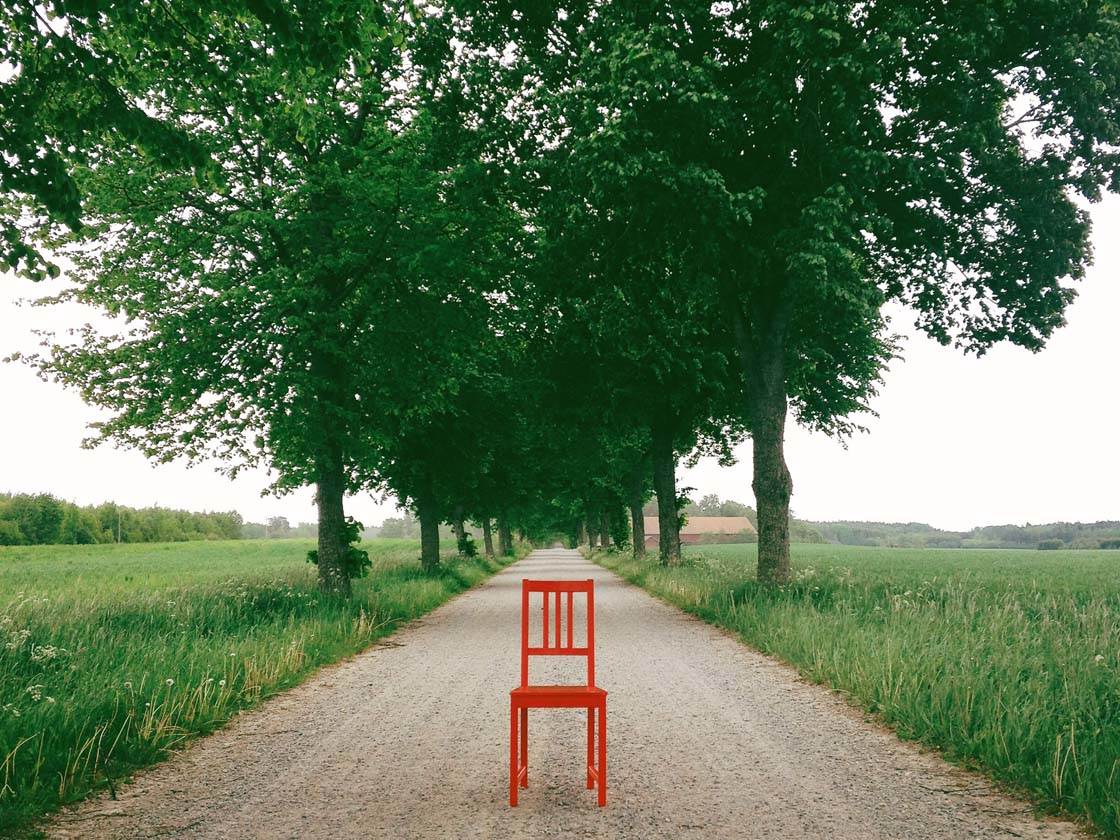
Adding props to environments where they wouldn’t normally be found is an excellent way of creating an intriguing photo. It’s not every day that you find a bright red chair in the middle of a country road. It makes you stop and wonder what it’s doing there. Anything that appears out of its usual environment is likely to make the viewer ask questions.
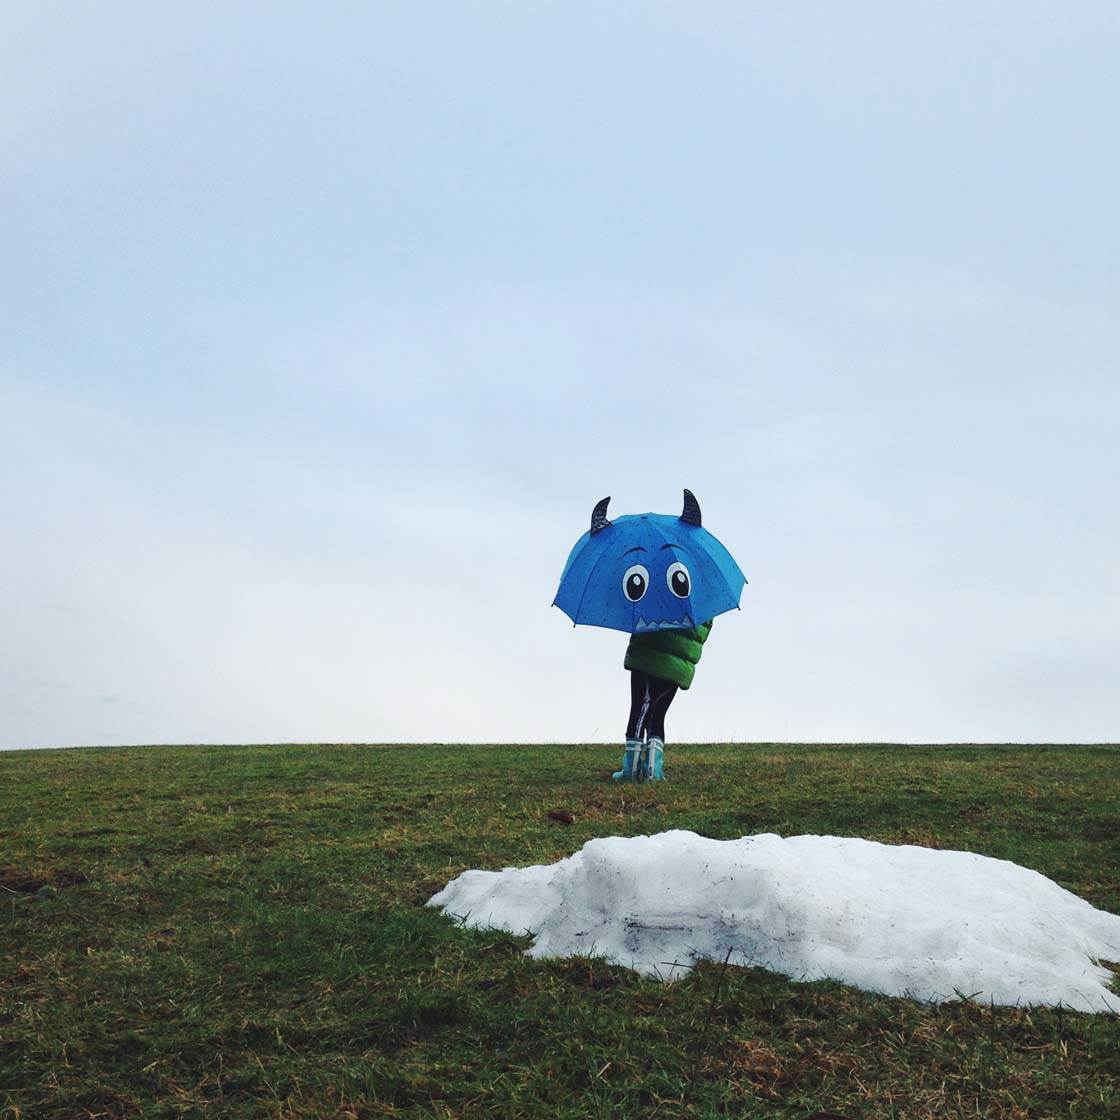
Umbrellas make great props in many situations. They add color and shape to a scene, and they can also be used to hide part of the subject to create a more mysterious photo.
The images that you can create with different props, poses, composition and lighting is endless. Experimenting with each of these will develop your iPhone photography skills and imagination, as well as making your photos more interesting, intriguing and mysterious. If you can arouse the viewer’s curiosity, your photo will definitely be a success!


great tips as usually
This is another fun and wonderfully insightful tutorial. I think I will spend a lot of time reviewing it in the future, while I try out some of the suggestions! I really like the tips about hiding the subject’s face and including only part of the subject’s body. The images are really unique and interesting in this tutorial. Thanks!
Glad to hear you enjoyed this tutorial 🙂 It’s got so many great tips that you don’t necessarily think about when taking photos. It’s certainly given me lots of ideas!
Very nice work! Thank you!