Have you ever tried to shoot at night with your iPhone, and been disappointed with the results? Night photography is often avoided by iPhone photographers due the challenges of shooting in low light. You can end up with grainy, blurry shots that look very unappealing. However, it’s actually possible to get great results with iPhone night photography. In this tutorial, you’ll discover a variety of tips and creative techniques for taking amazing night photos with your iPhone.
Night photography is usually known to be within the domain of DSLR cameras as they’re designed to handle longer exposures, they have bigger sensors to allow for more light differences and they accept lenses that do exceptionally well in low light environments.
In this tutorial we’ll explore just how far we can take the iPhone within the realm of night photography. Just because there’s no tripod socket on the iPhone doesn’t mean we can’t improvise and create some very cool images.
1. Keep Your Camera Steady For Sharp Shots
One of the main problems with night photography is that your camera has to use a slower shutter speed in order to correctly expose the shot, which can result in camera shake and blurry photos if you’re hand-holding your iPhone.
Sometimes you can get a lucky break, but often you’ll end up with non-intentionally blurry photos which you end up deleting.
If you have an iPhone tripod and iPhone tripod mount, then you can obviously use this to keep your camera steady. But many iPhone photographers don’t own a tripod, and even if they do they probably don’t carry it around with them at all times.
As I don’t usually have the luxury of using a tripod for my street photography, I improvise by always backing myself against a solid object in order to keep myself and my iPhone steady. Street lamps, trees and walls all work well to keep your photos sharp.
When shooting at night, practice leaning your body up against a solid object. Keep your iPhone as close to your body as possible. The further away your iPhone is from your chest, the greater the chance of your arms shaking which will result in a blurry picture.
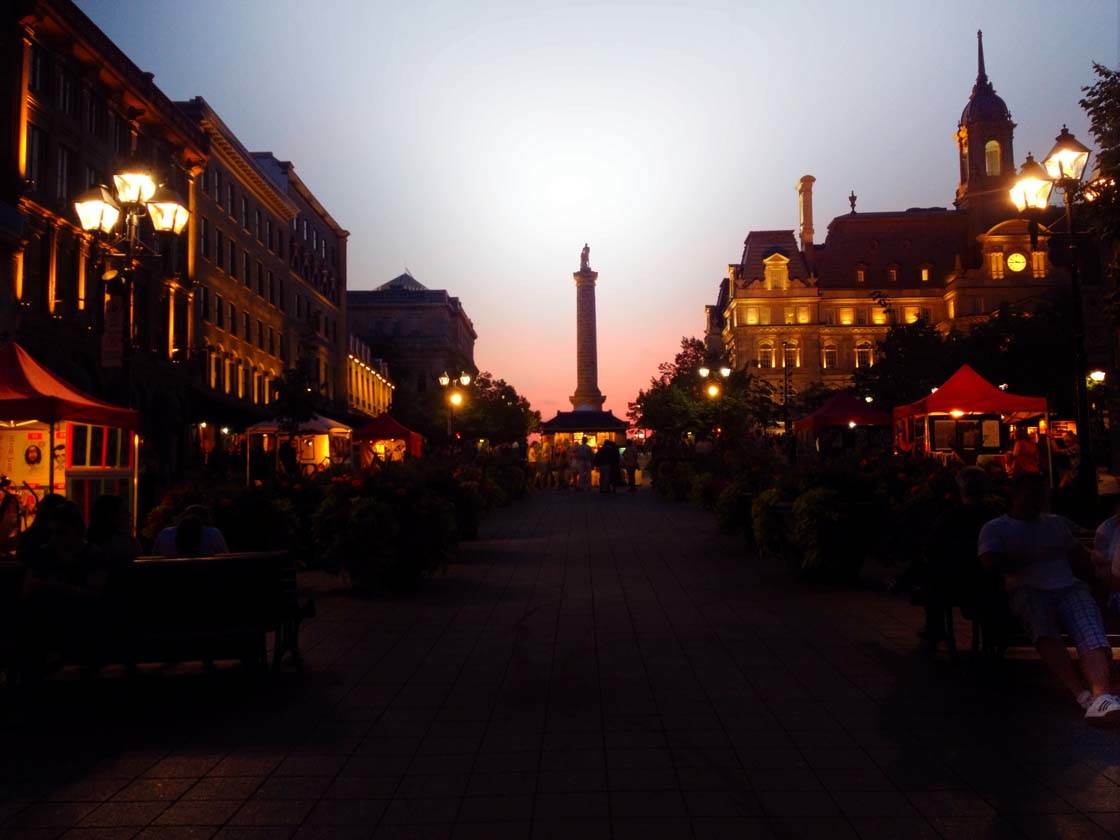
For this photo taken in Old Montreal, Canada, I leaned back against a metal fence and kept my iPhone as close to my chest as possible. The stability of my upper body made for a sharp photo that I enjoy very much.
2. Convert To Black And White To Eliminate Color Casts
Have you ever photographed a city at night and been surprised to see that the building looked either green or orange?
That’s probably because the buildings were illuminated by a number of different lights. These lights create different color casts which affect the colors in your photo.
Color correcting for these lighting situations is tough for those who are just starting out in the art of color correction, so there’s a more simple technique you can use instead.
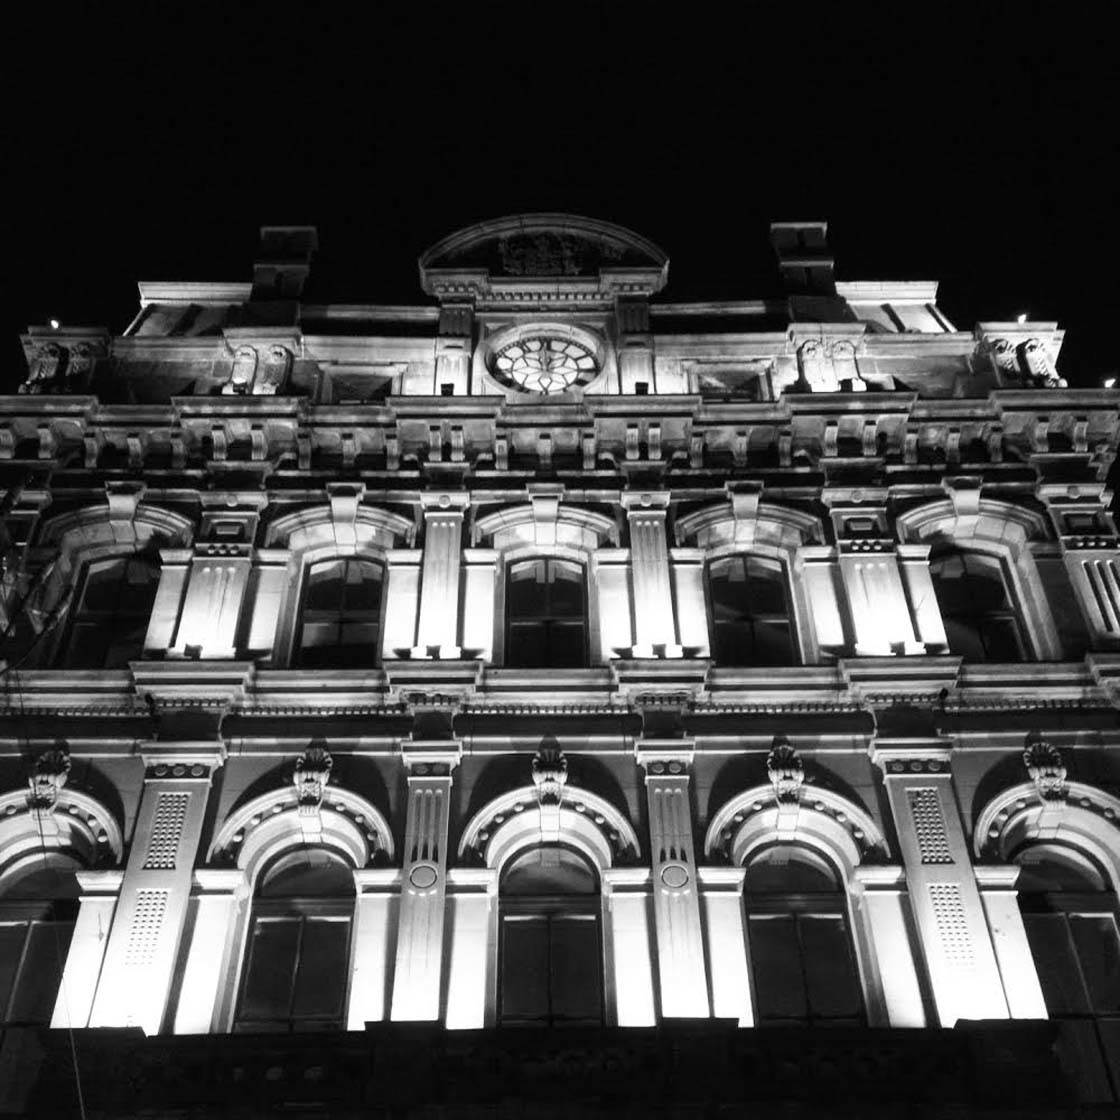
This photo from my hometown of Saint John, in Eastern Canada, turned out with a very orange color cast. It was so orange in fact, that the photo was on its way to the delete bin.
By simply desaturating the color (removing all color), you can salvage that night architectural scene by creating a strong black and white image. Color saturation settings or black and white filters are available in almost all photo apps for the iPhone.
3. Use Foggy Nights To Your Advantage
Bad weather can ruin our enjoyment of the outdoors, but it’s often the best time for photography!
In the photo below, the fog is emphasized by the streaming light of the car headlights. The street lights are giving off an eery glow and the last remaining vestiges of daylight are quickly fading.
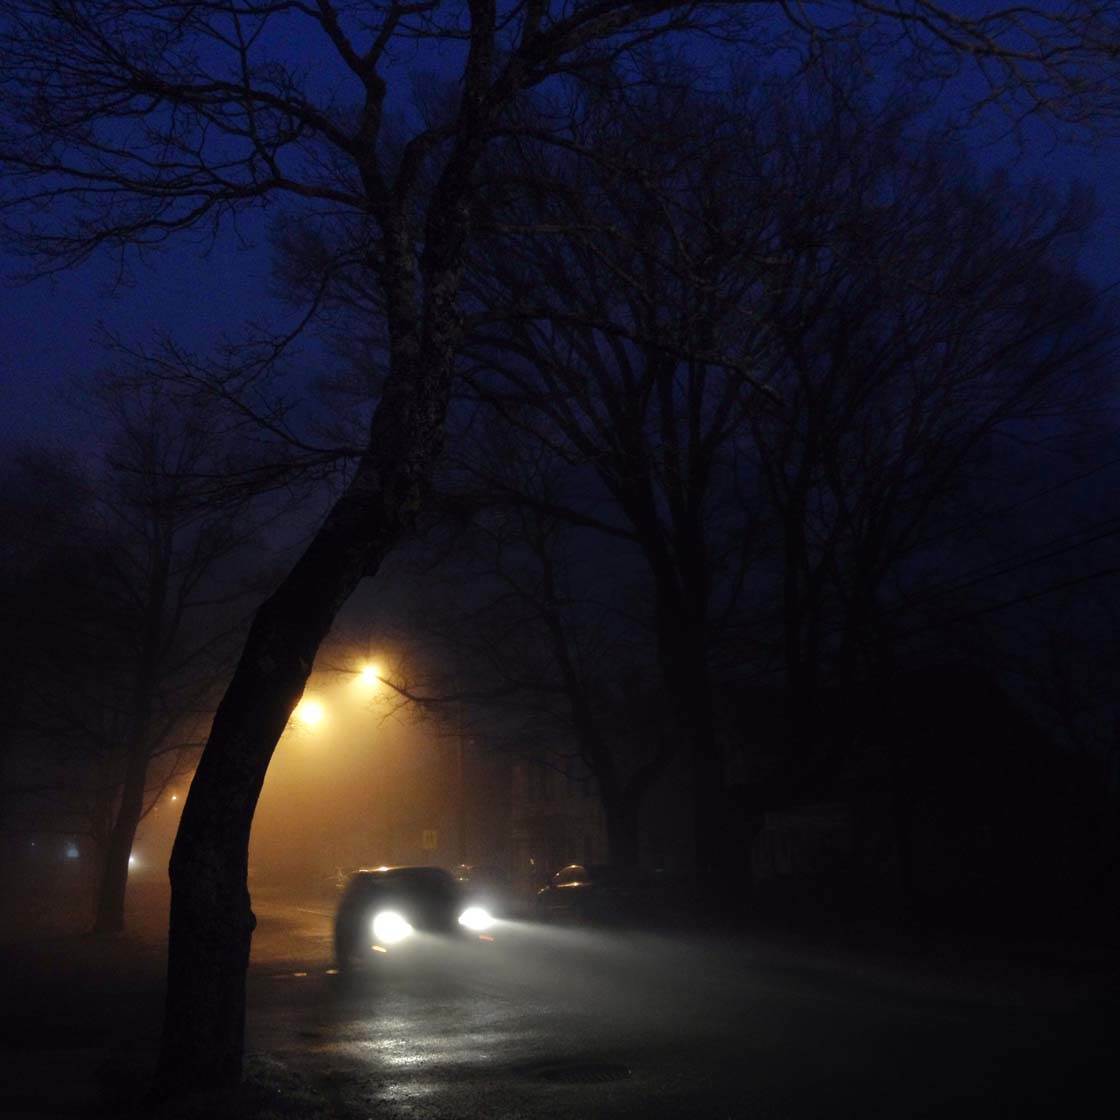
There is nothing technically difficult about this photo. All I would suggest is that you back yourself against a tree or lamppost so that your iPhone remains steady, or if you have a tripod you can obviously use that instead.
Foggy nights work really well for creating atmospheric, dark photographs. If you can wait around on the street for a lone figure with a trench coat to walk by, all the better!
4. Use Moonlight Or Street Lights To Create Shadows
This is an easy and fun way to shoot, and it makes use of any type of window that you may have in your home.
If you have a direct night light source shining into your house, such as full moon rays or street lights, stand with your back against the glass and photograph the floor beneath you.
After converting the photo to black and white, the result is a dynamic and mysterious silhouette.
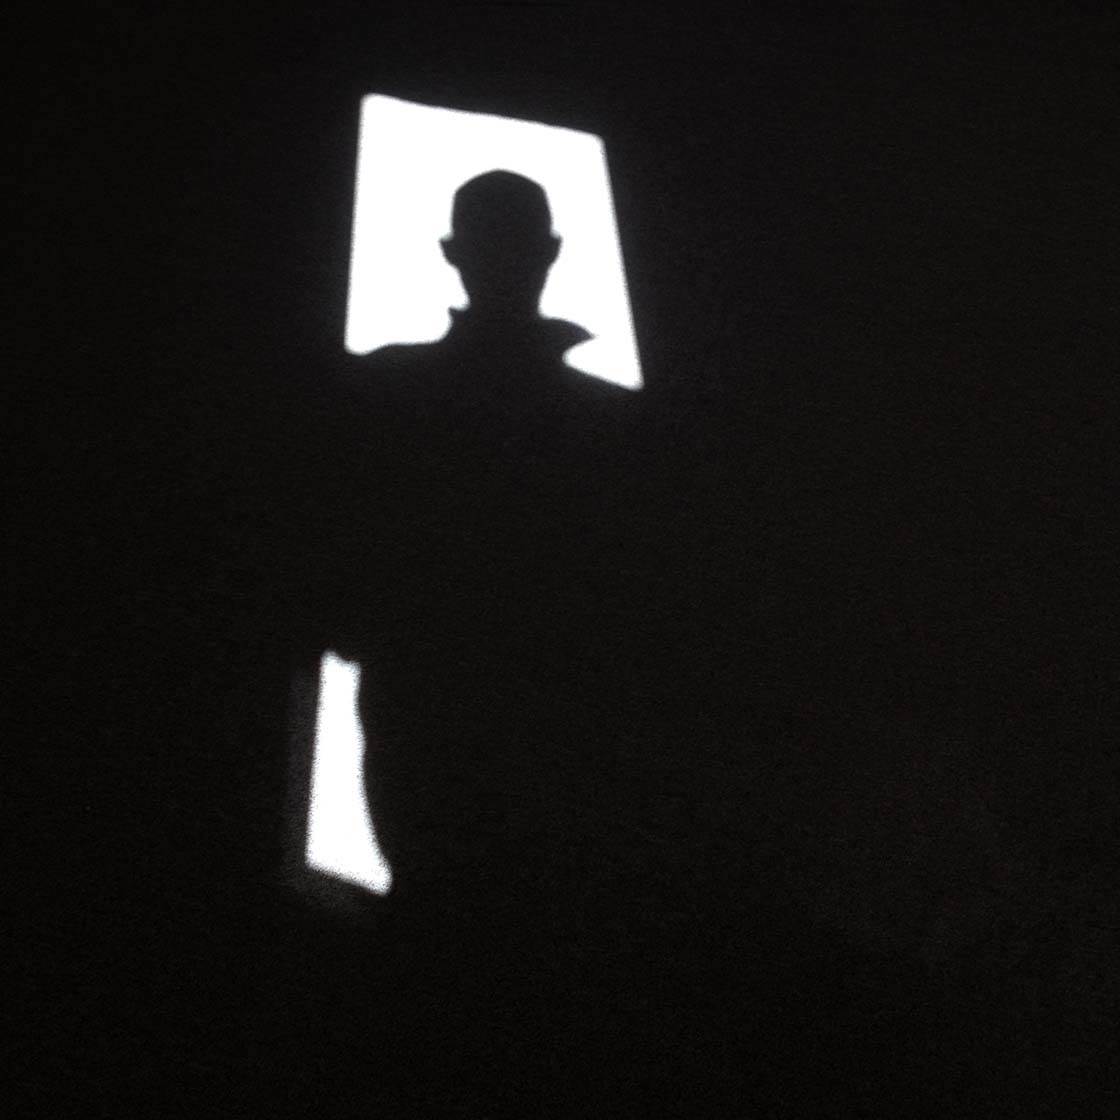
You could also use this technique while walking around the streets at night. Just ensure the light source is behind you so that your shadow appears on the ground in front of you.
Keep in mind that this technique is not limited to night-time iPhone photography. You can do the same in the day with bright direct sunlight.
5. Use A Slow Shutter For Creative Light Trails
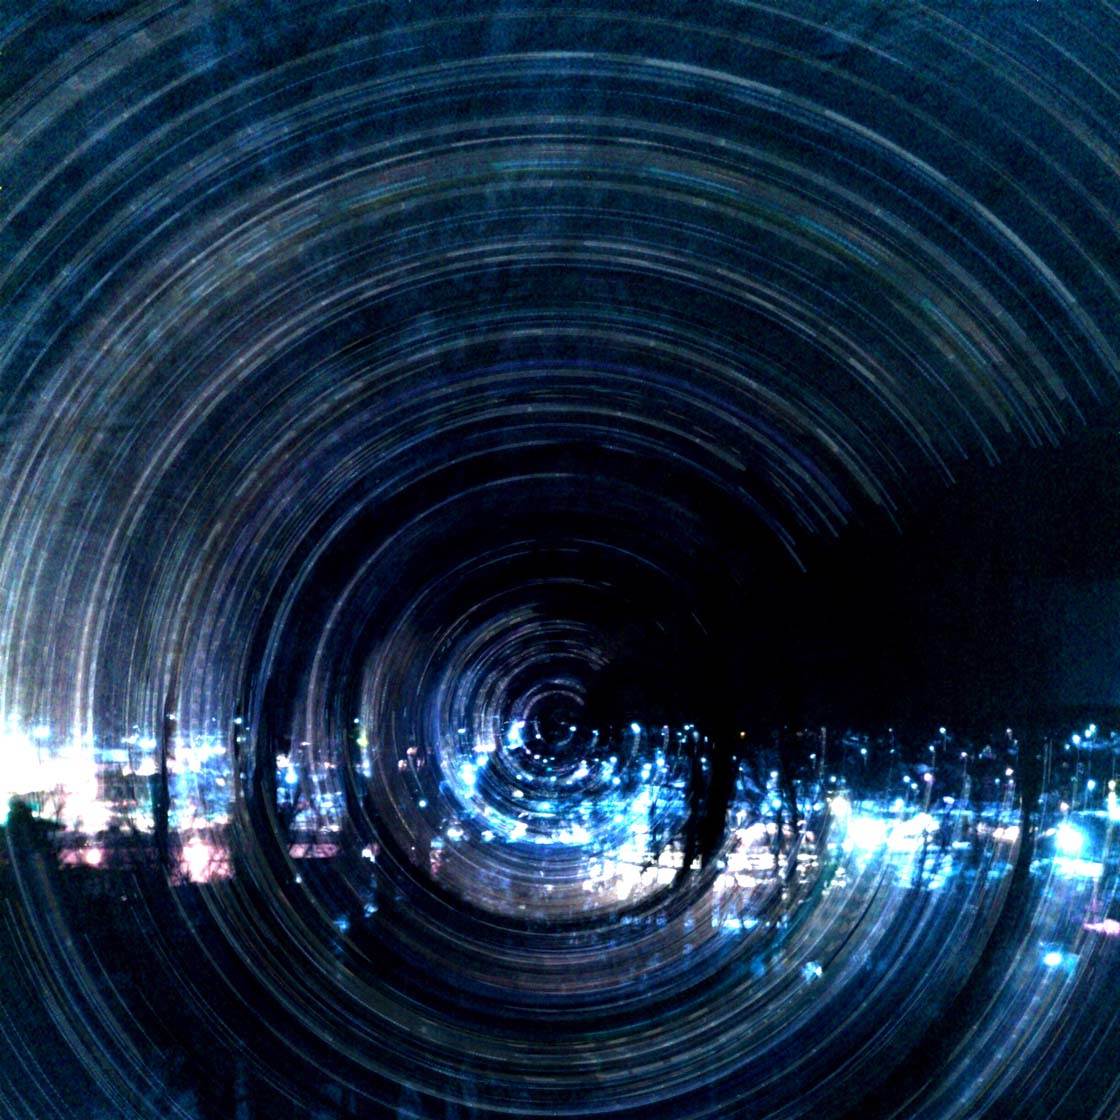
The photo below is of light trails, and was a result of taking a slow shutter photograph of city lights at night. There are many great slow shutter apps in the App Store, but my favorite is Slow Shutter Cam.
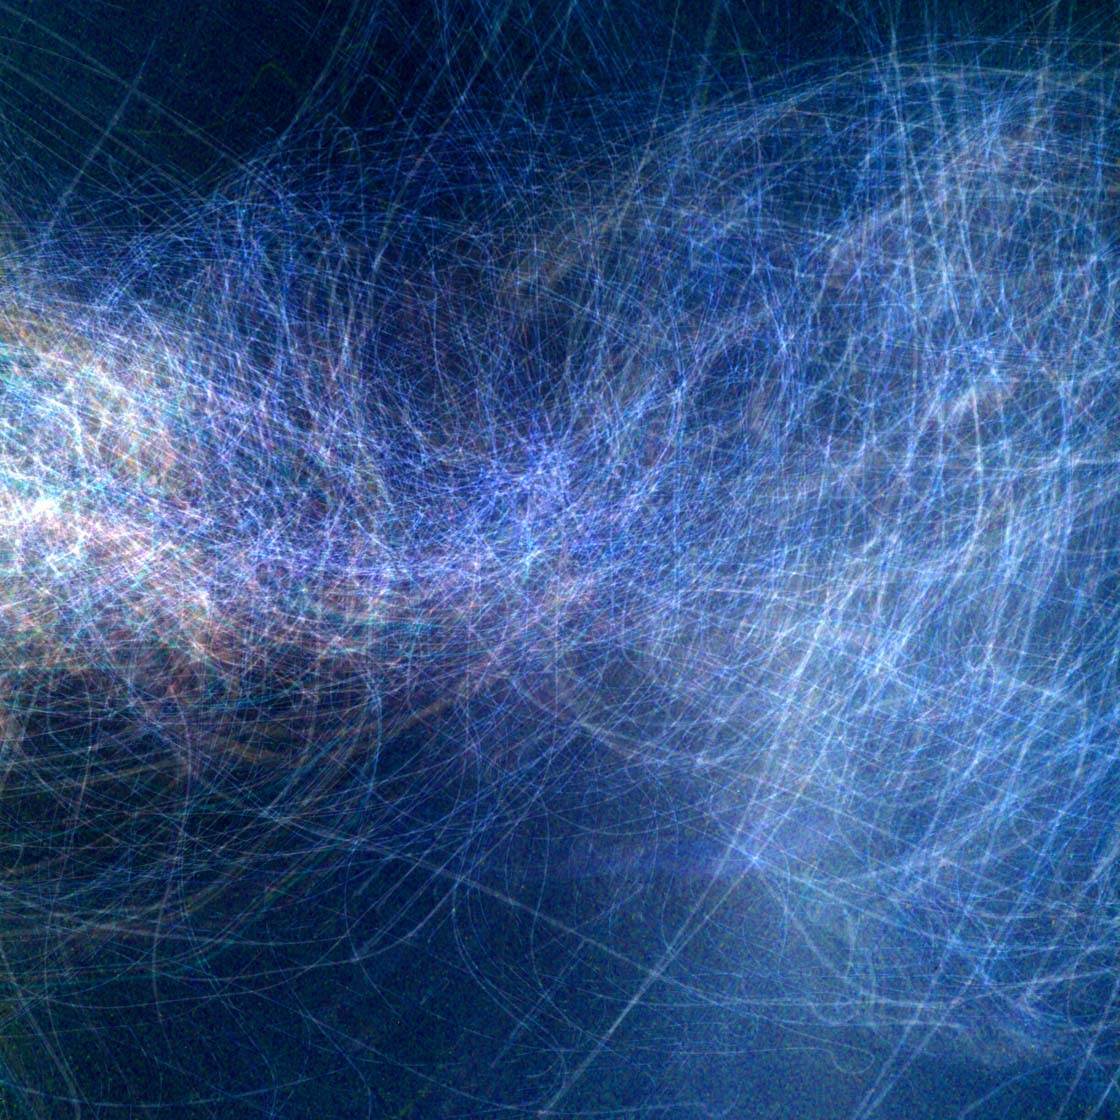
To replicate this shot, go to a high ground area of your city where you have a panoramic view of the city lights at night. Compose your scene so that the city landscape is centered in your horizontal frame.
Next, press the shutter button and start to shake your iPhone wildly. This will be both fun for you and entertaining for those around you!
There are many manual adjustments in this app that you can play around with once you get more comfortable with it. But when starting out with this process you can simply open the app and use the default auto settings.

Before you call it a night, why not try rotating your iPhone in a circular motion to get the above effect?
This photo was done in the same way as the first photo, except I kept my iPhone relatively still for the first half of the exposure, and then at the beginning of the second half of the exposure I started the rotation.
The circular light effect was created by the cityscape lights being rotated. As you can see, I didn’t finish the full rotation, which actually turned out to be okay in this instance.
6. Create A Film-Noir Effect
While there are many apps that will create this old film camera look from the early 1900’s, why not learn to do it yourself? It will be much more satisfying and original.
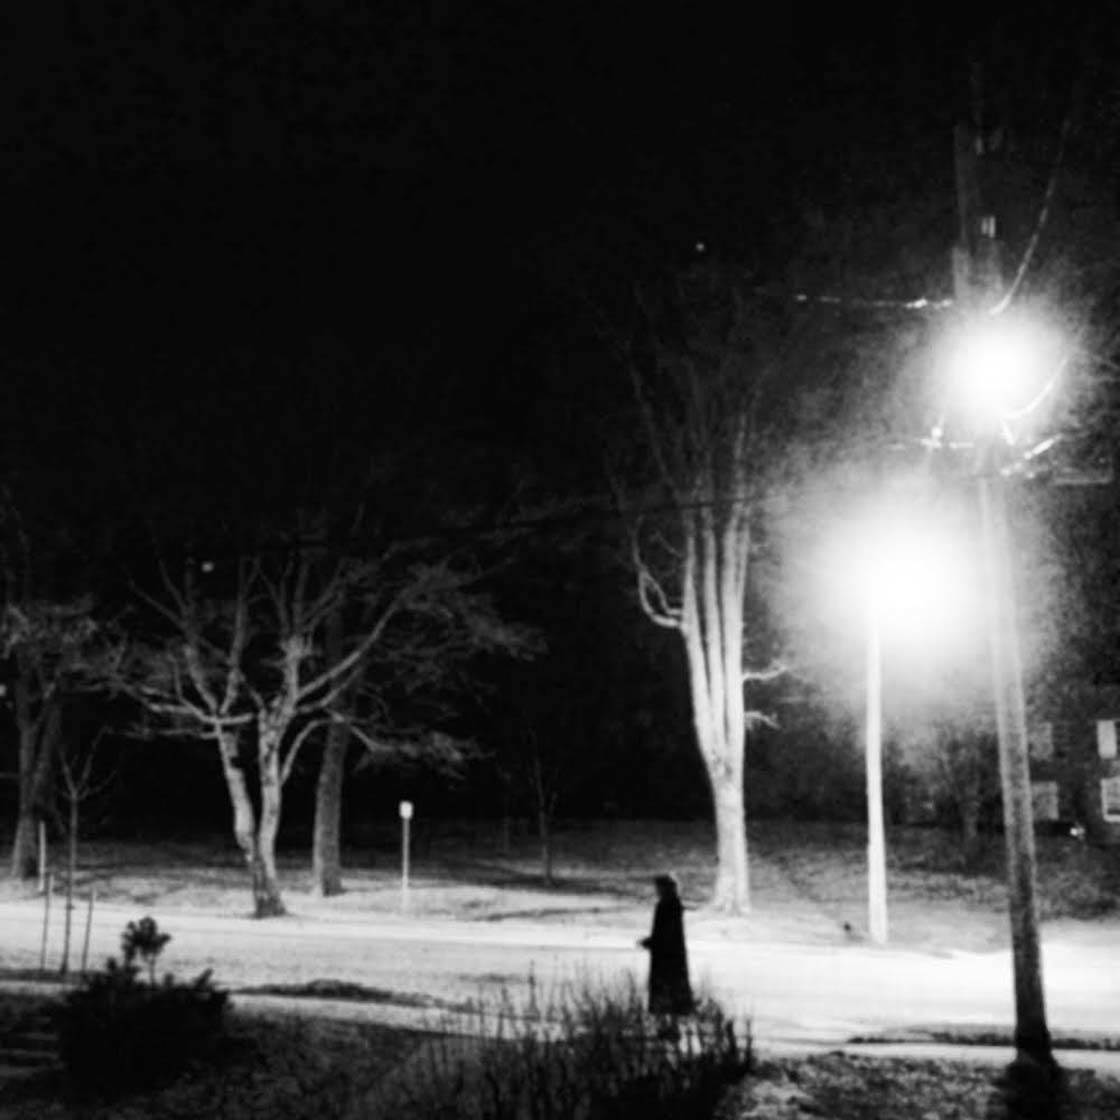
This shot was taken from my house, from a second story window. I saw this ghostly woman slowly walk up the sidewalk, and my street photographer instinct kicked in immediately!
Instead of a normal black and white photo I opted for a more historic film-noir style image. This technique is incredibly easy, and it involves taking a photo that is slightly out of focus.
To defocus your shot, all you have to do is focus on something close to the lens. So place your hand in front of your camera lens, then tap the screen where your hand is located.
Keep your finger on the screen until it says “AE/AF Lock.” The focus is now locked on the position where you hand is.
You can now remove your hand and take your desired photo. The end result will be an image that is slightly blurry (technically called defocused), but this is a good thing.
Next, in your favorite camera app, go to the color saturation adjustments and reduce the saturation to zero so that the image appears black and white. Alternatively, you can use a black and white filter.
The end result should be an old film camera look from the early 1900’s.
7. Use The “Day For Night” Technique
This final technique actually involves taking photos in the day – but they will look like they were taken at night!
This technique is know as “day for night” and it involves shooting in the daytime, and then using a variety of photo app settings to make the photo look like it was taken at night.
For this exercise we will be using the Slow Shutter Cam app, or any other similar app that creates the same effect. While I don’t personally use a tripod enabled iPhone case, if you have one, this is the time to use it.
Find your favorite waterfall and get ready for a realistic fake moonlit scene. To get this shot I held my iPhone steadily while it rested on a rock.
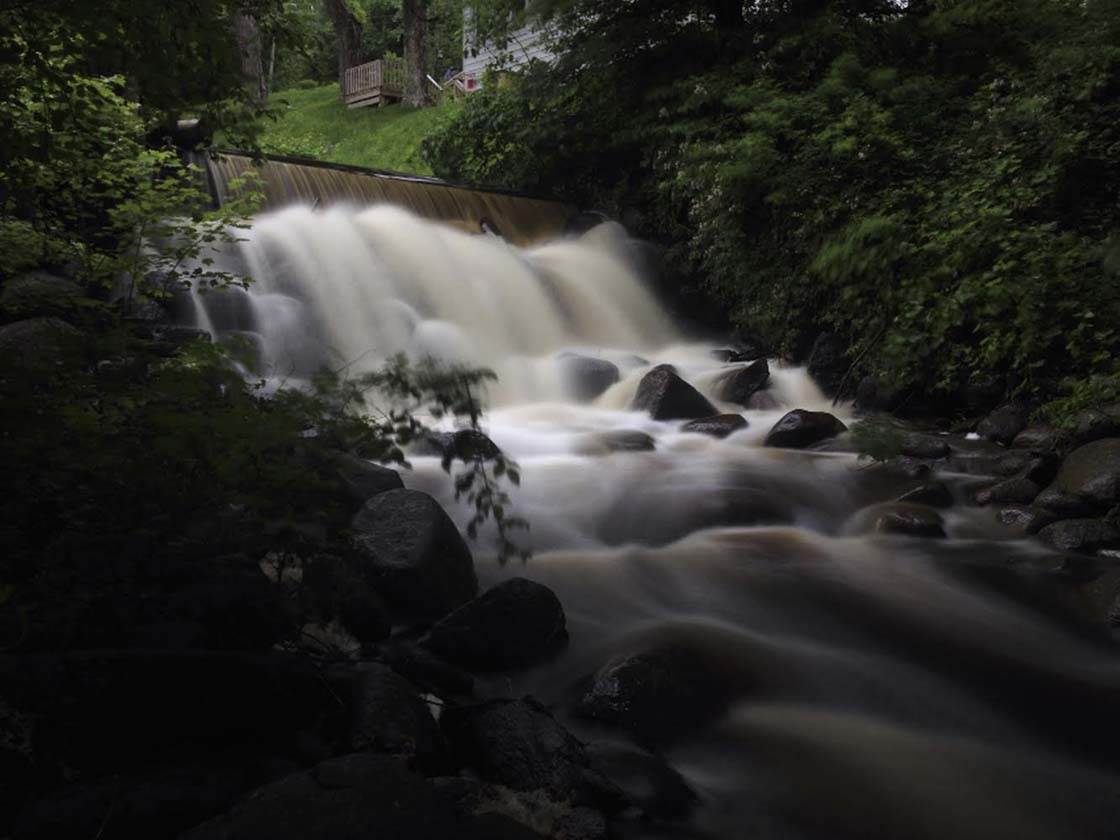
I pressed the Slow Shutter Cam app’s shutter button and the exposure took about 5 seconds. The exposure time will vary based on the app settings and the ambient light in the sky.
When the photo has been captured, you can now begin to make it look as if it was taken at night under a moonlit sky. This involves changing the color balance and basic exposure settings.
You can either use the settings in your slow shutter app or use your favorite photo editing app instead.
All you need to do is change the color balance (color temperature) so that the picture becomes quite blue-ish. And then slightly under-expose the photo using the exposure or brightness settings.
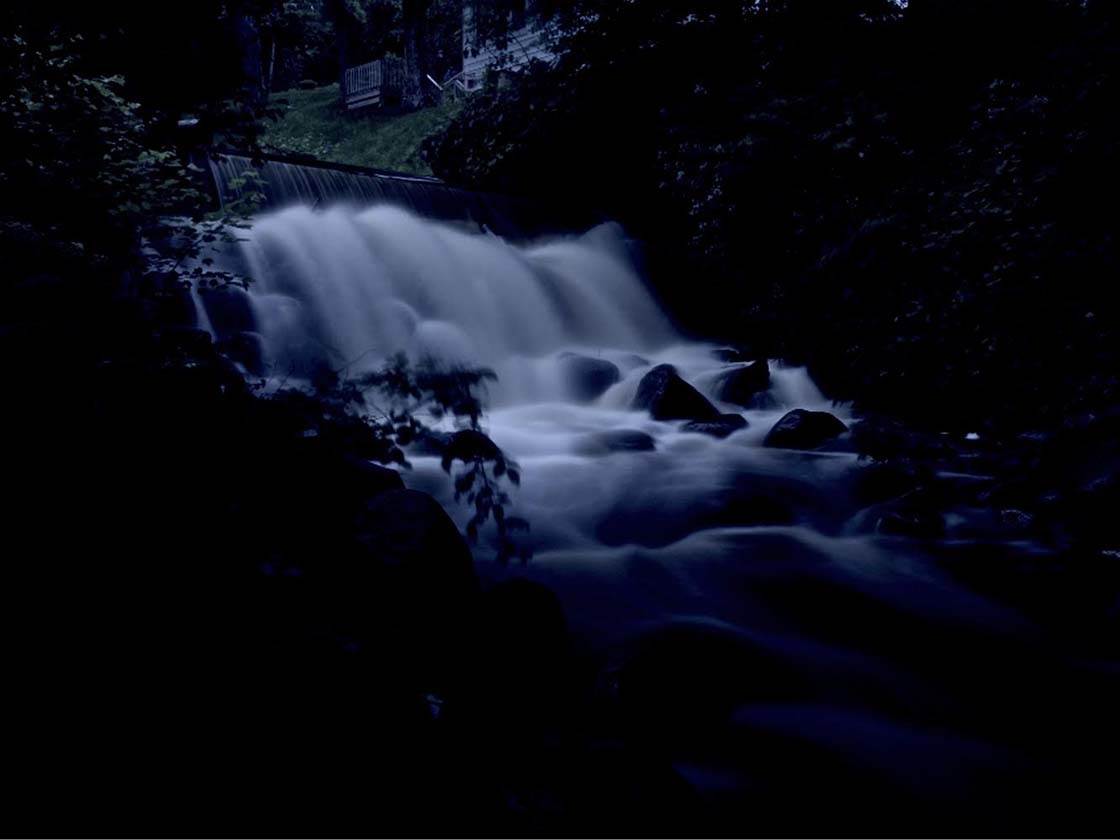
This photo is what I came up with by using the day for night technique. With a simple “cooler” color balance and a slight under-exposure, you can often replicate moonlit night scenes with many midday situations.
You don’t have to limit this technique to just waterfalls using a slow shutter app. Try out this day for night technique with as many subjects as possible.
Simply take your photo in daylight, then adjust the color balance to a cool blue, and reduce the exposure settings to make the image darker.
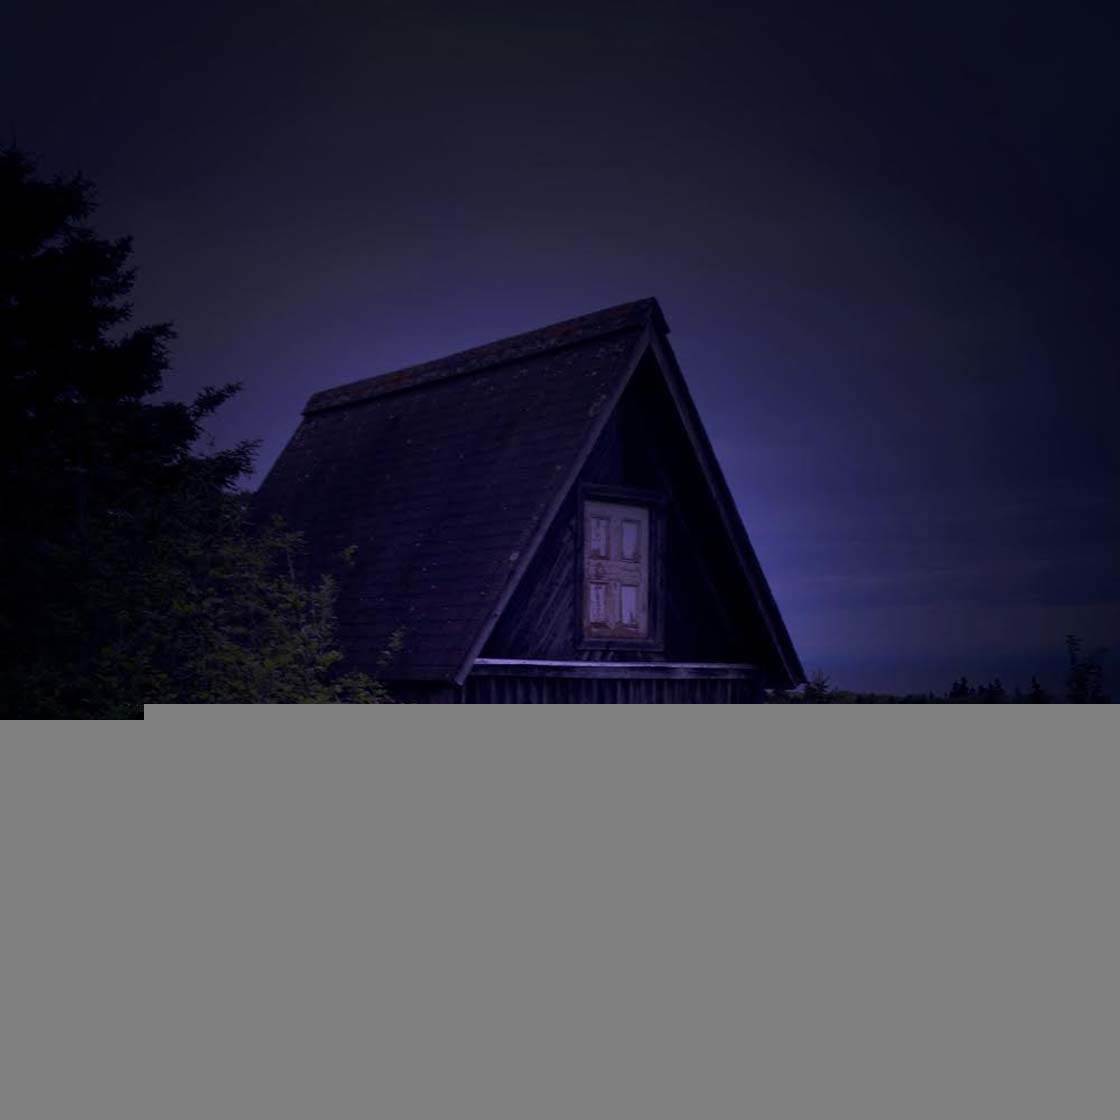
Believe it or not, the above photo was taken with my iPhone in bright daylight! Remember, almost all apps (including the native iOS 8 camera) allow you to adjust exposure and color balance.
One Final Point
When I teach my photography workshops I always encourage my students to avoid frustration when photos don’t turn out the way that they were envisioning. Frustration is a creativity killer.
Give yourself a lot of grace to make aesthetic or technical mistakes, as it’s the mistakes that often become our greatest teachers. Enjoy the night!


Thanks for the creative ideas Mark. I’m going to try some of these! 🙂
Great tips! I love the photo of the car driving in the fog. Looking forward to taking more quality night shots! Thanks!
Glad to hear that Jeremy, have fun!
Learned a lot from this article,”Frustration is a creativity killer.” Thanks a lot Mark .
I appreciate that Desmond, I’m happy to here that you got something out of the lesson. Have a great day!
I especially enjoyed the “day for night” technique. Will definitely try that. By the way, I was in Saint John in September. My first time in that area. It was a lovely little town.
The day for night technique is so effective isn’t it Faye! You could try it out for the next photo contest as the theme is Night 🙂
Hi Faye, glad you liked Saint John! Our Brooklyn-style architecture allows for a lot of cool photo backgrounds. Happy shooting!
Really love the one from your bedroom window! Thanks