The iPhone is capable of taking amazing photos, but sometimes you might find yourself wishing you had more than just the one fixed built-in lens. Maybe a telephoto lens would be useful to get you closer to the action, or a wide angle lens so you can get more into the frame. Or how about a macro lens for taking extreme close-ups of small subjects? The Olloclip lens systems offer all of this and more, and in this article we’ll be reviewing the new Olloclip lenses for the iPhone 6 and 6 Plus. (Note – a new version of the Olloclip lens kit for the iPhone 7 and 7 Plus is now available).

We’ll be looking at all three lens systems that Olloclip have on offer for the iPhone 6 and 6 Plus. These lenses are also available for the iPhone 5/5s, and there are a variety of lens systems that fit the iPhone 5c, 4/4s, as well as the iPad.
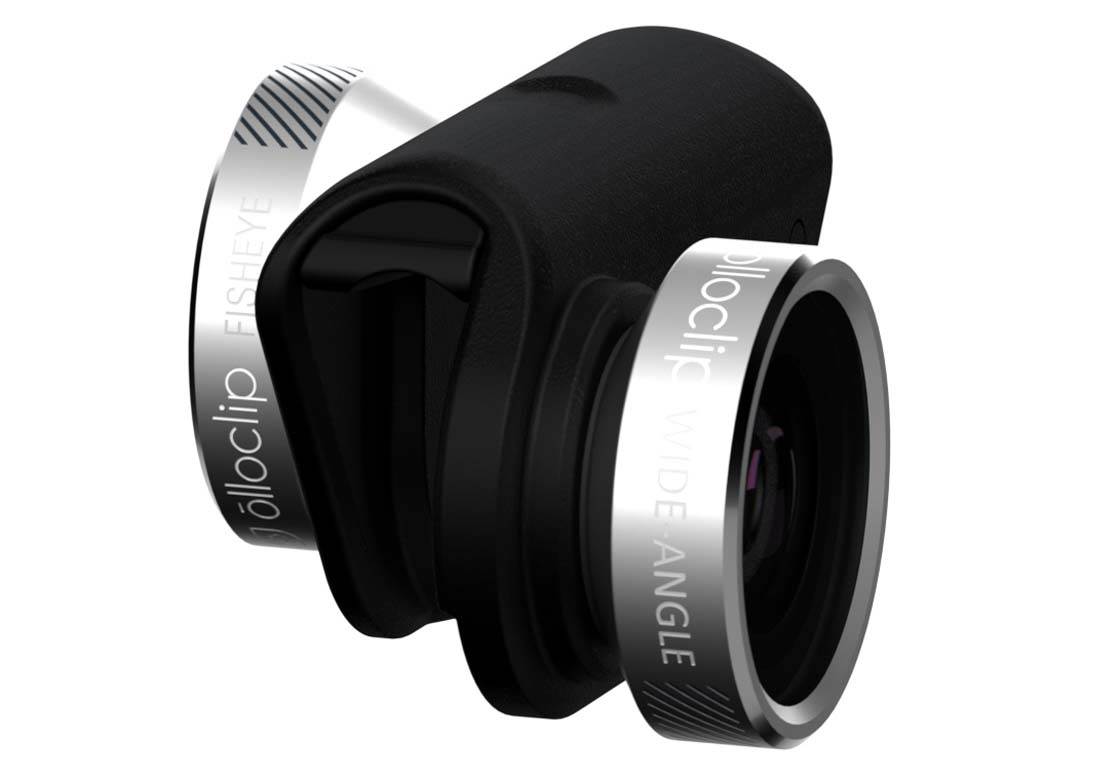
I call them “systems” because each of their products consist of more than one lens combined into a single unit. Before looking at these lens systems individually, let’s discuss what they have in common.
Each set of lenses is attached to a special mounting system. Each system consists of a strong plastic mount which clips onto the top of your iPhone.
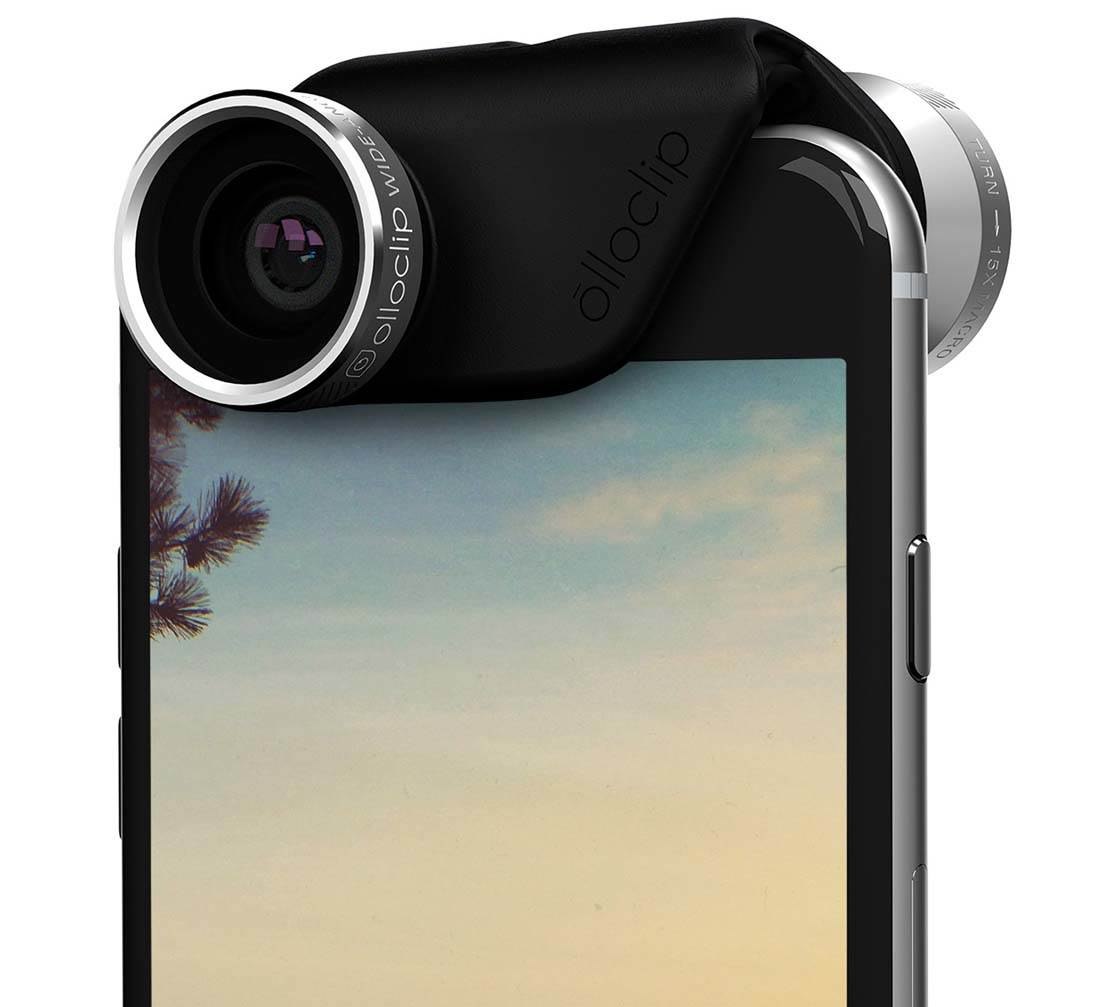
Two plastic inserts are provided – one for the iPhone 6 and one for the 6 Plus. Choose the correct one for your iPhone and slot it into the mount. This ensure that the lens system fits your iPhone, aligning the lens with the iPhone’s lens correctly. The mount can be moved left or right to align it with the iPhone’s front-facing or rear-facing cameras.
You can’t attach these lenses if your phone has a case or screen protector, but Olloclip do offer the Quick-Flip Case which allows you to flip the corner of the case and attach the lenses. We haven’t tested out this case.

Each mounting system has an asymmetrical layout. The mount holds two lenses at a time, each offset from the other and on opposite faces of the iPhone. This allows you to rotate the mount by 180 degrees to switch the lens between the front and rear-facing cameras.
Included with each lens system is a lanyard and colorful pendants. The lenses lock into the pendant mount, allowing them to be carried securely when not connected to the iPhone.
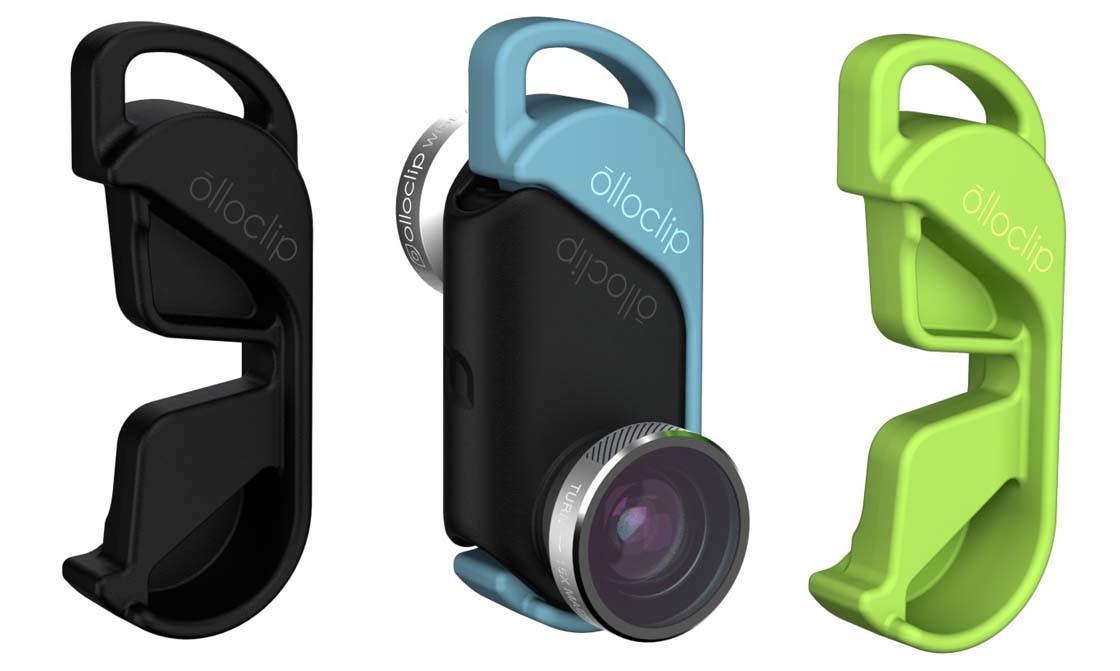
All of the lenses, mounts and accessories reviewed here are of a high build quality. The plastic components seem tough and not at all brittle. The lens housings are metal and the lenses are glass rather than plastic.
The lens threads and connector threads are both metal which is preferable to metal-to-plastic threads where the metal thread can damage the plastic thread. So top marks to Olloclip so far. Now let’s take a look at how each lens system performed when attached to my iPhone 6.
4-in-1 Lens System
This versatile lens system comprises four lenses: a fisheye lens, a wide angle lens and two macro lenses with different magnifications. The plastic mount has two lens groups attached to it. With this system, each of the two lenses has two functions.
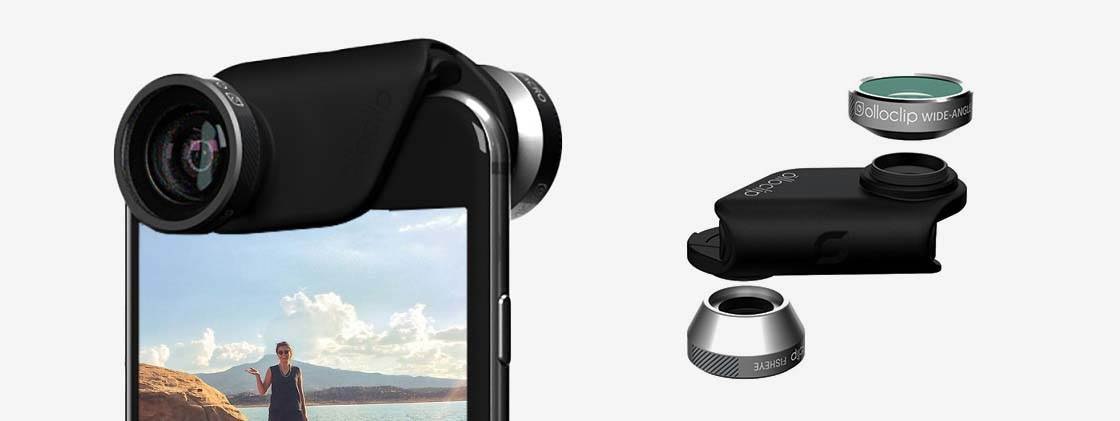
One lens is a fisheye lens, but by simply twisting off this lens you’re left with a 15x magnification macro lens. The other lens is a wide angle lens, and by twisting off this lens you get another macro lens – this time with 10x magnification.
The wide angle lens allows you to capture more of the scene than the standard built-in iPhone lens. This is most useful when you can’t get everything in your scene into the frame, and moving further away from your subject isn’t an option. Simply attach the wide angle lens and you may find you can get everything and everybody into the shot!
The fisheye lens is an ultra wide angle lens. This means it gathers up light from a far wider angle than the wide angle lens. The result is a very distorted image which has more of the scene visible than would normally be possible with a basic wide angle. Be aware that in order to do this the lens creates a strange circular image.
Below you can see a comparison of three photos of the same scene. I was stood in exactly the same position for each shot, but just used a different lens for each one.
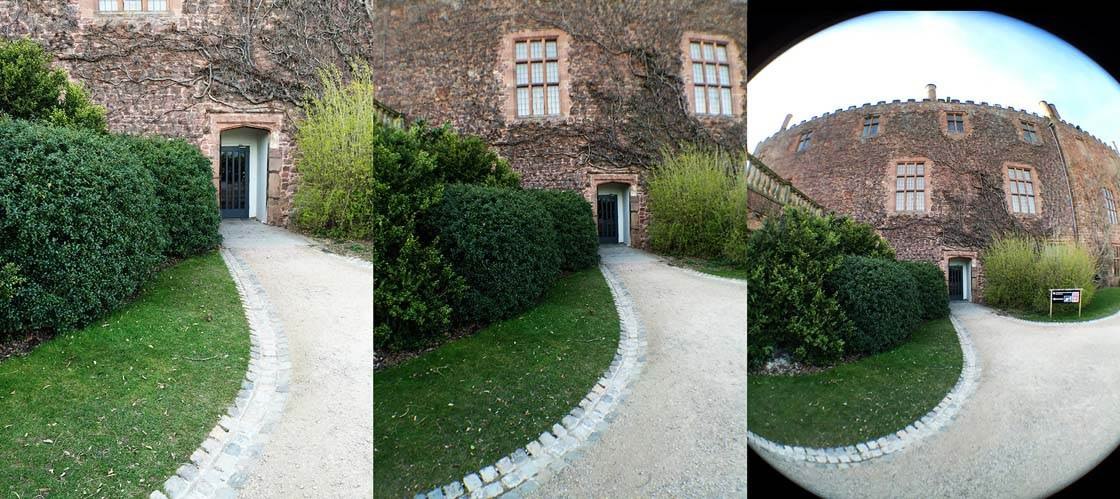
The left-hand photo was taken without any lens attached. The middle photo was taken with the wide angle lens, and you can see that I was able to fit much more of the scene into the frame.
The right-hand photo was taken with the fisheye lens and you can see the unique distortion that you get with this type of lens. The glass on the fisheye lens is proud of the lens housing so care must be taken not to scratch the glass. Olloclip thoughtfully provide soft bags for storing the lenses in whilst not in use.
A common problem with third-party lenses for the iPhone is that the edges of the photos can appear blurred or distorted, and unfortunately the Olloclip lenses do suffer from some blurring at the edges.
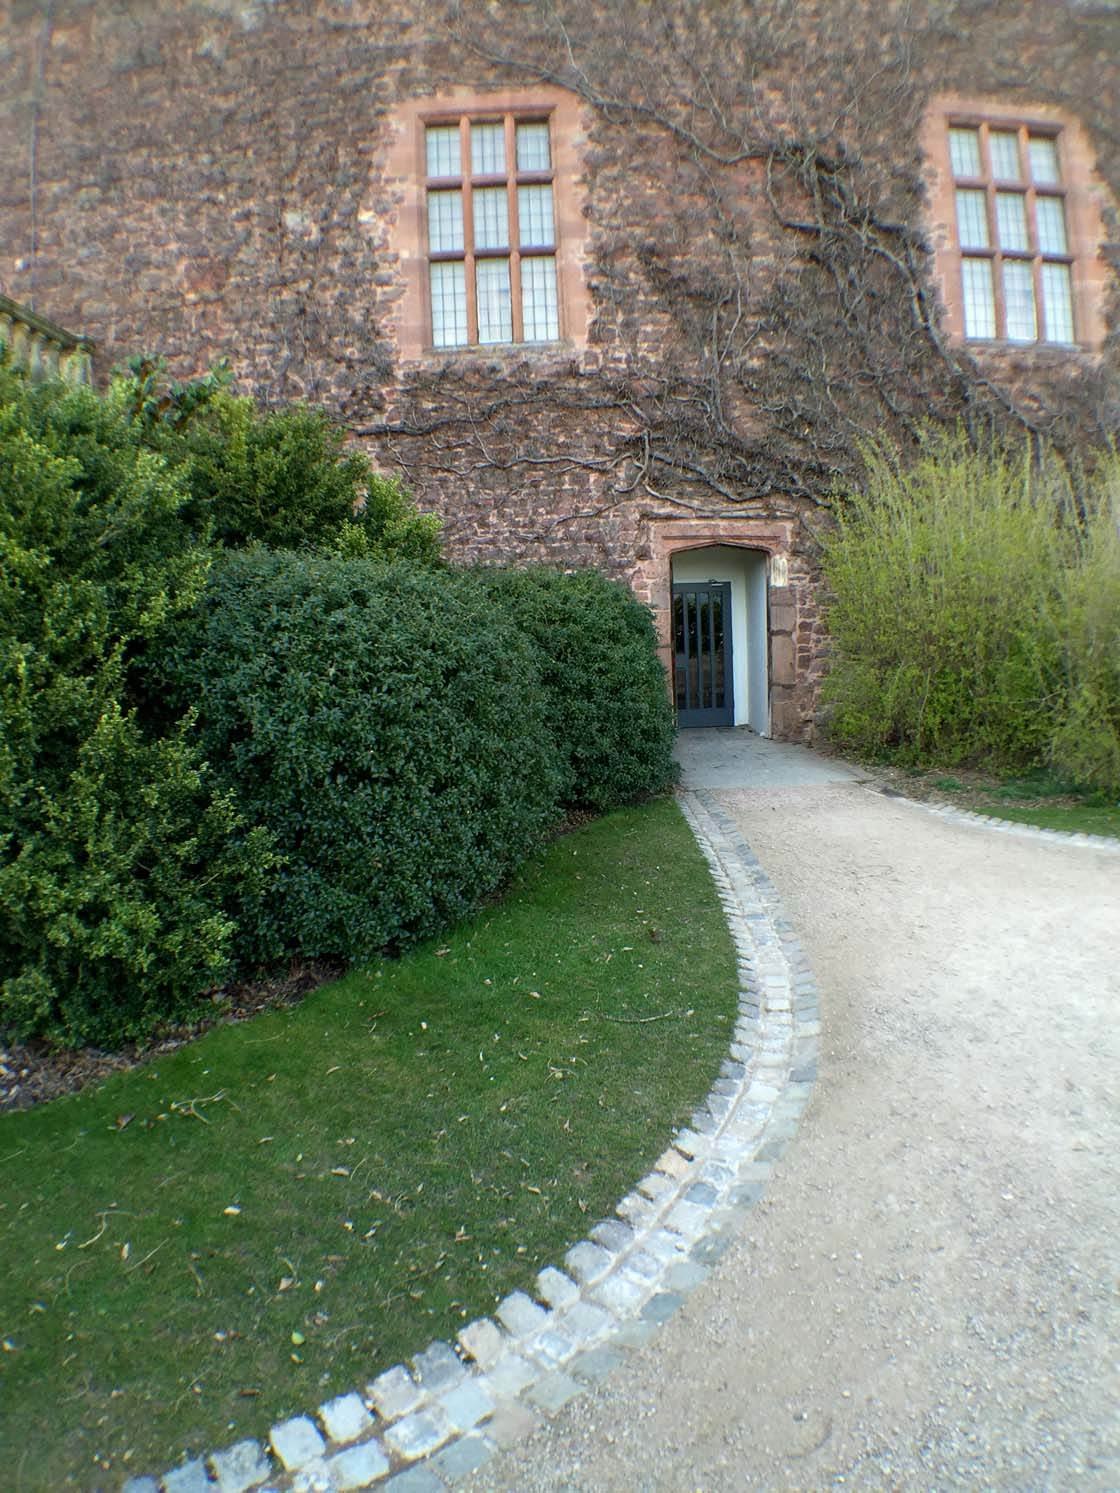
Above is a larger version of the wide angle shot. The photo is very sharp in the middle, but blurring occurs around the edges which somewhat degrades the image quality of these areas.
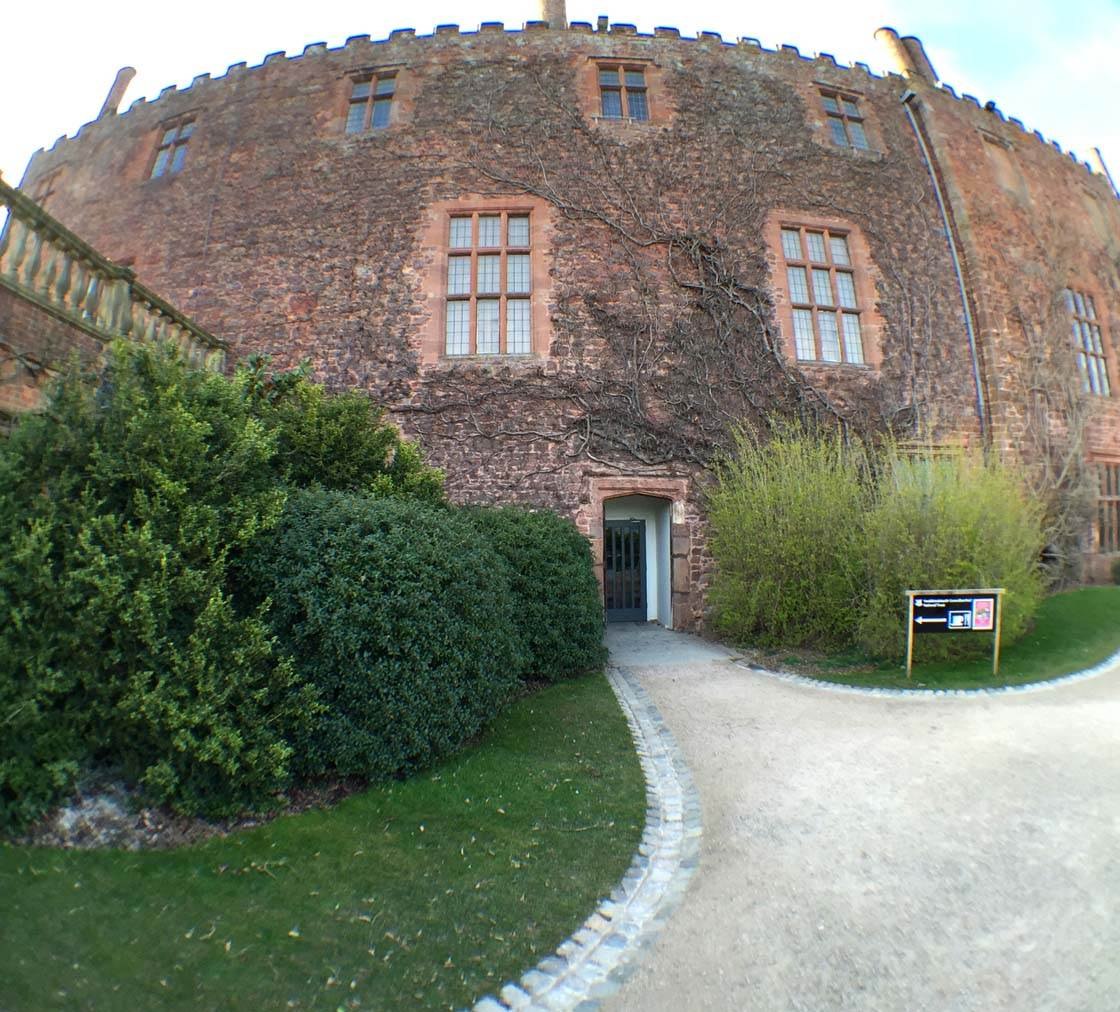
Here’s a version of the photo taken with the fisheye lens – it’s been cropped to remove the black edges, but it does still suffer from some blurring around the edges.
As mentioned above, this lens system includes two macro lenses, but since we’re covering the dedicated Macro 3-in-1 lens system below, we won’t go into detail about the 4-in-1 macro lenses here.
Macro 3-in-1 Lens System
A macro lens allows us to focus on subjects much closer to the iPhone’s lens than the standard built-in lens allows. This is perfect for capturing detail not easily seen with the naked eye. Macro lenses are very popular with photographers who like to take close-up macro photos of flowers and insects.

The Olloclip Macro 3-in-1 kit offers the choice of 7x, 14x or 21x magnification. It’s important to realize that these lenses only work on subjects which are extremely close to the iPhone.
The optimum distance on the 14x and 21x lenses is easy to achieve using the semi-transparent hoods provided. These not only make getting the right distance simple – they also allow light to reach your subject and, being semi-transparent, diffuse the light a little.
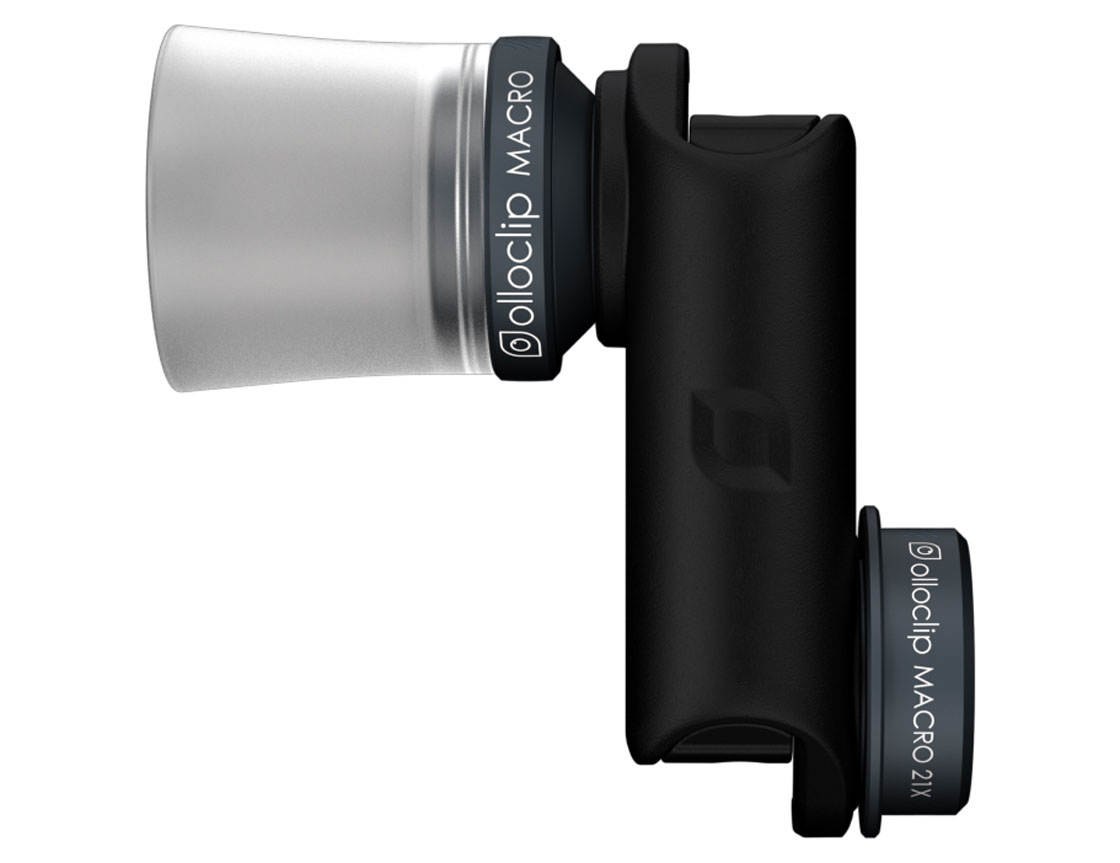
The 7x macro lens is achieved by removing the 14x lens and hood. I found that it only allowed the iPhone to focus on the subject if it was between 2 cm and 5 cm from the subject.
As I mentioned above, the 14x and 21x macro lenses work best at the distance set by the attached hoods. The hoods can be removed fairly easily, but I found I got better results when I left the hoods on as they ensure the correct distance from the subject is maintained.
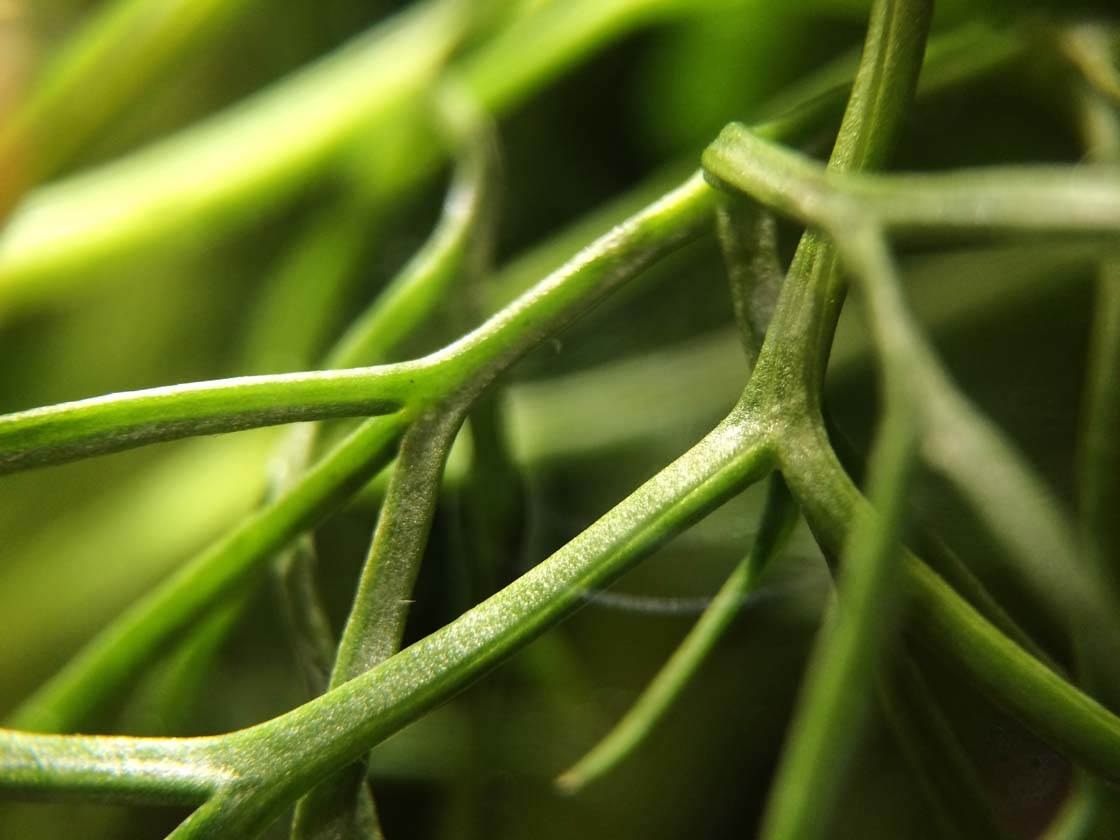
The macro lenses do suffer with some edge distortion, which increases with the magnification. So the 7x creates the least amount of blurring around the edges, the 14x a bit more and the 21x produces the most.
Even when focusing on a subject which is perfectly flat and perpendicular to the iPhone a small amount of distortion is apparent, with the center of the frame being the sharpest regardless of where you tap to focus.

This close-up photo of a banknote was taken using the 14x macro lens, allowing me to capture detail that’s difficult to see with the naked eye. You’ll notice that the edges of this photo are slightly blurred, especially around the corners of the frame. This is a common problem with add-on lenses for the iPhone, however, the center of the image is nice and sharp.
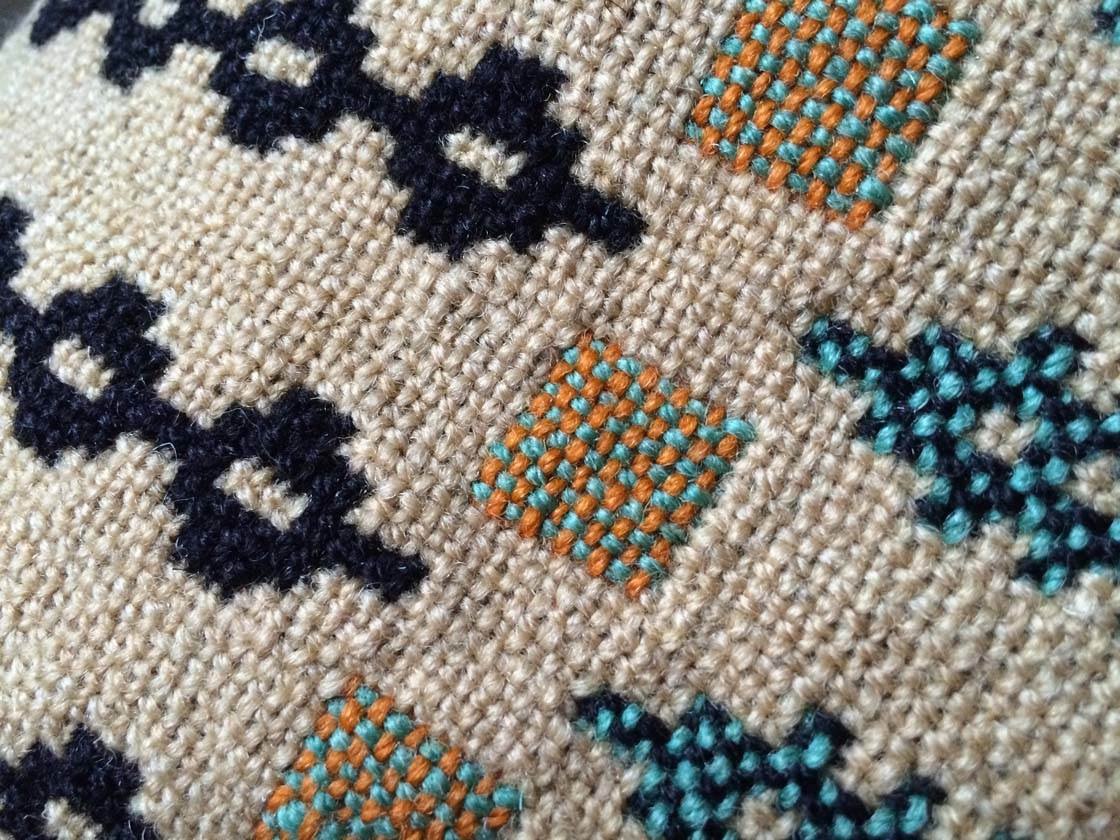
The following images of a wool blanket show the results of using each of the different macro lenses. First, we have the subject without a macro lens attached:
Next we have a photo taken with the 7x macro lens attached:
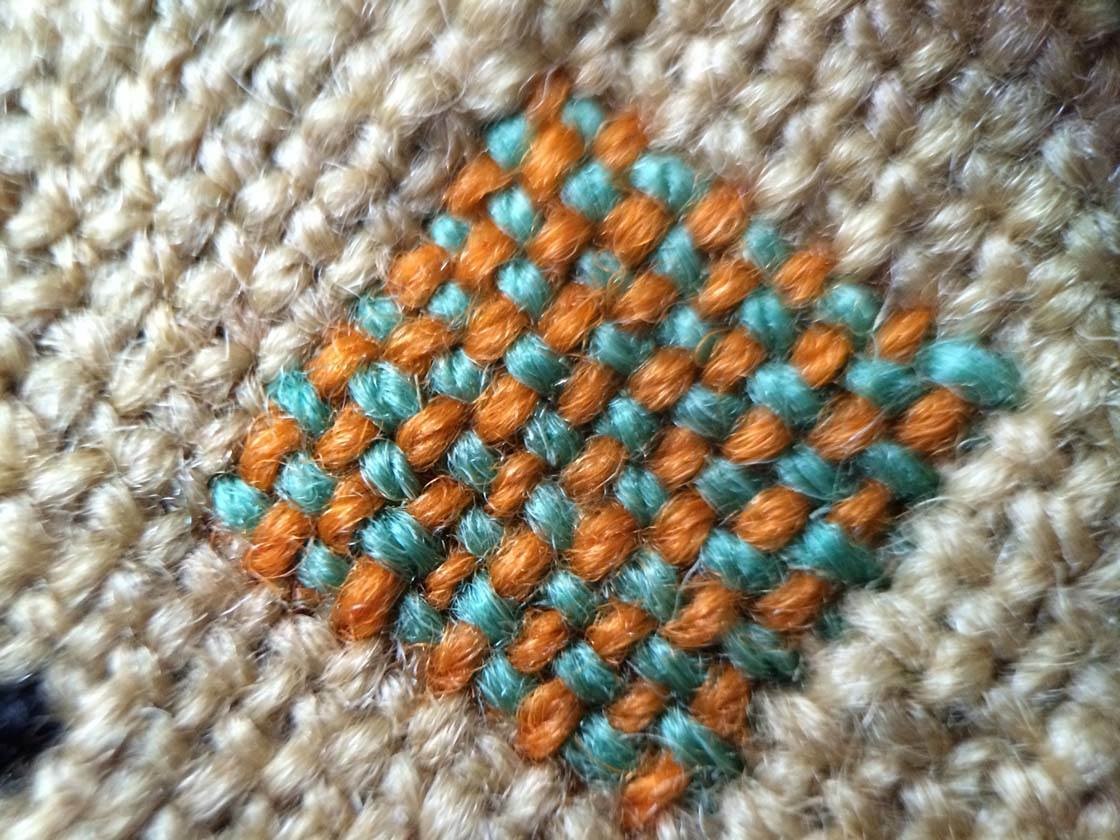
Then we have the same subject taken with the 14x macro lens:
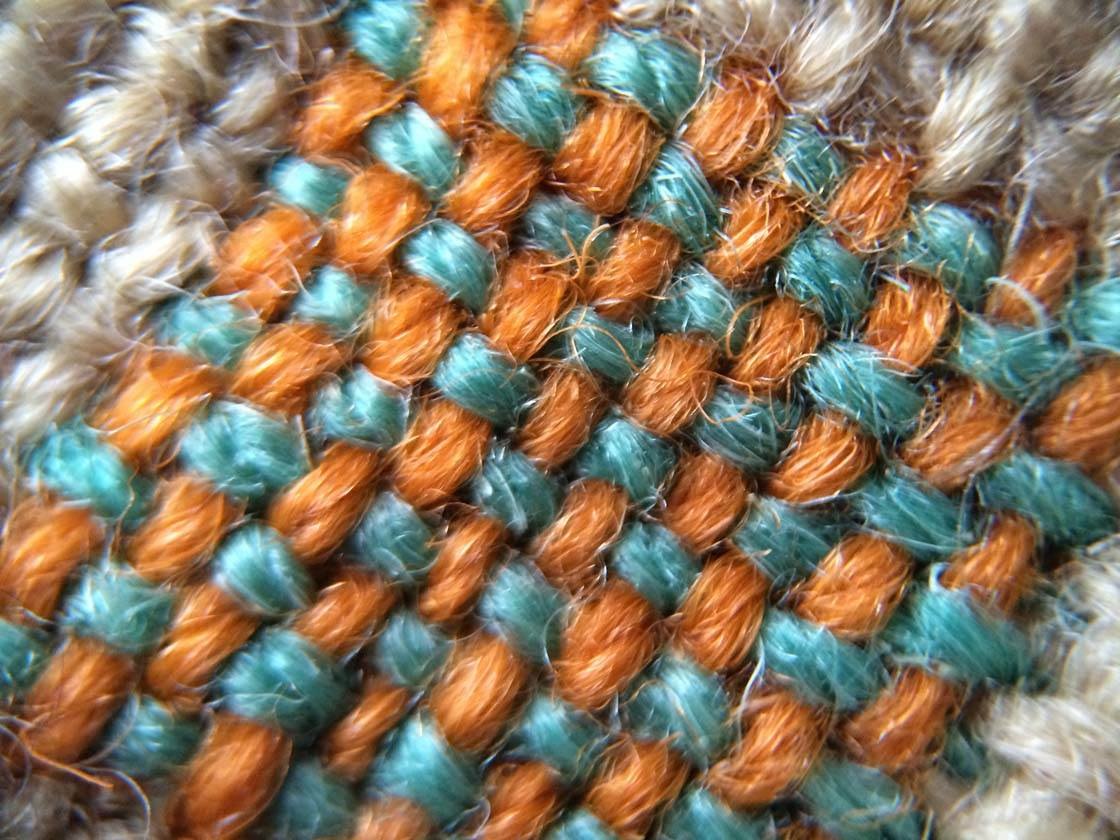
And finally, a photo taken with the 21x macro lens attached:
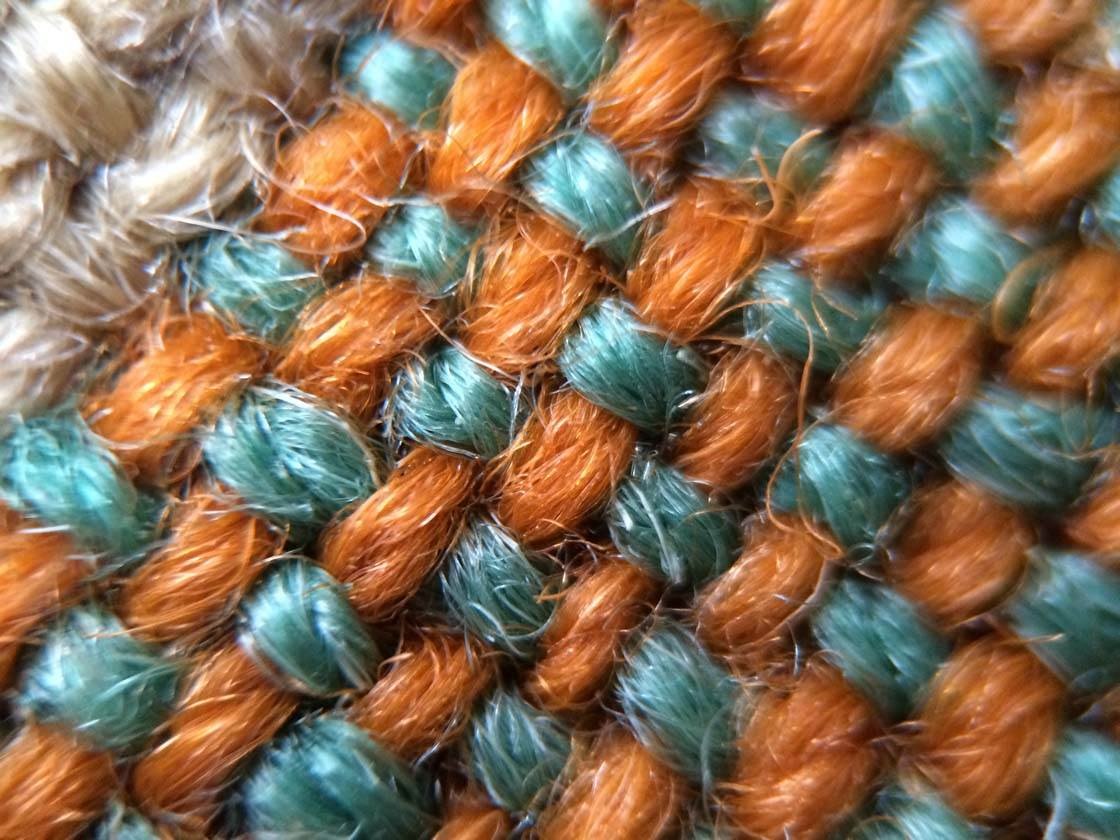
The last thing to mention about using macro lenses is that because the depth of field (how much of the image is in focus from front to back) is so shallow, the smallest amount of movement can make the difference between a sharp shot and a blurry shot. So it’s best to use an iPhone tripod whenever you can.
Telephoto + CPL Lens System
This lens system consists of a telephoto lens and a CPL (Circular Polarizing Lens). The telephoto lens provides 2x magnification which makes your subjects look twice as big. Using Olloclip’s telephoto lens allowed me to photograph this peacock without having to get too close and scare it away.
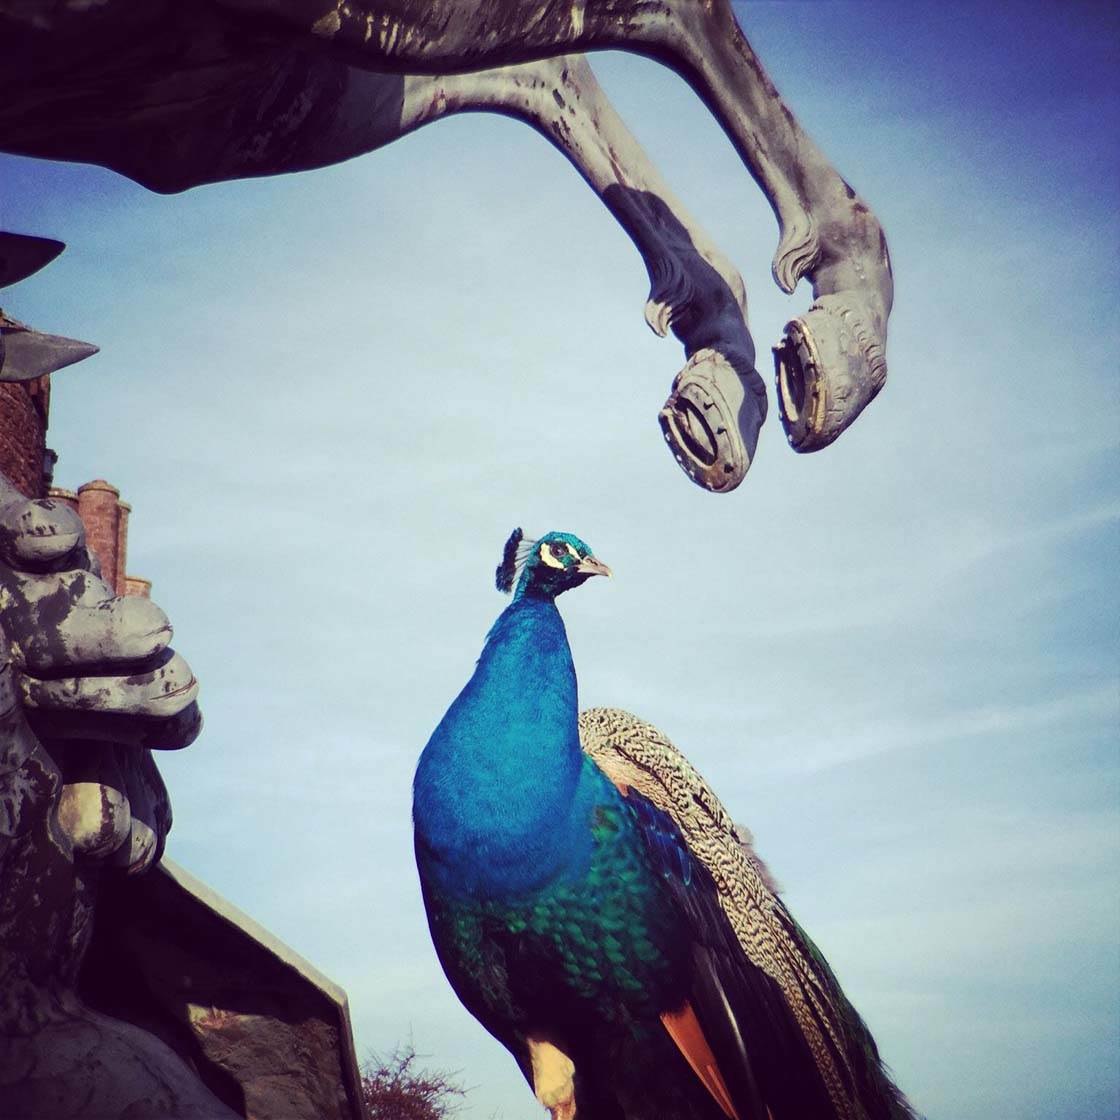
Of course, in most situations you could simply walk halfway to your subject and save yourself $99.99. However zoom lenses don’t just save you leg work – they shorten the depth of field and “flatten” your subject, making distant objects and nearby objects appear to be closer together.
This can often improve your photos, and can be especially beneficial for portrait photos where the zoom cancels out the built-in wide angle effect of the iPhone’s lens, which on its own can make faces seem slightly distorted if too close to the subject, e.g. big noses, small ears, etc.
And there are times when simply getting closer to your subject isn’t an option, such as when photographing wildlife or a candid moment with your child where to get any closer might distract them from their toys. These are excellent times to reach for the telephoto lens.
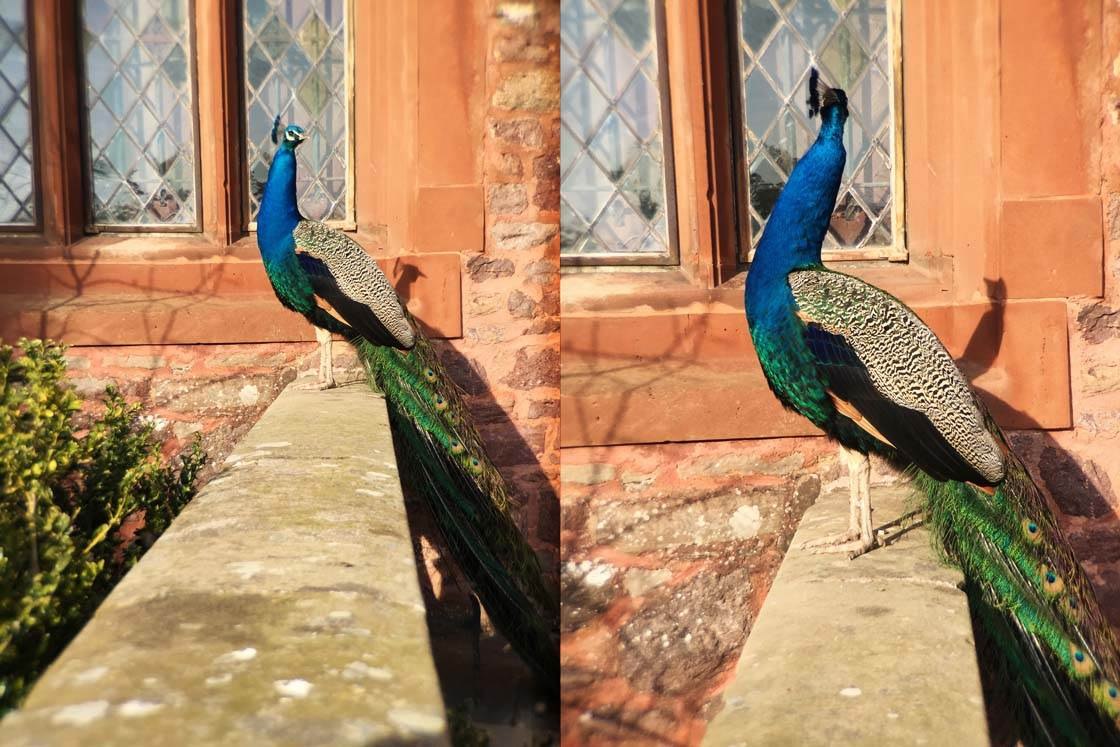
These examples show how the telephoto lens gets you closer to your subject without having to move. The left-hand image was taken with no lens attachment, and the right-hand image was taken from the same spot but with the telephoto lens attached.
The CPL (Circular Polarizing Lens) is really a filter rather than a lens. Normally, lenses adjust the angle of light entering the lens so as to change what’s captured on the iPhone camera’s sensor. The CPL doesn’t do this – it simply prevents light with a certain polarity from being captured.
That doesn’t sound very exciting, but when you discover this kind of light includes reflections and glare, you can see how beneficial it could be for your iPhone photos. Not only that, but it can also boost color saturation and darken skies.
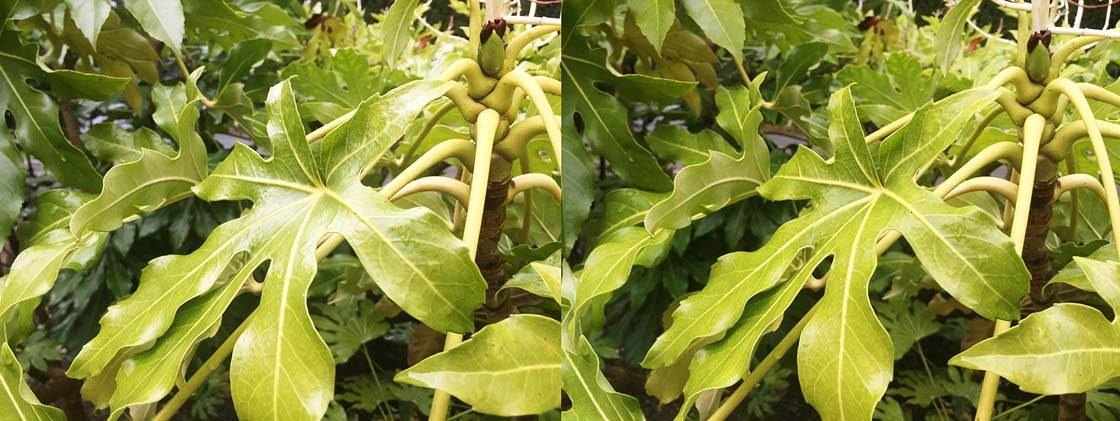
In the photo above you can see how the reflected glare in the image on the left is completely removed by using the CPL filter. The image on the right has much less glare, which allowed me to capture more detail and color in the leaves.
Using the CPL filter is simple. All you have to do is point the iPhone at your subject and rotate the filter’s outer ring until you achieve the result you want. You’ll get the best results if you shoot perpendicular to the sun, i.e. with the sun at 90 degrees to where you’re pointing the iPhone.
The main disadvantage of a polarizing filter is that the stronger the effect, the less light actually reaches your iPhone’s camera sensor, which results in longer exposure times (slower shutter speeds). This means you’ll need to take extra care to keep the iPhone stationary in relation to the subject, otherwise you might introduce some blur due to camera shake.
That said, I’m a big fan of this polarizing filter. It doesn’t distort the image in any way and it allows you to capture a punchy, more color-saturated image with less glare and fewer unwanted reflections.
Conclusion
While third party lenses can be a bit of a disappointment, the creative opportunities that these lenses have to offer are both rewarding and good value-for-money. They’re well built, well designed and simple to use. For me the stand-out products were the macro lenses and the CPL filter.
You do get some blurring/distortion around the edges with Olloclip, as you do with many third party iPhone lenses. This is more pronounced with certain lenses from the system than others. If you’re looking for edge to edge sharpness, you should probably be looking to spend more money on a top of the range product.
All of the lens kits discussed in this article can be purchased from the Olloclip website, and they’re also available from other online retailers, including Amazon. The 4-in-1 Lens costs $79.99, the Macro 3-in-1 Lens is $69.99, and the Telephoto + CPL (Circular Polarizing Lens) is $99.99.


Thanks for the in-depth review! It looks like the optical quality has improved from the previous generations of Olloclip 🙂
question: i have an ollo clip for my old iphone 5s. i recently upgraded to a 6+… is there any way i can adapt/use my 5s ollo clip on my new 6+? or do i need to buy a whole new ollo clip lens?
Unfortunately you have to get another set of lens for your new phone.
Which one do you use now
Very disappointed in the product! It is not designed to fit on my iPhone with out having to take off my cover. Very inconvenient so I will be returning the product.
Hi Kenny. The olloclip ollocase will allow you to use the lenses without having to remove the case. It has a cutout where the lens fits onto your phone. We’ve tested it out and it’s a really good quality case. Here’s the link if you’re interested: https://www.olloclip.com/shop/cases/iphone6-ollocase/
I had same thing.
I don’t want take off screen protector.
Especially, glass screen protector is cannot/ difficult to reuse if took off once.
Olloclip are really bad. I’ll never buy it.
Olloclip now has a couple of new cases (quick flip and studio cases) that allow you to use the lenses without removing the screen protector.
well that only makes sense, apple changes the design of the iphone every 2 years (slightly enough that you have to get new everything)
I have an polo lip for iPhone 6plus that I’m selling. Any takers?
Also has anyone had a problem with the polo lip cracking their camera lens? My iPhone 6 Plus camera lens is cracked. And I don’t know how that happened
I have an Olloclip lense 4 in 1 for iPhone 6 Plus that I want to sell. Any takers?
not a good idea tyring to sell something that you literally just said cracked your phones camera lense you fucking twat
Also, has anyone ever had an issue with the Olliclip cracking their camera lens? My lens is cracked and I don’t know how.