Do you struggle to find interesting landscapes to shoot? Maybe you know a great location but the camera struggles to do it justice. One simple, but very effective, way to make your landscape photography more interesting is to include a person in the scene. In this tutorial you’ll learn some great tricks for taking more creative landscape photos with your iPhone by incorporating a human element into your images.
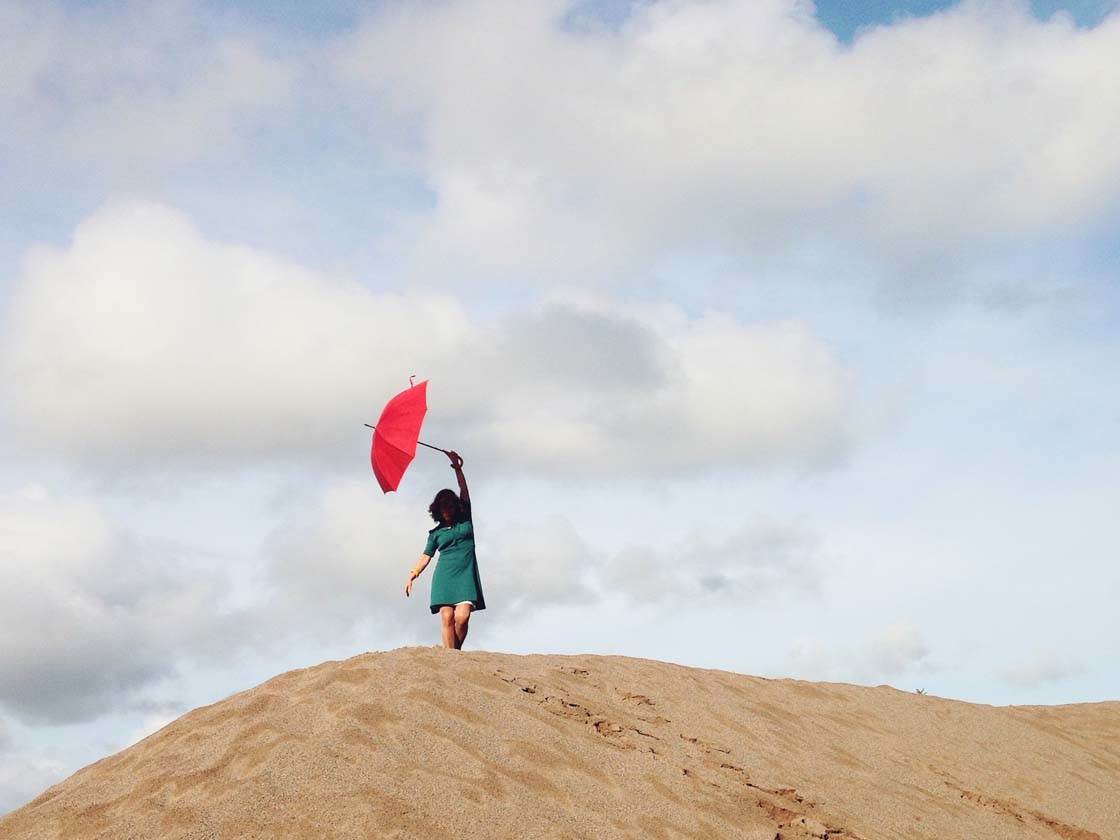
The problem with landscape photography is that you’re often faced with wide open spaces, and though the scenery may look beautiful to your eye, when you take a photo it can look flat and bleak with nothing of significant interest to focus on.
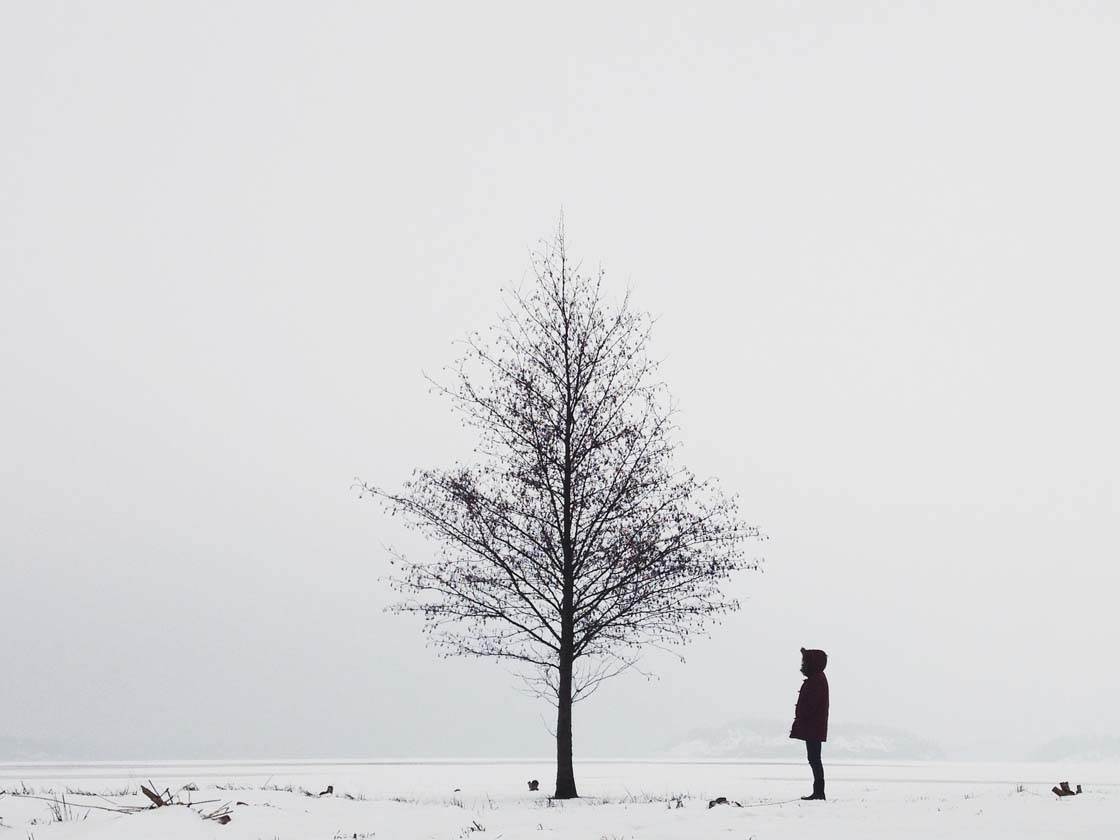
Whether you’re shooting in a stunning wide open landscape, a small field, a forest or your local parkland, including a person in your photo is a really effective way of making your image stand out from the crowd.
So lets take a look at eight tips for improving your iPhone landscape photography by including people in the scene.
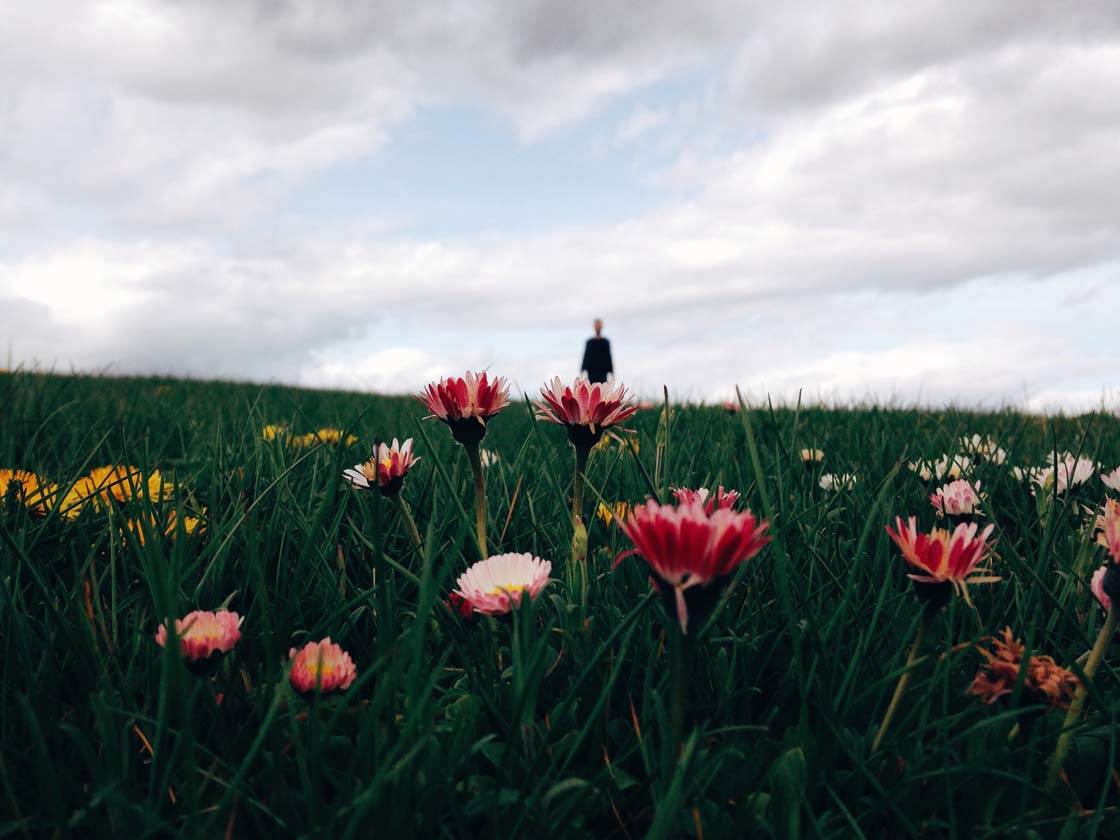
1. Use A Person As Your Focal Point
In any type of photography it’s important to include a main subject or focal point. This gives meaning to the photo and provides the viewer with a place to rest their eye.
Including a point of interest in landscape photos is especially important. Without it the vast landscape will appear bland and uninteresting, and it’s unlikely to hold the viewer’s attention for long.
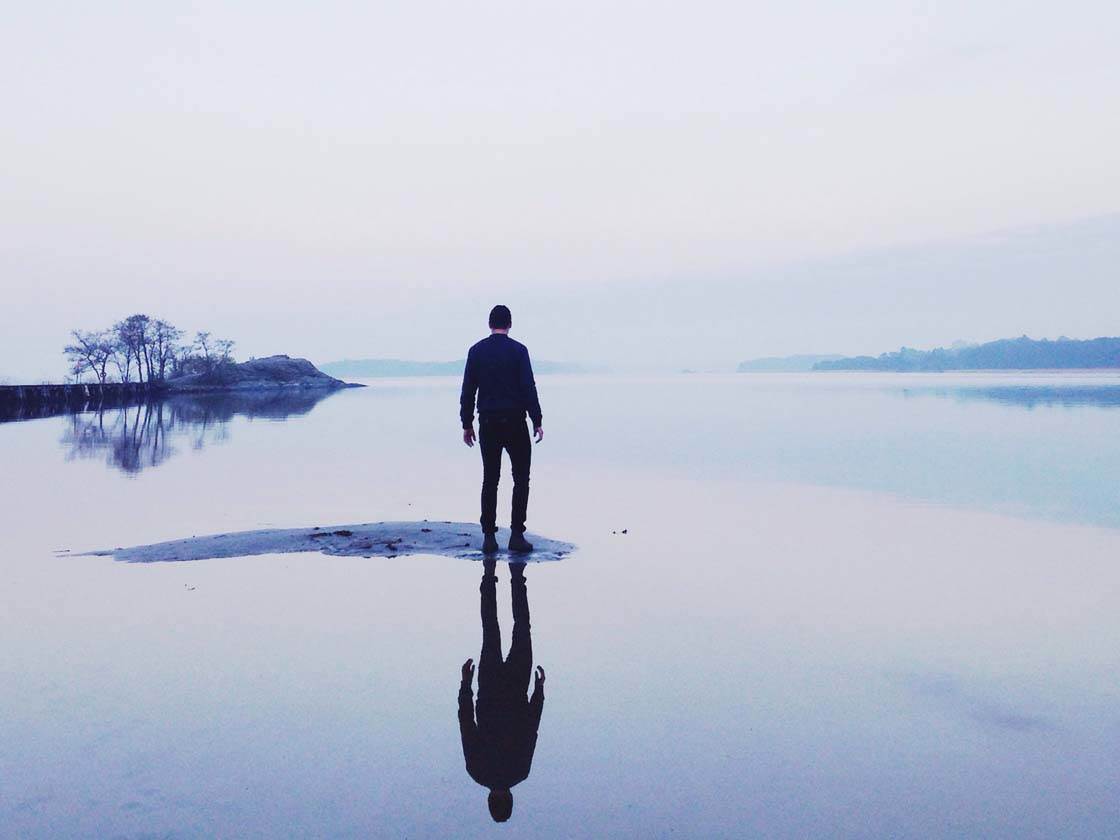
Typical objects to use as a focal points in landscape photography are trees, buildings and other static objects present within the landscape. But people also make interesting focal points, and the great thing about a person is that you move them and position them however you want.
Using a person as your focal point will bring a new dimension to your landscapes. And it will definitely give a scene with lots of negative space a boost.
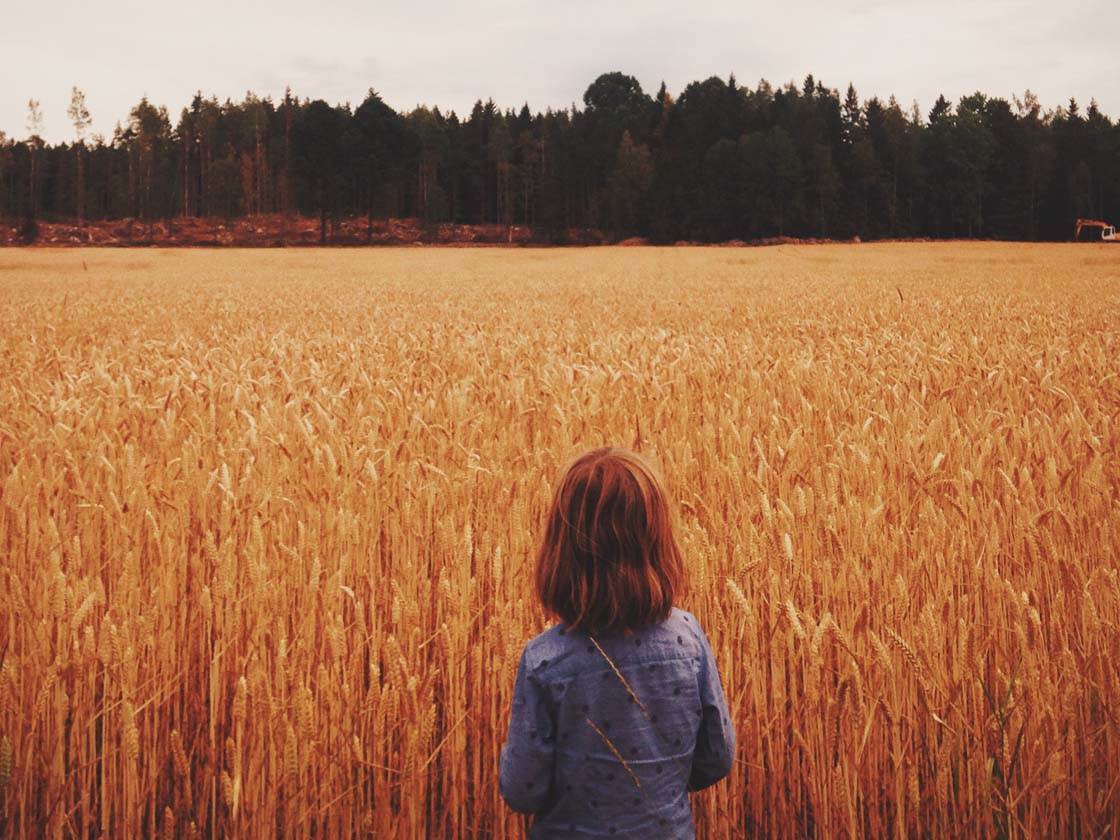
So first of all you need a person to photograph. One way is to go out and shoot with a like-minded person or a family member. On a lucky day you might even catch a complete stranger standing in just the right place.
Alternatively, just use yourself. For this, you’ll need an iPhone tripod, such as the Joby GorillaPod. You’ll also need a camera app that allows you to set a timer delay – you can do this in the native iPhone camera app or a third-party app such as Camera+.
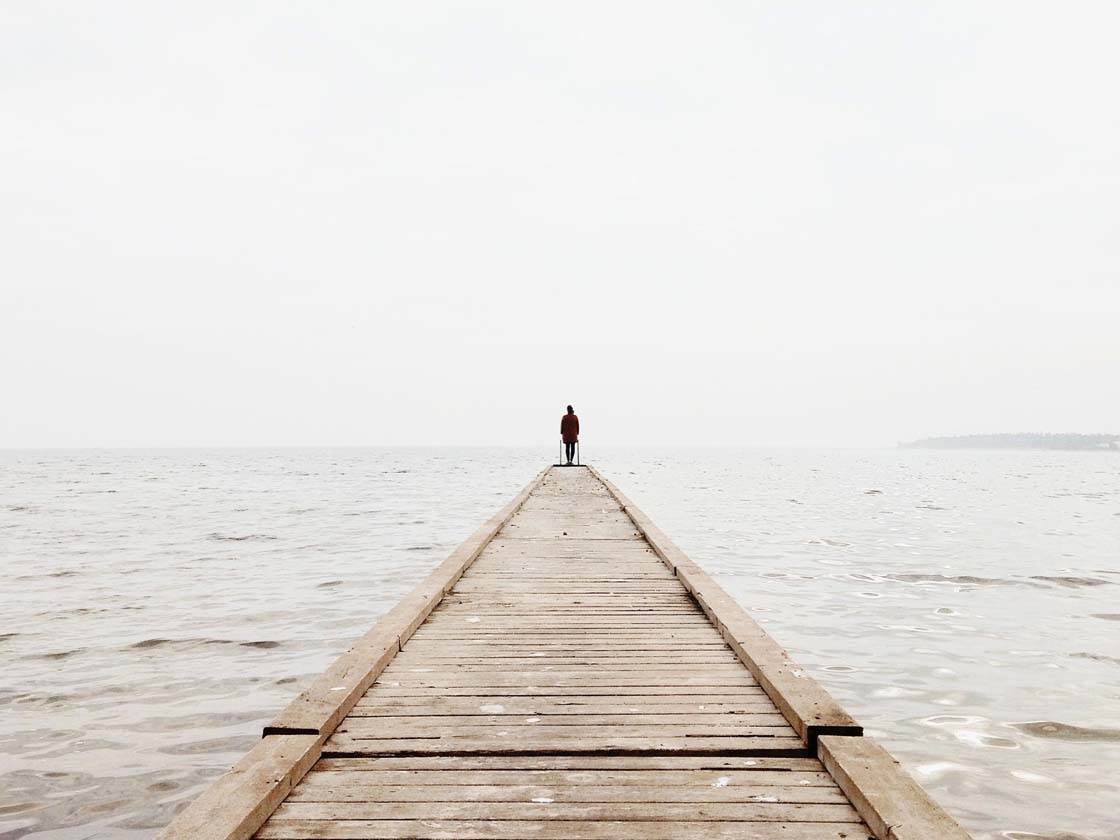
If you use yourself as a model, always mark the spot you stand on when the photo is being taken. Then you can easily adjust your position if the photo doesn’t work out the first time. And wear a watch so you know how much time you have to get to your spot after you’ve started the self timer.
Whether you’re using a volunteer, a stranger or yourself, including a person in your landscape photos is a fantastic way of ensuring your scene has a strong focal point.
2. Add A Sense Of Scale
Landscape photos are typically taken in locations where you have a big, clean expanse of space without distractions, such as a wide open field with a lot of sky included in the frame.
You would think that kind of location should be an ideal place to shoot, but the absence of distractions and other objects can also be a weakness. There’s not much to build your photo around and you don’t really get any sense of how vast the landscape is.
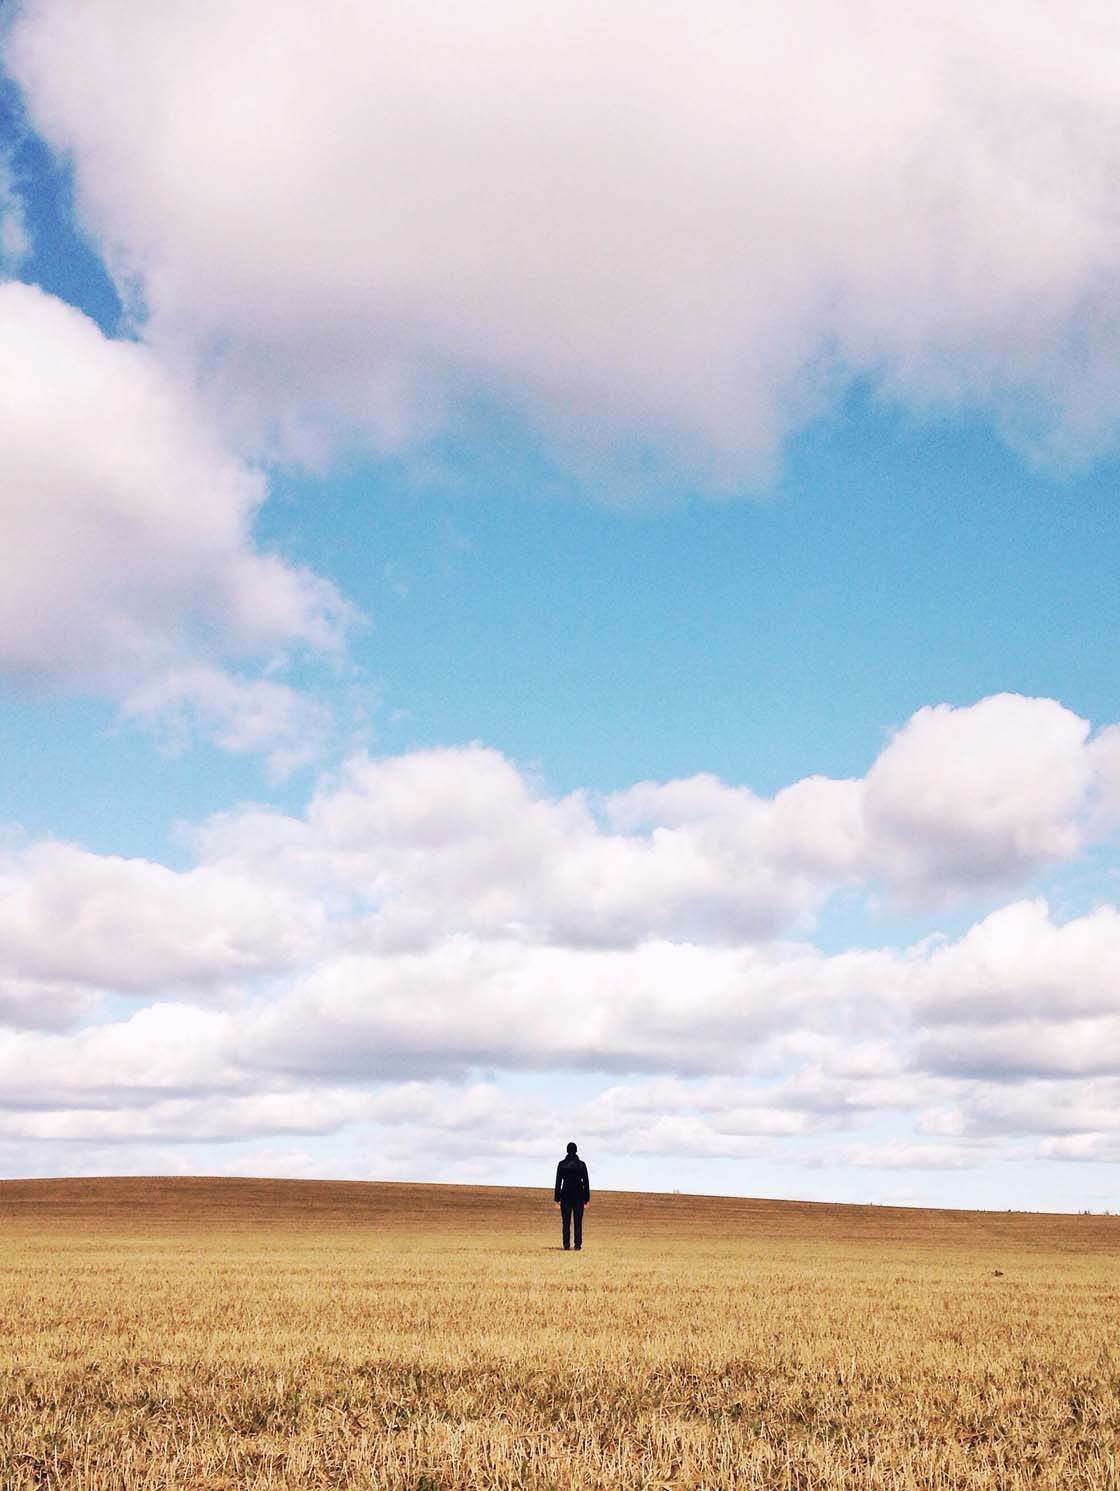
But if you place a person in the photo, this instantly gives the viewer a point of reference and adds a sense of scale to the scene. The tiny person in the frame emphasizes how big the landscape is, especially if you place the person far away from the camera.
Using people in landscapes is also great for conveying how big other objects are in the scene. Without the person in the photo below you wouldn’t get a sense of just how big that tree is.
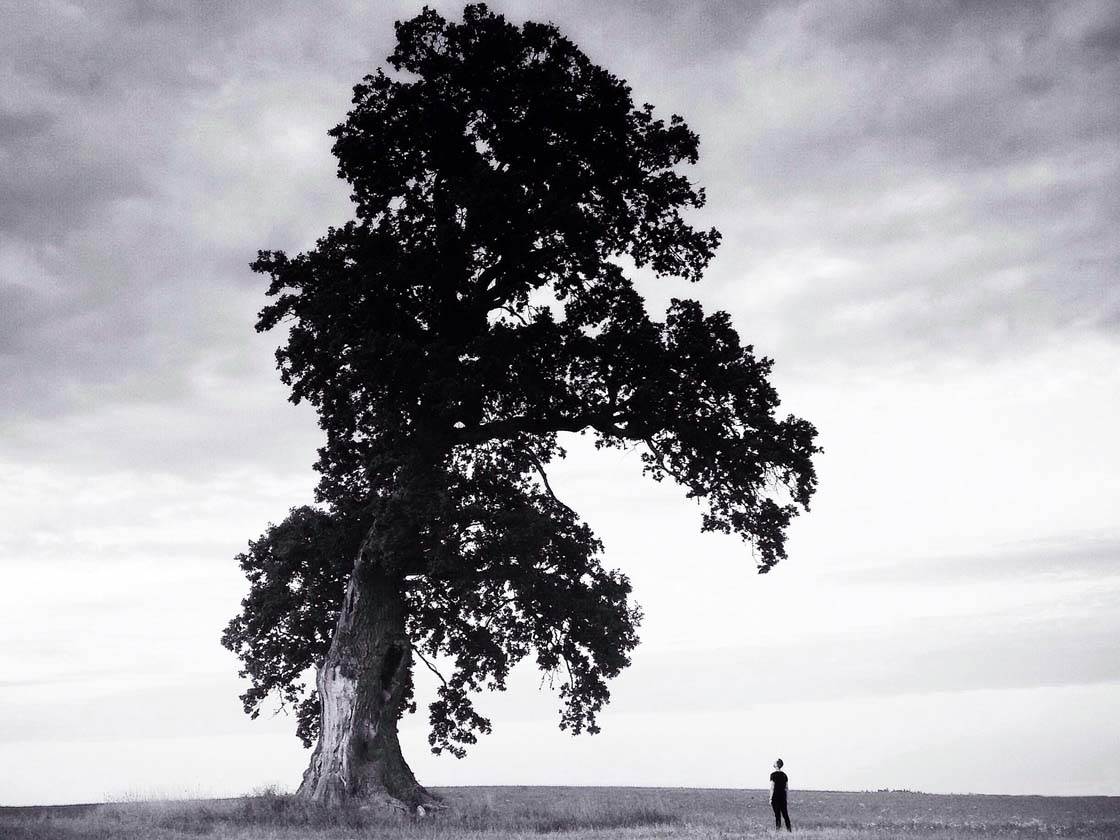
The distance that you position the person from the camera is a matter of taste or how you would like to present the landscape. I prefer to place the person as far away as possible as I like the contrast between the small (human) and the big (nature).
3. Tell A More Interesting Story
A human presence in a landscape can often tell us something or simply get our imagination going. It adds mystery and intrigue as the viewer wonders what the person is doing there. Where is the person heading? Why are they there? What is that person’s story?
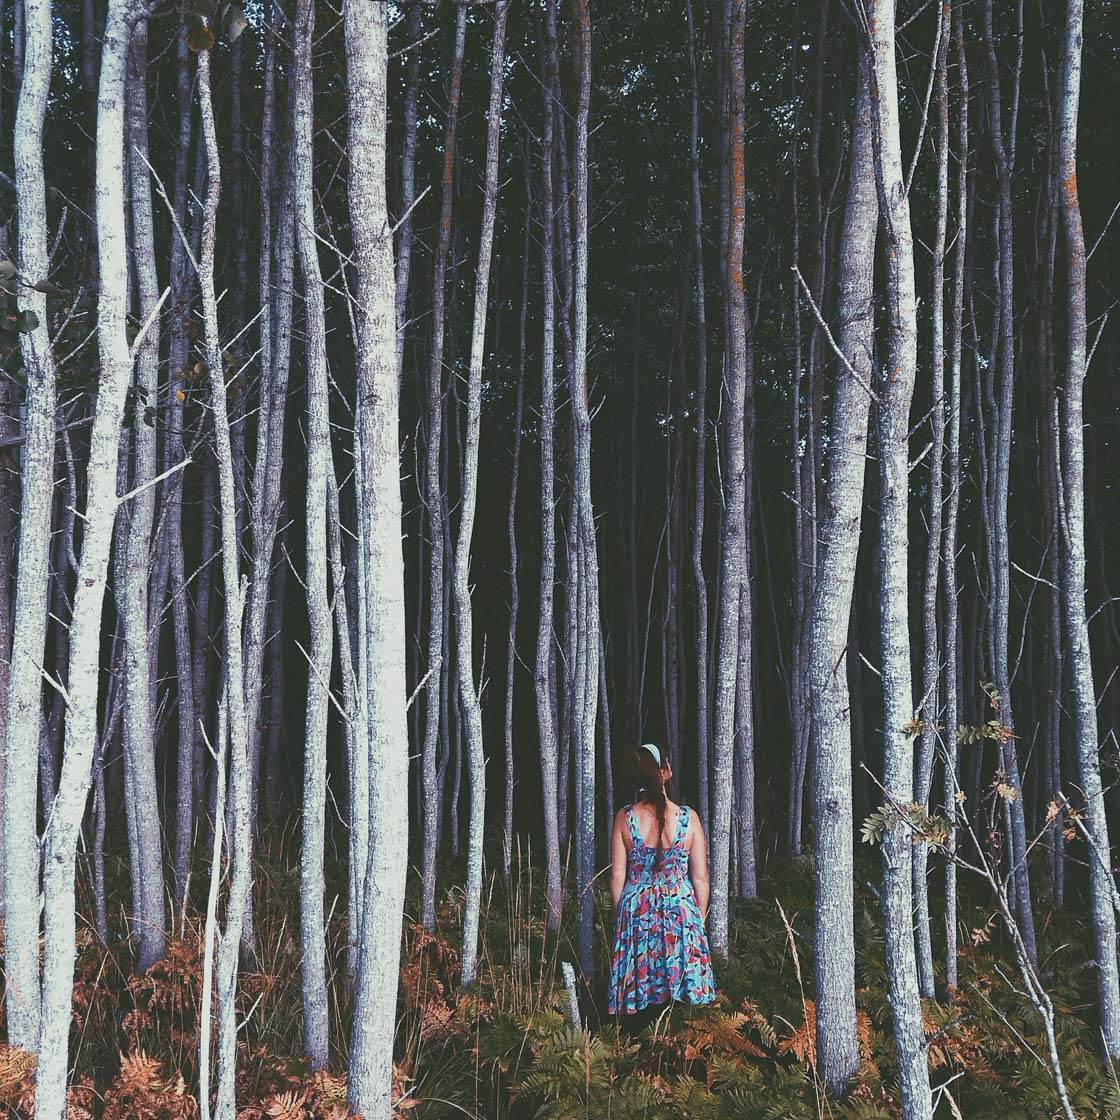
Making the viewer’s mind work will surely create a deeper impact and longer lasting impression than a photo of the same place without a person.
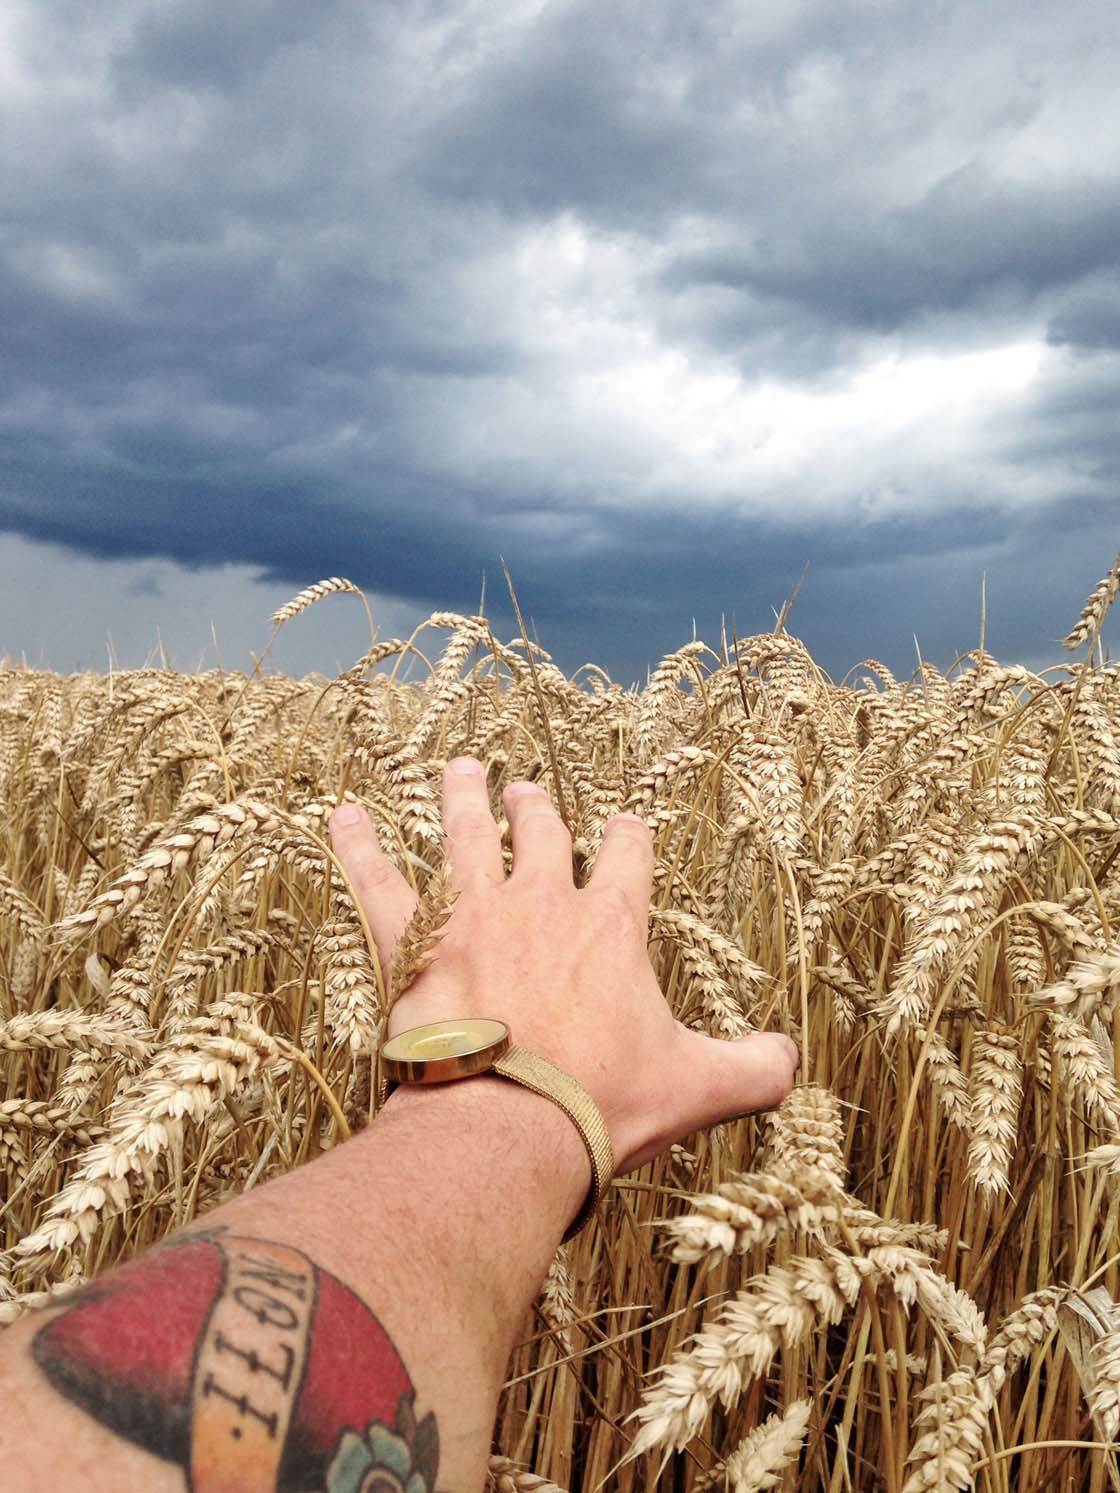
You don’t necessarily need to shoot a full figure of a person to tell a story. Your hand in the foreground of the picture is an easy way to create an expression with a touch of mystery.
4. Consider Clothing Color
You can easily get an extra kick out of your photo by having the person wear a bright color or just a color that contrasts against the surroundings.
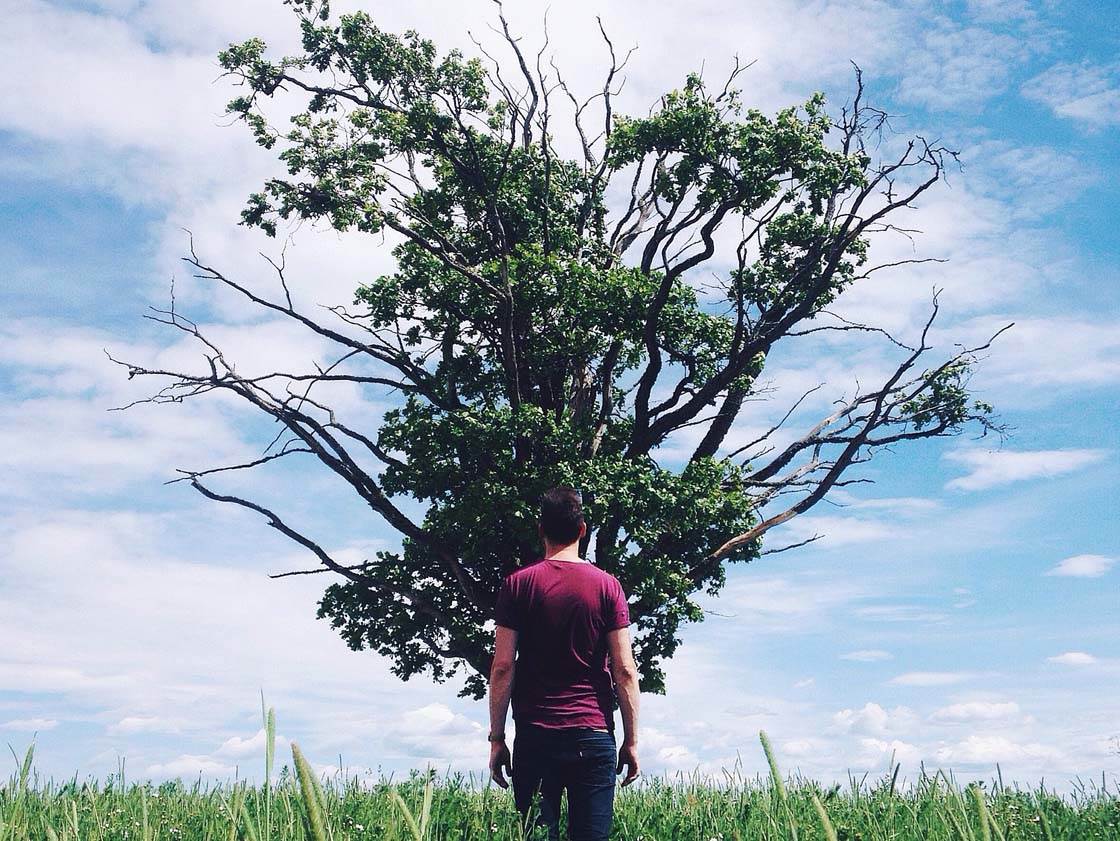
If you have a big field of green grass you might want to contrast the grass with a white or red piece of clothing to make your focal point more visible and stand out from the surroundings. If it happens to be snowy outside, wearing red is very effective.
I prefer to wear dark clothes as it works in most situations. Below you can see I’ve placed a person wearing black in a yellow field to get as much contrast as possible.
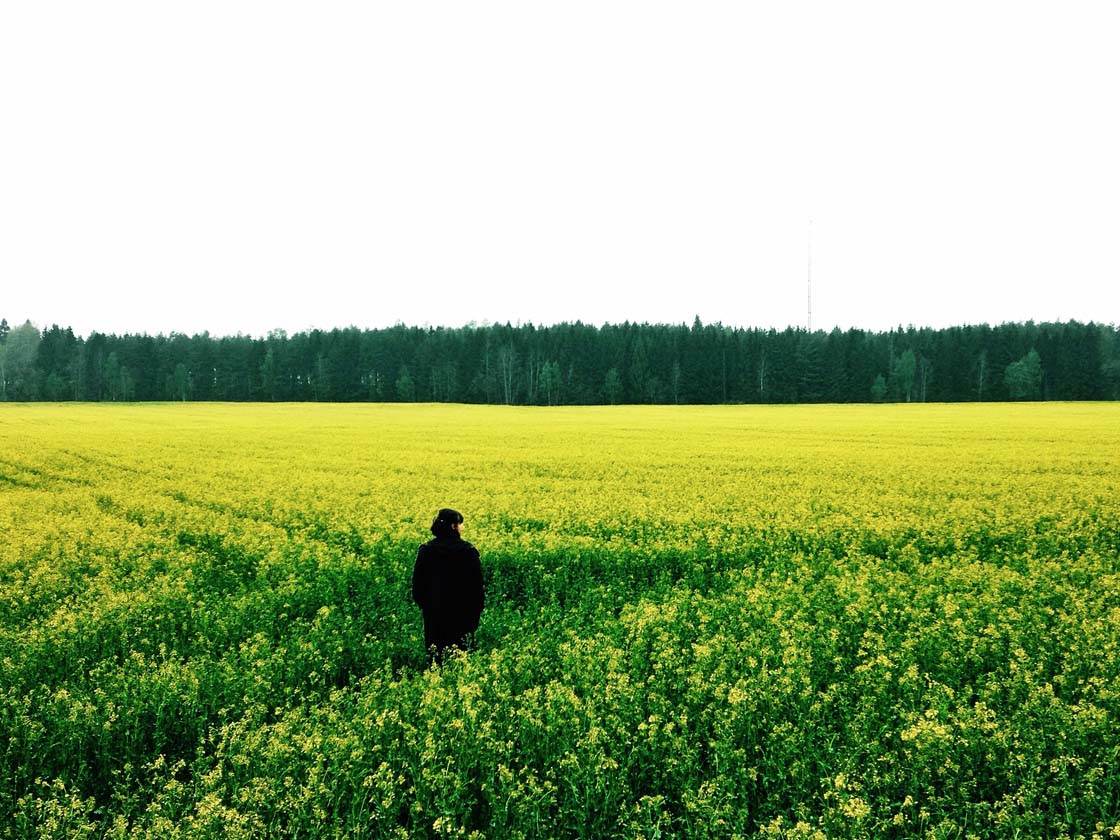
I also try to avoid wearing different colored pieces of clothing. For example I wouldn’t wear a white shirt and black pants as this often tends to weaken the effect of the person’s presence. One color might work perfectly but the other might make you less visible against the background.
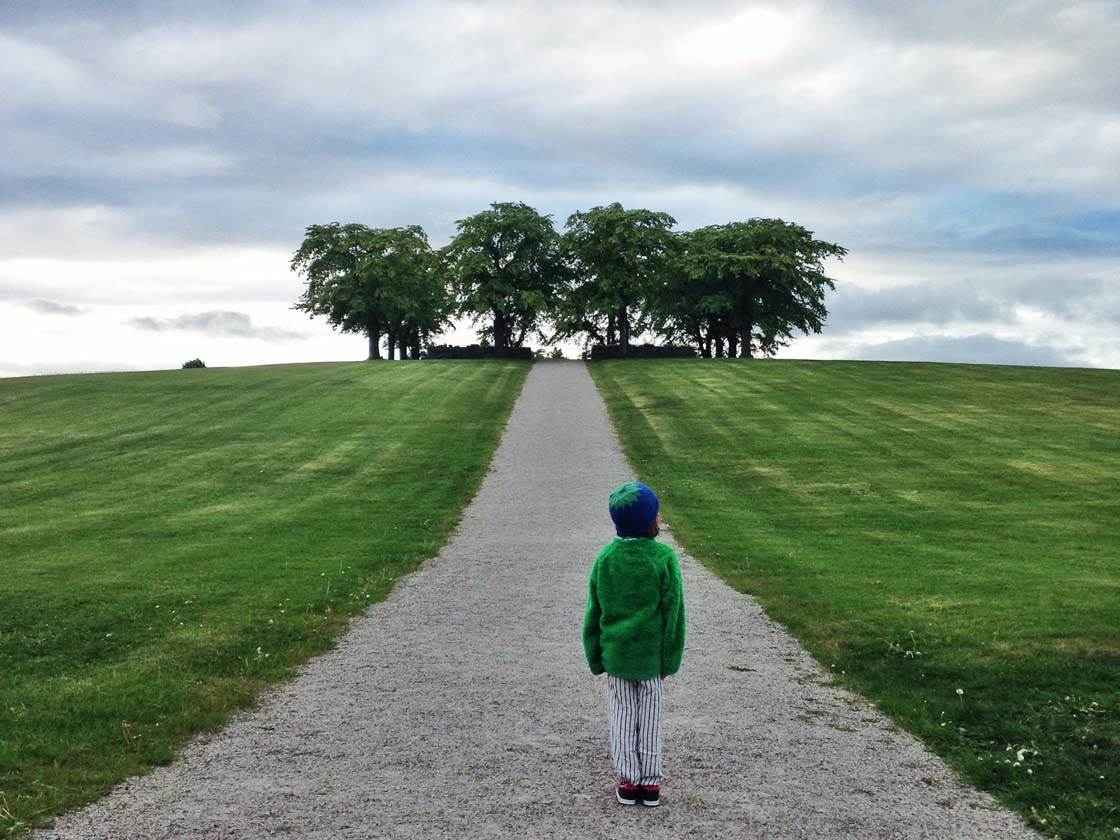
On the other hand you can get a completely different result if you color match the person with the surroundings. In these cases you might need to get the person closer to the camera and give up some sense of scale.
5. Convey A Sense Of Movement
Movement in a photo can add an extra dynamic and depth to a photo, and there are several ways to do this. Jumping is a great way to tell a story and bring some action to your photos.
This trick is probably easier to do if you have a friend helping you as it can be difficult and time consuming to catch a good jump with the self timer.
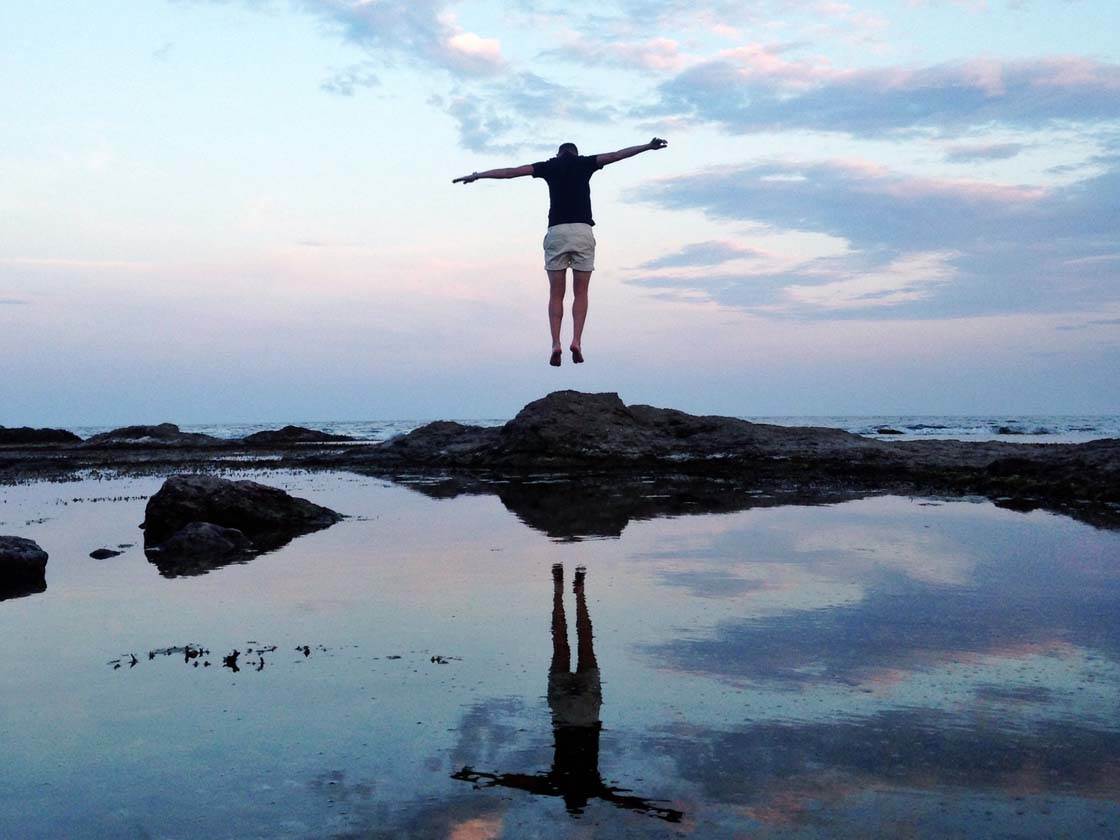
Using the burst mode feature on your camera is the best way to capture this kind of image. Set up your scene and frame your shot, then let your friend make the jump while you hold down the shutter button. If you want a self portrait, just do the same but have your friend hold down the shutter while you jump.
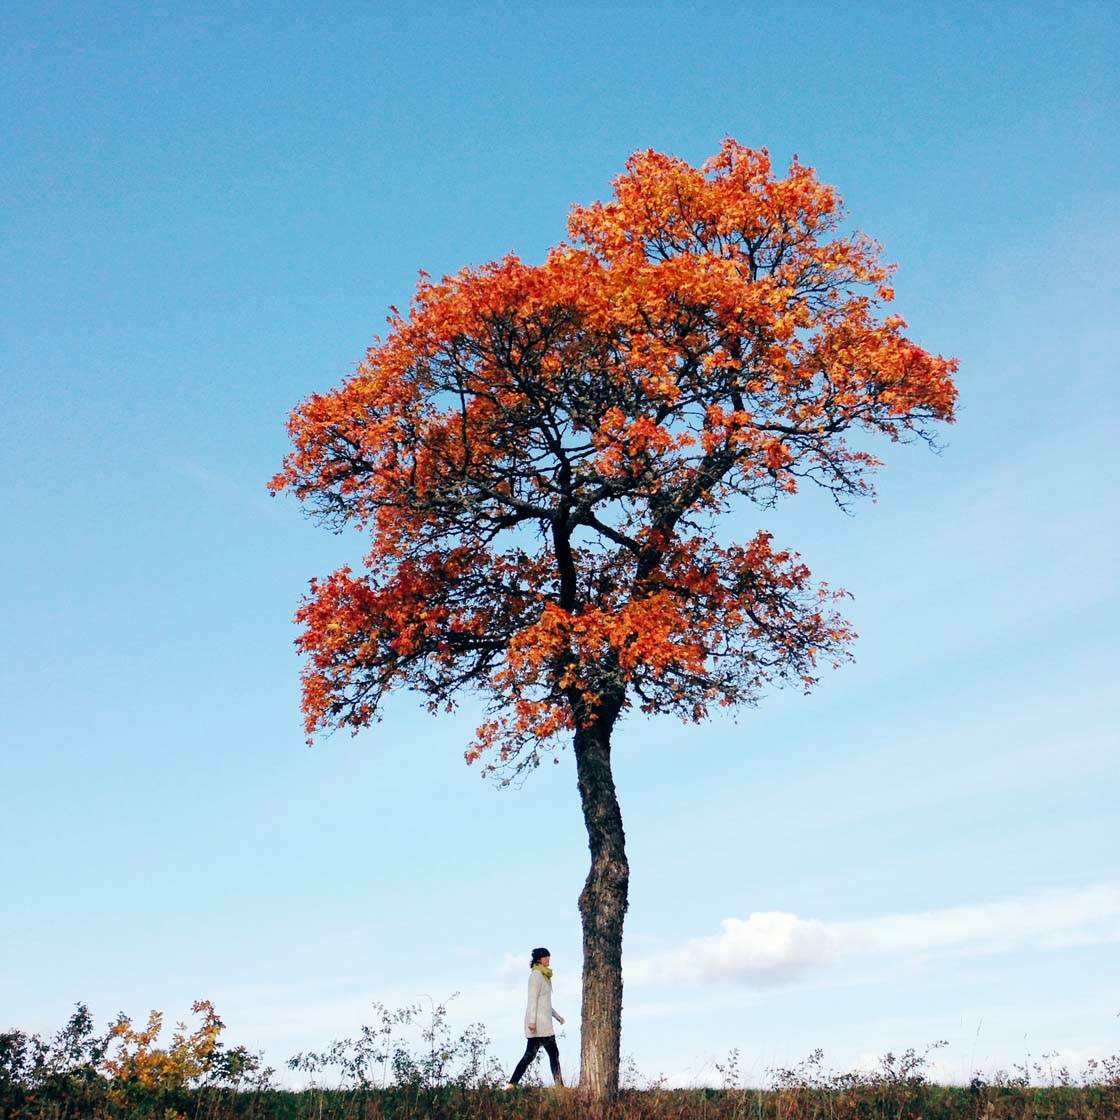
Jumping can easily be replaced with running, walking or cycling depending on what you think fits the situation the best. Setting the timer and running away from the camera towards the horizon can give you a very surprising and interesting result!
6. Create Dramatic Silhouettes
People make excellent silhouettes, and this is a great way of creating eye-catching images outdoors. A silhouette is created when you position your subject in front of a strong light source, and then set the exposure so that the subject appears as a dark outline or shape against the brighter background.
The sky makes a perfect background light source for your subject. Silhouettes are easier to create around sunset and sunrise due to the backlight that the low standing sun creates, so if you want to shoot a silhouette in the morning set your alarm!
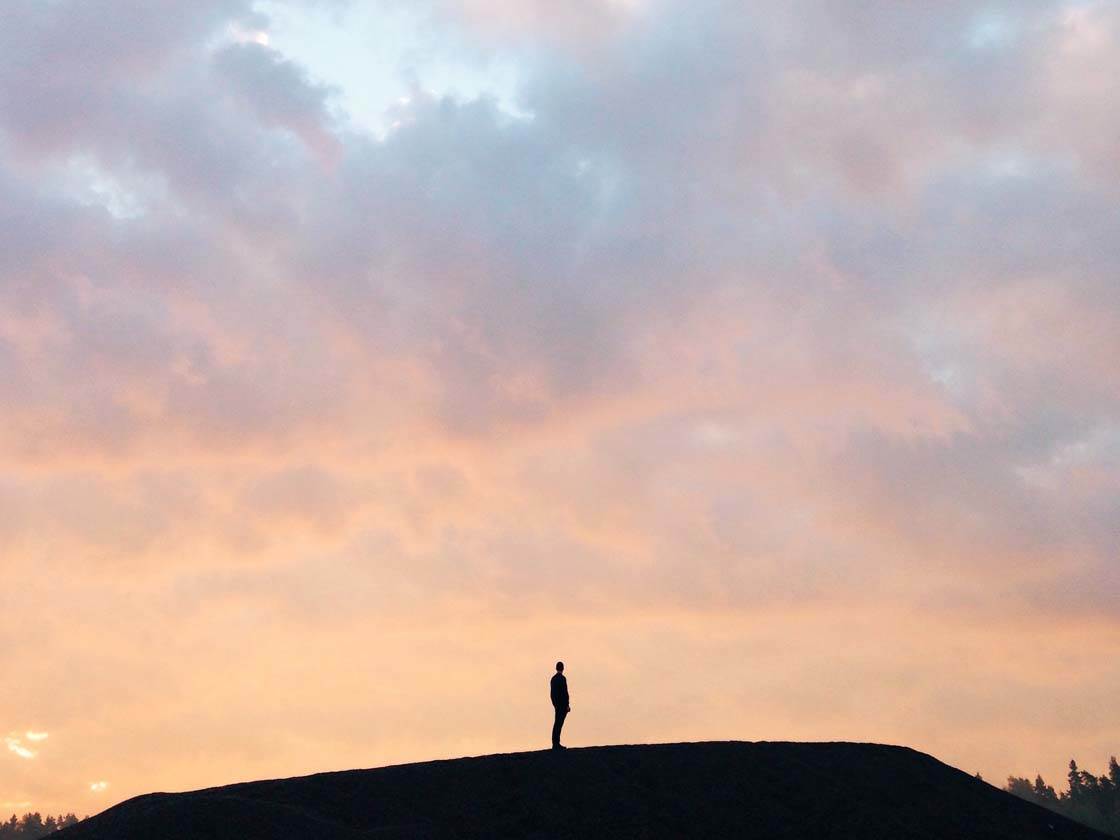
A silhouette can create a mysterious mood, and the strong dark shapes add drama and interest to the scene. The colors of the sky at sunrise and sunset are soft and saturated, highlighting your silhouette in a beautiful way.
To create a silhouette image, ensure the subject is positioned with the sky behind them. You may have to shoot from a very low angle to ensure that you get enough sky behind the subject.
Set your focus by tapping on the screen, then swipe down on the screen to under-expose the image so that exposure is set for the brightest part of the scene. This will ensure that the darker areas of the image appear very dark or completely black.
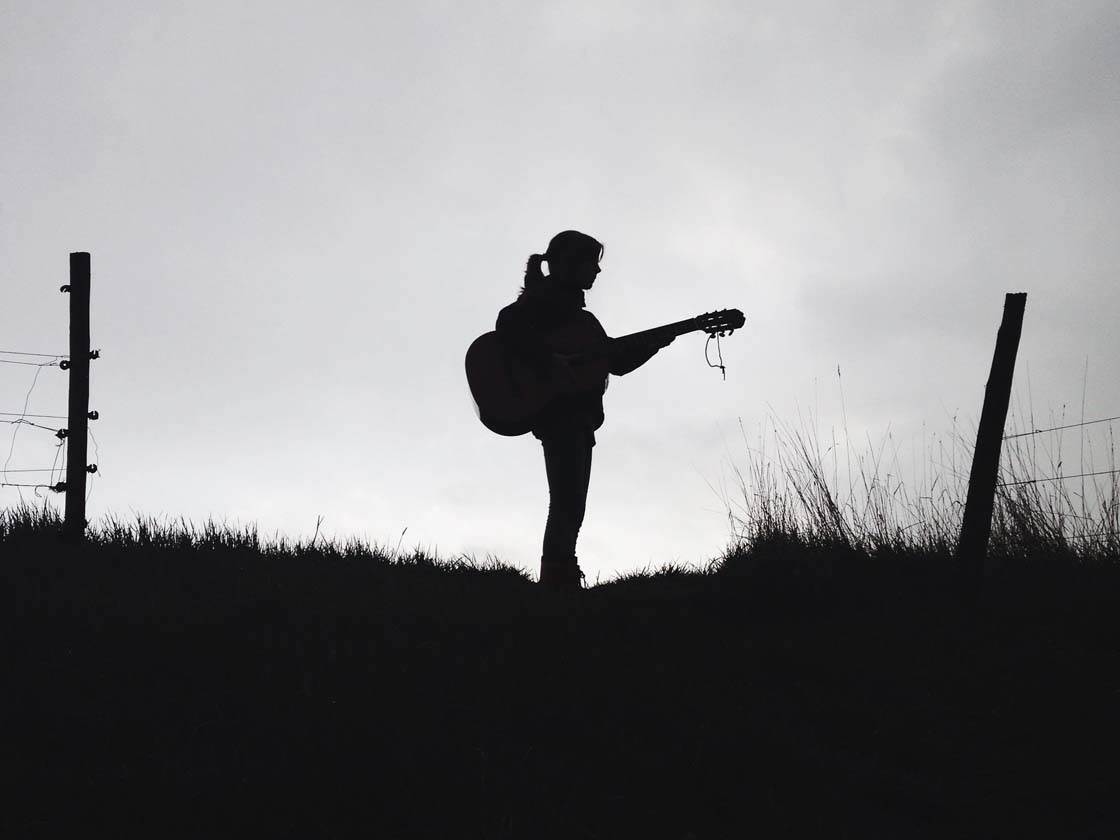
My advice is also to experiment with your subject’s stance. Get them to lean, reach their arms up to the sky, sit down in various poses, try it all! Here I let my model hold a guitar which created a much more vivid image.
7. Use Nature To Create A Composition
This is my favorite type of shot. If you find a big beautiful tree, place the person you’re shooting somewhere around the tree. It can create the most beautiful synergy with nature!
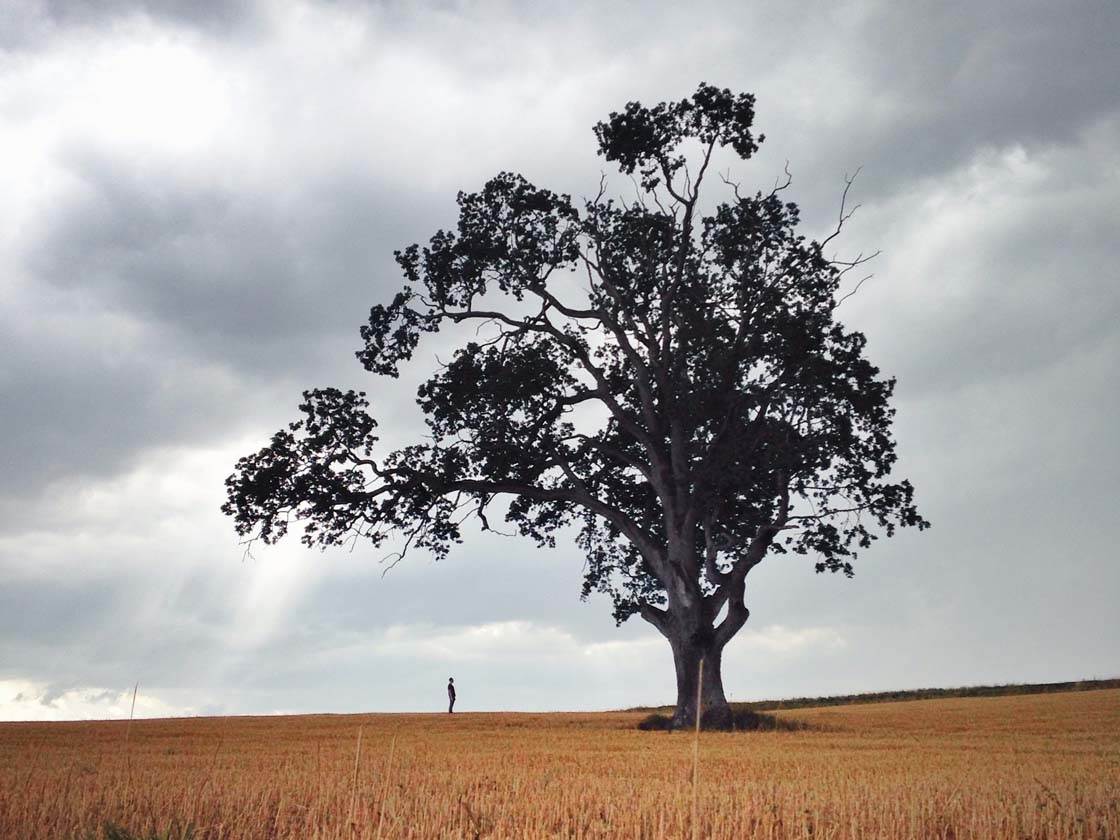
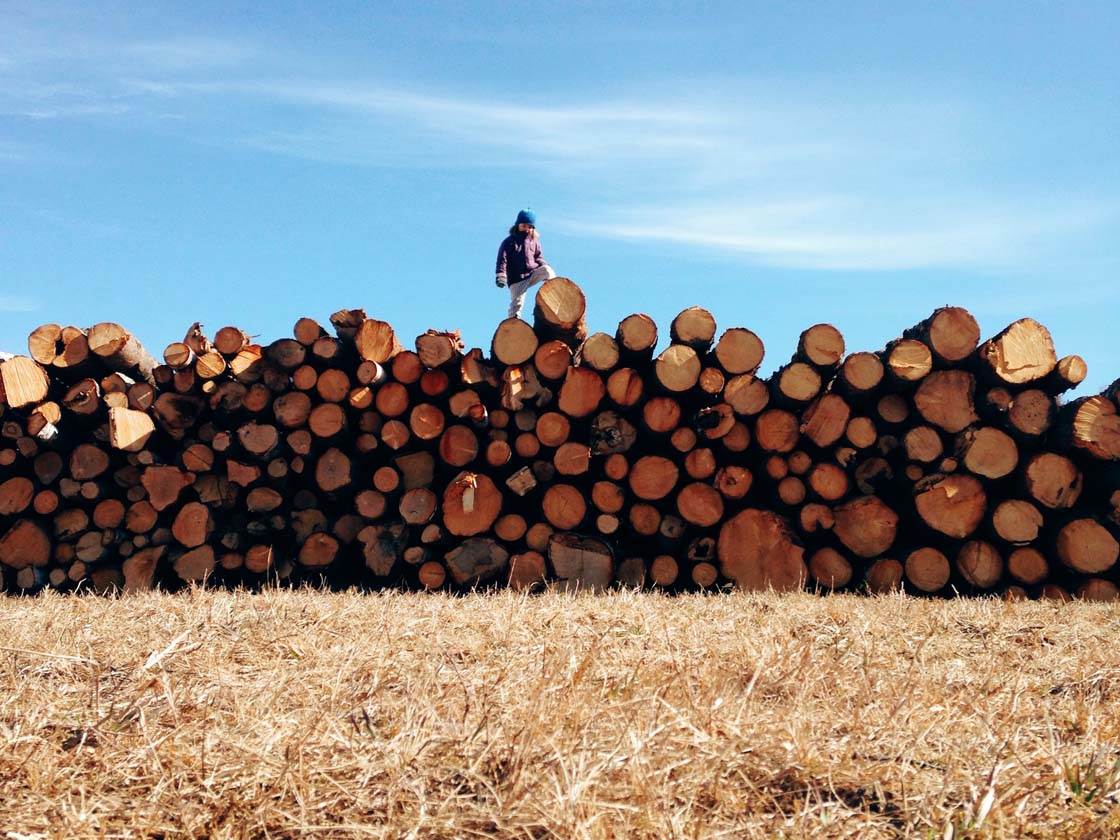
A tree can easily be swapped with a rock, a bush, a wood pile or just a hill (whatever is available) – the bigger the better! This will also create a sense of scale and the person will definitely make the picture more interesting.
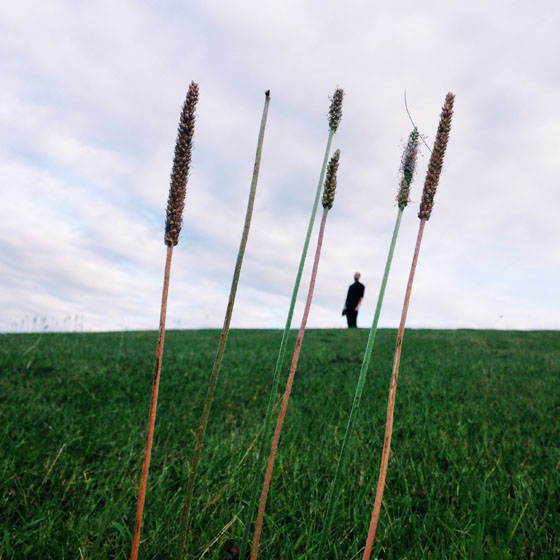
In a place with negative space as the background, you can use what’s on the ground to frame the person in the background. Set your camera low on the ground in front of a few flowers or plants, position the person in the background and you can get the most beautiful result with minimal effort.
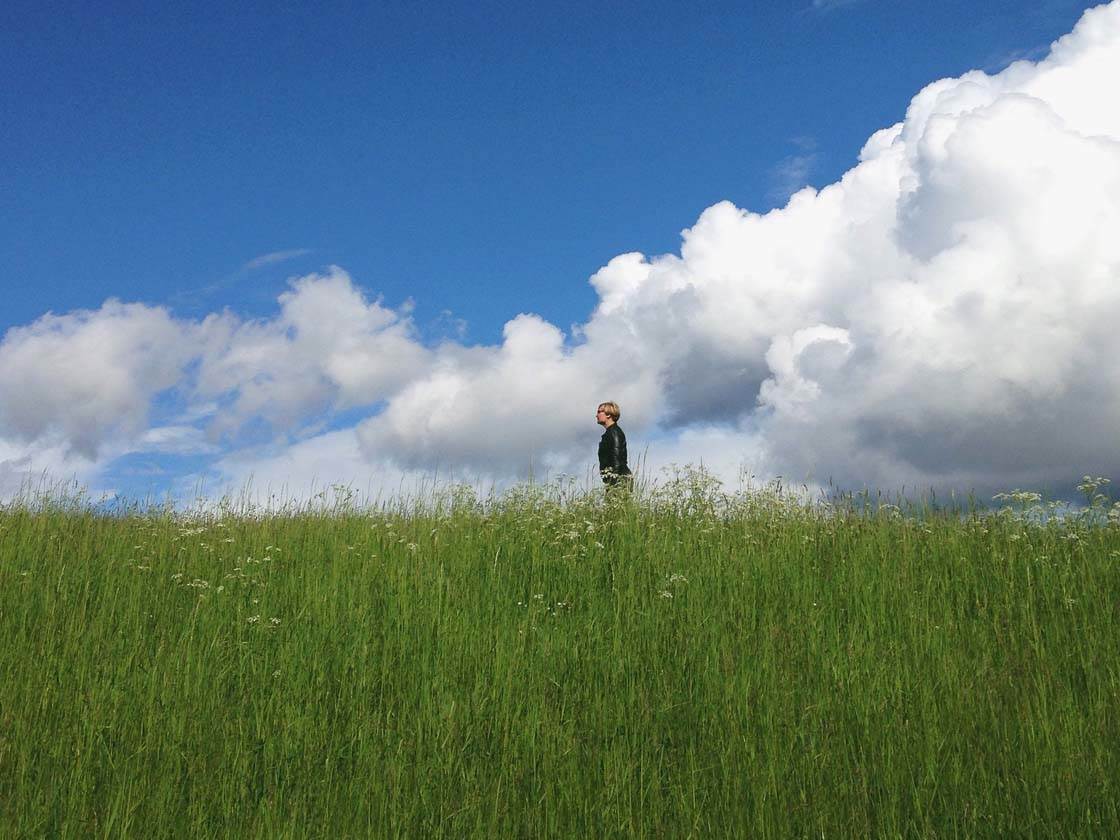
Clouds can also be very useful. A cloudy sky can create a perfect backdrop and gives a sense of freedom. Try to compose the picture so that it almost appears as if the person and clouds are one.
8. Use Props To Add Interest
Finally, props are a great way of adding more interest, and sometime humor, to your landscape photos that include people. Typically there are two obvious choices here – you can let the person hold the props or you can place the props elsewhere in the scene.
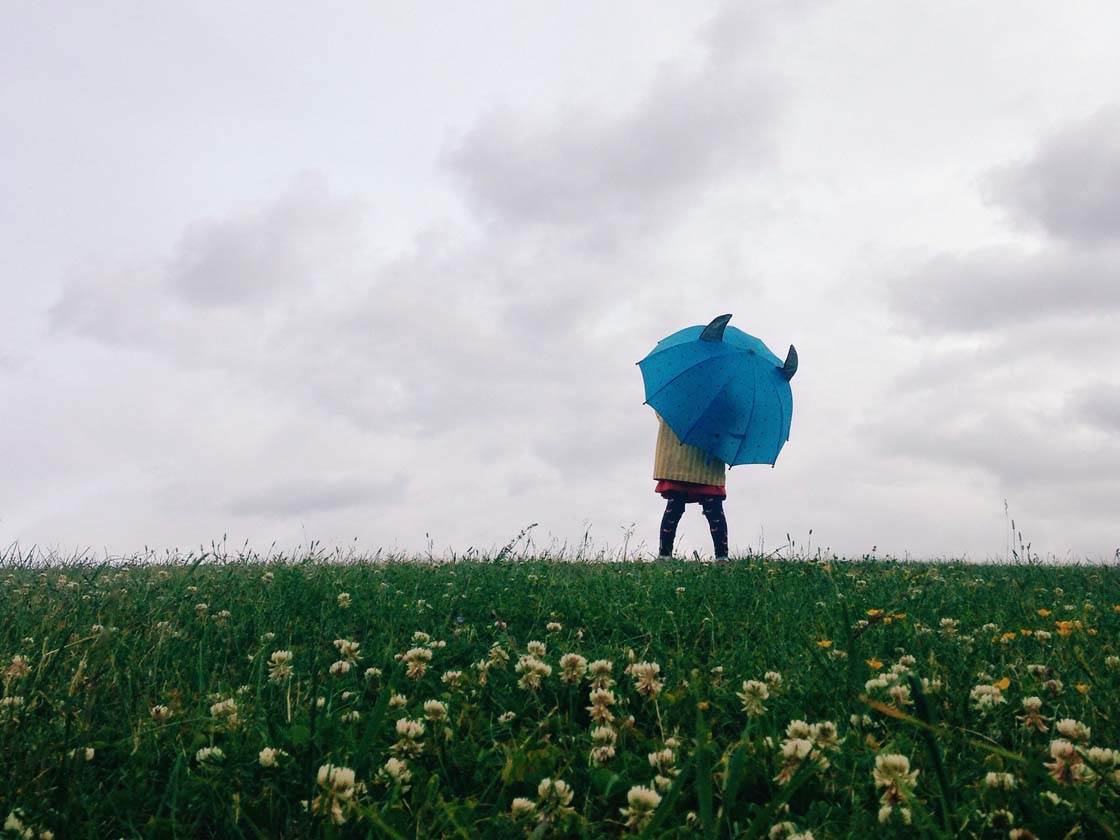
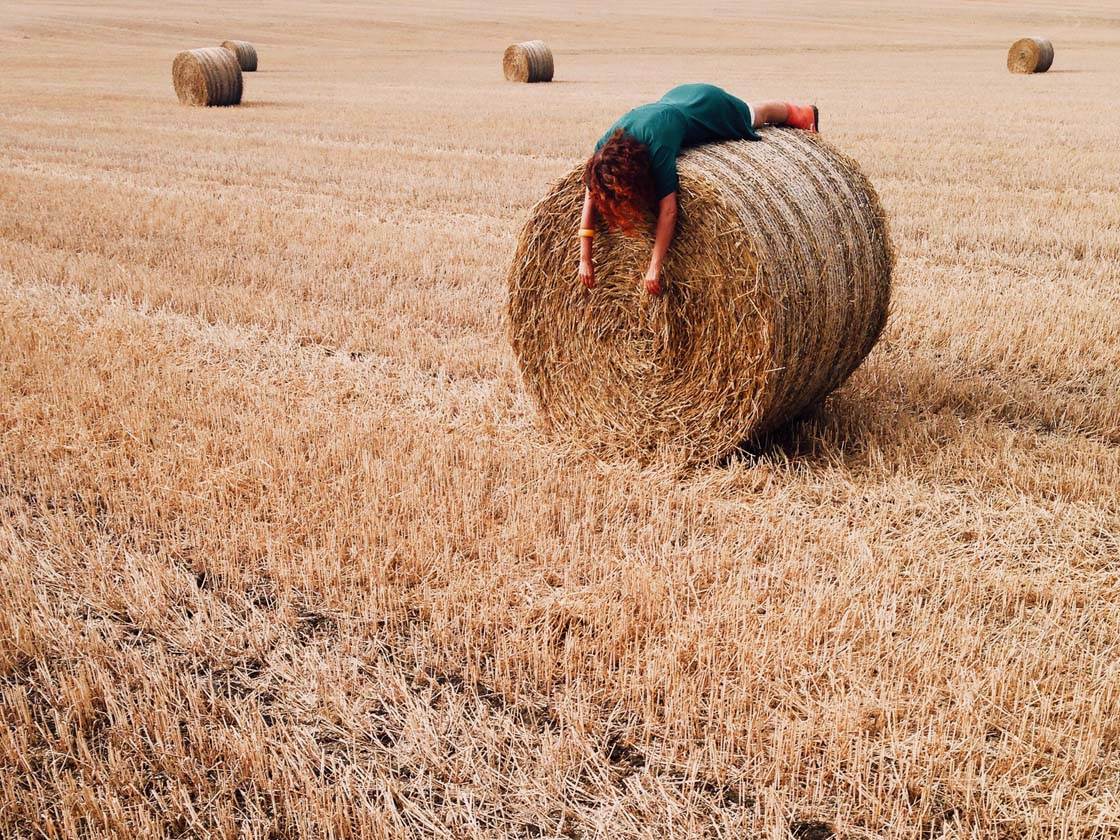
Umbrellas are a classic object and most people have one at home. A colored one is preferred but not necessary. Be creative – search around your home for interesting items to use as props, or just see what you can find at the scene such as a fallen branch, pretty flowers or big straw bales.
Don’t be afraid to take props along with you on your photo shoot. I’ve carried around chairs and frames countless number of times. It’s okay to be awkward!
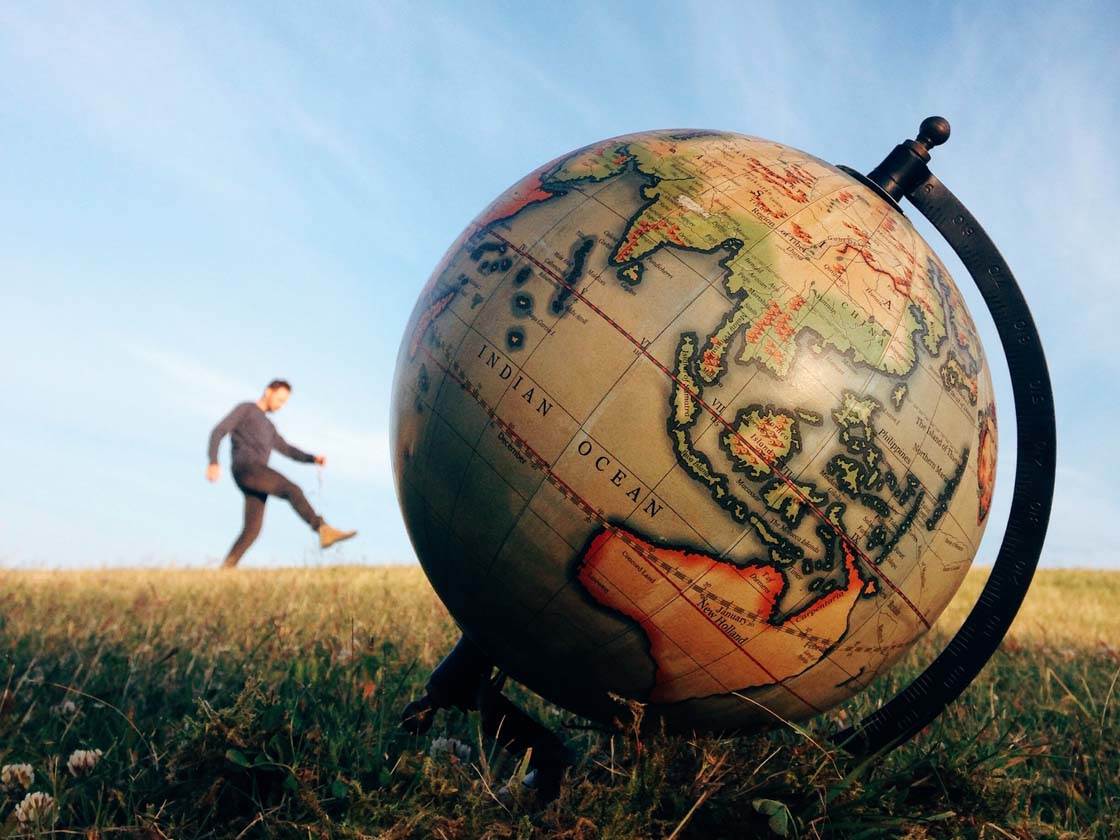
In the photo above I tried to deliver a message by including the globe in the foreground of the scene. So whatever you want to say, integrate it into your photography using appropriate props.
With some props and a few of the tips above, you’ll soon start to look at the most plain and boring field with new eyes. Imagine how different the photos in this article would look if I hadn’t included a person.
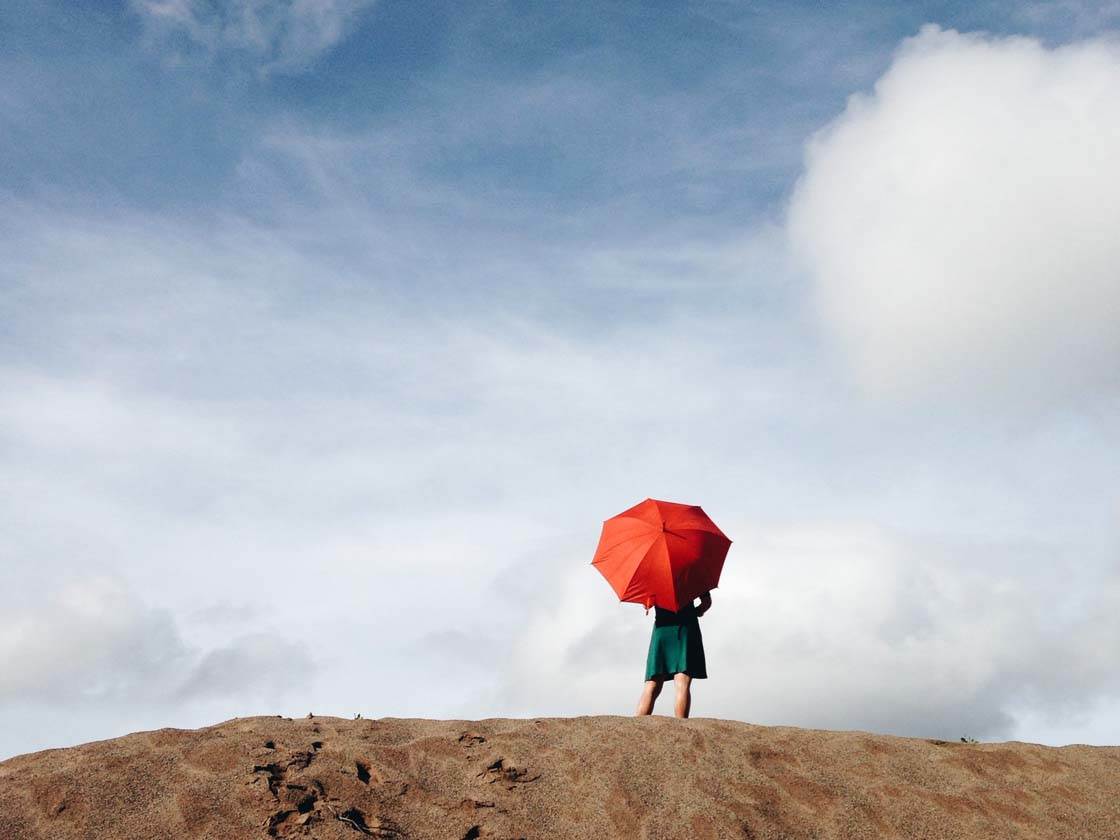
Always be on the lookout for new spots to shoot at, and then envision how they will look with a person in them, and what props if any would suit the scene you’re envisioning.
When you’re out shooting, take as many shots as possible from all kinds of angles and perspectives. The more you try out, the more you’ll discover. It’s a great way to train your eye and to get to know yourself better as a photographer.


Thanks for sharing these great tips Calle! It’s amazing what a difference it makes if you include a person in your landscape shots. Your photos demonstrate this perfectly.
Thanks Kate 🙂
Thanks again, Emil.
Thanks for the great advice!
Glad you found these tips helpful Robert 🙂
Your lovely examples and clear instructions inspire me to go out and try them .Thanks Emil
So happy to hear that Linda. I’m sure you’ll get some great shots using these tips 🙂