Are you looking for a simple way to create a powerful impact with your iPhone photos? Changing the angle and perspective that you shoot from is one of the easiest ways to get your pictures noticed. Rather than shooting straight ahead from standing height, the best photographers explore other angles and vantage points. In this tutorial, you’ll discover nine highly effective techniques that will help you capture more interesting, unique and impactful perspectives with your iPhone.
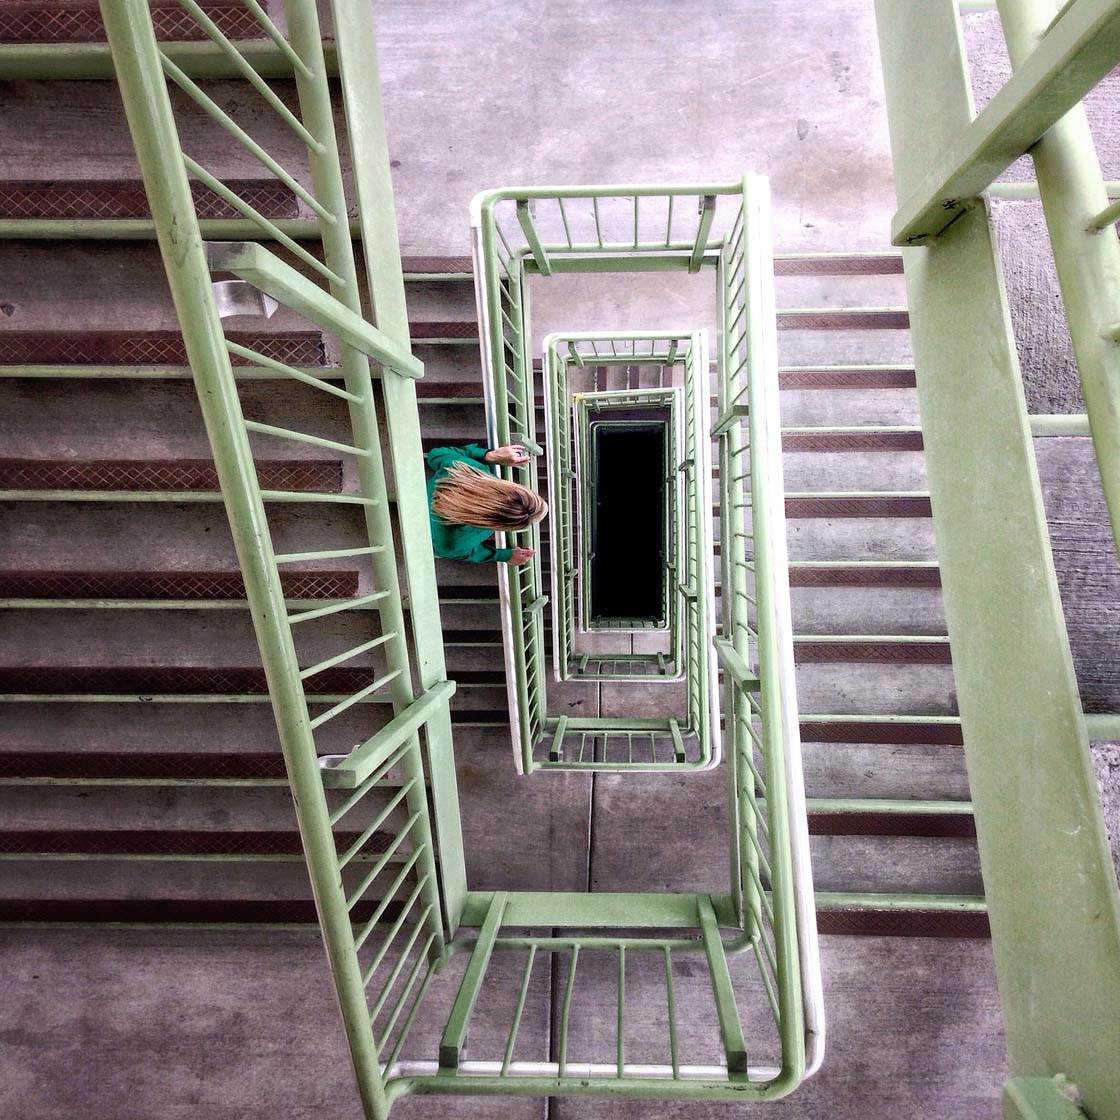
1. Shoot From A Low Angle
Shooting from a low angle is one of the easiest and most effective ways to capture your scene from a more unique perspective. Crouching down allows you to get your camera really close to the ground, giving the viewer an “ant’s perspective” of the world.
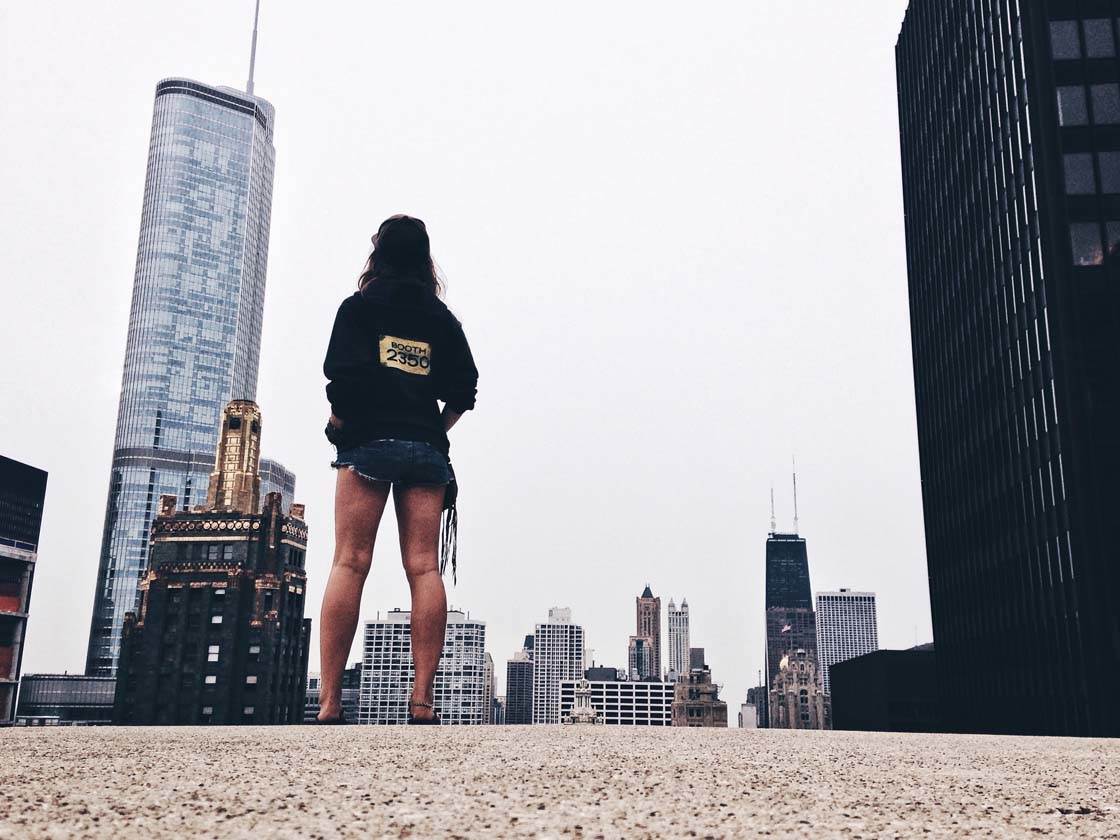
Taking photos from a low angle makes your subject appear bigger and more powerful. In the photo above, the woman looks very heroic because she appears to be taller that many of the buildings around her. If the shot had been taken from standing height, this optical illusion wouldn’t have been achieved.
Another advantage of shooting from a low perspective is that you can get more sky behind your subject. So if you have a distracting background in your scene, shooting from a low angle is an easy way to eliminate those distractions by using the sky as your backdrop.
If you want to capture symmetrical puddle reflections that include both the reflection and the surroundings, you’ll need to crouch down and hold your iPhone just above the water. Be careful not to drop your phone in the puddle!
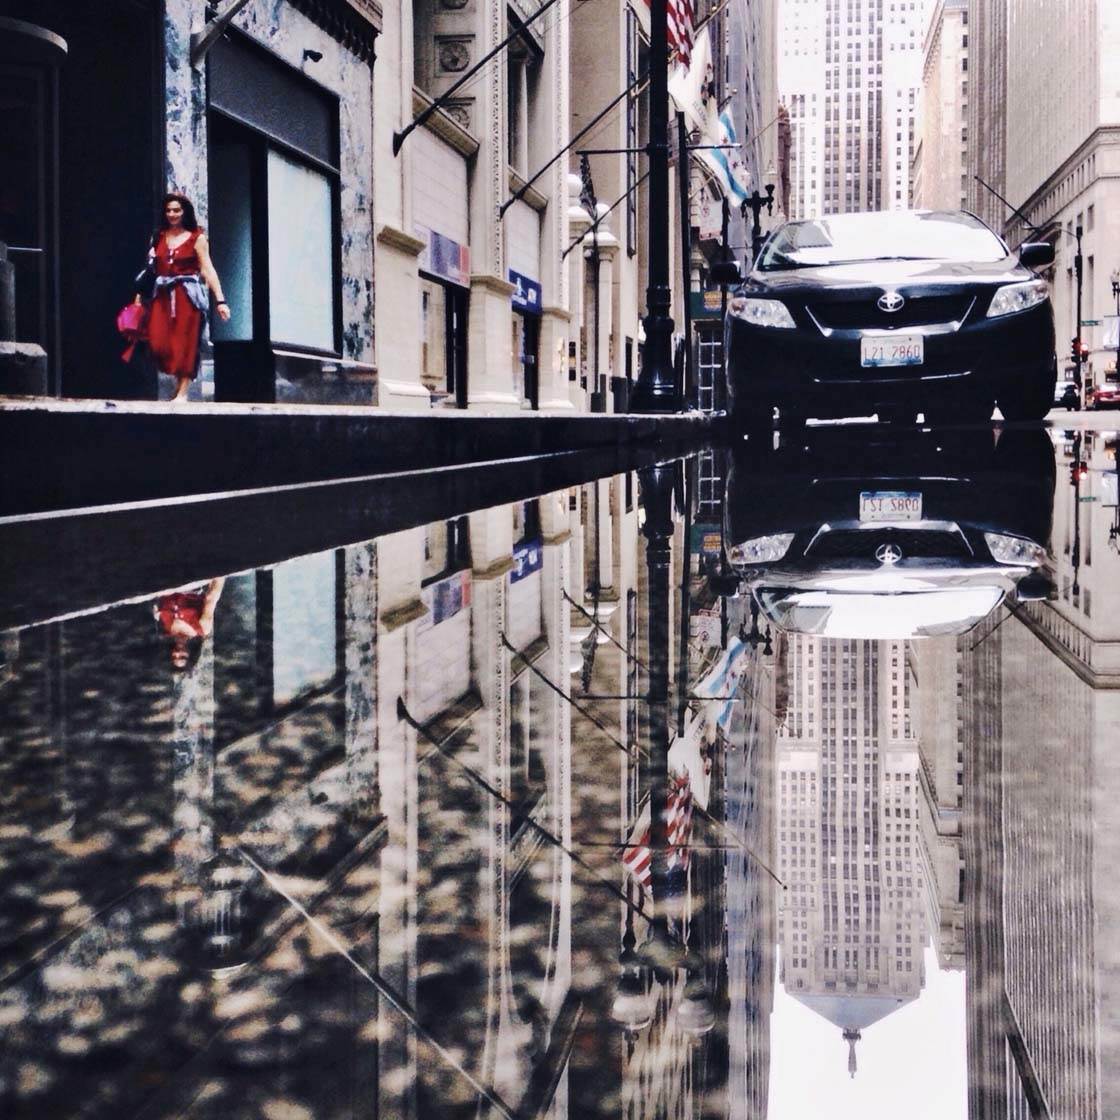
The best results will be achieved if you flip your phone upside down. This allows you to get the lens even closer to the water. You’ll probably need to experiment with different angles until you find the perfect perspective.
When you’re shooting a scene that has strong leading lines converging into the distance, try capturing the scene from a low angle to emphasize the sense of depth and perspective.
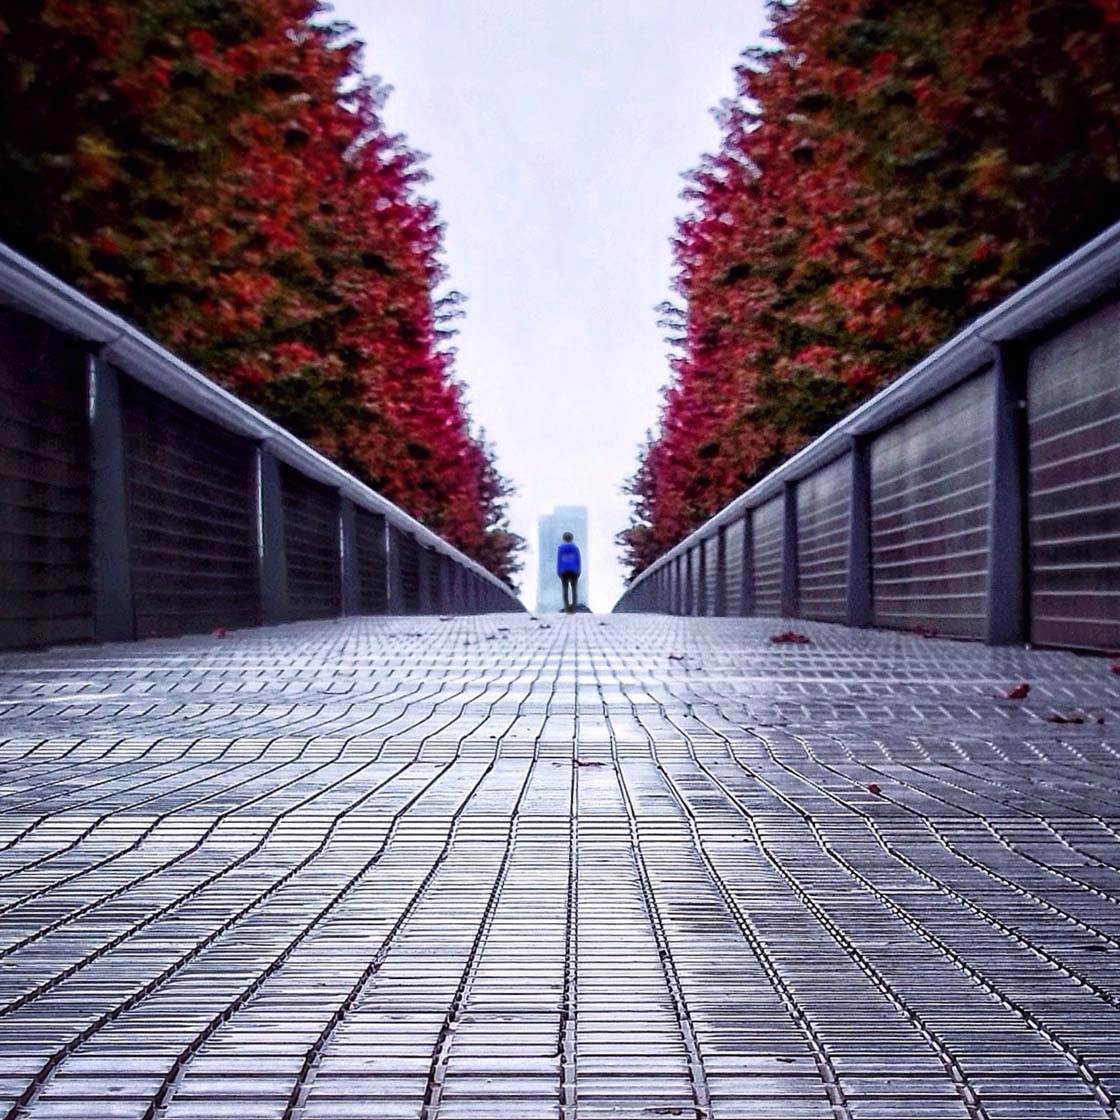
Photographing this bridge from a low angle allowed me to place maximum emphasis on the leading lines that converge into the distance. If the photo had been shot from standing height, it wouldn’t have had this strong visual impact.
Many subjects can benefit from being photographed from a low angle, so it’s always worth crouching down to see what effect it has on the photo. The result can be surprisingly powerful.
2. Look Straight Up
If you’re photographing tall subjects such as trees or skyscrapers, a really powerful technique is to stand directly beneath the subject and shoot looking straight up. You might even want to lie on the ground if it’s safe to do so!
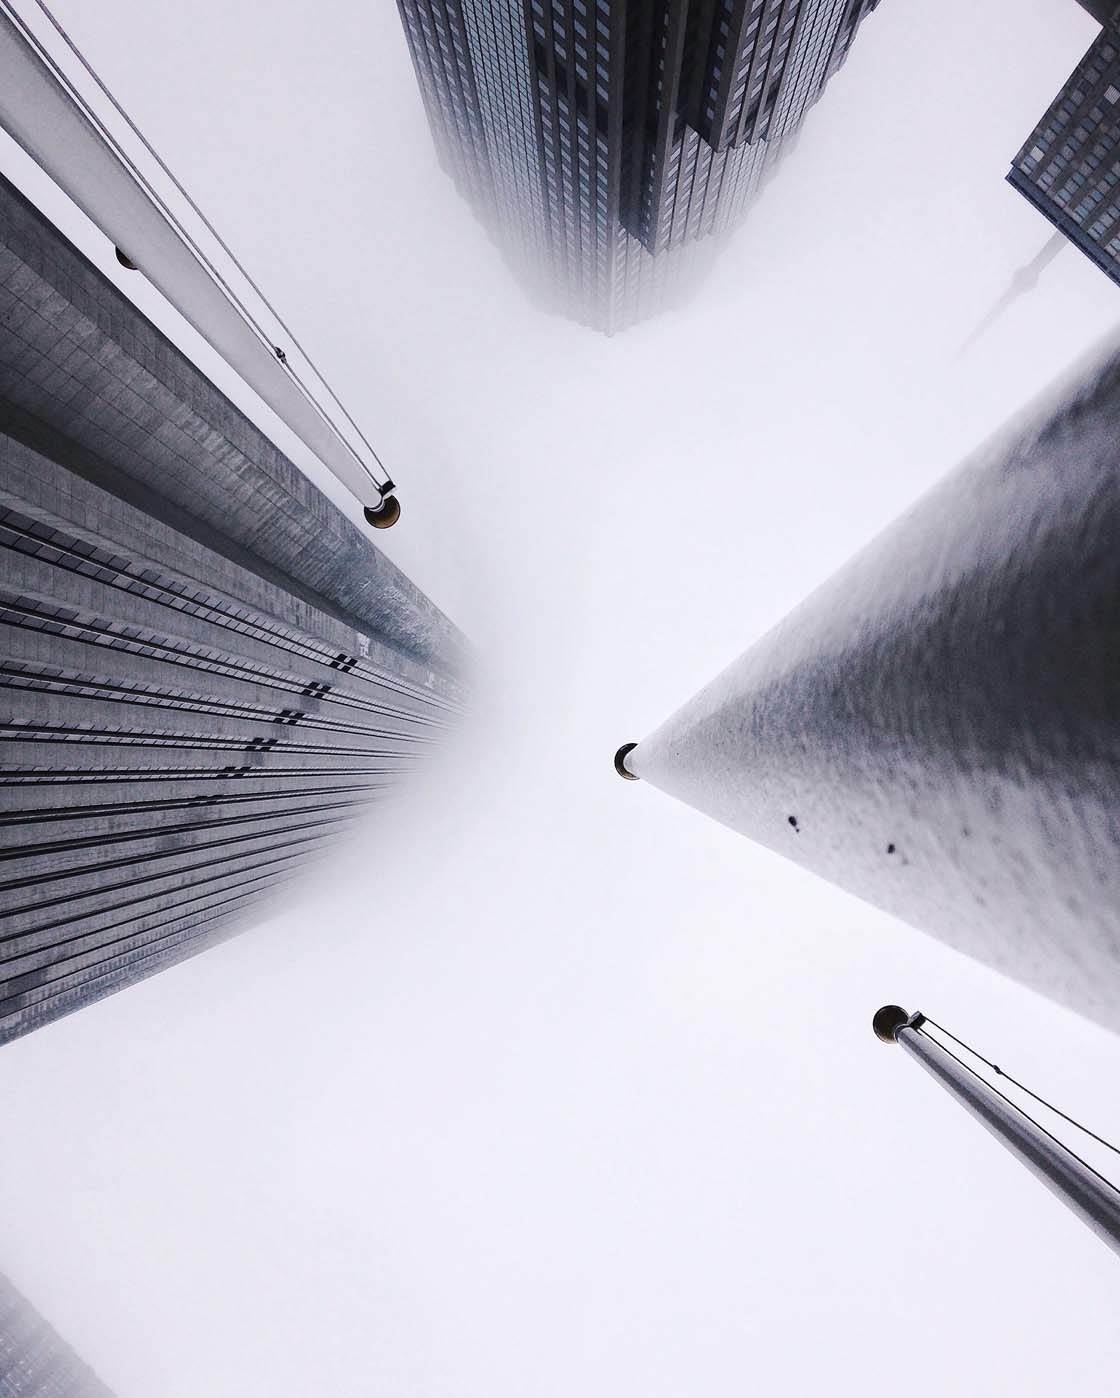
This perspective creates a profound visual impact that will really draw the viewer into your image. Notice how the tall subjects appear to converge the higher up they go, creating a very strong sense of depth.
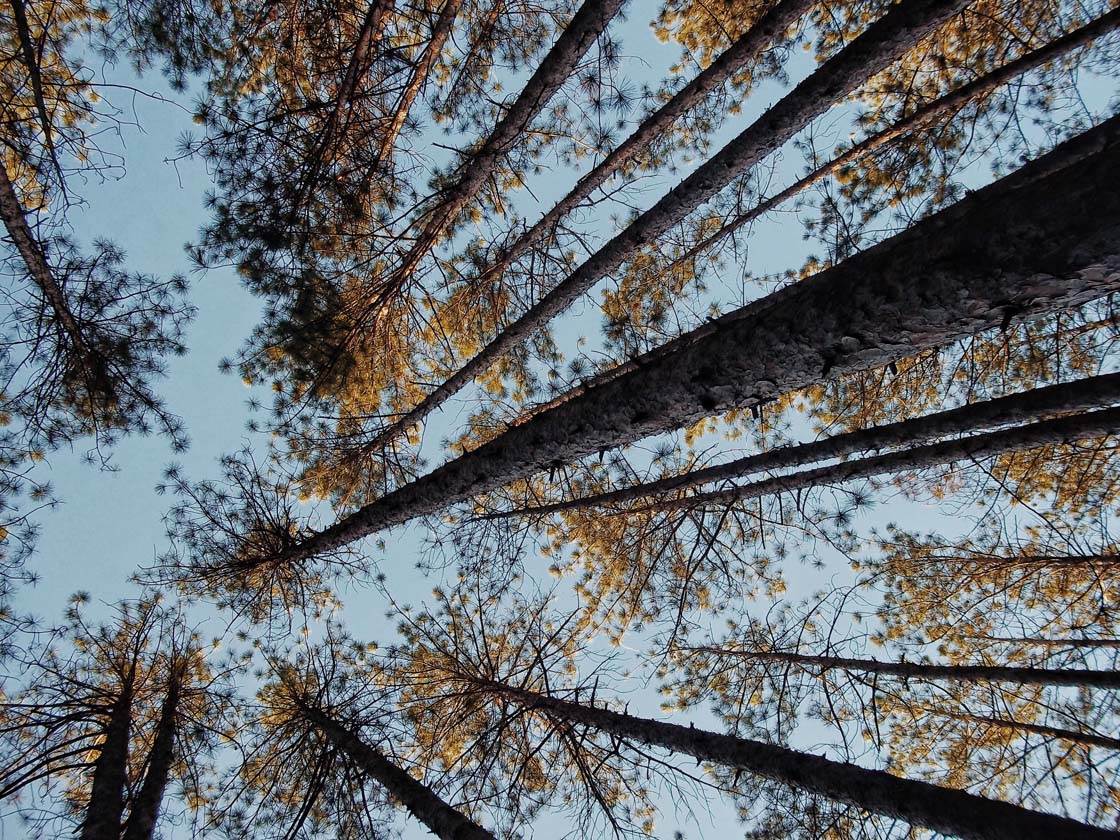
When looking up to capture a tree canopy or tall building, try to use leading lines to create a strong composition. The lines will draw the viewer’s eye into the image, so think about where you want the lines to start and end within the frame.
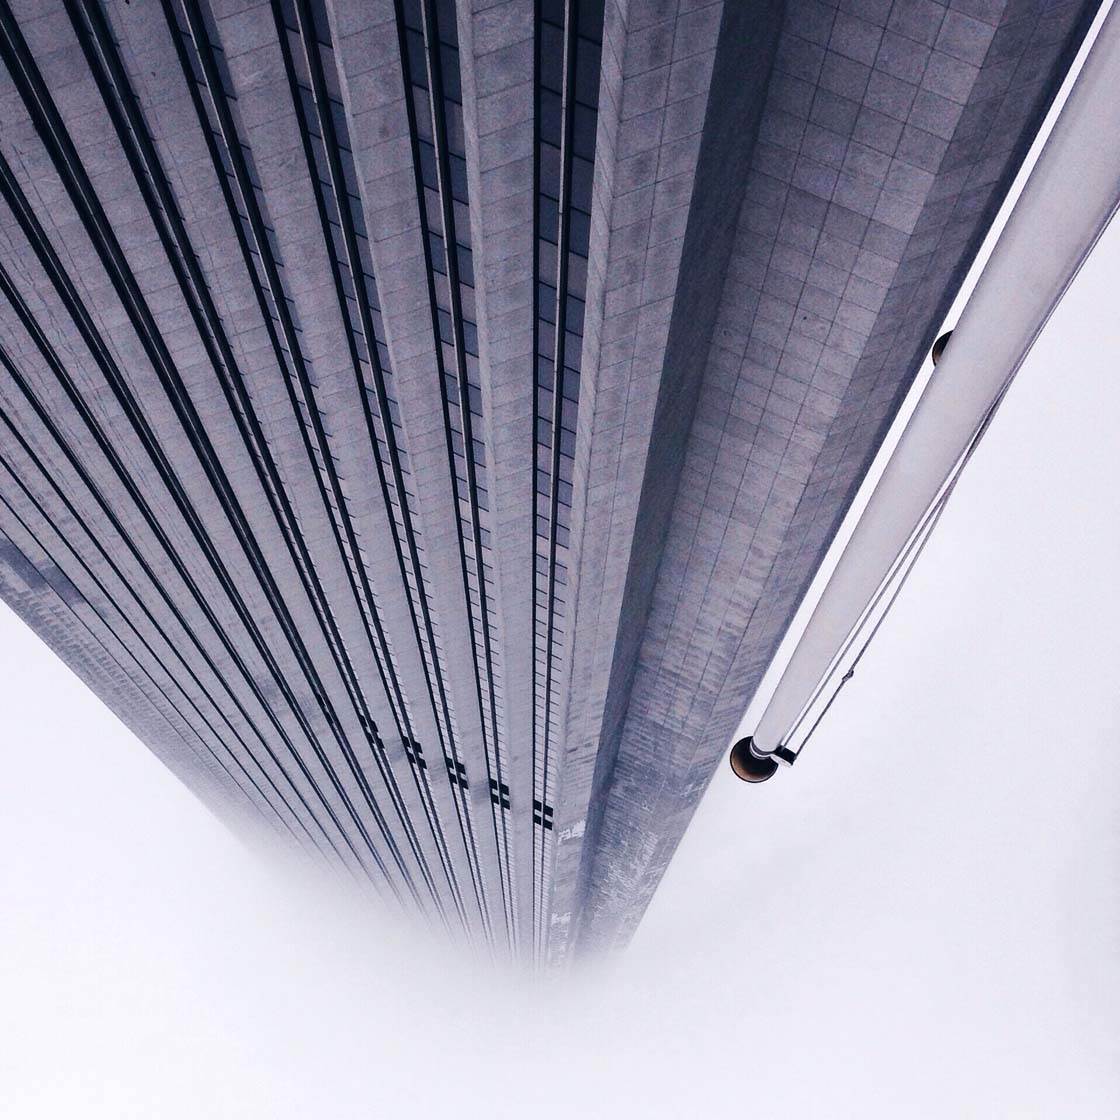
Often the best way to position the lines is to have them protruding from the corners of the photo. It’s definitely worth experimenting with the angle and position of the lines as it can make a big difference to the final impact of the photo.
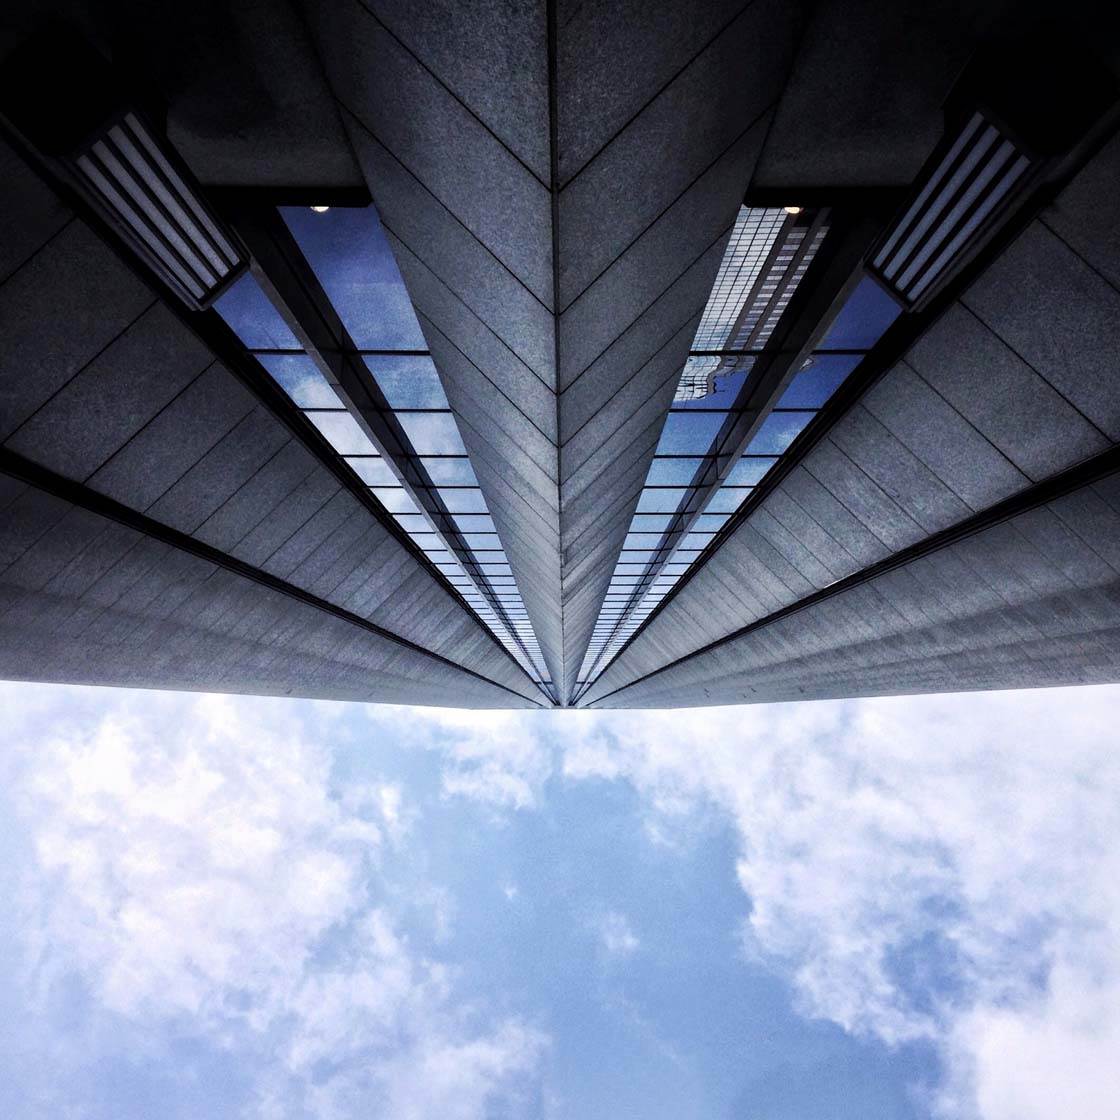
When creating look-up shots of buildings, try getting really close to the building. This will emphasize the sense of perspective as the lines lead up toward the top of the building.
Experiment with your shooting angle, and try including different amounts of sky until you achieve a good balanced composition. It’s possible to create some sensational abstract shots using this look-up technique.
3. Shoot From A High Vantage Point
Rather than shooting from a low angle, how about shooting from a high vantage point to show your scene from a bird’s eye perspective?
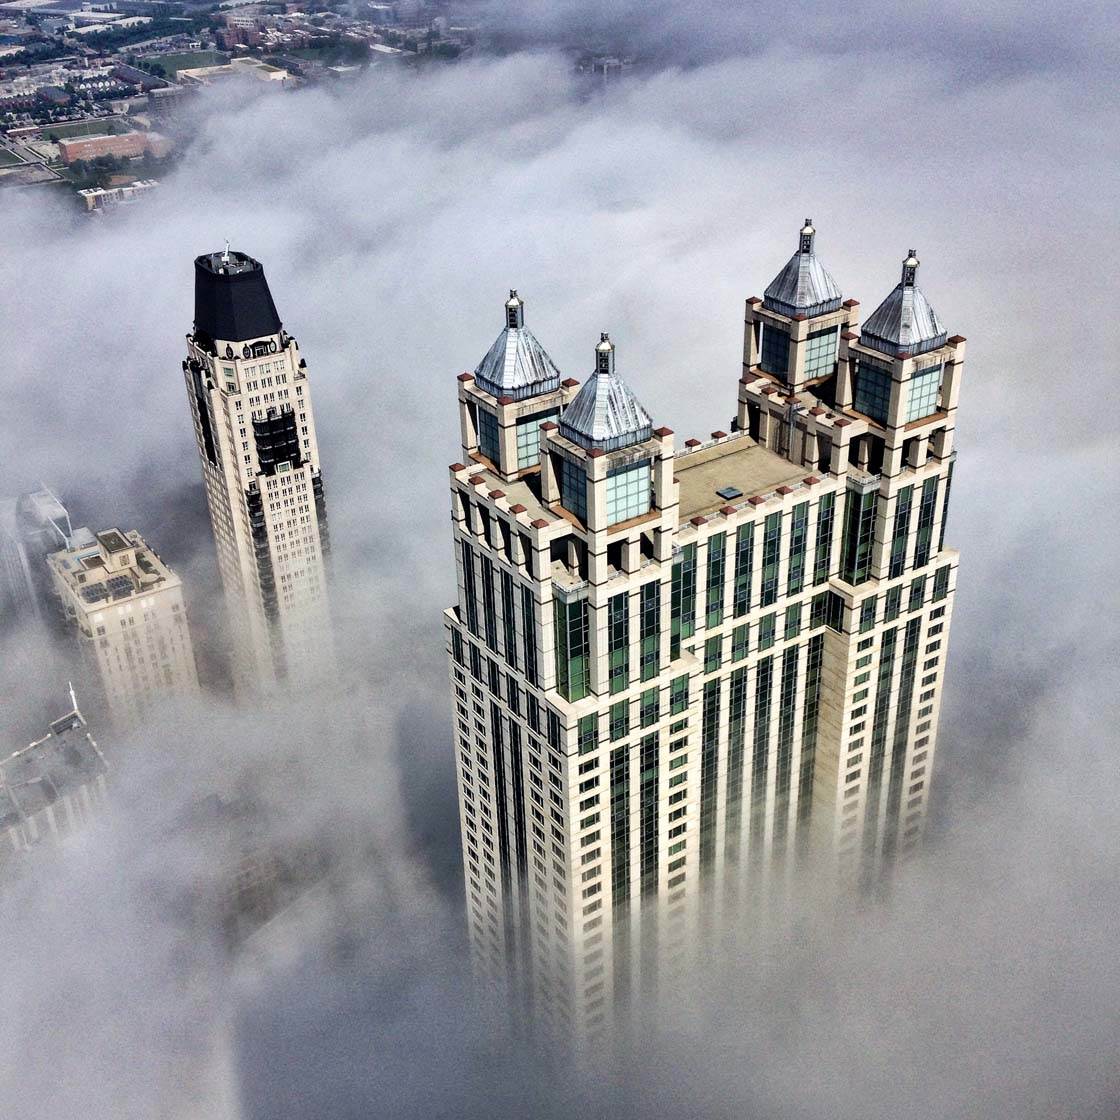
Photographing from above can make your subject appear small and less powerful. Capturing tall buildings from a high viewpoint can create the illusion that they’re much smaller than they really are.
In fact, if you want to create a tilt-shift image (where the top and bottom of the photo is blurred to give the impression that it’s a close-up photo of a miniature toy model) the best option is to shoot from a high vantage point.
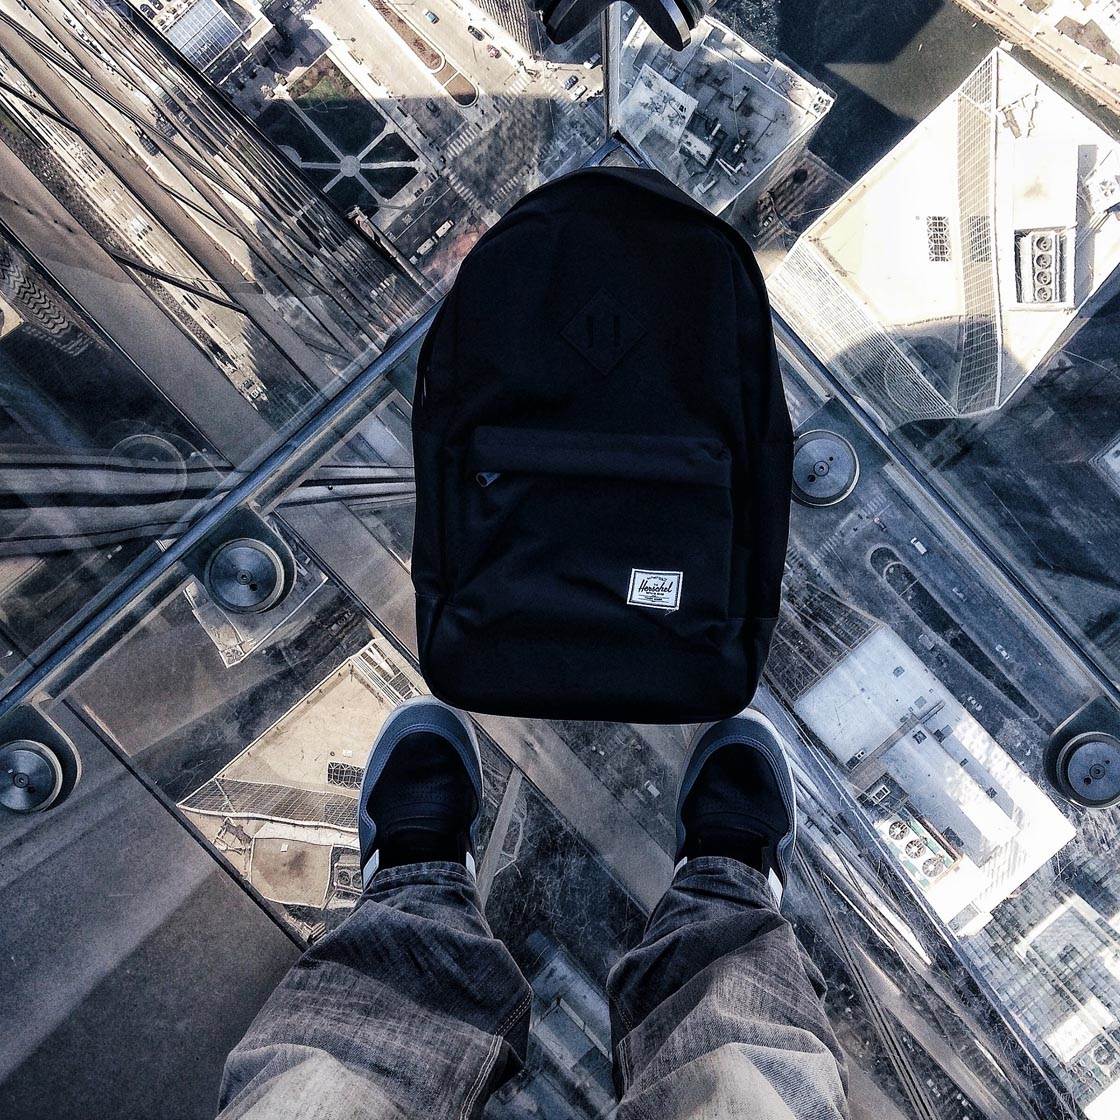
Capturing a city scene from high up gives the viewer a more unique view of the urban landscape. We’re used to walking around at ground level, so seeing tiny people, vehicles and buildings from a bird’s eye perspective provides a more interesting view of the city.
Whenever you’re out taking photos, keep your eyes peeled for anywhere that will allow you to shoot from a higher perspective. Bridges, balconies and tall buildings are all great places where you can get up high to shoot the scenes below you.
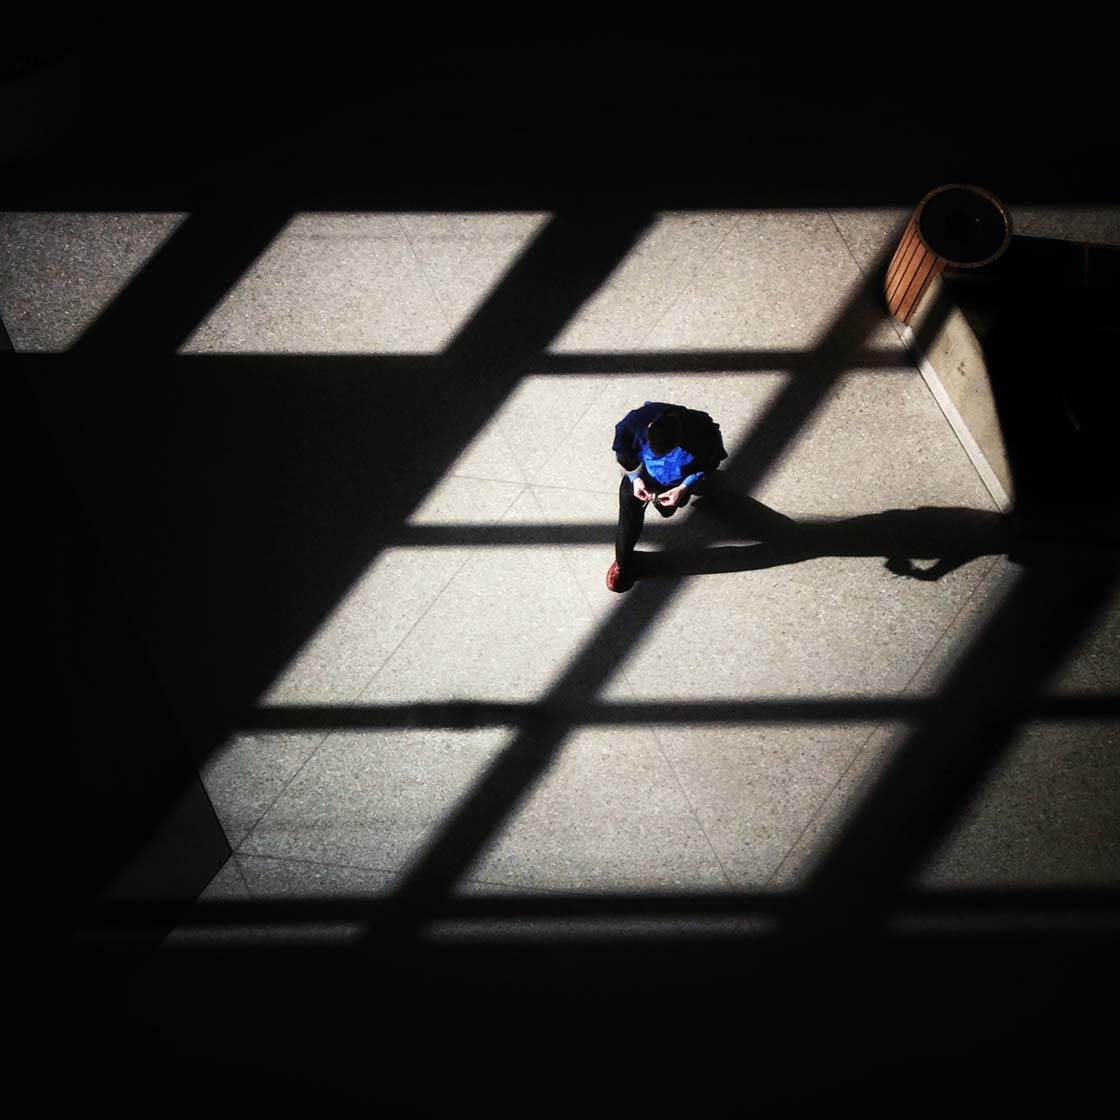
Shooting from a high viewpoint is especially useful for capturing intriguing shadow patterns on the ground. When I spotted the scene above with its abstract pattern of shadows, I waited patiently for a person to walk into view.
Including a person in the scene helps you to tell a more interesting story, and it also gives the photo a strong focal point.
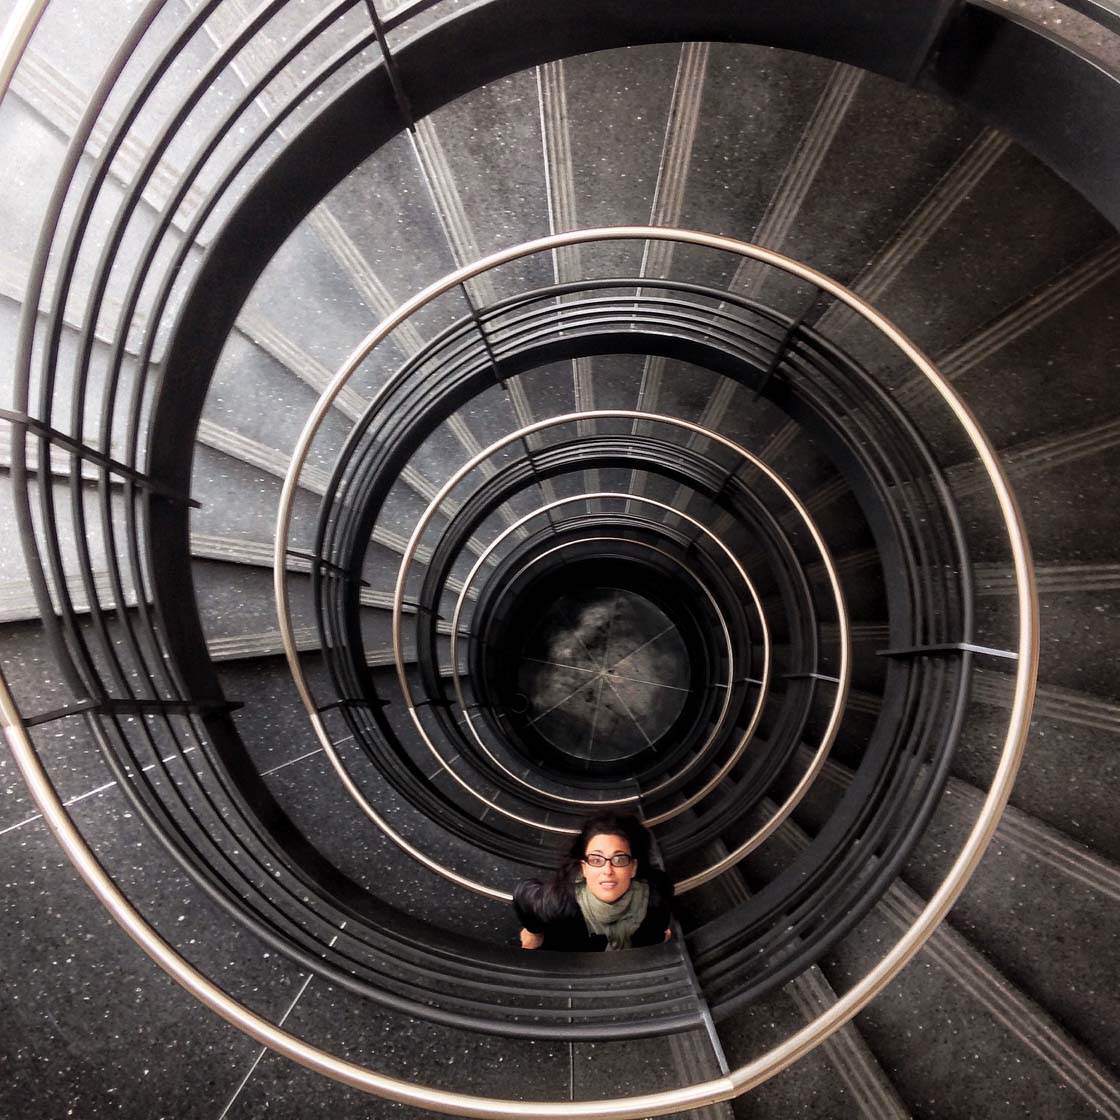
Stairwells are perfect for creating beautiful shots that lead your eye deep into the image. Spiral staircases are one of my favorite subjects to shoot.
Shooting from high up, looking down the middle of the stairwell will allow you to create stunning photos like the one above. Again, having a person in the scene will add a strong focal point to the image.
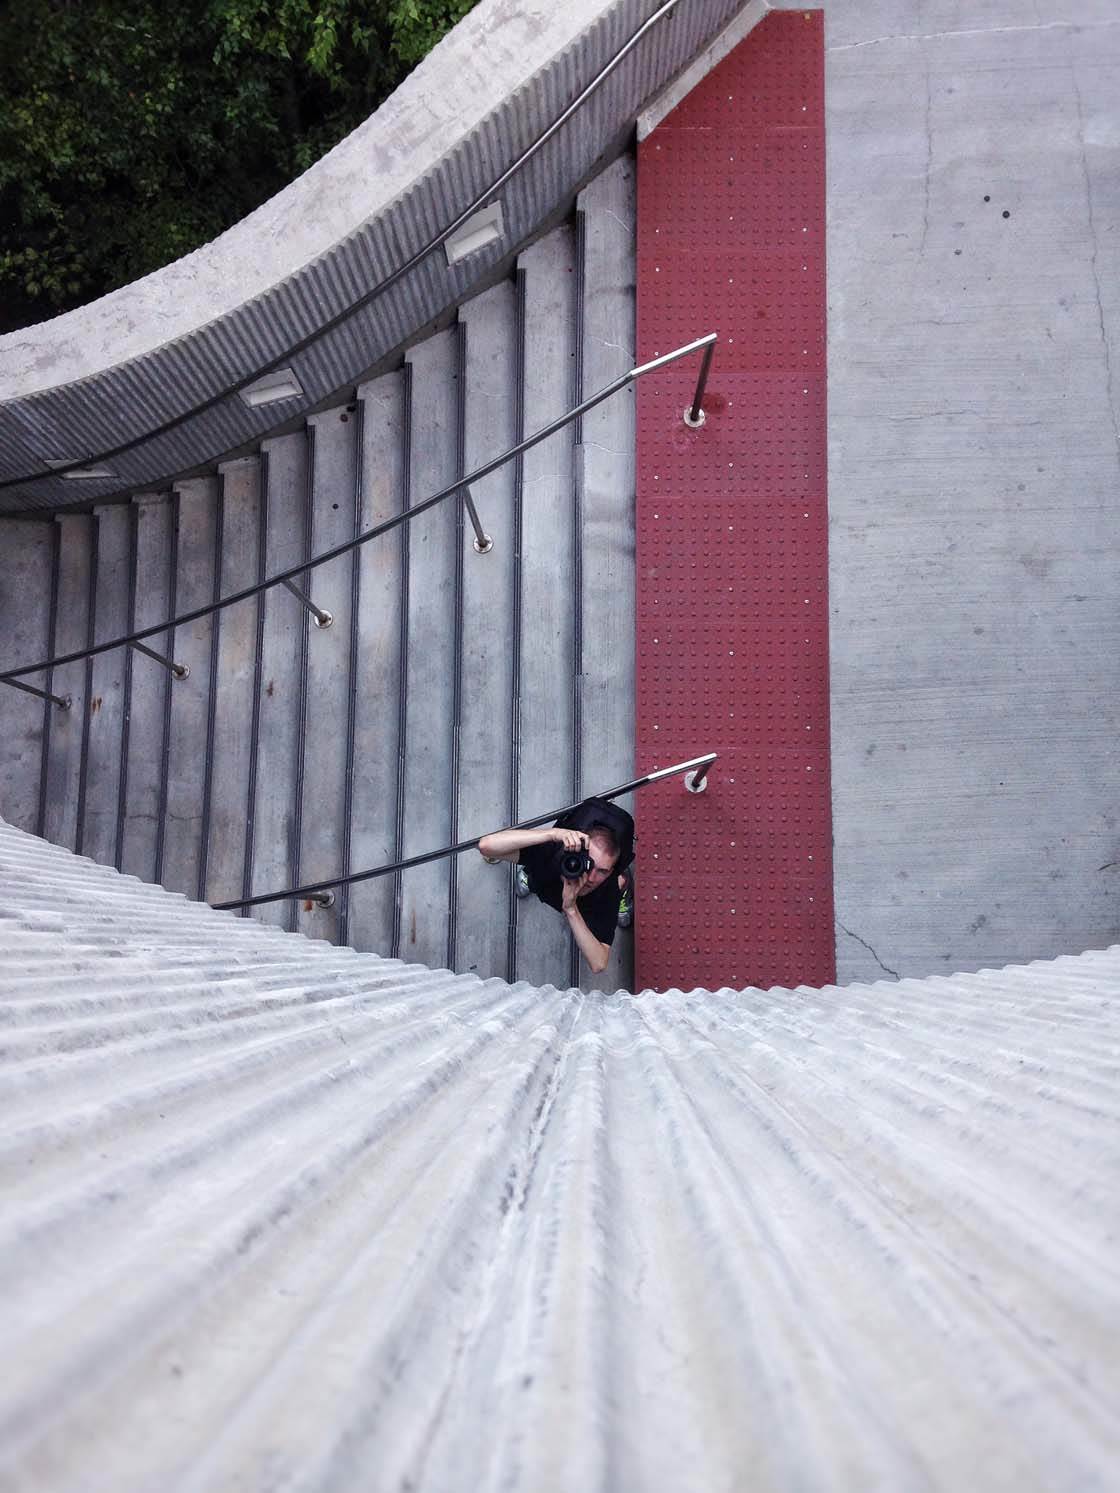
When shooting from a high angle, you can often use lines and other objects to help you create a stronger composition. In this photo I made use of the multitude of lines to lead the eye toward my main subject (the person).
When shooting portraits, how about asking your subject to lie on the ground while you photograph them from above? This is a great way of creating more unique portrait photos.
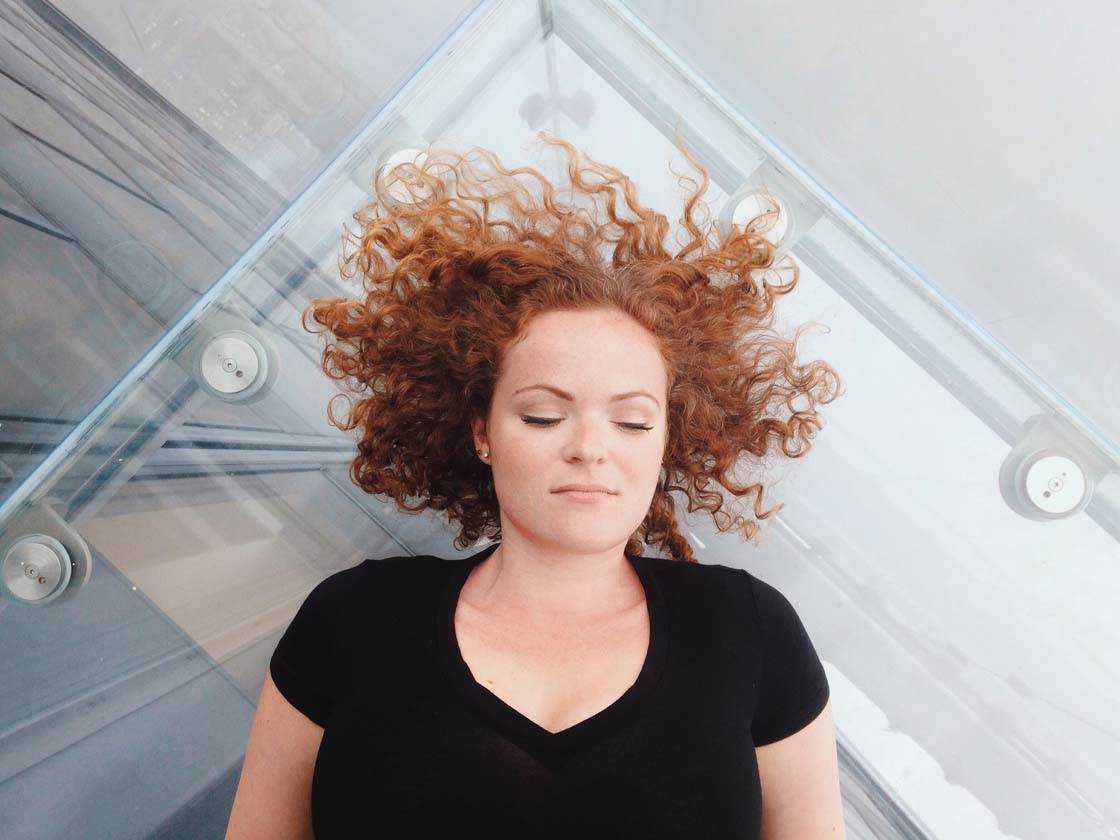
This glass floor made the perfect background for a portrait shot, and the lines framed my subject nicely. This technique is really useful if the background is distracting because the ground becomes the backdrop behind your subject.
4. Shoot From The Hip
Shooting from the hip simply means holding your iPhone at waist level when you take the shot. This might seem like an unusual way of taking photos, but it’s actually extremely useful in street photography.
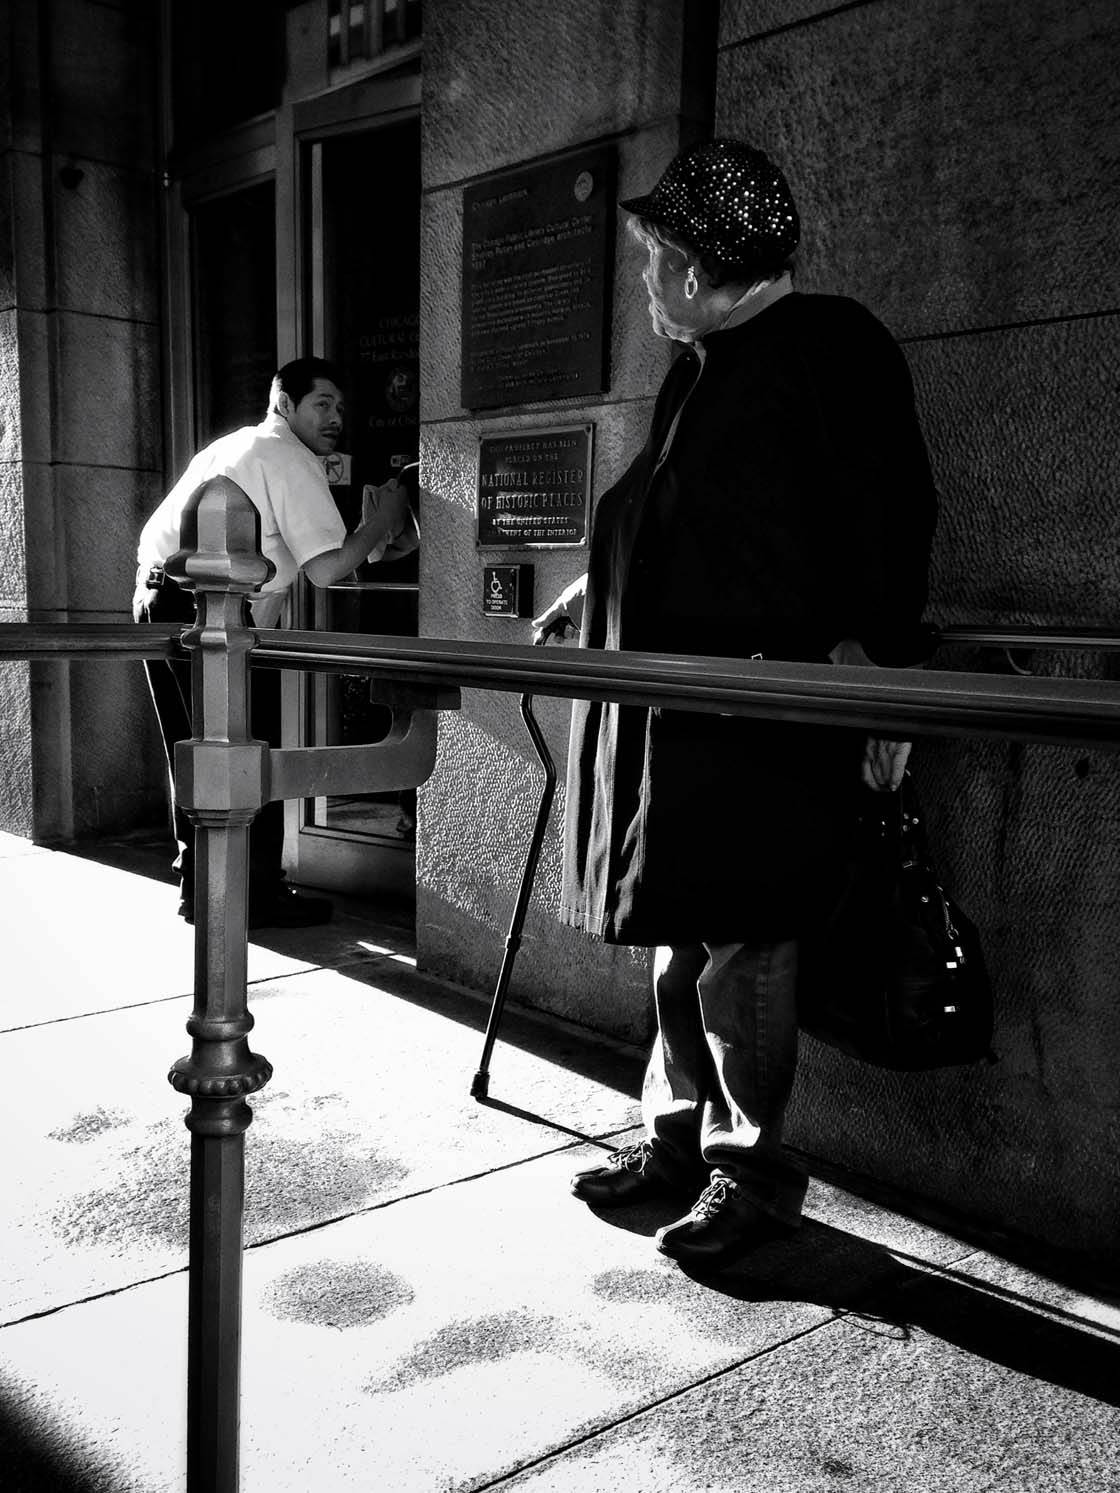
By not holding the iPhone at eye level, you can be much more discreet because people won’t realize you’re taking photos. You can go unnoticed while taking great candid street shots.
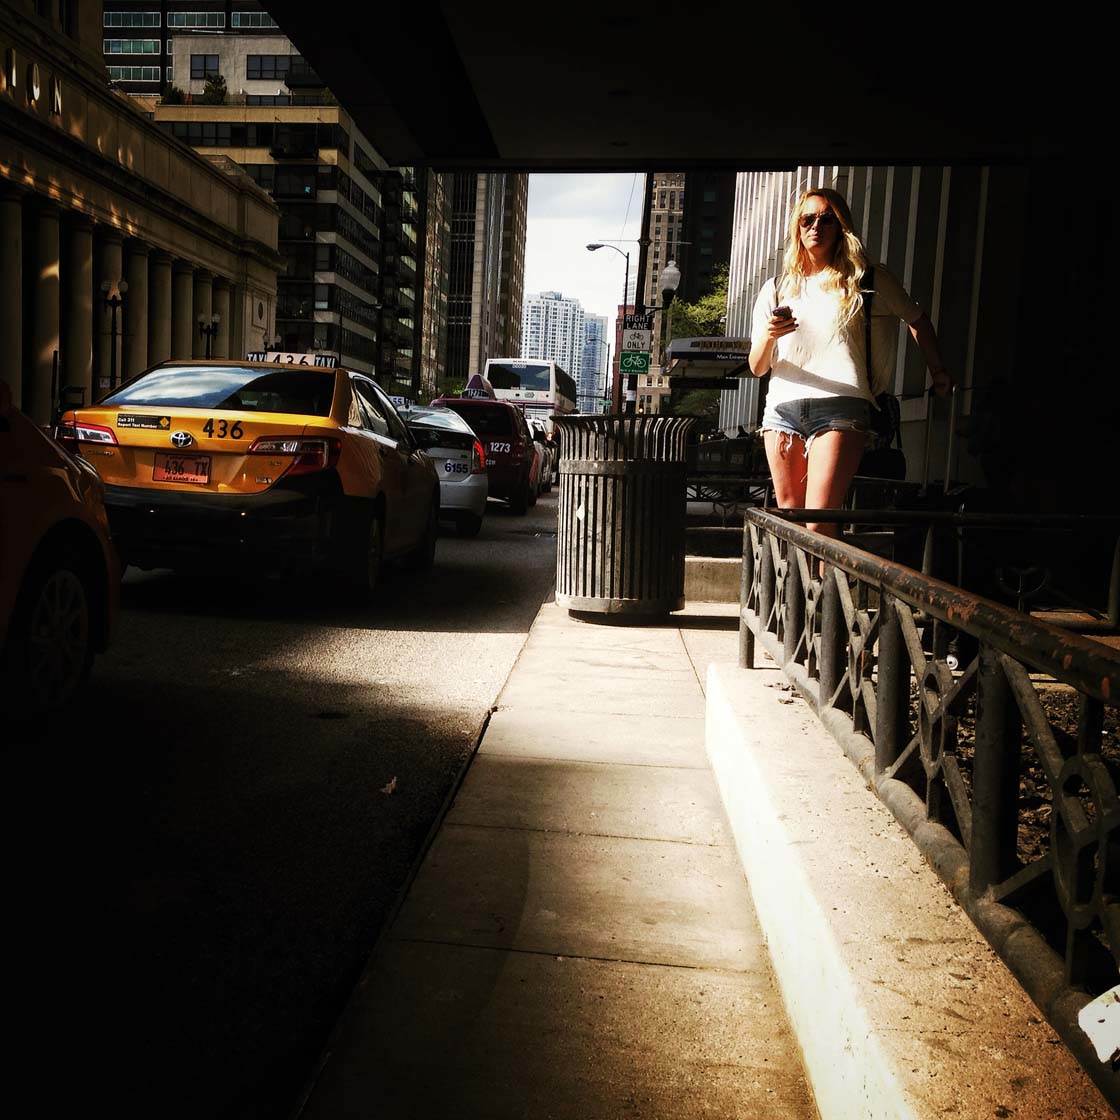
While you’re waiting for the perfect moment to take the shot, you can pretend you’re using your phone for something else such as listening to music or sending a text.
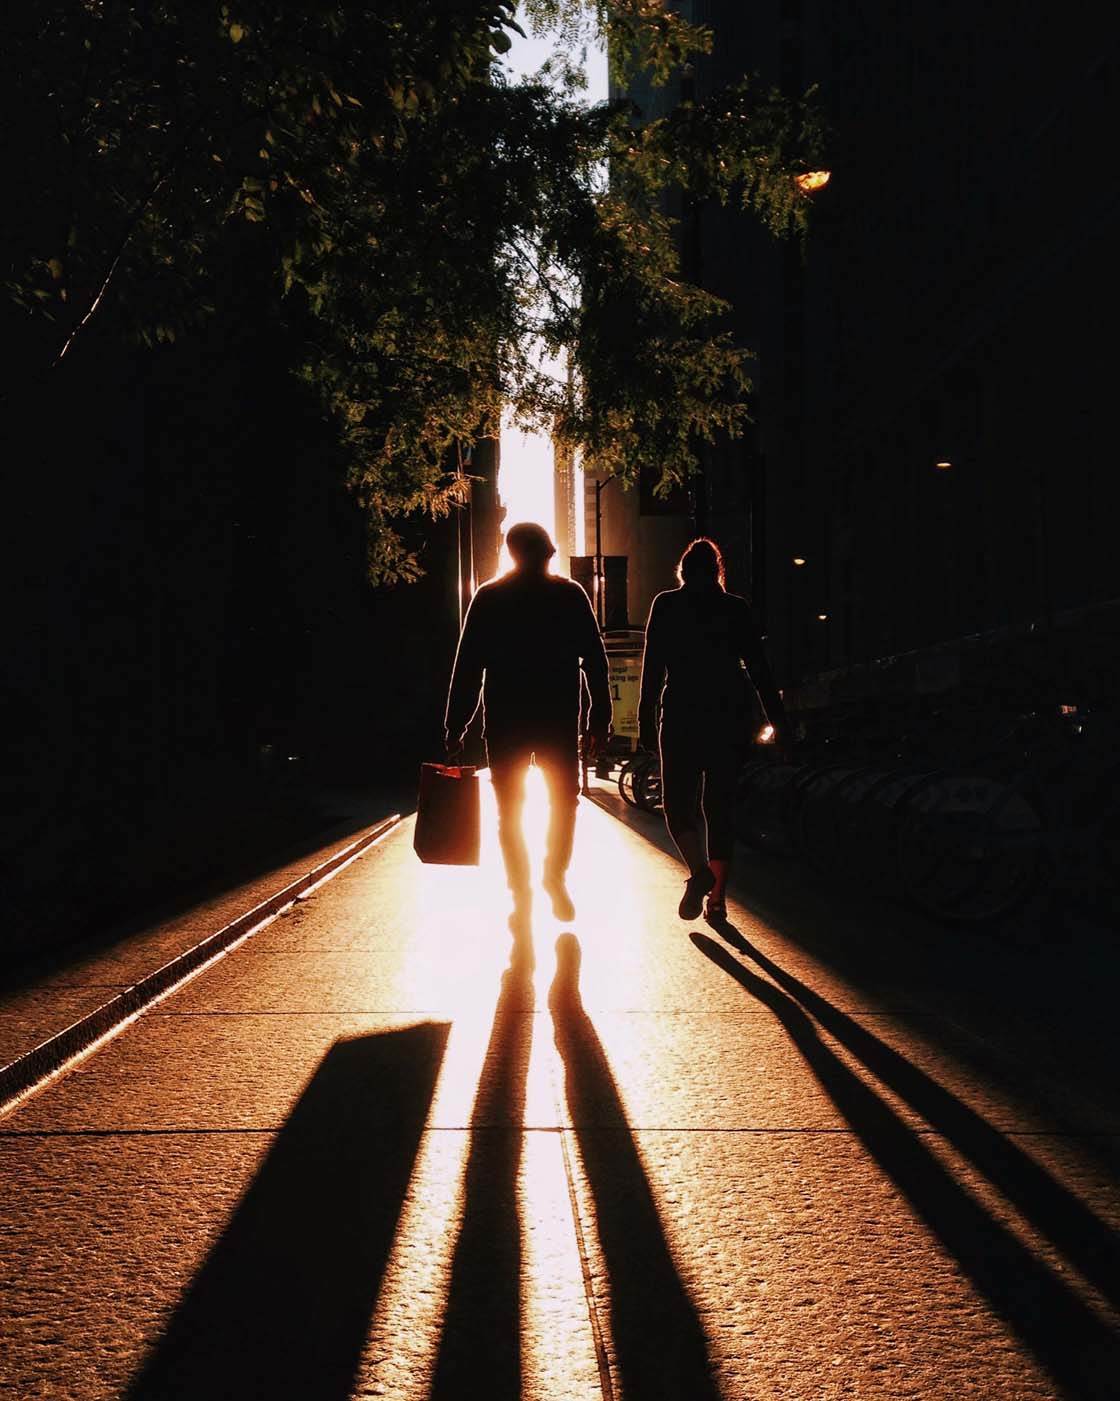
If you want to be really discreet, shoot with the iPhone held in vertical portrait orientation. This will make it less obvious that you’re taking a photo.
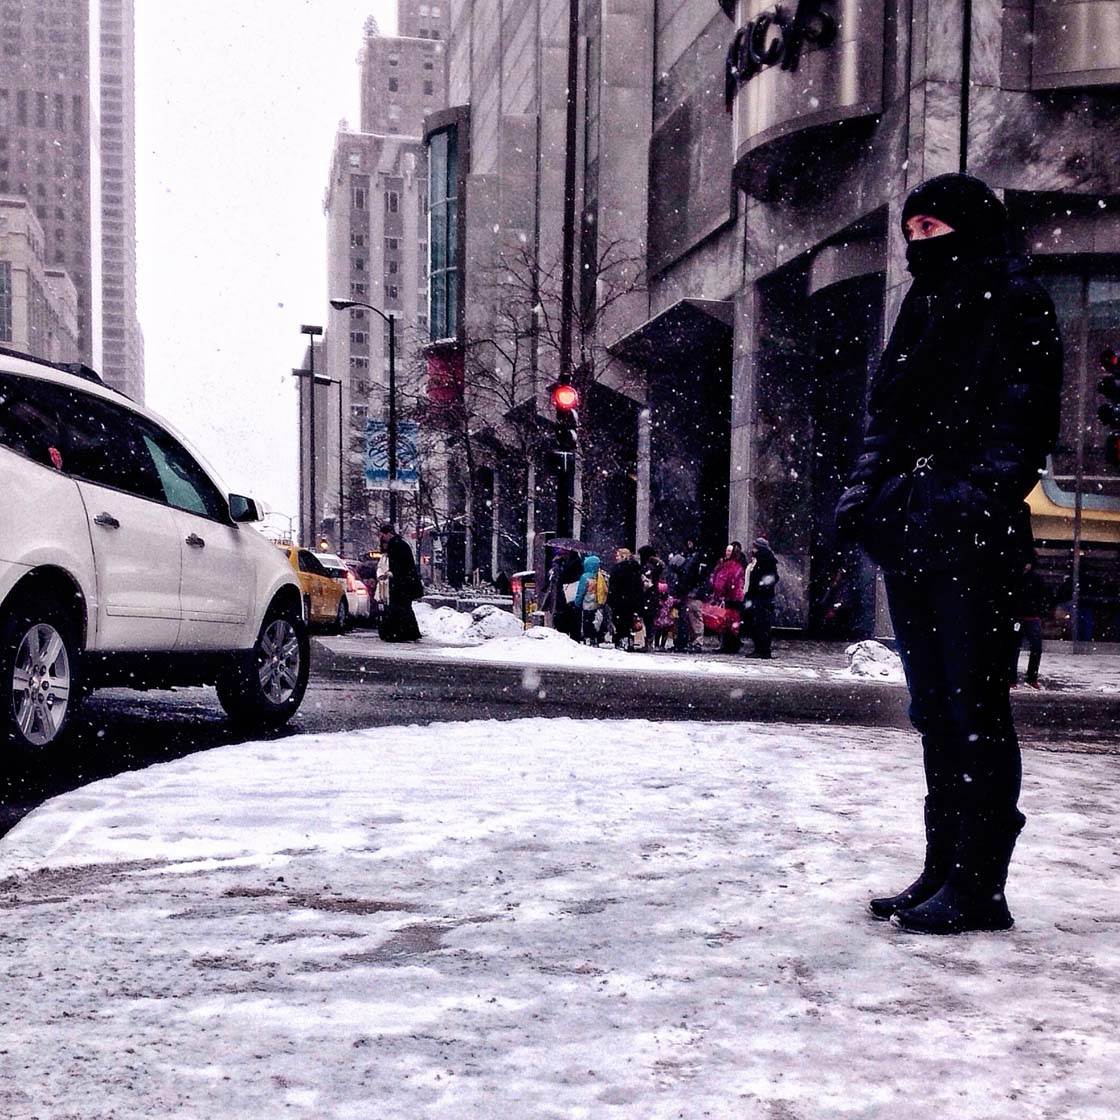
Shooting from the hip can be challenging at first because you have to get used to composing your shot while the iPhone is below your eye level. But with a bit of practice you’ll get used to framing your photo while holding the phone in this position.
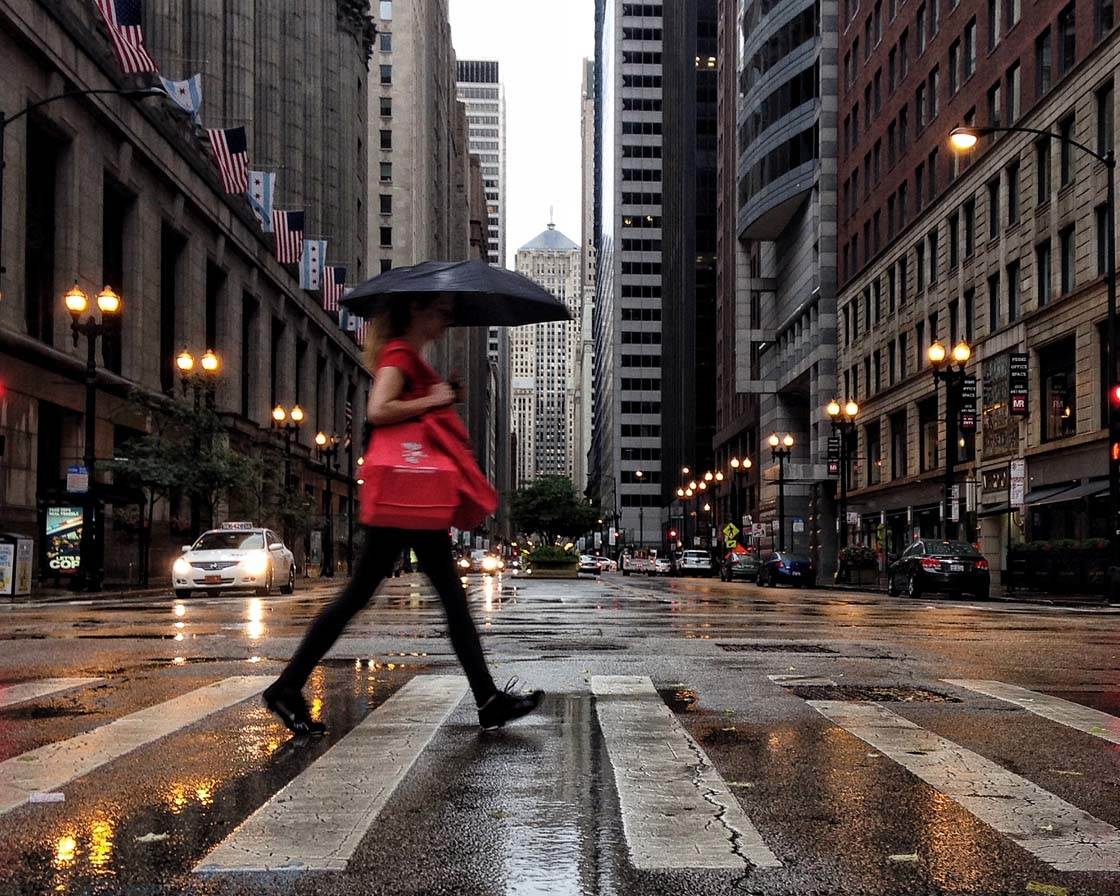
It can even be fun to “shoot blind” where you take pictures without even looking at the viewfinder. You never know what interesting compositions you’ll end up with!
5. Capture A Subject From Different Viewpoints
Another way of telling an interesting and compelling story is to photograph your subject from several different perspectives, such as in front, from behind, from one side, from underneath, etc.
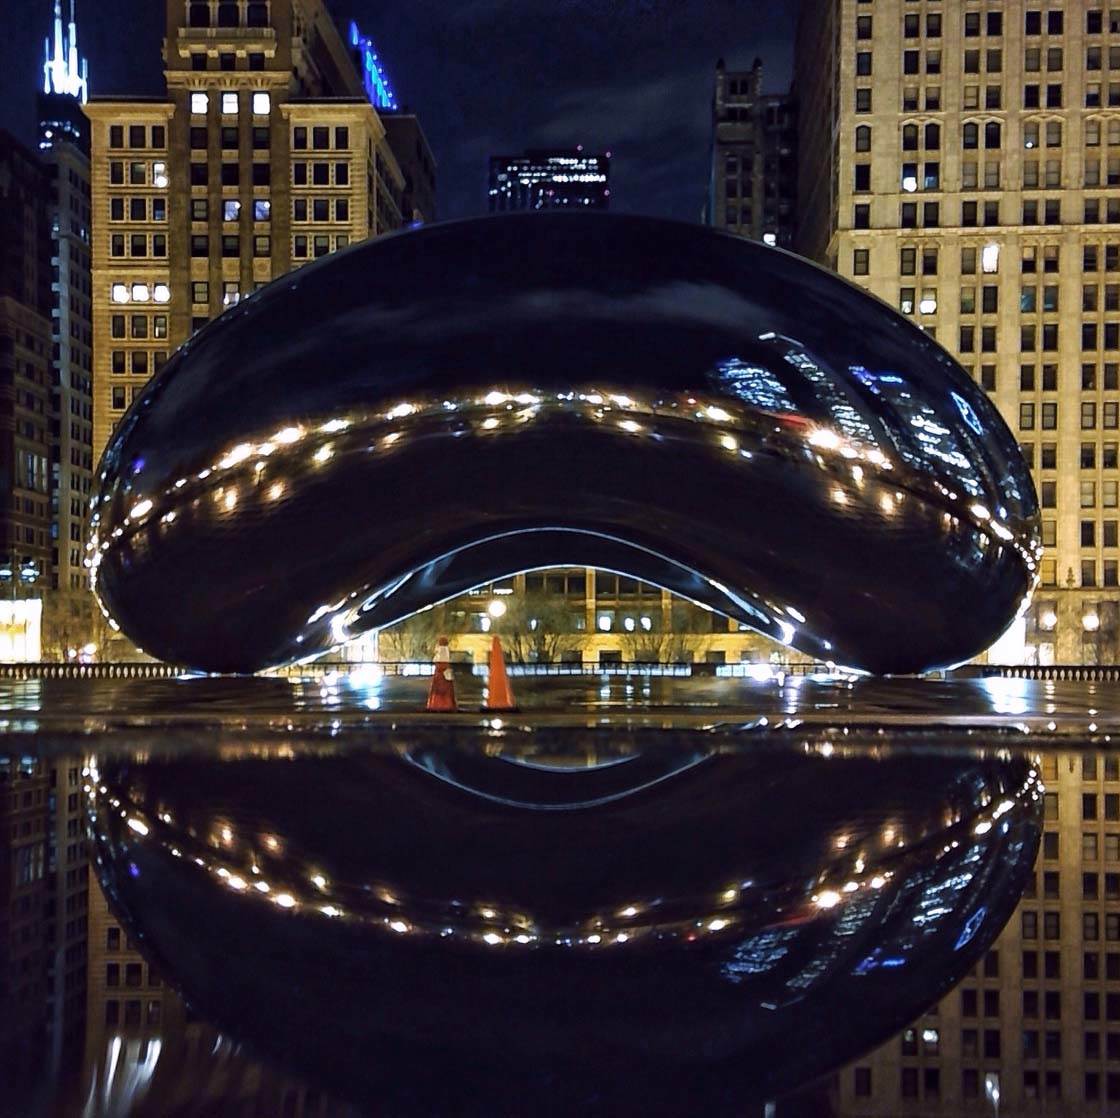
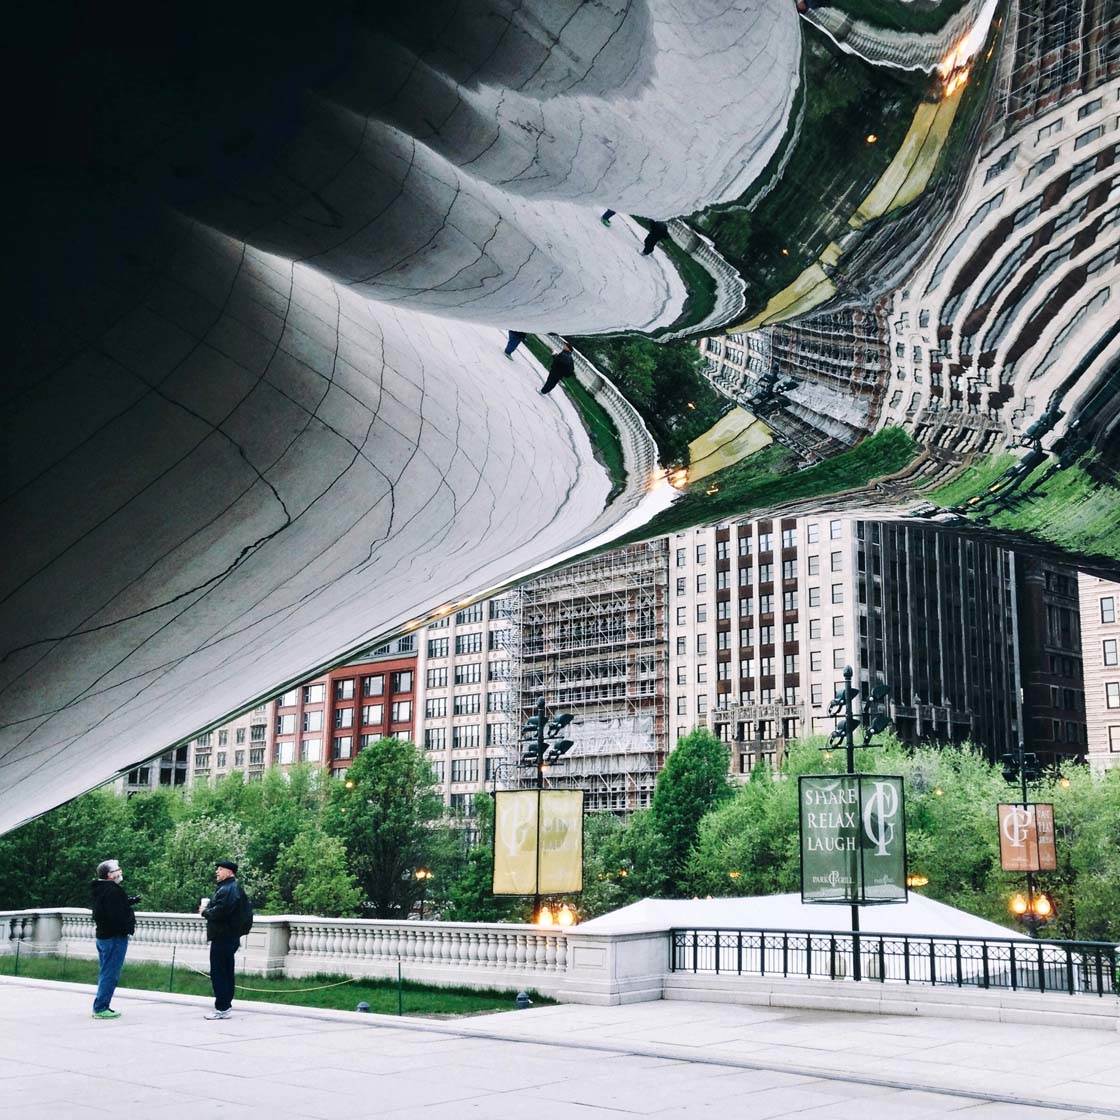
I love to photograph this popular landmark, “The Bean” in Chicago, and I try to capture it from as many angles as possible to show how different it can look from various viewpoints.
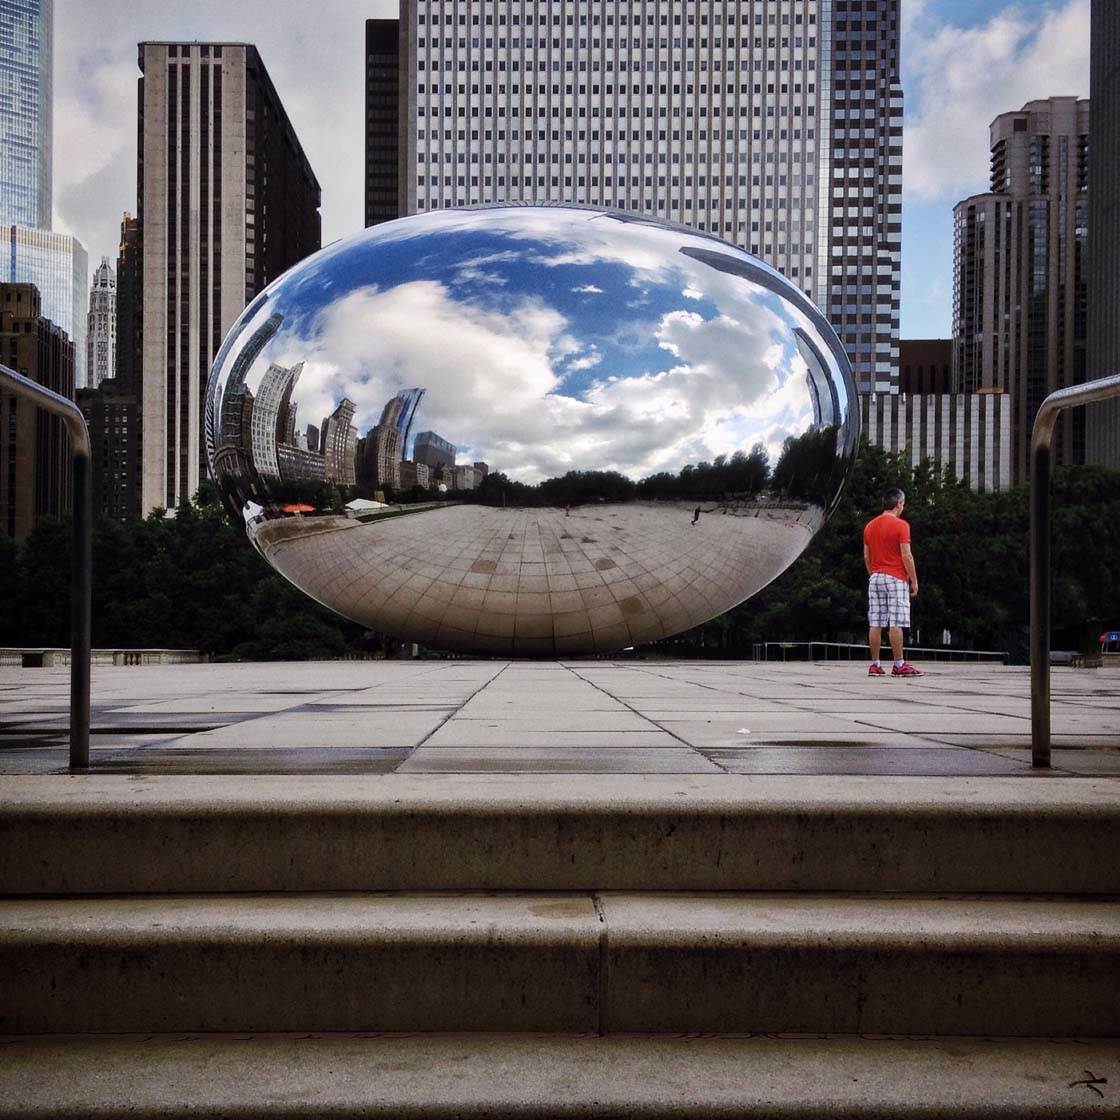
When you’re photographing well-known landmarks, don’t just go for the obvious shot like everyone else. Explore the area to find a more unique angle to shoot from. This will really help your shots to stand out and get noticed.
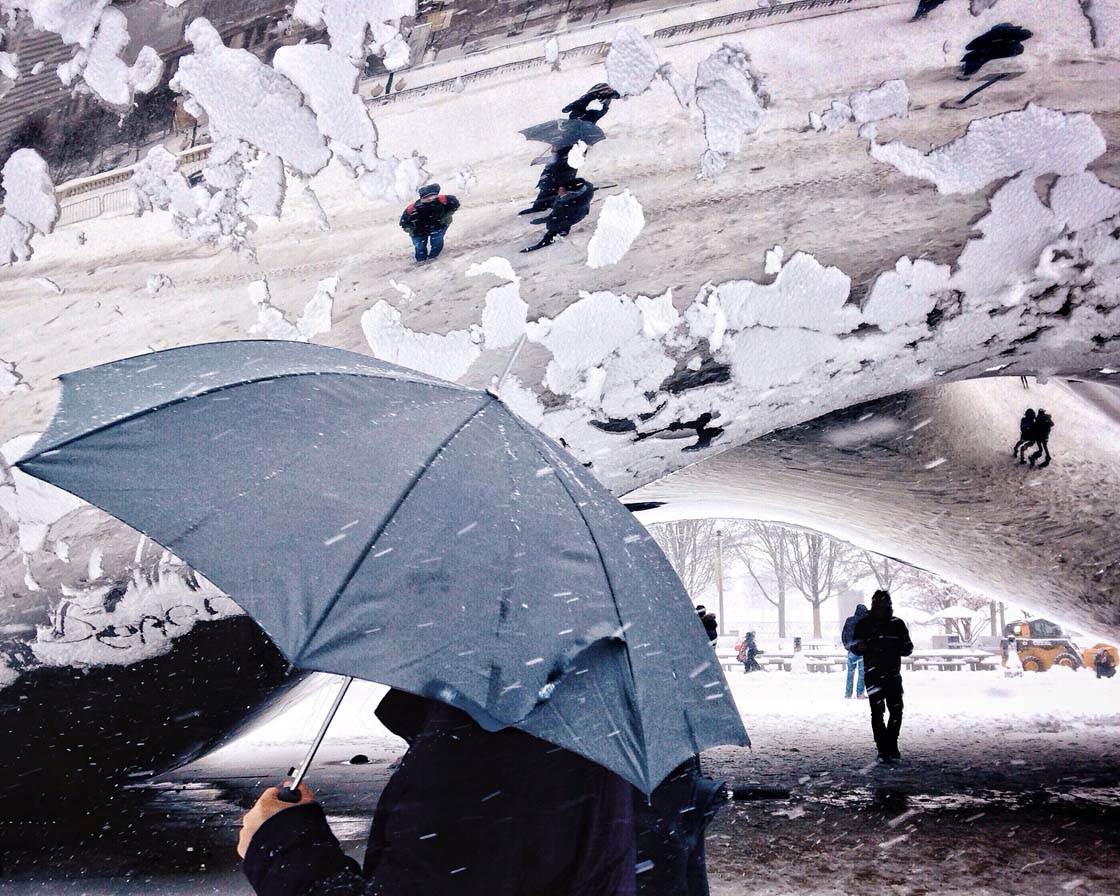
Photographing from different viewpoints is especially useful when capturing subjects in motion as it tends to provide a great narrative from different perspectives.
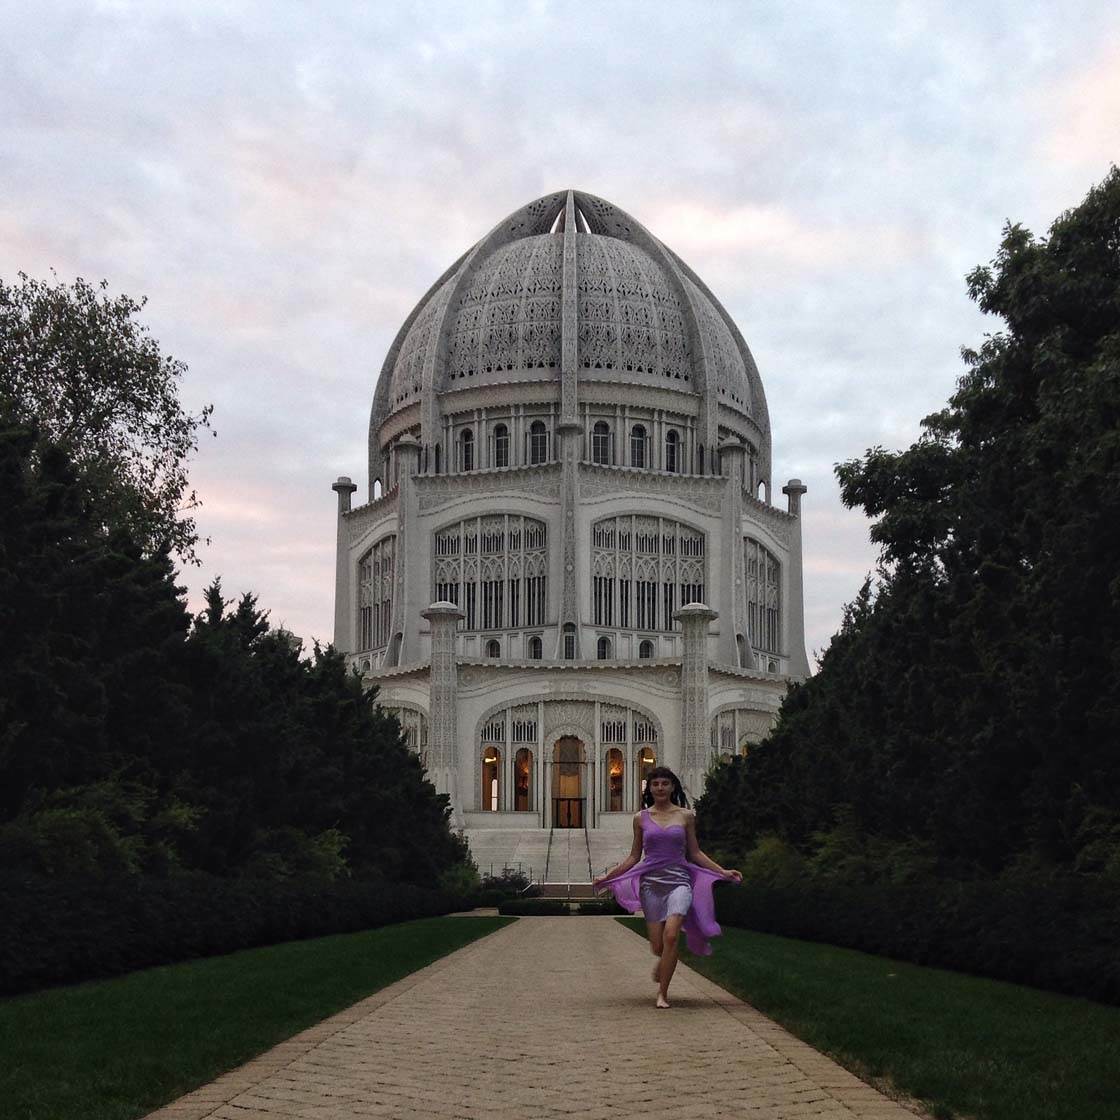
When I was photographing the model in the photos above and below, I captured lots of shots as she was running toward me and away from me.
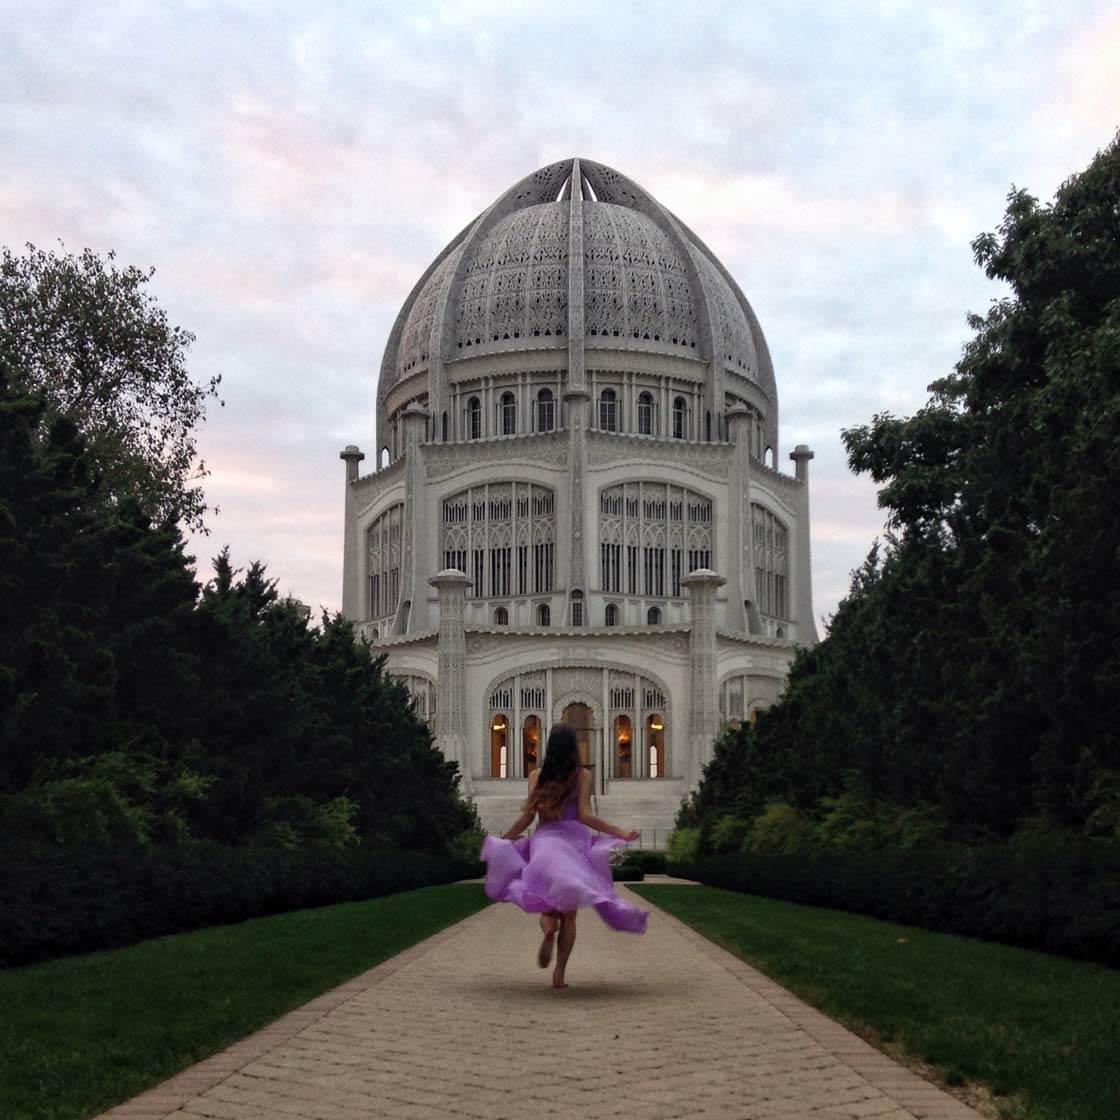
Both of these photos have a kind of fairytale atmosphere, but they can be interpreted in many ways. Is she running away from something? Is she running toward something that she’s excited to see?
If you can make the viewer ask questions and wonder what’s happening in the scene, your photo is usually a success. Capturing your subject from different viewpoints can help you create the mystery and intrigue you need.
6. Shoot From A Close Perspective
If you want to capture intricate detail in your subject, shoot from a close perspective. Filling the entire frame with the subject often creates wonderful abstract images that will intrigue the viewer.
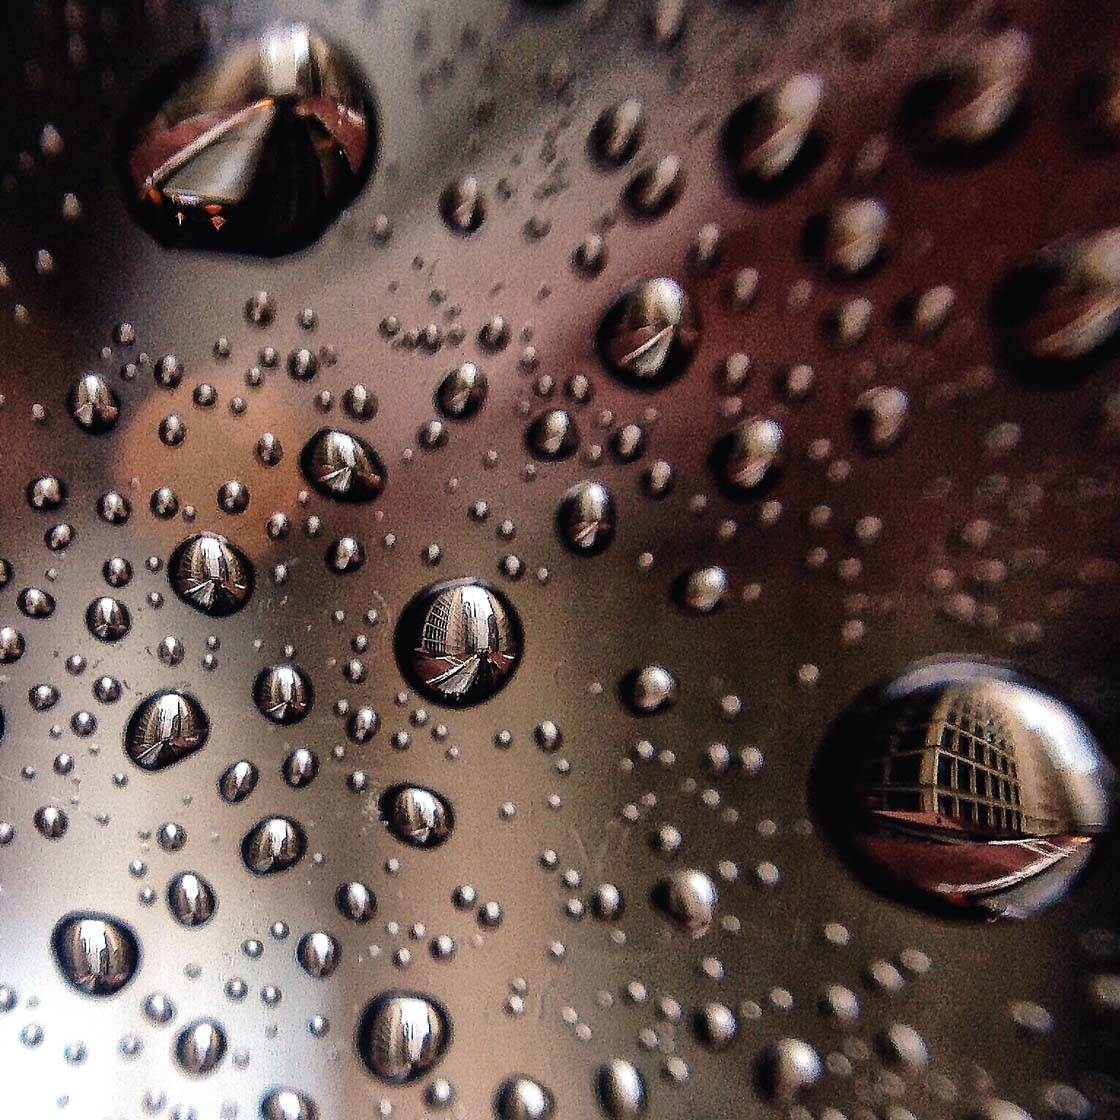
If you want to shoot extreme close-ups, you should invest in a macro lens which will allow the iPhone to focus at very close distances.
Inmacus offer a fantastic macro lens system that produces high quality close-up photos. Check out our Inmacus lens review here.
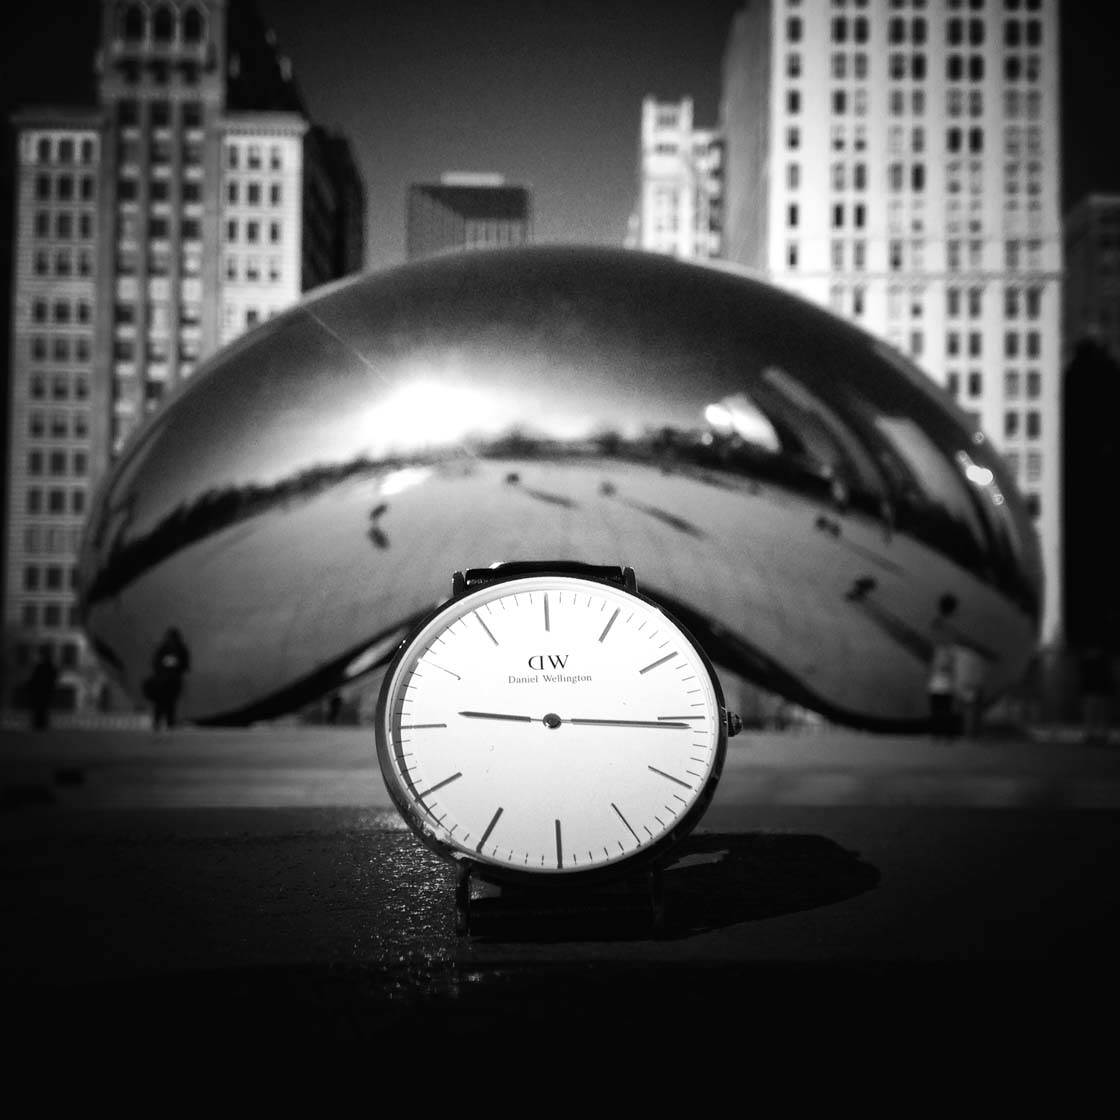
Do you want to know how to blur background on iPhone camera to create a shallow depth of field? Simply focus on an object close to the camera.
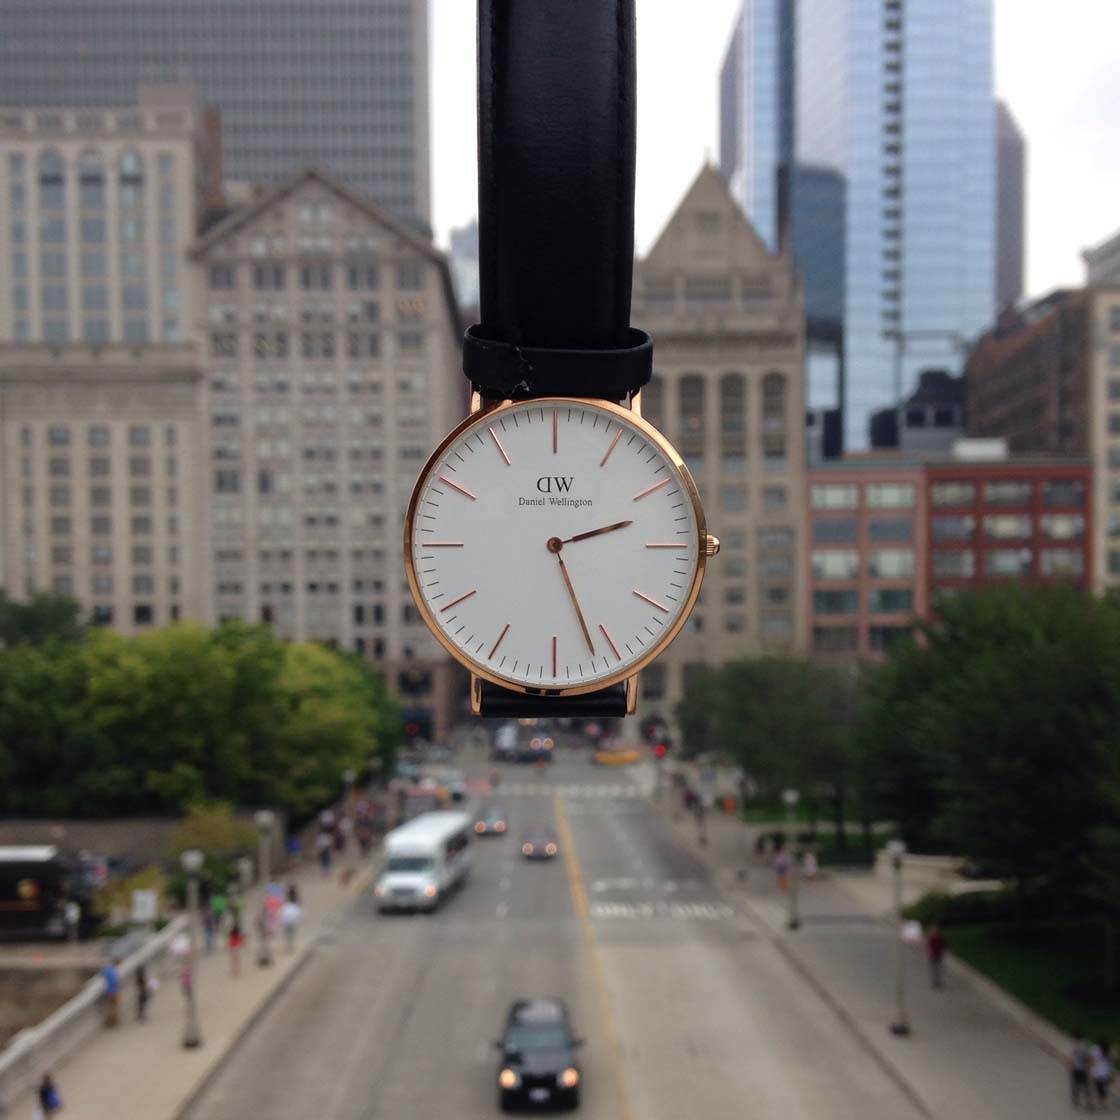
By blurring the background you’re emphasizing the part of the scene that’s in focus. The viewer’s eye will be drawn to the clear and sharp subject in the foreground.
Another creative technique that you could try is to get close to a subject and shoot along the length of it. I did this in the photo below where I held my phone up close to the side of a shiny train.
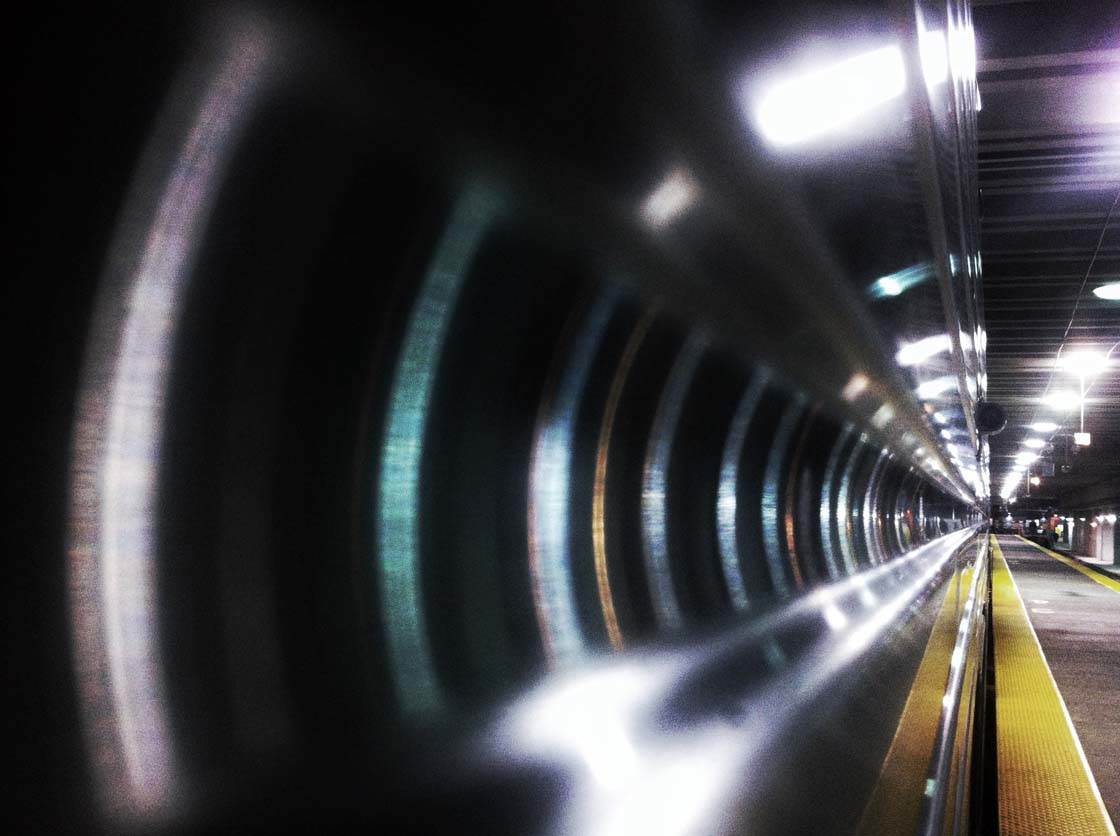
This viewpoint allowed me to capture the train and platform from a really unique perspective. The reflections and leading lines turn it into an abstract-style photo with incredible depth.
7. Shoot Through Another Object
If you want to get really creative with your photography, try shooting through another object that will distort the subject behind it.
Any semi-transparent object can be used. Frosted or patterned glass will create a wonderful distorted view of your subject.
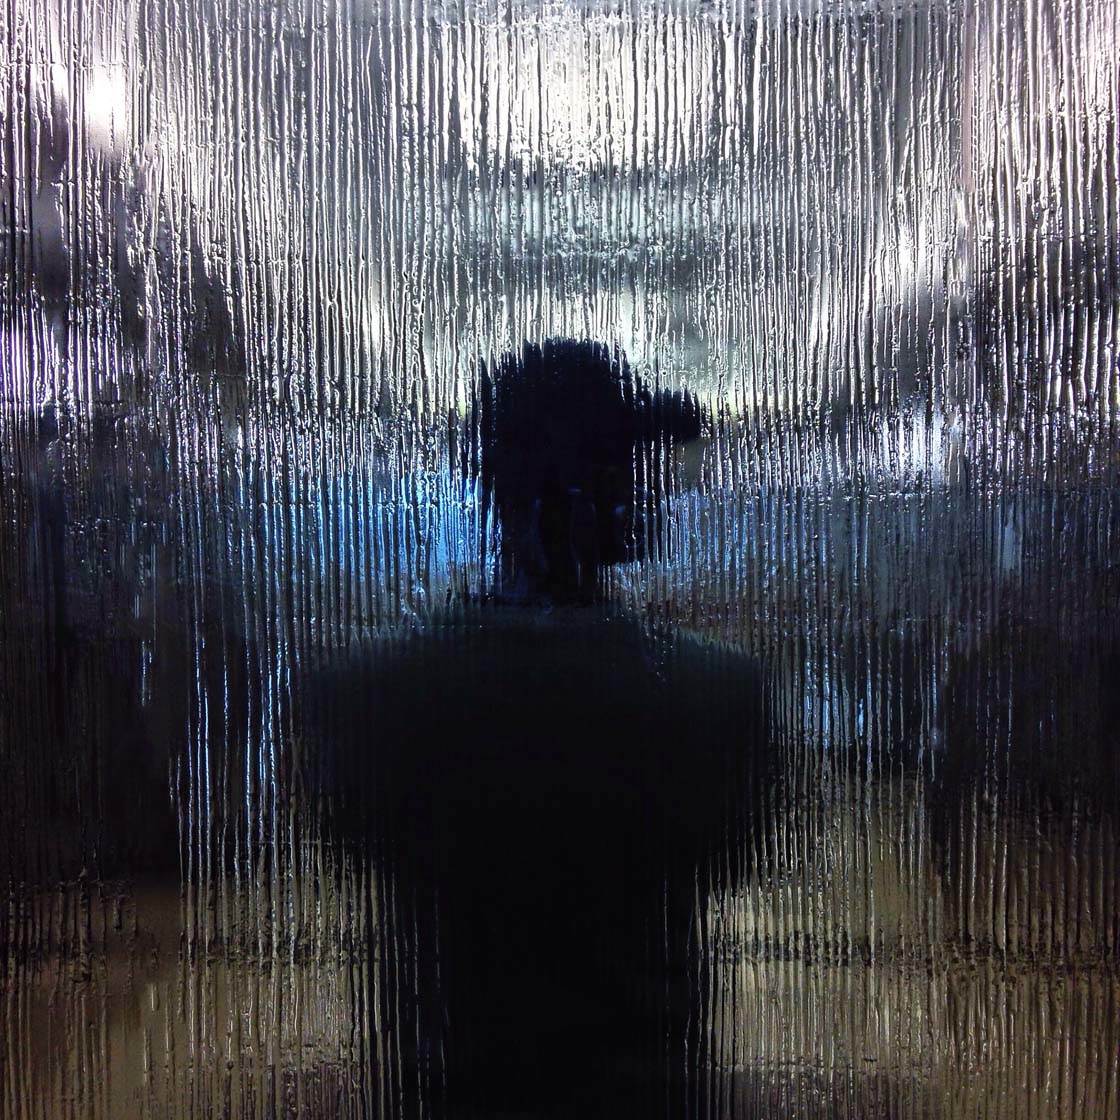
In the photo above, the rough surface of the glass offers an interesting point of view, distorting the detail of the figure standing behind it.
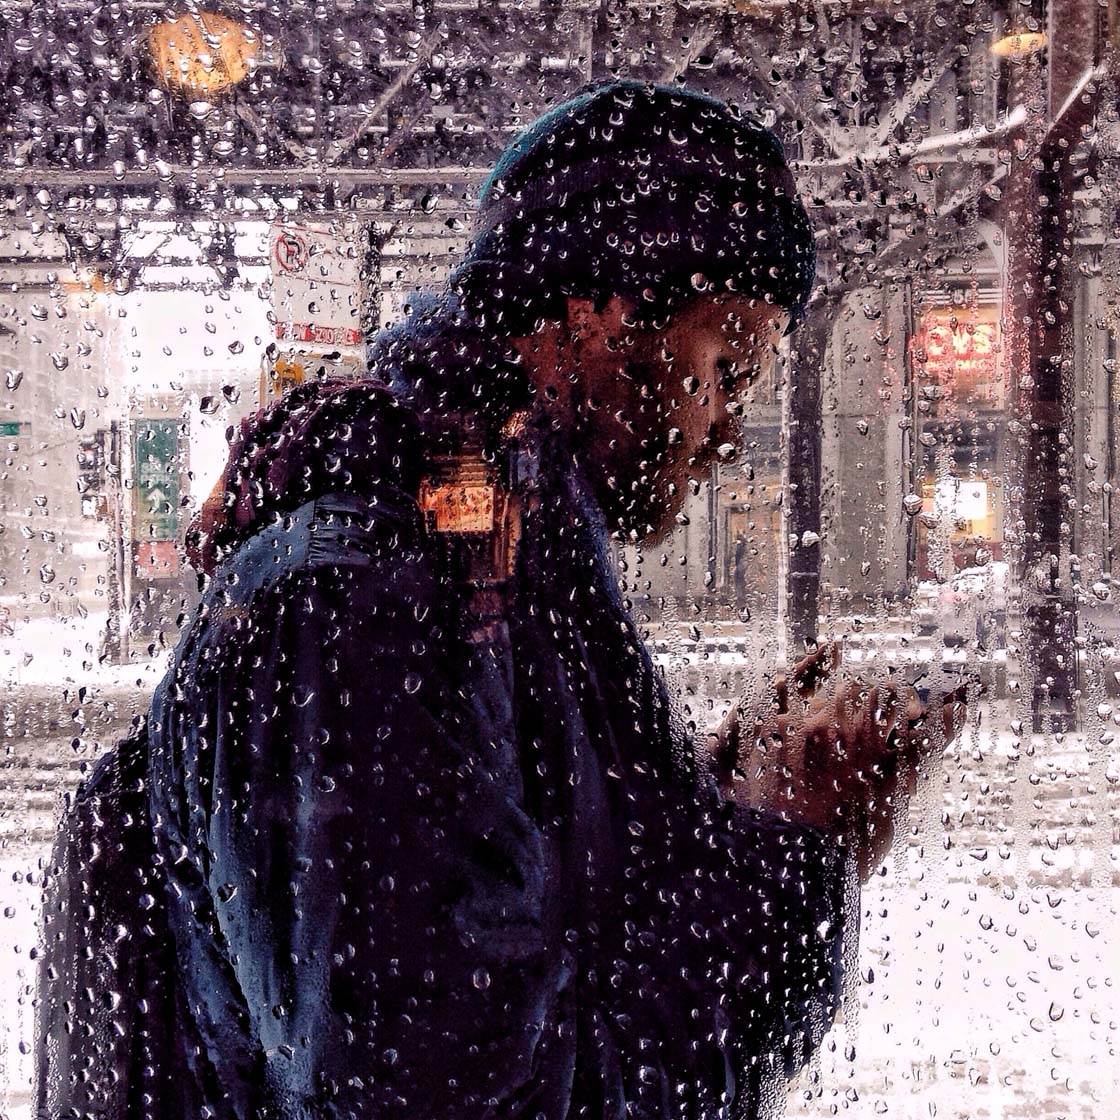
Another option, which is a personal favorite of mine, is to take a photo through a window with raindrops. The water droplets will create a unique foreground effect, and you can often capture tiny reflections in the droplets.
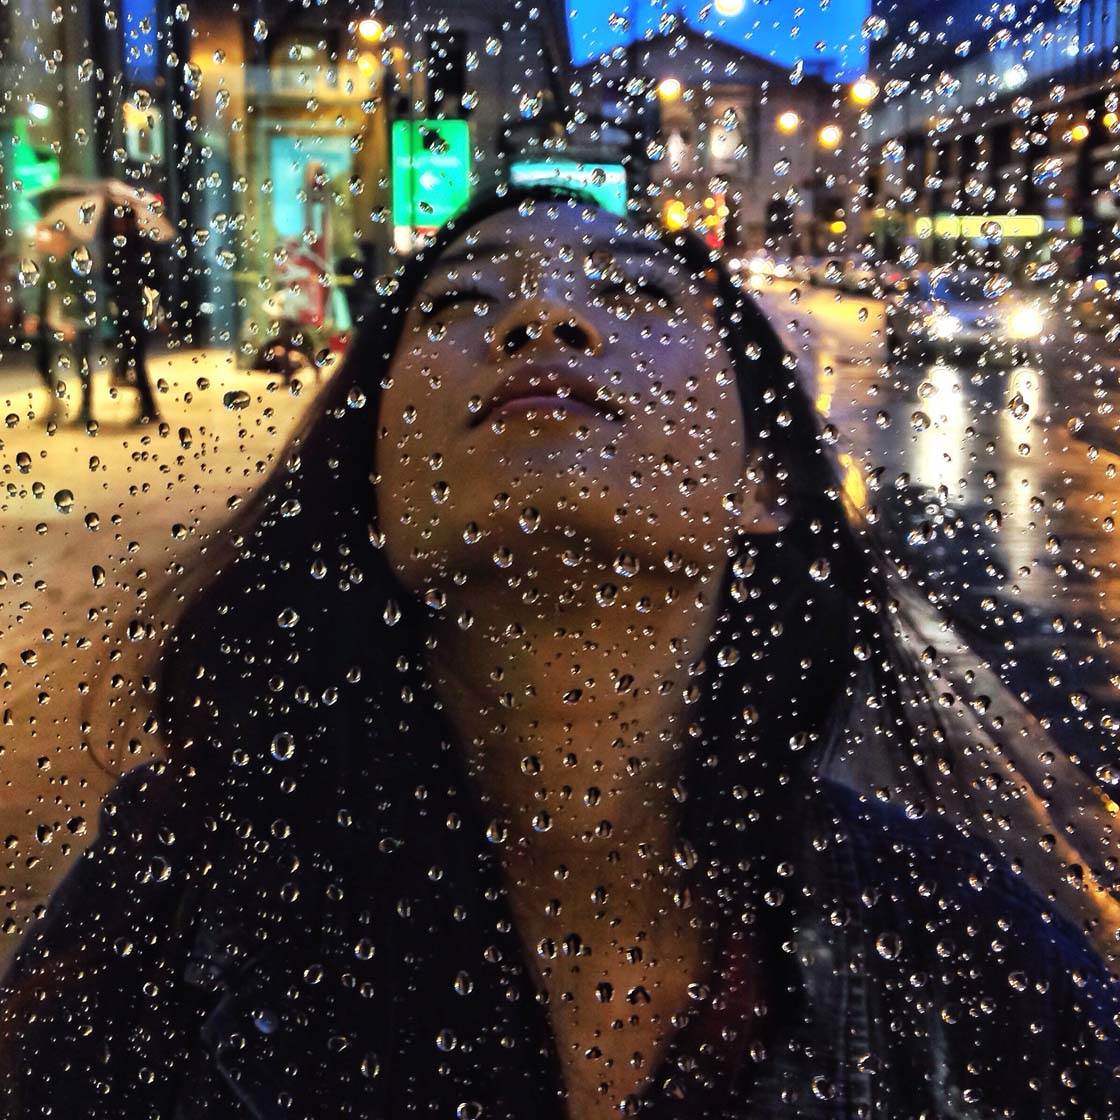
When shooting through windows like this, it usually looks best if you tap to set focus on the water droplets so that they appear sharp.
Another suggestion is to shoot through a glass sphere or crystal ball as shown in the photo below. A crystal ball creates an inverted view of the subject which adds a really unique perspective to the image.
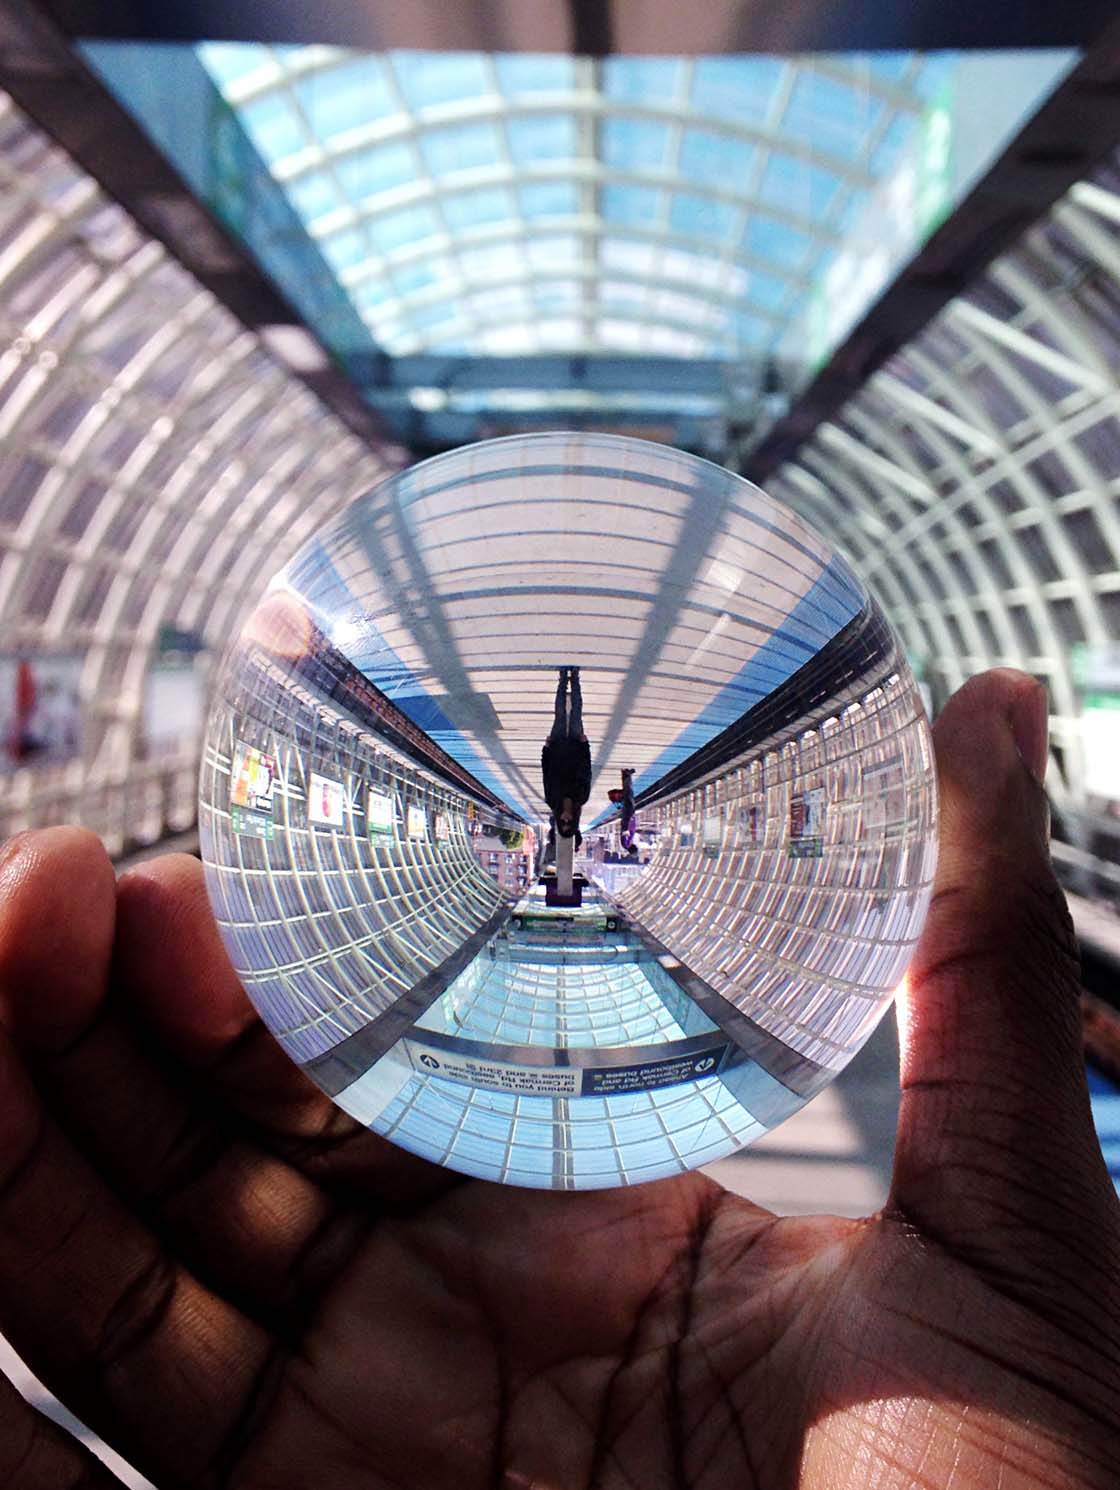
There are so many different objects that you can shoot through. You just need to look around and use your creativity to see what interesting effects you can produce.
8. Shoot Through A Frame
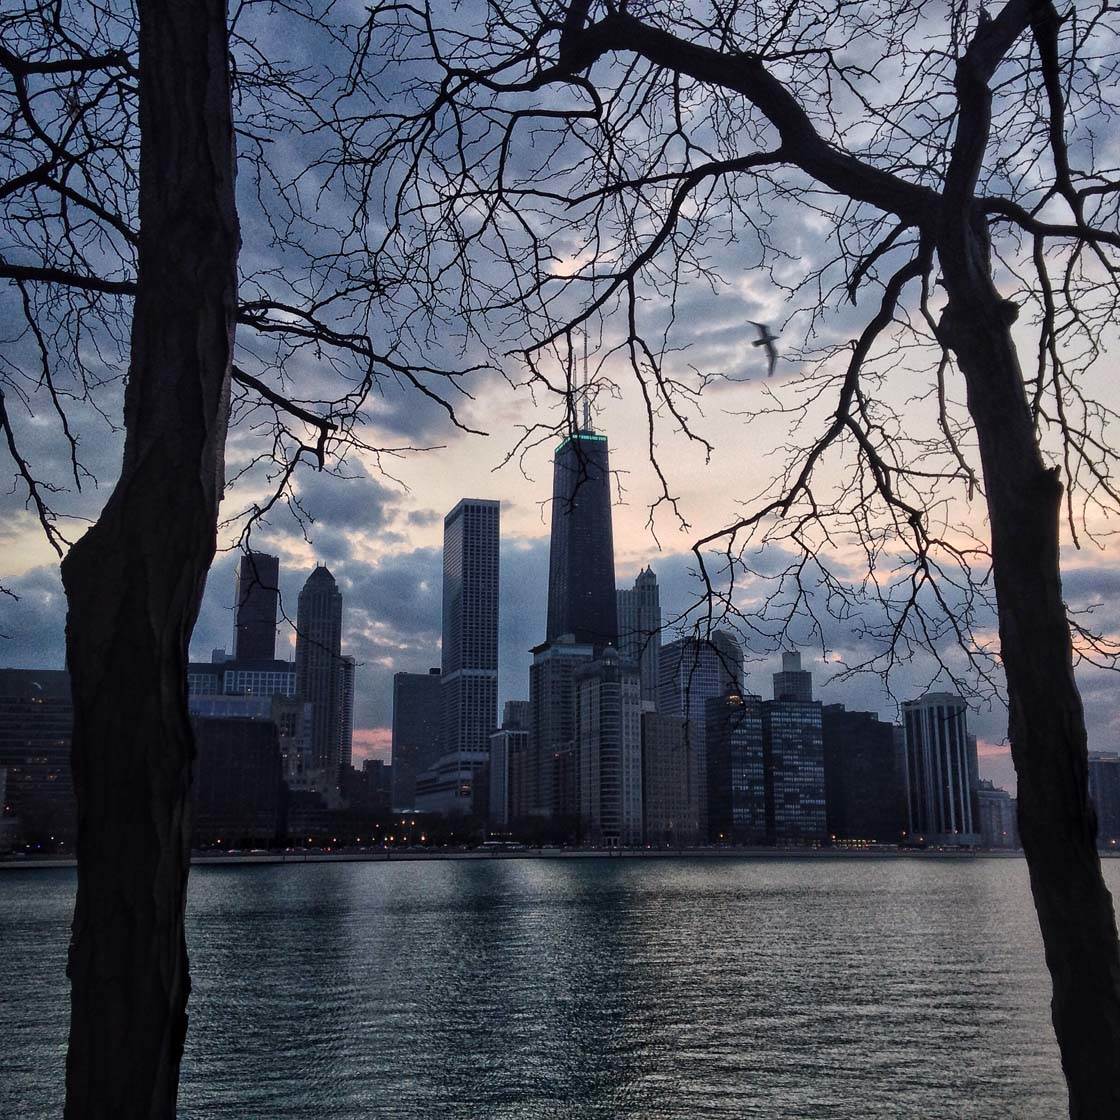
“Framing” is a really powerful composition technique that can add a lot of impact to your image. Using a foreground object as a “frame” is one of the best ways to draw attention to the important part of the scene.
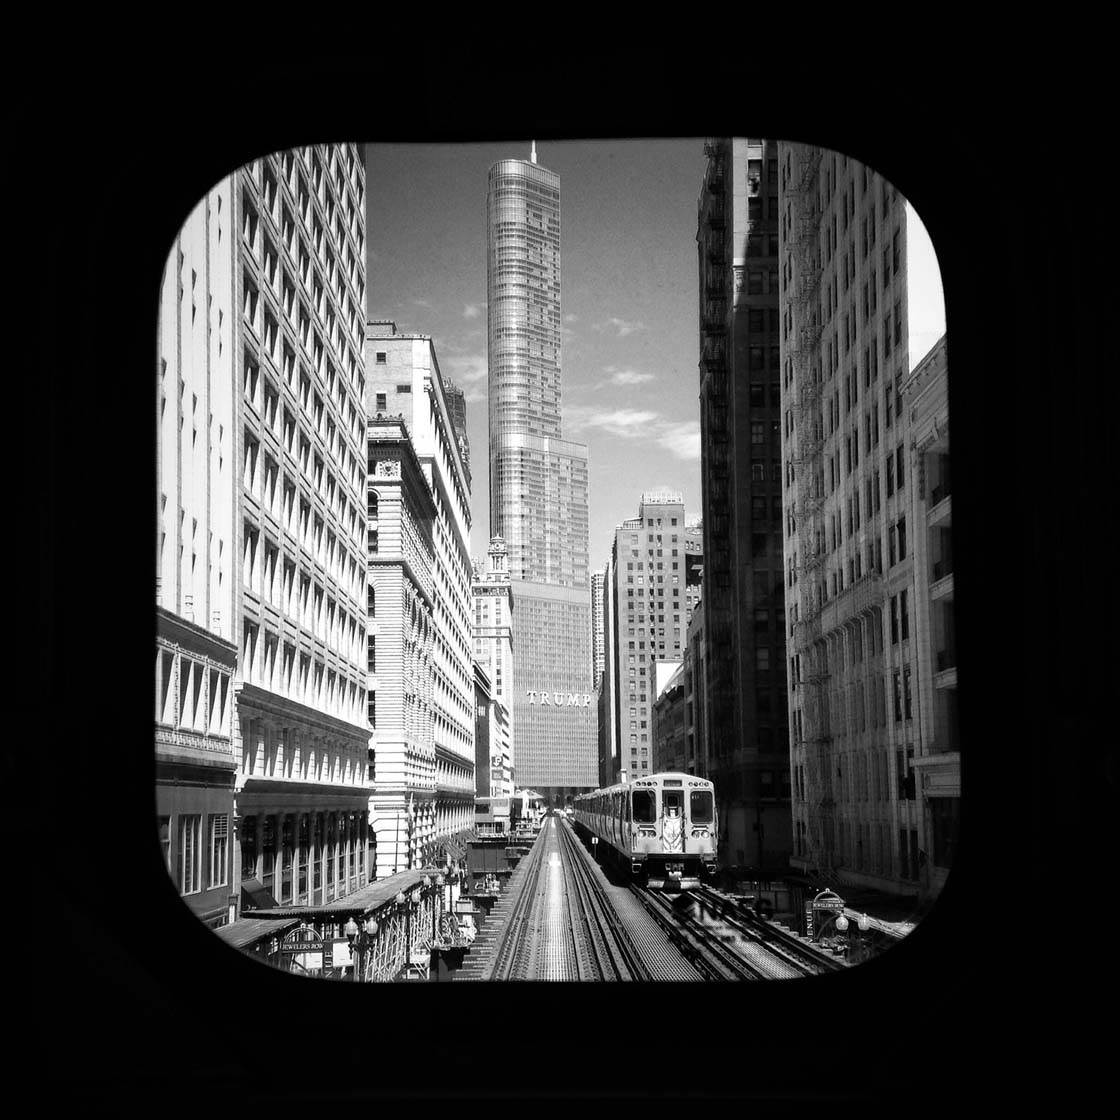
Look around your surroundings for any object that you could use as a frame within the scene. Common framing objects include doors, windows, archways and holes.
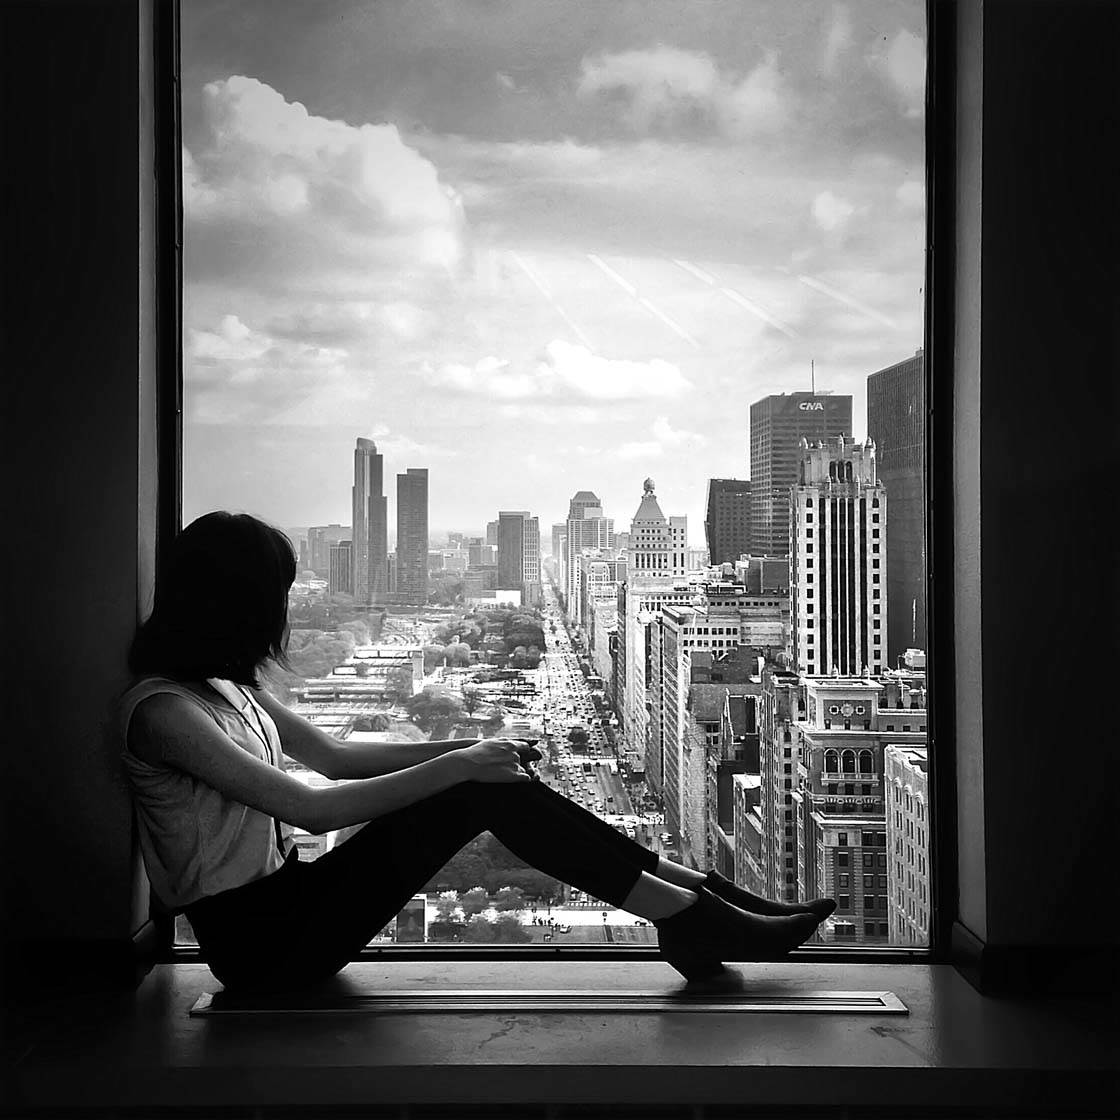
When photographing a view through a window or other natural frame, take a few steps back and compose your shot so the object creates a natural frame around the edges of the photo. The viewer’s eye will be naturally drawn to the area within the frame.
A frame doesn’t necessarily have to be a constructed object, and it doesn’t have to go around all four edges of the image. Using trees and branches to frame a skyline in the background can be very effective.
9. Capture Reflections
Rather than photographing the actual subject, why not try photographing the subject’s reflection instead? This will add a really creative element to your photo.
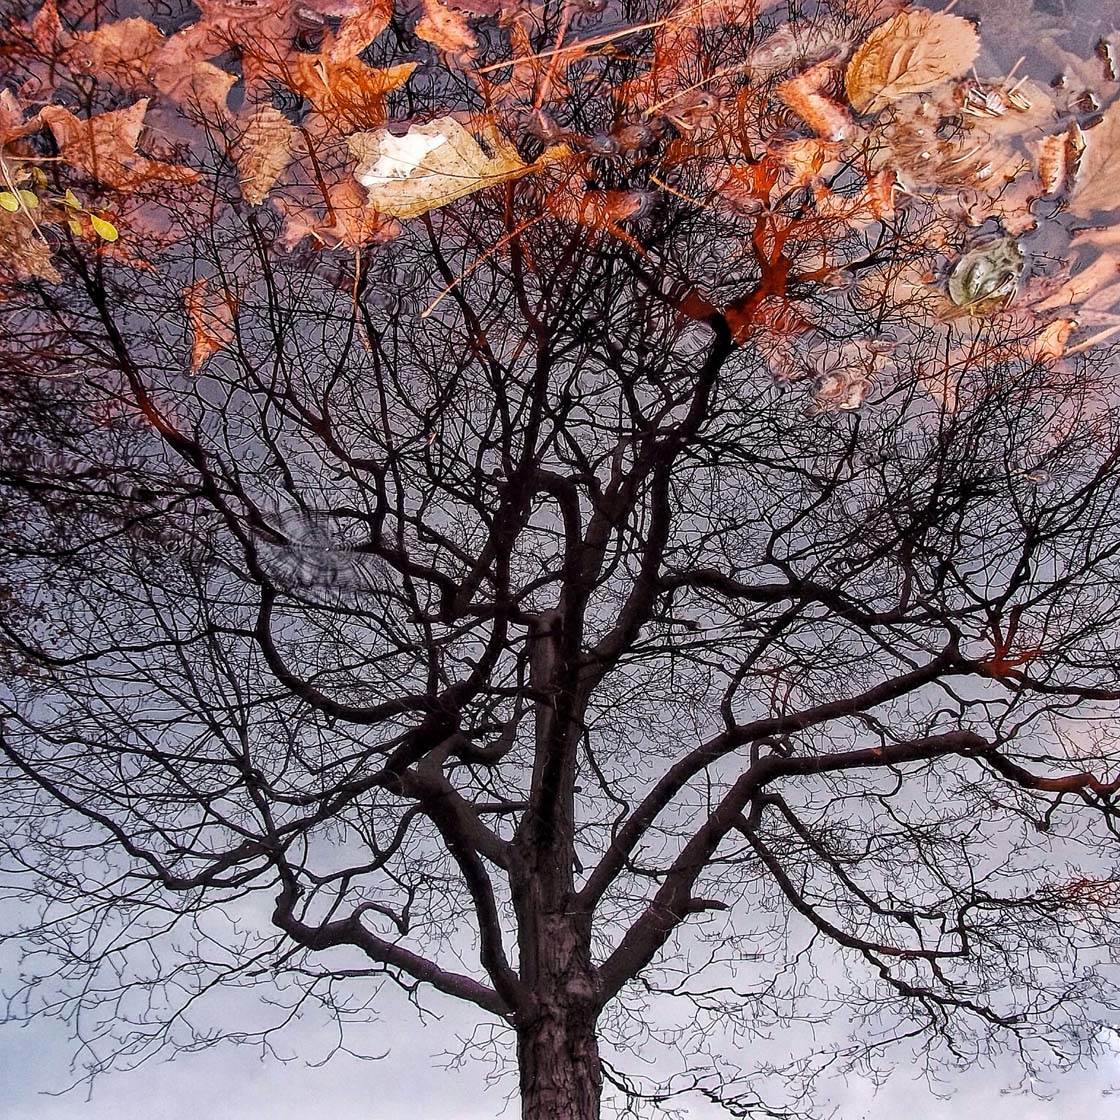
A simple puddle on the street is a great place to find reflections. So after the rain, venture out and keep your eyes peeled for things like trees, people, vehicles and buildings reflected in small pools of water.
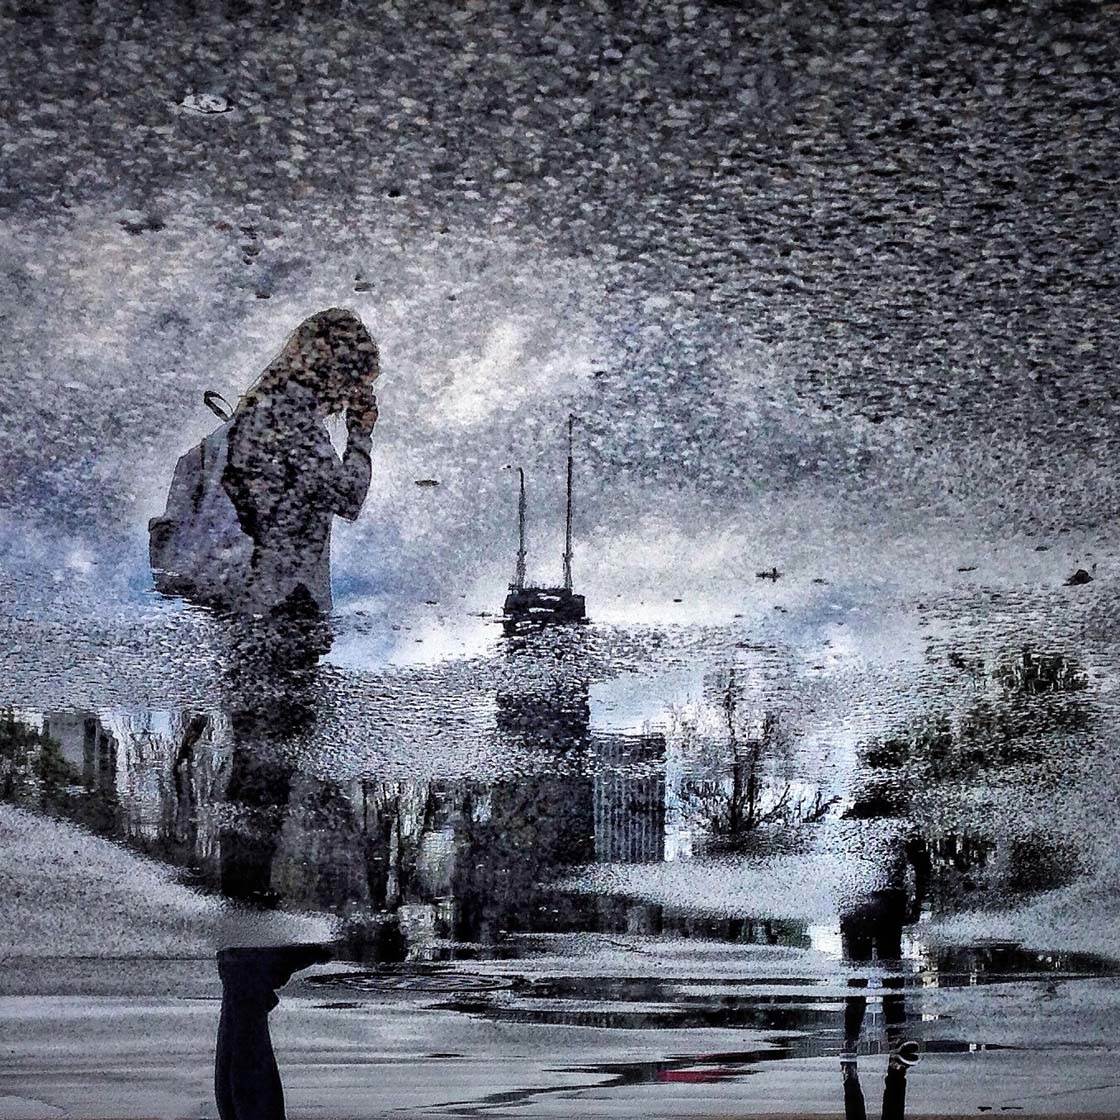
Shooting from a low angle can help you capture a great puddle reflection. And in post-processing, why not try flipping the photo upside down to create a more interesting perspective?
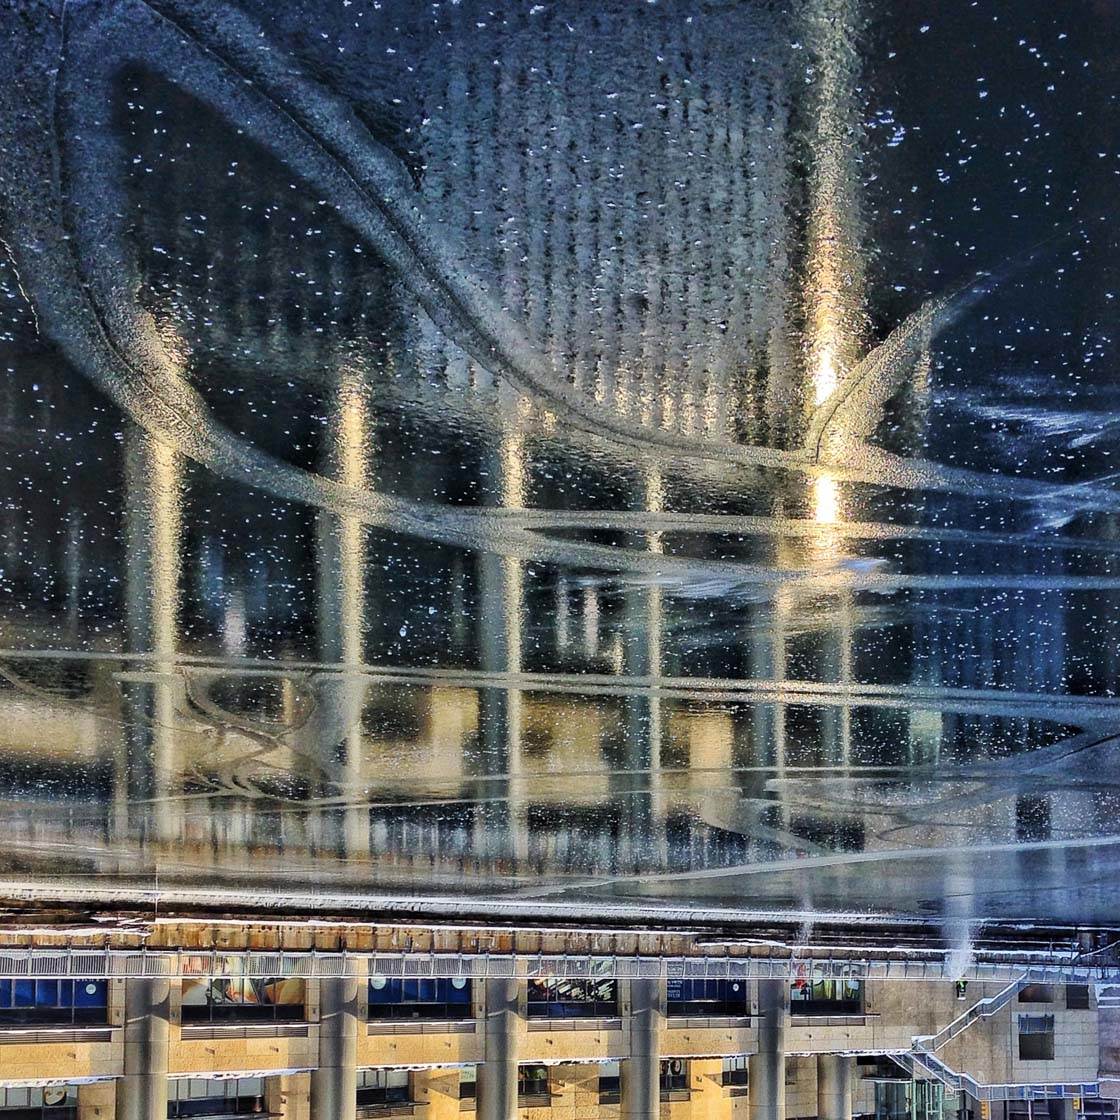
In cold weather, look out for icy surfaces that reflect your surroundings. This kind of surface can add a wonderful textured quality to the reflection.
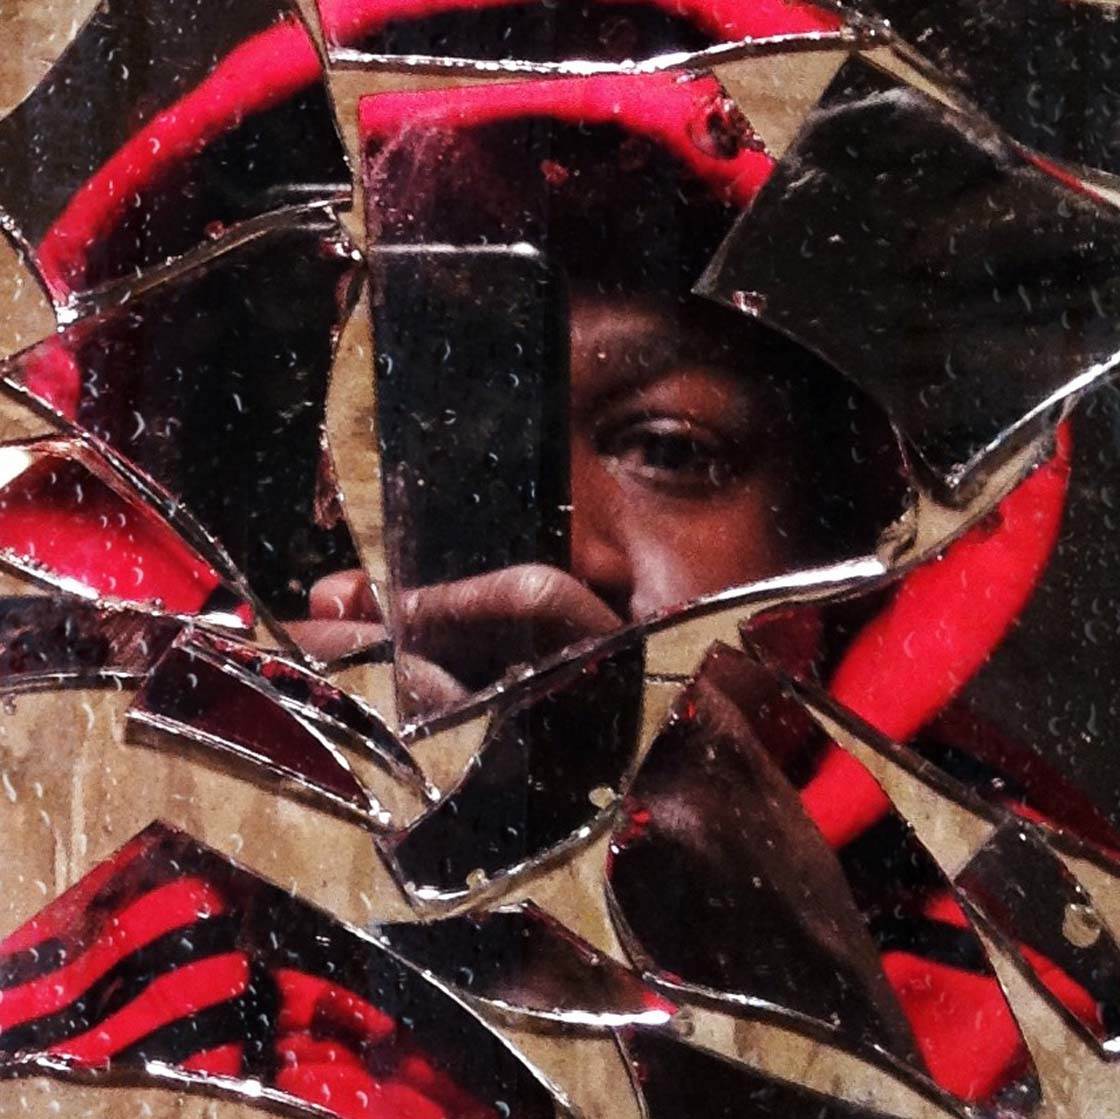
As well as water and ice, mirrors are an obvious choice for reflection photography. The broken mirror in the photo above allowed me to create a unique abstract self-portrait.
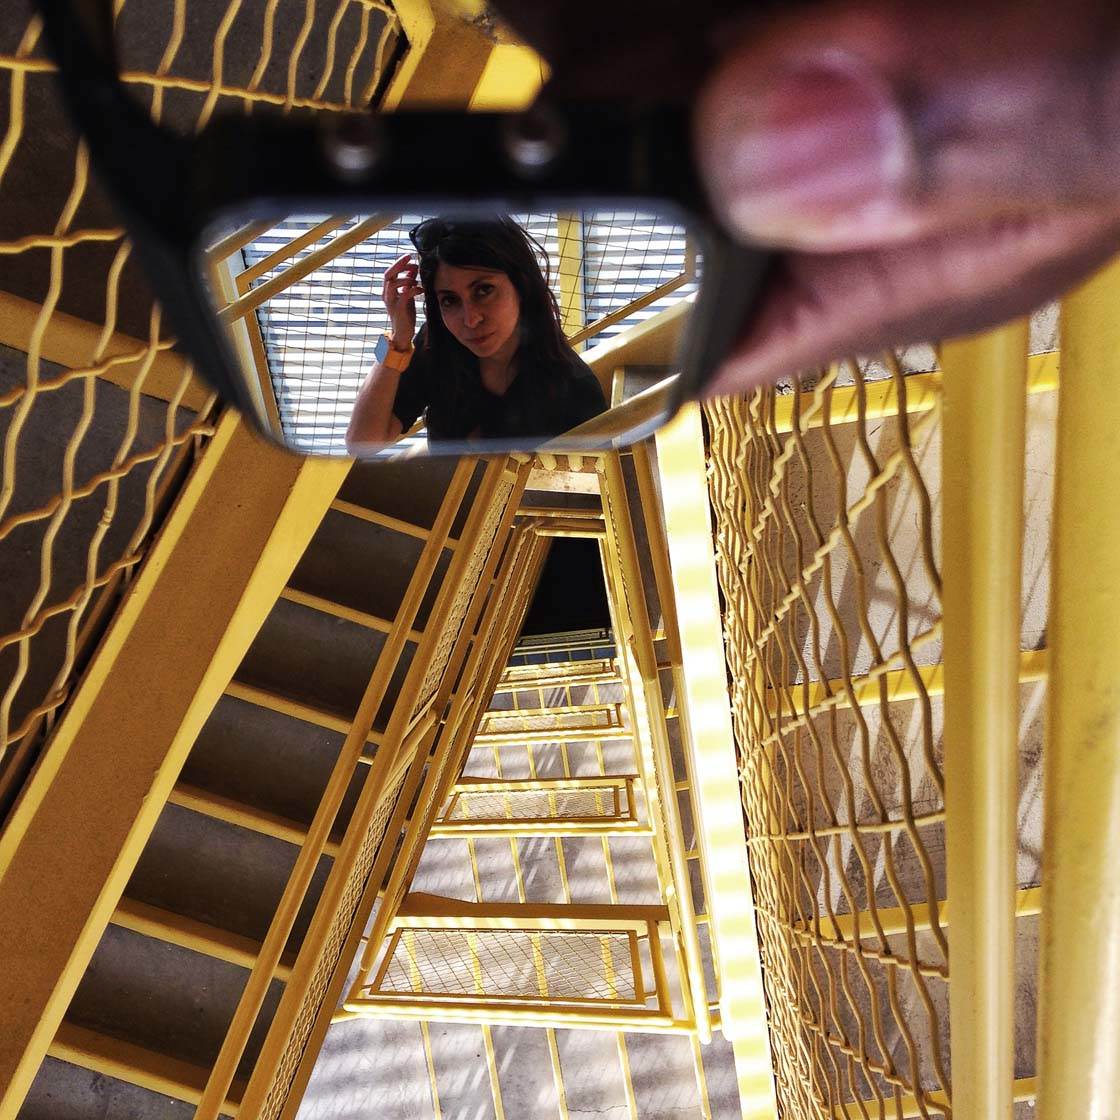
Look out for other shiny surfaces where you might be able to capture reflections. When you spot a reflection, try out different shooting angles and compositions until you’re happy with the result.
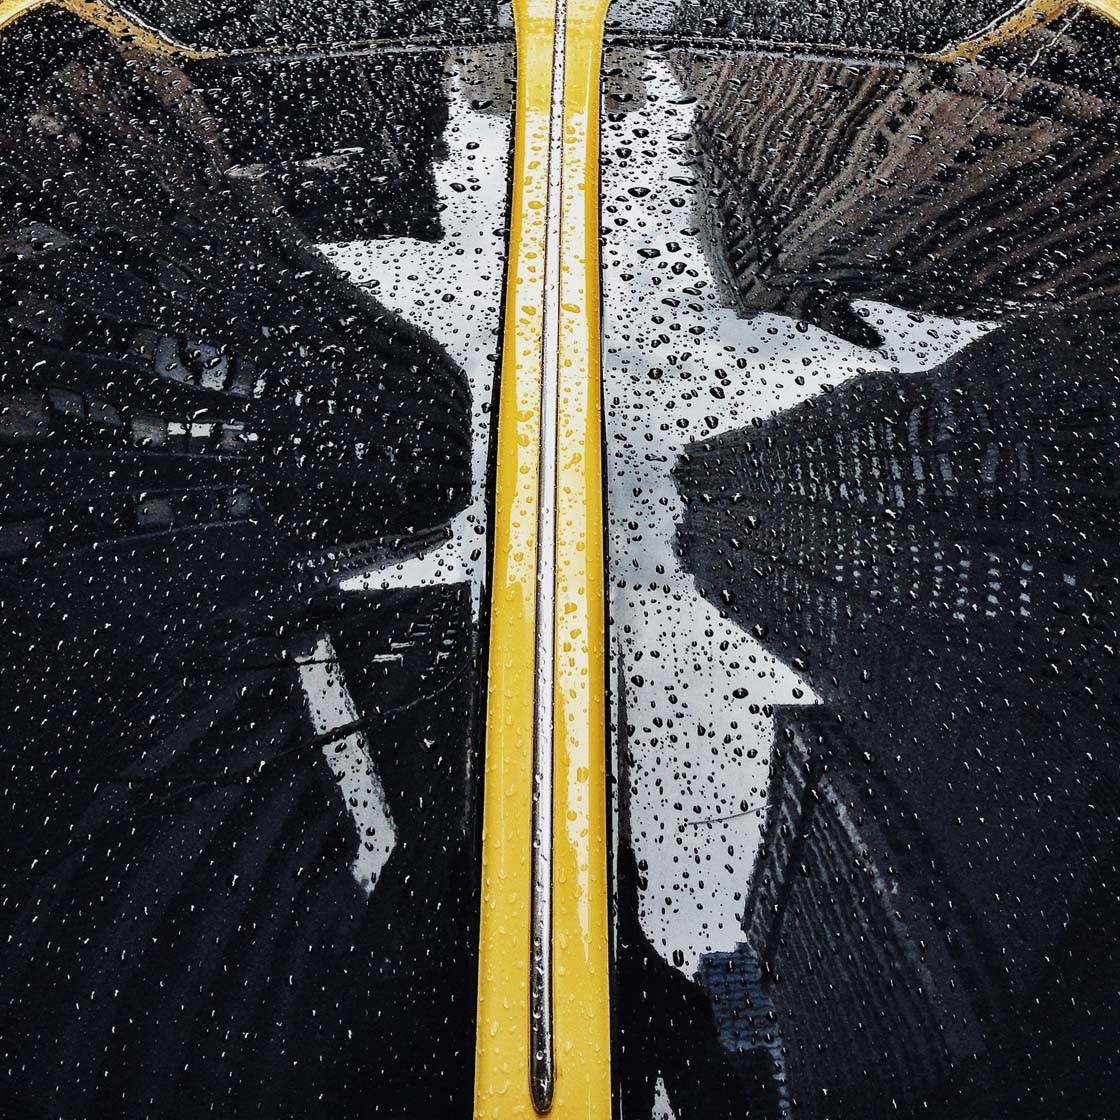
Sometimes it will look best if you fill the entire frame with just the reflection, but in other situations it might work better to include both the subject and the reflection.
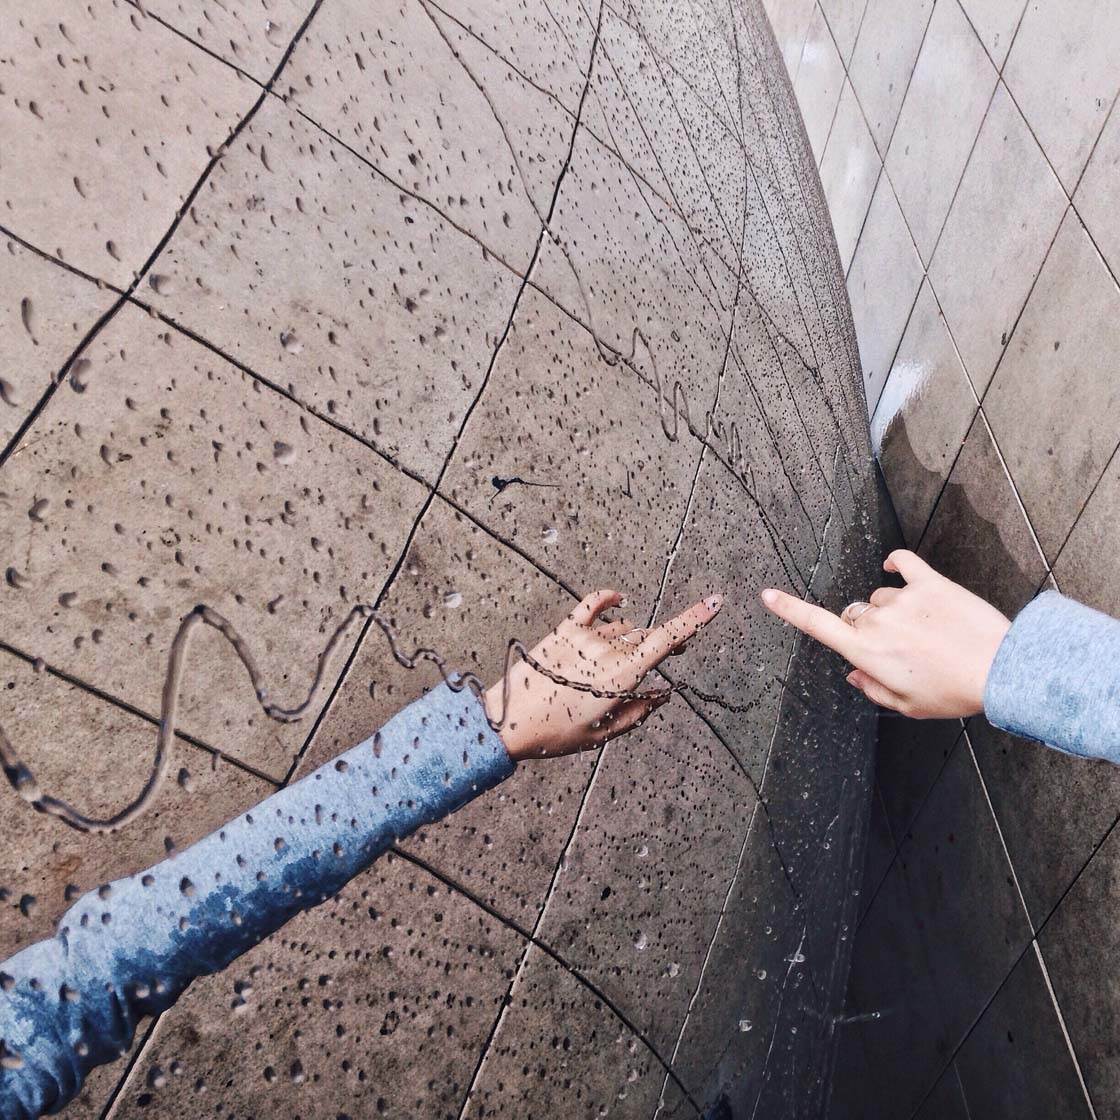
Once you start looking for reflective surfaces, you’ll start to notice interesting reflections wherever you go!
Conclusion
Learning to see ordinary objects from a unique point of view is the key to creating more sensational images with your iPhone.
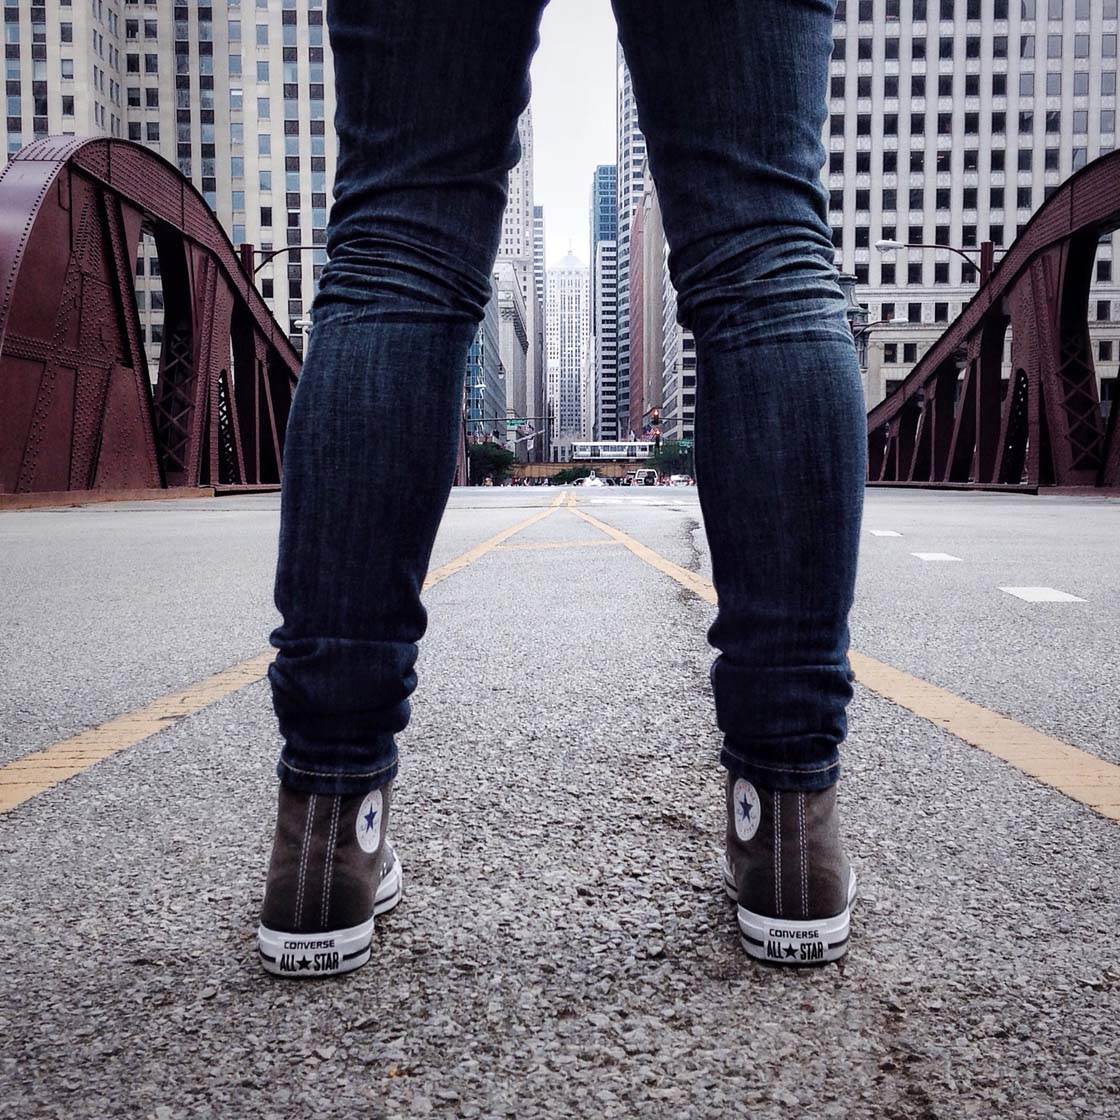
So the next time you take a photo, don’t just shoot it from eye level at standing height. Try shooting from multiple angles and viewpoints to capture the subject from a more unique perspective.
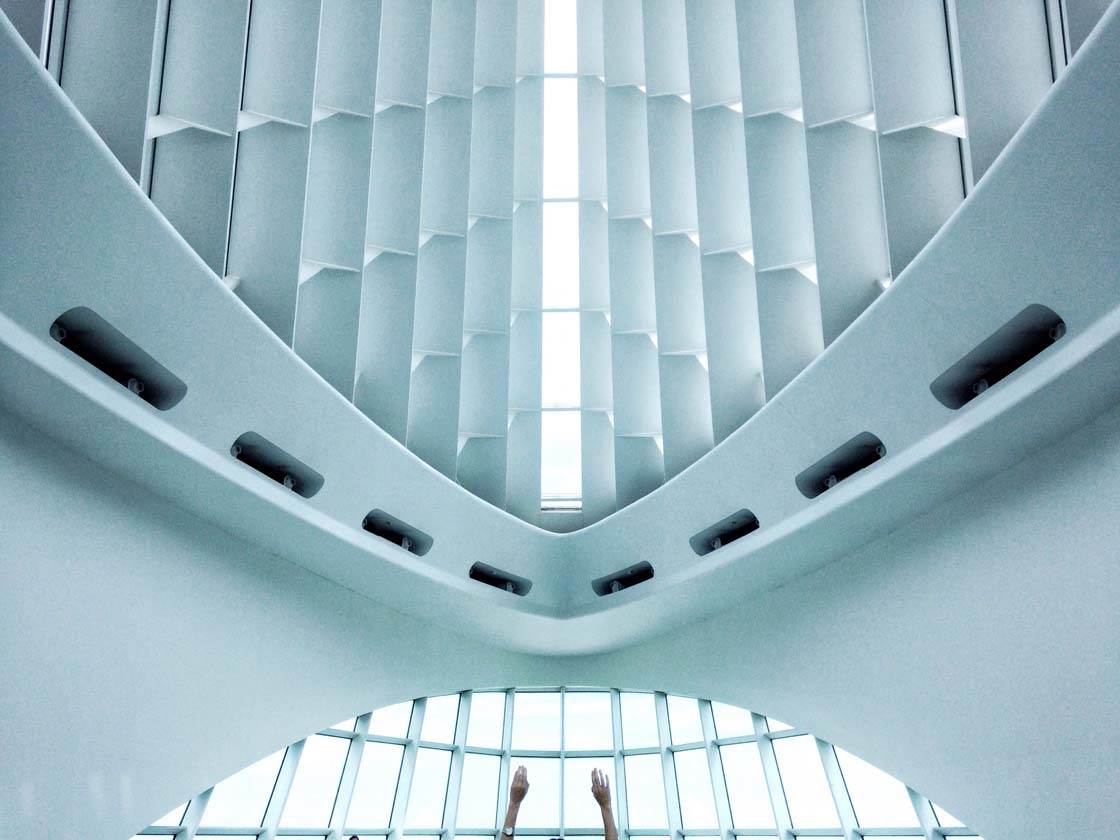
Train your eye to look for lines, patterns, frames, reflections and interesting details, then shoot from different perspectives until you capture the scene in the most visually pleasing way.
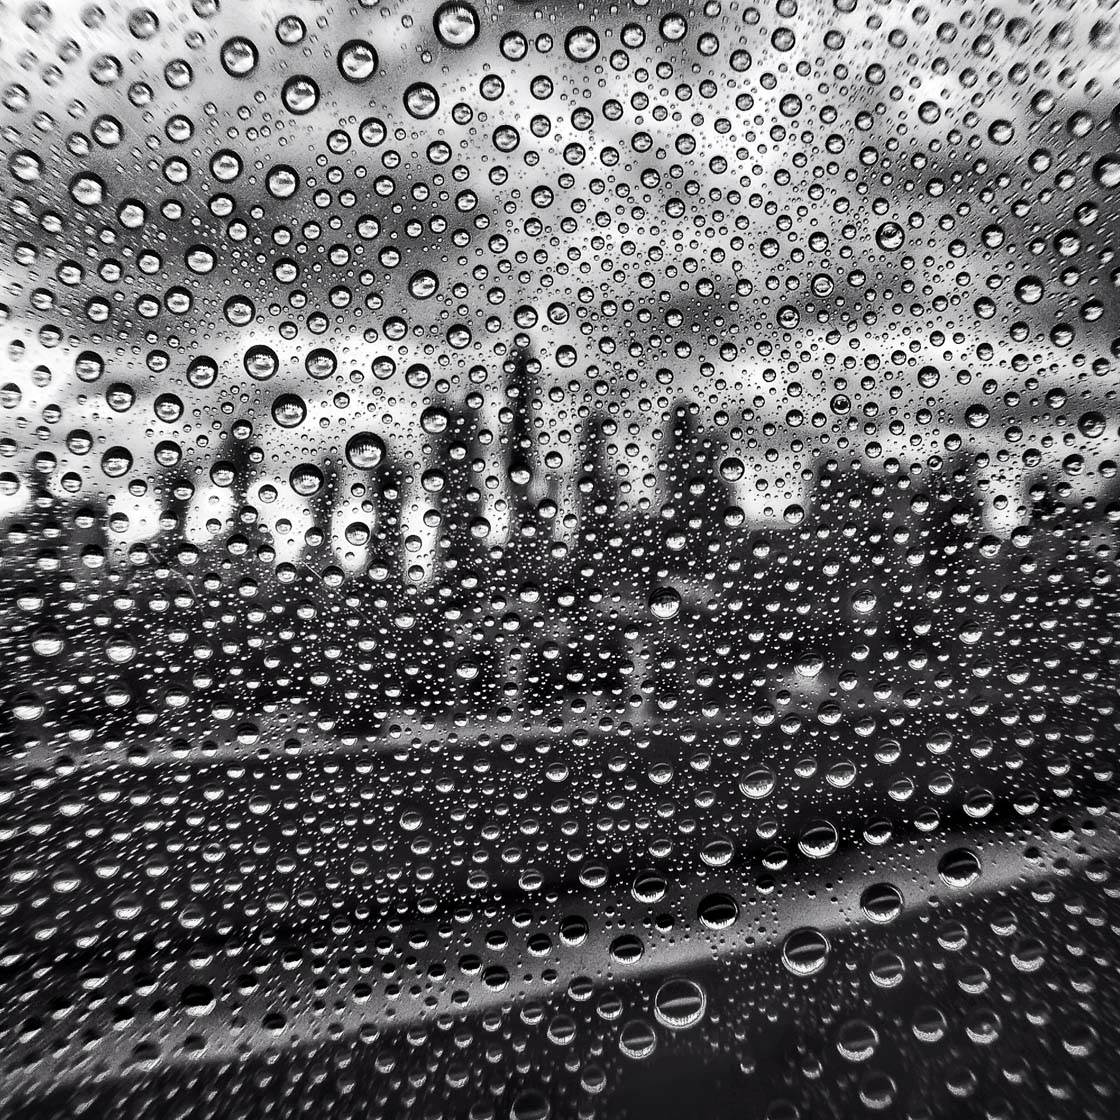
Always try a slightly different angle by taking a step forward or backward, or shooting slightly above or below your initial angle.
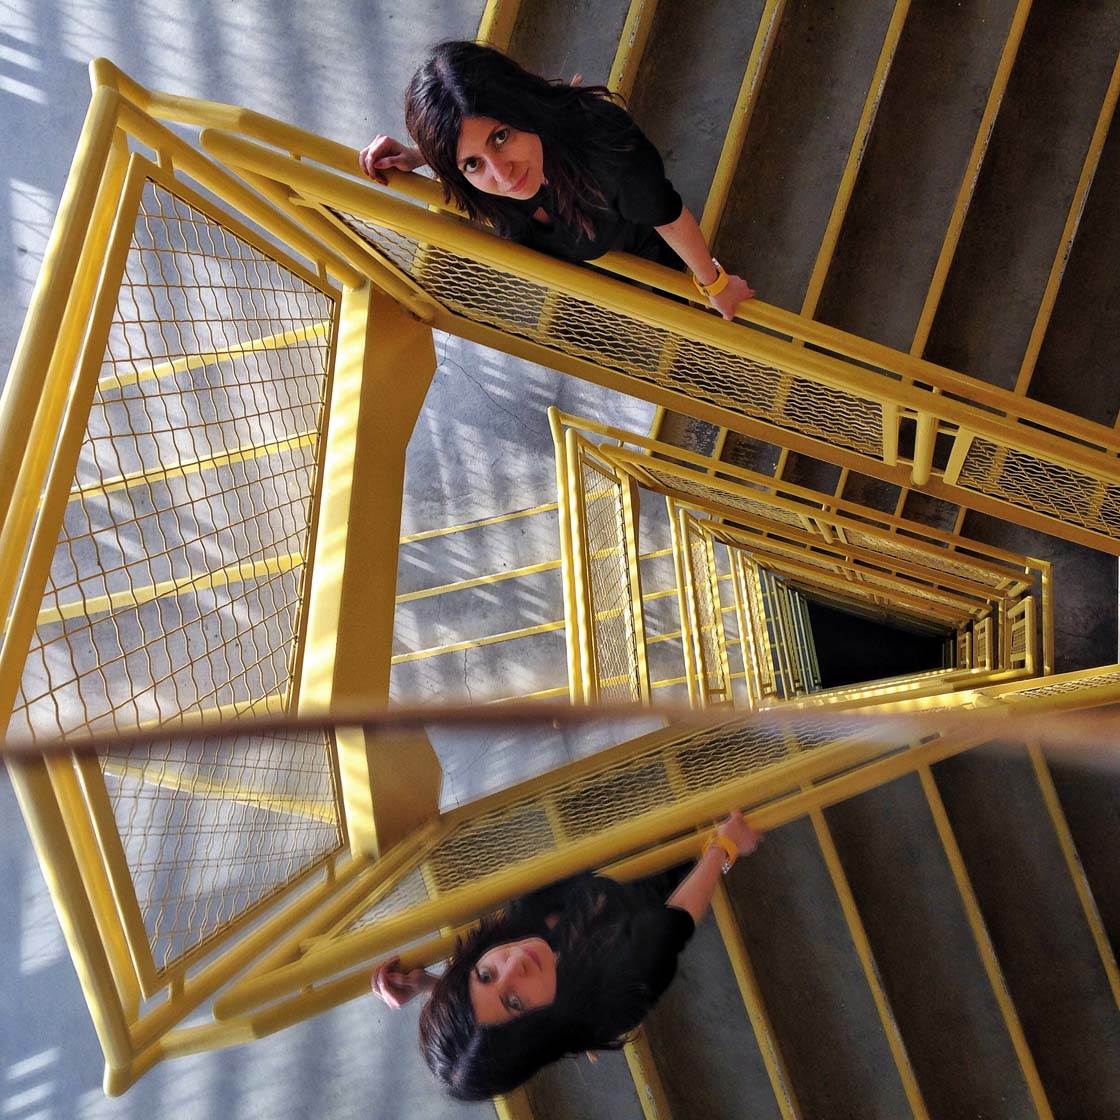
Don’t be afraid to experiment. Getting out of your comfort zone will push your creativity to new levels!


Lots of great tips! Thanks!
Absolutely incredible article, Kwe. So much value. Thank you.
Glad you found it so helpful Nick.