A simple yet highly effective way to spice up your iPhone photography is to use props in your scene. If your landscape or portrait photos look a bit bland, adding a simple prop can make all the difference. You can create the most amazing images with next to nothing, whether you’re shooting outdoors or in your own home. In this tutorial you’ll discover how using props in your iPhone photography will help you think and shoot more creatively.
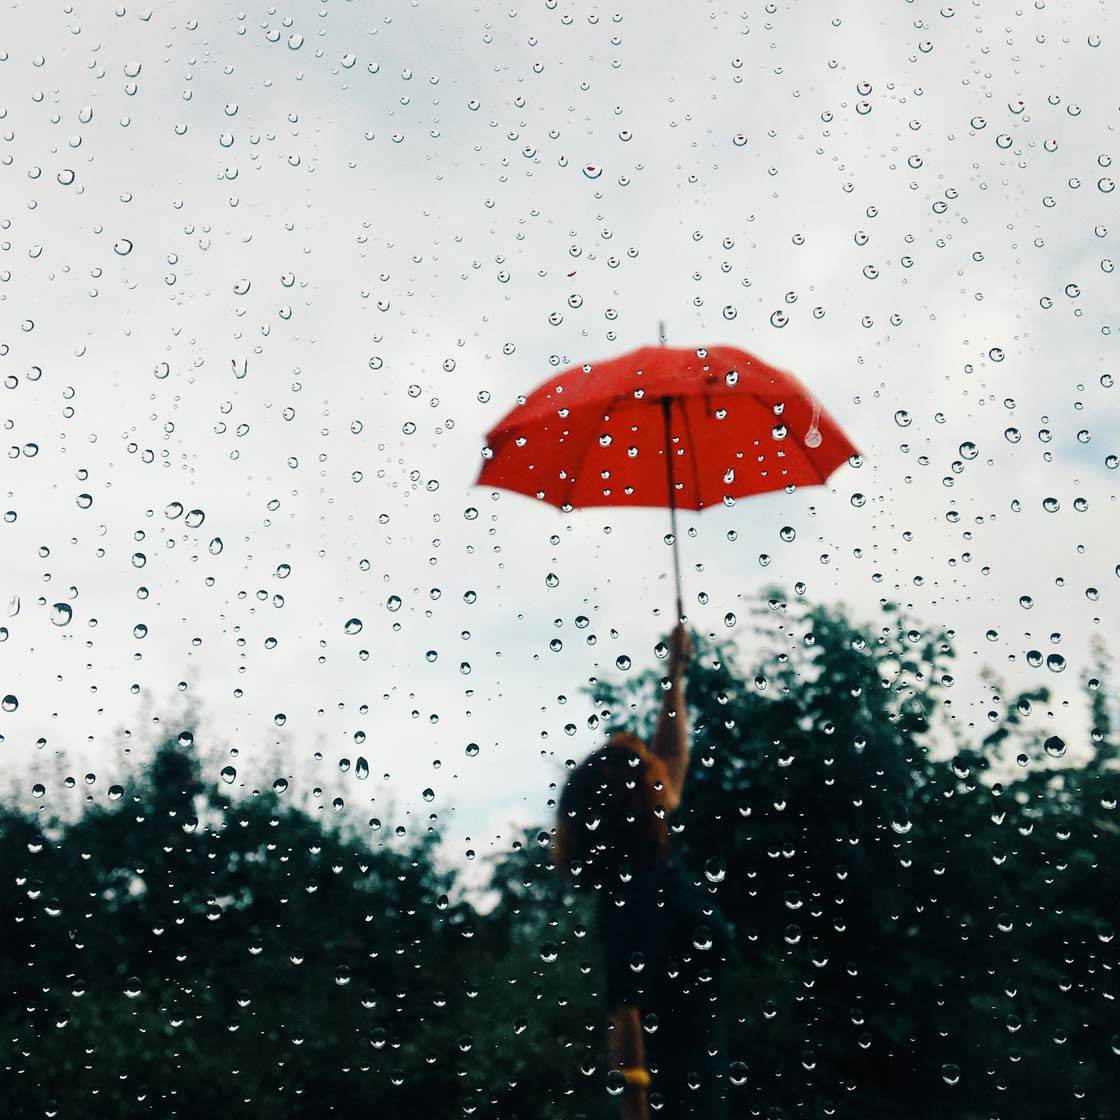
Why Use Props?
Using props in photography is a simple way to create a strong point of interest in your image. You can take control of the scene by choosing what kind of props to use and where to place them within the frame.
It’s completely up to you to decide how you’d like to compose and present your image. You don’t have this kind of freedom when you shoot a landscape or architecture. Of course, you can move around and find a new angle, but you can’t move a building.
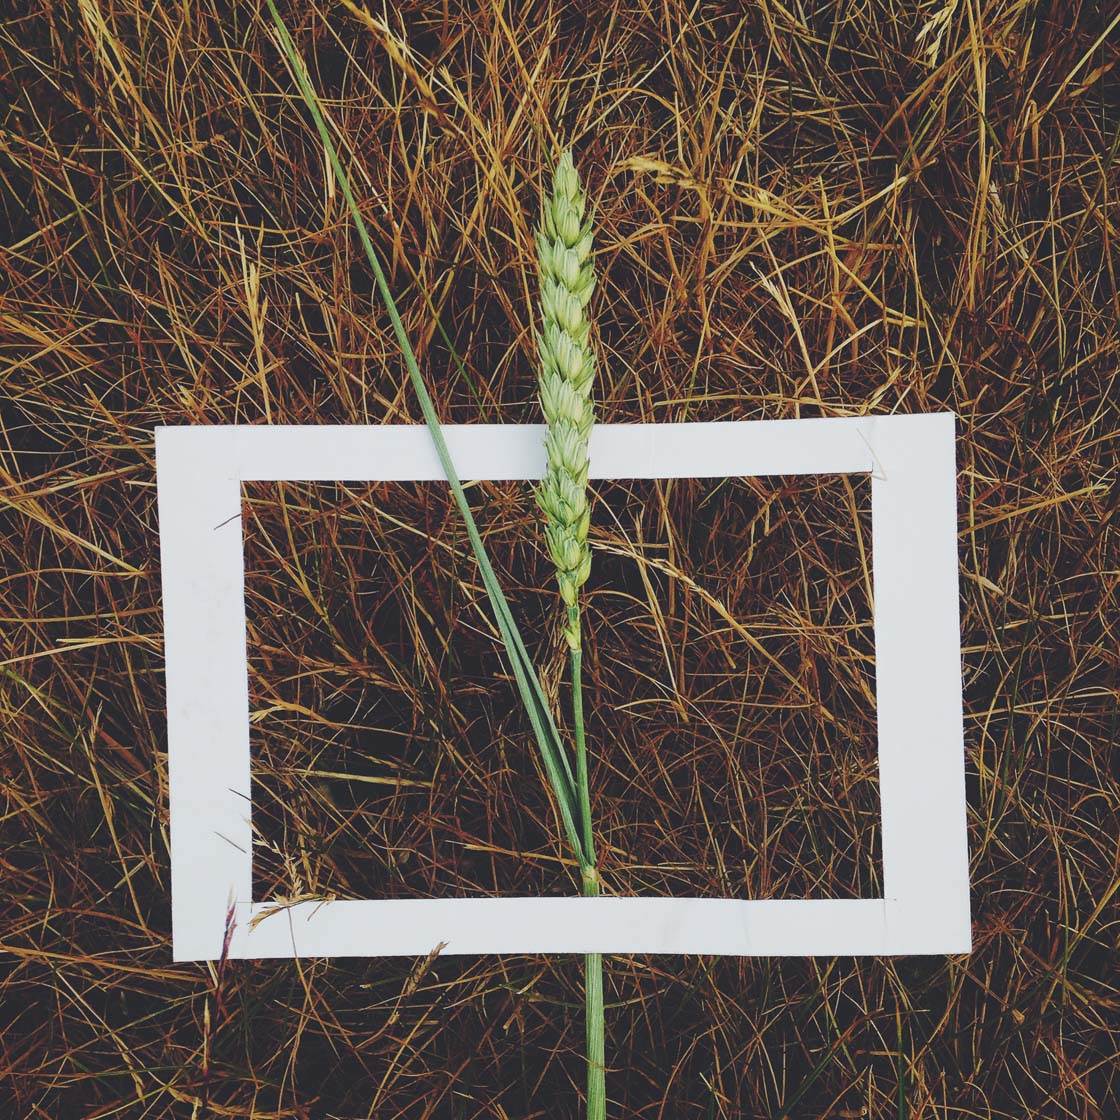
It’s also a great way to explore and expand your creative side. Anything can be used as a prop. Only your imagination will set the limits!
Using props is a very effective way of adding a bit of color to a lifeless landscape or a plain background. And by including a prop in these kinds of scene, you’ll have a strong focal point in your image to attract the attention of the viewer.
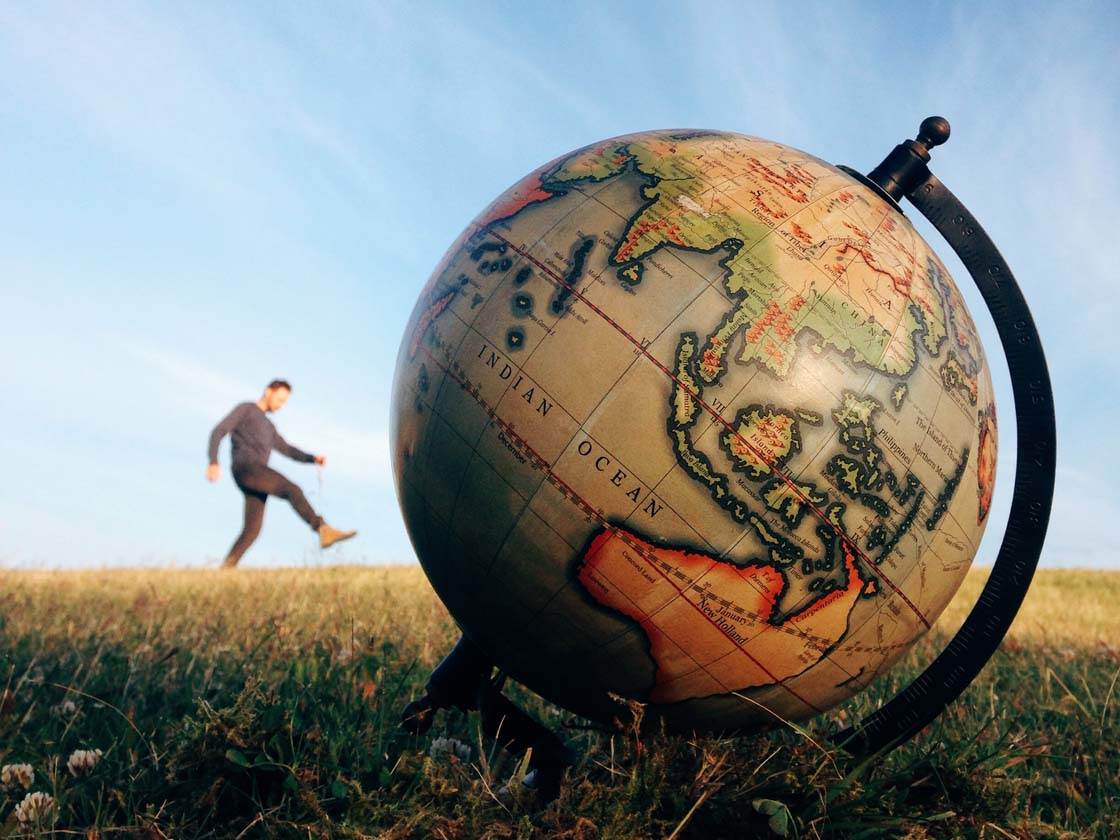
Props can be used as the main focal point in an image, or as an object that complements the main subject and makes the picture more visually appealing. Props help to tell as story, producing a more intriguing photo for the viewer to look at.
What Can You Use As A Prop?
Almost anything can be used as a prop in your iPhone photos. Look for objects around your home that would make interesting additions to your pictures.
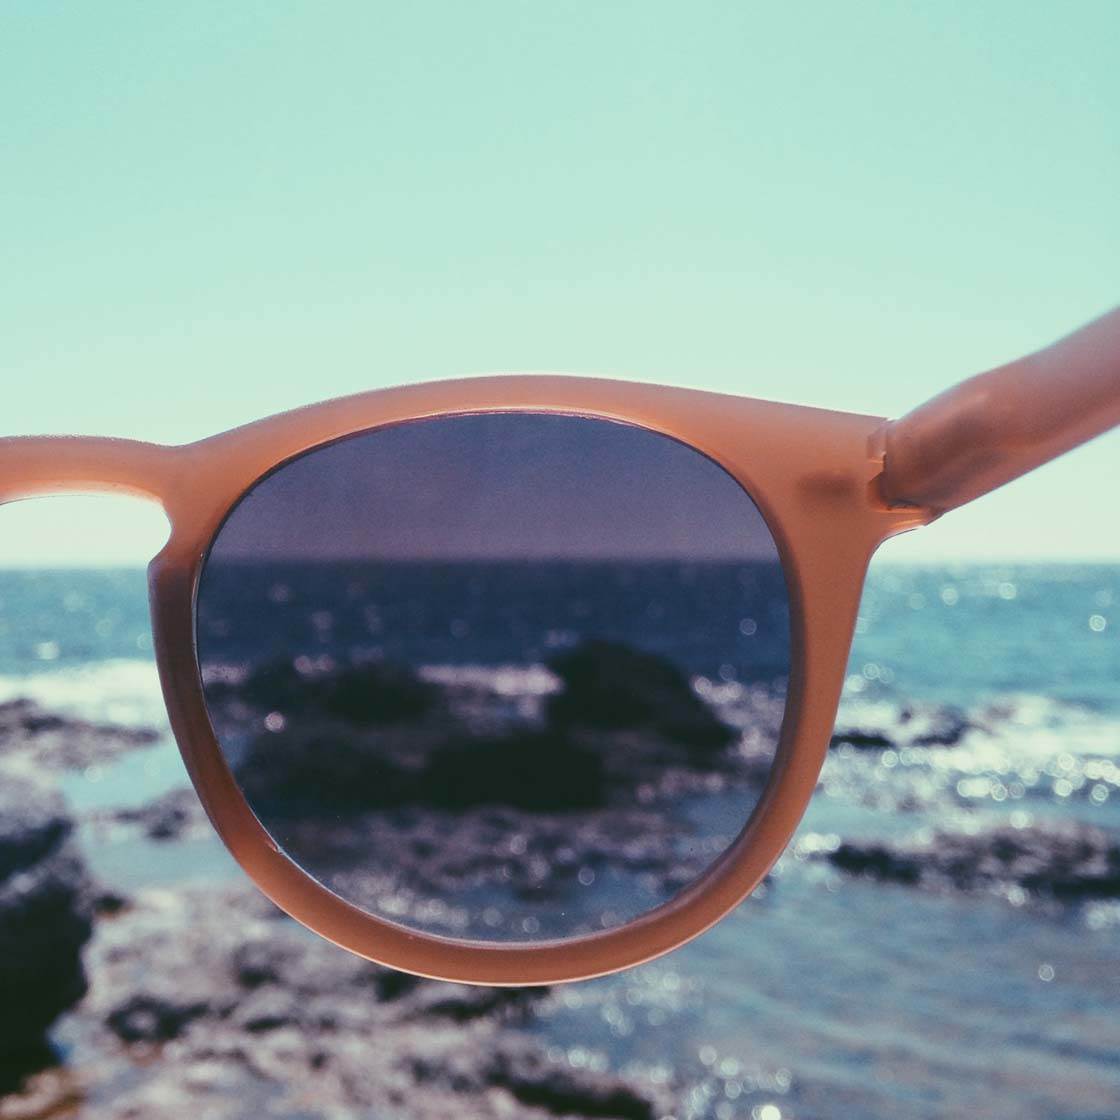
Chairs, umbrellas, sunglasses, mirrors, hats, feathers, frames, toys, food and pretty much anything else that you can lay your hands on will make a good prop.
You’ll also find plenty of objects to use as props out in nature. Flowers, leaves and twigs are great for using as additional elements in your scene.
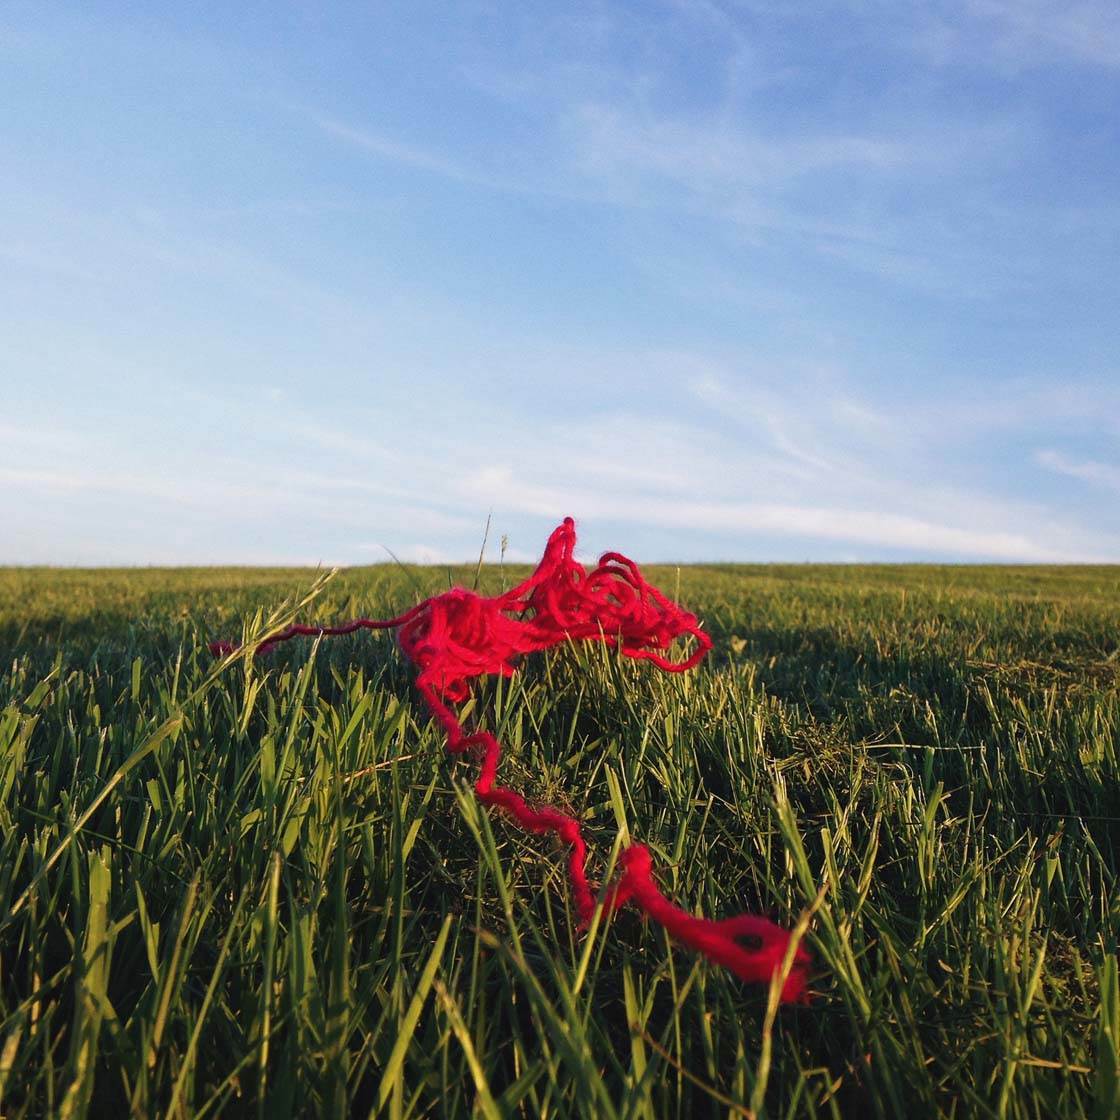
It’s amazing what you can find when you’re out on a walk. I stumbled across this red string out in a field, and it made a great prop that acted as a colorful focal point in this otherwise bland landscape.
So, let’s take a look at ten tips for using a range of different props in a variety of shooting situations to enhance your iPhone photos and tell more interesting stories.
1. Use Props To Add Color
Using props is a great way to take command over the colors in your photography. For example, if you shoot a landscape or a wall, the colors are what they are – there’s nothing you can do about it except to maybe try changing the colors in post-processing.
But when you use props, you can create an image based on the colors you want. Just find a prop with the color you feel like shooting at that moment.
Strong colors often make very eye-catching images. I like to combine two strong colors, for example, black and white, red and green, or a blue sky against any contrasting color such as the yellow dandelion flower below.
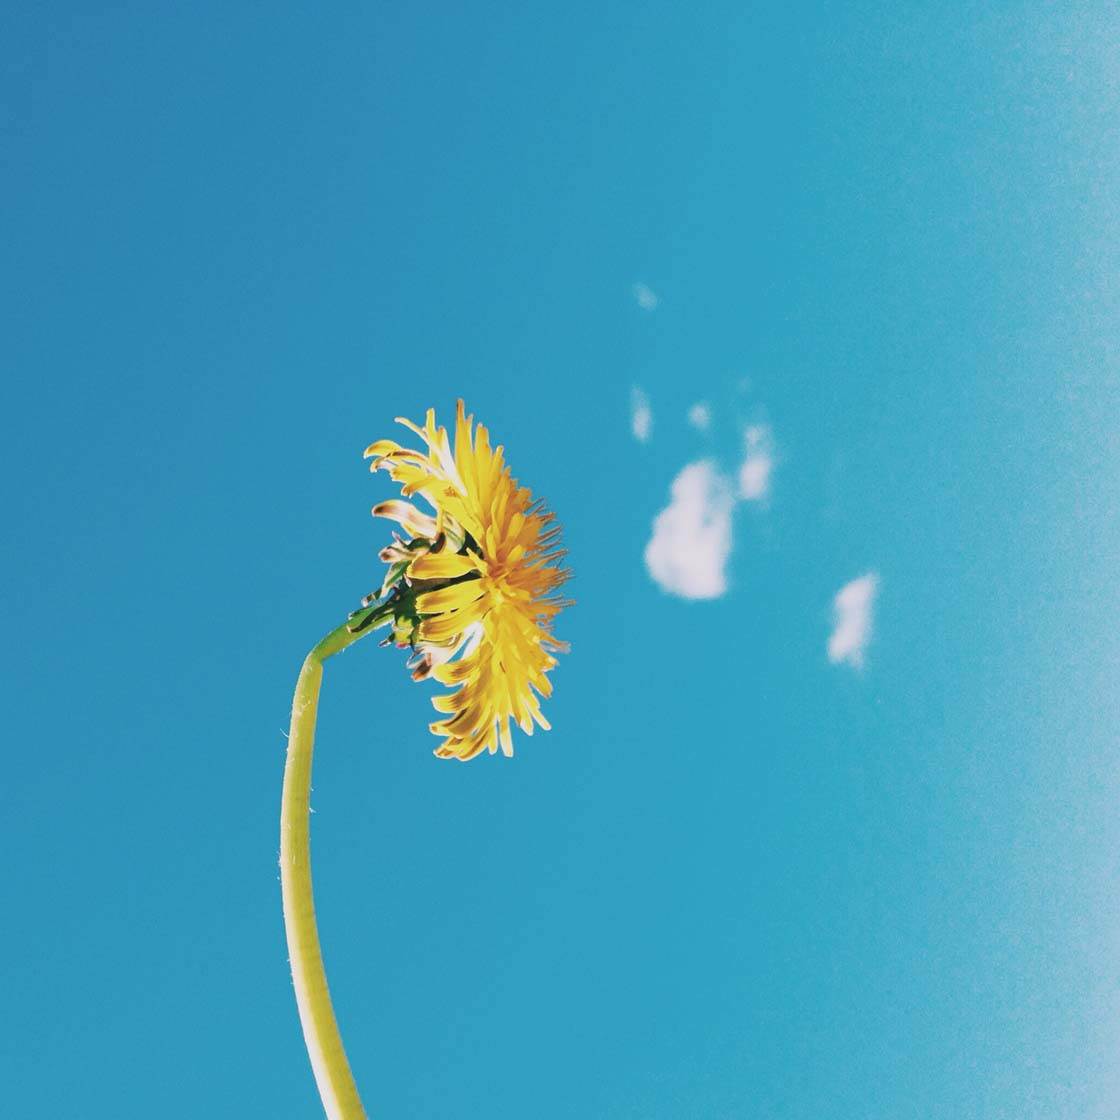
Contrasting colors will help to emphasize the center of attention in your pictures. If you want to put emphasis on a certain object, you might want the color of that object to be the dominant color.
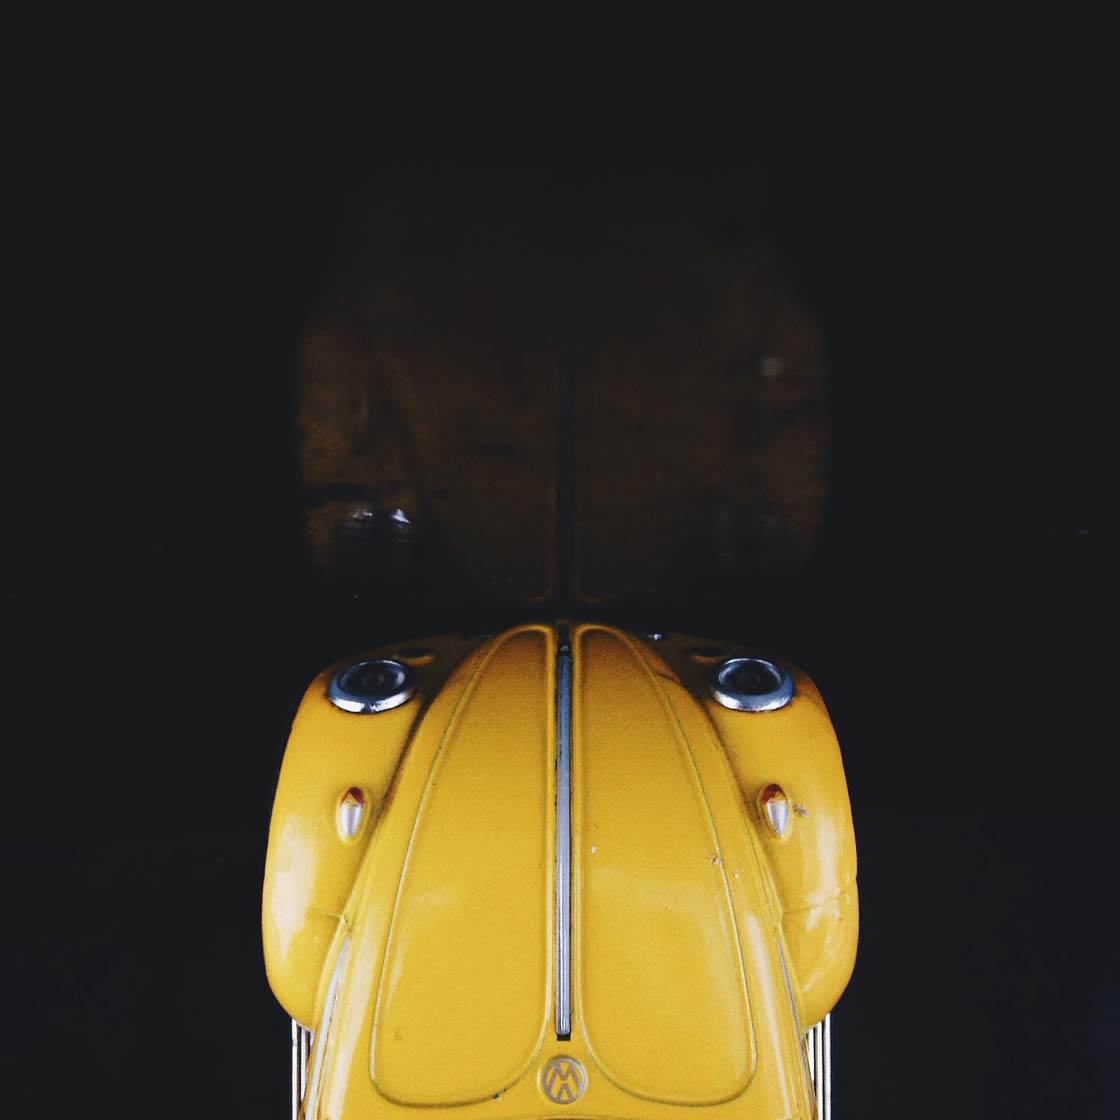
Here I borrowed a bright yellow toy car from my kids and put it on a black oven sheet to get a contrasting background color. Even if you’re not a fan of cars, I’m pretty certain that your eyes found this picture interesting.
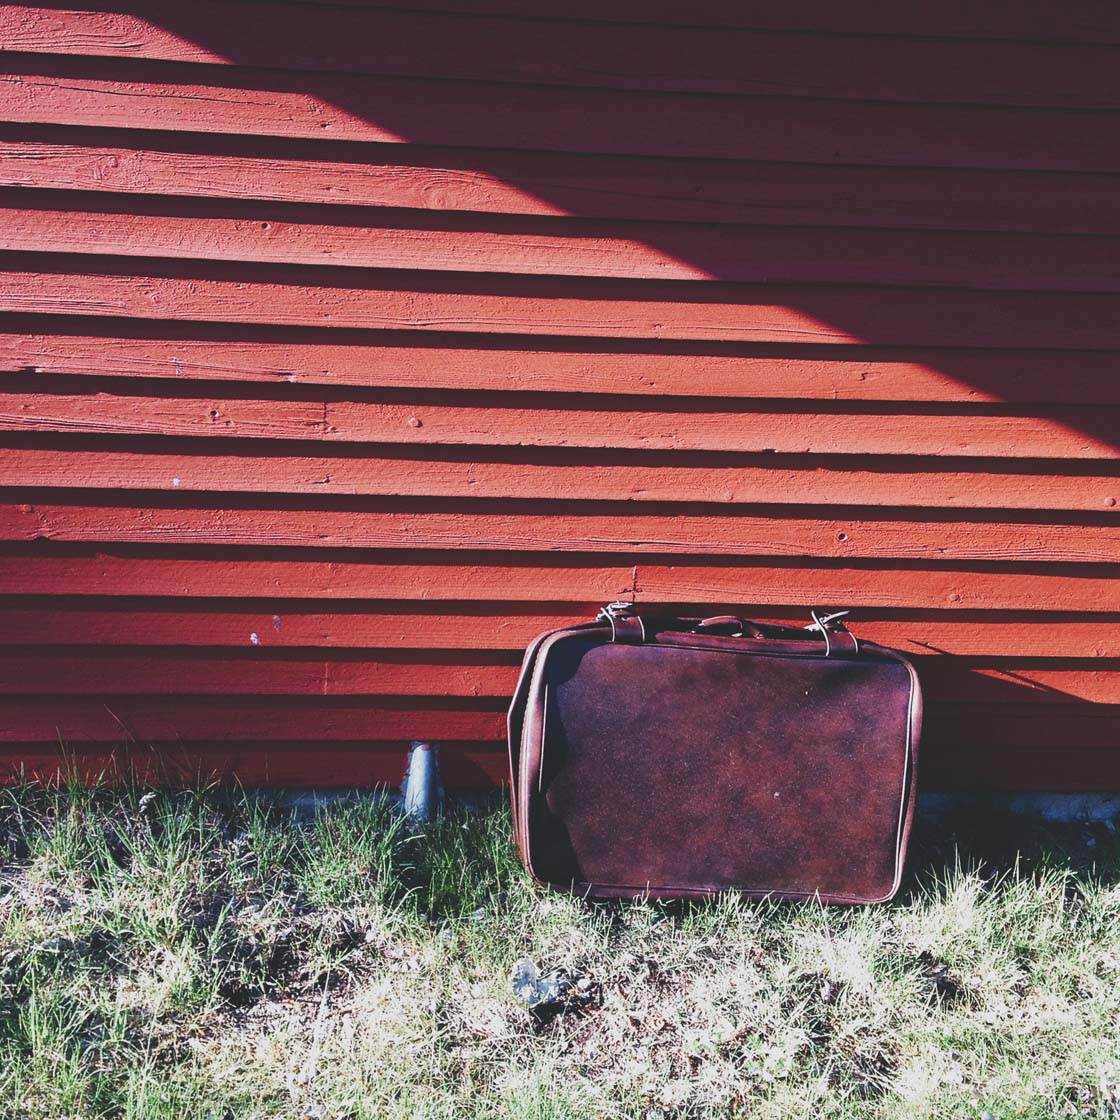
Alternatively, you could try using props that naturally blend in with the color of the background. The color of this old suitcase matches well with the red painted wall, creating a well balanced and harmonious composition.
2. Add Props To A Landscape
Using props in nature is a great way to spice up a flat and boring landscape. They provide a strong focal point, a splash of color, and a sense of mystery as the viewer wonders what that object is doing there.
Here I found a huge field of grass which I knew had potential. The grass is beautiful but I realized it couldn’t create a picture strong enough by just photographing it as it was. I needed a point of interest.
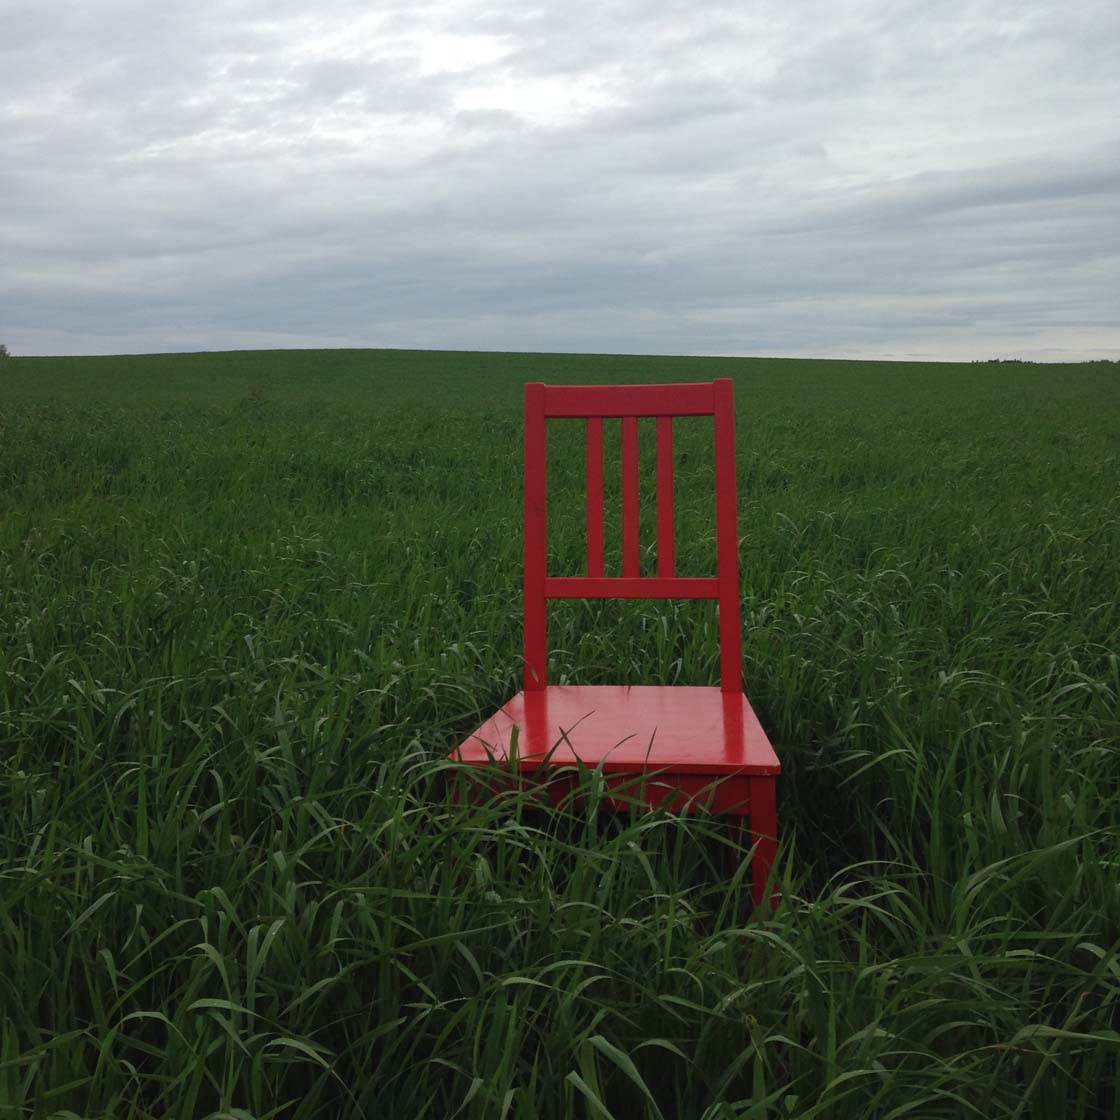
So I took this red chair along with me which made a great focal point and adds a sense of scale to the landscape. Just imagine the same image without the chair – it wouldn’t be much to look at. You could take along anything to put in a field – why not cycle there and use your bike as a prop?!
Props in landscapes are also great for creating a sense of depth in your image. This will make the photo much more engaging for the viewer, guiding their eye from the foreground of the image to the background.
Just place your chosen prop close to the camera, making sure you have something behind your prop in the distance. That space in between, and the scale that the prop provides, will create a sense of depth in the image.
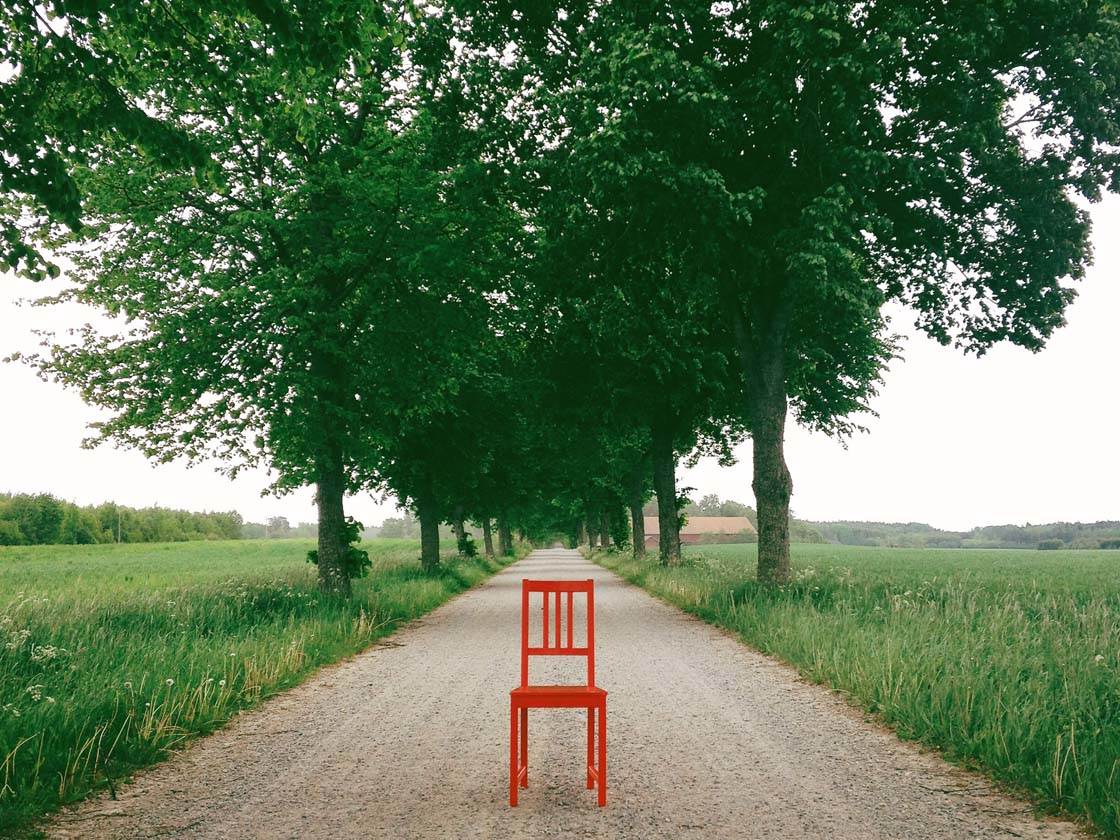
Here I placed a chair in the foreground of a country road with a rows of trees behind it. The chair’s bright color stands out against the green and makes the image much stronger. You’ll notice that your eyes are naturally drawn to the chair to start with, and then you want to look beyond it into the distance.
3. Find Props In Nature
Props don’t just have to be objects that you own or find in your home. When you’re exploring the outdoors with your iPhone, keep your eye out for anything that might make a good prop. Found objects can add a lot to your pictures and tell an interesting story.
Twigs with leaves are excellent for framing a subject in the distance. Simply hold the twig close to the camera so that it creates a natural frame around your subject in the background.
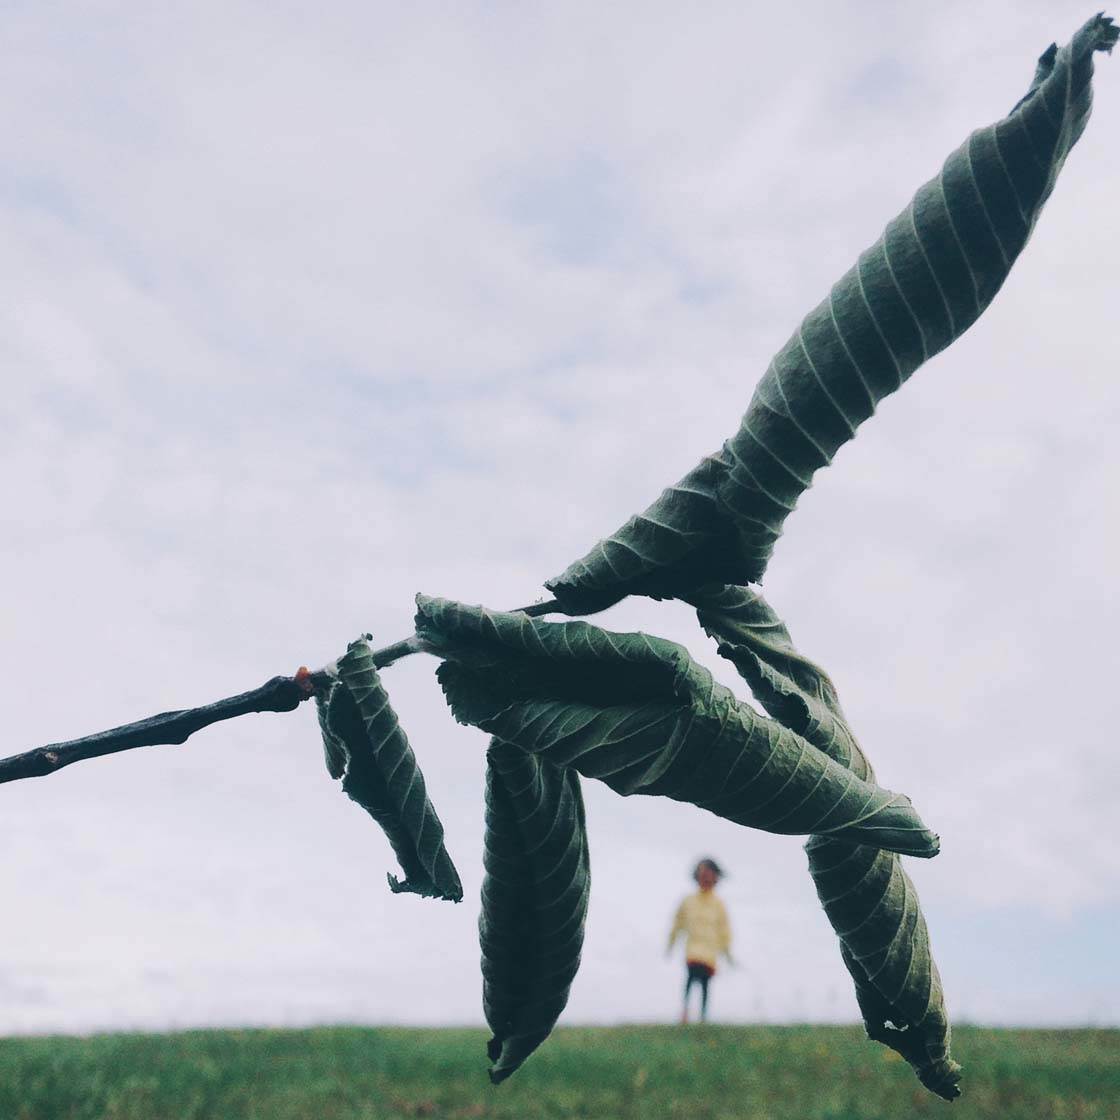
Decide whether you want the twig or the subject in the background to be in sharp focus, then tap on that area of the screen to set your focus point. In this case, I tapped on the leaves to ensure they were in sharp focus, which meant that the person in the distance became blurred.
Children are experts at finding interesting objects in nature. If you’re out shooting with your kids, keep your eye on what they find, and then take photos of them interacting with their natural treasures.
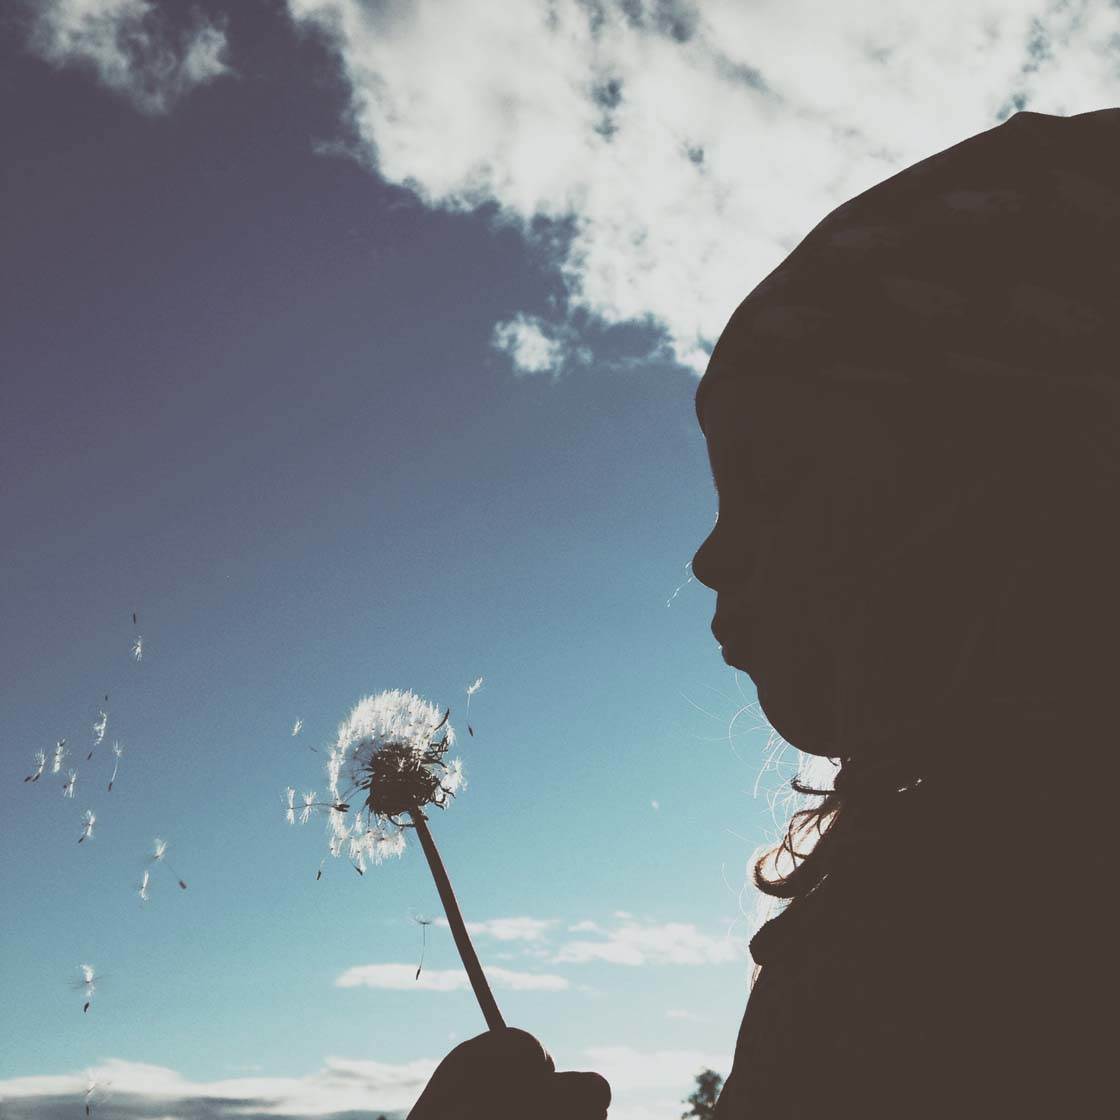
Dandelion clocks make beautiful props. Use burst mode to take a series of shots while your subject blows the seeds into the air, then select the best shot from the sequence.
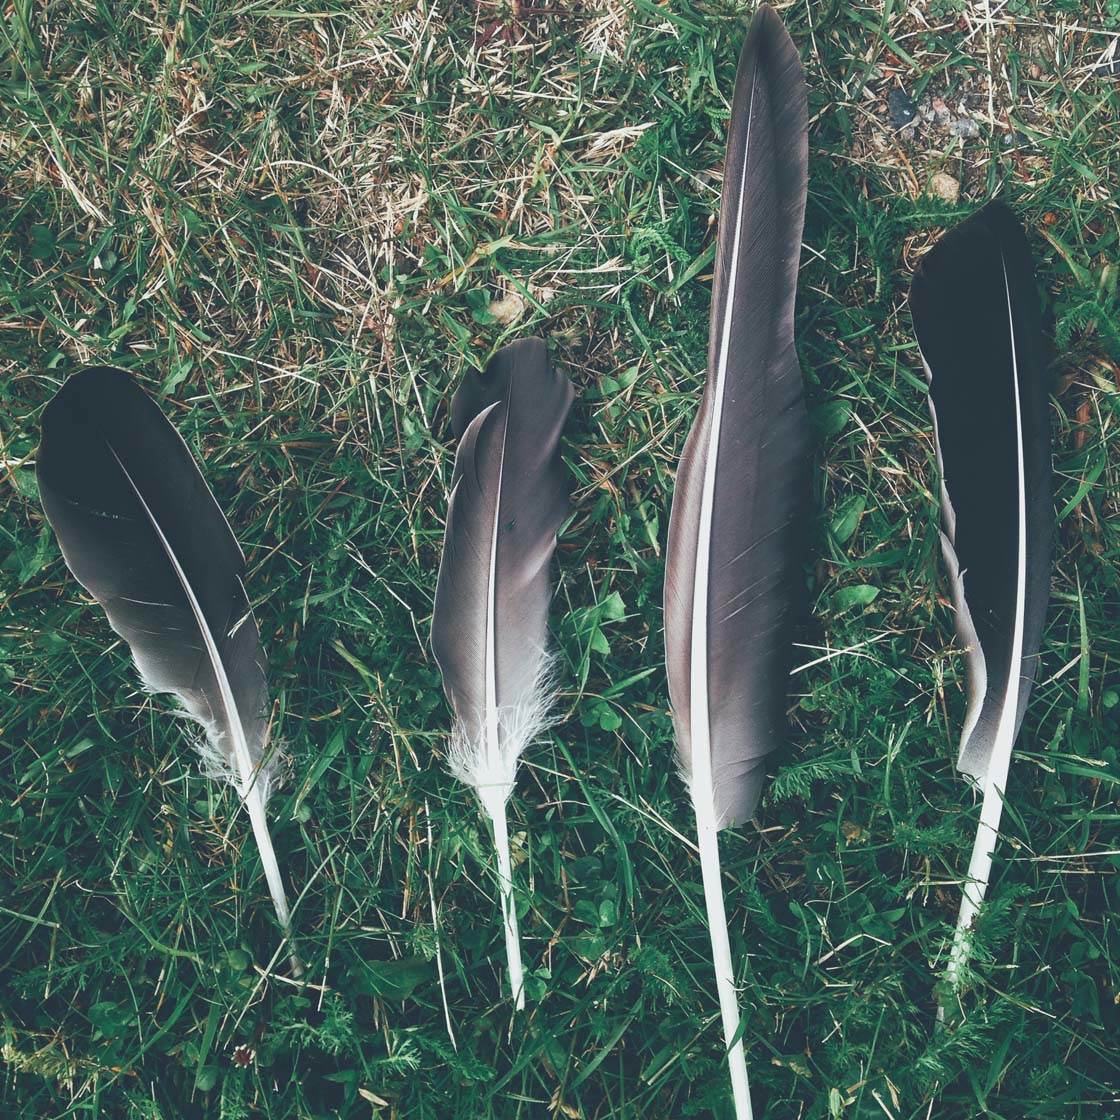
Found objects can be placed on the ground or on other natural surfaces such as a fallen tree trunk. This green grass makes an excellent backdrop for the feathers that I found at this spot. I just arranged them the way I liked and shot them from directly above.
You could even bring objects found in nature back to your home, and then photograph them indoors where you have more control over the background and lighting.
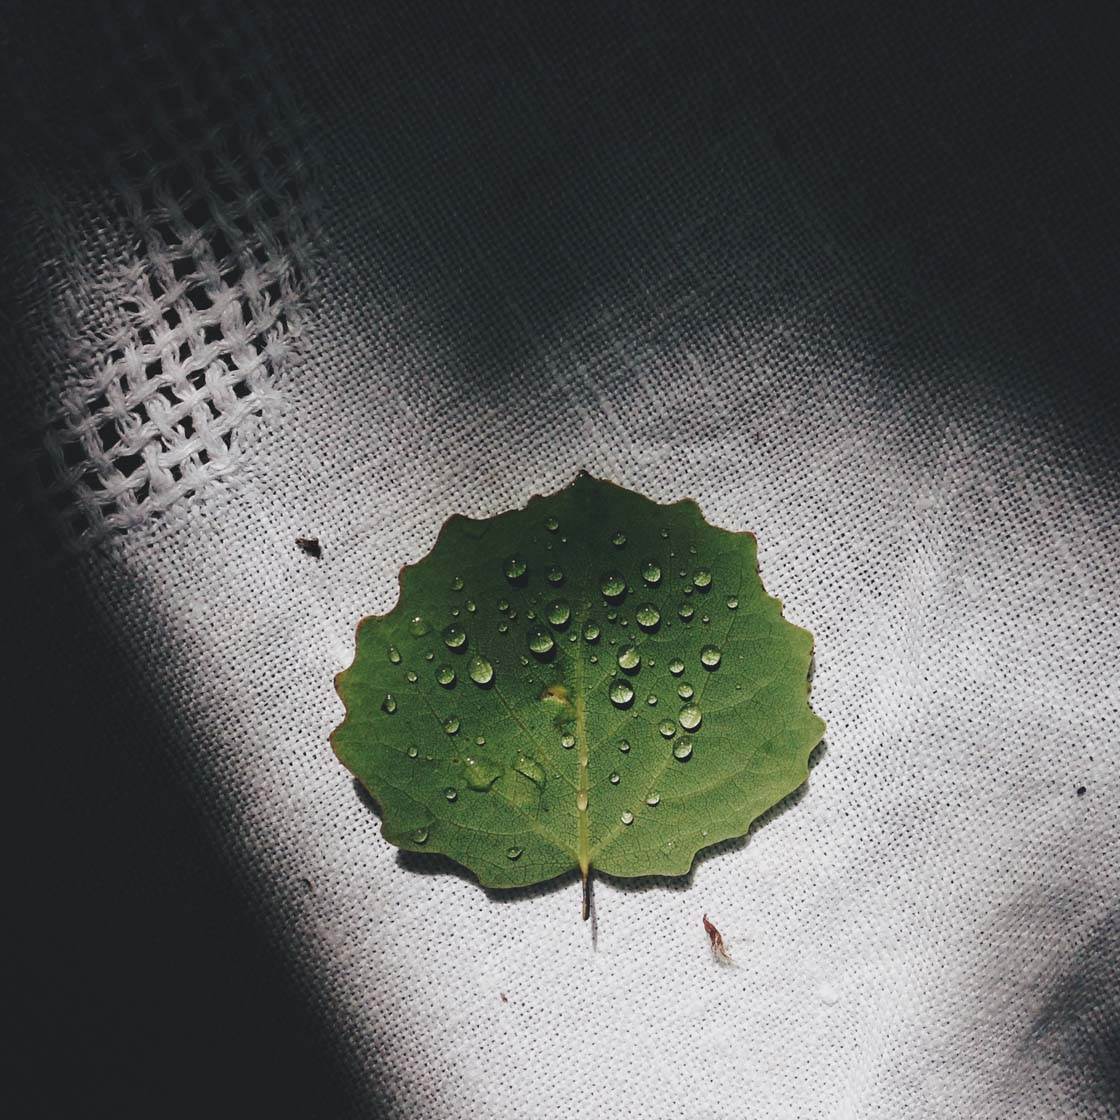
I loved the shape of this leaf, but decided I’d rather photograph it back at home where I could use more interesting window light to illuminate it. The white tablecloth made a better background than photographing it on grass due the contrast in color.
4. Create Unique Portraits Using Props
Do you find traditional portrait photos of people boring? Why not try something new and include a prop to make it more interesting? Just take a look around your home – most objects can be used to make a fun and eye-catching portrait photo.
First, make sure that you have a clean space to use as your background (luckily I have white walls at home). Then choose your prop and try out different ways of including that object in the scene.
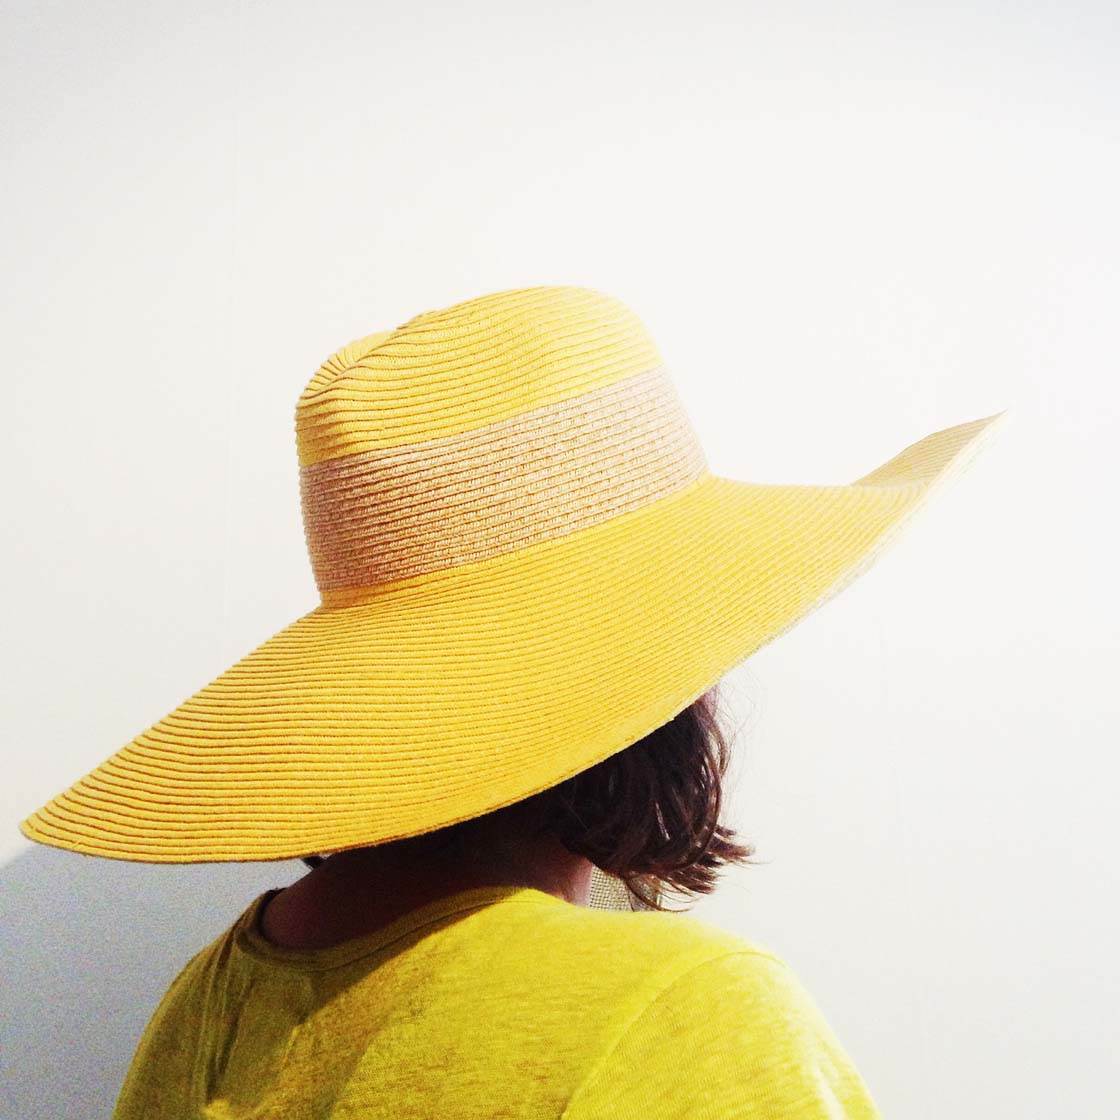
Asking your subject to wear an accessory such as a hat, a pair of sunglasses or a scarf is a simple way of including props in your portrait photos. But you could also have them holding the prop or throwing it up into the air.
Another good choice is using a plant or flower. You could have your subject holding it, or get more creative and place it in the foreground in front of your model.
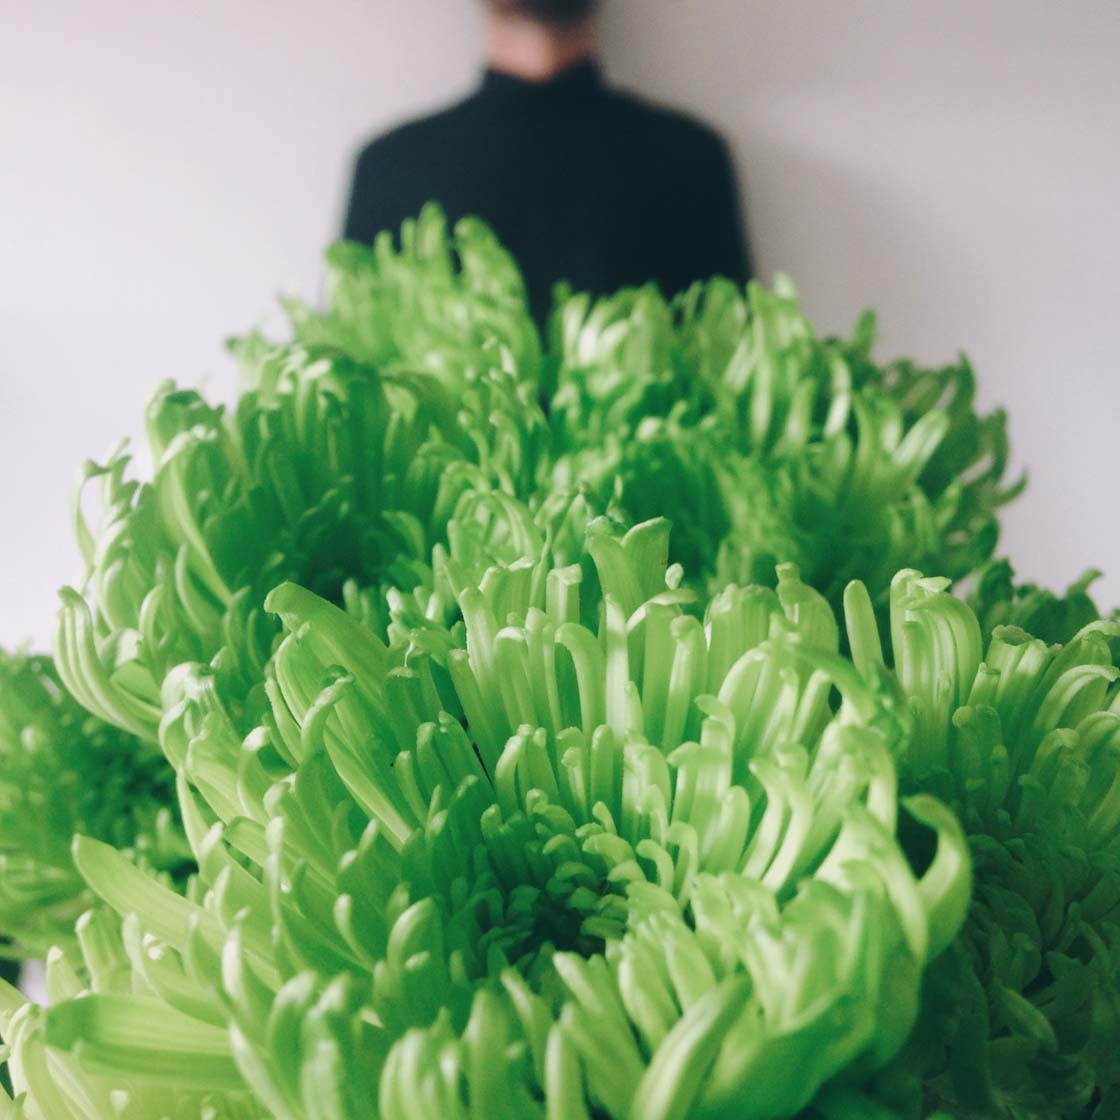
Here I used a plant we had at home for this interesting self portrait. I put it on a table and positioned myself in the background, then took the shot with the self-timer function. The camera was placed close to the plant so that the background became intentionally blurred out.
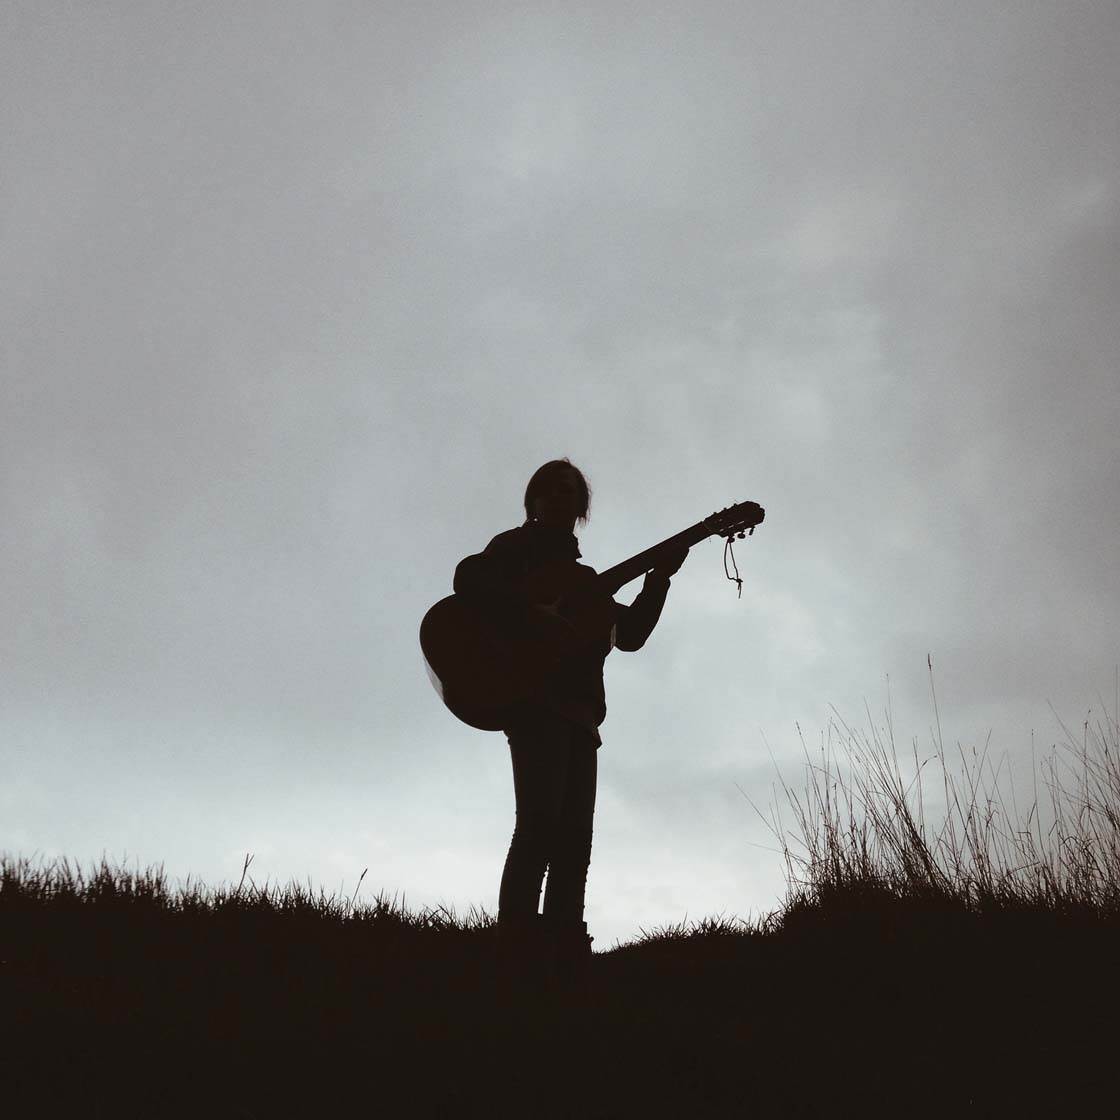
Using props that are personal to your subject, such as this girl’s guitar, are a good way of making your subject feel more comfortable. They also make the photo more unique and tell a story about that person.
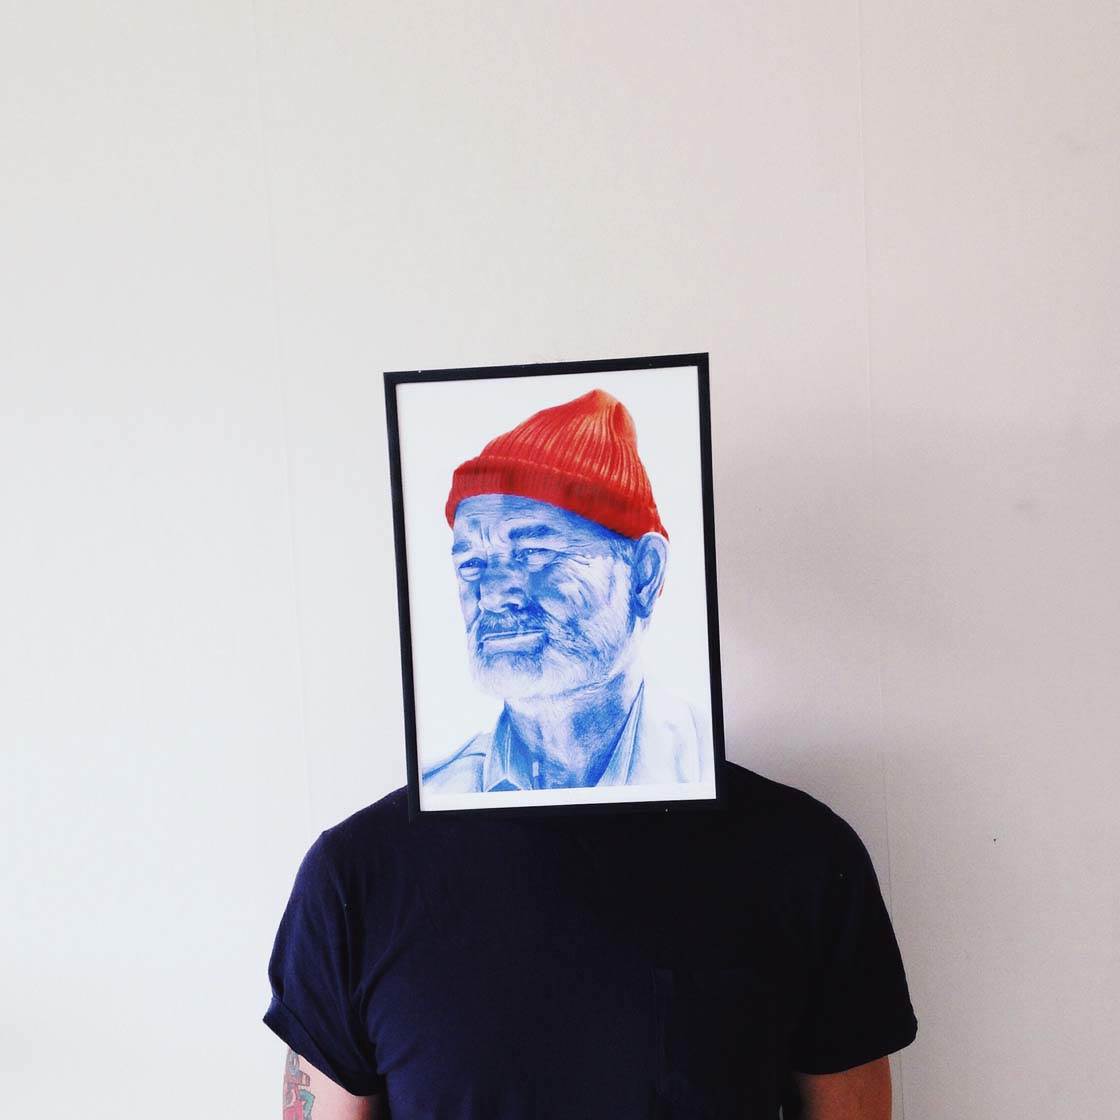
Another fun way to make a portrait is to put something on the models face. A mask or a painting would be my top tips here. This is a simple form of escapism – you could be anyone you like for a moment!
5. Use Flowers To Add Beauty
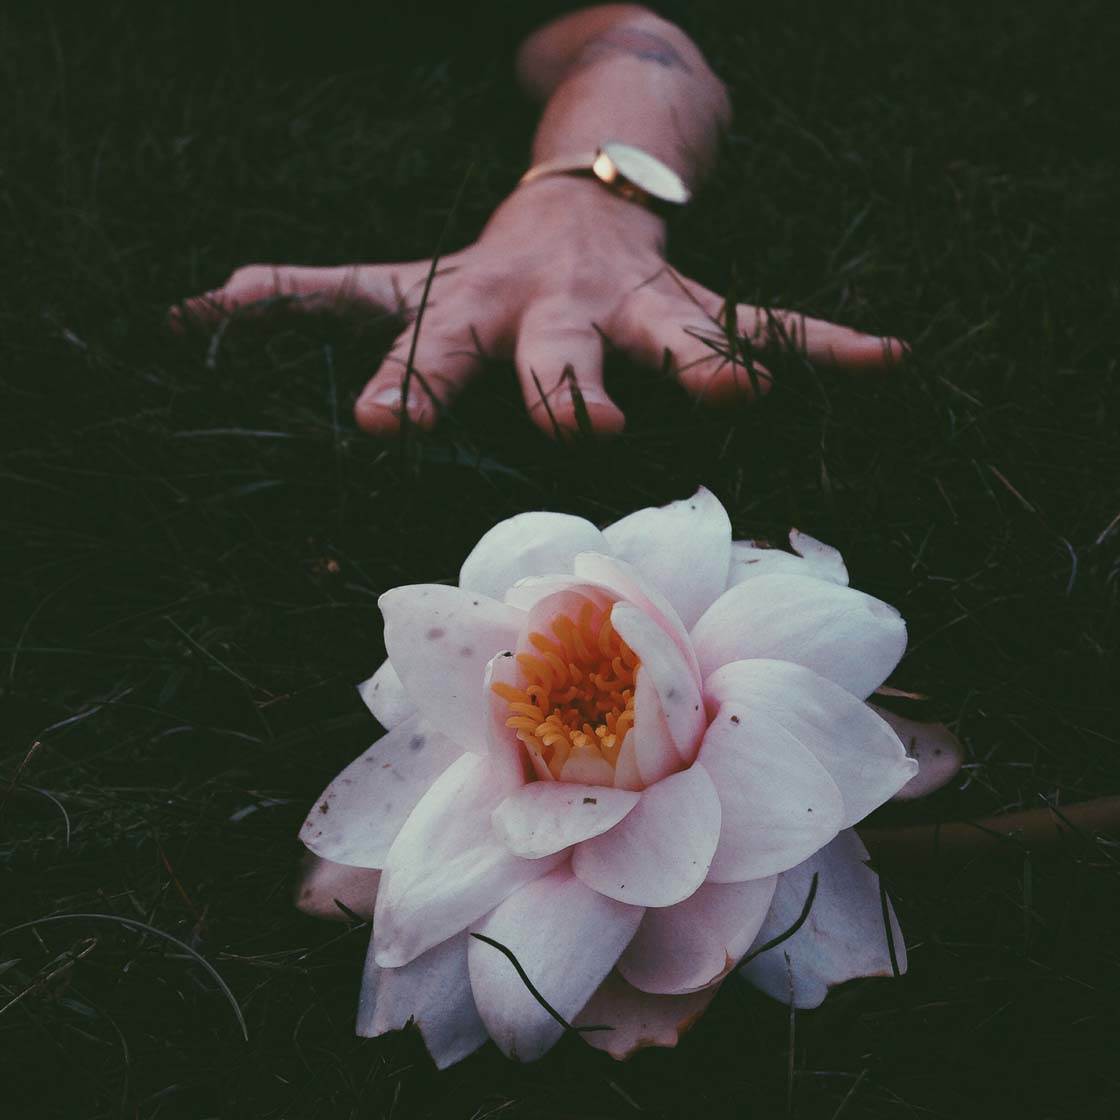
Flowers are probably my favorite photography prop to use. They’re colorful, beautiful, come in many shapes and sizes, and can be found almost everywhere.
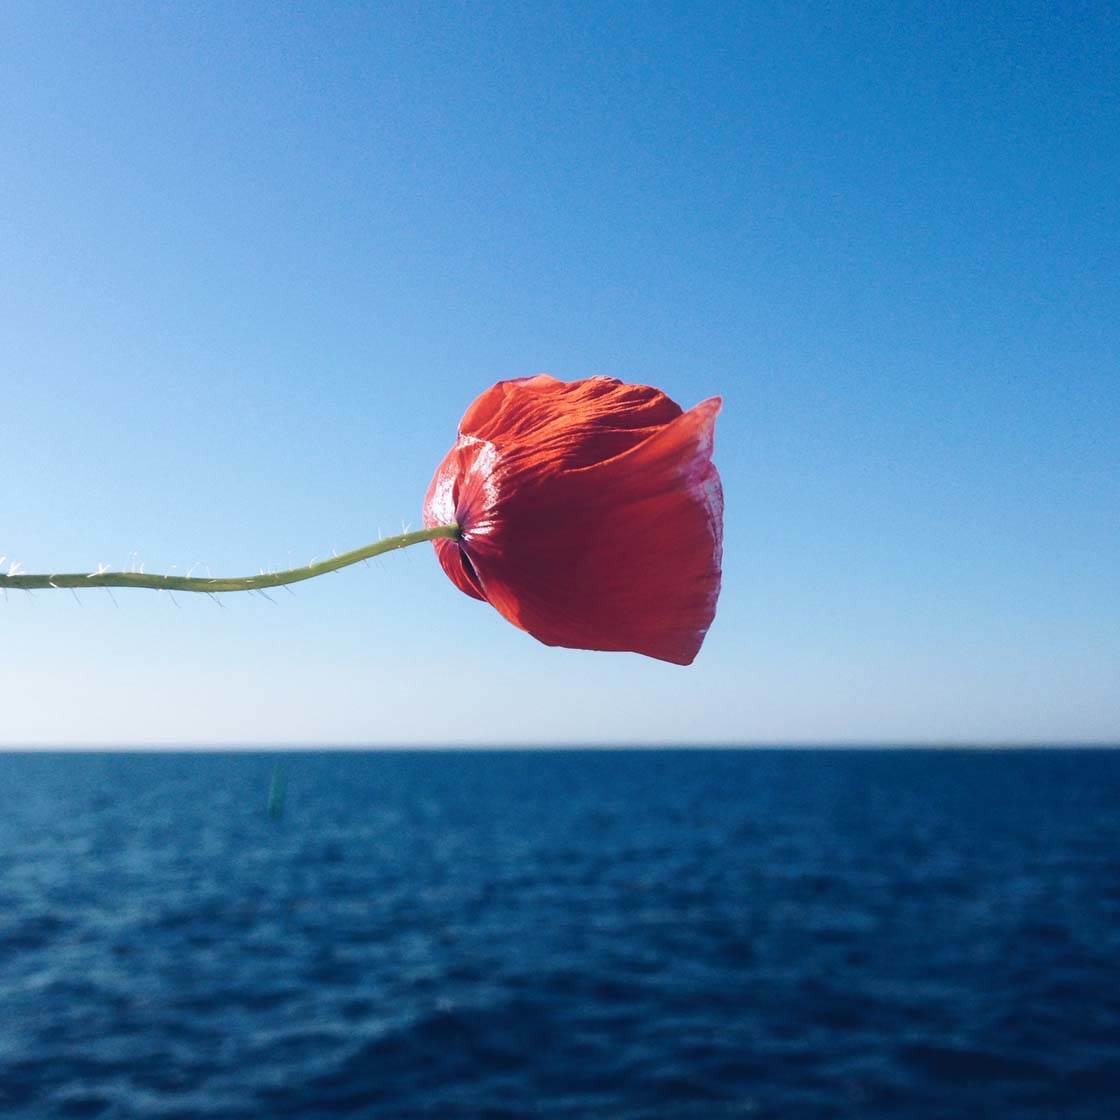
Flowers are so beautiful that they can often carry an image all by themselves. You can do just about anything with them. Pick them up and shoot them against the sky, use them as a background or foreground for a portrait photo, or just place your hands in a lush flowerbed.
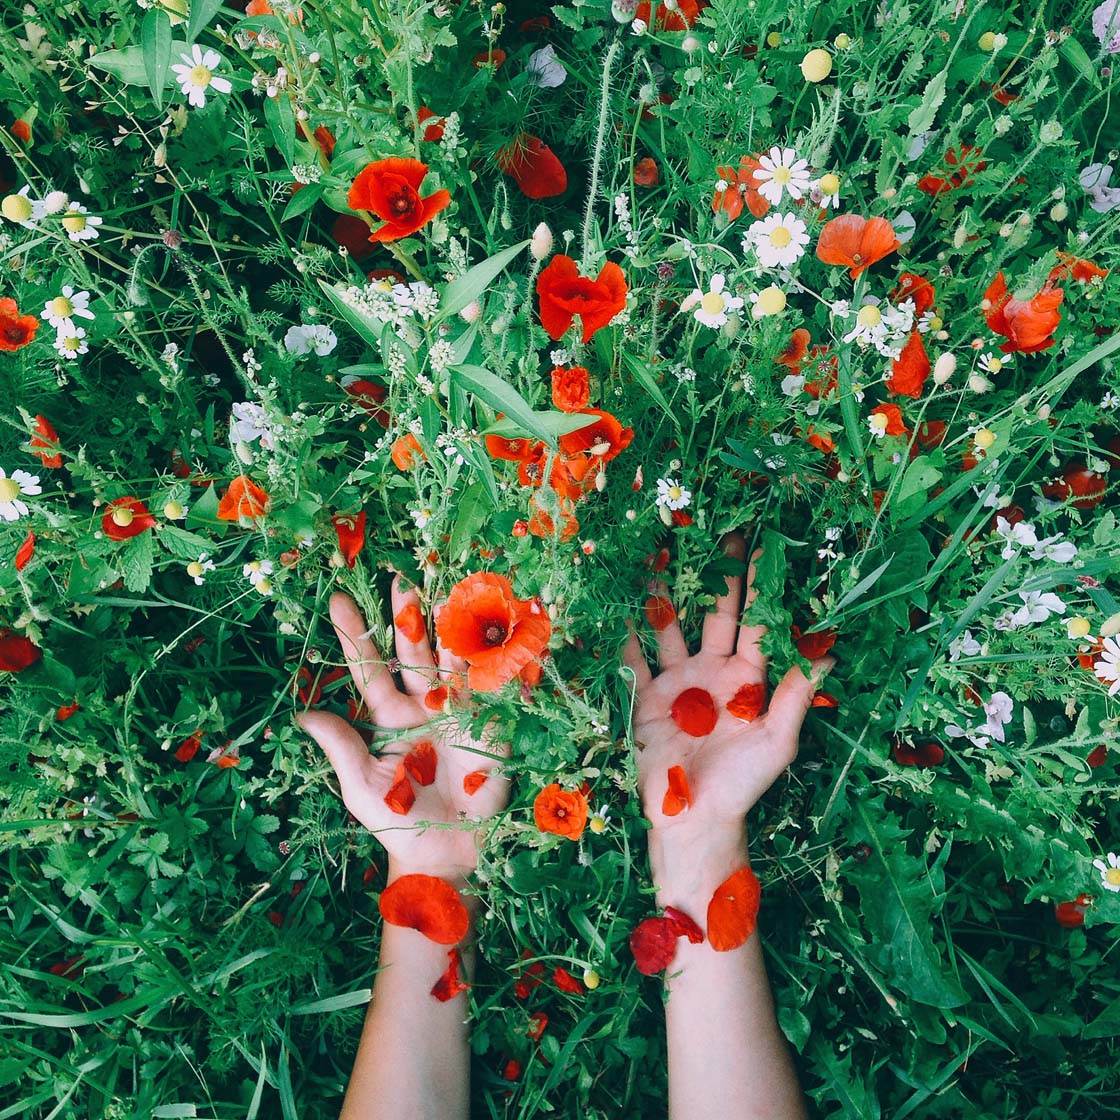
And if it’s not the season for shooting flowers in the wild, you can always go to the store and buy your favorite blooms to photograph at home or to take out with you on a shoot.
6. Add Color & Shape With Umbrellas
Umbrellas are probably the most fun props to work with. They’re small enough to carry around with you, and then you can put them up when the time is right.
They’re obviously great for shooting in rainy weather, but don’t limit yourself – they also make wonderful props to use against blue skies, and you can use them for a bit of shade when it gets too hot!
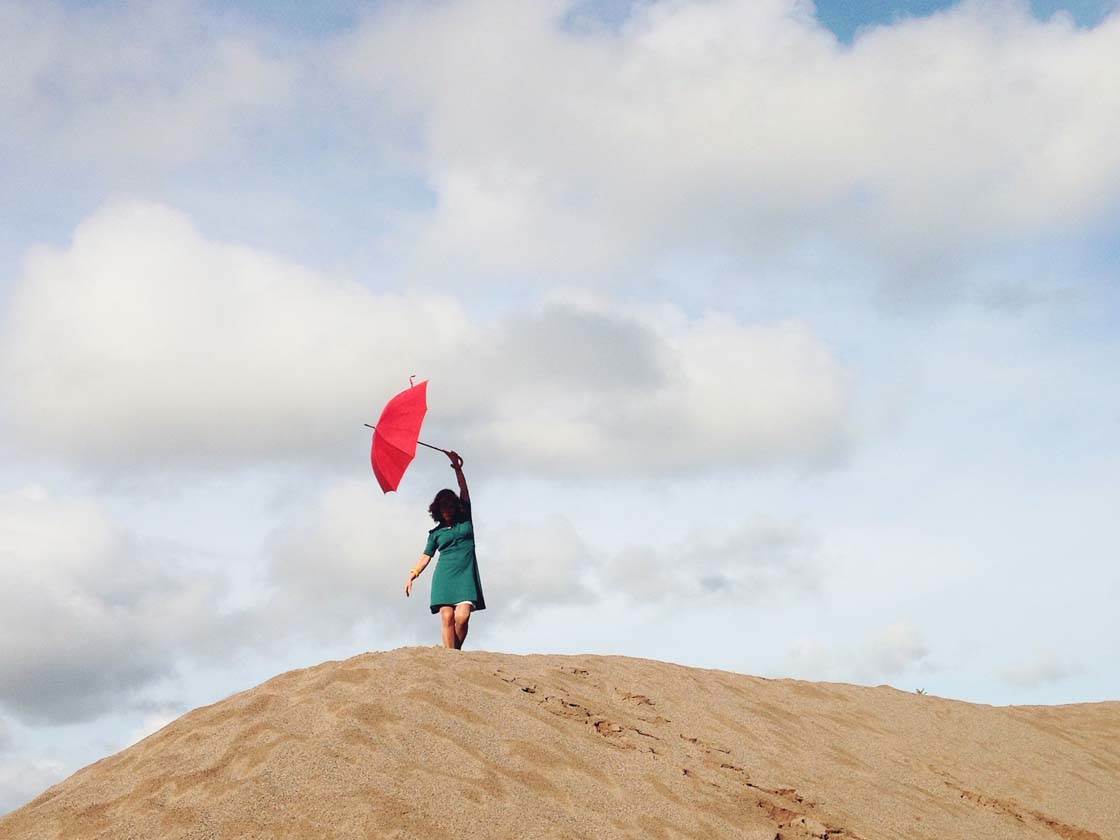
Umbrellas add a bright splash of color and strong shapes to your photos. They’re excellent for use in outdoor portrait photography to add an interesting element to the scene. Get the person to hold the umbrella in different ways or even throw it up into the air.
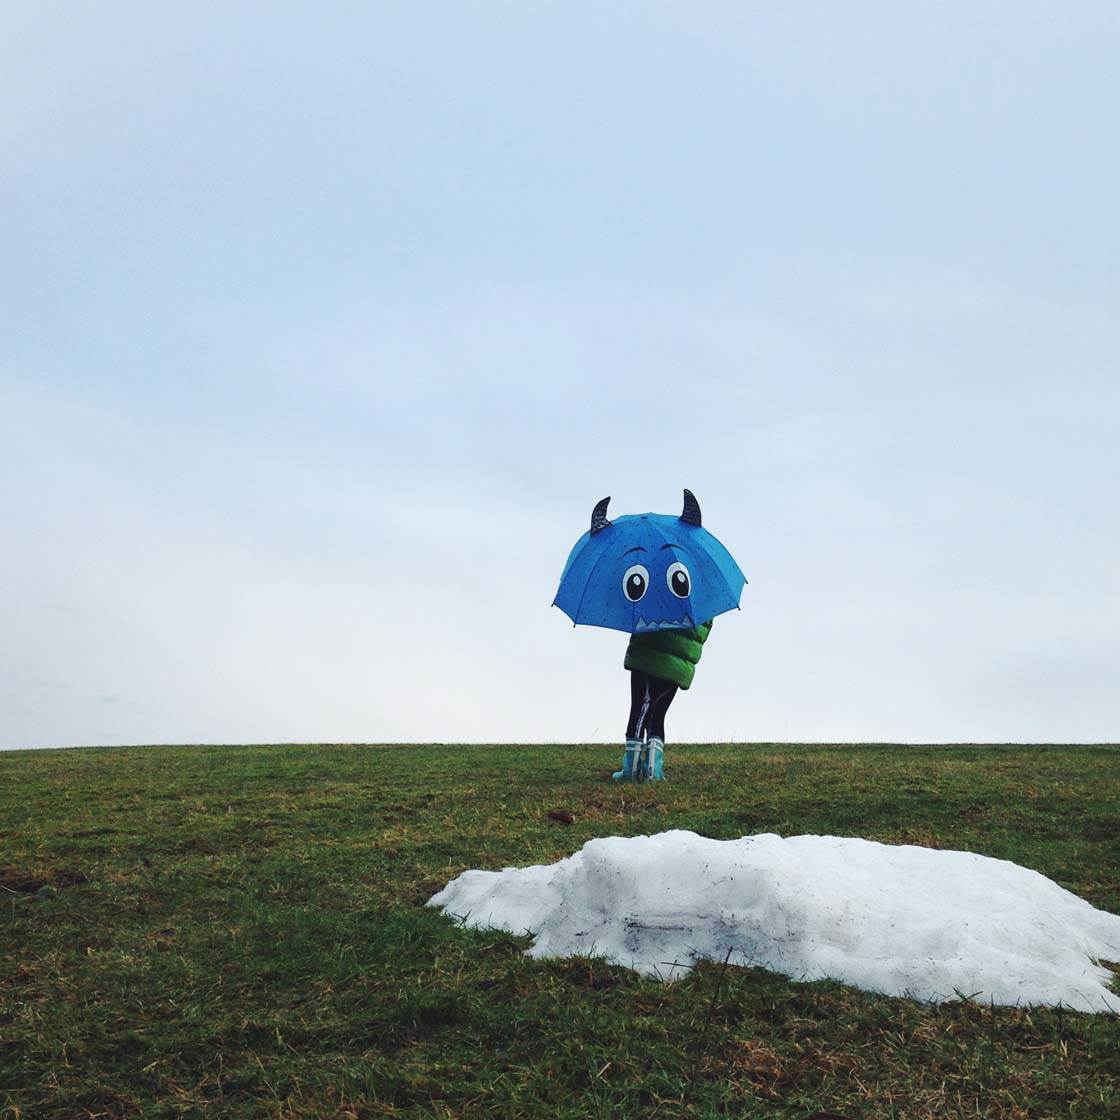
Look out for interesting colored and shaped umbrellas, such as this little monster umbrella that belongs to my kids. They can add a lot of fun to what would otherwise be a fairly standard photo.
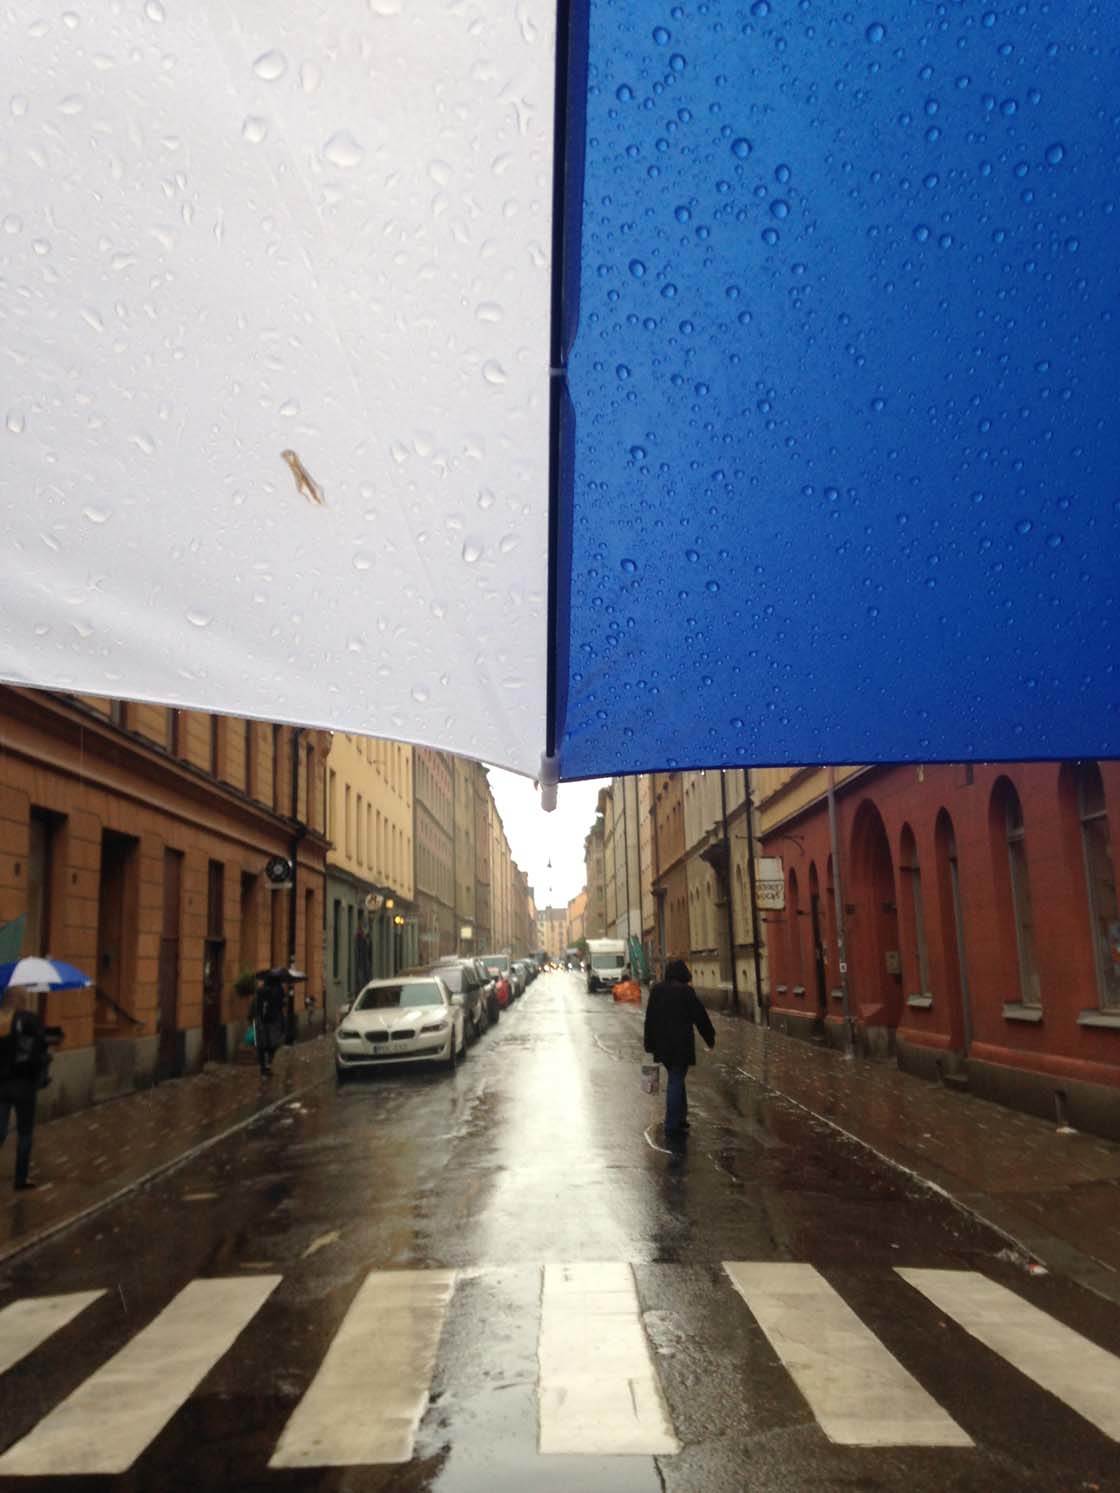
You can also incorporate part of an umbrella that you’re standing under into your shot. This is a great technique for when you’re shooting in the rain as it adds interest and context to your scene. And it has the added bonus of keeping you and your iPhone nice and dry!
7. Use Frames To Surround Your Subject
Another prop that I love to use is a simple white mount from a picture frame. I use it as a frame around my subject or scene.
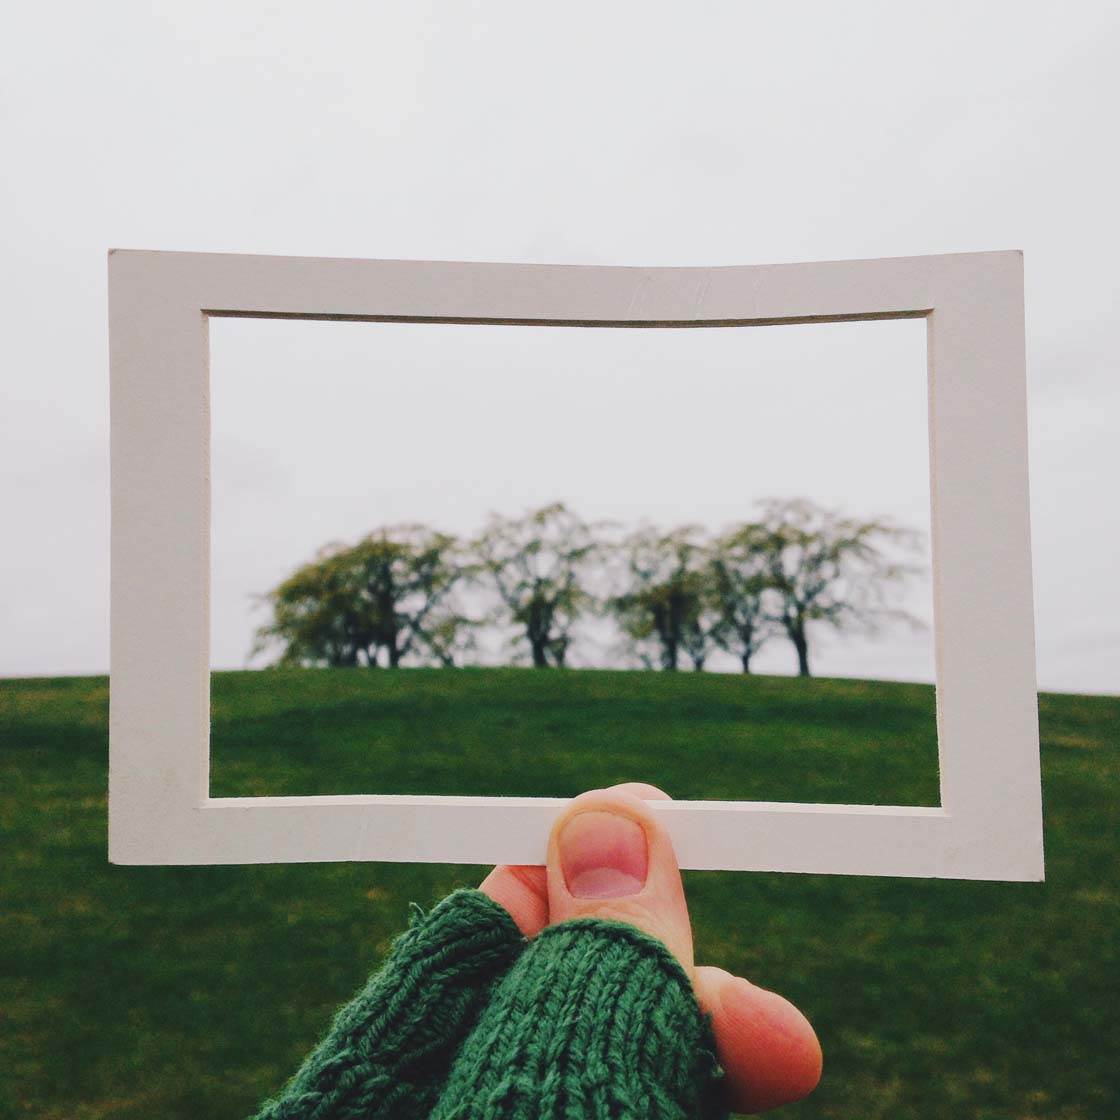
I often hold it up and use it to frame a distant scene such as these trees. In this case I’ve focused on the frame and my fingers, rendering the background blurred. This method creates a truly unique photo.
I also like to put the frame on the ground where I can place small subjects within it. You can even make a small patch of grass interesting by photographing it with a frame on top.
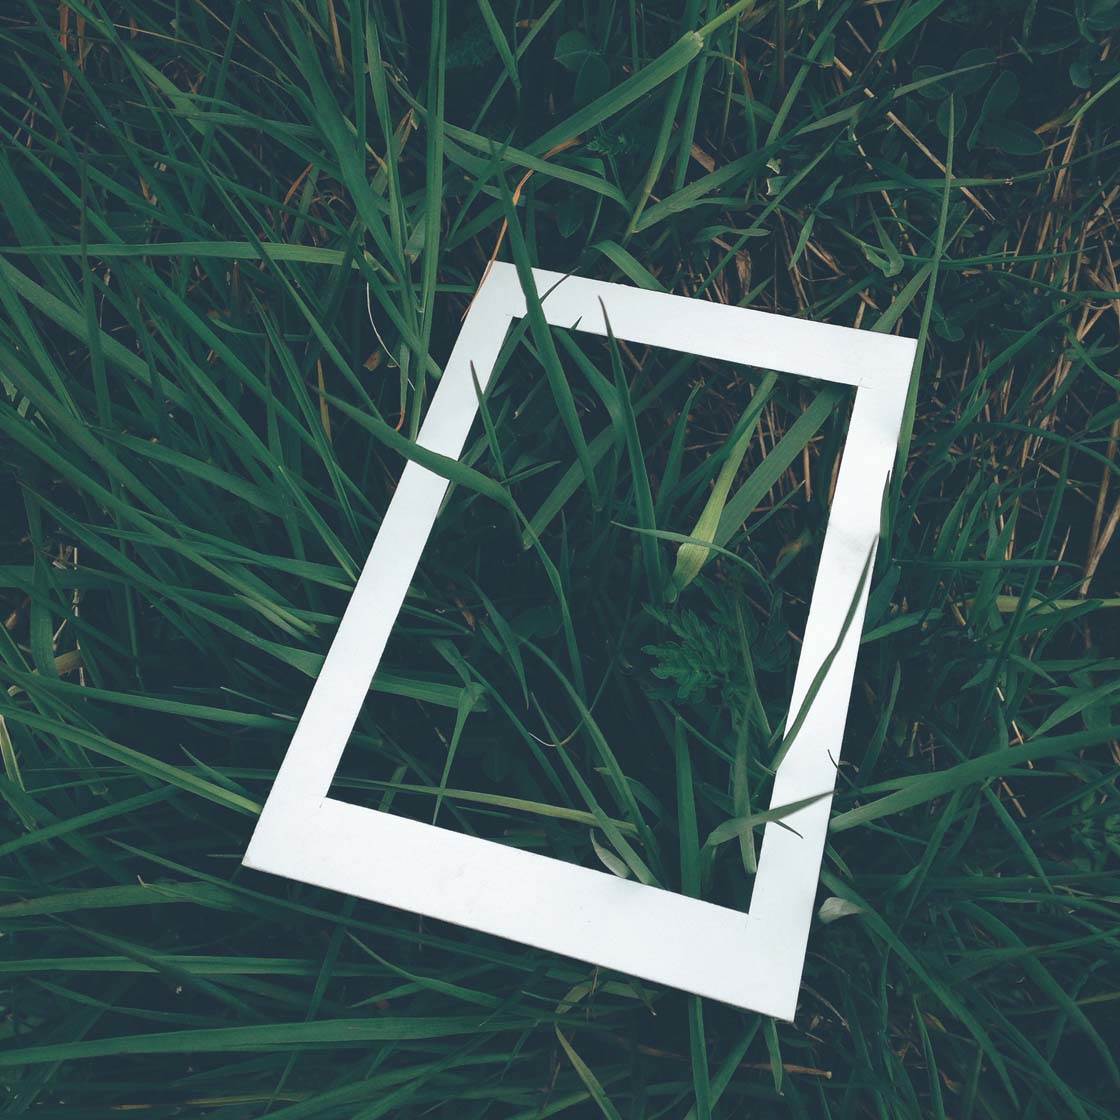
You could use a small picture frame for this technique, or get more creative and find other objects that could act as a frame in your scene.
8. Use Food & Drink
You might think food sounds a bit boring to use as a prop, but a well composed food picture can be the most beautiful way to document your everyday life. All you have to do to create an eye-catching photo is to take a piece of colorful fruit and place it where it stands out against the background.
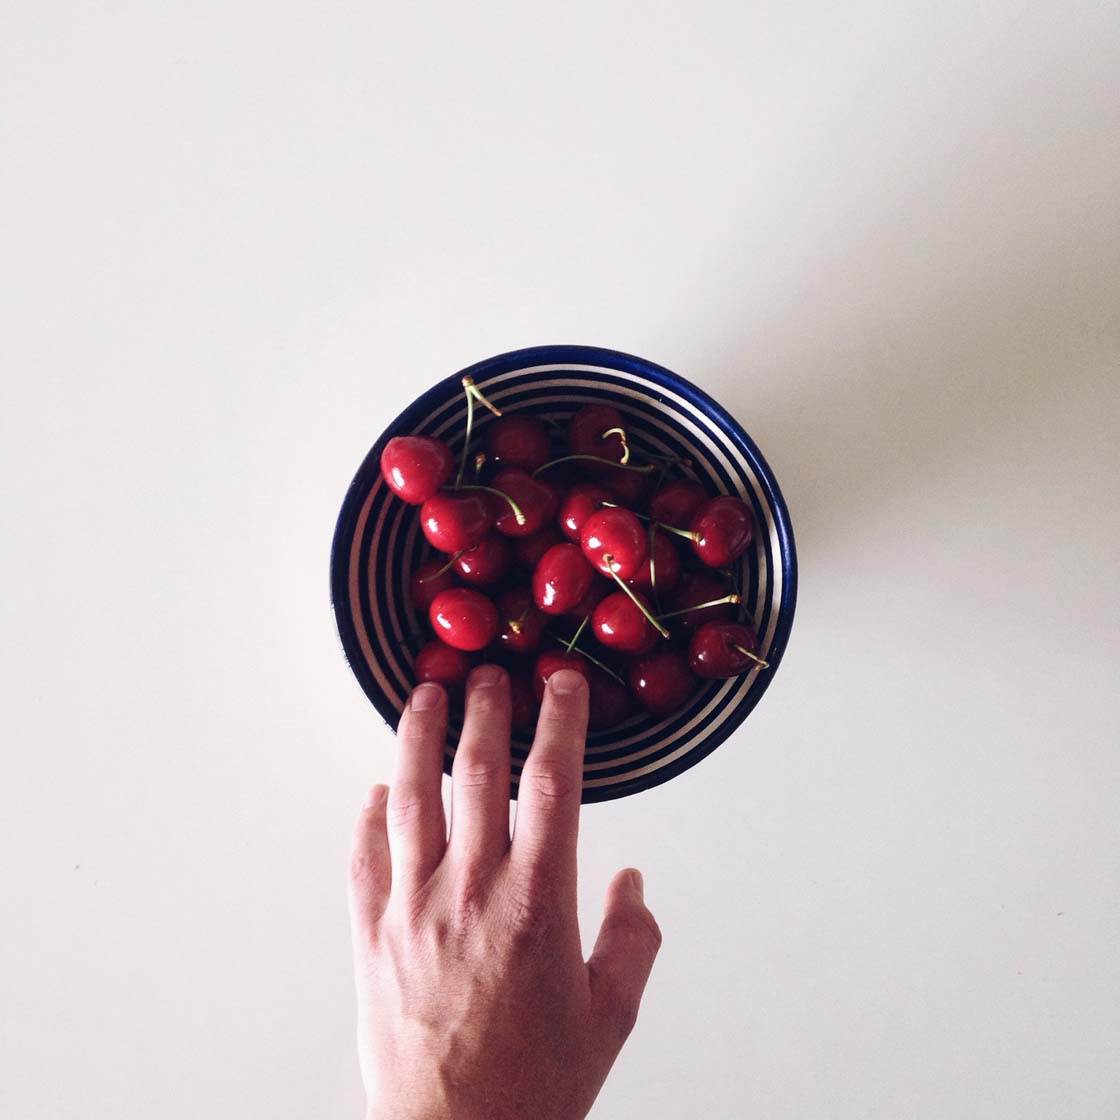
Here I used what the season offered, which was cherries. The colorful cherries contrast well against the white table, and they act as the center point of the image. Including my hand in the photo tells a more interesting story than just the bowl of cherries on its own.
When photographing still life food shots like this, make sure that you have adequate light on the scene. This picture would look bland and boring without proper lightning, despite the color of the cherries. The best kind of lighting for this type of shot is on a sunny day in a room with a window that lets the light in.
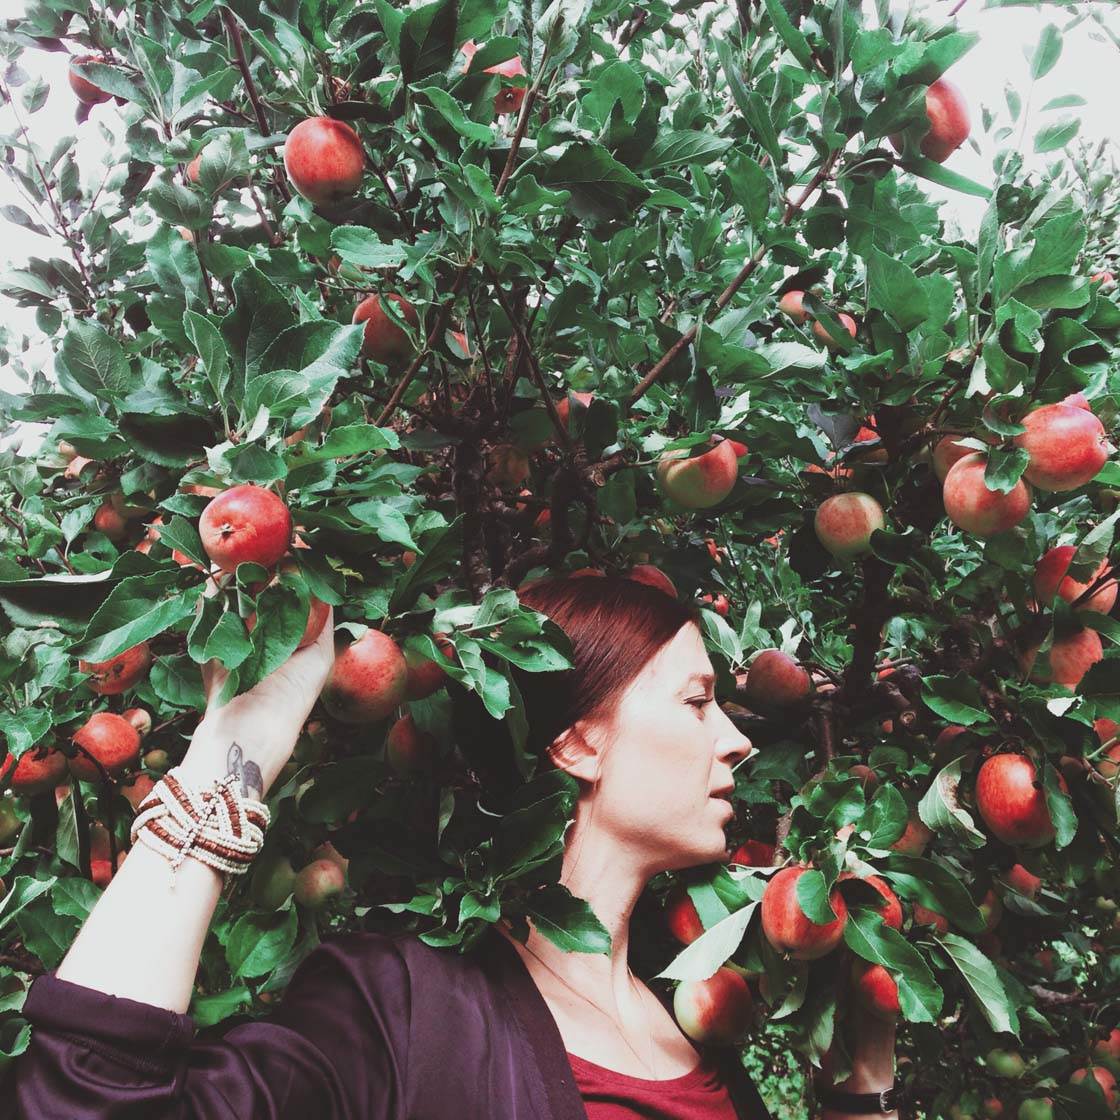
As well as still life shots of food, you could also use food and drink as a prop in portrait shots. These apples make a great addition to this portrait photo, helping to tell an interesting story and adding a wonderful pop of color to match the red hair and clothing of the person.
Having someone holding a colorful ice cream on a sunny day, or cradling a cup of steaming coffee in the cold, will create a more atmospheric portrait than a standard posed shot, and it will help to tell the story of what was going on at that time.
9. Use Mirrors To Create Reflections
Mirrors can be used in conjunction with other subjects or props to create wonderful reflections and symmetry in your photos.
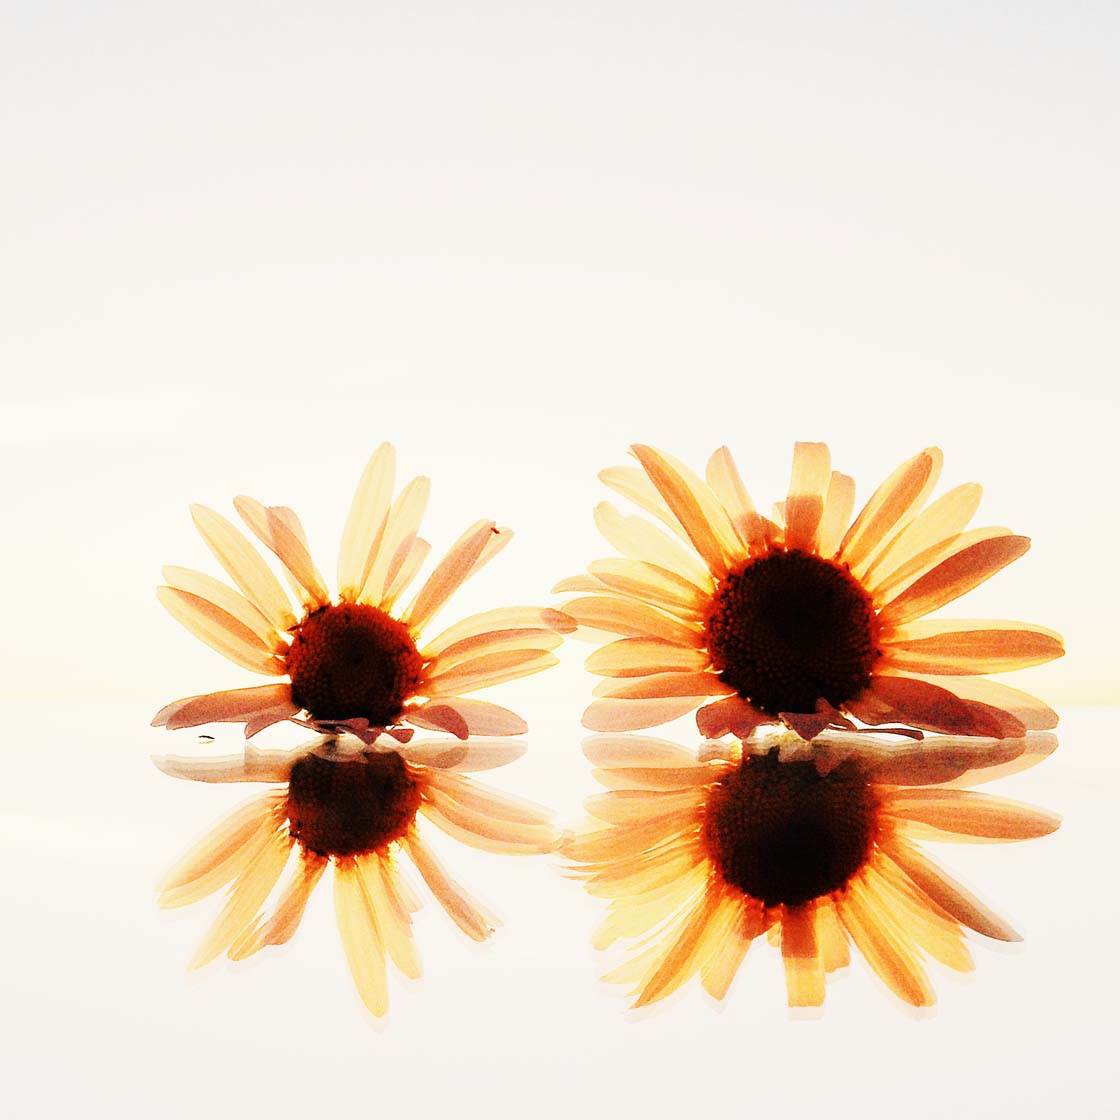
Placing a subject such as these yellow flowers on a mirrored surface creates a colorful symmetrical image that makes the flowers look like they’re floating on water.
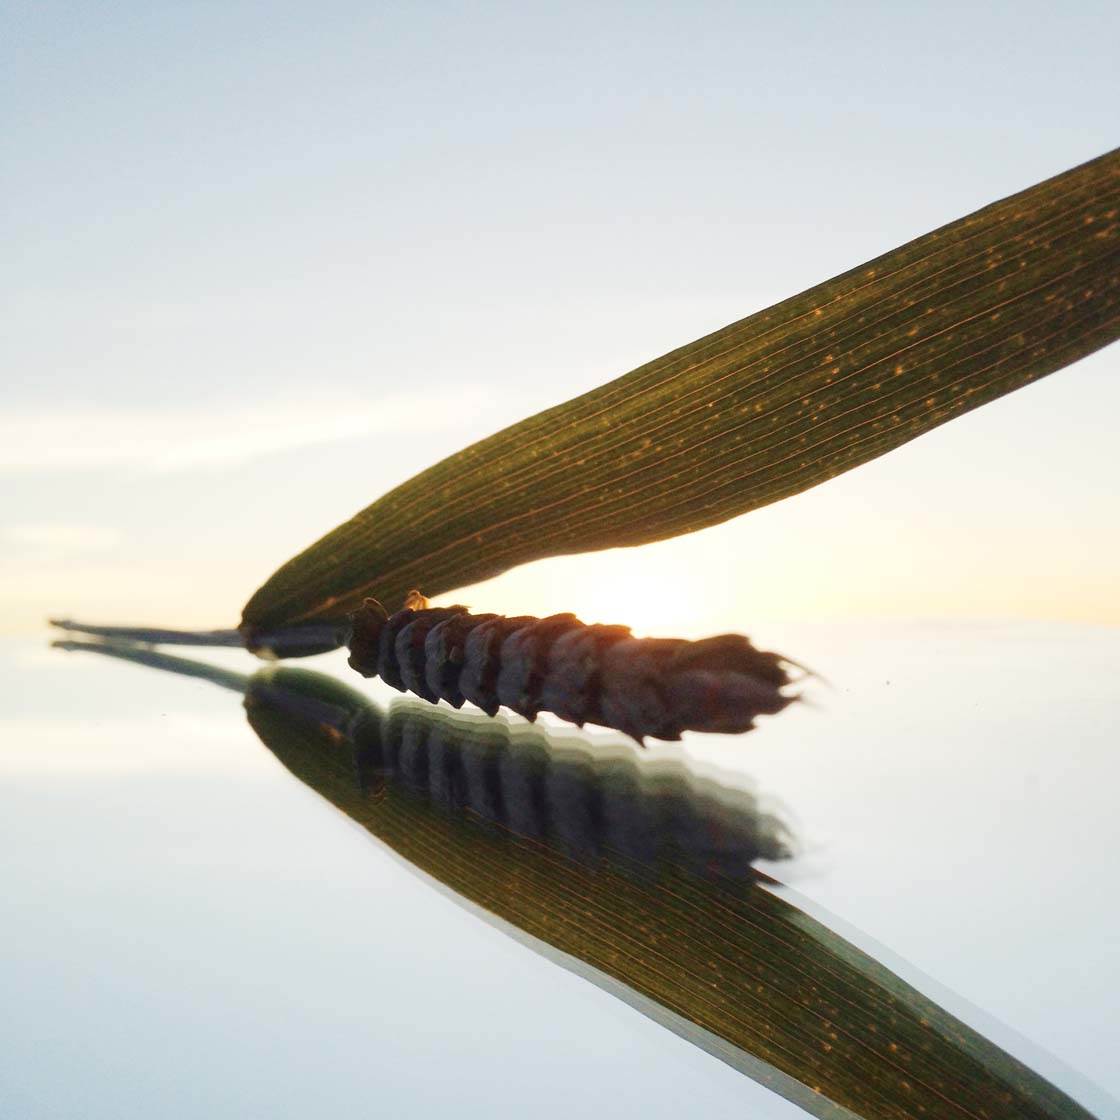
Try taking a small mirror out on a walk to create symmetrical reflections out in nature. You could also position a mirror somewhere in a scene so that it captures a reflection of the scene behind you. Get creative and see how you can incorporate reflections into your photography.
10. Use Props To Create Humor
Finally, you might sometimes want to use props to add humor to a photo. Think about unusual and fun ways in which you can incorporate props into your scene.
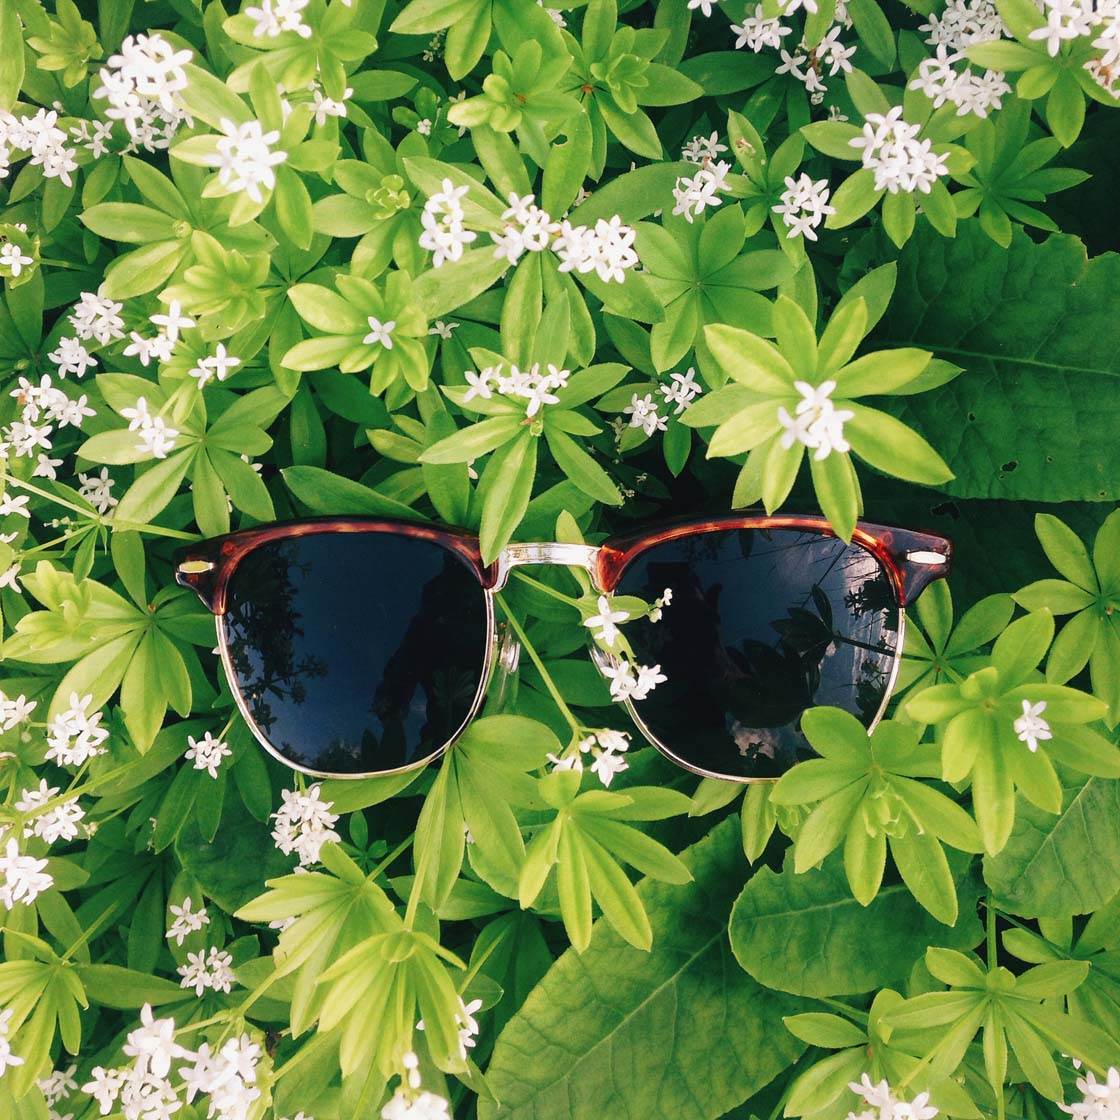
These sunglasses placed in this flowerbed create a unique and humorous photo that makes me smile whenever I look at it!


Thanks for these fantastic tips Calle. These photos are so much fun and it just goes to show how adding a simple prop can make all the difference.
This took a tun for the worse! Up until now, your pics were good to average. But, these are all rank amateur and un-professional. Not that I expect all your pics to be professionally shot, but to use this as an example of a good eye, framing, perspective etc. is setting a bad example of composition and finished look. It might give the novice that such photography is considered good! And I do hope you’re open to criticism…
I don’t see them as “amateur” or poor at all. Can you explain yourself, other than just asserting?
A big problem here is depth of field. When you use a twig and leaf or some other prop to “frame” a distant subject, you don’t want the subject to be blurry and unrecognizable. I love the amazing photographic capabilities of my iPhone 7, but it is important to recognize and work within its limitations and not encourage people to admire photos that fail because of the camera’s limitations.
Most of the photos that don’t have both near and distant objects are charming and deserve praise.
Thank you for explaining your comments.
I do hope you realize these are just suggestions for amateur photographers so that said we as a group think they are fantastic.
Being such an advanced photographer and expert on photographic composition, why would you be here at a site designed for beginners? You should look elsewhere, someplace you can showcase your obviously advanced skill set. Perhaps you can post some of your superior work for us to see?
I personally was very impressed and it has me excited to try some of his suggestions! I am thankful that there is someone out there who is sharing and making it more exciting for many of us novice people. Most of us are far from professional, sad to see people comment more on negativity.
Thank you Tina – glad to hear you enjoyed these tips 🙂
Many of these are wonderfully playful…..too often I’m SO SERIOUS about what I’m doing.
Thank you. For the straight up artful compositions.
I love your tips on using props for my photos, gets me so excited & wets my creativity & my imagination more as a newbie in photography & with more practice I would get more chances of making a good photo for my first assignment on focus & exposure!😀
So glad to hear you enjoyed these tips Rosemarie. Have fun getting creative with your photography! 🙂
Wow. MANY thanks! I just got a ton of ideas from you!
Great to hear that Deborah! 🙂
So much good information here! Thank you so much.
Glad you found this tutorial so useful 🙂
Great info, looking forward to trying some of these ideas out. Lots of objects in our everyday lives to use as props. Thanks again!
Glad you enjoyed these tips. Have fun using props in your photography! 🙂
this is really useful information. thanks
Love these tips! Thanks!!!!!
Very Useful Thank You
Wonderful creative tips! I am excited to try some of these with my grandchildren.