A rainy day is no excuse for not taking great iPhone photos! You may not want to venture outside in the pouring rain, but there are plenty of amazing photography opportunities in your own home. And once the rain stops, it’s the perfect time to get outside and capture beautiful scenes while the ground is still wet. In this tutorial you’ll discover 13 photography projects that will inspire and motivate you to take incredible iPhone photos, even on the most rainy of days.
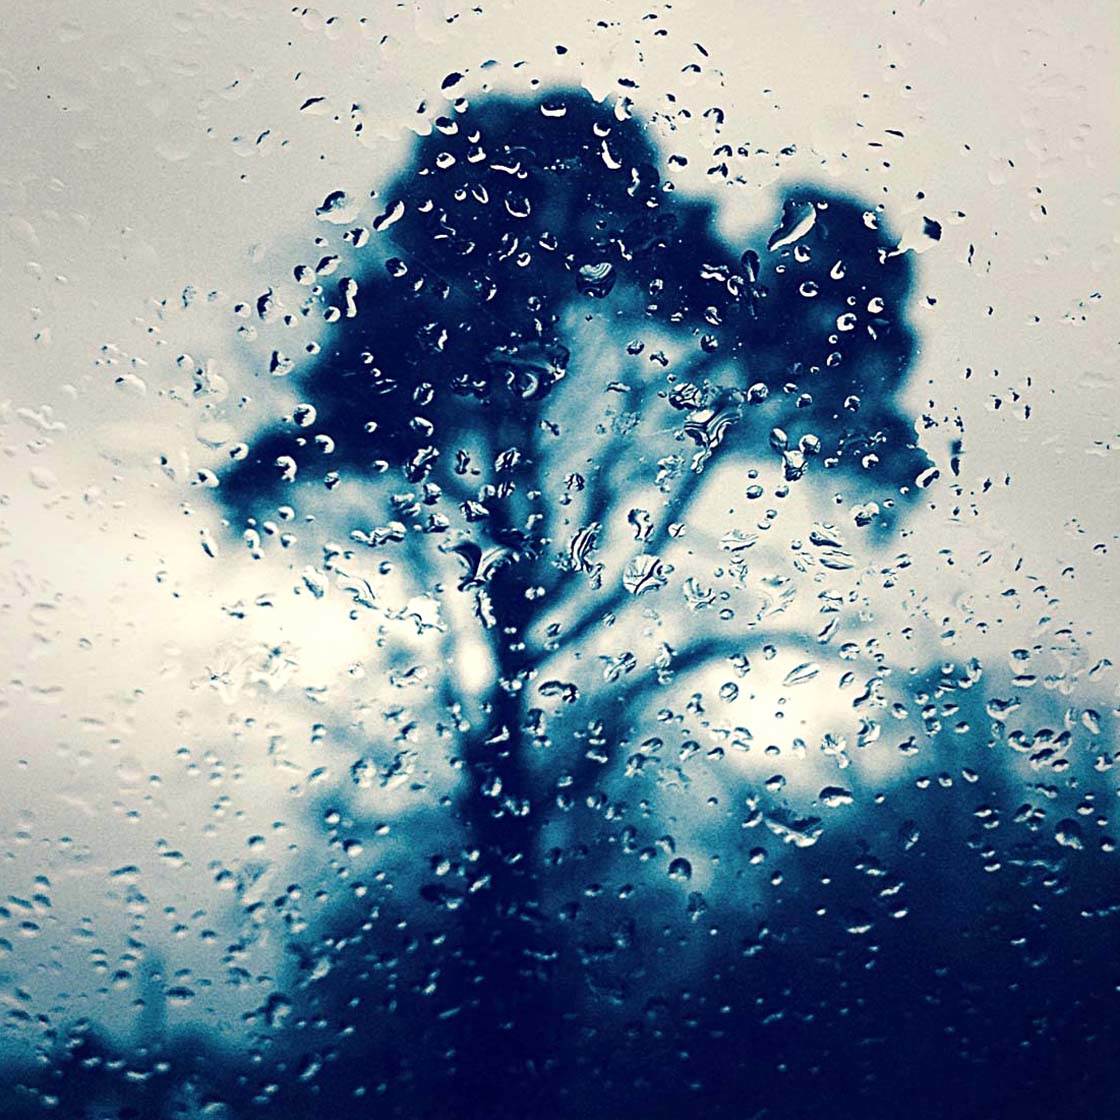
1. Take Still Life Photos
Still life photography involves taking photos of inanimate objects. This genre of photography is great for experimenting with light and composition as you can take your time to arrange the subject in different ways, shoot from various angles and try out different light sources.
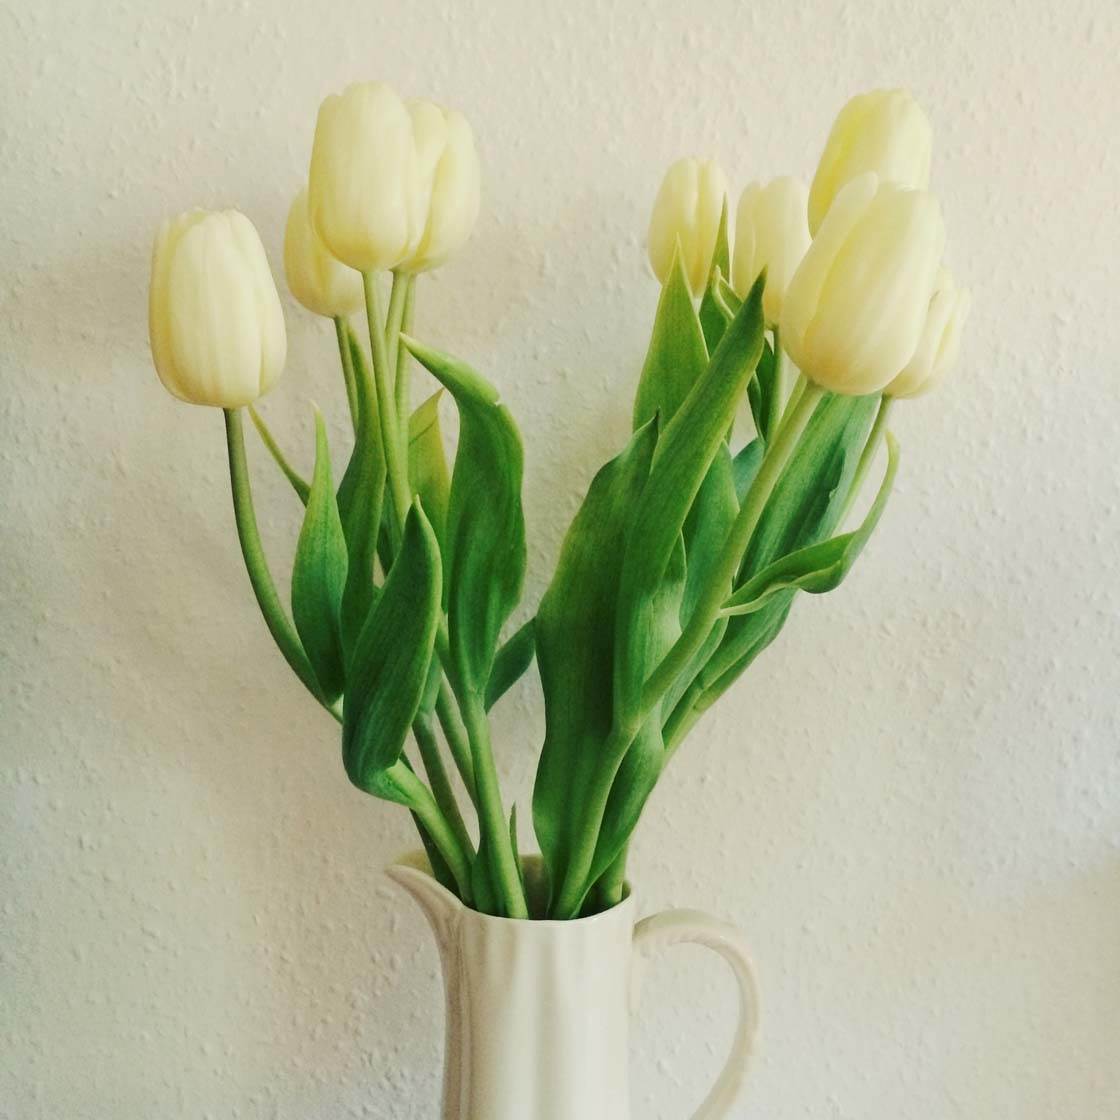
Your home is the perfect place for still life photography as it’s full of inanimate objects. A simple photo of flowers in a vase against a plain background makes a great still life photo.
The soft, diffused light from a window on a rainy day provides the perfect light source for this kind of photography. Light on an overcast day is usually much easier to work with than the strong light on a sunny day, which can over-expose your photo and create harsh shadows.
Even the most mundane subject gives you the opportunity to find a way to photograph it so that it will have visual impact or tell an interesting story.

Photographing the neck of my guitar from this particular angle makes it a much more interesting photo, allowing me to create a shallow depth of field where the subject blurs into the distance. Shining a lamp onto the guitar has created a lovely warm glow to the image.
If you want to know how to blur background in photos, click here to learn how to achieve this effect on your own iPhone.
So next time you find yourself indoors with time to spare, find an object in your home and experiment with shooting it from lots of different angles. Try out different types of light, such as window light and artificial light, to see what works best for your subject.
2. Create Abstract Images
Abstract photography is all about creating unique images from ordinary subjects. Our homes and workplaces are full of mundane everyday items, each with the potential to be photographed in a way that will make the viewer look twice.
Abstract photography concentrates on shape, color, pattern and texture. Often, only a part of the object is included in the frame, creating an image with just an essence of the original subject. The challenge for us iPhone photographers is to find an unusual way to photograph something ordinary in order to make it more visually appealing.
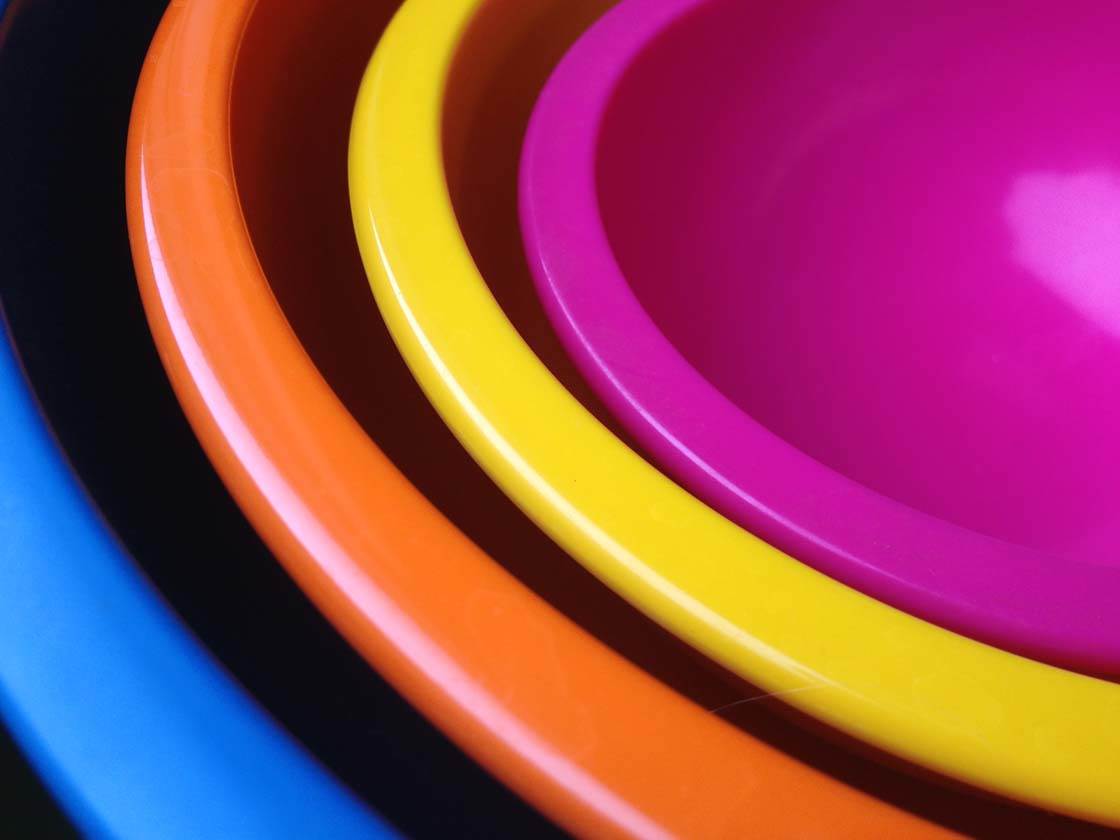
This close up photo of some colorful nested bowls seems powerful to me, not just because of the fresh, vibrant colors and the shapes created by the curved lines, but also because each bowl seems to be interacting with its neighbor in an almost intimate way.
I hadn’t noticed the patterns in the kitchen window of my friend’s house until I was in the adjoining conservatory and saw the overlapping rings in the glass, backlit by the interior lighting.
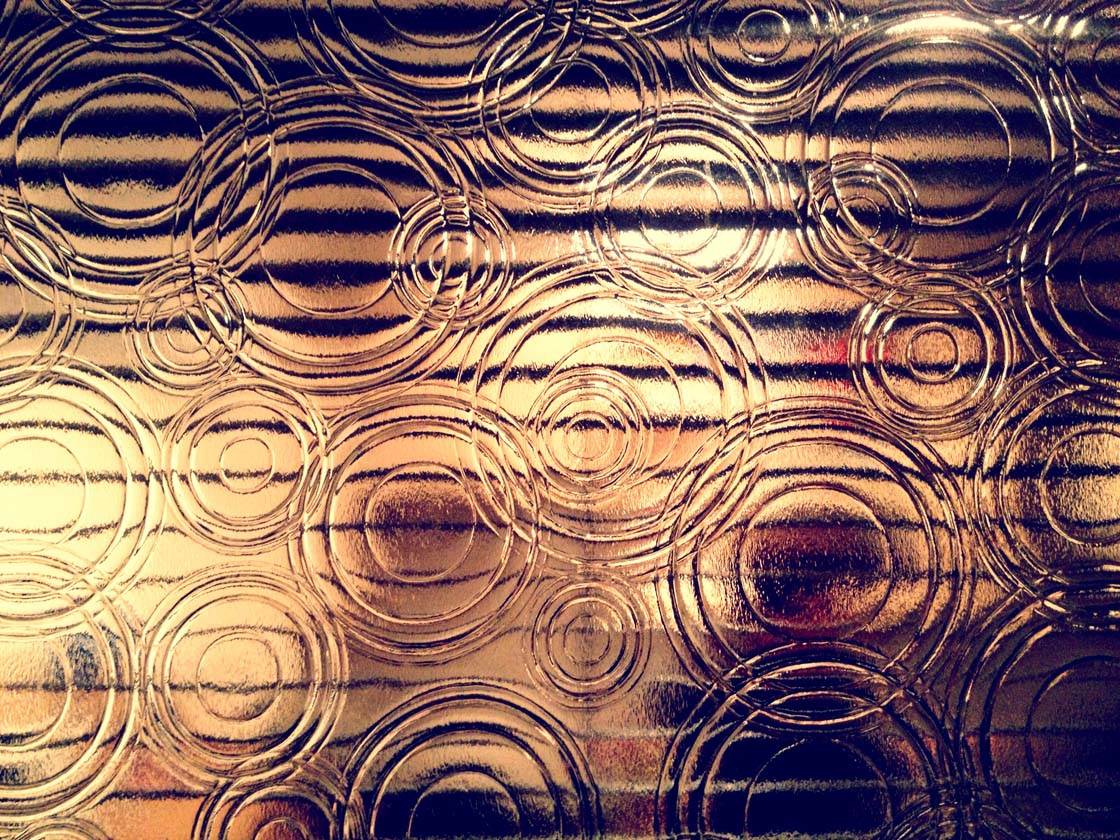
The horizontal blinds inside provided a contrasting geometry which accentuates and interacts with the circular patterns. This combination of shapes and patterns, combined with the warm lighting from inside creates an interesting abstract image.
When attempting to create abstract photos, look for subjects with strong shapes and contrasting colors. Look out for repeating patterns – if you can’t find naturally occurring patterns, create them by arranging identical objects in an interesting way, e.g. shells, pebbles, fruit, even cutlery!
Get close to your subject to remove any distractions. Remember you don’t have to include the whole subject in the frame. Look for an unusual angle and try shooting from several different perspectives until you achieve the result you’d envisioned.
3. Backlight Your Subjects
Even when it’s raining outside, you can still get enough good quality light in your home to take a good photograph. A cool thing to try is to hold something semi-transparent against the window and photograph it. This is called backlighting and can be a great way of revealing detail that might otherwise be missed.
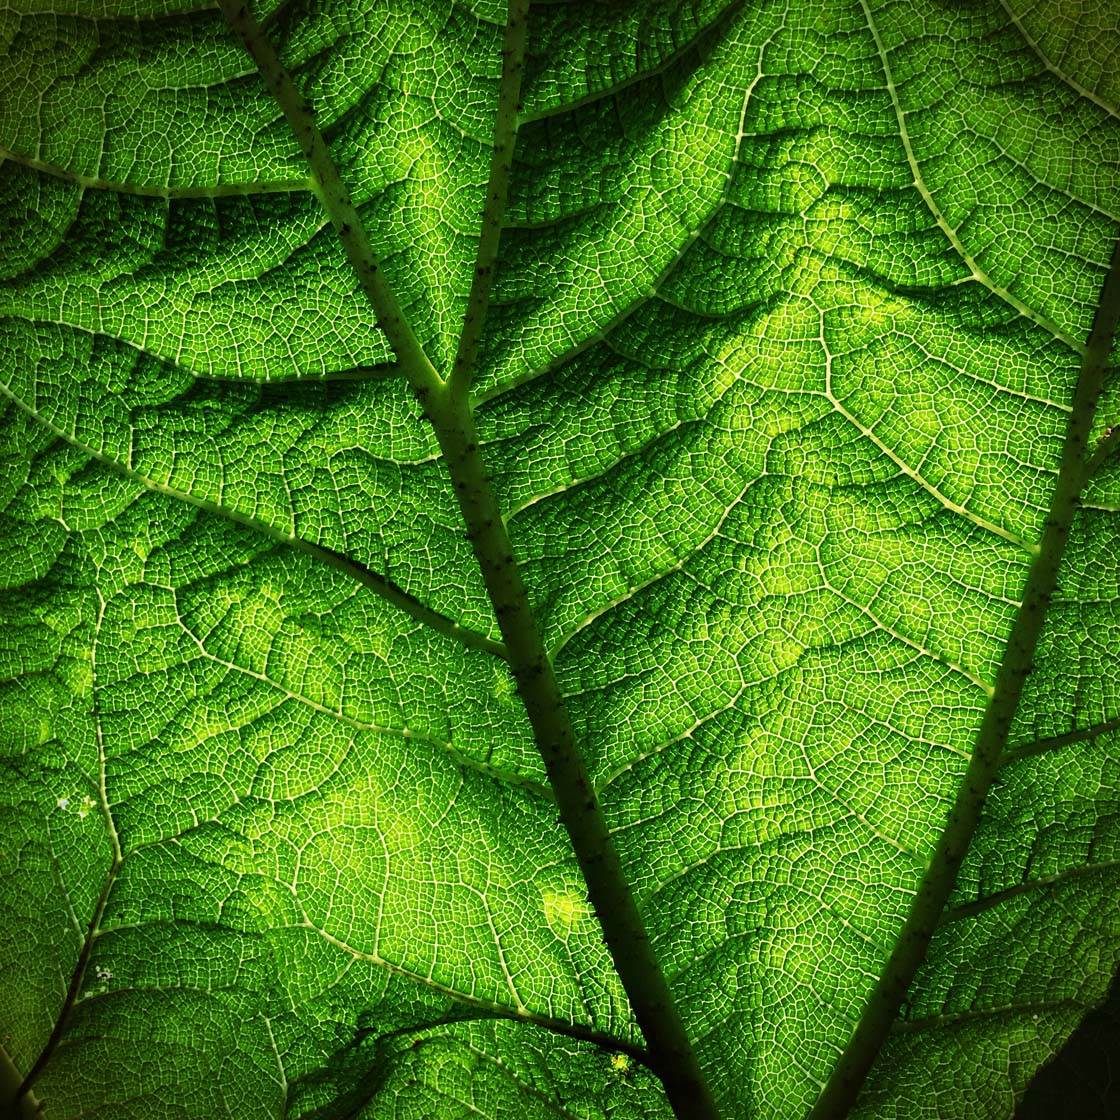
Leaves make perfect subjects to backlight. For the photo above I just held this large leaf up against the window, allowing the light to shine through it.
The light revealed amazing detail and also made the green color much more vivid. This color and detail never would have been visible without backlighting.
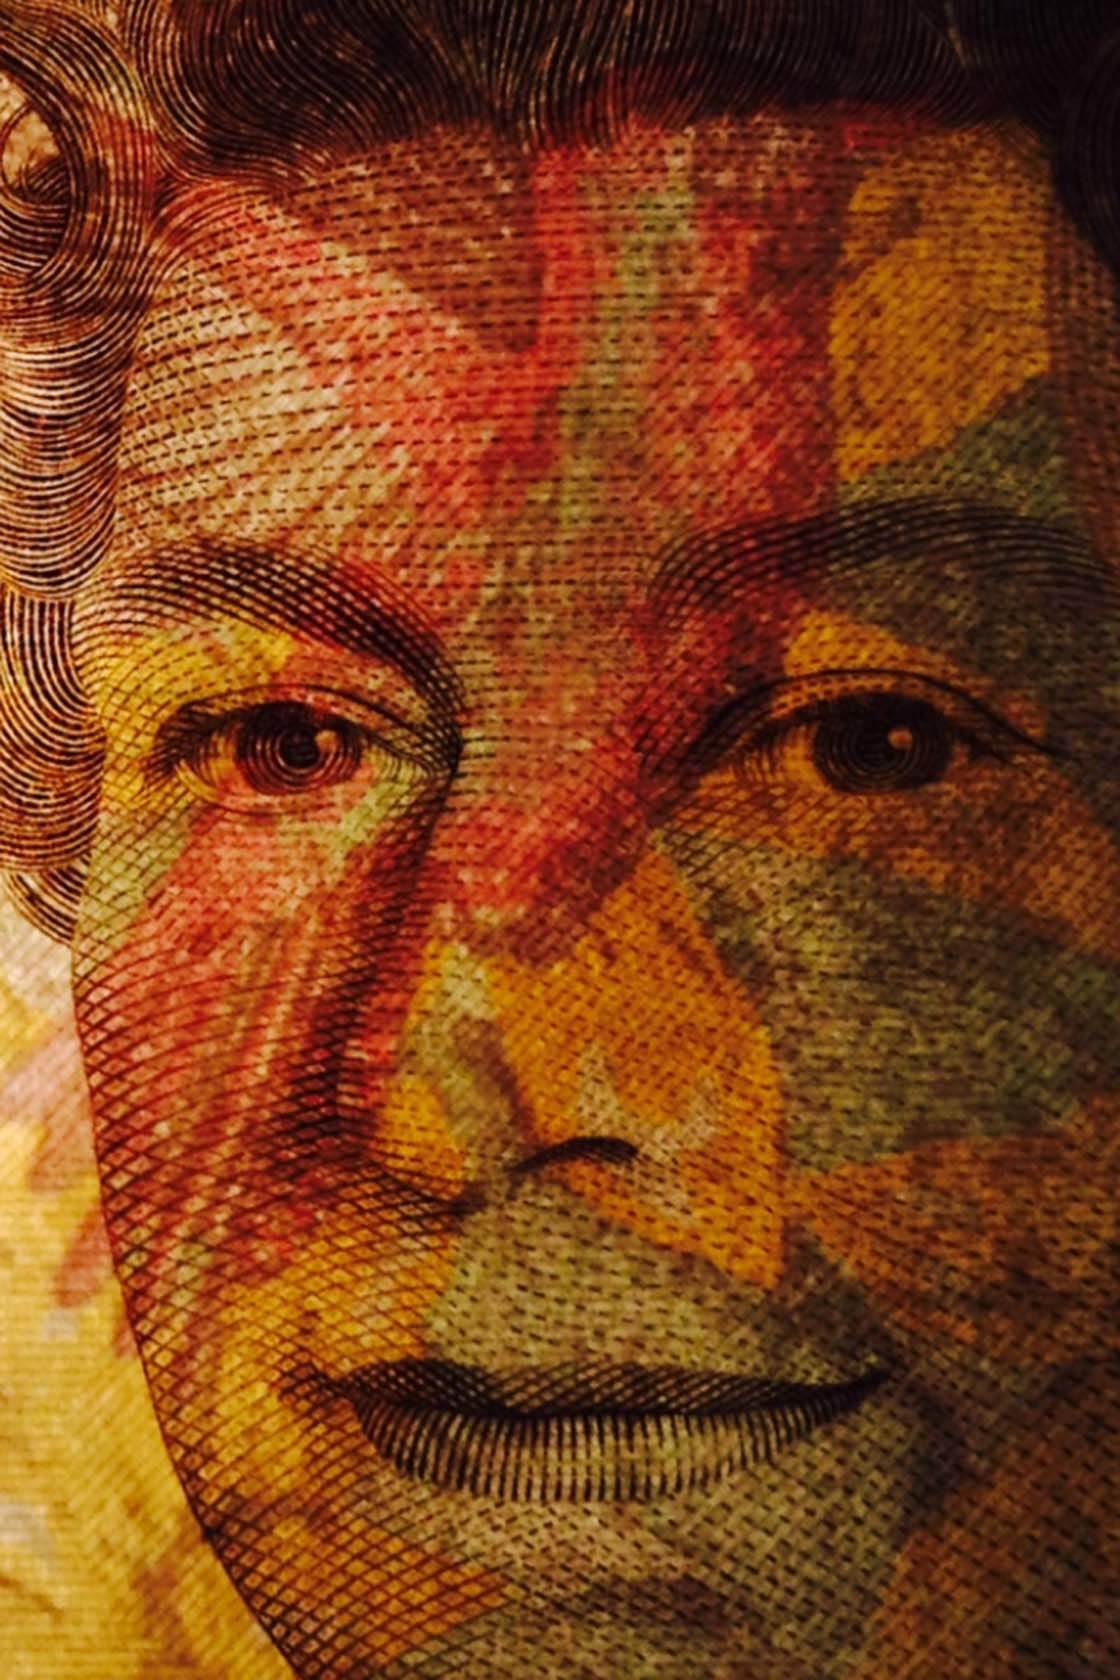
Here’s another example of backlighting to reveal additional detail. This is a close up shot of a paper banknote that was pressed against the window. The backlighting enabled me to capture the detail of both sides of the note simultaneously, creating a unique version of this common banknote.
Any semi-transparent objects that will partially allow the light through may potentially make great subjects for this kind of photography. Other suitable subjects include fabric, flower petals, or thin paper containing writing or drawings.
4. Photograph Raindrops On A Window
When it’s raining, it’s likely that your windows will become covered in raindrops. A powerful effect can be created by focusing on these water droplets on the window. When taken from indoors the relatively bright backlighting helps the water droplets stand out.
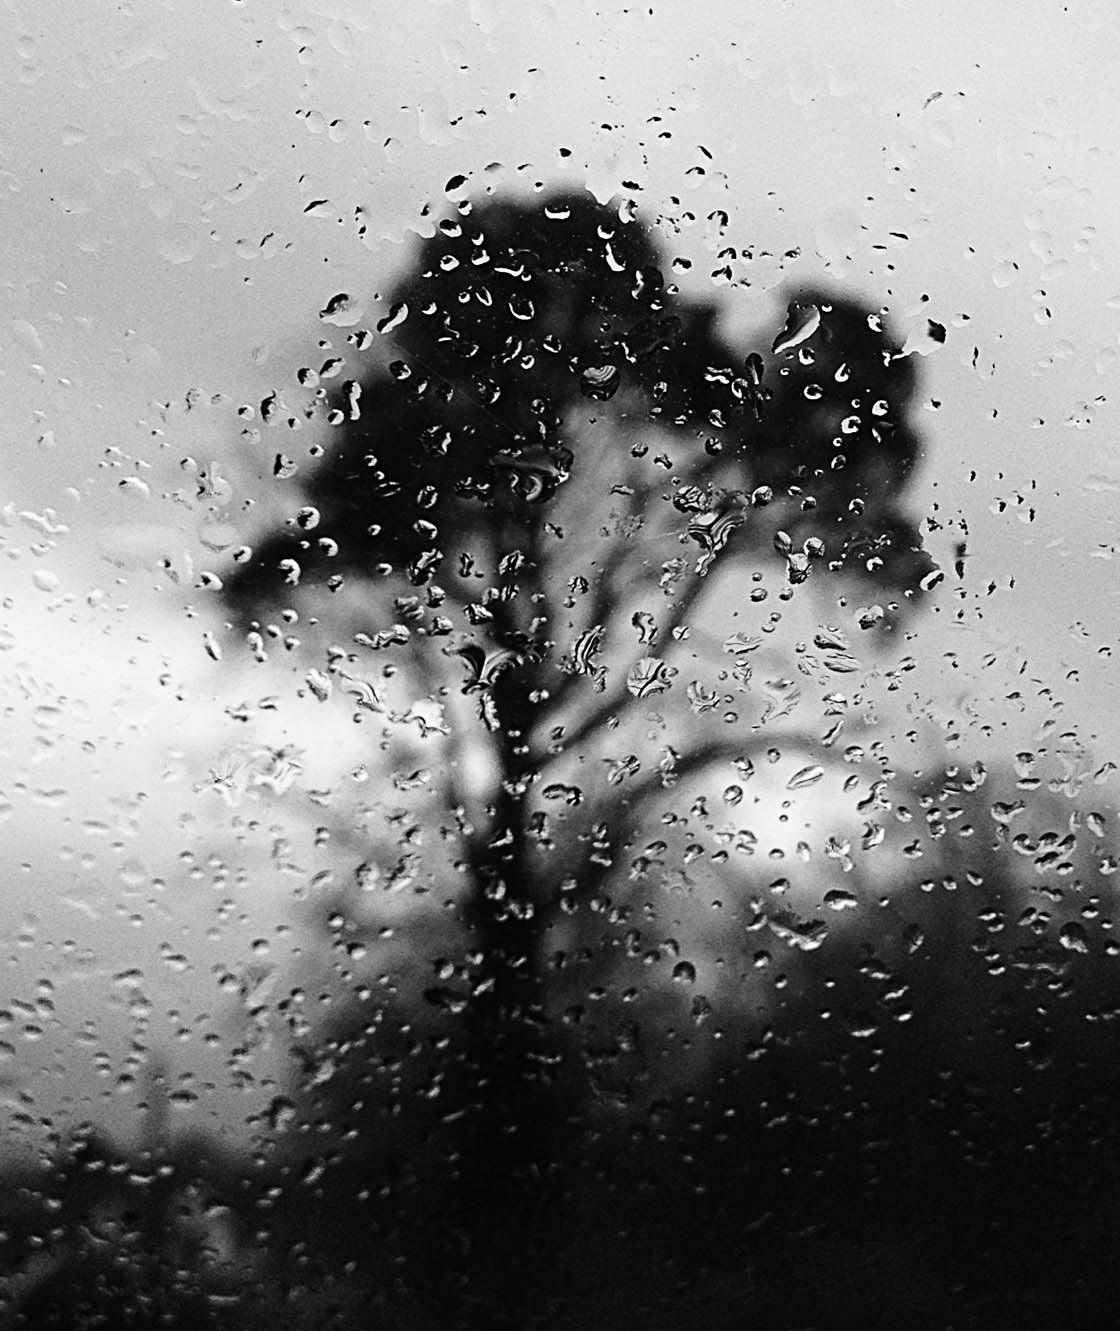
In this image I’ve included a subject in the distance (a tree). This creates added interest to the image, and also provides detail that can be captured within the droplets. The droplets behave like crude lenses and actually invert the subject inside each droplet, which helps make them stand out better against the background.
The trick with this kind of photo is to make sure you focus on the droplets, rather than on the background. Sometimes this can prove difficult since they’re much smaller than the distant subject.
If tapping the rain droplets on your screen doesn’t work to set focus on them, simply place another object or your hand just in front of the window, tap to set focus, then remove the object and take the photo.
5. Take Portrait Photos In Window Light
Windows provide an excellent natural light source for your indoor iPhone portraits of people. On a rainy day, the clouds diffuse the light beautifully which can be very flattering for portrait photography. Larger windows are better as the light can hit your subject from more angles, but smaller windows offer great opportunities too.
In this section you’re going to learn a neat way to get even better lighting for your window-lit portraits. In the example below you can see my subject, Emma, is positioned a few feet away from a large window.

The side of her face nearest the window is well lit, but unfortunately the other side is in strong shadow because there’s no light source on that side of her face.
The next photo shows how I attempted to solve this problem by getting her to hold a sheet of white board on the darker side, angling it so that it receives some of the window light and bounces it up onto her face.

The last photo shows the results. The dark shadows have been filled nicely by the reflected light from the board she was holding.

This is a really simple, but incredibly effective way of dramatically improving the lighting in your portrait photos. If you don’t have a large white board, a piece of white paper or silver tin foil can work well too. Just don’t use anything colored as the color will reflect in your subject’s skin.
If you don’t have a willing subject to photograph, why not use an iPhone tripod and take some self-portraits using the timer or a remote shutter. You can use the volume buttons on your Apple earphones as a remote shutter.
6. Take A Portrait In Artificial Light
If you haven’t got enough daylight to take a satisfactory indoor portrait using window light, you can always resort to artificial light. In the photo below, I used a cheap circular LED camping lamp to illuminate my subject, Adam.

I held my iPhone in front of the lamp and took the photo. This lighting setup resulted in attractive catchlights in the eyes and a nice spread of light which has reduced hard shadows on the face. With low powered LEDs and a small diameter lamp I needed to get quite close to my subject.
You could also try using other artificial light sources such as table lamps, candles or even the light from a computer, iPad or iPhone.
7. Photograph Shadows
Shadows are enormously appealing, especially when we can’t see the source of the shadow itself. With just the shadow in the frame, the viewer is left intrigued, wondering the true nature of what created this two dimensional representation of a three dimensional object.
A shadow is created whenever your subject is positioned between a light source such as window light, and a solid object such as a wall or floor. Here I photographed the shadow of a bottle against a plain white wall. Other reflections are causing the interesting light patterns across the shadow.
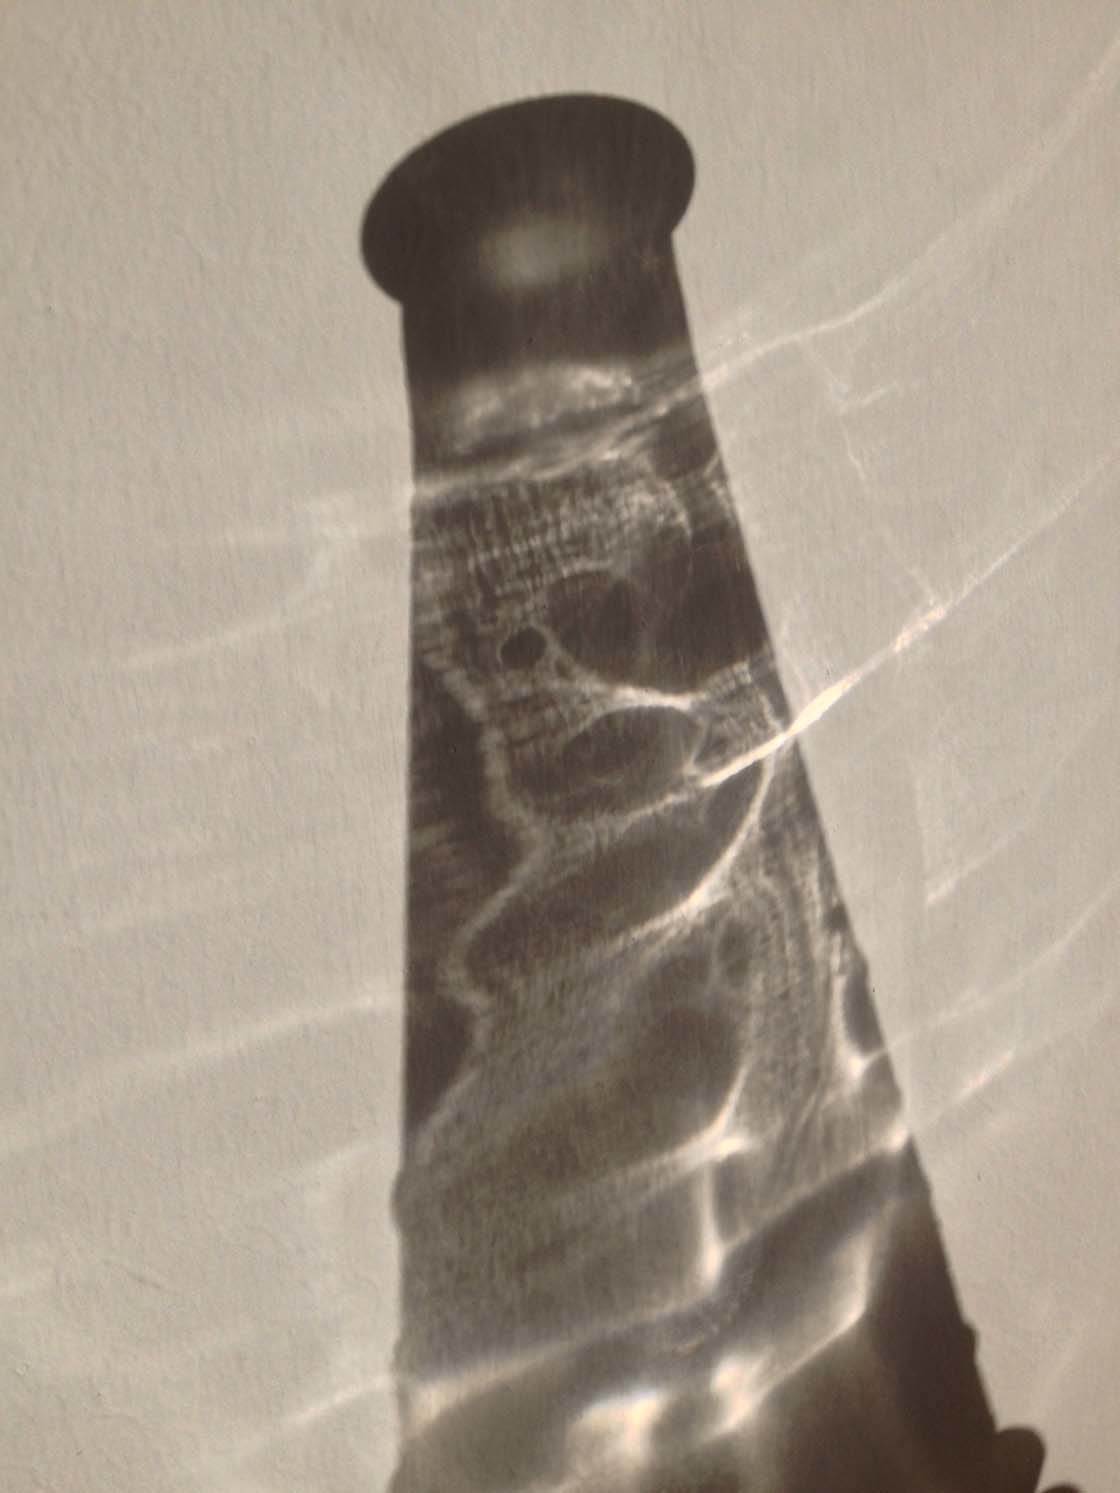
In certain situations you may not have a choice about the surface your shadow falls onto, but if your subject can be moved, consider what would be the most suitable surface to receive your subject’s shadow. A plain background is usually best in order to give the shadow dominance in the picture.
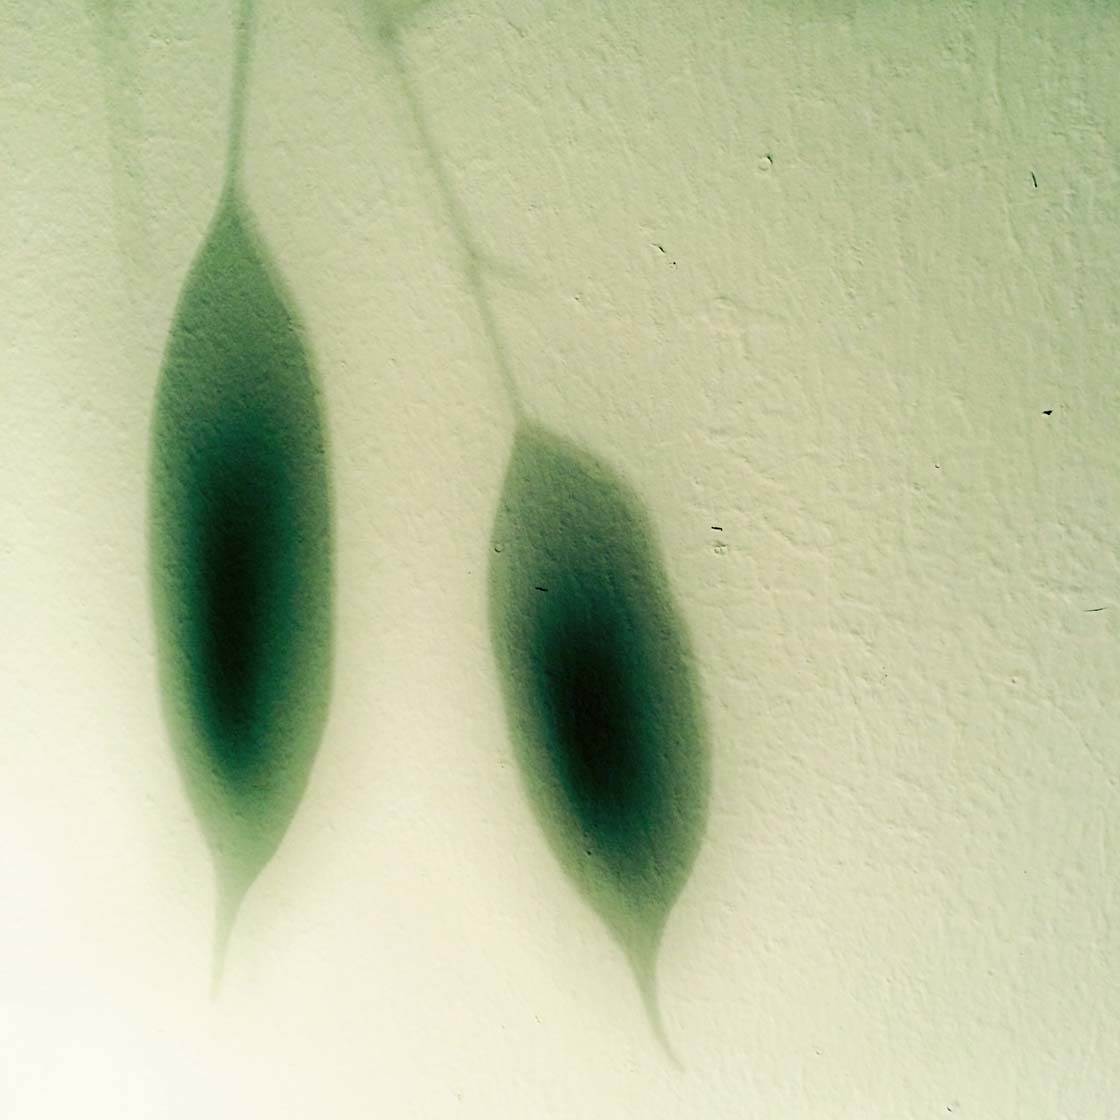
Here’s a photo of the shadow of leaves from a houseplant. This time the light source was a small table lamp which happened to be near this plant in a dark corner of the room.
What’s I particularly like about this picture is that the color of the leaves showed up quite vividly in the shadow, which was further enhanced in post-processing using the color saturation setting.
8. Photograph Artificial Light
Of course, natural daylight isn’t the only source of light in your house, so don’t be afraid to close the curtains and turn on some lamps, or even light some candles, to illuminate your subject. Often the sources of light can become the subject themselves!
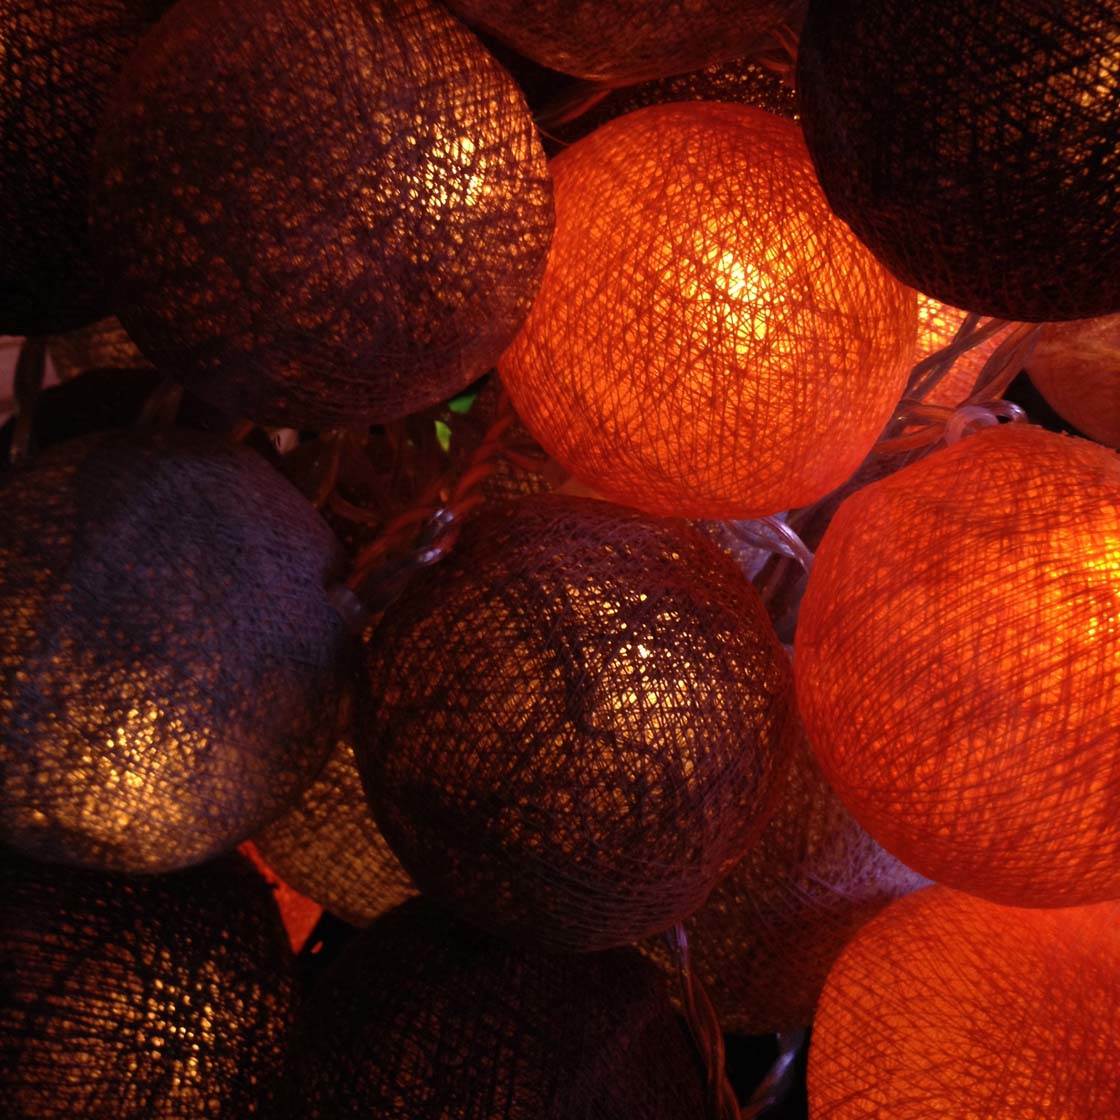
This first photo is of a string of decorative lamps which when bundled together create the look and feel of embers or coals glowing in a fire. The color and shape of the lights make a beautiful subject, especially when shot close enough to fill the entire frame.
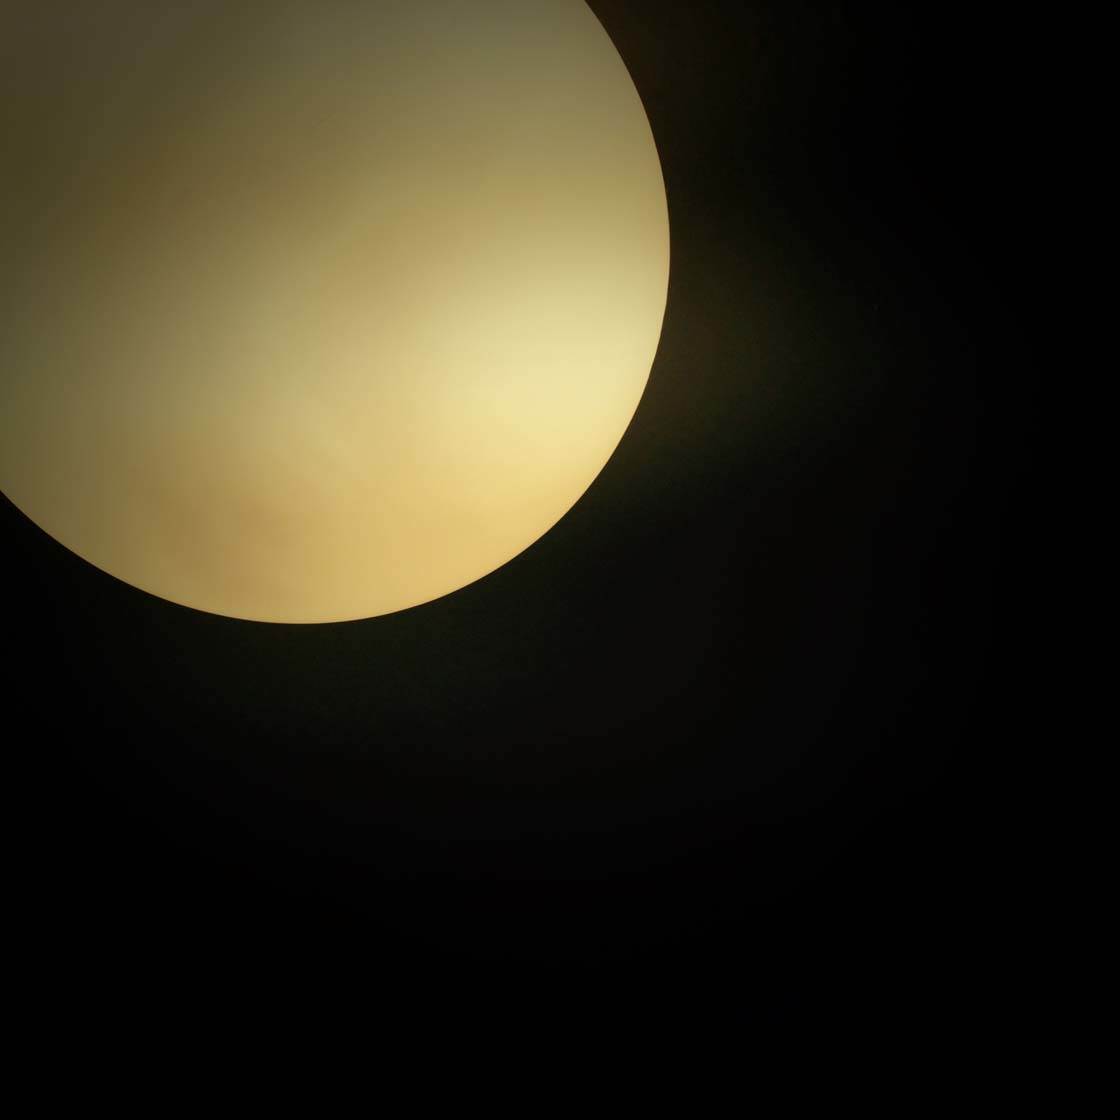
This photo looks like the moon in a night sky. But it was actually taken in my house, looking up at a perfectly spherical glass lamp shade. I set the exposure for the lamp so that it wasn’t over-exposed, and I used a hint of vignette in post processing to make the “moon” look more three dimensional and spherical.
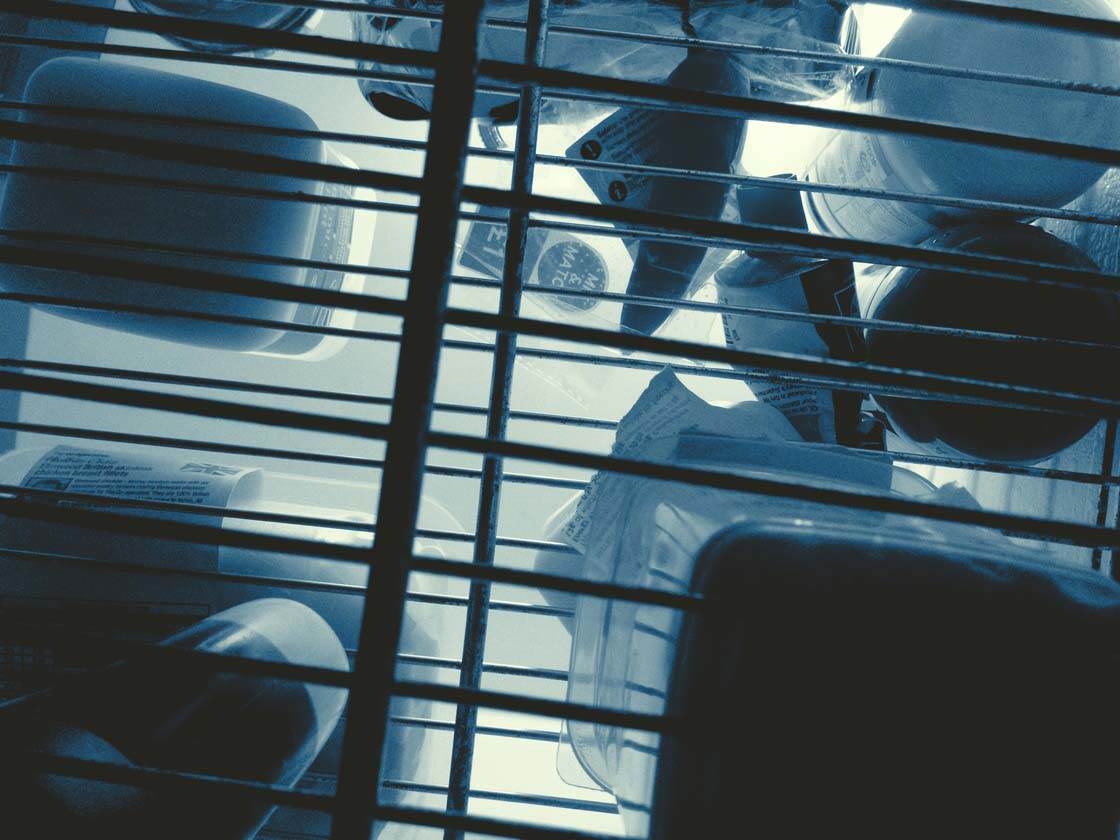
Even the refrigerator has a light bulb inside. Here I lay my iPhone on the bottom shelf and shot upwards through the other shelves, showing an everyday household object from a unique angle.
Photographing using artificial lights can sometimes be problematic as different light sources emit different colored light – somewhere between warm (orange) and cool (blue). Sometimes this adds to the overall mood of the photo, such as in the case of the cold blue color of the refrigerator light.
But other times it may have a negative effect, especially when there are several different colored light sources all competing with each other. However, apps like Snapseed and Camera+ offer color-correction tools which you can use to fix color casts afterwards.
9. Photograph The Outside From Inside
If you don’t like the idea of venturing out in the rain to take pictures, it doesn’t mean the outside isn’t photographable! It can be a fun challenge to see what interesting outdoor scenes you can photograph without actually leaving your house.
Here I spotted a double-rainbow across the valley and managed to photograph it from the protection of my own home.
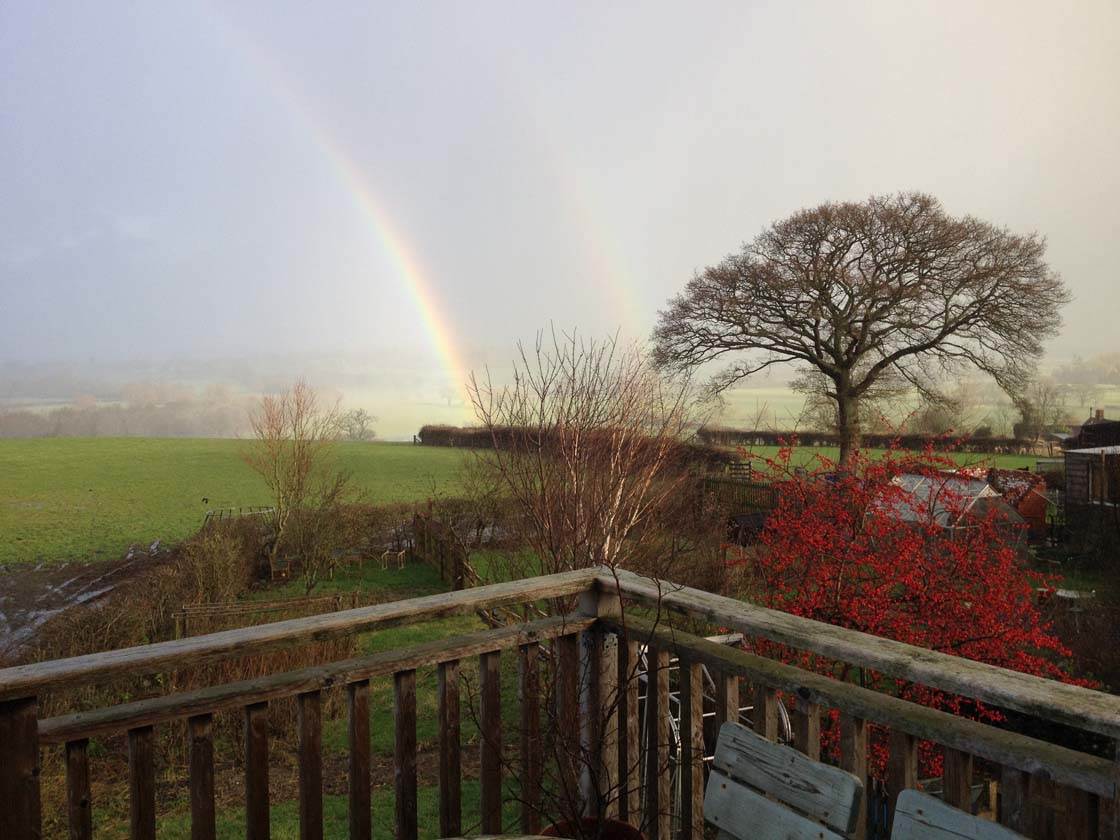
If possible, try to avoid shooting through window glass as it’s difficult to avoid capturing reflections in the glass. Ideally, shoot through an open window or door as I did in the above photo.
If you must shoot through window glass, try and ensure the glass is as clean as possible. You should also switch off any indoor lights which will reflect in the glass. And hold your iPhone close to the glass to minimize the chances of capturing a reflection of yourself.
It’s worth revisiting a potential photographic opportunity several times throughout the day. Perhaps something has changed that will give you an even better result – a more vivid rainbow, more sunlight, or a flock of birds flying past.
10. Photograph The Inside Of Other Buildings
If you’ve run out of ideas and inspiration in your own home, why not visit other buildings in your area? They often present new challenges and opportunities for the iPhone photographer.
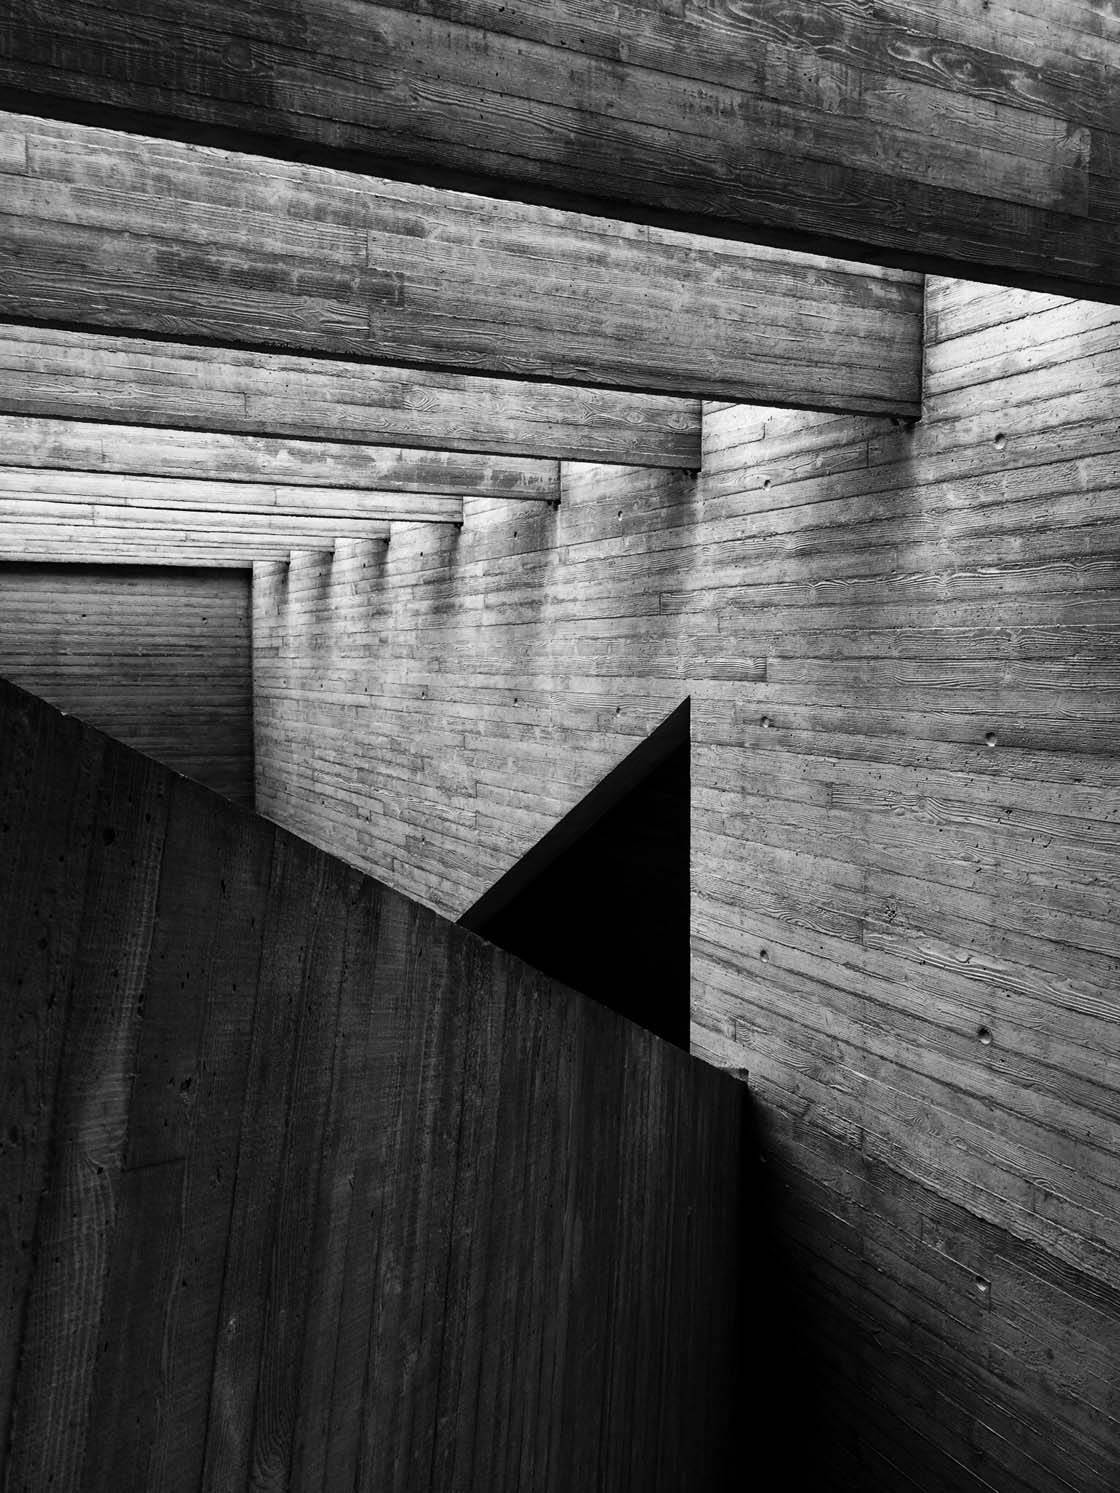
I recently visited a local art gallery and was awe-struck by the brutal architecture inside the building. The strong lines and angles, mixed with the contrasting light, makes a compelling picture.
Art galleries, museums, libraries, shopping malls, subway stations and other public buildings with interesting architecture all make great locations for photo opportunities when it’s too wet to shoot outside.
11. Venture Outside After The Rain
Once the rain has stopped, venture outside to capture some interesting photos with your iPhone. Why not try photographing a splash in a puddle? Get someone to jump into a puddle while you capture the splashing water droplets.
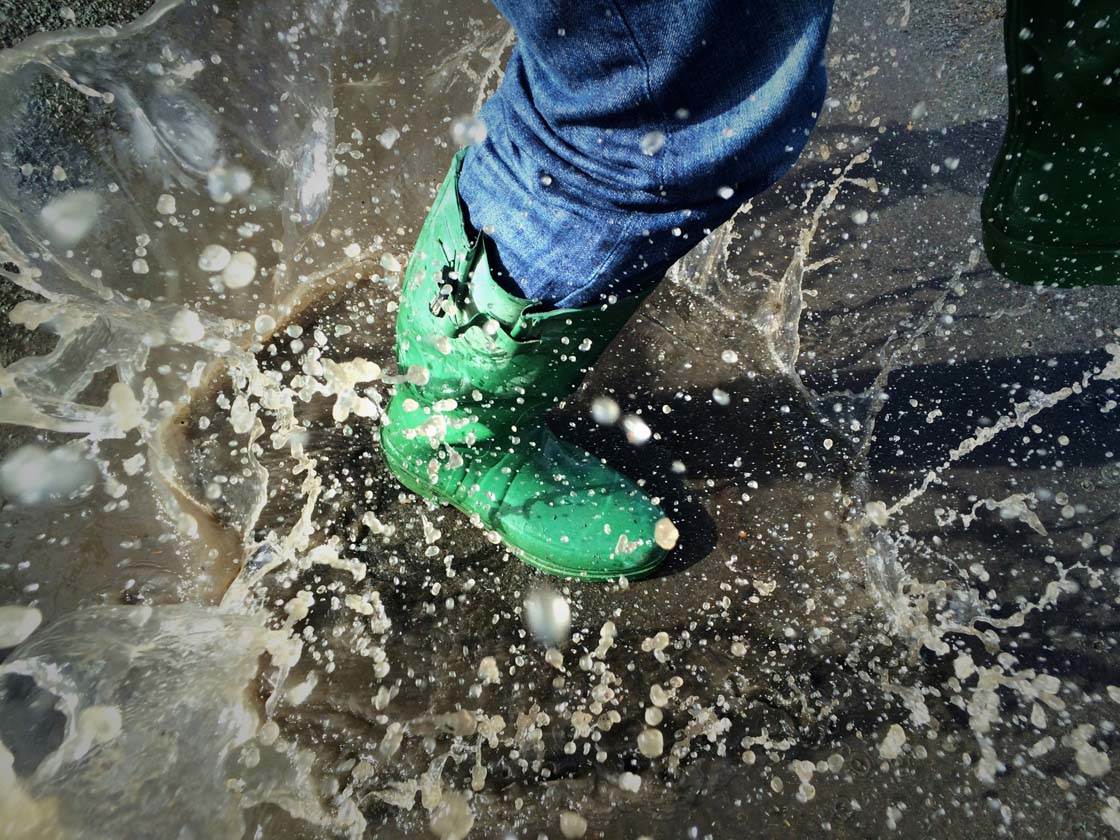
Timing is everything here, but with the iPhone’s burst mode you can simply hold down the shutter while your subject stamps their foot into a puddle. You can then choose the best images and delete the rest.
Be aware that your iPhone will likely get water on it when shooting this close to water splashes! So consider using a weatherproof or waterproof case such as the Lifeproof case for this kind of photography.
If it’s been raining heavily, you may find that water levels have risen so much that it’s caused flooding. In these situations you’ll often find things that normally look mundane will take on an otherworldly feeling when surrounded by high water.
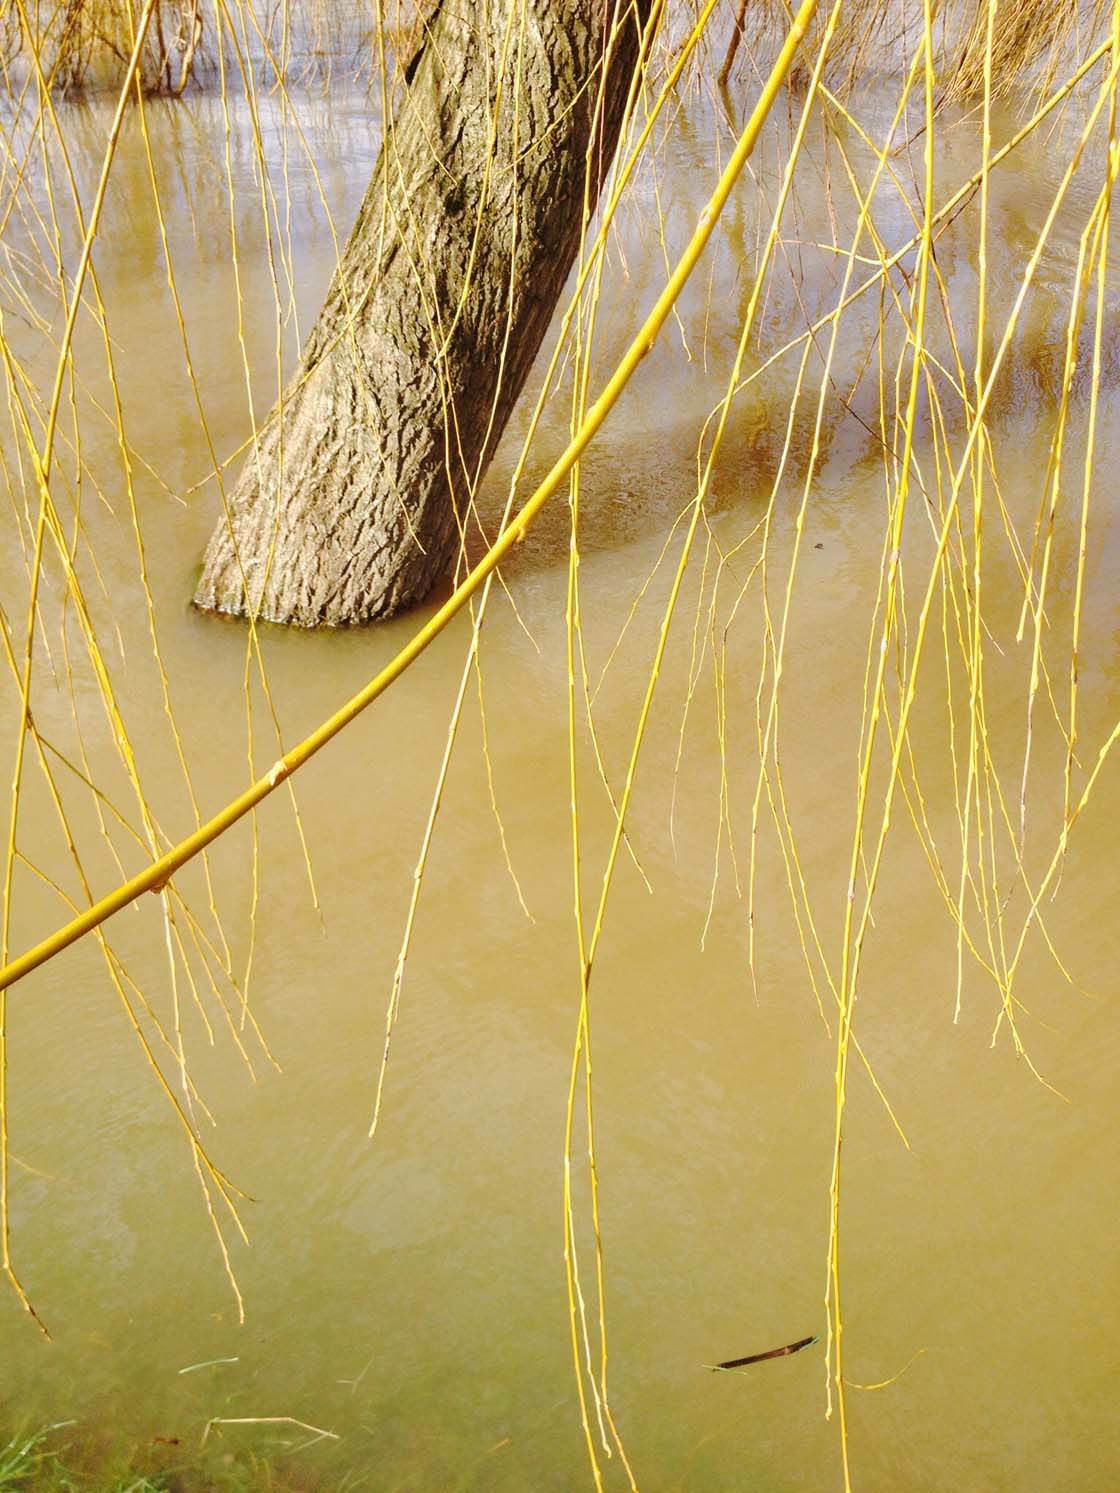
Flooding in my home town produced the mangrove swamp-like scenes that you see above, with tree trunks being partially submerged in the flooded river water.
Typically the rain gives everything a glistening sheen, which seems to bring out detail and color that might be less visible in dry, dusty conditions.
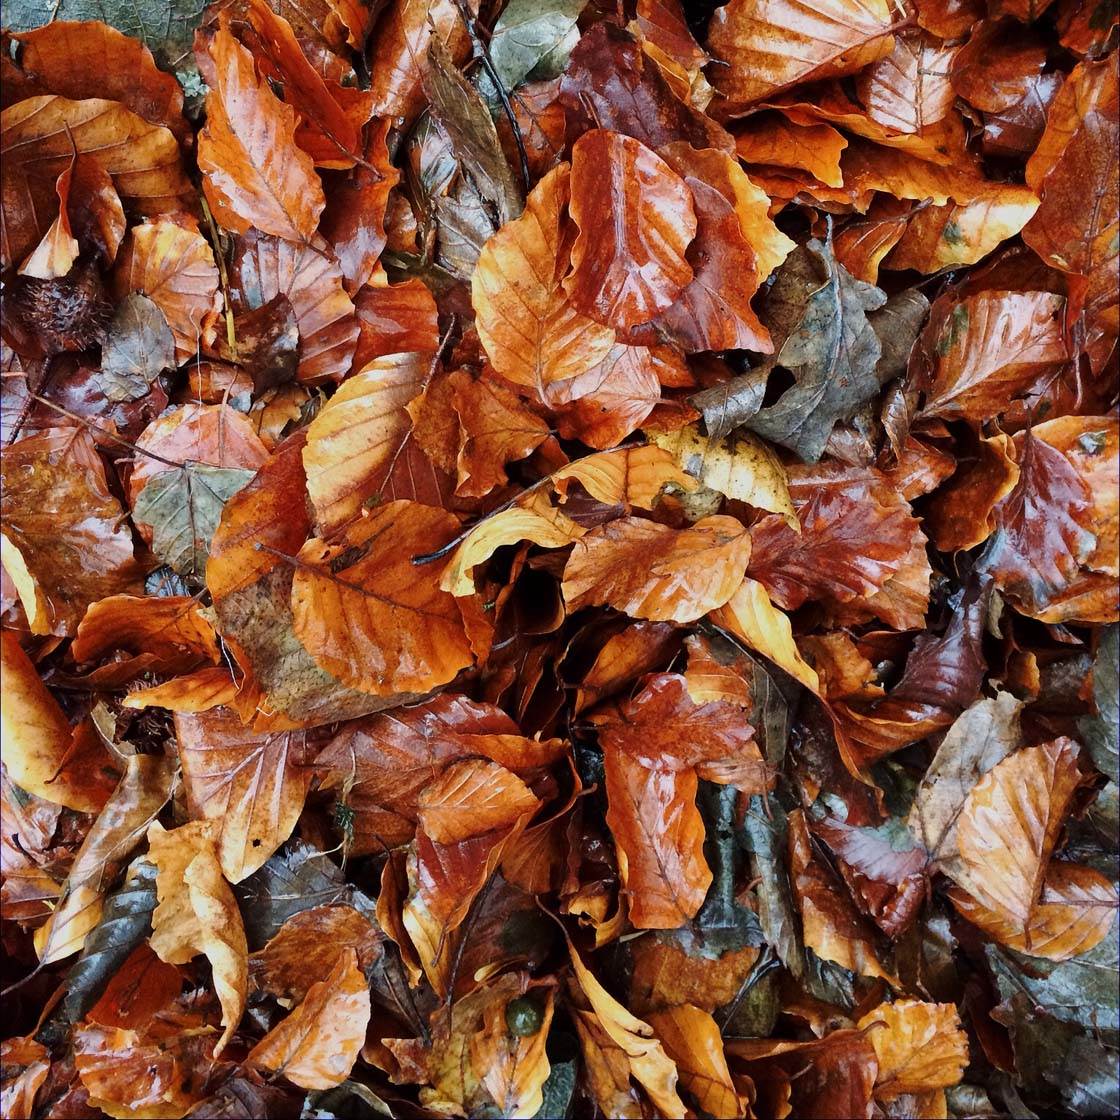
Here we see how the rain has brought out the incredible colors in these fallen leaves. The reflection of the light on the wet surface adds another dimension to the photo.
So once it’s stopped raining, get out there with your iPhone and see what amazing photo opportunities you can find!
12. Capture Puddle Reflections
Reflections in puddles offer great opportunities for taking stunning “puddlegram” photos. Look for puddles that are close to other objects, such as buildings or trees, so you have something to capture as a reflection in the water.
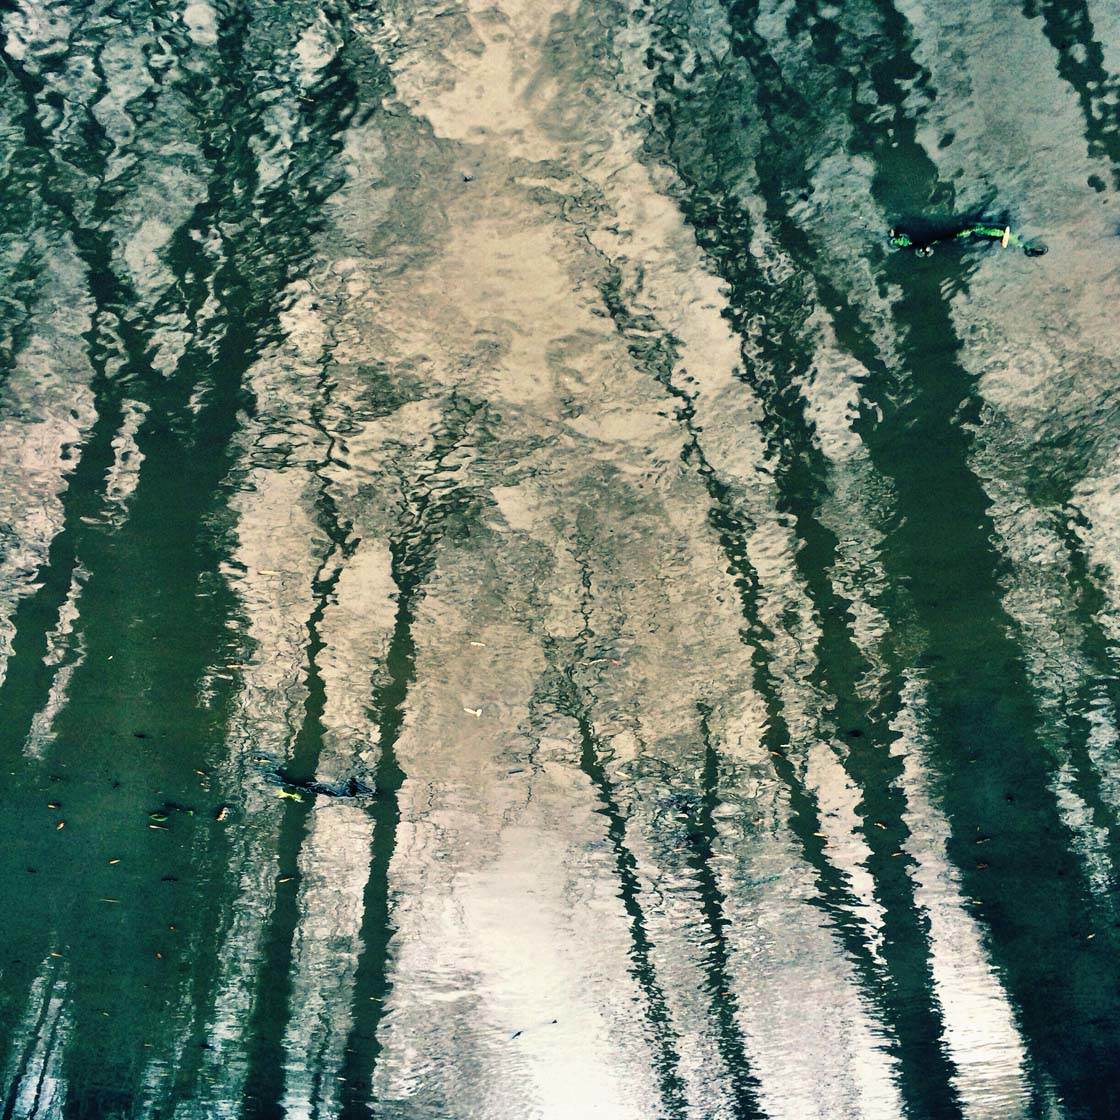
The photo above has been flipped vertically to have the trees growing vertically as we’d expect. This adds a strange sense of realism to an artificial effect. The slight ripples in the water create a beautiful painterly effect.
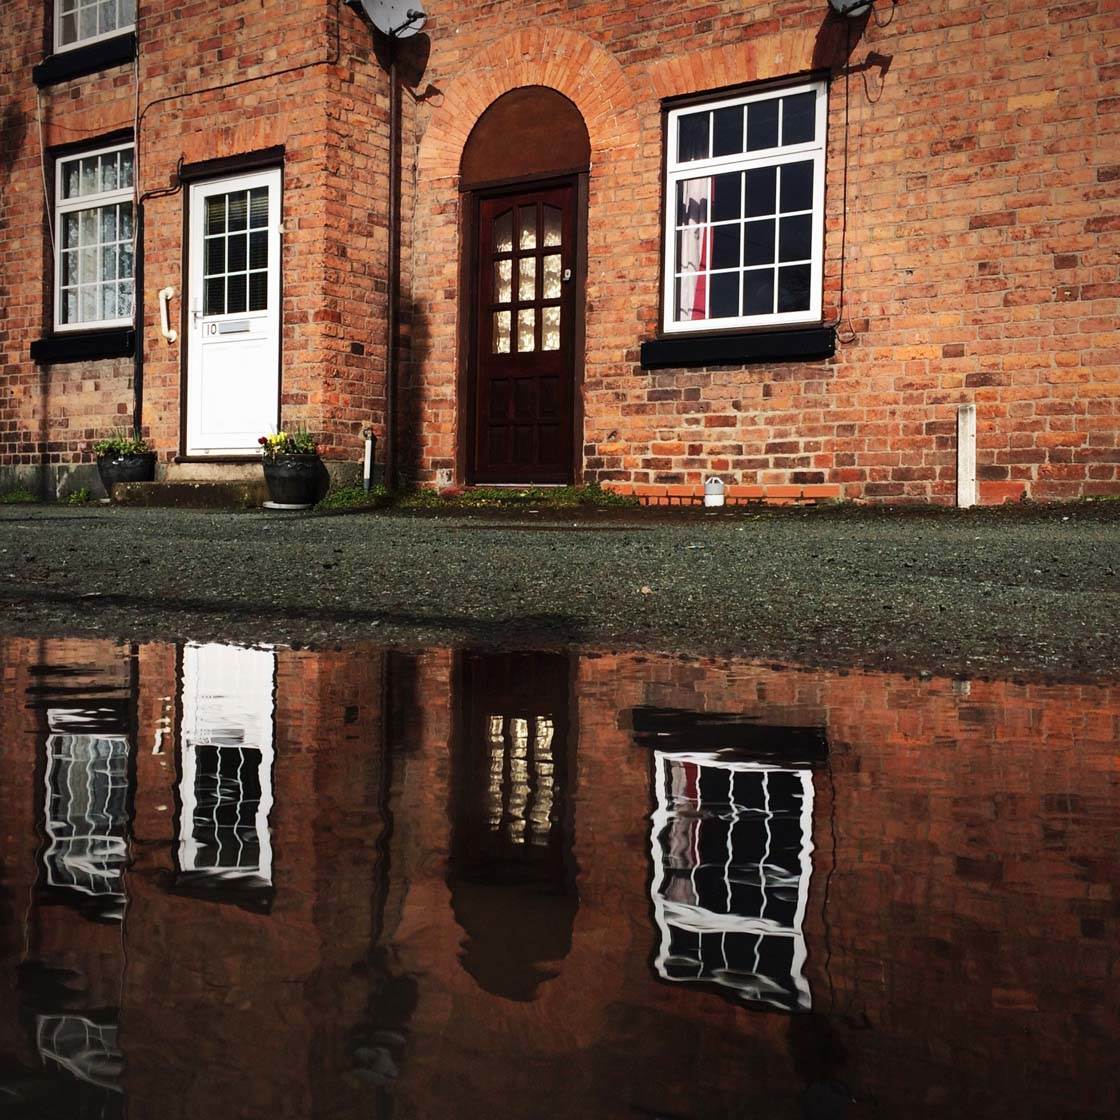
In this photo, the source of the reflection has been captured as well as the reflection itself. This creates powerful symmetry which provides a very strong visual impact. Flipping these kind of reflection images upside down can also create an intriguing photograph.
To capture this kind of puddle reflection photo you need to shoot from a very low angle in order to be able to get the background and the reflection into your frame. Try flipping your iPhone upside down to get the lens even closer to the ground. And make sure you don’t cast your own shadow over the puddle.
13. Find Water Droplets
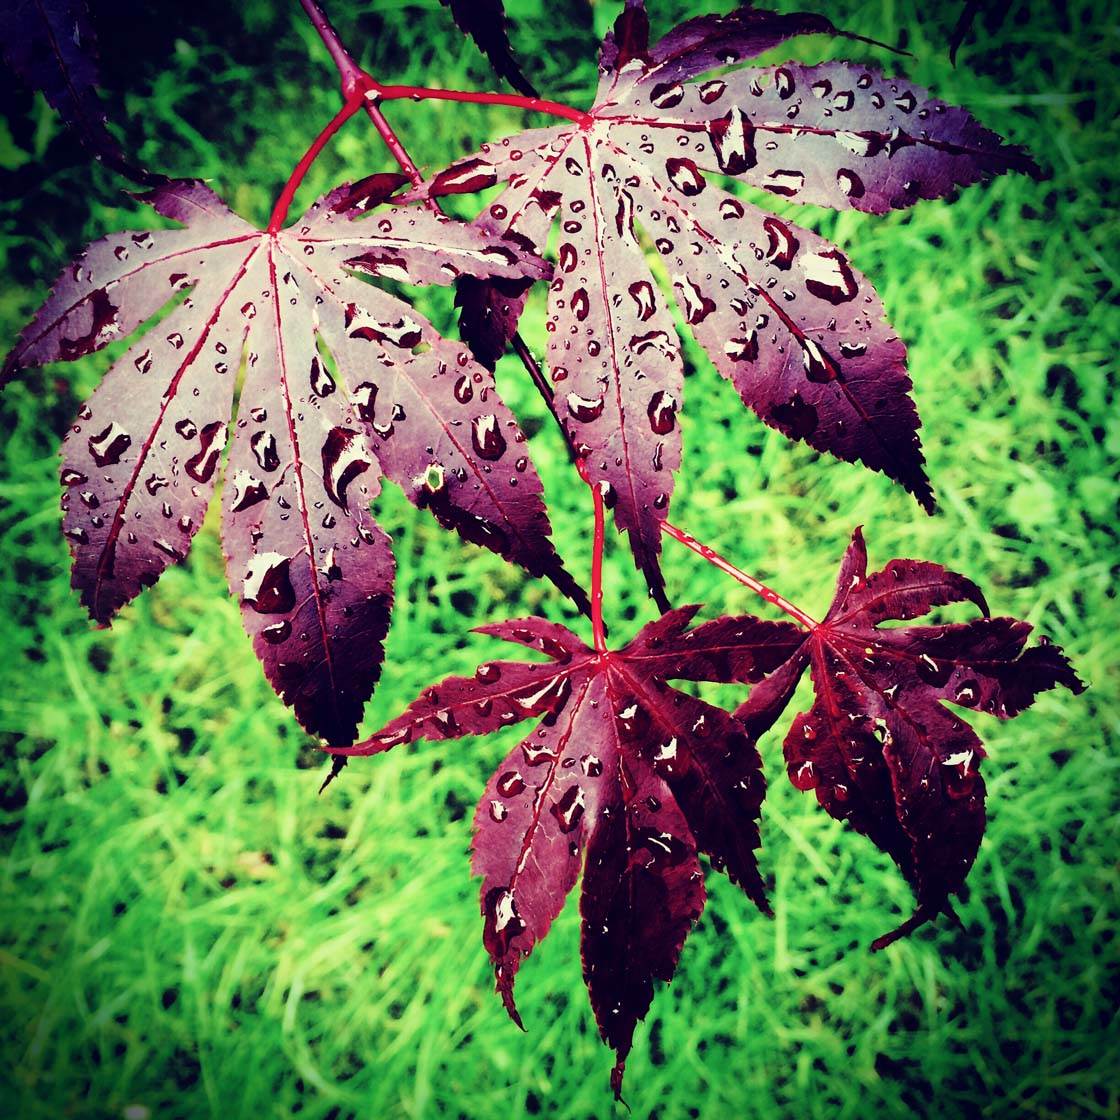
Finally, one of the best things about rain is that it covers everything in beautiful tiny raindrops. There’s something about rain droplets that really appeals to us. They’re like the catchlights we see in people’s eyes, but we find them in non-human subjects.
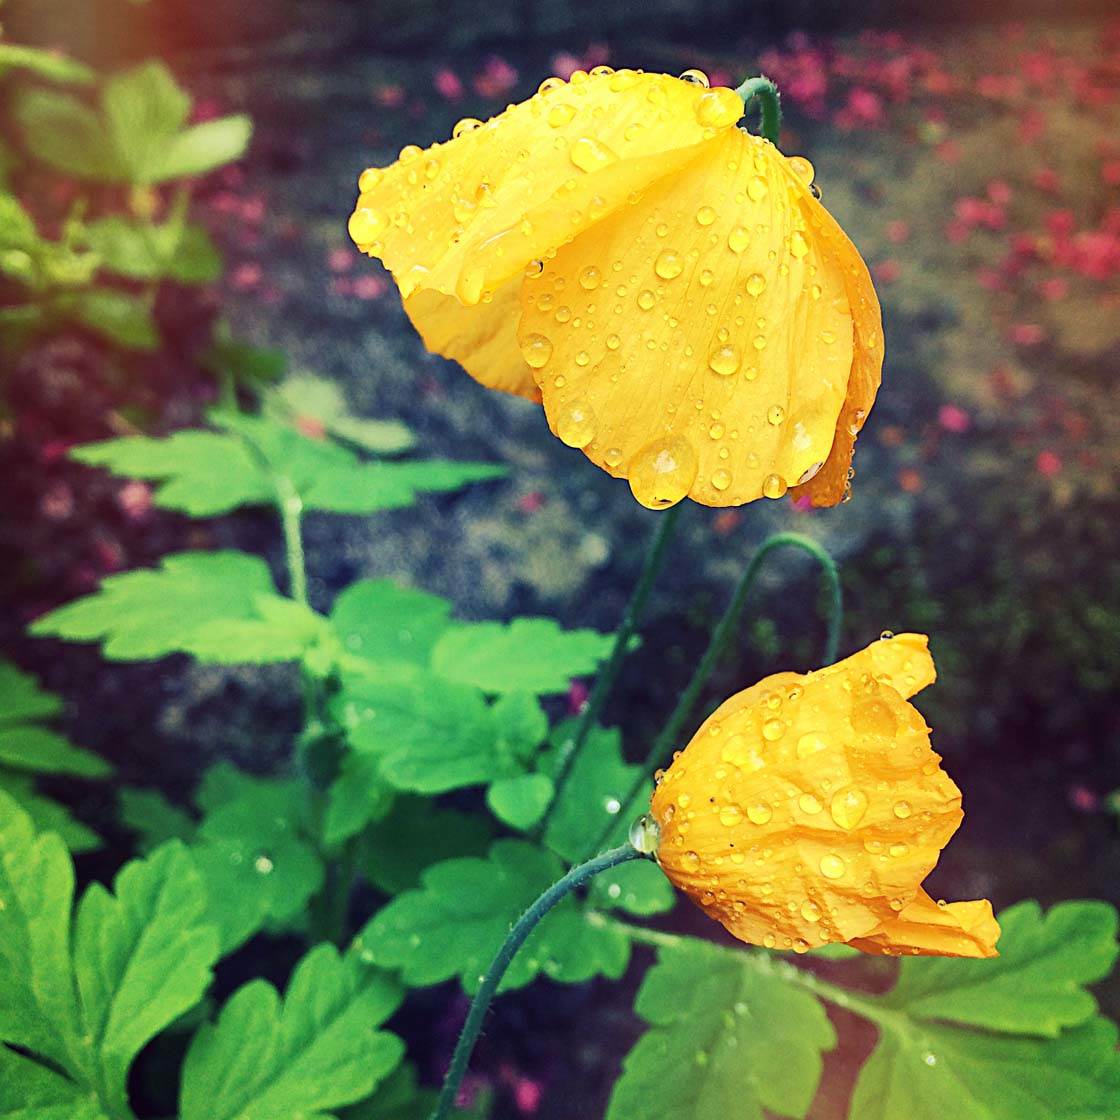
Leaves and flowers are especially good places to photograph water droplets. They seem to add a crispness and freshness to a photograph that might otherwise be missing. And the sparkly highlights really catch your eye.
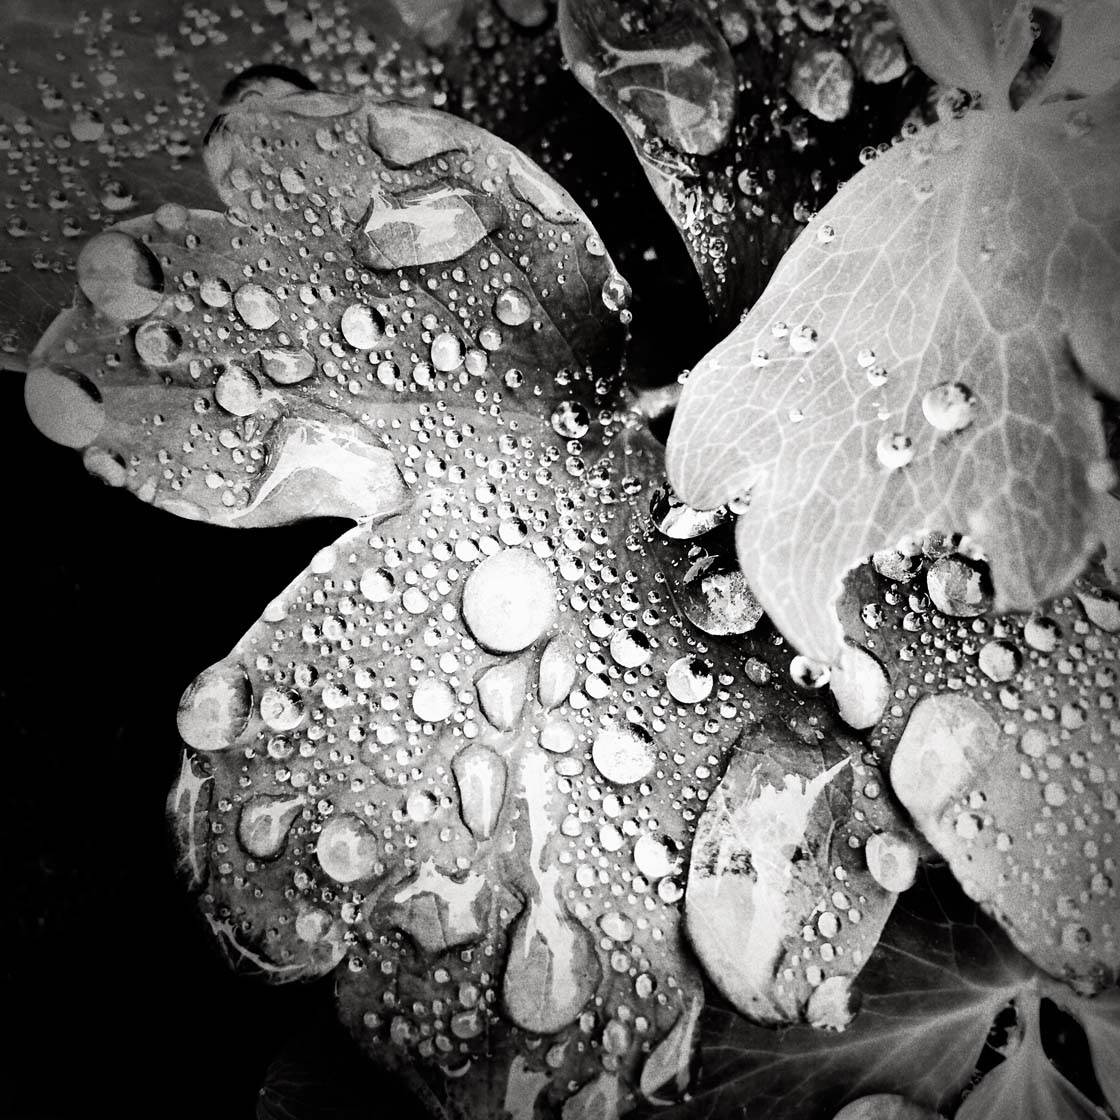
To get best results, ensure you focus on at least one of the rain droplets so that it appears in sharp focus. And adjust your exposure manually if necessary, by swiping up or down on the screen, to avoid the highlights from becoming too over-exposed.


I went and grabbed a plant and a lamp right away to create a still life. Worked out pretty good. Thanks for the tips!
Great! I’m glad you found it useful.
Great ideas, thank you