Capturing shadows in your iPhone photos is a great way of creating visual interest, mystery and intrigue. The rich contrast created by shadows often adds to the mood of an image and helps to highlight important components within the scene. In this tutorial you’ll discover nine great shooting and lighting tips to help you create more captivating shadow photos with your iPhone.
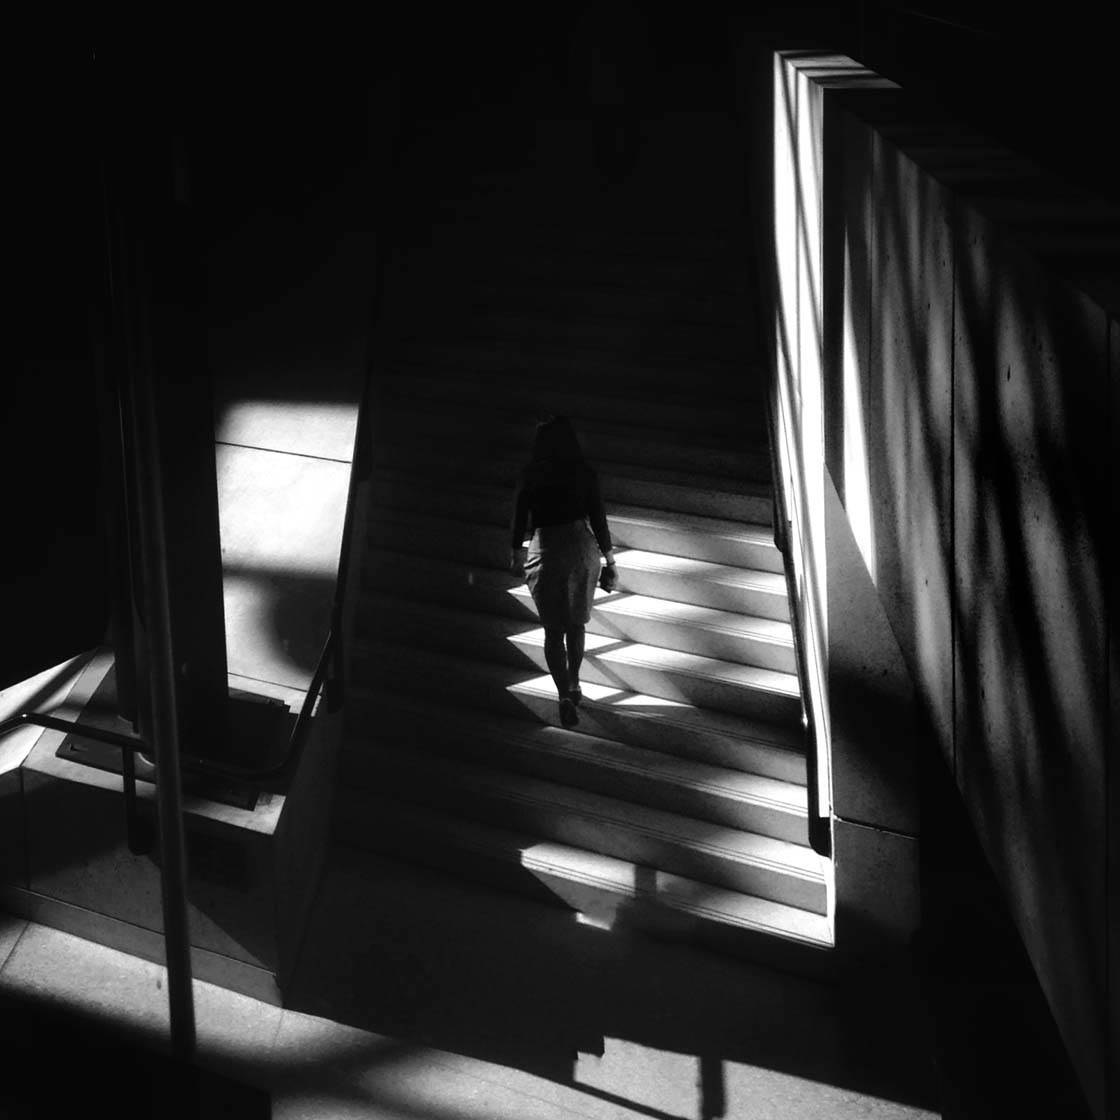
1. Shoot In Harsh Light
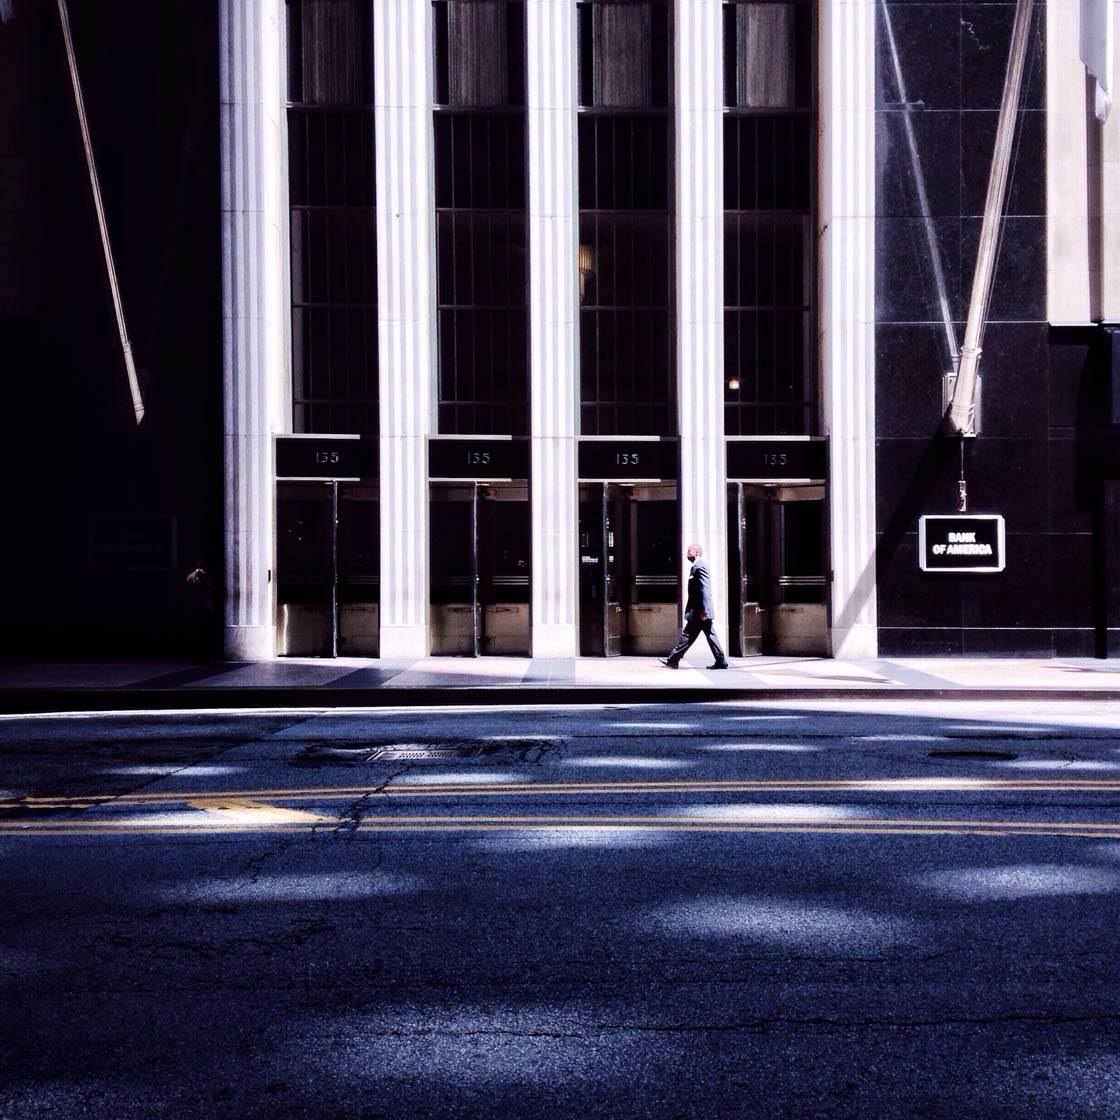
We’re often taught to avoid taking pictures in sunny conditions as the harsh light has a tendency to ruin photos. However, you can capture some of the most dramatic shadows if you shoot in strong sunlight.
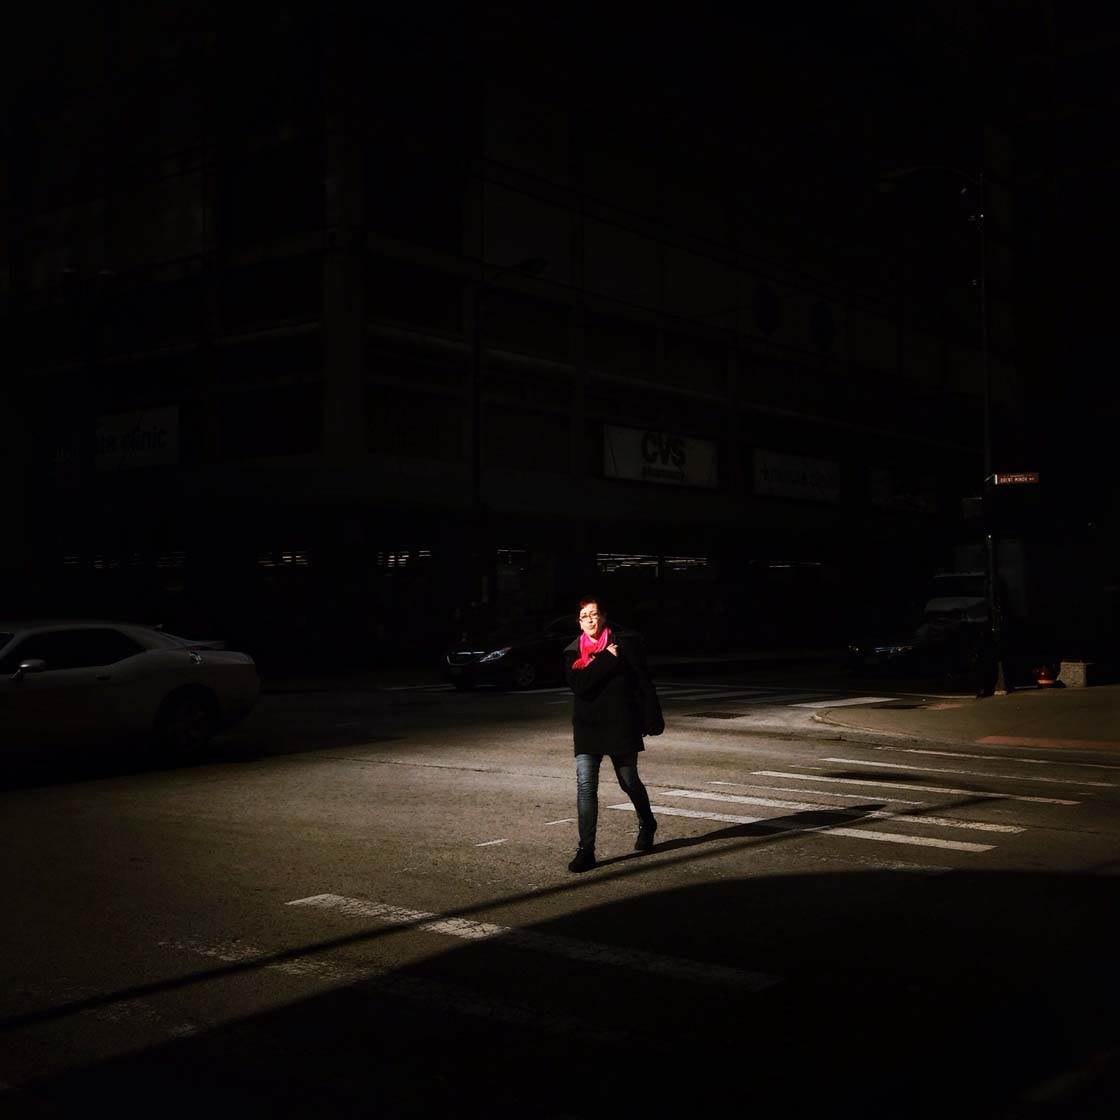
These lighting conditions are the perfect opportunity to capture harsh shadows that provide lots of darkness and create strong contrast within the image. Buildings are great for casting huge shadows onto street scenes.
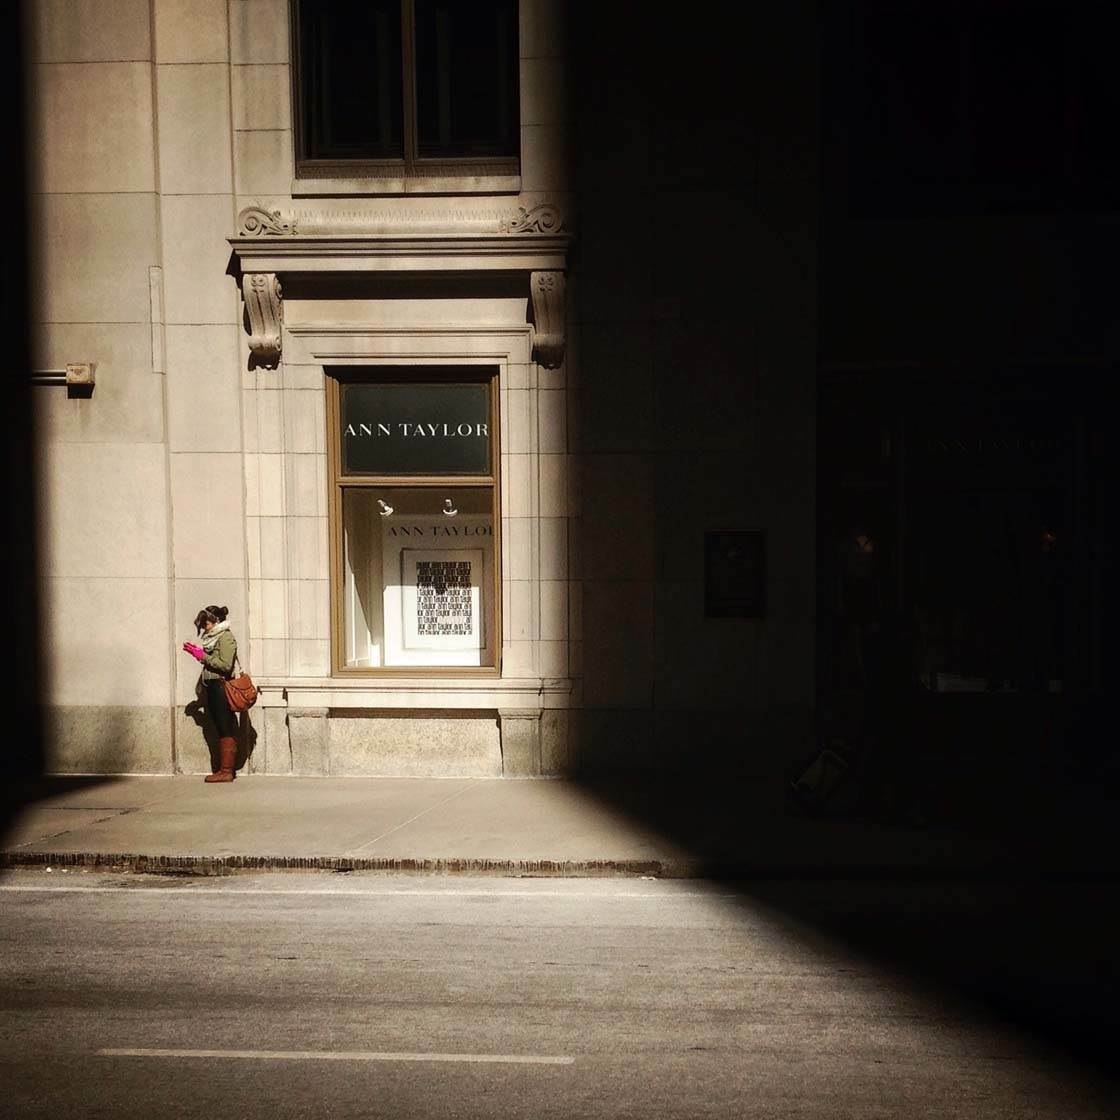
These deep shadows can help to provide the photo with a great focal point by creating illumination in only certain parts of the photo. This works especially well if the subject is well isolated from the darkness.
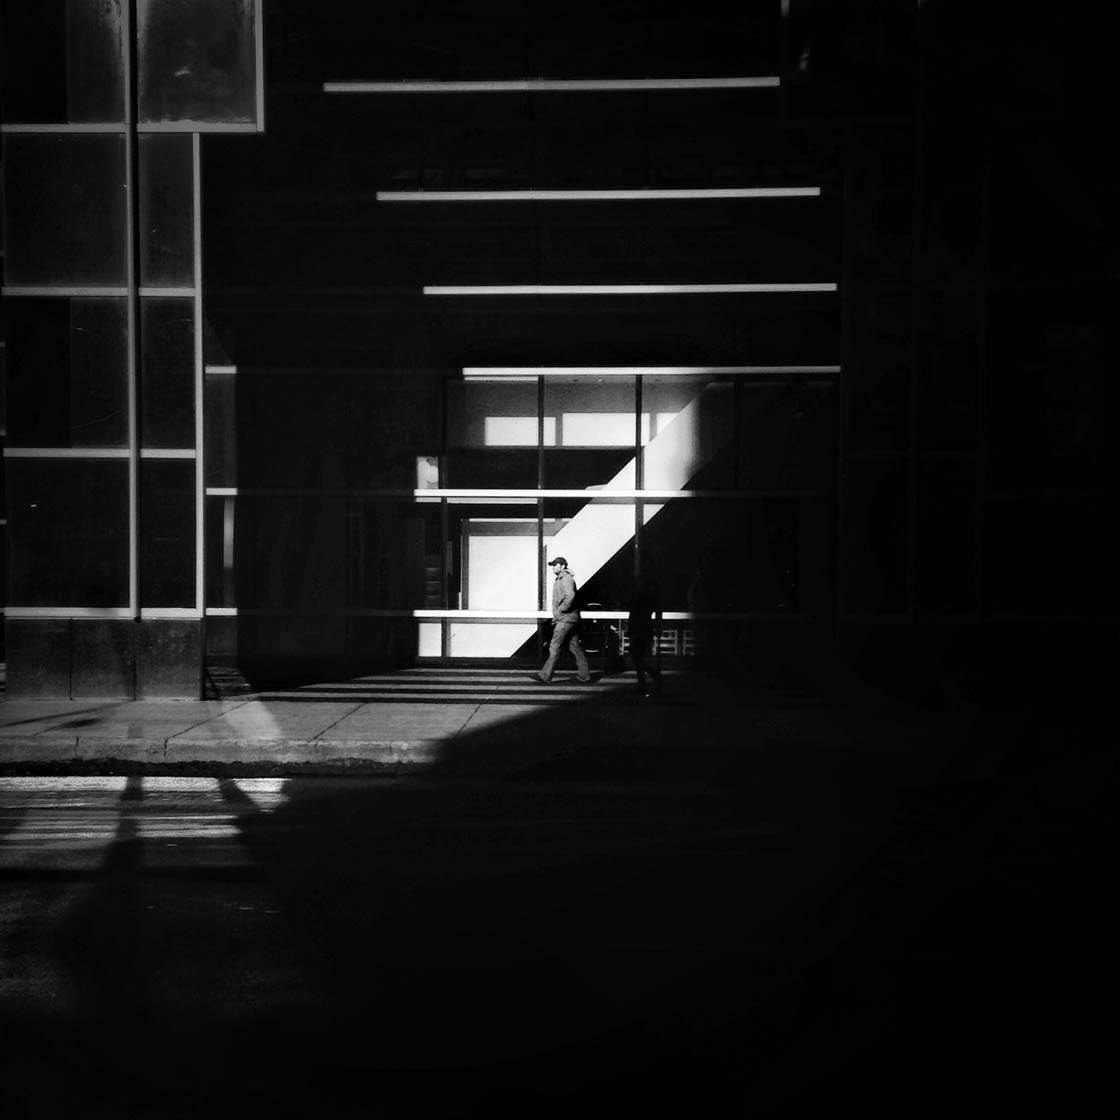
These kind of photos look incredible in black and white as it intensifies the contrast between light and darkness, helping to illuminate the subject. It’s usually best to under-expose in these conditions as this allows you to create the most dramatic shadow-play photos with very dark areas in the scene.
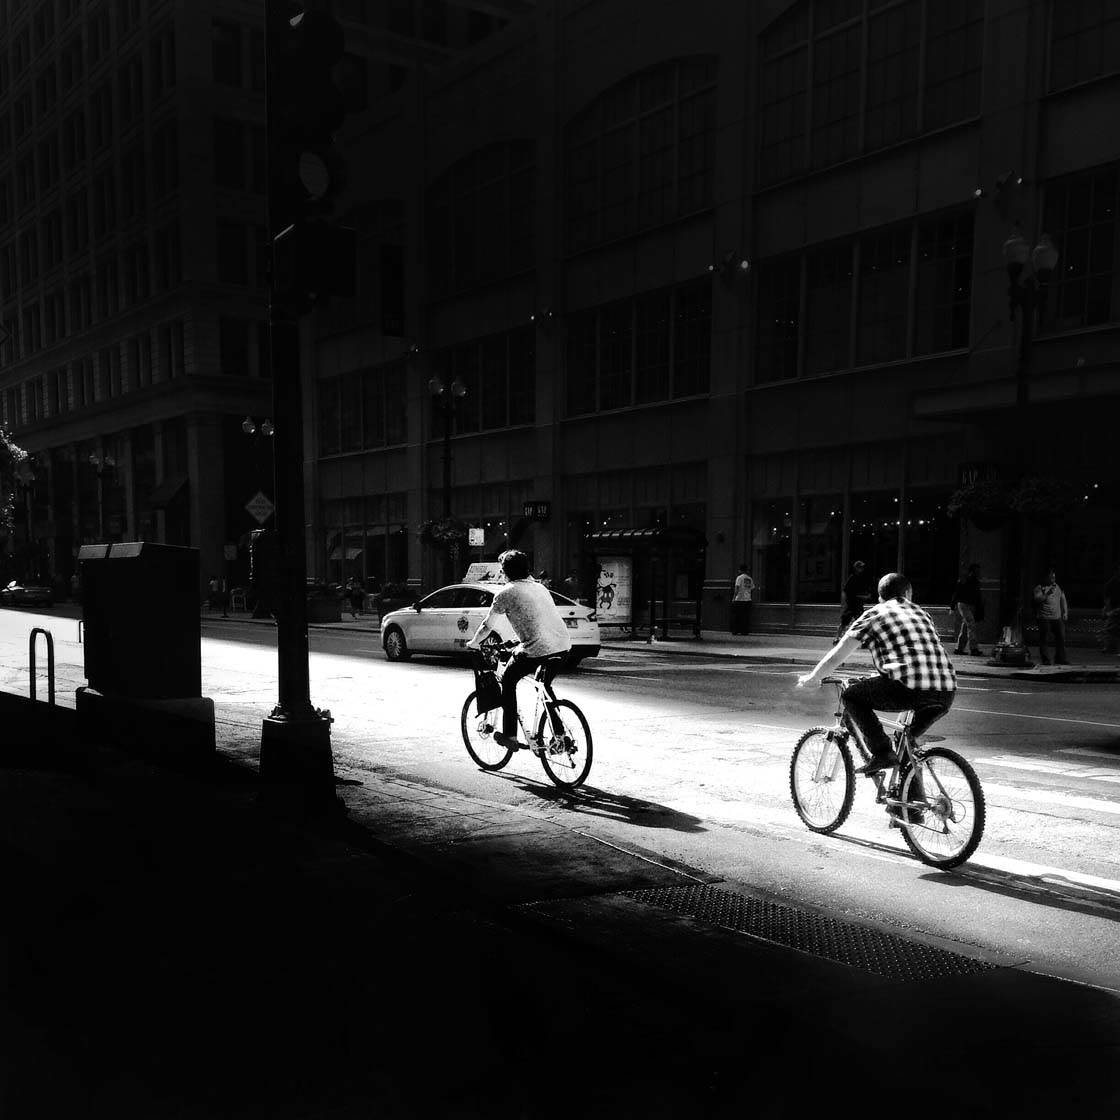
Another tip is to enhance some of the already powerful elements in the photo using editing apps. The selective adjust tool in the Snapseed app is great for further darkening the shadowed areas and brightening the lighter areas. Increasing contrast in this way can help make your subject appear more defined in the photo.
2. Shoot During Golden Hour
Golden hour, which is the hour after sunrise and the hour before sunset, is another good time for capturing shadows. When the sun is low on the horizon, you’ll notice very long shadows because of the angle of the light.
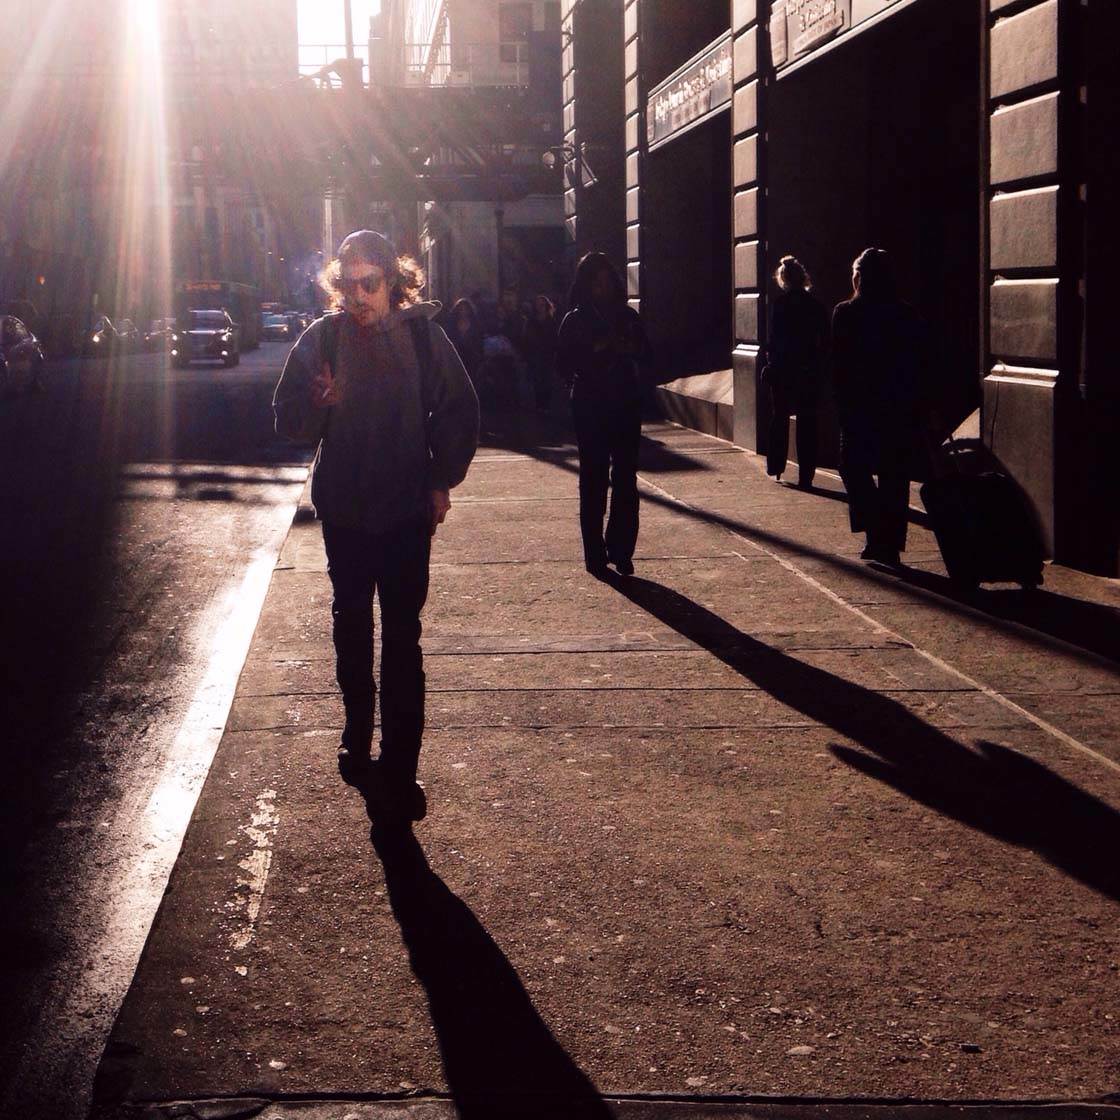
If you’re facing the sun, you can use the long shadows in front of your subjects to add foreground interest and create a sense of depth in the image.
The light during golden hour creates a completely different mood to shooting in harsh midday sunlight. During golden hour the light is soft and warm, and there tends to be a bit less contrast in the photo.
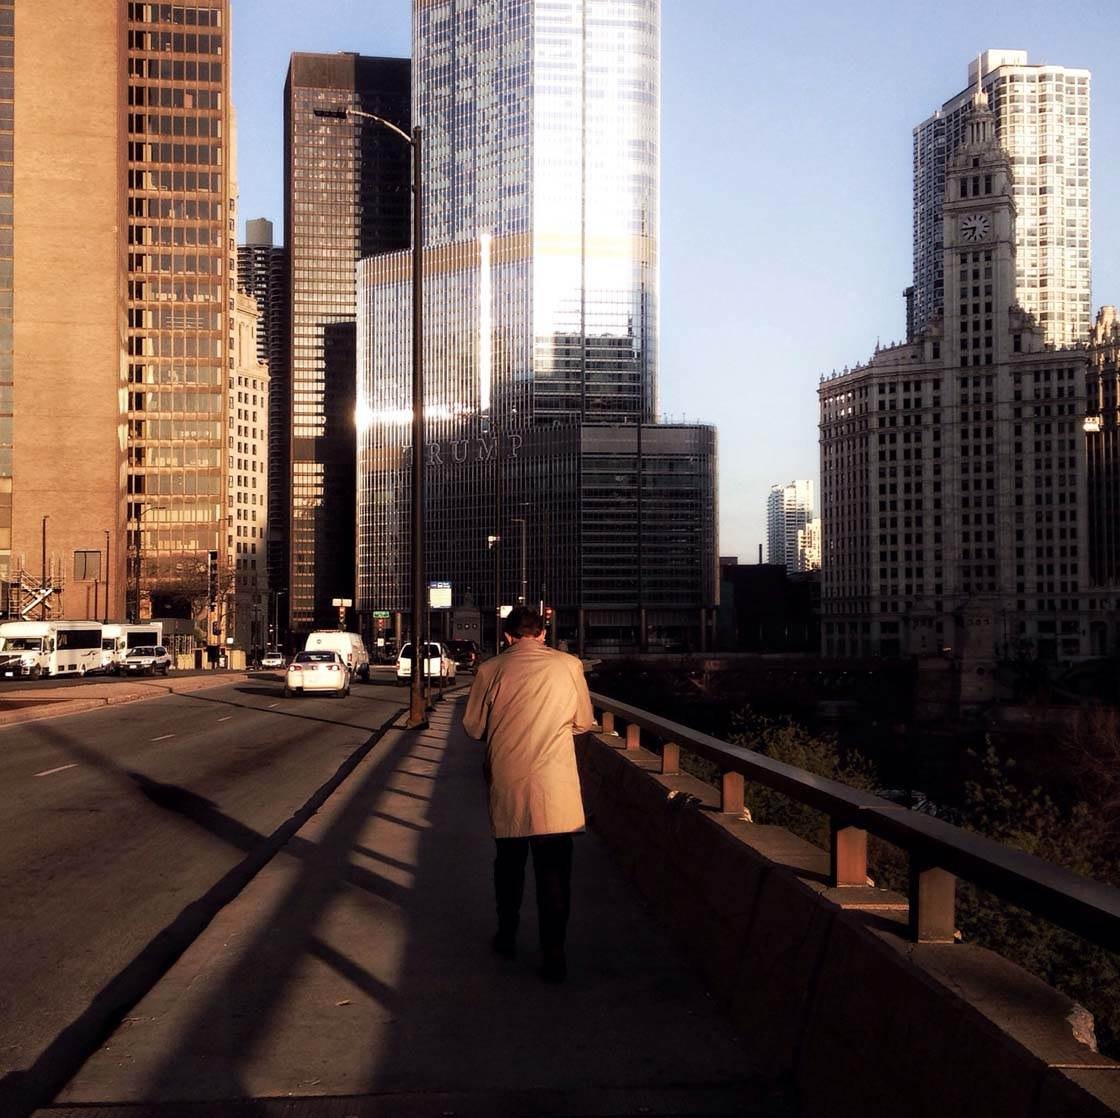
Try to use color coordination to your advantage during golden hour. The copper tones of this man’s coat and the building in the background makes the warm golden light even more visually appealing. Because the colors complement the light, they don’t draw too much attention from the shadows.
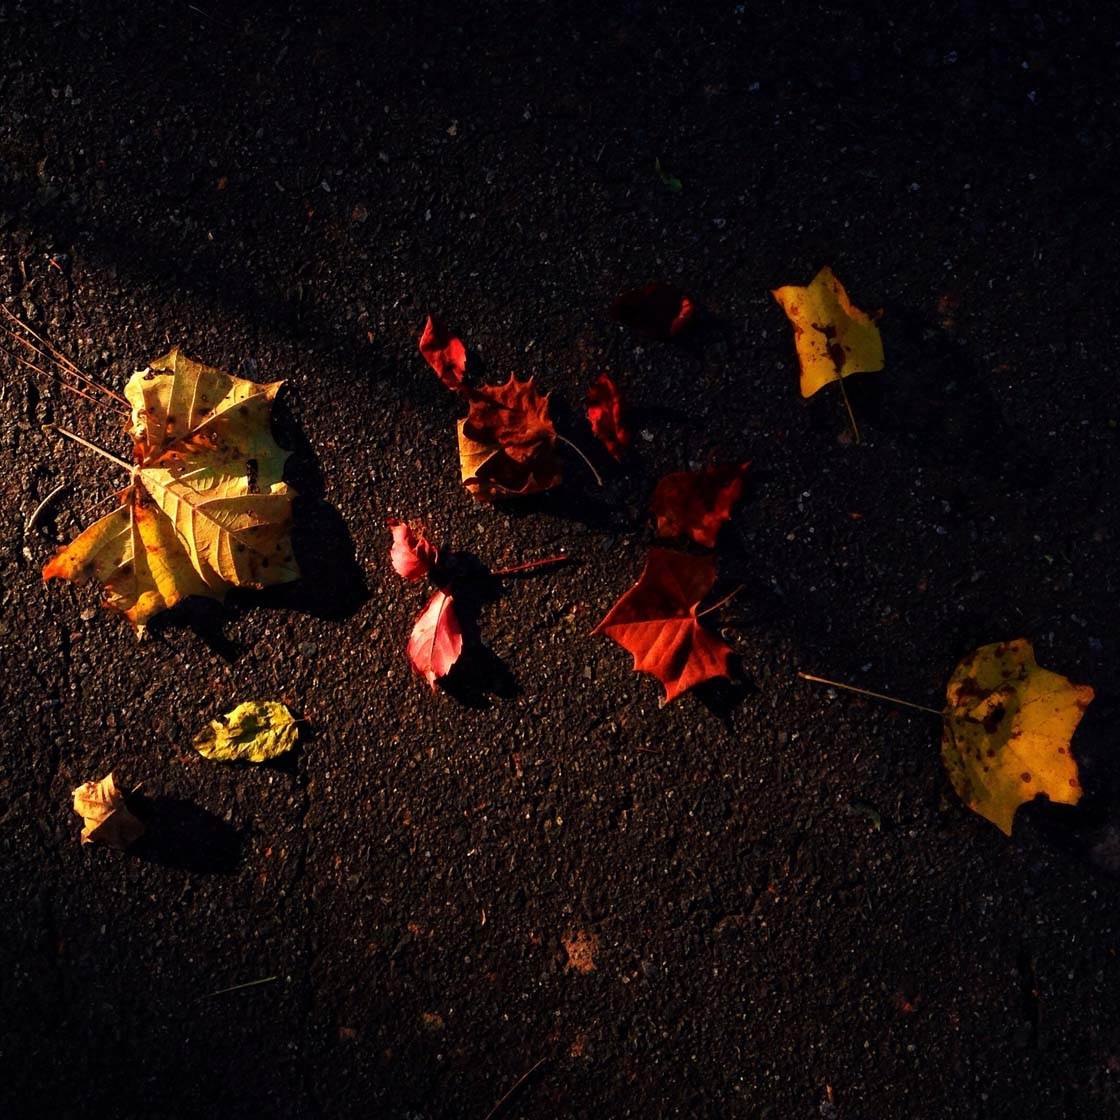
The subtle shadows in this image provide a melancholic feeling, and the vibrant colors of the leaves complement the warm glow of golden hour.
3. Look For Interesting Patterns
Shadows can create wonderful patterns on walls, the ground and other surfaces. Look out for geometric shadow patterns created by railings, windows and other architectural elements.
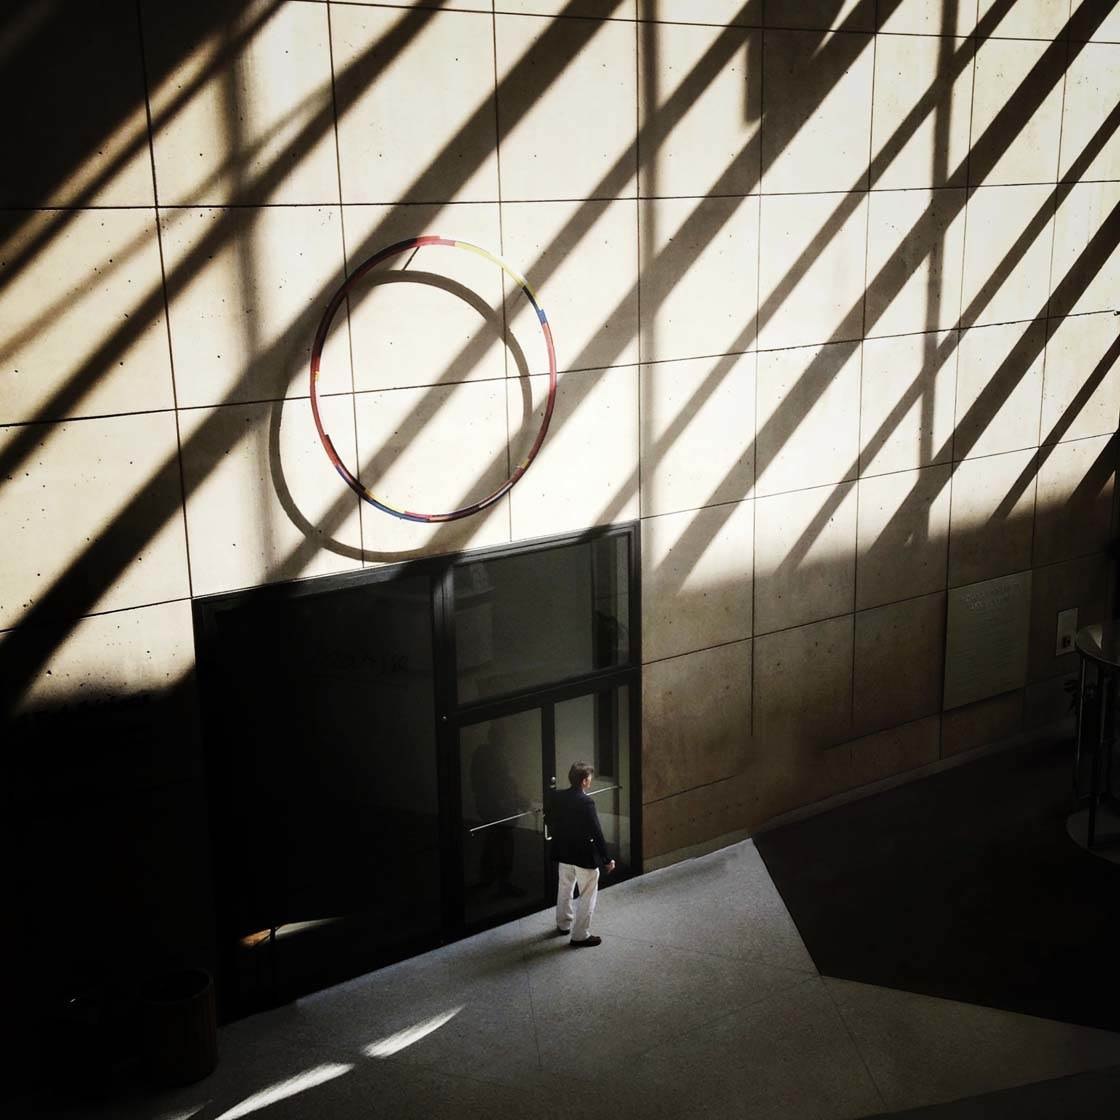
There are endless possibilities with all sorts of different shapes and lines being projected as shadows. When you spot a shadow pattern in a good location, try to return to these places at different times of the day and observe changes in the way the shadows are cast.
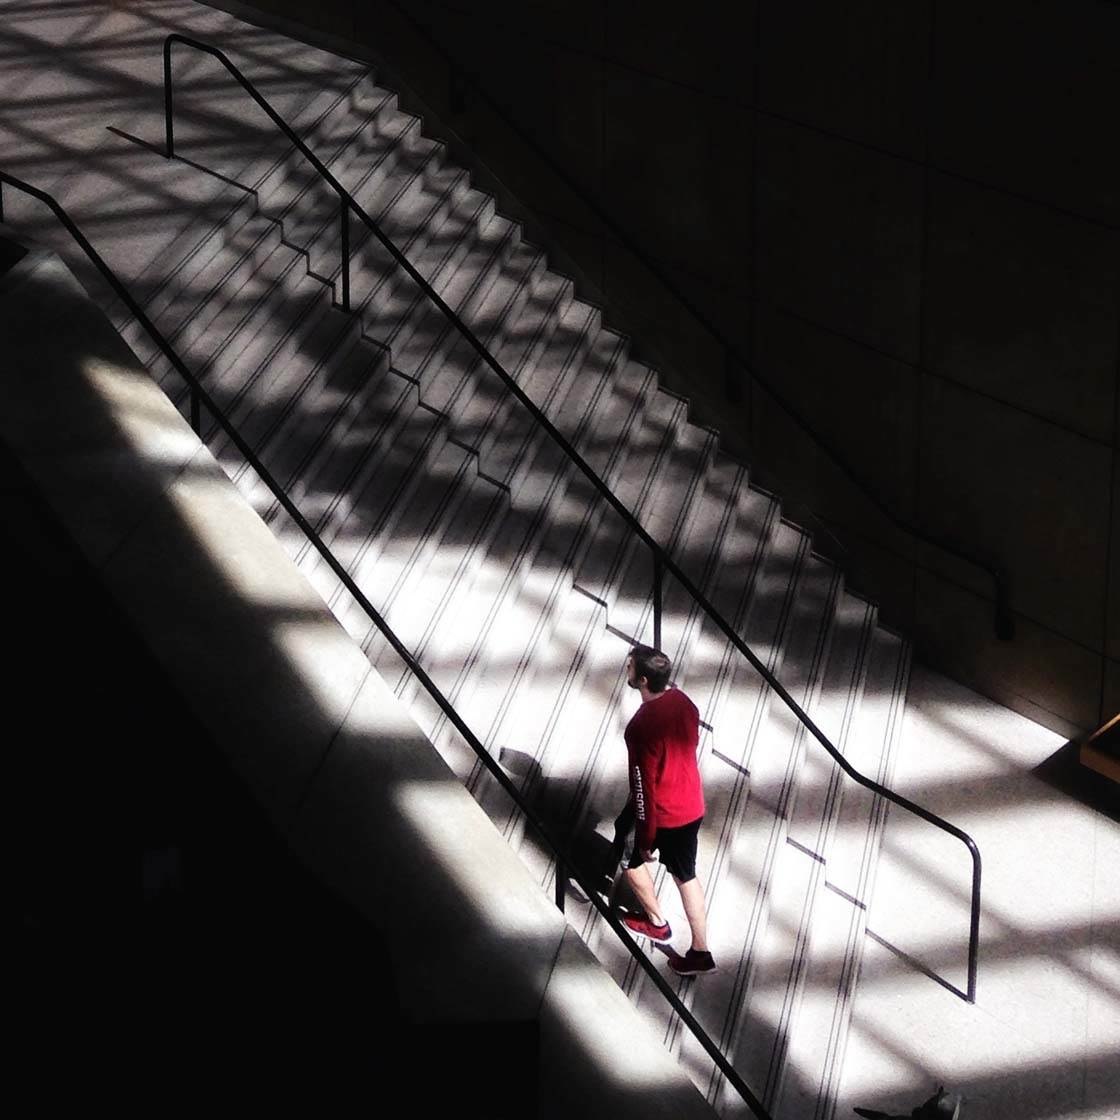
The strength of the shadows and the patterns they create will be different depending on the angle of the light and how strong the sun is. With some practice, you’ll start to get to know the best times of day for capturing great shadow patterns in certain locations.
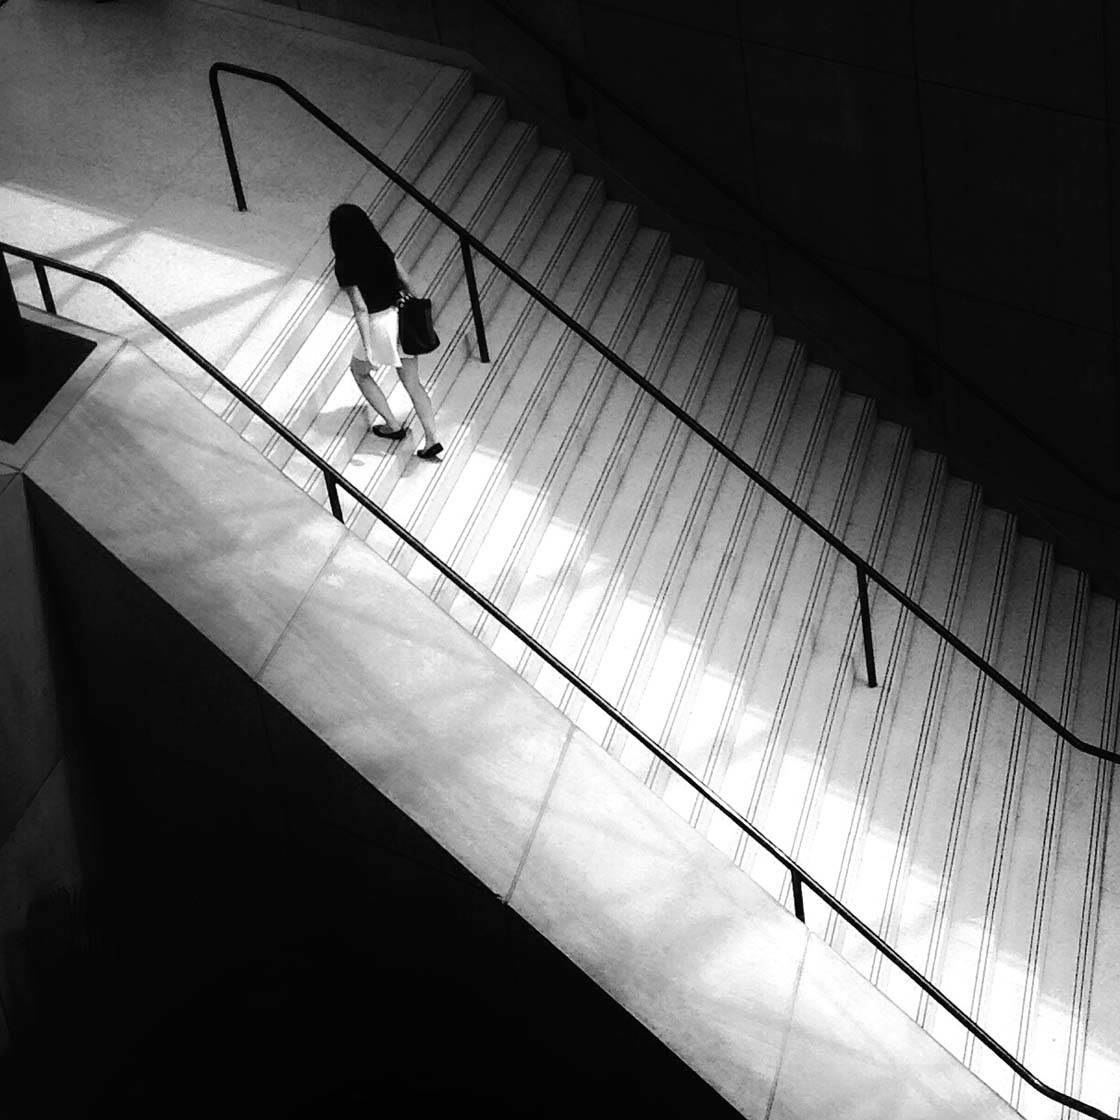
The two photos above were both taken on the same staircase, but the shadows appear very different because they were taken at different times of the day.
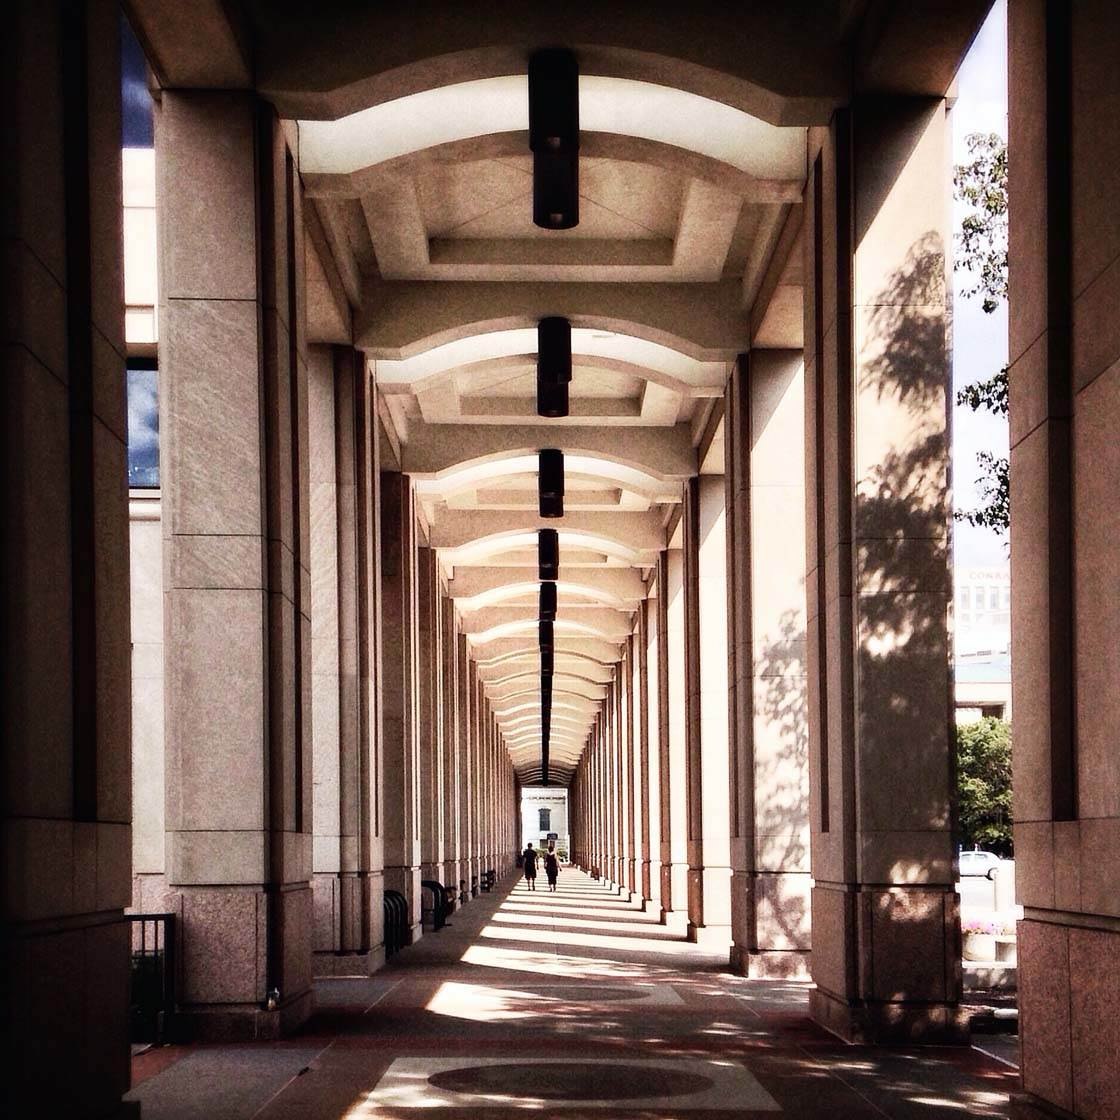
Look for locations where both symmetry and shadows are present as these can create incredibly strong compositions where the patterns draw the viewer’s eye into the image. Walkways with columns are great for creating these wonderful symmetrical images where shadows form repetitive linear patterns on the ground.
4. Create Mystery With Shadows
Have you ever watched a movie where a figure is not entirely revealed and appears hidden in dark shadows? This often piques curiosity and adds to the suspense of the scene.
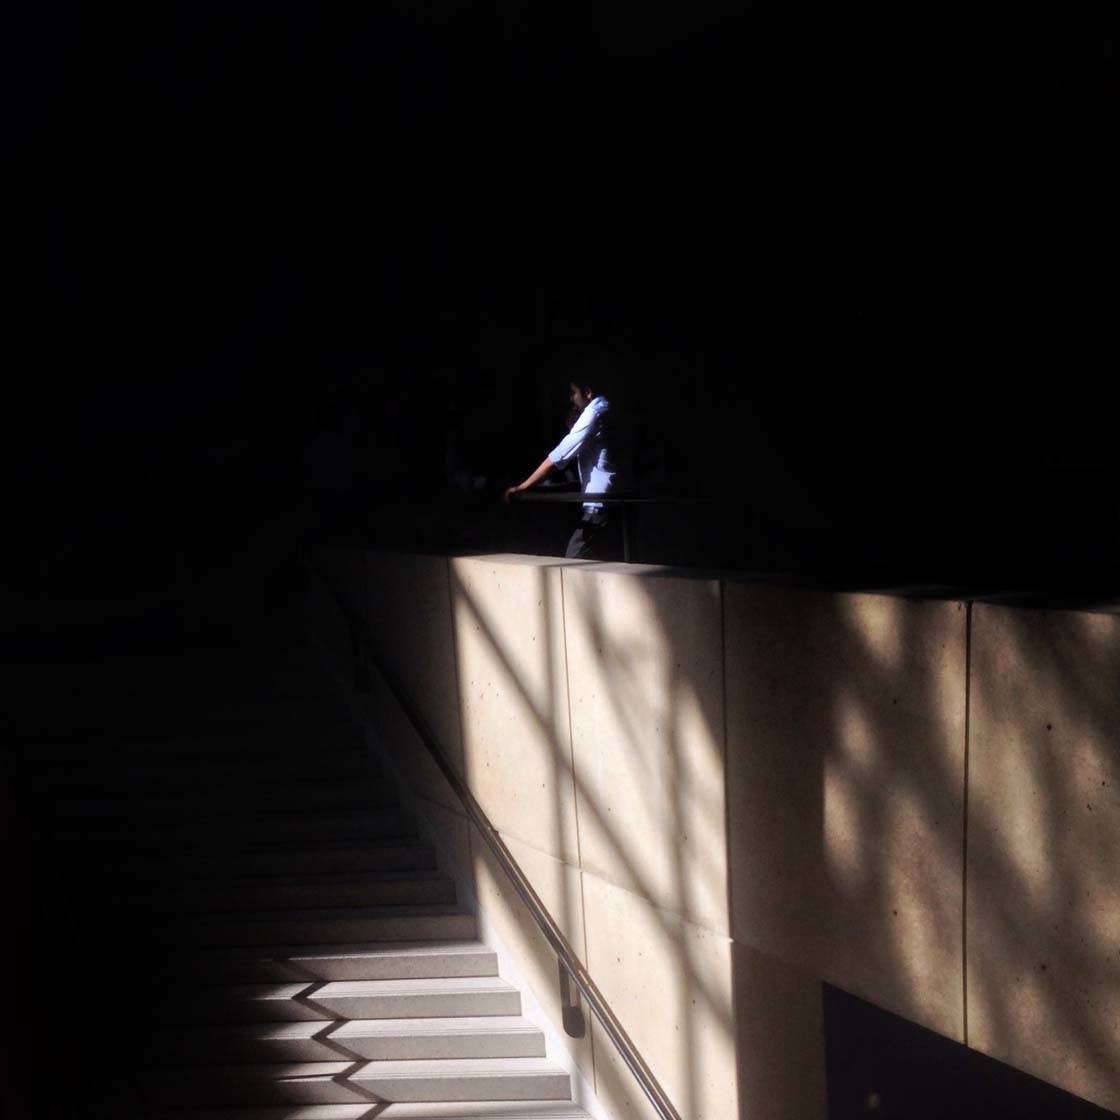
We can employ this same technique in photography. By partially hiding the subject within the shadows, the viewer will wonder what’s hidden in these dark areas, creating a more intriguing photo.
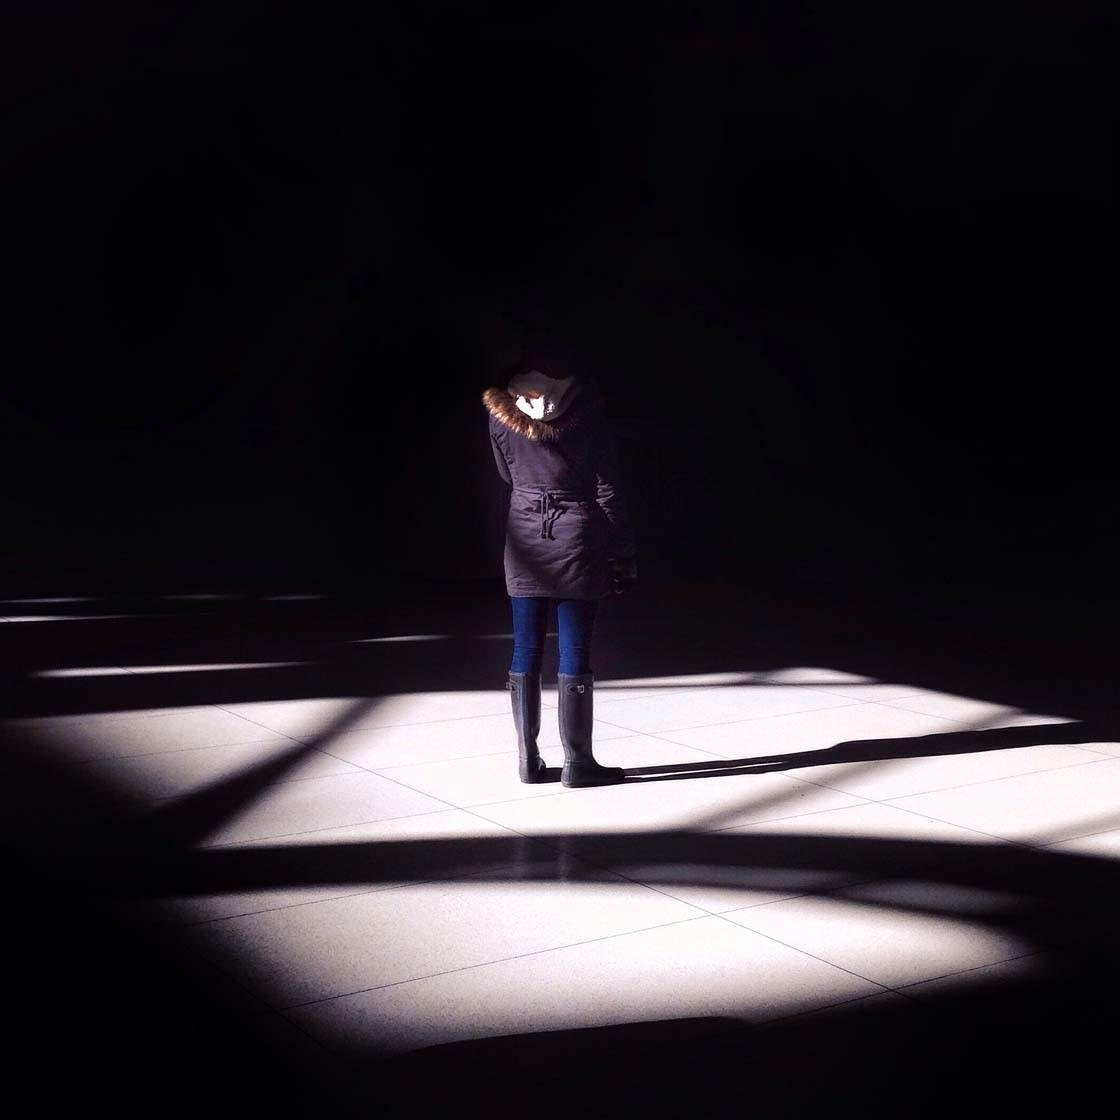
A subject whose head is hidden in the shadows adds a lot of mystery to a photo. It makes the viewer more intrigued, asking questions about who this mysterious subject is, and therefore keeping their attention on the photo for longer.
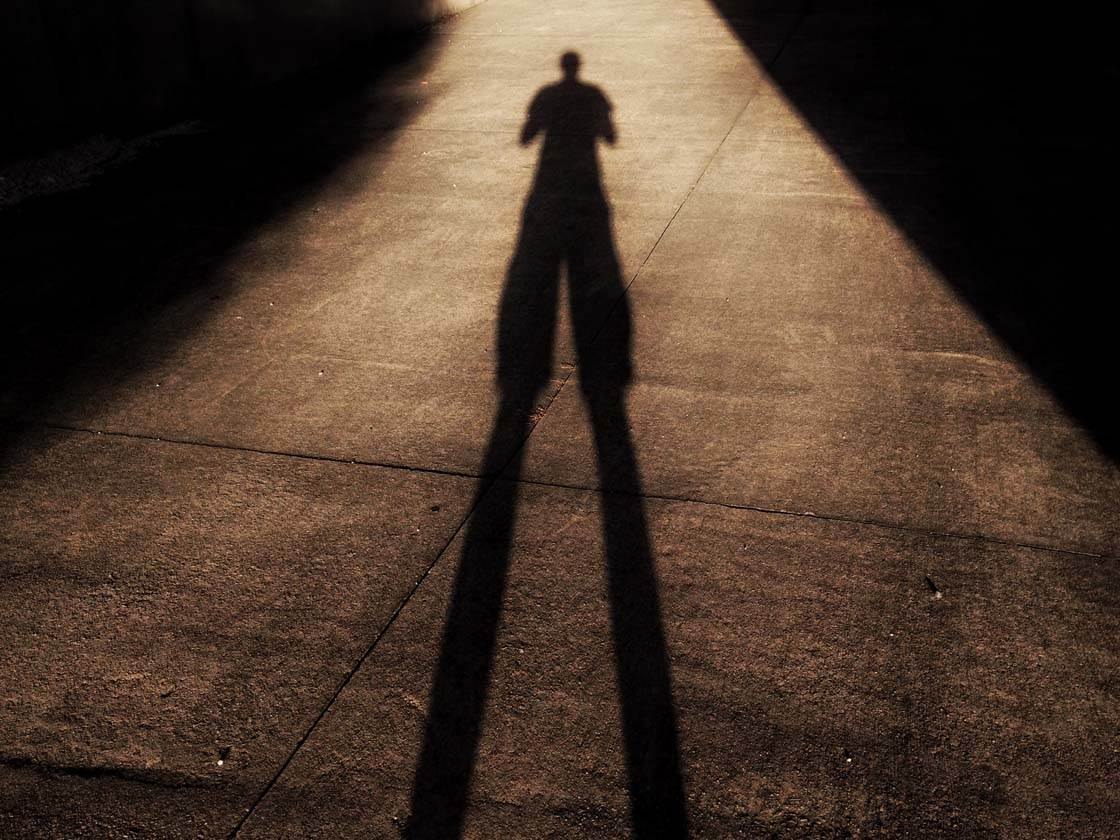
Another effective technique is shooting projected shadows and placing less emphasis on the object that’s casting the shadow. By capturing only the shadow of the subject and eliminating the actual subject from the frame, you can create a more intriguing photo. The shadow will appear to be interacting with the scene as if it was the subject itself.
5. Take Advantage Of Window Light
When you’re shooting indoors, pay attention to surrounding areas where natural light is streaming into the building. The atriums of art museums are a classic example of interior spaces where light can be used to create amazing shadows.
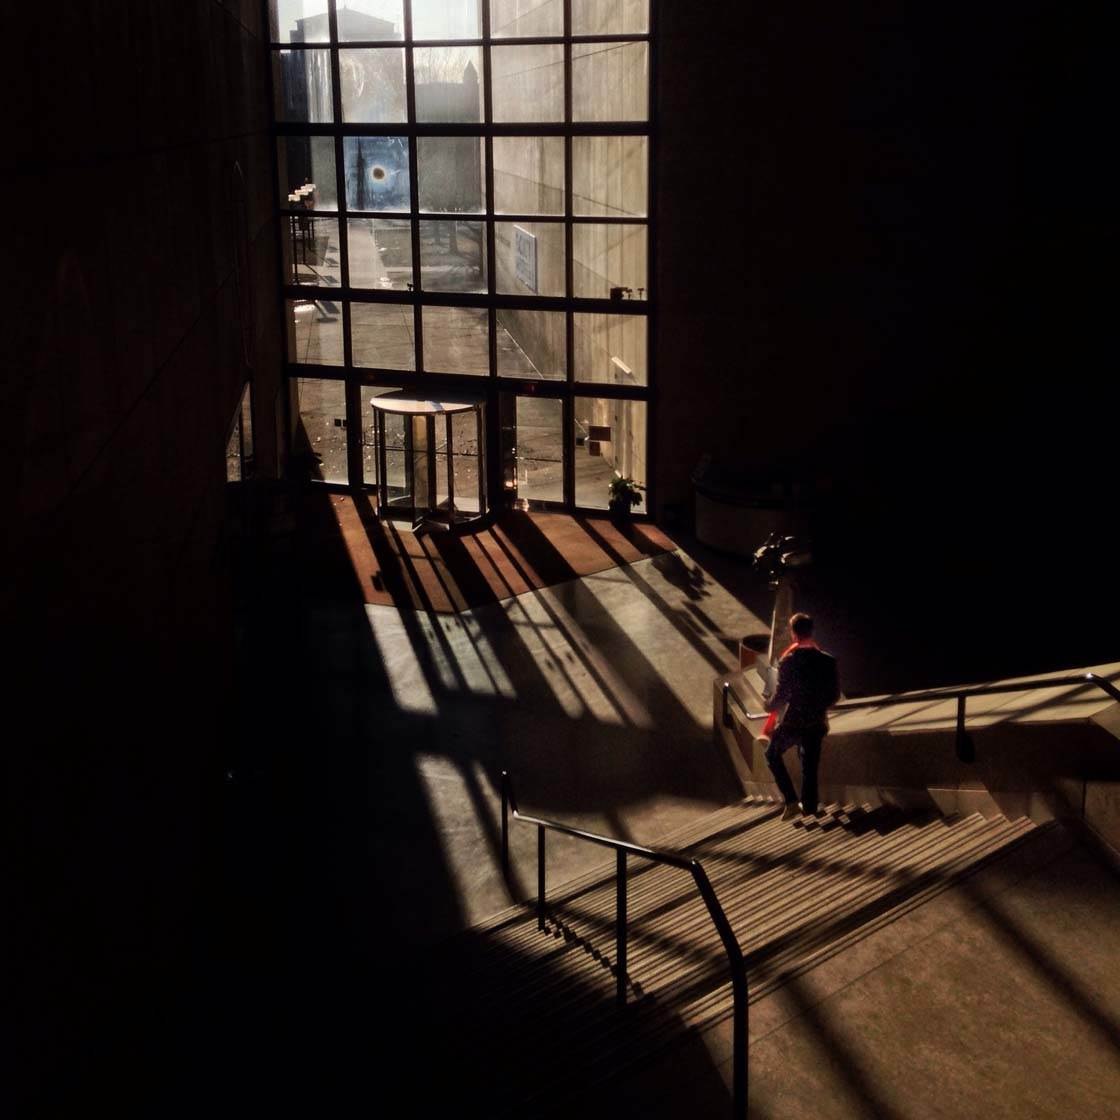
Look out for large windows in shopping malls, offices and other buildings. Even when photographing at home, you can use window light to create wonderful portraits with shadows.
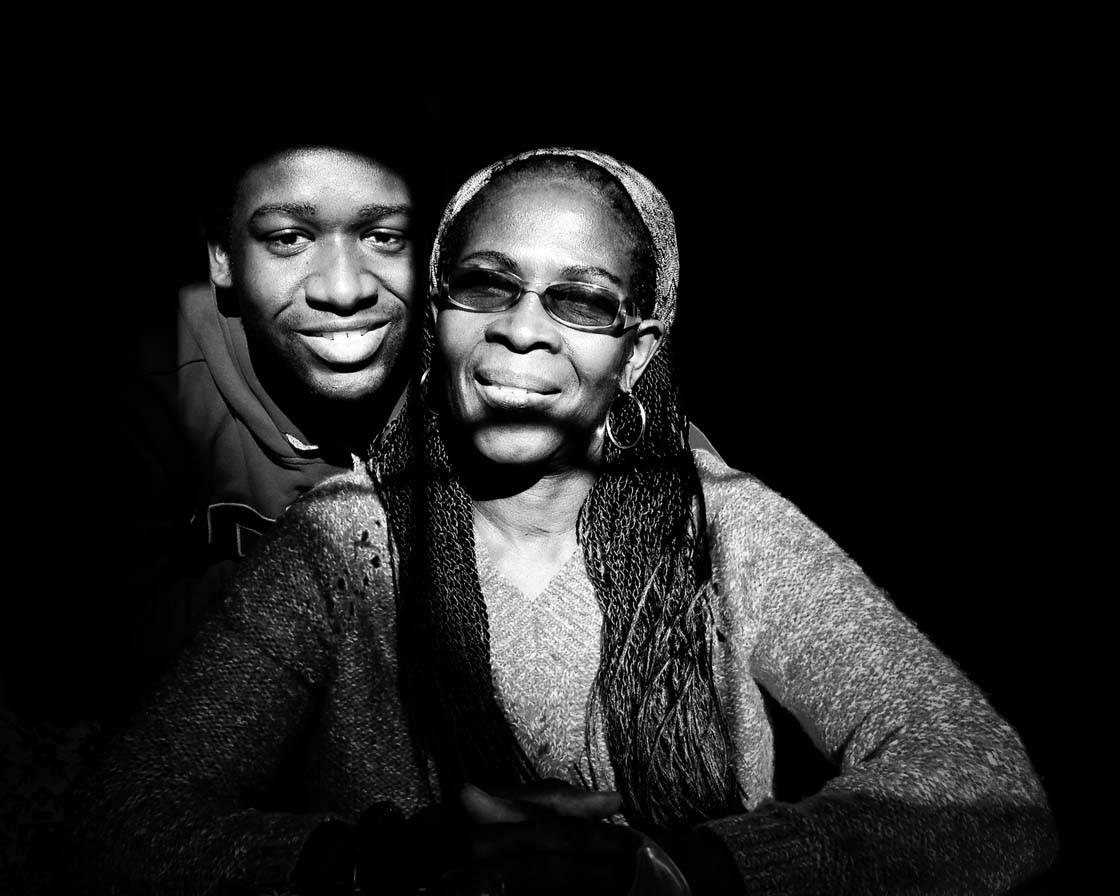
In such conditions, pose your subject so that light is projecting onto their face. Try out different shooting angles until you get the shadows where you want them. Alternatively, play around with the window blinds to see possible changes in shadow patterns that are cast onto the subject.
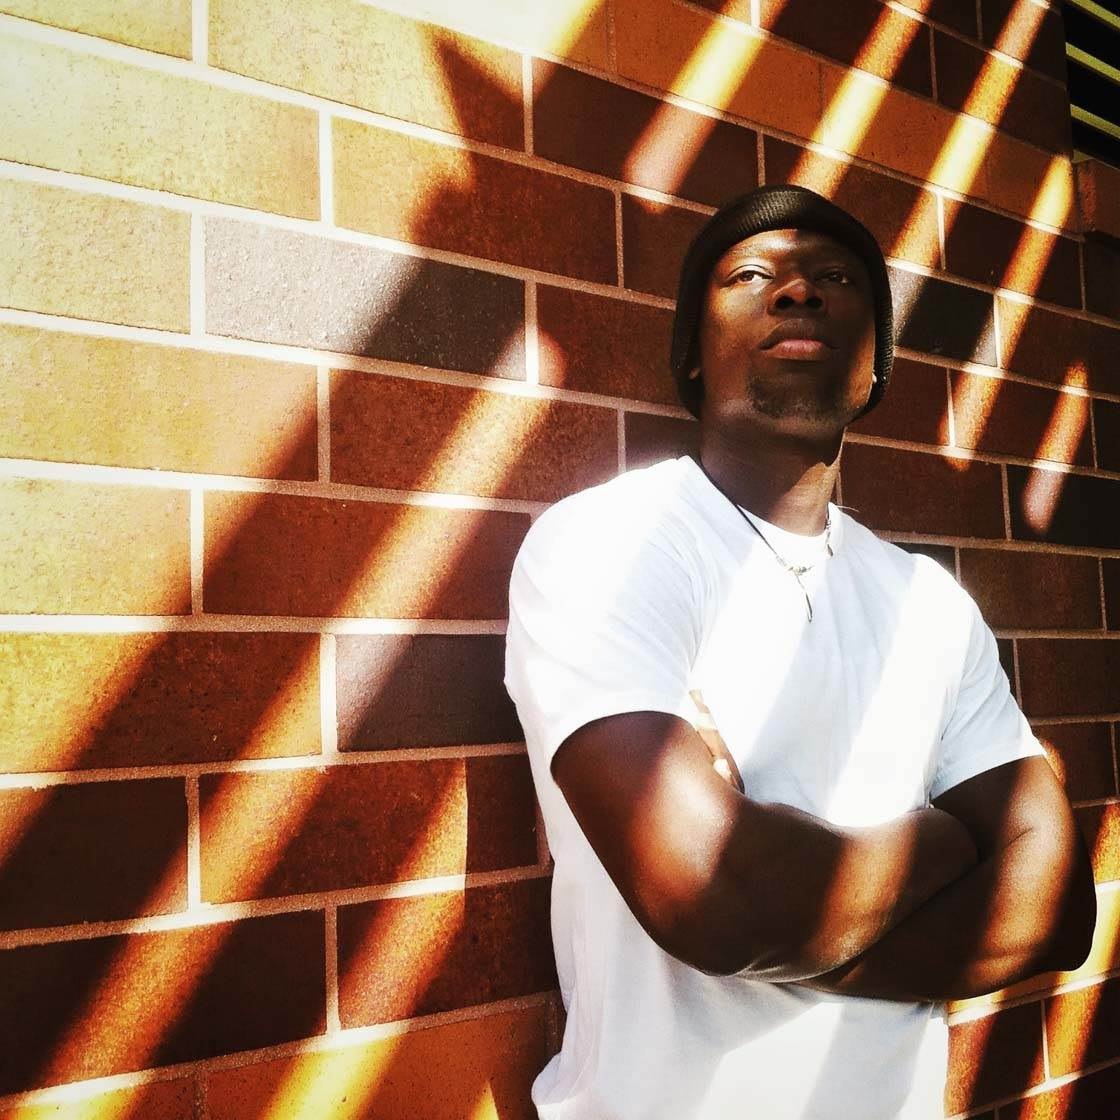
Another idea is allowing the shadow to be cast on part of the subject’s body, ensuring that prominent features such as the eyes are well illuminated.
6. Use An Artificial Light Source
You don’t necessarily need sun to create shadows. Any strong light source will work. So when you shoot at night, you can create shadow photos using artificial light.
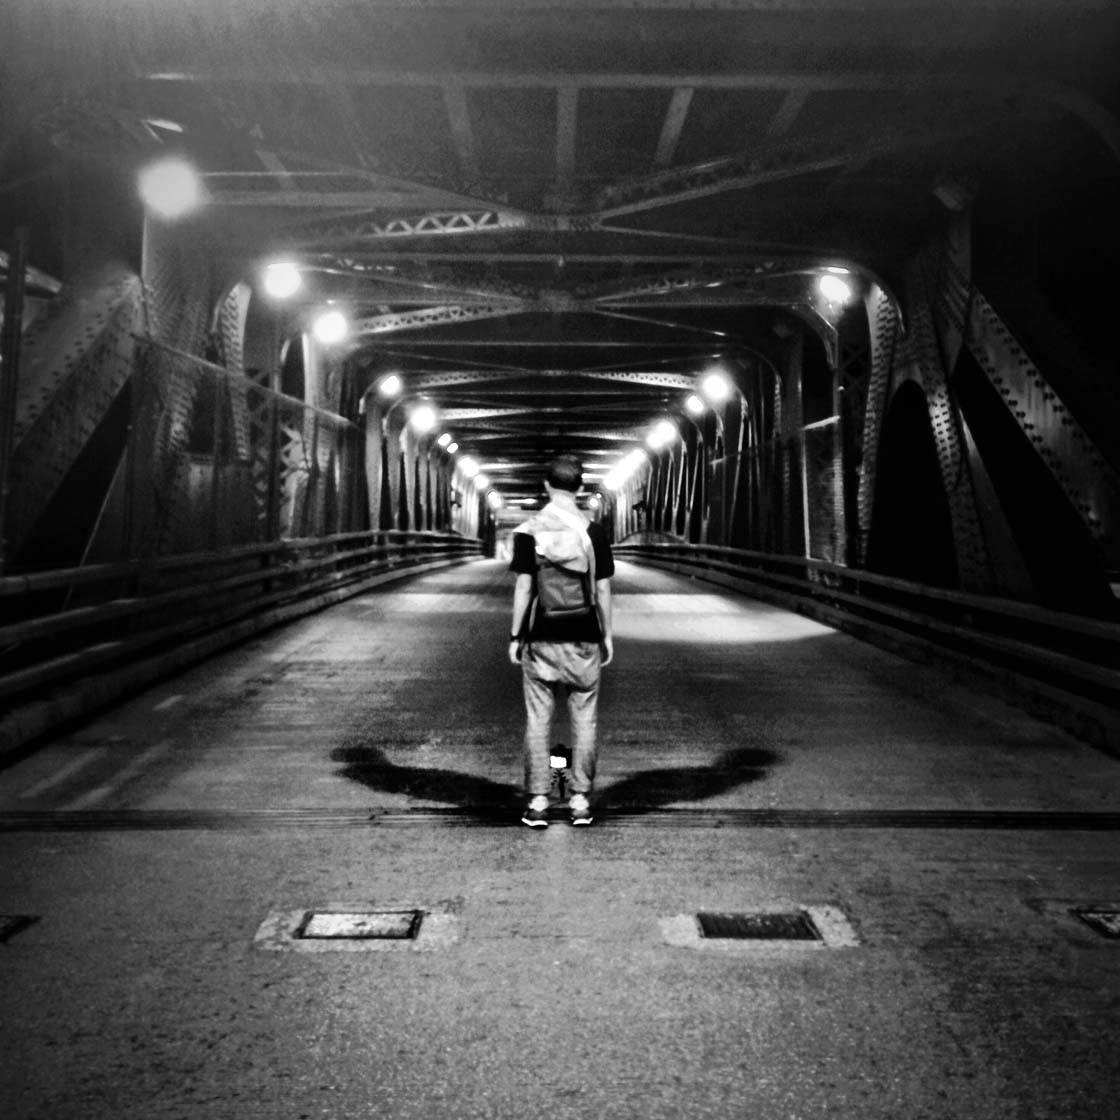
If the light is hitting the subject from two directions, you can get some great double shadows forming. Experiment with your shooting angle and subject placement until you find an interesting composition that makes the most of the shadows.
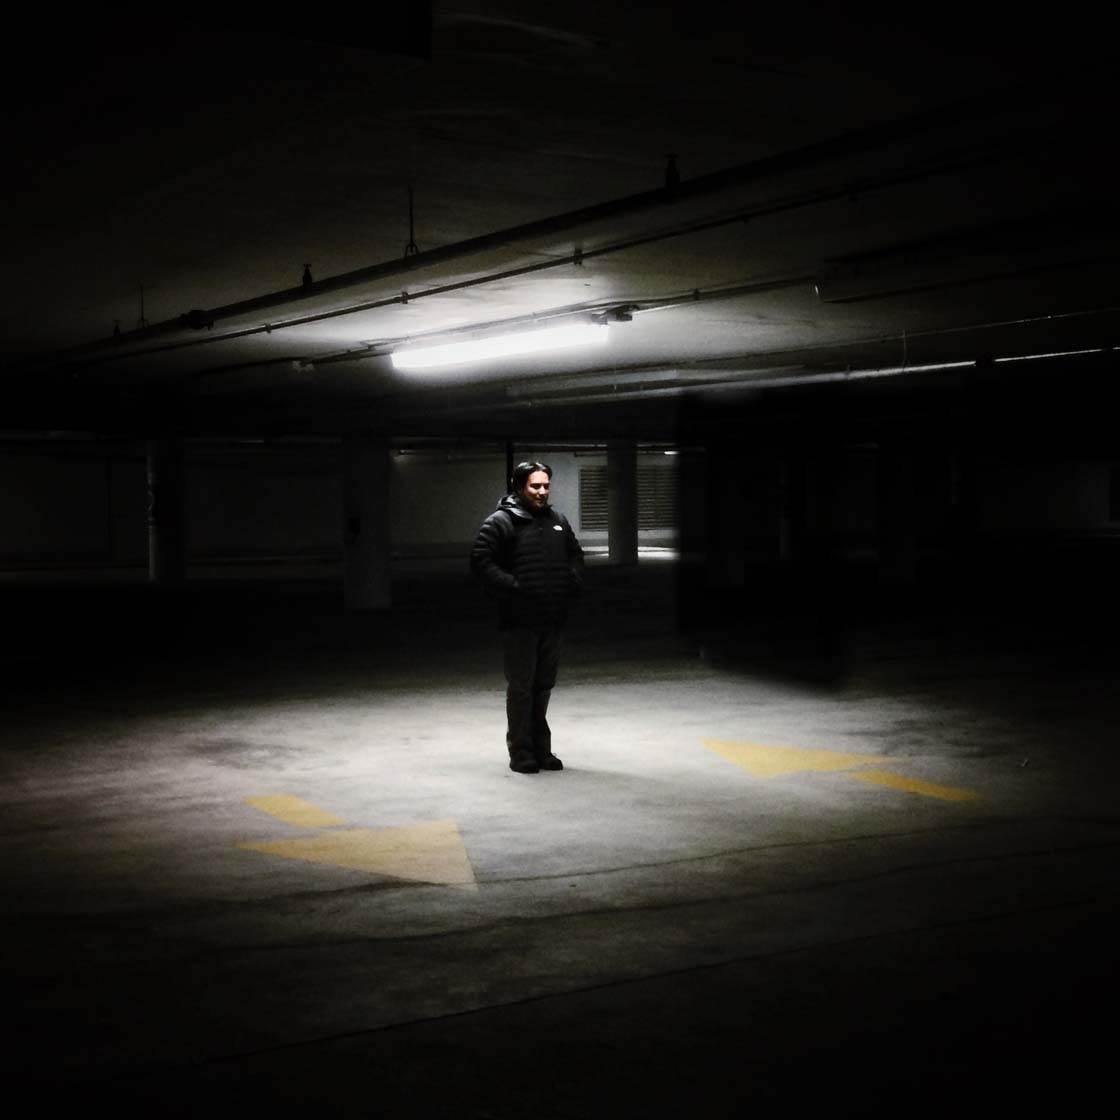
Fluorescent light can serve as a spotlight, creating well-defined areas of light and shade. Such a spotlight can create the impression that the subject is on a well-lit stage, especially if the surrounding area is dark.
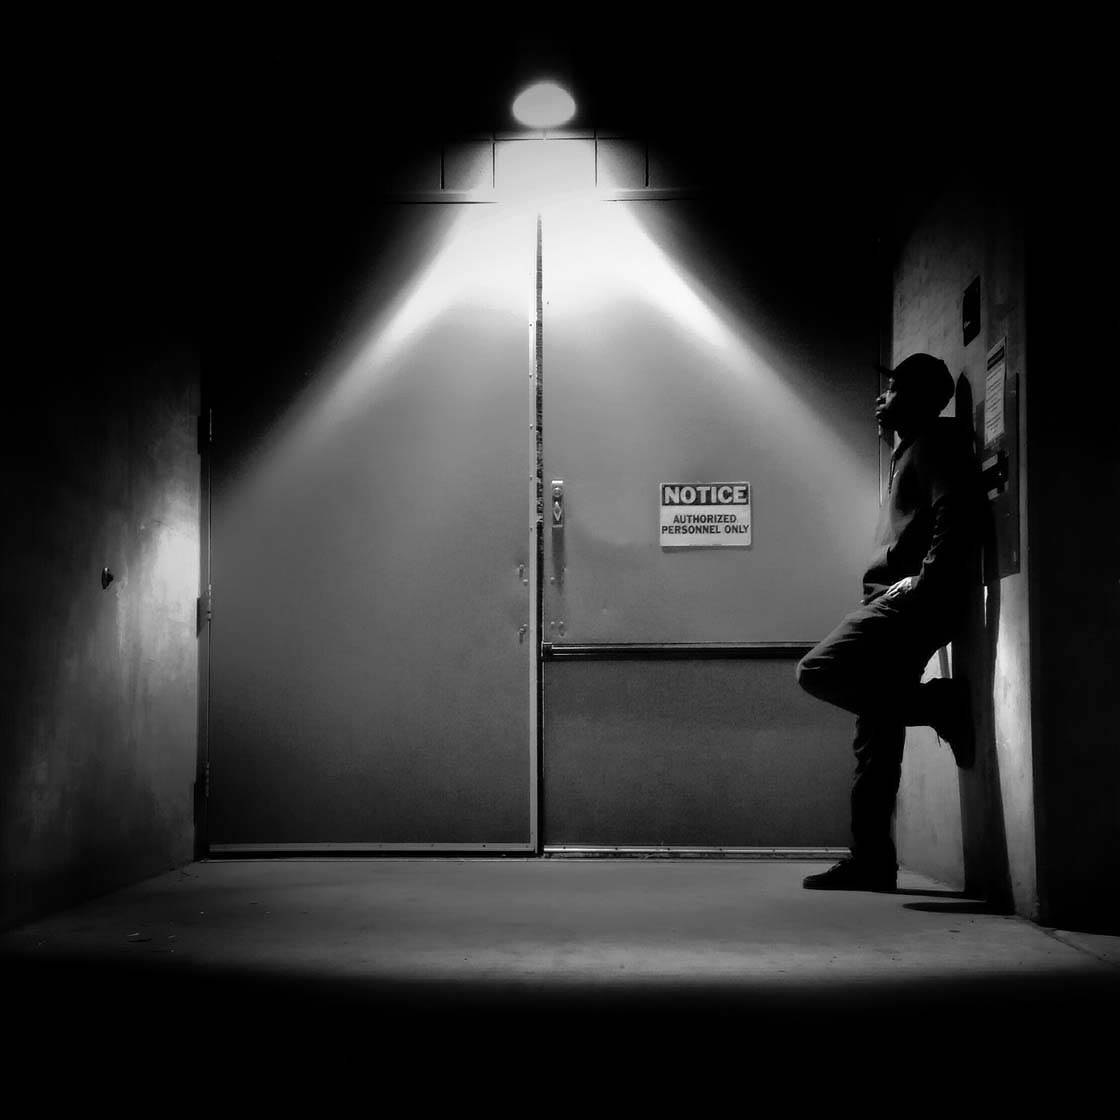
Experiment with positioning your subject in different areas of the scene. Placing them directly beneath a light will create a different effect to positioning them to one side where they appear partially in the shadows.
At home you could use a lamp to create directional light, casting shadows onto one side of the subject or projecting their shadow onto a wall.
7. Shoot From An Interesting Perspective
When you find a scene with lots of interesting shadows on the ground, try going up to a high vantage point and capturing the shadow patterns from above.
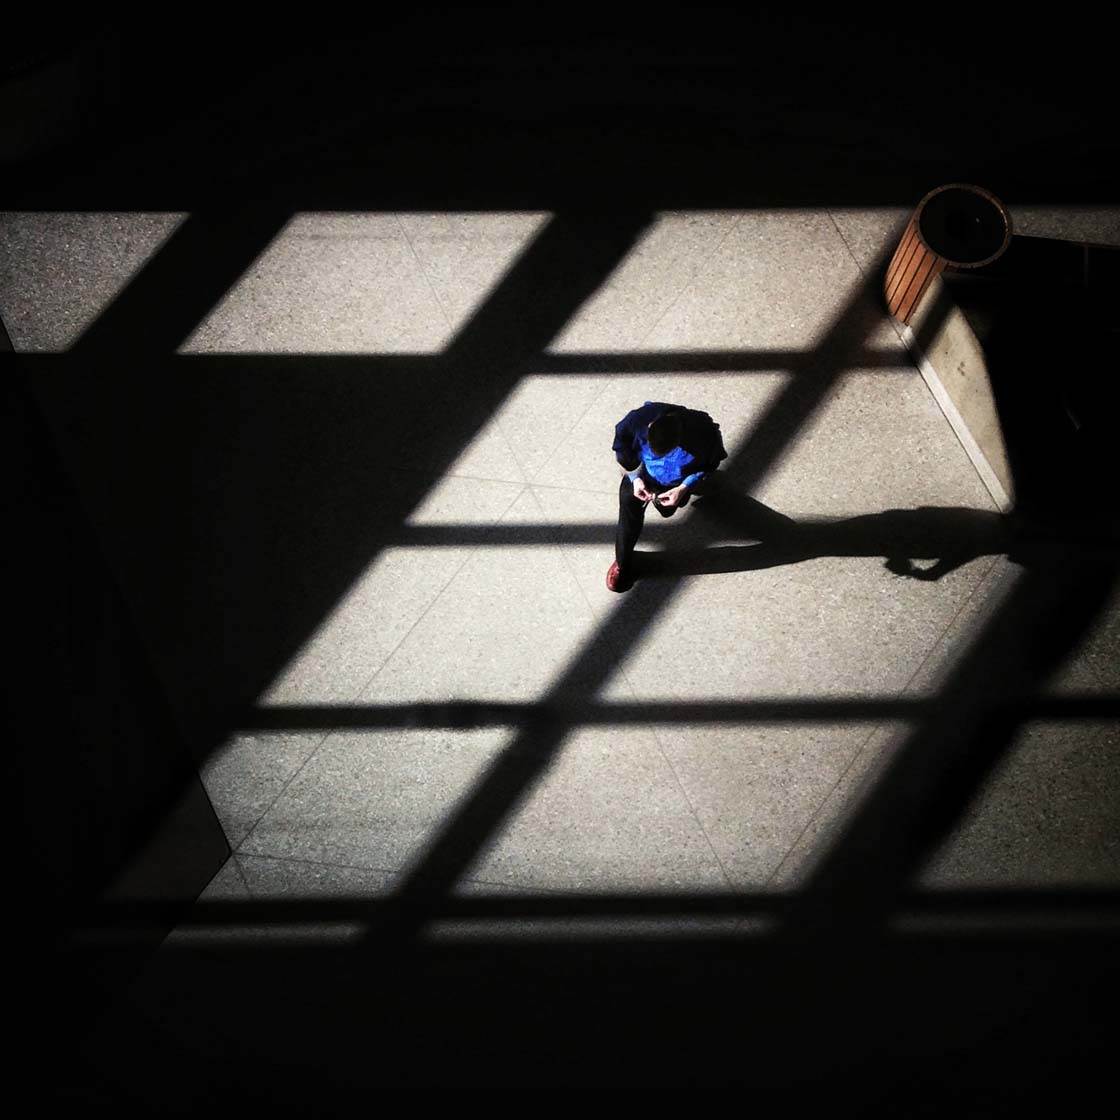
Art museums, an elevated front porch, and train stations are a few examples of the many places that provide great backdrops for these bird’s eye views of shadows. Wait for a person to walk into the scene to create a more interesting photo with a strong focal point.
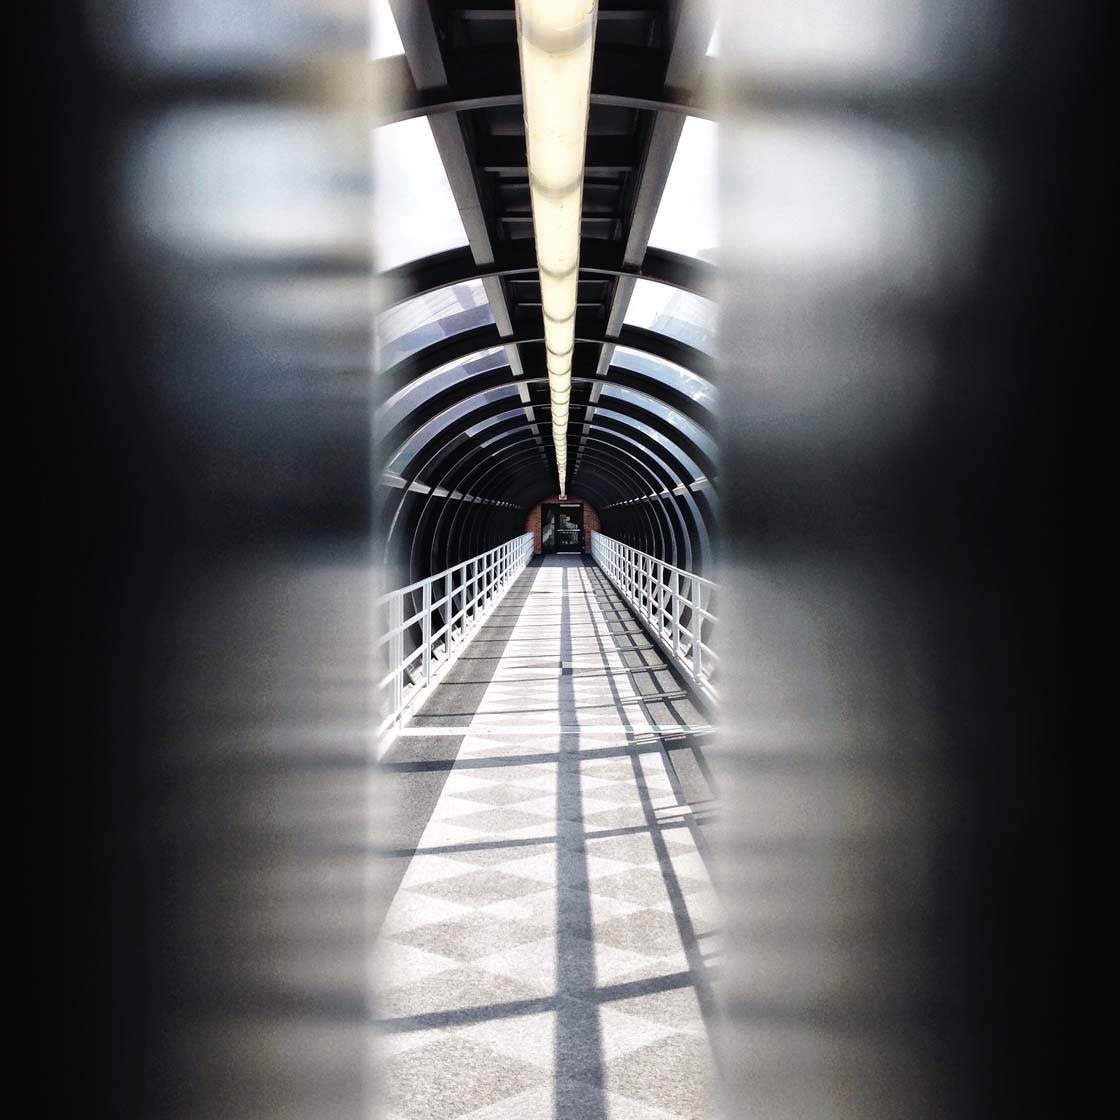
Shooting from a perspective that takes advantage of symmetry will create striking shadow photos with a strong geometric quality. Using an object in the foreground to act as a frame to shoot through provides a more unique perspective that draws the viewer’s eye towards the shadow patterns in the scene.
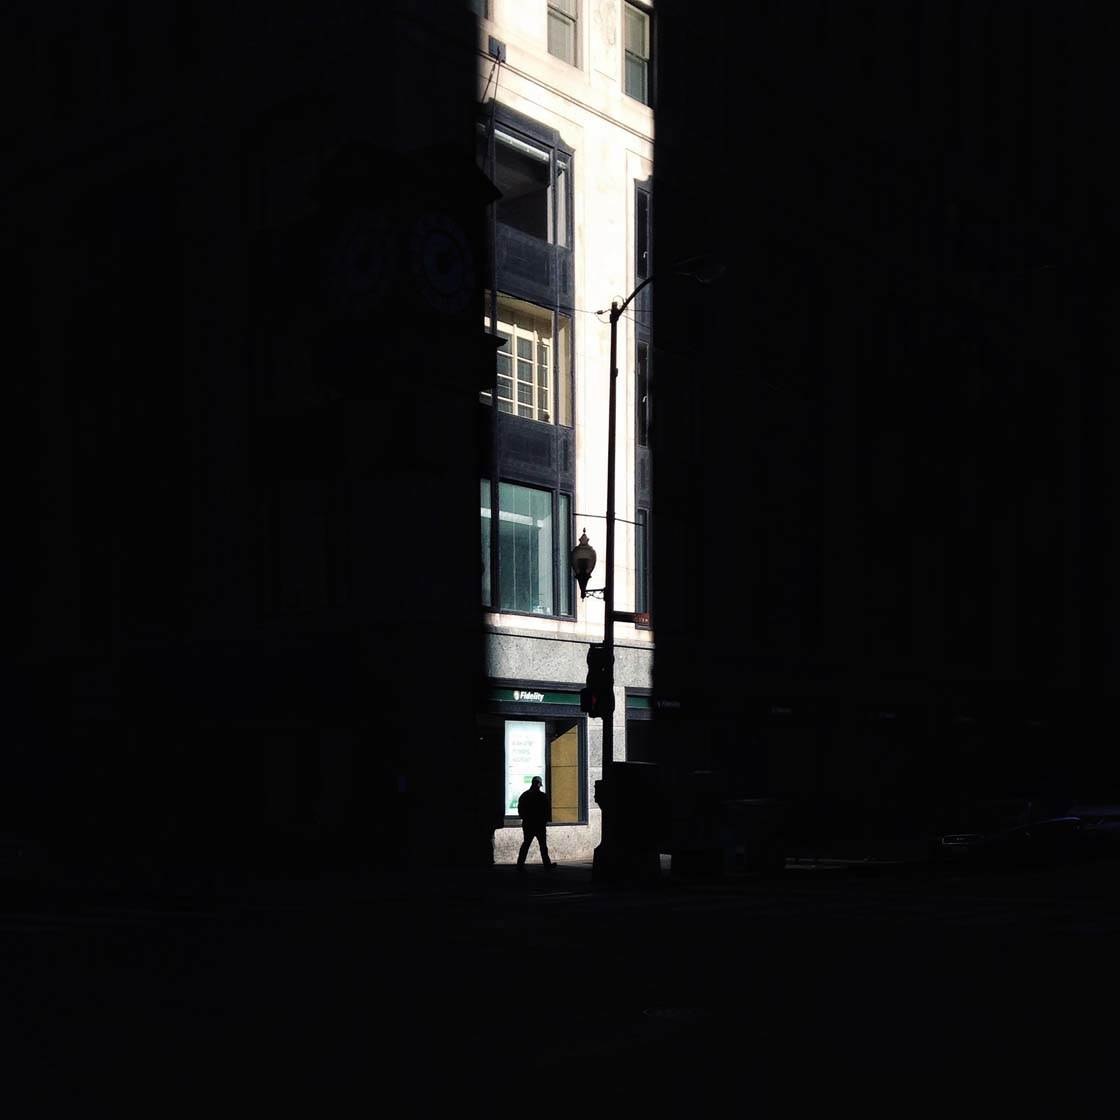
Shooting from within the shadows themselves creates a wonderfully immersive photo that makes the viewer aware of the depth of the shadows and surroundings. It puts the viewer right there in the shadows with you. With shots like this, adding a person into the bright area of the scene helps to convey a sense of scale and creates a focal point.
8. Flip The Image For Creative Effect
Flipping shadow photos vertically in post-processing can create amazing and mysterious images that make the viewer stop and stare. Most editing apps have a “flip” option which can often be found within the Rotate tool.
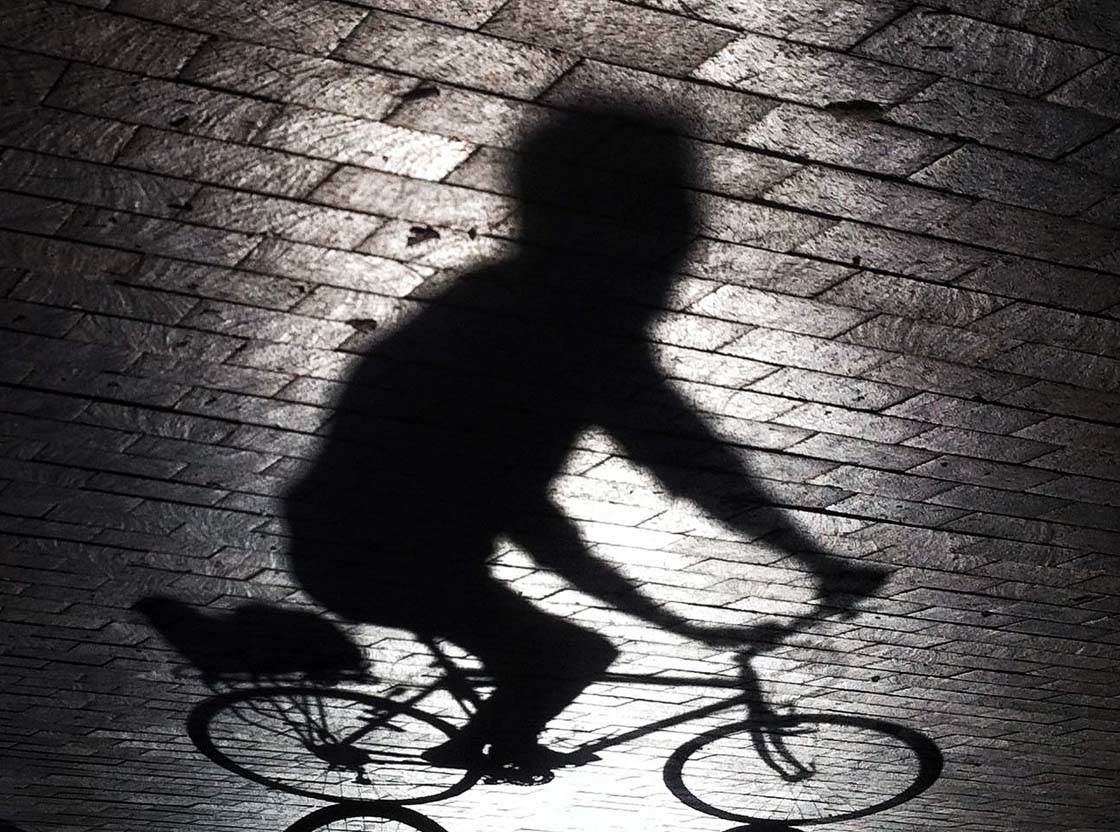
Knowing when to flip an image can be tricky at times, but if you experiment with this technique using your shadow photos, you’ll soon start to recognize when this will work.
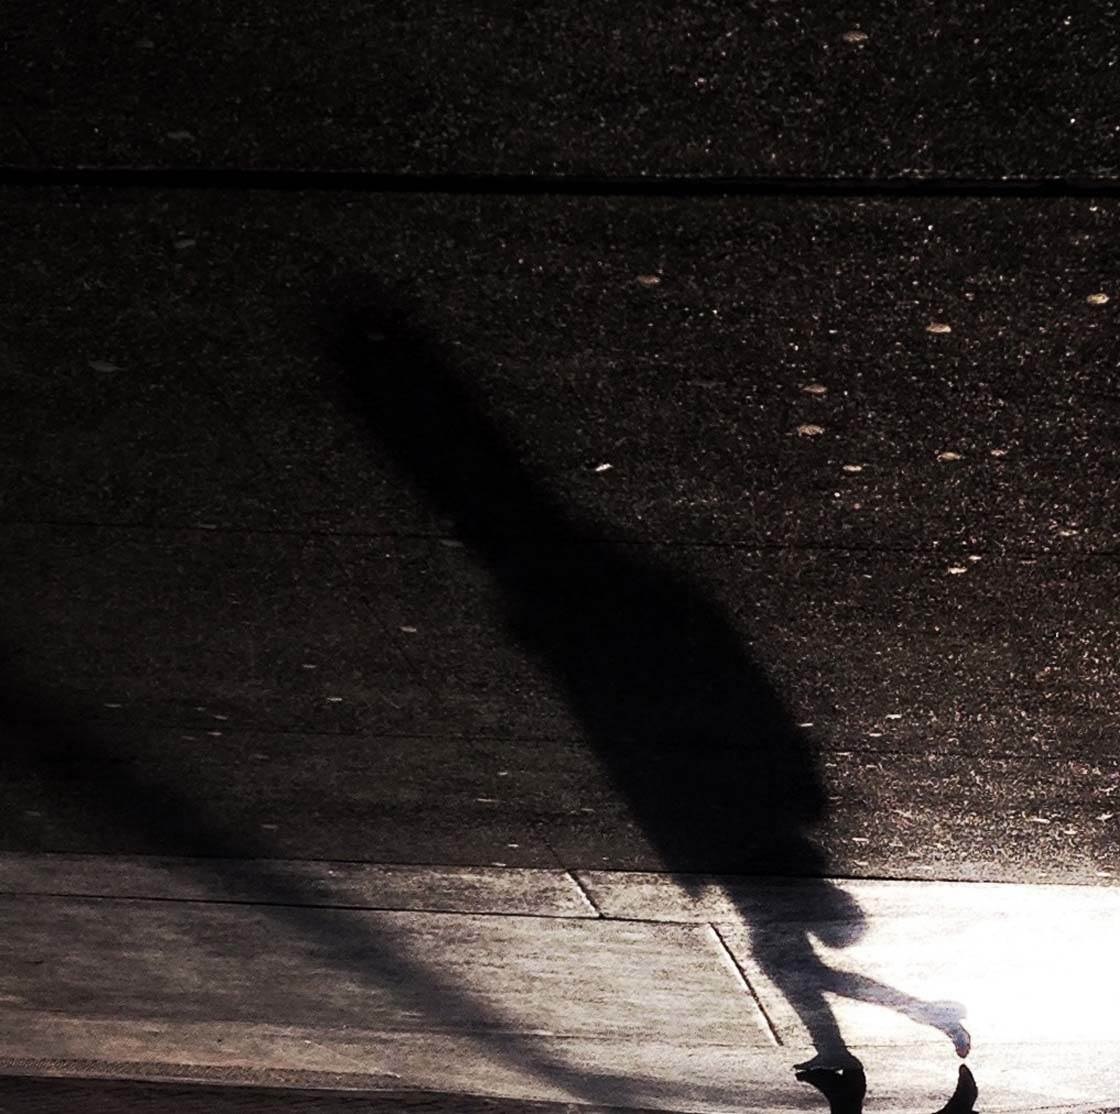
Long shadows have the ability to lure a viewer into the photo and distract them from the actual subject. Flipping the image when the subject itself is smaller than the shadow usually tends to work very well. This creates a new and unusual perspective, making the shadow look more majestic and confident.
9. Include Reflections
When the lighting conditions are right for creating shadows, you may also notice reflections on shiny surfaces and water. Be on the lookout for scenes that contain both shadows and reflections as the combination of both of these elements can create a more alluring image.
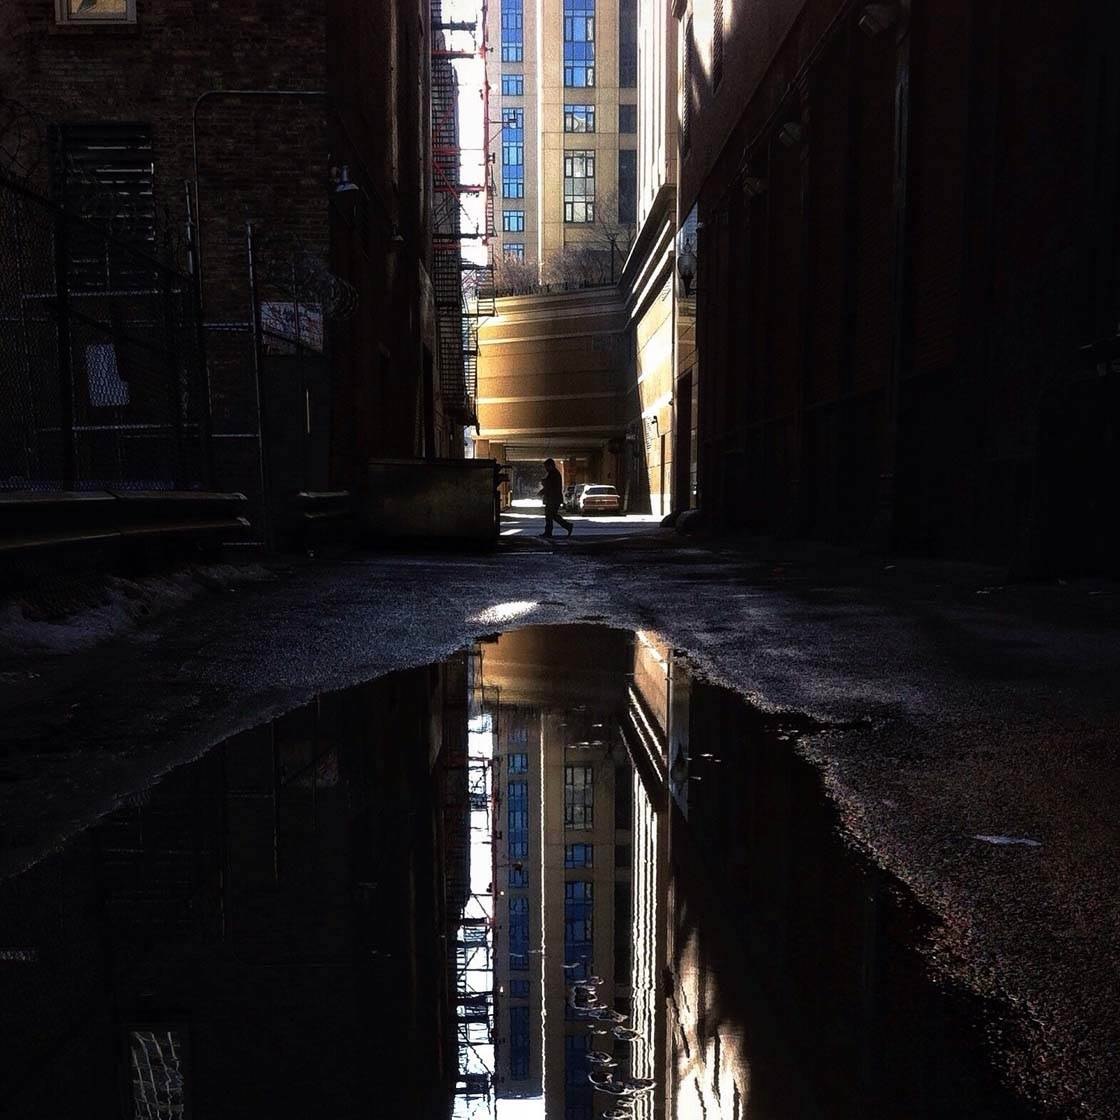
When you notice a location that has shadows you want to capture, look down at the ground to see if there’s a puddle that captures the reflection of the surroundings. Puddle reflections can add light and detail to a shadowed foreground, as well as enhancing the depth of the shadows.
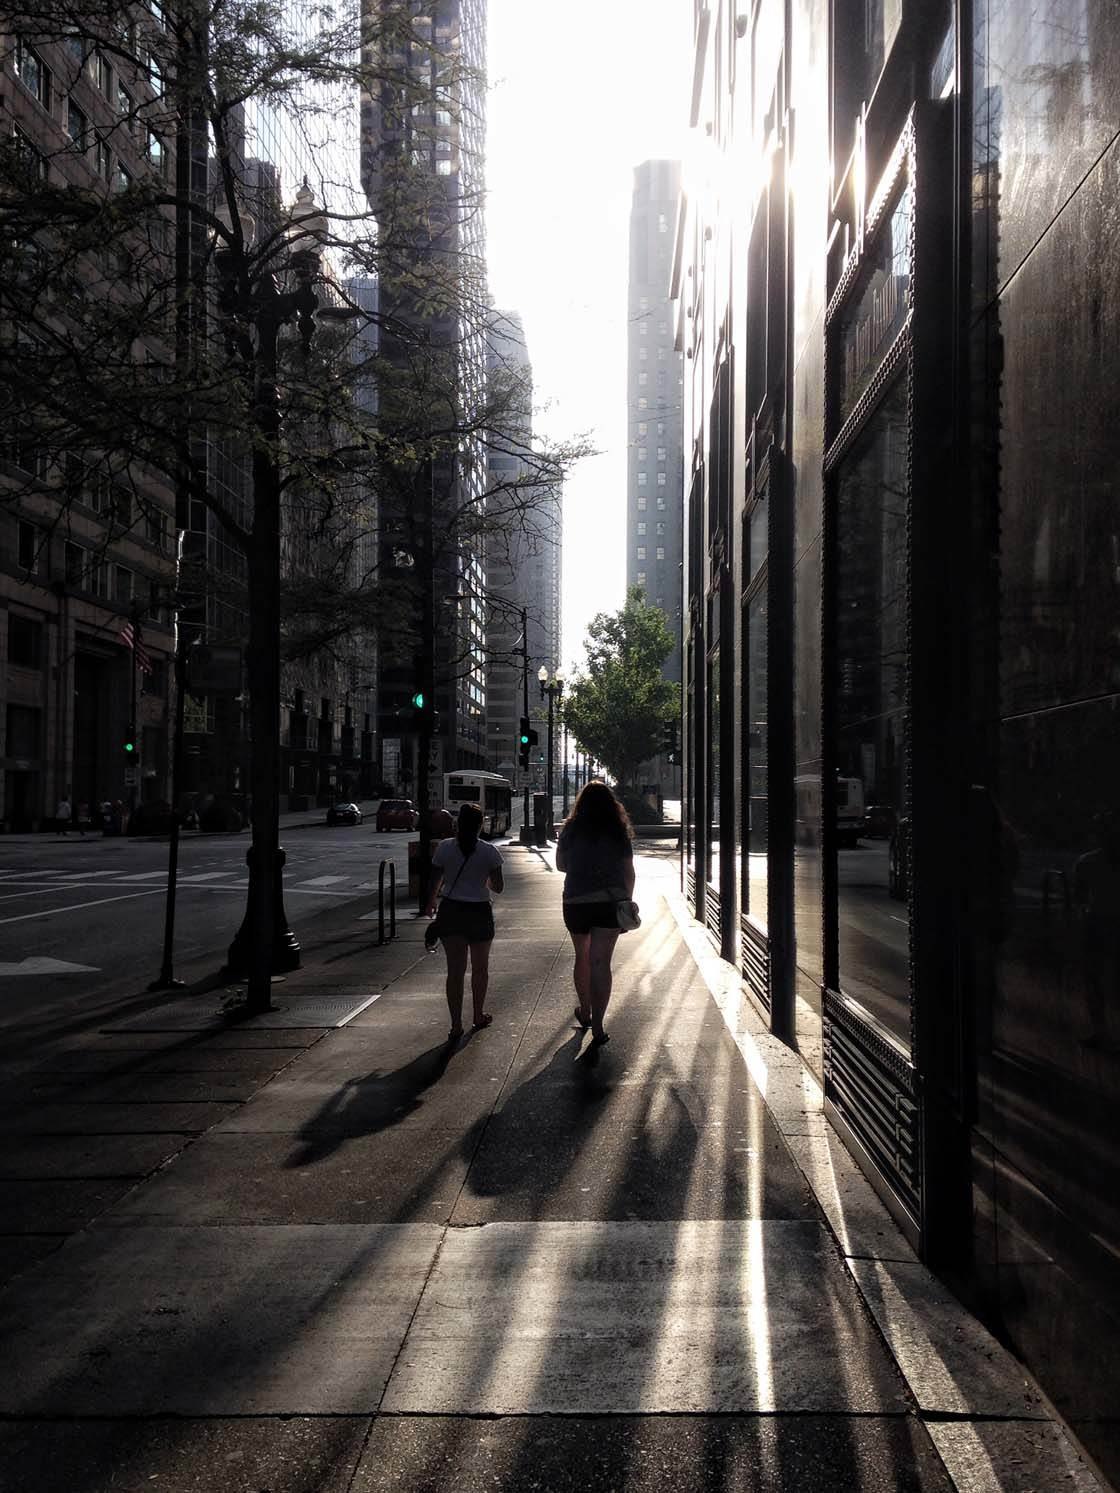
Pay attention to reflections in windows and on buildings that have metallic or shiny facades. The combination of shadows on the ground and reflections on the building creates an image with a lot of visual interest.
Conclusion
Hopefully you now have a better understanding of the type of shadows that you can capture at different times of the day and in different environments. Using shadows in your photography is a great way of adding visual interest, mystery and intrigue that will capture the viewer’s imagination.
We often don’t notice shadows as we go about our everyday lives, but once you start photographing them, you’ll see them everywhere! Experiment with shooting at different times of the day and in different locations.
Notice how the quality of the shadows change depending on whether the sun is high or low in the sky. Scout out locations that have great shadows and find interesting shooting perspectives to capture these shadows at their best.


Great article, I learnt a lot …It would have better if you share your technique also. Which part should be exposed (brightest or subject etc)
Thanks for your feedback, will keep that in mind in the future.
Great article.
Thanks so much!
Very interesting reading right to the end. Thanks
Very much appreciated!
Thank you Kwe. A very enlightening article which has given me some interesting ideas to work on.
I’m glad this article helped, you’re very welcome!
Very informative and inspiring article. Thanks Kwe.
Thank you so much- Really appreciate your feedback.
Thanks for this great article Kwe – very inspiring 🙂
Thanks so much 🙂
These were the best
Oh , God