Are you looking to capture unbelievable silhouette photos with your iPhone? Silhouette photography might seem difficult. But there are a few tricks that will immediately take your silhouette photography to the next level. Read on to discover how to become a master silhouette photographer with your iPhone!

1. Shoot People By The Water For The Best Silhouette Subjects
Do you want to capture gorgeous silhouette photos?
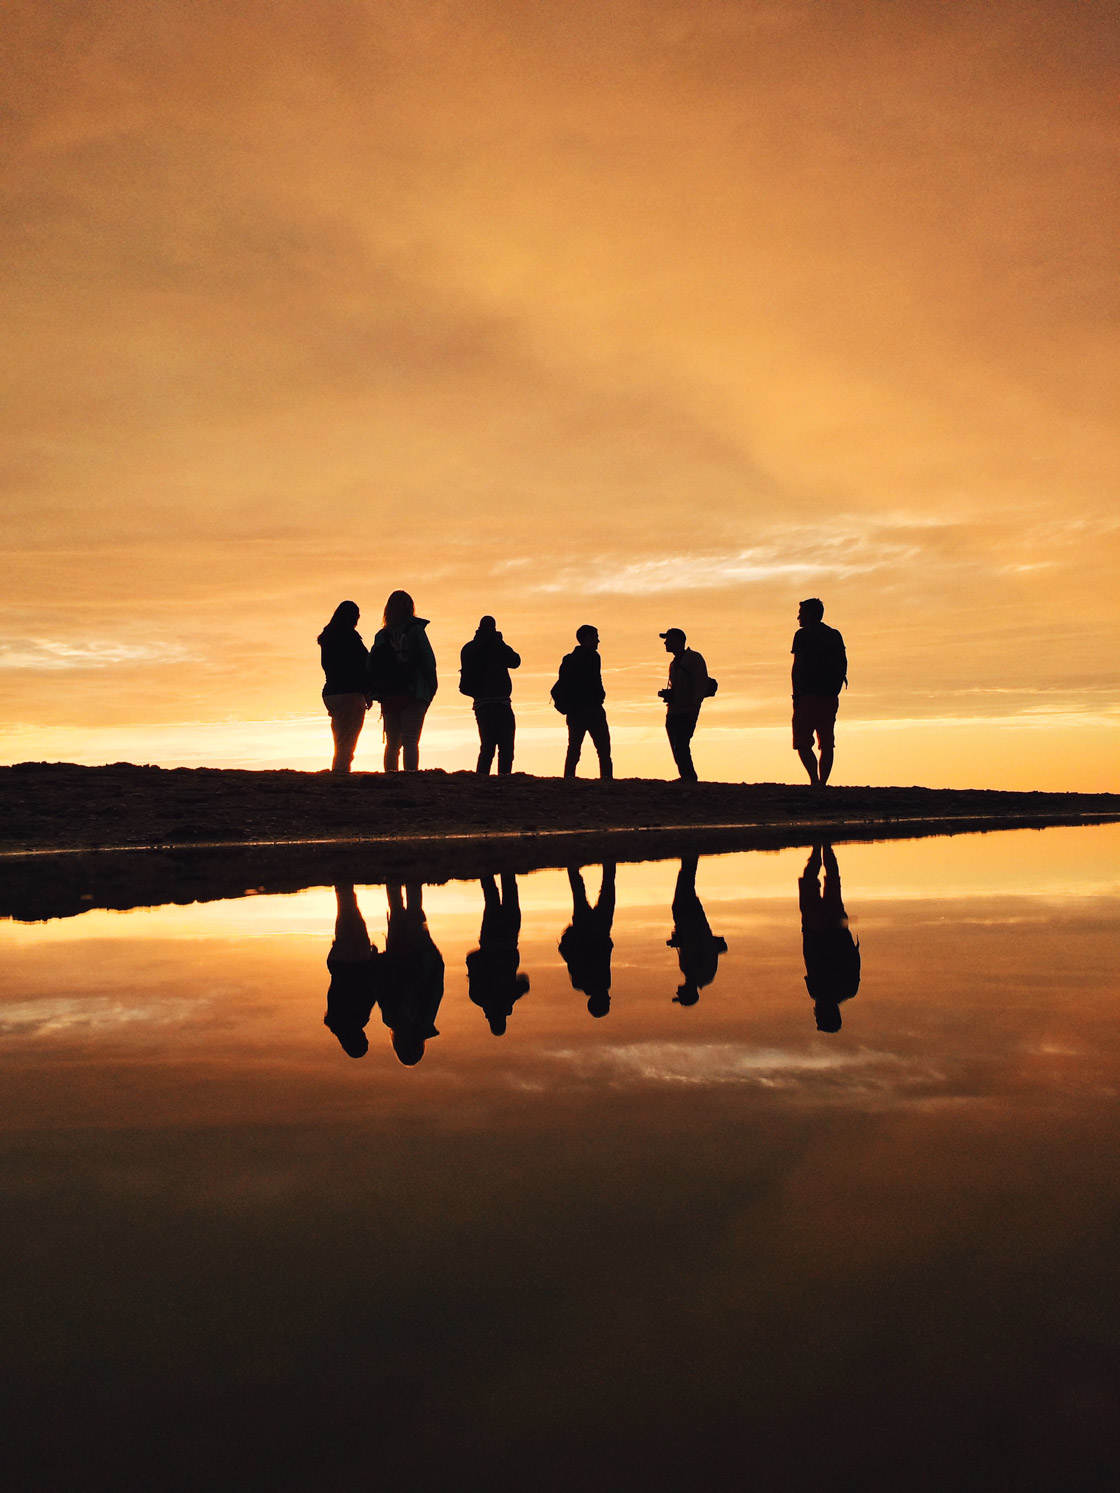
If so, you should start by finding the perfect subject.
(The subject is the main focus of an image.)
Fortunately, there are a few simple guidelines you can follow for gorgeous silhouette subjects.

First, people make amazing silhouette subjects.
For one thing, people are very recognizable (even as silhouettes).
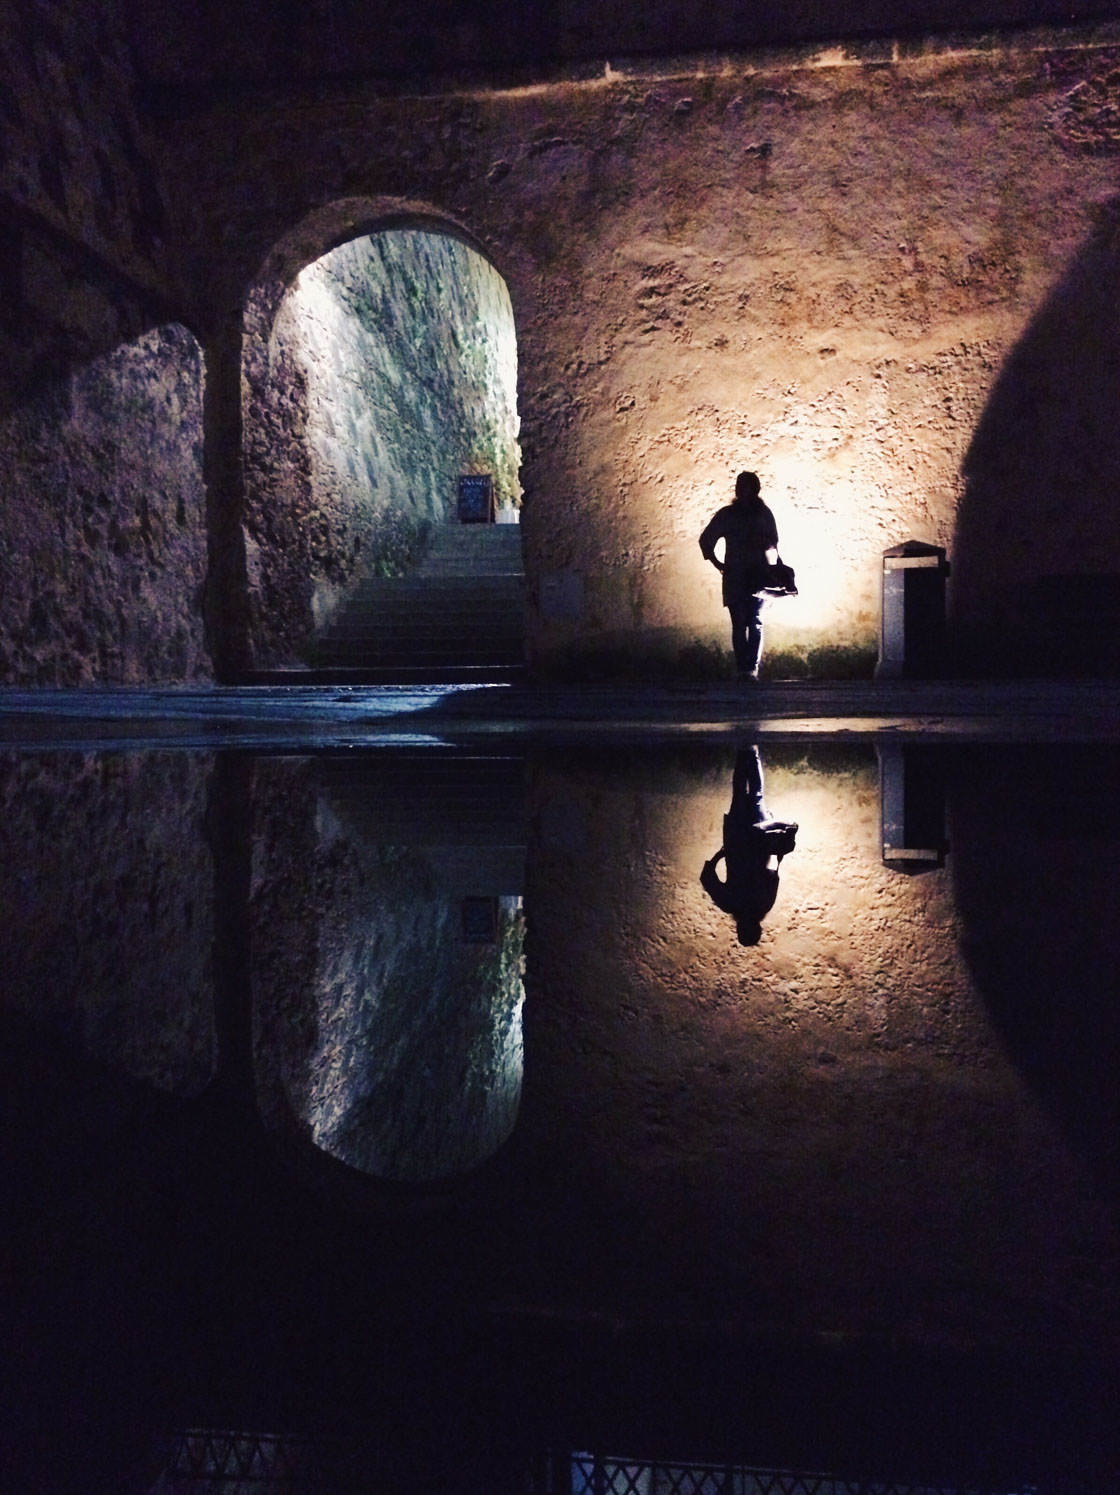
And human figures draw the eye. So you can immediately identify the main subject of a human silhouette photo.
Basically, human silhouettes make for a simple yet pleasing image.

Second, try to photograph by the water.
This is for a few reasons.
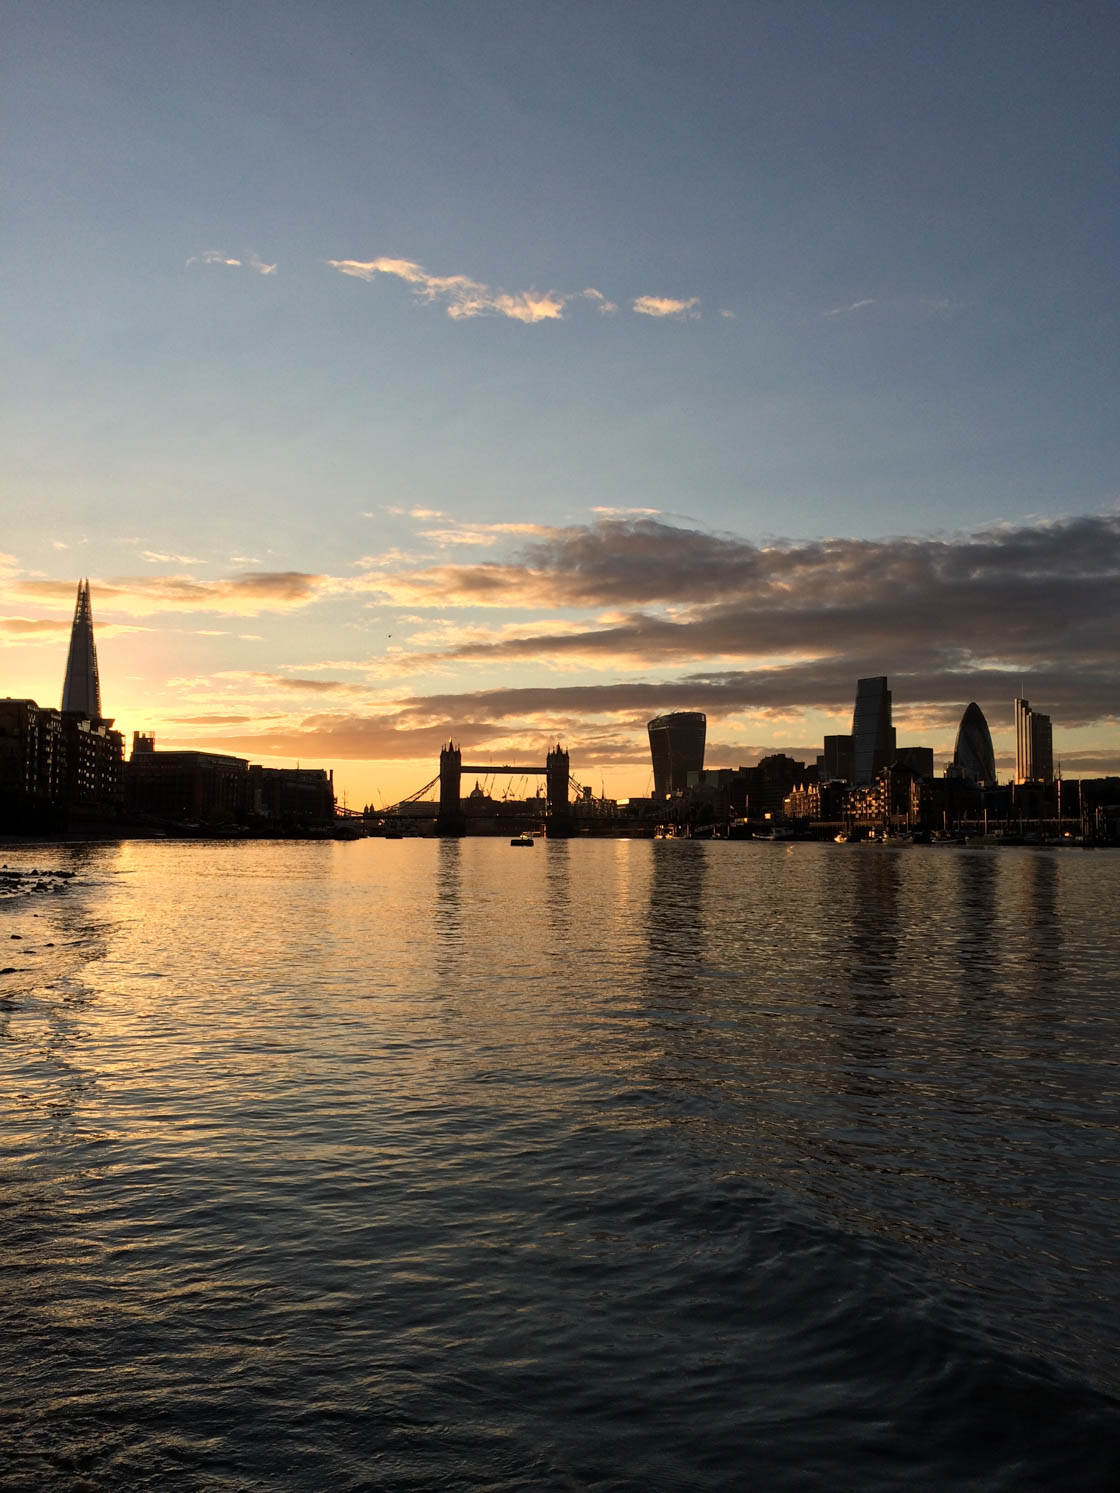
First, water sits low on the horizon. So when you have water behind your subject, the water doesn’t distract from the focal point of the image. The subject can really pop.

Second, water allows for amazing silhouette reflections.
(You’ll discover how to shoot jaw-dropping reflections later on in this article.)
I live by the sea, so I spend a lot of time shooting at the beach. And I highly recommend it.
However, lakes are great for silhouette photography, too. So don’t let your location prevent you from taking amazing images.

Here’s the bottom line: if you want gorgeous silhouette photos, photograph people.
And—if you can—shoot by the water!
2. Use Evening Backlight For Impressive Silhouette Photography
Backlight comes from behind your subject.
(To get the strongest backlight, shoot toward the sun.)

And backlight makes for amazing silhouette photos.
Why is this?
Backlight results in a very bright background. So when you take a picture of your subject, the subject is rendered extremely dark.
That is, the subject is rendered as a silhouette, like the birds in the photo below.

To capture backlight, you have to locate the sun.
Then point your camera in the direction of the sun—so that the sun is in the frame (or nearly in the frame).
This is best done when the sun is low in the sky (for instance, around sunrise or sunset). That way, the sun will be directly in front of your camera. And this makes for very strong backlighting.

Finally, wait for a subject to move into your frame. Then take the picture!
Follow these instructions, and you’ll get a powerful silhouette.
3. Use Manual Exposure To Ensure A Sharp Silhouette
If you want a perfect silhouette, then you should use your iPhone’s manual exposure.
(Exposure refers to the brightness of an image.)

Normally, your iPhone will automatically expose for a scene. This often works quite well. However, when doing silhouette photography, your iPhone may struggle to capture a dramatic silhouette. The image may turn out too dark or too light.
This is why you should use manual exposure.
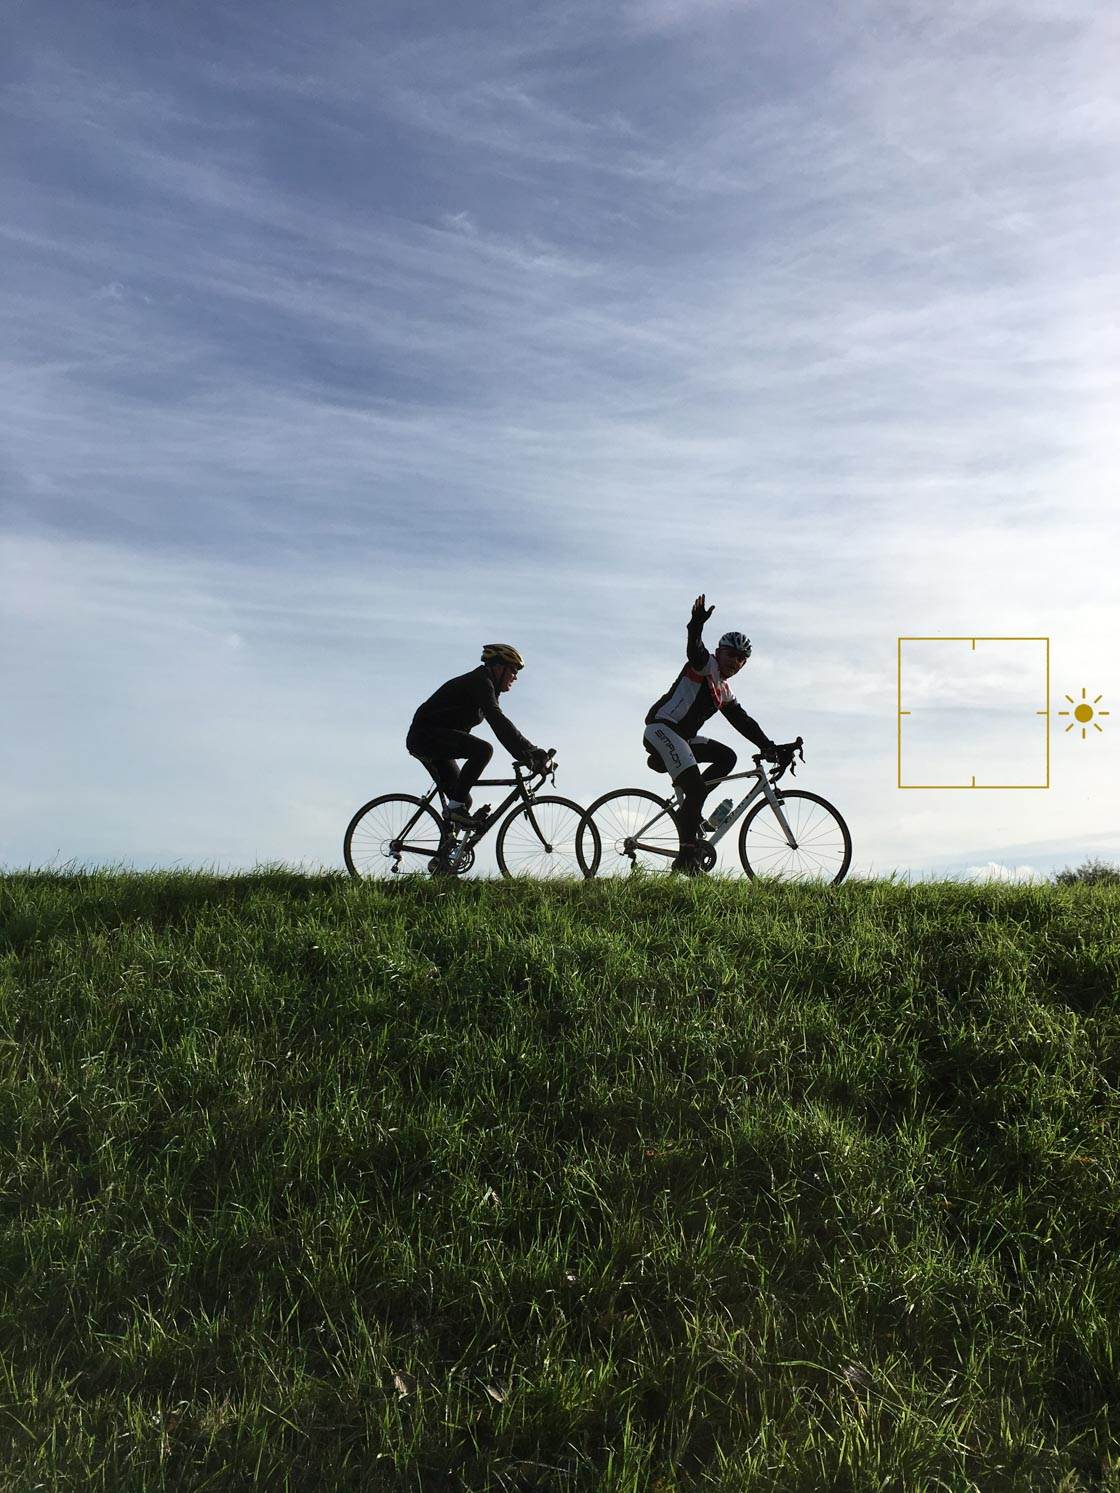
To use manual exposure, simply tap on the brightest part on the iPhone camera screen.
(This is generally the sun or the nearby sky in the background.)
A yellow box will appear where you tapped.
Your iPhone’s camera will automatically darken the scene to compensate for the bright background.
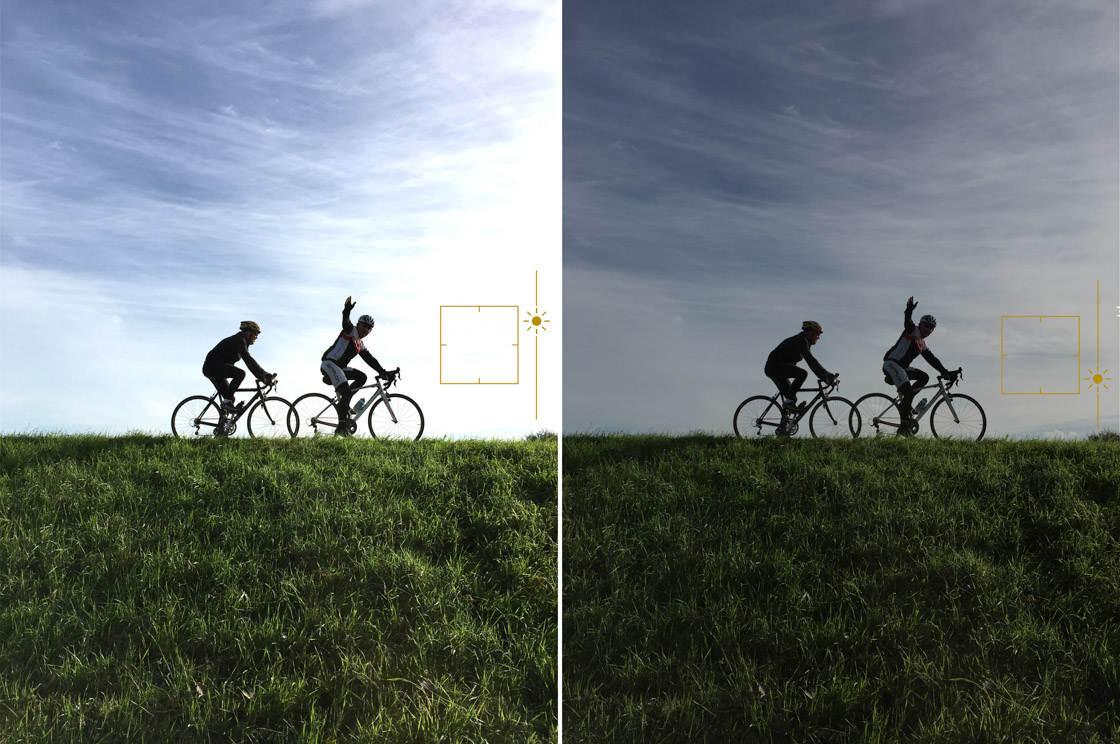
If you’re not happy with the brightness levels of your photo, here’s a trick you can use: Simply swipe up on the screen to lighten the image or swipe down to darken the image (as shown in the photos above).
By using manual exposure, you’ll capture dramatic silhouettes.
4. Get Down Low For A Wonderful Silhouette Photo
Do you want to capture beautiful, compelling silhouettes?
Then you should get down low.

The best silhouettes have simple, clean backgrounds. And when you get low, you can often get the cleanest background of all: the sky!
Even when the sky is cloudy, it’s a blanket of bright, uniform color. And people standing before a bright, uniform background makes for a powerful silhouette photo.
This is what you get if you shoot from down low:
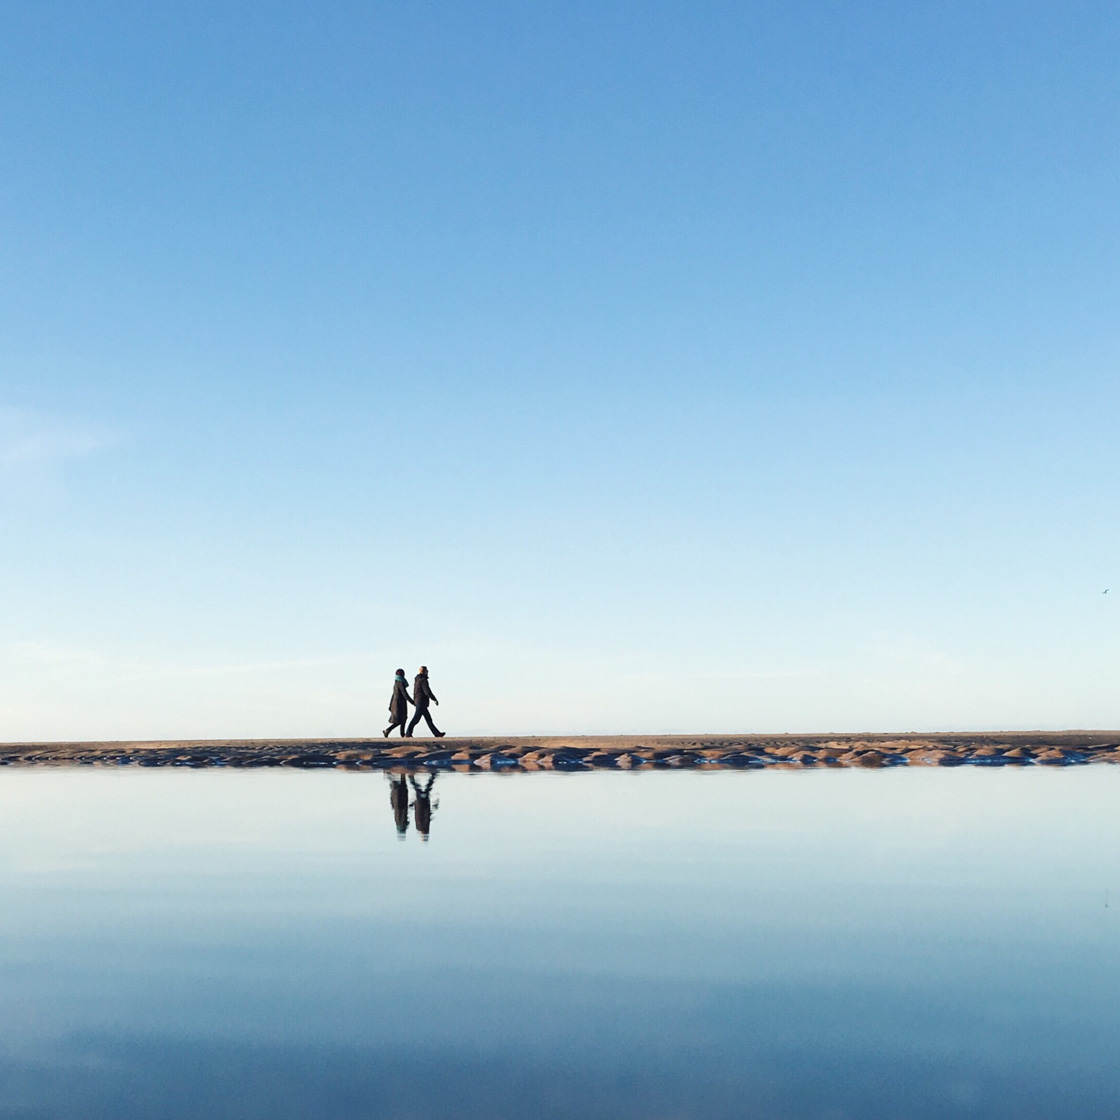
Notice how simple the background is. That’s exactly what I was going for!
On the other hand, if you shoot while standing up, the background is often filled with objects. This can result in a messy silhouette photo. In fact, the horizon line might run right through your silhouette!
(And that makes for an extremely confusing shot.)
Now, when I say you should get low, I mean that you should get really low.
I often shoot silhouettes while lying flat on the ground. I may look funny, but I’m a lot happier with the shots that I take.
The backgrounds are so much better.

So make sure that you get as low as you can. Your silhouette photos will immediately improve.
5. Use Burst Mode To Capture Perfect Silhouette Poses
You’ve discovered how to find the best silhouette subjects and backgrounds.
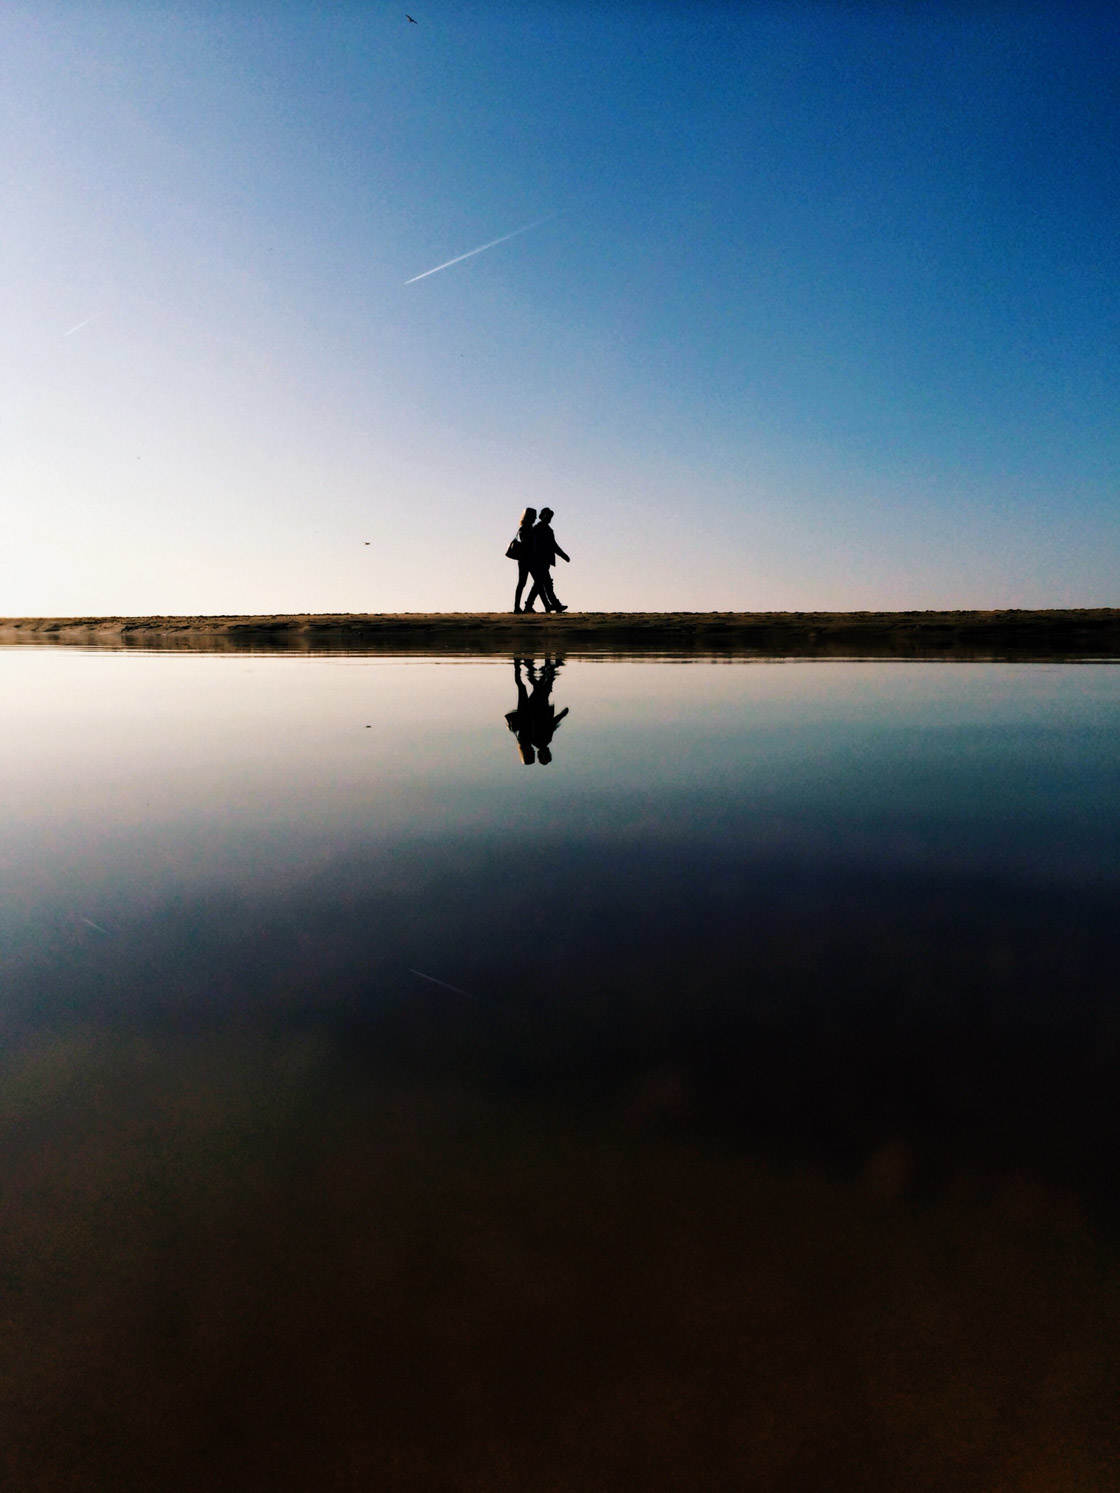
But how do you make sure that your subject is striking a perfect pose? A bad pose can ruin your silhouette photography.
First, let me give you an example of a perfect silhouette pose: A single figure, walking or running in full stride.
This way, the outline of the person is clear. The person doesn’t overlap with any other passersby. And the person’s limbs don’t overlap either.
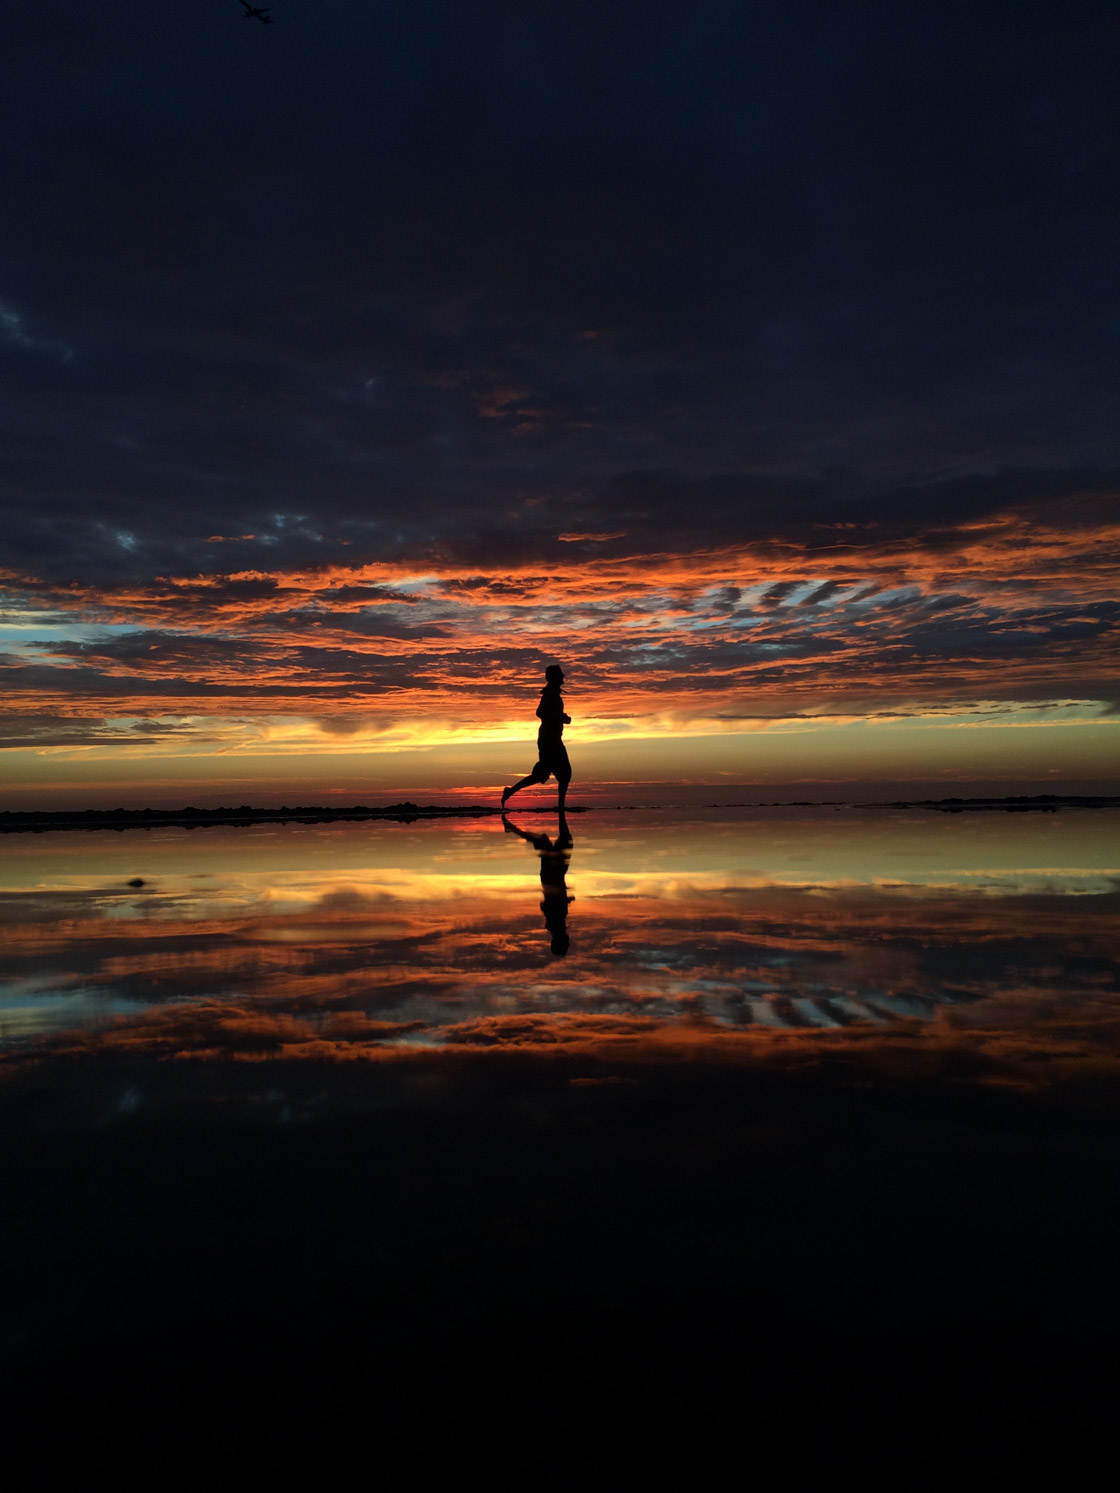
Notice how clear the outline of the runner is in the photo above. That is one of the best silhouette poses you can get.
Fortunately, there is a simple way to ensure you capture this pose.
You use burst mode!

Burst mode is an iPhone camera feature that allows you to take over 10 photos per second.
To activate burst mode, just hold down the shutter button with your finger. Your iPhone will immediately begin taking photos. It won’t stop until you let go of the shutter.
Burst mode can fill up your photo library fast, but the result is well worth it. You’ll never miss a perfect silhouette pose again.
Plus, you can easily delete your burst mode photos in your photo library:
Open a burst mode photo. Then tap Select. Now you’re free to choose your favorite burst mode photos–and discard the rest!
Here’s how I recommend you use burst mode.
Start by finding a potential silhouette scene.
(Ideally, this is by the water.)
Then simply wait for a person to walk by.
As soon as the person steps into the frame, start using burst mode. Don’t stop taking pictures until the person has left the frame.
Once your photo outing is over, you can go back through your images.
I guarantee there will be some great silhouettes in there!
6. Hold Your iPhone Close To The Water For Gorgeous Silhouette Reflections
If you want especially gorgeous silhouette photos, then I have a trick for you.
You can take incredible silhouette reflections—you just have to have some water.
This is one of my favorite silhouette techniques.
Start by finding some water on the ground. The depth of the water isn’t important. It can be a tiny puddle or a vast lake.
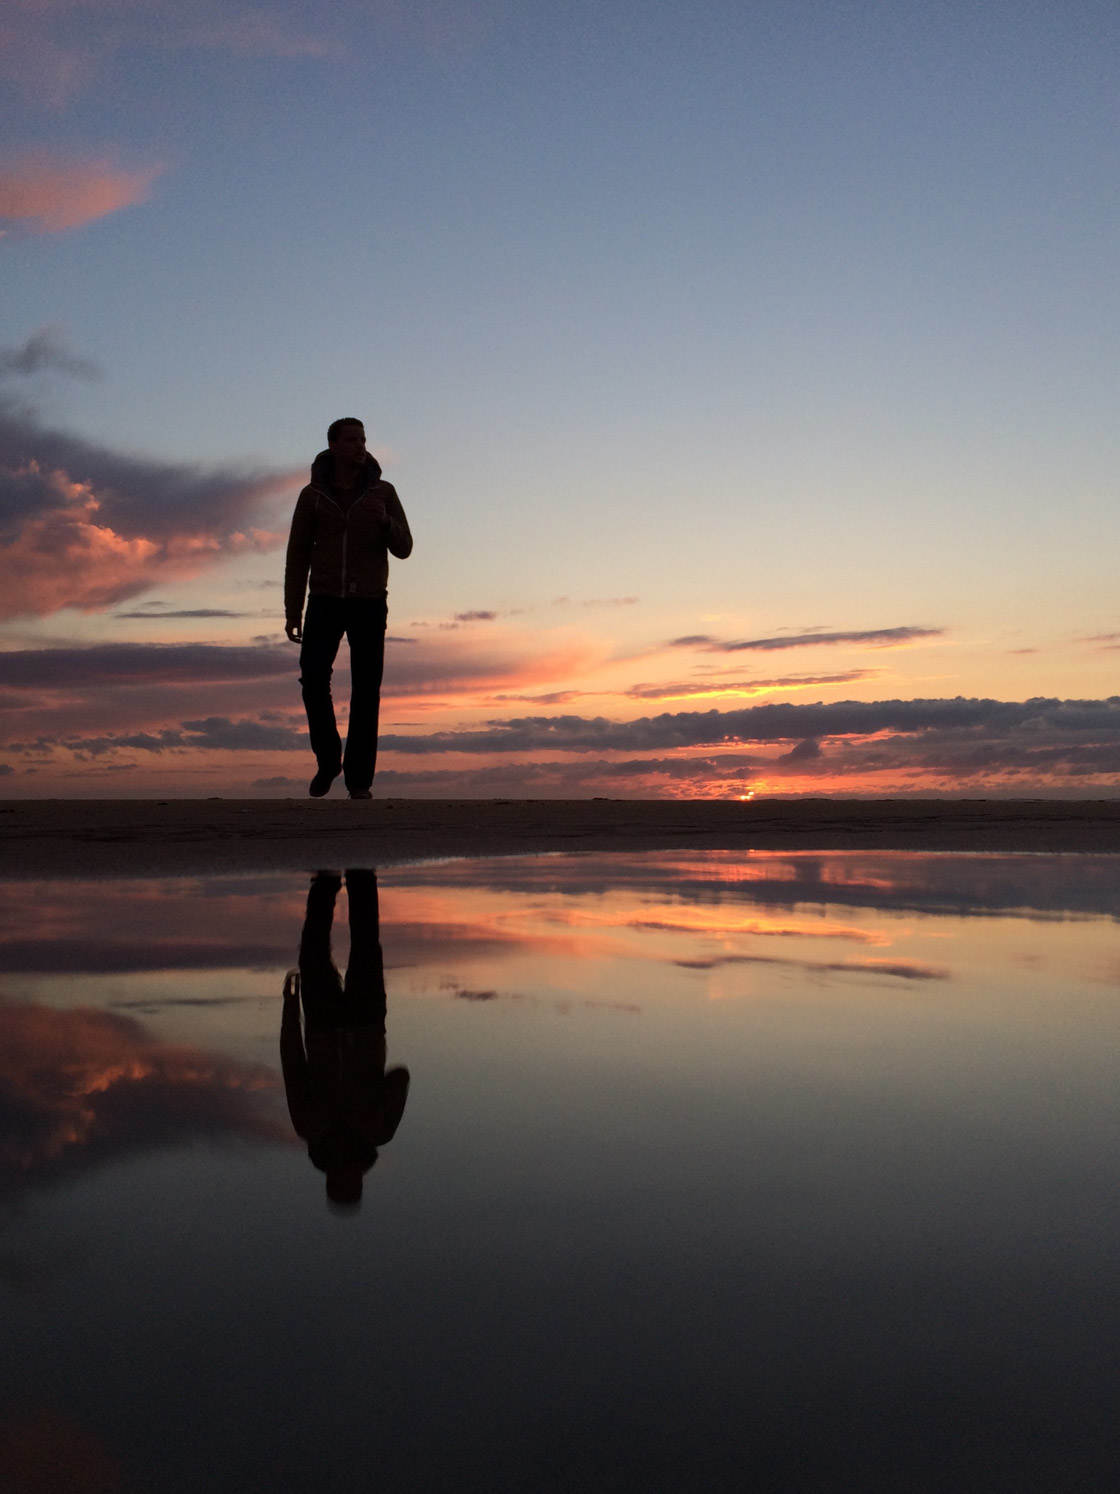
Then get down as low as you can. You can do this by crouching or lying on the ground.
Hold your iPhone over the water. Then—here comes the trick—take note of your iPhone’s camera. Then turn your iPhone so that the camera is positioned just above the water.
Now your iPhone camera will be extremely close to the water. Angle your camera so that part of the water is framed in the shot. This makes for amazing reflections. Just make sure you don’t drop your camera in the water!
Finally, wait for a person to walk into the frame. When they do, snap several shots.
(You should probably use burst mode.)

When you look in your photo library, you’ll see some gorgeous silhouette reflection photos.
7. Use The Rule Of Thirds For The Perfect Silhouette Compositions
Do you want to capture jaw-dropping silhouettes?
Then you need to create beautiful compositions.
(Composition refers to the arrangement of objects in a photograph.)
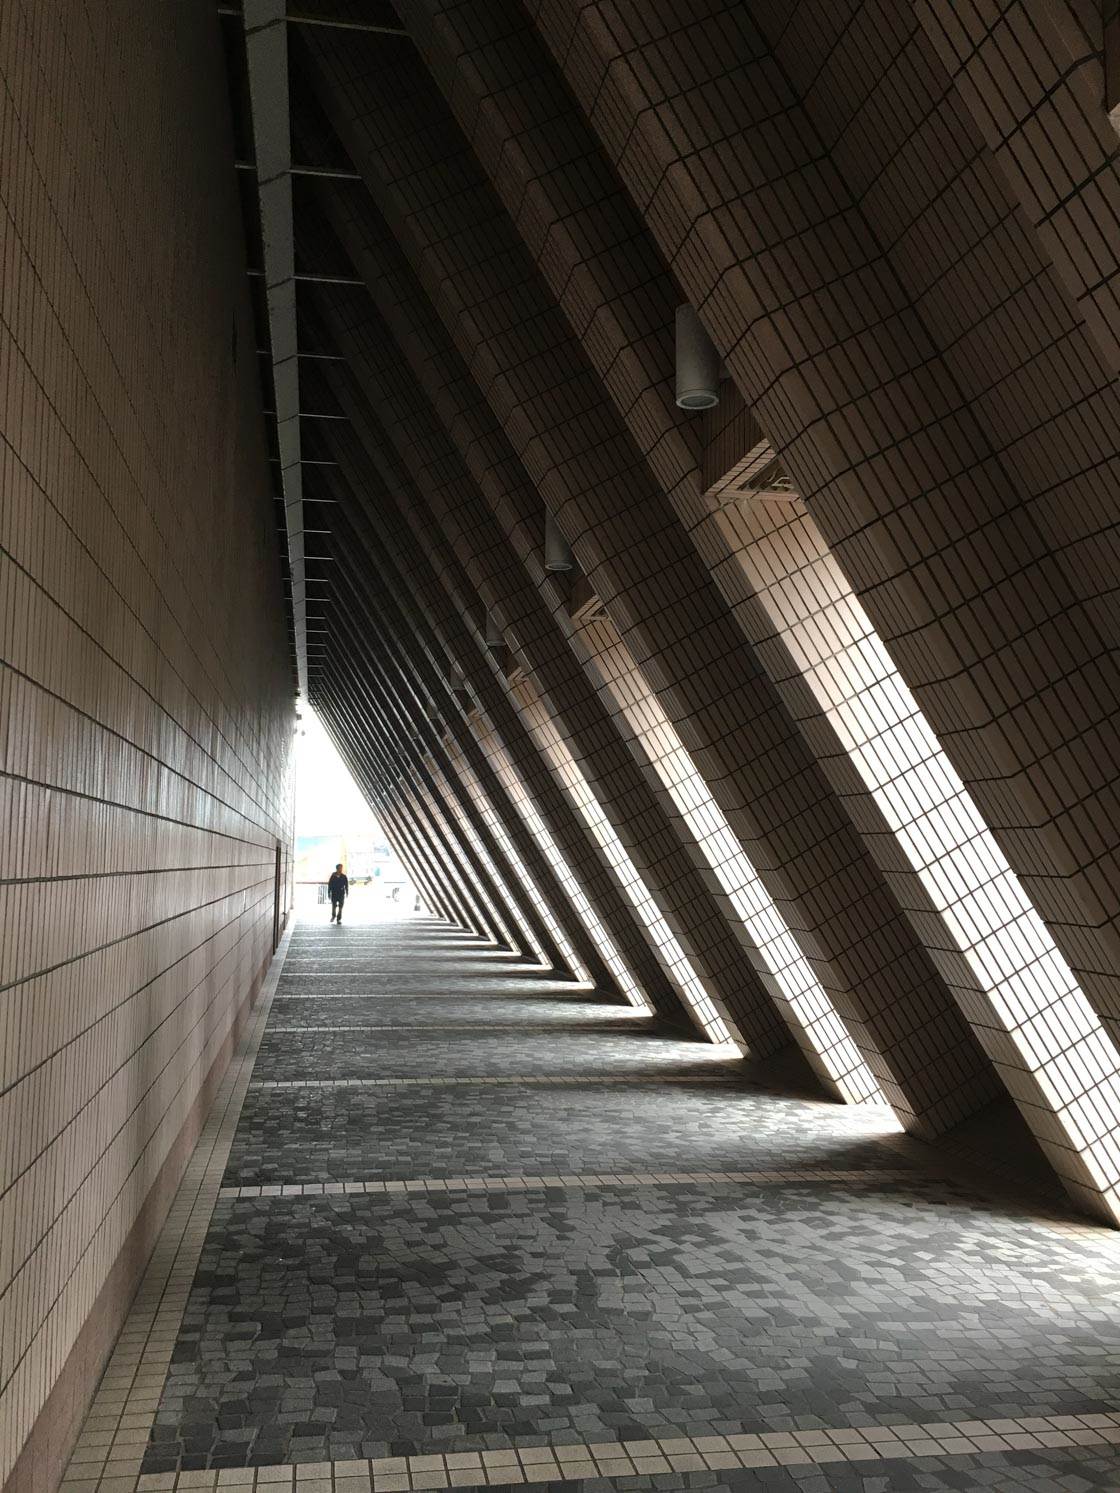
But how do you create powerful silhouette compositions?
A great tip is to follow the rule of thirds. The rule of thirds states that pictures are extremely pleasing when the main elements are off center.
More specifically, you should place the important elements of a photo a third of the way into the frame.
In other words, you should place the important elements along one of the rule of thirds gridlines (as shown below).
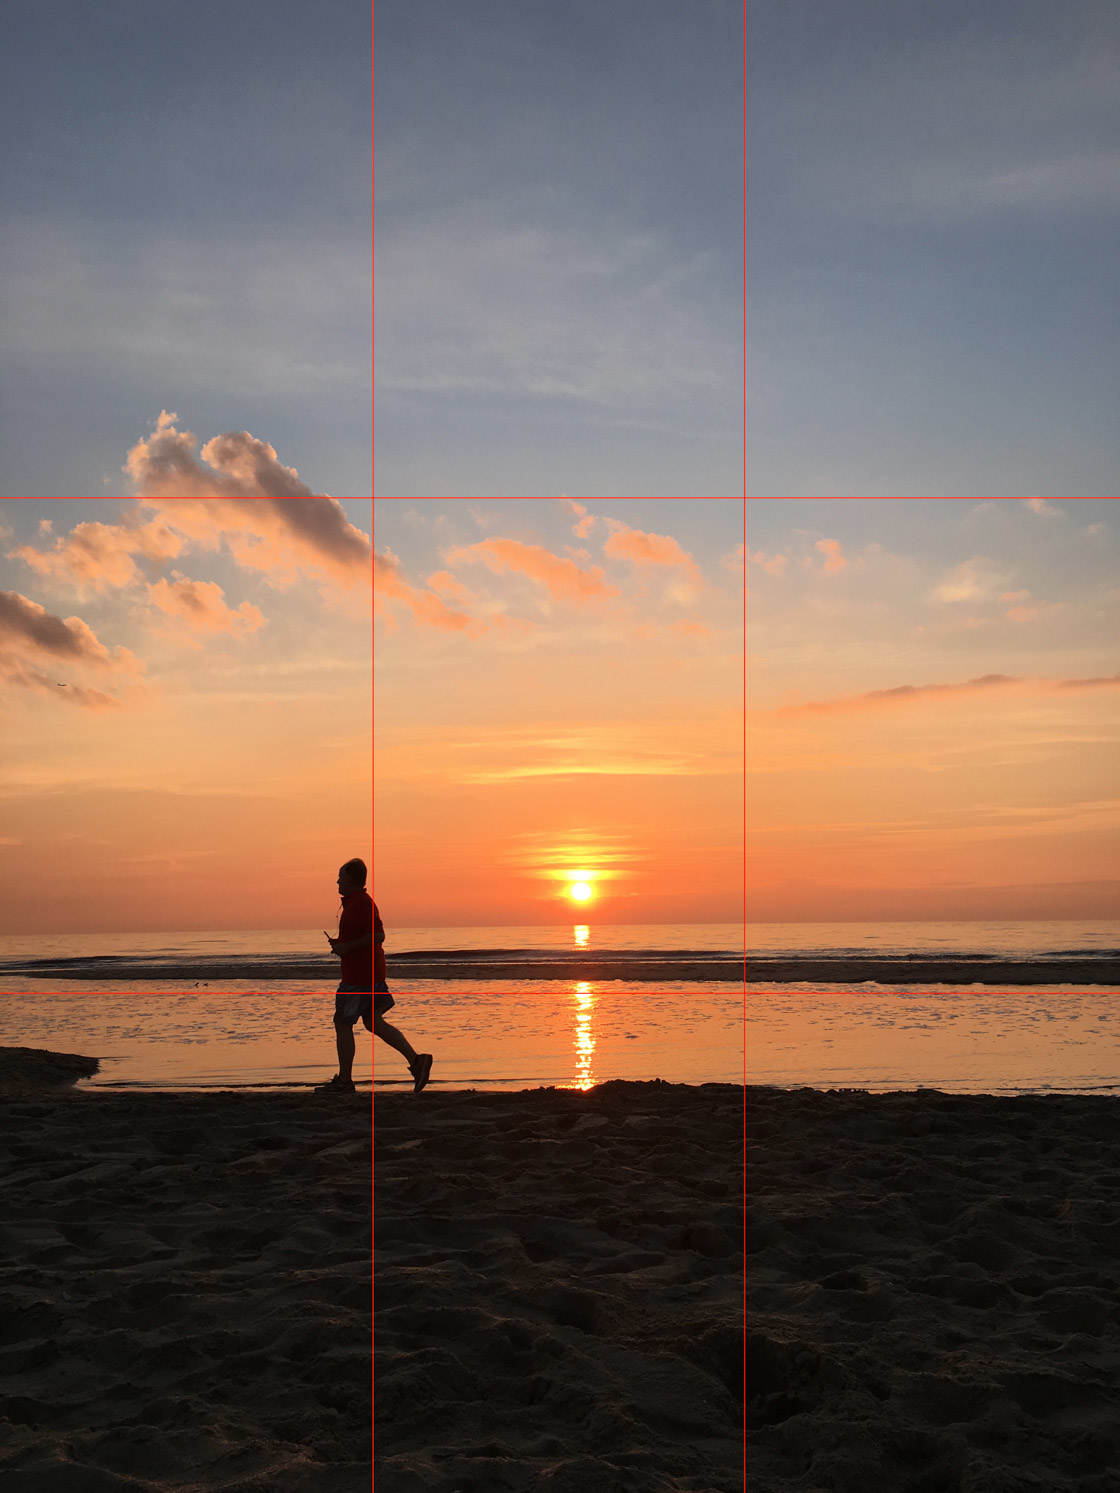
For a more striking silhouette photo, you’ll want to place the subject along one of the points where the rule of thirds lines meet.
You’ll also want to place the horizon along one of the horizontal gridlines.
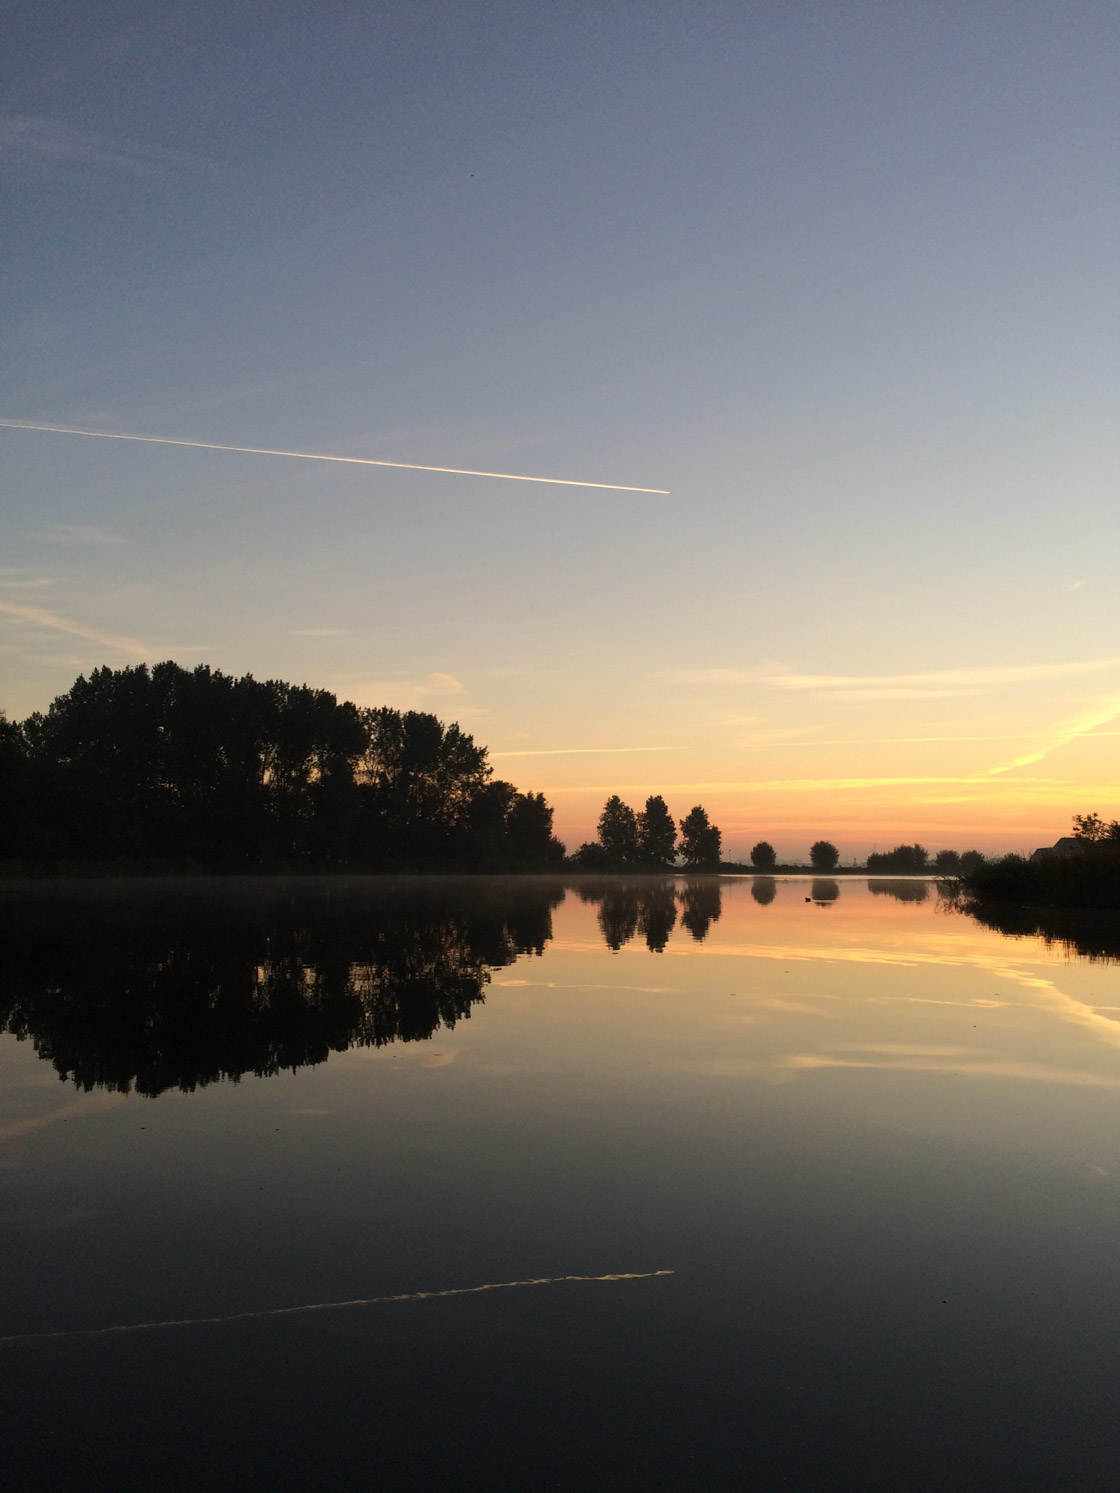
In general, I find that the horizon looks good along the lower gridline.
If you want to apply the rule of thirds consistently, I suggest you activate the iPhone camera grid.
You can do this by going to the Home screen. Tap Settings, then Camera. Finally, tap to activate the Grid.
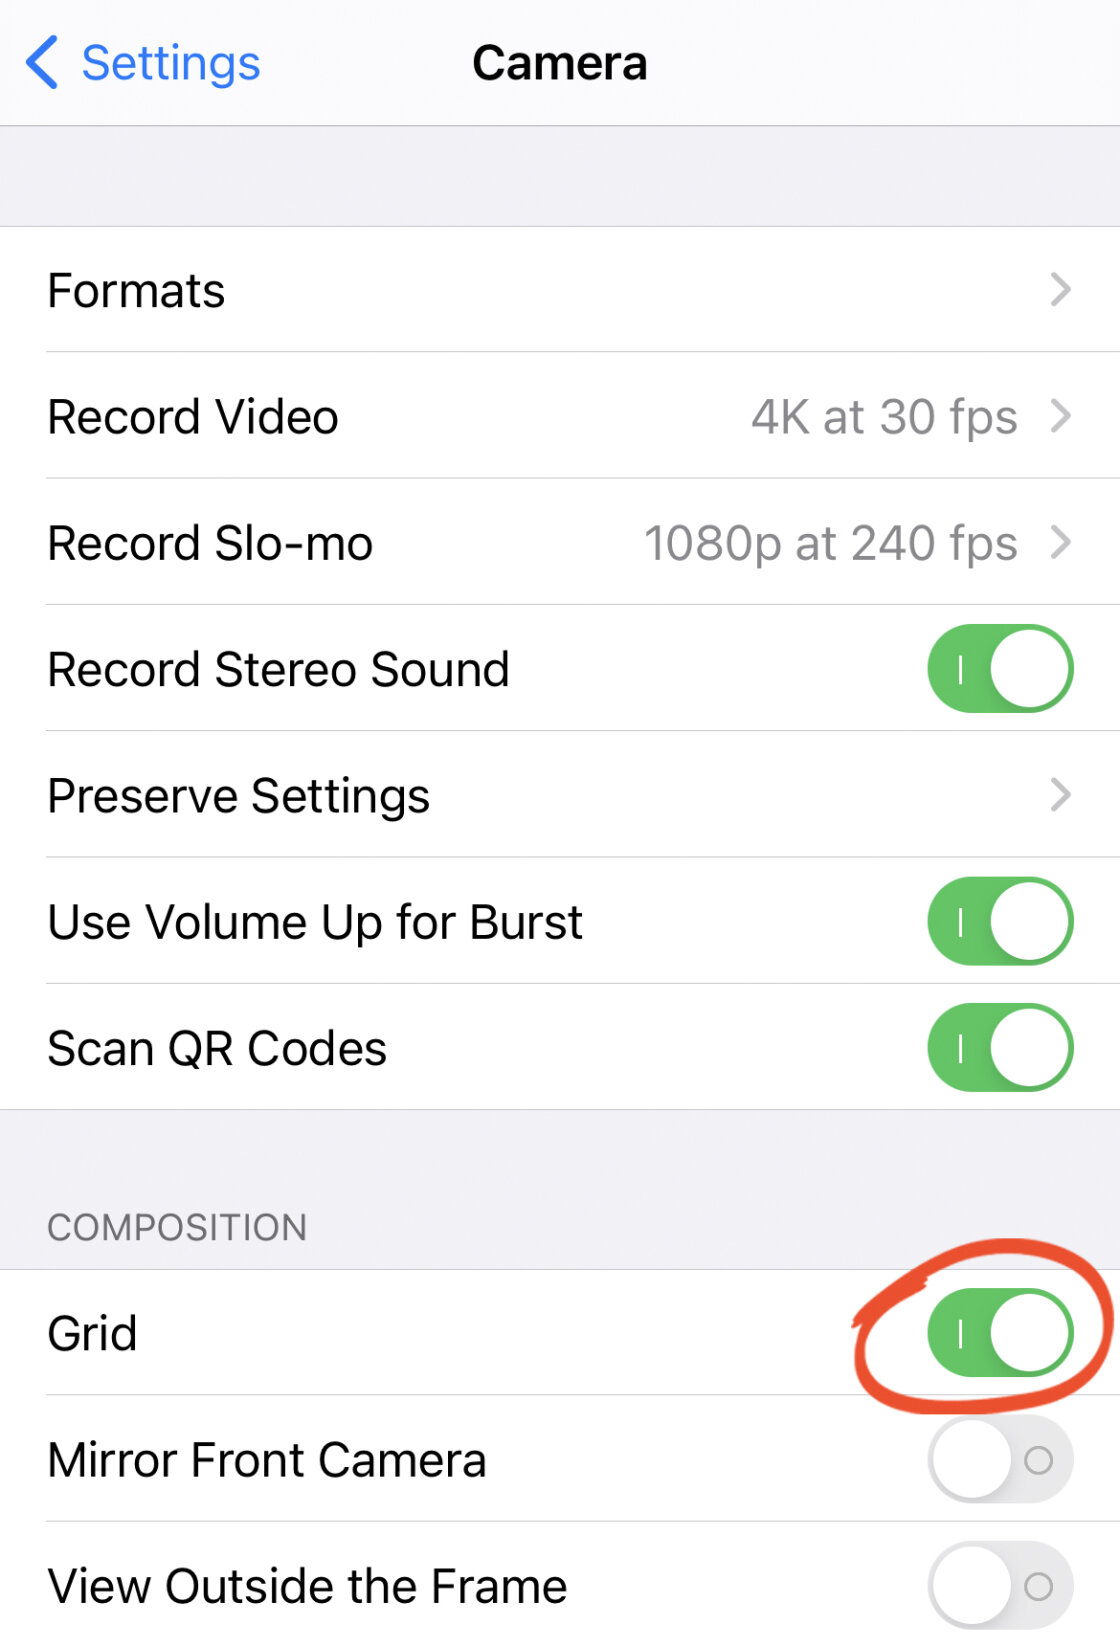
The next time you open your camera, you’ll see a grid on the screen. And you can use this grid to consistently follow the rule of thirds!

So use the rule of thirds in your iPhone silhouette photos. It will ensure you capture some beautiful compositions.


Leave a Reply
You must be logged in to post a comment.