Do you want to capture incredible still life images with your iPhone? Still life photography might seem tough, but it doesn’t have to be. In this article, you’ll discover 8 tips for beautiful still life photography. And you’ll come away with the ability to take stunning still life photos…using objects that you can find anywhere!
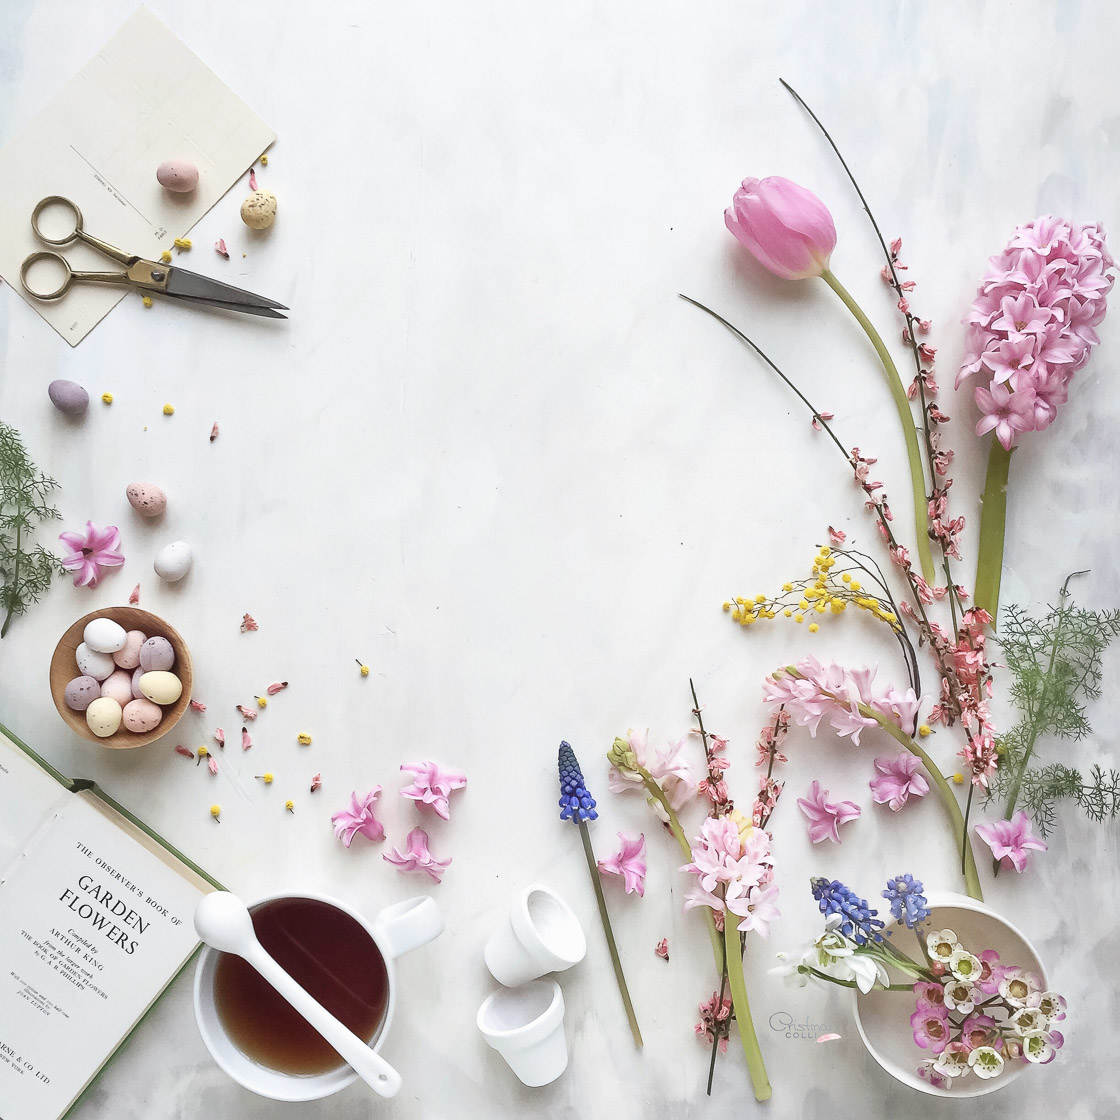
1. Use A Tripod For Perfectly Sharp Still Life Images
To get a beautiful still life, you must avoid camera shake.
(Camera shake results in blurry photos.)
And to avoid camera shake, you should use a tripod.
This is because (as discussed below!) the best still lifes are taken in indirect light. So you’re not going to be taking still lifes under a bright sun.
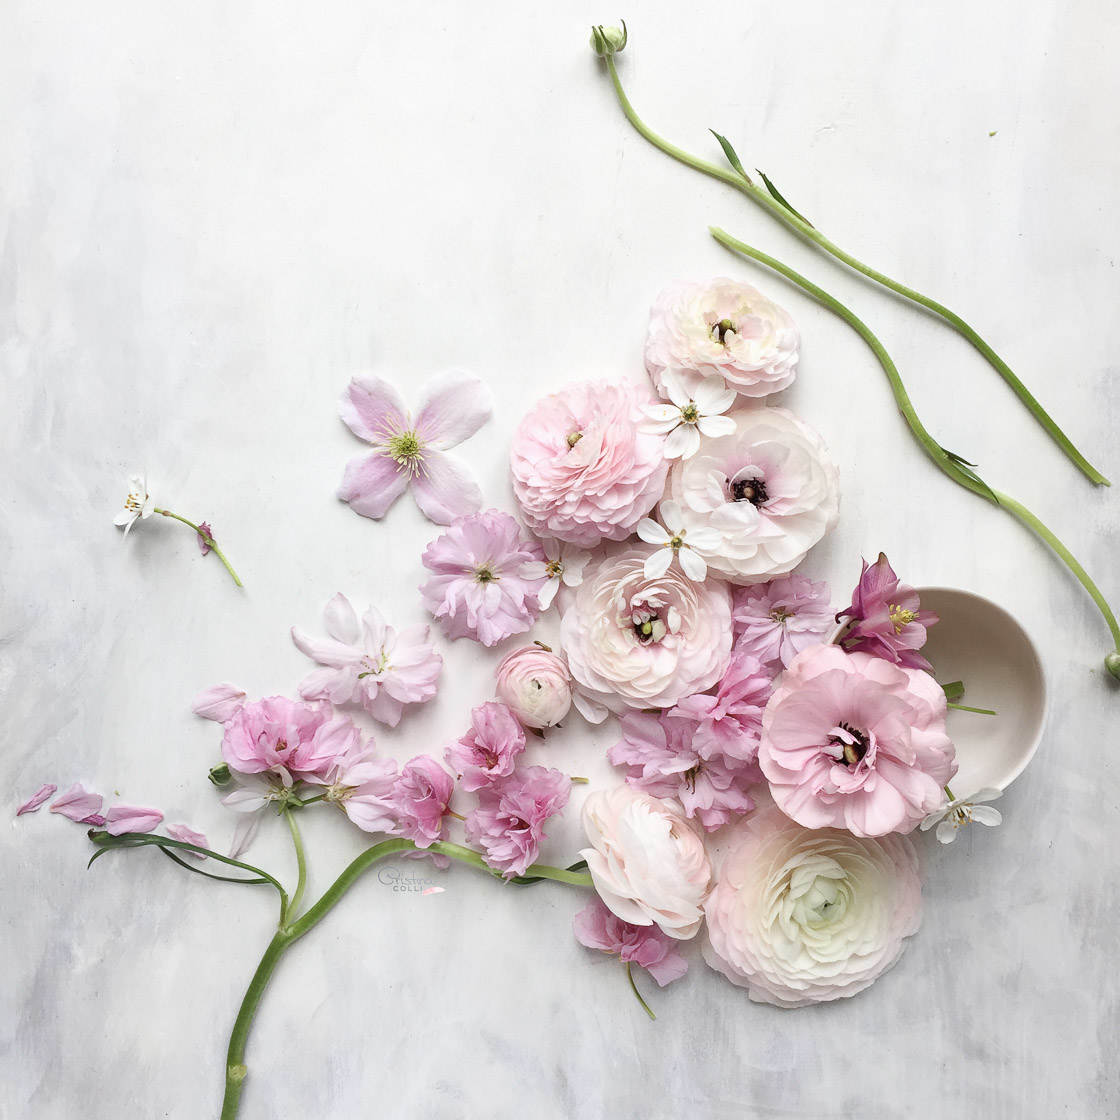
Instead, you’re often going to be taking still lifes indoors or in the shade. And these are places where the light is weak.
That’s why a tripod is essential.
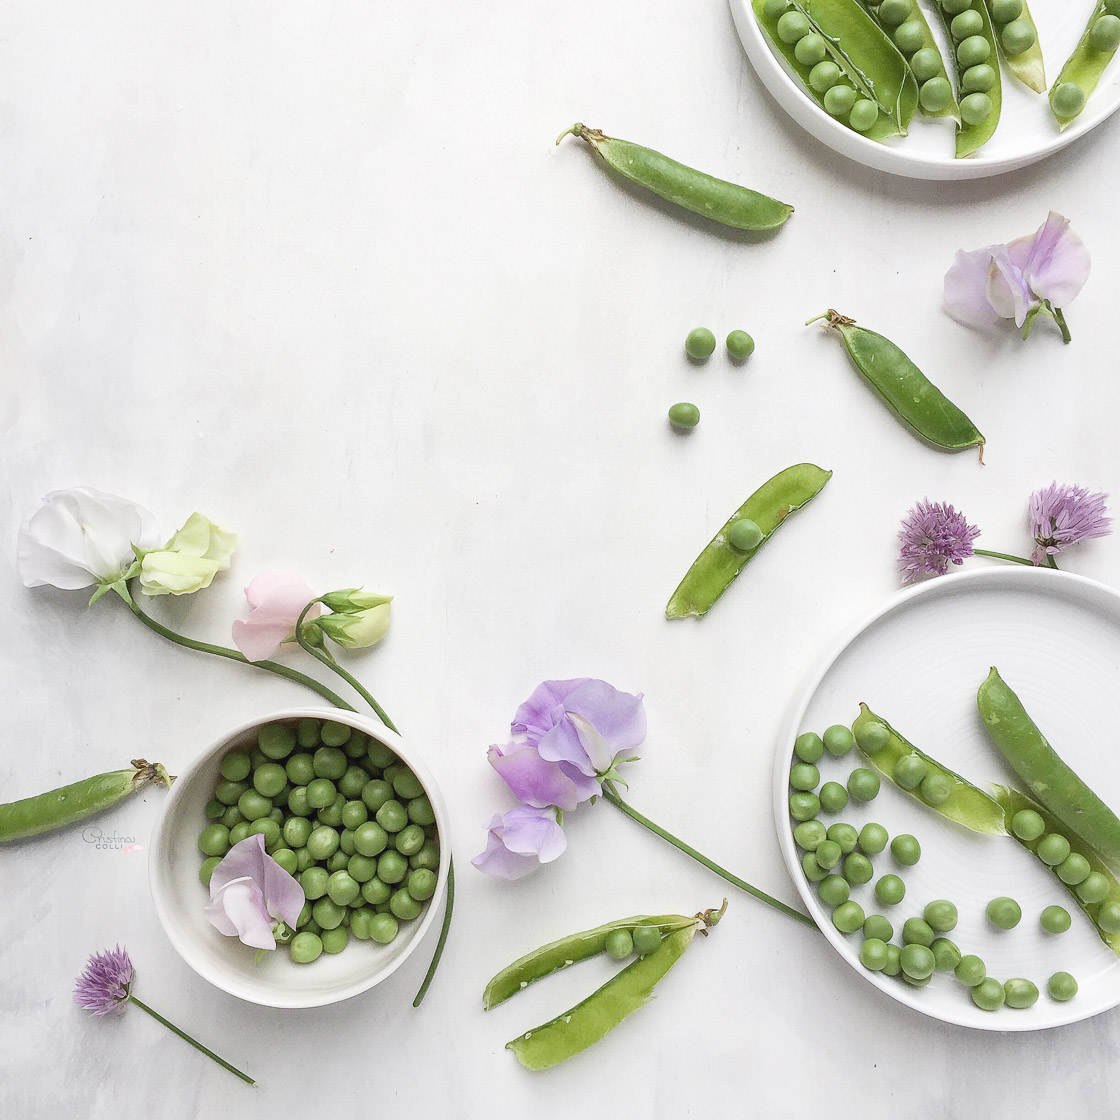
Now, I like to arrange my still lifes on the ground. That way, I can shoot from a standing height. I recommend you do the same.
This also gives you a lot of flexibility when choosing a tripod.
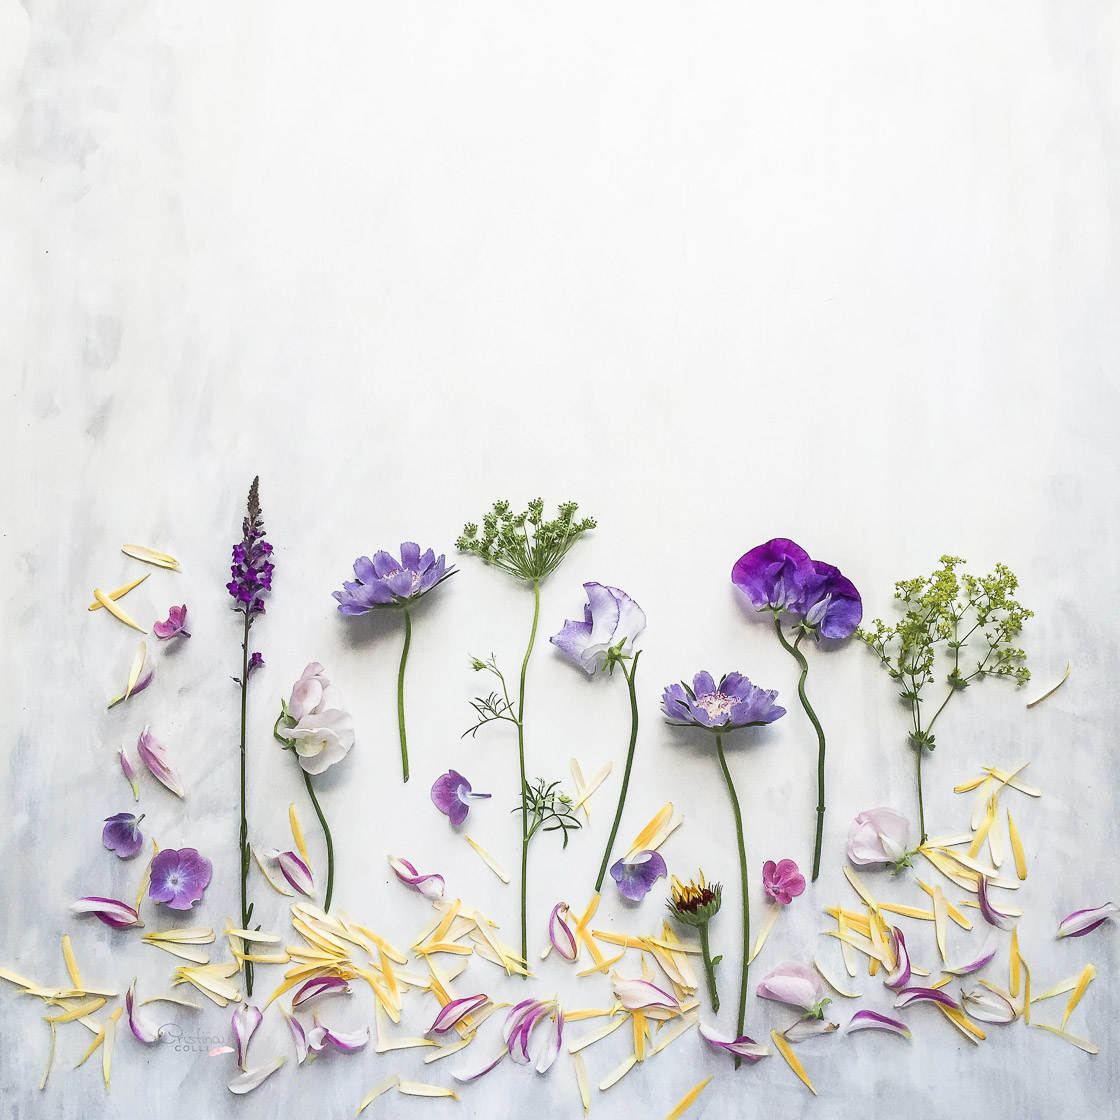
For instance, you could choose a smaller, tabletop tripod. You could put it on a chair or a table, and then angle your iPhone downward.
Or you could choose a full-sized tripod. You could put it on the ground, and point your iPhone down from a few feet above the still life.
So the tripod type doesn’t really matter.
As long as your iPhone is stable, you’ll be able to get excellent photos.
So use a tripod for your still lifes. Because a tripod will allow you to stabilize your iPhone while shooting in low light.
Which brings me to my second tip…
2. Use Indirect Natural Light For The Best Still Life Photography
As mentioned above, sunny light isn’t ideal for still life photography.
But what light is ideal? How do you get stunning still life photos?
Use natural light. And make sure it’s indirect.
Because indirect light will result in soft and even lighting–perfect for still lifes!
By “indirect” natural light, I’m speaking broadly. For instance, one of my favorite types of indirect light is window light.
Ideally, the light coming through the window is indirect–that is, the sun isn’t shining straight through.
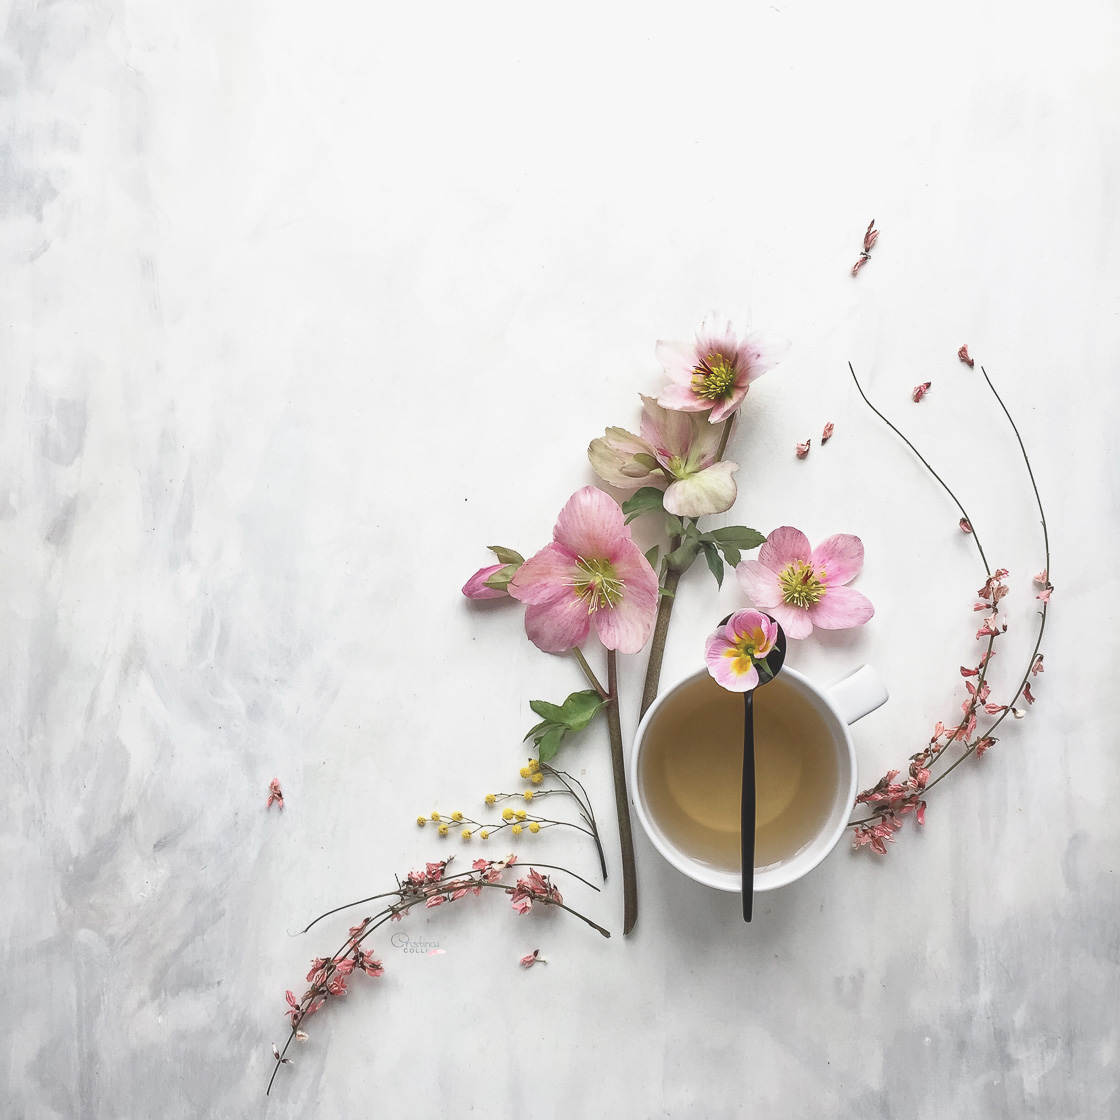
Do you see how soft the lighting is in the photo above? And notice how indirect light allows for beautifully saturated colors.
However, if you don’t have any indirectly lit windows, here’s a quick fix: Hang something white from the window. A sheet can work well, or a shower curtain.
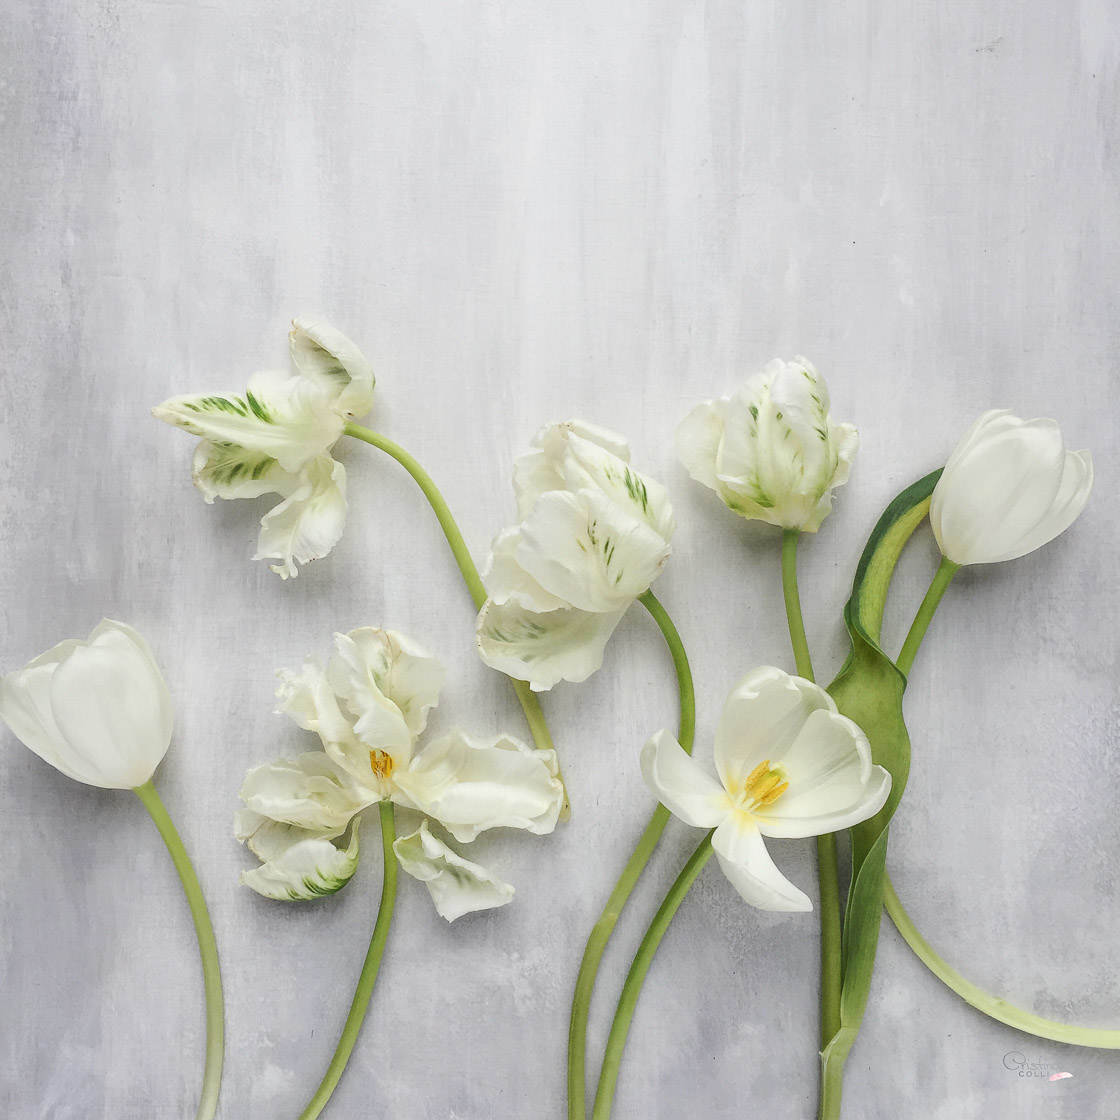
The point is simply to reduce the power of the sunlight. You want your still life to be lit softly. You want diffused lighting, not harsh sun.
Another method of lighting your still lifes is to photograph outdoors–but only on cloudy days. Clouds act as a giant diffuser. They’ll make sure that your still life is lit softly and evenly.
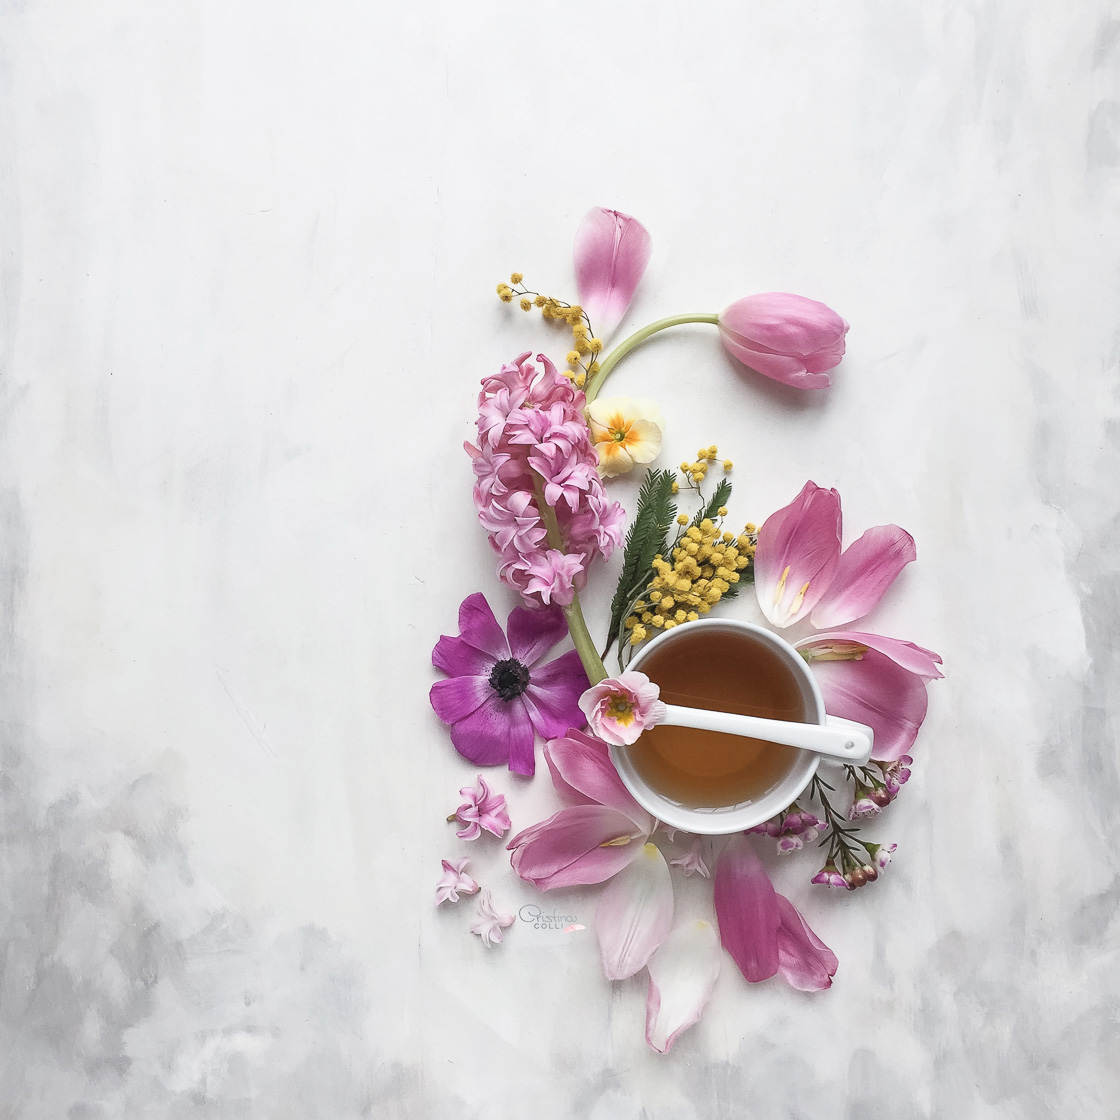
If the day isn’t cloudy, you can photograph in the shade–perhaps on a porch. For even more diffused lighting, block the light with a white sheet. This will ensure a beautifully lit photo.
Remember: Soft light works best for still lifes. So use the tips that I’ve given you above, and you’ll capture some beautifully lit still lifes in no time!
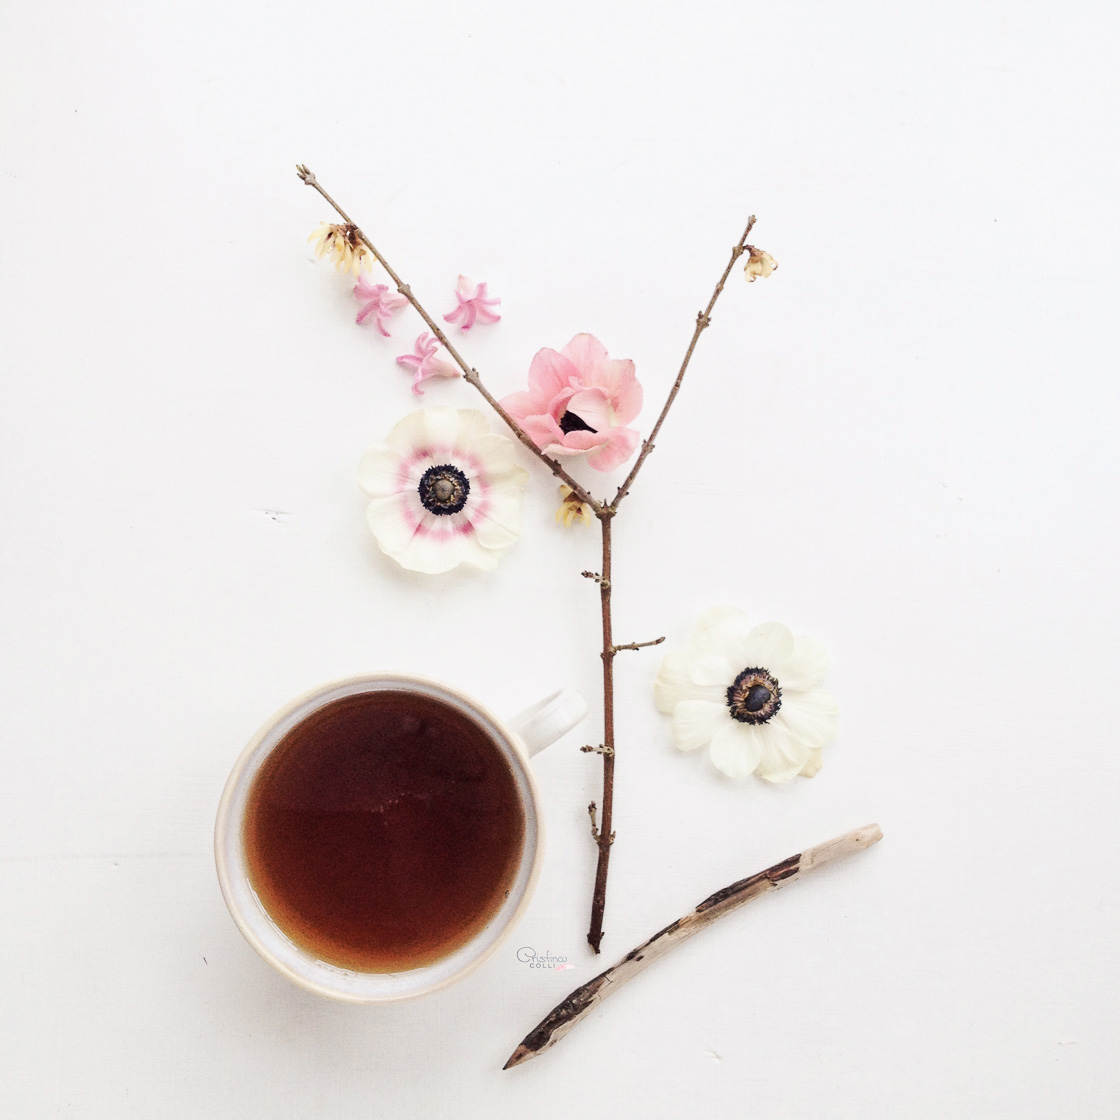
3. Choose Objects That Fit The Mood Of Your Still Life
When you’re arranging your still life, it can be a struggle to choose the right objects.
And since objects make up the still life, it’s essential to get this right.
So how do you choose your still life objects? How do you come up with still life photography ideas?
First, think about the mood that you want to achieve. Do you want your still life to feel bright and airy? Do you want it to convey the bleakness of winter?
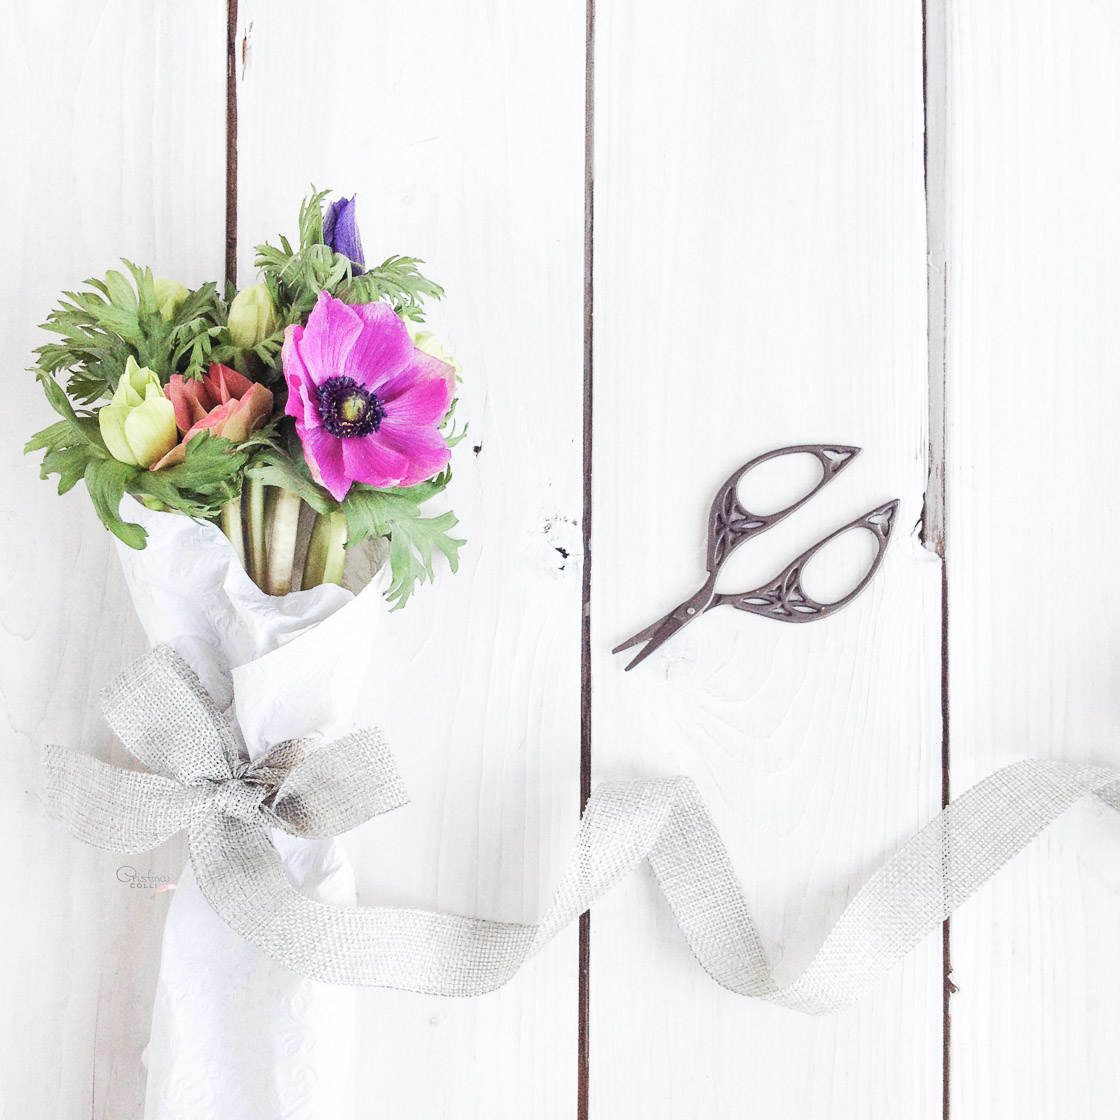
Then think of objects that fit this mood.
For example: If you want to create a still life that conveys autumn, think of objects you associate with autumn.
What says “autumn” to you?
The objects that immediately come to mind are red and orange leaves–but also pumpkins, gourds, and berries.
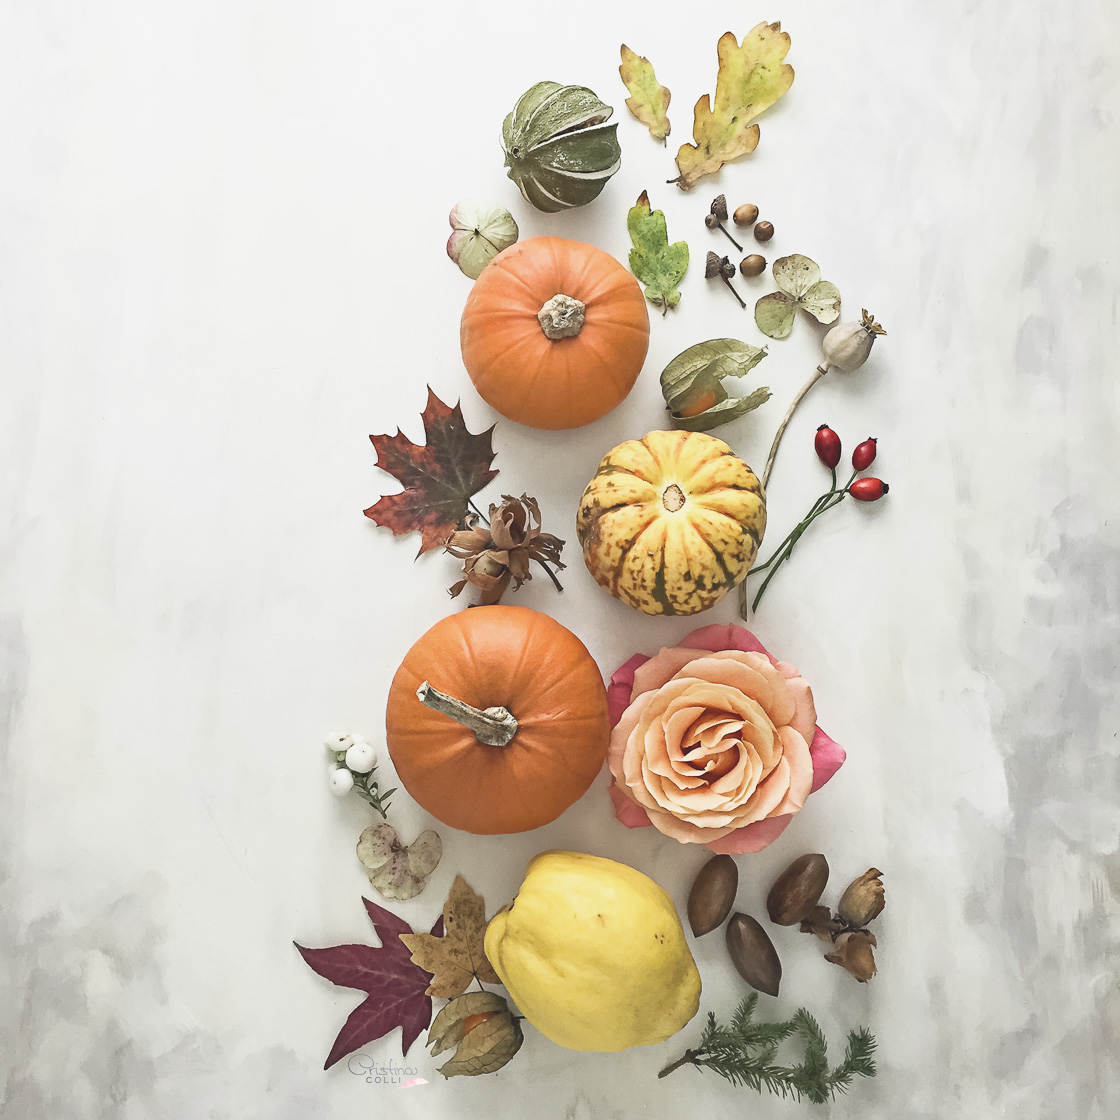
None of these objects should be too hard to find. You can buy pumpkins and gourds at the store for a few dollars. And you can find the leaves and berries while walking outside!
Of course, these are not the only items that are associated with autumn. You might have other objects in mind, and that’s okay.
The important thing is that you identify several relevant objects.
Once you’ve done this, it’s time to compose your still life…
4. Carefully Arrange Your Objects For The Best Still Life Composition
Composition is probably the most important component of a still life image.
Which is why the tips in this section are key to creating beautiful still life photography.
Now, there are many methods for arranging still lifes. But I’m going to share with you my favorite.
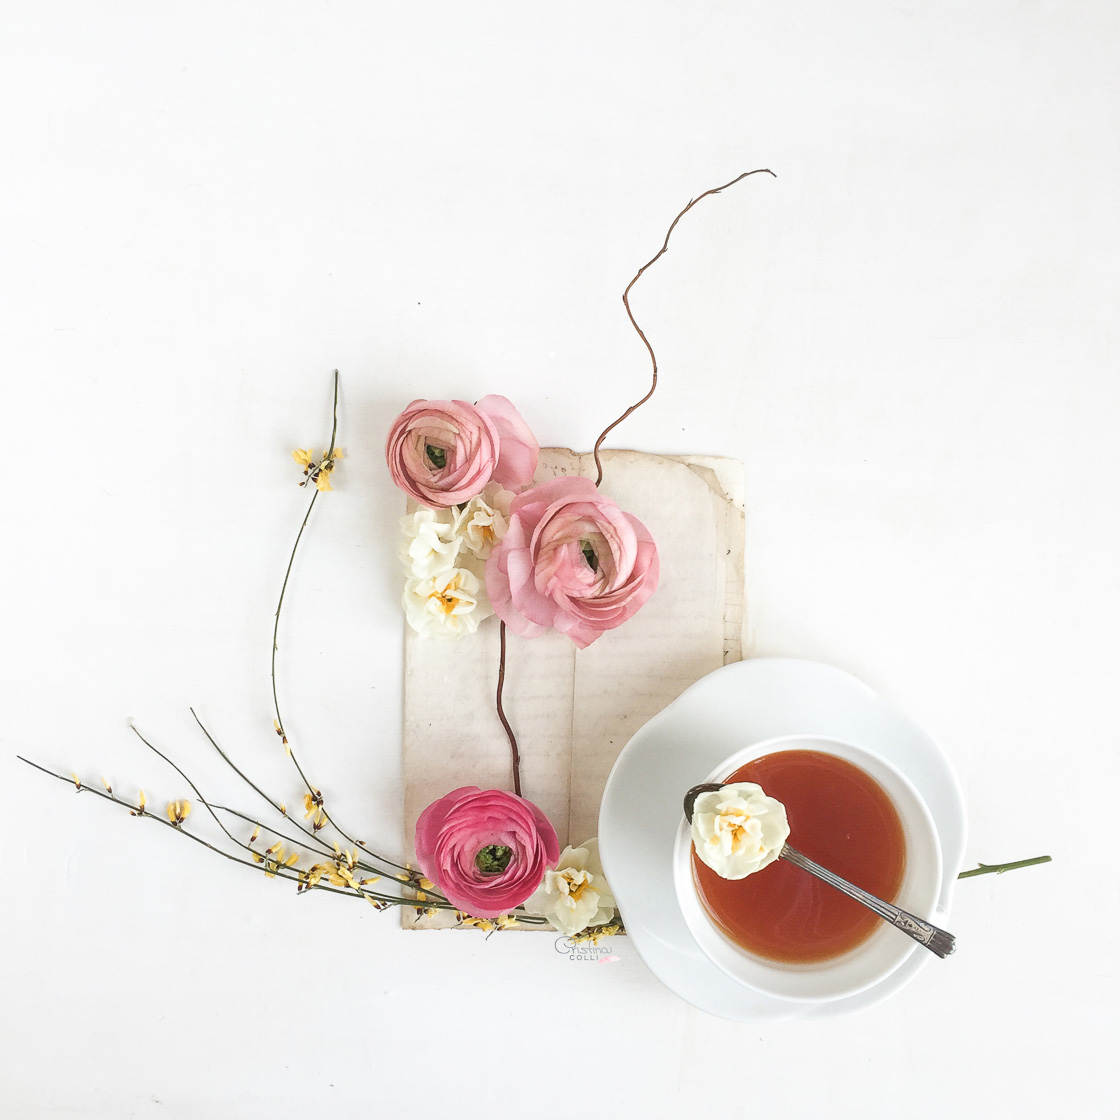
This is the method that I use. It’s how I created still lifes like this one:
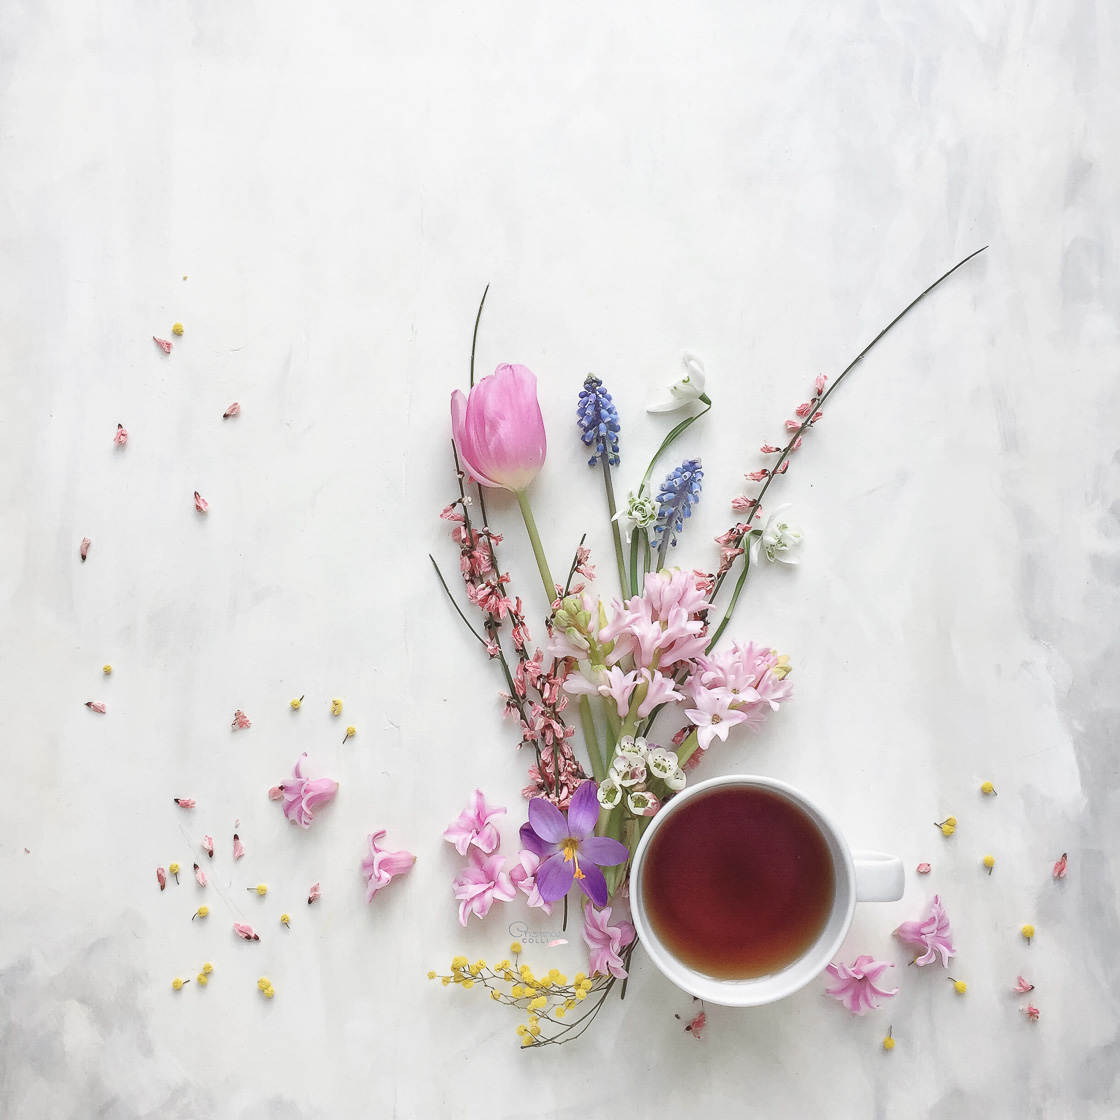
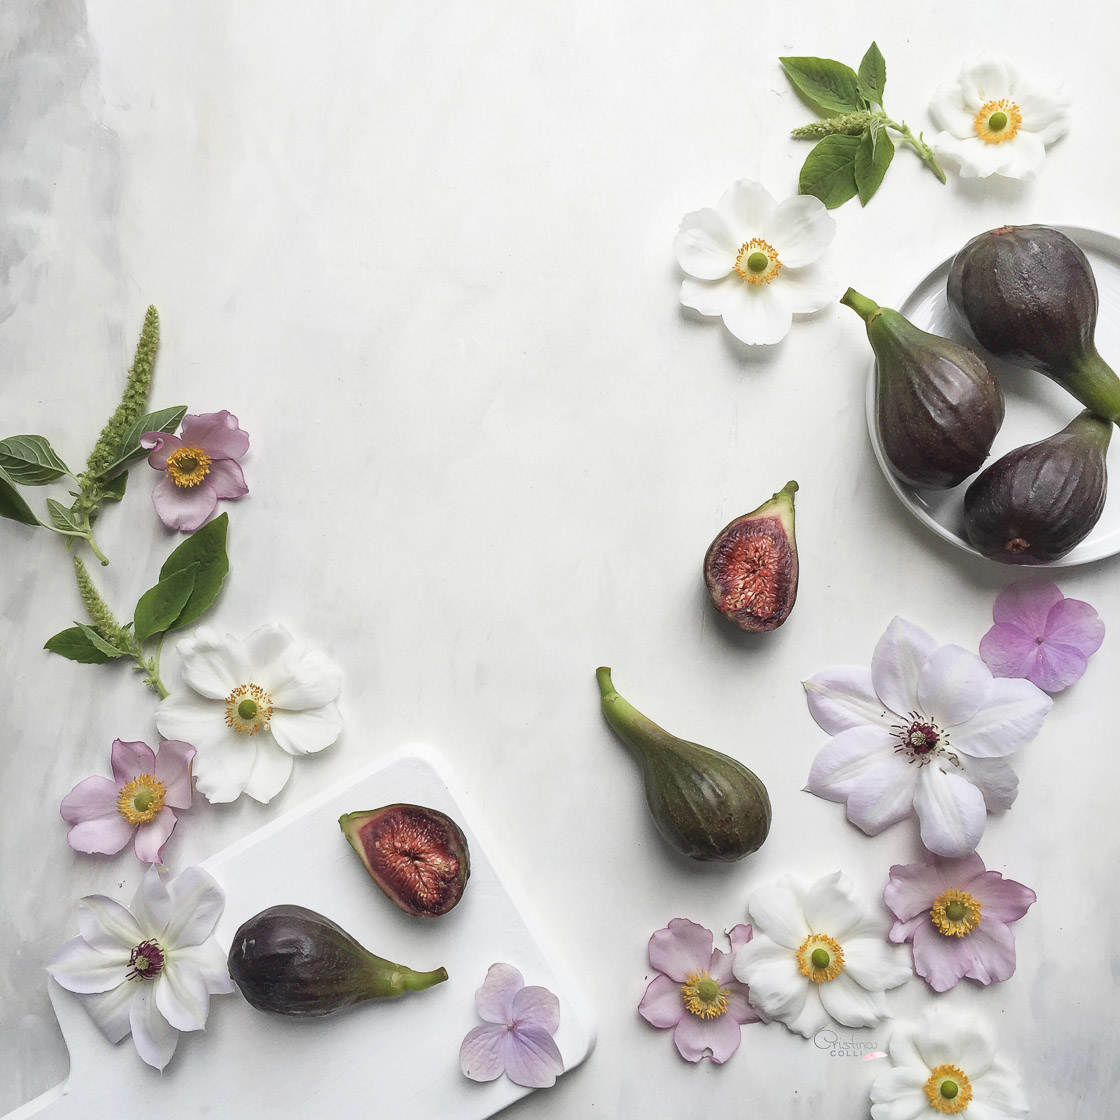
And this one:
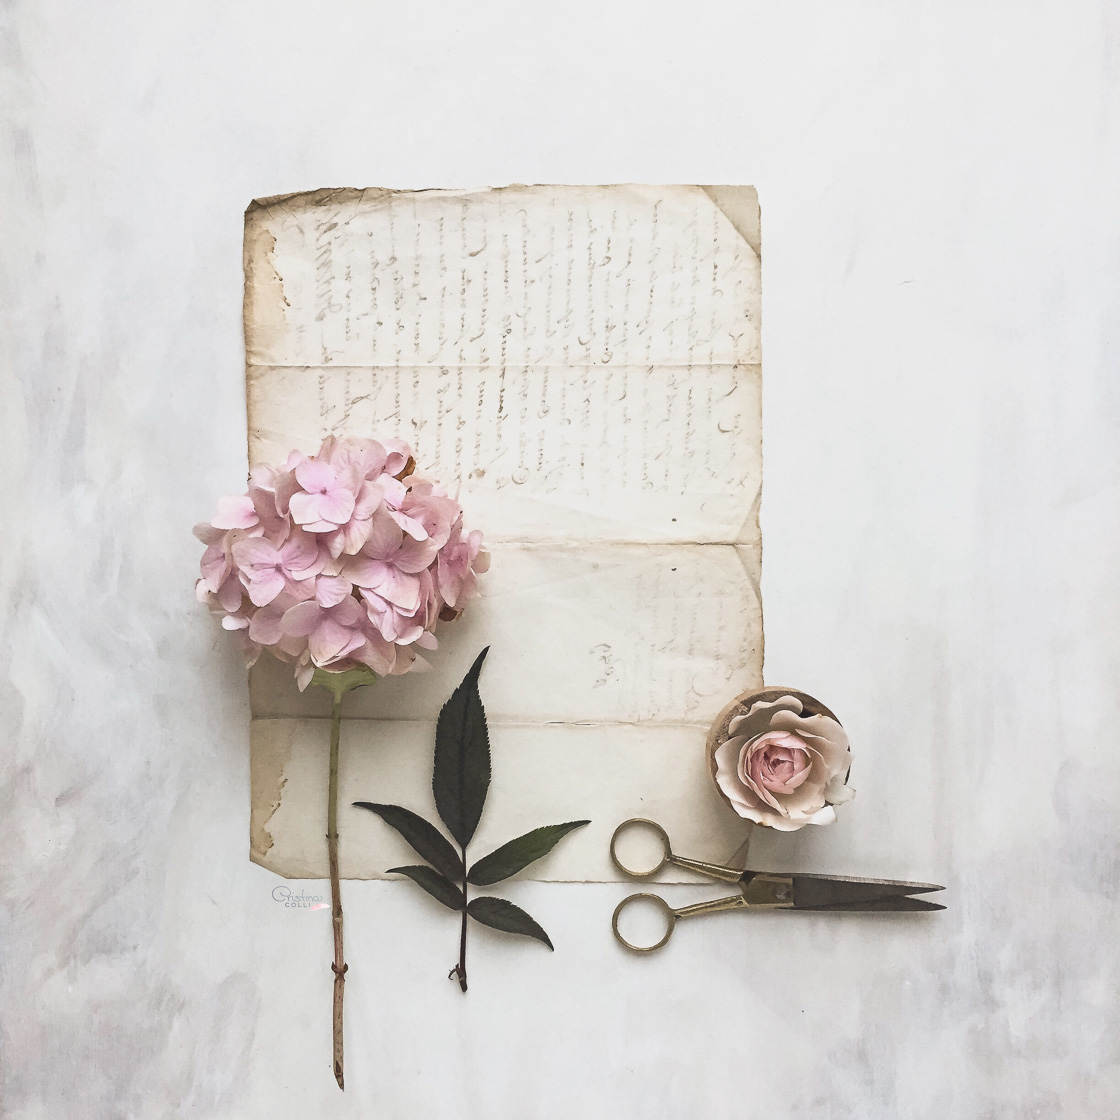
Start by choosing an object as the main focus of your still life. This should generally be something that draws the eye.
Place this object in the frame.
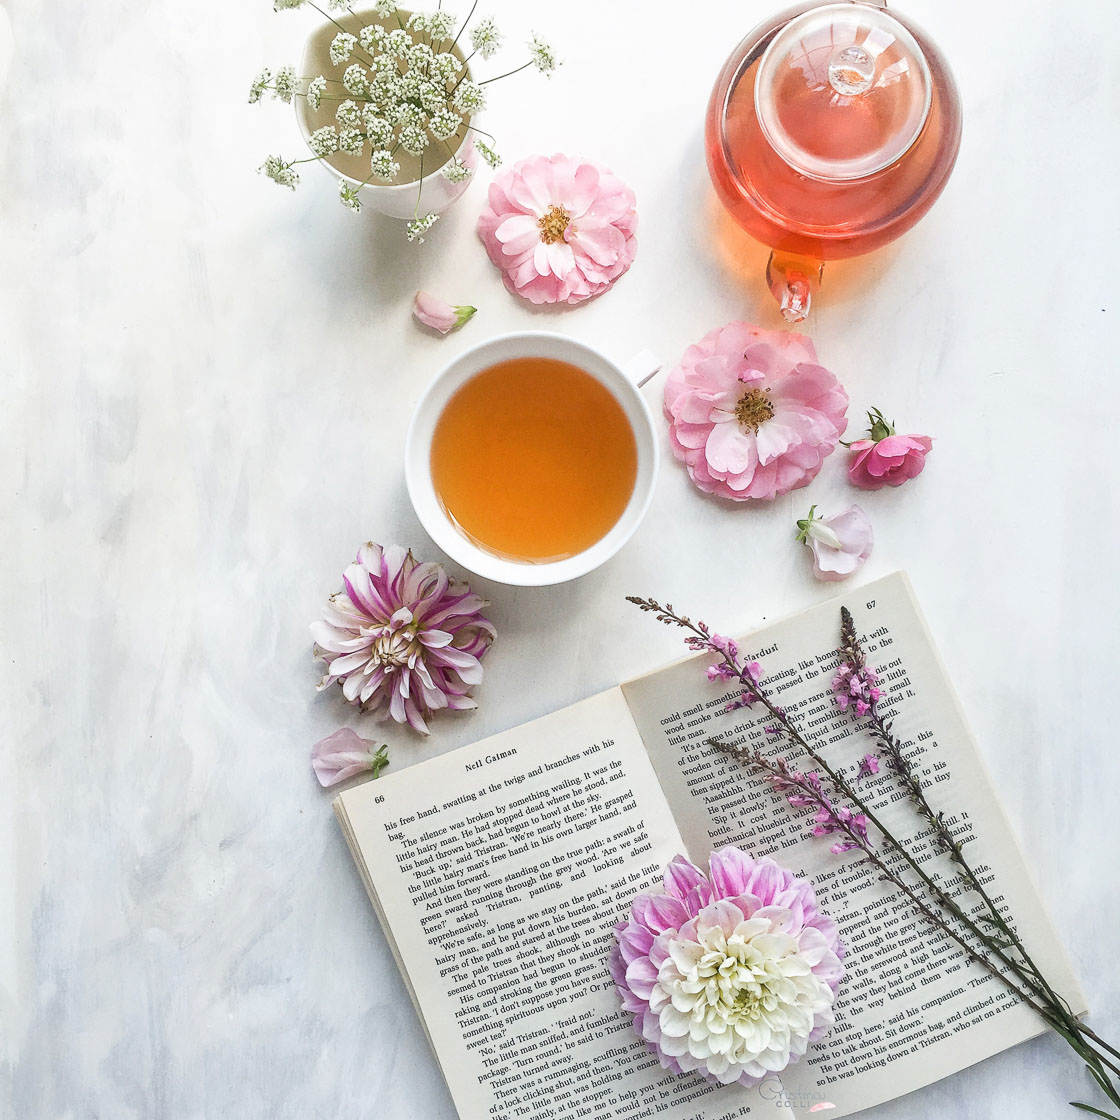
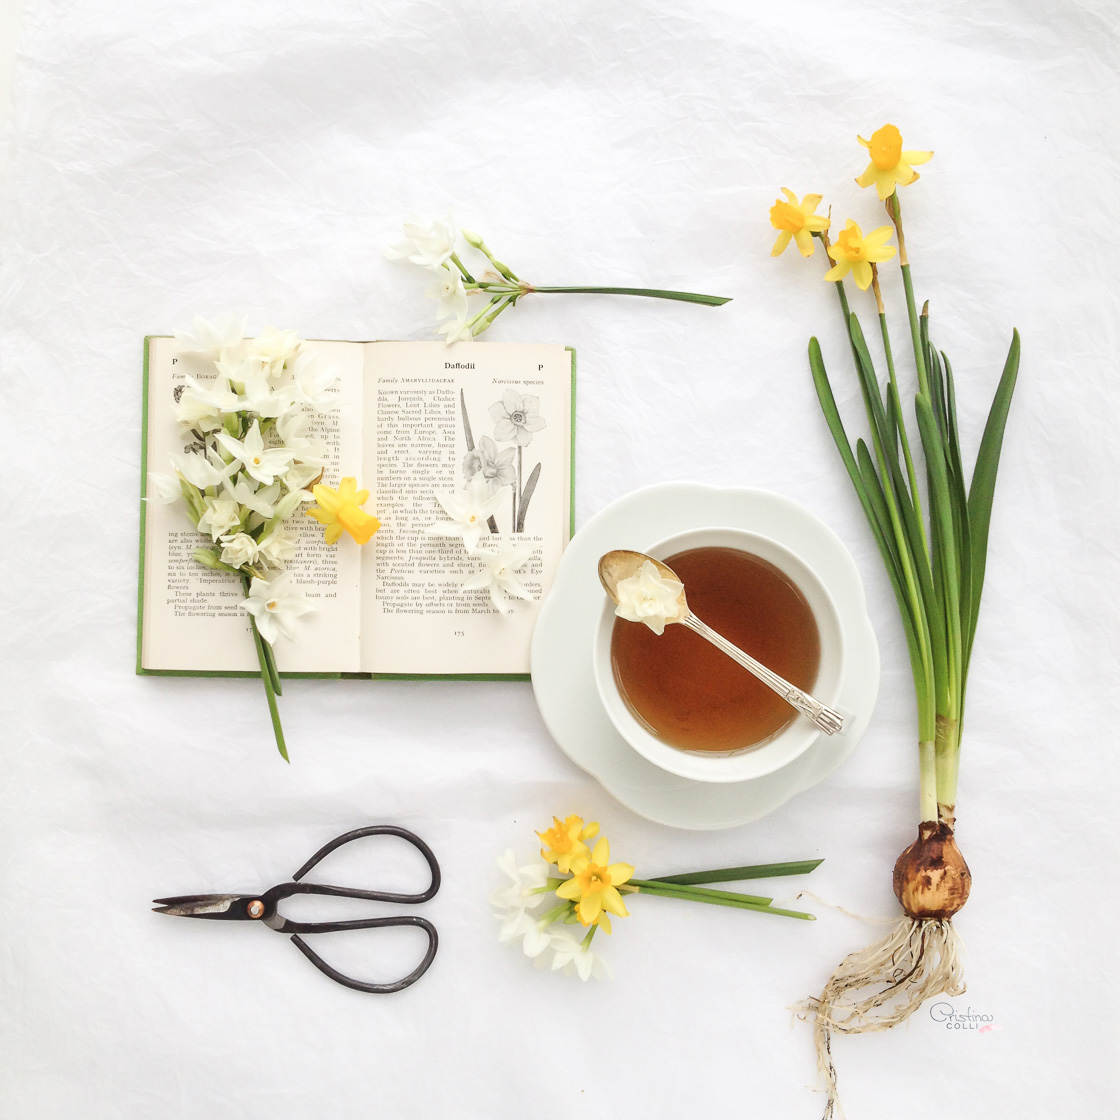
In general, I recommend setting this object off-center. Look at the off-center placement of the book in the photo above.
However, you might also be interested in a more symmetrical composition. If so, then I suggest you place the object right in the center of the frame.
Once you’ve placed your main item, arrange the remaining elements. This can be a bit more complex, but I have a few tips for you.
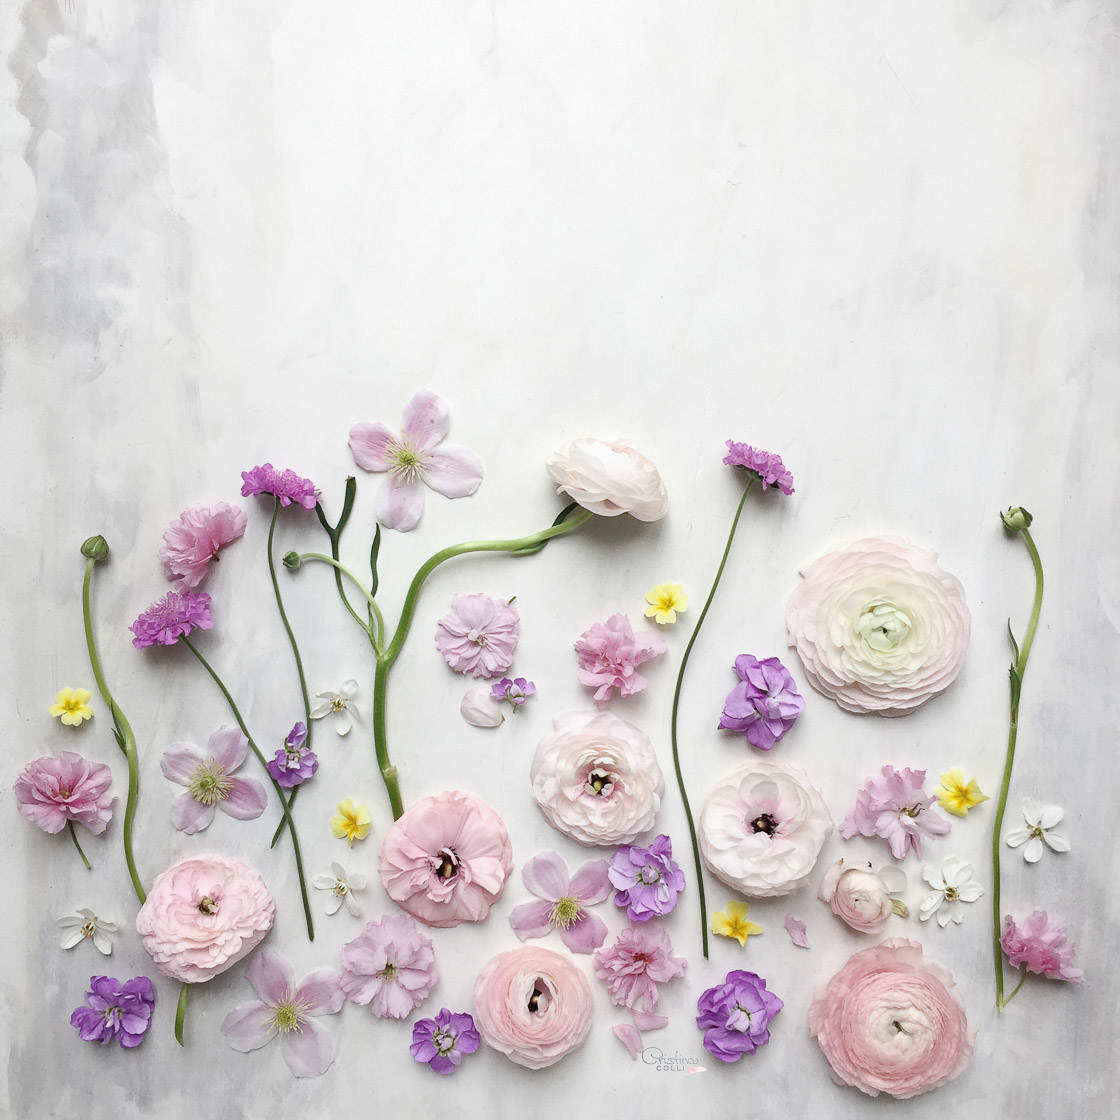
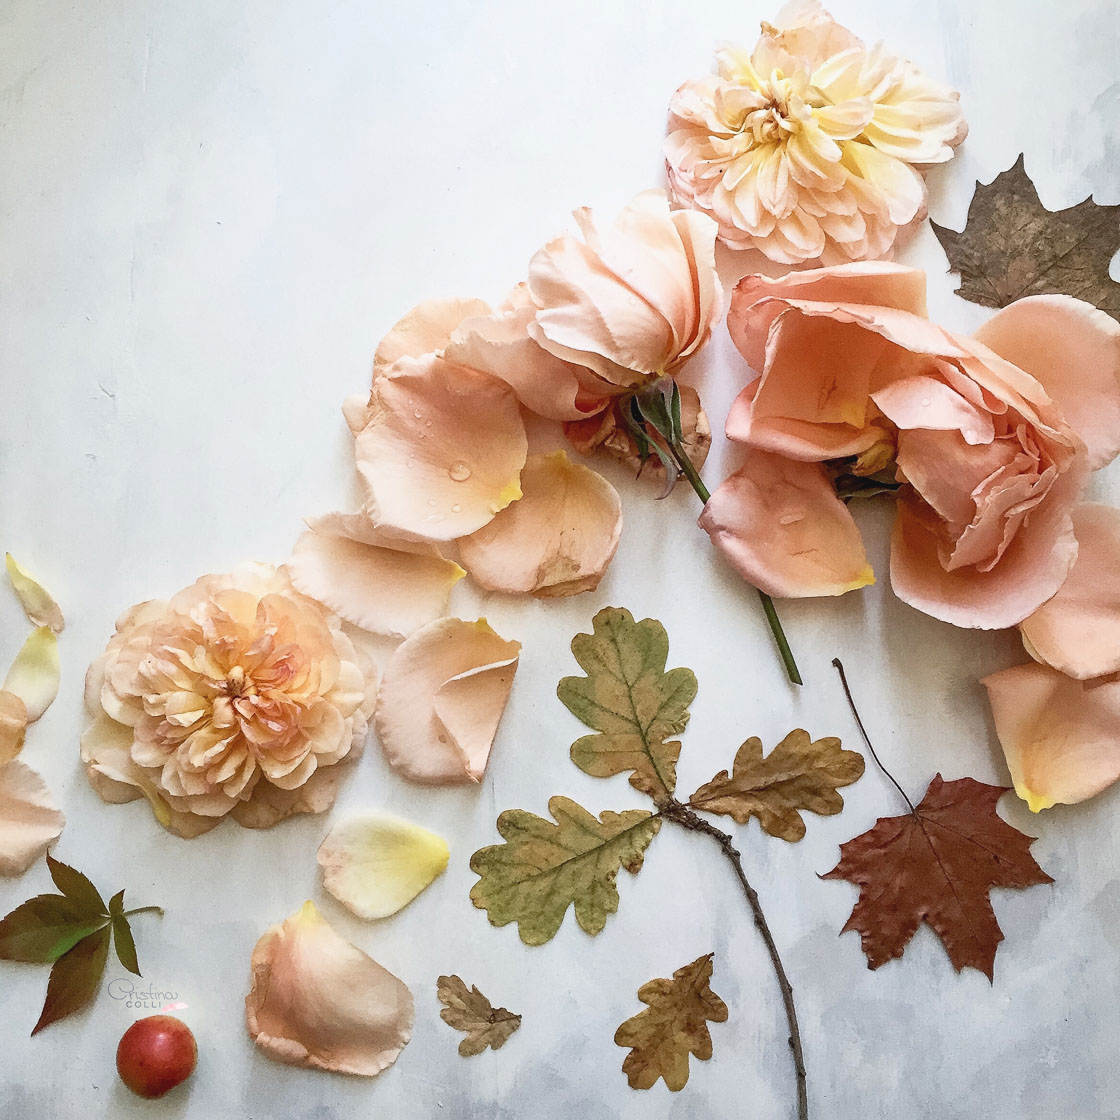
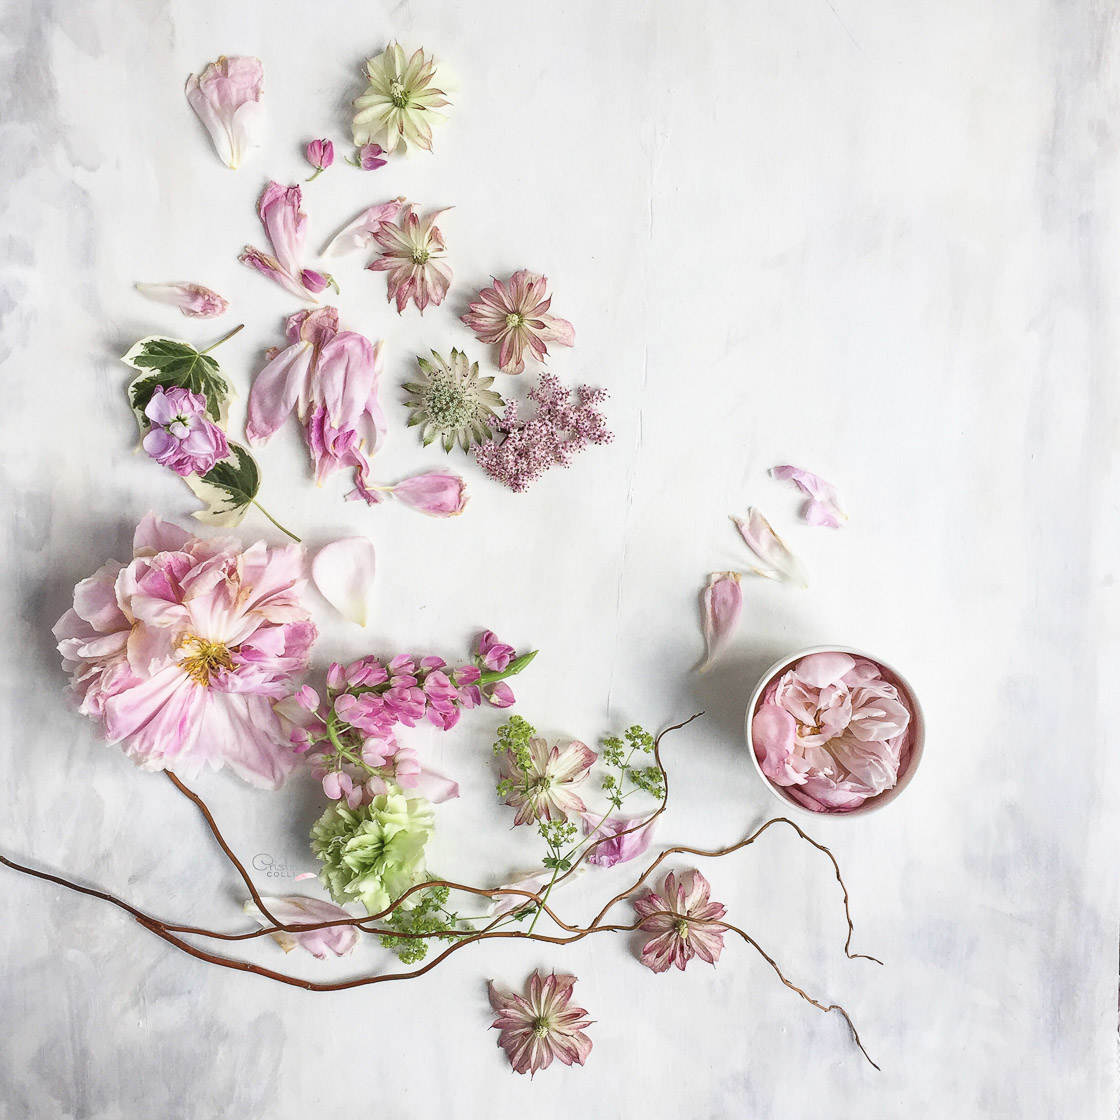
First, try to group items together. If you notice similarities among items, this is a sign that they should be grouped.
I grouped similar flowers for the photo below.
Second, try to create balance among the objects. You should never feel like one part of the frame is more dominant than another.
If you place a mug on one side of the frame, try to put a group of leaves on the opposite side. If you have a pumpkin on one side, arrange some acorns on the other.
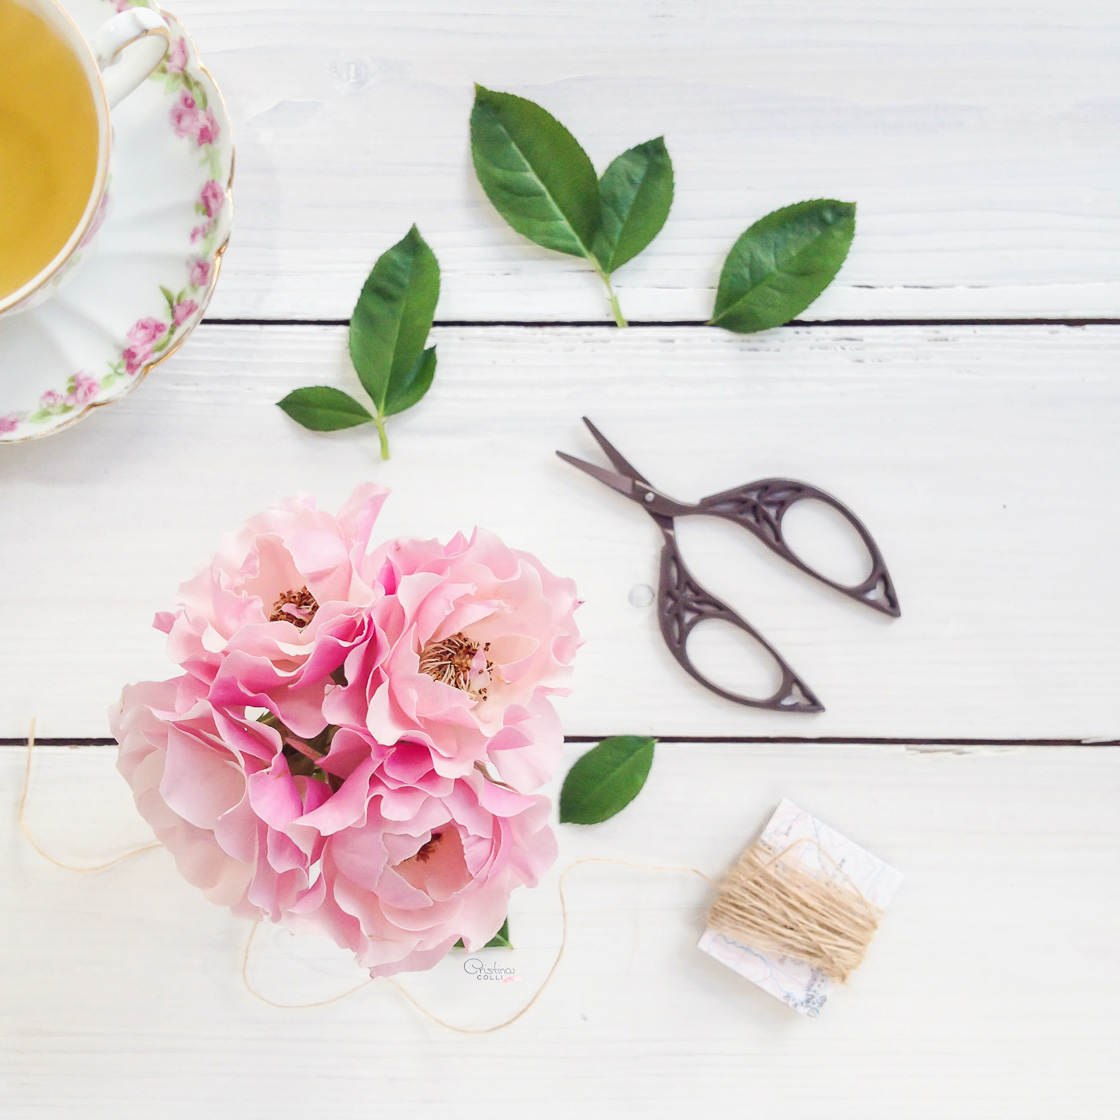
And always remember: You want to move the eye around the frame. That’s an important goal in still life arranging.
So place your objects so that they direct the eye throughout the photo.
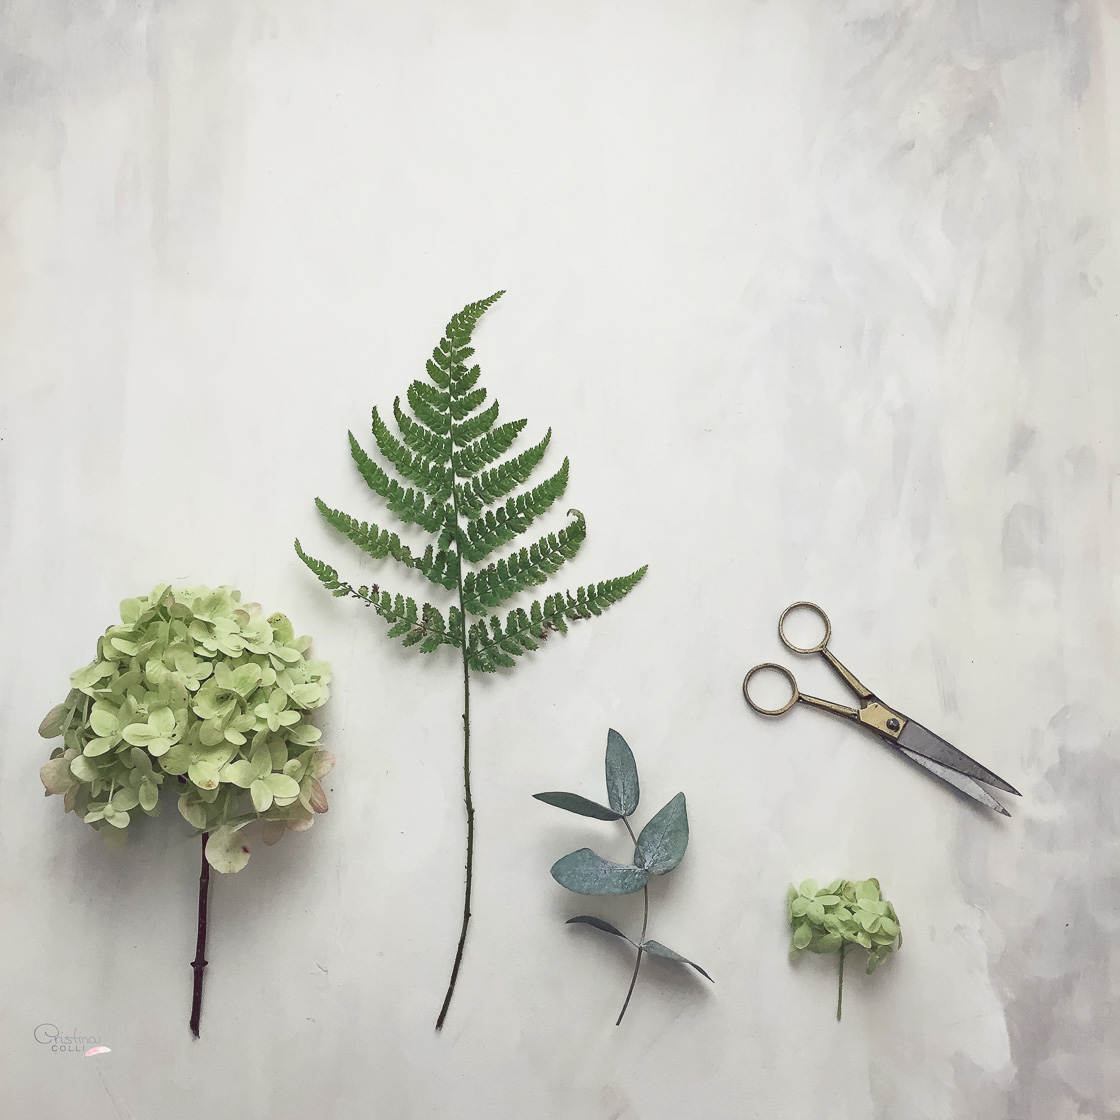
Notice how the leaves and scissors subtly point towards one another in the photo below.
These tips should become the foundation of your still life compositions.
But I have another still life composition tip for you…
5. Use The Rule Of Odds For Perfect Still Life Photography
Let’s start with the question that you’re probably asking yourself…
What’s the Rule of Odds?
The Rule of Odds states that it’s always best to use an odd number of items in your still life images.
If you do this, it prevents the mind from growing bored. And it helps the eye move around the frame.
Basically, you should make sure that all items in your still life come in odd numbers.
There is one exception to this rule: twos. Two objects grouped together can make for beautiful photos.
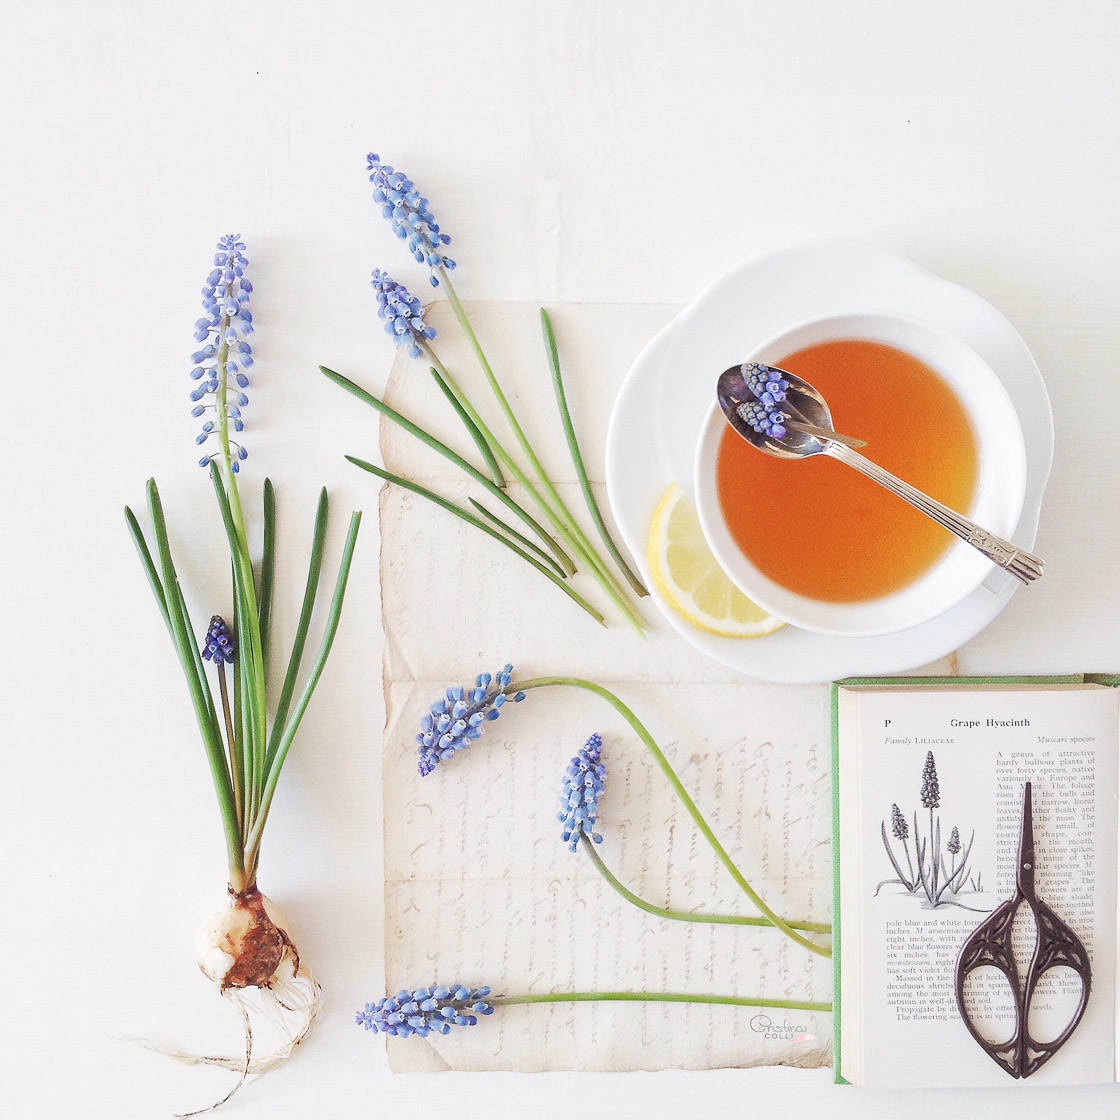
So, if you have leaves, arrange them in groups of two, three, or five.
If you have flowers, make sure there are three, five or seven, not six.
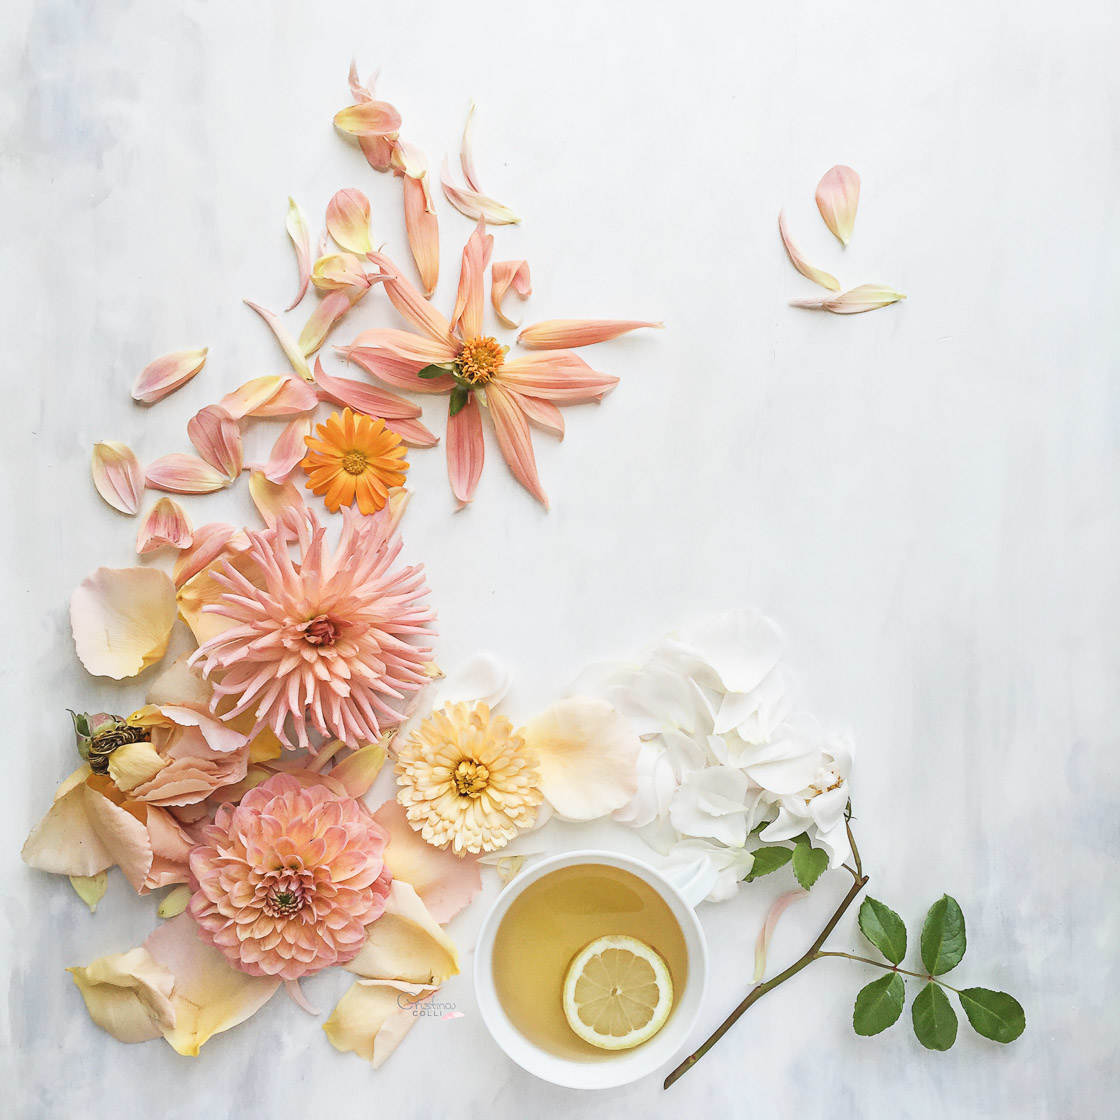
And make sure that the number of groups in the photo are odd, as well!
That is, your still life might have three or five main elements. But it should never have four or six.
Also, try to create a triangle with your groups. This will help move the eye throughout the frame–and will prevent the mind from getting bored.
The Rule of Odds may seem strange, but it really does work.
Try it!
6. Use Negative Space To Create Pleasing Compositions
Here’s a final technique for composing beautiful still lifes:
Always include negative space in your arrangements.
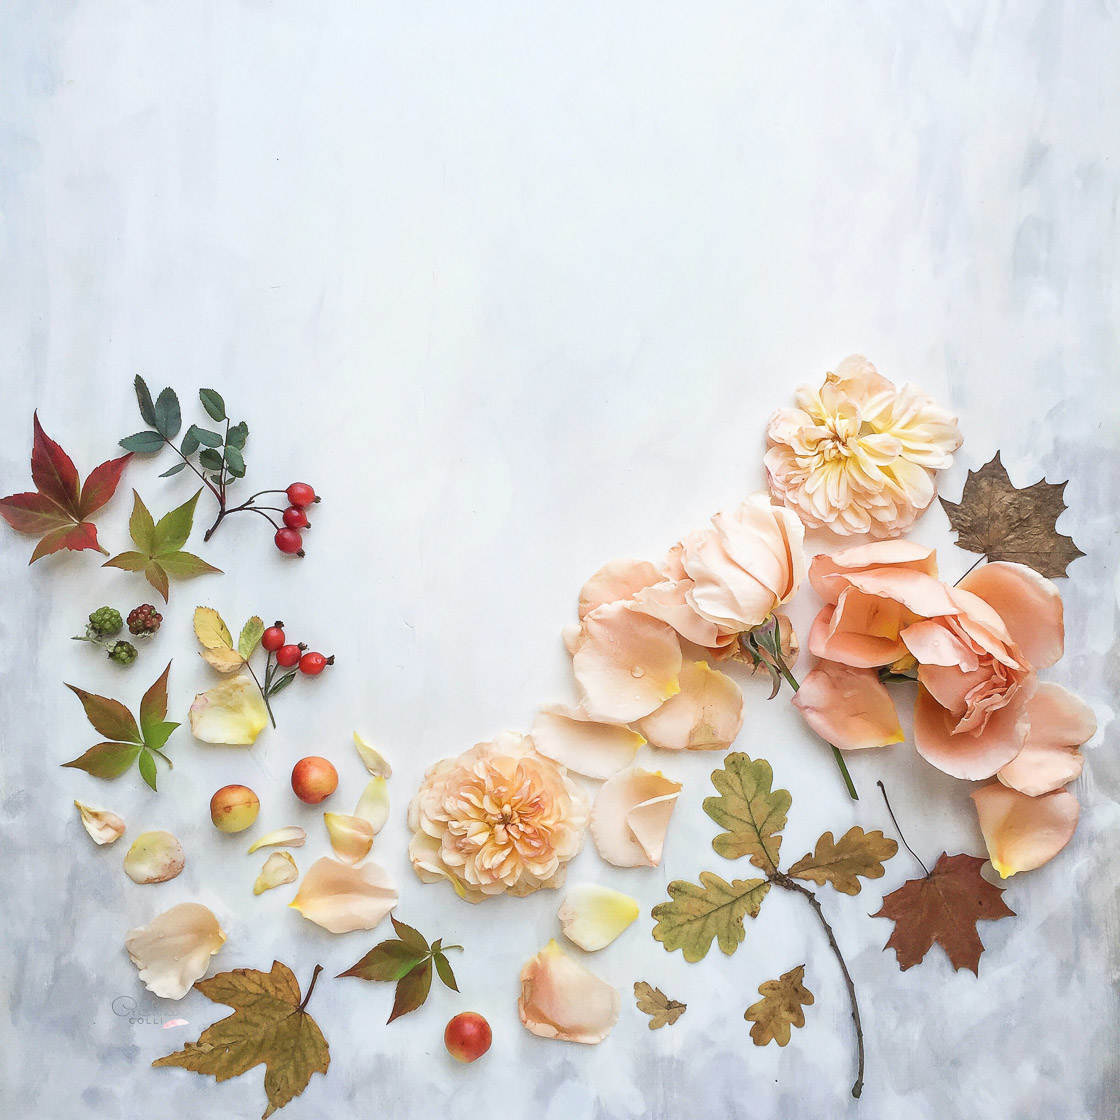
What is negative space?
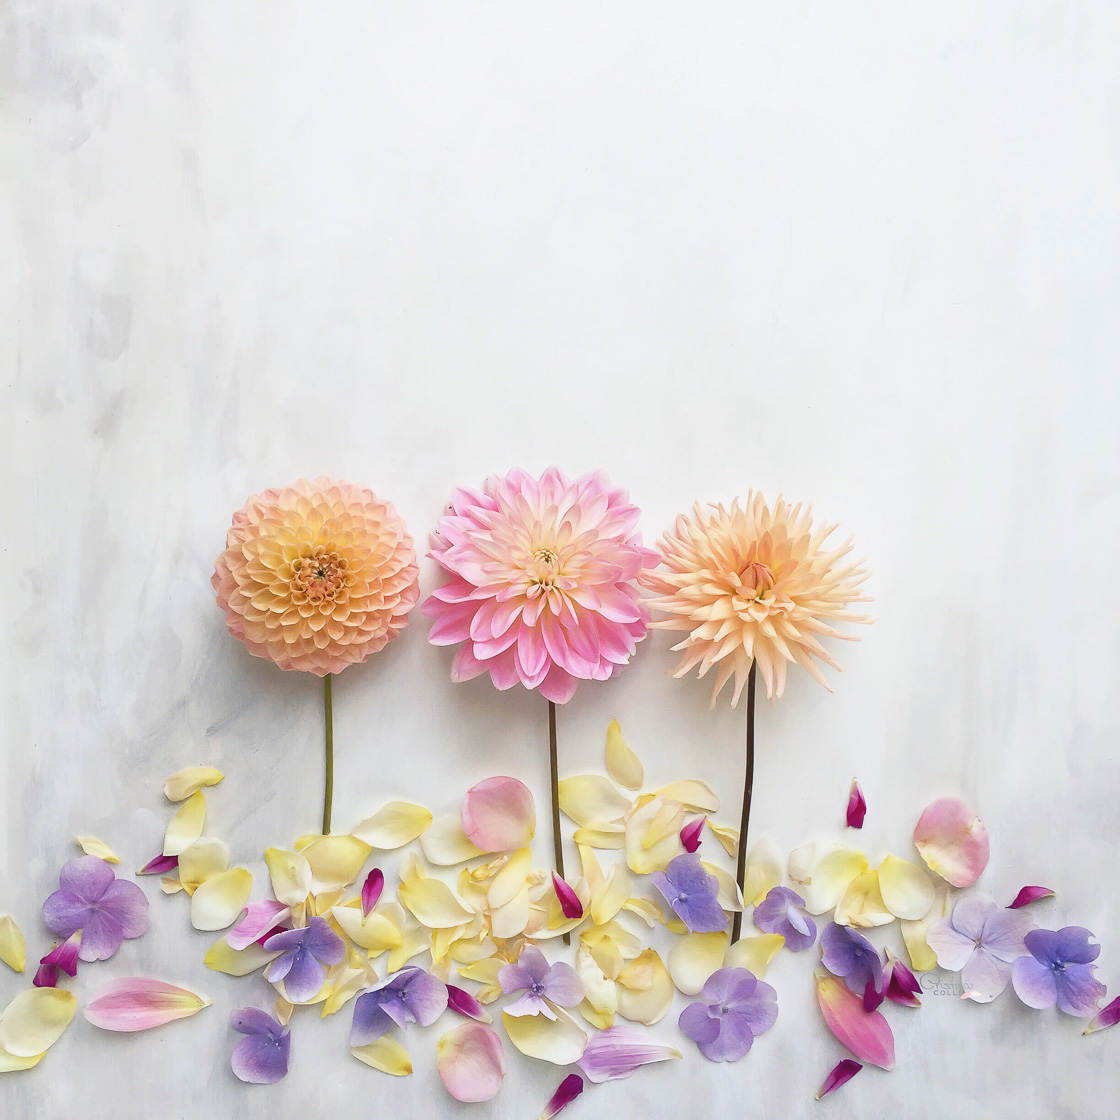
Negative space is simply the absence of items. It’s the empty spots in a composition–the places where nothing is happening.
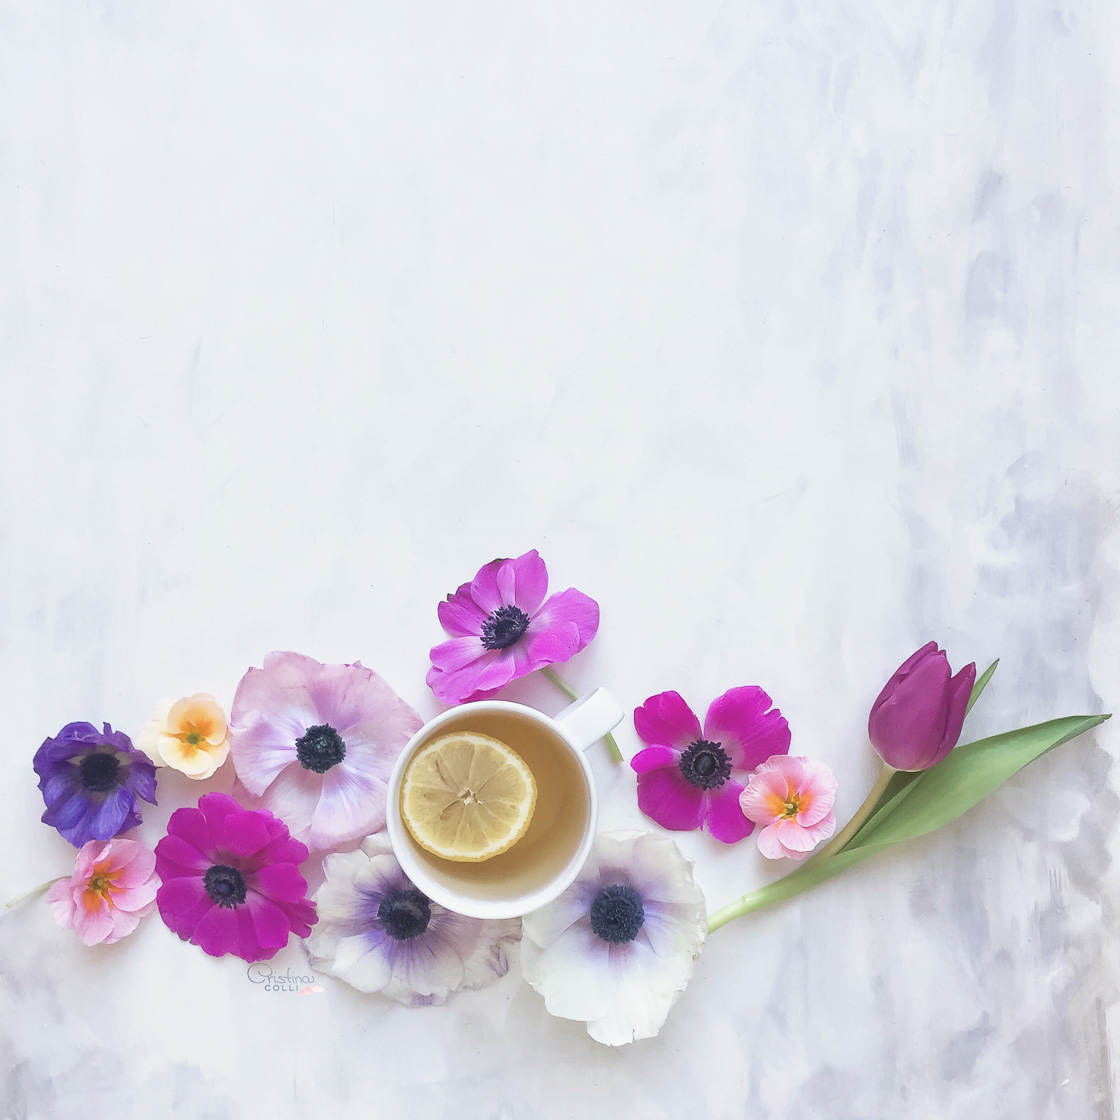
In a still life, negative space is created by leaving parts of the background uncovered or unoccupied.
But why is negative space so important?
Negative space helps a still life to breathe. It gives a feeling of calmness to the composition–which generally results in a pleasing image.
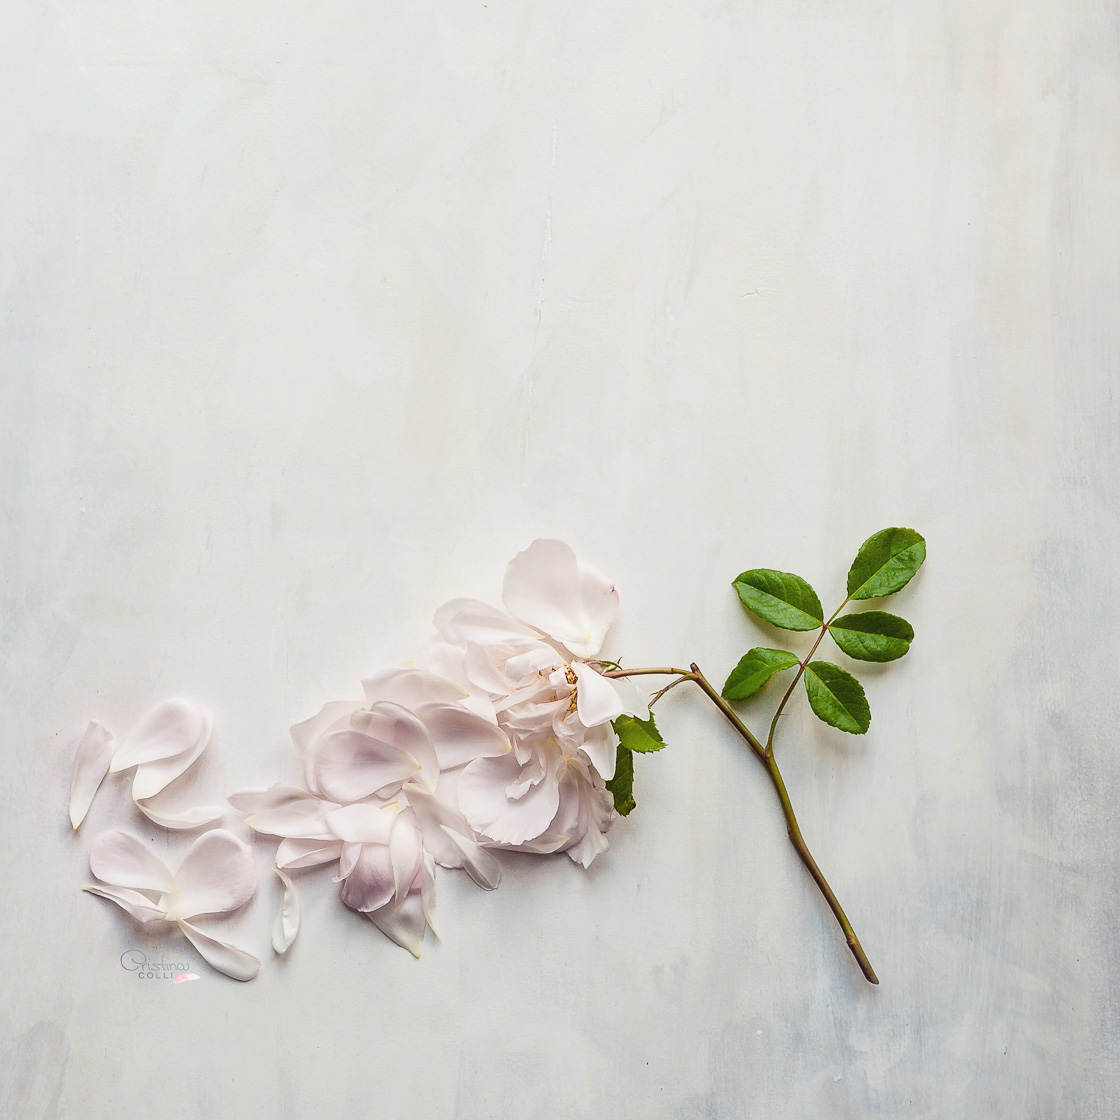
On the other hand, you can deliberately avoid negative space if you’d like to create a more energetic image.
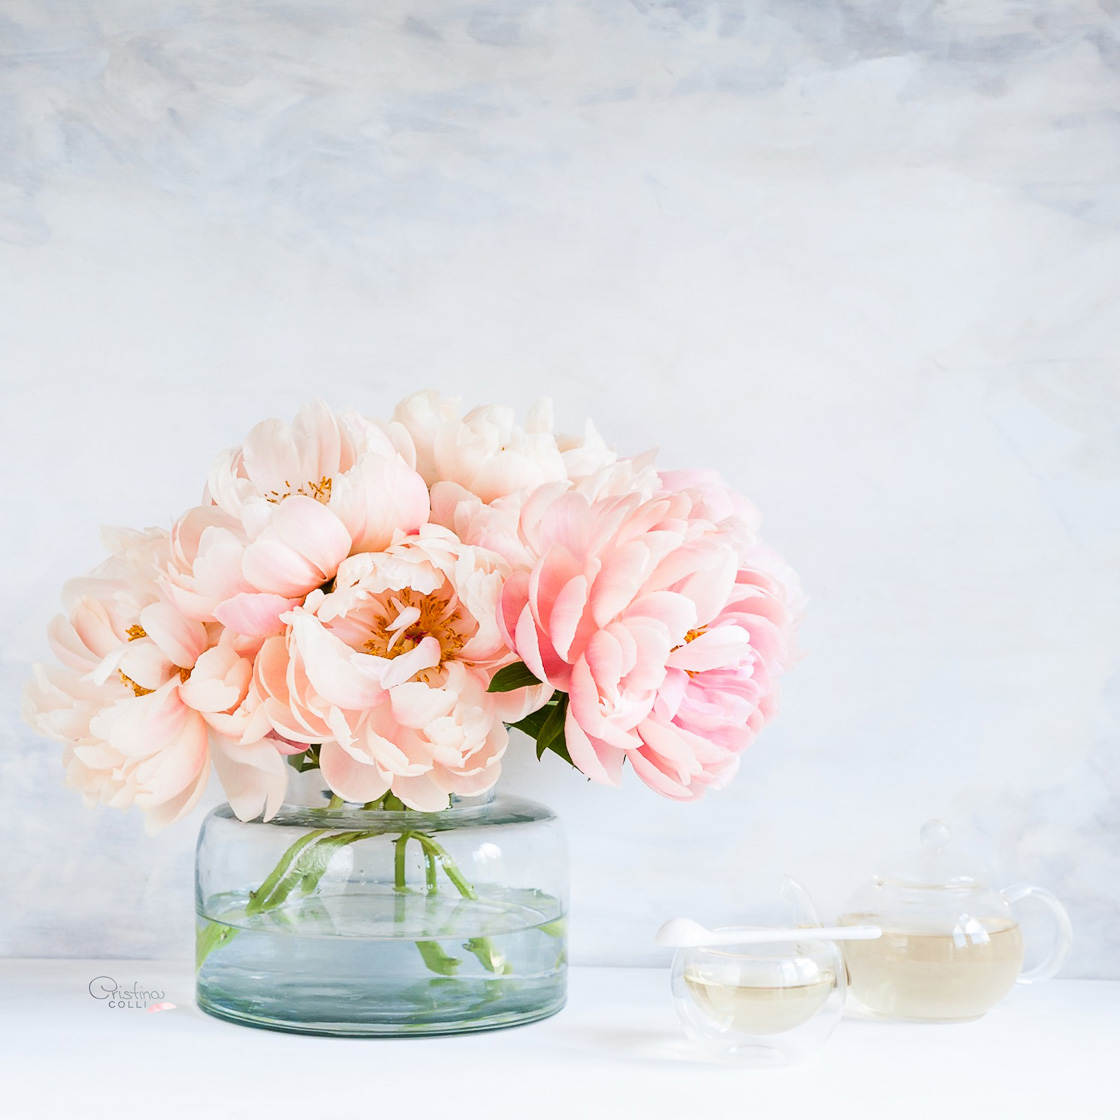
Yet all of your images should have at least some negative space. This is essential.
And negative space can help draw attention to certain aspects of your image. More negative space around an object causes people to focus on that object!
So be mindful of the negative space in your still lifes.
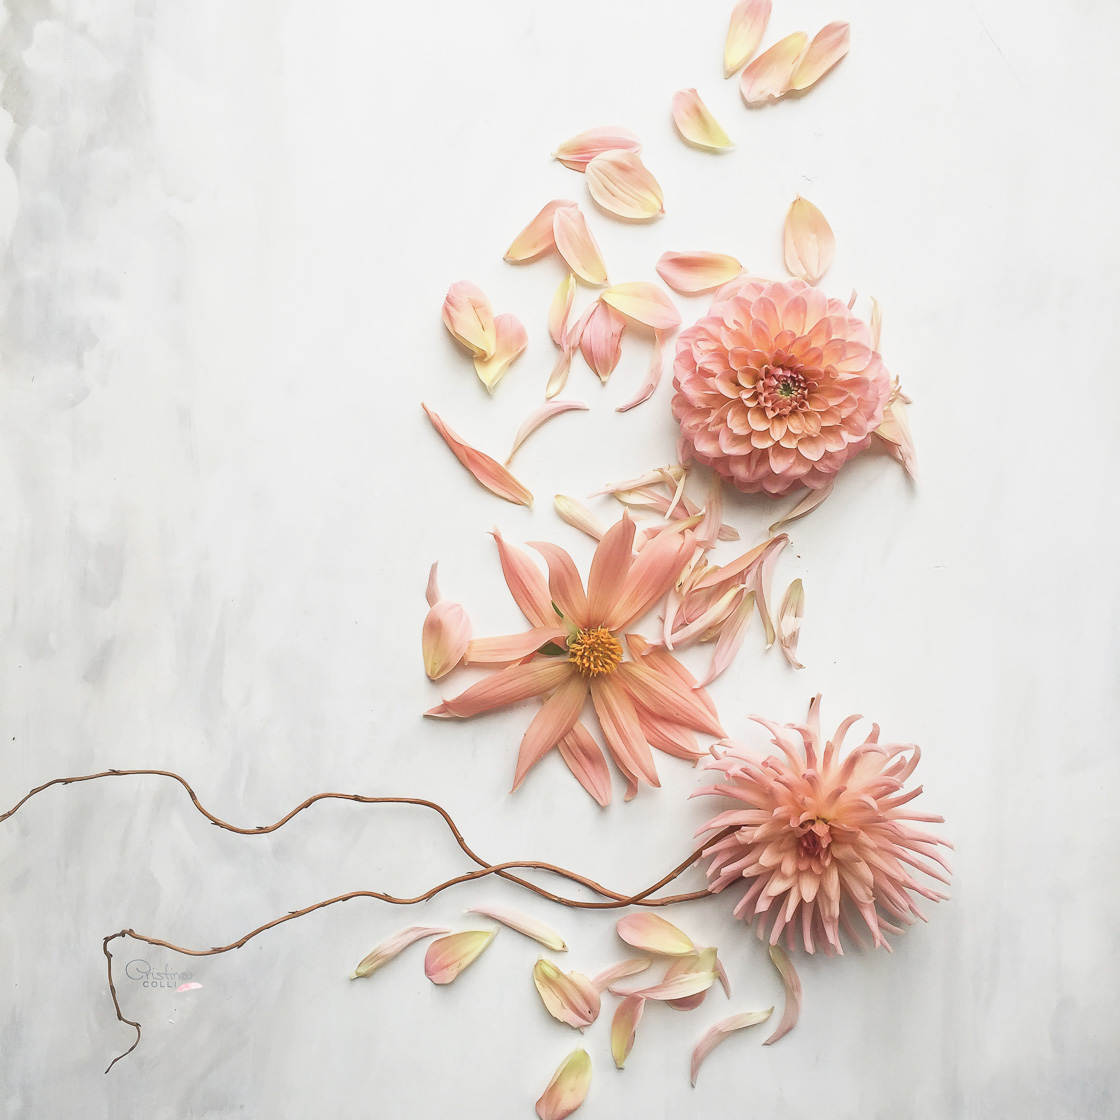
Because negative space can make or break your compositions.
7. Choose A Backdrop That Fits The Mood Of The Photo
By now, you know lots about arranging your still life subjects.
But what about the background? What do you arrange your still life subjects on?
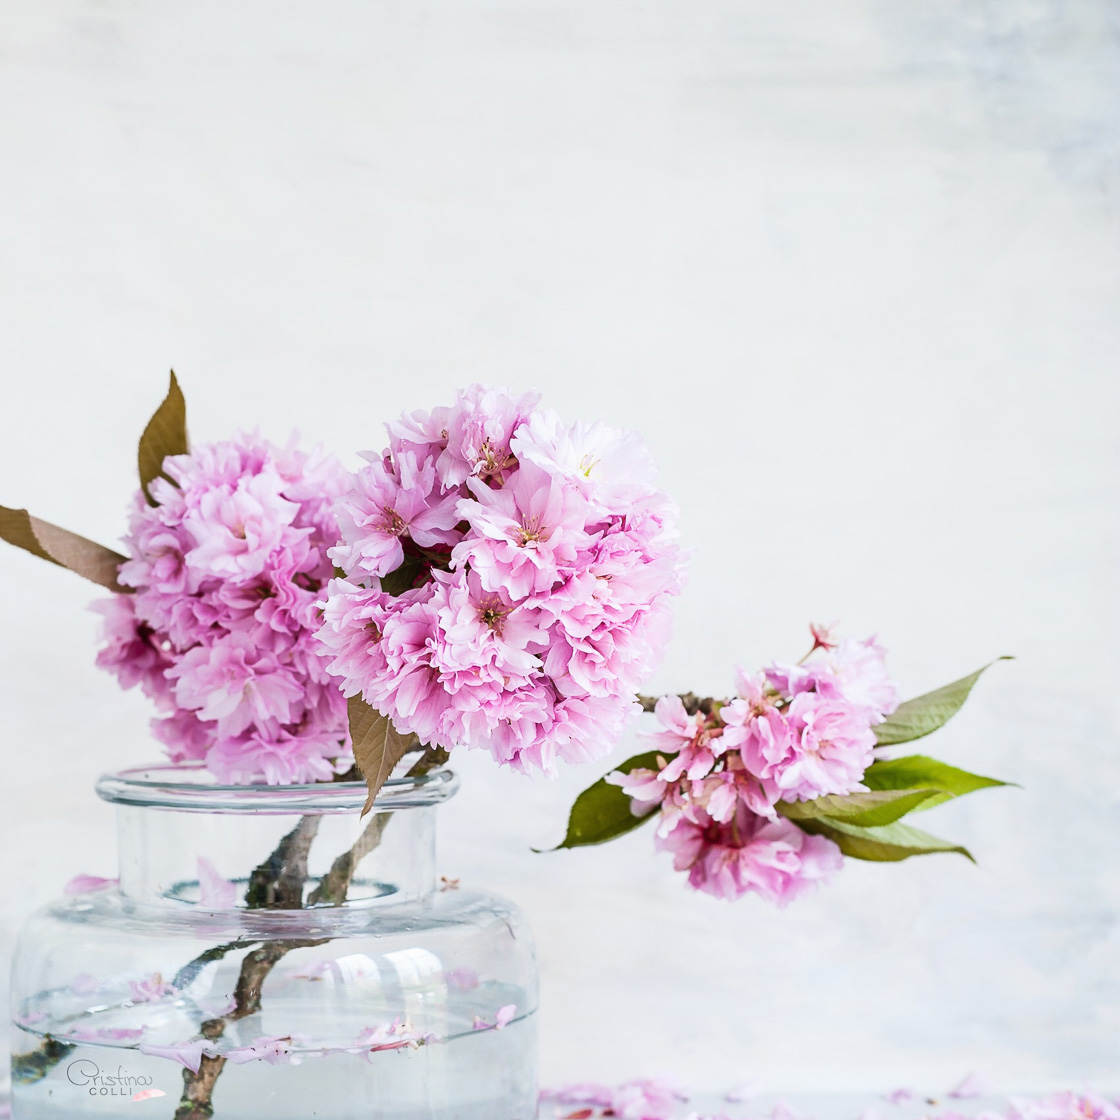
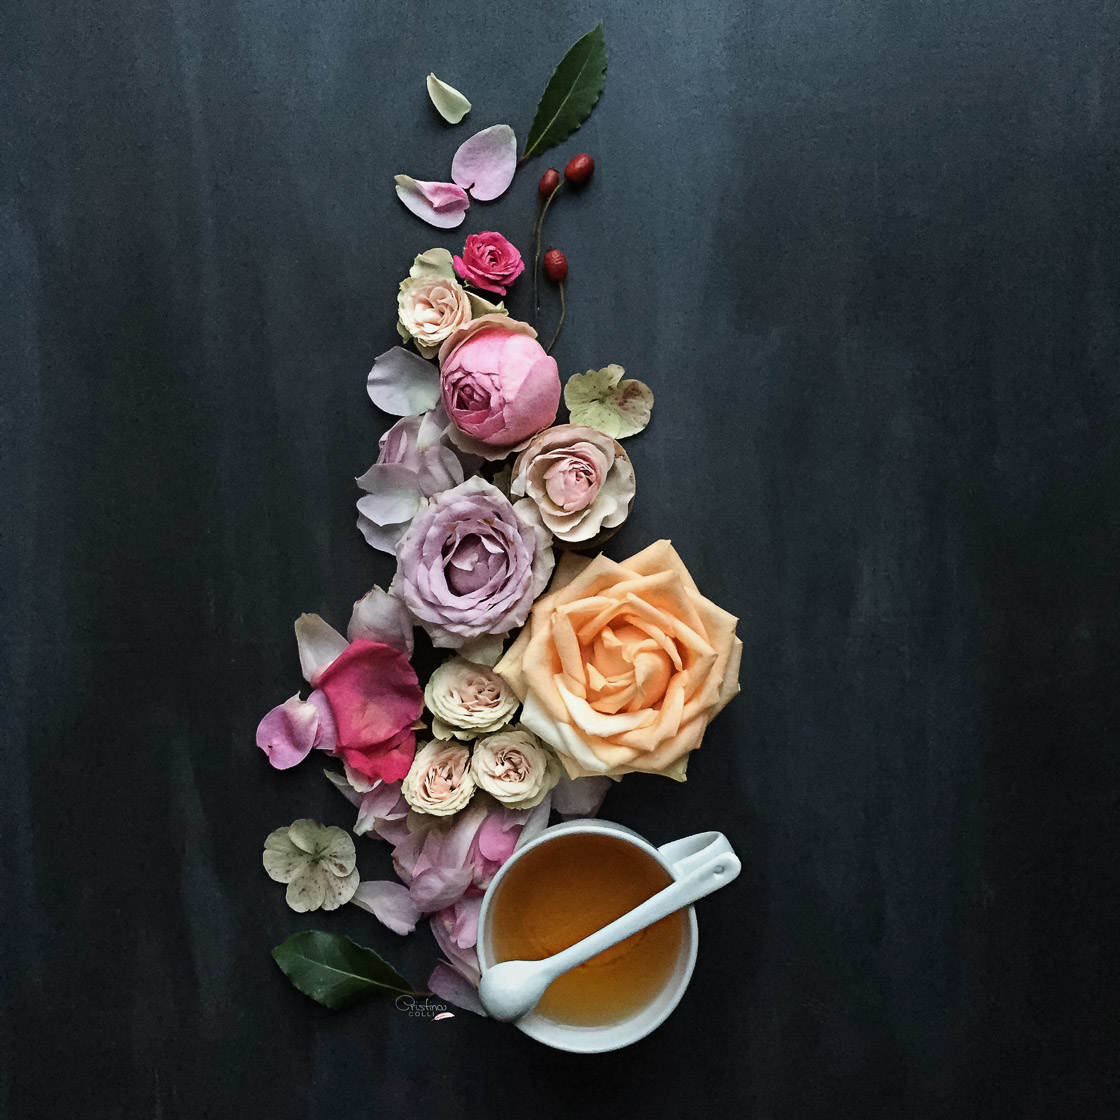
The first thing to consider is the mood of your still life. You need to create a background that fits with this mood.
If you have a dark, moody still life, a black background might be best.
Whereas you might use a white background for an upbeat, summer still life.
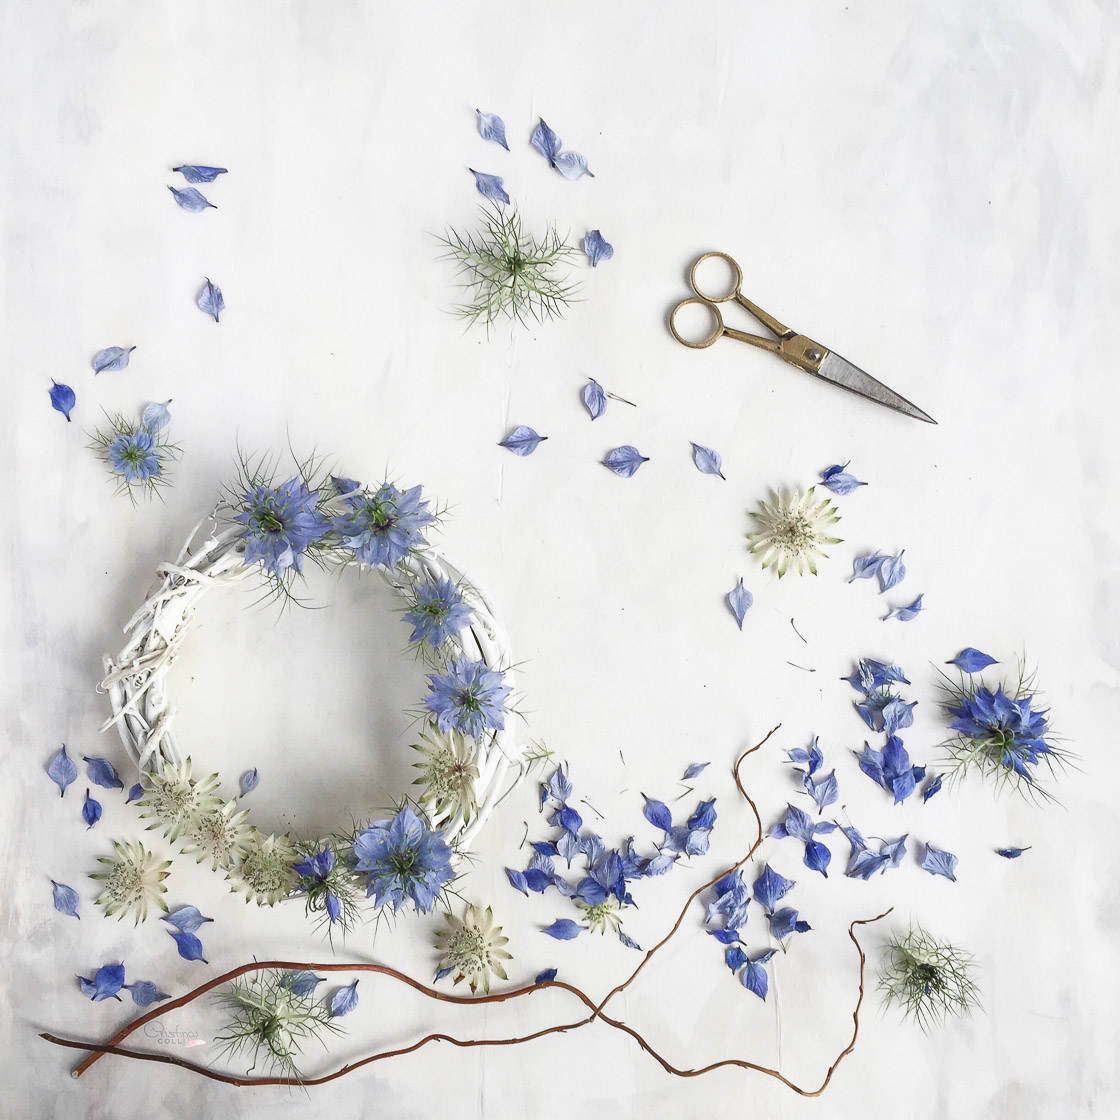
But where do you find these backgrounds?
I have two recommendations.
The first is the cheaper of the two: Find some old wood or bits of metal at a scrapyard. Then incorporate these backgrounds into your photos. Embrace the more rustic feel of these options.
Unfortunately, this leaves you with less flexibility and fewer possibilities.
So if you’re looking for a lot of background options, I recommend you do what I do, and create your own still life backgrounds.
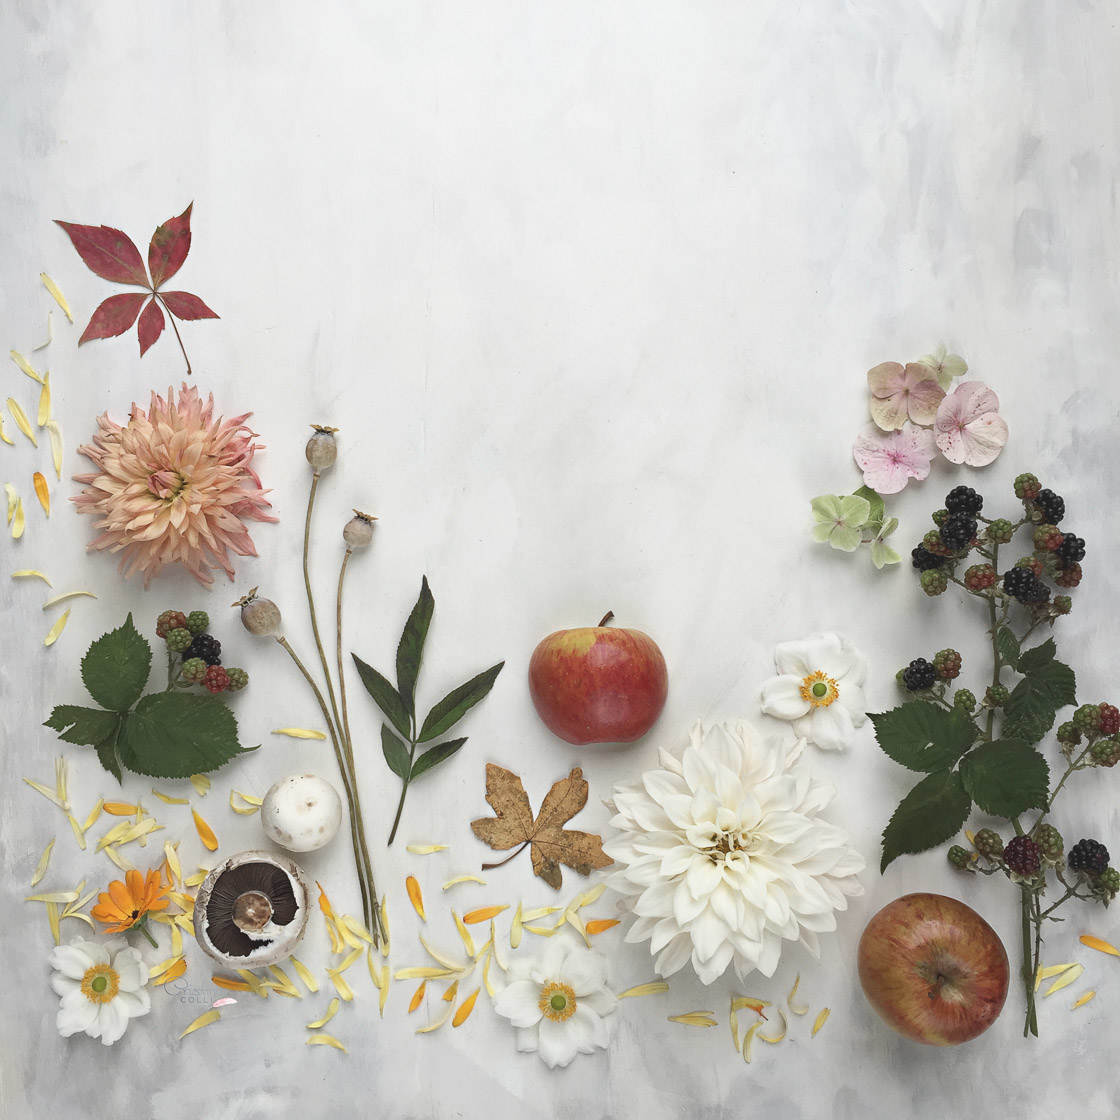
This is actually fairly easy to do. First, purchase plywood from a local store. Then purchase some primer and some cheap wall paint (in whatever colors you like!).
Next, prime the plywood (so it absorbs less paint). Finally, paint the plywood with a single color. This creates a simple, uniform background–one that I love to use in my still life photography.
And you don’t have to use plywood. Try painting fabric–for instance, heavy canvas can work well.
For more detailed instructions on creating your own still life backgrounds, see my website. I go through my whole background creation process–and loads more!
8. Use Colors To Enhance Your Still Life
Do you want to know one of the most underrated ways of enhancing your still life photography?
Using color.
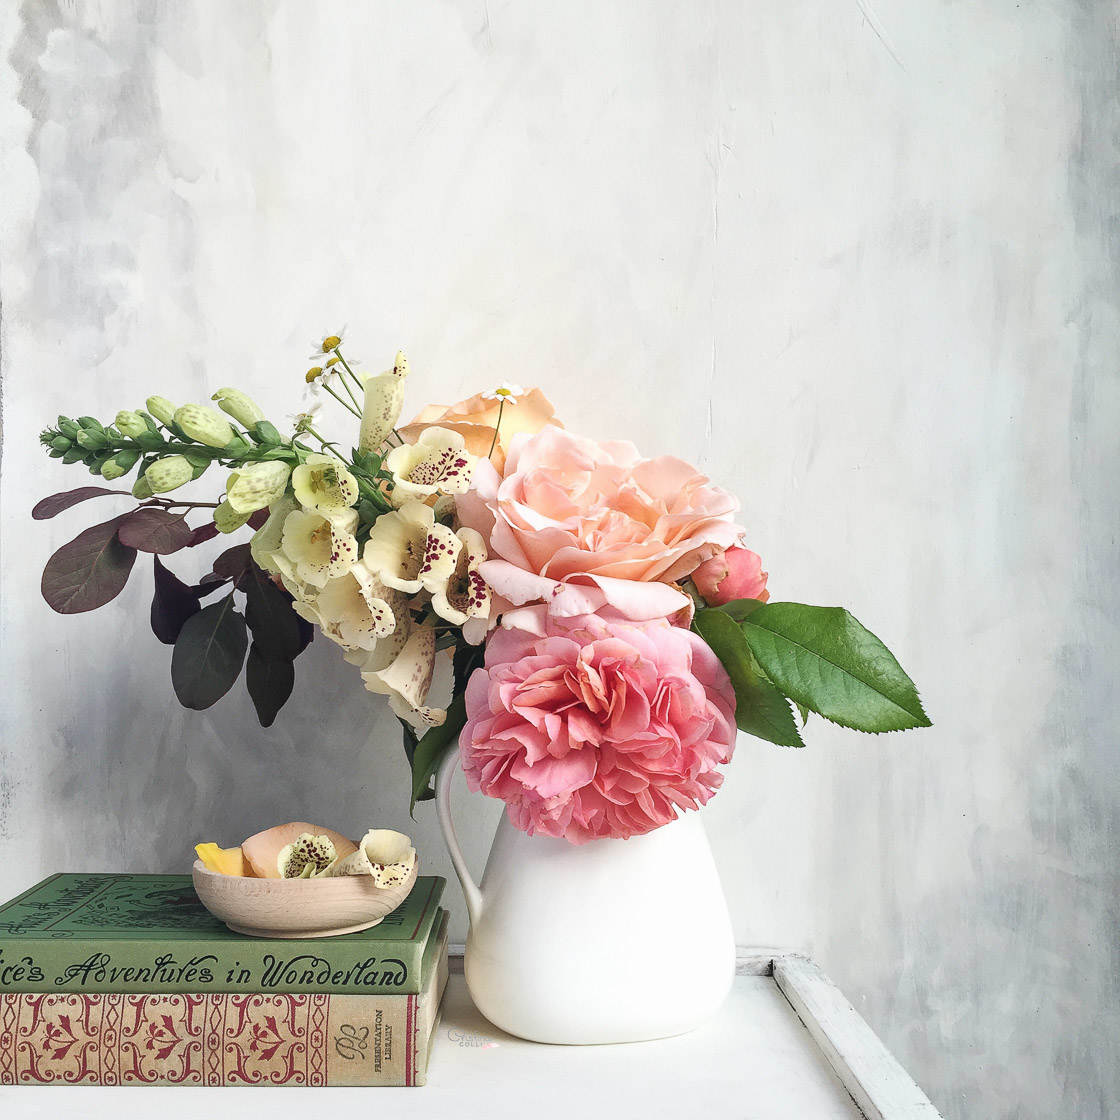
You see, color is frequently ignored when creating still lifes. But it offers a tremendous amount of potential.
For one thing, every color evokes certain emotions. Blues give a sense of calm. Reds give a sense of agitation. Greens give a sense of spring.
So you should choose your colorful objects carefully. Make sure they match the emotions that you want to evoke.
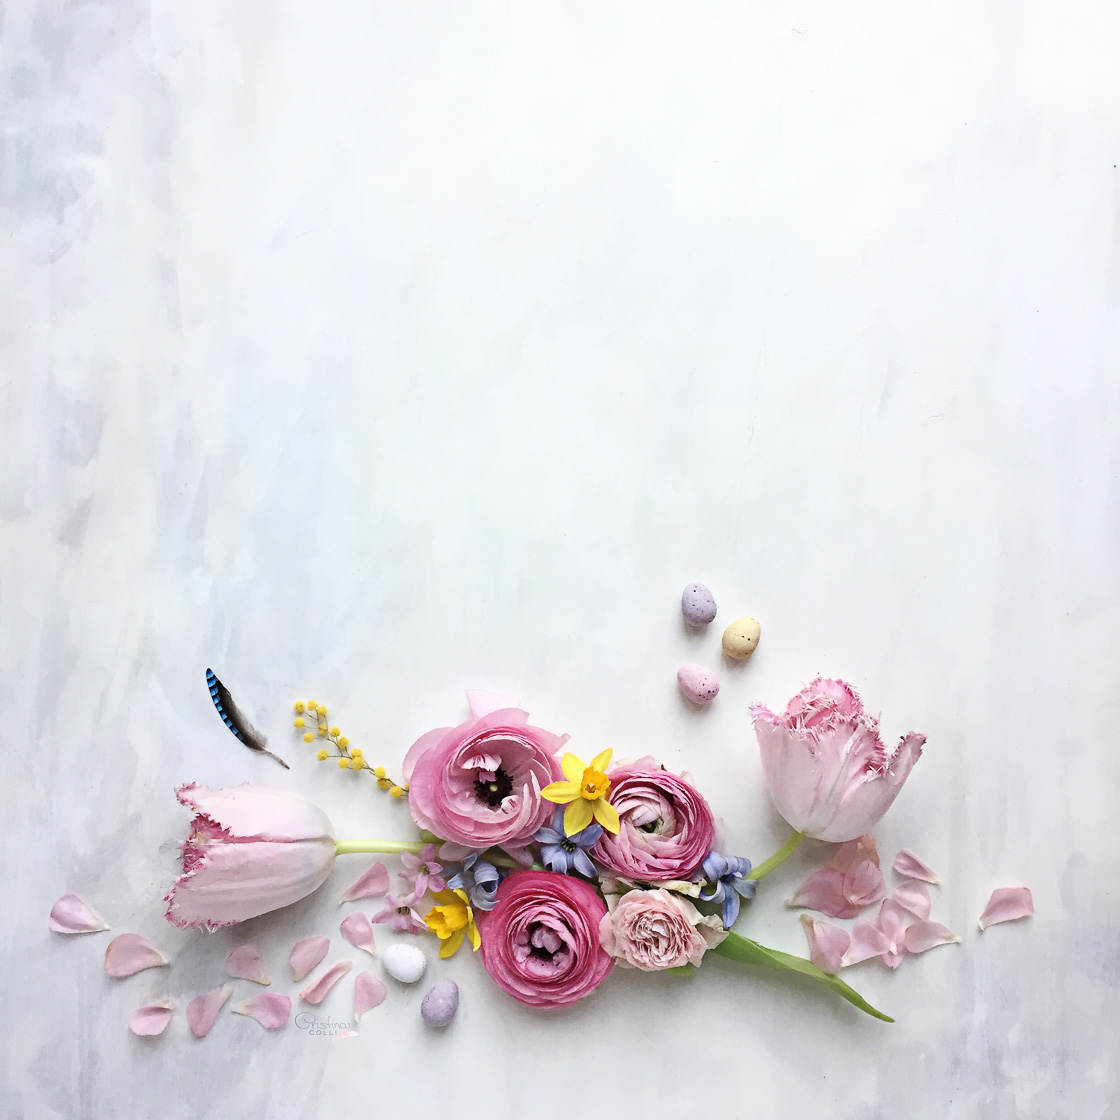
But you shouldn’t just stop with a single color. You should also try combining colors to create beautiful arrangements.
Start by looking at a color wheel.
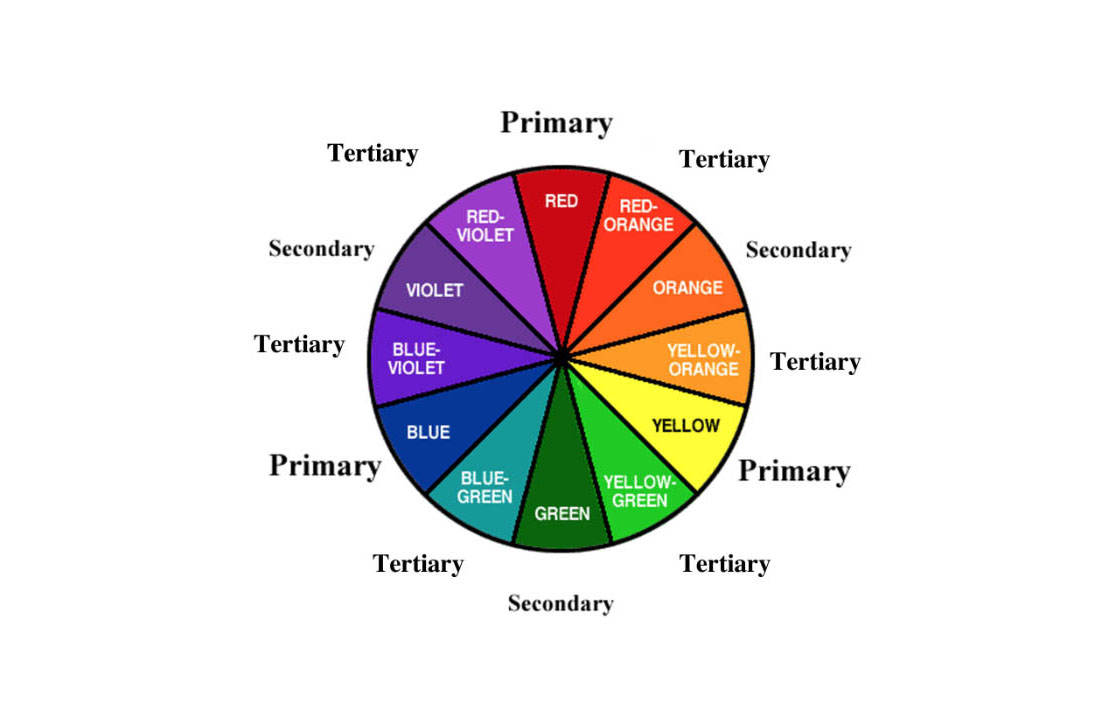
Now, colors that are next to one another on a color wheel–e.g., blues, purples, and greens–naturally go together. They create a sense of harmony in the still life.
So you might combine some blue flowers with some green leaves for a harmonious, spring feel.
Opposite colors, on the other hand, create tension. Red and green contrast with one another. If you put them together in a single still life, they’ll compete for attention.
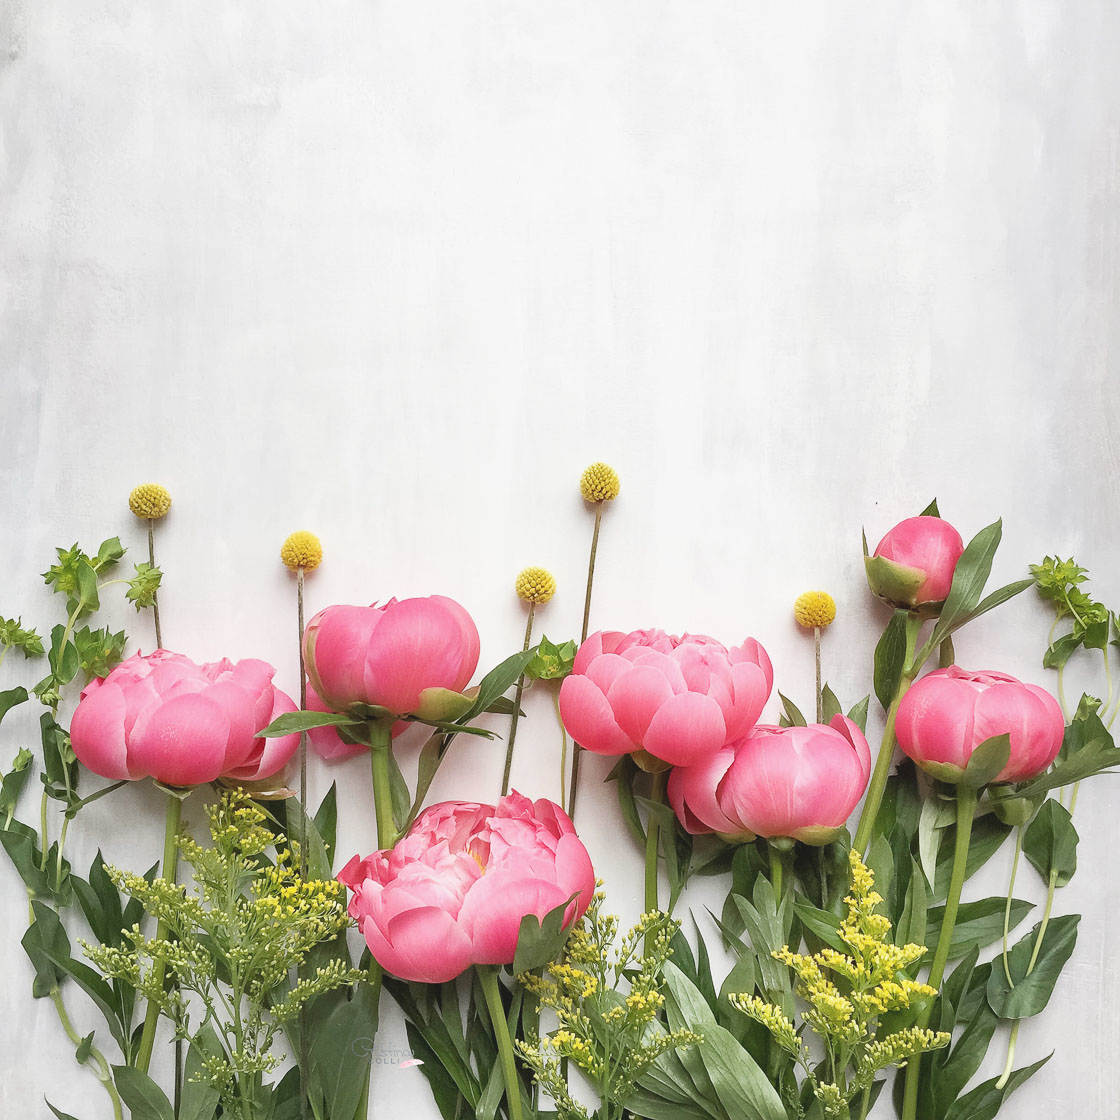
That’s why you shouldn’t use two opposite colors in large doses. If you’re going to use green and red, choose one color to be dominant. This is the color that you’ll use in large quantities.
Then use the other color sparingly. Simply dot it around the frame.
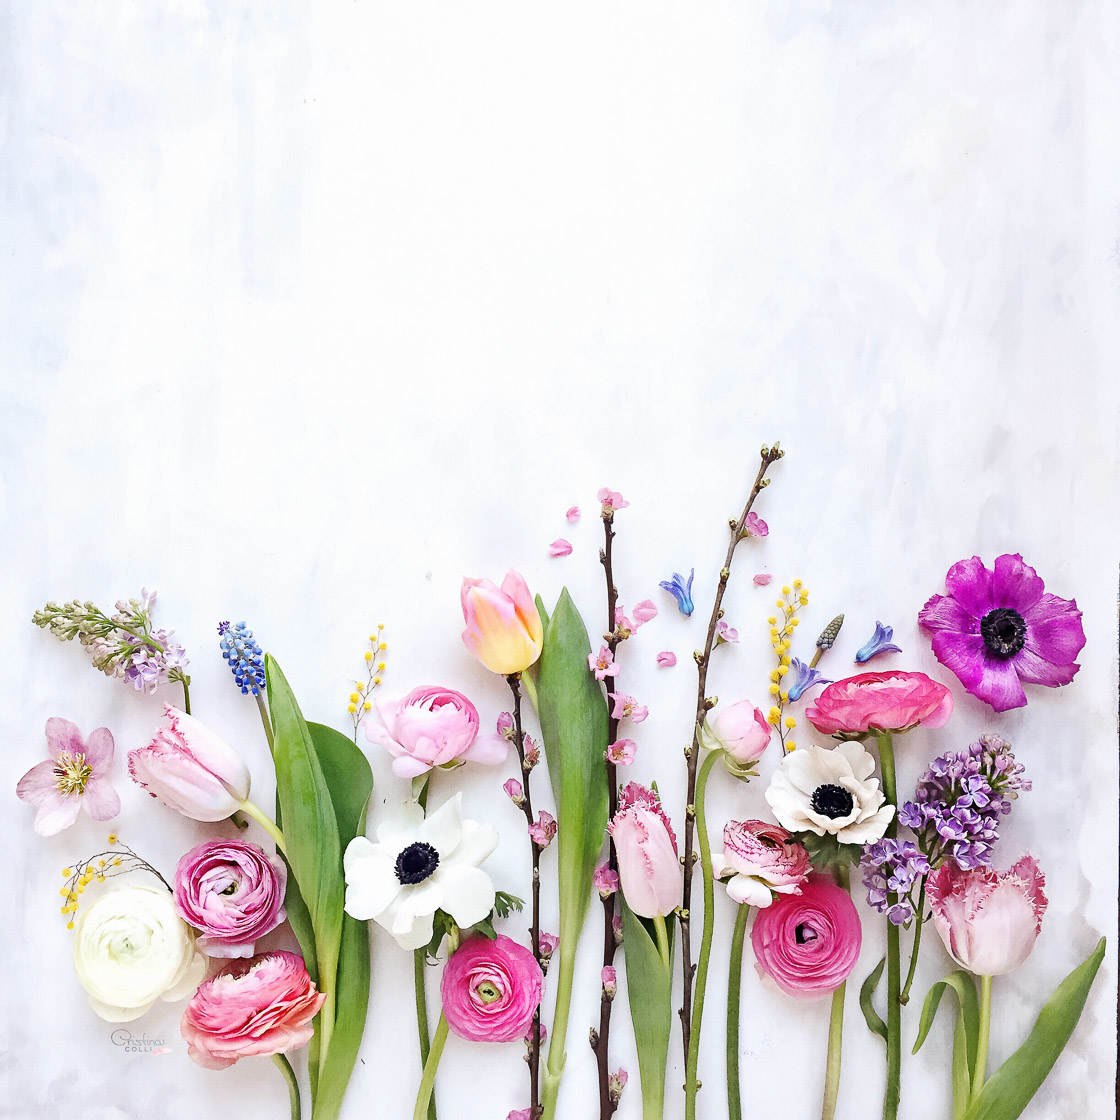
That way, you won’t overwhelm the viewer with color.
So carefully consider the colors in your still life photos.
And don’t forget how important they are.


Leave a Reply
You must be logged in to post a comment.