Do you want to take incredible street photographs with your iPhone? Street photography can be challenging, but it’s possible to take jaw-dropping street photos with only an iPhone. In this tutorial, you’ll discover ten fantastic tips for taking your iPhone street photography to the next level.
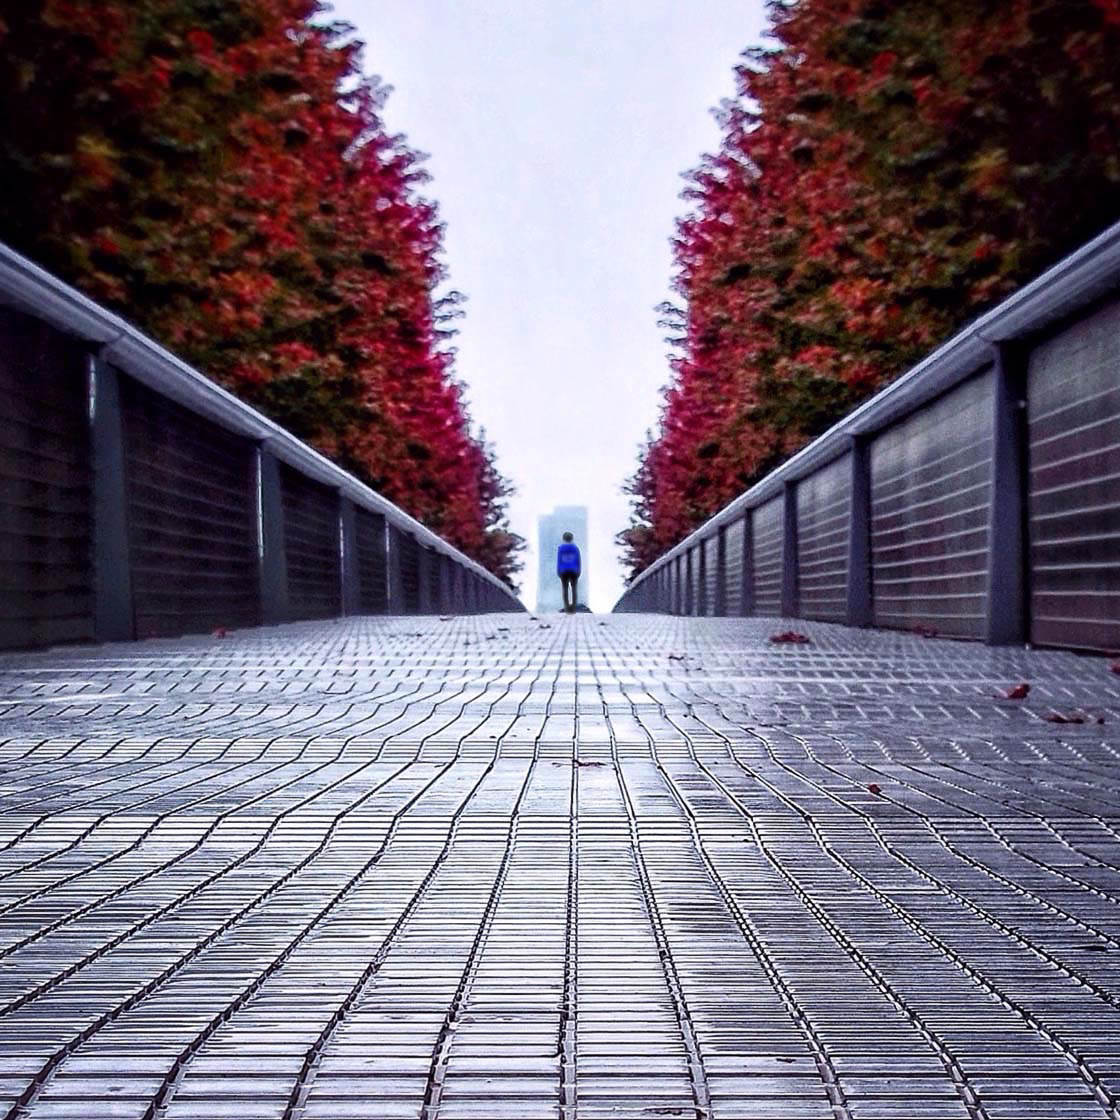
1. Choose The Perfect Background For Brilliant Street Photography
Do you want to take amazing street photographs? The first step is to find the perfect background.
In street photography, a great background is essential. A great background provides an exciting setting for your photo. It also helps the subject stand out.
What does the perfect street photography background look like?
The perfect street photography background is straightforward and uncluttered. It prevents the viewer from becoming confused or distracted.
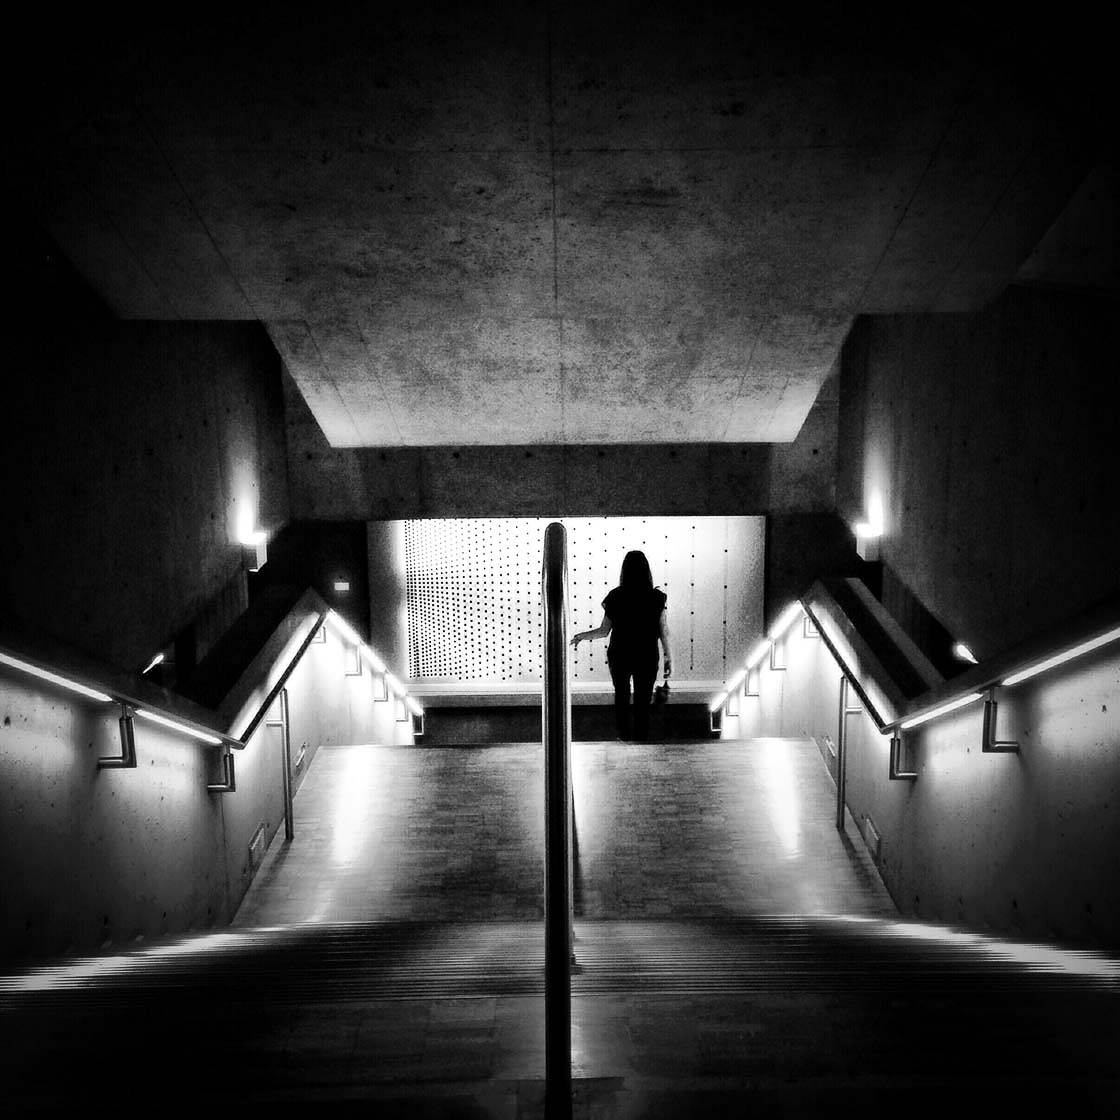
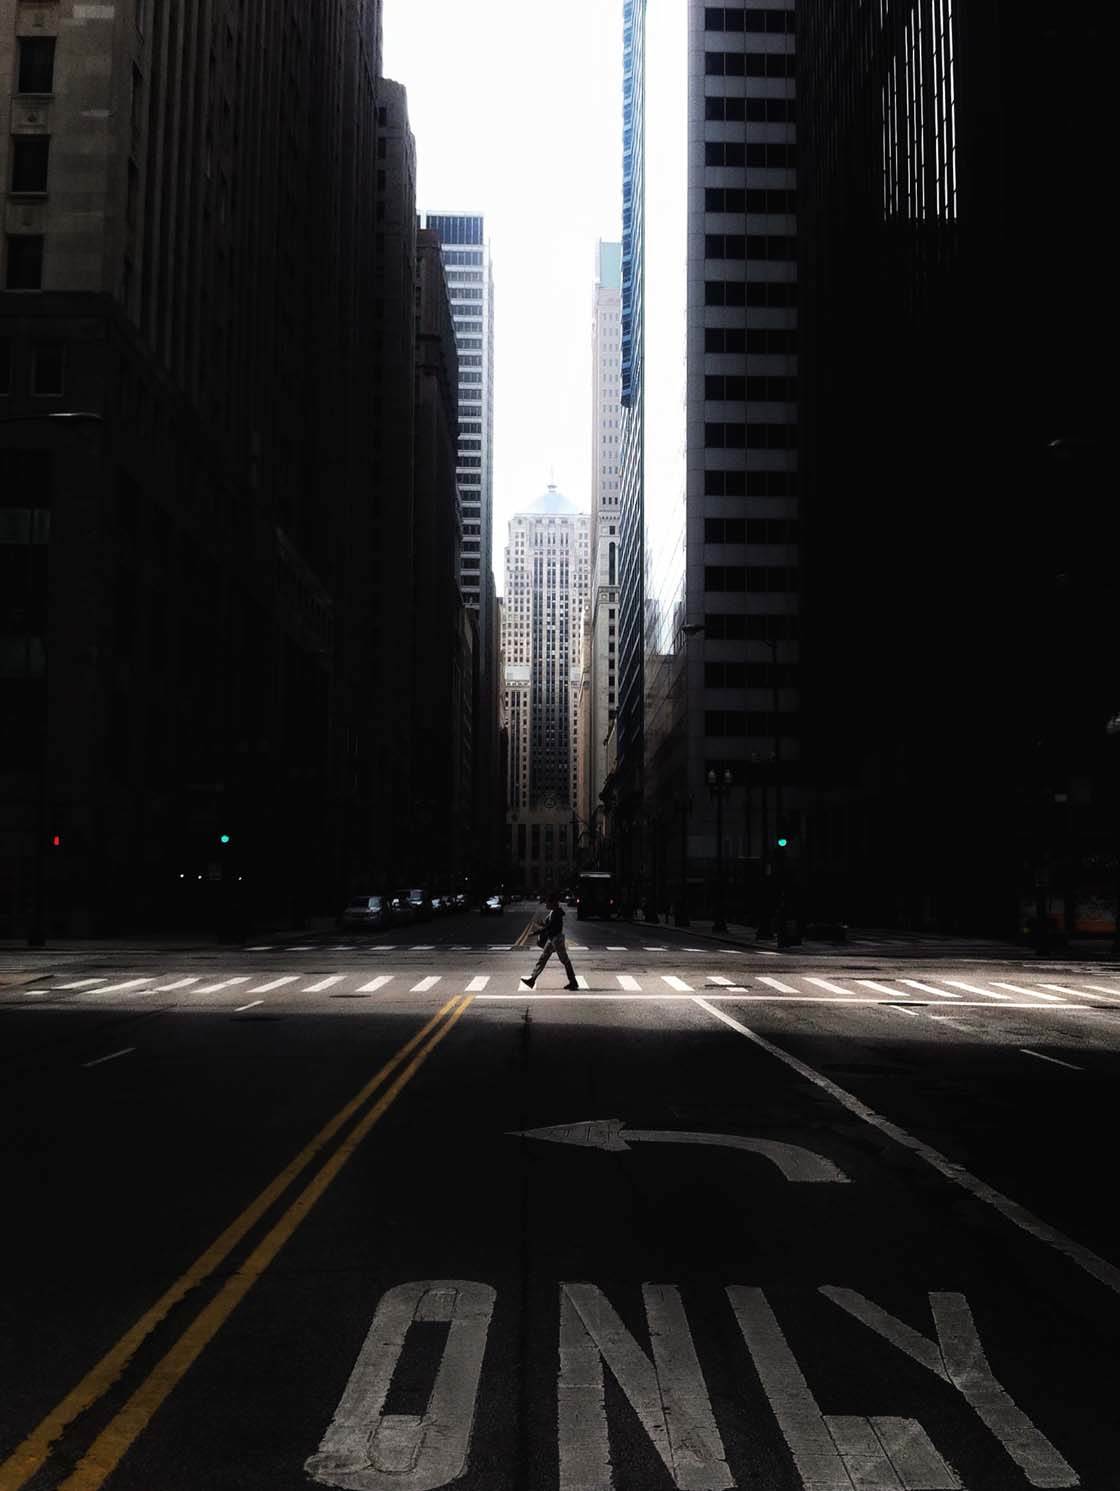
Therefore, find a location with a simple background. You want to isolate your main subject. You want them to stand out. In the photo below, the person is framed by an uncluttered backdrop. Nothing distracts. Nothing takes away from the subject.
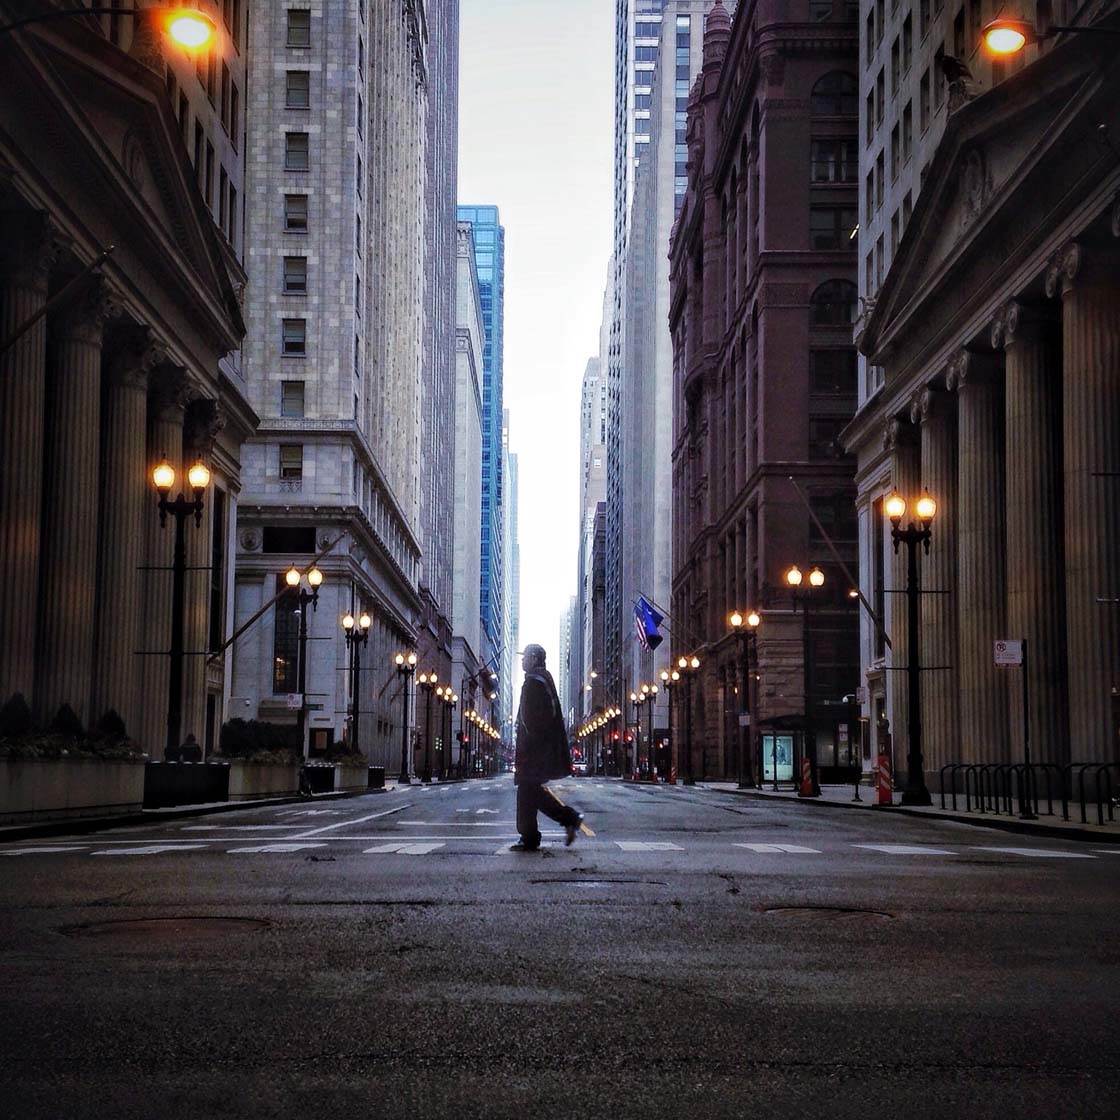
Also, consider how date and time affect the background. For instance, early mornings before rush hour are often ideal. Empty streets make for great backgrounds.
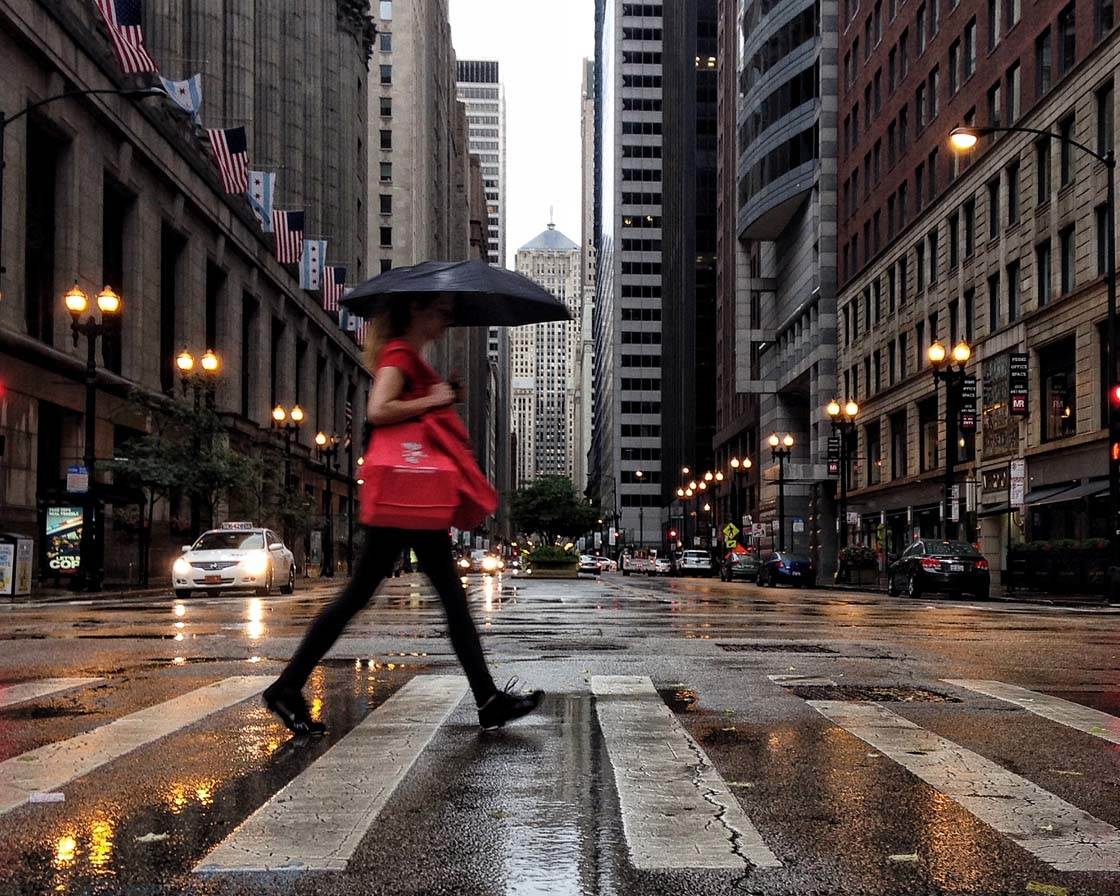
Therefore, if you’re looking to do amazing mobile street photography, start by finding a great background. It’s a quick way of ensuring your street photos become far stronger.
2. Photograph Strangers For More Compelling iPhone Street Photography
The best street photography has a compelling subject. What are the most compelling subjects?
In street photography, the most compelling subjects are strangers.
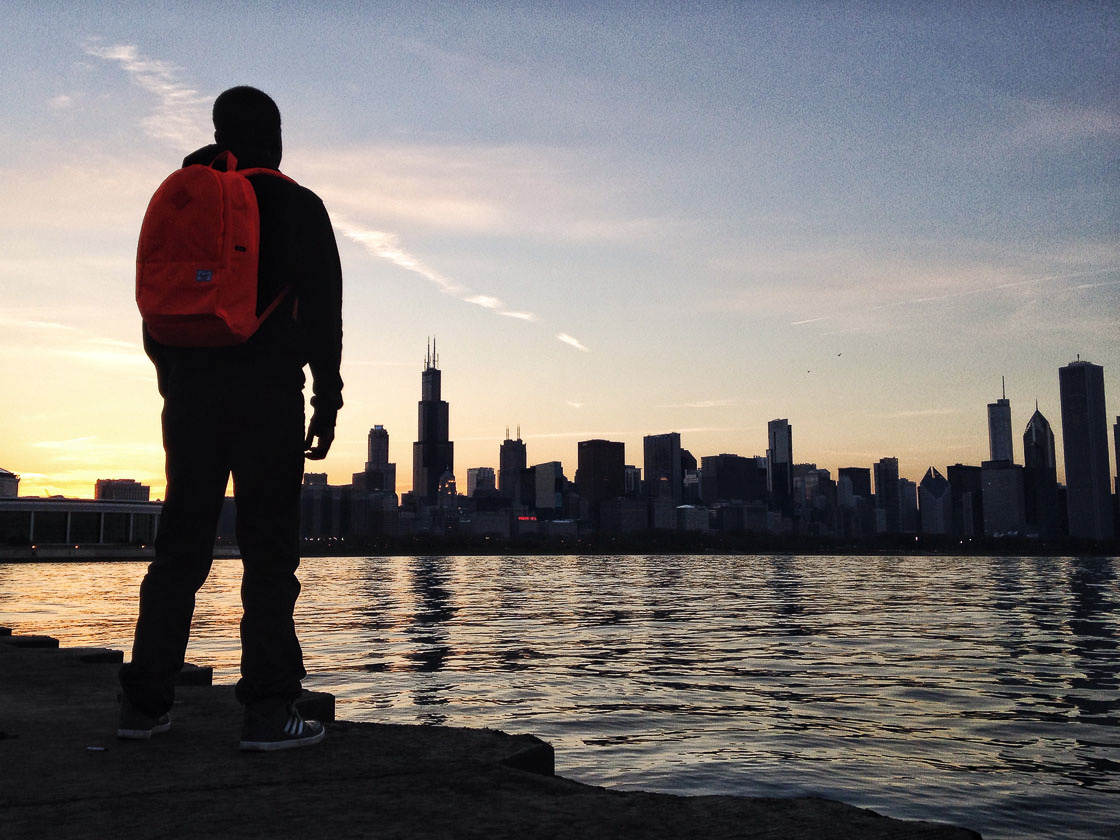
Strangers act naturally. Their actions tell stories. While you can use models for street photography, I don’t recommend it. Compelling street photography storytelling requires openness and diversity.
Plus, compelling street photography is all about capturing unique moments. You want to photograph people going about their daily lives.
Therefore, you need to photograph strangers.
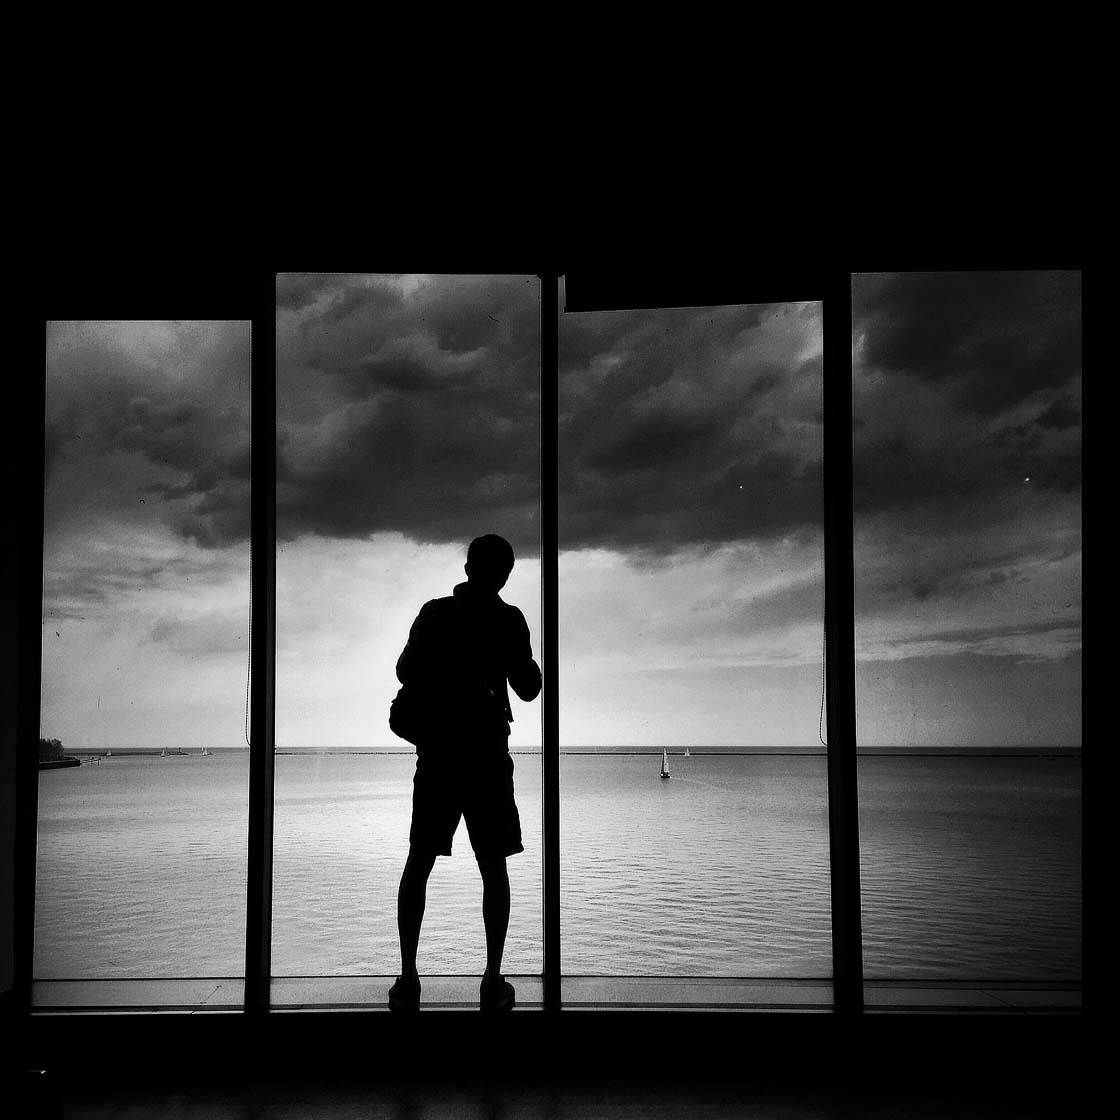
However, photographing strangers can be tough for a beginner. It often causes anxiety. After all, you’re taking pictures of people you’ve never met. What if they get angry?
Fortunately, your iPhone is the perfect tool for unobtrusive street photos. The iPhone is small and barely noticeable. Plus, you can always pretend you’re using the iPhone for something else—when you’re actually snapping photos!
Here’s another street photography tip: You can take photos with the volume buttons on your iPhone! Just press the Volume Up or Volume Down button while on the camera screen. Your iPhone will snap a picture!
Here’s an even better tip for discreet photos: You can take pictures using the volume controls on your Apple headphones. Make sure your headphones are plugged in. Then press the Volume Up or Volume Down button. Your iPhone will immediately take a shot.
Both of these techniques are fantastic for getting great street shots without people noticing.
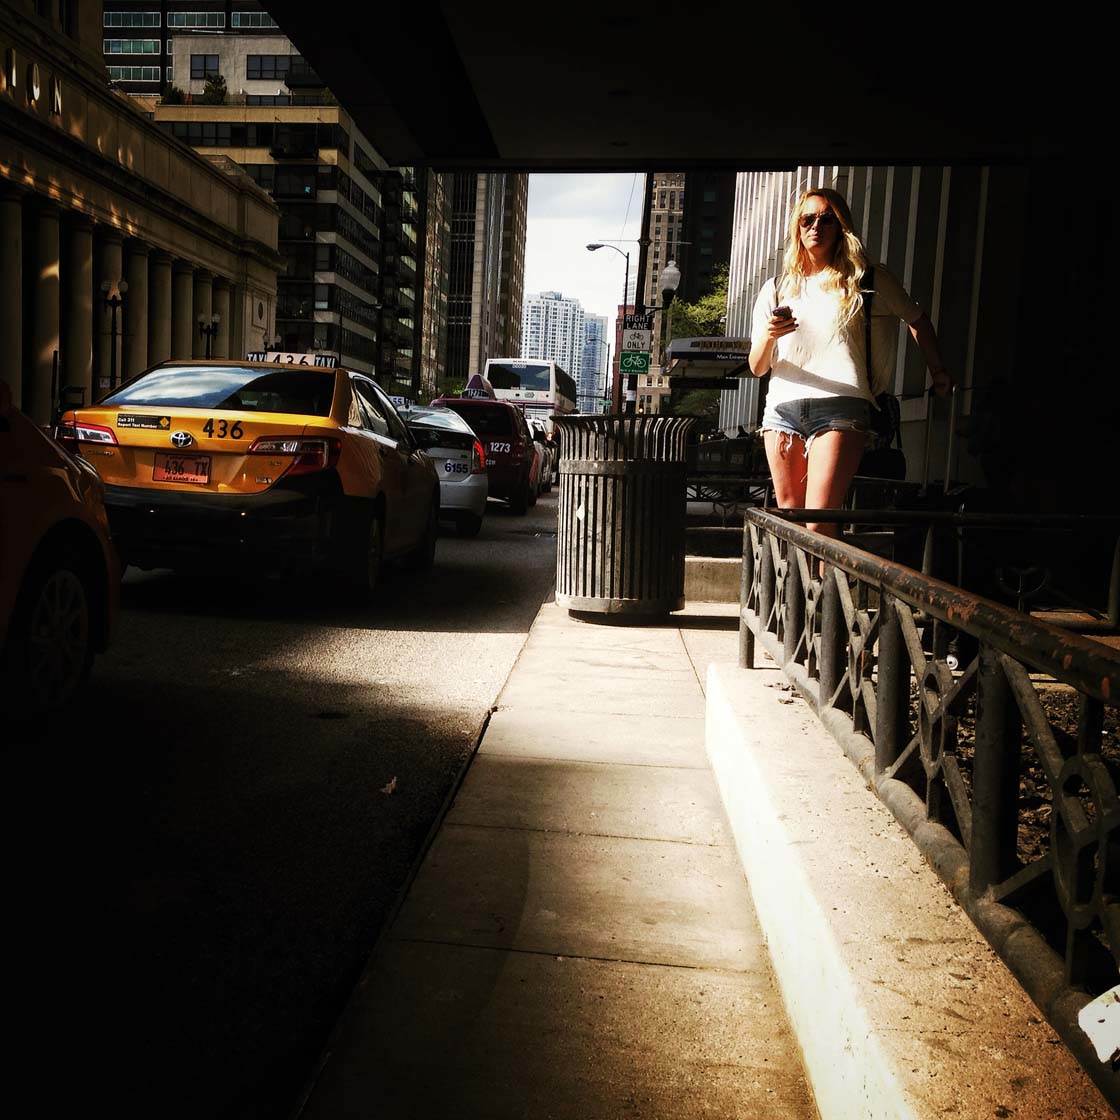
Another technique is to blend in with your surroundings.
Don’t stand in the middle of the road with your iPhone held out. Instead, stand against walls or sit on benches.
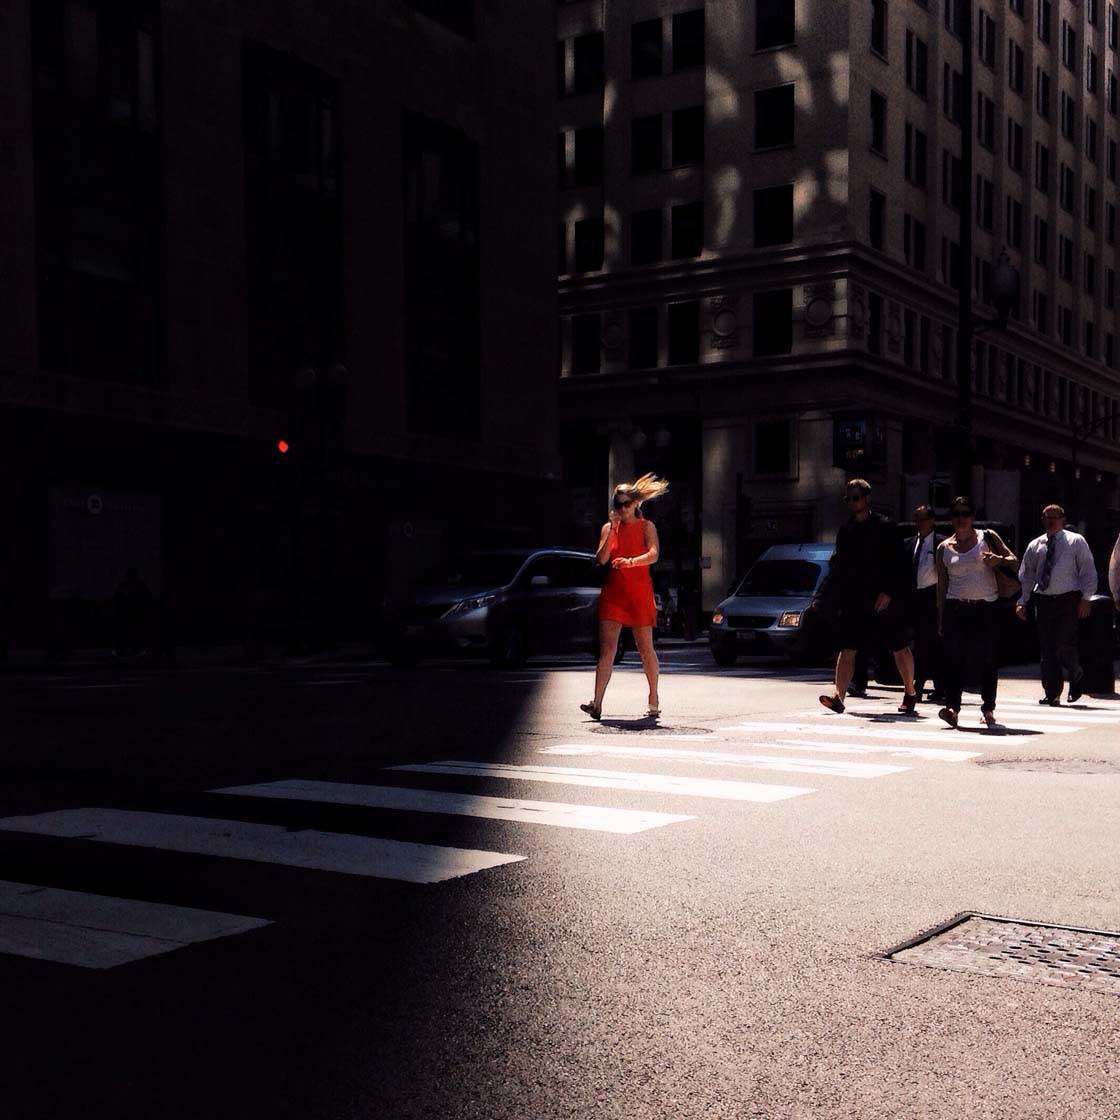
If you want to nab incredible street photographs, you have to photograph strangers. Your iPhone is the perfect tool for this task. It will allow you to photograph unobtrusively. You’ll blend right in, and nobody will notice that you’re taking amazing photos.
Thus, from now on, photograph strangers.
3. Use Burst Mode For Fantastic Shots Of Moving Subjects
Do you want to photograph moving subjects? A lot of the best mobile street photography is of people moving: walking, running, or skateboarding.
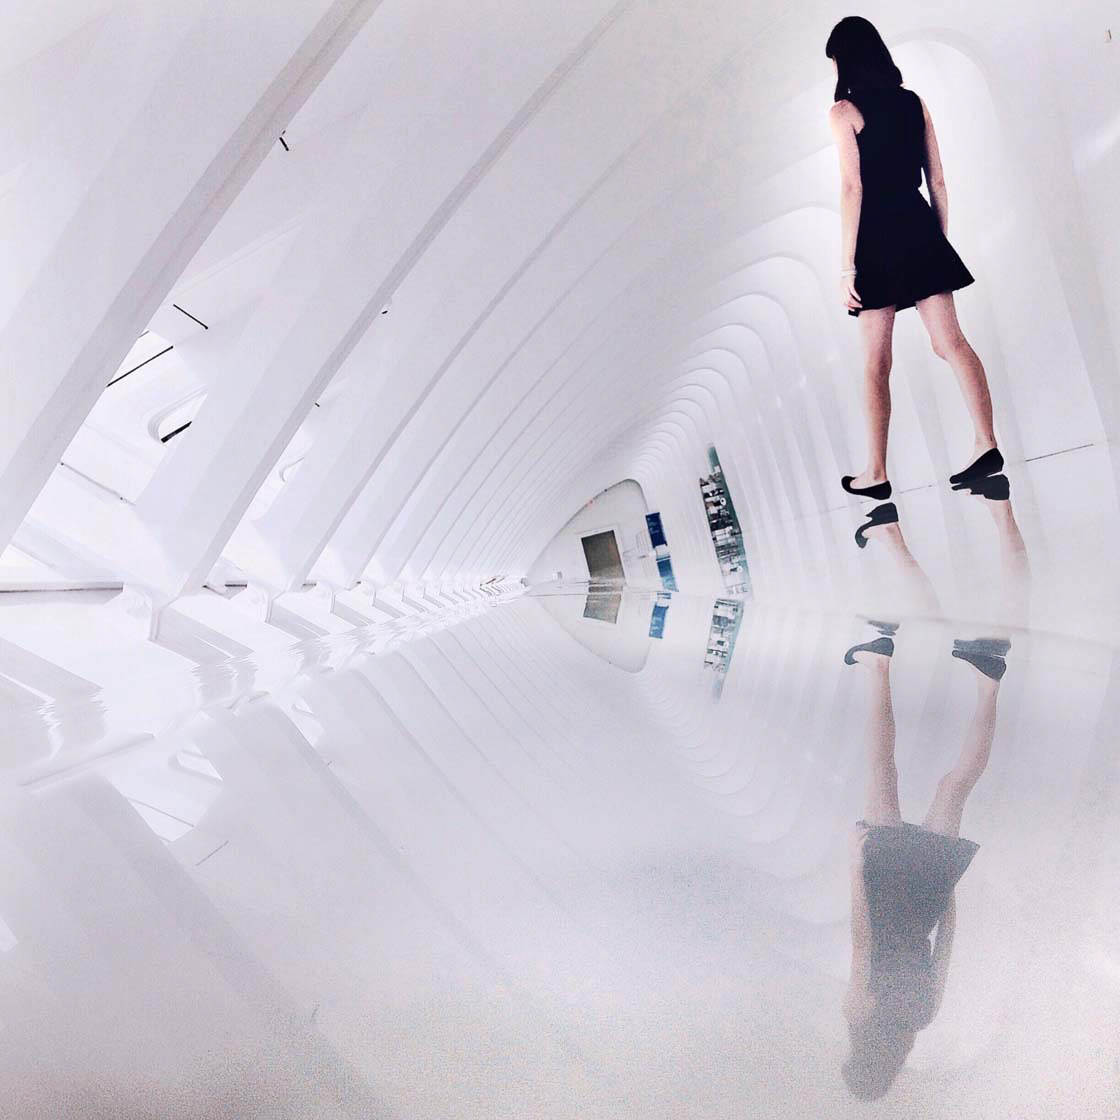
However, capturing shots of moving subjects can be difficult.
For one thing, it’s easy to capture a moving subject in a bad pose—when they’re overlapping with another person, for instance.
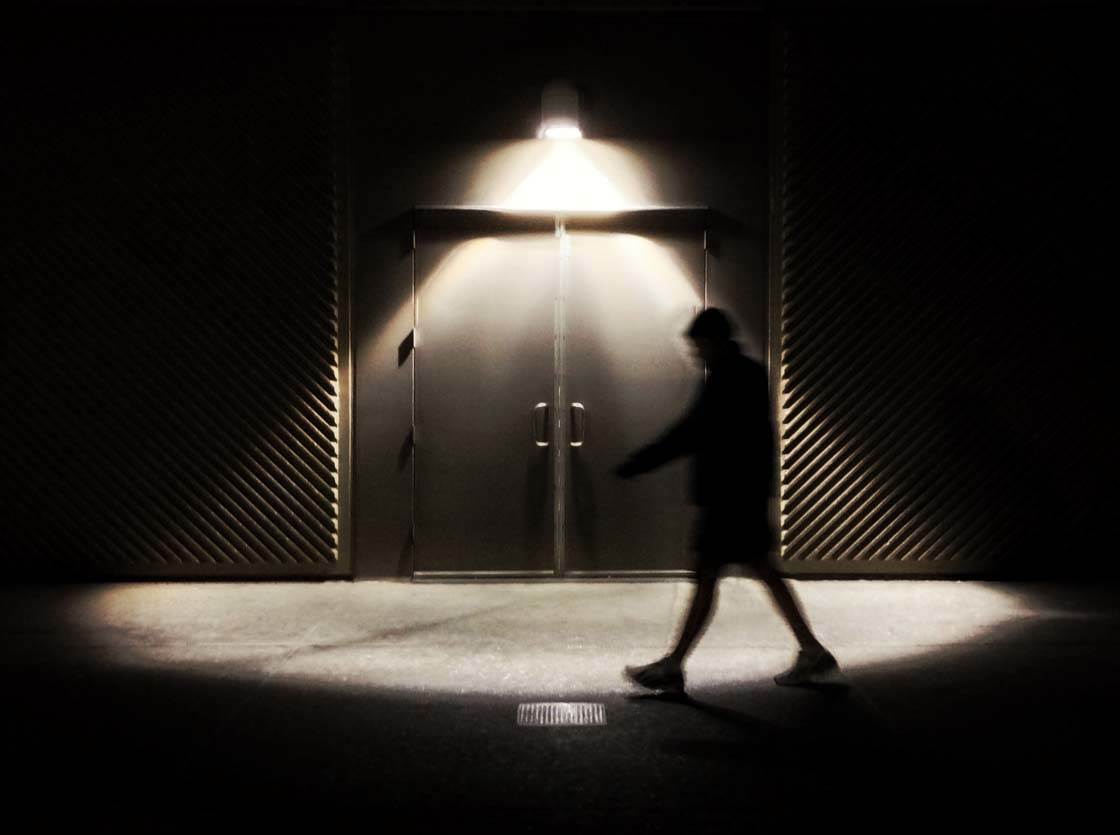
How do you deal with these issues?
You use burst mode.
Burst mode is an iPhone camera feature that allows you to take about a dozen frames per second. Therefore, burst mode ensures that you capture the perfect moment.
How do you activate burst mode?
It’s simple! To activate burst mode, hold down the shutter button. Your iPhone will immediately take a series of shots. Once the moment has passed, let go of the shutter button. Your iPhone will stop taking photos.
You can then choose the best photos from the sequence. To do this, find your Burst of photos in the Photos app. Tap Select. Then scroll through and find the images you like. When you’re finished, tap Done. Your selected images will be saved. The rest will be deleted.
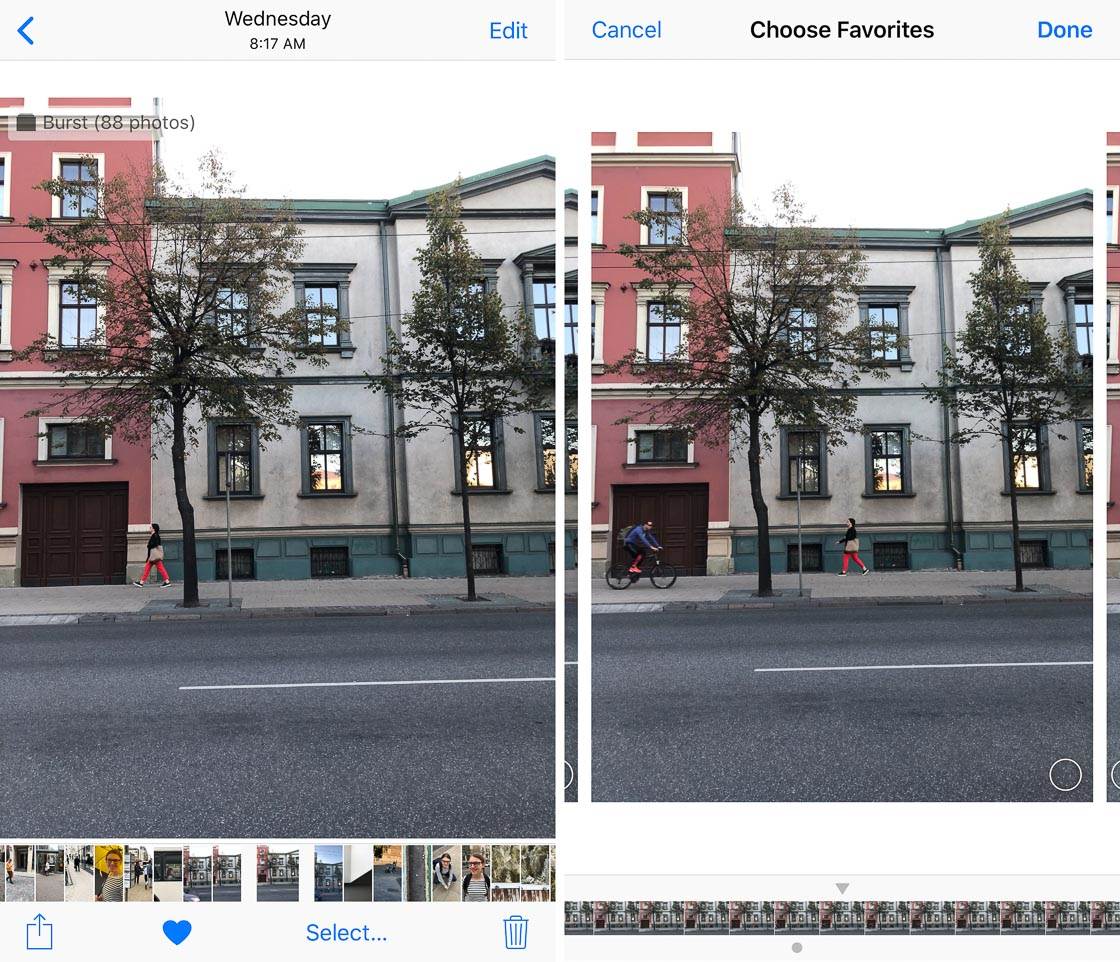
If you want to capture incredible photos of moving subjects, use burst mode. Your keeper rate will shoot right up!
4. Use The Telephoto Lens To Get Close To Your Subject
In iPhone street photography, it’s often tough to fill the entire frame with your subject. If you want those in-your-face shots, you have to get close—sometimes uncomfortably close.
Is there a way around this?
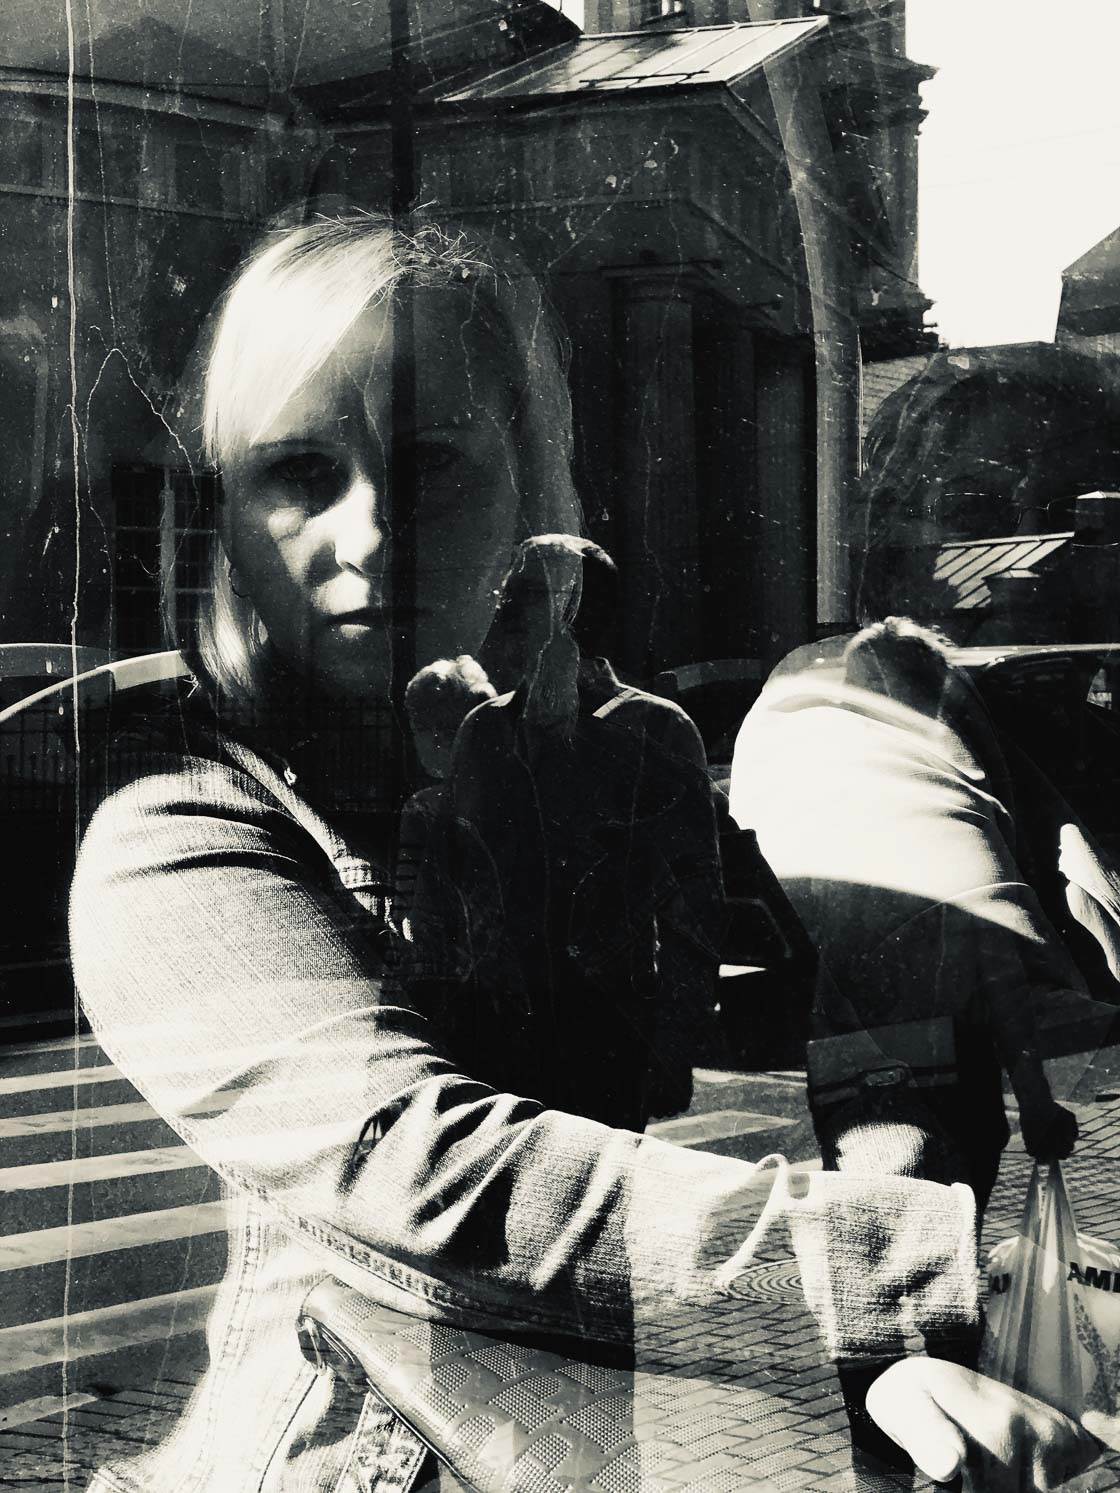
If you have the iPhone 7 Plus, iPhone 8 Plus, iPhone X, iPhone XS, or iPhone XS Max, then yes!
All of these iPhones have a telephoto lens in addition to the standard wide-angle lens. A telephoto lens magnifies the subject. It allows you to get more powerful, full-frame images of strangers.
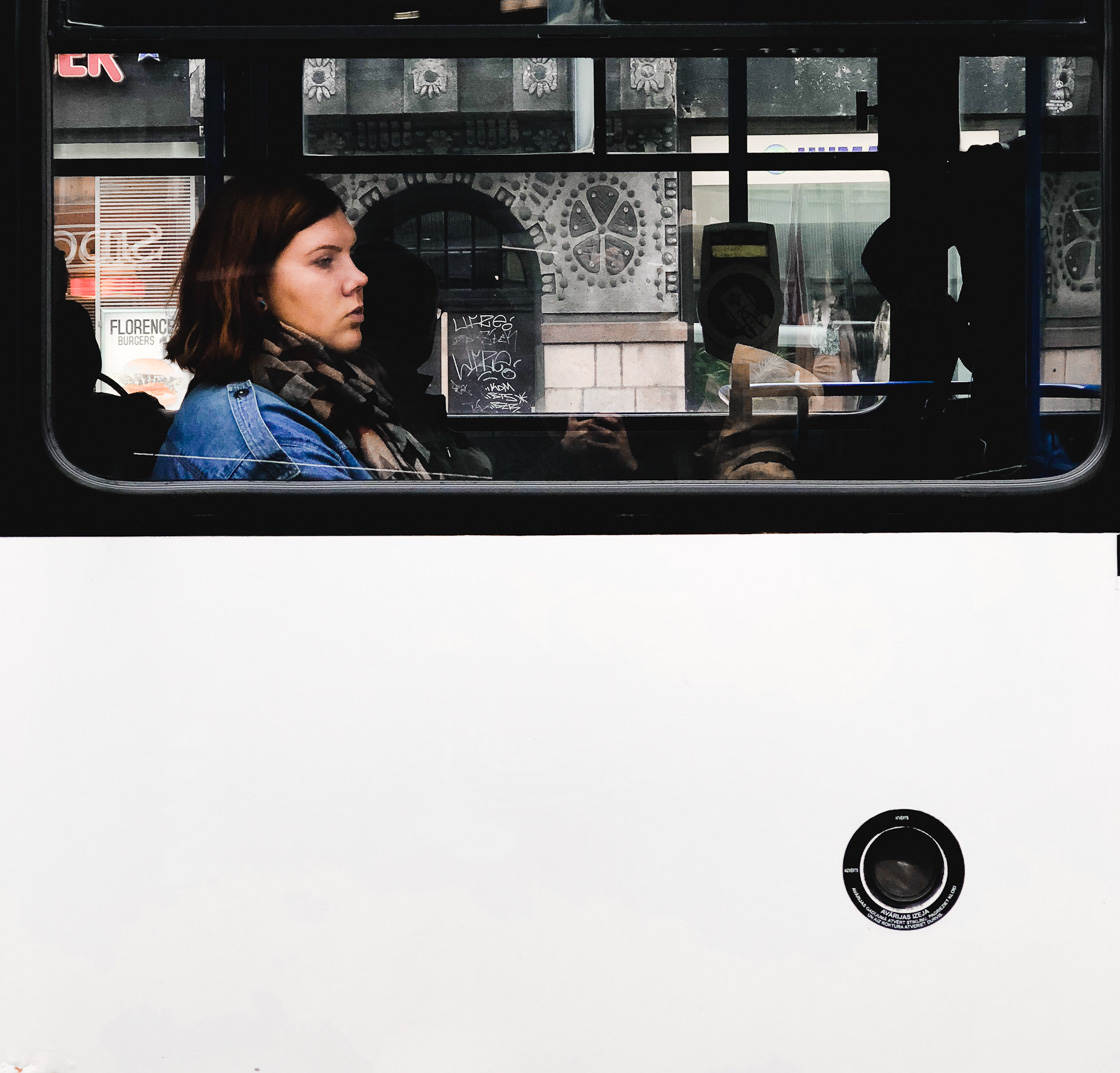
How do you switch to the telephoto lens?
Fortunately, it’s quite easy. All you have to do is tap the 1x icon at the bottom of the camera screen. This will immediately activate the telephoto lens. The 1x icon will switch to 2x.
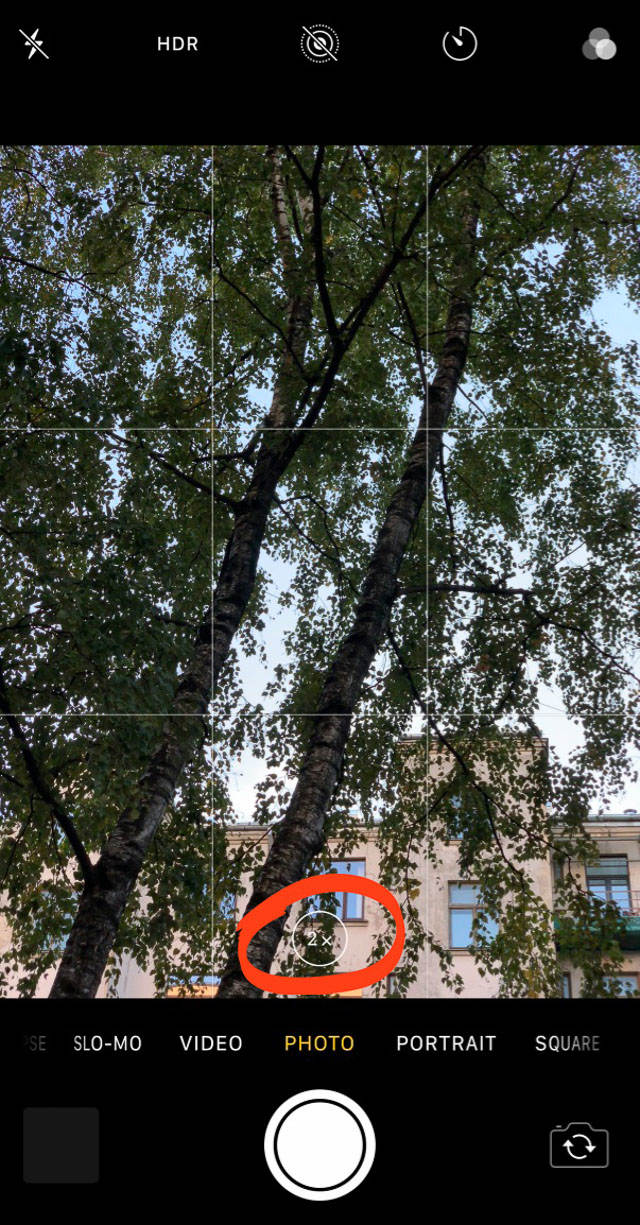
When you’re done using the telephoto lens, tap the 2x icon. This will reactivate the wide-angle lens.
Therefore, if you want to get those compelling, in-your-face shots, use your telephoto lens! You won’t regret it.
5. Photograph Architecture For Unique Urban Street Photography
Street photography isn’t all about photographing people. If you want to shoot more unique urban street photography, then photograph architecture!
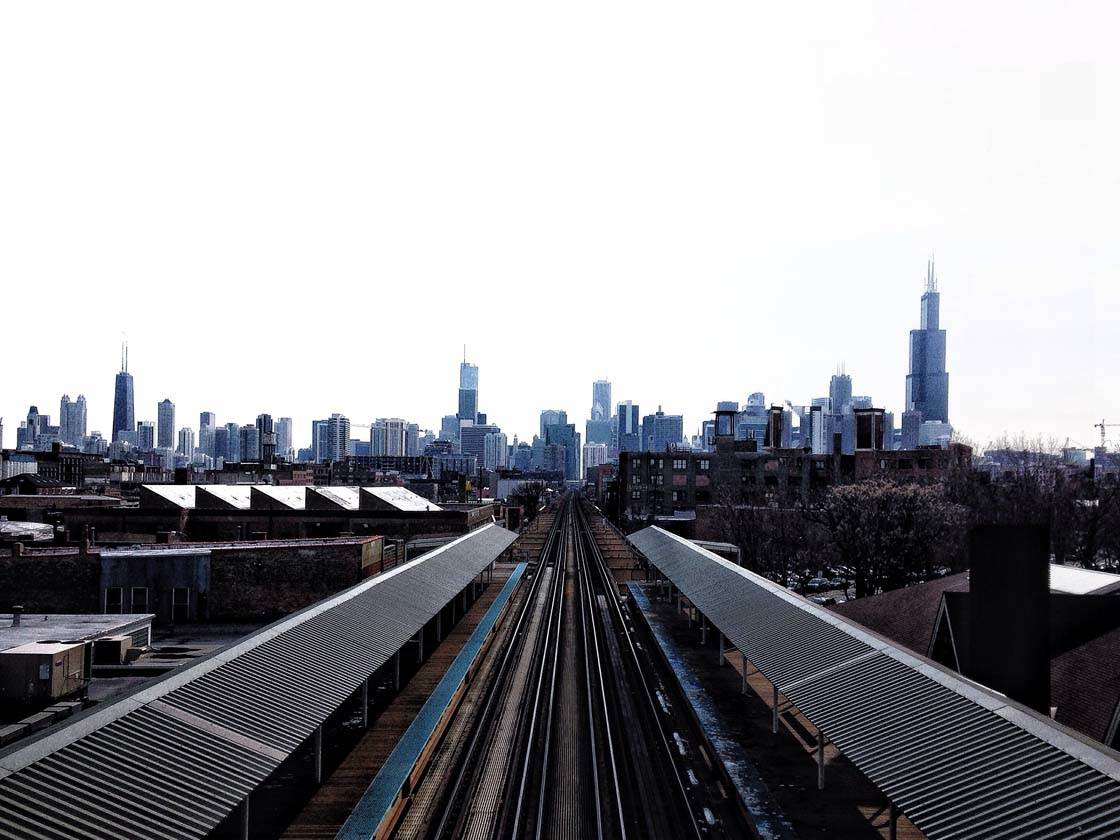
Towns and cities are full of great architecture. Yet how do you photograph it?
First, find an interesting building. Try capturing it from the outside. You might also focus on part of the building to create a more abstract shot.
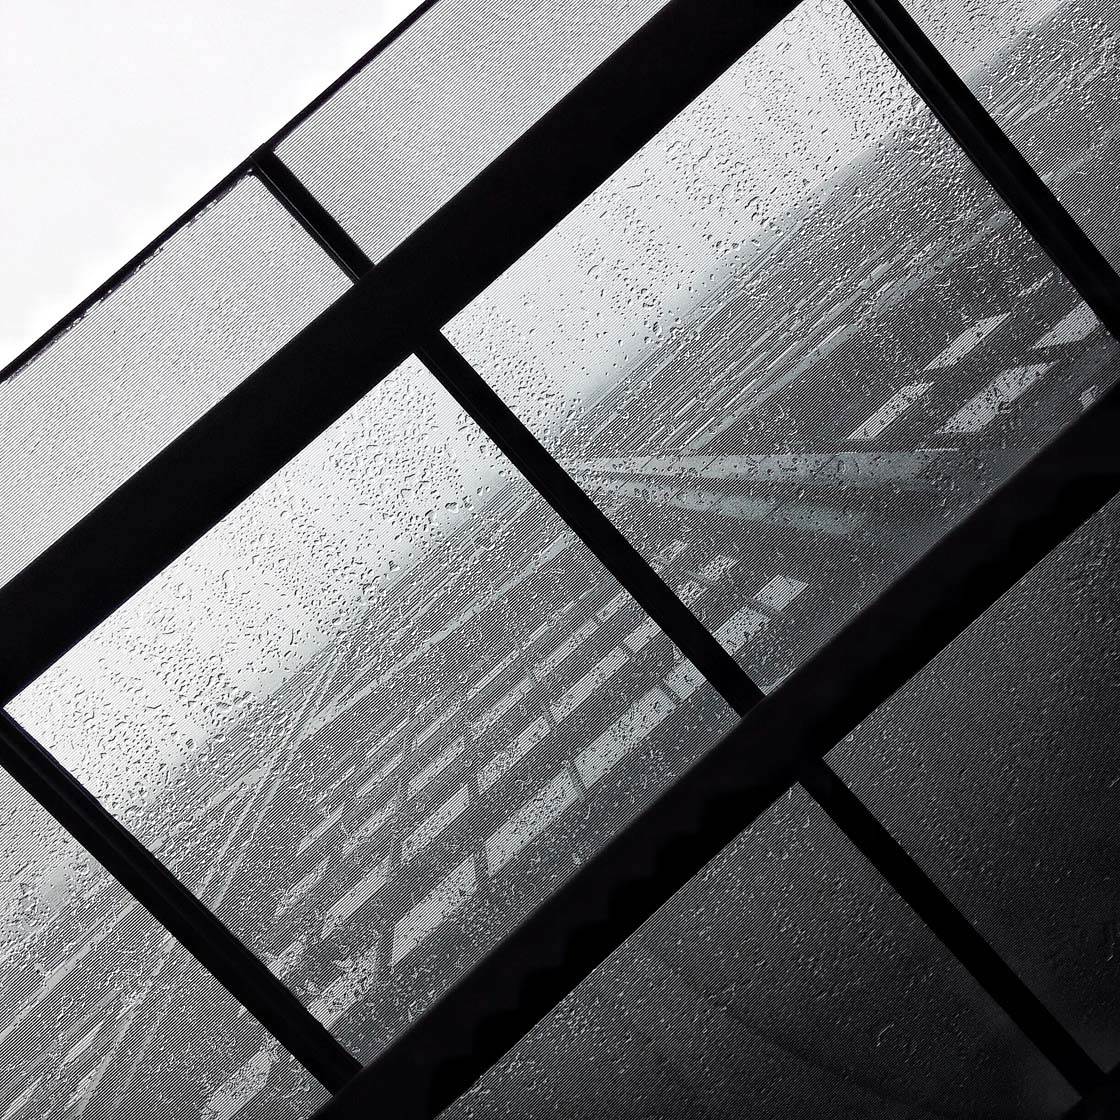
Then photograph the building from the inside. Try out different angles to create unique compositions or symmetry. For the shot below, I pointed my iPhone straight up. This resulted in a very unique image.
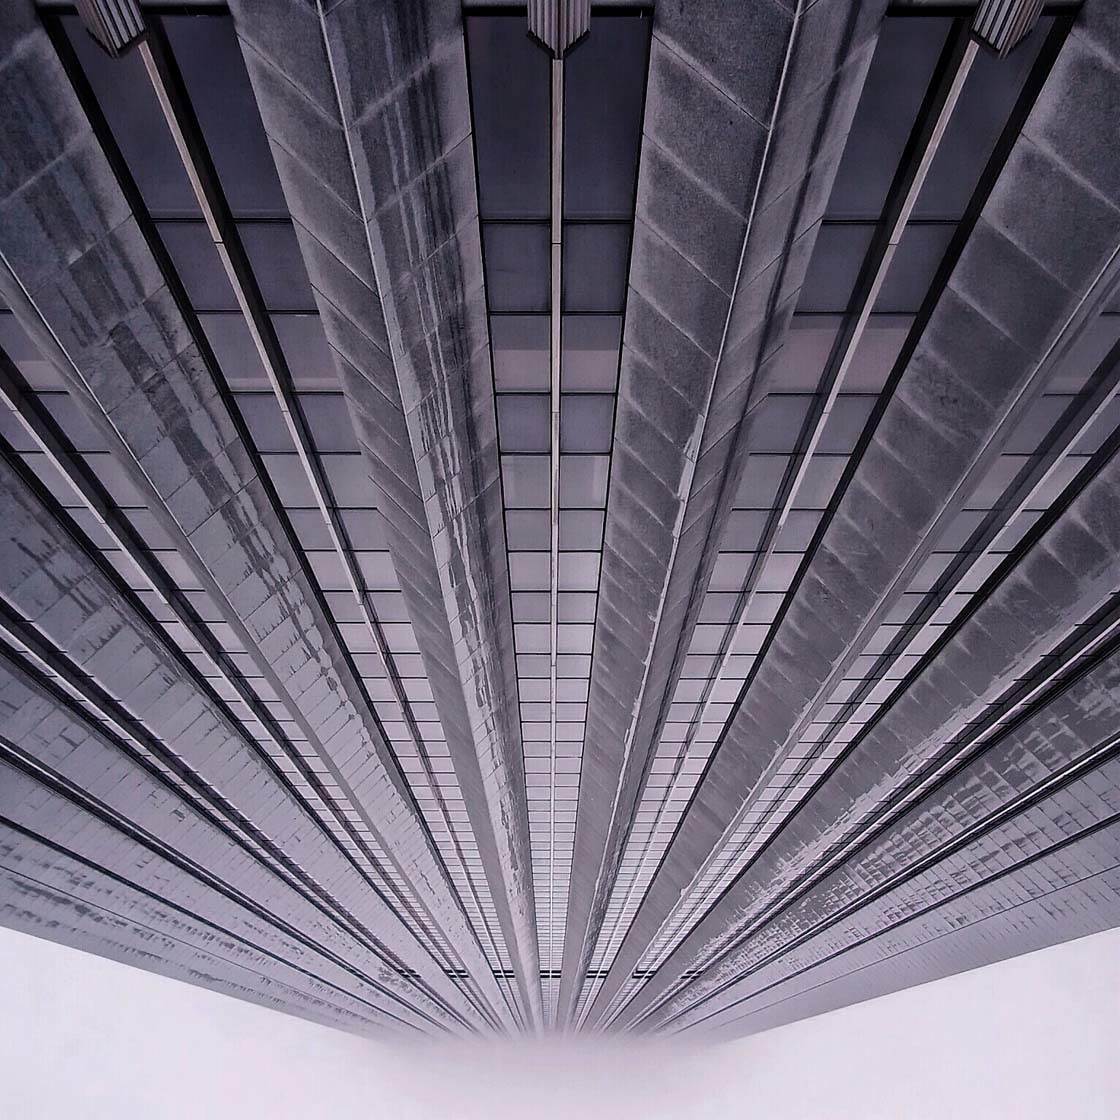
If you want more unique street photos, then try photographing architecture! It’s a lot of fun, and this type of urban street photography will really expand your portfolio.
6. Look Down For A Creative Street Photo
Do you want to create a street photo that stuns the viewer? Do you want to capture an image that is beautifully disorienting? Then make sure you look down!
What do I mean by this? I mean that you should pay attention to what’s beneath you. Look down at the ground!
The ground offers all sorts of interesting photo opportunities. For instance, cracks in the pavement can make for wonderful abstracts. Discarded objects can be interesting subjects, as well.
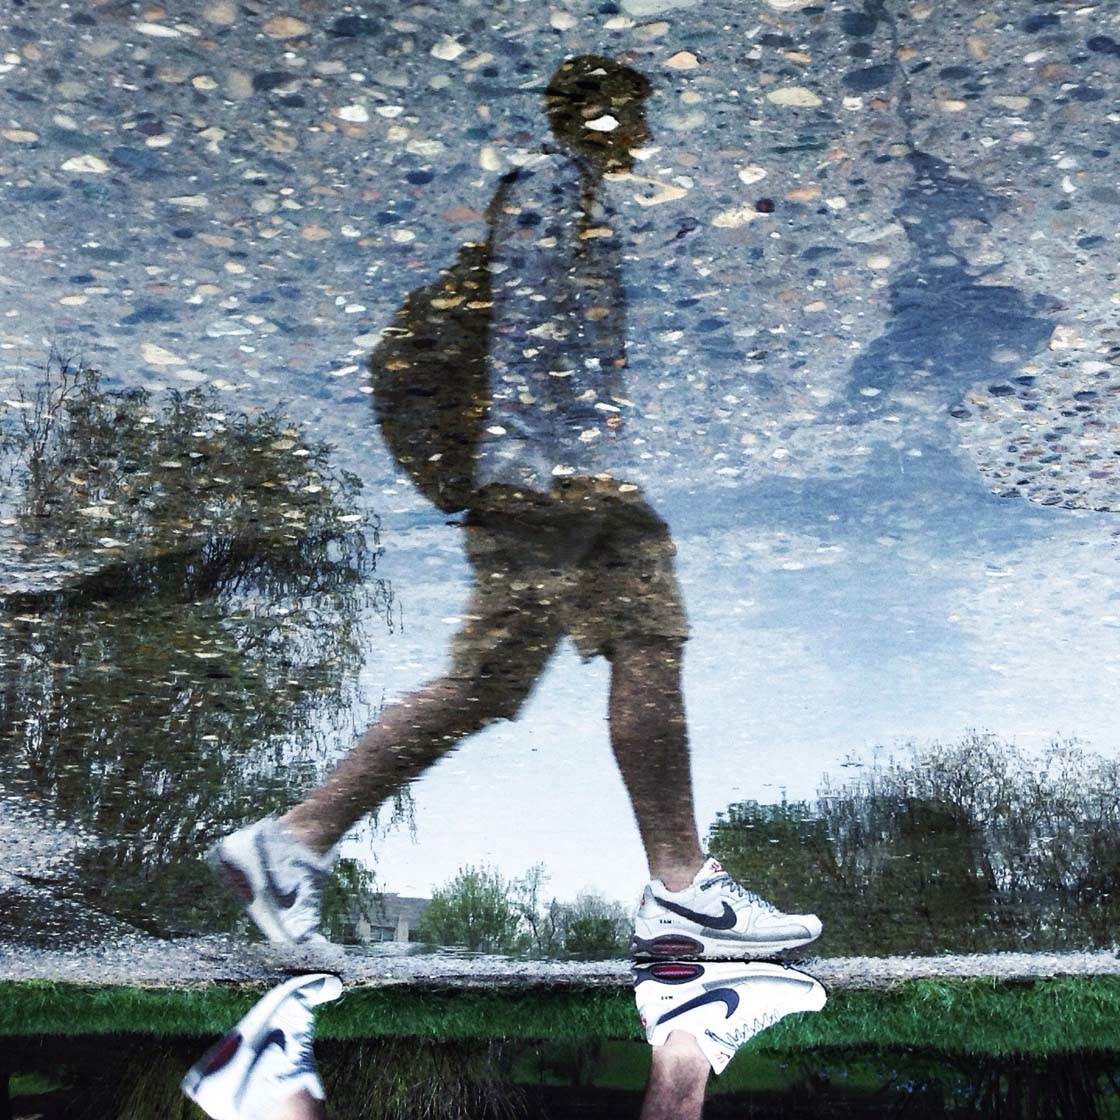
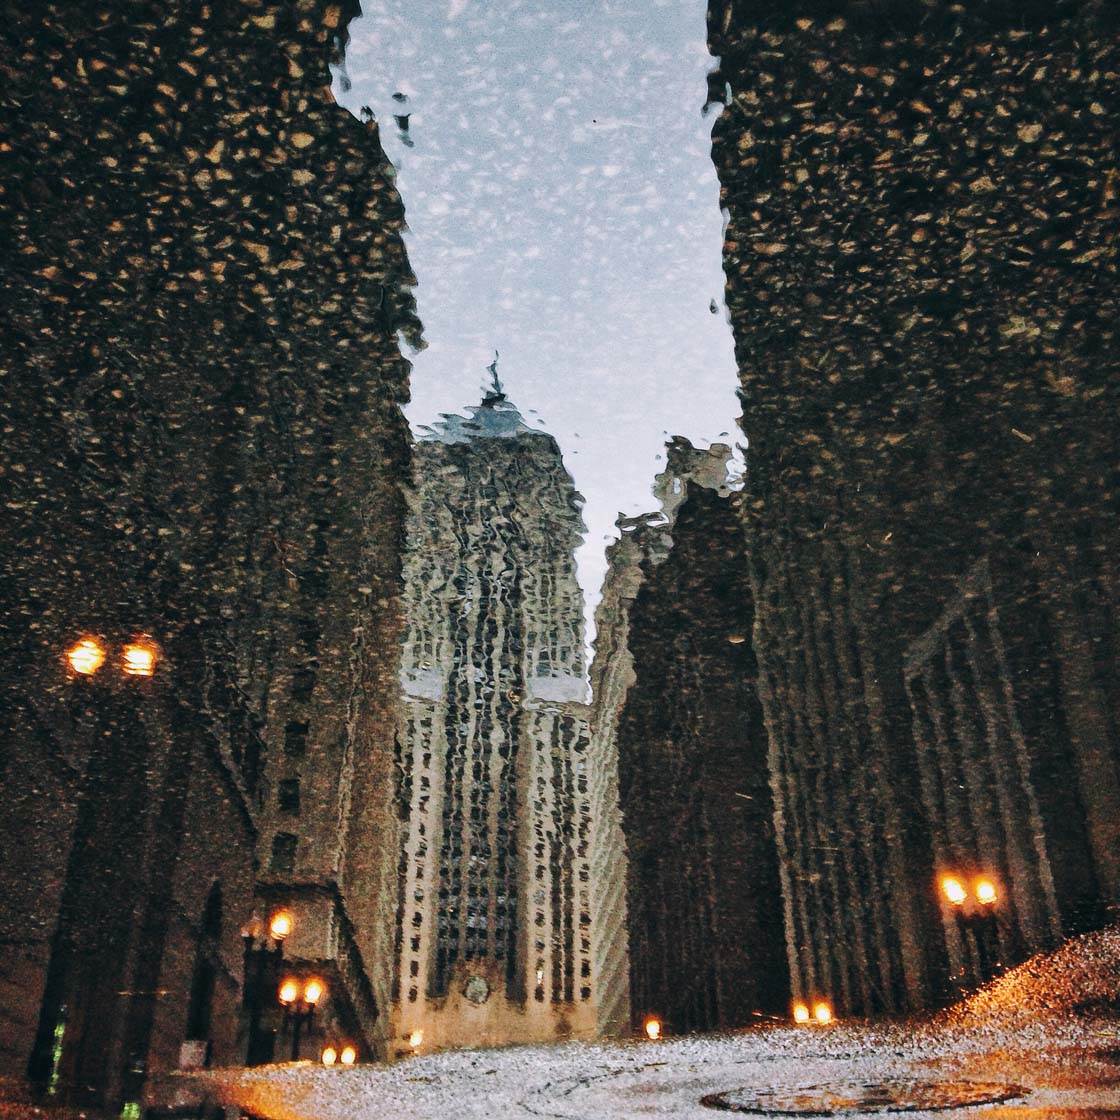
Pay attention to puddles and shiny metal. You can often capture stunning reflections in these surfaces. For a more intriguing approach, try flipping your image upside down in post-processing. I did this for the image below.
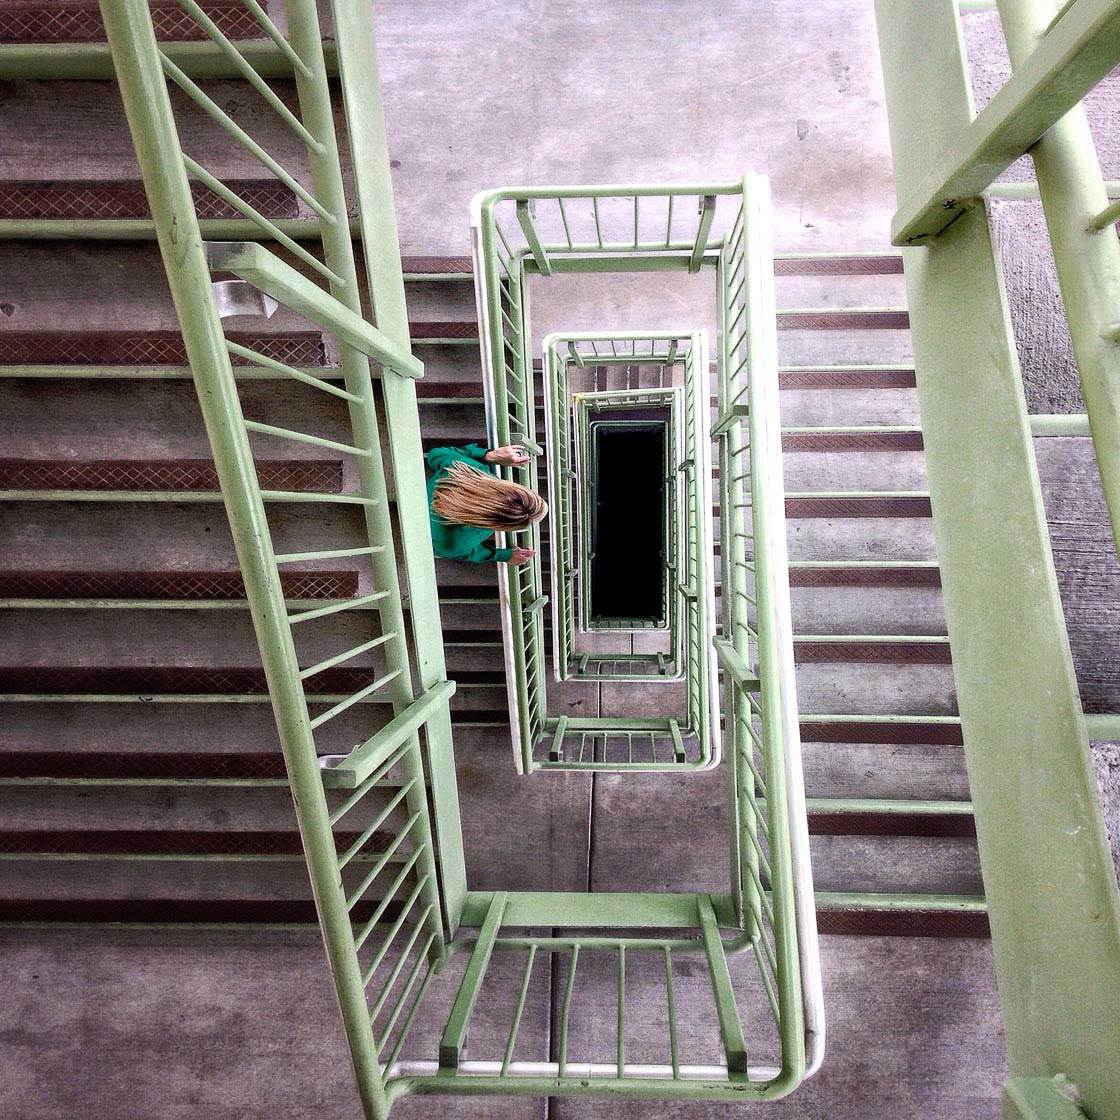
Alternatively, shoot from up high to get a bird’s-eye view of the scene. Try standing on a bridge or a balcony and shooting straight down on a busy street scene.
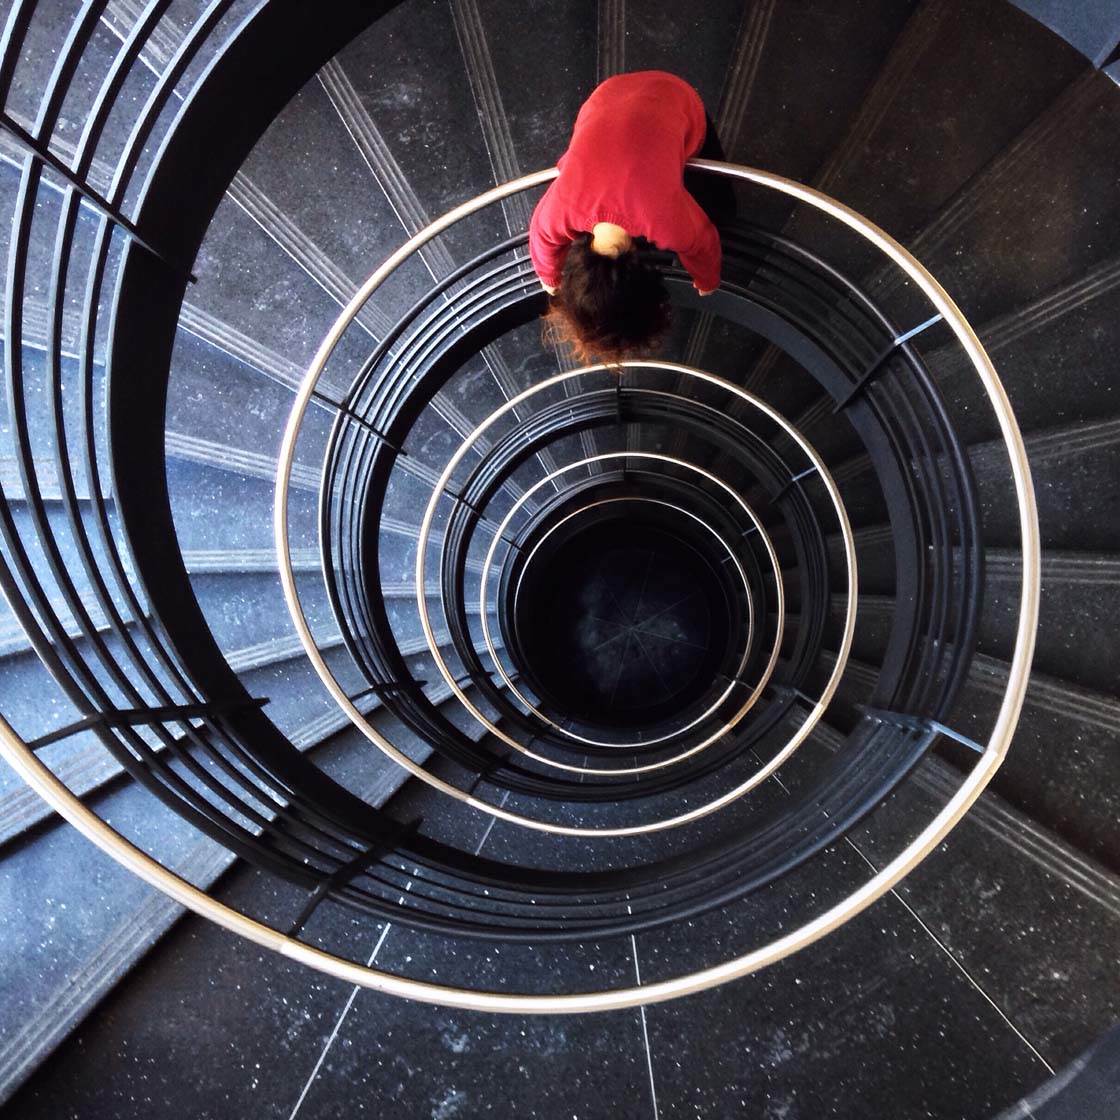
Stairwells also make great locations for this kind of shot. Try to be creative when shooting stairwell photos. For instance, a person makes for a great focal point!
If you want to shoot more creative street photography, look down! You’ll be surprised by the wonderful world that awaits.
7. Get Close To Capture Magical Macro Scenes
Street photography isn’t all about capturing vast street scenes. Great street photographers often capture close-ups.
Try getting up close to your subject. Capture the small details.
For instance, why not take a close-up shot of peeling paint on an old building? Why not photograph the umbrella of a person walking in the rain?
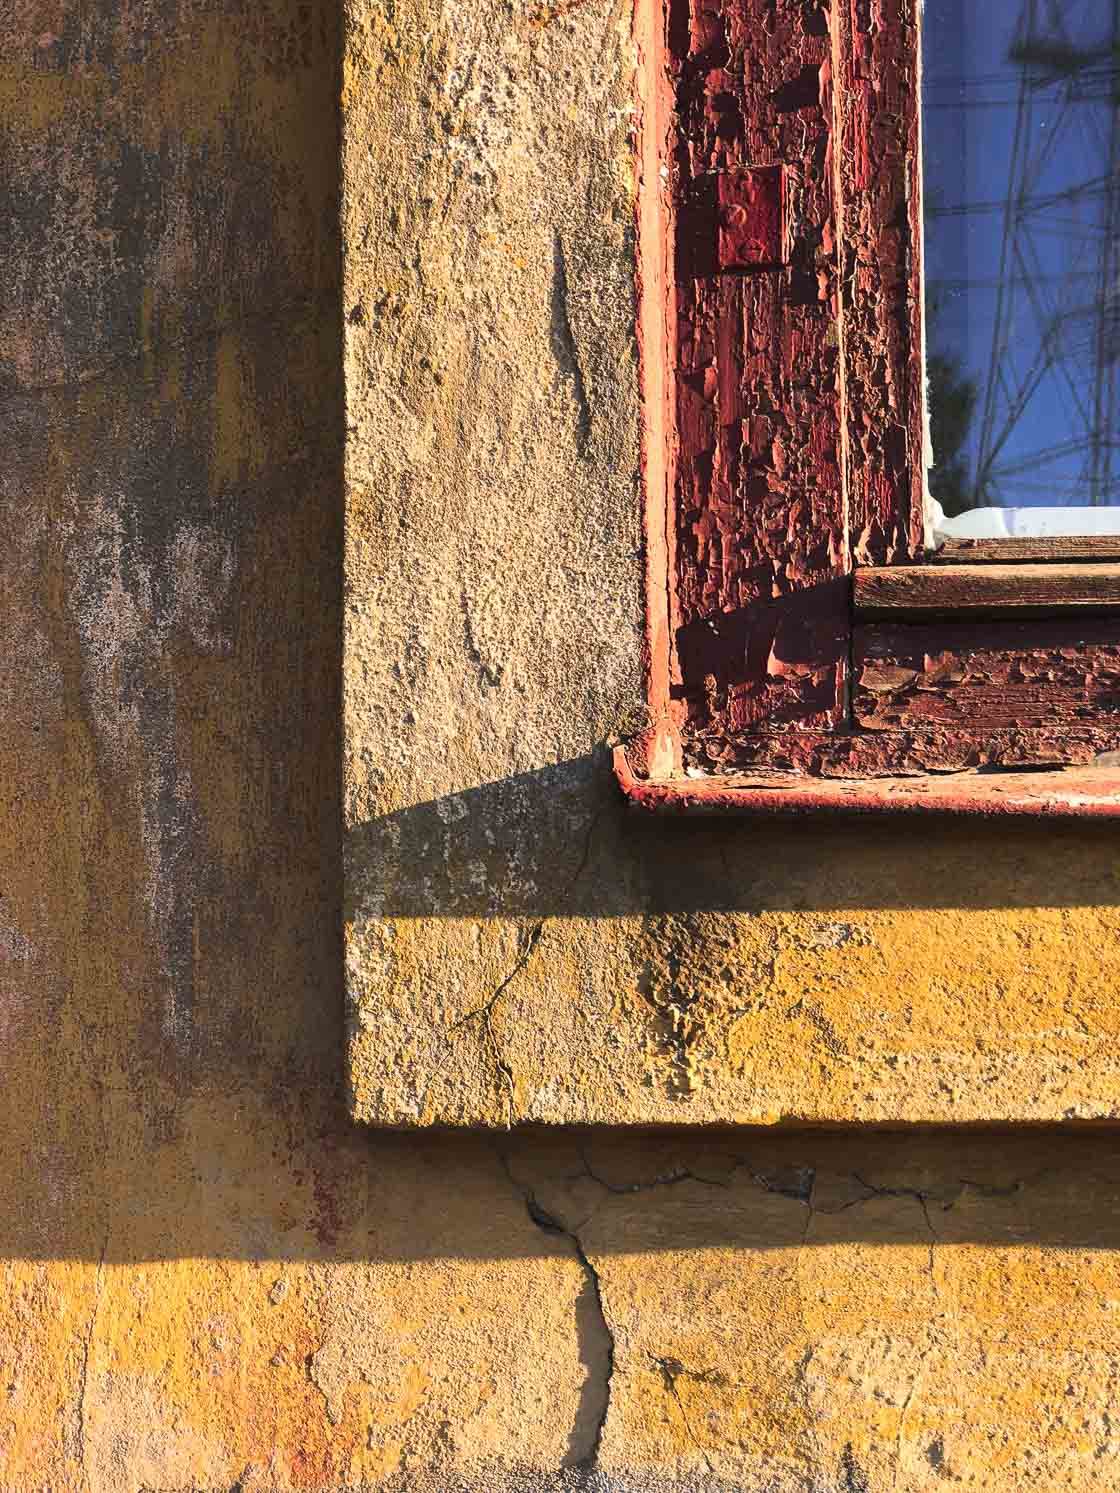
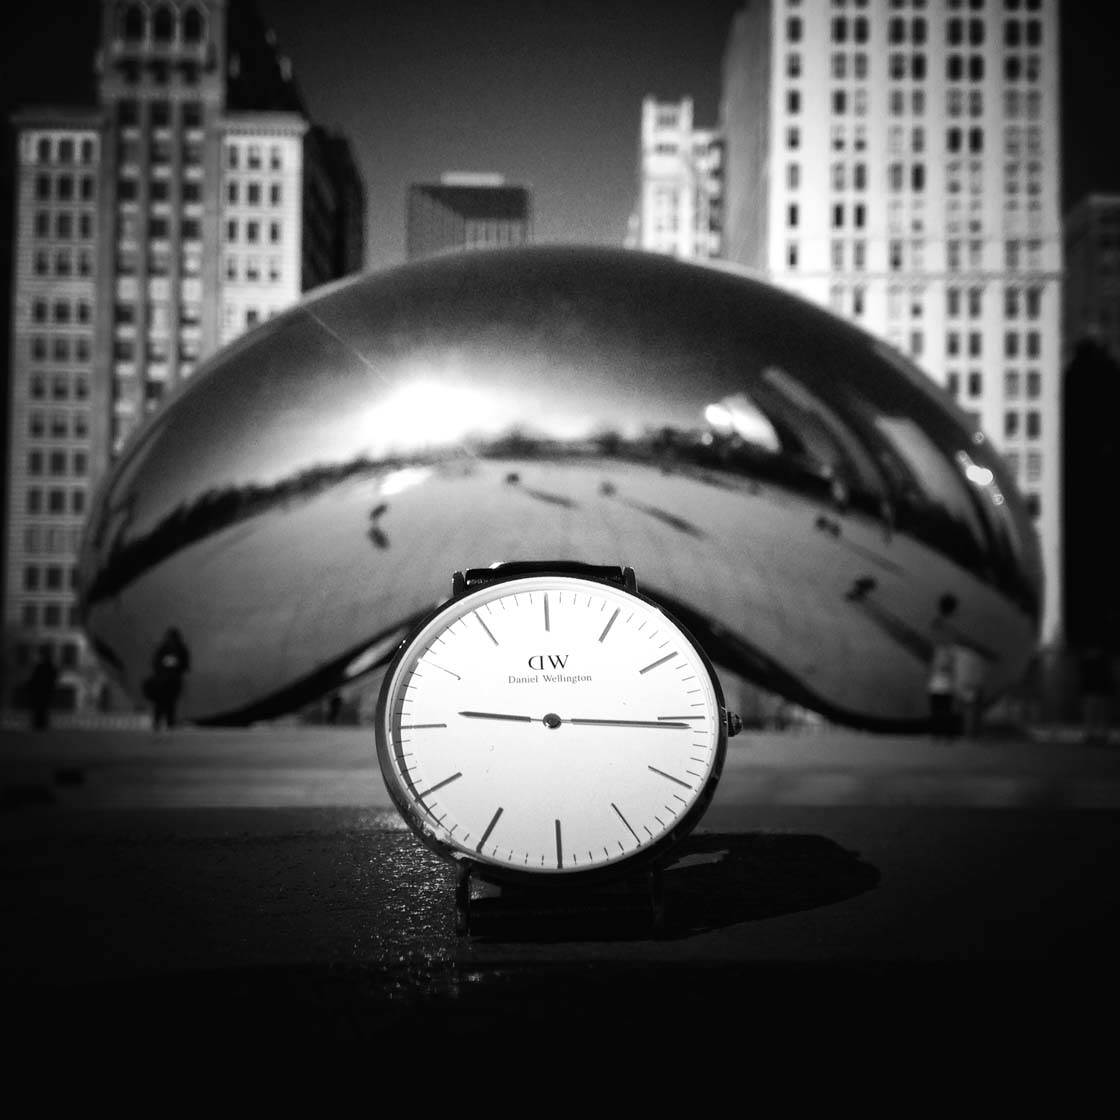
You can even use props of your own. Just place them in your street scene, then shoot!
For instance, I added my watch to the scene below. You can still make out famous landmarks in the distance. However, the close-up of the watch adds beautiful detail to the scene.
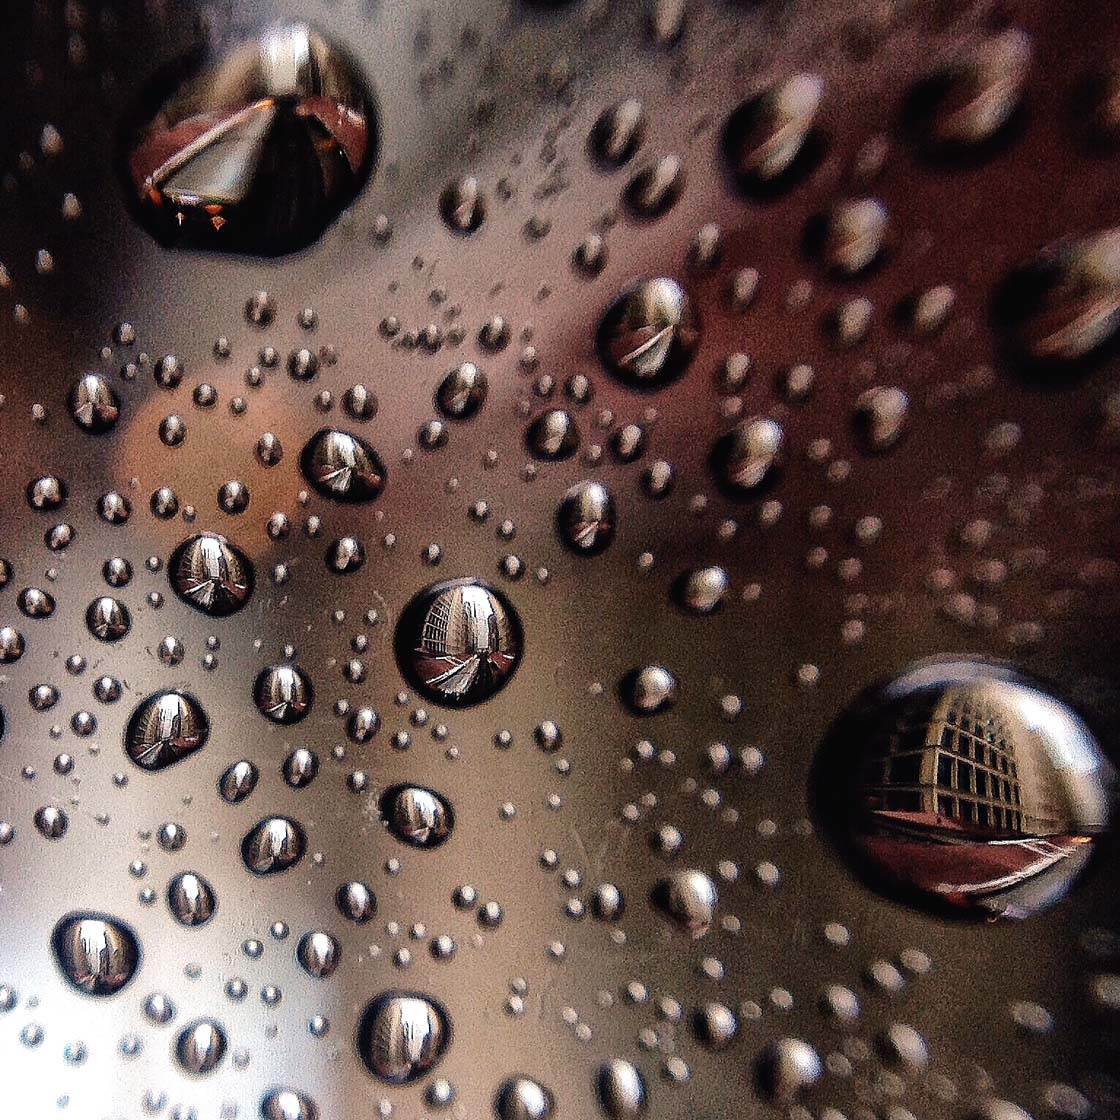
Another interesting technique you can try out is to capture a close-up of raindrops on a shiny surface. In the shot below, I managed to get a close-up of raindrops—with a building reflected through them!
If you want to capture more unique, magical scenes, then try some close-up street photography. You’ll be amazed by what you can find!
8. Shoot During The Golden Hours For Amazing Light
If you want to capture incredible street photographs, you need to shoot in the best light. Great light can make a huge difference in your photography.
In fact, among a group of street photography tips, this one stands out.
How do you find the best light?
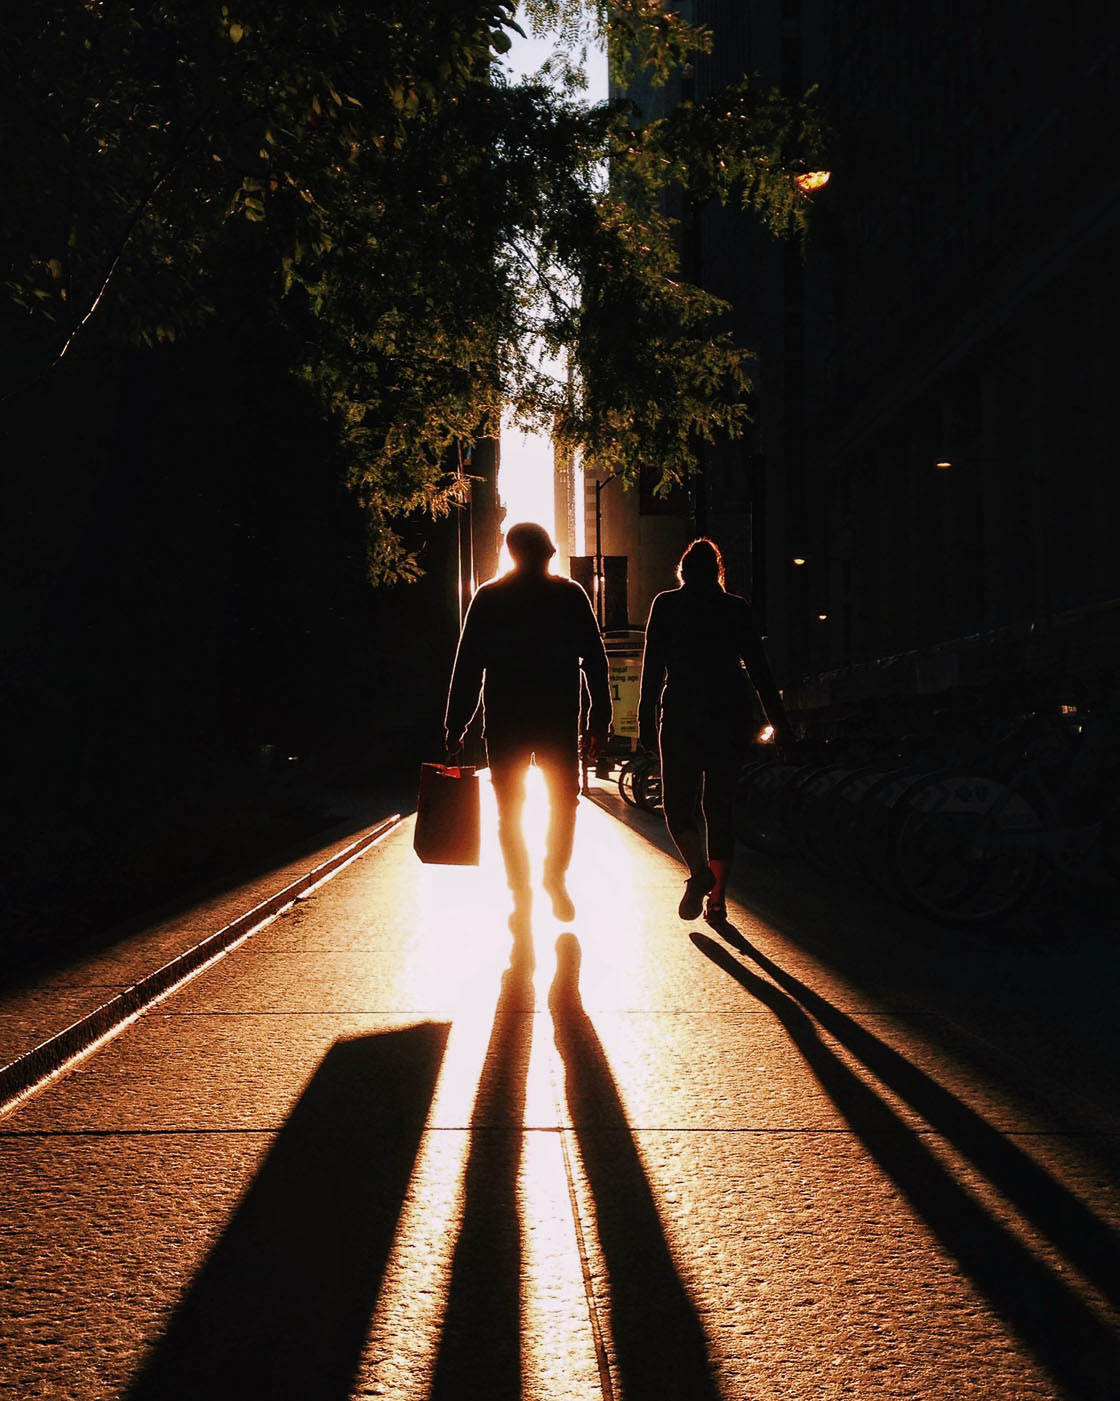
A failsafe way to find the best light is to shoot during the golden hours. The golden hours are the hour or two just after sunrise and just before sunset.
These are the times when the light is soft and golden—hence the term, “Golden hours.” The golden hours result in incredible photographic opportunities. Such beautiful light casts a wonderful glow over the streets—and makes for amazing photography.
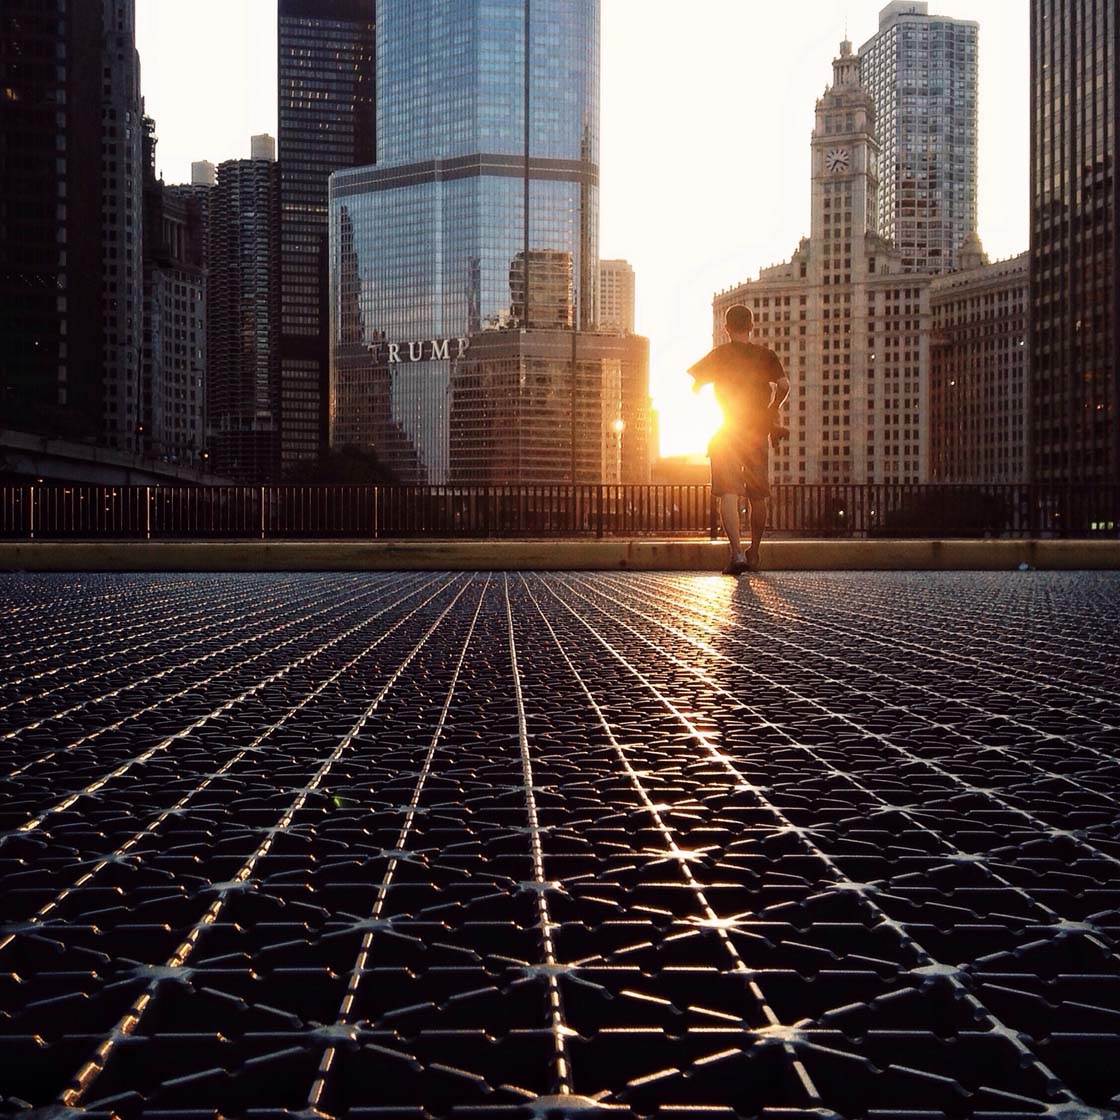
The golden hours are also the perfect time for capturing stunning silhouettes. Point your iPhone toward the sun, find a nice composition, and shoot!
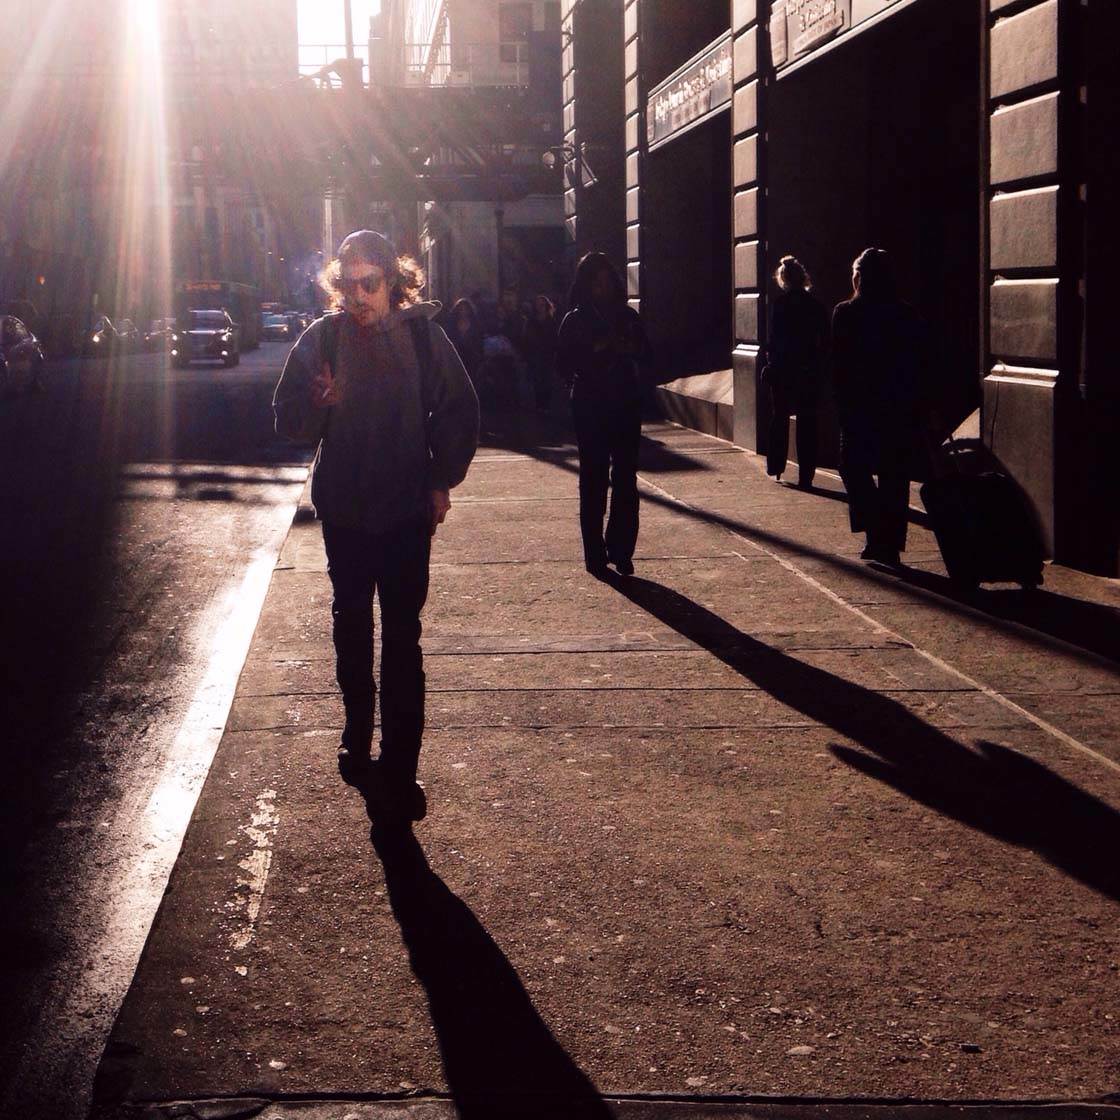
If you want to capture amazing street photos, shoot during the golden hours. They’re one of the best times to do street photography.
Another great time to do street photography is covered in the next tip!
9. Shoot In Harsh Light For Dramatic Street Photos
The golden hours are a great time for street photography. However, are there any other times that you can shoot?
As it turns out, yes. You can capture amazing street photographs at other times of the day. One of the best times to do street photography is during midday.
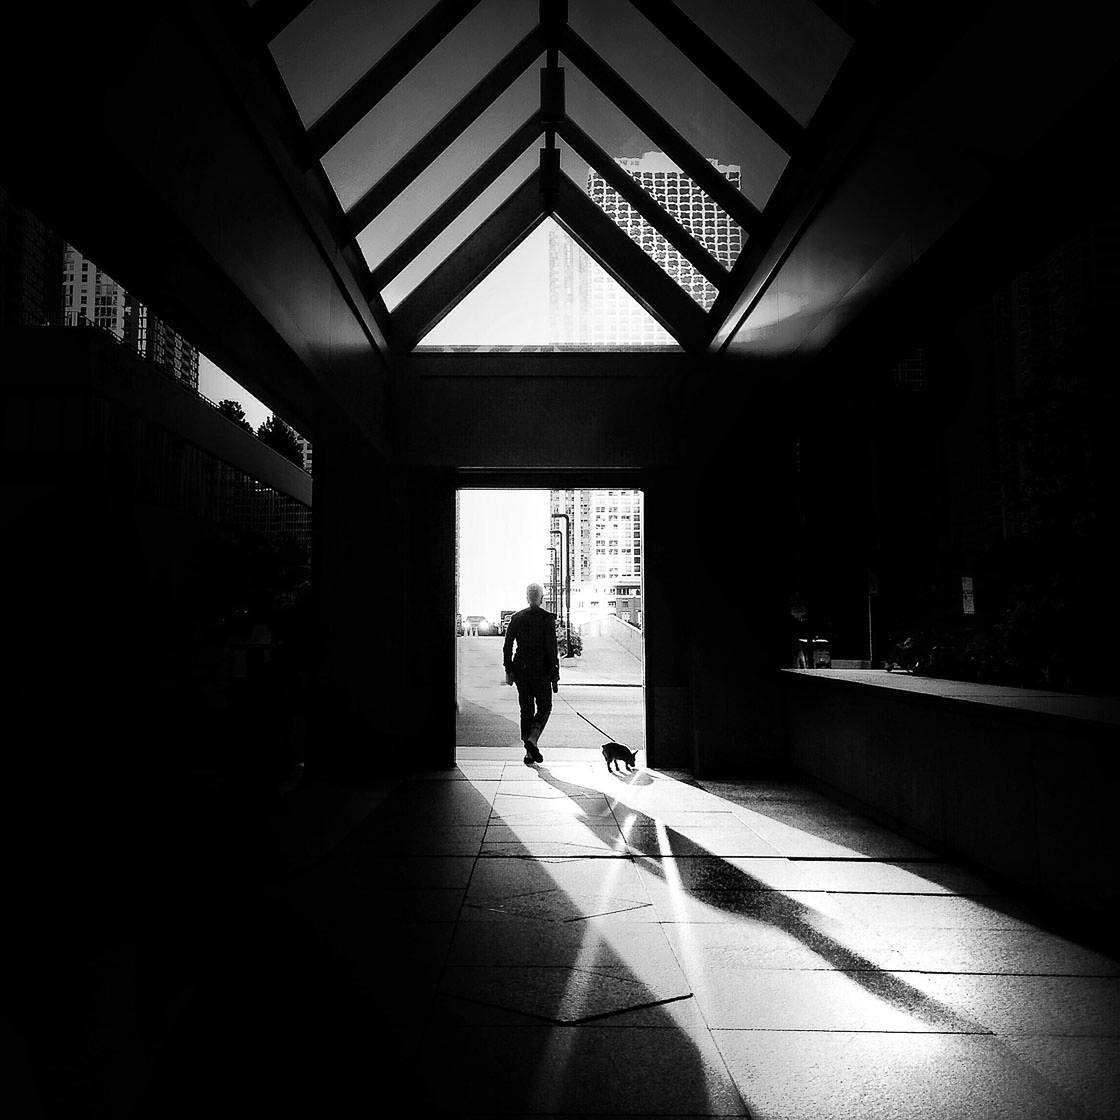
Why is midday so great? It’s during midday that the sunlight is harsh. The sun beats down on your subjects from above. This results in very dark shadows. It also results in dramatic, contrast-heavy images. For instance, the photo below was taken during the middle of the day:
Midday light adds drama and mystery to your photos. During midday, look for locations that have bright areas and dark shadows. Buildings are great for casting large shadows over a scene.
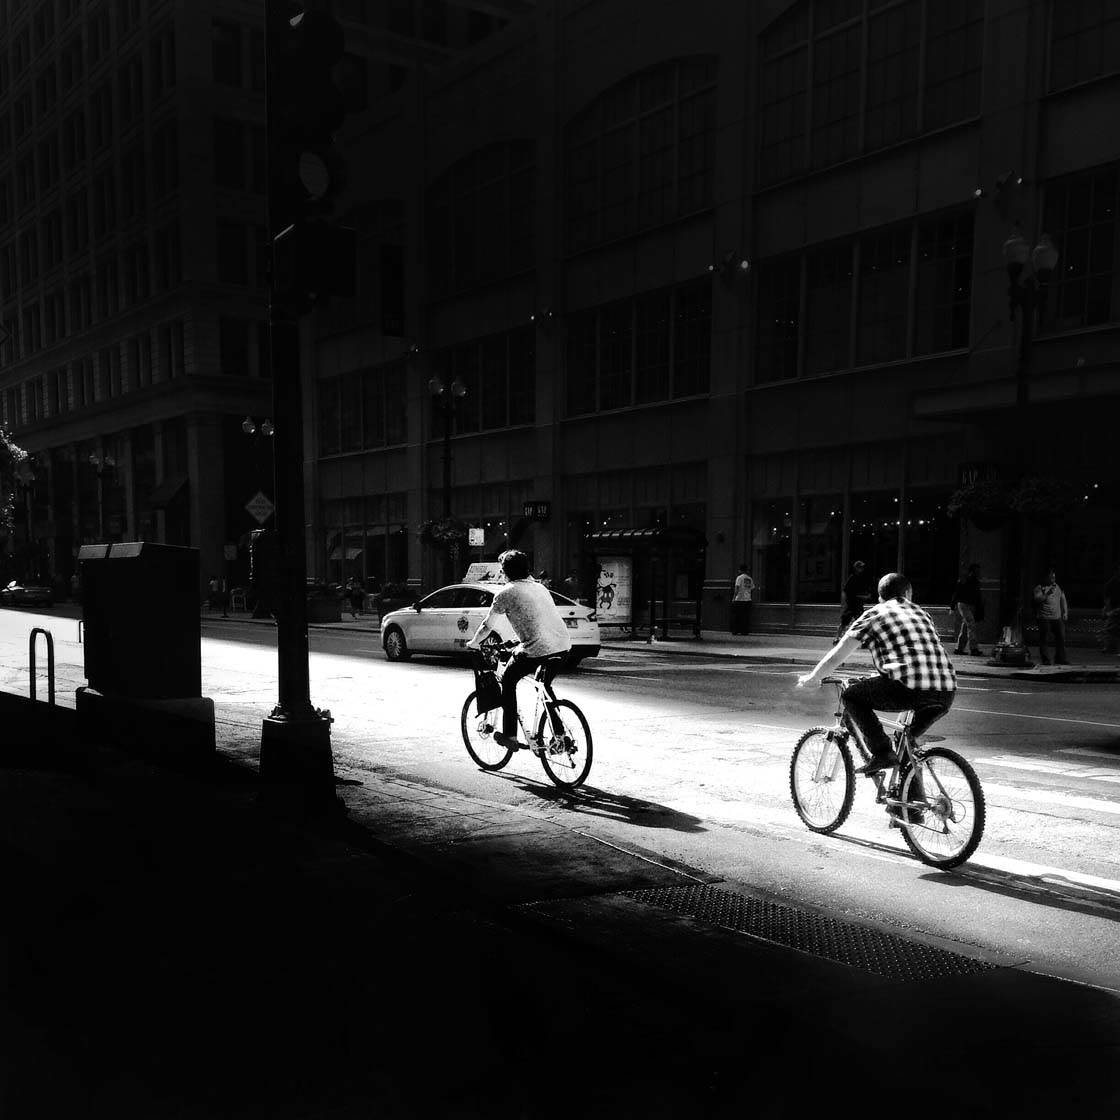
If you want to capture dramatic street photos, go out during the middle of the day. Look for lots of light and shadow—and then start snapping away.
Street photography shadows are a really great way to take your images to the next level!
10. Venture Out In Bad Weather For Atmospheric Photos
If you’re looking to capture extremely dramatic, atmospheric images, then shoot during bad weather.
Rain, snow, and fog make for unbelievable street photos.
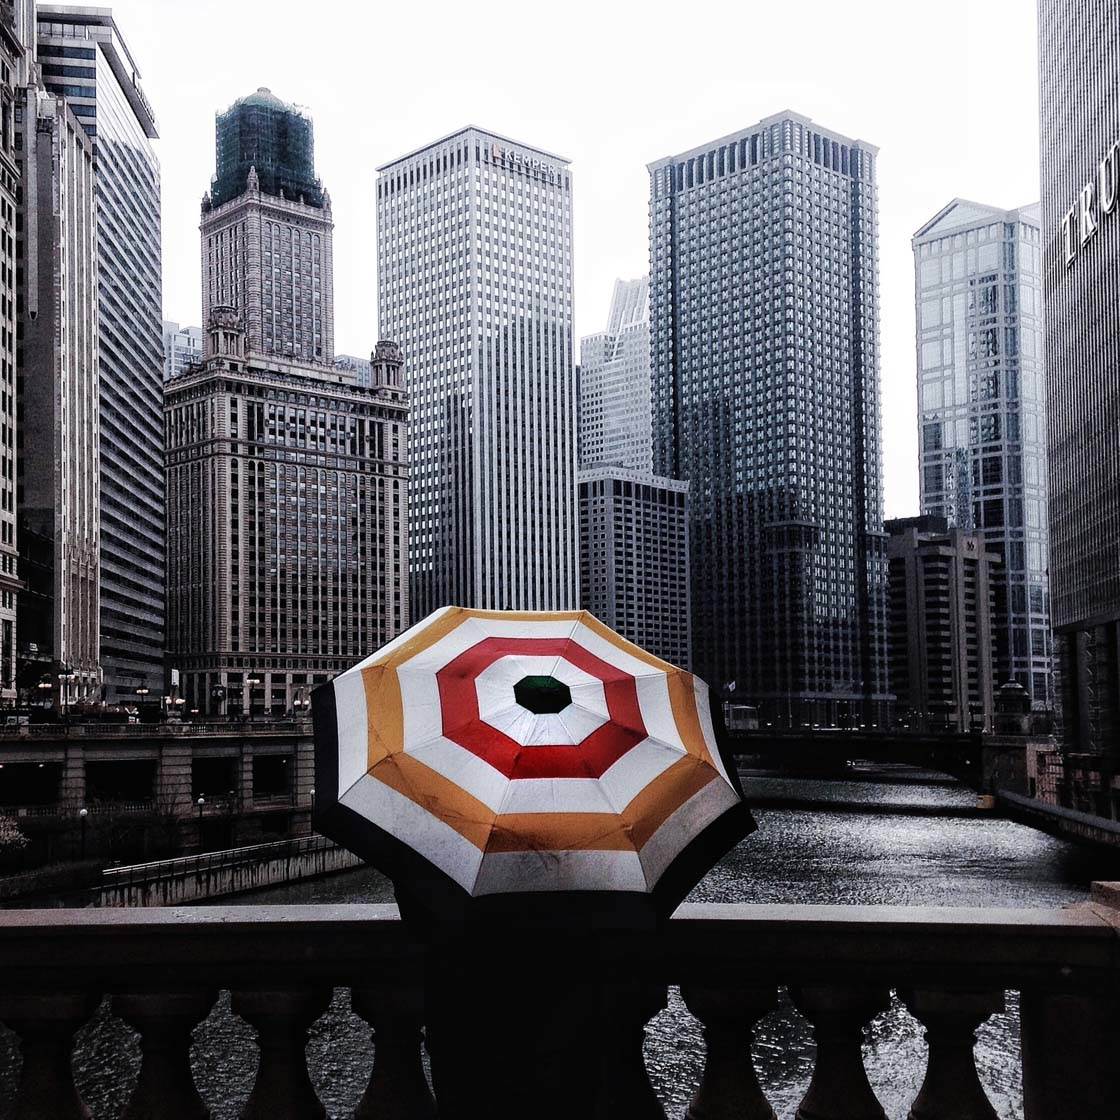
For one thing, rainy days result in a great prop: umbrellas! Umbrellas add a lovely splash of color to your images.
Water droplets, reflections, and textures on wet roads are also great additions to your images.
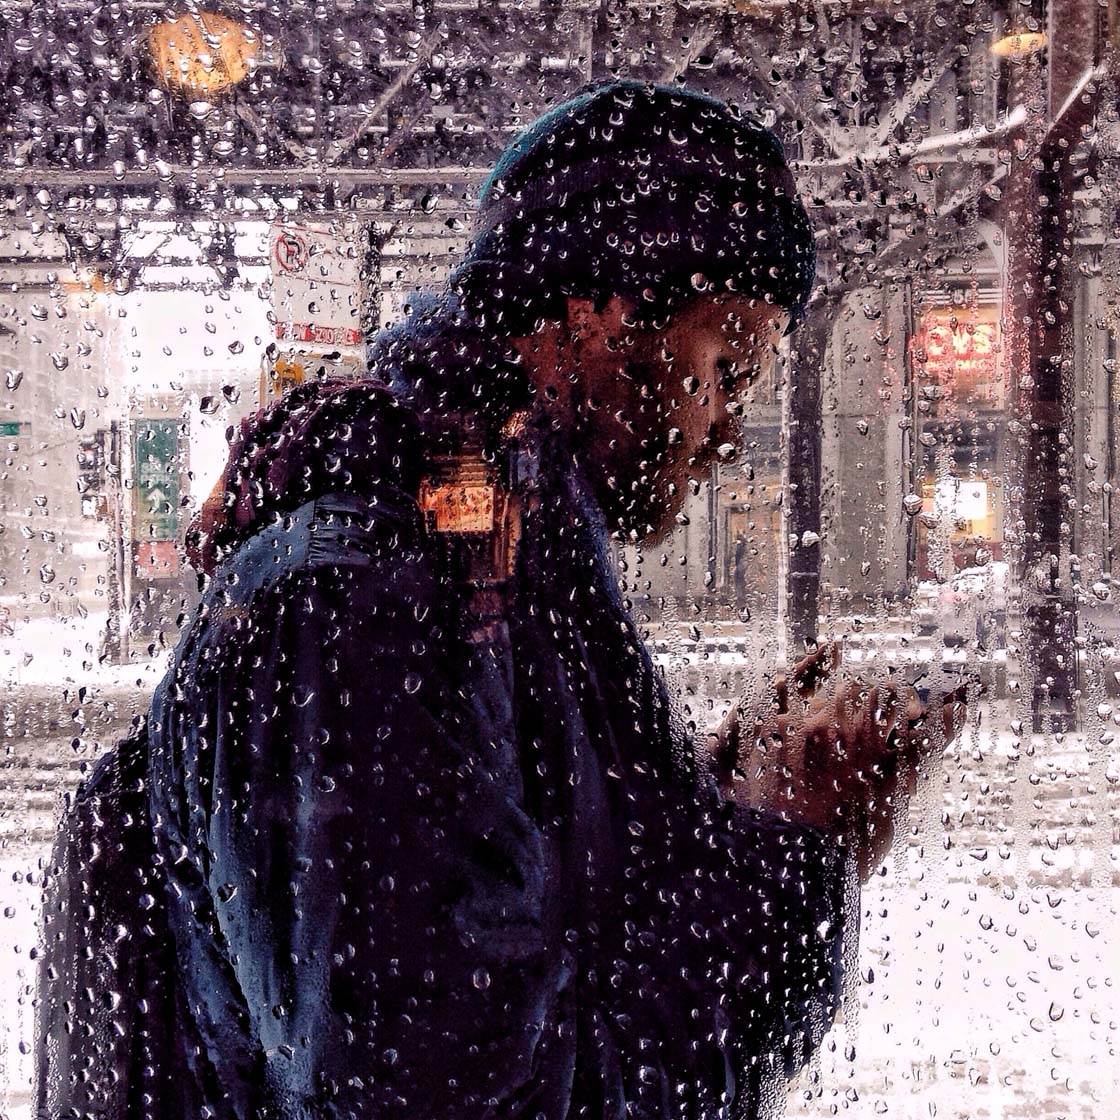
One of my favorite techniques is to take advantage of little water droplet formations on windows. You can find these at bus stops or coffee shops on a rainy day. Shooting strangers through the droplets can lead to incredible abstract street photos.
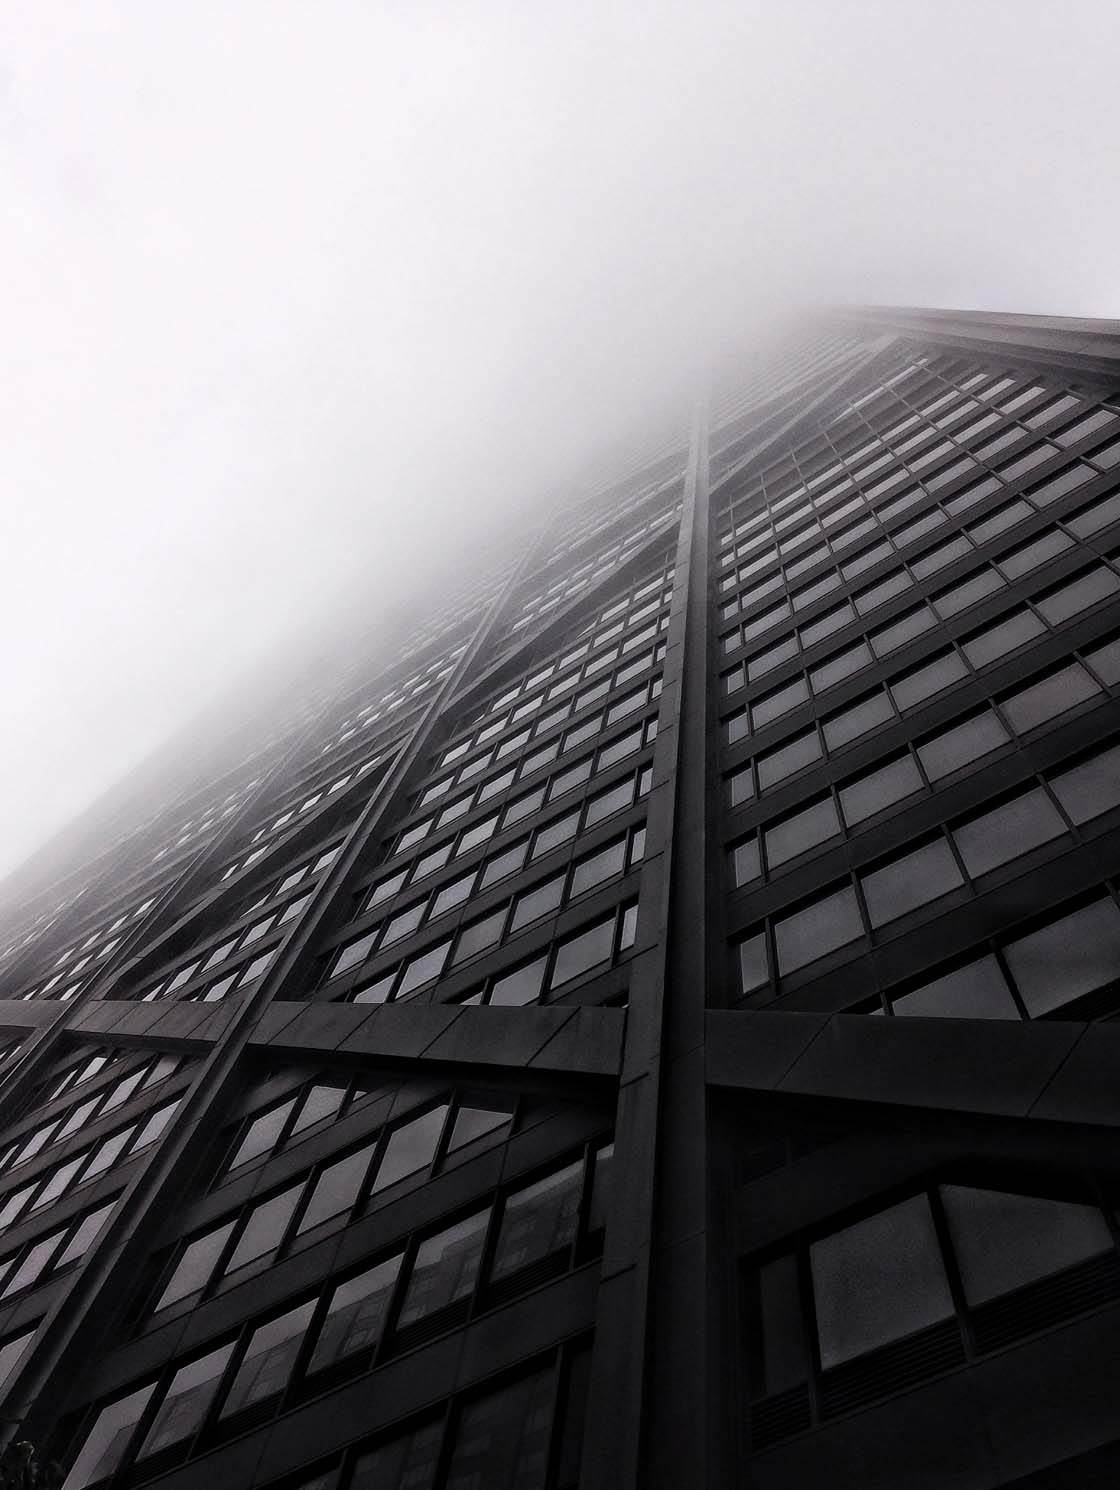
Fog is great for isolating your subject. It provides a simple, white backdrop for your photos. Plus, you can create powerful images by photographing tall buildings that disappear into the fog.
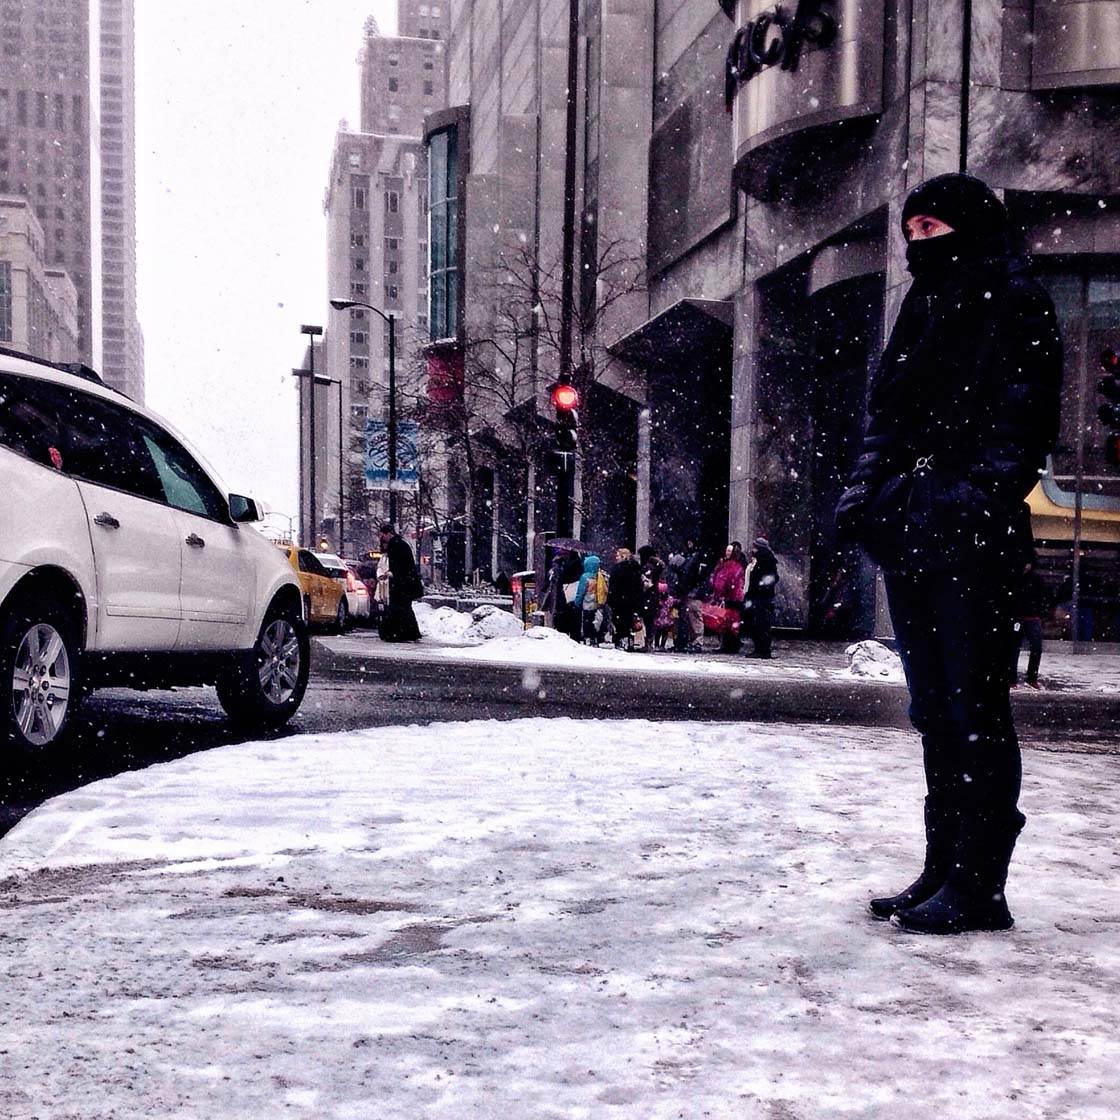
Finally, snow creates a beautiful environment for street photography. Snow adds a lovely sense of atmosphere to the scene.
So wrap up warm and venture out into the city in bad weather. I guarantee you’ll find some great street scenes to capture with your iPhone!


http://youtu.be/_05ryiixg6g
12 minute YouTube documentary on how to shoot street photography from none other than the most iconic expert in this field, Richard Koci Hernandez.
http://issuu.com/marielaigneau/docs/creating_impact_by_marie_laigneau
Small ebook regarding street photography. With charts & properly in depth explanations with illustrations. Must read. Highly recommend for all those who are genuinely wants to seriously approach their style of street photography with iPhone or any camera for that matter.
Thanks so much…very informative!
Great article! Beautiful pics! Thank you..
Really glad you like it, thanks so much.
Very interesting tips, excellent shots.
thanks
Thanks so much!
Great tips Kwe! Thank you!
You’re welcome, Rose.
always great info
Great photos.
Very much appreciated.
Great tips and execution!I didn’t know anything about the burst mode.Thank you!
Definitely useful, you’re very welcome!
Thank you for this great tutorial filled with useful tips!
You are most welcome, Daniel.
Great ideas! Will try some more of these out soon. 😉
Best of luck, excited to hear how they turn out!
Good overall advice but in my view? The best street photographers manage to capture images that tell a story and evoke emotion – the photos in this gallery are interesting but don’t really tell a story or create emotion – it is incredibly difficult to do – you might run a part two to this feature and run images from iconic street photographers like Garry Wiinogrand or Vivian Maier.
Hold up, so I should use the flash in daylight to capture the snowflakes? Can someone explain this more clearly to me? Would this work for rain too? Thanks in advance.
good tips, also you can join “iphone 365 photo project” group on facebook
to take and post daily posts, the membes are friendly and will leave feedbacks on your phots, so you also can comment on other posts
Great tips! Can I share your post in my blogs?
Glad you found them useful! Yes, of course you can share a link to this post in your blog 🙂
Thanks a lot!
Thanks a lot!
Thank you *hugs* love the tips to the bone
Thanks for sharing
Great tips…especially about (1) lighting and (2) inclement weather. I got some great shots during a sudden windy rainstorm on the Brooklyn Bridge! Most people don’t see creative picture opportunities…they simply take snapshots.
Glad you found this article useful 🙂 Photography is definitely all about learning to see great photo opportunities, rather than just pressing the shutter button isn’t it?!
Downloaded the book. It’s well worth the money lots to read picture to study. But, disappointed I can’t read it off line. Any ideas enyone. ??
Can you please have a look at these and recommend me some tips!
Hello Asif
I really like the golden tones. I took the top photo and did a bit of fine tuning.
With Retouch I removed the people along the left side. It wasn’t a very good edit job since I’m new to that app but you get the idea.
I hope you like it.
I downloaded ProCamera mention in the Lynda video below and could not lock the focus and exposure and then use my finger or any thing else in the app to modify the exposure in the rest of the frame. Am I doing somethings wrong or is this lock and change feature gone from the current version.
Thank you for this intriguing tutorial on street photography. The images are especially instructive and, maybe more important, inspiring.