One of the greatest challenges in photography is to create a dynamic and engaging photo that draws the viewer in. So how can you bring your photos to life and make them more appealing? Use texture! In this tutorial you’ll discover how to use texture to capture the true essence of your subject, making the viewer want to reach out and interact with your stunning iPhone photos.
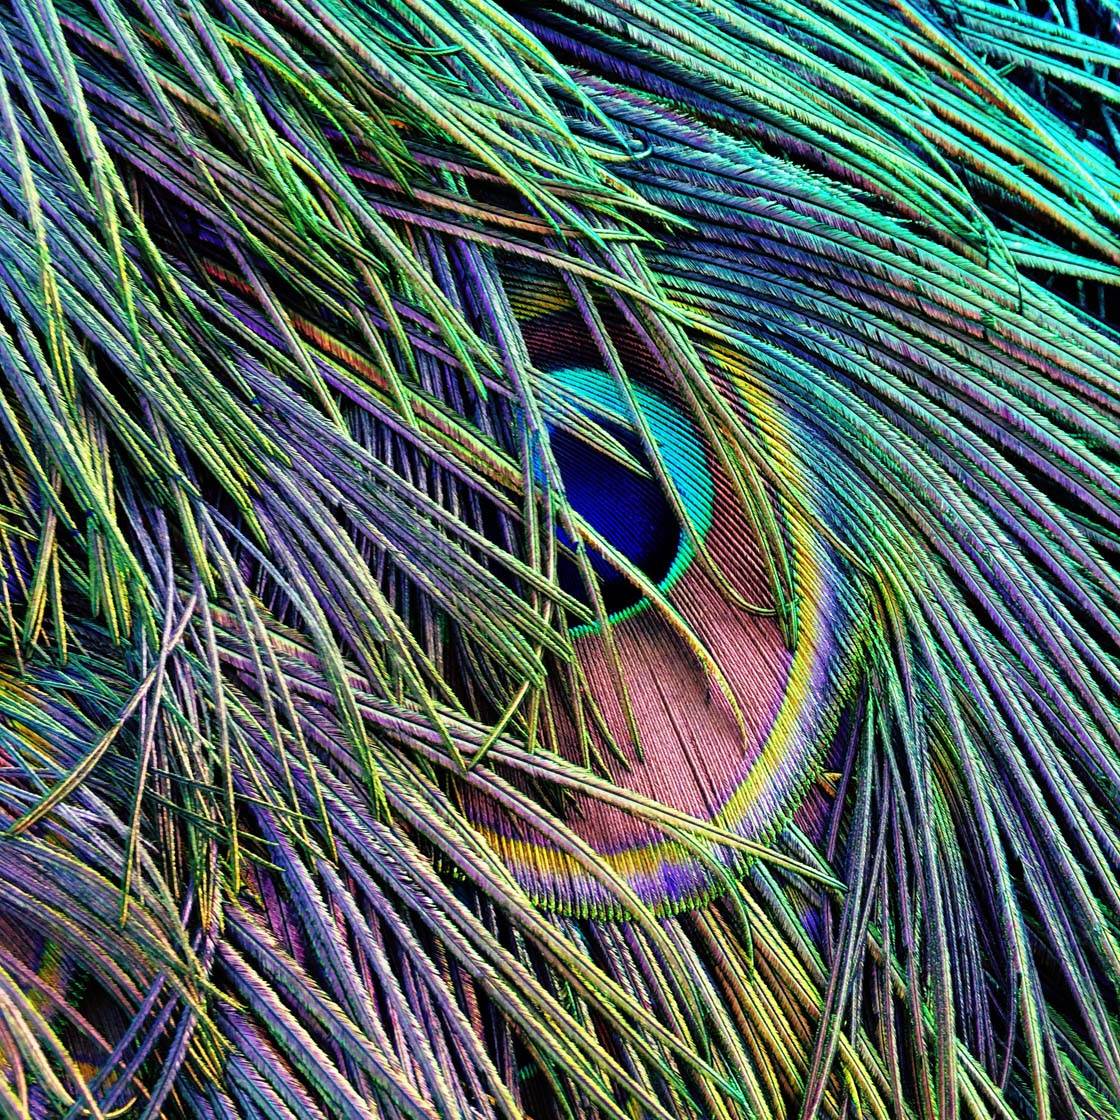
The problem with photography is that we’re capturing a three-dimensional subject in a two-dimensional format (as prints or on a computer screen). This often leaves the image looking rather flat and lifeless.
The subject’s amazing shape, form and texture that you saw with your own eyes often looks dull and boring when you capture it in a photograph. So how can you make your photos feel less flat and more tactile?
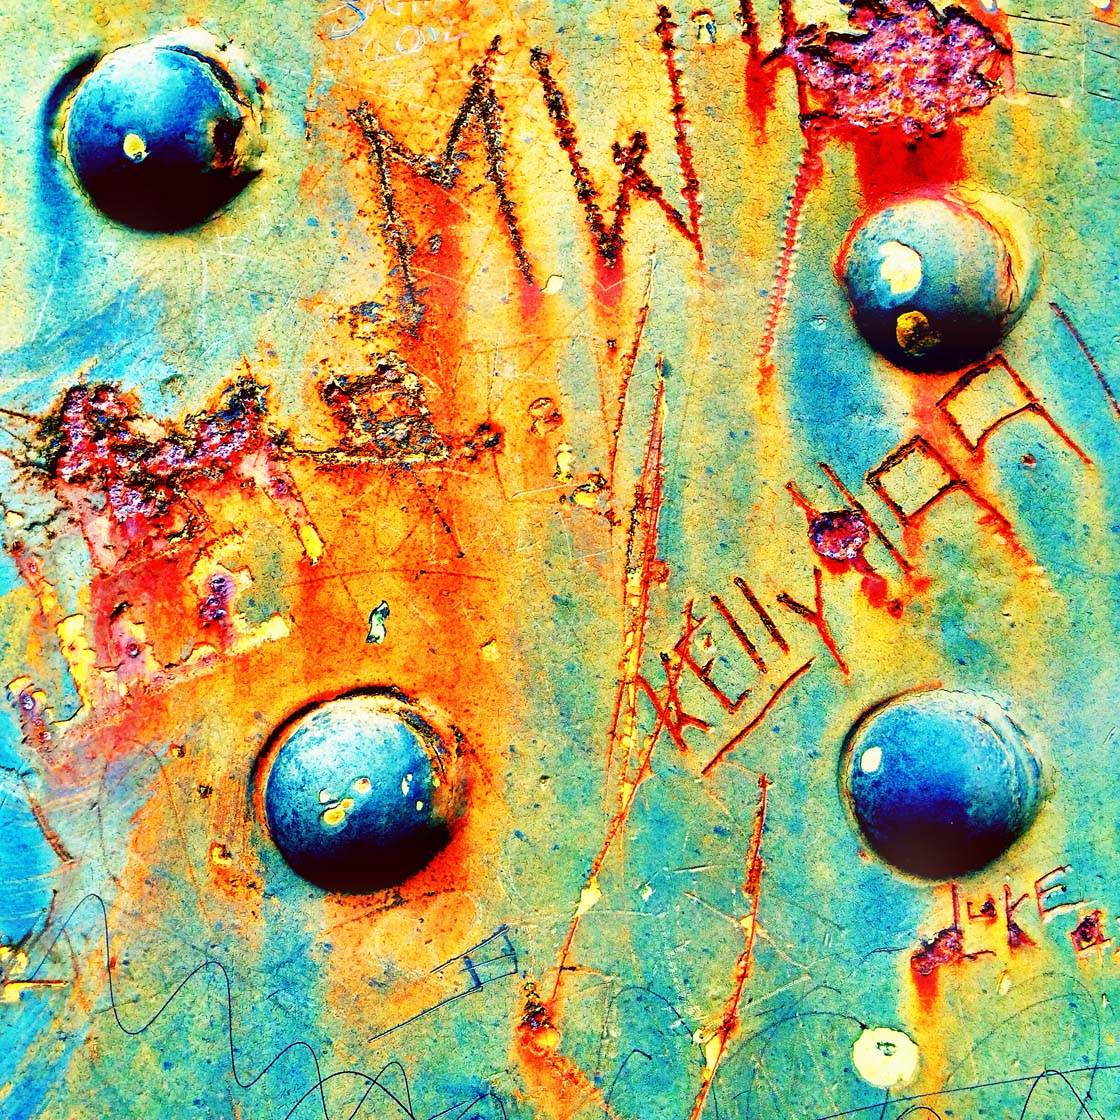
Including texture in your images is a great way of achieving this. Texture has the power to evoke the sensation of touch, and if captured correctly your photo will pull the viewer in, making them want to reach out and run their fingers over the texture in your photo.

In this tutorial you’ll learn how to train your eye to notice interesting textures, and then capture them in a way that makes the most of the tactile nature of your subject. You’ll even discover how you can add texture afterwards in post-processing.
Once you’ve explored the techniques in this article, you’ll find it much easier to convey the sensation of texture in your iPhone photos. So let’s get started!
1. Train Your Eye To Notice Textures
As humans we naturally react to different textures whenever we touch them. For example, our reactions and emotions vary depending on whether we touch something smooth, rough, silky, ridged, soft, hard, slimy, fluffy, etc.

Learning to notice textures with our eyes (before we’ve touched them) takes some practice. But it’s definitely worth investing some time in this as it’s an essential skill to develop as a photographer.
A good learning technique is to close your eyes and feel an object so that you only experience it through the sensation of touch. Describe the experience to yourself and think about how you feel when you touch objects with different textures.

Your reaction to touching rusty metal will be very different to touching a silky feather. Feeling the delicate texture of a leaf will evoke a different reaction to touching the rough bark of a tree.
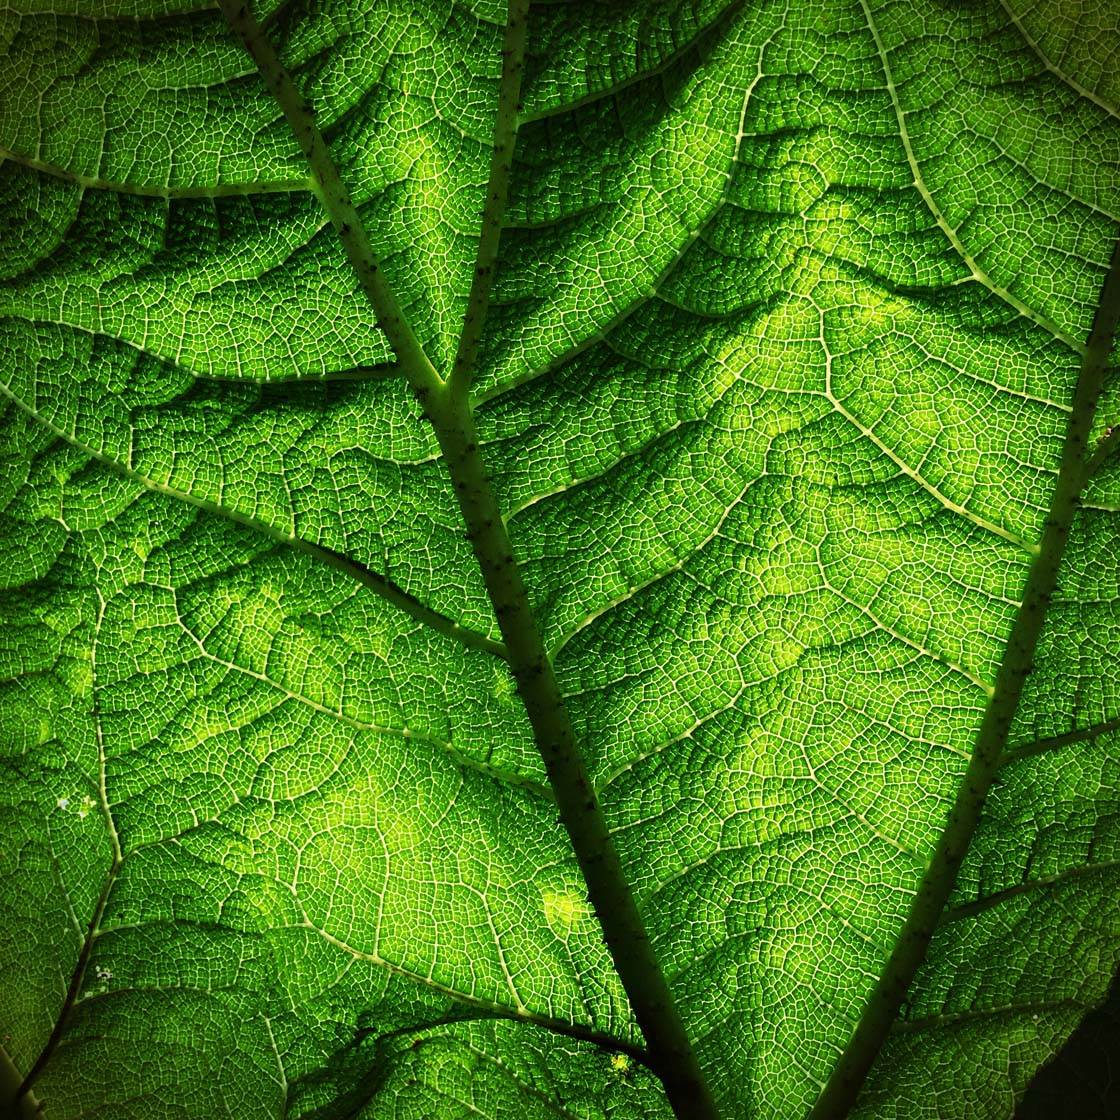
Practice doing this with as many different textures as you can. Once you’ve developed this skill, you’ll soon start to notice different textures all around you.
You might notice texture in the gnarled bark of a tree, course fabric, tangled sheep’s wool, peeling paint, rough stone, smooth marbled surfaces, weathered skin, worn leather, a rusty nail, a silky feather, soft animal fur, or thick ice on a car’s windshield as shown below.
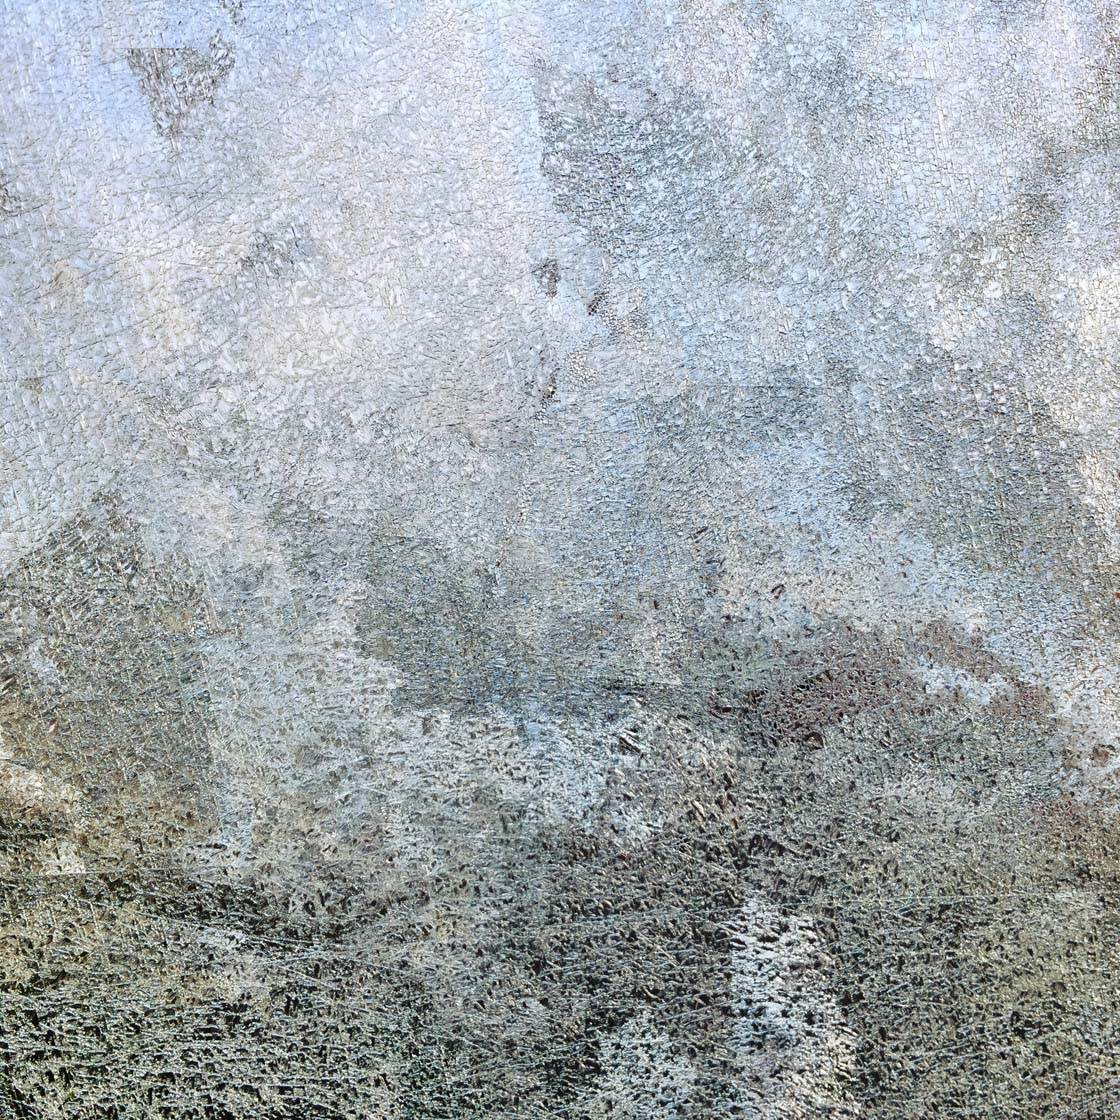
Try photographing different textures and then comparing the results in terms of visual impact and the emotions they evoke. The idea is to create an engaging image that makes the viewer want to reach out and feel the texture of the subject.
2. Reveal The Texture’s Detail
When you spot an interesting texture that you’d like to photograph, it’s important to shoot it from a distance that best captures the essence and character of that surface. There’s no point photographing a texture if your image doesn’t reveal its detail.
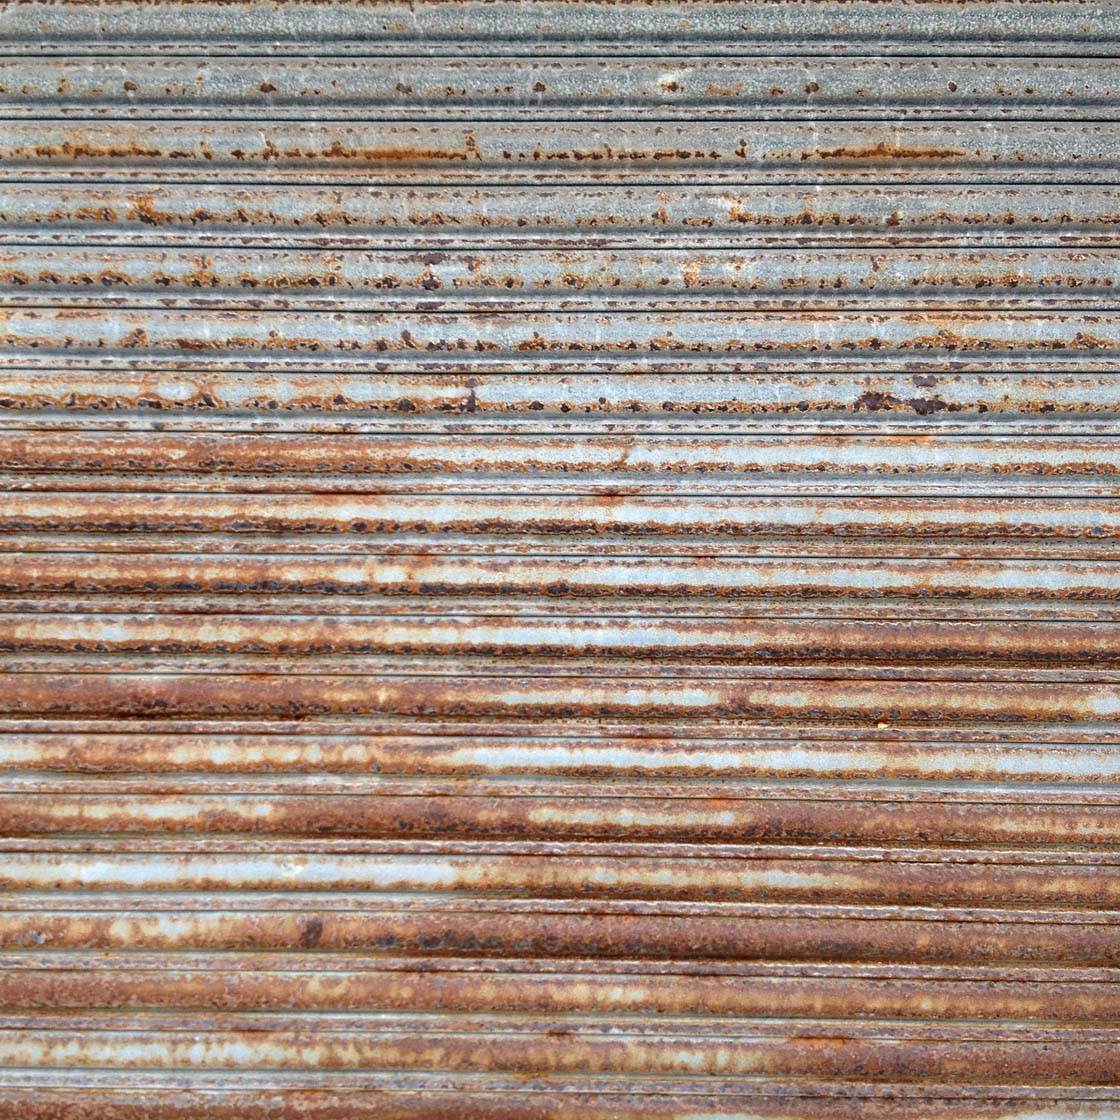
The metal shutters above didn’t look particularly impressive from a distance. But getting up close resulted in an image with some great texture as you can see below.
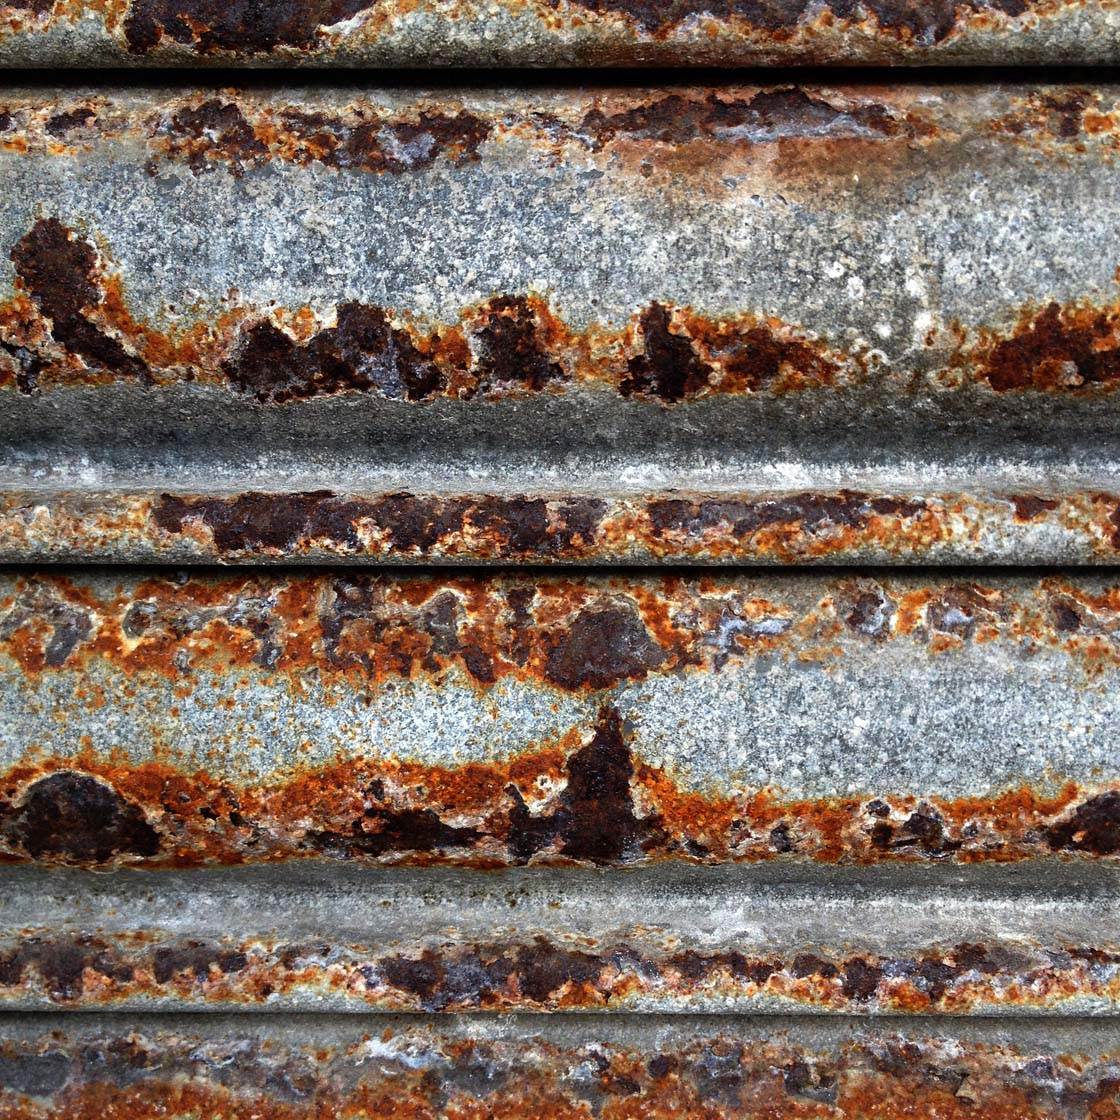
In many cases, shooting at a close distance will have the most impact. This is especially true if the detail of the texture is small.
Get as close as you can while still maintaining focus, and keep the iPhone nice and steady while you take the shot to ensure maximum sharpness. Fill the entire frame with the texture to make it clear that the texture is the subject of the photo.
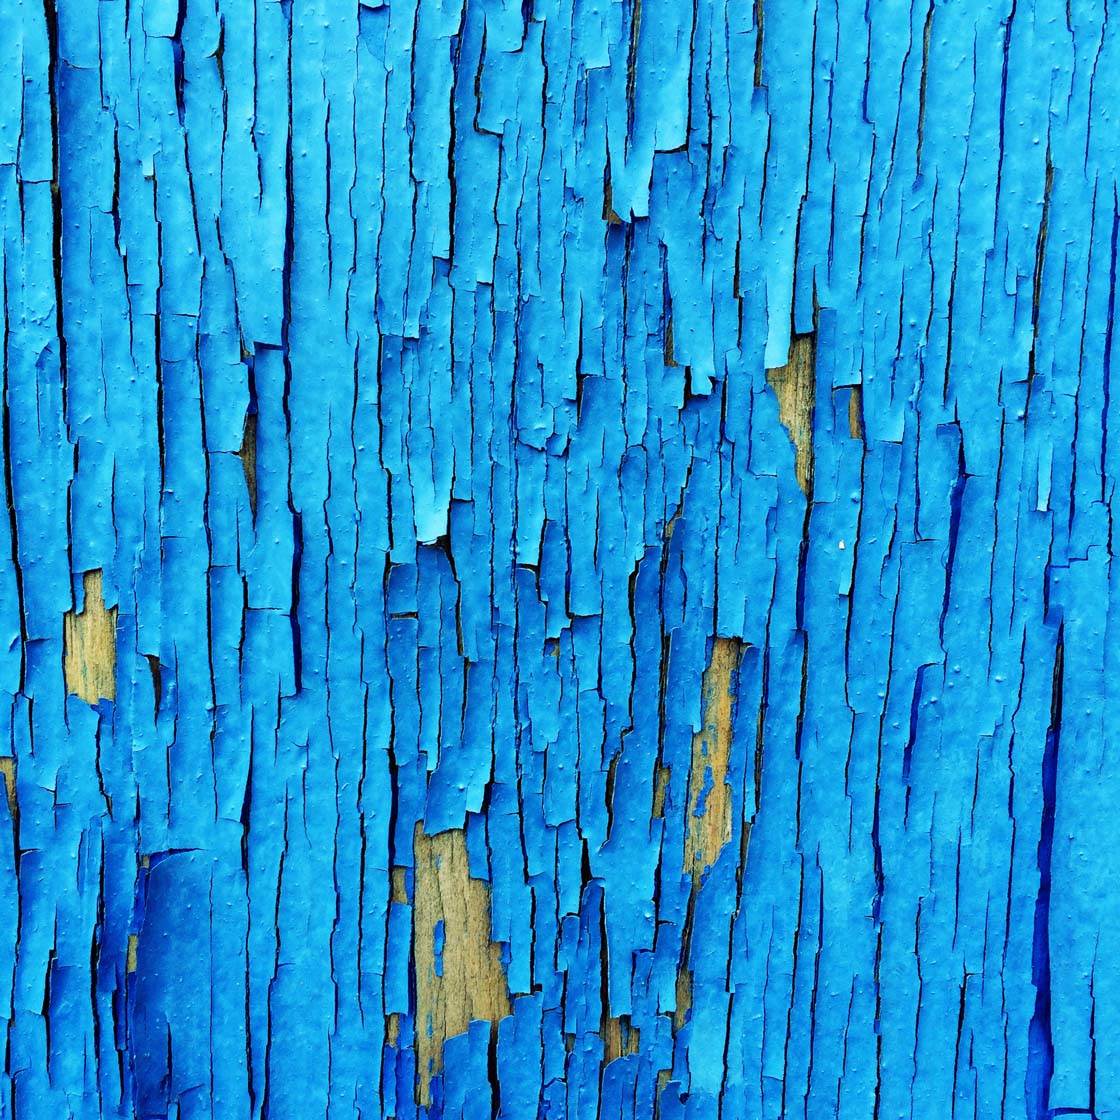
If you have a macro lens, you’ll be able to capture incredible close-up detail of intricate textures. When shooting extreme close-ups the depth of field will be very shallow, resulting in only a small part of the subject being in focus.
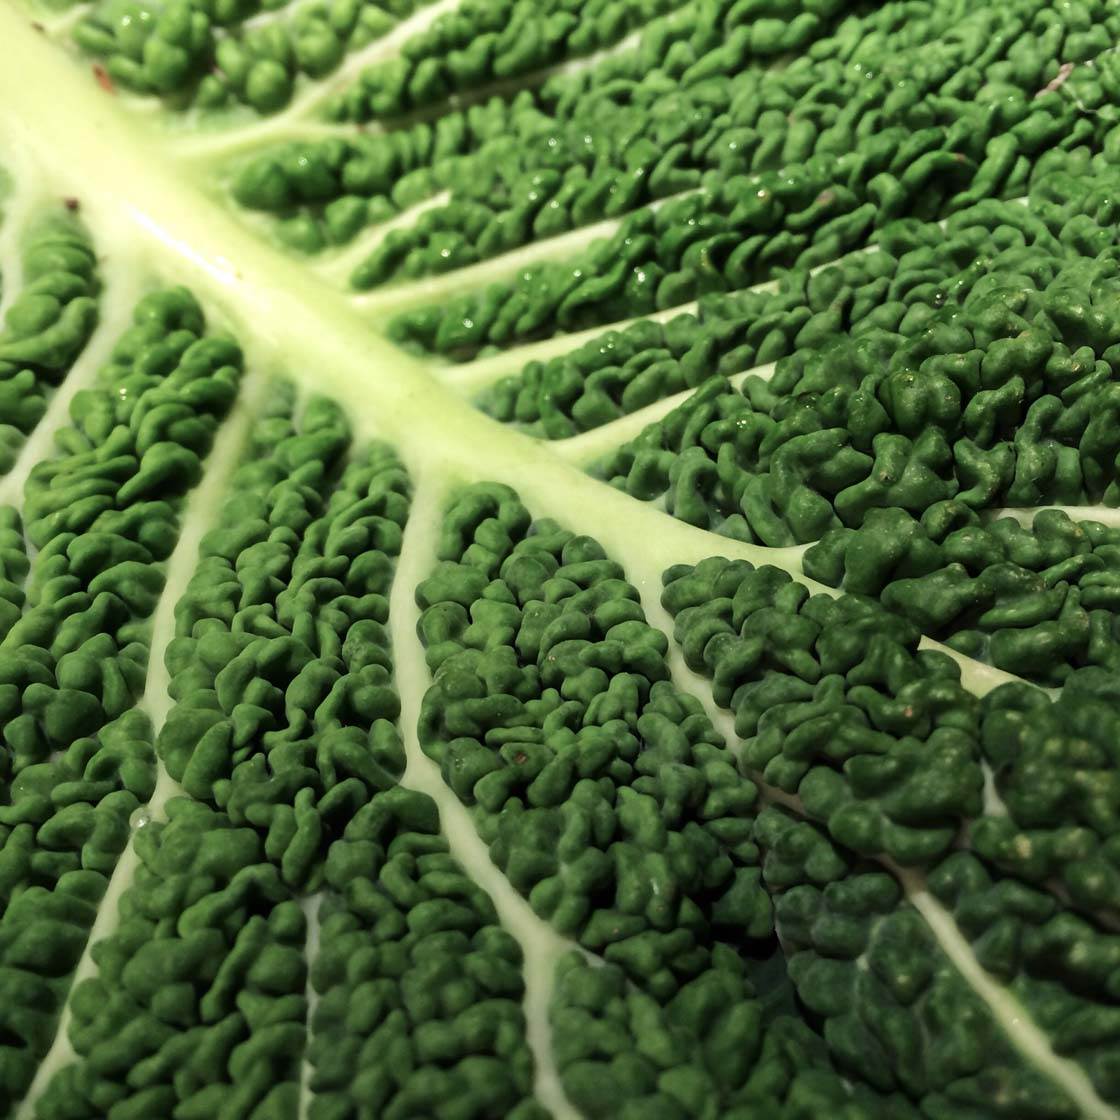
With close-up photography it’s important to tap on the screen to set focus on the exact area you want perfectly sharp. An iPhone tripod can also help in these situations as it’s very easy to end up with camera shake if you make just a slight movement.
While shooting textures from a close distance is often the best option, there are some situations when shooting from a distance might better convey the texture in a scene.
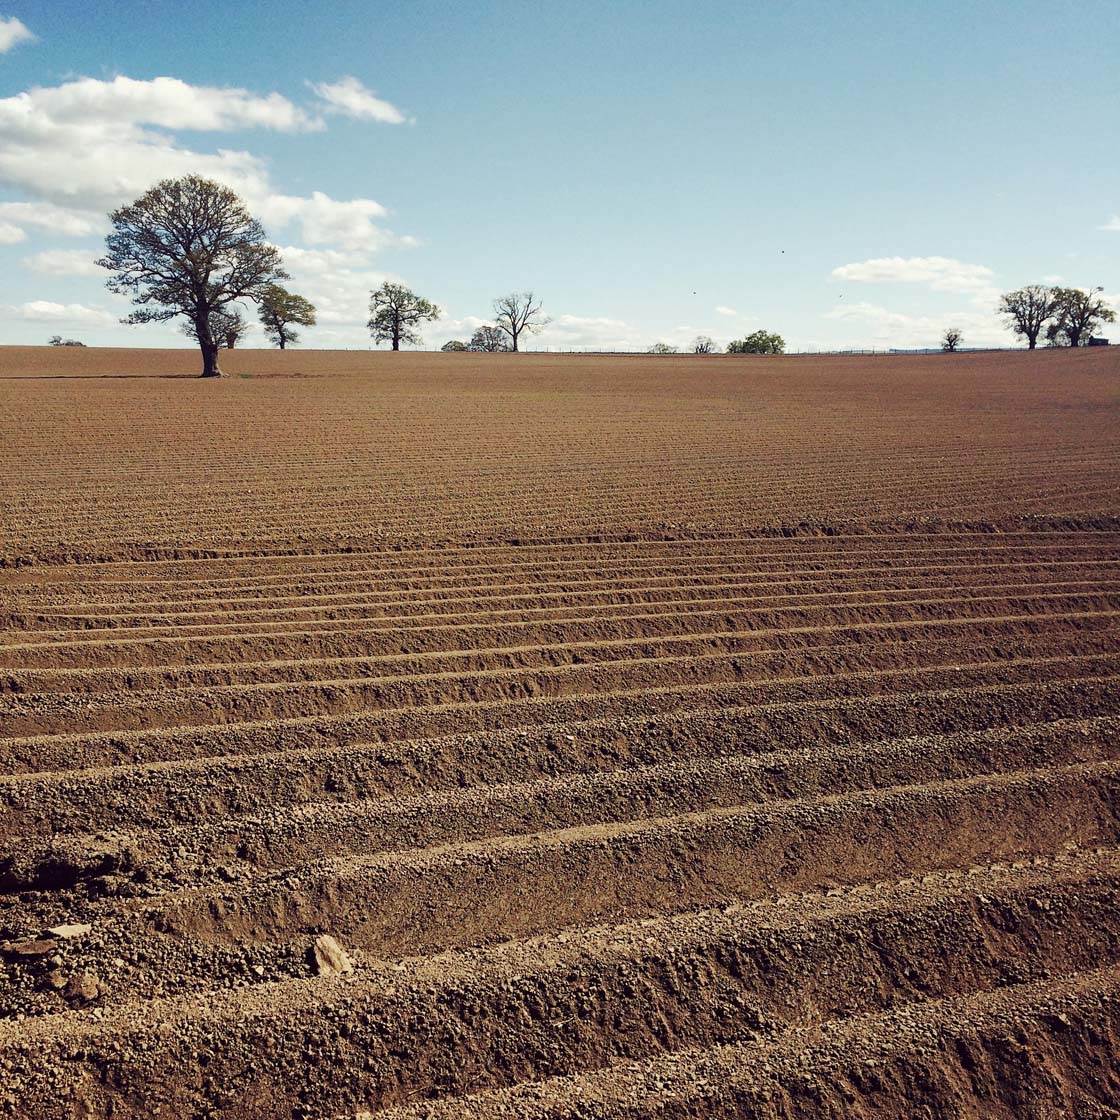
For example, the mesmerizing texture of a cornfield, sand ripples on a beach, or a freshly plowed field might be better shot from further back.
Each texture is unique, so always experiment with shooting from different distances and angles until you capture it at its best.
3. Use Light To Enhance The Texture
The type of light you shoot in is crucial for capturing the intricate detail of your chosen texture. It’s important to choose lighting conditions that will complement the texture that you’re trying to convey through your photography.
The strength and direction of the light both play a big part in how the textured surface will be captured by your iPhone’s camera.
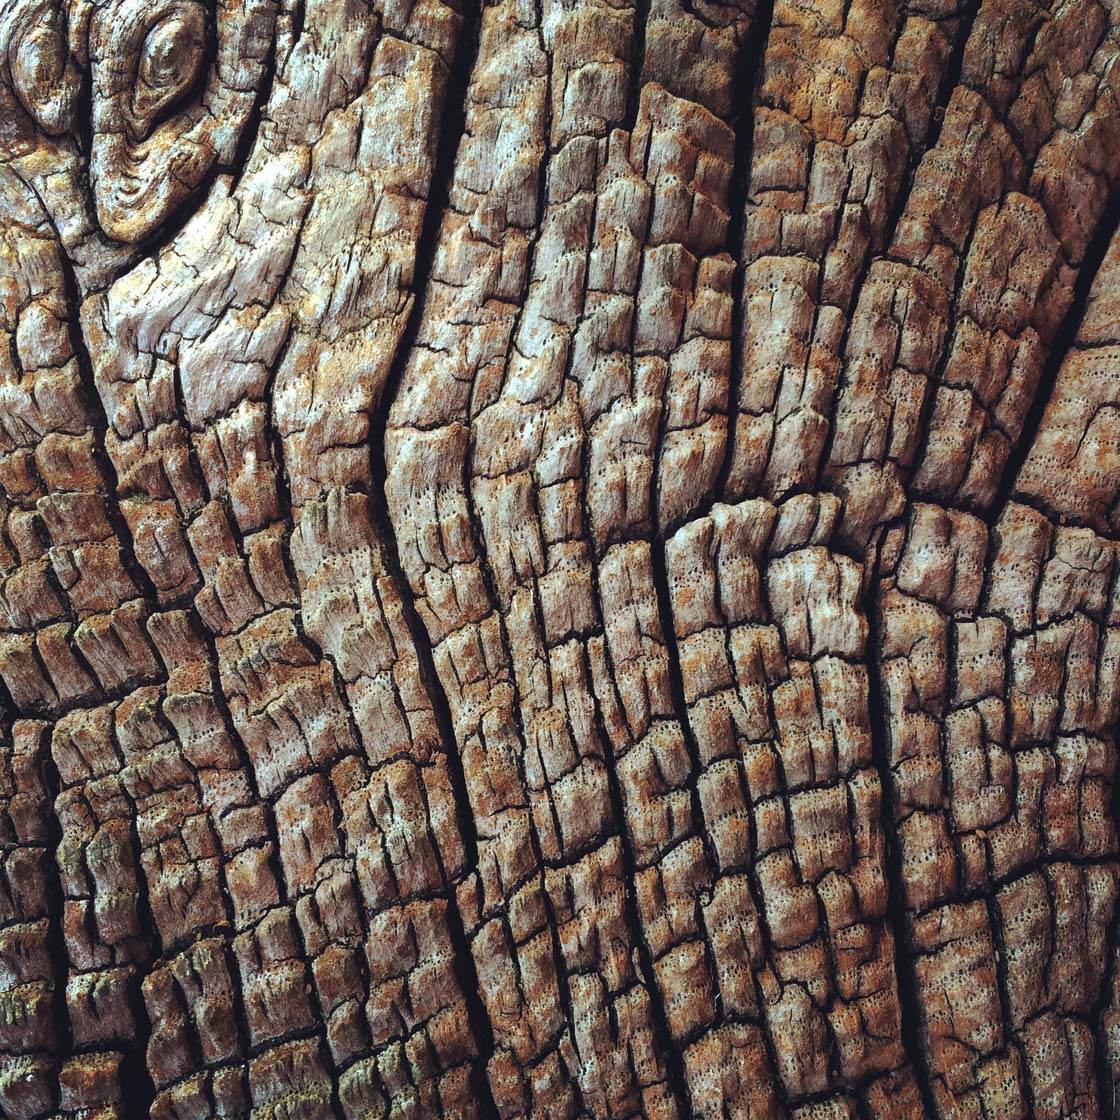
If you’re shooting rough surfaces, or objects with hard or jagged edges, it’s usually best to shoot in strong, hard light. Aim to have direct light hitting the subject from one side rather than straight on.
This will cause shadows to appear on one side of the raised surface, helping to reveal depth in the texture and making it appear more tactile and three-dimensional.
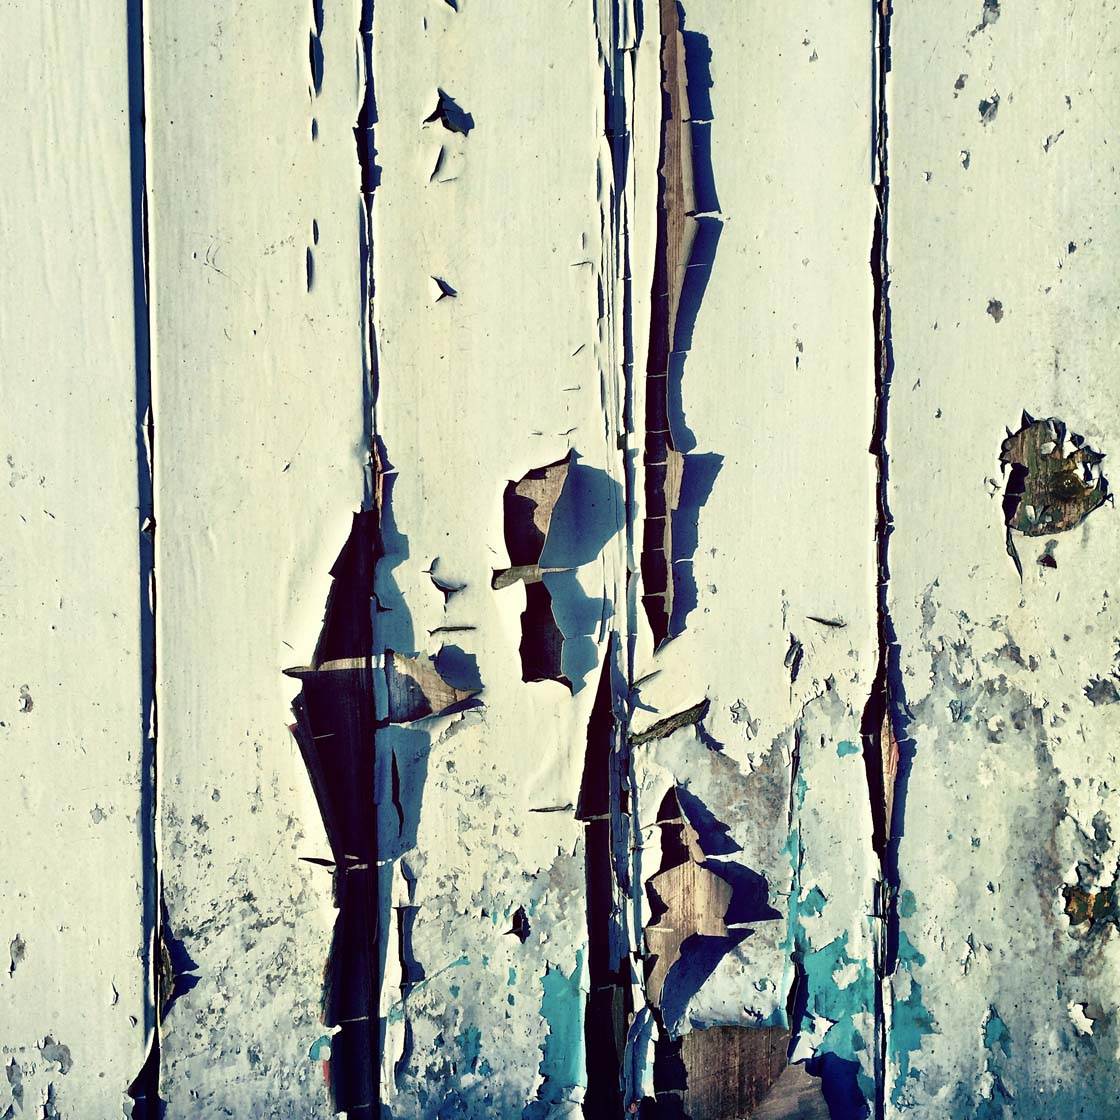
The peeling paint above was shot in harsh, direct light when the sun was low in the sky. The hard shadows have lifted the texture to the extent that it feels as if it’s popping out of the photo towards you.
By contrast, if you’re shooting soft textures it’s usually better to shoot in more subtle and diffused light. A fluffy feather shot in hard, overhead sunlight is going to lose its fluffiness and the sensation of its delicate texture will be lost.
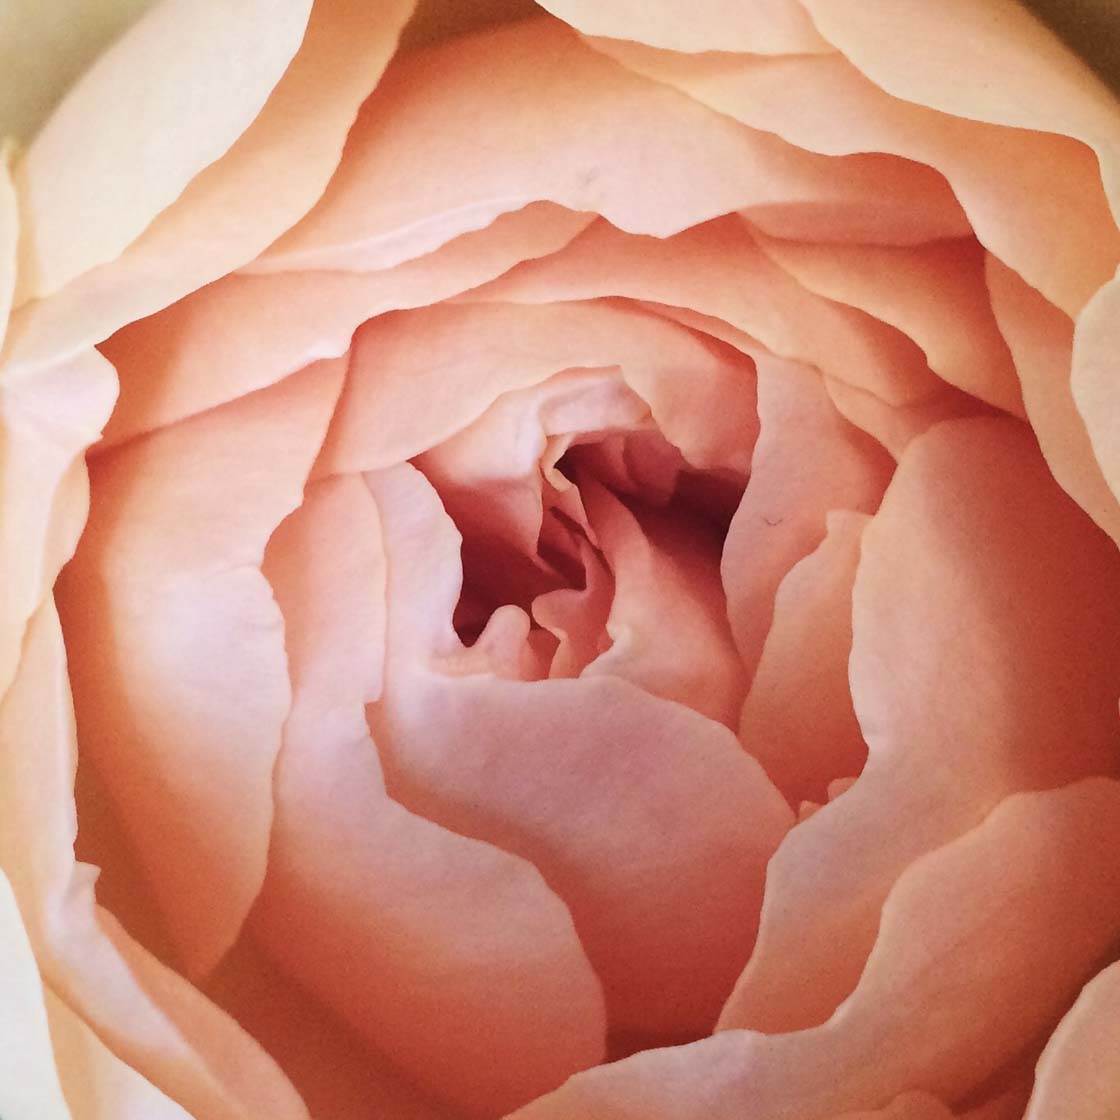
When photographing delicate textures such as flowers, try to find non-directional, softer light to illuminate your subject. A cloudy day is perfect, or if the sun is shining brightly try to find some shade.
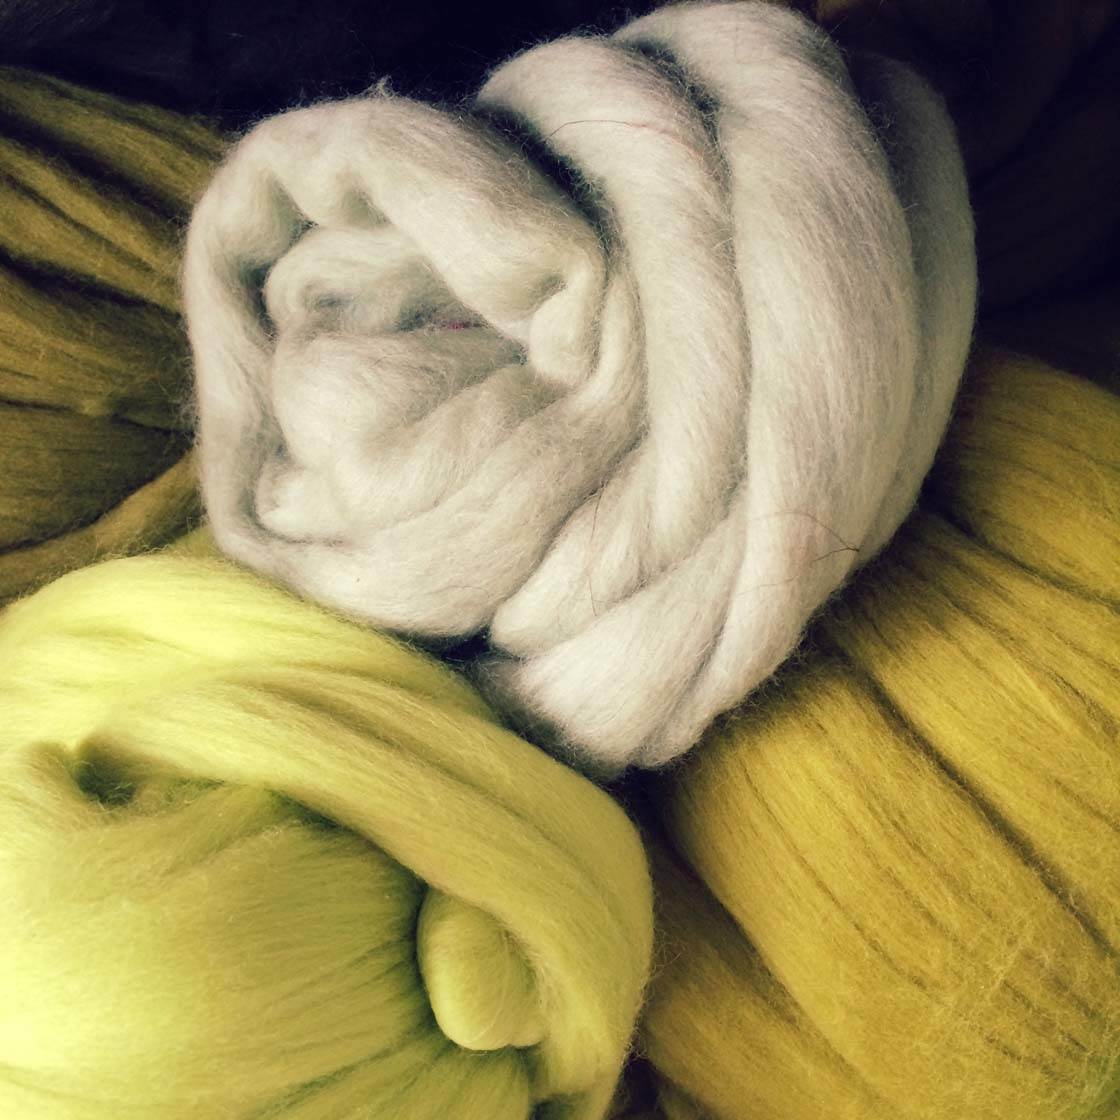
If you’re shooting indoors, placing your soft-textured subject near a window but out of direct sunlight will work well. If bright sunlight is streaming through the window, diffuse the light with a white curtain, blind or sheet.

If you want to emphasize smooth and shiny textures, direct light can work well. The light will reflect off the surface of the subject, helping to convey a sense of smoothness.

4. Include A Contrasting Texture
If you find a subject or scene that contains two or more contrasting textures, capturing them together will create an interesting juxtaposition.
This technique creates an interaction between the different elements in your image that will keep the viewer’s attention for longer.
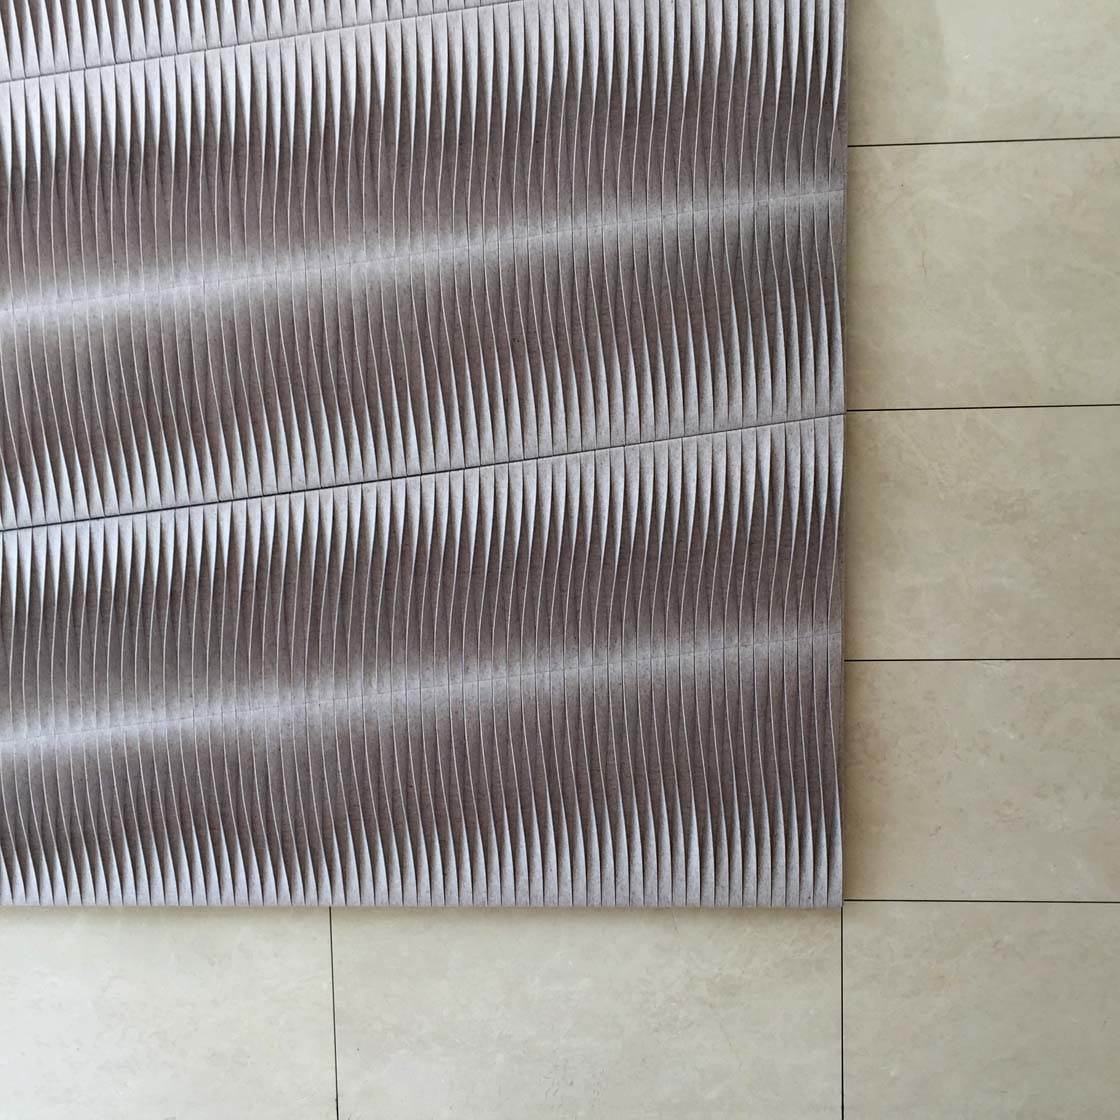
Contrasting a course texture against something smooth will accentuate both the coarseness and the smoothness of each element.

So rough, weathered hands will look even more weathered against a smooth, uncluttered background. Or in the example above, the shiny cup of tea looks even more glossy when placed on a distressed, rough wooden surface.
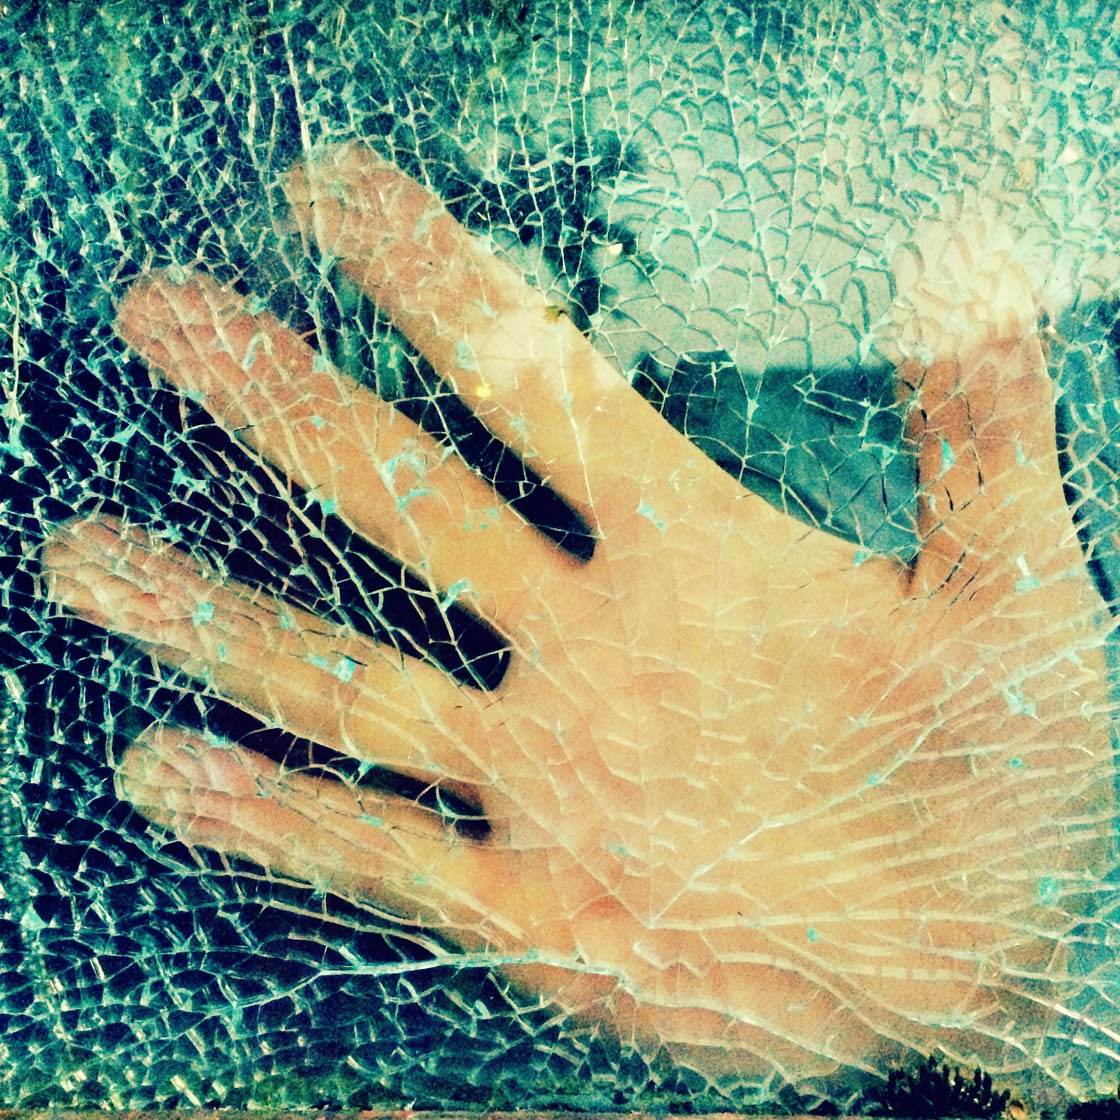
In the photo above, the sharpness and danger of the broken glass is heightened by the inclusion of the soft and delicate skin of a person’s hand.

The dry and vulnerable crispness of the leaves in the image above is in contrast to the unforgiving, immoveable hardness of the coarse concrete that it’s sandwiched by.
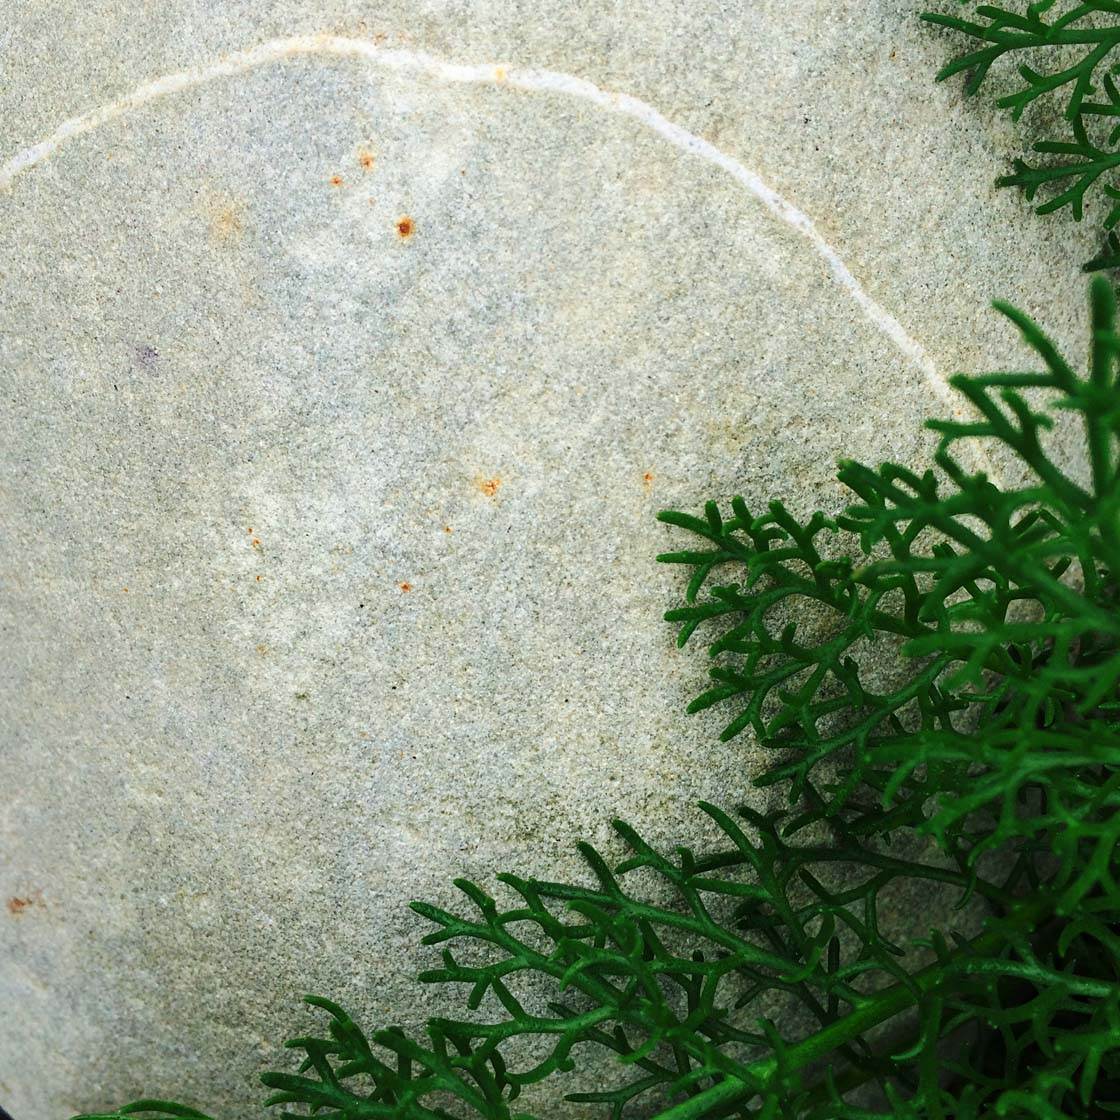
Whenever you’re searching for textures to photograph, try to notice other textures that surround the main subject. Then compose your shot to include two or more textures in a meaningful way.
5. Give Your Texture Some Context
While filling the entire frame with a texture often has a very strong visual impact, sometimes it can be helpful to give your texture some context using the wider surroundings. This can help you to tell a better story with your texture images.
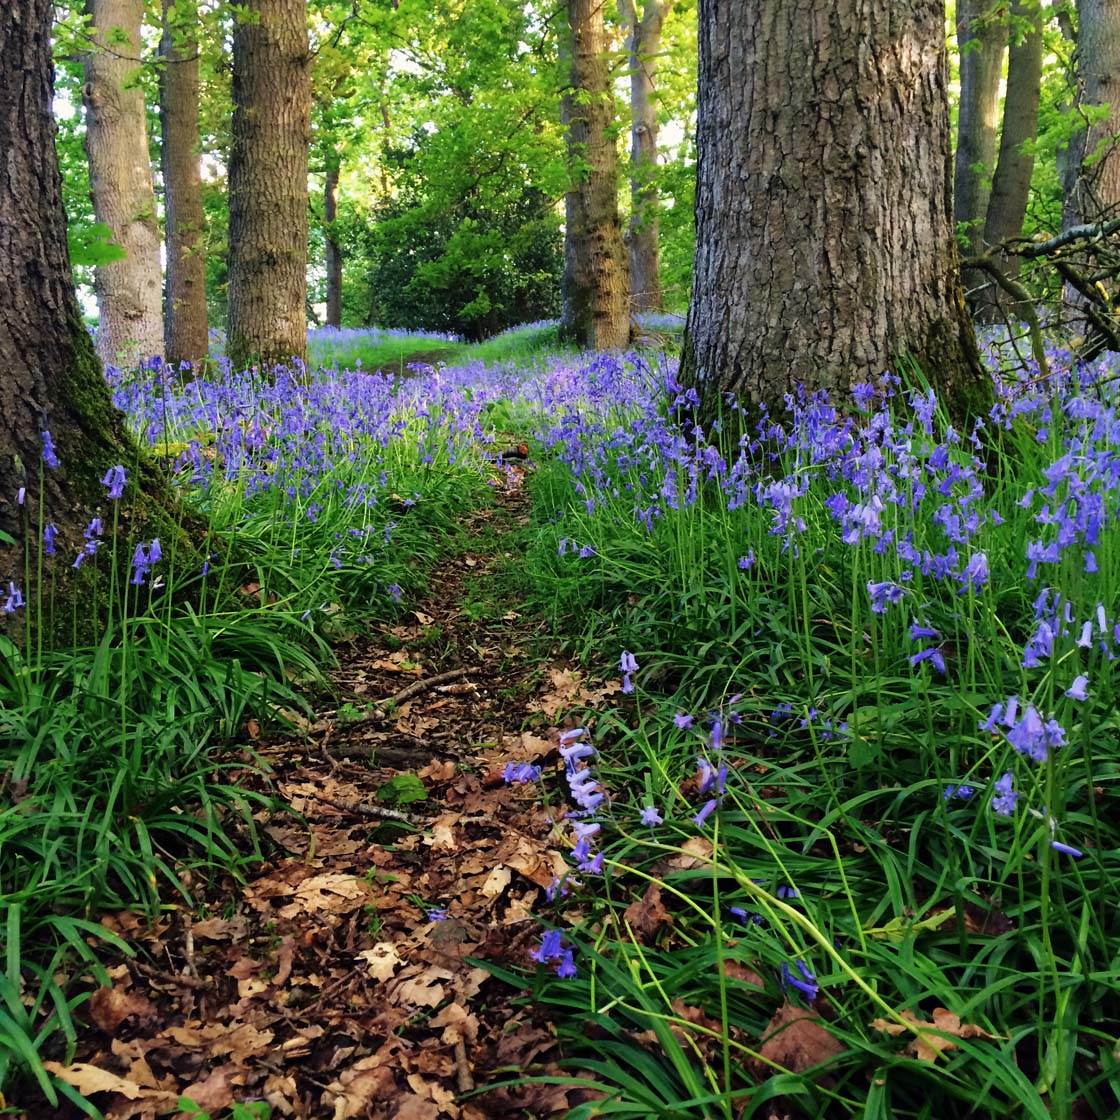
So if the texture you’ve chosen is some tree bark, then perhaps including some other flora or fauna (leaves, flowers, insects, etc.) will help to set the scene.

The peeling paint of a window frame might have more impact if we get a glimpse of what’s behind the window. Why is the paint peeling? Why has the house been neglected? This is all part of the storytelling role that photography can play.
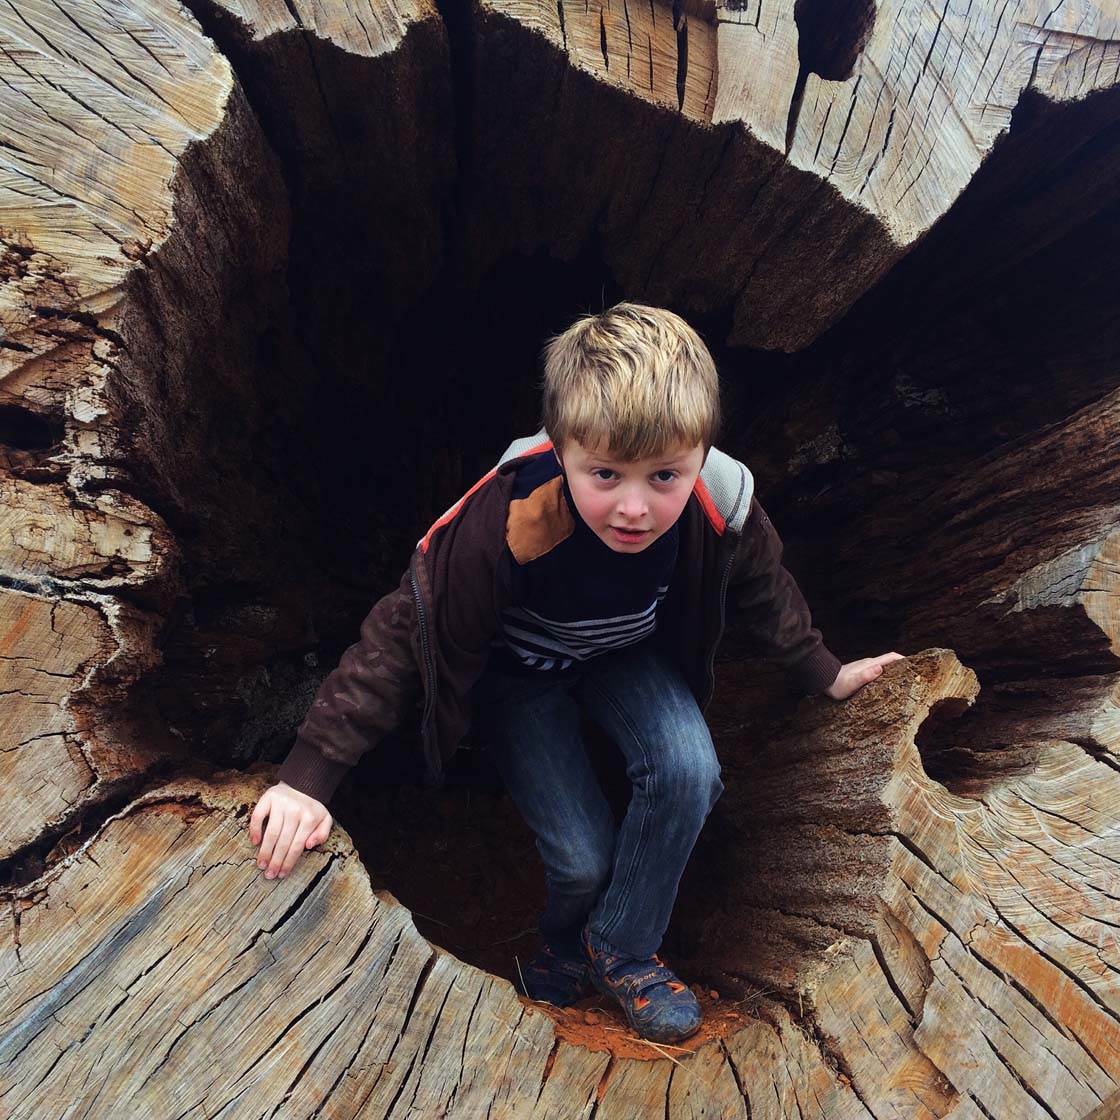
When I found this hollow tree I knew I wanted to photograph its amazing detailed texture. But on its own the photo didn’t have that much impact.
Capturing it with my nephew in the shot gives the photo a whole new meaning, and the texture creates a wonderful frame around him.
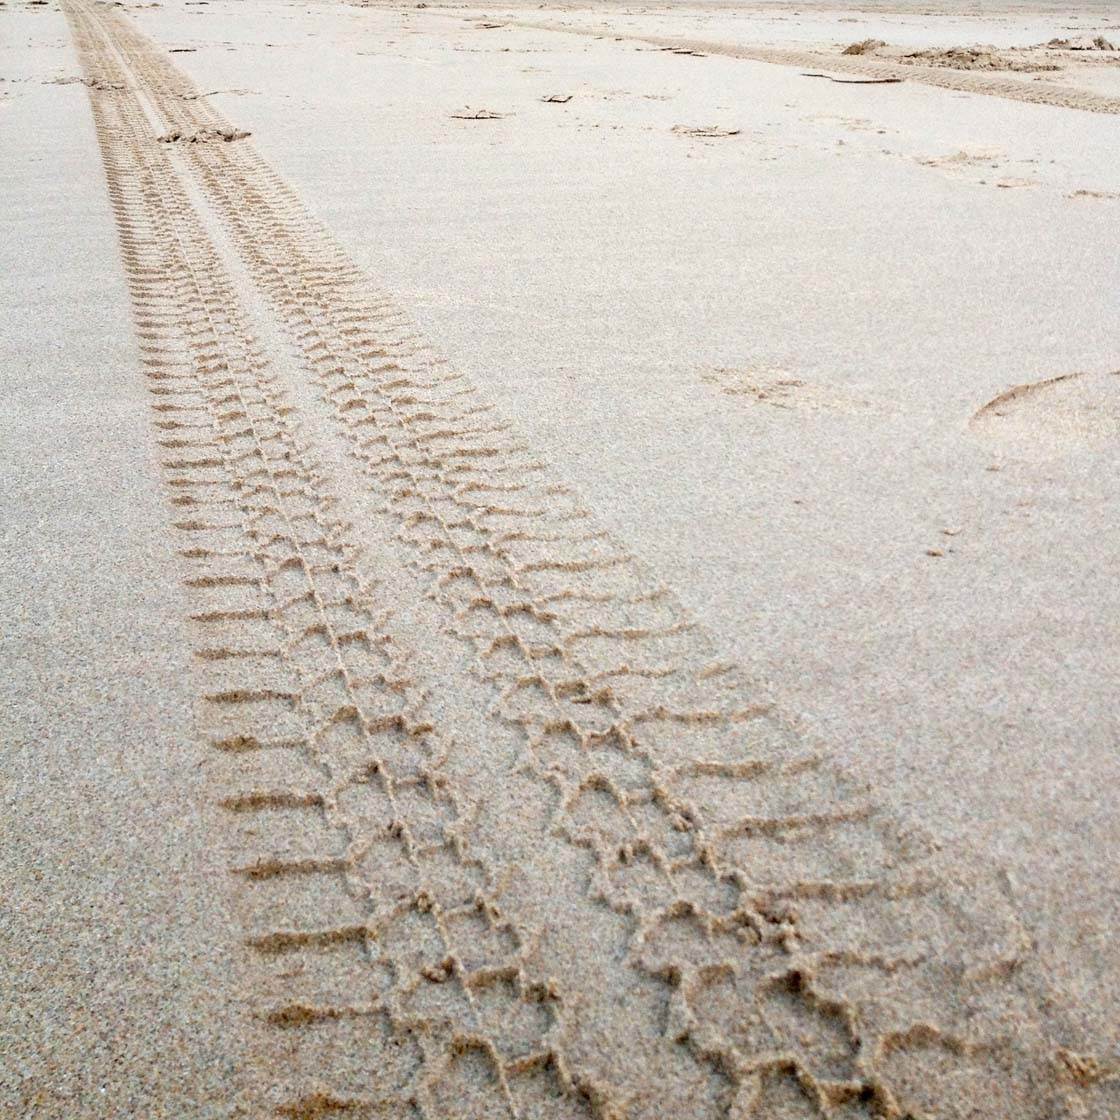
In the photo above I decided to use a tight square crop to fill the frame with the texture of tire tracks in the sand. But then I took a second photo in portrait orientation to capture the colorful buildings in the background.

I still have the texture of the tire tracks in the sand, but now these tracks are leading our eyes to a destination. This makes sense of the tracks, giving the image more meaning and context.
6. Use Apps To Add Texture
So far we’ve covered tips for photographing textured surfaces in a variety of ways. But there’s another way that you can create texture in your iPhone photos, and that’s by adding distressed textures using apps.
There are many apps that allow you to apply preset textures to your images, including Stackables, Mextures and Snapseed.
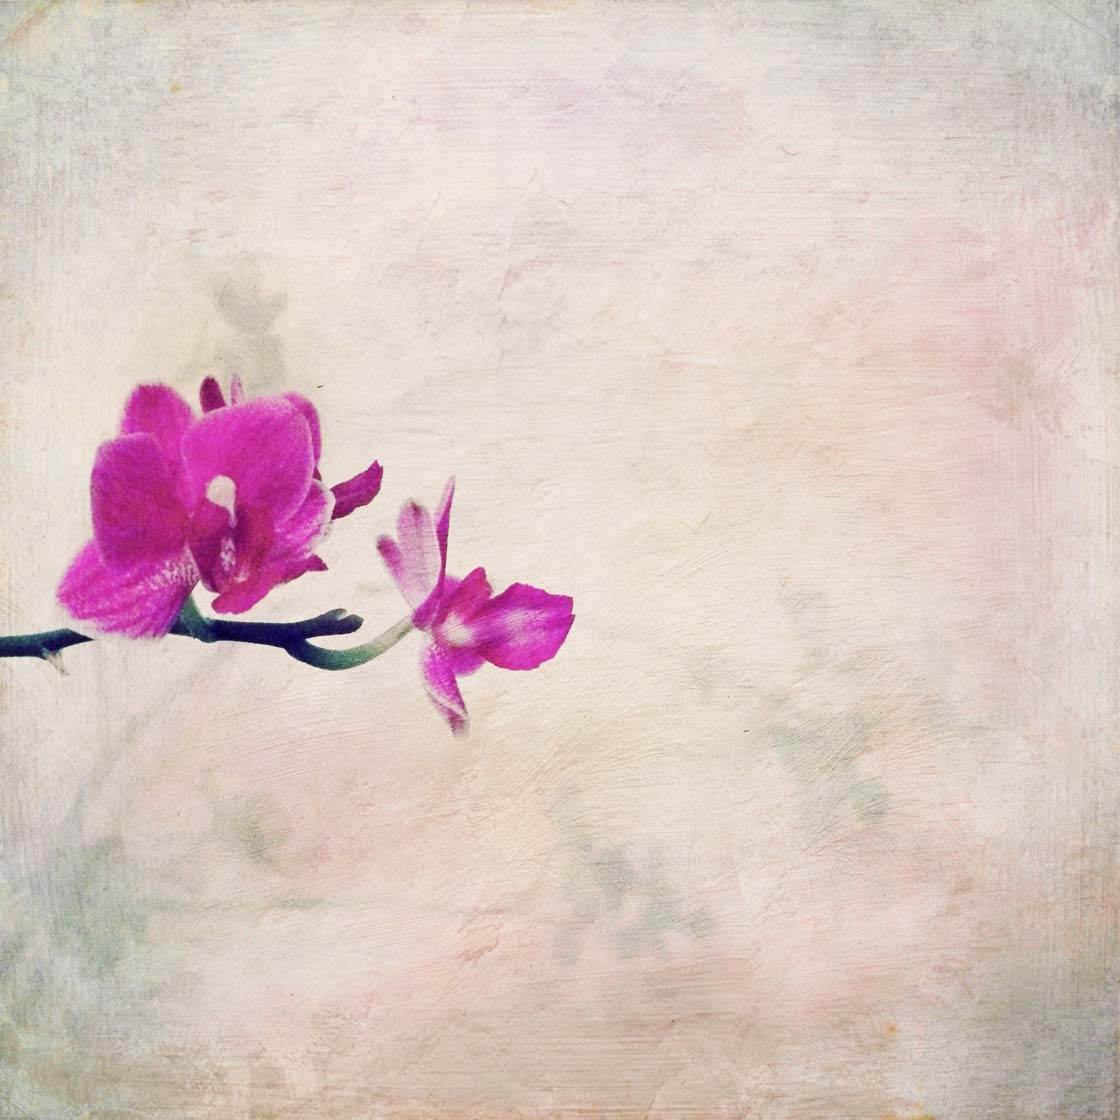
The textured wall above was created using Stackables. In the original image there was just a plain white wall behind the flower.
While adding texture to your photos in post-processing isn’t the same as photographing actual textured surfaces, it can be equally as effective.
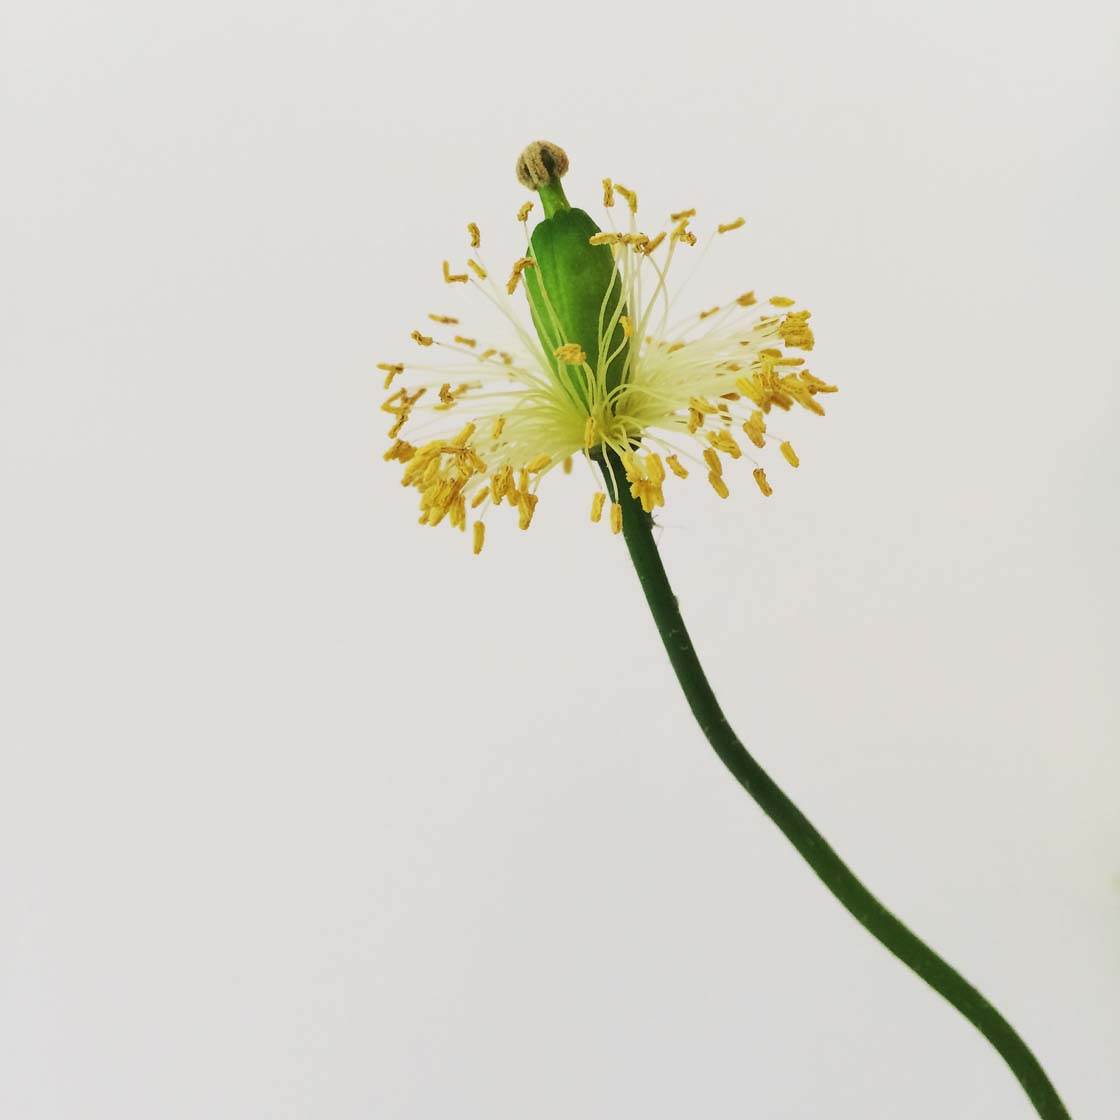
This photo has an interesting subject, but the plain wall behind it makes it a very ordinary photo. Using Stackables to add some distressed textures has created a much more interesting and visually appealing image as shown below.
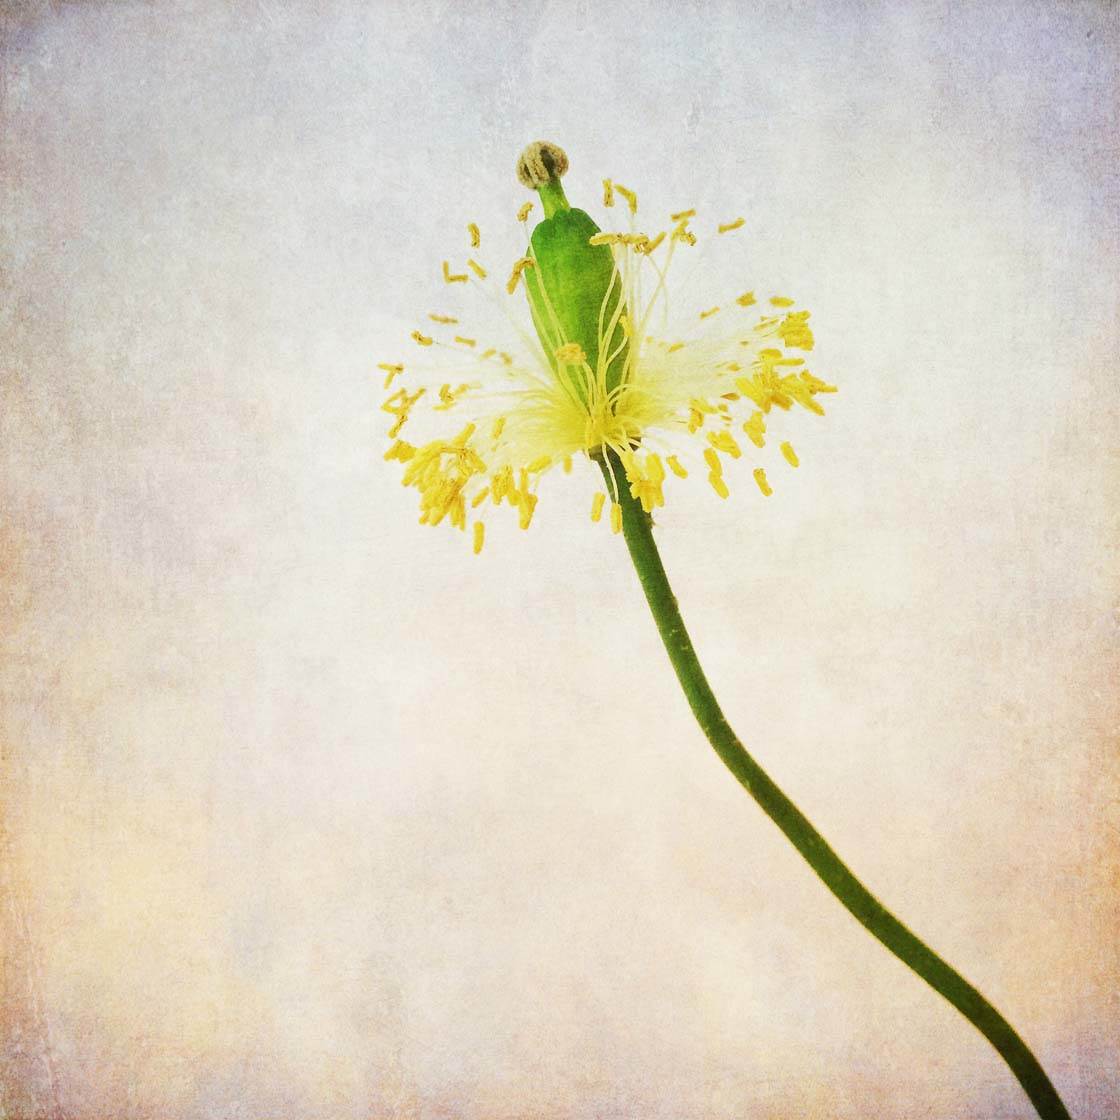
When applying textures it’s important not to go overboard as you can easily ruin a photo by applying textures at too high a strength.
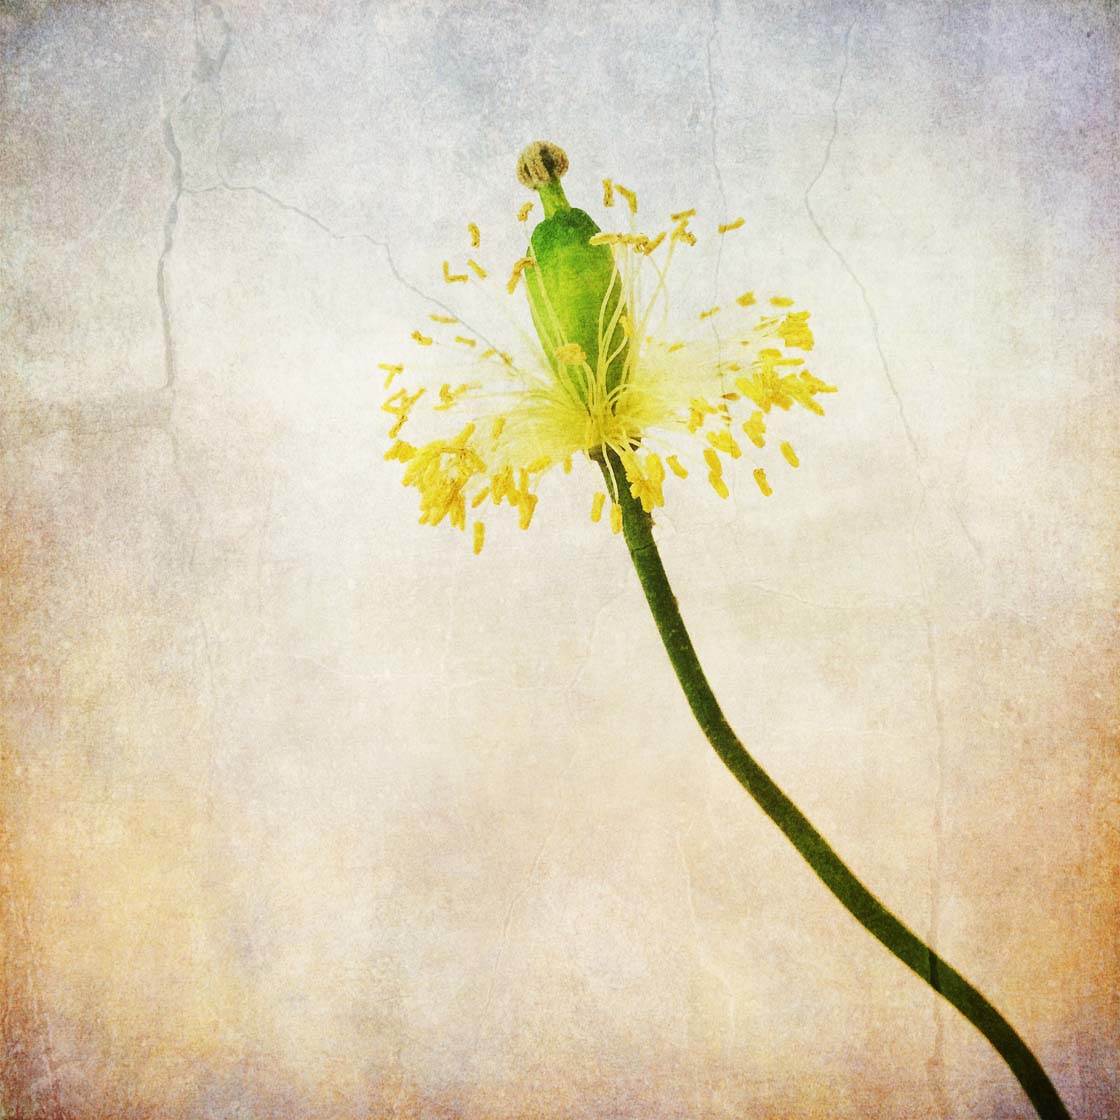
The photo above has an added cracked texture which seems to take attention away from the main subject. Textures should always enhance and support the subject, rather than competing for attention.
Subtle textures can work well in landscape photography, especially when applied to large expanses of sky as it adds an extra element of interest.

Above we have the original photo without any texture applied. And below is the same image with a textured painterly style added using Stackables.
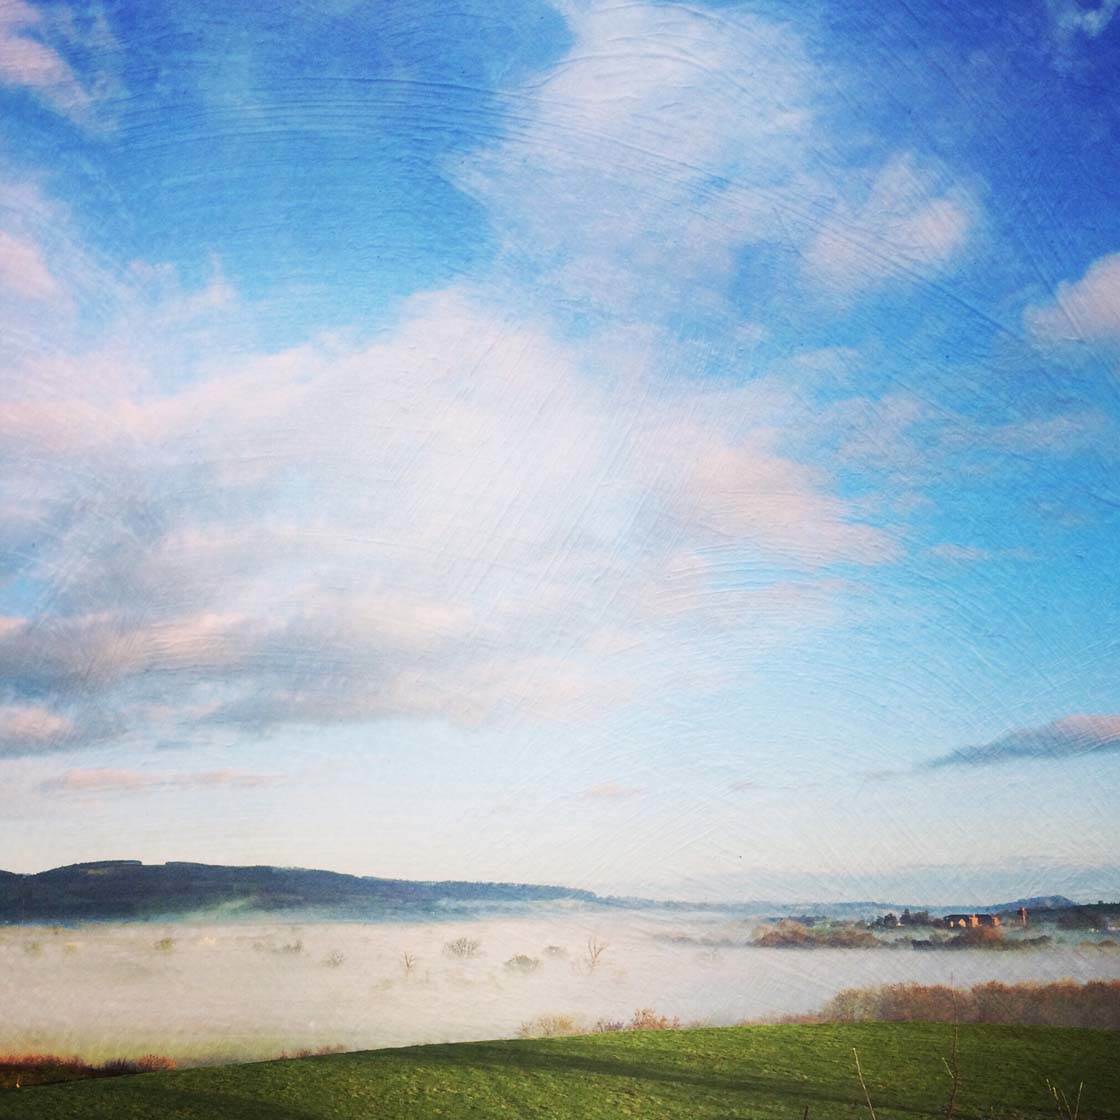
While this kind of effect might not be to everyone’s taste, it certainly adds a creative streak to your iPhone photos.
Conclusion
As you’ve seen from the examples in this article, the iPhone is capable of capturing amazing detail in textured subjects.
So it’s up to you as the photographer to notice the different textures around you, and work towards creating a captivating image that shows the true essence of the subject.
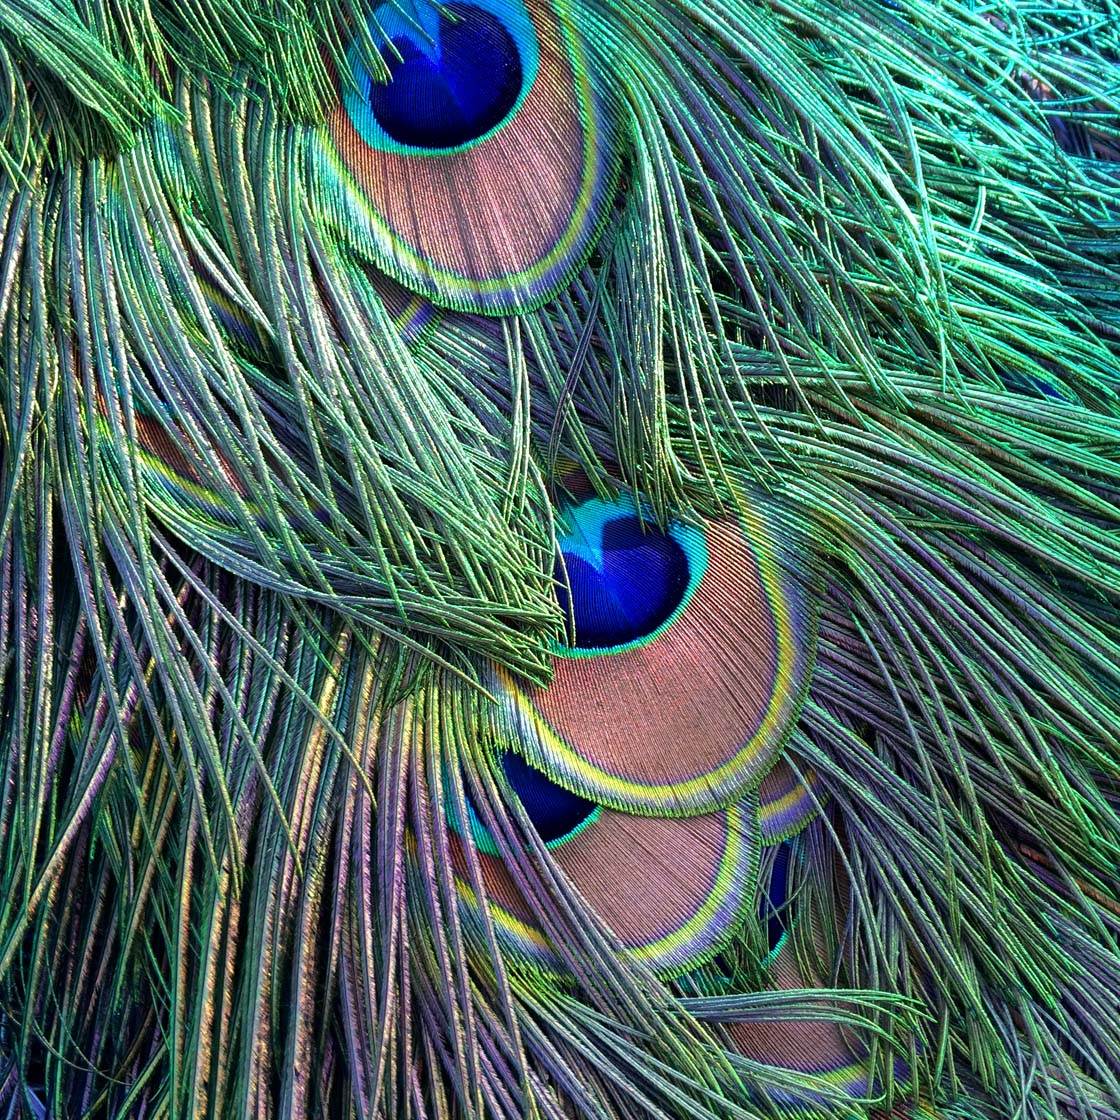
The first step is to train your eye to see different textures before you even touch them. Then once you’ve developed this skill you can work towards composing your shot and using the best kind of light to make the most of that particular texture.

To make your texture photos more interesting, you could try photographing contrasting textures next to each other. Or capture the texture in its surroundings to add context and a storytelling element.
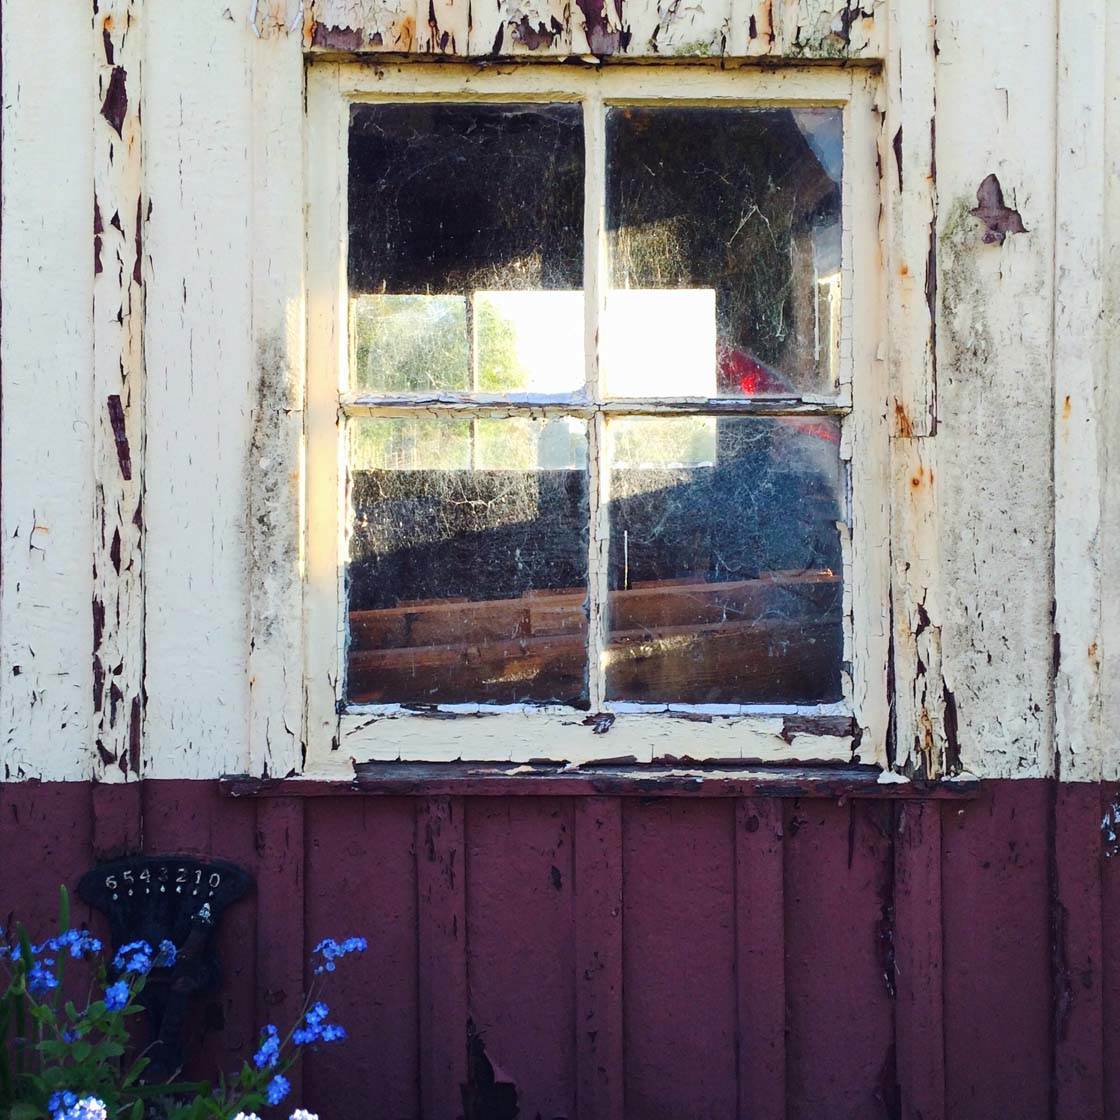
Finally, you can always use apps to add texture to your images in post-processing. While this doesn’t work for every photo, it’s definitely worth experimenting with this technique.
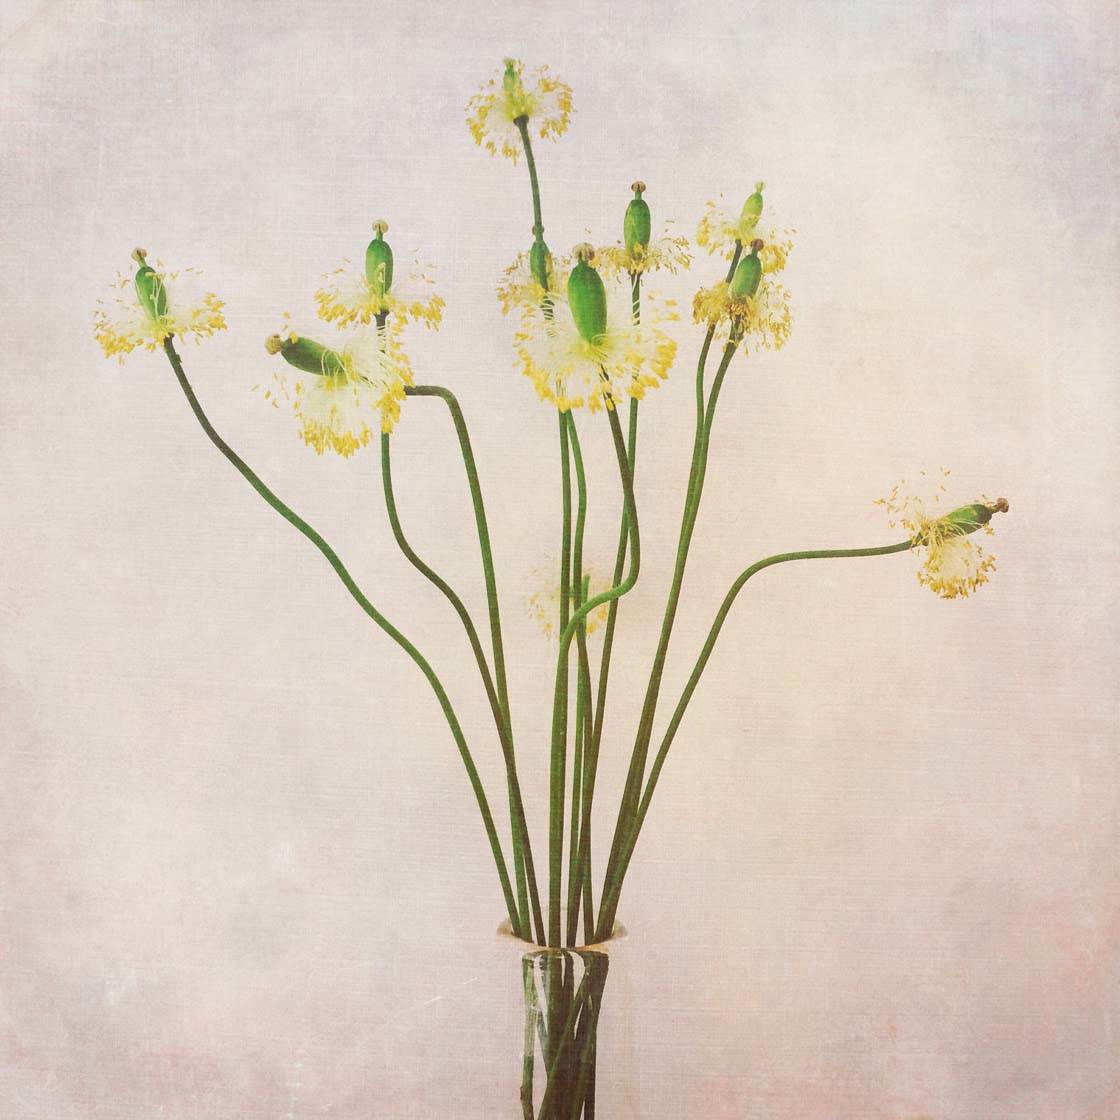
Adding subtle textures using apps can add a wonderful extra dimension to your images, making them more tactile and appealing to the viewer.


Excellent examples. Enlight is a new app with a tab called Mix. It lets you add a photo with texture and erase select parts and adjust the amount of the blending mode you choose. It works really well.
Thank you Darlene – Good tip re Enlight – it’s an excellent app – I will investigate further! 🙂
Wonderful tutorial on textures Rob. Thank you.
Thank you Rosa 🙂
Great tutorial
Thanks Lorraine 🙂
Another great tutorial. Thank you.
What tripod head do you used for your Iphone?
Like the info, especially on what kind of light to take what texture. Thank you. I need to practice now.