Trees are one of the most amazing subjects to photograph. They come in so many different shapes and sizes, with beautiful colored leaves and blossoms, and interesting bark textures. You’ll never get tired of photographing trees since they change so much throughout the year. Taking a good photo of trees can sometimes be challenging, but with a little help you’ll start to see every tree as a photo opportunity. In this tutorial you’ll discover 10 great tips for taking the most incredible eye-catching iPhone photos of trees.
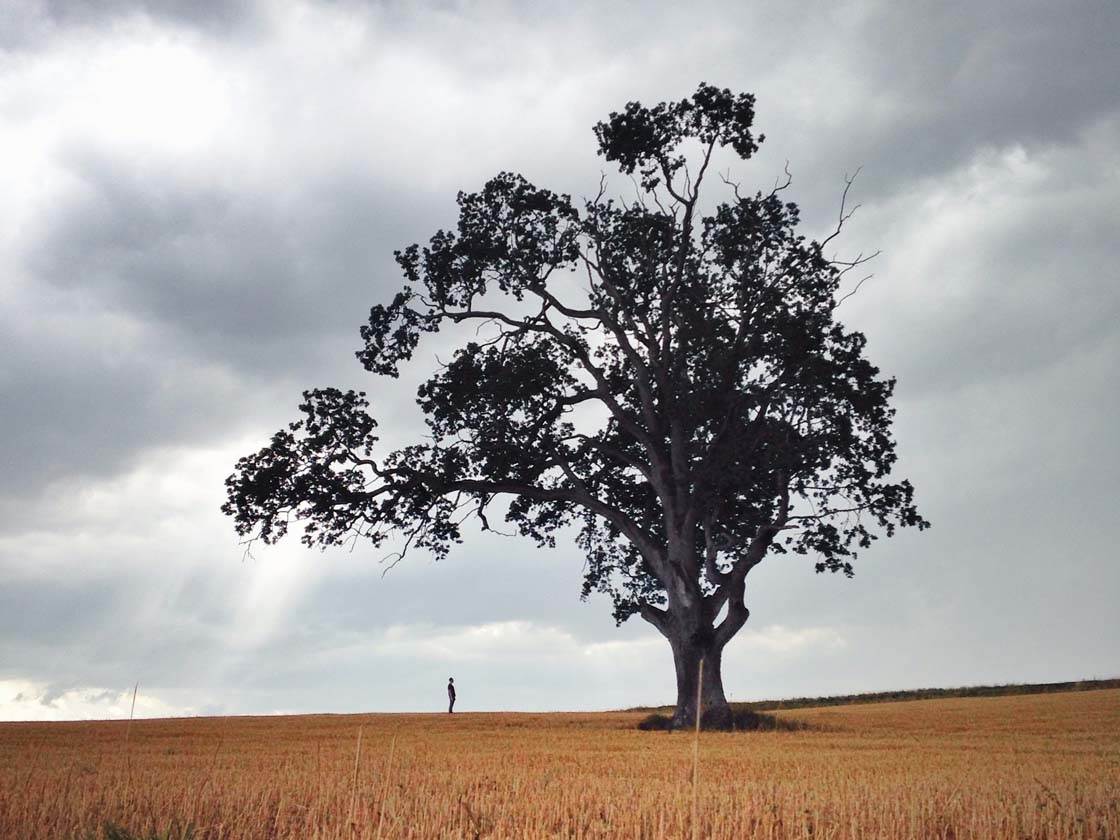
1. Find A Lone Tree In A Landscape
Probably the most coveted and photogenic tree is the solo tree. A single lonely tree standing in a landscape offers endless photo opportunities and opens up a chance for great storytelling.
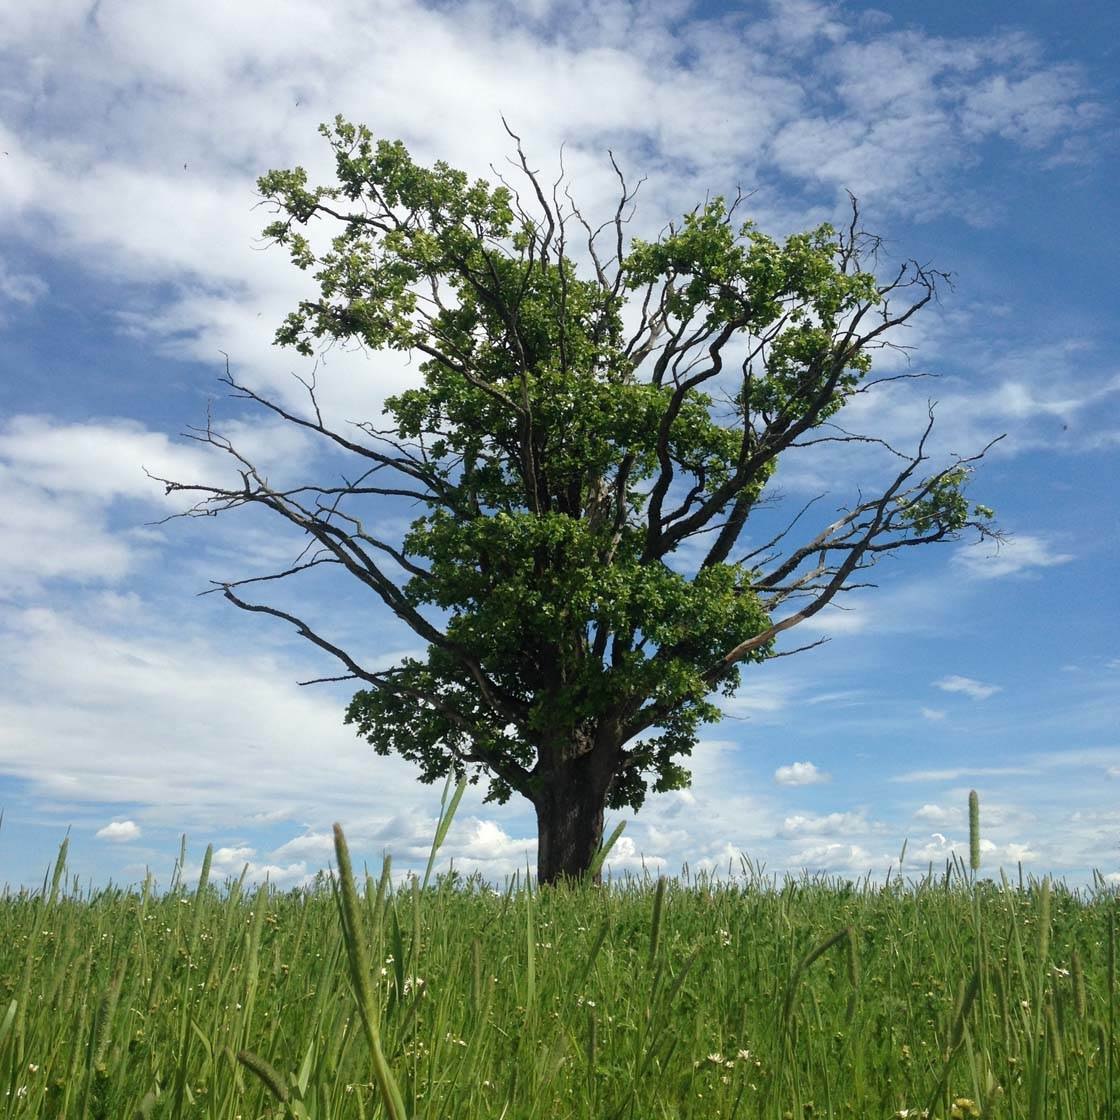
To me the tree symbolizes life, beauty and solitude. And once you find a lone tree with nothing else in the landscape competing for attention, there will be so many opportunities to create an image that is guaranteed to attract the viewer.
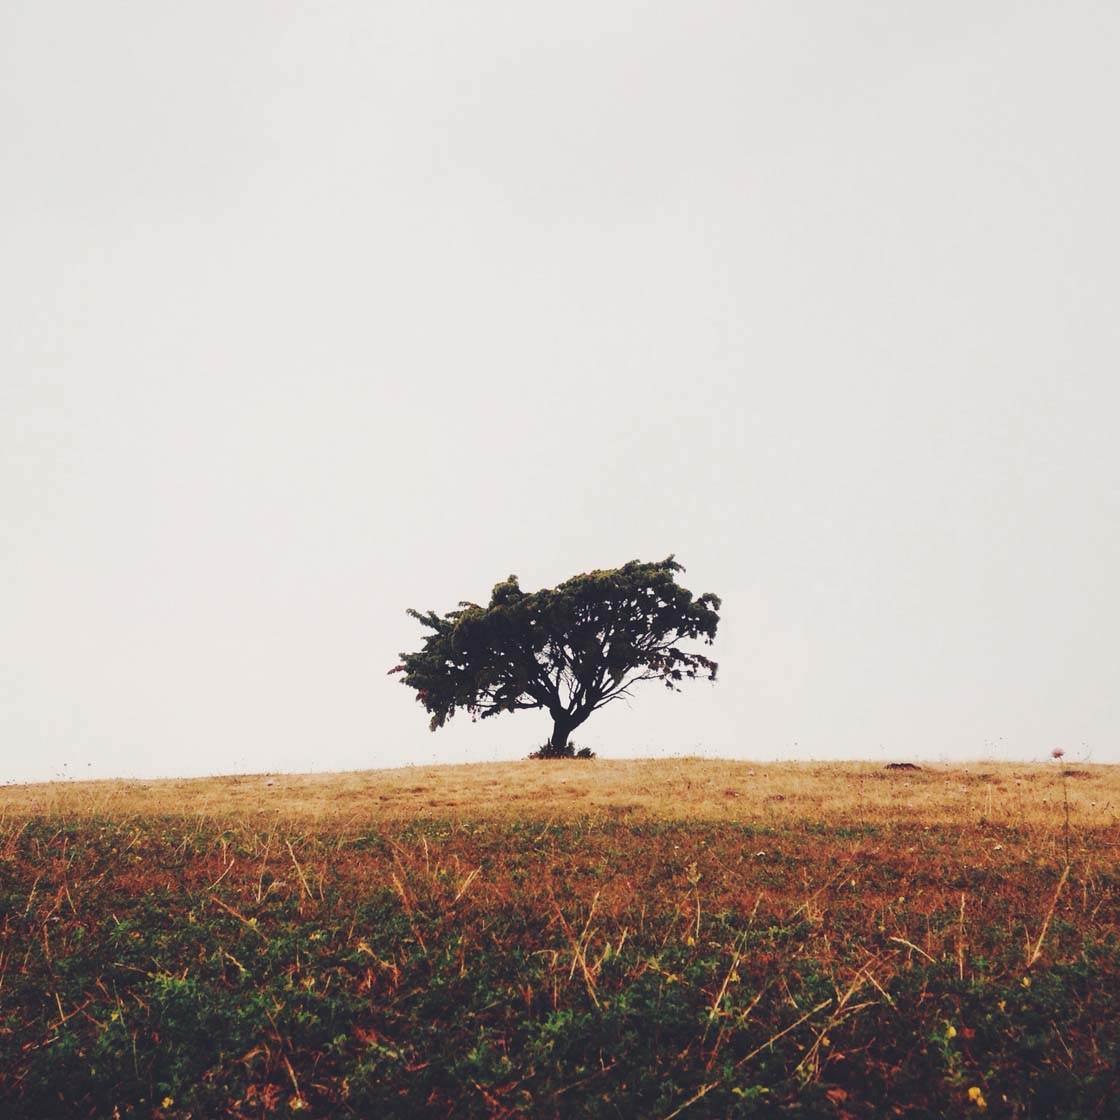
So where do you find a lonely tree? One of the best way to spot a lone tree is to be on the lookout when you’re out in the car. Or go out for a walk to see what you can find. Farmland and meadows are typical places to find a solo tree.
Look for trees that have plenty of space around them to allow you to compose your shot with no other distractions in the frame. This will place maximum emphasis on your chosen tree.
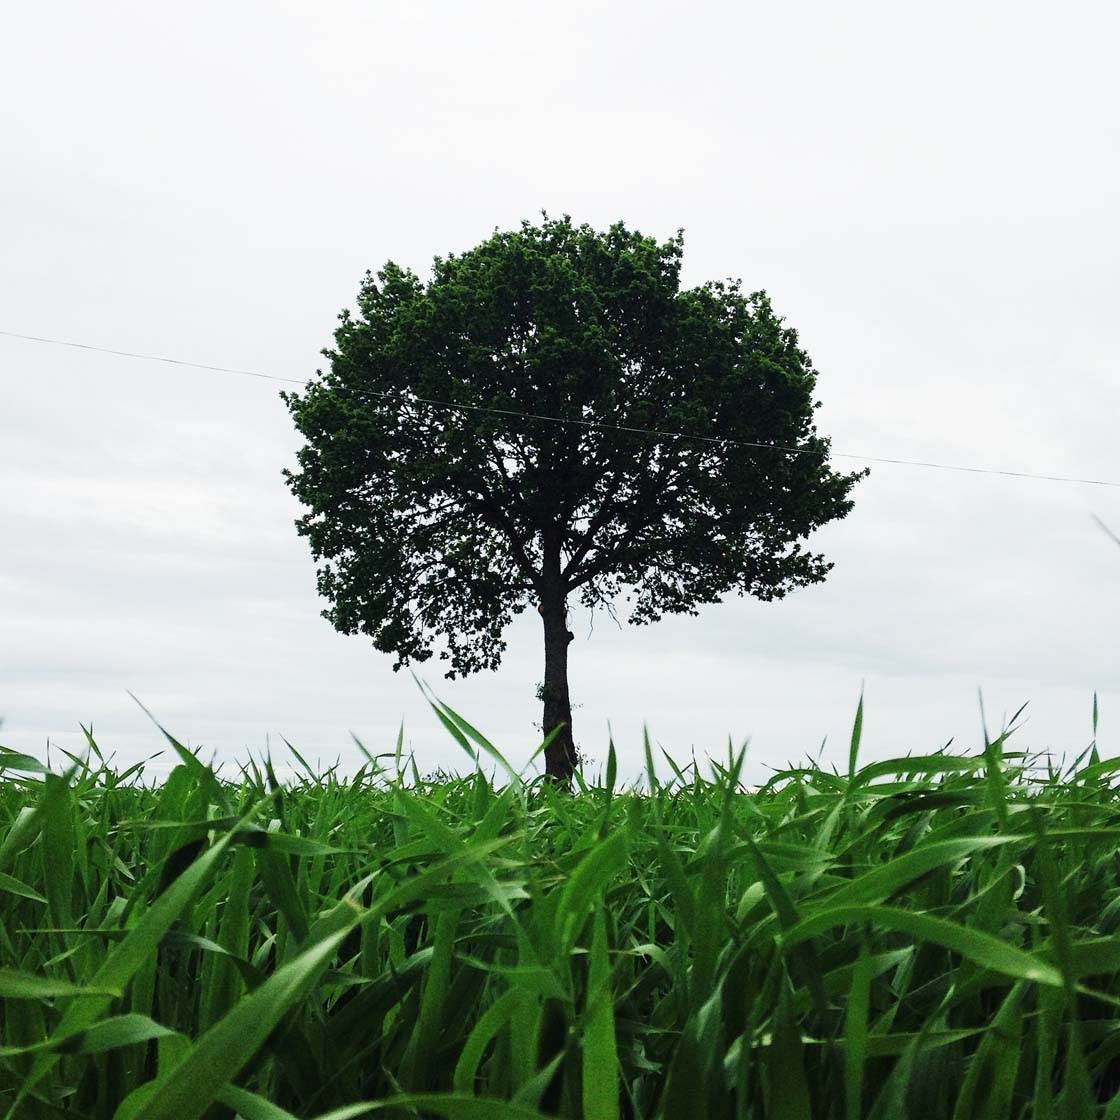
When you’ve found your lone tree, work out the best angle to shoot from to get the most photogenic foreground and background in the frame. Shooting from a low angle allows you to compose your shot with just the sky in the background, making the tree really stand out.
Shooting from low down also has the added benefit of allowing you to include foreground interest, such as grass, at the bottom of the photo. Foreground interest helps adds depth to a photo, and grass complements the tree nicely, balancing out the composition.
2. Include A Person To Provide Scale
A tree can of course be of any size. But if you find a huge majestic tree, you might want to emphasize its grandness somehow. The best way to do that is to include something in the image for scale.
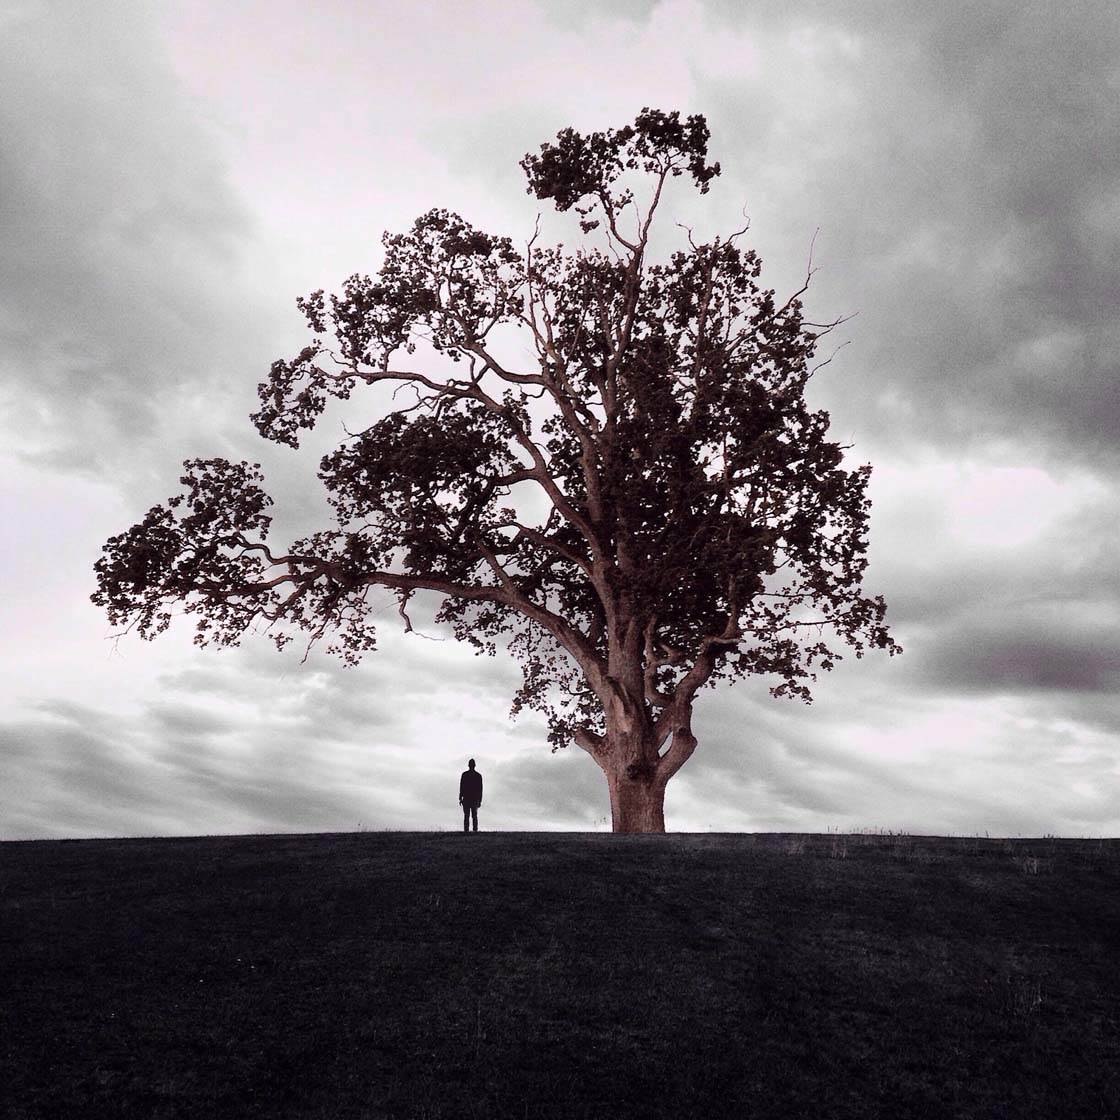
My first choice would be a person in the scene. If you shoot the tree from a good distance away, the person will appear as a tiny silhouette beneath the tree. This will tell the viewer something about the size of the tree.
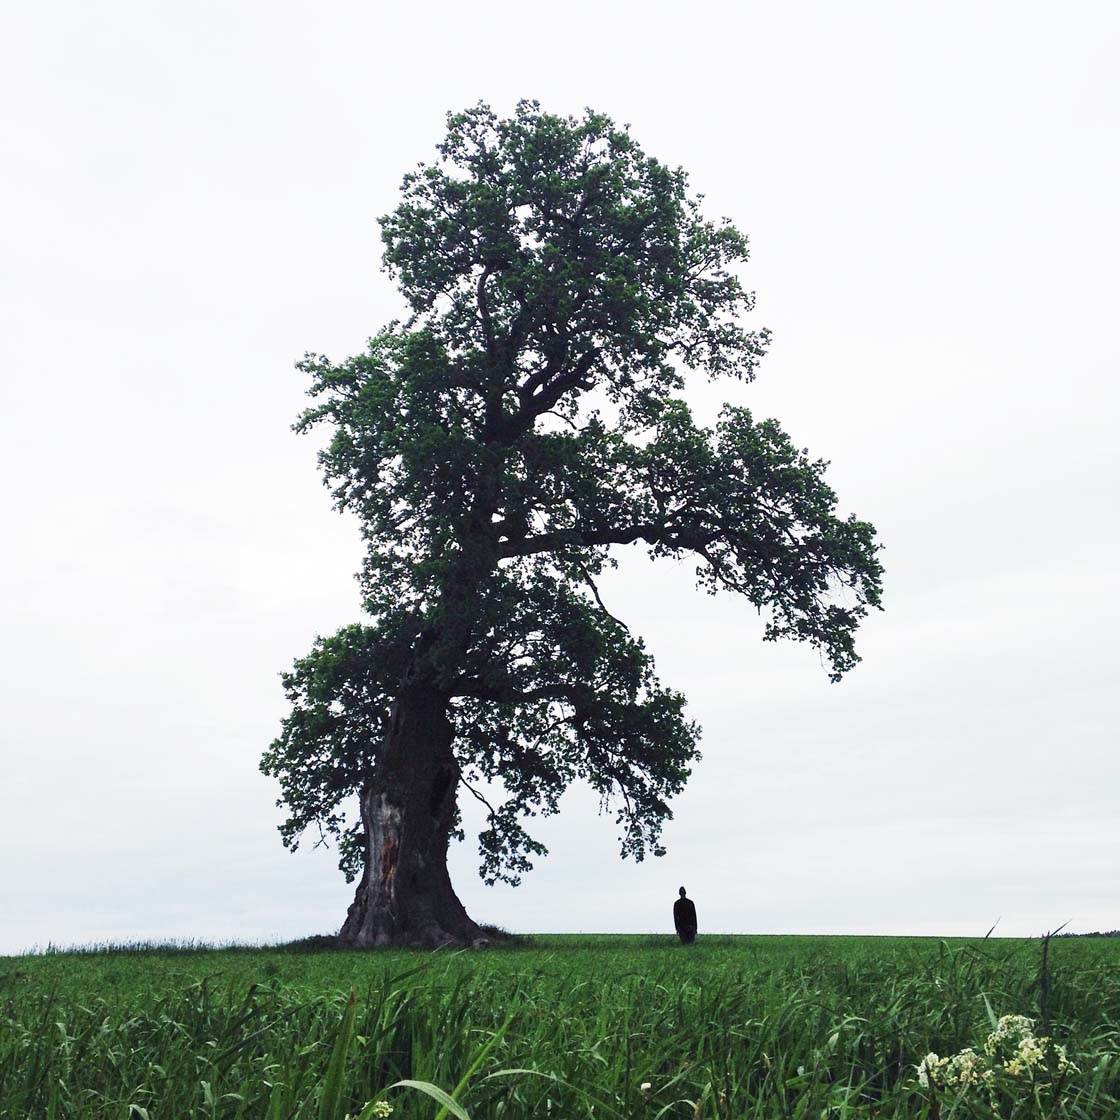
Besides conveying a sense of scale, this will add some mystery to your image and it’s a good way to tell a story. What is the person doing? Why are they there? What will happen next? It will definitely create a longer lasting impression on the viewer.
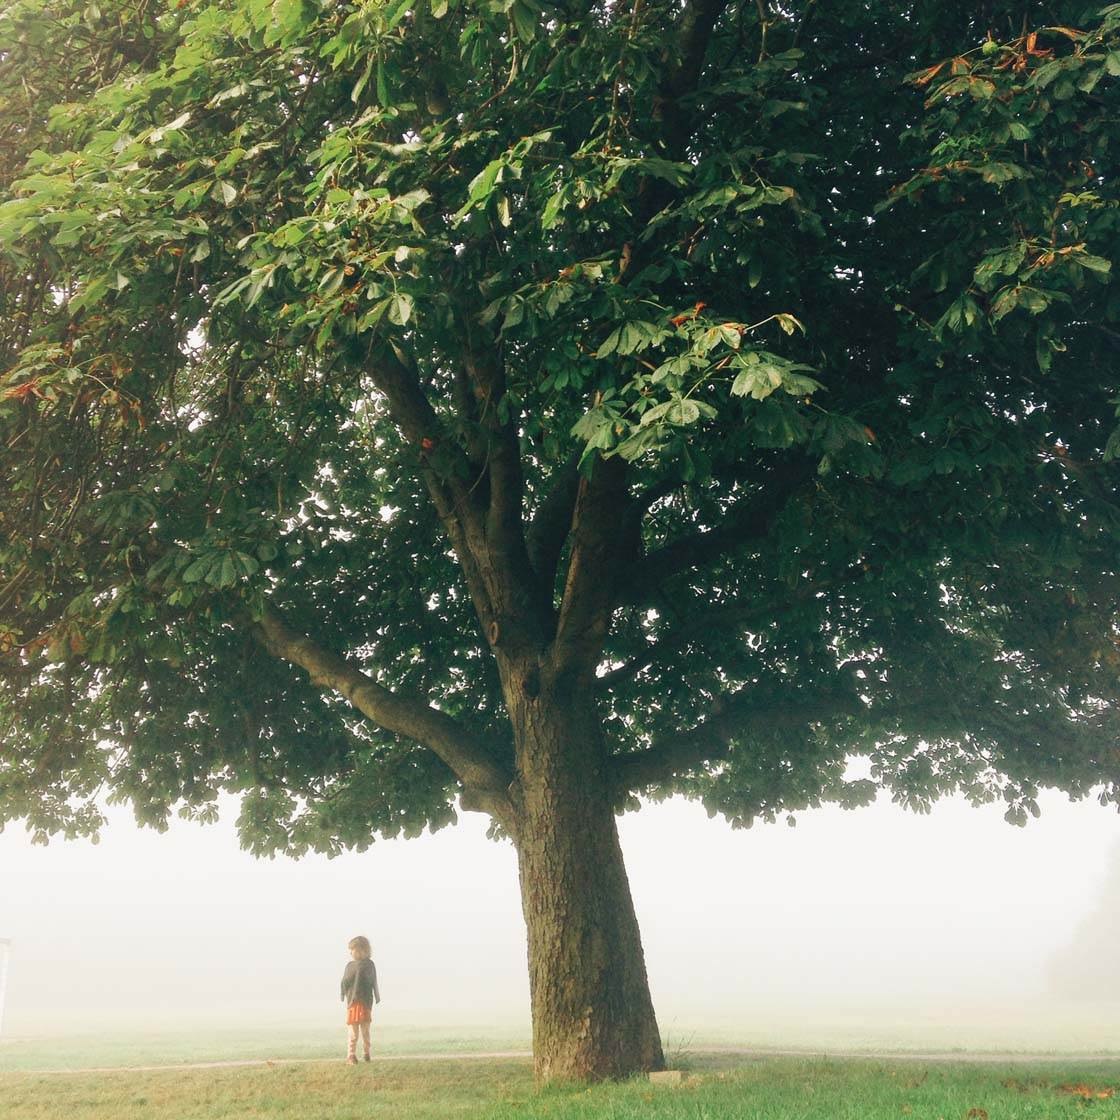
Don’t be afraid to experiment with the positioning of the person. Find the composition that feels right for you. Often, I’ll put the tree in the middle of the picture and position the person somewhere around it.
I also like to use the rule of thirds, placing the person and the tree one third into the picture on opposite sides of each other. This creates a well balanced image. Take several photos using different compositions so that you have plenty of photos to choose from.
3. Photograph Trees In Different Seasons
The best thing about trees is that they change so much throughout the year. The same tree will give you a new photo opportunity with each new season.
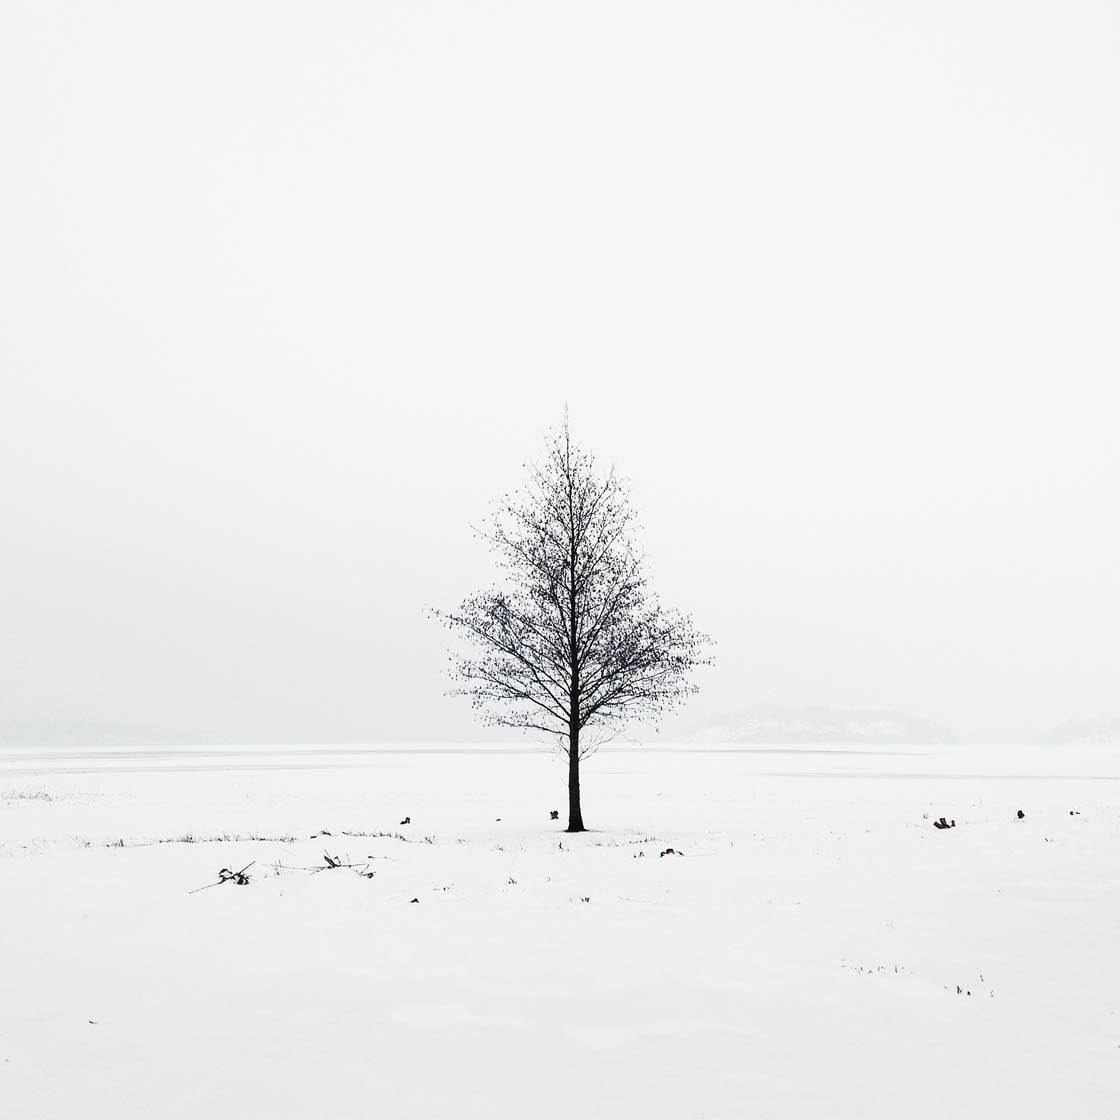
Winter offers a dramatic and moody vibe, with the bare branches and stark shapes that stand out against the sky. In snowy conditions the winter trees will stand out really well against the white foreground and background.
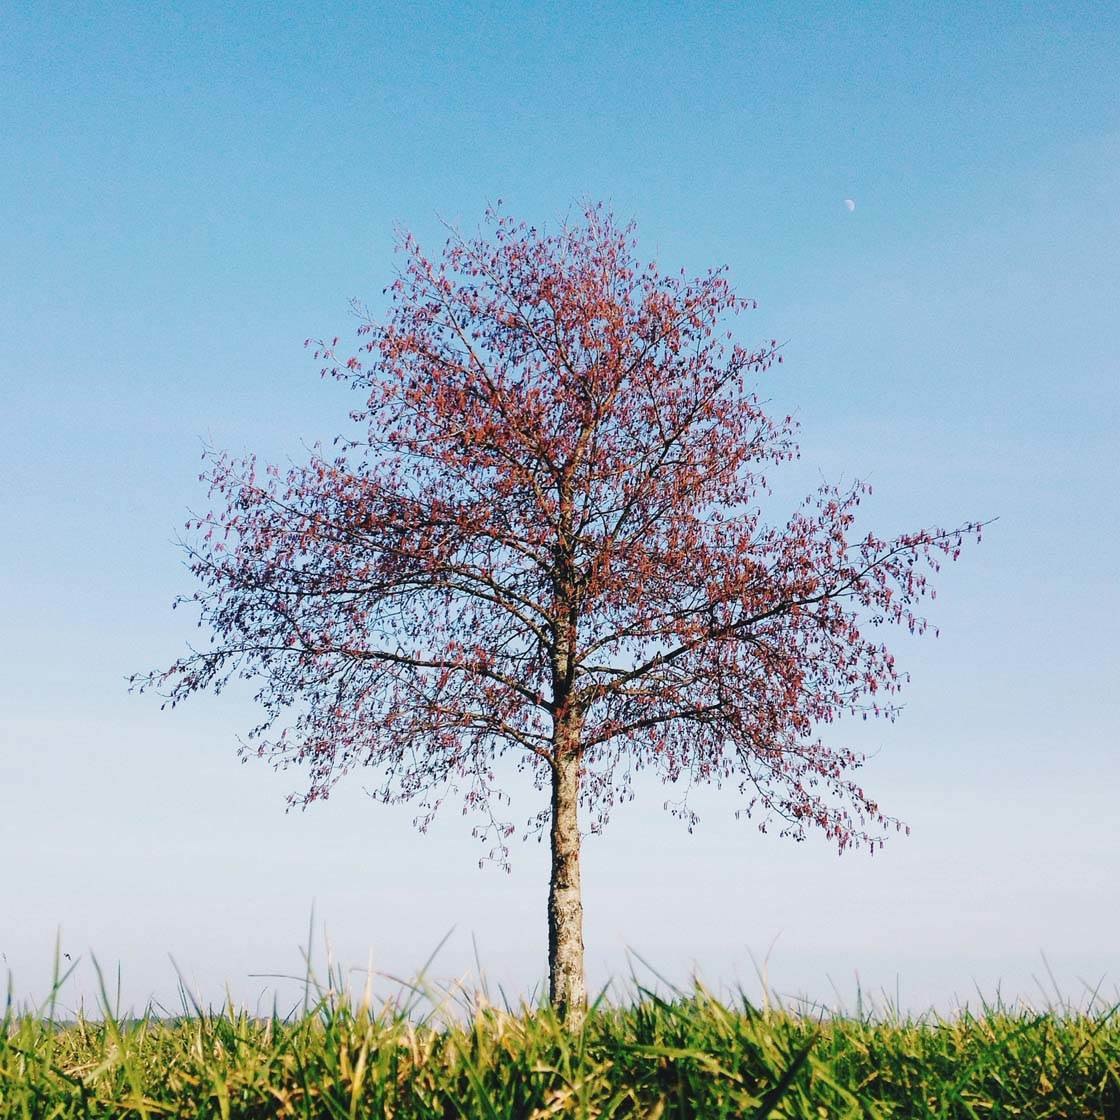
Spring offers hope and new life when the leaves start to appear again and the blossoms begin to flower. It’s wonderful to get out in nature during this time of year, when the skies are clear and everything appears full of life after the long winter.
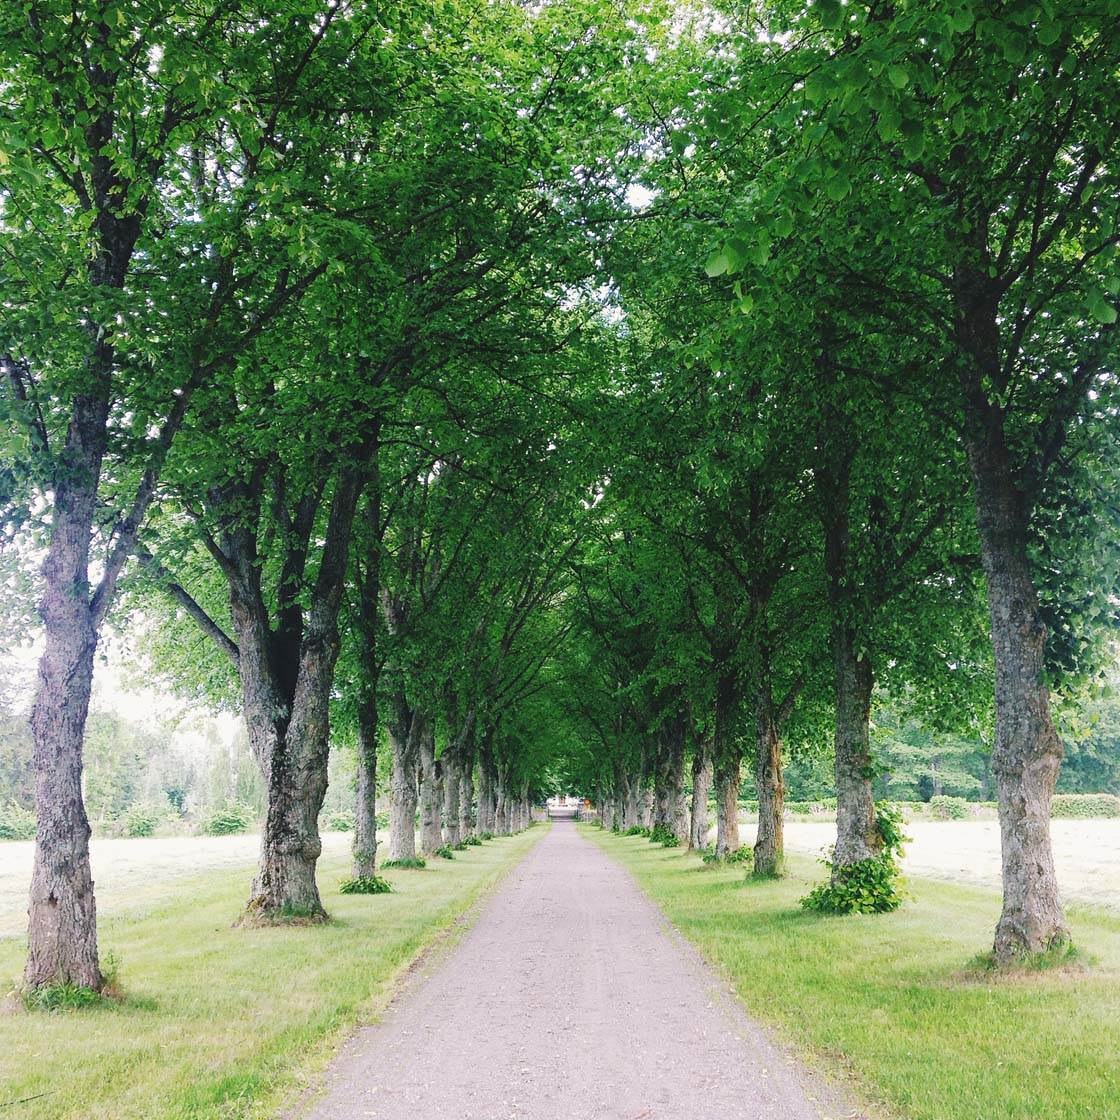
In summer the trees will be lush and green, proudly displaying their majestic green canopy.
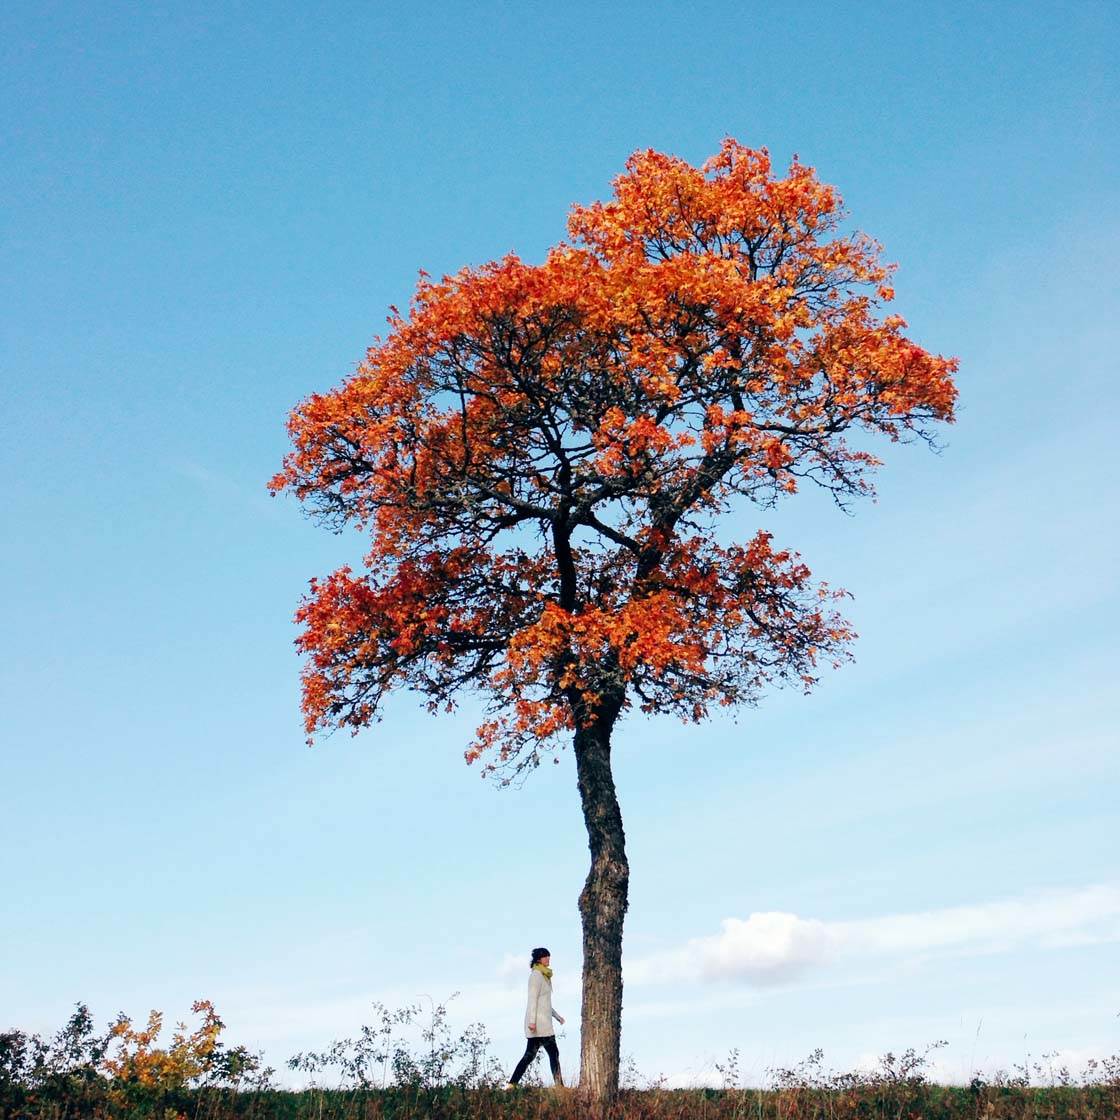
And finally, fall. This is my favorite tree season. The leaves will explode in colors you never thought existed. It is now that you’ll most likely capture incredible and beautiful tree shots.
This is the season where you have to put in the least effort to create a stunning image as the colors will speak for themselves. The fall season is short, so make sure you put some time aside to shoot trees during this period.
My greatest tip would be to create a series of tree photos from each season. Find a nice tree, and take a new shot of it as soon as the season changes. At the end of the year you’ll have a set of photos which follows the tree’s transformation through the seasons.
4. Shoot In Fog
Fog and trees are one of the finest combinations there is. Here in Sweden the typical fog season is late summer and early autumn when the nights are getting colder but the days are still warm. Those times are a feast for photographers. If you’re lucky, you’ll live in an area where you get fog a few times a year.
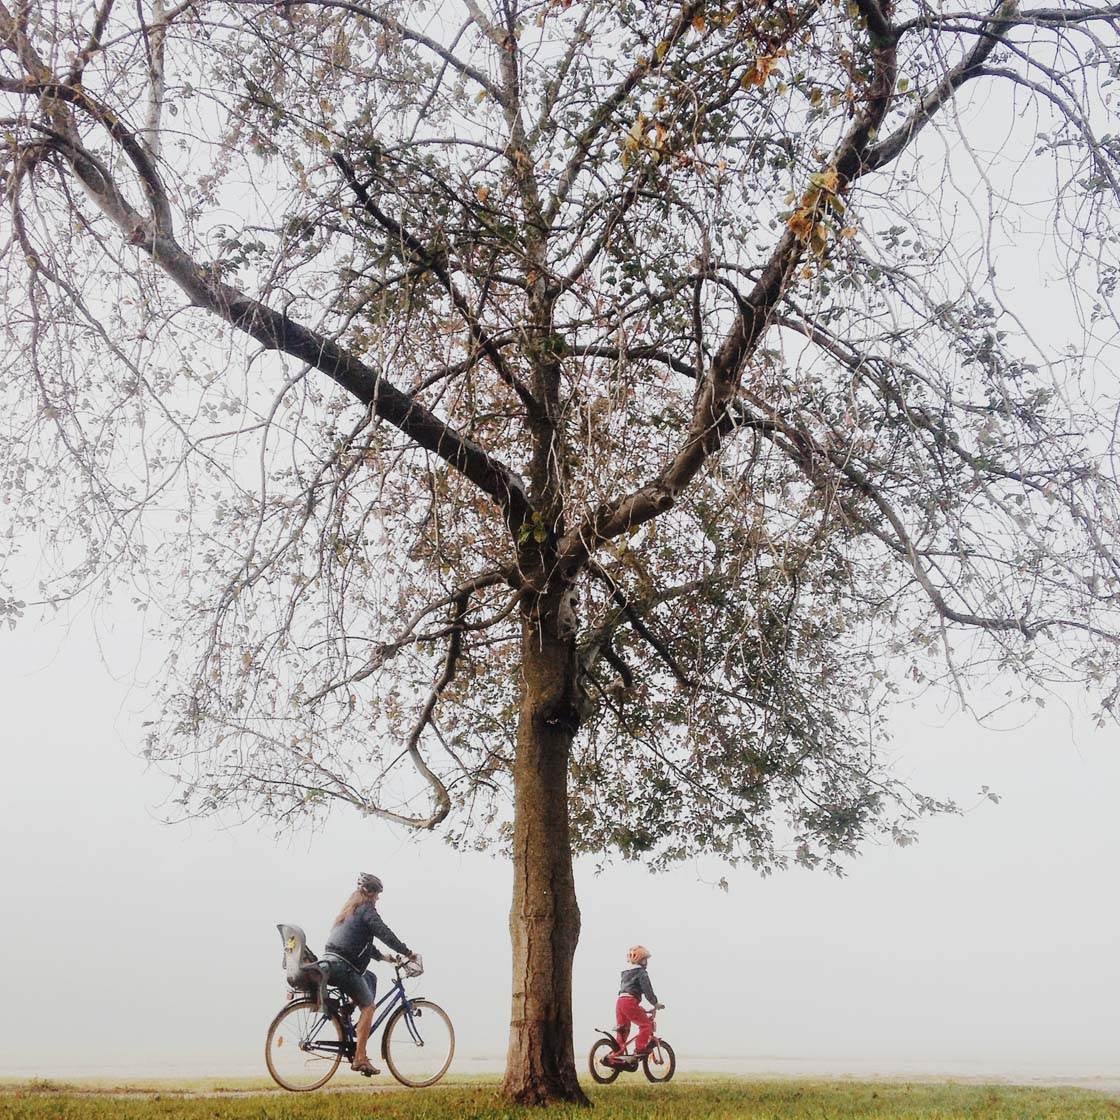
For a minimal approach to your photography, you can shoot a tree close up where the fog fades out the background. This approach means that you suddenly have a lone tree that on a normal day has a backdrop full of distractions. With fog in the background you get the chance to capture the tree in all its lone beauty.
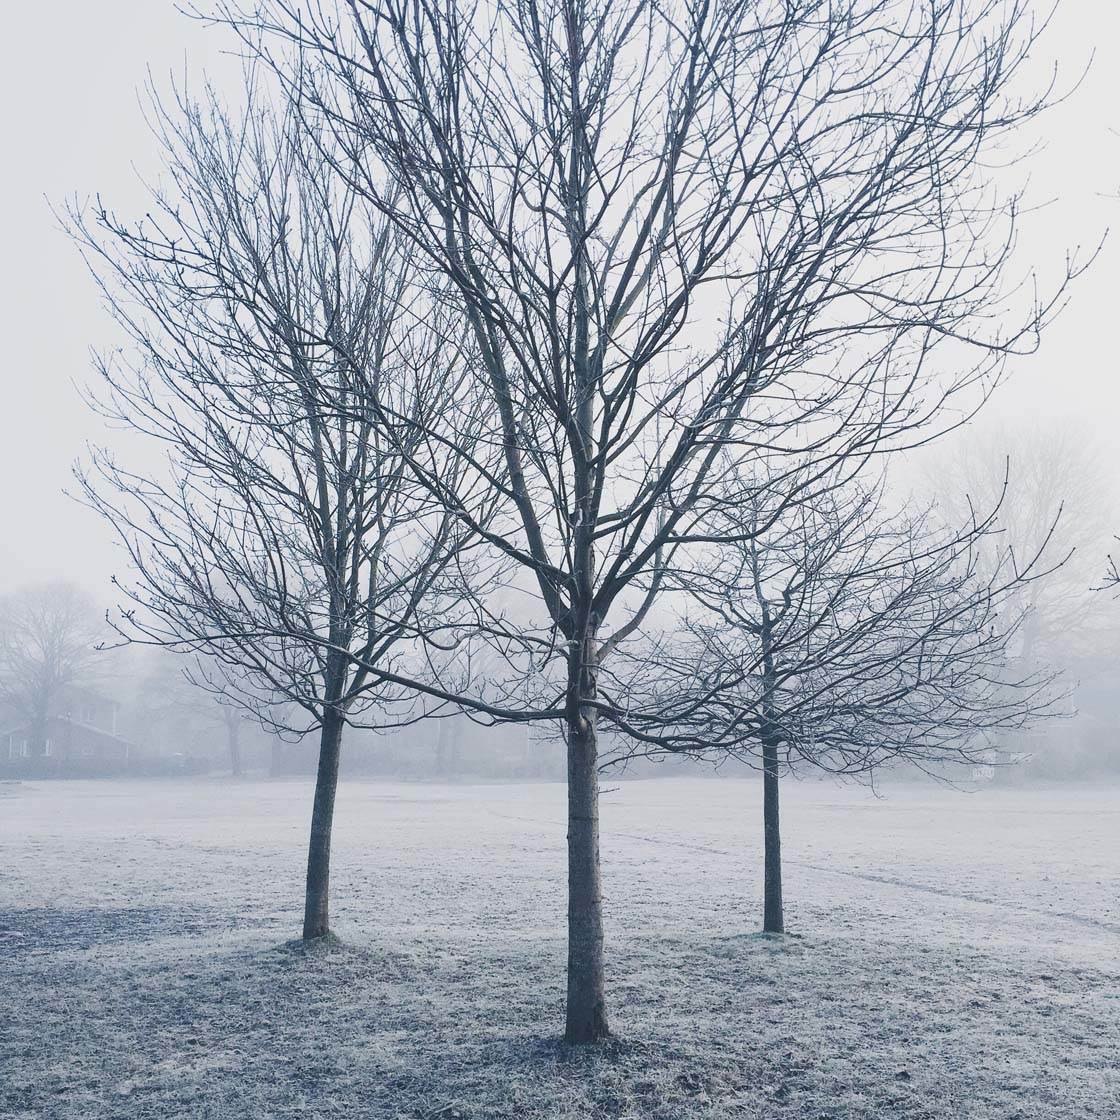
Depending on the thickness of the fog, you can use it to create a sense of depth in the image. Let’s say you’re shooting a large field of trees. Choose a group of trees (or one tree) close to you as a focal point, and the trees behind will gradually fade out into the fog.
This will help to lead the viewer’s eye from the trees in the foreground, through the picture until you can only sense the trees behind.
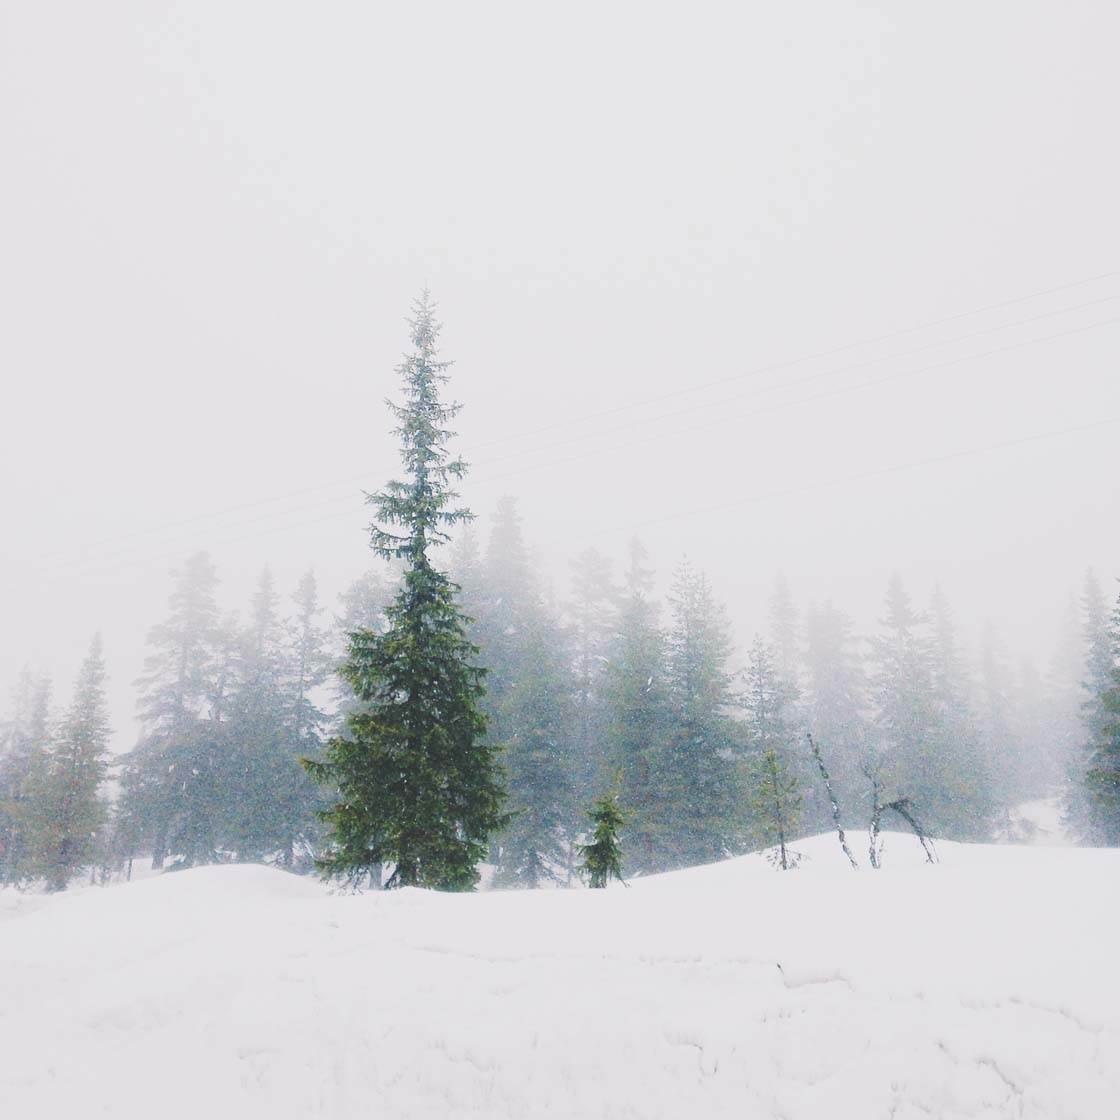
In normal conditions, without the fog, a scene like this would most likely end up a visual mess. But the fog helps to focus the eye on the tree or trees in the foreground, fading out the distracting background.
5. Use Lines Of Trees To Create Symmetry
Nature and symmetry go very well together, especially in the form of trees. Along old country lanes there’s quite a good chance of finding a nice row of trees on each side of the road which will offer great symmetry and depth. You might also find this arrangement of trees in city streets or parks.
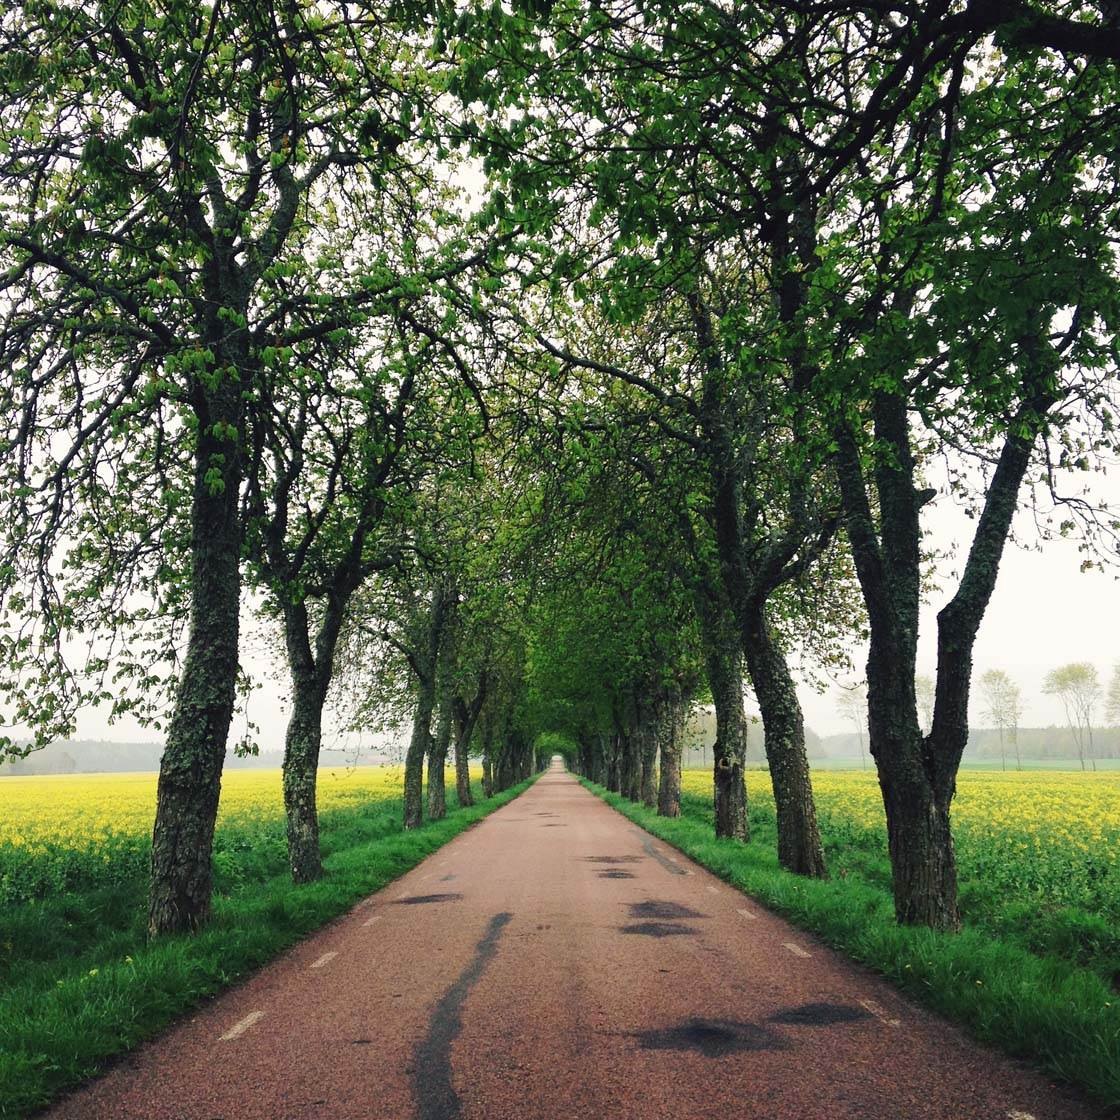
This is quite an easy shot to create. Stand in the middle of the road (check for traffic first!), compose your shot so that it’s symmetrical on both sides, and shoot. You can use the camera’s grid to help you line up the shot to get better symmetry. To turn on the grid, go to Settings > Photos & Camera > Grid.
The road running down the middle of the trees acts as a leading line, taking the viewer’s eye from the foreground of the image and beyond. With this type of shot you get the beauty of the trees, the symmetry and the depth all at once.
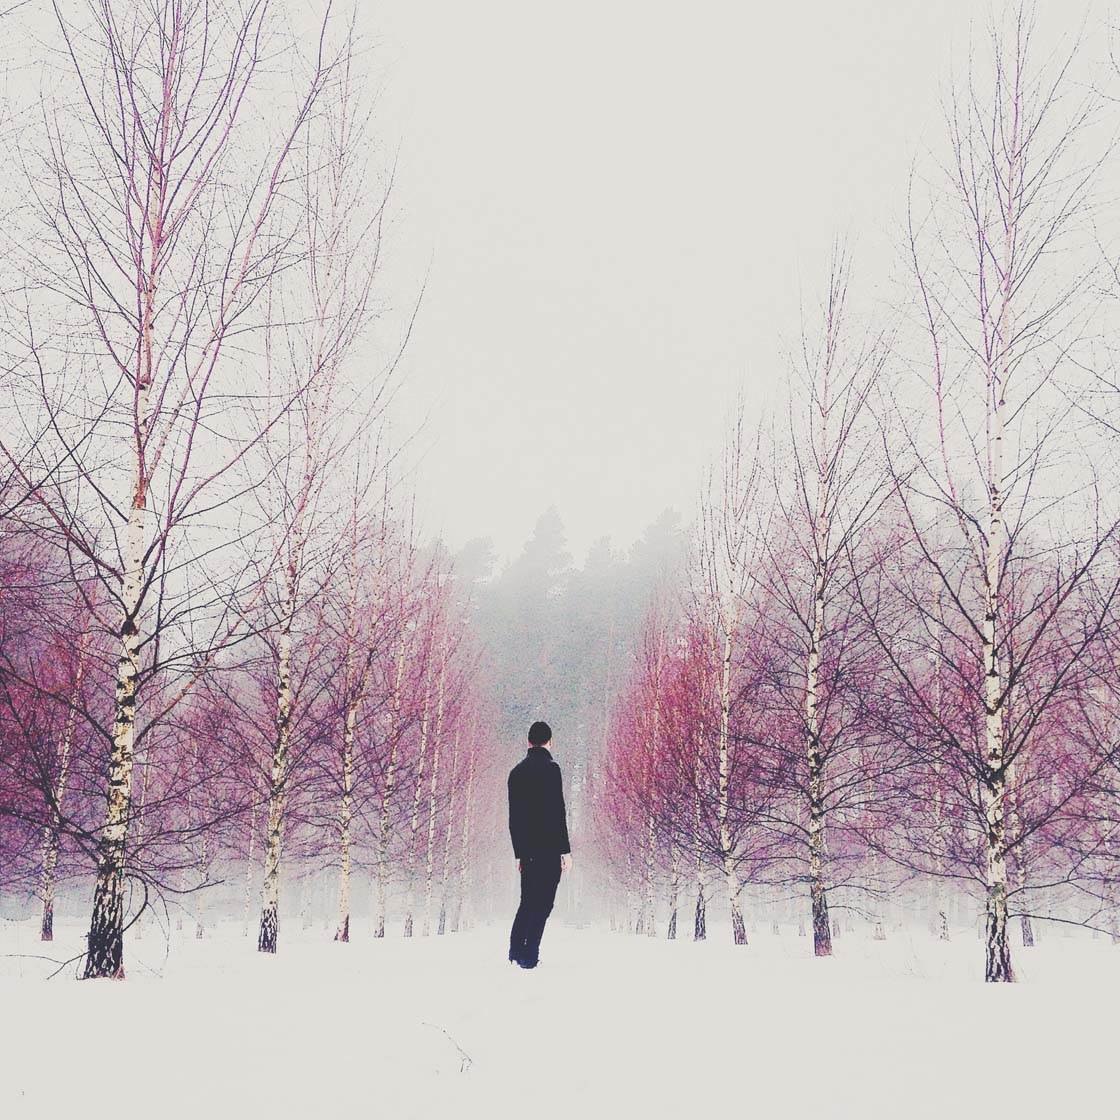
The same principles can be used in forest photography as well. Look for power lines and follow them into the woods. There are often areas where the trees have been slashed to make way for the power lines, and these canyons offers a great chance for tree symmetry shots. The same goes for old roads or paths leading into the deep forest.
6. Shoot Blossom & Leaves Against Blue Sky
During spring and summer, when the skies are blue, you can create the most simple yet stunning images. You only need two things: blue skies and some leaves or tree blossoms.
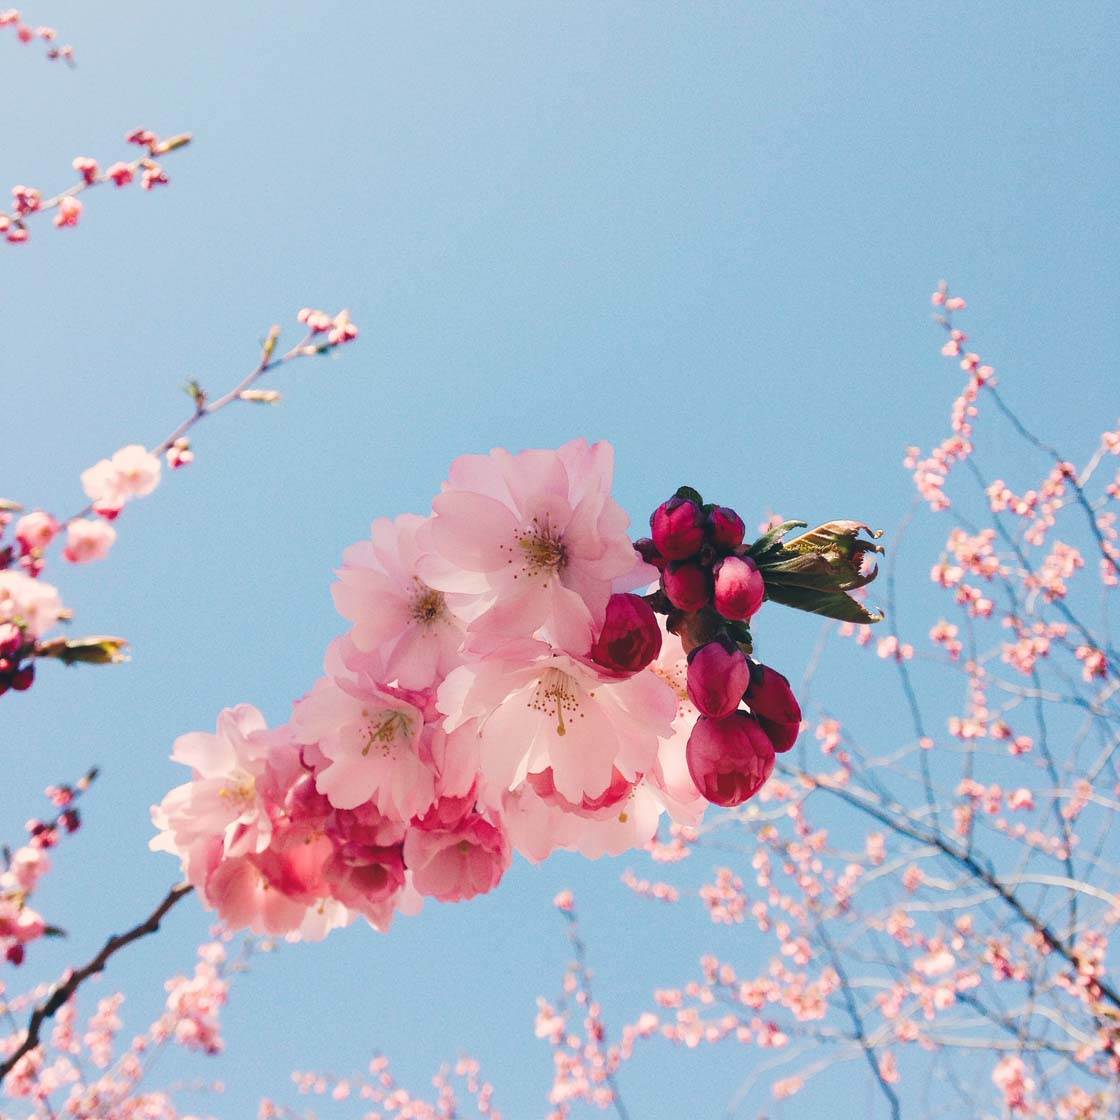
Just imagine the effect that this crisp and clear color bomb will have on the viewer. The bright blue sky makes the perfect background for the beautiful pastel colors of blossom or the vivid colors of the leaves.
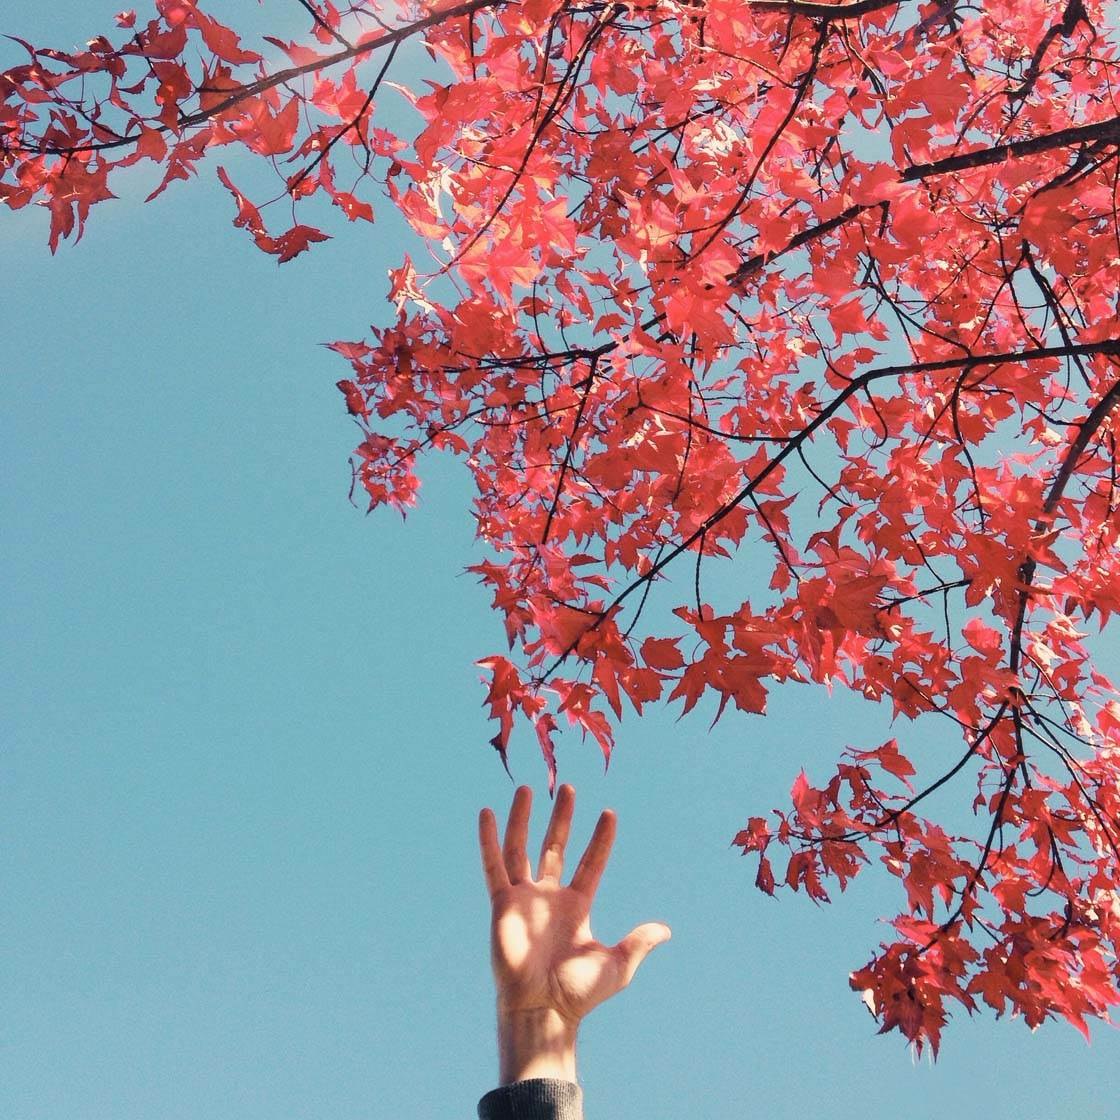
Avoid shooting directly into the sun as this is likely to throw your subject into silhouette. After tapping to set focus on the leaves or blossom, adjust the exposure manually if necessary by swiping up or down on the screen.
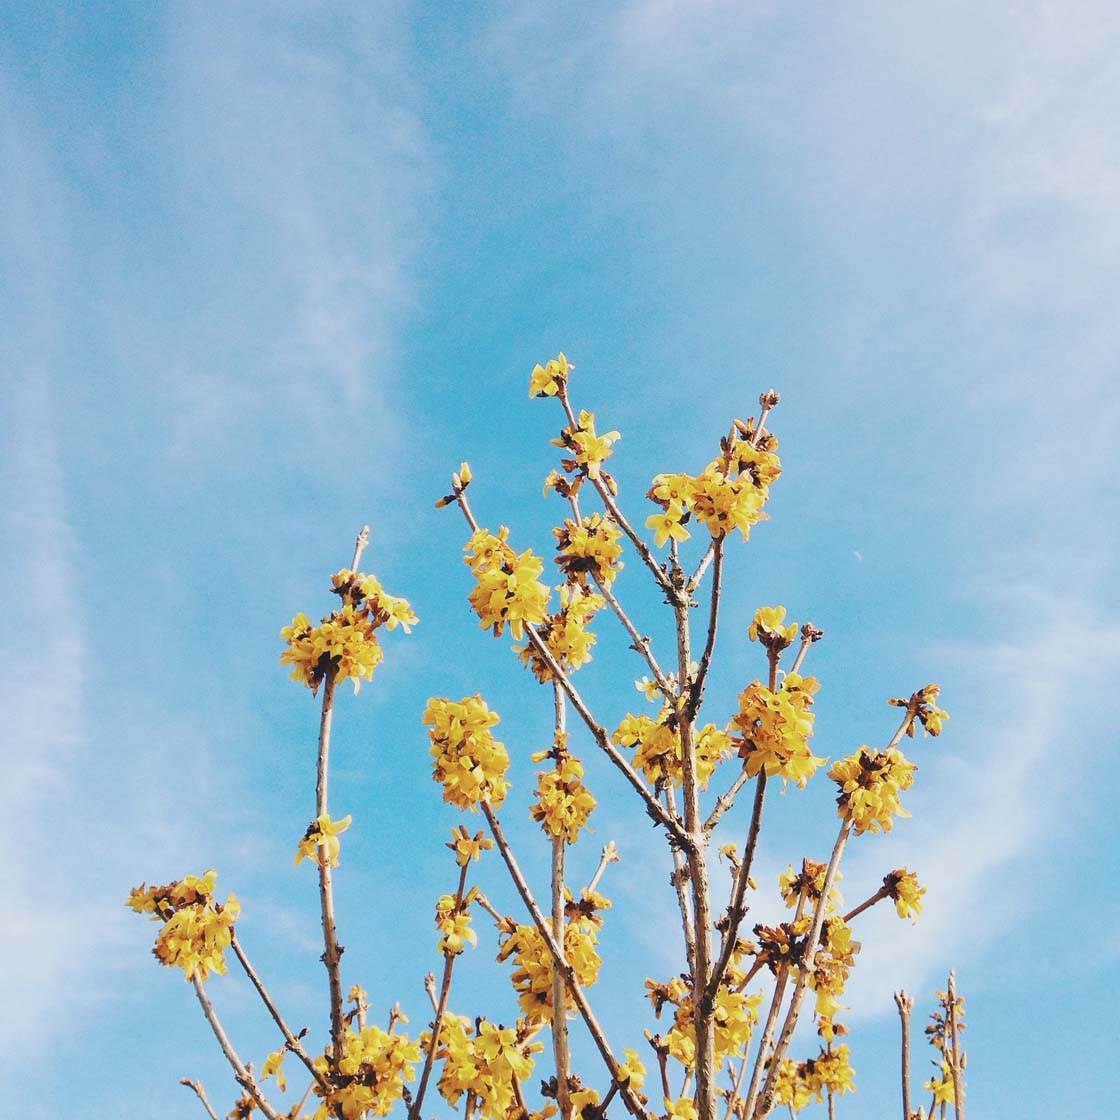
Consider what proportions of sky and leaves or blossom you want in the image. You could fill most of the frame with leaves or blossom for a lovely colorful image full of delicate detail. Or try shooting a single branch with just a couple of leaves or flowers for a clean and minimal approach.
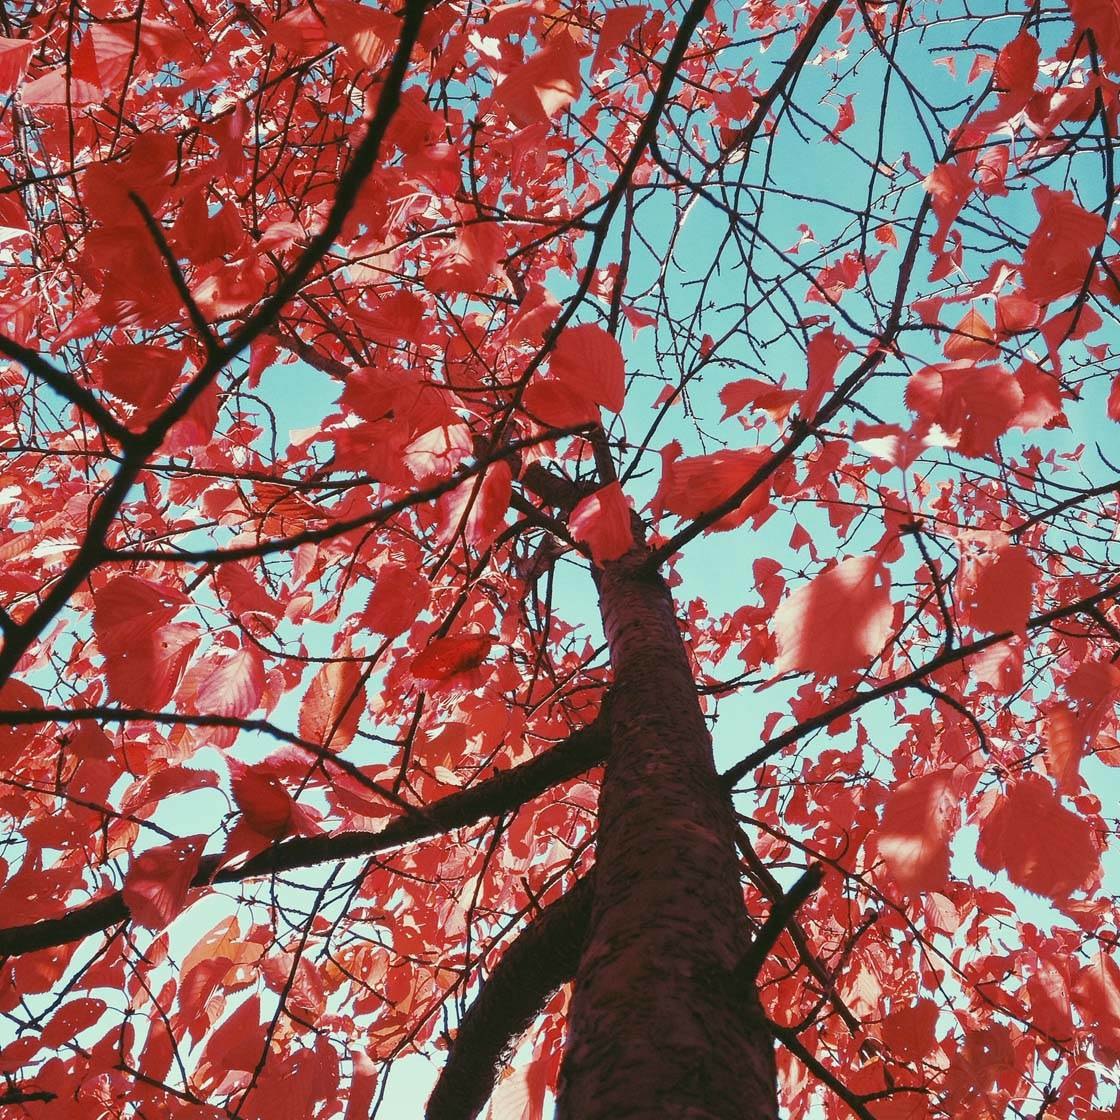
Another technique is to shoot straight up through the canopy. On a lucky day you’ll find a tree that will let the blue sky through the canopy and you suddenly have a vibrant, abstract piece of tree art!
7. Photograph Fallen Leaves
During fall when the leaves have fallen to the ground, you may think there’s no point photographing trees, but this is actually a great time for wonderful photo opportunities.
The fallen leaves will give you a wide range of options. Photograph the leaves lying on the ground. If they’ve just fallen their colors will carry the image on its own.
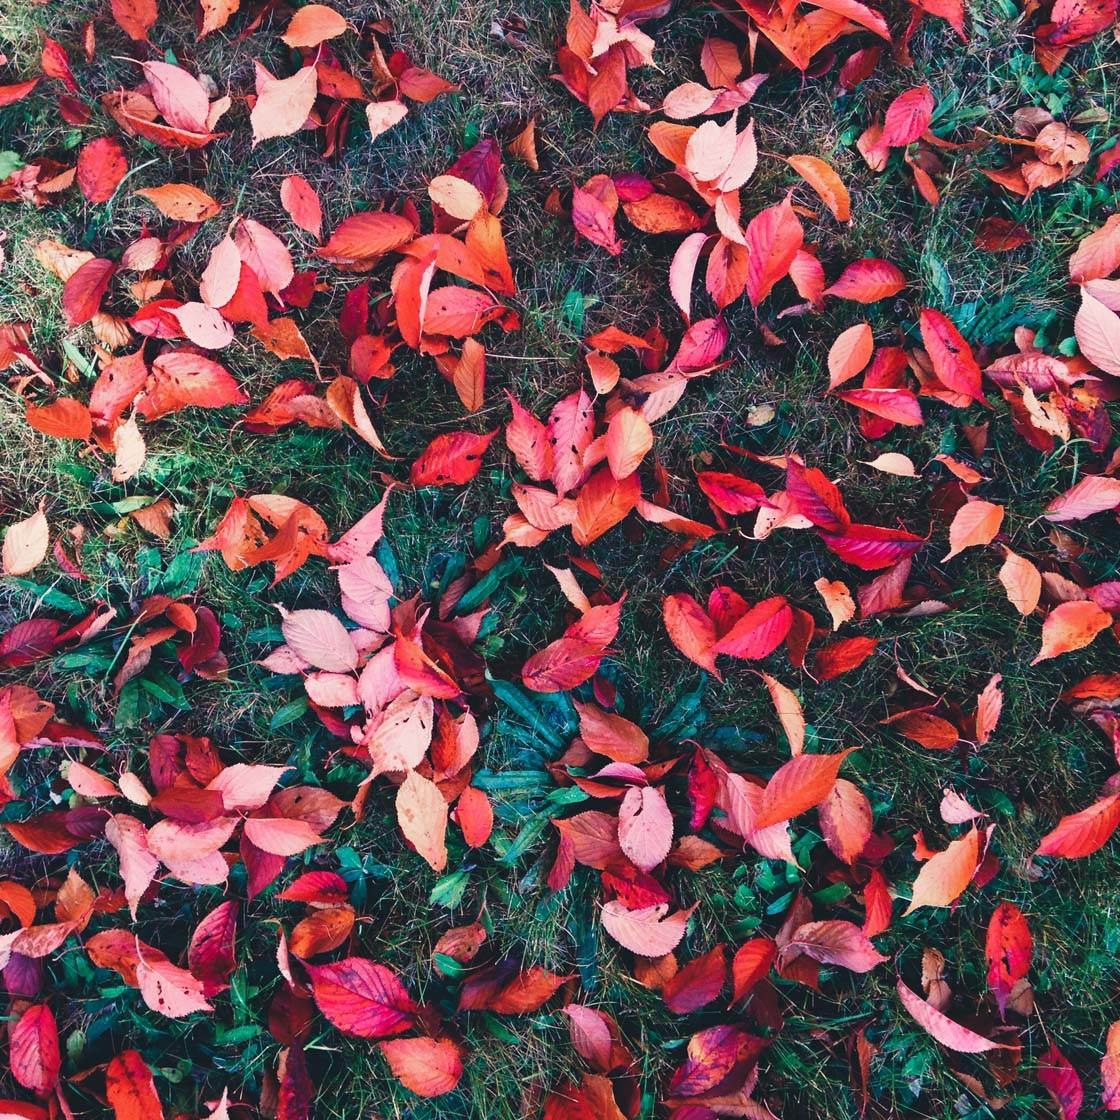
You could place a person on the ground for a stunning portrait with the colorful leaves as the background. Photographing a water puddle with fallen leaves in it will create a glossy and exciting effect, a lot like an oil painting.
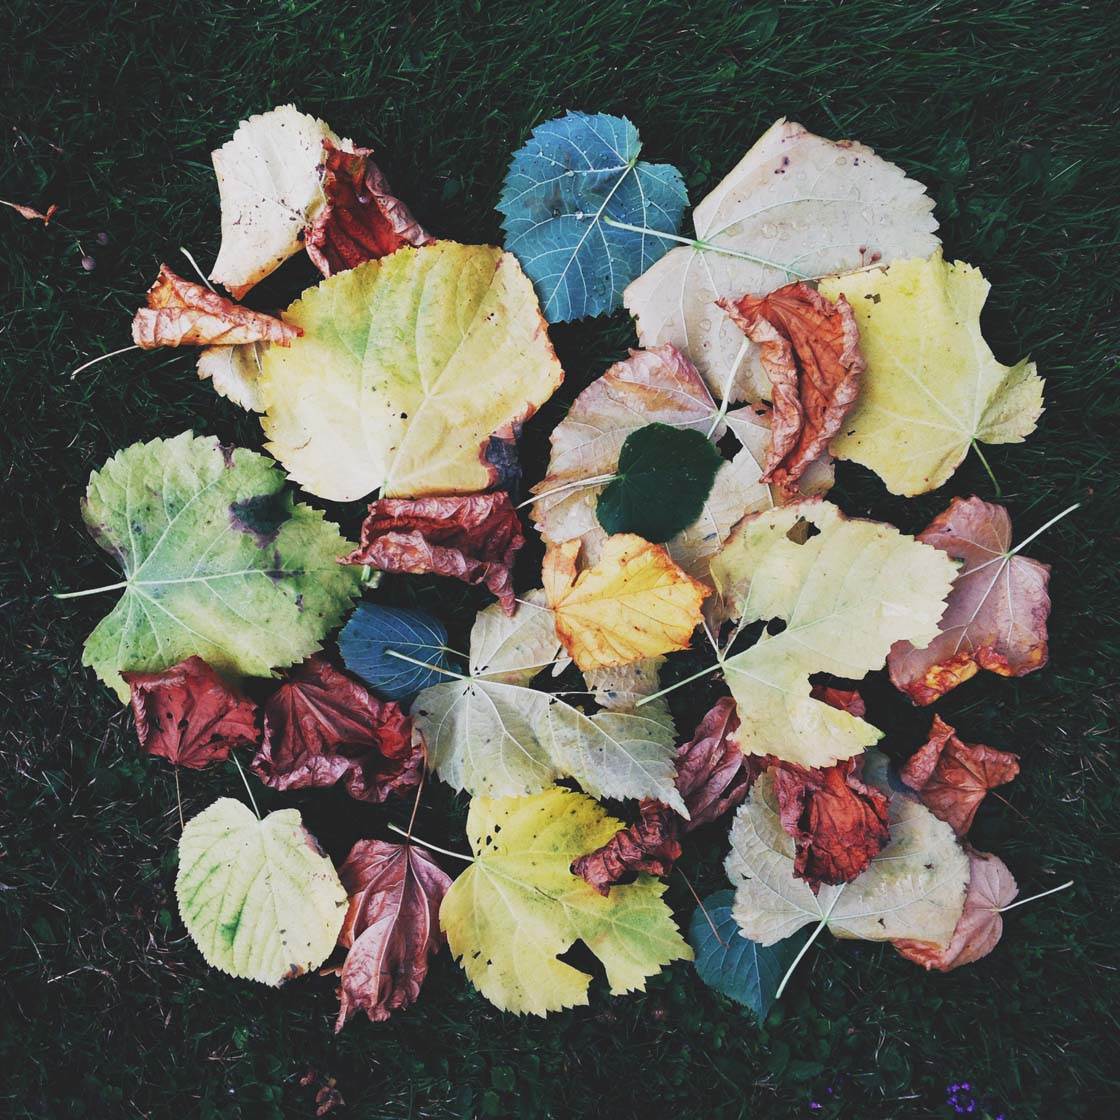
You could pile the different colored leaves up, create patterns and collages with them, or write something. The possibilities are endless!
8. Use Trees As A Background For Portraits
Trees don’t always have to be the main subject of your photo. They also make really interesting backgrounds for portrait photos of people, creating a natural and lively image with wonderful detail and color.

I often like to position a person close to the tree and fill the frame with the leaves. This creates a stunning background and frame around your subject.
Think about how the color of the person’s clothing will look against the color of the leaves. You could try matching the clothing color so they blend in to the tree, like I’ve done in the photo above. Or use a contrasting color to make them stand out.
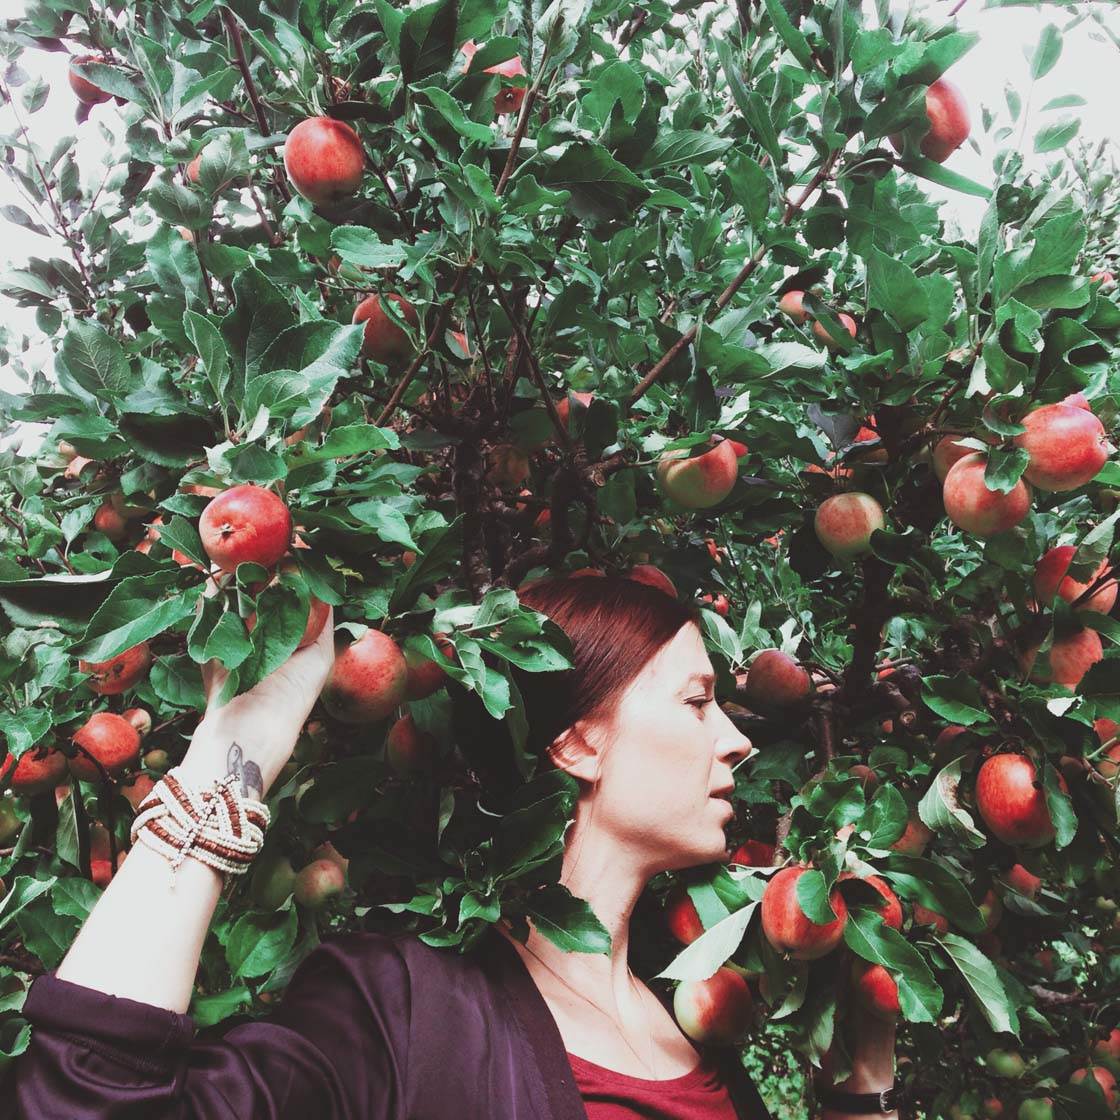
Look for trees that are in blossom or bearing fruit. An apple tree can be the perfect backdrop and will put emphasis on the season at hand.
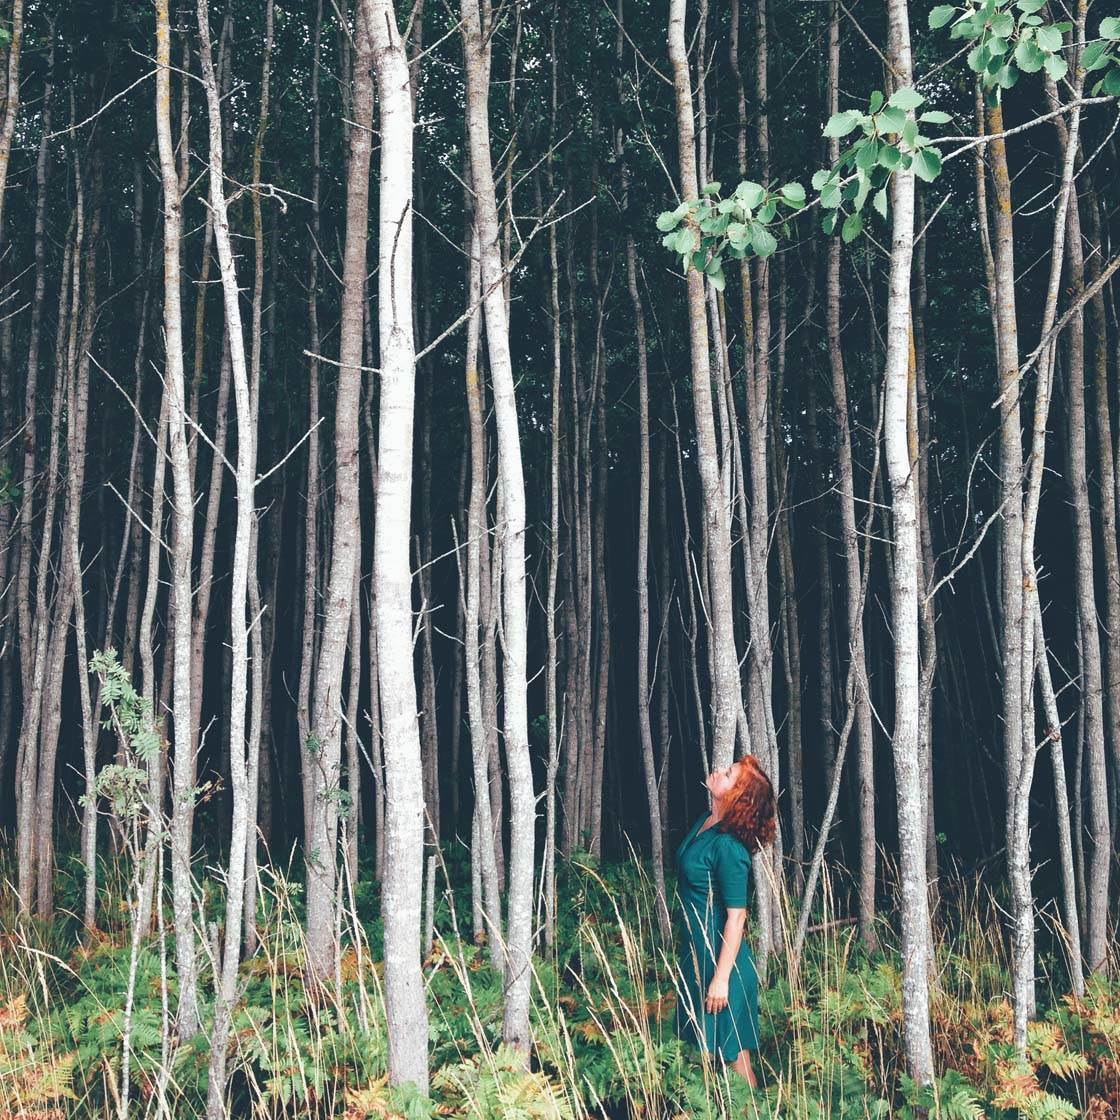
You might also want to use a group of trees in a forest as your background for a portrait photo. Shooting from a distance allows you to include multiple tree trunks to create a wonderful abstract background with repeating vertical lines.
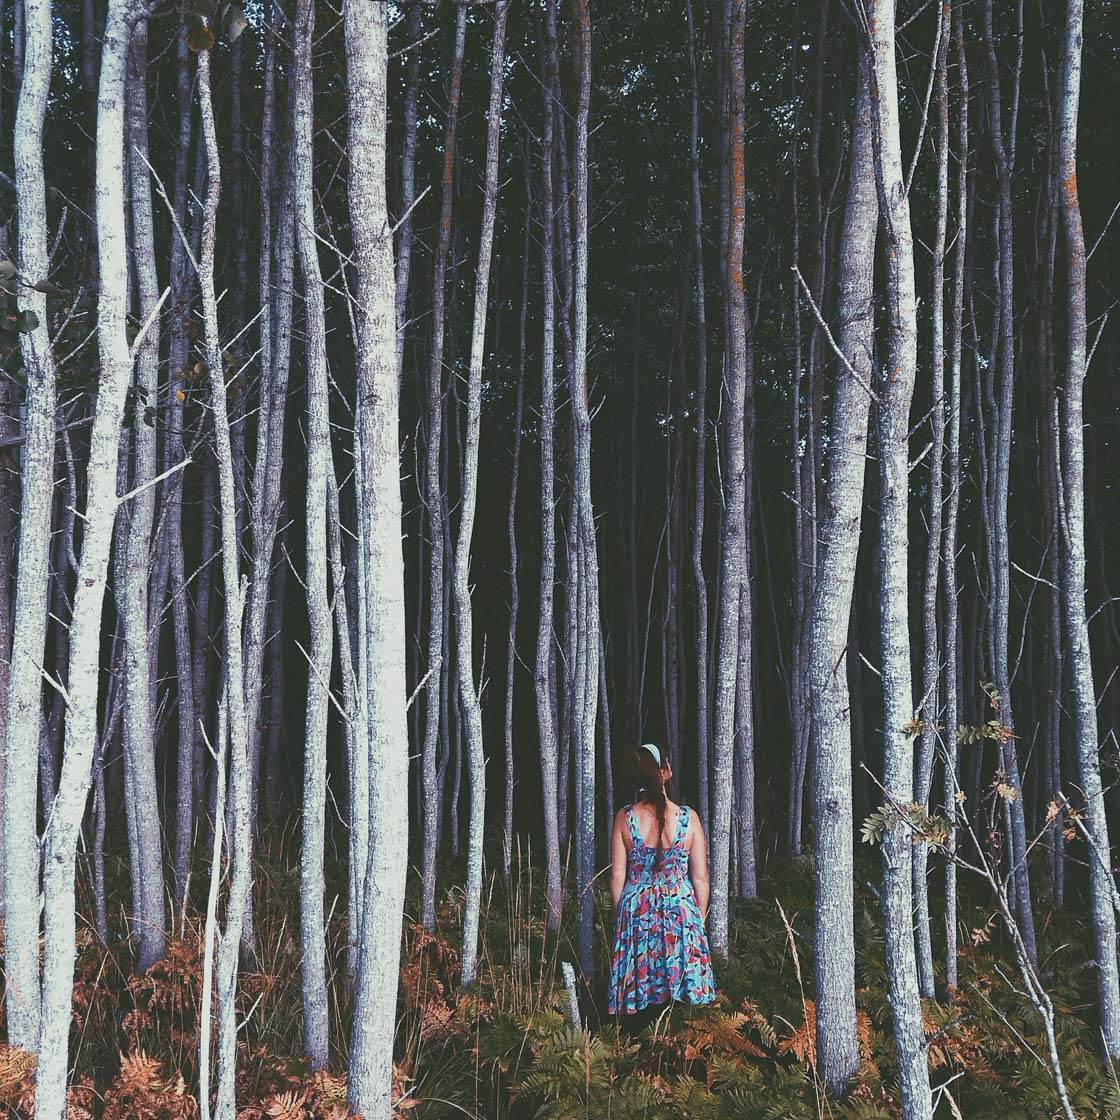
Surrounding your subject with trees in a forest adds a sense of mystery and drama to your portrait photos, allowing you to tell a story through your imagery.
9. Use Trees To Frame A Distant Subject
Using something in the foreground of the picture to create a “frame” around your subject is a powerful composition technique which has several functions.
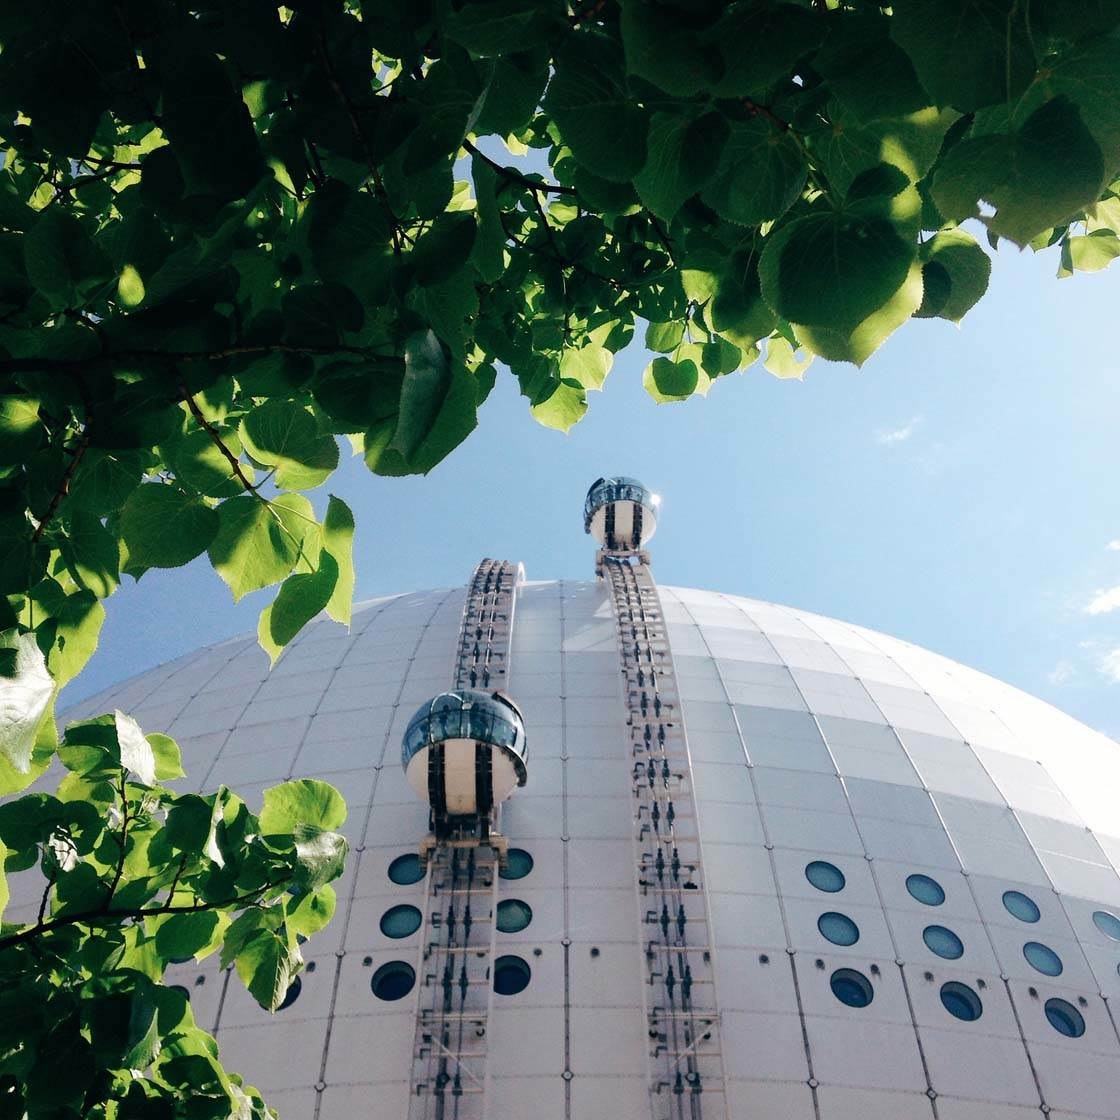
It helps to draw your eye towards the main subject and creates visual interest around the edges of the picture, just like a frame around a painting on the wall.
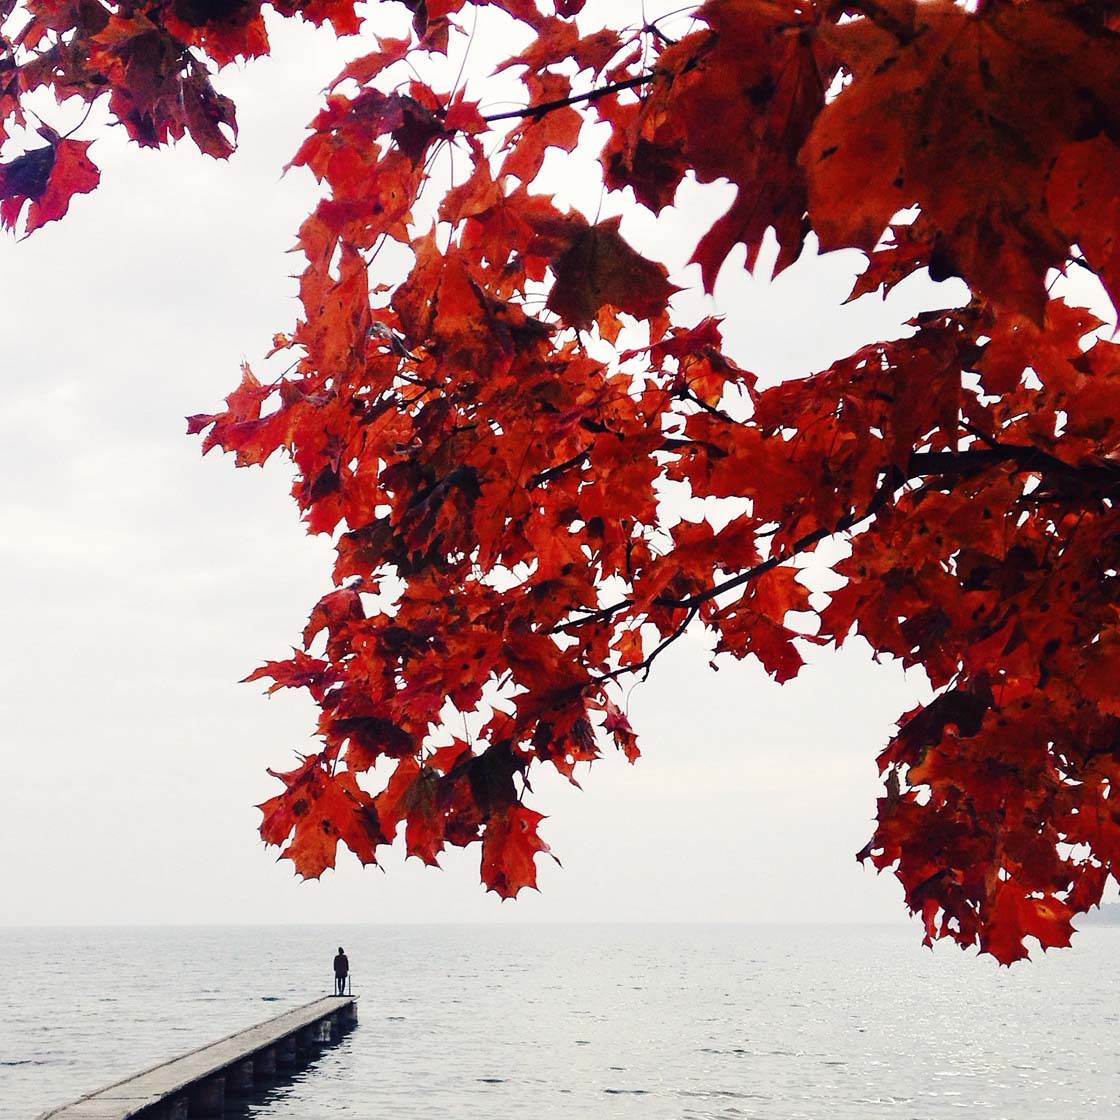
Framing also creates the much coveted scale and depth. Whenever you include something in the foreground it creates the feeling of depth. It allows the viewer’s eye to move from the objects at the front of the image towards the objects in the distance.
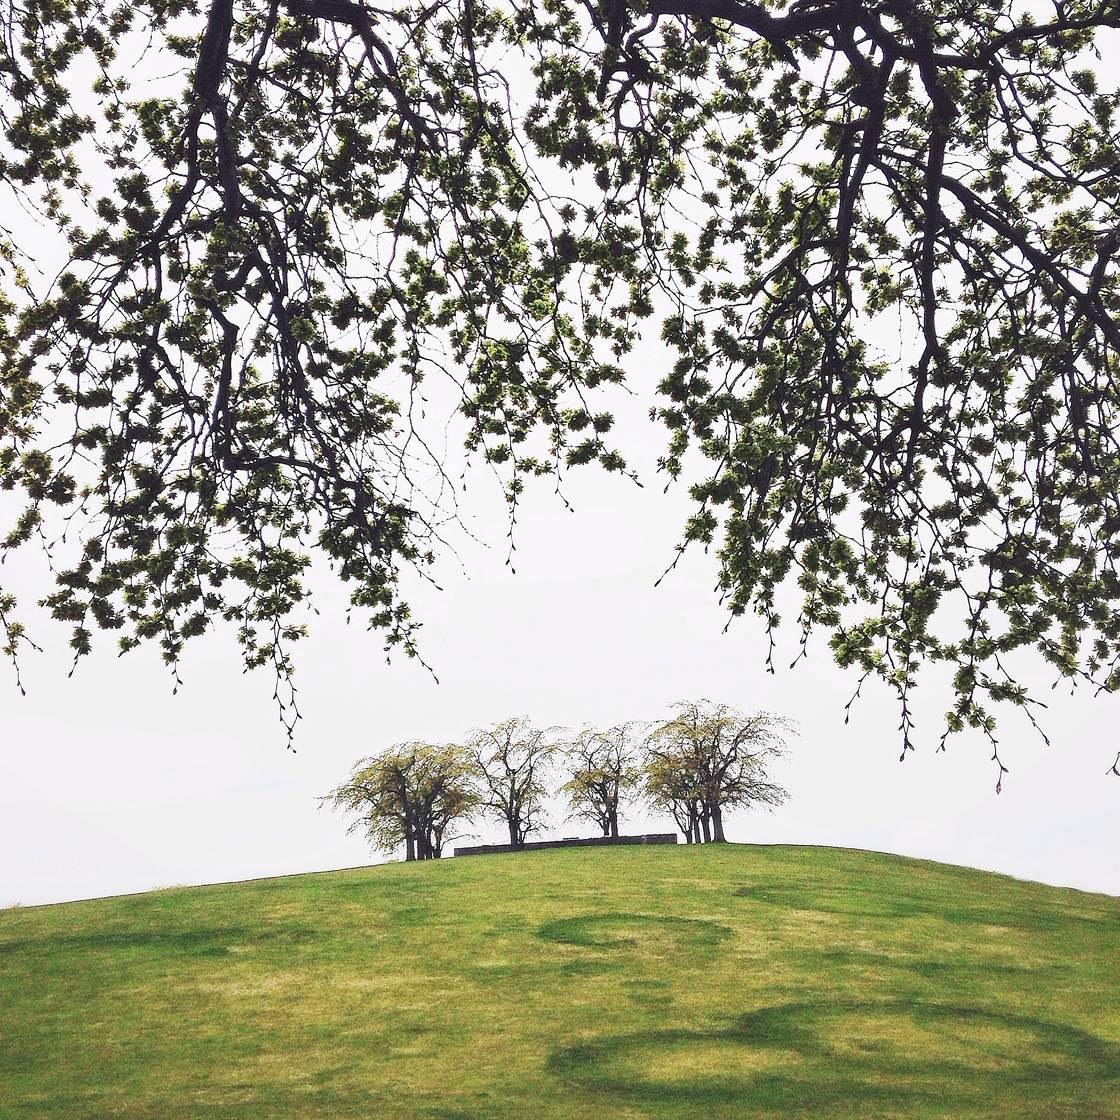
So decide what object or scene you wish to shoot, then turn your eyes from the object and search for a tree that you can stand under. Use the overhanging branches or leaves as a frame around one or more sides of the image.
10. Be Creative!
Finally, go wild and get creative with your tree photography! I always try to encourage people to explore their creative side, and in this particular case I want to introduce you to the “treehat!”
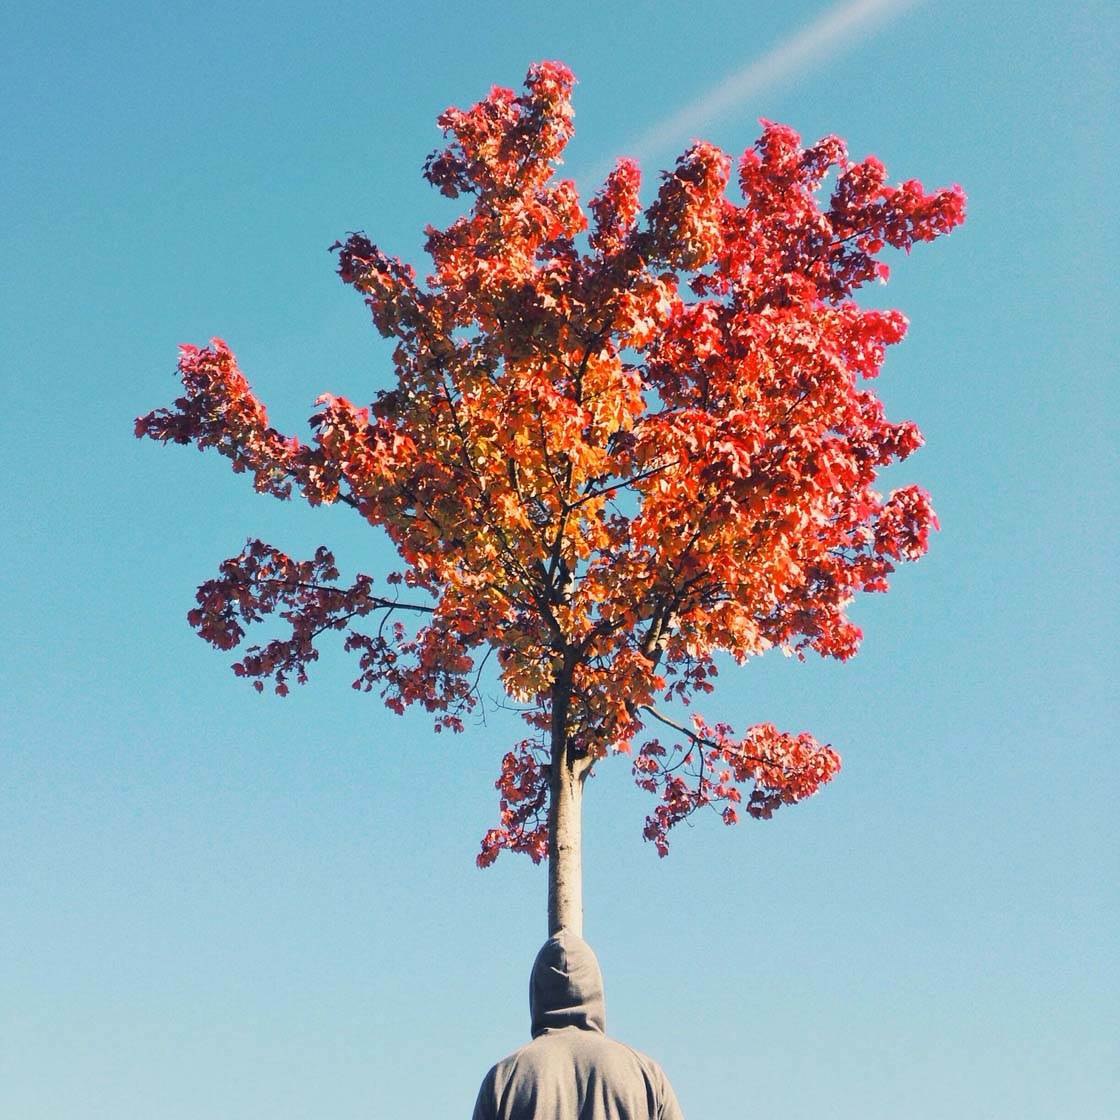
The concept is simple. Find a tree, and place a person in front of it so it appears that the tree is positioned on the person’s head (like a hat).
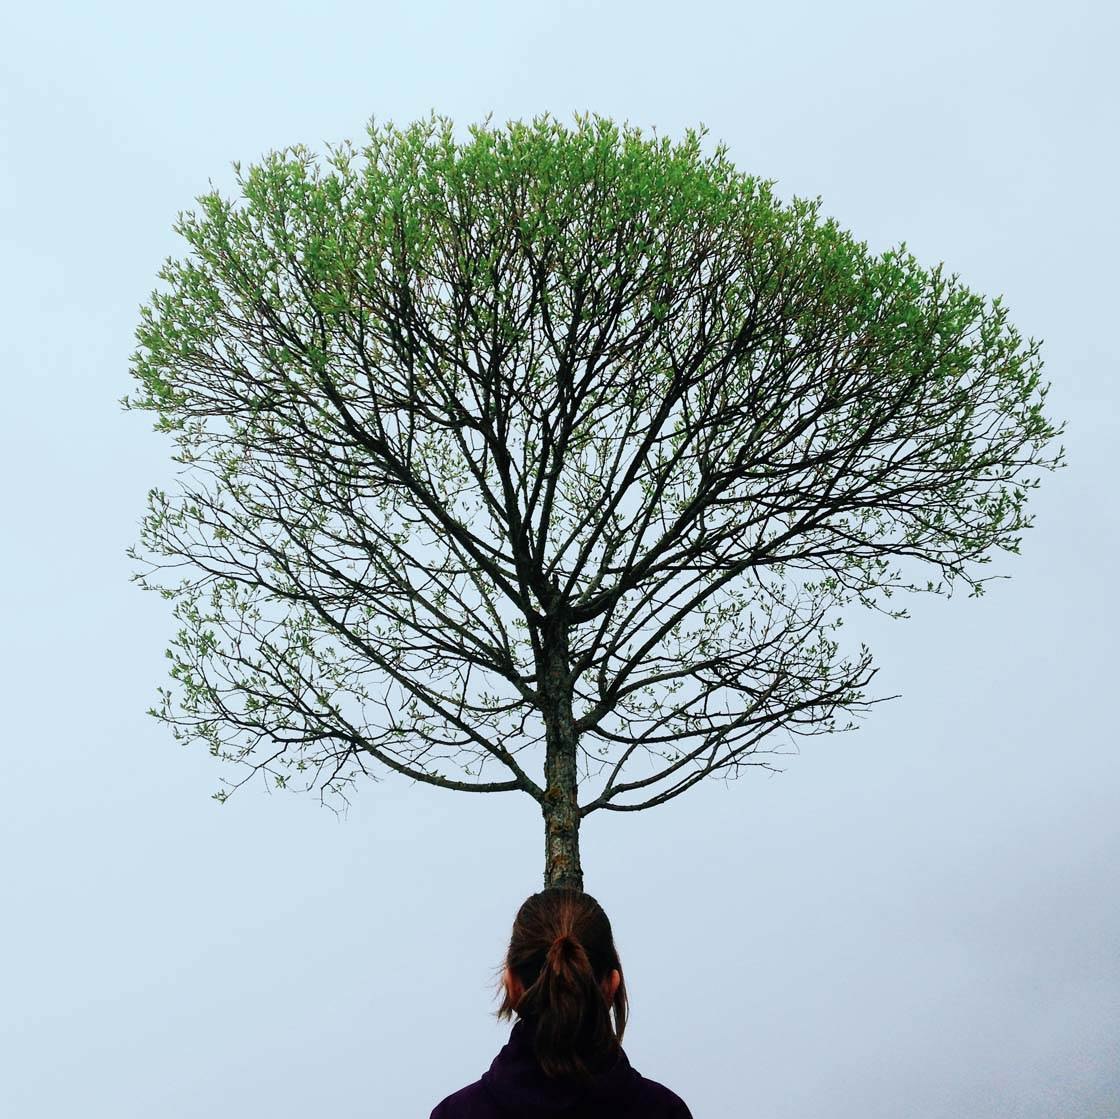
You can vary this kind of shot in many, many ways. Every season there’s a new shot to take, and there are literally millions of trees out there to practice this on.
So get out there with your iPhone, find some great trees to photograph, and have fun!


The treehat made me laugh. I am going to try that soon!
Haha.. good! It’s supposed to be a bit humorous. Good luck with the shooting!
Wonderful! The photos under point 8 are my favorite (as well as the tree hat) ! Could you please share with us what was your post production work with the photos with the woman and the trees in the forest (dis you use vsco, which filter). Great article, thanks !
Hi, thanks for your kind words. VSCO is my main editing app. I cannot quite remember exactly which filter i used. But i’m pretty sure the darker one is P5, and the brighter on is made with either the E or the A filters.
Trees are one of my favorite things to photograph. So majestic and beautiful regardless of season. Thanks for the great tips, Carl.
Thank you very much! Good luck with the shooting 🙂
Thanks for this great tutorial Calle. Lone trees are one of my favorite subjects to photograph 🙂
Thanks, Kate. I hear you, there’s not much that beats a lone tree!
Nice article. Thank you very much.
Nice article with useful tips