Photographers are often drawn to water in its many different forms, including the ocean, lakes, ponds, rivers, waterfalls and rain. From the mesmerizing stillness of a calm lake, to the exhilarating crashing waves of the ocean, water makes a really interesting photography subject. In this tutorial you’ll discover eight great tips to help you do better water photography with your iPhone.
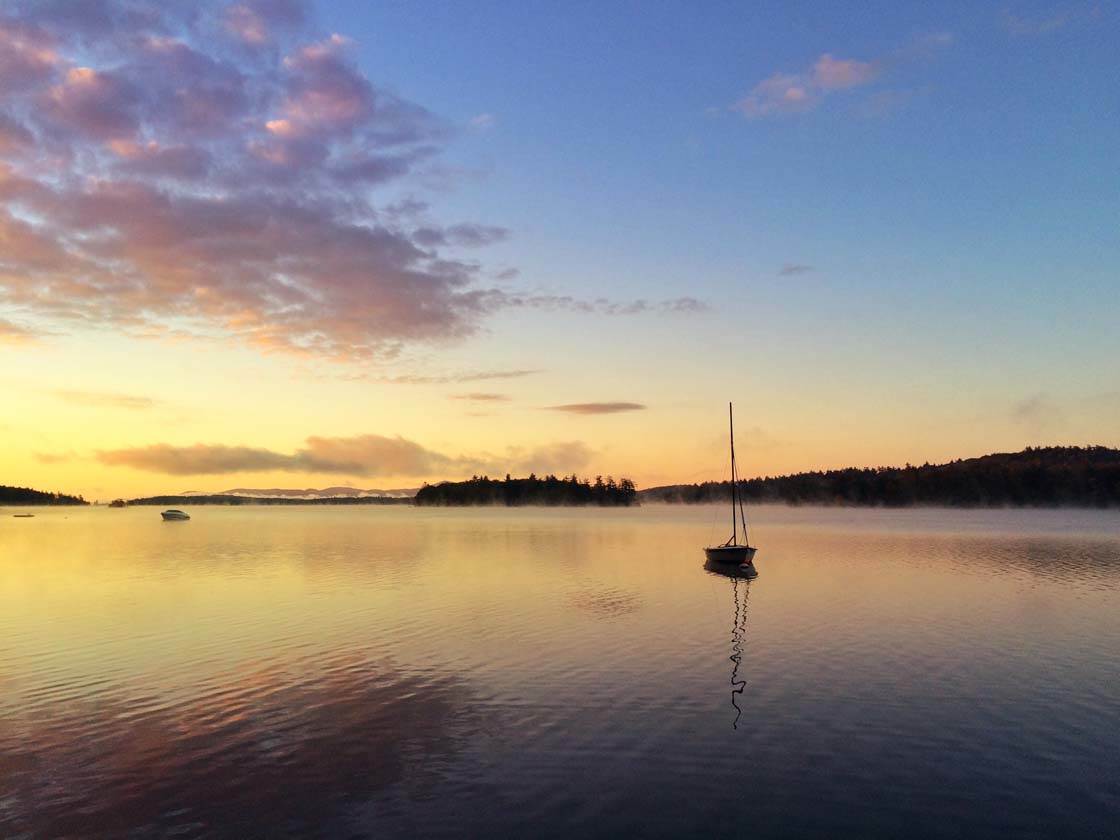
1. Connect To Your Scene
I find that connecting to my scene, before I even think about shooting, helps me develop a vision of what I want to capture. Some professionals will spend an hour connecting to their location, without touching their camera.
Often, if it’s safe to do so, I’ll close my eyes and listen to the scene, while taking some deep breaths. I also like to sit and stare at the water in the scene before me, whether it be ocean, lake, river or waterfalls. I’ll sit and allow my gaze to relax, and my vision to become unfocused.
This little trick allows me to see lines and shapes more easily. I like to use this technique when I’m going to do long exposure photos of water, because I can more easily see what lines the moving water will create. Once I see the lines, I can easily find interesting compositions.
When you’ve gotten a feel for the scene in front of you, try to come up with three words to describe your surroundings. These words can be describing how it looks, how it sounds or how it makes you feel. Then compose your shot to try to make the most of these descriptions.
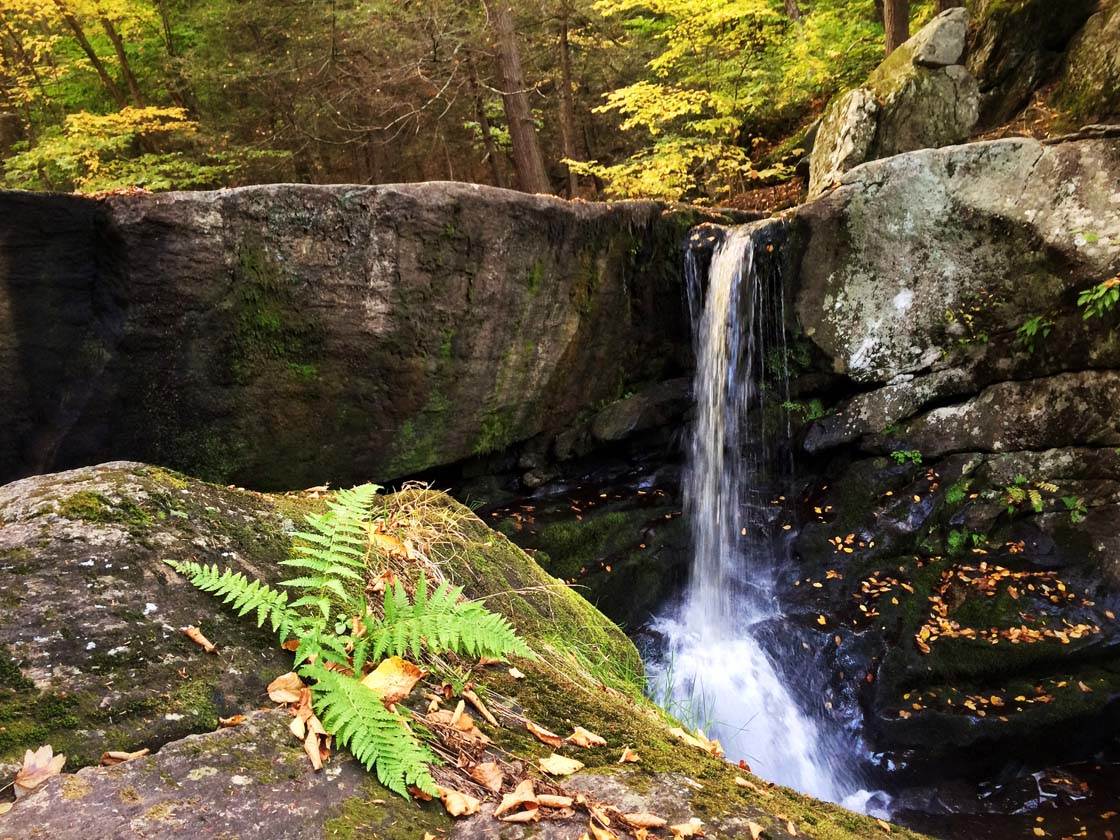
An example of three words I came up for the shot below are “falling,” “leaves” and “green.” I chose those because the falling of the water was prominent. I could hear it smacking against the rocks, so I wanted to show the water falling onto the rocks.
Leaves should be pretty obvious – it was fall in Connecticut, and there were leaves everywhere. Green was because of the ferns and the moss. I decided the fern was the perfect foreground element to showcase the green.
2. Include A Foreground Element
Water is a great subject to photograph, but usually, you’ll want to also look for a foreground element to add more interest to your image. This is a classic composition technique in landscape photography – it helps to add depth and interest to your photo.
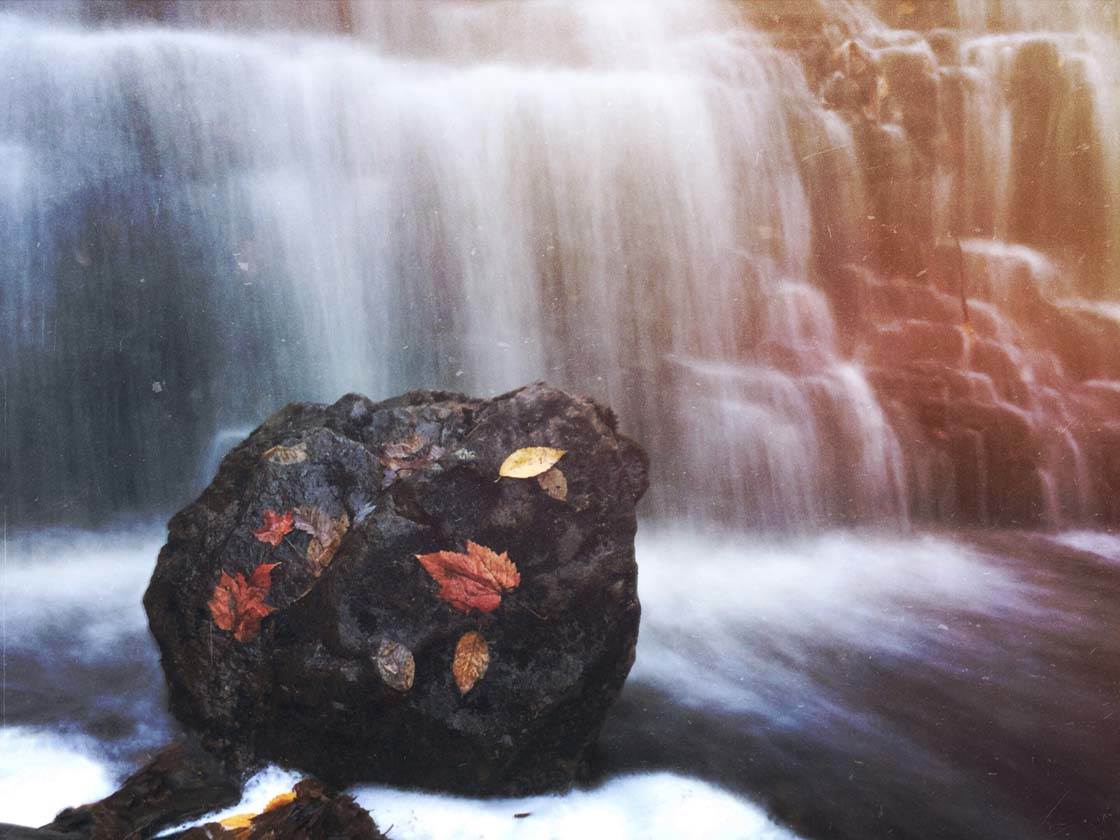
With waterfalls, I like to find a rock, and if it’s autumn, put a colorful leaf on it. In the image above, it seems other people had the same idea, because this rock already had leaves on it.
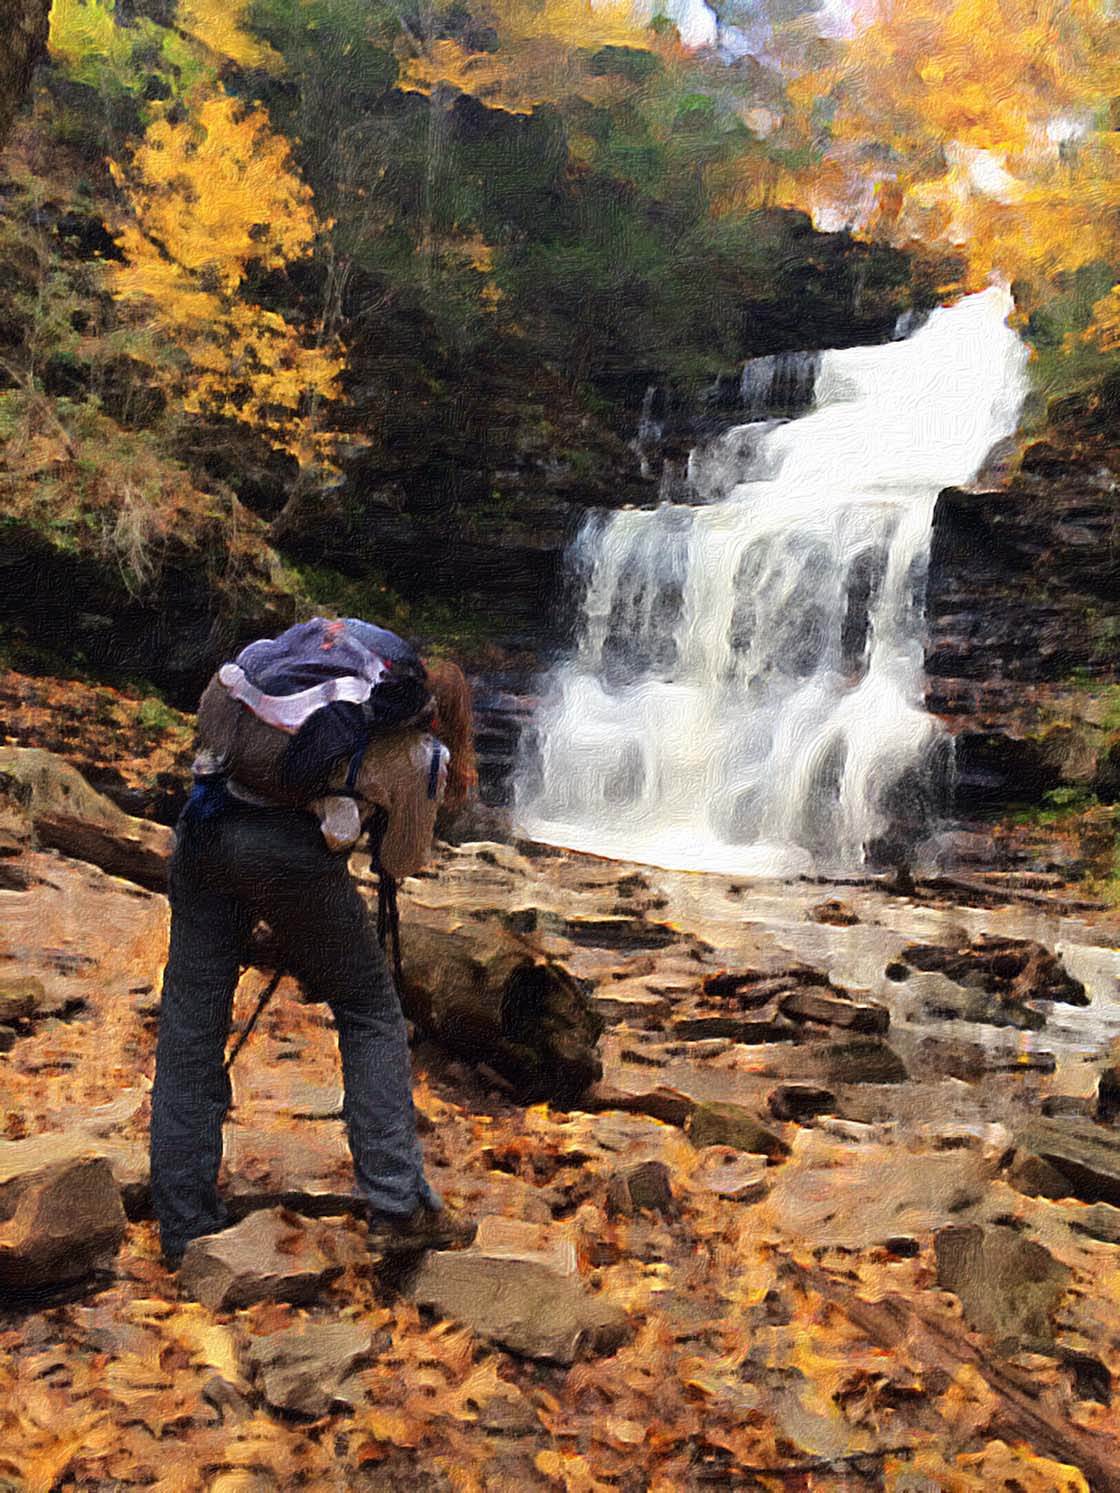
A lot of times, you’ll find other people when you’re near a body of water. I like to add people in my foreground sometimes, to add a sense of scale, a bit of interest and possibly a story. I seem to always come away with photos of my friends when we go out shooting together.
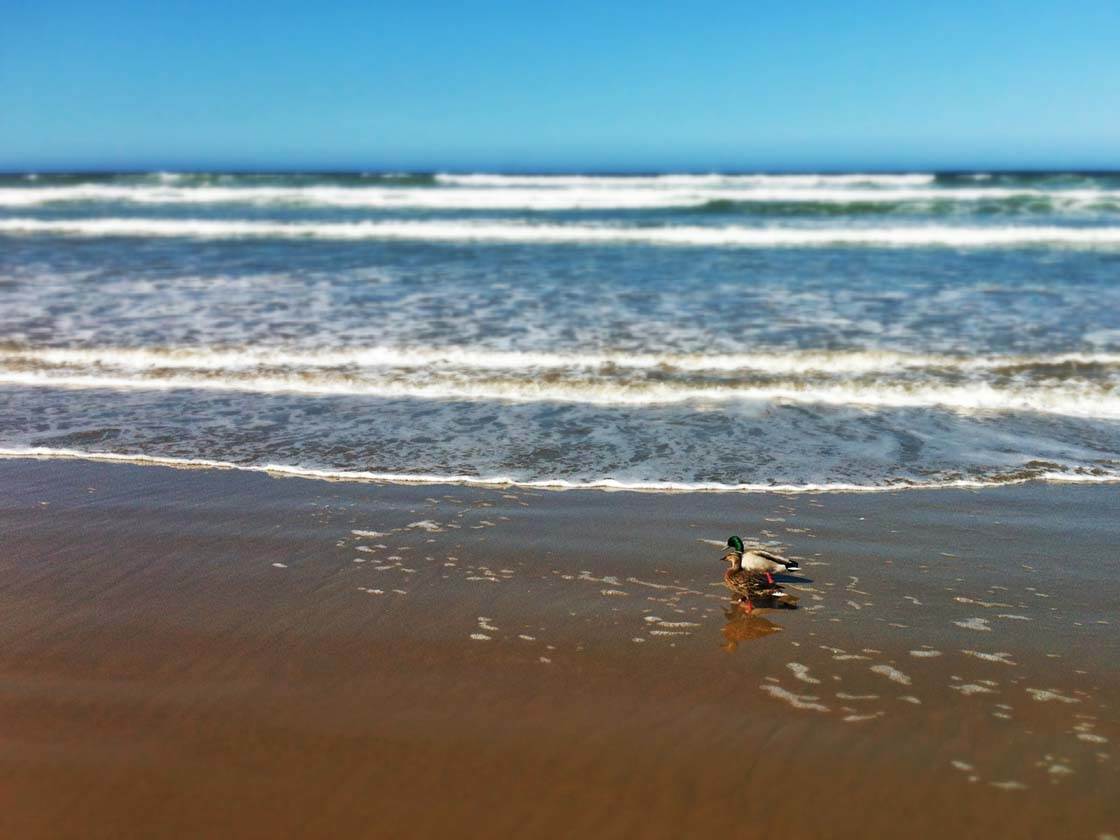
Besides people, a few ideas for a foreground element when taking photos at the beach might be animals, rocks, shells or words written in the sand. This was the only time in my life that I’ve ever seen ducks at the beach, so I knew they would be an interesting foreground element.
3. Look For Reflections
You can use reflections to create symmetry in your images, or you can skip the symmetry and just use the reflections to create an interesting image.
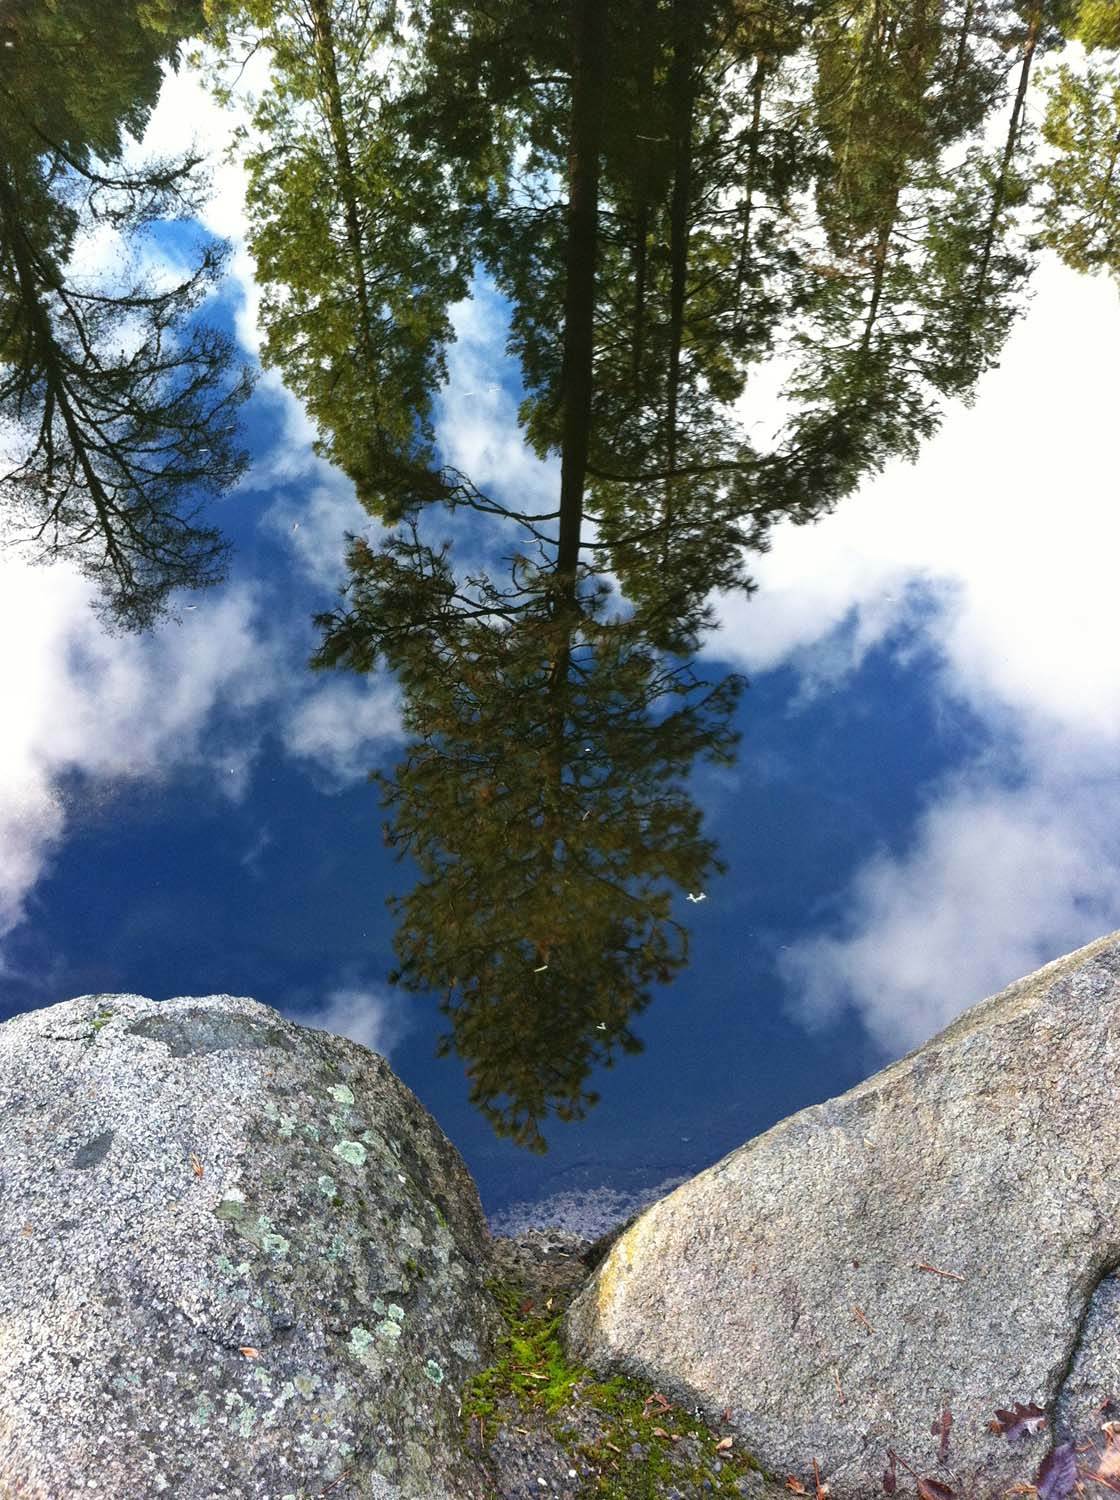
Below is a symmetrical photo from Walden Pond in Massachusetts. When there are good reflections, it’s fairly easy to create symmetry if you keep your horizon in the middle of your image.
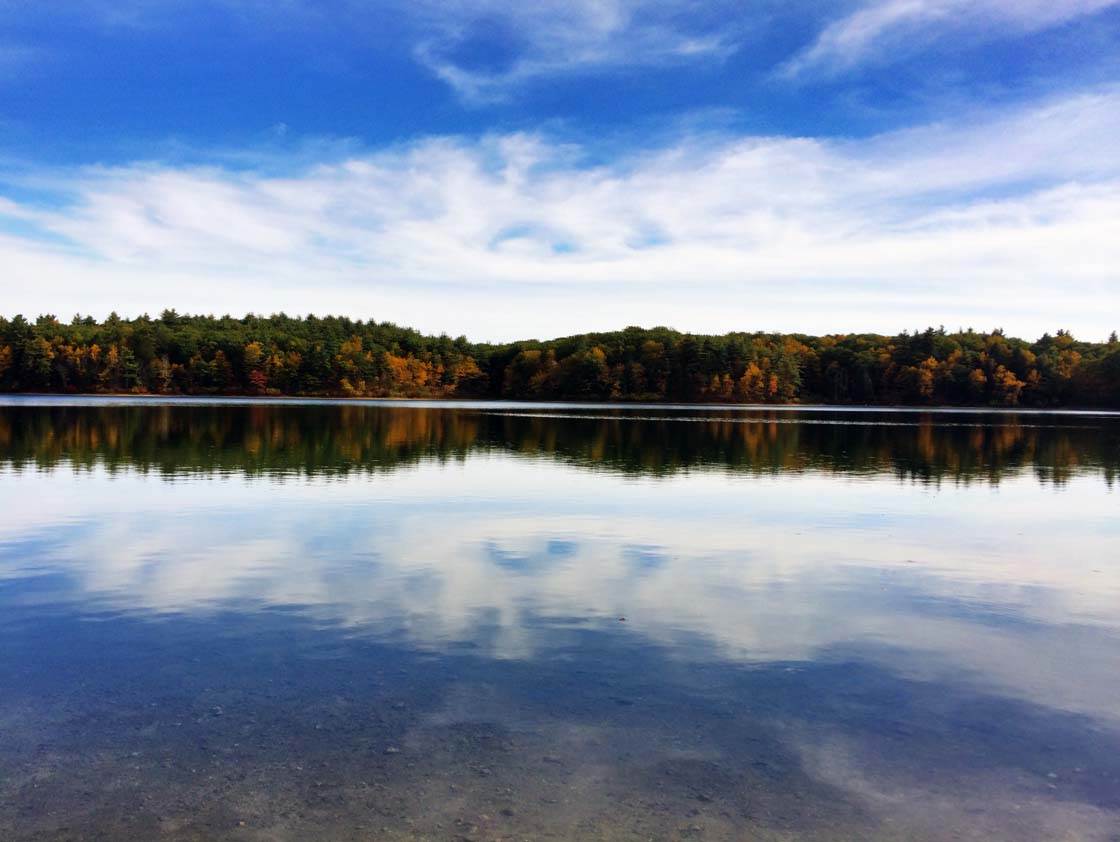
The still water in a lake or pond is great for reflections. The golden hours of early morning and late afternoon tend to be the best time to find still waters and beautiful light.
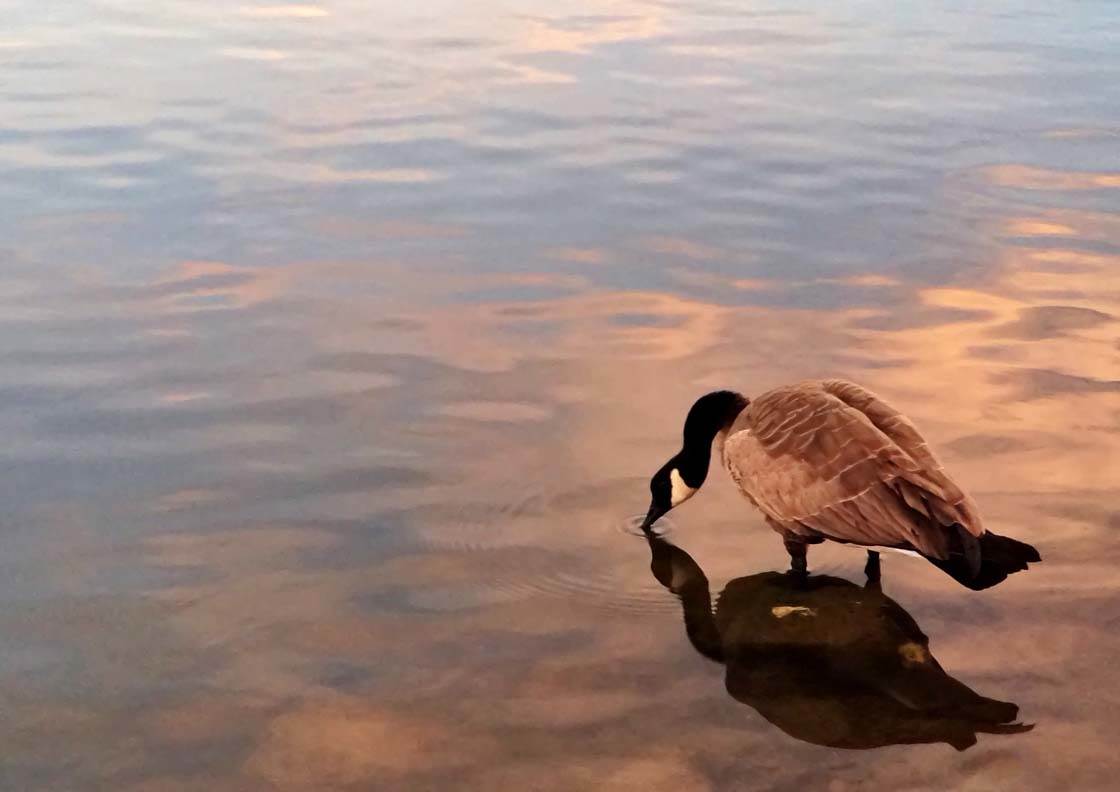
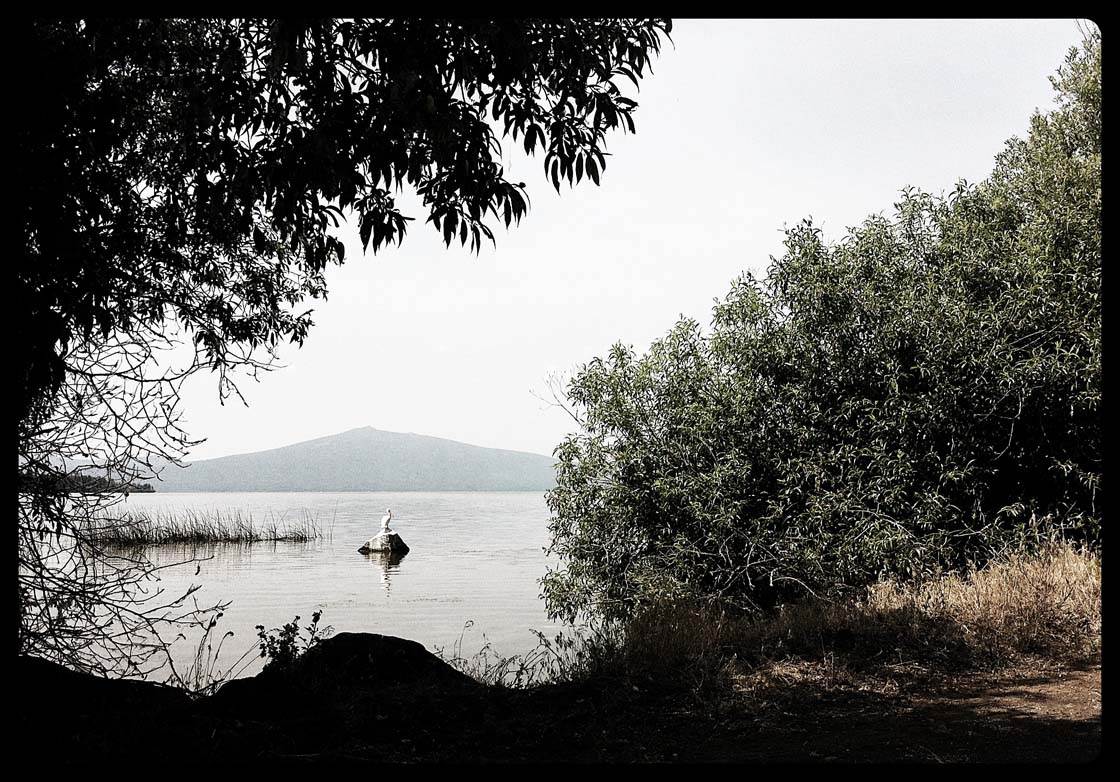
The waters tend to be more still because fewer people have been out in their boats, and the wind is often calmer at these times. This photo of a swan was taken just before sunset at a small duck pond.
4. Use Leading Lines In Your Composition
As I previously mentioned, I like to alter my gaze, relax my eyes and see the world differently. Doing this allows me to see shapes, lines and curves more easily.
Once I find lines and curves, I will use them as leading lines. If you’re not familiar with leading lines, they are lines within your image used to guide the viewer’s eye through the scene.
You can use water as a leading line to a point of interest. An easy way to find a line in water is to look for the edge where it meets land. It usually works best to compose the shot so that the line of water starts in one corner of the frame.
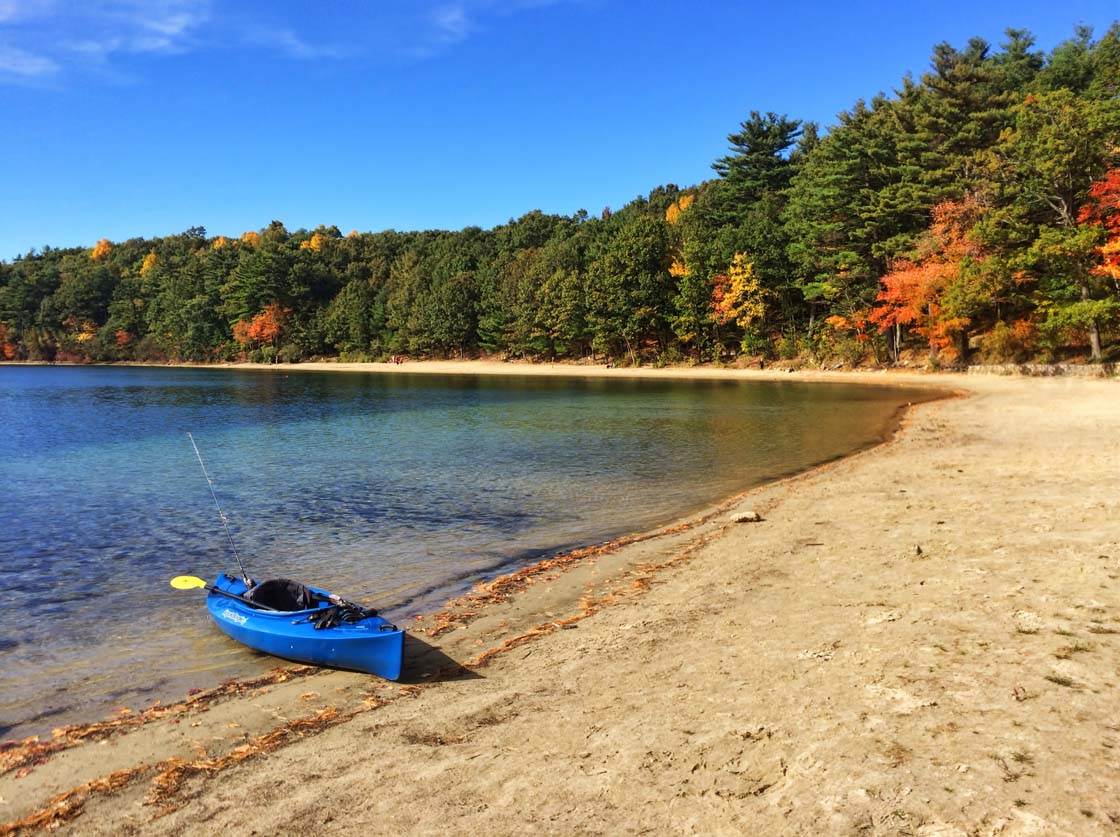
Notice how your eye follows the line of water in the image above. It starts from the bottom left corner and your eye follows the line to the blue boat, and then continues onwards towards the trees in the distance. This helps to give the image depth and holds the viewer’s interest for longer.
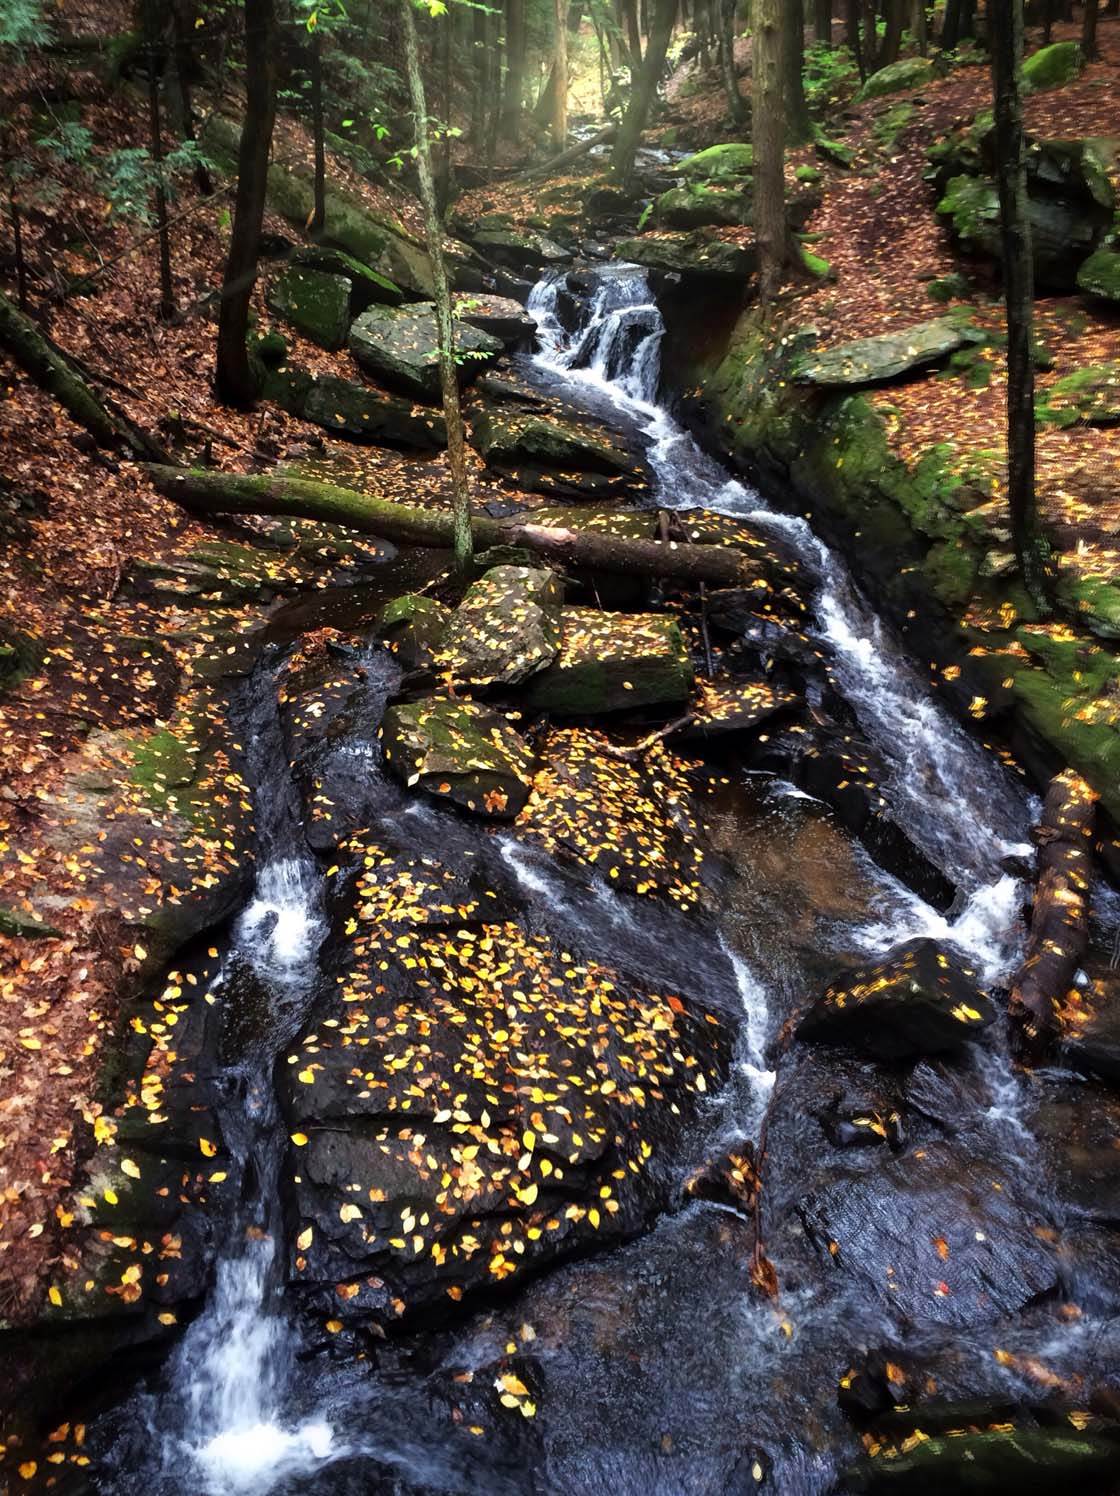
You can also find lines in waves or flowing water. In this image, I used the lines created by the water in the creek to lead the viewer’s eye from the foreground to the light I created at the top of the image.
5. Frame The Water
A great technique for creating a good composition is to find something to create a frame around the edges of the image. A lot of times when shooting water, you can easily do this with the surrounding trees or plants.
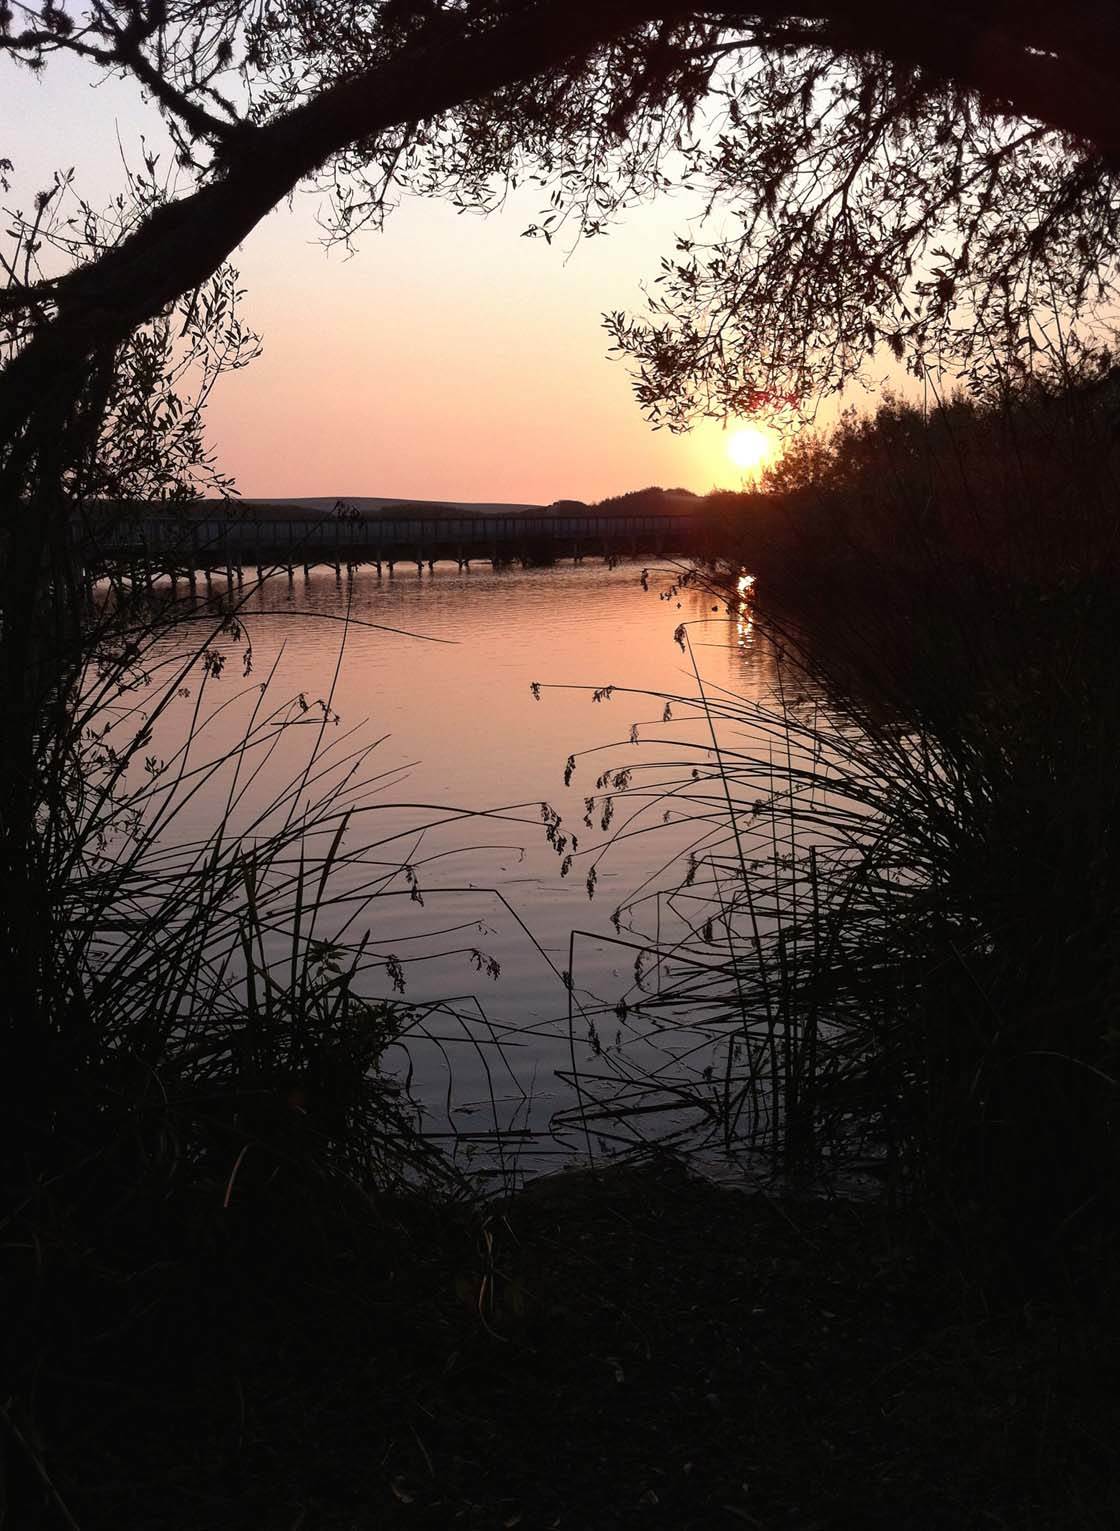
A strong composition might include both a frame and a leading line. Keep in mind that your frame can be larger than just around the perimeter of the image. A large amount of empty negative space can actually create a leading line to the water.
6. Use Long Exposure Apps
Long exposure apps are great for giving you that silky water look by capturing your scene using a slow shutter speed. Slow Shutter Cam and LongExpo Pro are just a couple of apps you can use to choose your own shutter speed. LongExpo Pro also include tools to help you get a sharp image.
The most important thing you need to know about using long exposure apps is that you have to keep the camera as steady as possible. I recommend using a tripod for iPhone.
If you don’t have a tripod, you could shoot handheld and use the magic sharpener tool in LongExpo Pro to sharpen parts of the image that got blurry from camera shake.
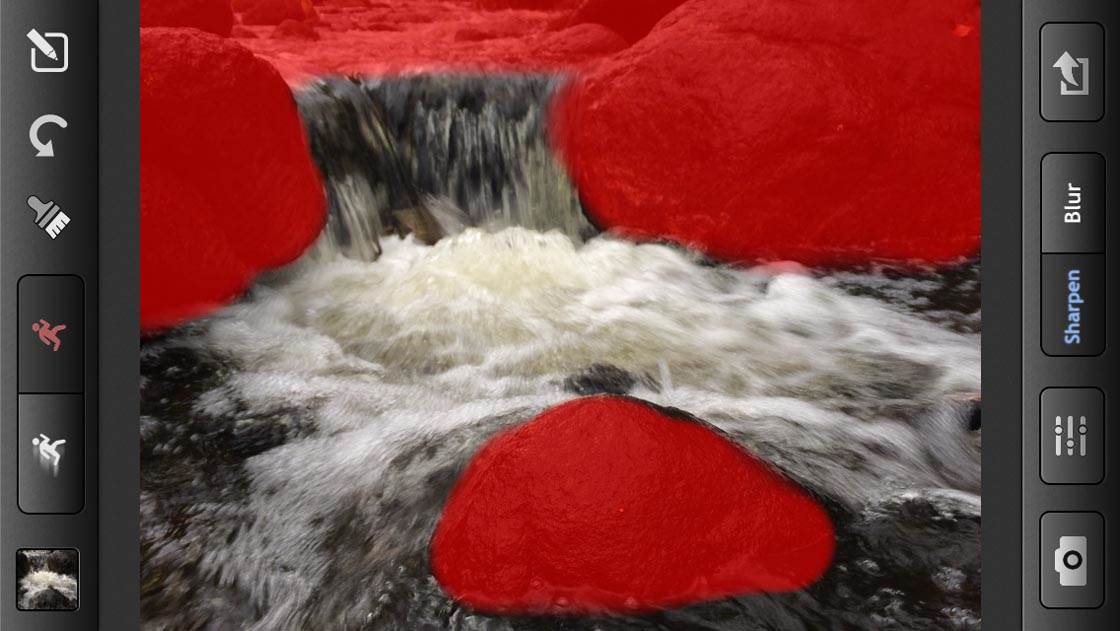
This is a mask that I made in LongExpo Pro, to paint sharpness back into my image. It’s fairly straightforward, and easy to see what you’re working on. After a quick edit in Snapseed and Mextures, below is the final long exposure image.
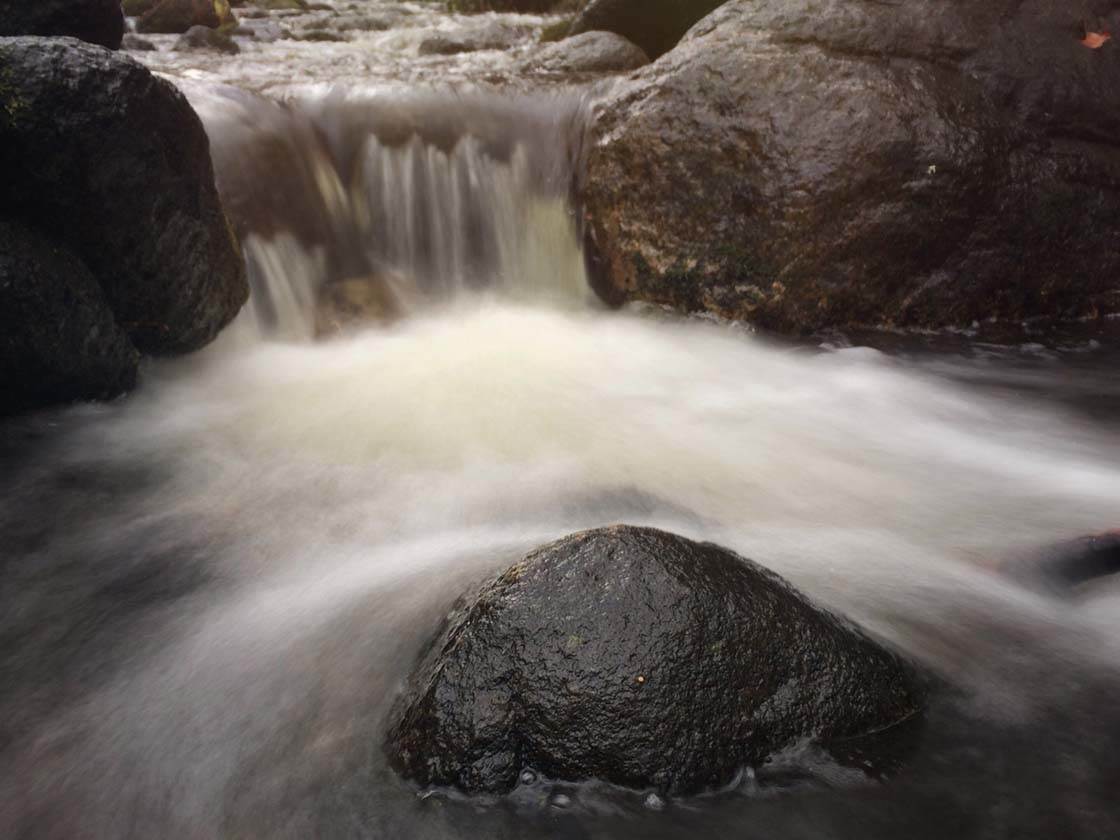
The downside to LongExpo Pro is the camera resolution is only 1440 x 1080, but you can save at two, three, or four times that size. You can be sure to see the image quality degrade the bigger you enlarge it.
Slow Shutter Cam, on the other hand can shoot at full resolution, but it lacks the sharpening feature that I like in LongExpo Pro.
7. Create Abstract Images
Using a long exposure app, you can create interesting abstract images with water. For example, if you’re at the beach, simply open your long exposure app with a shutter speed of something between 1 and 4 seconds, then pan the camera horizontally while taking the photo.
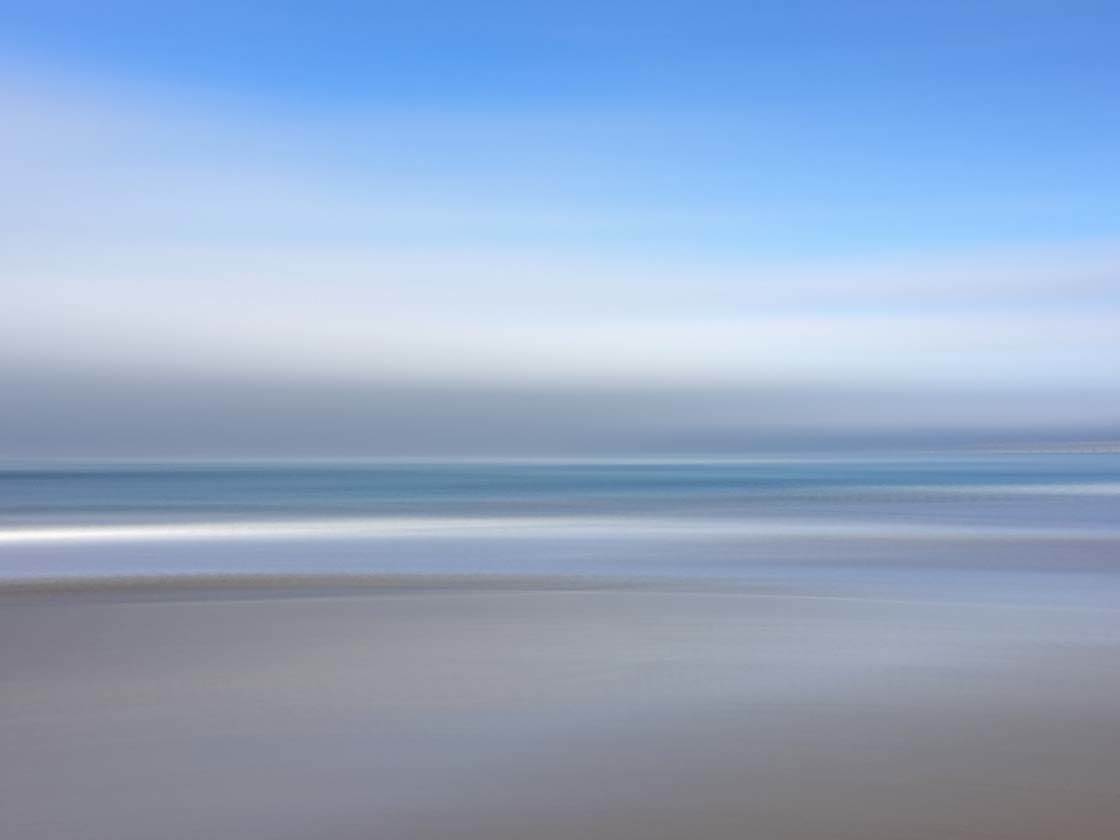
You can also try moving the camera in any other direction, or a figure of eight motion, just to see what happens. See what you like best – there’s no proper way to do abstracts.
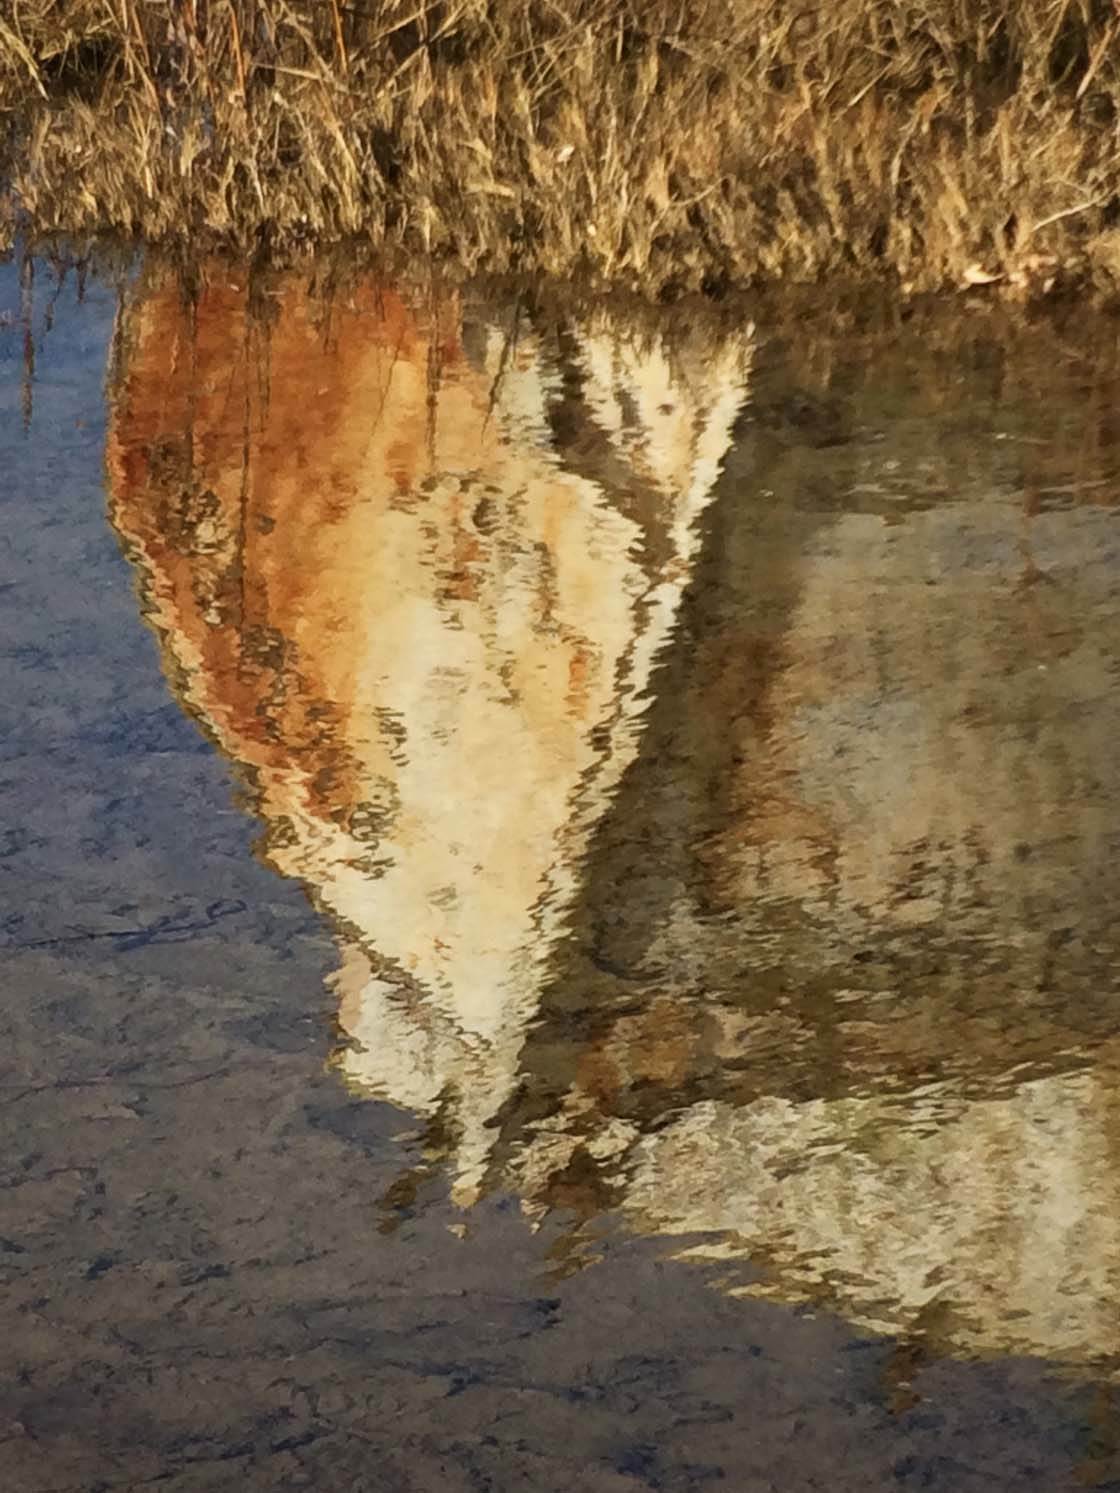
Sometimes you can even find interesting abstract or painterly images reflected in the water. This is a reflection of a shipwrecked boat in California.
8. Weather Conditions Matter
The most important element of a photography is light, because without it, there is no image. The quality of light varies depending on the current weather conditions, so it’s worth considering how the current weather conditions will affect your photo.
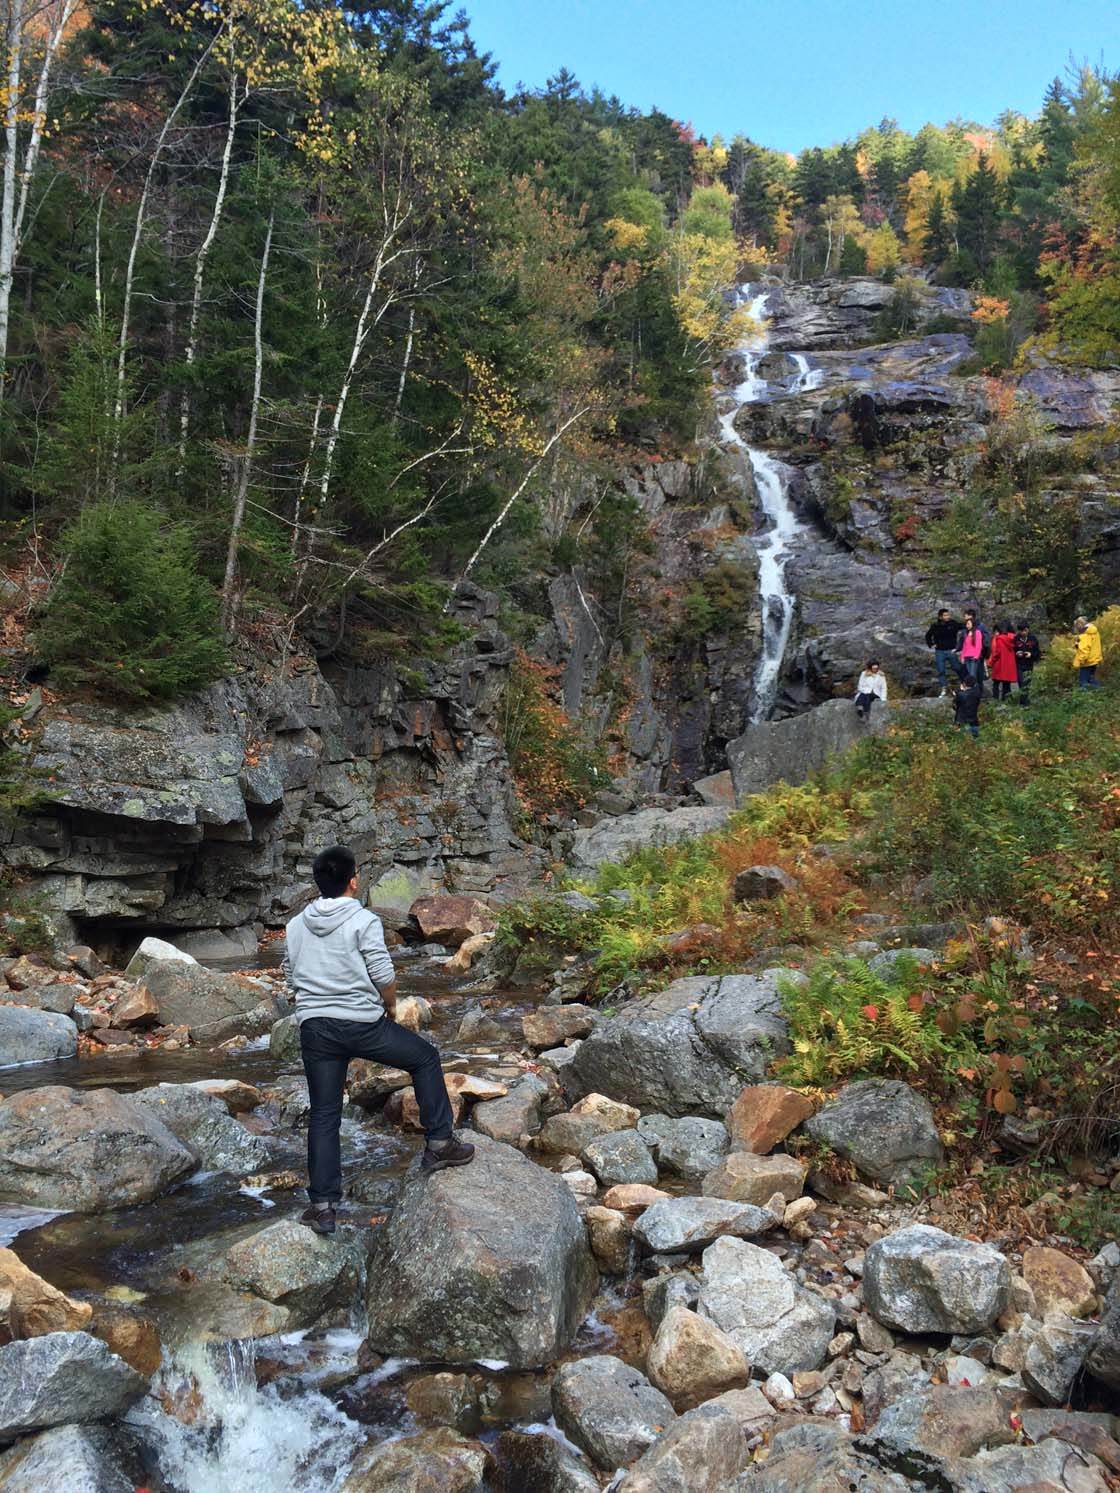
Overcast days tend to give us nice soft, even lighting, which is great for shooting rivers and waterfalls. This even light allows your camera to capture more details in the scene because the dynamic range of light is smaller than on a bright sunny day. In other words, you won’t have really dark shadows or bright highlights, like you would on a sunny day.
This first image below is an example of even lighting that was created when a big cloud went in front of the sun, which was behind me. There are no overly dark shadows or bright highlights – everything has good exposure.
Below is the same scene, using a slightly different composition, with direct sunlight. Notice that the shadows on the right side of the image are a little distracting and the waterfall is over-exposed.
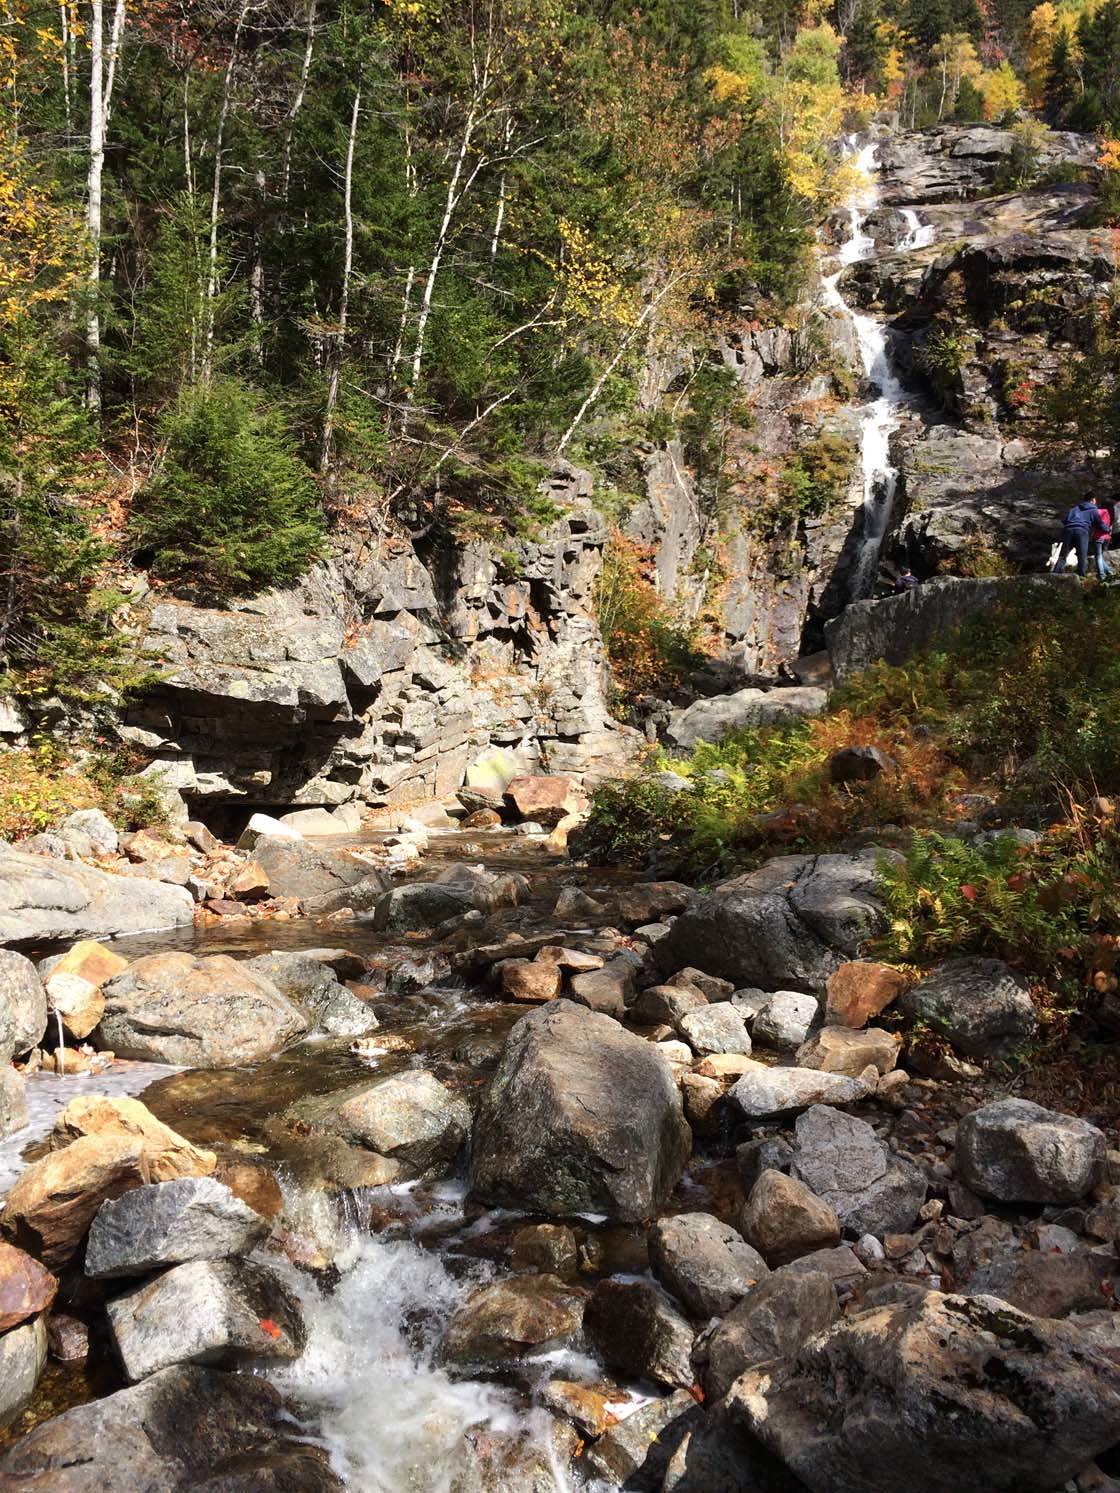
I always prefer a low contrast scene with even light (like the first image) for this type of shot, because it allows me to get everything in the scene correctly exposed, without any under or over-exposed areas.
Overcast light isn’t great for all bodies of water, however – harsh light and dramatic skies can add interest and drama to an image. It all depends on what kind of atmosphere you want to convey in your image. Practice shooting in different types of weather, and you’ll soon learn how it will affect the final image.
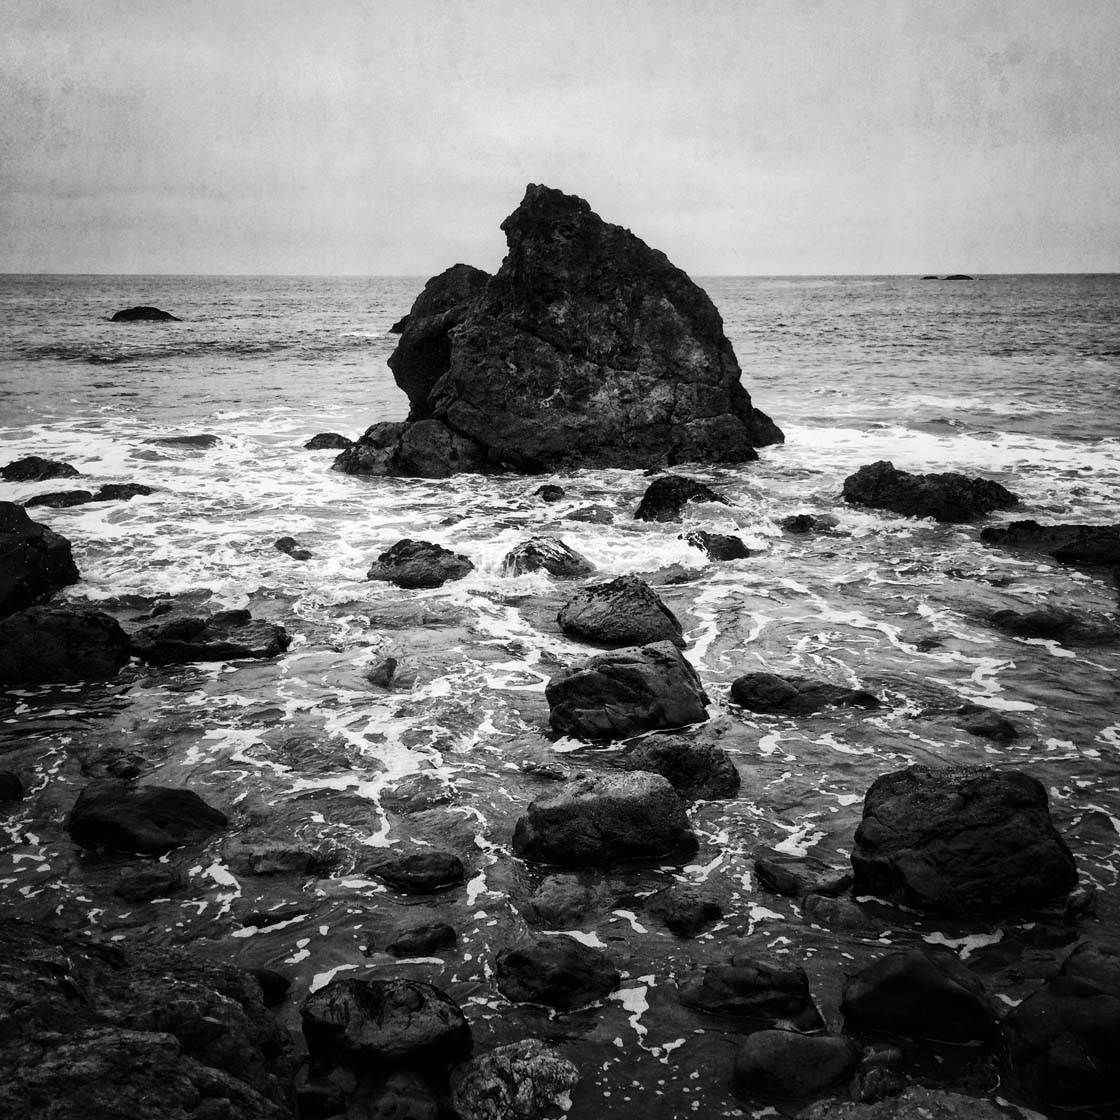
When capturing bodies of water with sky included in the frame, I prefer texture and drama in my sky – something a clear blue or plain grey sky don’t provide. If there are no interesting or dramatic clouds in the sky and I have to make do, I’ll try a black and white image, and add some texture in post processing.
Hopefully the above tips will help you to think more carefully about how you compose your water scenes, in order to make the most of the subject and its surroundings.
The great thing about water is it’s always there, so you have plenty of time to explore the scene, trying out different compositions and shooting in different types of light.


Thanks for these great tips David! I love those reflection photos 🙂
It’s very interesting, thank you very much for the information.
Glad you found the article useful Anju 🙂
Great..i am loving your articles
Glad to hear you’re enjoying our tutorials Astha 🙂
Great article with lots of nice tips. Only thing is, that’s a Canada Goose, not a swan. 😀