Do you want to take incredible photos of water on iPhone? Water photography can be extremely rewarding–if you know what to do! In this article, you’ll discover 7 tips for stunning water photography. You’ll come away with the ability to take unbelievable water photos–photos that you can be proud of.
1. Photograph The Sea For Compelling Water Photography
Do you want to create photos of water that really draw in the viewer?
There’s one simple trick you can follow to create photos of water that are truly compelling…
Take photos of the sea.
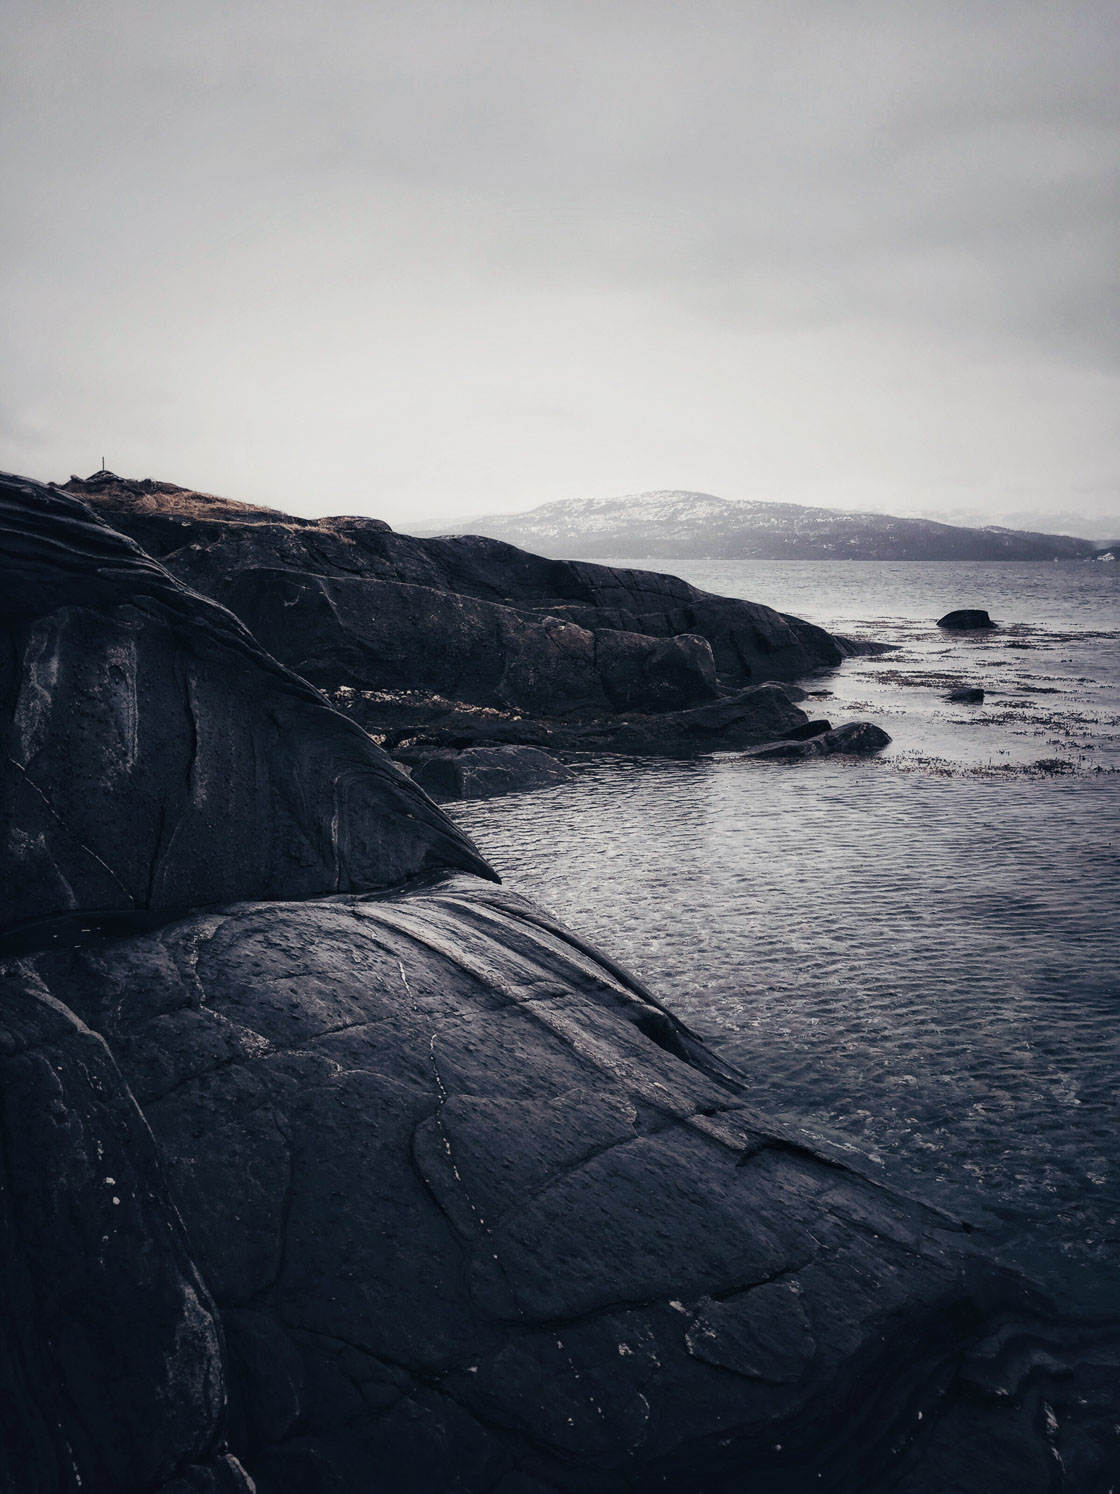
But why choose the sea? After all, there are so many potential water photography subjects. What makes the sea so special?
The sea is great for a few reasons.
First, the sea varies constantly. It’s always changing–and this makes for a never-ending stream of photographic opportunities!
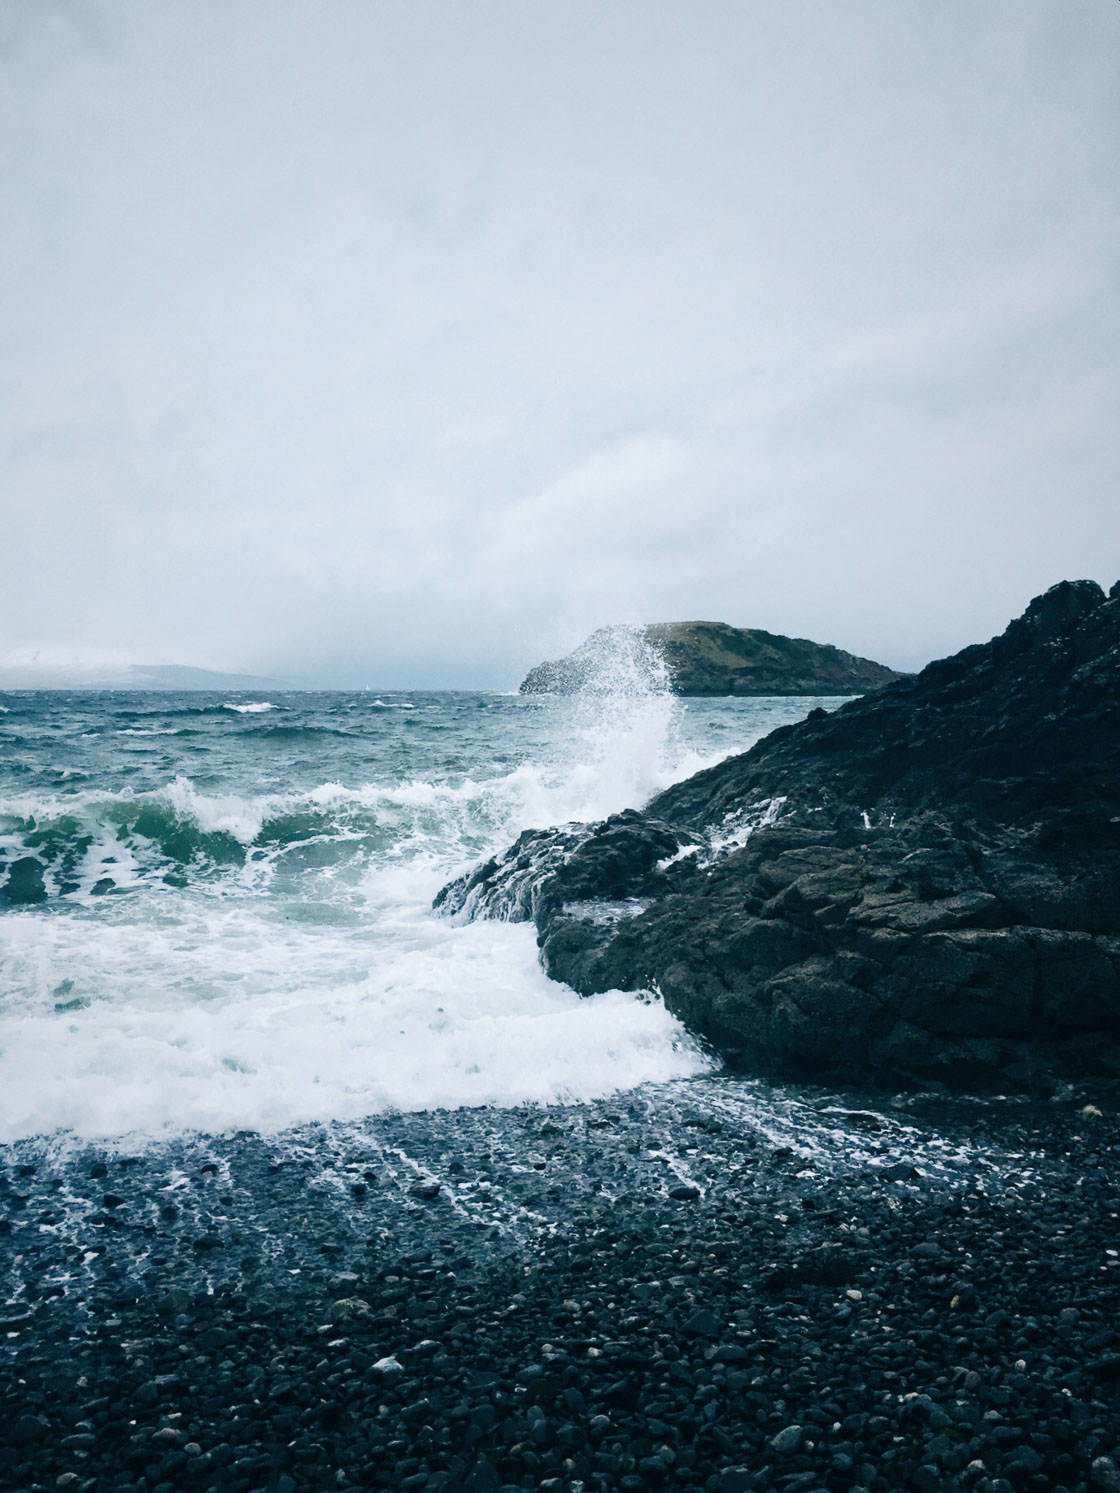
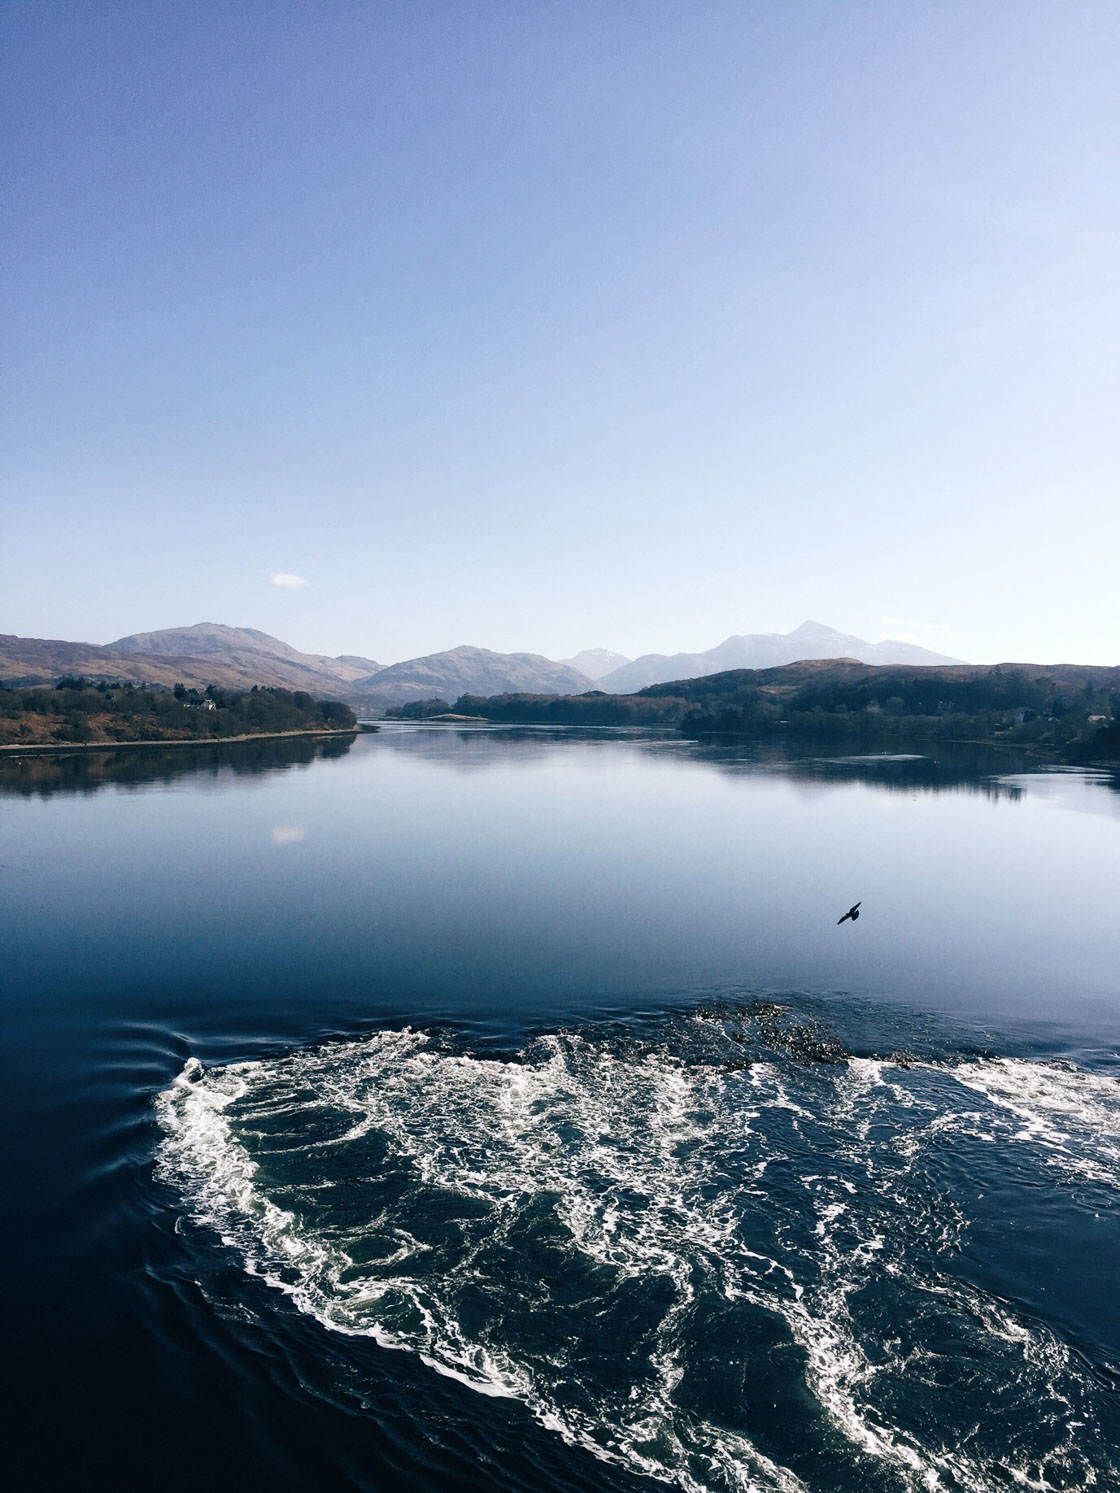
For instance, you can photograph the sea on a calm day. On calm days, you can capture a beautiful water reflection.
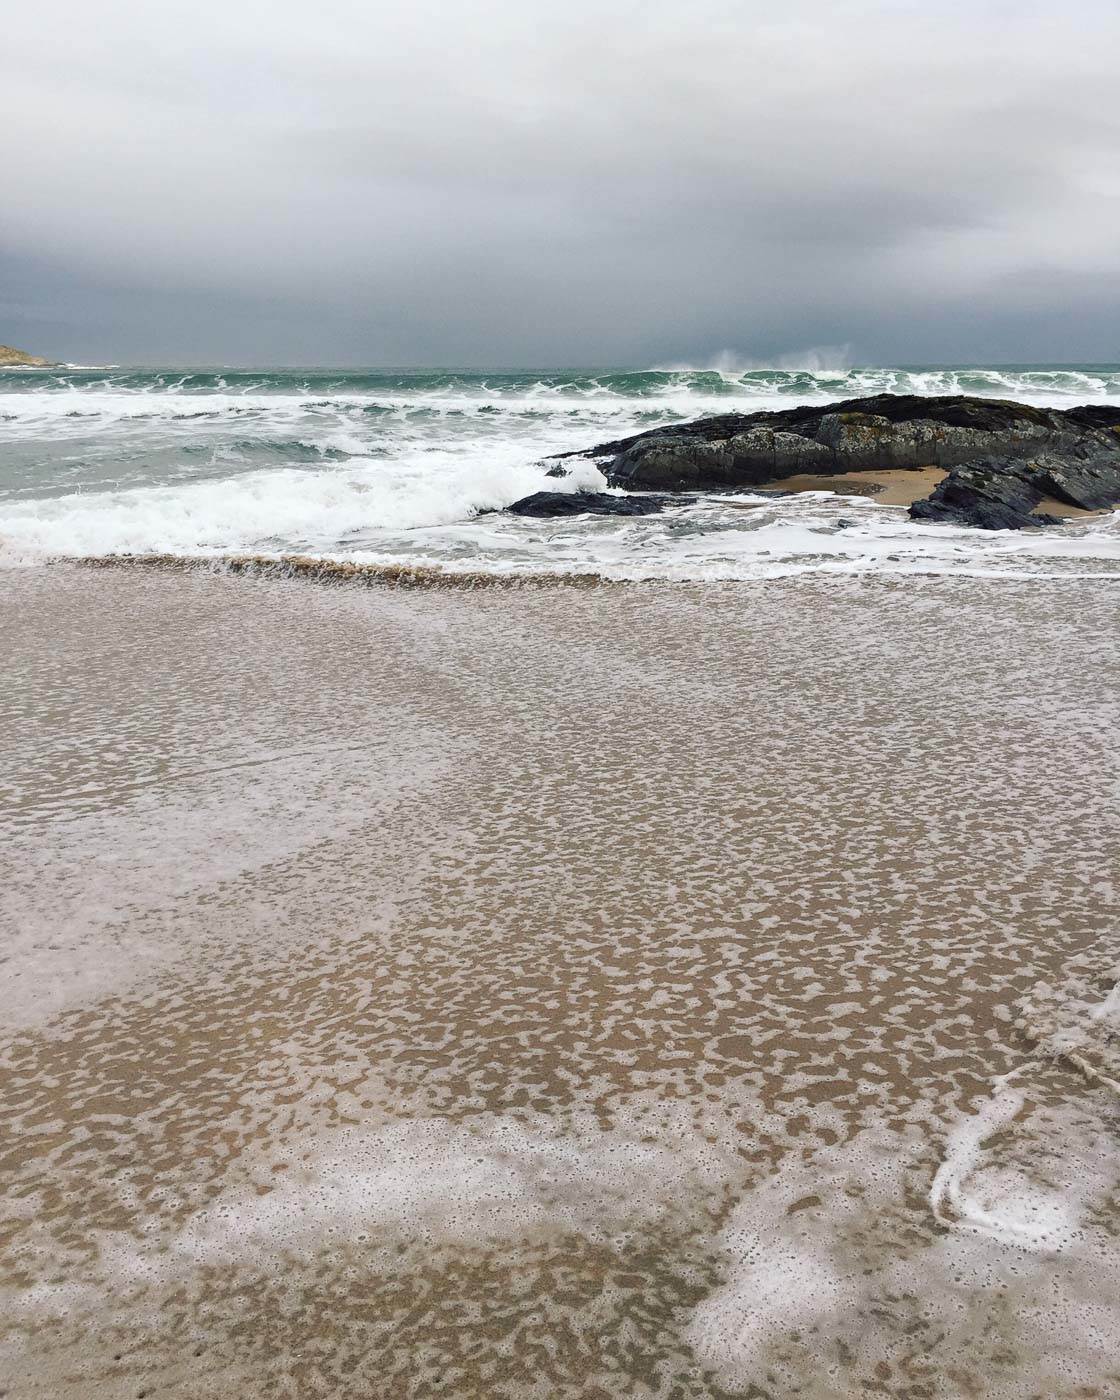
Or you might photograph the sea on a rough day, and capture the power of the waves and the swirls of the sea foam.
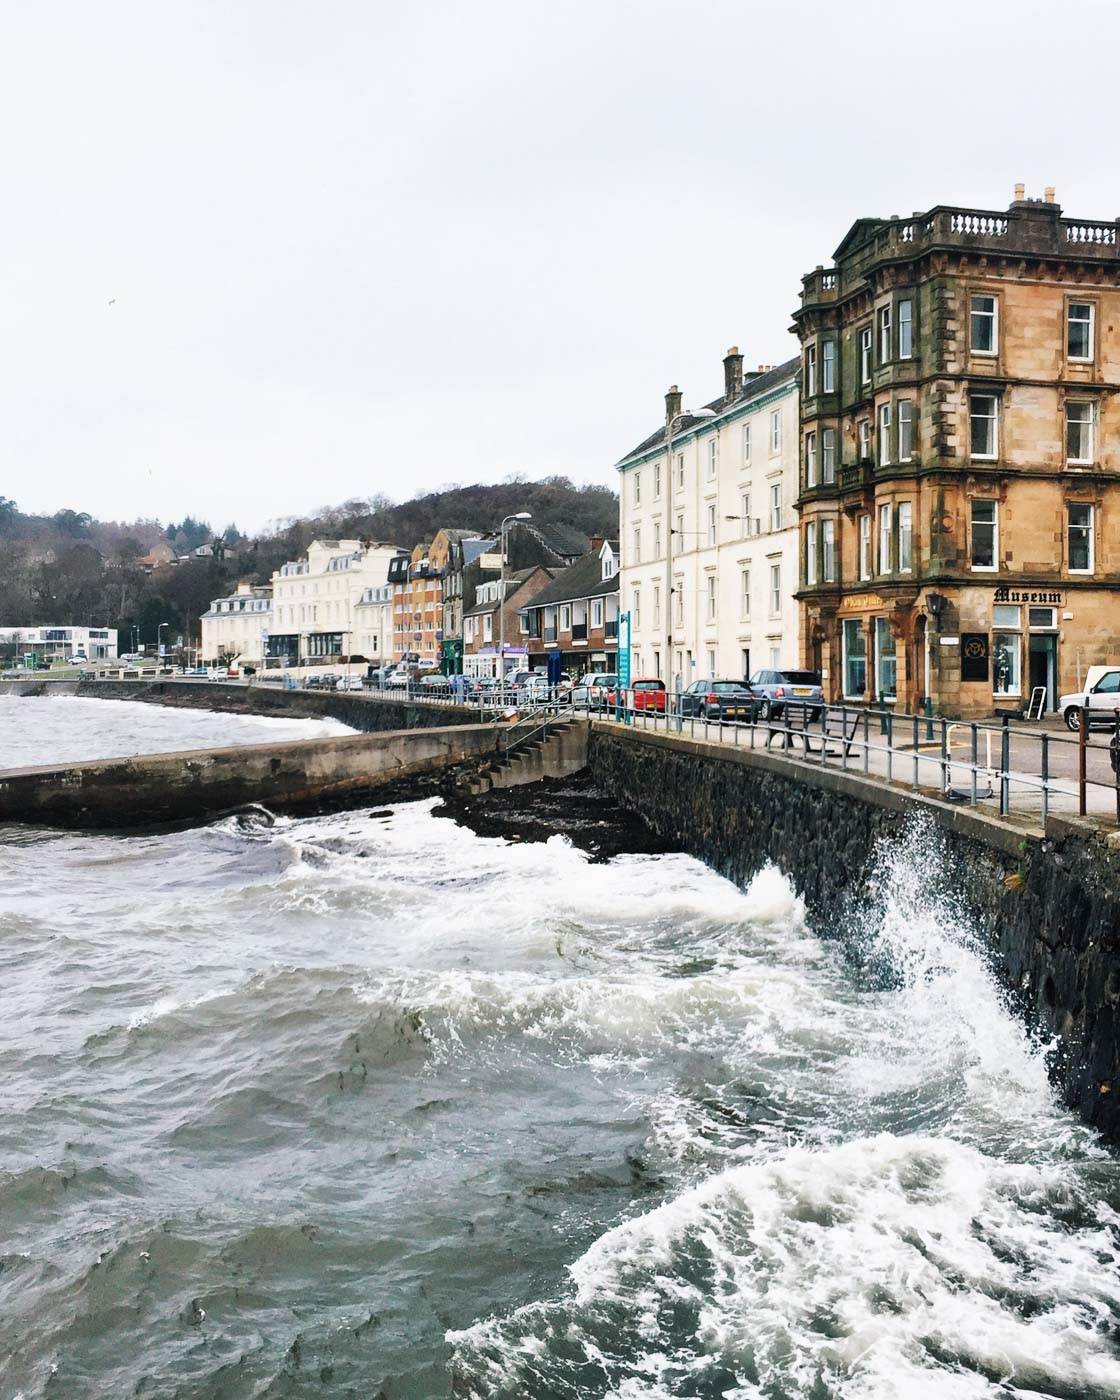
The sea changes color, as well–because the sea reflects the color of the sky. Therefore, the sea looks different depending on the weather and time of day.
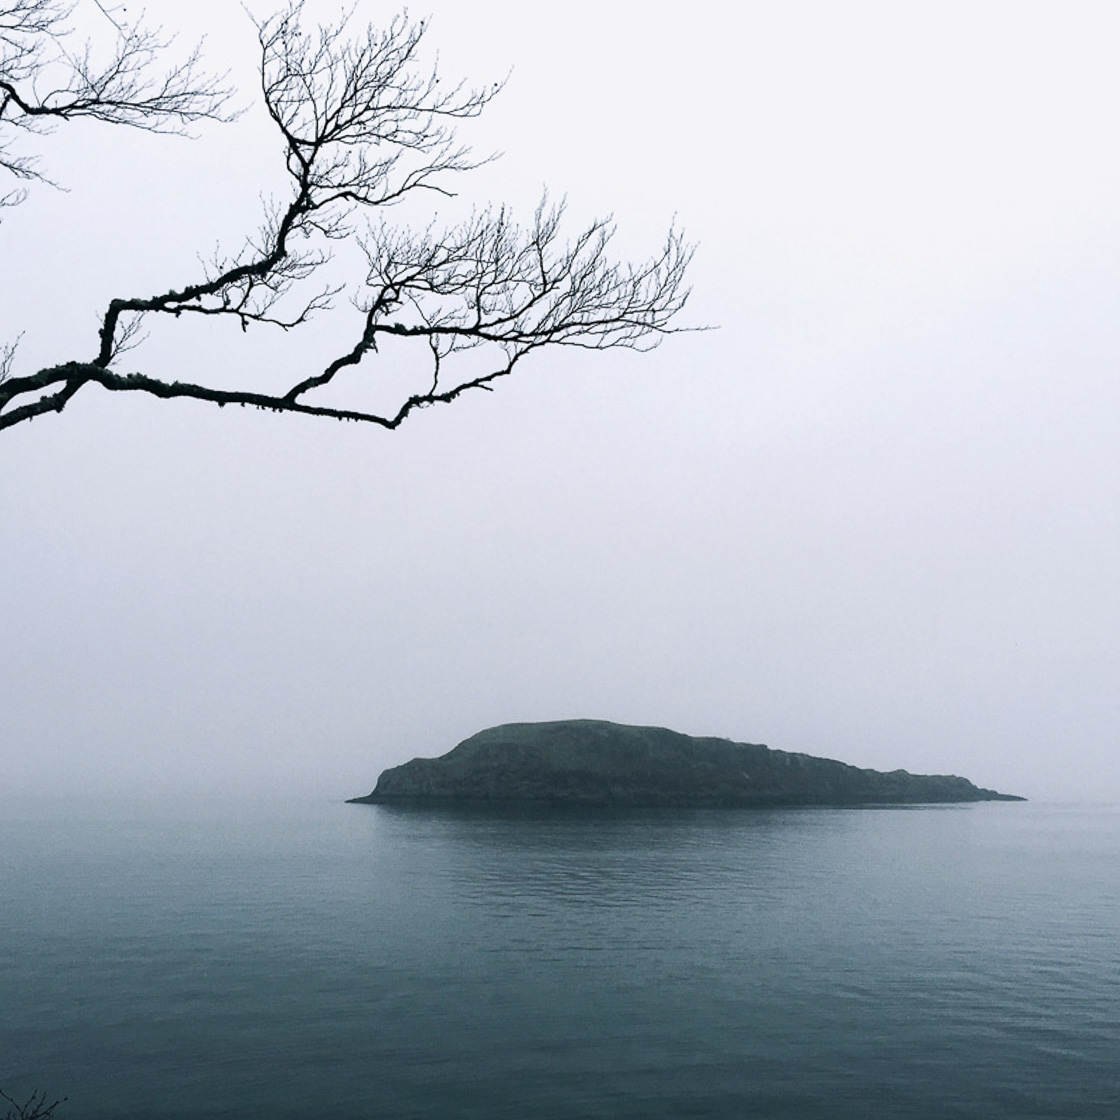
Blue skies make for a deep blue sea. Gray skies make for a more moody, gray sea (such as in the image below). Both of these colors can work–but they evoke different emotions.
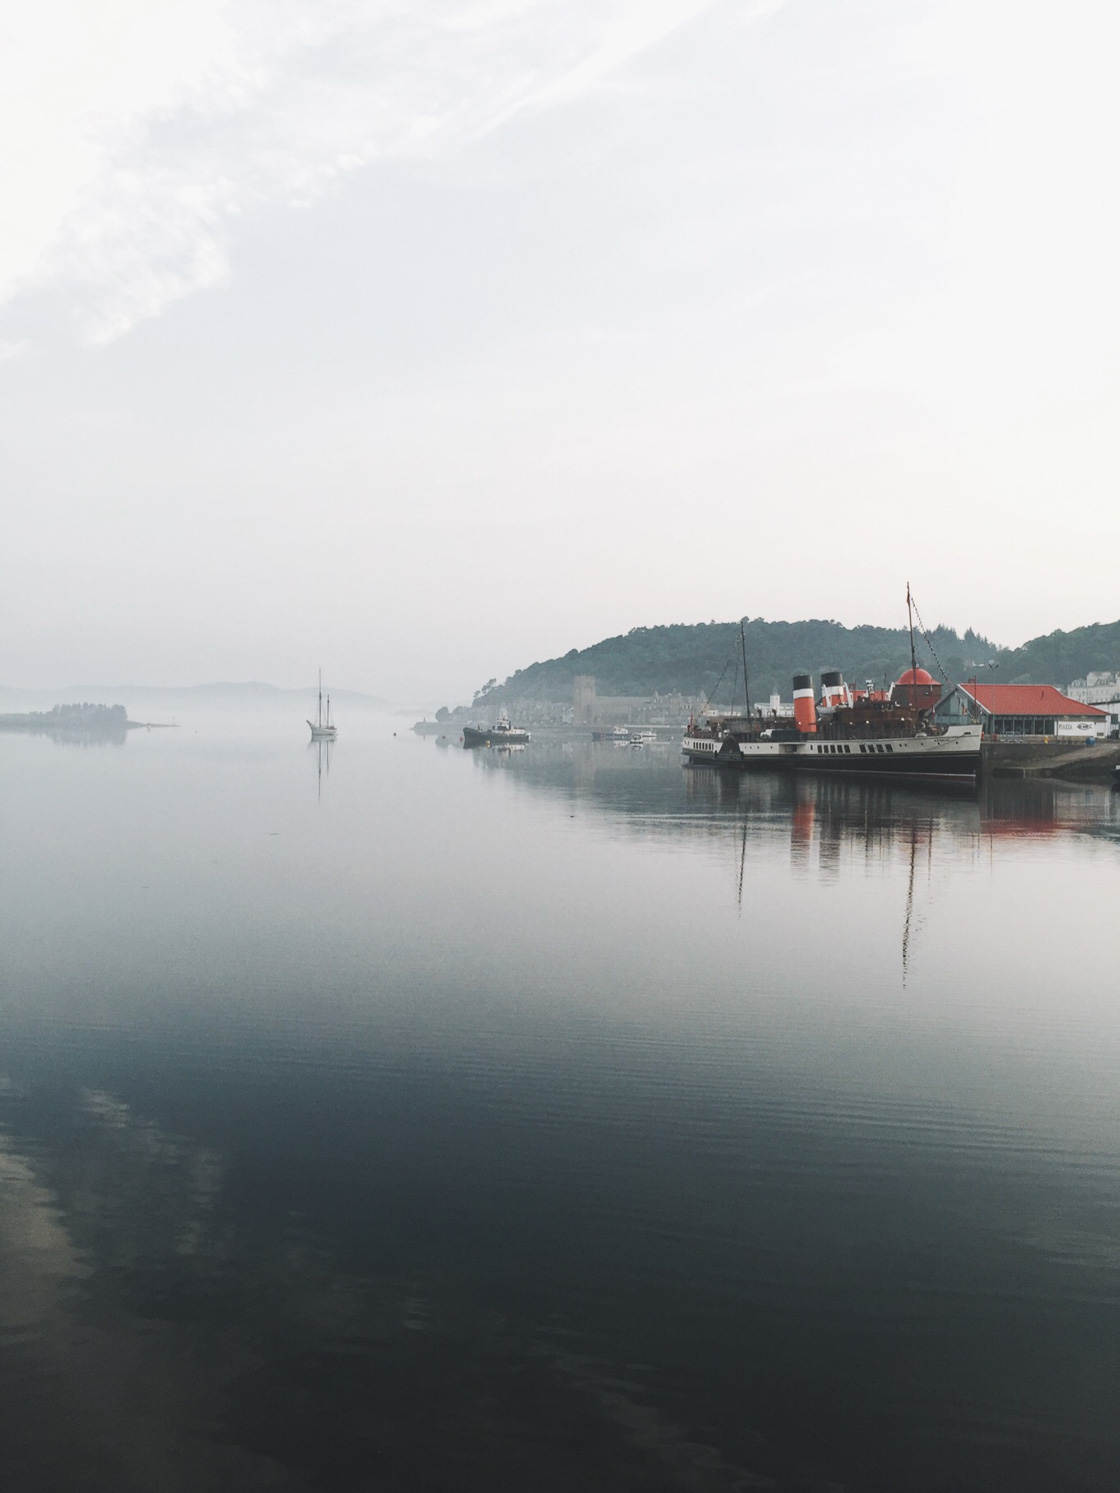
However, there’s another reason to photograph the sea…
It resonates with people.
There’s something so fundamentally deep and calming about the sea. It’s something that affects us all–and makes sea photos extremely powerful!
If you want to create water photos that are more compelling, use the sea as your subject. You’ll be amazed by all of the unique opportunities that it presents!
2. Include More Than Just Water For Beautiful Compositions
You’re off to a good start. But what else makes for a stunning water photograph?
Here’s a question: Should you include elements aside from water?
The answer is an emphatic “Yes!”
For the best water photos, you need to include additional elements. It may seem counterintuitive, but it’s true.
Because water photos are best when they capture more than just water.
That is, water photos need an element of interest that goes beyond the water itself.
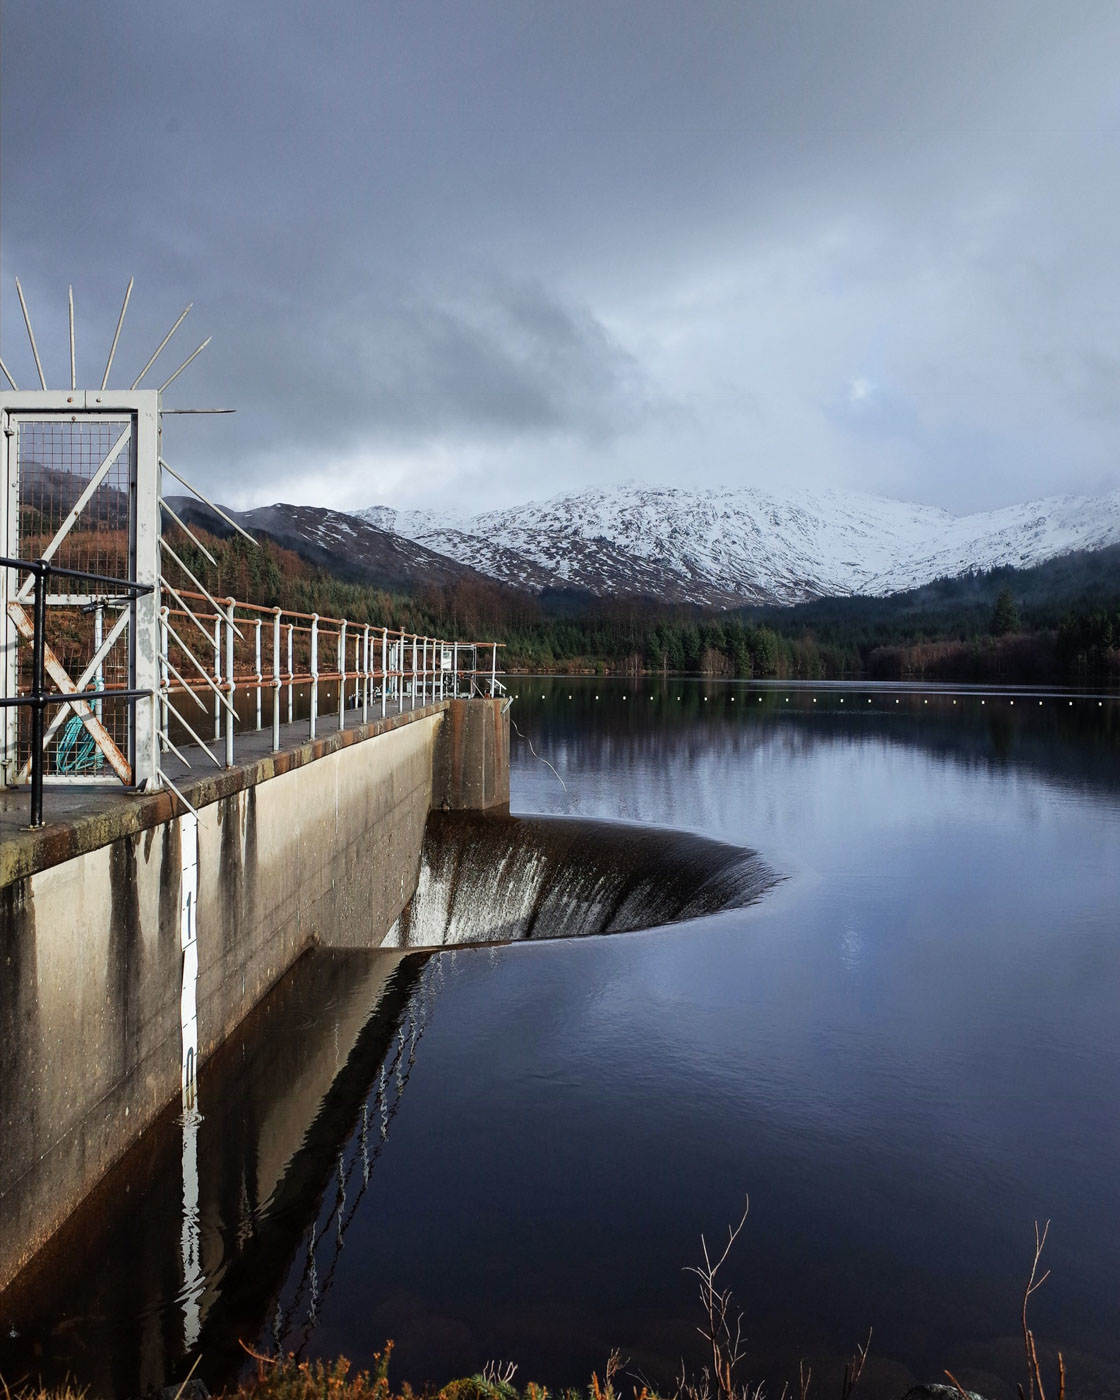
In practical terms, you need to include an additional element in your photo that complements the water.
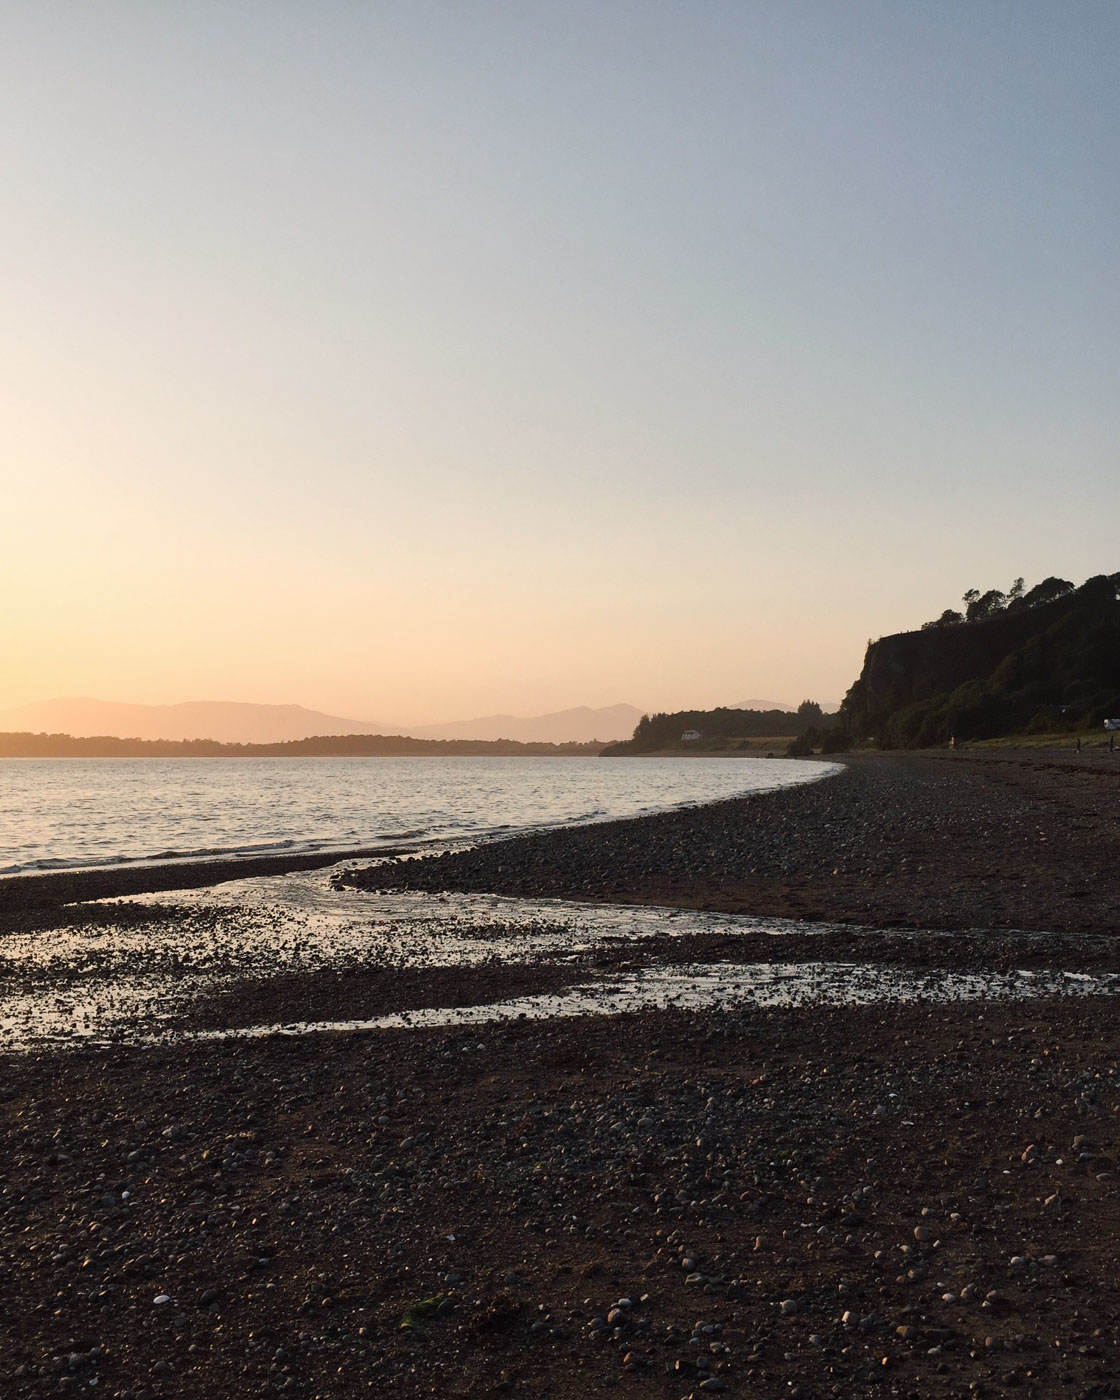
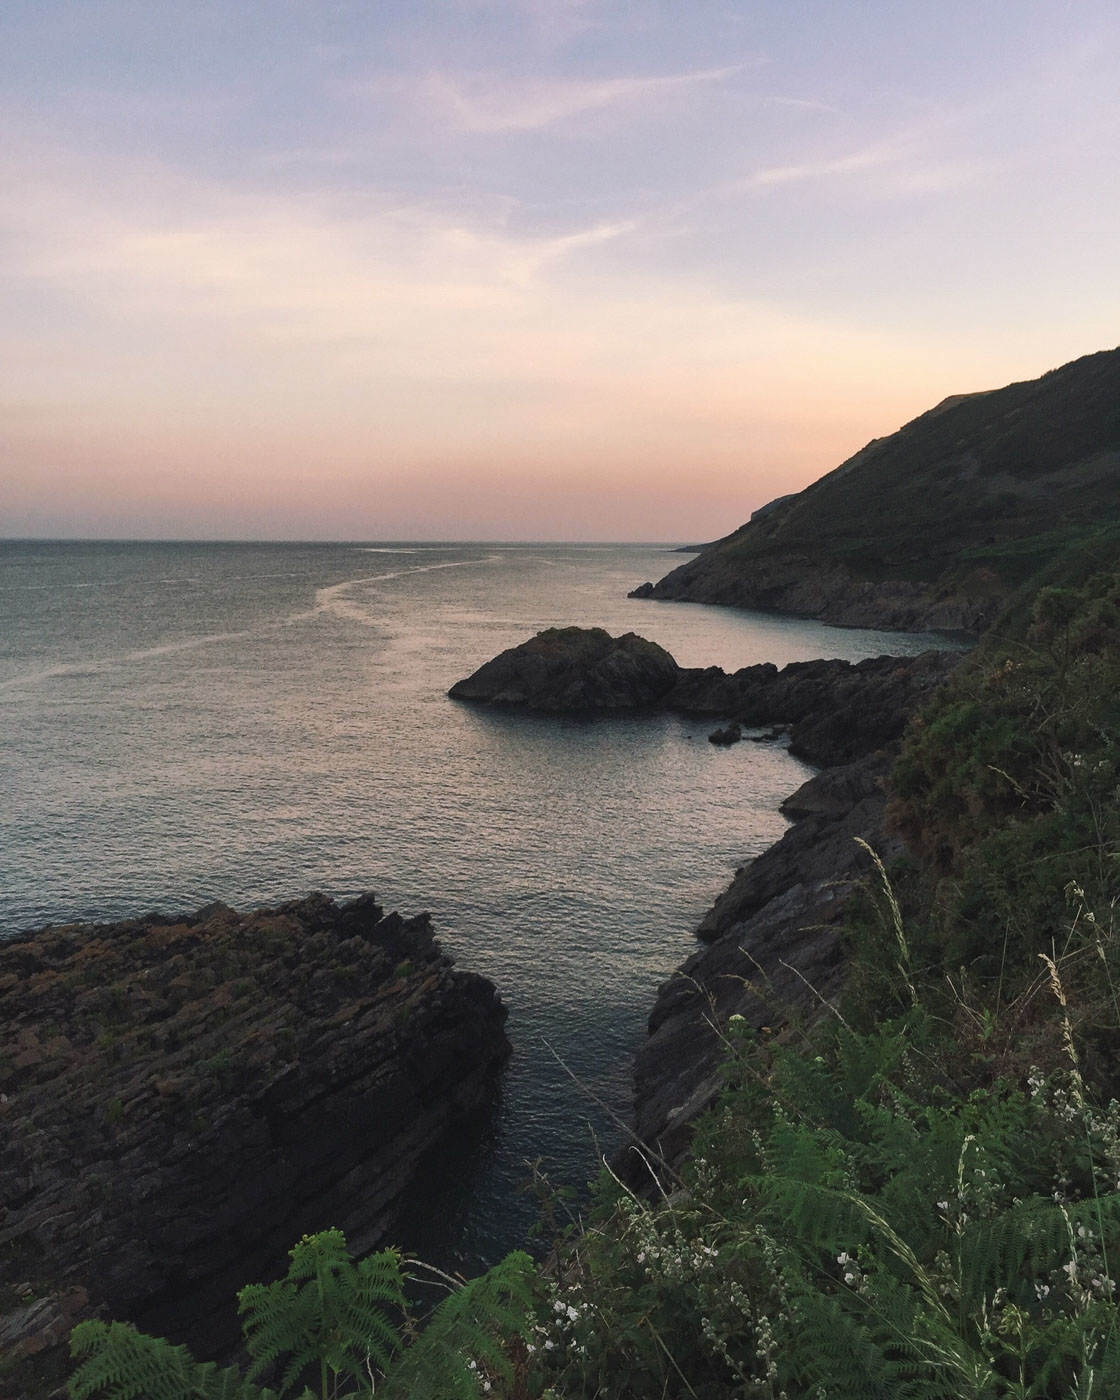
For instance, if you’re shooting a seascape, you can make sure to include some land. Try incorporating cliffs into your photos–because cliffs work great in sea images.
I made sure to include some cliffs in the photo below.
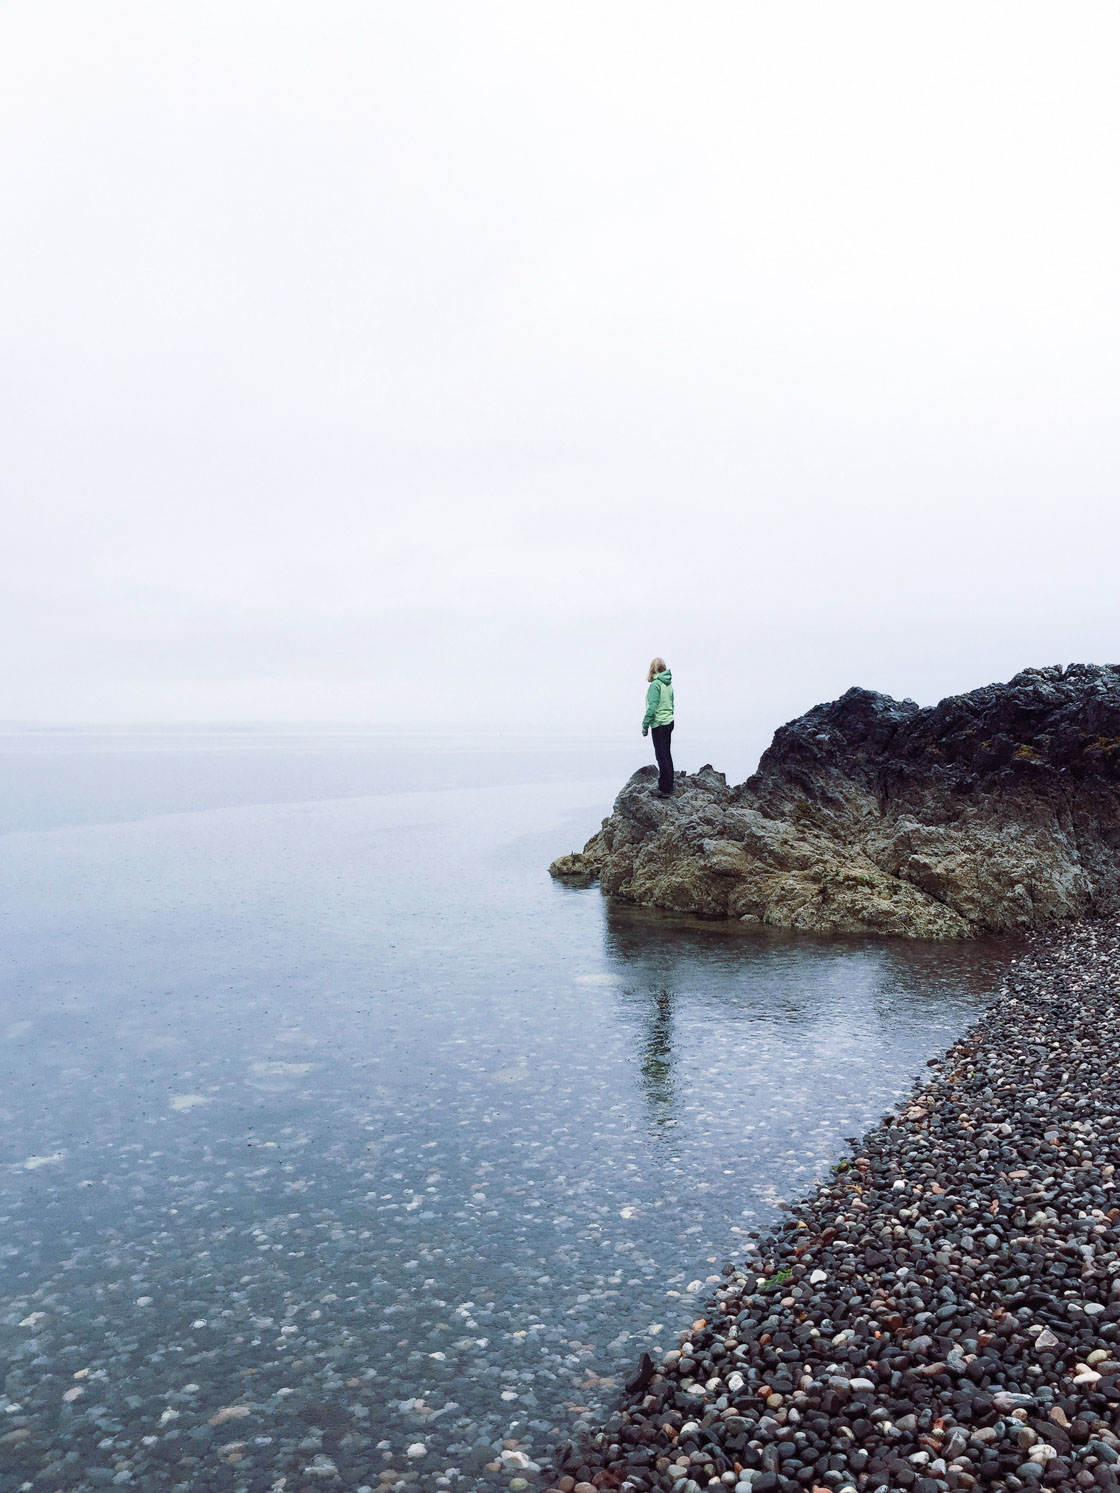
Another thing to include could be a boat or a person swimming. But be careful–you don’t want them to dominate the scene. Make sure you keep the boat or person small in the frame.
One trick is to put an item of interest in the foreground–and the water in the background. Let the item of interest draw the eye into the scene.
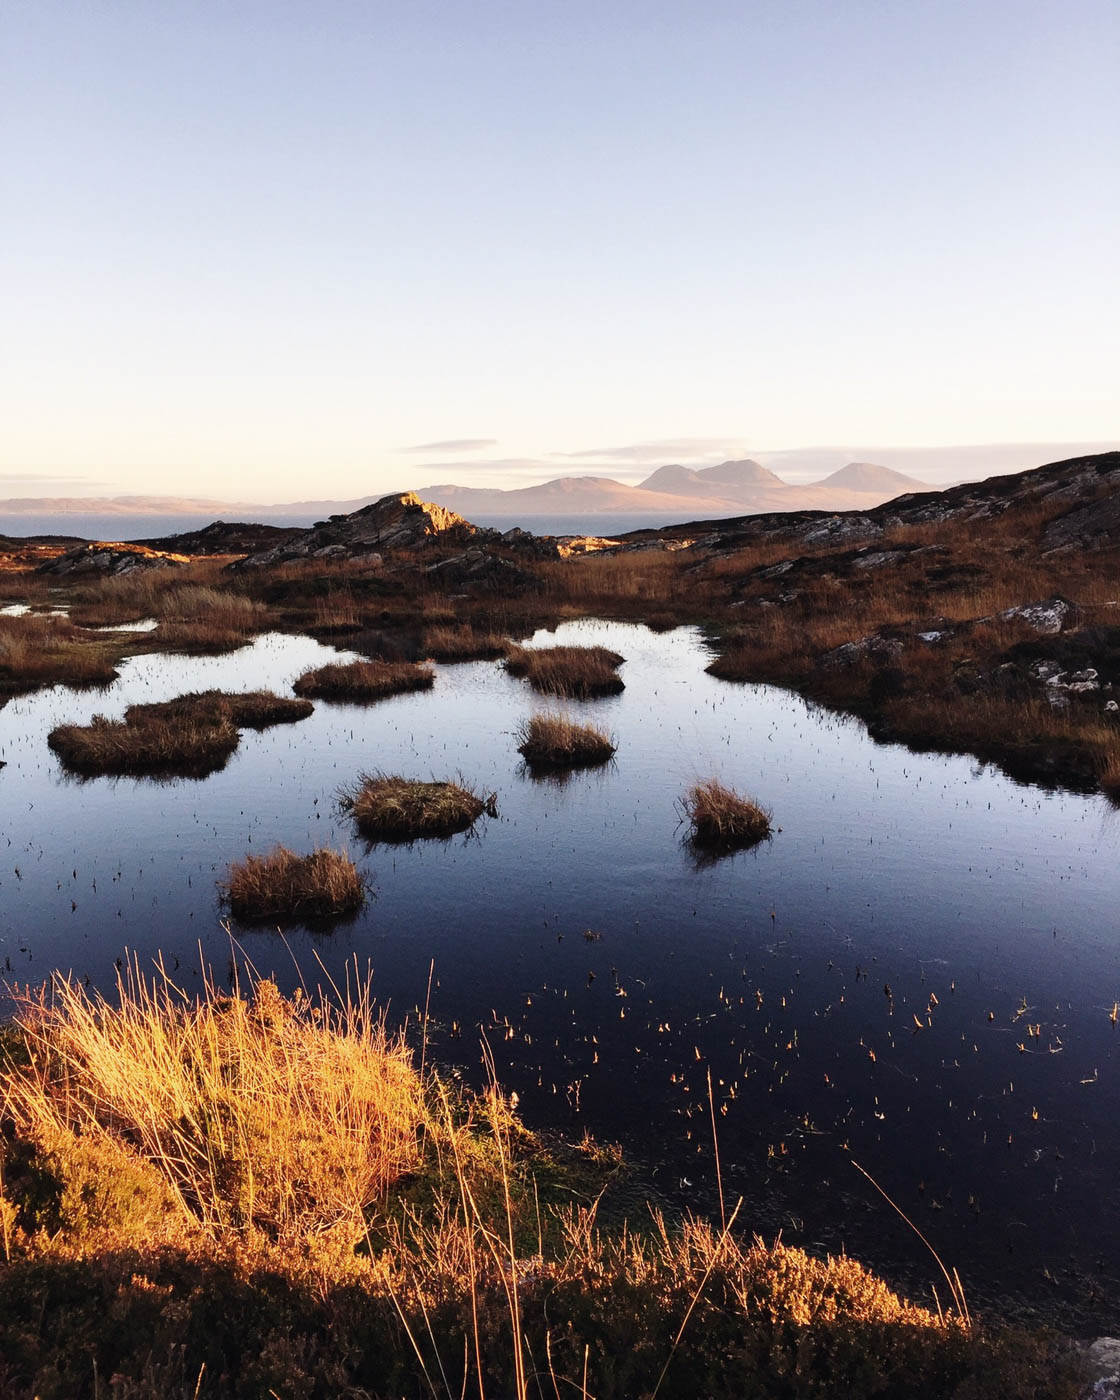
For instance, I sometimes include grasses or flowers in the foreground when shooting beach scenes. They create depth and direct the eye through the photo.
Notice how I included foreground grasses in the photo below.
So include elements beyond just water.
If you do, your compositions will be stunning!
3. Include A Water Reflection For Unbelievable Photos
What’s another tip for doing incredible water photography?
Take photos of a reflection in water!
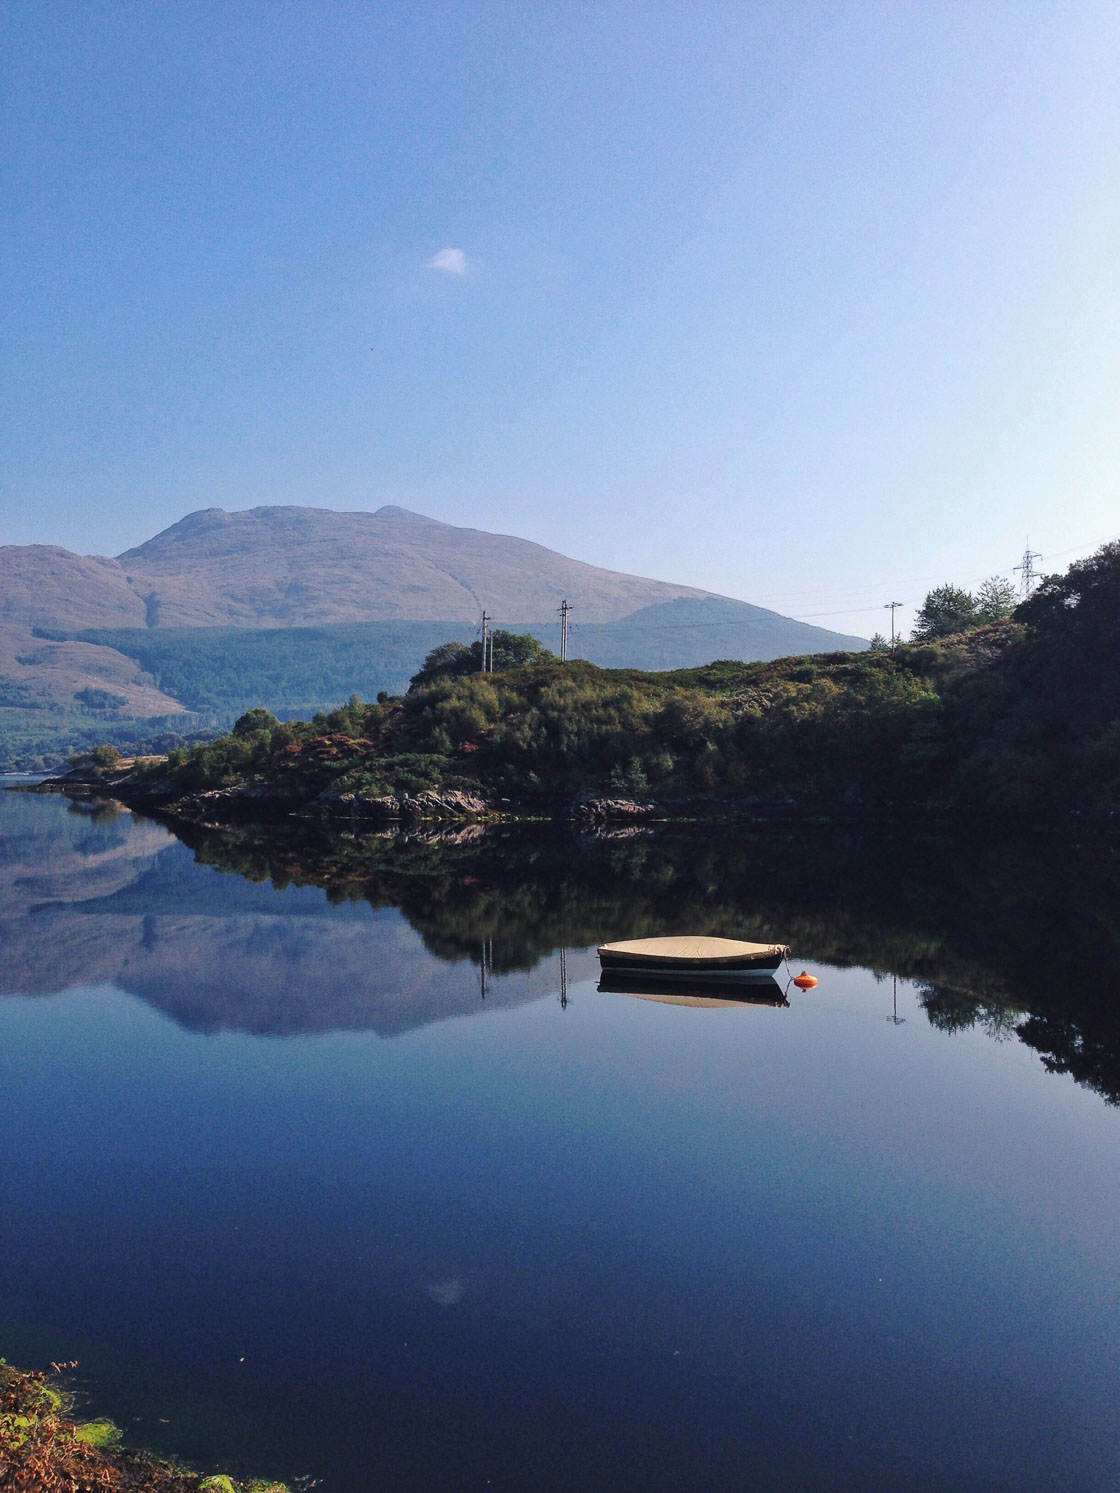
Reflections are one of the most underutilized types of photography. They can make for some really beautiful images–and they’re not hard to do!
So how do you take stunning reflection photos?
First, find some water. Lakes can be great for this, as they tend to be very still. Even tide pools on beaches can work well–they offer lots of water reflection opportunities!
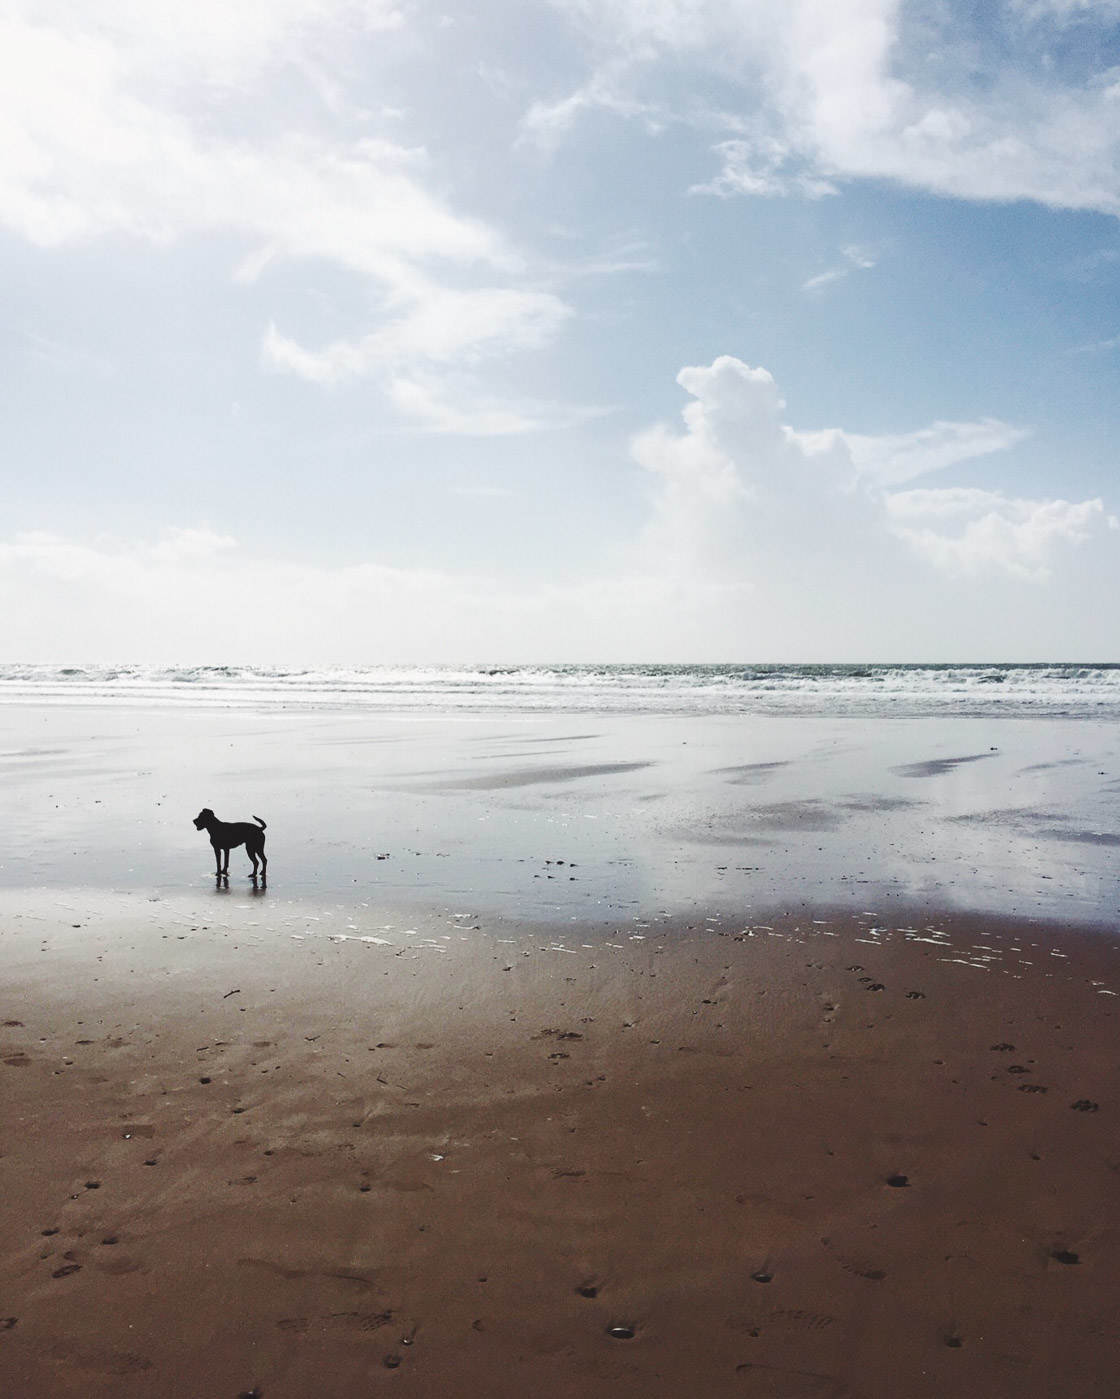
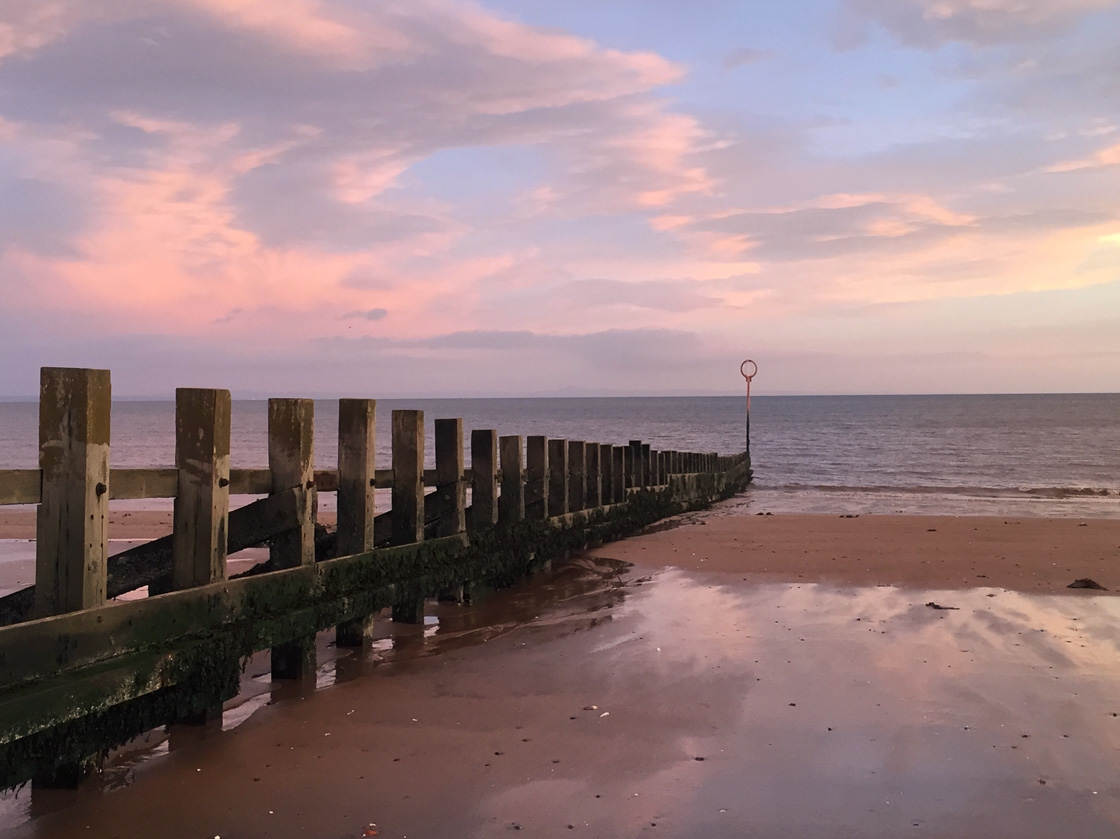
You can also photograph wet sand on a beach. Wet sand acts as a mirror. Look at how it reflects the walkers below!
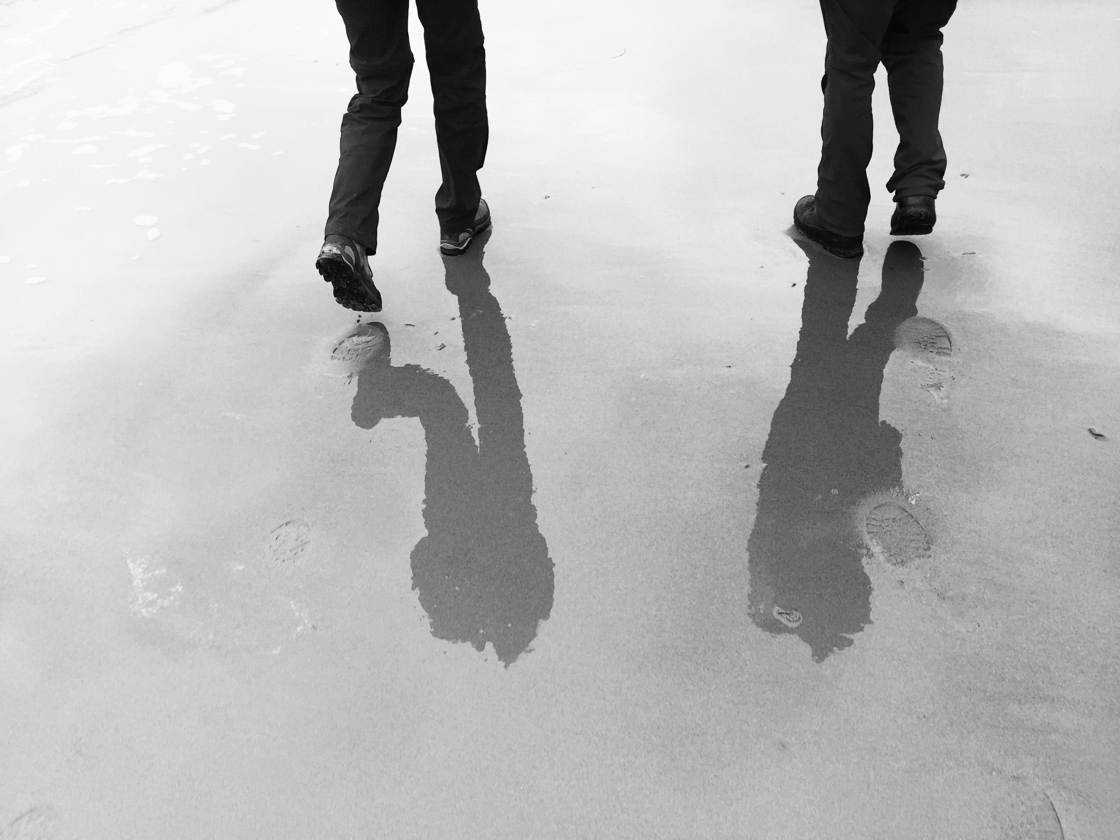
Once you’ve found a good reflector, figure out what you want to appear in the reflection. Then adjust your angle to make sure you include that subject in your photo.
For instance, if you want some clouds reflected in your photo, you might choose to shoot from higher up. This allows you to capture reflections of clouds that are overhead.
If you want a sunset reflection in water, you could crouch down low. This will make sure that the horizon is reflected in your photo.
Notice how the clouds on the horizon are reflected by the wet sand below.
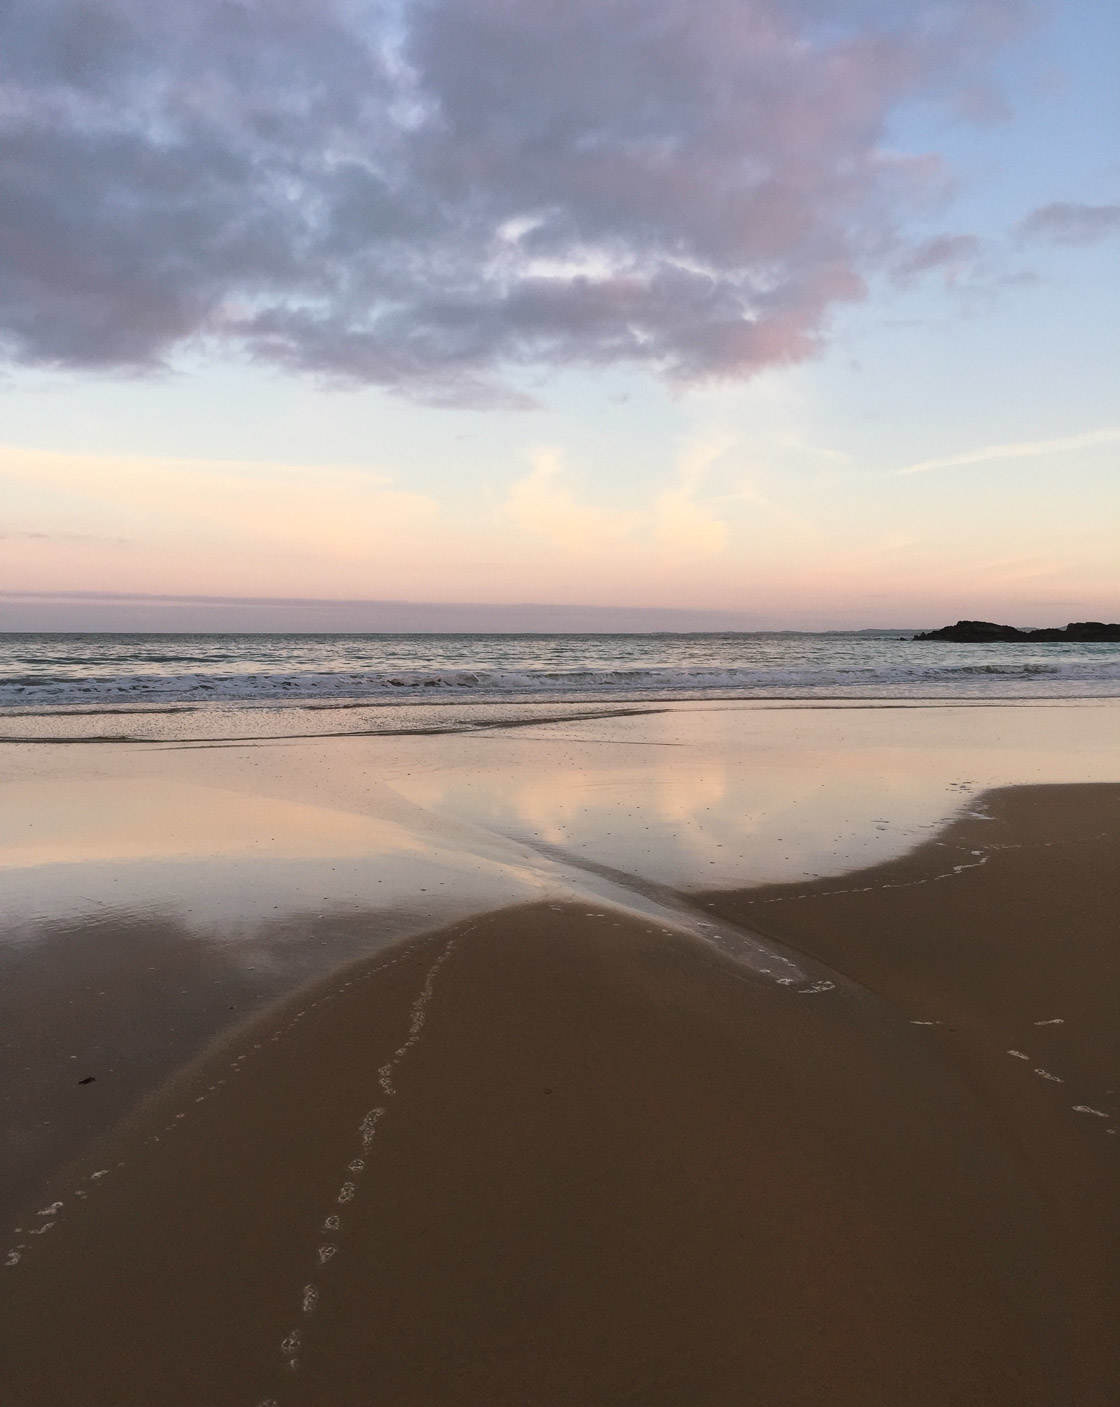
Another tip: Get your iPhone as close to the reflective surface as possible. This will ensure the best reflections!
It’s also important to note that achieving striking reflection shots takes a lot of trial and error. Don’t just settle for a couple of reflection shots. Take lots and lots. Then choose the best one later!
If you can capture good reflections, then you can take some truly beautiful photos. Make sure you use these tips to get your own stunning reflection shots.
4. Photograph In Bad Weather For Moody Water Images
If you’re looking to create moody water photos, then photograph in bad weather.
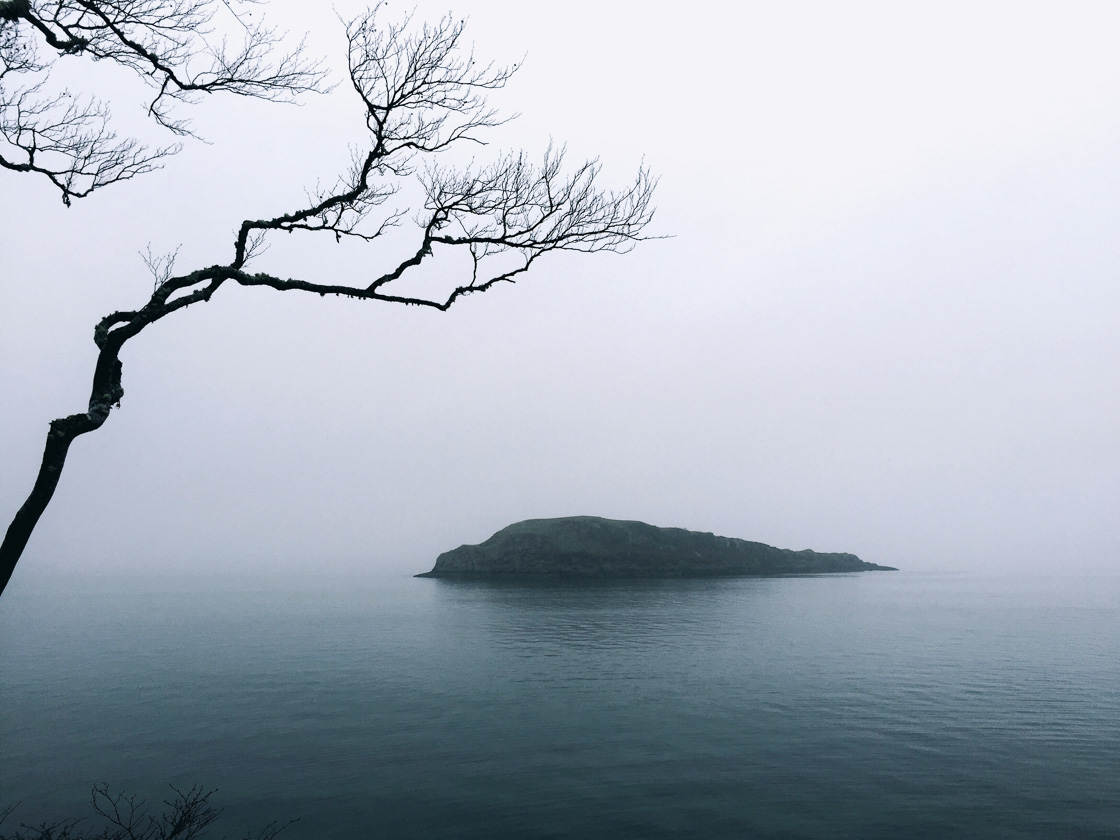
By ‘moody,’ I mean dark, desaturated, and bleak.
This type of shot can be powerful. In fact, moody images have the potential to really strike the viewer.
And to capture the best moody photos, shoot in bad weather.
Photograph in rain, snow, or fog.
Bad weather will give a very urgent feeling to your water photography!
And in extreme weather, you can see rain impacting the surface of a lake, or snow piling down among the waves.
In fact, bad weather is great for all kinds of water photography. Rain and clouds add drama to photos. And the cloudy, diffused light is extremely easy to work with. It eliminates shadows and produces more even tones.
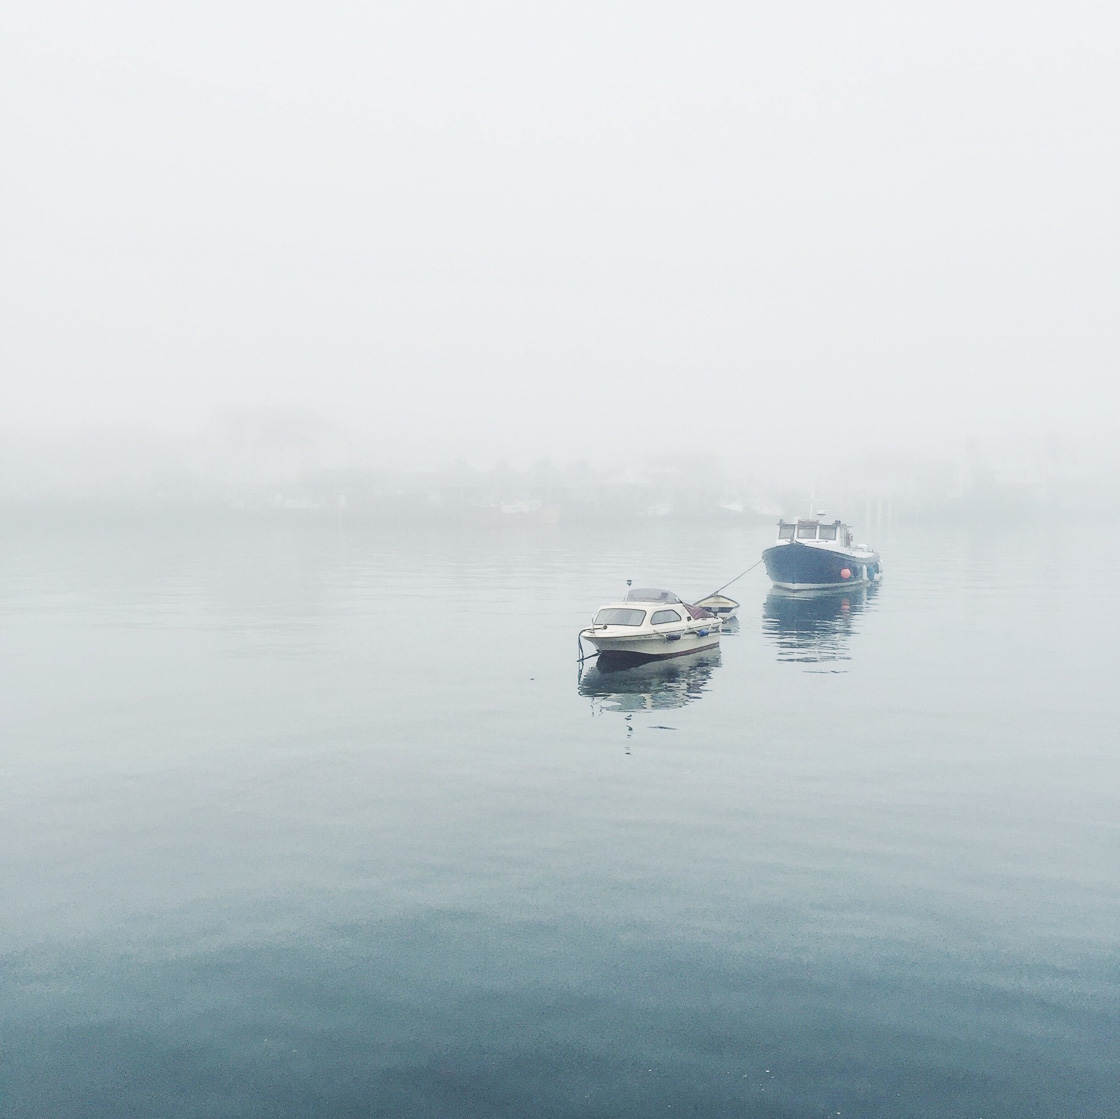
As shown in the photo above, fog can make for especially incredible water photography. Fog rising off the water makes for unbelievable photo opportunities!
Here’s the bottom line: If you want beautiful, moody photos, shoot during rain, snow, or fog. It will add a lot of atmosphere–and you’ll come away with images you can be proud of.
5. Use Leading Lines For Incredible Water Compositions
Composition refers to the arrangement of elements in a photo.
And do you want to know a great tip for composing photos with water?
Use leading lines!
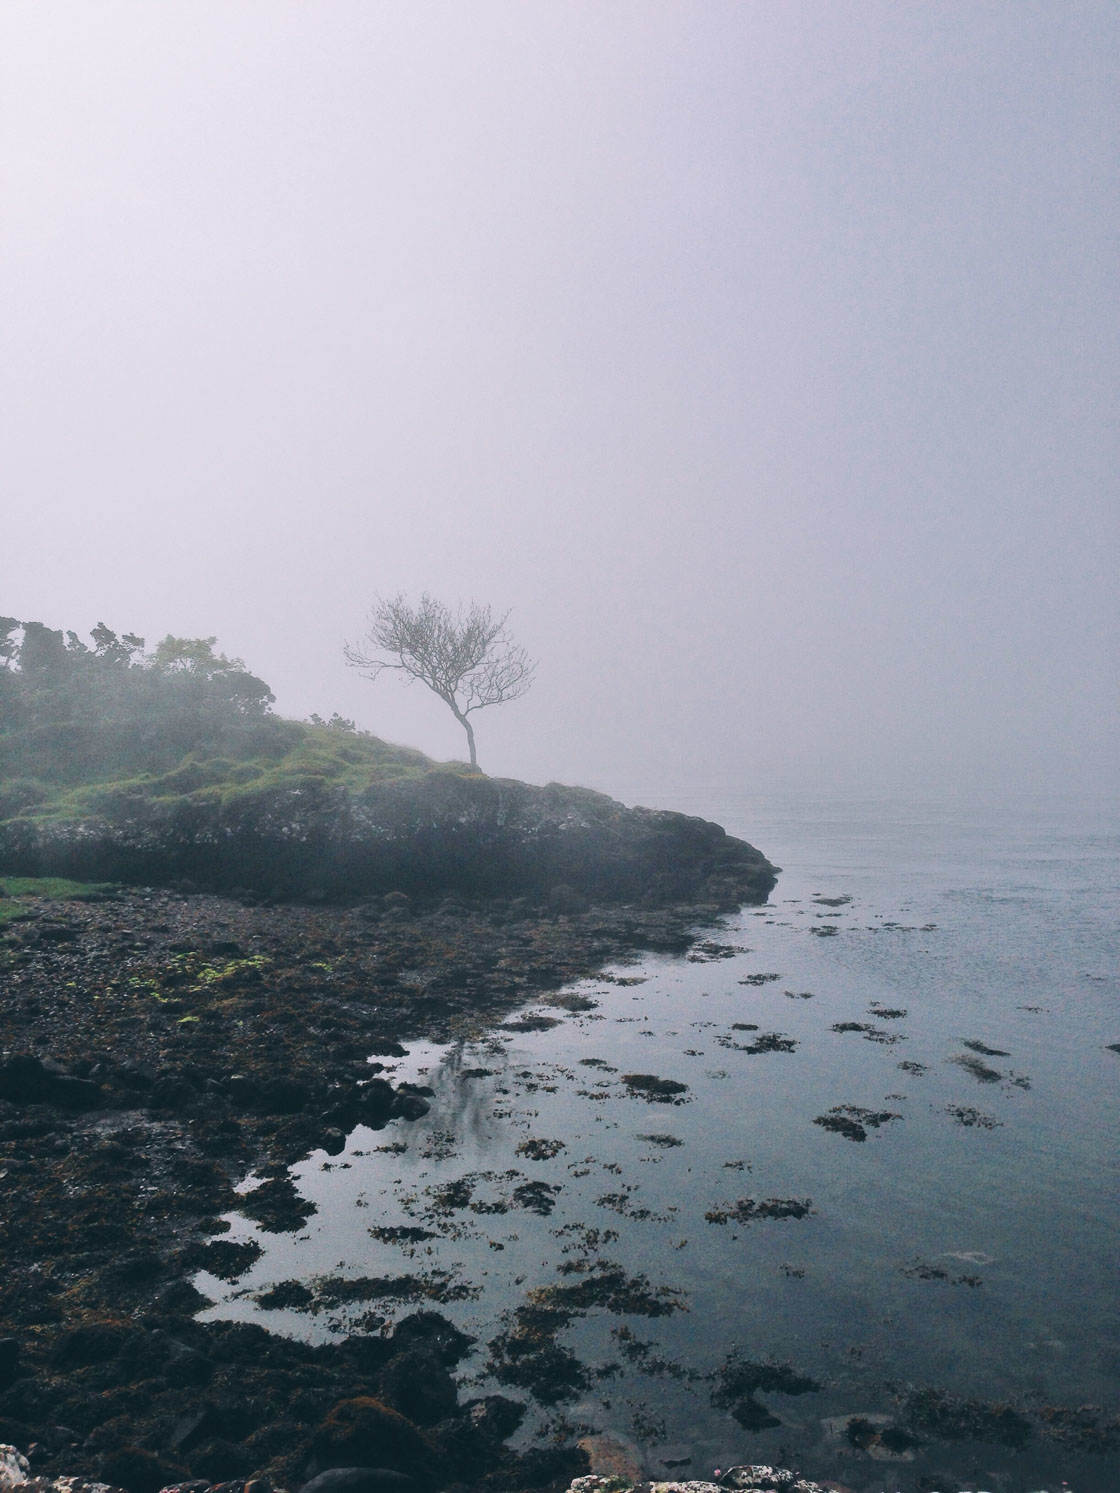
Leading lines guide the viewer’s eye through the scene. They start in the foreground, then move toward the background.
And they’re perfect for creating compelling, engaging compositions.
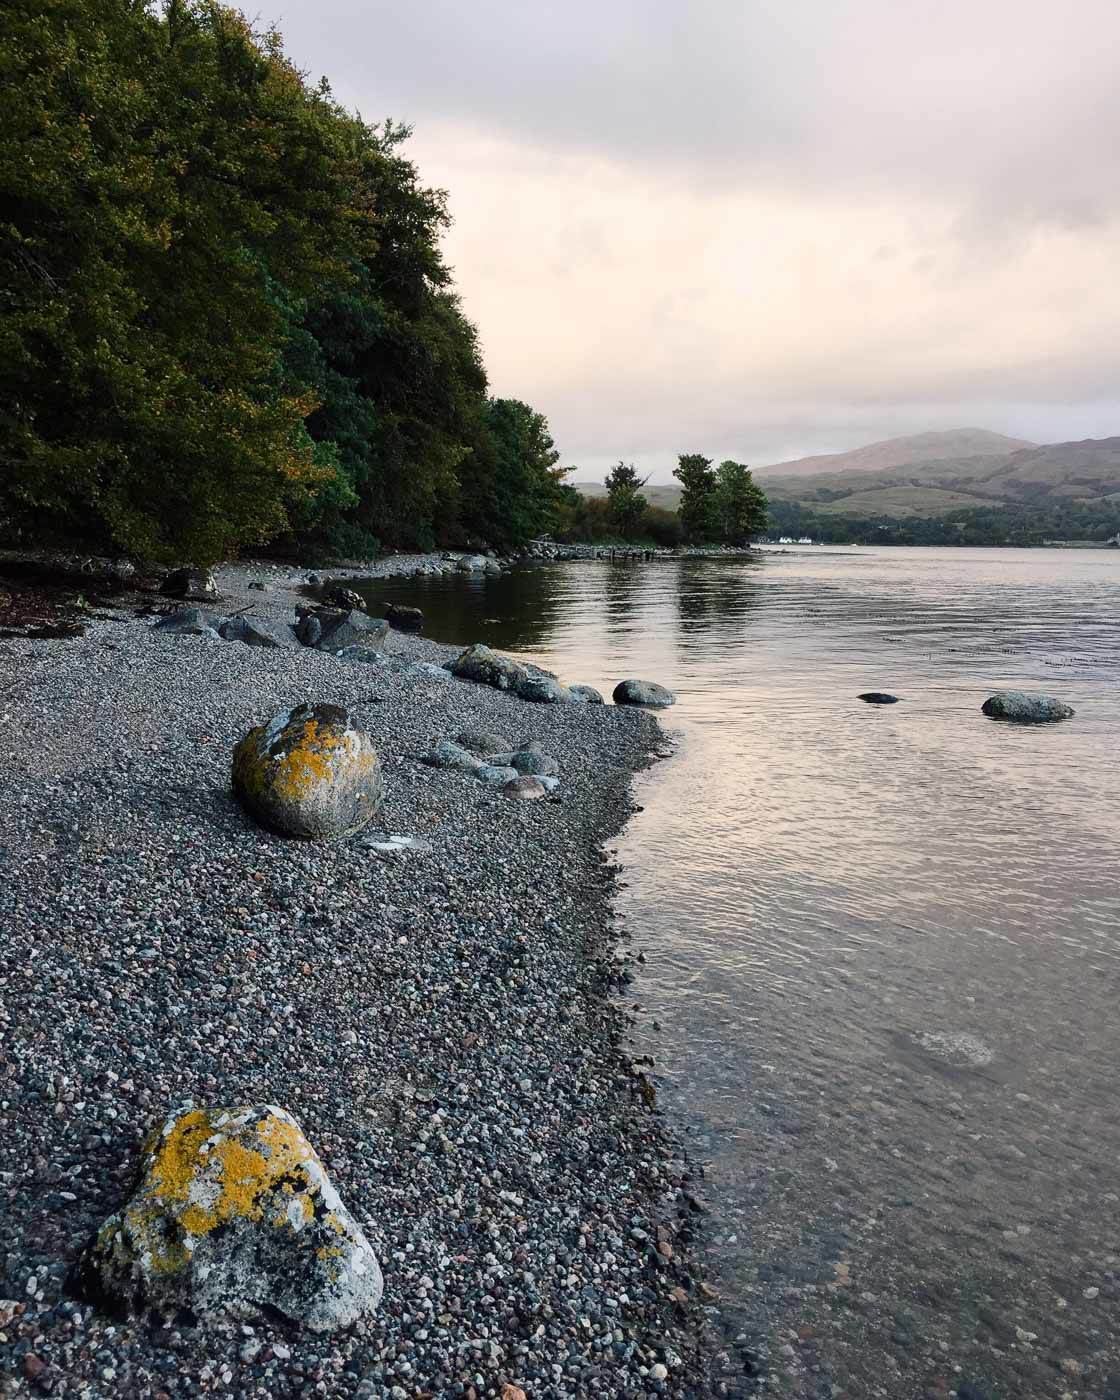
Can you see the leading line in the photo above? It’s the shoreline! Notice how it directs the eye through the photo.
Leading lines are especially great for composing water photos.
Why is this?
Because water photos can include one of the greatest leading lines of all: rivers!
Rivers can easily lead the viewer’s eye through the frame. Just make sure that you place the river so that it flows from the foreground to the background.
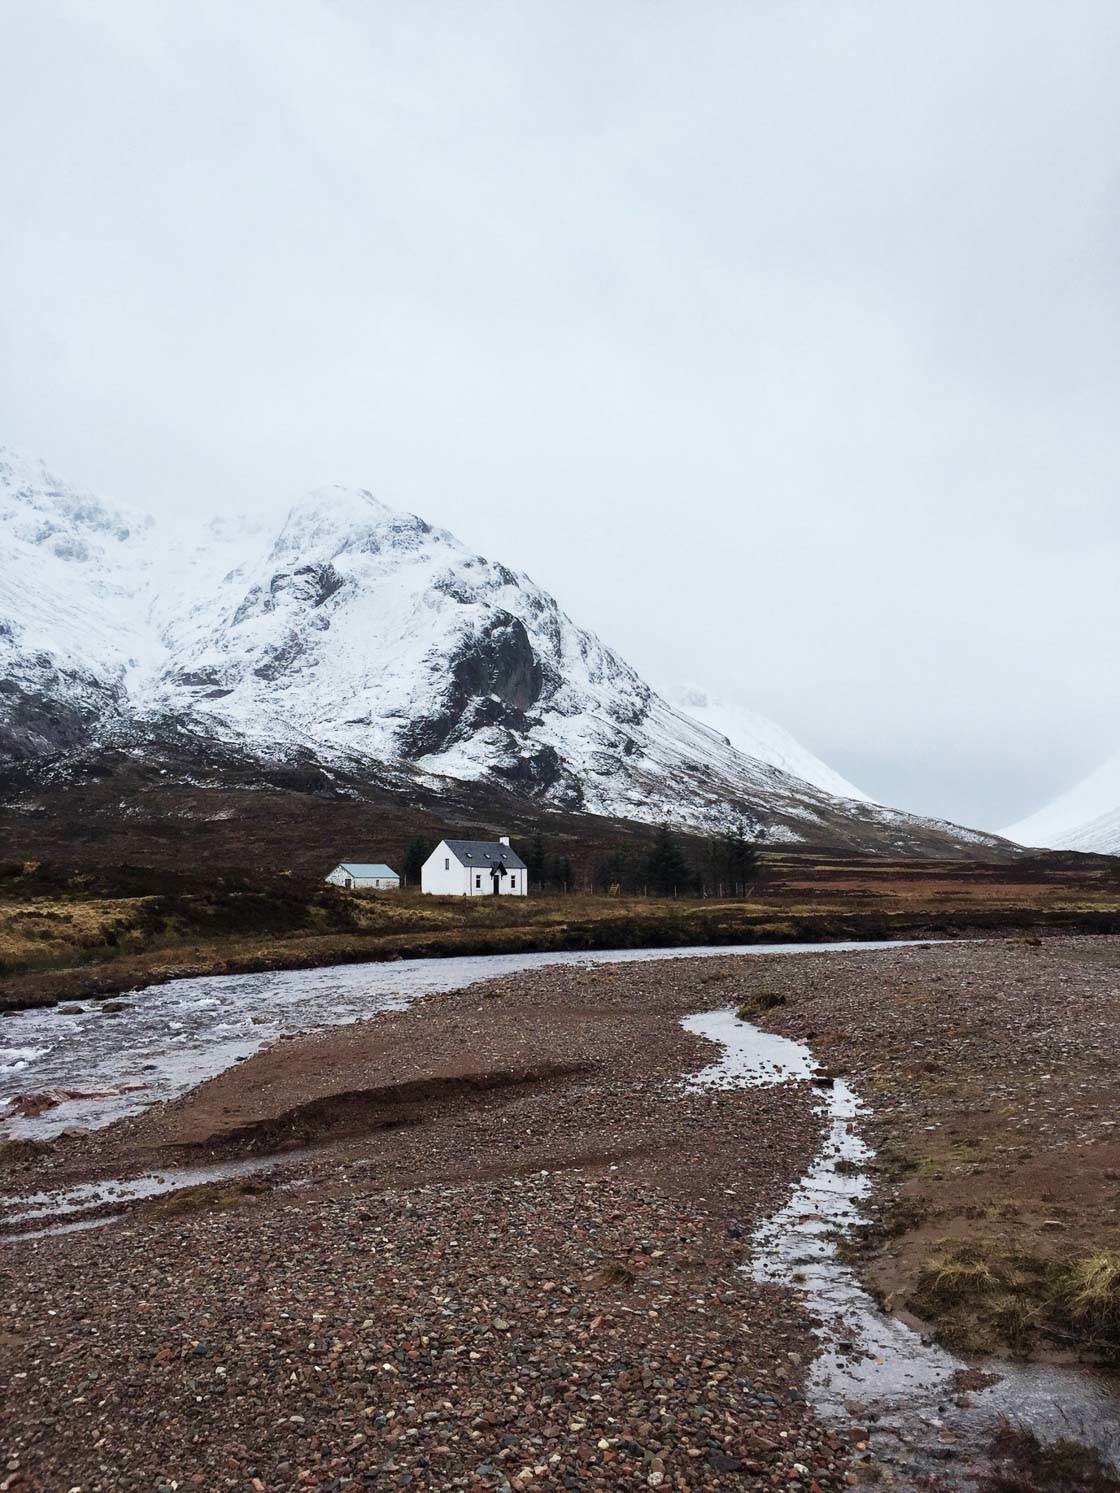
For the photo above, I made sure that the river directed the viewer through the frame.
Pro tip: Make sure that the line actually leads the eye to the photo’s subject–rather than aimlessly around the frame. Aimless leading lines make for chaotic photos.
If you want the best water photography compositions, then you need to use leading lines. Find a river and put it in the foreground–and let it lead the eye through the photo!
6. Shoot Both Portrait And Landscape Photos For Powerful Water Photography
Photographers often find themselves shooting in one particular orientation.
That is, photographers often shoot with the camera held upright (portrait orientation, like the photo above). Or they get in the habit of shooting with the iPhone held sideways (landscape orientation, like the photo below).
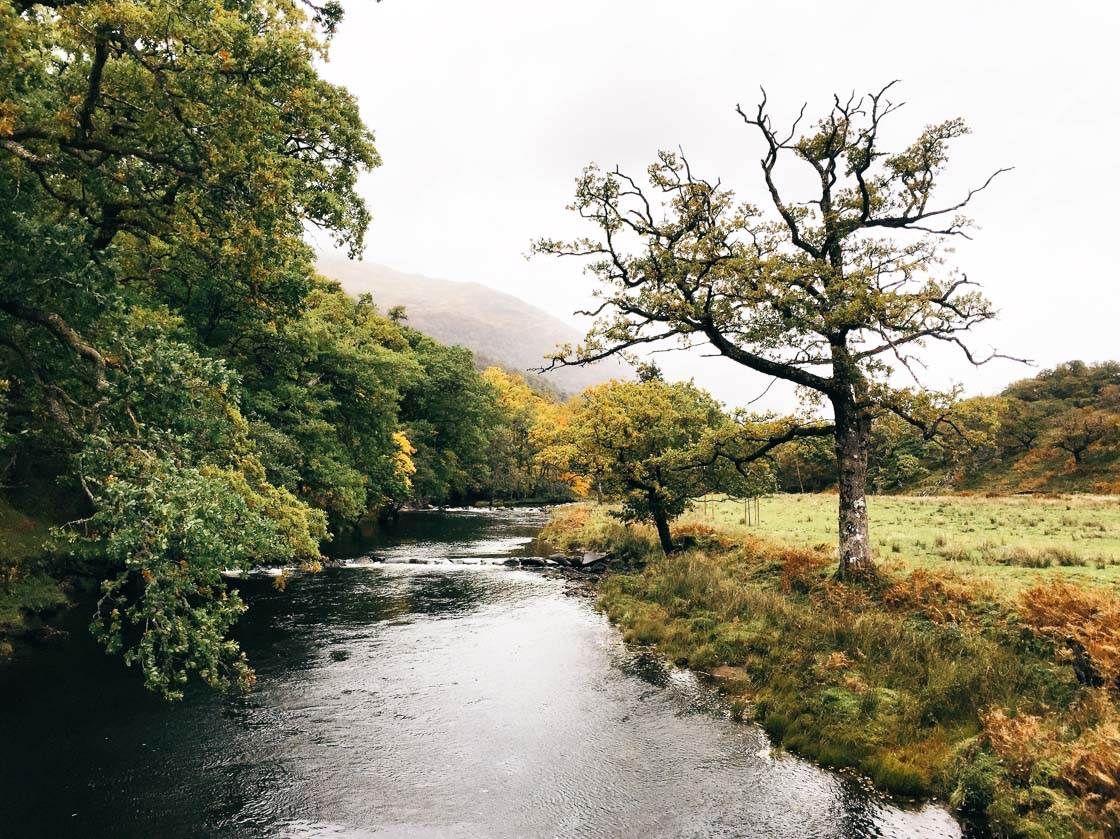
But this is an issue. Because the best photos often come from a lot of experimentation–and not from doing the same thing all the time.
This is especially important for water photography. Specifically, it matters a great deal when shooting seascapes.
Why is this?
When photographing the sea, you have two options. You can shoot a landscape orientation photo–and emphasize the vast, sweeping vista of the ocean. That’s what I did for the photo below.
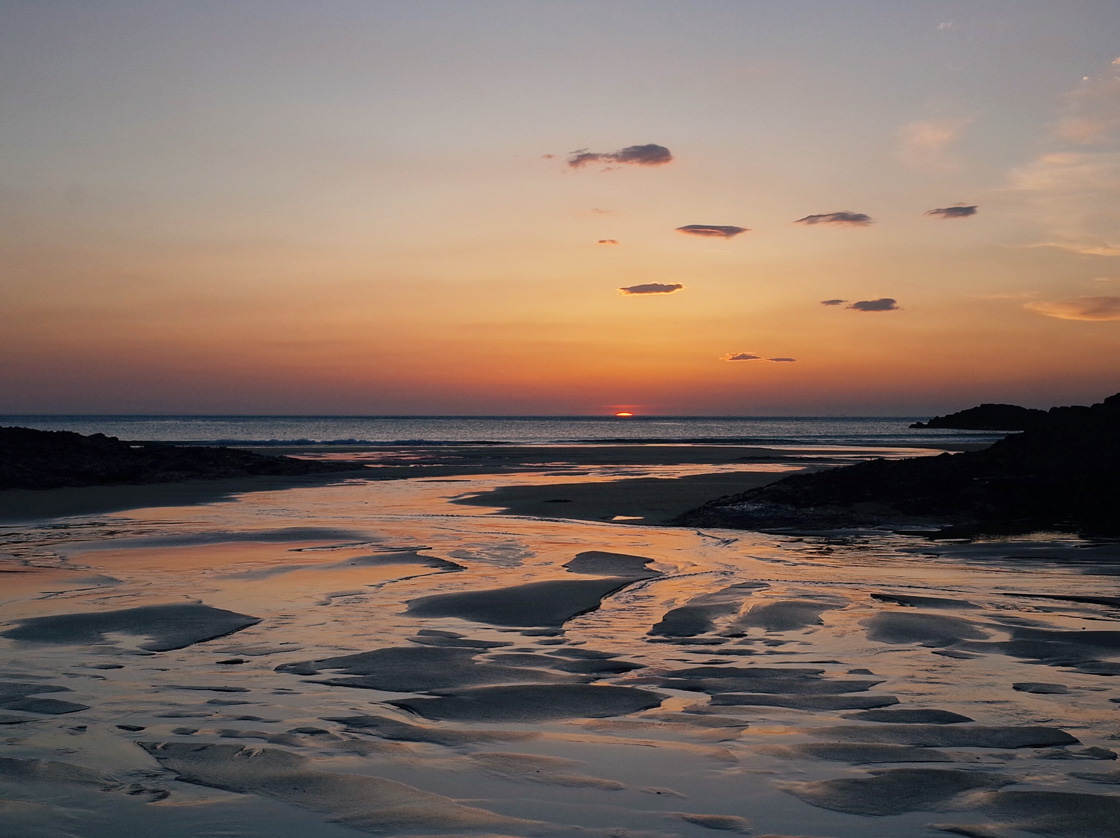
Or you can shoot a portrait orientation photo, where you emphasize the water or the sky. That’s exactly what I did for this photo:
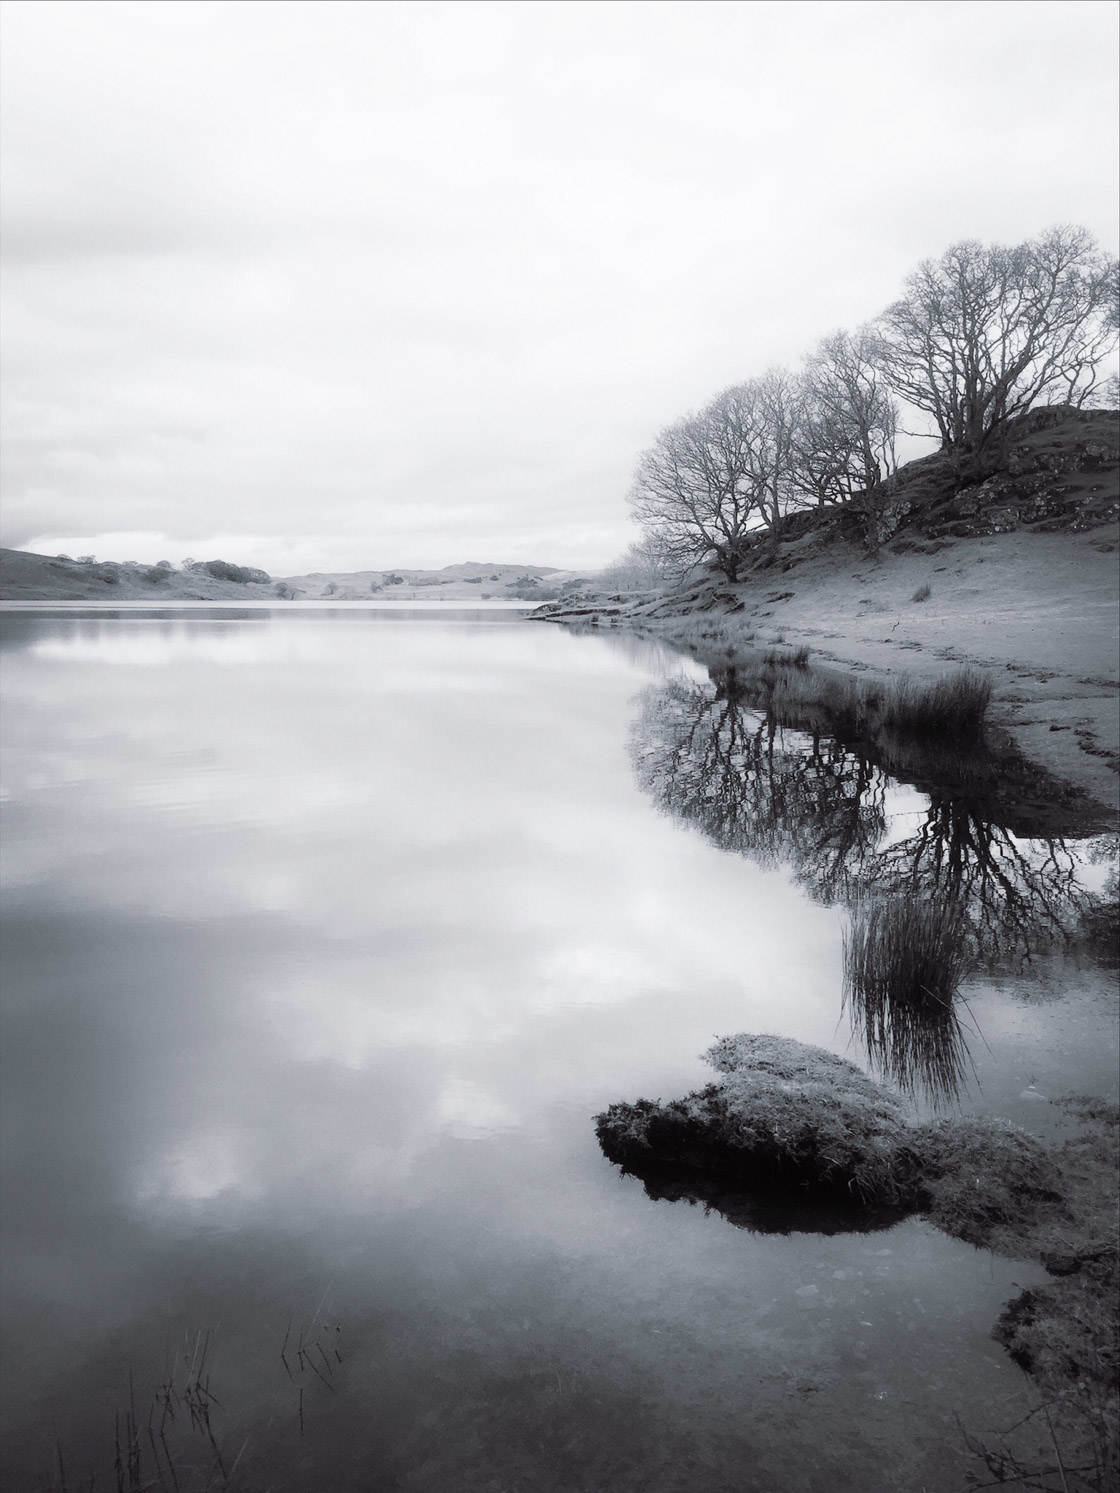
Neither approach is better than the other.
But sometimes one is better for a particular scene!
When would I recommend using portrait orientation?
If the sky is covered with gorgeous, cotton candy color clouds, you probably want to shoot a portrait orientation photo. You can position the sky so that it takes up most of the frame.
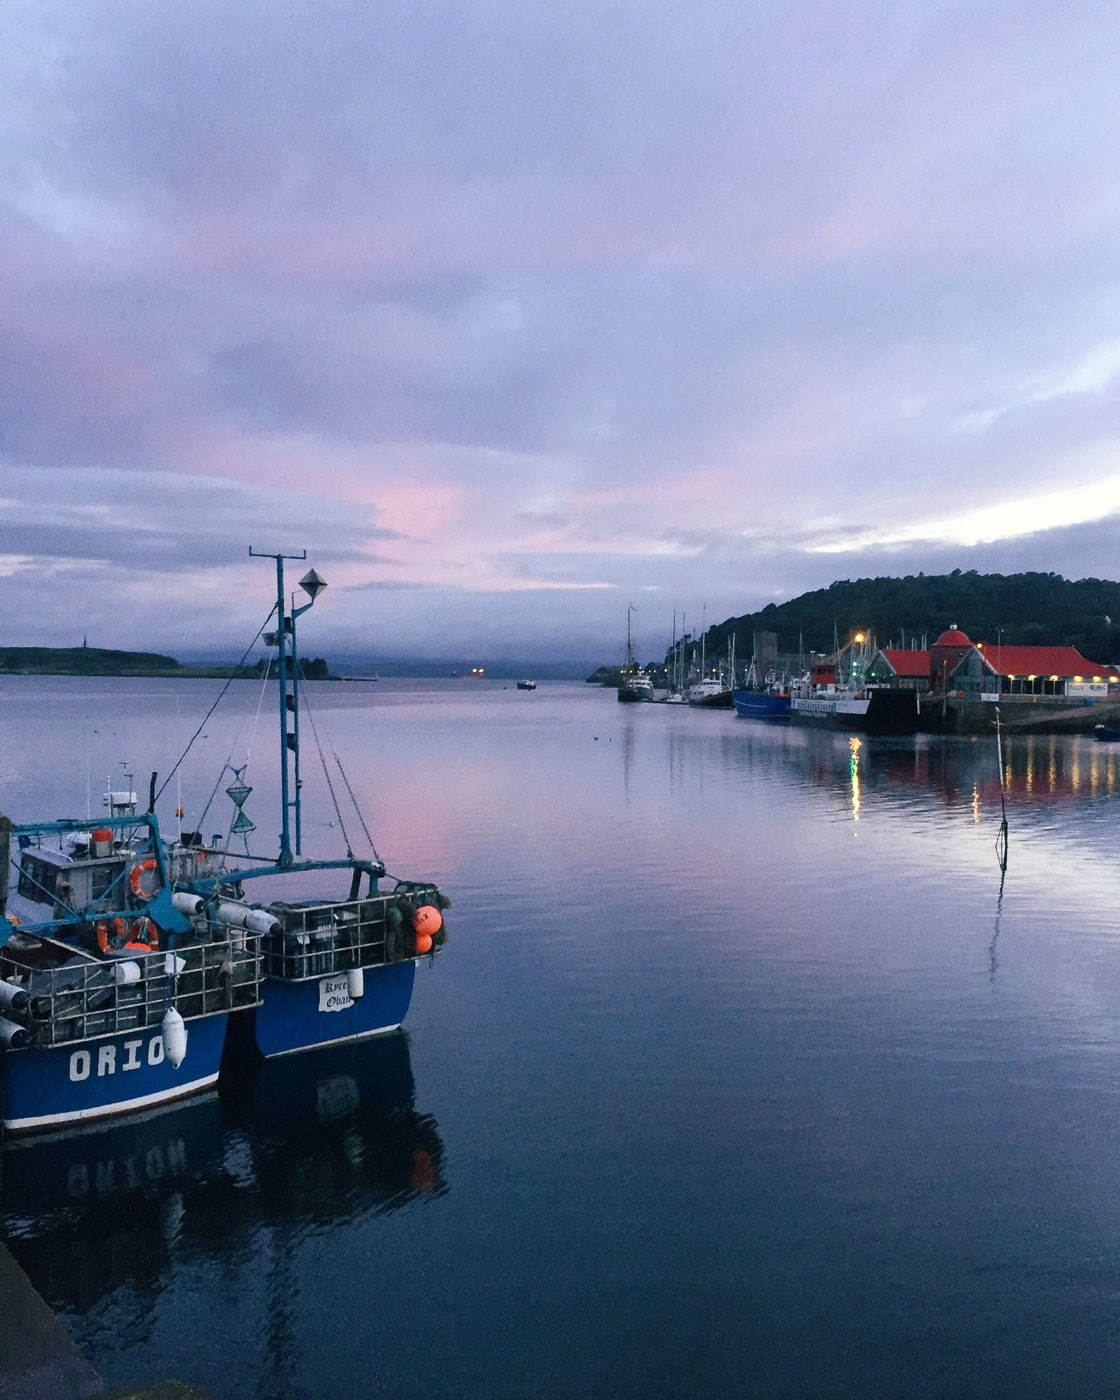
That way, you can emphasize the beautiful clouds!
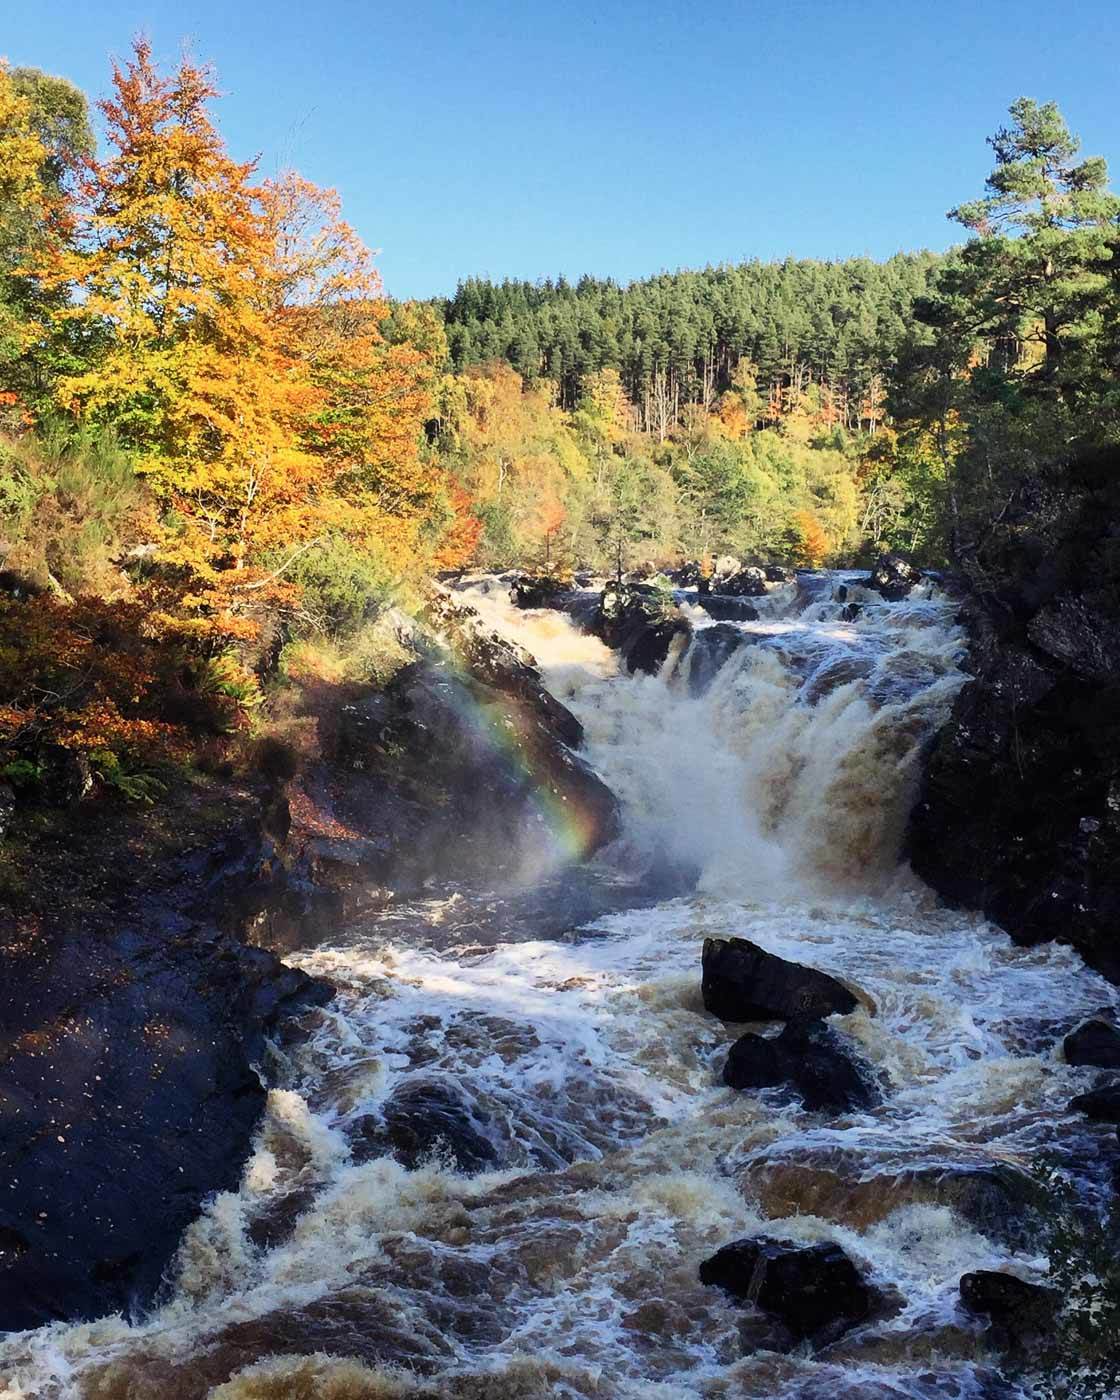
Portrait orientation is also great if you’re using leading lines. Portrait orientation gives extra space for the leading lines to wind their way through the frame.
Look at how portrait orientation accentuates the river in waterfall pictures like the one below:
But when should you use landscape orientation?
If you’re working with a bright blue sky, you might want to shoot in landscape orientation. Bright blue skies tend to be boring–so you probably want to emphasize the vastness of the vista (rather than the colors in the sky).
Do you want to take powerful water photos? Then experiment with different orientations!
7. Shoot At Different Angles For The Most Creative Photos
Lots of people take photos of water.
But do you want to take photos that rise above the rest? Do you want to take creative photos?
If so, then you should try shooting at different angles.
You’re probably used to shooting from a standing position, with your iPhone held at chest height. This can work well–but it can grow boring after a while. And it’s what everyone does!
Why not try to mix it up?
Change your perspective.
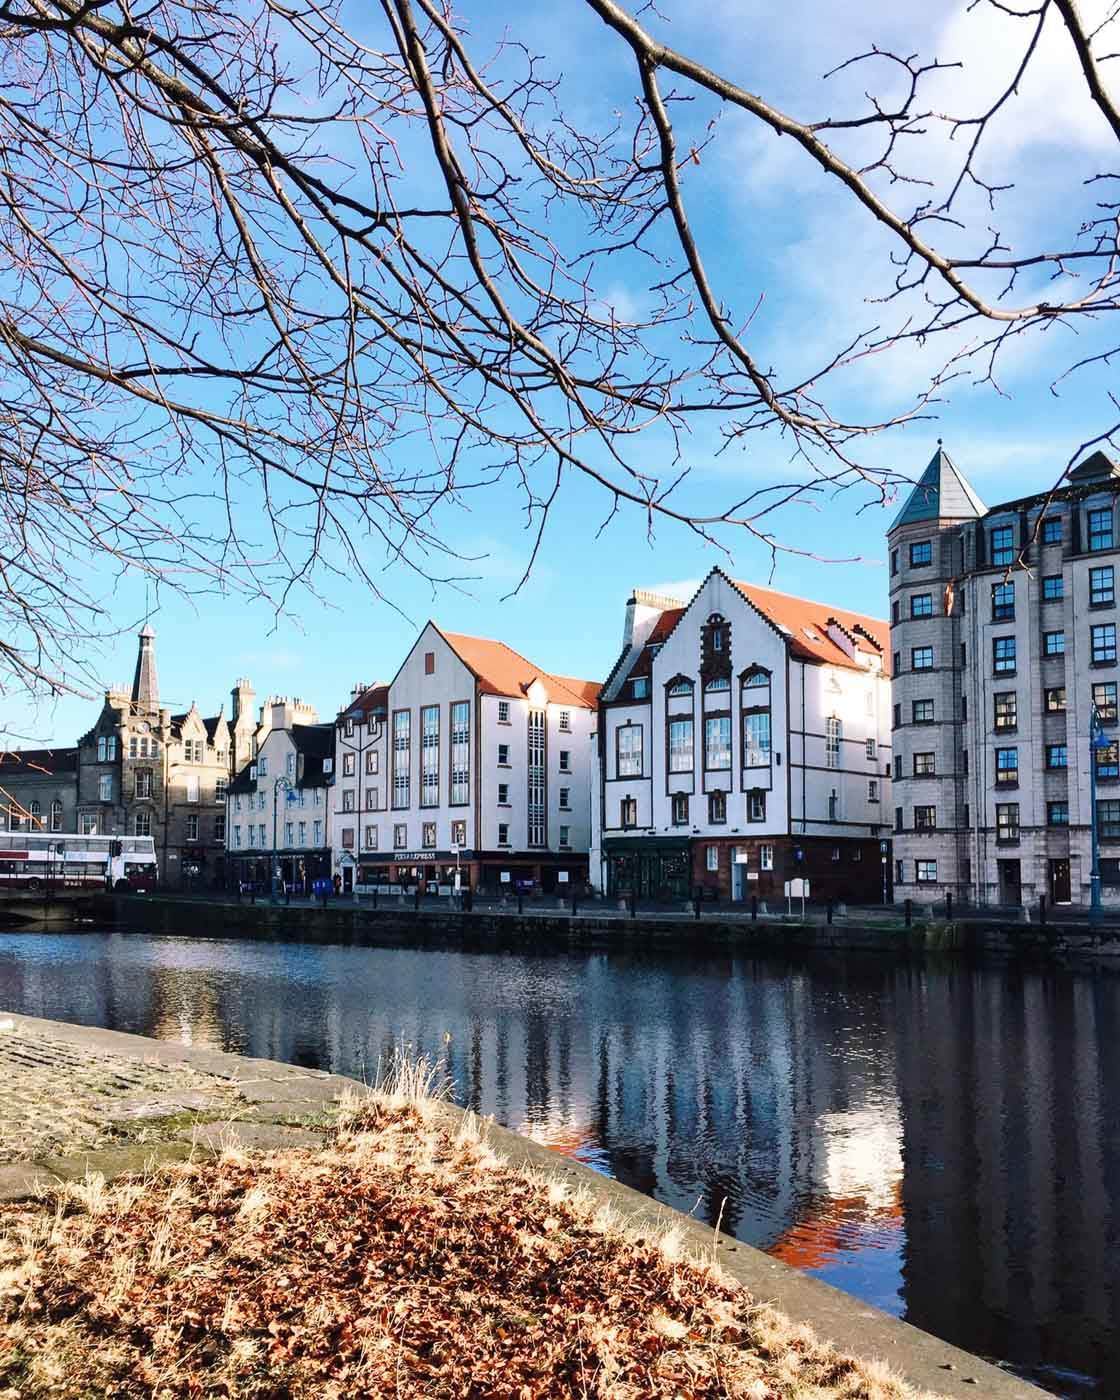
Instead of shooting at standing height, try crouching down extremely low.
This can be great for creating more dramatic images of water–images where your iPhone is just inches from the water itself! That’s what I did for the photo below.
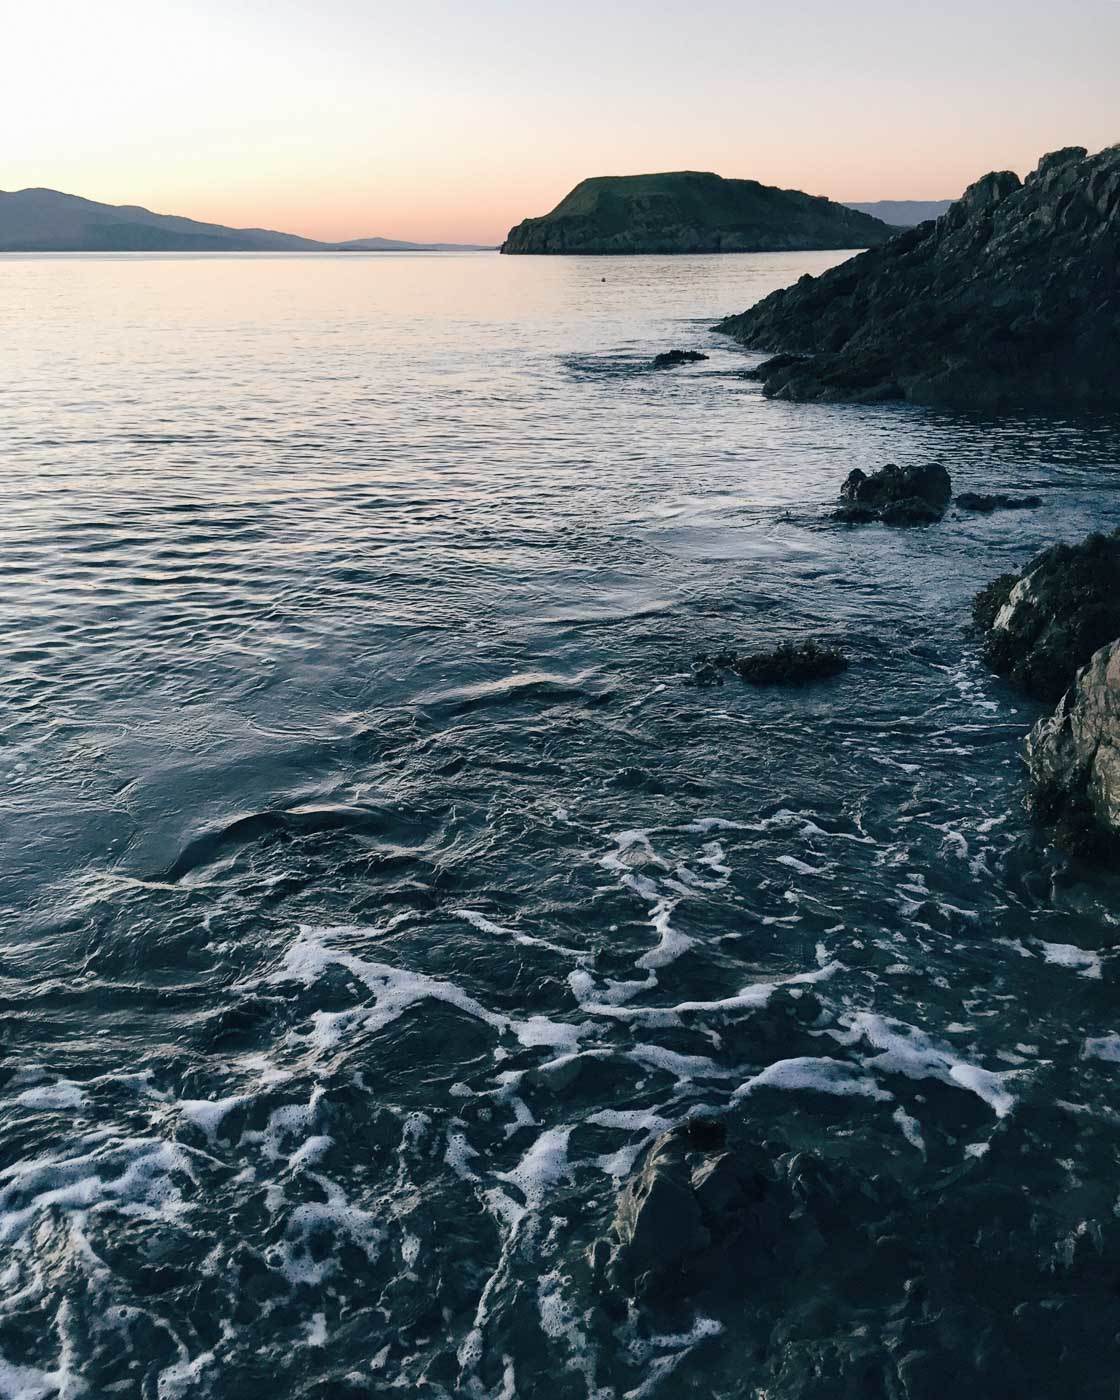
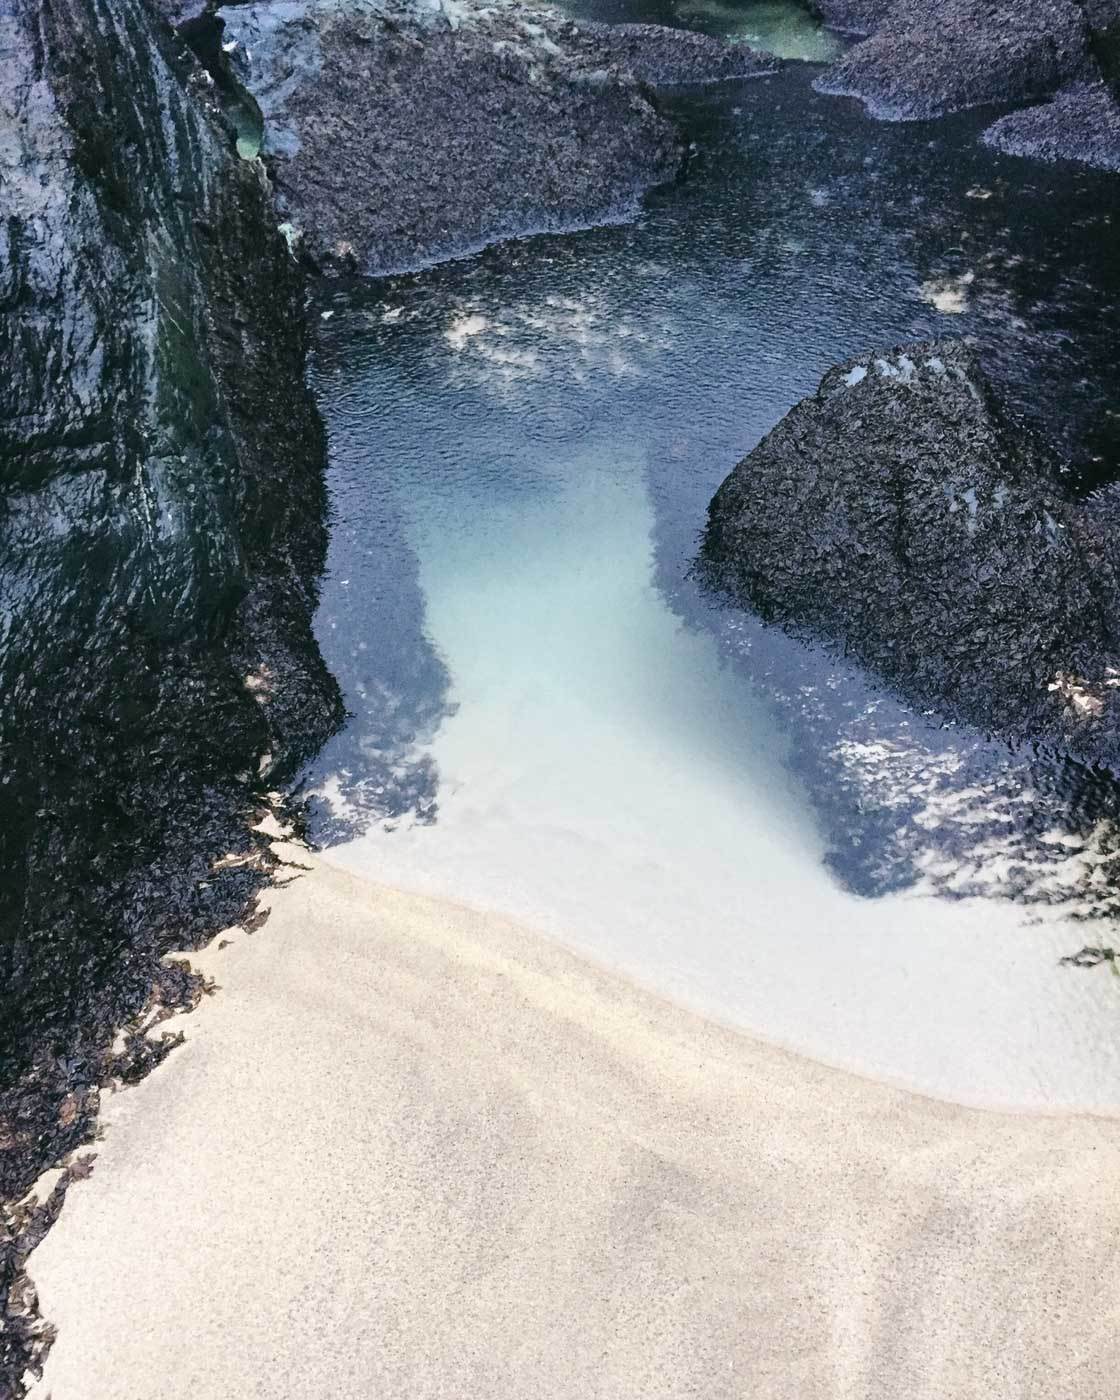
You should also consider raising your camera above chest height. Hold it over your head with your arms! Or find a vantage point and shoot downward. This can give a more creative perspective!

This can also work if you have a very compelling foreground subject. For the photo below, I shot at a downward angle–and this emphasized the beautiful plants in the foreground.
Do you want to take more creative water photos? Then shoot at different angles! You’ll capture plenty of original images.


Leave a Reply
You must be logged in to post a comment.