Winter can be a wonderful time of year for taking iPhone photos, particularly for landscape photography. Familiar locations around you can be transformed by snow, ice or fog. And with the winter sun lower in the sky, you can capture wonderful light, amazing long shadows and stunning silhouettes. In this tutorial you’ll discover eight tips to help you get the most out of your winter photography.
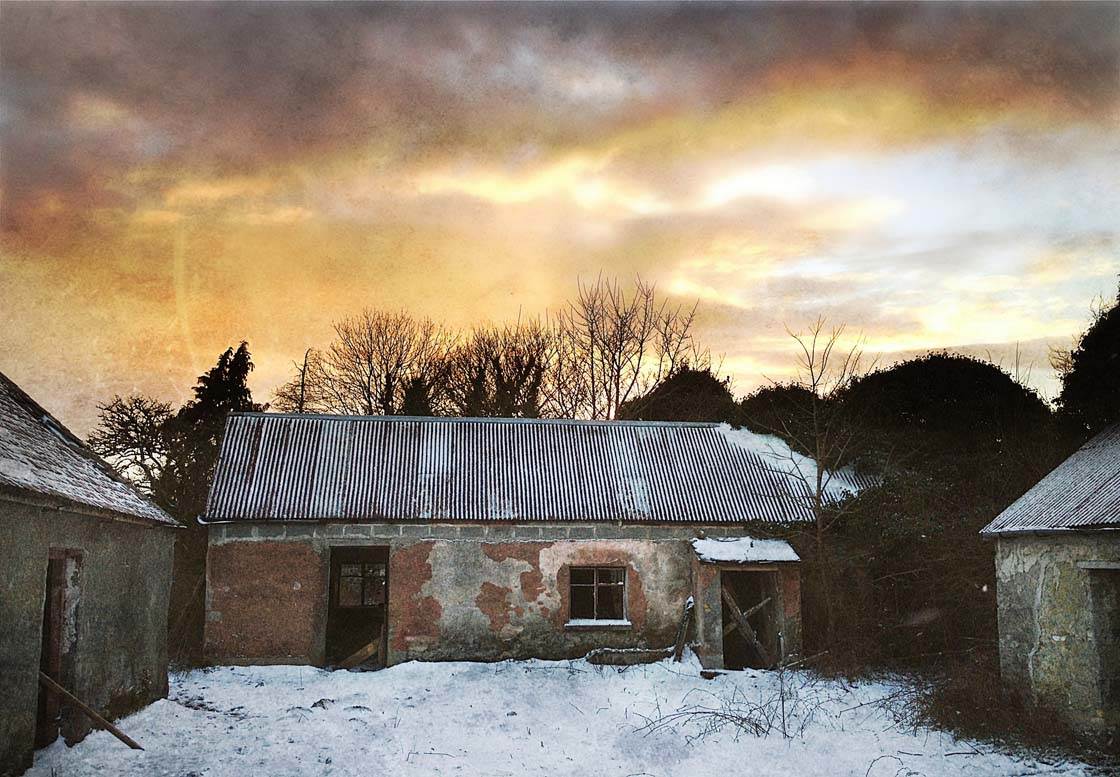
1. Don’t Let Your iPhone Get Cold And Wet
Your iPhone is very sensitive to extremes of heat and cold. In cold winter conditions the battery on your iPhone will drain a lot faster, and the iPhone can shut down altogether if it gets too cold. In extremely cold weather, internal components can be permanently damaged.
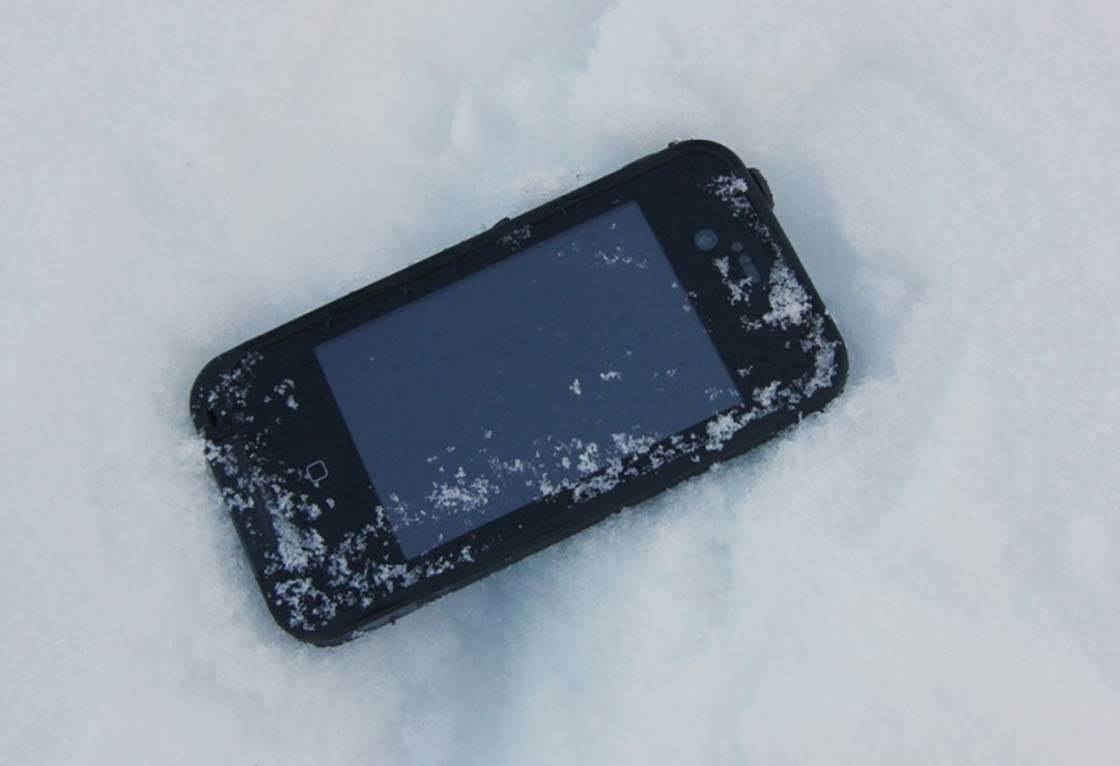
So if you’re out and about photographing a winter wonderland, spend some time surveying your surroundings, deciding what you’d like to capture. Then just take your phone out for short periods while you take the photos you want, returning it to your pocket (preferably an internal pocket) to warm up again.
This might seem a bit over the top, but it’s amazing how fast the battery will run down if you leave your phone exposed to cold weather. And this could lead to you missing out on shots you would have otherwise gotten if you’d had enough battery.
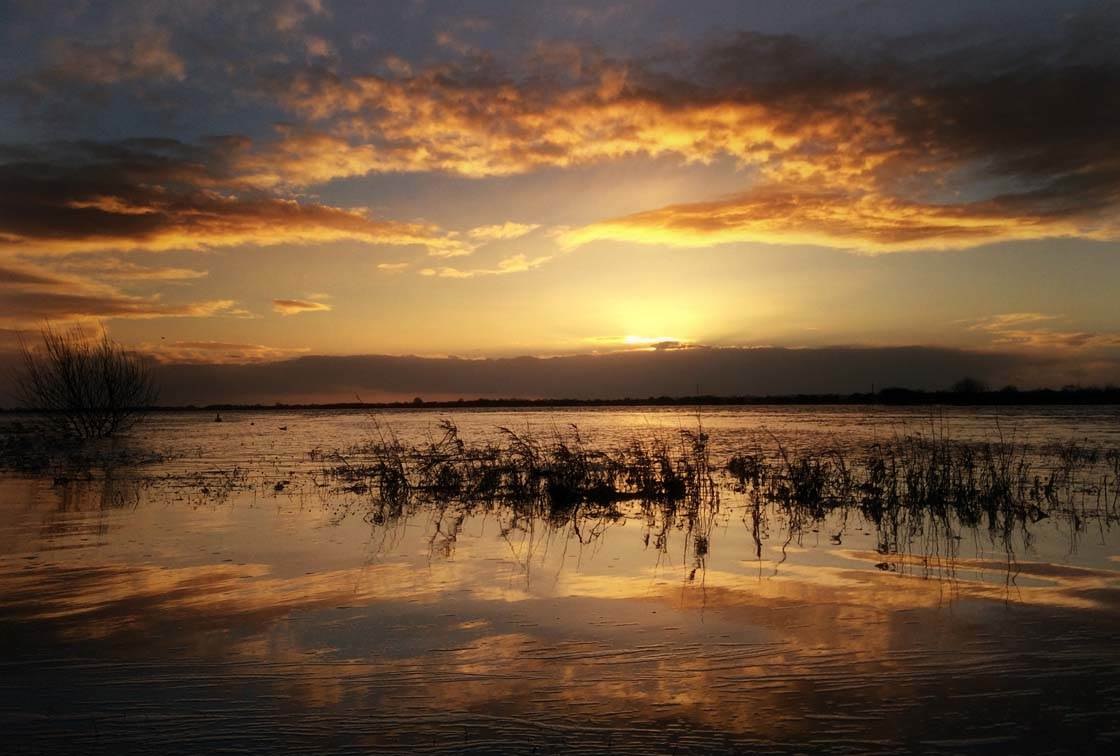
Another thing to bear in mind is that the iPhone doesn’t react well with water. Nothing will void your warranty faster than a hint of water damage. So get a good quality protective case for your phone, and protect it from water in excessively wet conditions.
2. Wrap Up Warm
This might seem pretty obvious, but if you’re out taking photos of snowfields, frost and ice, you’re going to get cold. Wrapping up well against the cold means it will be a far more enjoyable experience.

You should also consider getting some touchscreen gloves. If your hands get cold they’ll start to shake which may result in blurred images in low light conditions. The other advantage of using gloves is that they’ll help keep the phone warm and reduce the battery drain mentioned above.
3. Get Great Photos Of Snow
Getting snow to look right in your photographs can be difficult. Snow will very rarely turn out perfectly white in your photos. Depending on the light and the weather, snow can take on different color hues or even end up a dull gray color.
If your snow photos look disappointing, don’t worry. It can all be fixed with a bit of editing. There are a number of ways to rectify this.
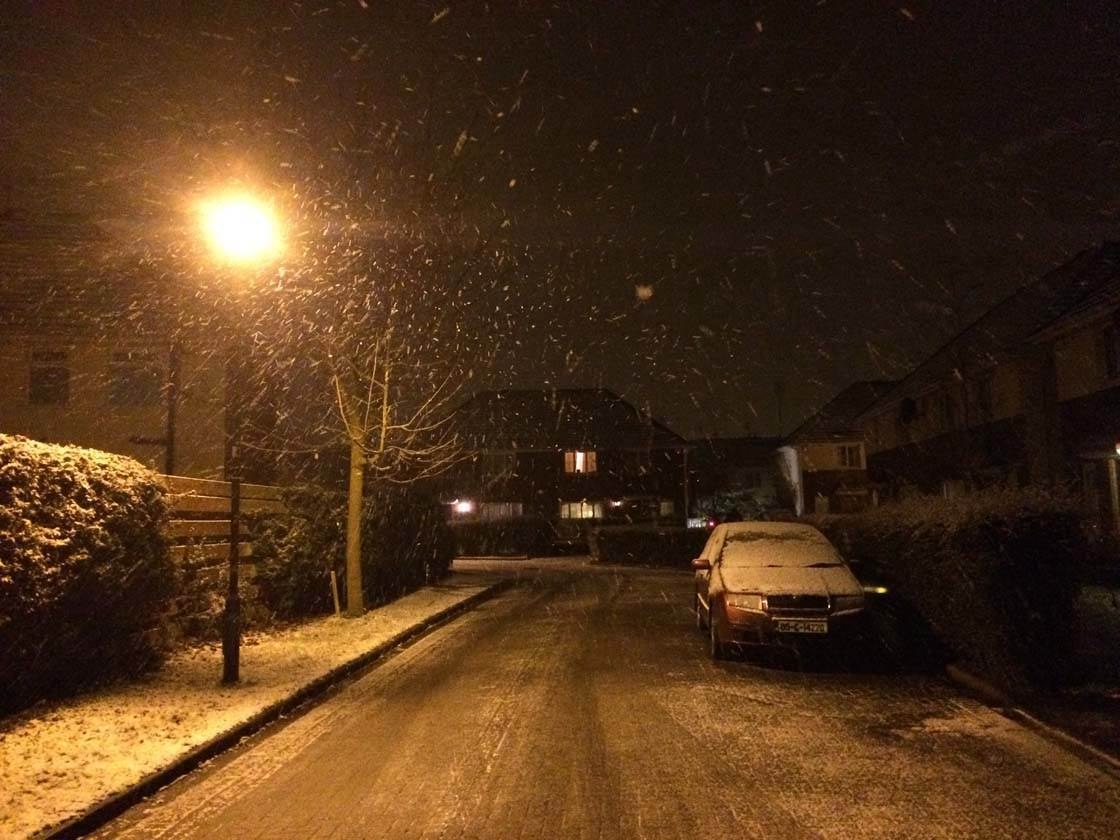
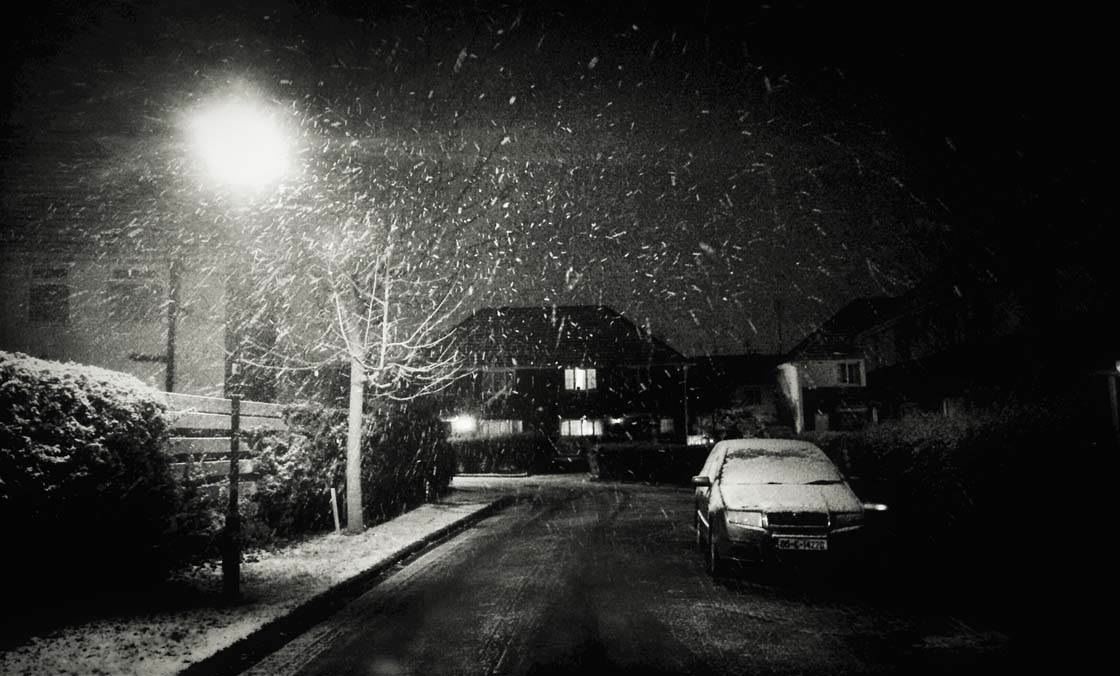
In this example the snow appeared orange because of the color of the street lights. An easy way to counteract this is to convert the image to black and white. I also increased the contrast to help accentuate the snow.
In the example below, the snow in the original photo appeared grey due to the fact that the photo was taken in overcast conditions. I used the Snapseed app (check out our Snapseed tutorial) to desaturate the color and change the overall color temperature of the photo towards a cooler shade of blue.
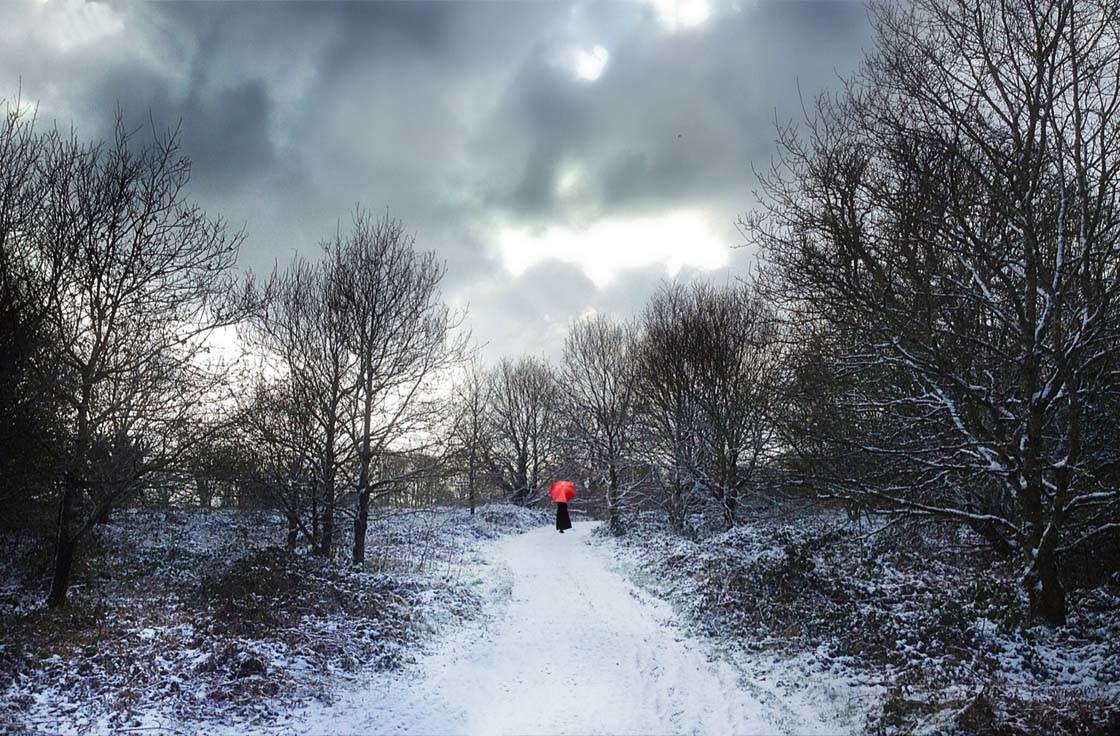
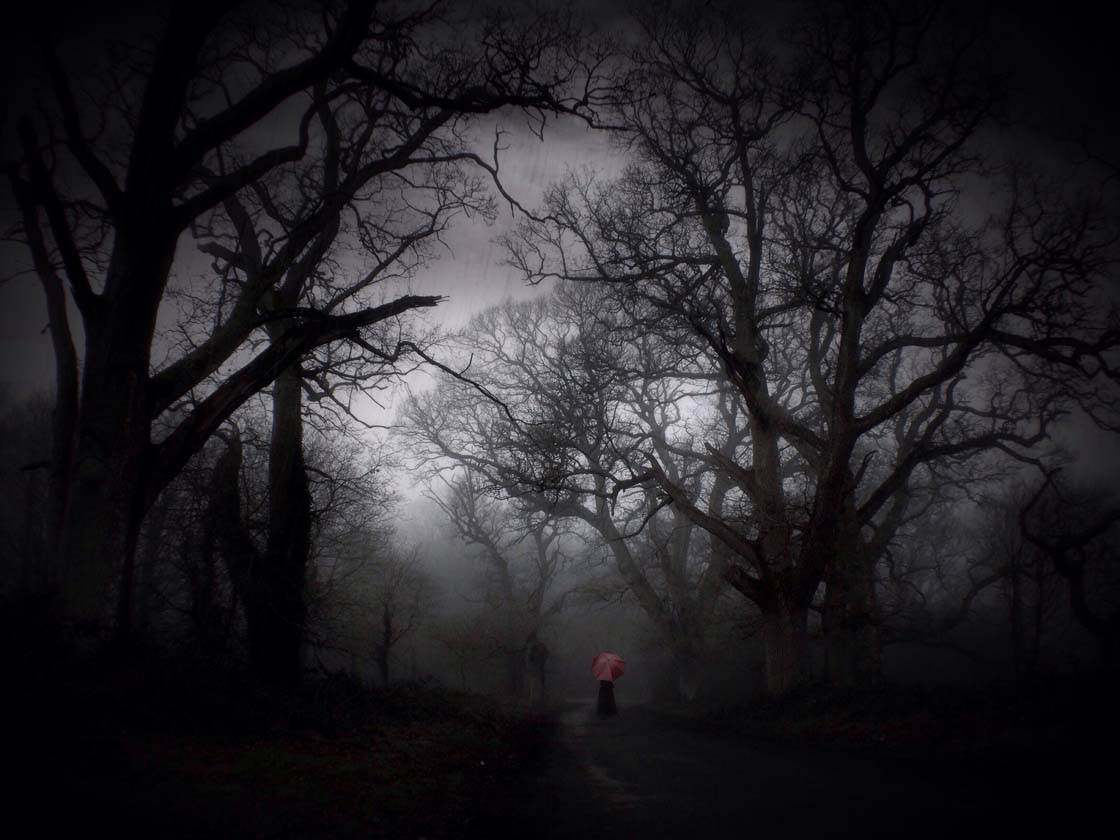
I then used the lighting brushes in PhotoToaster to brighten the snow to make it look more natural. Finally, I used the Juxtaposer app to add the lady with the red umbrella. The splash of colour really brings the shot alive.
In the photo below, the snow had a golden hue due to the photo being taken when the sun was low in the sky. I wanted to keep that golden hue of the magic hour in the sky, but I wanted the snow to look more natural.

For this I used the Desaturate FX brush in PhotoToaster to work on just the areas with snow, and then brightened the foreground with the Lighting brushes in the same app. Again, it gave the overall photo a more natural look.
4. Make The Most Of Long Winter Shadows
In winter the sun is lower in the sky for longer, and creates wonderful long shadows. If you can capture these shadows it can result in quite dramatic photos. For best results you should shoot into the sun with the shadows filling the foreground of your shot.
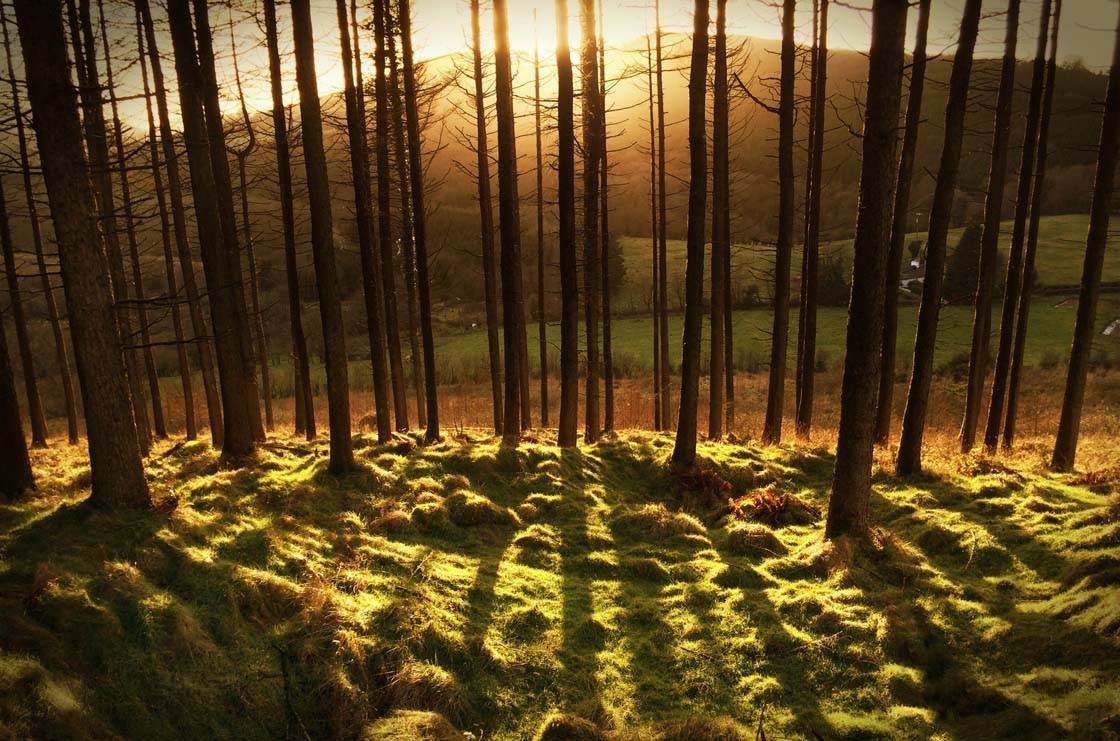
Wooded areas area great for this kind of photography as you end up with multiple shadows from each individual tree. Experiment with having the sun at different positions in the frame to cause the shadows to fall at different angles.
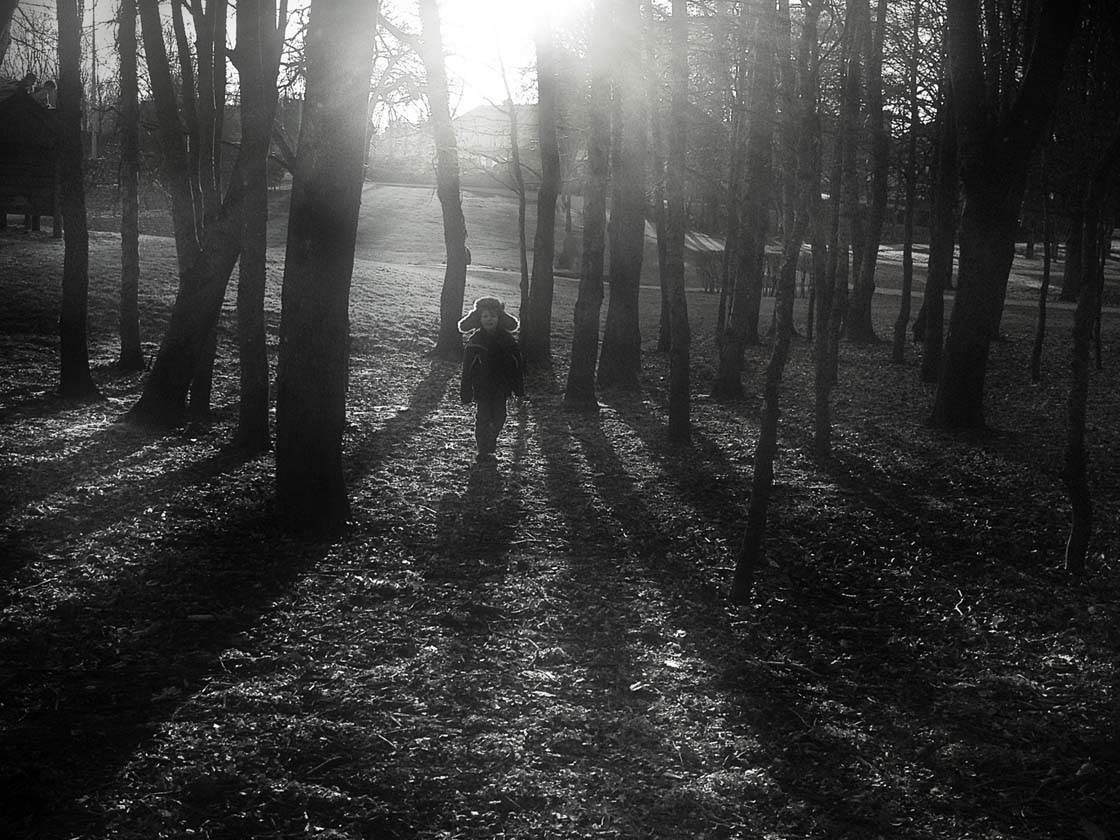
Shooting into the sun can cause problems though. If the sun is in the frame you’ll end up with a very dark foreground if the phone uses the sun to set the exposure. Alternatively if you set the exposure to capture the foreground correctly, it will result in a bright “blown out” sun that will end up dominating the photo.
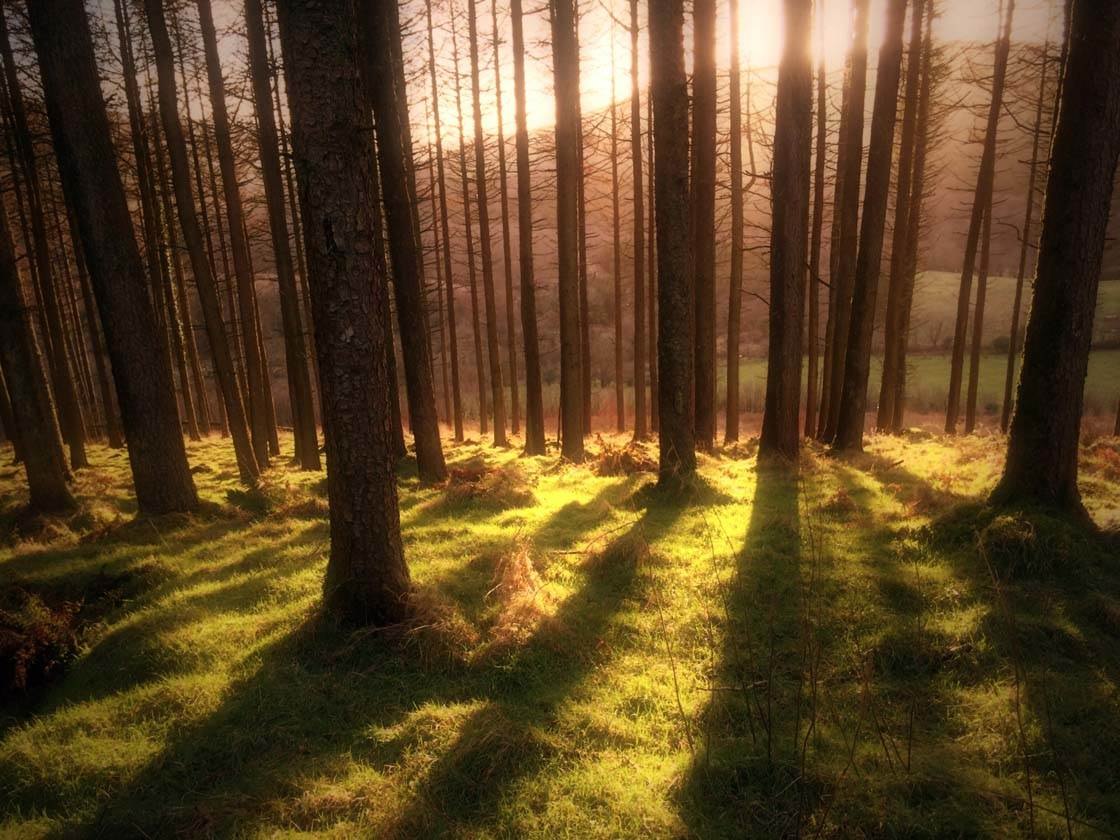
For best results, try to frame the shot so that the sun is either just out of the frame or blocked by a tree or some other object. This will result in a more balanced exposure with the shadows in all their glory.
5. Take Photos On A Rainy Day
Of course, winter isn’t all about snow and beautiful light. We’re often faced with rainy and overcast weather. Taking good photos of the rain isn’t an easy task, mainly because of the lack of suitable light due to the dull and overcast conditions that come hand in hand with the rain.
If you struggle to get good photos in the rain, you could use an app such as Rainy Daze to add rain effects to your photos. The app allows you to fully customize the rain effects to get the exact look you’re after.
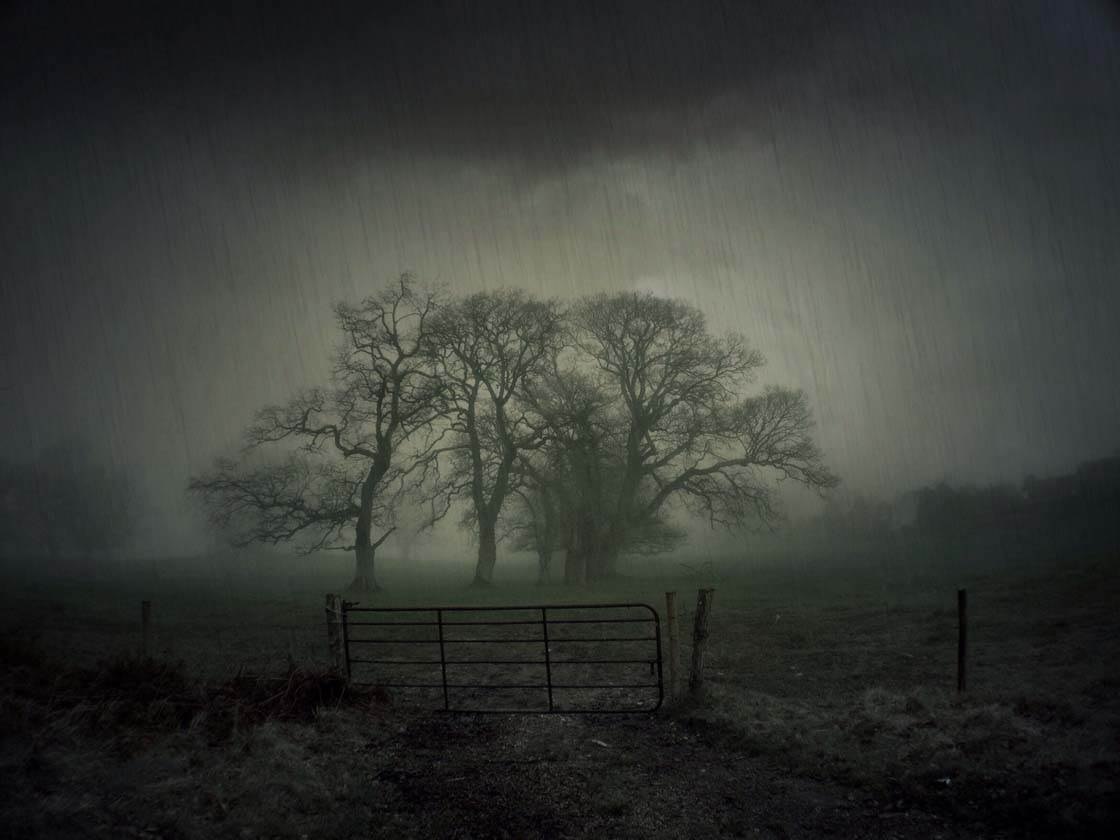
In this example the original photo was taken on a dry day, and I used the Rainy Daze app to make it look like it was taken during a torrential downpour.
The app isn’t suitable for all situations. For example, adding rain effects to a photo taken on a bright summer’s day won’t work. For a realistic effect, always use an appropriate photo, preferably of a cloudy overcast scene.

If you don’t want to go out in the rain to take photos, another option is to wait for the rain to stop and take photos of the after effects, such as these rain-soaked cobblestones in Dublin’s Temple Bar.
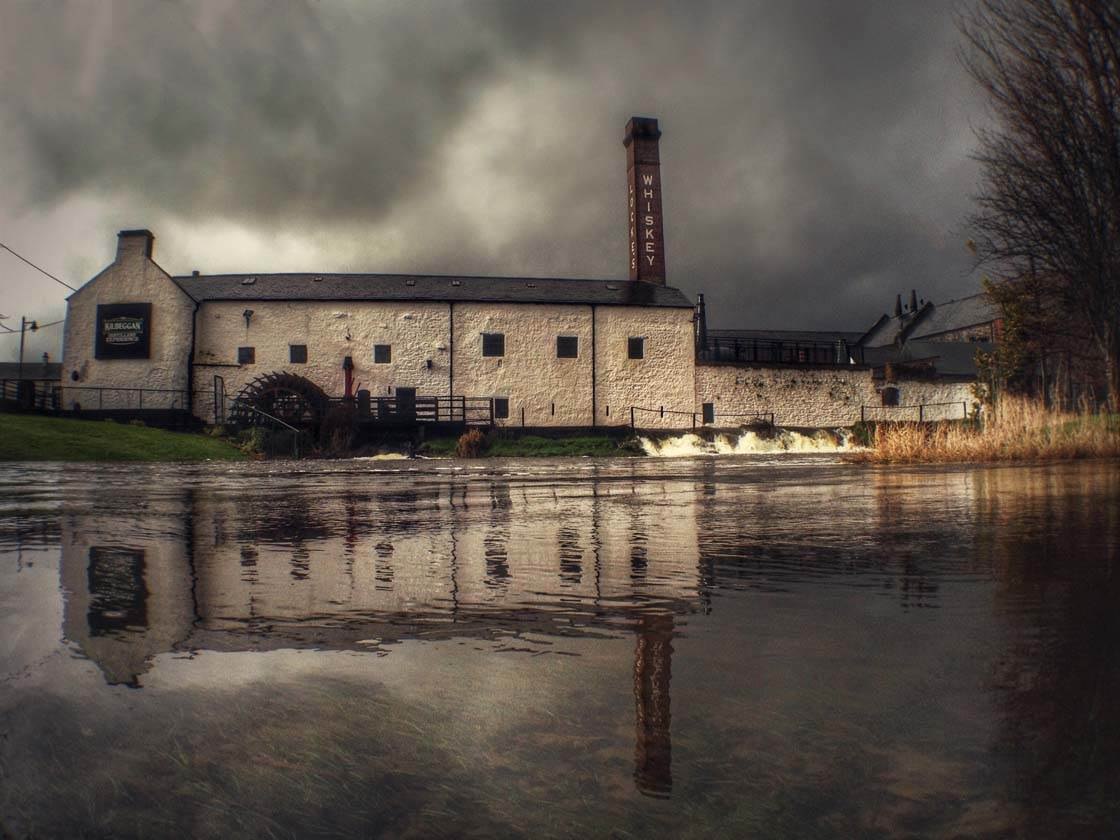
Wet surfaces make great photos as the colors appear richer, and the sparkles and reflections add interest to the scene. In the photo below I captured the reflection of a distillery in flood waters after a winter storm.
6. Shoot In Fog
In foggy conditions, familiar locations can take on a completely different appearance. Fog can dramatically alter urban landscapes as in this shot of a church in my home town.
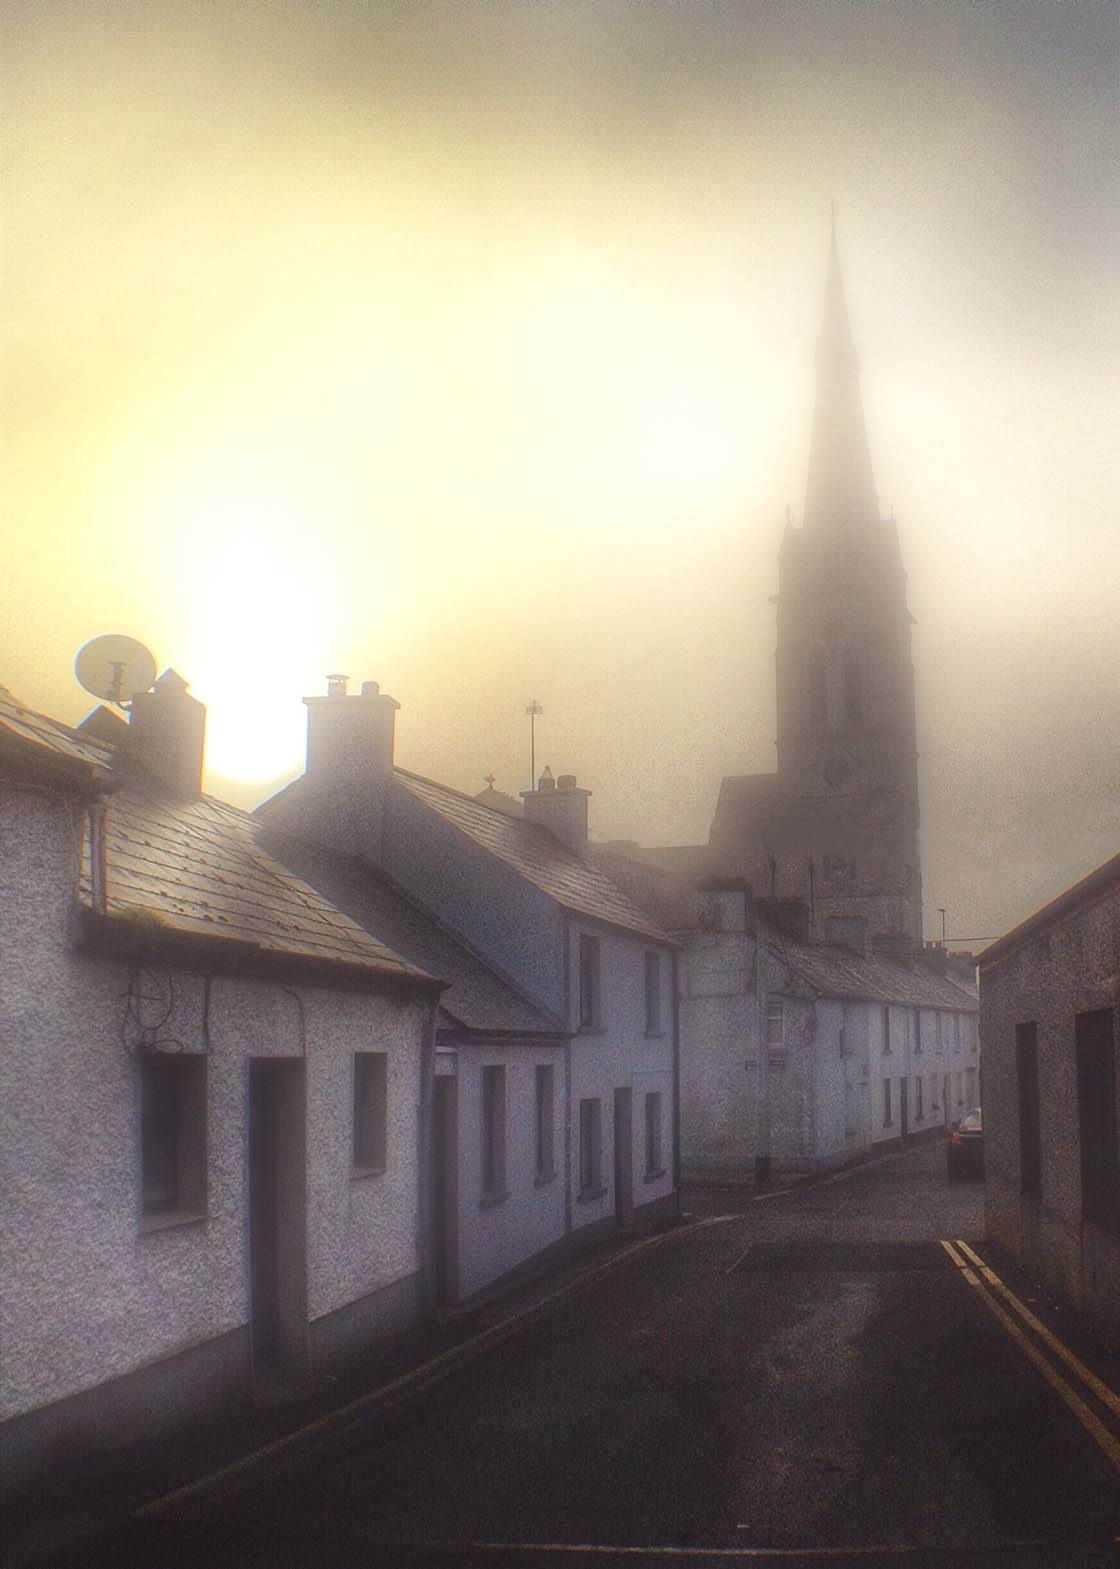
One of the advantages of shooting in foggy conditions is that the fog will obscure the background and help objects in the foreground to stand out.
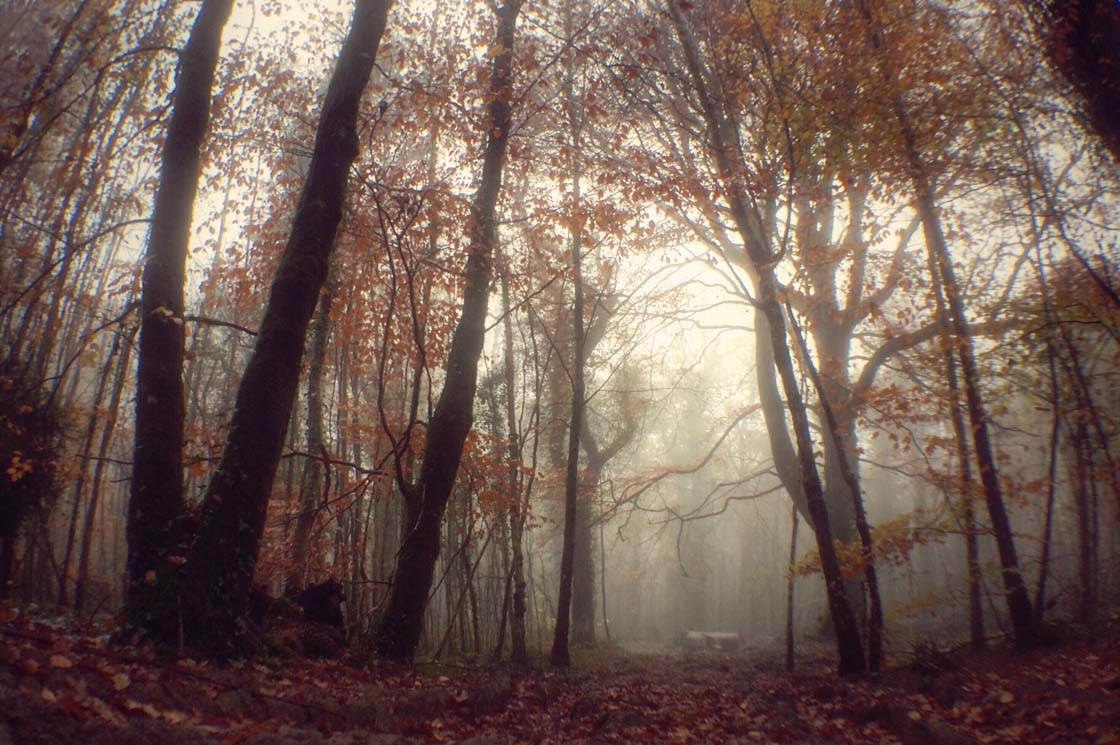
Forest photography provides perfect opportunities to shoot in fog, often resulting in wonderful gloomy and creepy images. One thing to keep in mind is that light will be bad when it’s foggy, so be sure to hold your iPhone steady to avoid blurred images.
7. Capture Silhouettes Of Trees
In the depths of winter, when trees have lost all their leaves, you can get very dramatic shots of these bare tree with their twisted branches silhouetted against cloud-laden skies.
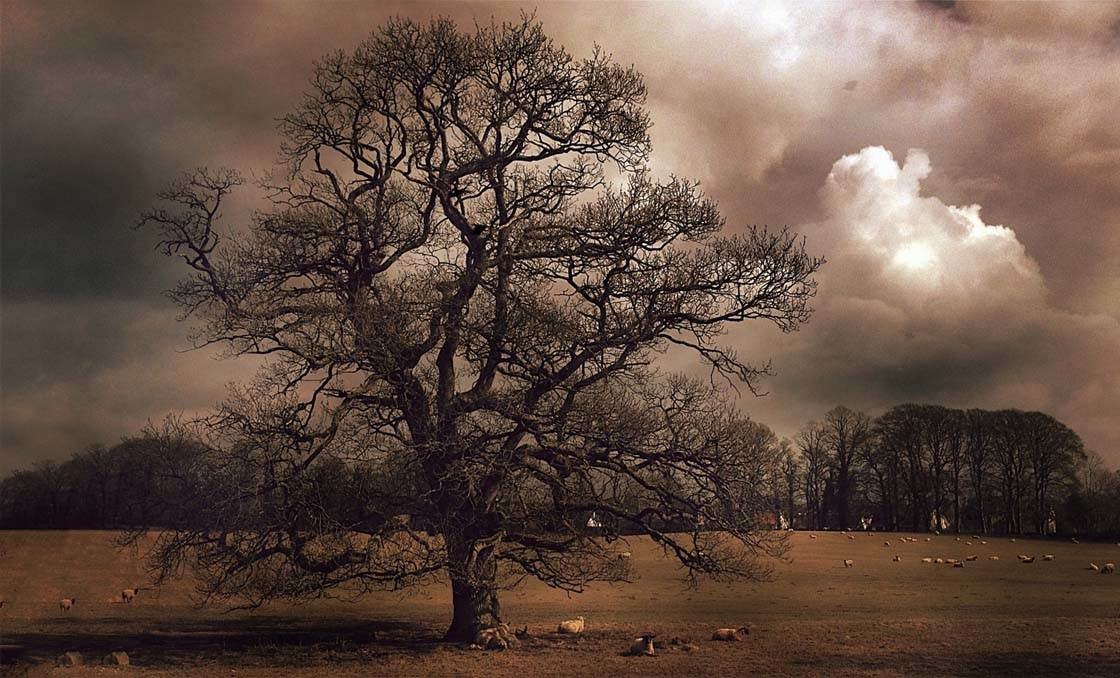
These types of shots are just not possible at any other time of year, so take the opportunity to wrap up warm and get out there whenever the chance presents itself.

To achieve a silhouette effect, you need to shoot into the sun and reduce the exposure so that the objects you want in silhouette appear black or very dark. To reduce the exposure in the native camera app, simply swipe down on the screen after you’ve tapped to set the focus point.
8. Get Up Close
The temptation when you’re out taking photos in bad weather is to shoot from the comfort and safety of marked walking trails or paths. But if you’re a bit more adventurous you’ll end up with far more interesting shots.
By getting in closer to your intended subject, you won’t have to use the zoom function on the iPhone and you’ll end up with far sharper images. So put on your waterproof clothing and adventure off the beaten track for a chance of getting more dramatic shots.
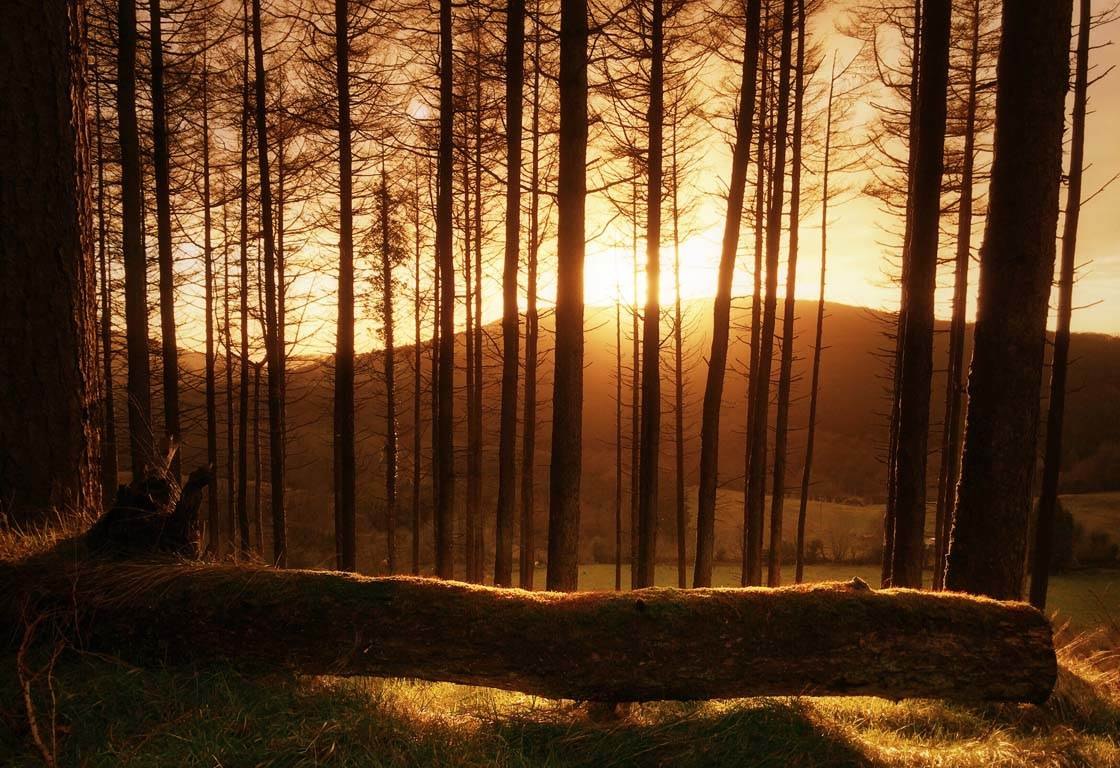
In the example above, I liked the way the light was peeking out from below the felled tree. The only way I was going to capture the light correctly was to get up close to the fallen tree and shoot from a low angle. I got soaked in the process, but it was worth it!
In the photo below, heavy winter rain had caused a nearby river to flood. This meant that I was able to get up closer to the swan than I normally would have been able to by wading into the water a bit.
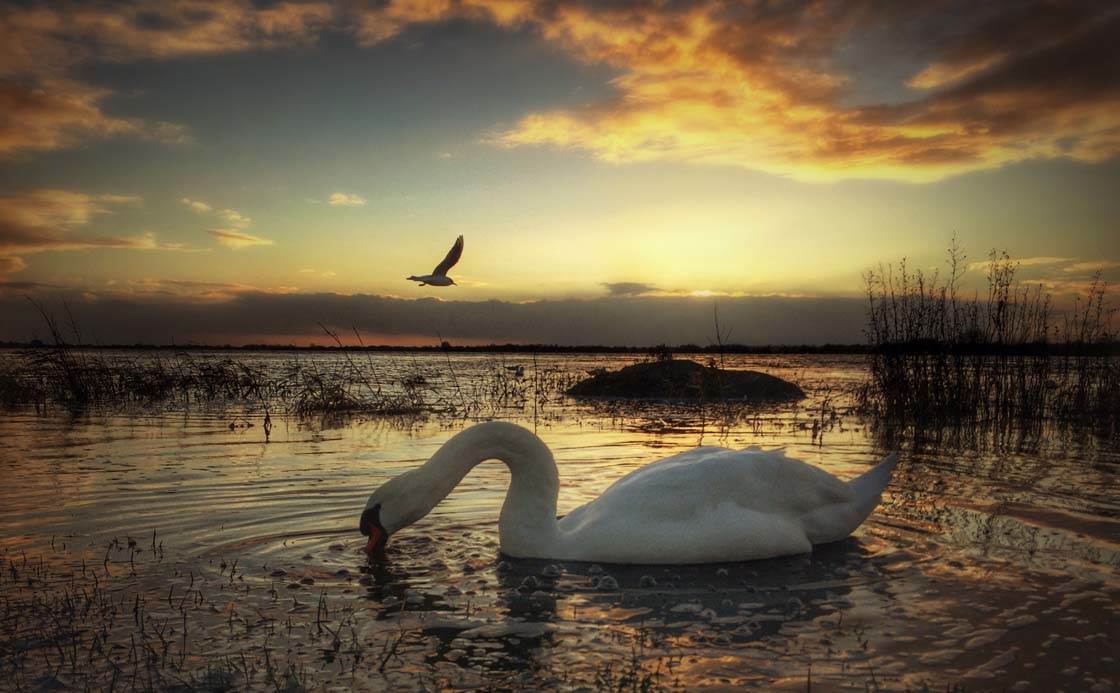
Again getting closer to my subject helped to make the swan look more impressive, and shooting from low down allowed me to get more sky in the frame as well as the bird flying in the background.
When shooting around water ensure you hold on to your phone tightly as you don’t want to drop it. Water may be essential for life, but it’s instant death for your iPhone!
Getting out in the cold and wet weather of winter may not seem that attractive when you’re sat in the cosy indoors. But if you make the effort to wrap up warm and get out there with your iPhone, I guarantee you’ll be pleased with the results.
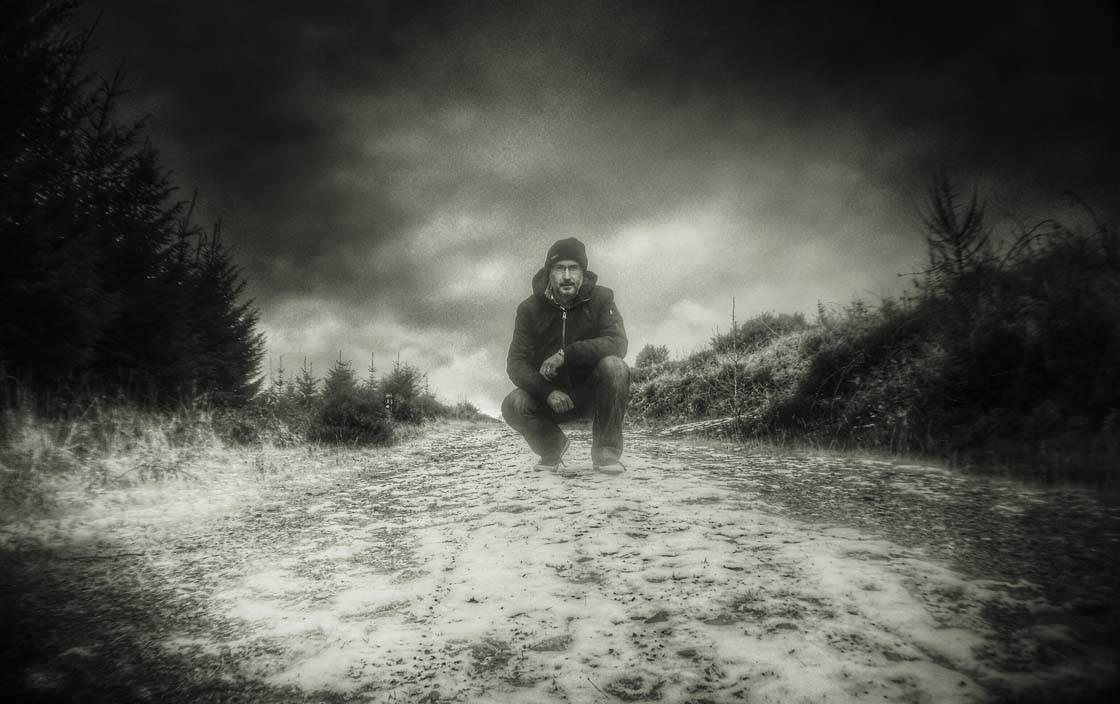
And overcoming the challenges that you’ll encounter when shooting in winter will help you develop your skills as a photographer.


great tips
Thanks very much remi. Glad you liked it 🙂
Awesome tips! Thank you so much! 🙂
Thanks PerksandGrumpsTravels. Glad you like it 🙂
Great share as always. It’s cold and snowy in NYC today perfect for trying out these tips! Thanks for sharing.
Thank Mari. Looks like you are going to have plenty of snow for practising your winter photography. Stay safe.
Great tips – am digging out my waders and plastic tarp 🙂
Hi Tracey. Glad you enjoyed it. The only way to get really good shots with your phone is to get close to your subject.
wow amazing