If I had to pick one type of photos that is almost guaranteed to do well on Instagram, I would surely go for sunsets. Even though I try my best to not become a sunset person on Instagram, my sunset photos get more likes than anything else I post. And I can understand why. If done correctly, sunset images can indeed be very beautiful. Even though it’s not hard to do stunning sunset photography, most people only tend to get average results. To make sure that you aren’t one of them, I created this tutorial for shooting and editing the perfect sunset photo with your iPhone.
Shooting a Sunset
There is a saying that no amount of editing can turn a bad photo into a good one. So in order to create a beautiful sunset photo you first have to shoot it right. It all starts with choosing the right location for the shot. As a general rule you need a wide and empty space so that you can see the sun as it’s going down. The beach is my number-one favorite, but other bodies of water and even large fields will do it as well. I also recommend to choose a place that is visited by many people; you will see why in a second.
Depending on your location and the time of the year, the sun sets anywhere between the North West and the South West. You want to make sure that your view is not covered in that direction. So if you are taking a photo of a lake, make sure you are on its East coast of the lake where you can see the sun as it is going down. Generally speaking you will get more interesting photos when there are some clouds in the sky. Cloud patterns oten add a unique touch to the photos, but they shouldn’t cover the sun completely.
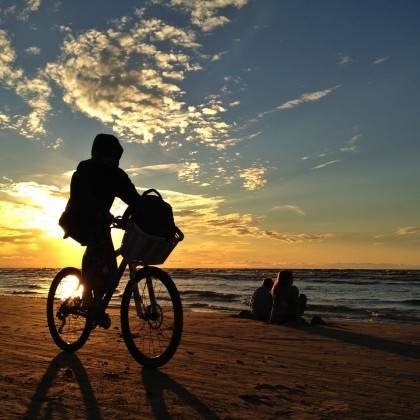
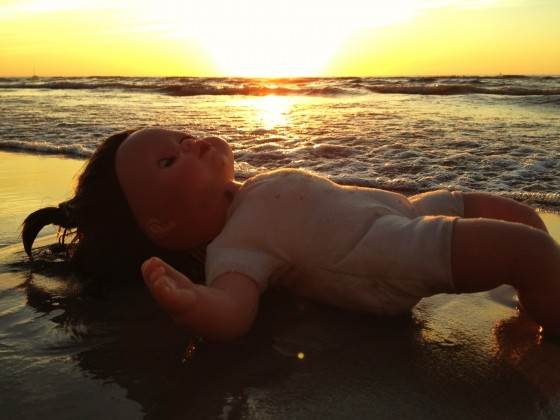
Next, you have to find the subject of your photo. Every good photo has its main subject or subjects. The setting sun doesn’t count. The sky doesn’t count. The sea doesn’t count either. It has to be something unique and interesting, something that would make your photo stand out. Preferably it should fill the foreground of your photo. With the right choice of subject, you can make your sunset images dramatic and even sad if that’s what you want to do.
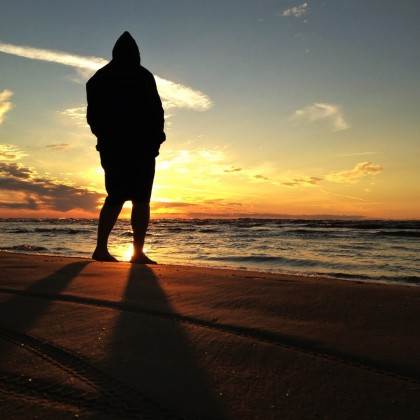
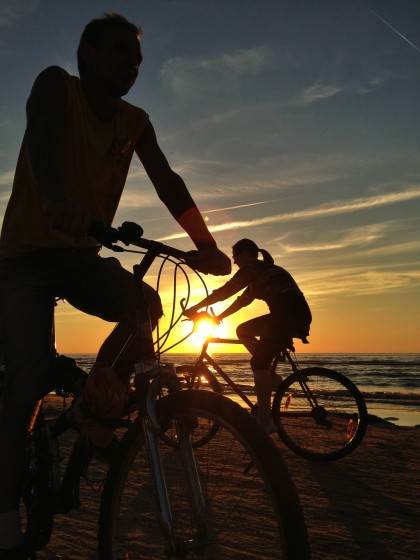
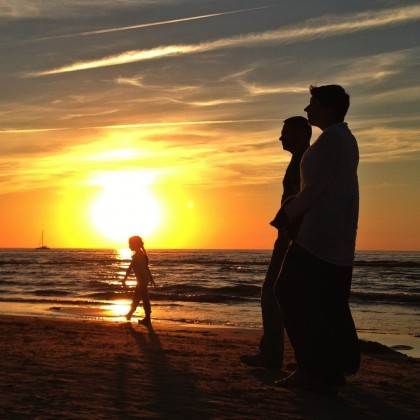
My favorite subjects are people. I prefer to go to busy beaches and simply take photos of other people who are also there. However, other subjects such as rocks, boats, trees, piers and bridges are equally good. Since you are shooting against the sun, your subjects will almost always turn into beautiful silhouettes without any work on your part.
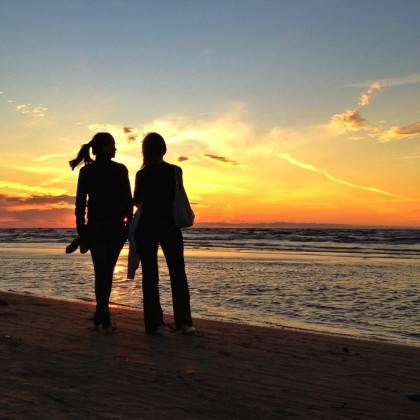
Do think about the composition when you are shooting. The worst thing you could possibly do is simply put the horizon, the sun or the subject in the center of the photo. Instead keep in mind the rule of thirds and try to make the composition harmonic. Some problems can be corrected later on with cropping, but you should always try to take your photos with composition in mind.

If possible, I often try to cover the sun behind my subject. If you leave the sun uncovered, it will look strange in the photo and often lead to different types of noise and distraction. Sometimes the result of this will be very exciting, but it can also ruin the photo. Even if I cannot cover the entire sun behind the subject, putting them on the same vertical line will often result in a good composition.
Post-Processing
Once you’ve taken your perfect sunset photo, it’s time to make in even better with the help of post processing. If needed, I start by straightening the horizon and adjusting the composition by cropping. Next I open the Tune Image module in Snapseed and try to get the perfect colors, tone and feel for my image.
There is no one-size-fits-all solution to photo editing, but the first thing I often do is increase ambiance. This effect is perfect for bringing out detail from the shadows and emphasizing interesting cloud formations. Next I usually increase saturation, which makes the photo more colorful, and slightly decrease the brightness. Finally I increase white balance, which makes the colors warmer and more sunset-like. I normally do not increase contrast, because it tends to wipe out the tone of the sky.
I usually play around with the above settings for a while util I find the perfect tone and colors. Sometimes I even save multiple versions of the same photo and then select the best one afterwards. Note that colors that look perfect on your iPhone may not always be so great on a computer screen. The tone of the photo below is great for Instagram but slightly overdone for most other screens.
There are times when nothing seems to work and the tone and the colors of the image stay unimpressive. However, if the subject and composition of the image are good, it might be a good idea to make it black and white (saturation -100). That way the composition can still be enjoyed even if the colors are not quite right. Note that for black-and-white sunset photos it’s a good idea to also increase contrast, and ambiance can be increased even more (as done in the photo below).


Leave a Reply
You must be logged in to post a comment.